![[OLD – FALL 2016] 15-104 • COMPUTING for CREATIVE PRACTICE](https://courses.ideate.cmu.edu/15-104/f2016/wp-content/uploads/2020/08/stop-banner.png)
For my project, I have it that you can click or drag your mouse to fill in the portrait of my sister.
function preload() {
var myImageURL = "http://i.imgur.com/HsqTrHo.jpg"; //original pic on imgur
underlyingImage = loadImage(myImageURL);
}
function setup() {
createCanvas(720, 500);
background(255); //white background
underlyingImage.loadPixels(); //loads pic
noStroke();
text("press your mouse", 100, 100); //click instructions
text("or drag your mouse", 300, 300); //drag instructions
}
function draw() {
//not called
}
function mousePressed() {
splat(mouseX, mouseY); //splat made where you click
}
function mouseDragged() {
splat(mouseX, mouseY); //splat made where you drag
}
function splat(x, y) {
var imageX = constrain(mouseX, 0, width); // x location of image at mouseX, as long as it's within the canvas
var imageY = constrain(mouseY, 0, height); // y location of image at mousey, as long as it's within the canvas
var pix = underlyingImage.get(imageX, imageY); //gets the color of the pic at your mouse location
fill(pix, 128); //fills with the underlying image's colors
var rad = 17; //radius of ellipses
for (i=3; i<29; i+=.35) { //draws the ellipses in the splat
var angle = random(0, TWO_PI);
var splatX = x + cos(angle)*random(i*random(1.5));
var splatY = y + sin(angle)*random(i*random(2));
ellipse(splatX, splatY, rad-i, rad-i+1.8);
}
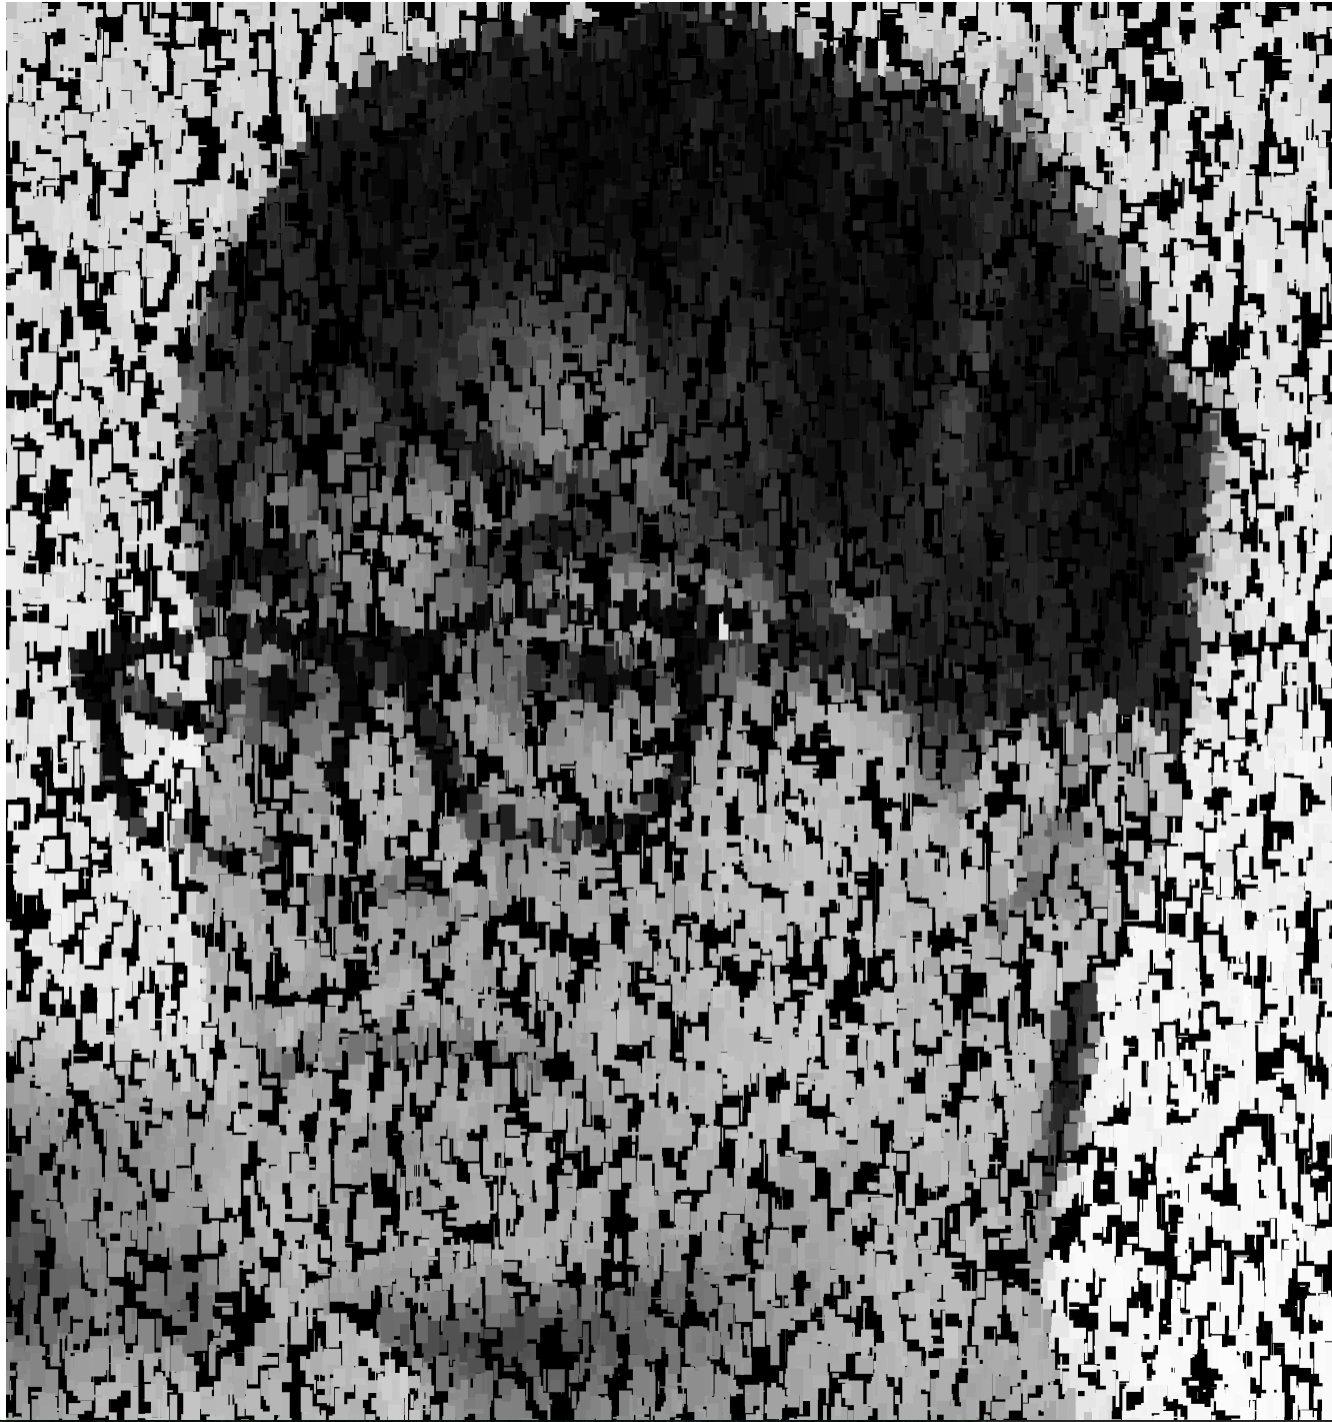
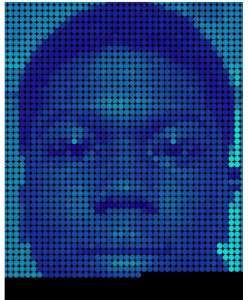
}Here’s what your first interaction would be — clicking around the canvas a bit: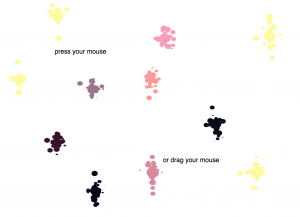
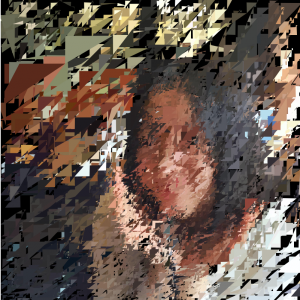
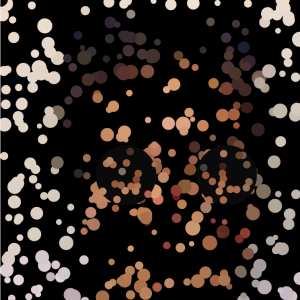
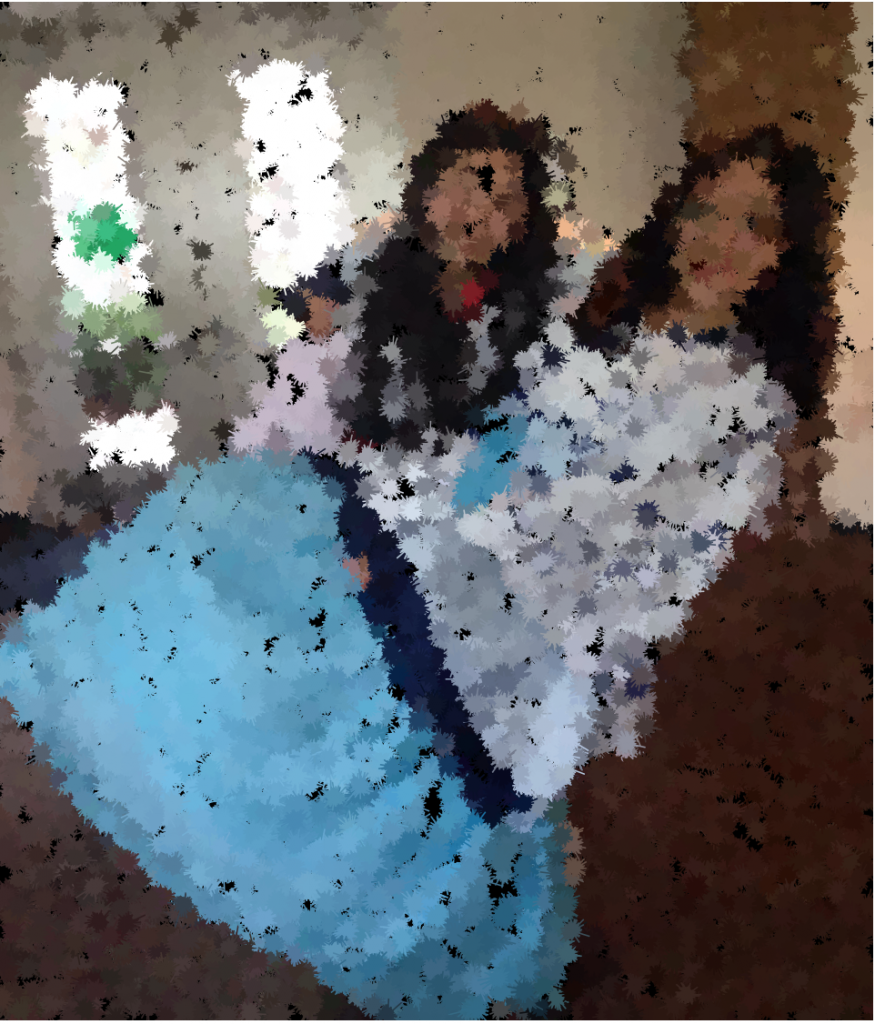
And here’s what a filled in canvas would look like: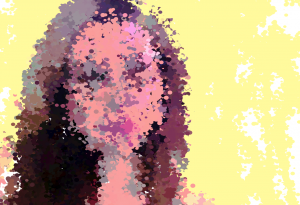
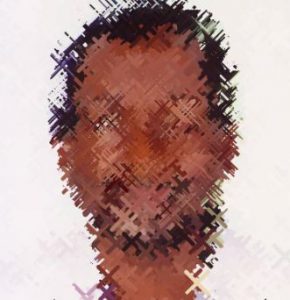
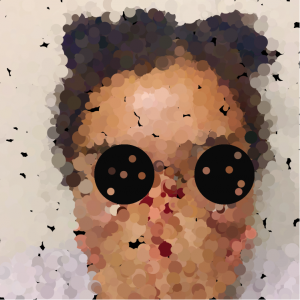
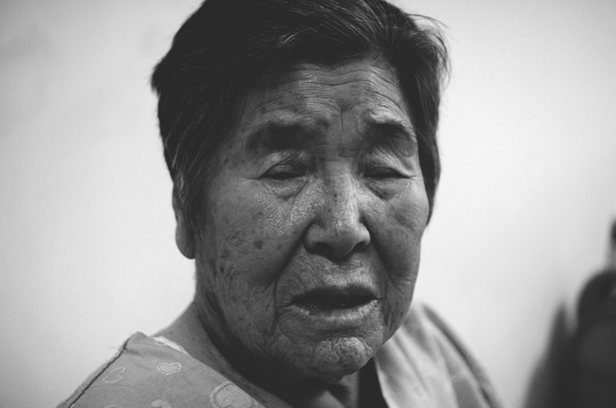
Based on this original image: