YOU’RE NOT THE ONLY ONE WHO HAS TROUBLE PARKING IN NEW YORK CITY
The Sixth Poster of “Flocking Diplomat” Series
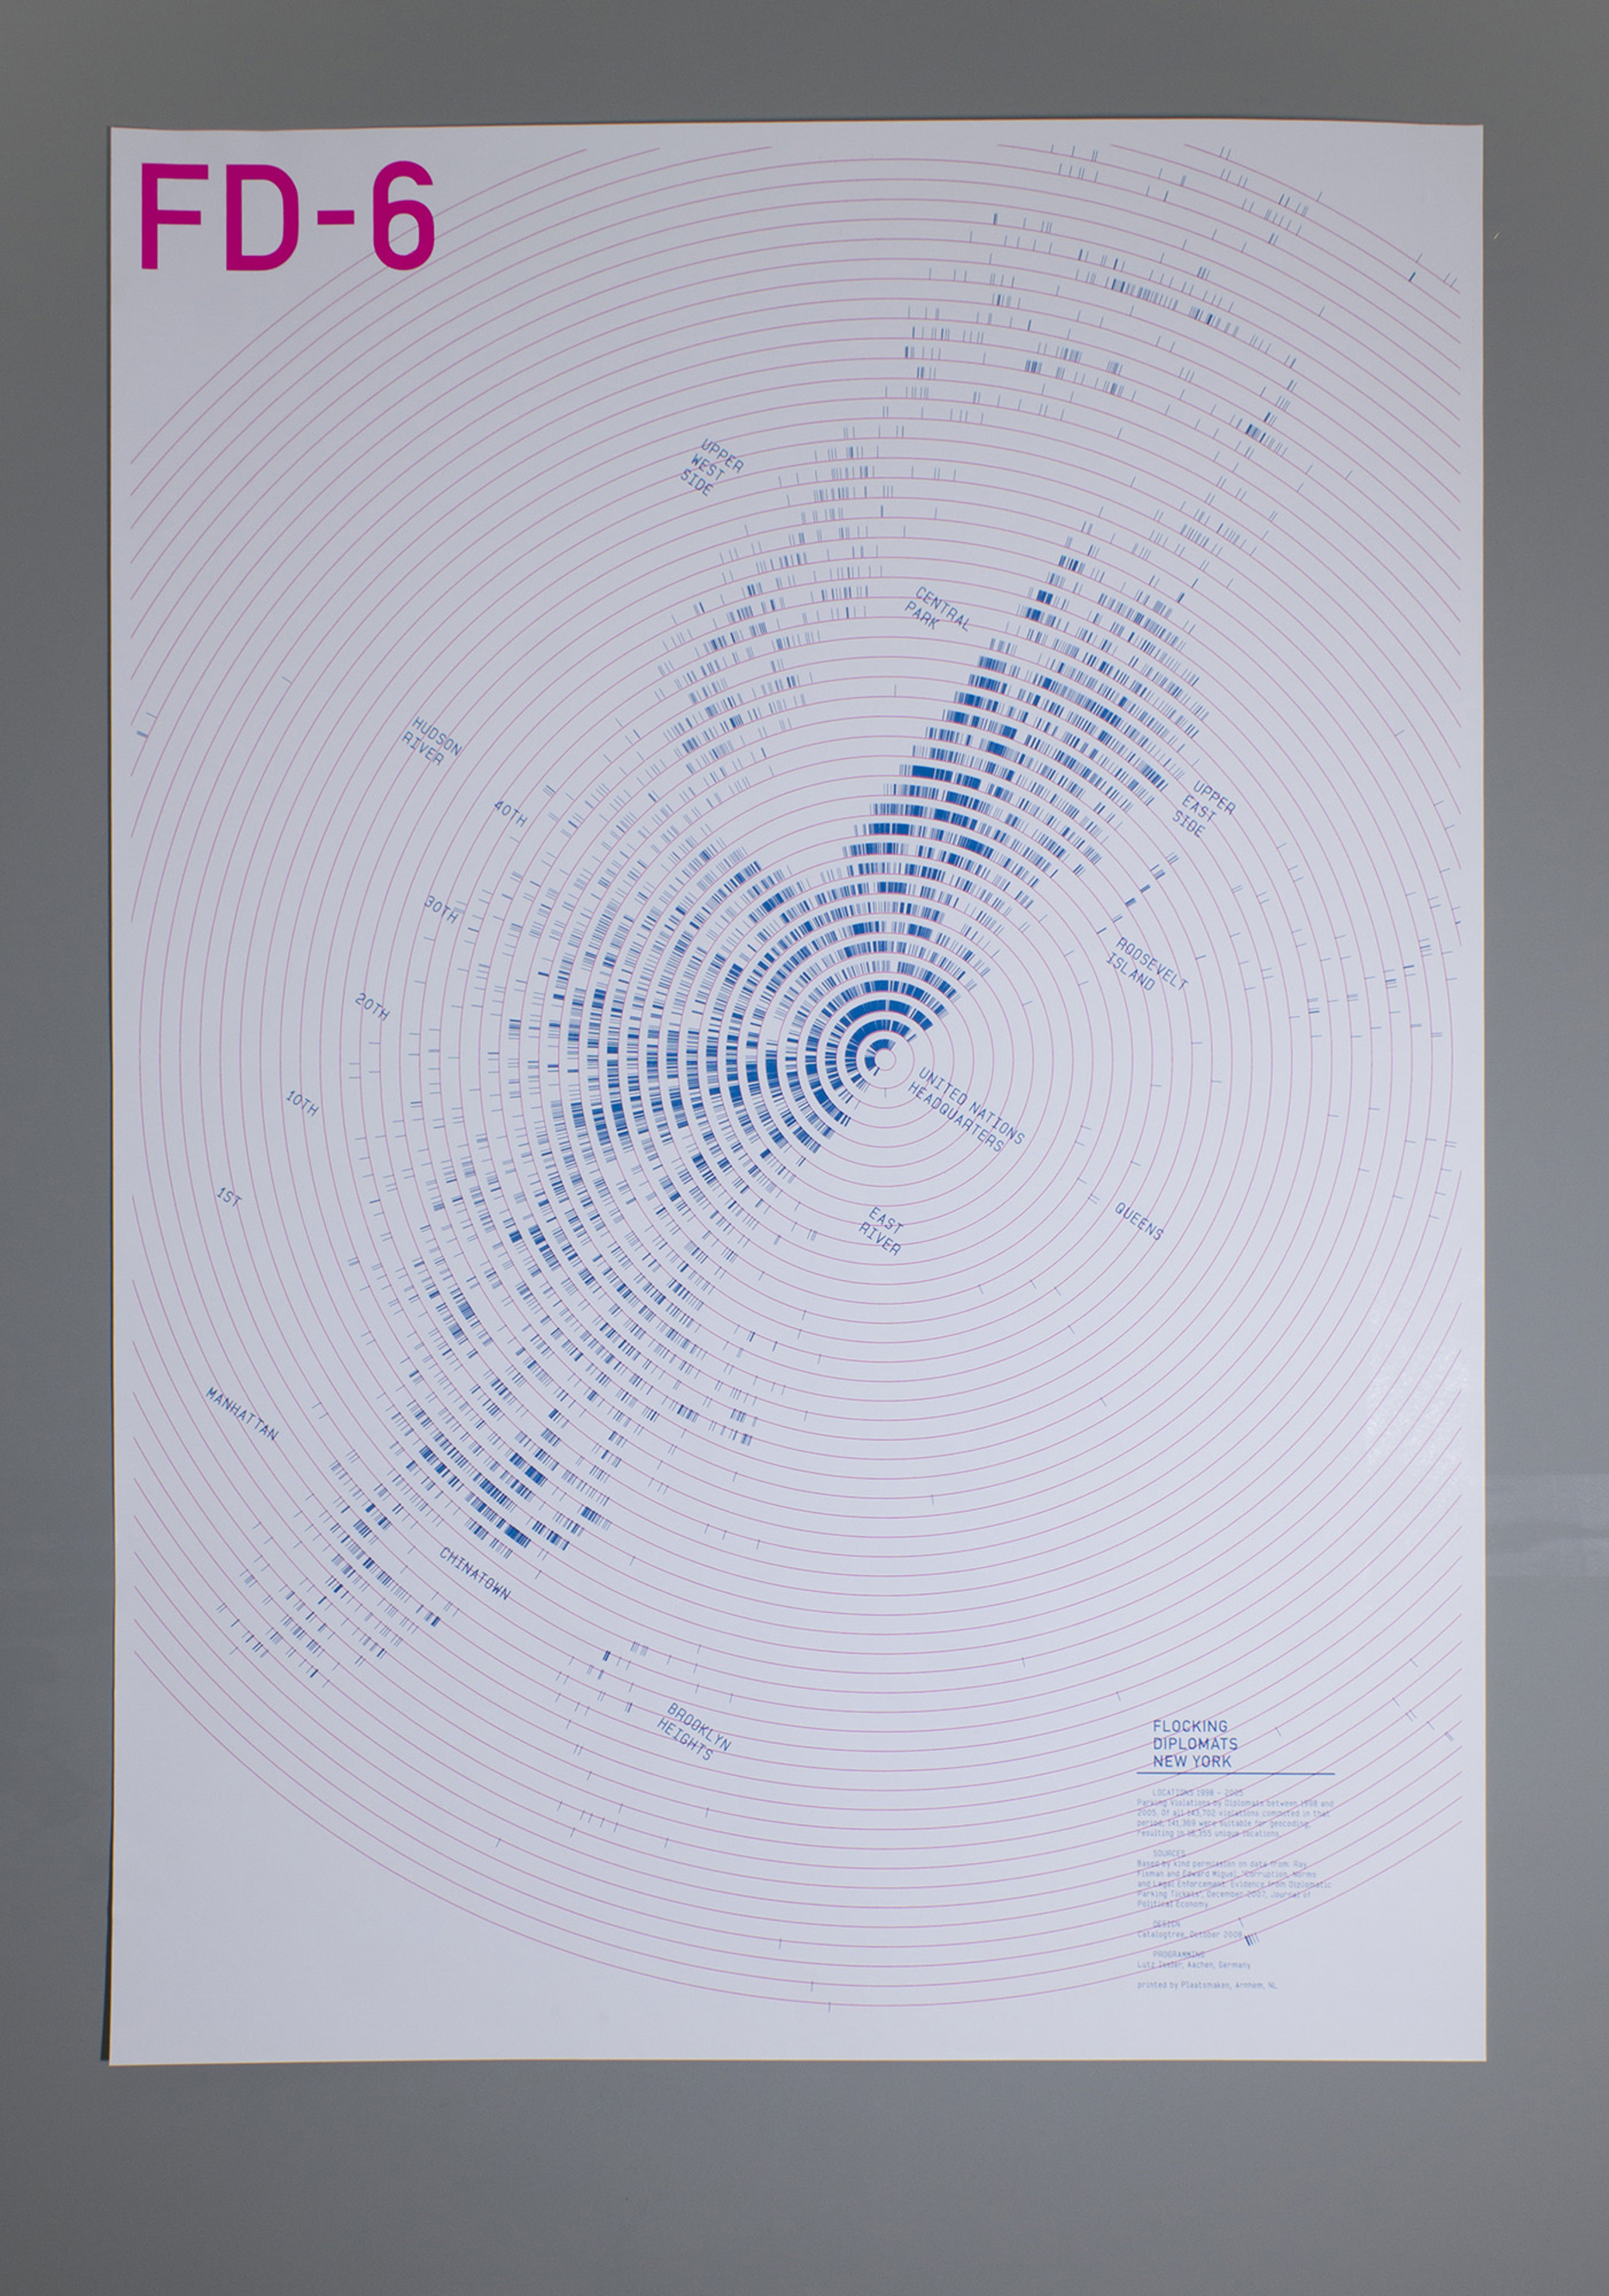
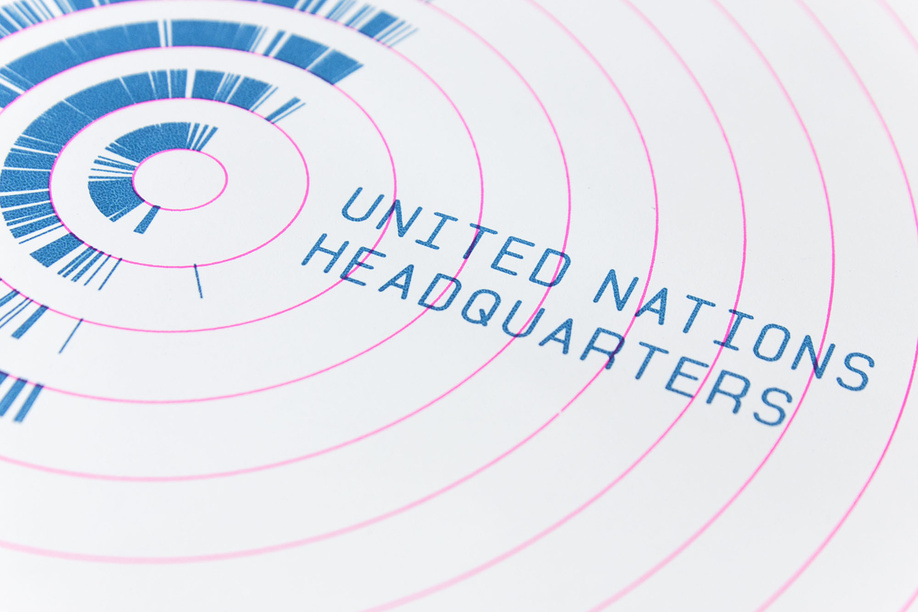
This is the last piece of six poster series named Flocking Diplomat representing Parking Violations by Diplomats in New York City between 1998 and 2005. Each different poster is represented same data but in each unique discipline allowing audiences to engage in a different perspective. The last piece was created by Christina Cannella who is a Digital Design Fellow in the Department of Drawings, Prints & Graphic Design at Cooper Hewitt, Smithsonian Design Museum. Each tick on this poster is marking a parking violation by a diplomat in NYC, 1998 – 2005. This was executed by the loop technique (I think it is what we have been learning in past few weeks) of programming that plotted 141,369 geo-coded data points. It is resulting in 16,355 unique locations and pointing out the United Nation which is the source of the diplomats. So, in this data visualization, viewers can see the hidden patterns behind the data. This poster has been exhibited at Cooper Hewitt, Smithsonian Design Museum.
Random Number Multiples by Marius Watz and Jer Thorp
Computer generated or software based art is usually played in a digital interface not executed in traditional craft or handwork. However, this ‘Random Number Multiple’ series are computer generated but screen-printed work. There are few series in ‘Random Number Multiple’. What I personally like is the ‘Arc’ series. Marius Watz described this series as “pseudo-random compositions of radial shapes, subtly distorted by a 3D surface that lends the image a strong focal point and sense of movement.” Actually, pseudo-randomness is not a real randomness. This randomness generated by a definite computer program to satisfy a statistical test. Even if it seems random but the composition of this series is actually generated by mathematical processes. I really admire this project because it combines traditional hand-craft method and software- or computer-based method together. I think it expands more possible ways of executing art expression.
The ‘Arc’ SeriesThe ‘Arc’ SeriesThe ‘Arc’ Series – Process of Screen Printing
var h;
var m;
var s;

function setup() {
    createCanvas(480, 480);
    noStroke();
}

function draw() {
    background(231, 79, 62);
    Hour();
    Minute();
    Second();
}

function Hour() {
    h = hour();

    //convert to 12 hours
    if (h > 12 || h == 0) {
        h = abs(h - 12);
    }

    fill(18, 6, 99);
    textSize(240);
    textFont('Georgia');
    textStyle(BOLD);
    textAlign(RIGHT);
    text(nf(h, [2], [0]), 258 + 20 * h, 205); //hour
    fill(232, 204, 199);
    rect(0, 200, 20 * h + 250, height - 200);
    fill(18, 6, 99);
    rect(0, 200, 20 * h + 250, 20);
}

function Minute() {
    m = minute();

    textSize(200);
    textFont('Georgia');
    textStyle(BOLD);
    textAlign(CENTER);
    text(nf(m, [2], [0]), 4.2*m + 130, 350); //minute
    rect(4.2*m, 340, width - 4.2*m, 20);
    fill(1, 70, 117);
    rect(4.2*m, 360, width - 4.2*m, 220);
}

function Second() {
    s = second();

    fill(18, 6, 99);
    textSize(100);
    textFont('Georgia');
    textStyle(BOLD);
    textAlign(CENTER);
    text(nf(s, [2], [0]),5.5*s + 90, 445); //second
    rect(5.5*s + 20, 440, width - 4.2*s, 20);
    fill(228, 227, 214);
    rect(5.5*s + 20, 460, width - 4.2*s, 20);
}
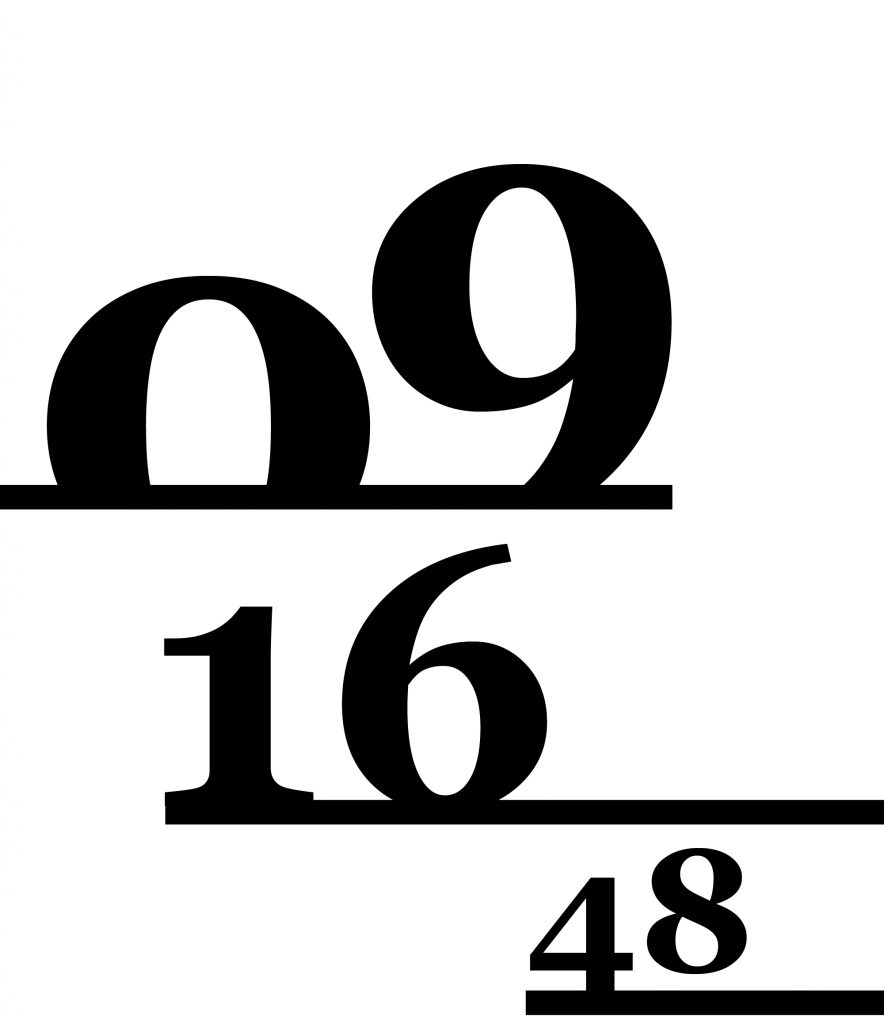
When I initially designed this clock, I used illustrator rather than a paper (you can see my sketch below). It was pretty much successful to execute code as I intended in the sketch. The difference from my initial sketch is that I added each different color block below each number to have a more interesting visualization. Also, in the overall process, it is important to consider how each different time element visually coordinates together. I made a hierarchy among the hour, minute and second based on its scale. In colorwise, I made a custom color palette at ‘khroma.co’ which is an AI color generating tool based on my preference of color. It generated a bunch of color palette for me then I pick one of the nicest one then apply the color palette to this project.
var x = 0;
var y = 0;

function setup() {
    createCanvas(480, 480);
    noStroke();
    rectMode(CENTER);
}

function draw() {
    background(240, 64, 66); //red background
    noLoop();
    pattern();
}

function pattern() {

    //blue circles
    for (x = 0; x <= width; x += 120) {
        for (y = 0; y <= height; y += 120) {
            fill(22, 68, 130);//blue
            ellipse(x - 60, y, 150, 150);
        }
    }

    //flower shape and green bar
    var i = 0;
    for (y = 30; y <= height + 30; y += 60) {
        i = i + 1;
        for (x = 60; x <= width + 60; x += 120) {
            if (i % 2 == 1) {

                //green bar
                fill(120, 200, 210);
                rect(x - 60, y - 30, 15, 50);

                //flower

                //yellow rectangle
                fill(241, 235, 82);
                rect(x, y + 30, 70, 70);
                //white rectangle at the center of flower
                fill(255);
                rect(x, y + 30, 30, 30);
                //yellow petal of flower
                fill(241, 235, 82);
                arc(x + 17, y + 12, 50, 50, PI + QUARTER_PI, QUARTER_PI); //upper right
                arc(x - 17, y + 48, 50, 50, QUARTER_PI, PI + QUARTER_PI); //lower left
                arc(x + 17, y + 48, 50, 50, TWO_PI - QUARTER_PI, HALF_PI + QUARTER_PI); //lower right
                arc(x - 17, y + 12, 50, 50, HALF_PI + QUARTER_PI, TWO_PI - QUARTER_PI); //upper left
                //red circle at the center of flower
                fill(240, 64, 66); //red
                ellipse(x, y + 30, 20, 20);

            }
        }
    }

}
It is not too difficult and complex to code p5.js in this project. But, it is necessary to consider and organize compositions and color of graphic elements. It would be nicer and more interesting if this project is not confined in a static condition.
Machineast is a design studio consisting of two designers, Rezaliando and Fizah Rahim. Most of their works are 3D computer graphics. Even though this studio has provided visual solutions to clients, these two designers have also created several personal driven works as artists. ‘Rainbow Paper Series’ is also a project driven by themselves and inspired by their childhood experiences. During the childhood, they both have fascinated by holographic colors. When they have grown up in the 80’s, holographic cartoon and toys were so popular. After grown up, they found the way to express their fascination and nostalgia toward holographic colors in their 3D artwork. The shimmering and shiny surfaces characterized their childhood and give honor to the 80’s era of a hologram. In my opinion, the combination of shiny effects on surfaces and holographic bright colors created interesting visual. This work is nice artistic expression pieces.
Rainbow Paper Series, MachineastRainbow Paper Series, Machineast
//Hae Wan Park
//15104-A
//haewanp@andrew.cmu.edu
//Project-04-StringArt

//radius of imaginary circle that its boundary contains X, Y coordinate of beginning or ending point of lines
//radius of some ellipses
var r1 = 110;
var r2 = 90;
var r3 = 55;
var r4 = 40;

//X, Y coordinate of beginning or ending point of lines
var x1;
var y1;
var x2;
var y2;
var x3;
var y3;

function setup() {
    createCanvas(400, 300);
}

function draw() {
    background(255);
    translate(width/2, height/2);

    //circle yellow 1
    noStroke();
    fill(255, 220, 100);
    ellipse(0, 0, 2*r1, 2*r1);
    //circle yellow 2
    fill(255, 240, 100);
    ellipse(0, 0, 210 + r4/3, 210 + r4/3);
    //circle green
    fill(211, 229, 212);
    ellipse(0, 0, 180, 180);
    //circle blue
    fill(0, 50, 130);
    ellipse(0, 0, r4*2, r4*2);

    angleMode(DEGREES);
    strokeWeight(1);

    //along the boundary of imaginary circle, lines are created in each 5 degree
    for (var a = 0; a < 360; a = a + 5) {
        x1 = cos(a) * r1;
        y1 = sin(a) * r1;
        x3 = cos(a) * r3;
        y3 = sin(a) * r3;

        stroke(242, 109, 98);
        line(x1, y1, -cos(a - 110) * r1, -sin(a - 110) * r1);
        line(x3, y3, -cos(a - 90) * r4, -sin(a - 90) * r4);
    }

    //along the boundary of imaginary circle, lines are created in each 10 degree
    for (a = 0; a < 360; a = a + 10) {
        x2 = cos(a) * r2;
        y2 = sin(a) * r2;
        x3 = cos(a) * r3;
        y3 = sin(a) * r3;

        stroke(255, 240, 100);
        line(x2, y2, x3, y3);
        stroke(0, 50, 130);
        line(x3, y3, -cos(a - 80) * r4, -sin(a - 80) * r4);
    }

    //change size of radius based on position of mouse
    r4 = map(mouseY, 0, 300, 30, 80);
    r1 = map(mouseX, 0, 400, 70, 170);

    //if press mouse radius increases then release radius decrease
    if (mouseIsPressed){
        r2 = r2 + 10;
    } else {
        if (r2 > 90) {
            r2 = r2 - 5;
        }
    }

    //blue lines around canvas
    stroke(0, 50, 130);
    for (var i = -30; i < 30; i++) {
        line(-150, i*17, i*17 - 120, 150);
        line(150, i*17, i*17 + 120, -150);
        line(-150, i*17, -i*17 - 120, -150);
        line(150, -i*17, i*17 + 120, 150);
    }

}
The process was a bunch of geometry to calculate the X, Y coordinate of lines which are created along imaginary circles. I created the animation based on the mouse behaviors. Especially, I like that raylike lines are stretched out when the mouse is pressed.
Touch Pianist – Magical Piano In Your Web Browser, 2015
Touch Pianist is a musical performing program created by Batuhan Bozkurt who is a Turkish musician and sound engineer. You can perform a variety of timeless classical piano music in computer screen with keyboard or touchscreen. For enjoying this performing exercise, you can either access to a website or download the app (both Android and iOS available). He used HTML5 with WebGL and WebAudio which allow presenting an interactive visualization of popular classical piano music pieces. When Touch Pianist was released, it became so popular. Even it was played more than a million times in just two weeks. I think that fact actually can be a proof that this is pretty interesting and fun to play with. I tried to play on my computer. Its graphics nicely get along with the music. I like that he made a program entertaining many people with performing classical music that can be easily considered as not very interesting and even boring especially in our generation. So, I guess this program can be also utilized to renew the mindset toward classical music which value is often overlooked.
3D Print Gown by Michael Schmidt and Francis Bitonti, 2013
3D printed gown by Michael Schmidt and Francis Bitonti, modeled by Dita Von Teese
This is the first fully 3D printed gown in the world. This gown is designed by Michael Schmidt and 3D modeled by Francis Bitonti. Michael Schmidt was inspired by the well-known Fibonacci Golden Ratio Sequence which mathematically measures the ratio to create the ideals of beauty. It has been proven in many cases, especially in nature. He applied this golden ratio of beauty to create a beautiful and sensual form of a gown. This gown was 3D printed in Nylon and consists of 17 pieces that can be assembled. Its customized design made a perfect fit to a model’s body.
In my opinion, this project displays the future of clothing. It could be the very beginning step of the way manufacture garments in our future. So, if clothing can be printed, there would be more variety of design methods and customized to make a perfect fit for specific customers. I really admire their effort and attempt to create clothes in 3D print that could be a future method to produce our clothes, and also still to keep aesthetic aspects of clothing.
//Hae Wan Park
//15104-A
//haewanp@andrew.cmu.edu
//Project-03-DynamicDrawing

function setup() {
    createCanvas(480, 640);

}

function draw() {

    var Top = 480;
    var bottom = Top + 180;
    var x = 110;
    var y = 50;
    var c1 = color(0);
    var c2 = color(0);

    var mX = max(min(mouseX, 480), 0);
    var mY = max(min(mouseY, 640), 0);

    var mX_L = max(min(mouseX, 240), 0); // when mouse is on left side
    var mX_R = max(min(mouseX, 480), 240); // when mouse is on right side


    if (mY > height/2) {
        c1 = color(255); //change color from black to white
        strokeWeight(20);
    }

    background(c1);

    //Blue Stripe Pattern when mouse hovers below than half of height
    for (var r = 0; r < 40; r += 1) {

        if (r % 2 == 0) {

            if (mY > height/2) {
                c2 = color(0, 41, 149); //change color from black to blue
            }
            stroke(c2);
        }
        line(-50, height/10 * r - 560 + mY, width + 50, height/10 * r - 260 - mY);
    }

    //outline of cube
    strokeJoin(ROUND);
    strokeWeight(5);
    stroke(255);

    //outline of cube disappears when mouse hovers below than half of height
    if (mY > height/2) {
        strokeWeight(0);
    }


    for (i = -4; i < 4; i+=1) {

    fill(237, 10, 124); // Magenta, Top Side of Cube
    quad(mX, Top + 2*y + (mX_R - mX_L)/10,
    mX_L - x, Top + y,
    width/2, Top - (mX_R - mX_L)/10,
    mX_R + x, Top + y);

    fill(14, 198, 184);  // Green, Left Side of Cube
    quad(mX, Top + 2*y + (mX_R - mX_L)/10,
    mX_L - x, Top + y,
    mX_L - x, bottom,
    mX, bottom + y + (mX_R - mX_L)/10);

    fill(255, 241, 0); // yellow, Right Side of Cube
    quad(mX, Top + 2*y + (mX_R - mX_L)/10,
    mX_R + x, Top + y,
    mX_R + x, bottom,
    mX, bottom + y + (mX_R - mX_L)/10);

    Top = Top - 210 + mY/5.5;
    bottom = bottom - 210 + mY/5.5;
    }

}
It was a process to consider the relationship among graphic elements and explore the way execute in coding. The more I learn about p5.js the more challenging project comes. But, actually, that means also I can create more complex and dynamic graphics in p5.js.
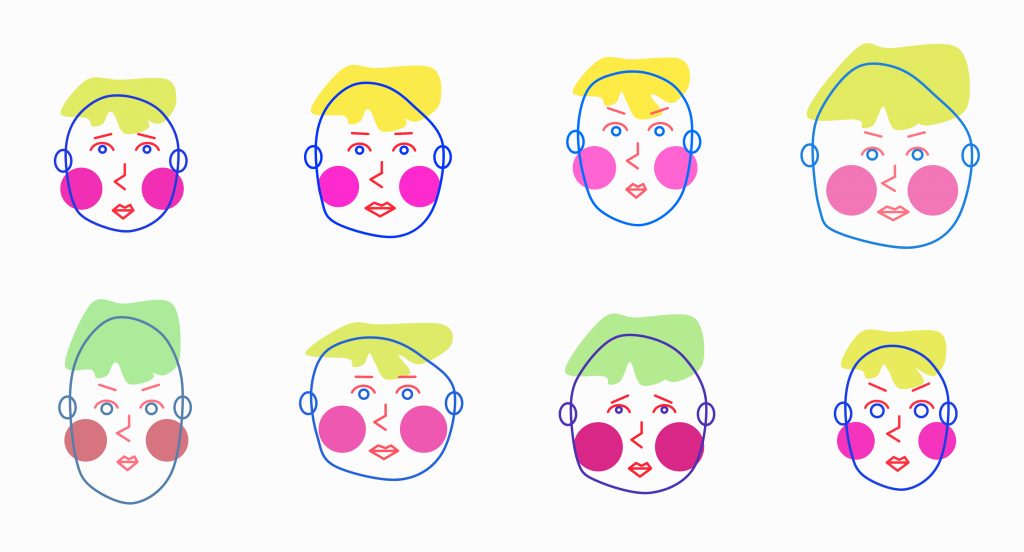
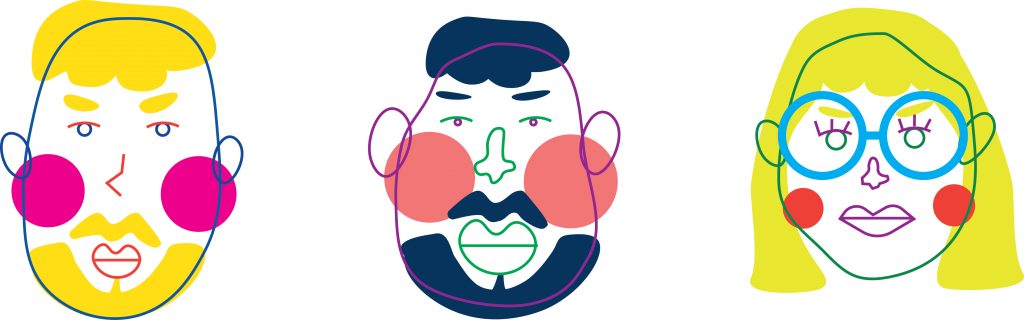
It is fun to watch the face keeps changing. It was not easy to make everything in right proportion. Also, I sketched on illustrator then tried to figure out how to draw with p5.js. It has to be simplified even though I thought my sketch was not so complicated. Maybe need more practice to control p5.js.
Variation of FacesOriginal Sketch by Adobe Illustrator
![[OLD FALL 2017] 15-104 • Introduction to Computing for Creative Practice](https://courses.ideate.cmu.edu/15-104/f2017/wp-content/uploads/2020/08/stop-banner.png)