This is a project by Saatchi & Saatchi IS in Poland. It’s a series of advertising/branding illustrations for Nobile Sports in Poland, and the dotted line in each image represents the pattern on their surfboards. I think it’s a clever idea and the graphics of the miniature scenes were very nice.
Clay Render
The illustrations were done using Cinema4D, and they modeled each element in the software for rendering and color is added later on.
The 3D computer graphics I chose were made by Yoichiro Kawaguchi, an international computer artist from Japan. He creates a lot of graphic art that has soft, fluid shapes and forms and he gains his inspiration from patterns in seashells and spiraling plants. You can see a lot of that in his art; each shape/object has a circular, spiral pattern within it. I admire the fact that although his work is random and chaotic – placement of shapes is random and shape sizes are different – in a sense, there’s consistency and similarity too, mainly due to the patterns within these shapes. It’s both hectic and peaceful to look at. In terms of the algorithm, he imitated growth patterns from seashells and plants using a function/technology called “metaballs”, which produces organic-looking n-dimensional objects.
/* Nina Yoo
Section E
nyoo@andrew.cmu.edu
Project- 05 Wallpaper*/
var head = 30
var eyes = 15
var eye =  30
var space = 50

function setup() {
    createCanvas(600, 400);
    background(216,117,28);


    for (var y = 25; y < height; y+=space) { //y position of wall paper
        for (var x = 25; x < width; x+=space) { //x position of wall paper

            //outercircle
            noStroke();
            fill(215,185,119);
            ellipse(x, y, head, head);

            //2nd circle
            noStroke();
            fill(0);
            ellipse(x,y,head*.5,head*.5);  //have to base i off of head variable

            //middle
            noStroke();
            fill(238,184,213);
            ellipse(x,y,head*.2,head*.2);
        }
    }
    for (var a = 40; a<width; a+=space){
        for (var b = 40; b<height;b +=space){ //offset spacing
                //tan overlayering
            stroke(200,200,124);
            noFill();
            ellipse(a,b, eye,eye); // create new variable eye to separate from the other loop

            //black center circle
            stroke(0);
            noFill();
            ellipse(a,b,eye*.5,eye*.5);

        }


    }

        }


function draw() {
    // draw is not called due to noLoop() in setup()
    noLoop()
}
I wanted to play with circles and the colors to mess with someones eyes on a lower scale and it was fun trying to trip myself up while also deciding where to have fill versus not. The spacing took some time to figure out where I wanted the nofill circles to be, but was worth.
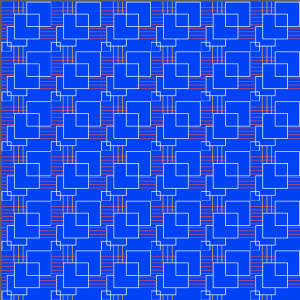
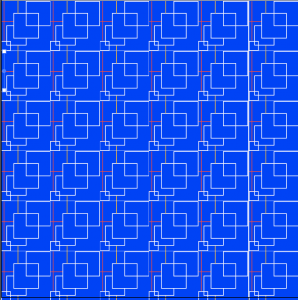
// Jisoo Geum
// Section B
// jgeum@andrew.cmu.edu
// Project-05
var rect1y = 50;
var rect1x = 10;
var rect2xy = 25;
var rect3y = 81;
var rect3x = 0;
var rect4y = 0;
var rect4x = 50;

function setup (){
	createCanvas(600,600);
	background(1,59,255);
}

function draw(){
    // red lines
    for (var redvertX =5; redvertX<width; redvertX+=10){
            stroke(252,59,69);
            line( redvertX, 0, redvertX, height );
    }
    // yellow lines
    for (var yellowY = 40; yellowY < height; yellowY +=100){
        stroke(255,190,8);
        line(0,yellowY, width, yellowY);
    }
    //first rect layer (3rd one from the right top)
    for (var numbY= 0; numbY < 6; numbY++){ // the y number of squares increase till 6
        for (var numbX = 0; numbX < 6; numbX++){ // the x number of squares also increase till 6
            var r1y= rect1y +numbY * 100; // position of y increases by each tile
            var r1x = rect1x +numbX * 100; // position of x also increses
        fill(1,59,255);
        stroke(255);
        rect(r1x,r1y,40,40);
    // 2nd rect layer (2nd one from the right top)
            var r2y= rect2xy +numbY * 100;
            var r2x = rect2xy +numbX * 100;
        fill(1,59,255);
        stroke(255);
        rect(r2x,r2y,50,50);
    // 3rd rect layer (bottom left corner)
            var r3y= rect3y +numbY * 100;
            var r3x = rect3x +numbX * 100;
        noFill();
        stroke(255);
        rect(r3x,r3y,19,19);
    // 4th rect layer (top right)
            var r4y= rect4y +numbY * 100;
            var r4x = rect4x +numbX * 100;
        noFill();
        stroke(255);
        rect(r4x,r4y,50,50);
     }
    }
}
I decided to create a geometric pattern that looks interconnected.
The final pattern turned out to be more simple than my initial design because I could not create a big gap between every 10 or 3 lines as shown above.
I tried to reduce the number of lines like the picture above, but I ended up creating dense lines using the for-loop.
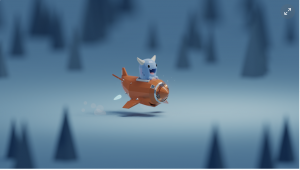
This project is really cute and something I would want to delve into because even though the subject looks as it if was more cartoony it actually has harsh edges and highlights to give it a more 3d generated or mechanical feel. The image generated provides a more realistic version of a 2d image causing the viewer to be tricked into thinking of the image more as an object or more able to be within their realm of “space”. The algorithm that is generated most likely entails that there are variables that need to be calculated for the highlights and shadows to work precisely where they are supposed to be because if not then the 3d image would look more 2d than 3d. The artist itself was able to incorporate their own style of art by adding these cute designs instead of aiming for hyperrealism, which is effective in 3d designs, but this artist proves there can also be 3d depth in more imaginary characters.
// Joanne Lee
// Section C
// joannele@andrew.cmu.edu
// Project-05

function setup() {
  createCanvas(500,600);
  background (135,206,236);
  noLoop();
}

function draw() {
  var x = 0;
  var y = 0;
  var shiftX = width / 5;
  var shiftY = height / 4;

  // diamond repeating background (creating this using repeating X shapes)
  for (var a = 0; a < 4; a++) { // rows
    for (var b = 0; b < 5; b++) { // columns
      stroke(243,250,253);
      strokeWeight(3);
      line(x, y, x + shiftX, y + shiftY);
      line(x + shiftX, y, x, y + shiftY);
      x += shiftX;
    }
    y += shiftY;
    x = 0; // reset x
  }

  // variables for ryan's face
  var face = 50;
  var earSize = 15;
  var eyeSize = 2;
  var noseSize = 5;
  var stacheSize = 10;
  x = 0;
  y = shiftY * 0.5;

  // rybear in every other diamond, every other row
  for (var c = 0; c < 4; c++) { // rows
    for (var d = 0; d < 3; d++) { // columns
      // ears
      stroke(0);
      strokeWeight(2.5);
      fill(223,155,58);
      ellipse(x - 16, y - 17, earSize, 0.85*earSize); // left
      ellipse(x + 16, y - 17, earSize, 0.85*earSize); // right

      // face
      ellipse(x, y, face, 0.85*face);

      // eyebrows
      line(x + 6, y - 8, x + 14, y - 8); // left
      line(x - 14, y - 8, x - 6, y - 8); // right

      // eyes
      fill(0);
      ellipse(x - 9.1, y - 2, eyeSize, eyeSize); // left
      ellipse(x + 9.9, y - 2, eyeSize, eyeSize); // right

      // nose
      ellipse(x, y + 4, noseSize, noseSize);

      // mustache
      strokeWeight(0);
      fill(255);
      ellipse(x - 4.5, y + 8, stacheSize, 0.75 * stacheSize); // left
      ellipse(x + 4.5, y + 8, stacheSize, 0.75 * stacheSize); // right


      x += 2 * shiftX; // in order to put in every other diamond
    }

    y += shiftY; // put ryan in every other row

    // start ryan at different spots for different rows

    if (c % 2 == 0) {
        x = shiftX;
    }

    else if (c % 2 == 1) {
        x = 0;
    }
  }
}
For this week’s project, I revisited my favorite cartoon character / emoji. I created a repeating diamond background pattern and placed ryan in every other column / row. While creating this wallpaper, I had phone wallpapers in mind and tried to create a simple look because it may look cluttered with phone apps on the screen as well.
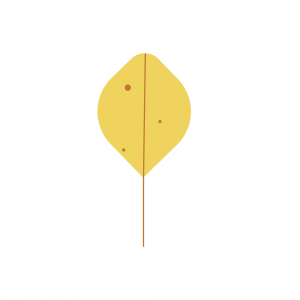
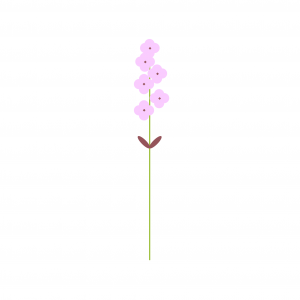
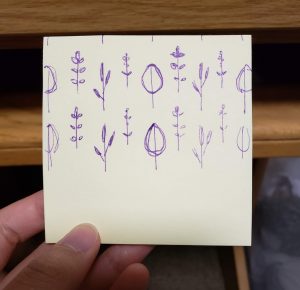
I knew I wanted to do something with plants for this project, so I made a few sketches in Illustrator:
plant #1plant #2plant #3plant #4
I then sketched how I generally wanted the different designs to piece together:
Figuring out how to orient everything on the canvas was the hardest and most time-consuming part, but I feel like it got me a lot more comfortable with for loops and spacing.
While I am aware the prompt asked us to refrain from using video games for this post, I chose this video game title for two reasons: I was actually introduced to this title by my younger brother, and the interesting interaction of 2D and 3D models and styles within the latest versions of the franchise.
As previously stated, I was introduced to this title by my younger brother. Both he and I are big video game fans, but we tend to stick to our respective genres: FPS and strategy games for me, and RPGs and fighting games for him. Guilty Gear falls into the latter category, and so naturally gained the attention of my brother. Normally this would mean I would have little interest in the title, but watching him play it, I was intrigued by something. As one can see from the top picture, the game typically appears in what looks like a 2D format. Most fighting games nowadays, like most video games, use a 3D format. When I noted this, my brother corrected me, saying that, in actuality, the game was 100% 3D. As I was confused by this, he proceeded to show me how the seemingly 2D character models were in fact complete 3D models, a fact which became immediately apparent when certain moves were made or events were triggered.
This setup of 3D models in a semi-2D style absolutely fascinated me and my brother, especially in relation to anime, another media form we’re both fans of and which has often used 2D formats but recently begun using 3D as well. Many have disliked some of the 3D adaptations or additions to classic anime shows, and my brother and I agreed that the use of styles such as the type found in the latest Guilty Gear games would allow for flexibility in areas like anime that wish to both retain the “traditional” 2D format while taking advantage of the possibilities 3D offers.
This graphic style apparently involves special modeling and artistic rendering, as it takes special effort to make the 3D models look 2D from certain angles only. This likely means that special algorithms are used which keep the “camera” or viewpoint fixed in certain positions until any one of various events are triggered, or special care is required to change how the models look from different perspectives. Considering the game seems to be partially developed in Japan, where anime traditionally comes from, it seems likely that many of the artists involved in the games creation had some experience in both 2D and 3D rendering.
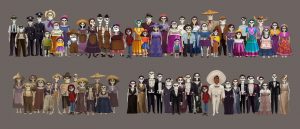
Pixar Animation Studio is recognized as one of the leading producers in animation films and design computer graphics. One of their most recent projects I want to look at is “Coco”. Coco goes beyond just the CG animation in their work and instead used VFX (visual effects).
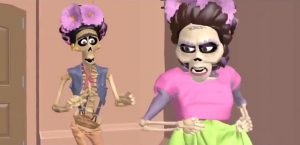
Within this movie, one of the clips of the behind the scenes I found is the computer graphics of the movement of cloth in skeletons. Using a series of meshes, graphic artists simulate those clothing on the skeletal characters.
concept art of clothes on characters
However, the designers issued that the problem is that skeletons are made up of really tiny bones, and because the control points have to match for the clothes and bones, the movement would make some of the bones see through from the clothes. This basically looks like clothes sinking into the cracks of the bones like something falling in quicksand.
concept art of clothes on characters
Their solution is a concept called continuous collision detection, where meshes detect all the collisions of selected objects. This works even if the object is moving really fast, which is prevalent is any characters in animation movies.
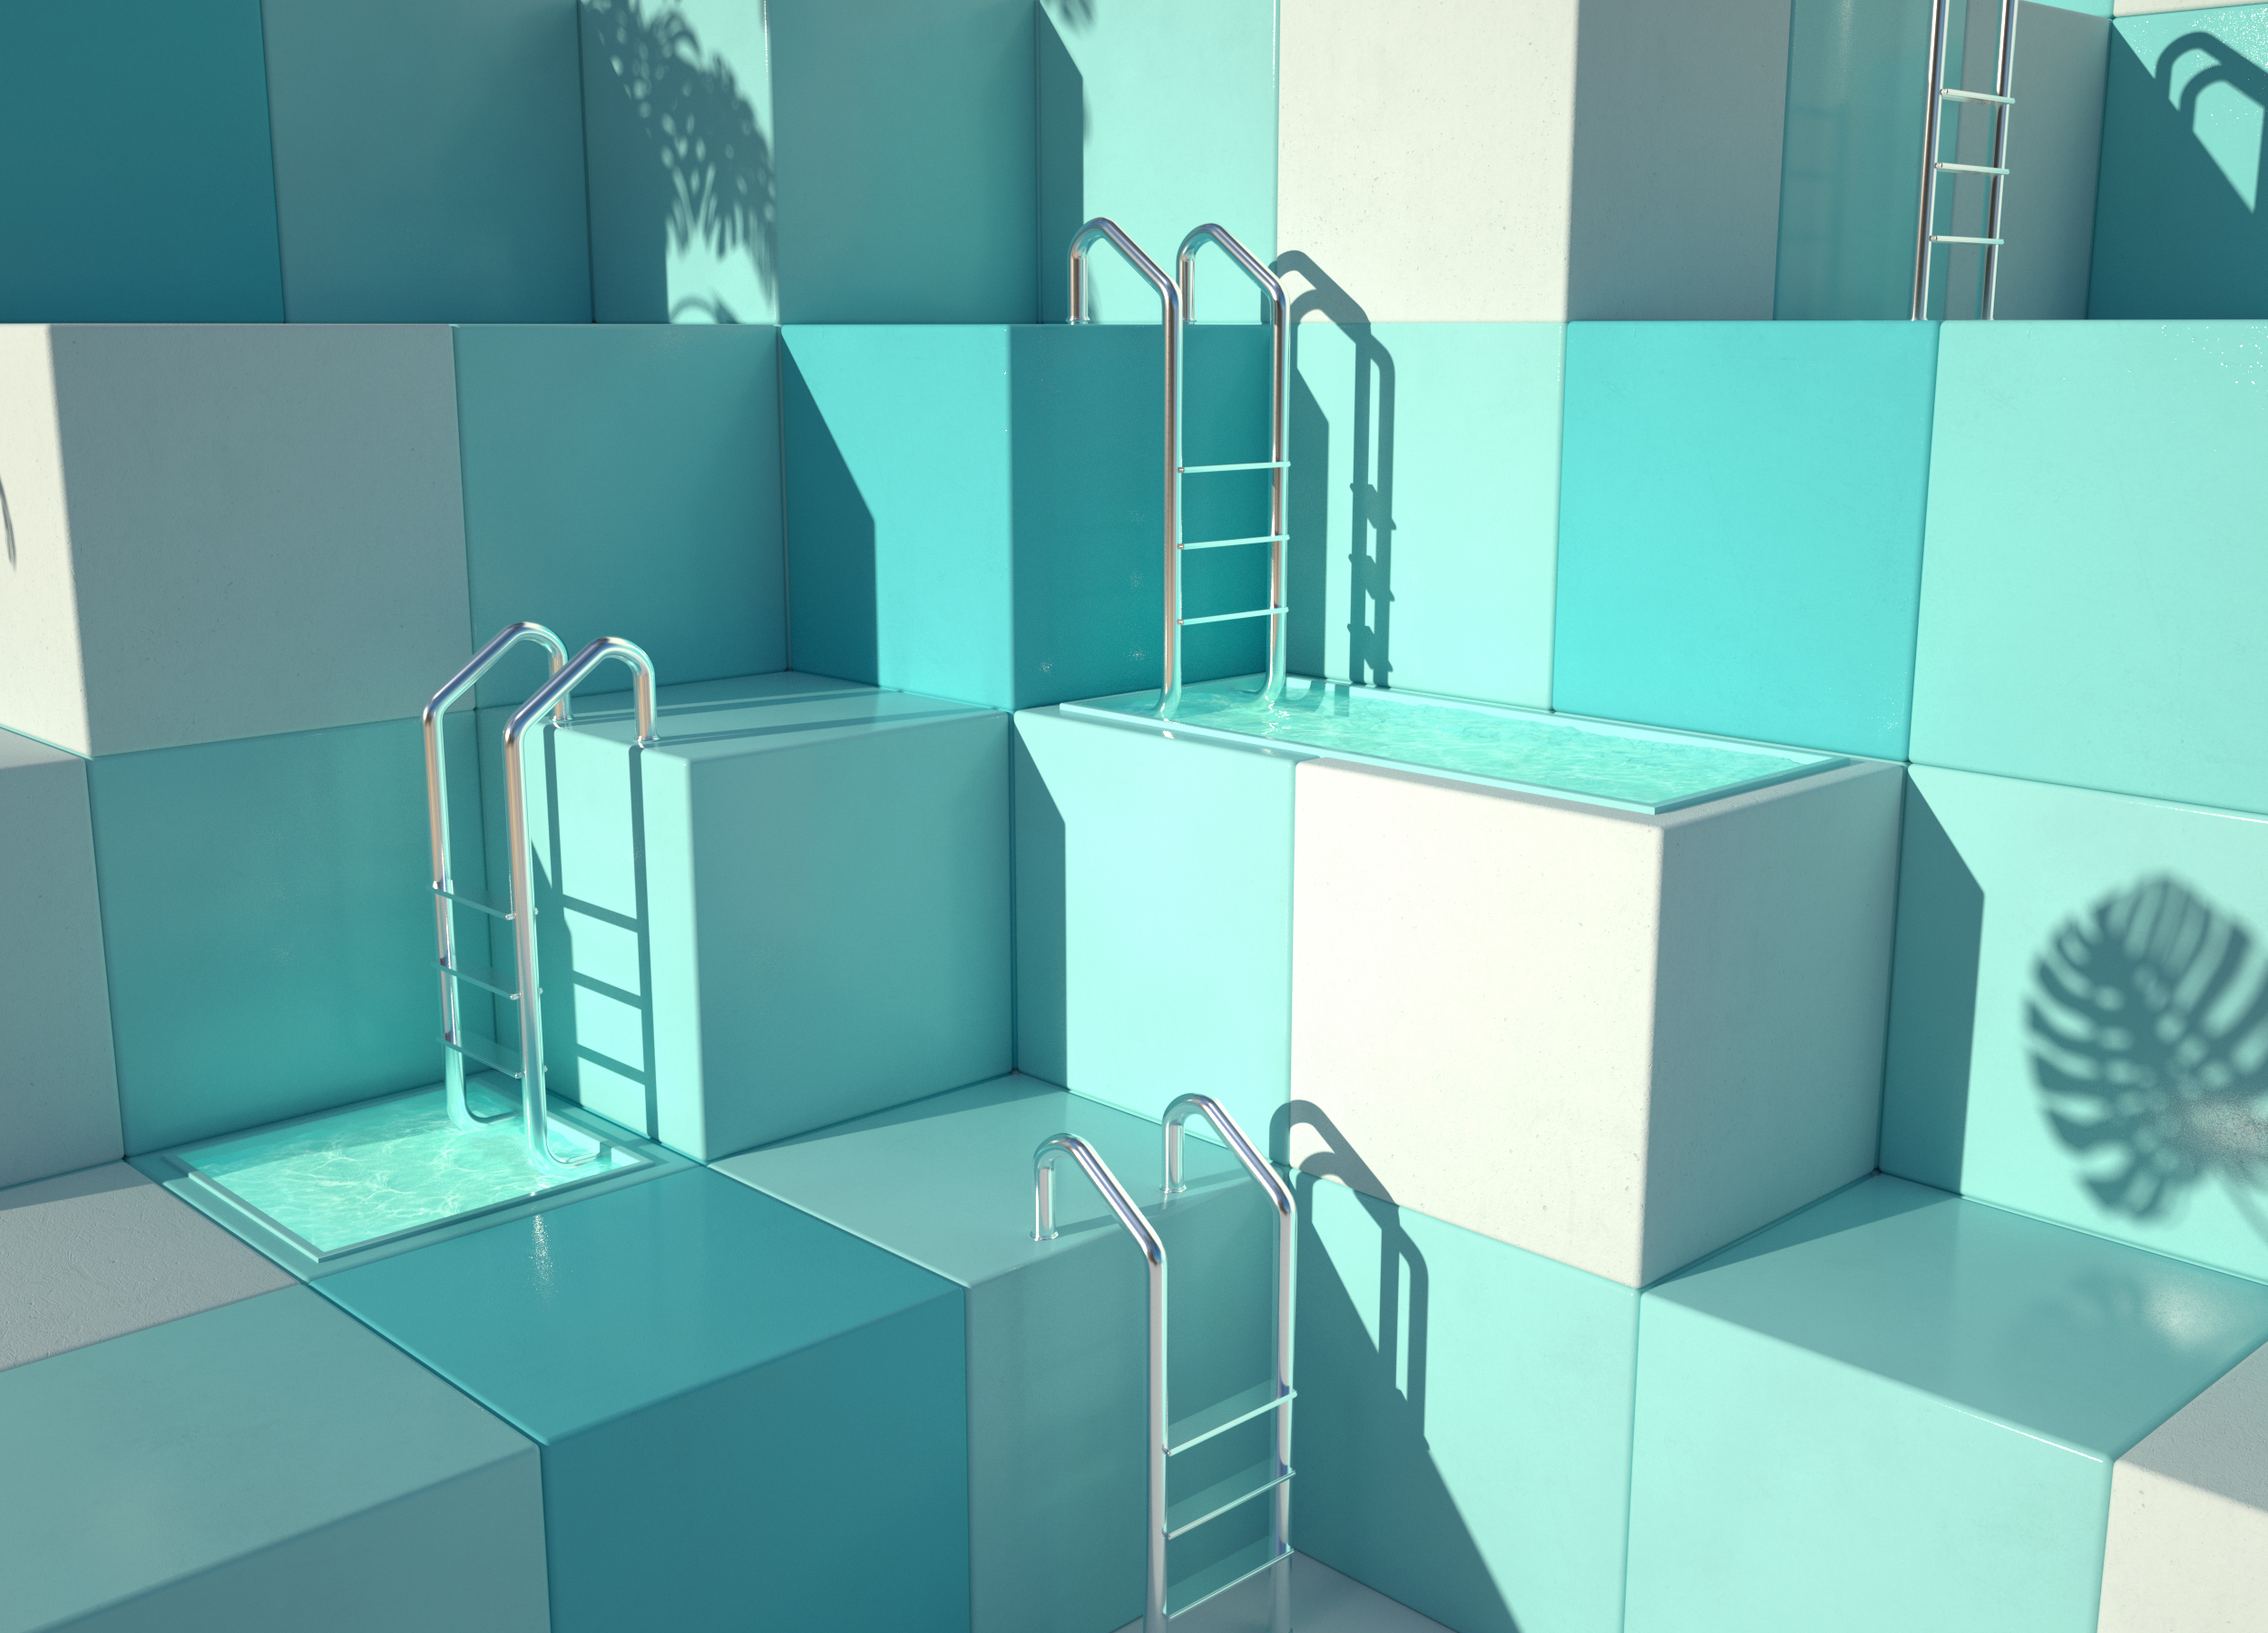
Hunky Dunky is a creative design studio based in Spain, that specializes in 3D art and animation.
Animation from Summer Diary collection
I am completely mesmerized by this studio’s animation and design style. This design studio uses a combination of rendering and illustration techniques. Rendering is the process of adding shading, texture, and color to a drawing that creates a realistic form. Using rendering software, which is a hardware based process, 2D images become 3D.
Rendering from Summer Diary Collection
The artists, 3D Artist Yonito Tanu and Art Director Jessica Chapiness, refer to their medium as CGI. CGI is computer generated imagery which refers to a non-static image, such as the dynamic animation we see in CGI rendered movies. This dynamic form of CGI relies on algorithms that triangulate surfaces, often based on fractal algorithms that recursively zoom in further to smaller triangles.
In in interview with ballpitmag, the artists stated that they intend on “creating surreal worlds we wish to live in.” With their use of color, form, and hyper-realism- the artists have definitely drawn viewers into their surreal world.
See more of their work here: http://www.hunky-dunky.com/
![[OLD FALL 2018] 15-104 • Introduction to Computing for Creative Practice](https://courses.ideate.cmu.edu/15-104/f2018/wp-content/uploads/2020/08/stop-banner.png)
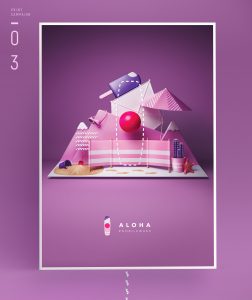


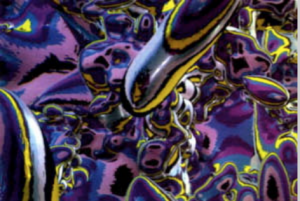 Image of Kawaguchi’s 3D Computer Graphic