sketch
/*
Victoria Reiter
Section B
vreiter@andrew.cmu.edu
Project - 05
*/

function setup() {
    // sets up canvas dimensions
    createCanvas(600, 480);
    // establishes background color
    background(250, 250, 180);
}

function draw() {
    // establishes initial coordinates for x and y
    var x = - 50;
    var y = 0;
    // creates a horizontal and vertical grid using a for() loop to draw
    // the flowers
    for (var i = 0; i < 20; i++) {
        for (var j = 0; j < 20; j++) {
            flower(x + j * 60, y + i * 60);
    }
}
    // creates a horizontal and vertical grid using a for() loop
    // to draw the butterflies
    for (var k = 0; k < 200; k++) {
        for (var l = 0; l < 200; l++) {
            butterfly(x - 850 + l * 200, y - 50 + k * 120);
        }
    }
    noLoop();
}

// function which draws the entirety of the flower
function flower(x, y) {
    flowerStem(x, y);
    flowerPetals(x, y);
    stem(x, y);
    leaves(x + 15, y - 15);
}

// function to draw the stem
function stem(x, y) {
   strokeWeight(7);
    stroke(0, 155, 0);
    line(x, y, x + 85, y - 35);
}

// function to draw the leaves
function leaves(x, y) {
    noStroke();
    // leaf color
    fill(0, 190, 0);
    // actual leaves
    ellipse(x, y - 1, 24, 10);
    ellipse(x + 25, y + 9, 24, 10);
    ellipse(x + 21, y - 10, 24, 10);
    strokeWeight(2);
    // leaf vein color
    stroke(100, 230, 100);
    // each leaf also has a little line to represent its veins
    line(x - 12, y - 1, x + 12, y - 1);
    line(x + 13, y + 9, x + 37, y + 9);
    line(x + 9, y - 10, x + 33, y - 10);
}

// function to draw the stems branching to the petals
function flowerStem(x, y) {
    strokeWeight(4);
    stroke(0, 190, 0);
    // actual stem
    line(x + 56, y - 27, x + 46, y - 43);
    // each stem also has a little bulb
    ellipse(x + 46, y - 43, 7, 7);
    line(x + 55, y - 18, x + 72, y + 2);
    ellipse(x + 72, y + 2, 8);
    line(x + 70, y - 33, x + 78, y - 60);
    ellipse(x + 78, y - 60, 8);
    line(x + 79, y - 28, x + 100, y - 3);
    ellipse(x + 100, y - 3, 10);
    line(x + 85, y - 35, x + 105, y - 57);
    ellipse(x + 105, y - 57, 11);
}

// function to draw flower petals
function flowerPetals(x, y) {
    noStroke();
    // main petal color
    fill(255, 125, 165);
    // petal 1
    ellipse(x + 43, y - 55, 23);
    //petal 2
    ellipse(x + 75, y + 12, 25);
    //petal 3
    ellipse(x + 74, y - 70, 20);
    // petal 4
    ellipse(x + 104, y + 10, 21);
    // petal 5
    ellipse(x + 108, y - 70, 27);
    fill(255, 65, 105);
    // sub-petal 1
    ellipse(x + 39, y - 45, 13);
    ellipse(x + 52, y - 55, 11);
    // sub-petal 2
    ellipse(x + 67, y + 6, 13);
    ellipse(x + 81, y + 4, 10);
    ellipse(x + 64, y + 15, 11);
    // sub-petal 3
    ellipse(x + 70, y - 61, 16);
    // sub-petal 4
    ellipse(x + 100, y + 5, 12);
    ellipse(x + 112, y + 8, 9);
    // sub-petal 5
    ellipse(x + 97, y - 63, 14);
    ellipse(x + 109, y - 58, 10);
    ellipse(x + 119, y - 64, 13);
    // detail color in petals
    fill(185, 0, 25);
    // sub-sub-petal 1
    ellipse(x + 32, y - 50, 9);
    ellipse(x + 48, y - 50, 8);
    // sub-sub-petal 2
    ellipse(x + 64, y + 2, 8);
    ellipse(x + 74, y + 4, 10);
    ellipse(x + 60, y + 9, 8);
    //sub-sub-petal 3
    ellipse(x + 78, y - 65, 13);
    ellipse(x + 62, y - 67, 8);
    // sub-sub-petal 4
    ellipse(x + 92, y + 9, 8);
    ellipse(x + 108, y + 5, 9);
    // sub-sub-petal 5
    ellipse(x + 102, y - 60, 9);
    ellipse(x + 90, y - 65, 10);
    // other detail color in petals
    fill(255, 205, 205);
    // many sub petals 1
    ellipse(x + 40, y - 67, 11);
    ellipse(x + 52, y - 60, 8);
    // many sub petals 2
    ellipse(x + 64, y + 16, 8);
    ellipse(x + 77, y + 9, 10);
    ellipse(x + 67, y + 23, 7);
    // many sub petals 3
    ellipse(x + 78, y - 79, 10);
    ellipse(x + 66, y - 71, 8);
    // many sub-petals 4
    ellipse(x + 94, y + 18, 12);
    ellipse(x + 114, y + 14, 9);
    // many sub-petals 5
    ellipse(x + 103, y - 69, 9);
    ellipse(x + 90, y - 64, 8);
    ellipse(x + 121, y - 74, 10);
}

// function to draw the entirety of the butterfly
function butterfly(x, y) {
    push();
    scale(.5);
    butterflyBody(x, y);
    butterflyWings(x, y);
    pop();
}

// function to draw butterfly's thorax
function butterflyBody(x, y) {
    // black but not entirely opaque body
    stroke('rgba(0, 0, 0, .7)');
    strokeWeight(10);
    line(x -5, y + 35, x + 20, y);
}

// function to draw butterfly's wings
function butterflyWings(x, y) {
    strokeWeight(2);
    stroke(90, 0, 90);
    // orange-ish color of wings
    fill('rgba(240, 130, 40, .6)');
    // top wing
    ellipse(x, y, 25, 40);
    // bottom wing
    ellipse(x - 15, y + 20, 40, 30);
    // brown color of spots in wings
    fill('rgba(110, 70, 30, .5)');
    // details in the wings
    ellipse(x - 20, y + 15, 16, 8);
    ellipse(x - 2, y + 20, 6, 8);
    ellipse(x - 13, y + 25, 5, 5);
    ellipse(x - 4, y - 7, 6, 9);
    ellipse(x + 4, y, 6, 5);

}
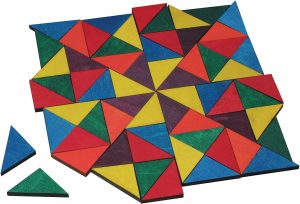
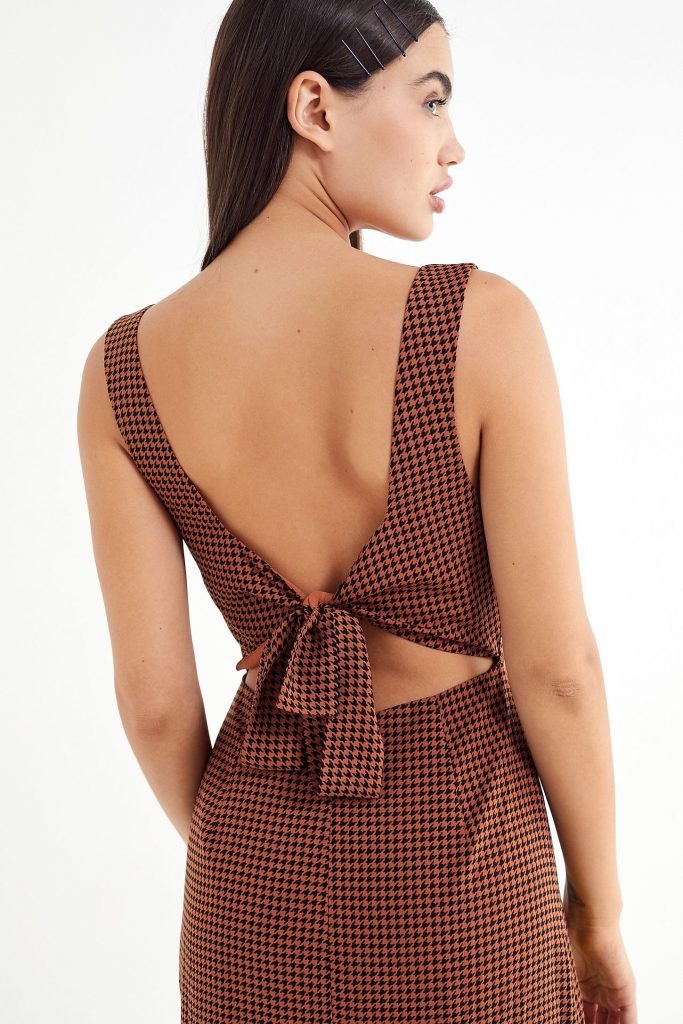
My project this week was inspired by my Chinese name. My dearest friend gave me my name in Chinese, and I really cherish having it as my name. It is 孟薇 (Mèng wēi), where the name 薇 is the name of a pretty pink flower. So for this week’s project I wanted to recreate the flower which represents my name!
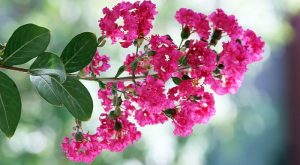
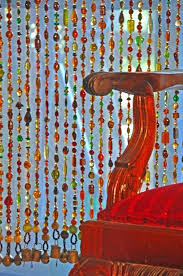
Image found by typing the flower “myrtle” into Google
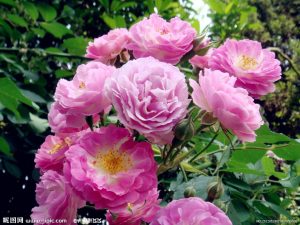
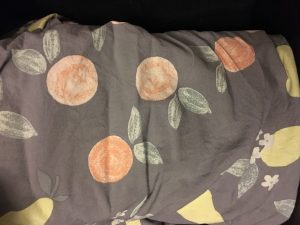
Image found by typing the flower “薇” into Baidu, the Chinese search engine
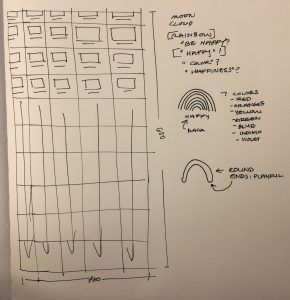
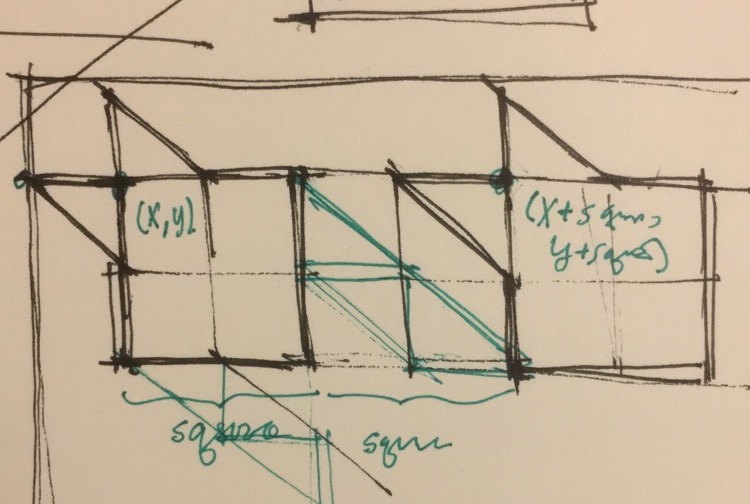
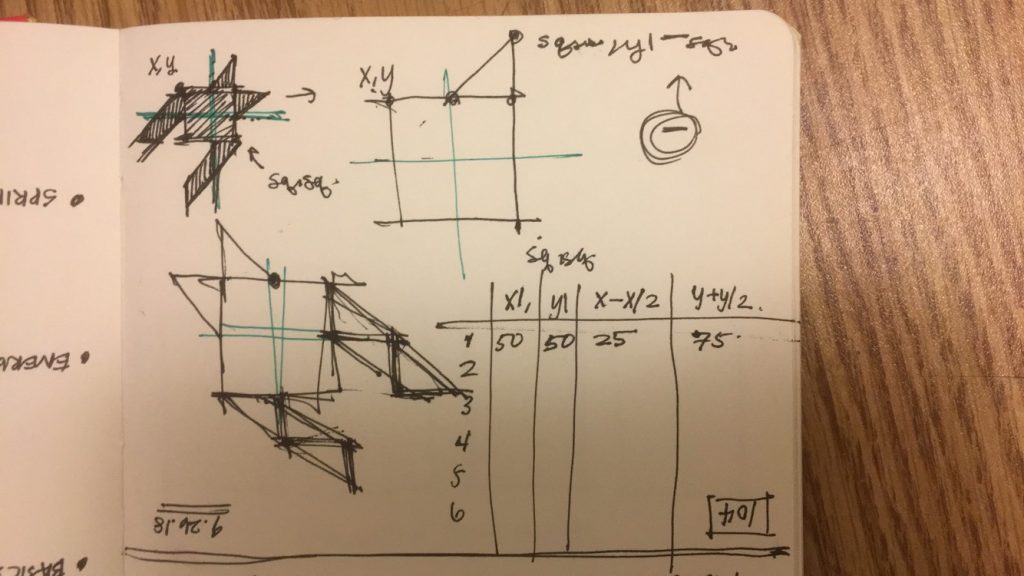
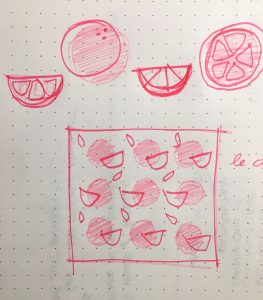
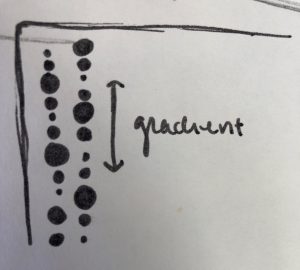
I first drew out a sketch of what I wanted to recreate, then listed the elements I would need to recreate it.
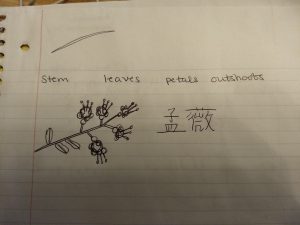
My preliminary sketch alongside my Chinese name 孟薇
I used the technique we saw in lecture where we create one large function composed of multiple smaller functions, each handling a particular aspect of the larger one. So for example I made “leaf” “petals” etc. their own function, then called them all under the broader “flower” function.
When I was finished, I really liked the product, but wanted to add the butterflies to make it more complex and practice layering for() loops.
I actually sew my own clothes, and the idea of having a skirt I sewed made out of fabric I designed/coded sounds really cool! I think I may take out the butterflies if I ever ordered it but I should look into that!
![[OLD FALL 2018] 15-104 • Introduction to Computing for Creative Practice](https://courses.ideate.cmu.edu/15-104/f2018/wp-content/uploads/2020/08/stop-banner.png)

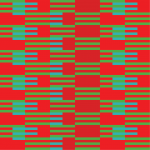
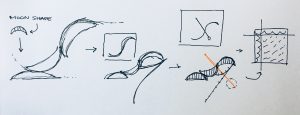 I played with the idea of two directional patterns. Where there is a dynamic flow in one direction and a sharp streak in another. This can be seen in the cool green curvy background with the bright orange streaks in the opposite direction. One thing I would work on if I were to continue this project, if is the fine detail accuracy of each stroke to one another (making sure that they are are flush with one another).