Lighting Fixtures
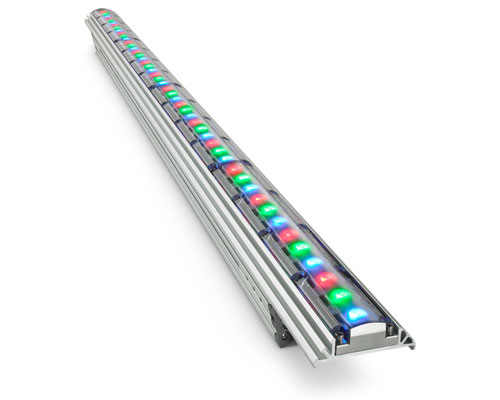
Color Kinetics ColorGraze fixture (not necessarily the exact model on bridge).
The programmable light system on the bridge comprises 114 discrete lighting fixtures. Each fixture contains two to four individually controllable elements. Each element is constructed with multiple red, green, and blue LEDS and is individually controlled by a 24-bit RGB color value (e.g. roughly 16.7 million possible colors). The control of the entire fixture set is refreshed at 33 Hz.
In full, there are 422 individual RGB elements. But the fixtures are physically grouped into 57 cavities or pier groups within the bridge. Notably, the main span features a pair of four-element fixtures within each cavity (top and bottom). Although each cavity on the span has eight individually controlled elements, the light blends together within each pier group.
The net effect is that the 57 groups have well-defined boundaries, but the control of individual elements within them produces a more subtle spatial variation. In practice, this can help smooth gradients across group boundaries, but isn’t fine enough to create crisp image effects at an element level. However, varying the color within a group of elements can produce subtle shading effects as the colors diffuse together within each cavity.
Physical Layout
The lighting fixtures can be subdivided into several distinct sections of the bridge. The following description starts at the Gates-Hillman Center and moves toward the Purnell Center end.
Brick Wall. The set of eight fixtures nearest the Gates-Hillman Center are placed across the brick wall which faces down the length of the bridge. The fixtures form four groups, each a pair at the top and bottom of the wall oriented to graze the wall and the screening metal panels. The wall is perpendicular to the main axis of the bridge, so these are primarily visible while walking along the bridge.
Diagonal Wall. The next pair of fixtures are placed within metal screens which jut into the bridge walkway at an angle. These partly conceal the walkway behind the brick wall. They are primarily visible while walking along the bridge.
Verticals. The next six fixtures are placed vertically within the metal screens on the outside of the main span. They are primarily visible from the valley facing the bridge.
Sloped Rails. The next six fixtures (four horizontal, two vertical) form the beginning of the main span, but have a sloped top profile.
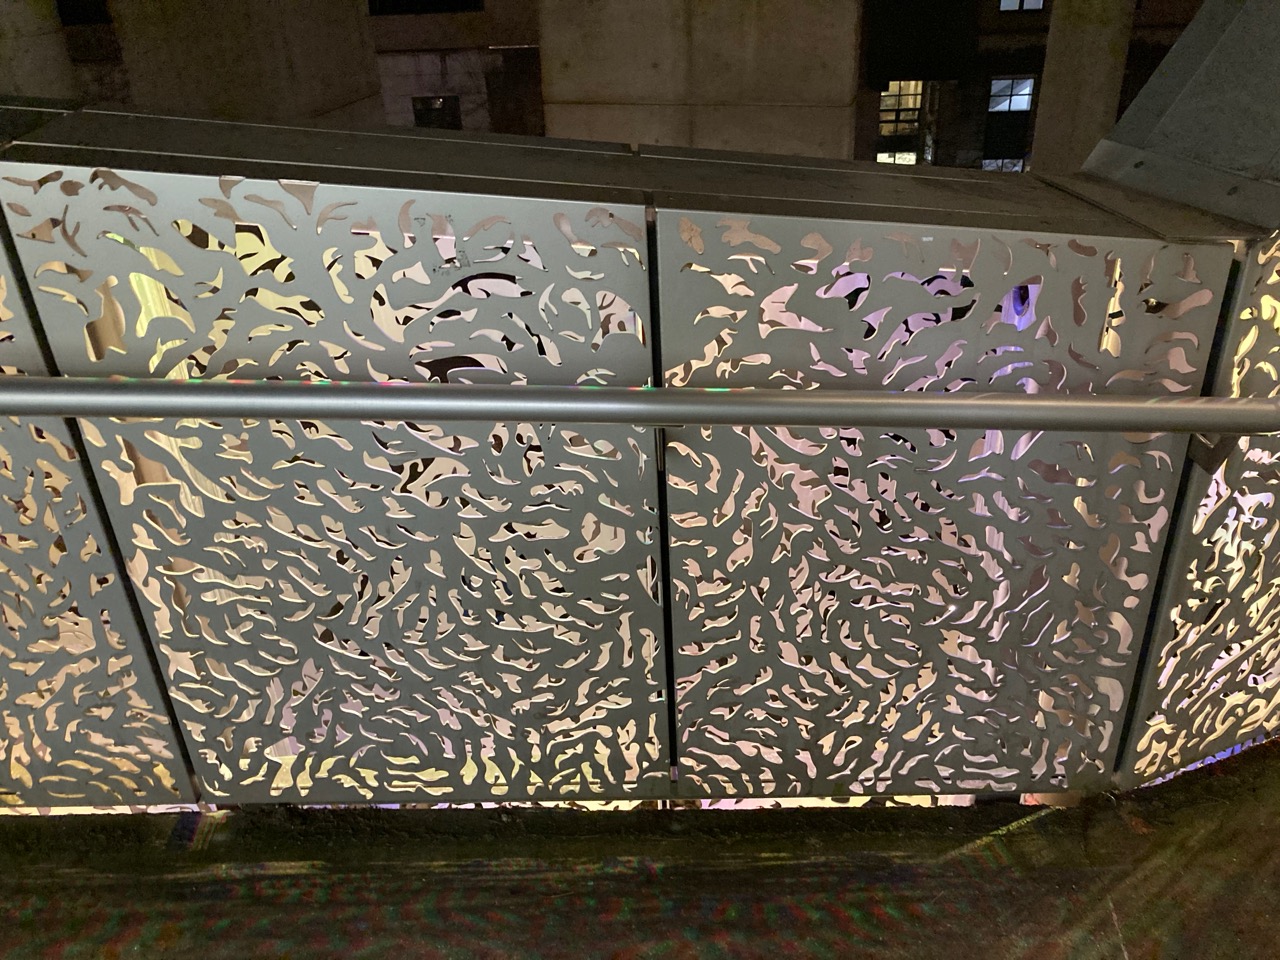
Main Span. The main body of the lighting, filling the metal screens which form the rail on the South side of the bridge. The top element of each group is underneath the hand rail facing down, and the bottom edge below the bridge deck facing up. These are clearly visible both from the bridge walkway and the valley facing the bridge.
Purnell End. The Purnell end is visibly a continuation of the main span, but it begins with two vertical fixtures where the rail is divided by a slight change of angle where the walkway opens up leading to the Purnell landing. After the break are 14 horizontal fixtures similar to the main span, ending with two vertical fixtures right at the edge of Purnell.
Bridge Photographs
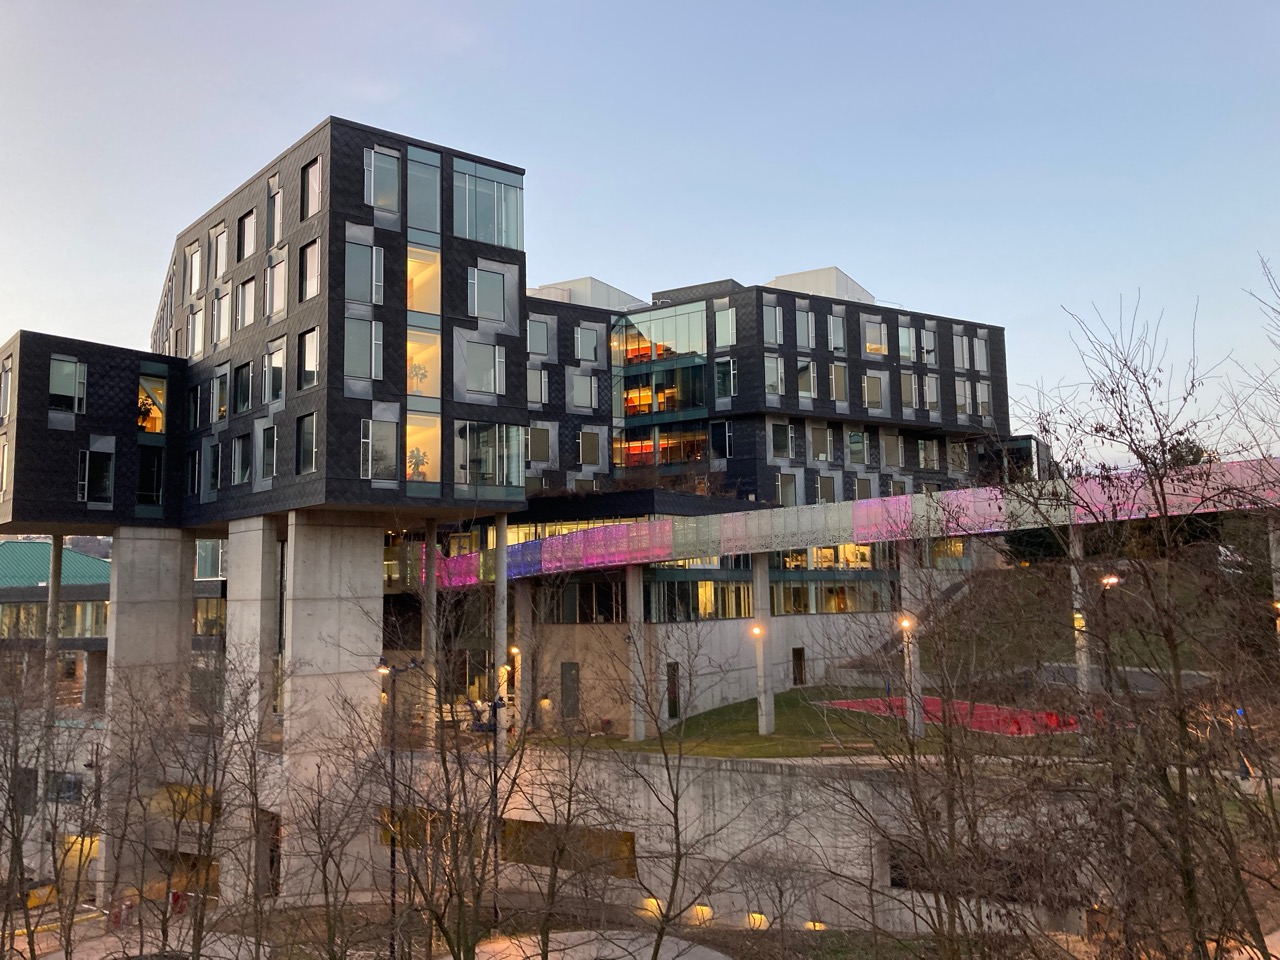
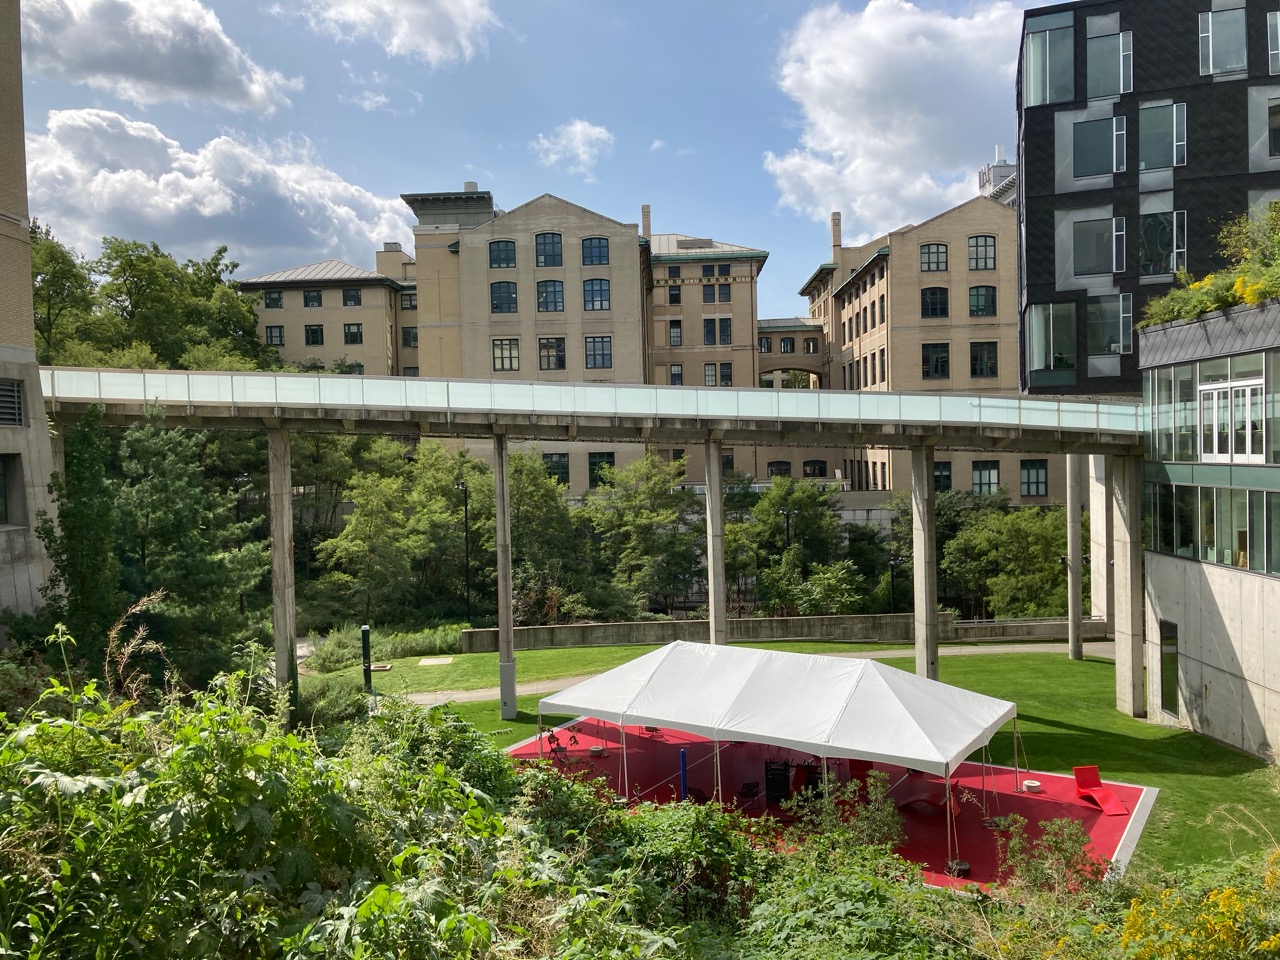
View at dusk of the Gates-Hillman Center from the rooftop garden behind Doherty Hall, showing most of the Pausch Bridge from across the valley.
Daytime panorama showing the Gates-Hillman end of the bridge, viewed from the bridge walkway. From left to right: one group of the main span, sloped rail section, one group of verticals (the steep slope), diagonal wall, brick wall.
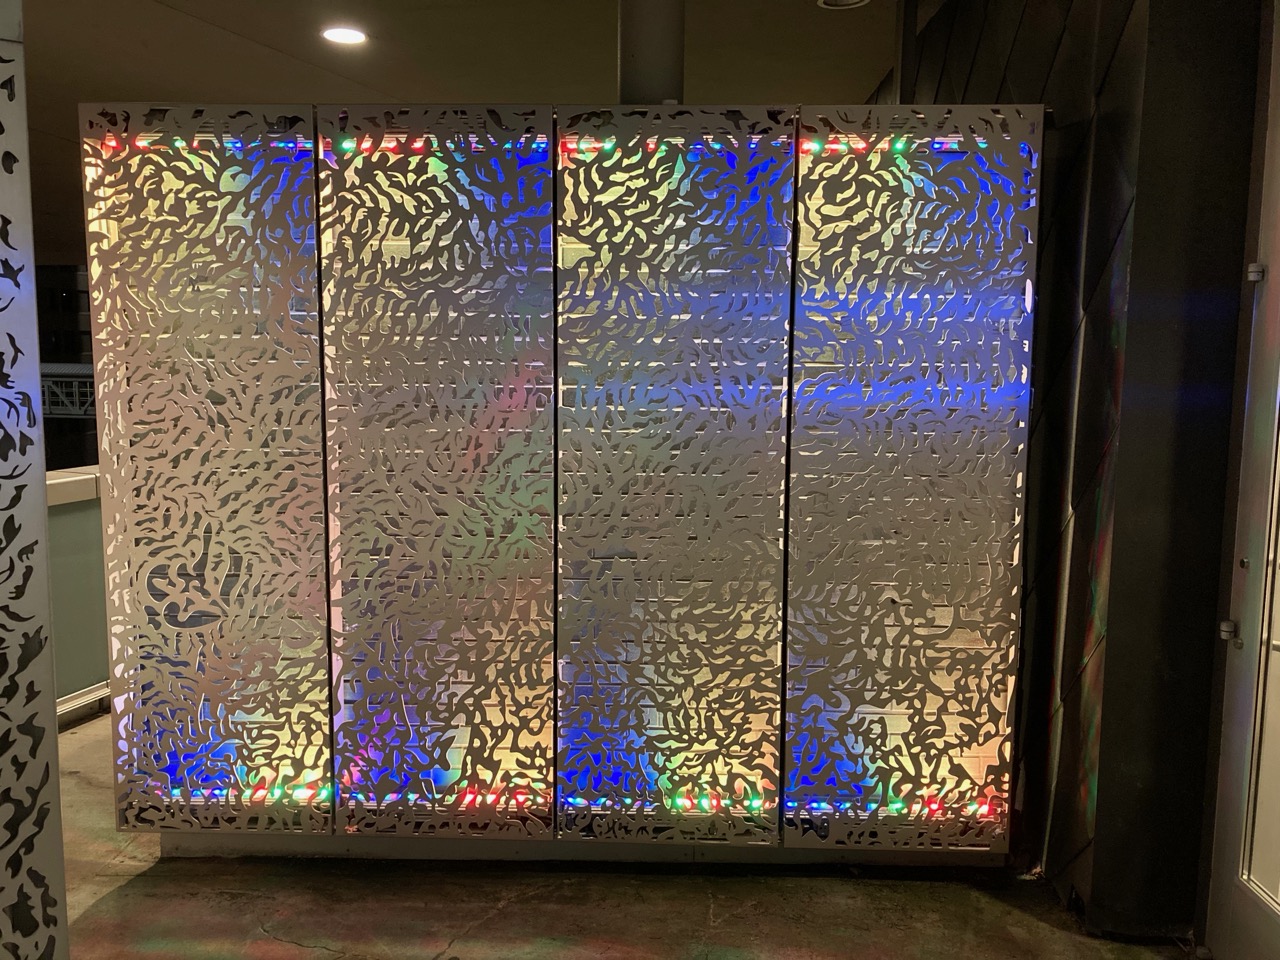
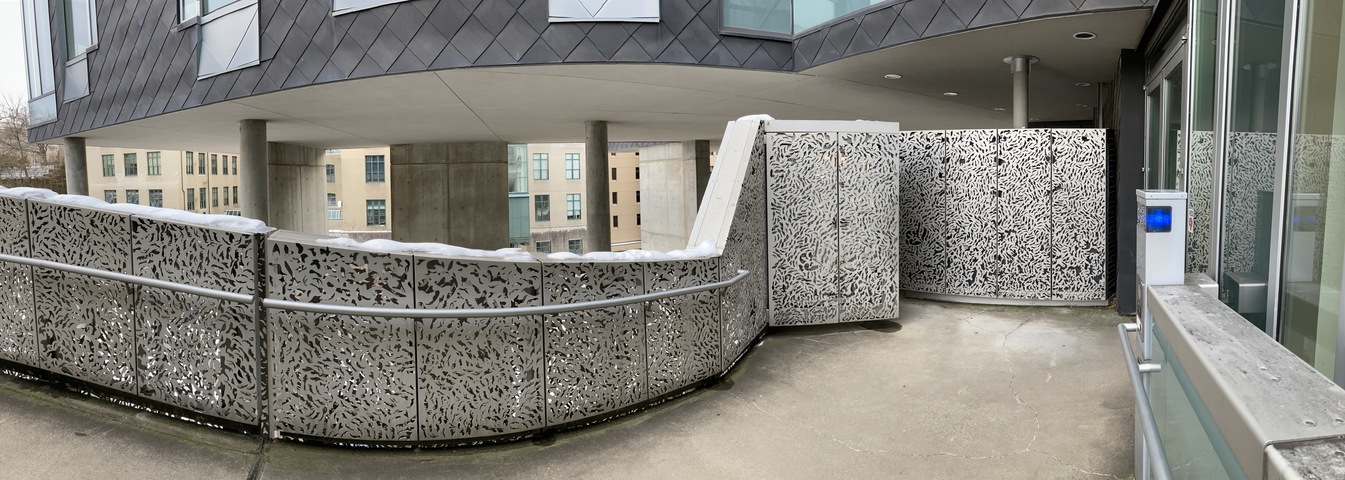
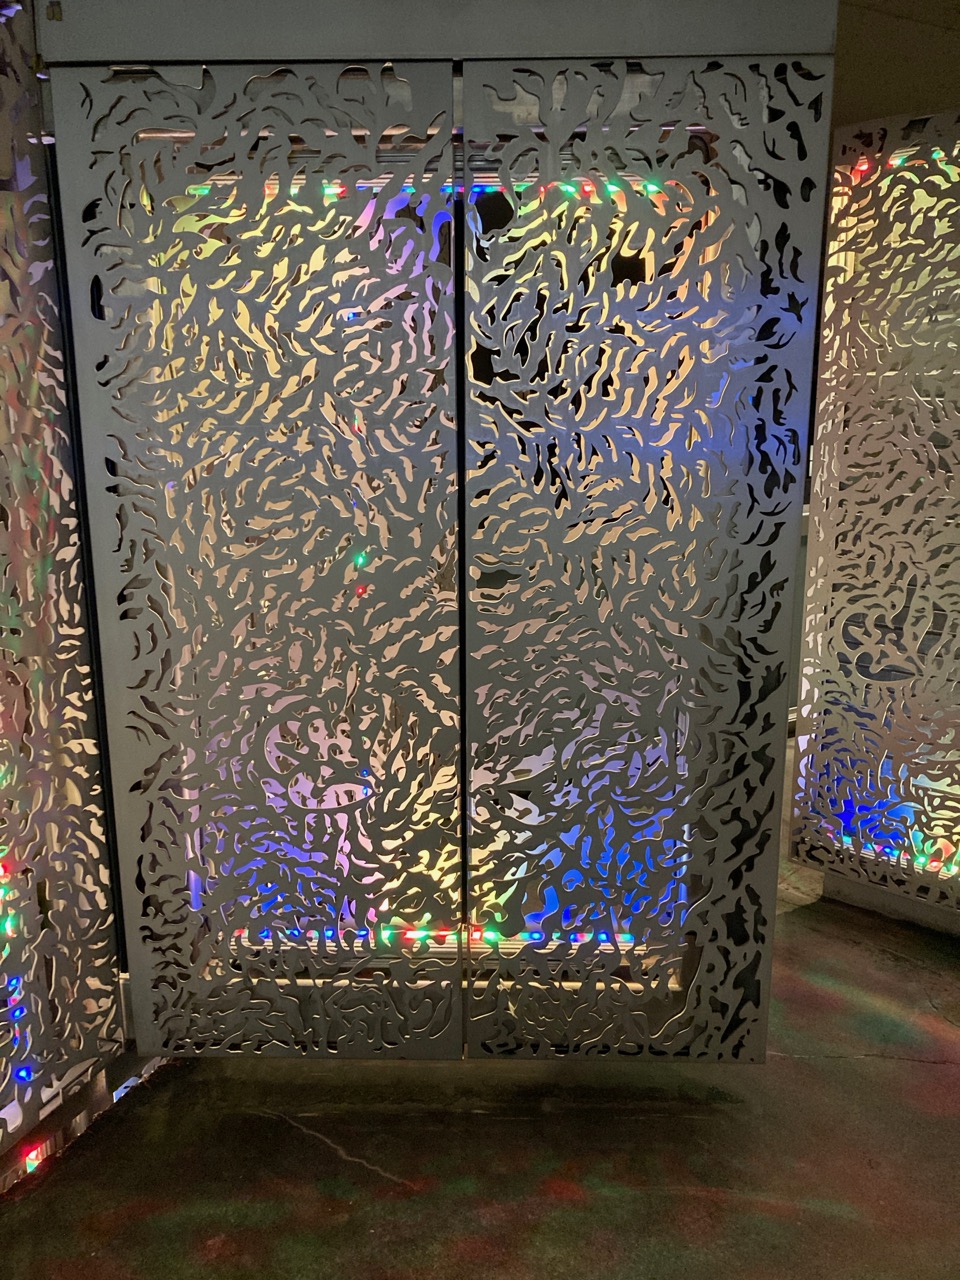
The ‘brick wall’ fixture groups adjacent to the Gates and Hillman doorway. This includes eight CG2 fixtures in four groups.
The ‘diagonal wall’ fixture group hiding the passage behind the brick wall. This group includes a pair of CG3 fixtures.

The third group of the ‘verticals’ connecting the diagonal wall to the sloped rail section. The first two vertical groups are behind the diagonal wall. Each group includes two vertical CG4 fixtures.
The first group of the ‘sloped rails’ which begin the main span. This group includes a pair of CG4 fixtures.

Daytime view from Gates-Hillman toward Purnell, showing the sloped rail leading into the main span groups. On the left is visible the glass panel side containing the white pedestrian lighting.
Daytime view from Purnell toward Gates-Hillman. The first few metal panels visible on the left are part of the ‘Purnell end’ section, ending at a slight corner where it meets the main span. On the right is visible the glass panel side containing the white pedestrian lighting.
Daytime view of the Pausch Bridge from the North. Only the glass side with white pedestrian lighting is visible; the lighting fixtures are only on the Southern side.