Warren Glasner and Soonho Kwon
12/6/2017

Abstract —
This was a project in which we wanted to create an experience around the Stroboscopic Water Levitation effect. Our mechanism created the illusion of a water stream rising slowly, paused in midair, or falling slowly. We created an interaction in which children and parents could provide their own input and see the resulting water behavior.
We were hoping to involve both parents and their children through this experience, as the parents were more likely to understand the mechanism, and the children were more likely to find wonder in an unexpected phenomena.
The result was surprisingly weighted more heavily towards the parents, where they were intrigued by our project to the point of bringing their children to experience it for themselves.
Objectives —
Our goal was to create a project that would invoke a sense of wonder, disbelief, magic, and ultimately curiosity. For this to happen, we had to spend the time to make sure our water effect was performing as well as possible. It had to be created to be a blatantly noticeable effect. After this, our main objective was to create an intuitive input that would allow people to control the behavior with their own input. This took different forms throughout the project, but we ended up using force sensors.
Implementation —
Our project was designed to generate interest and wonder from both children and their parents. In terms of visual design, we wanted the device to not be particularly flashy or colorful., as we didn’t want to take away from the main effect of the water. As for physical design, we used a light corrugated plastic for ease of transportation, and a piece of acrylic as a splash guard. The water unit consisted of a 6V battery pack, switch circuit, pump, and housing. We tried to hide the pump and electronics as much as possible in order to give the illusion of “magic”. The LED unit consisted of corrugated plastic, acrylic, and our LED apparatus. It was the main point of interaction between user and result, via the force pads found at the front. We provided a small weight for the user to place on the pads so that they could interact with the water stream while a pad was pressed. The default LED state was set to on, illuminating the drops as normal. However, each pad, when pressed, gave a different effect: reverse motion, frozen, and slow motion. This was accomplished by strobing the leds nearly above, at, and nearly below the frequency of water dropping respectively.
We set our device on a low table, but gave it a high viewing angle such that adults could also see what was going on while their kids used the device.
Outcomes —
Contribution —
Warren: Electronics, Schematics
Soonho: Housing, Documentation, Drawings
Shared: Fluid Mechanics, Code
Video —
Keep in mind that because our project is highly light-sensitive, it is difficult to film in a clear way. Also, because we use strobes, the camera shutter causes some strange effects.
Working Demo:
At the Museum:
Photos —
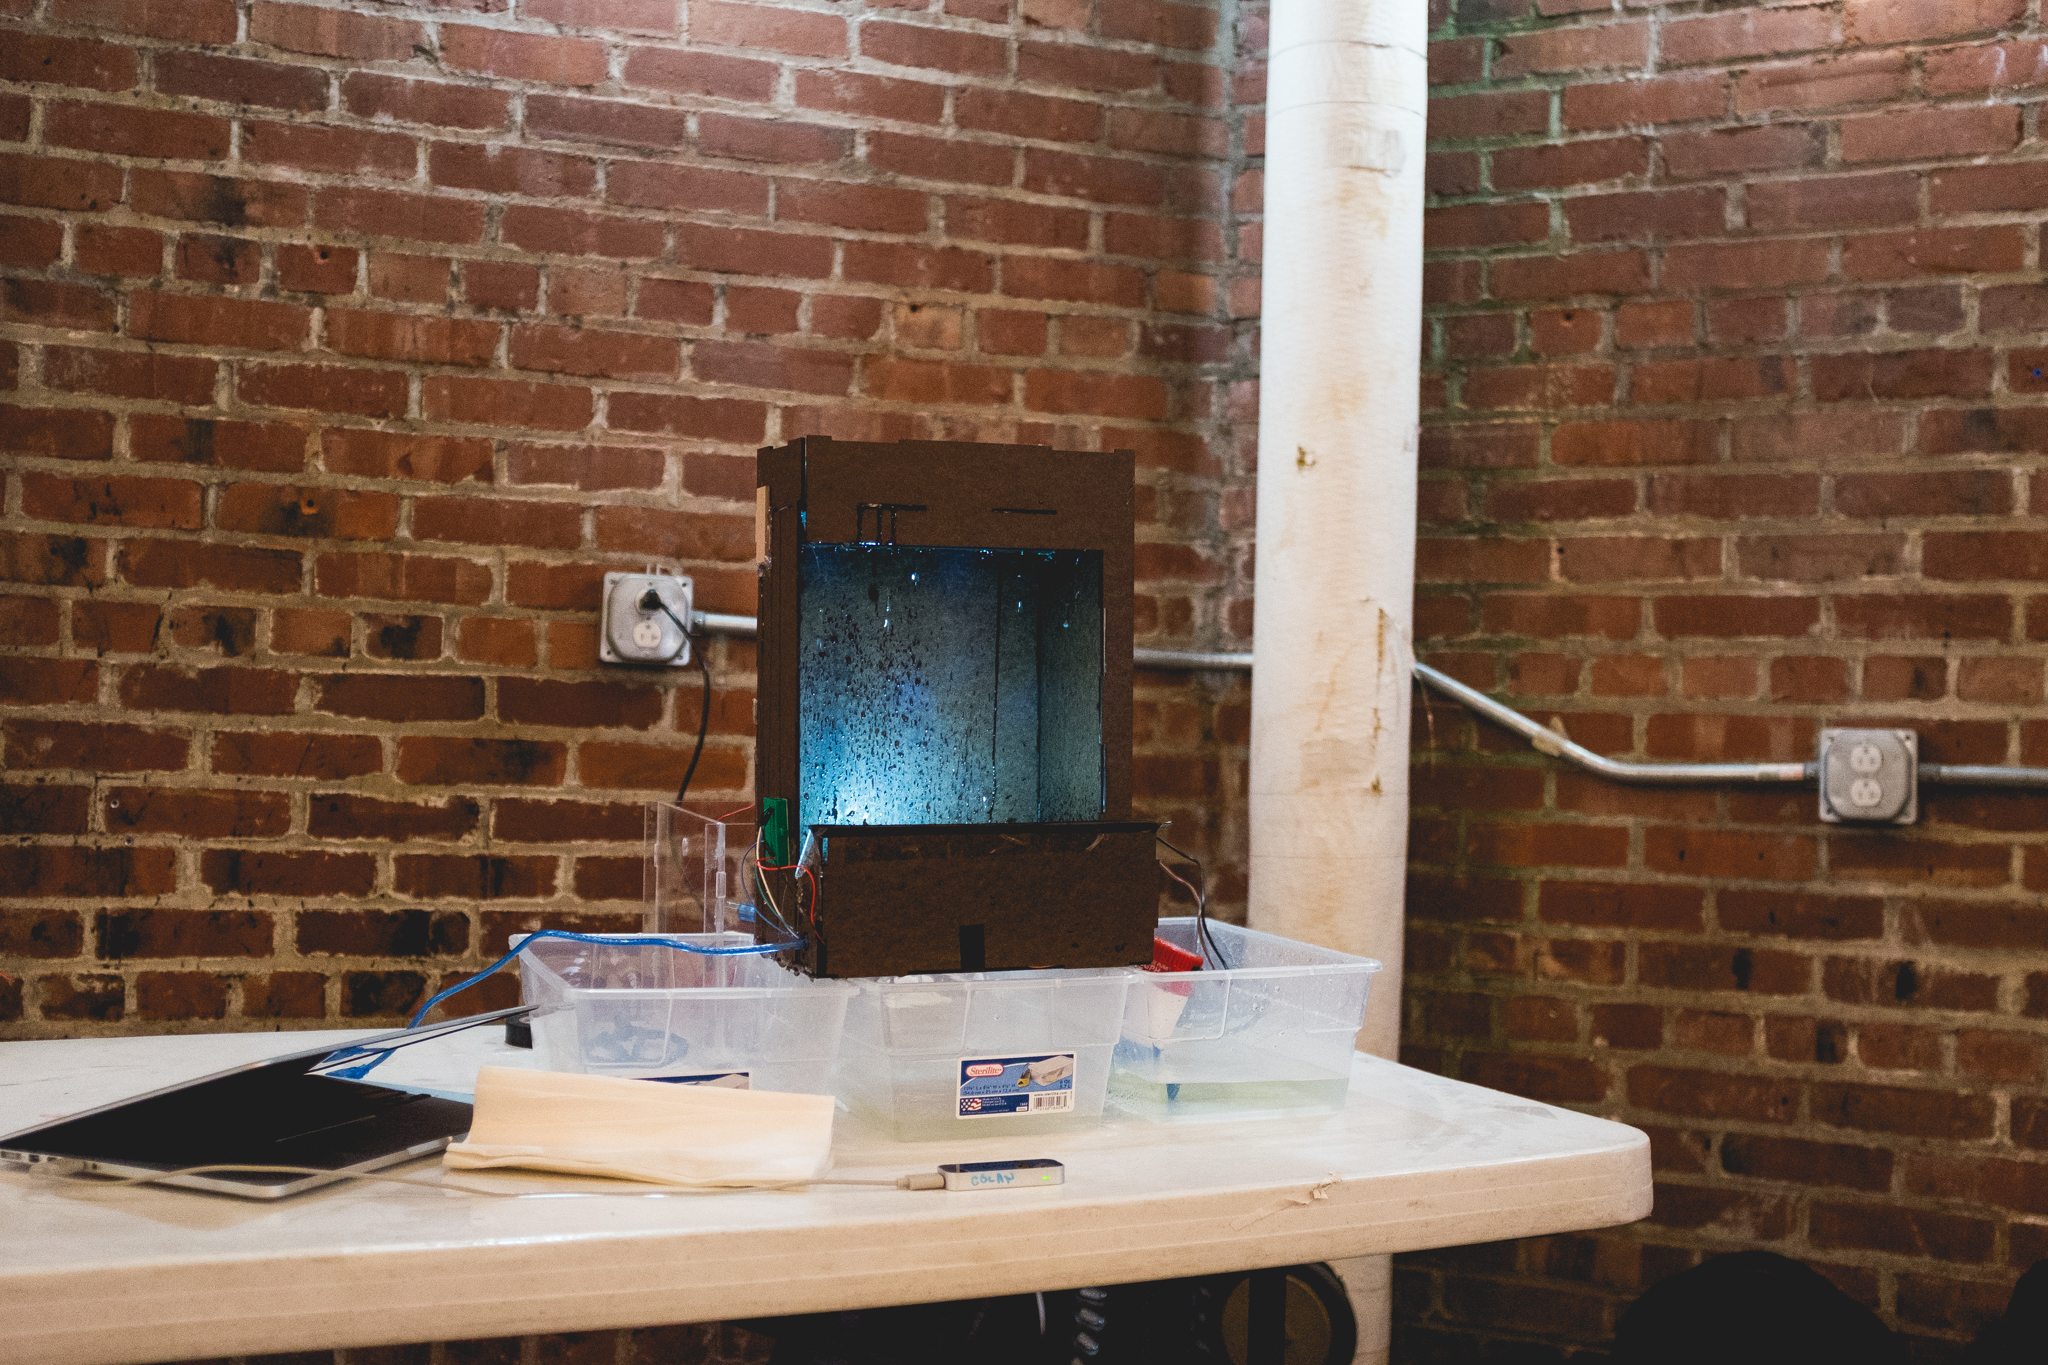
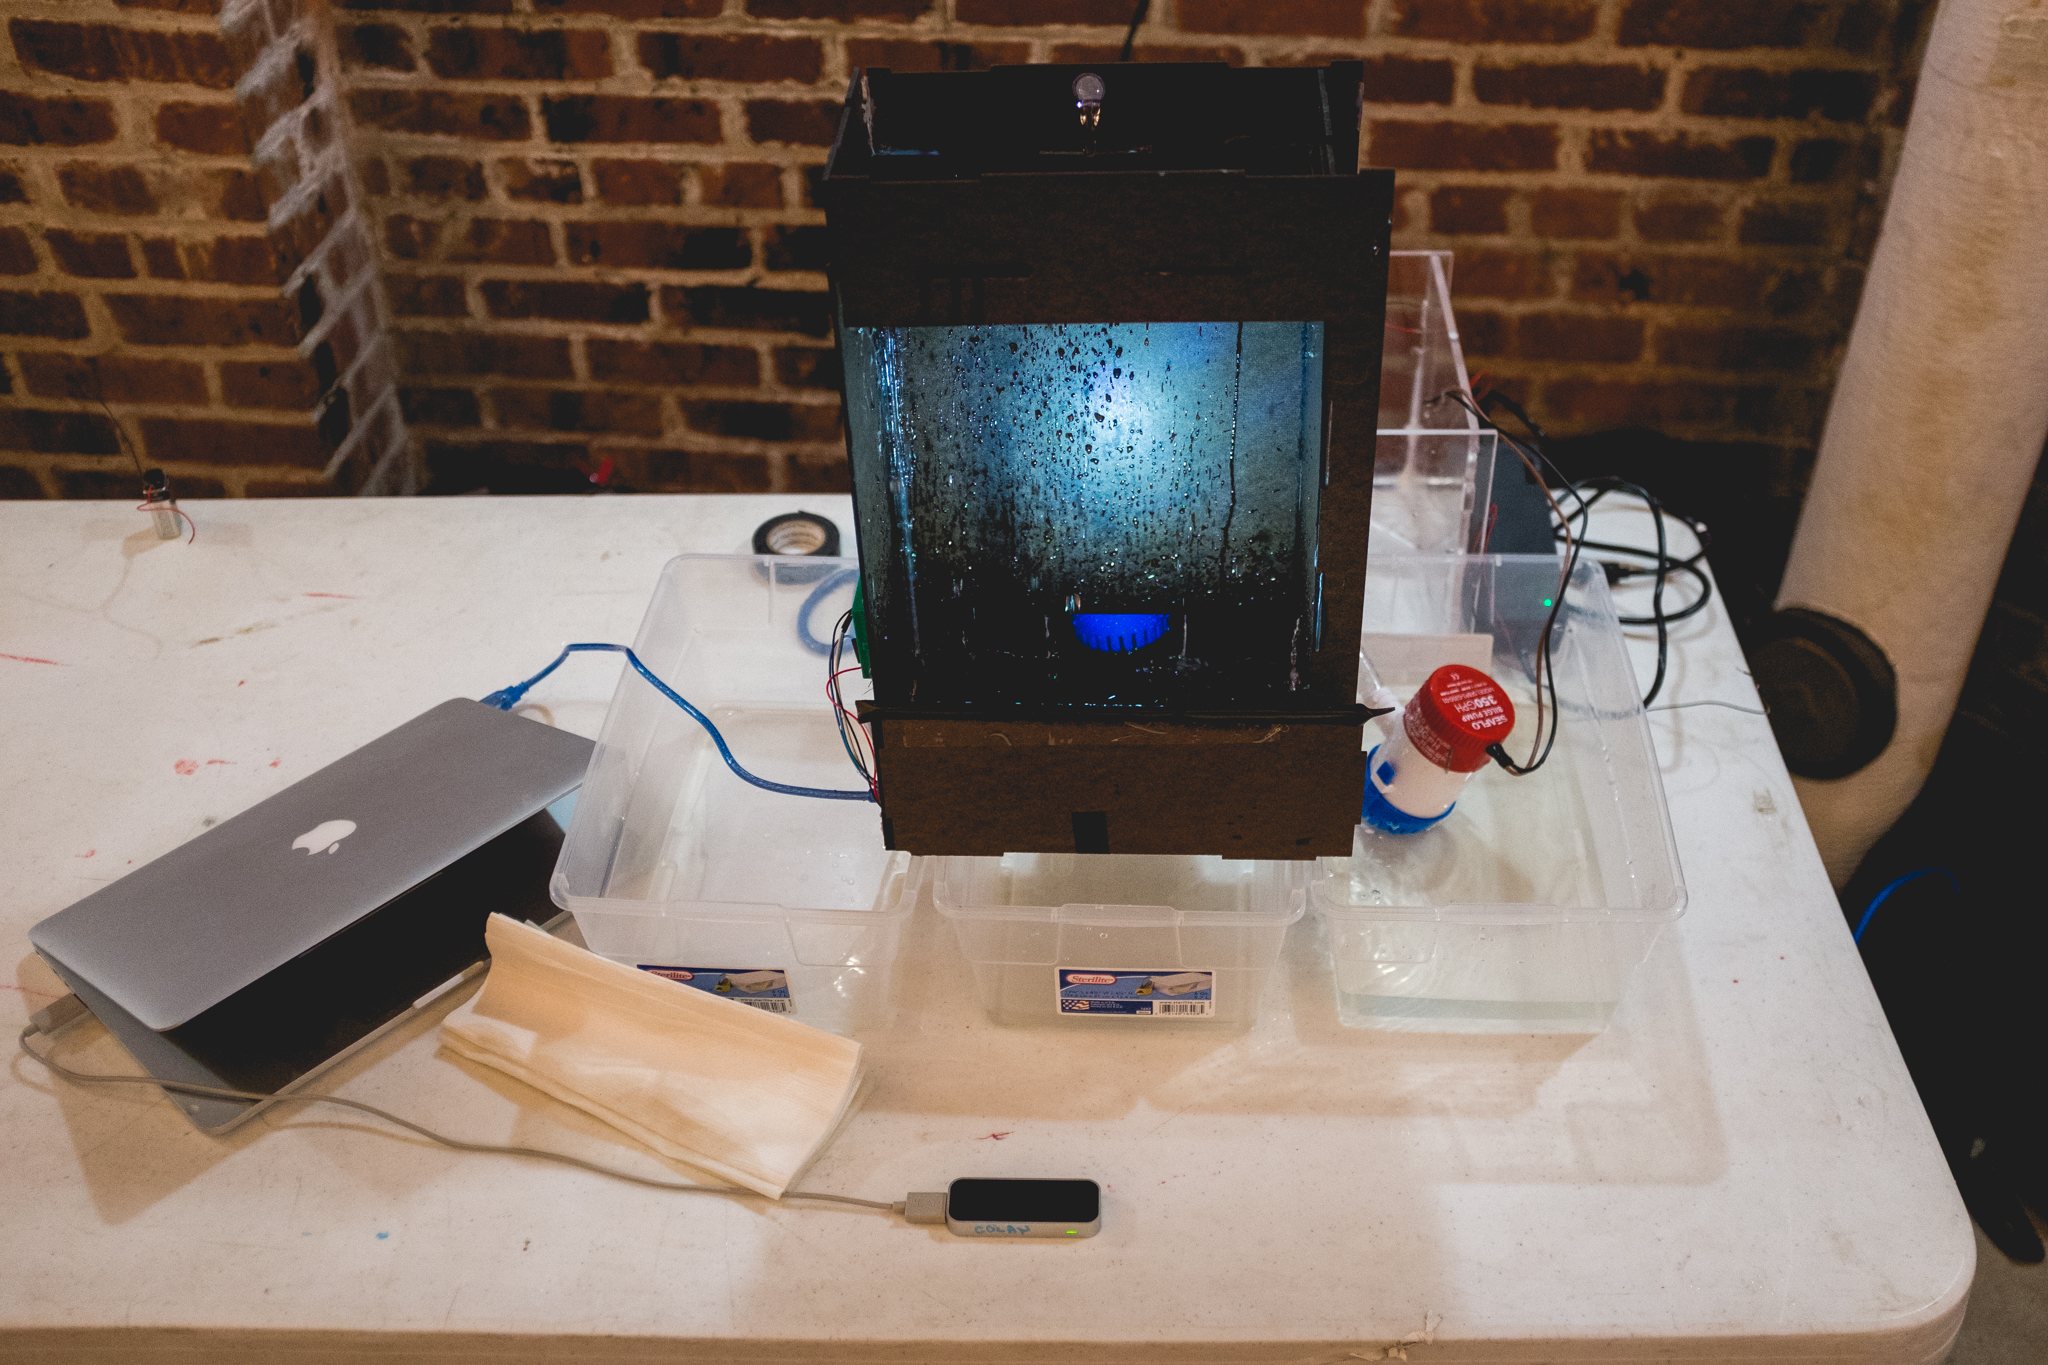
Final Apparatus:
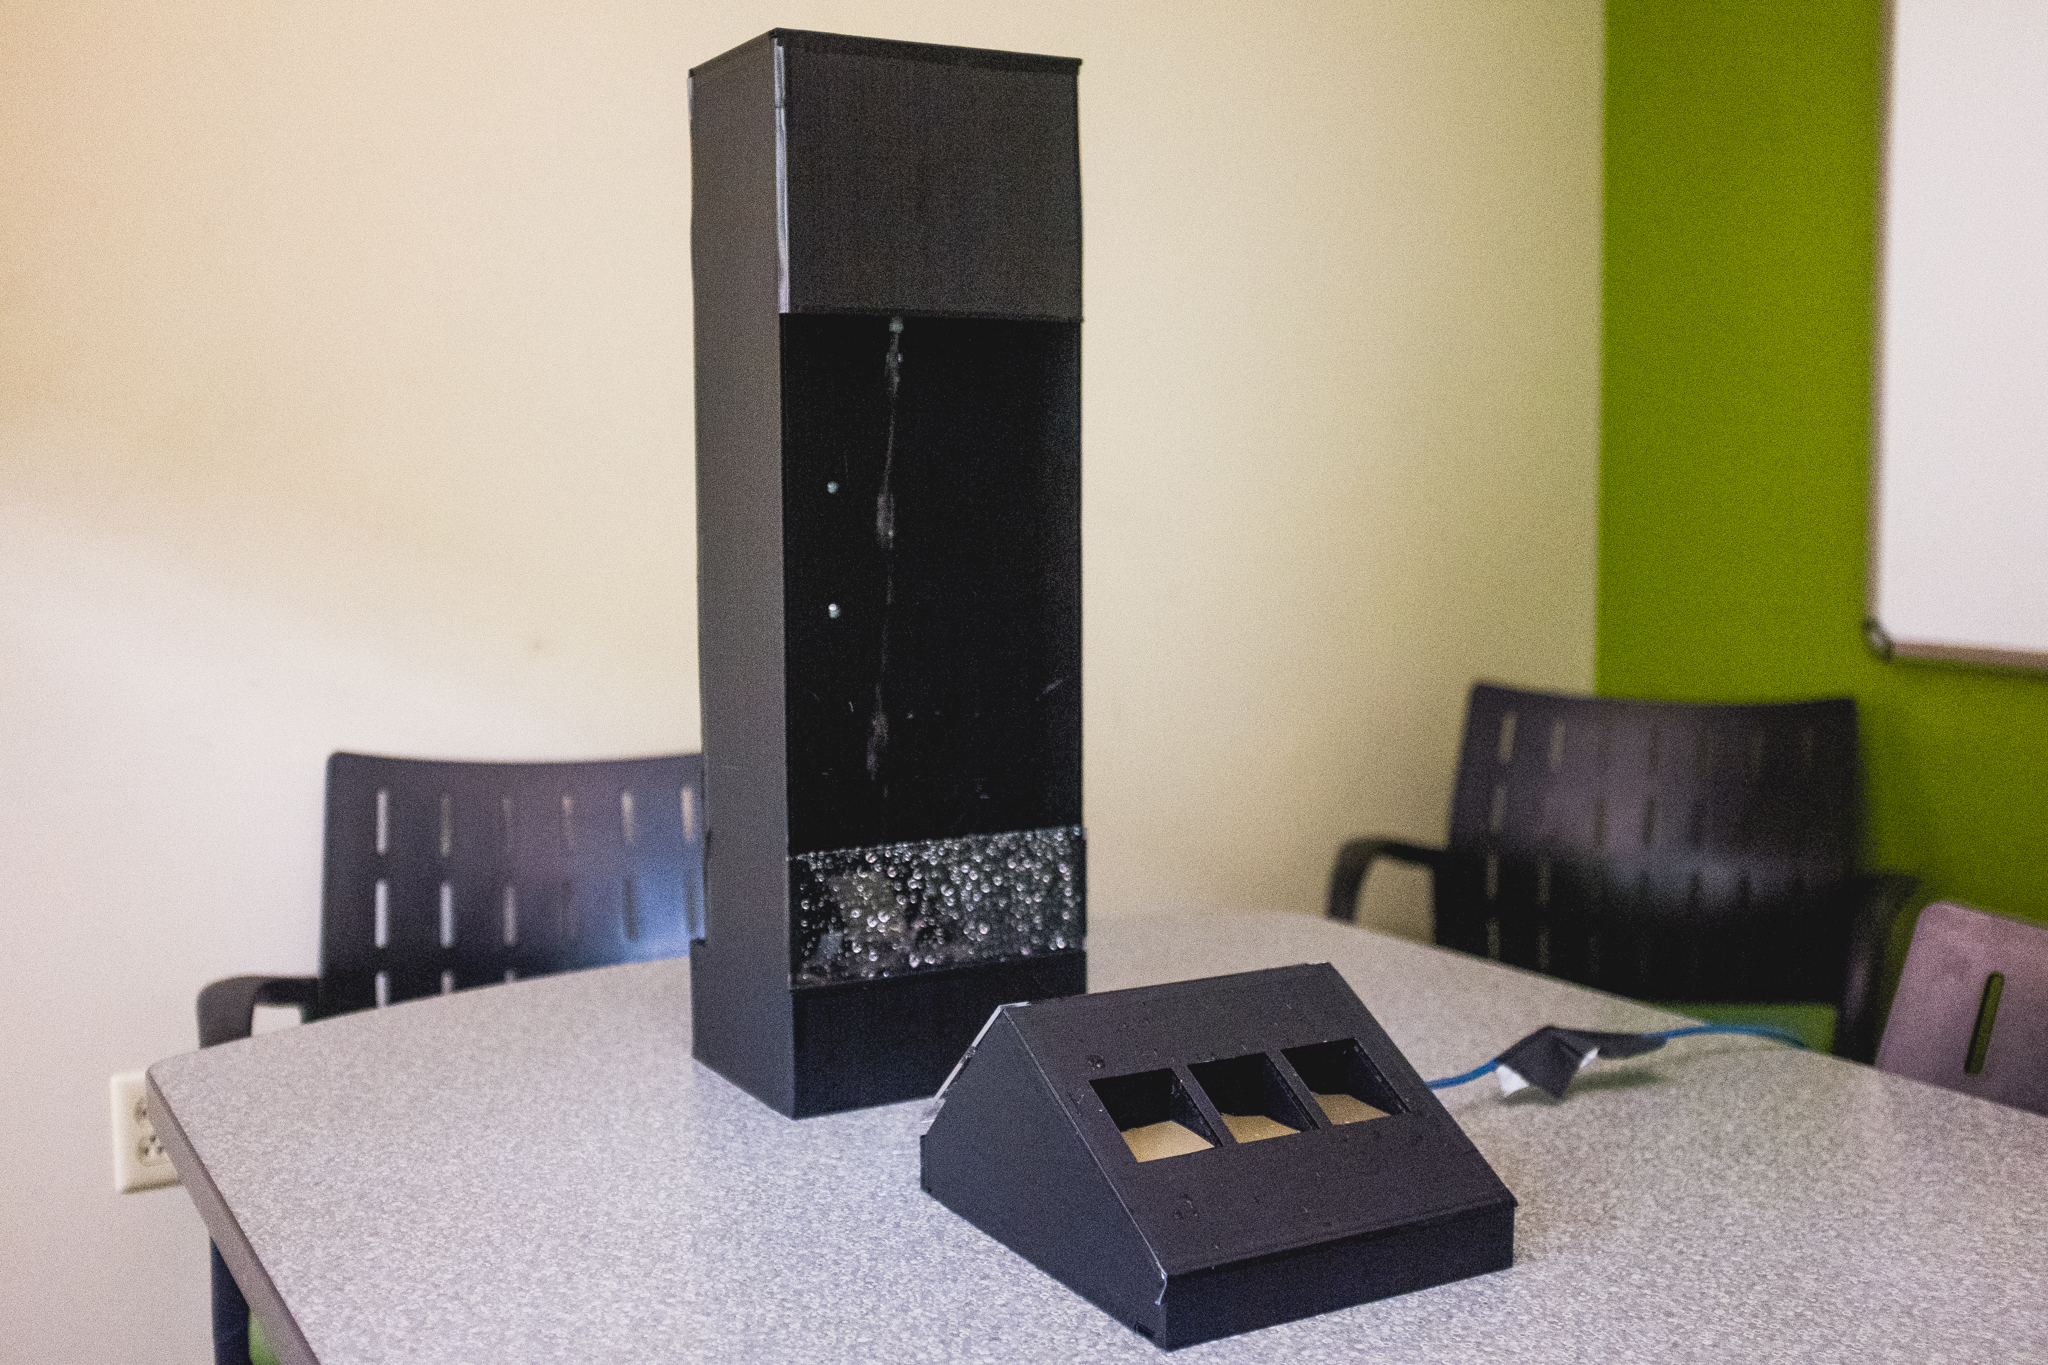
Our apparatus was in two parts, the strobe portion and the water stream. This allowed us to play with different positioning to maximize lighting effectiveness.
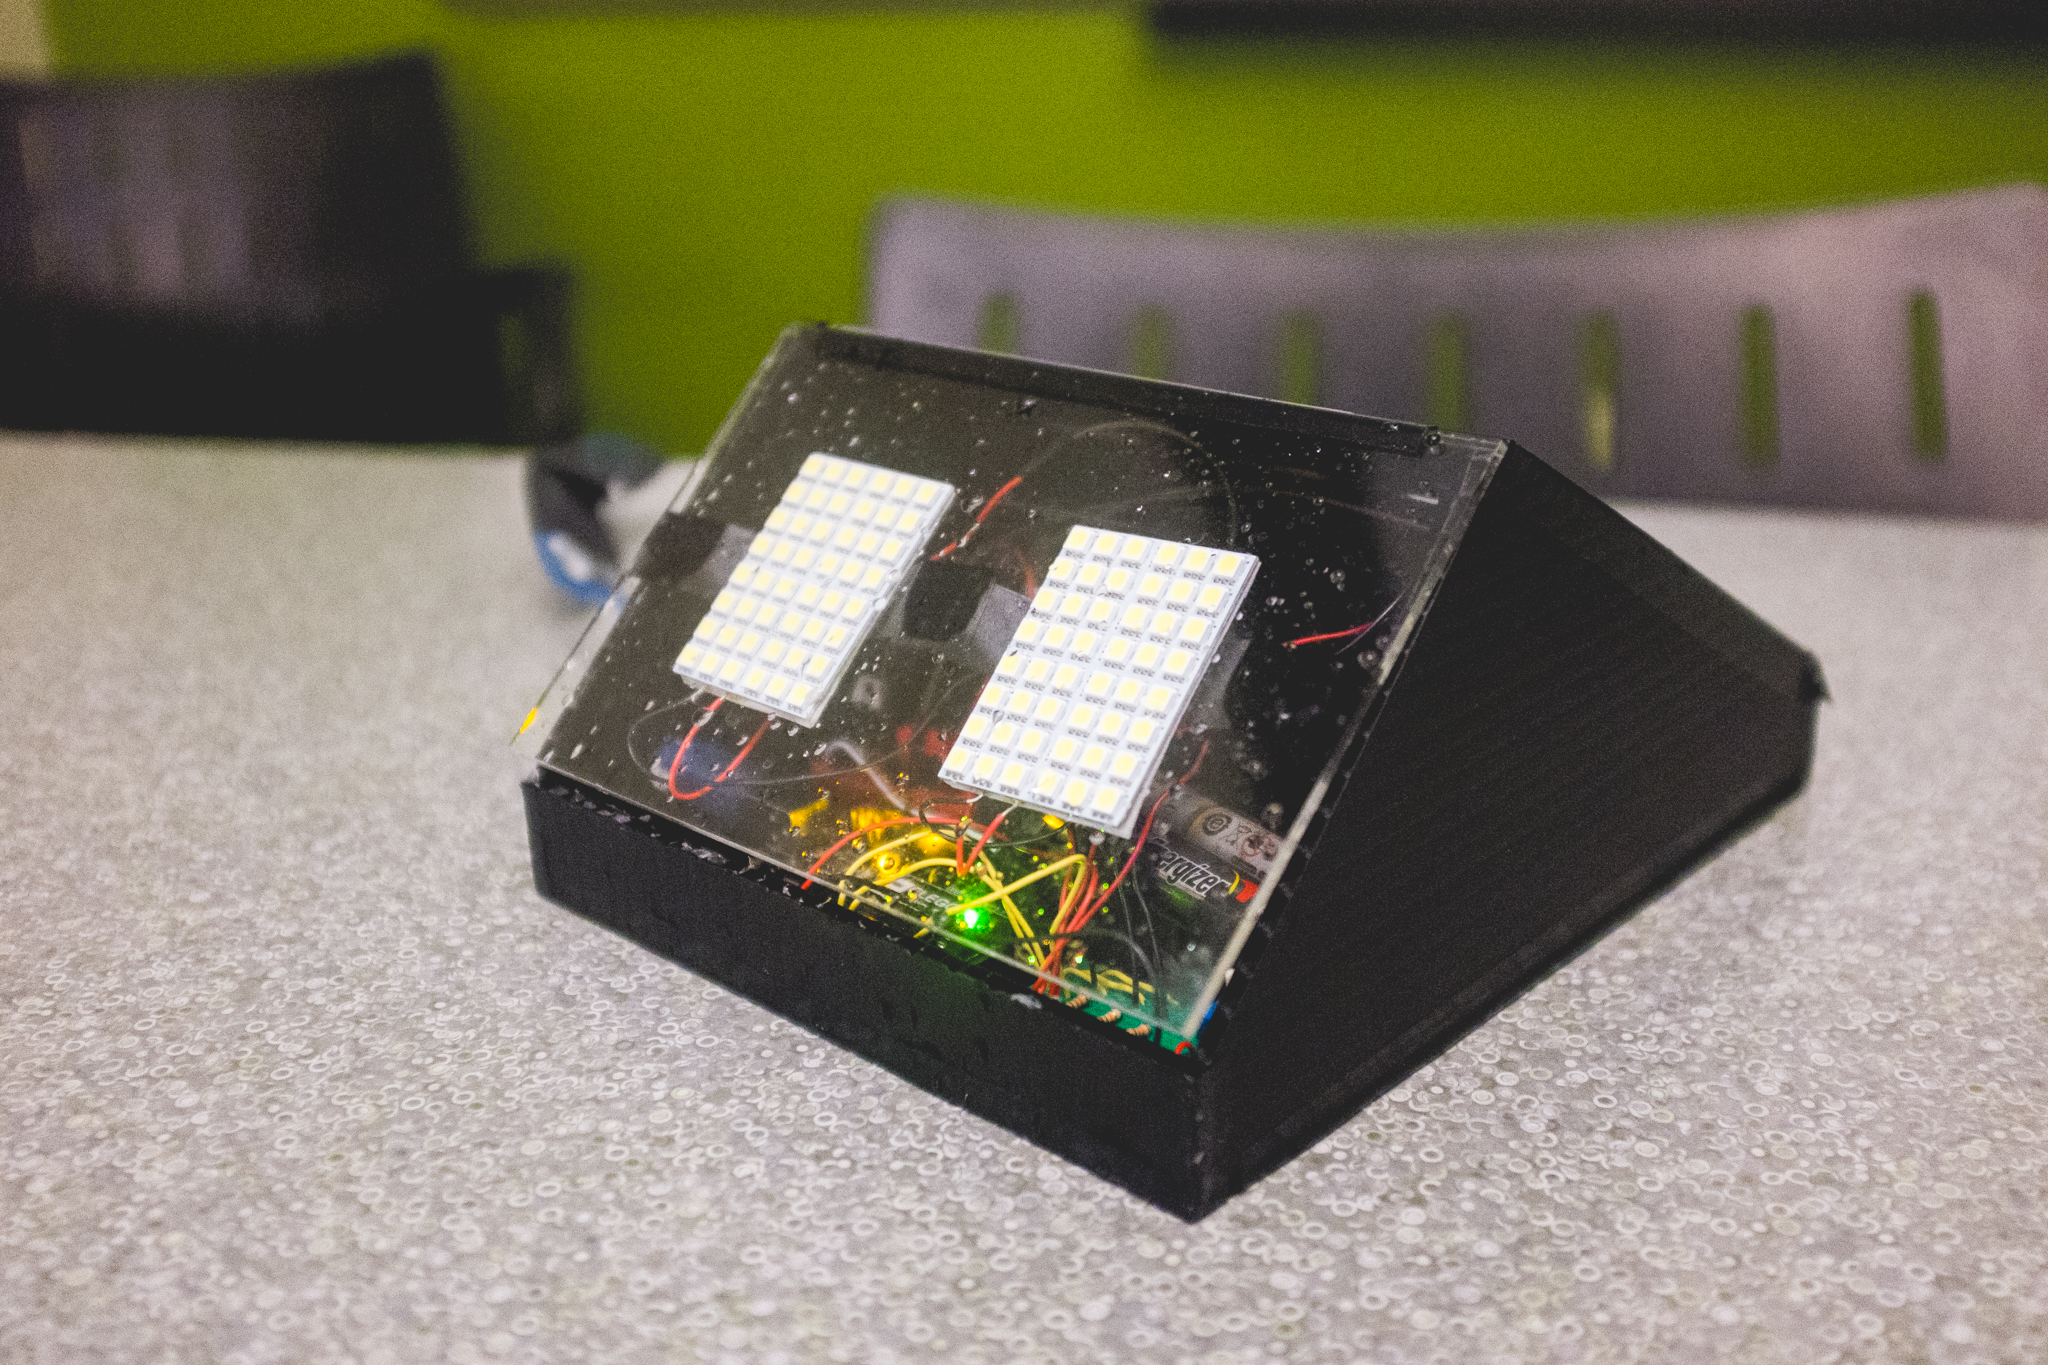
The lighting apparatus had three force sensors. Depending on which one was pressed/activated, the LED panels would strobe at a fixed rate.
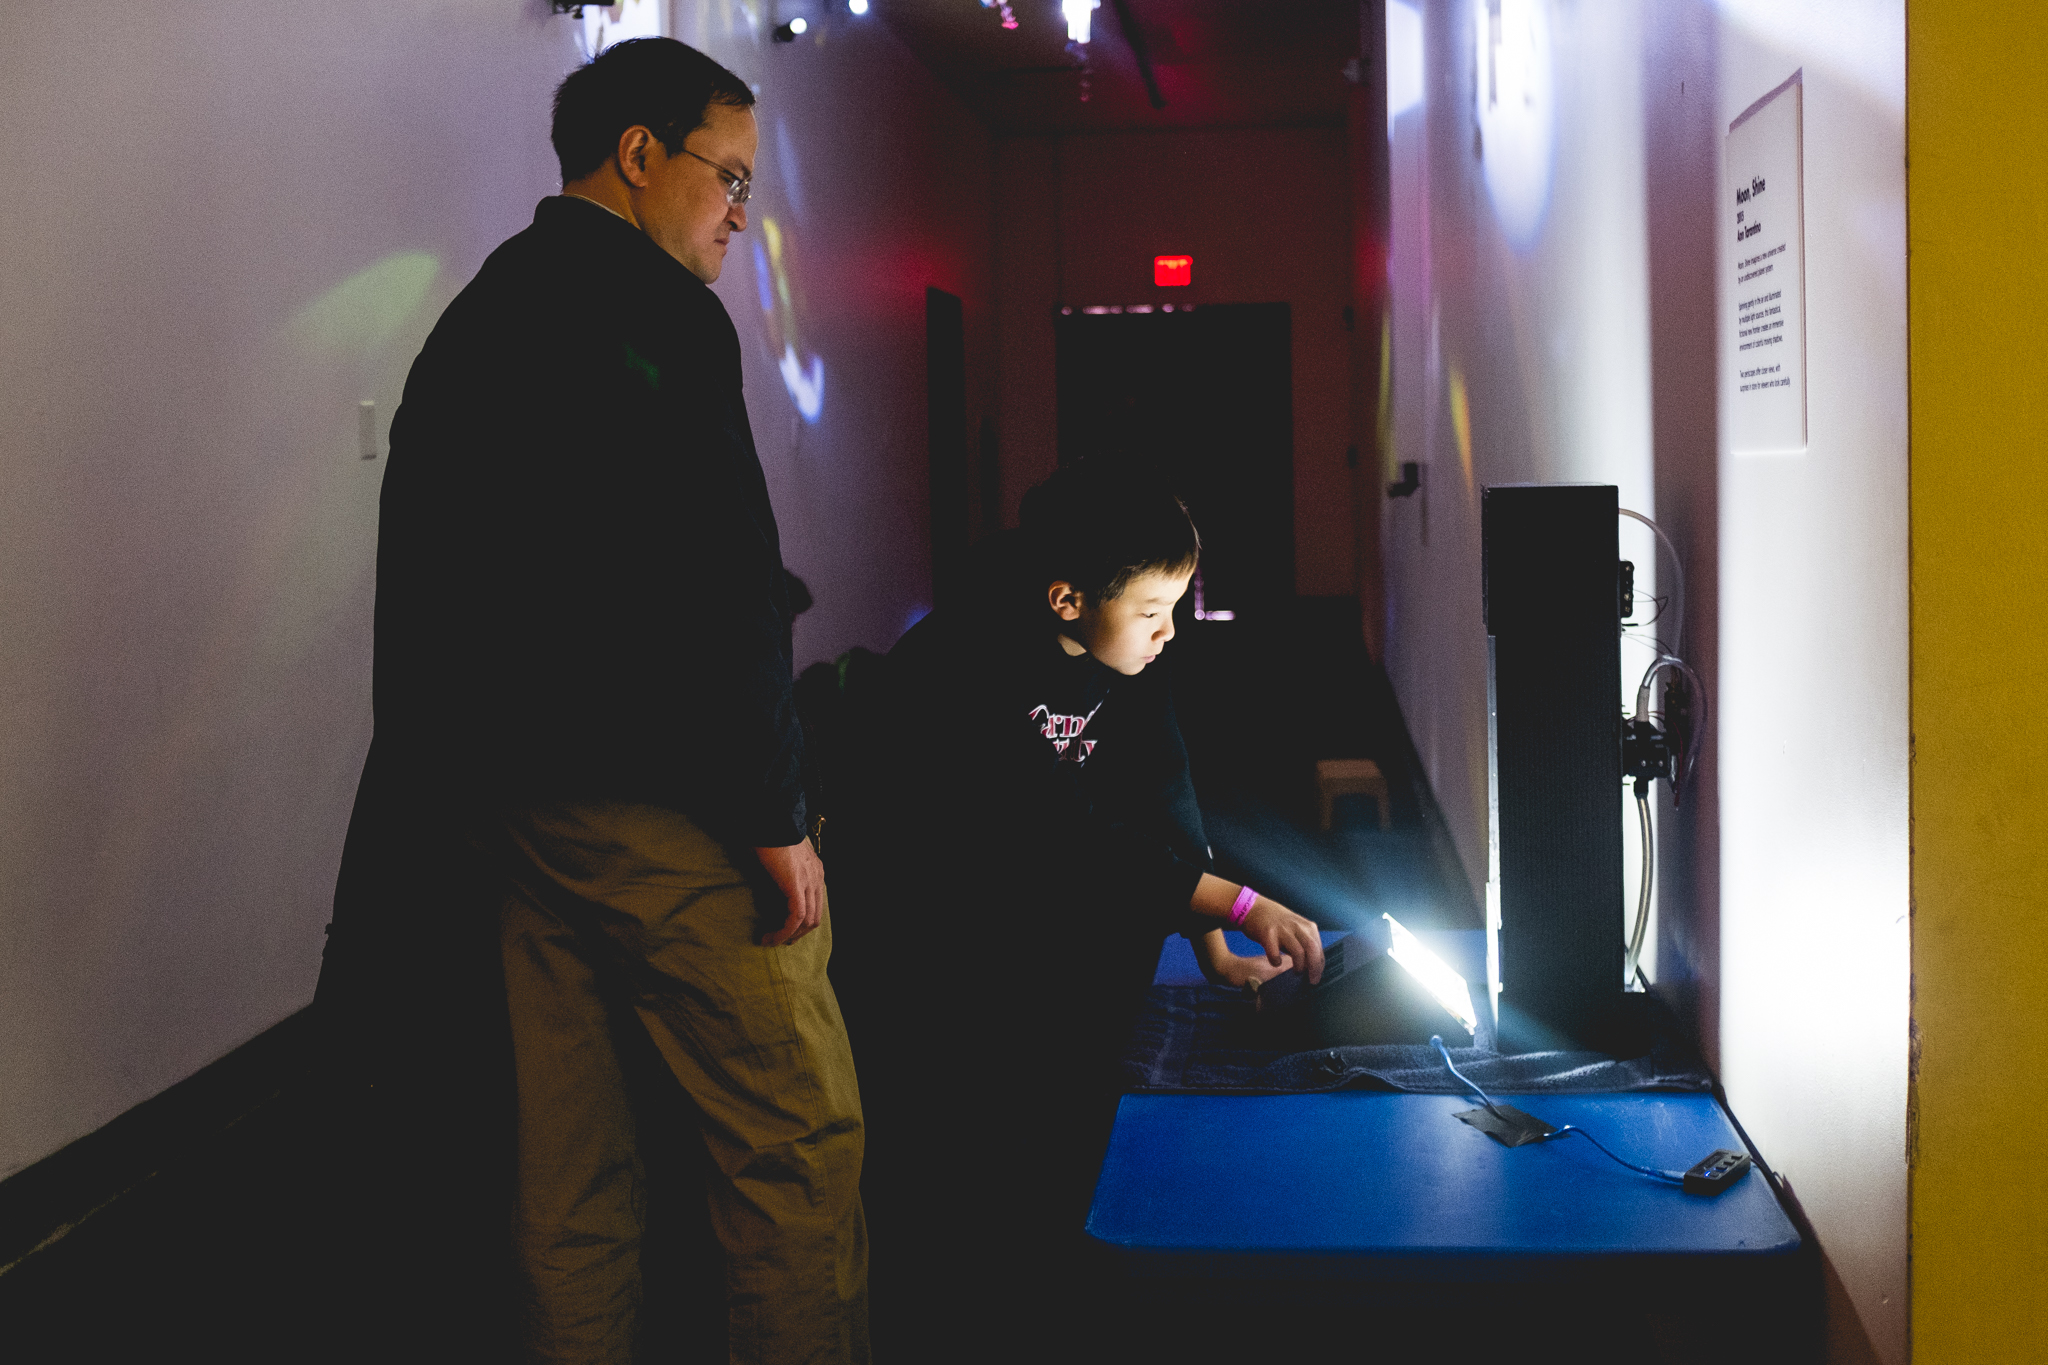
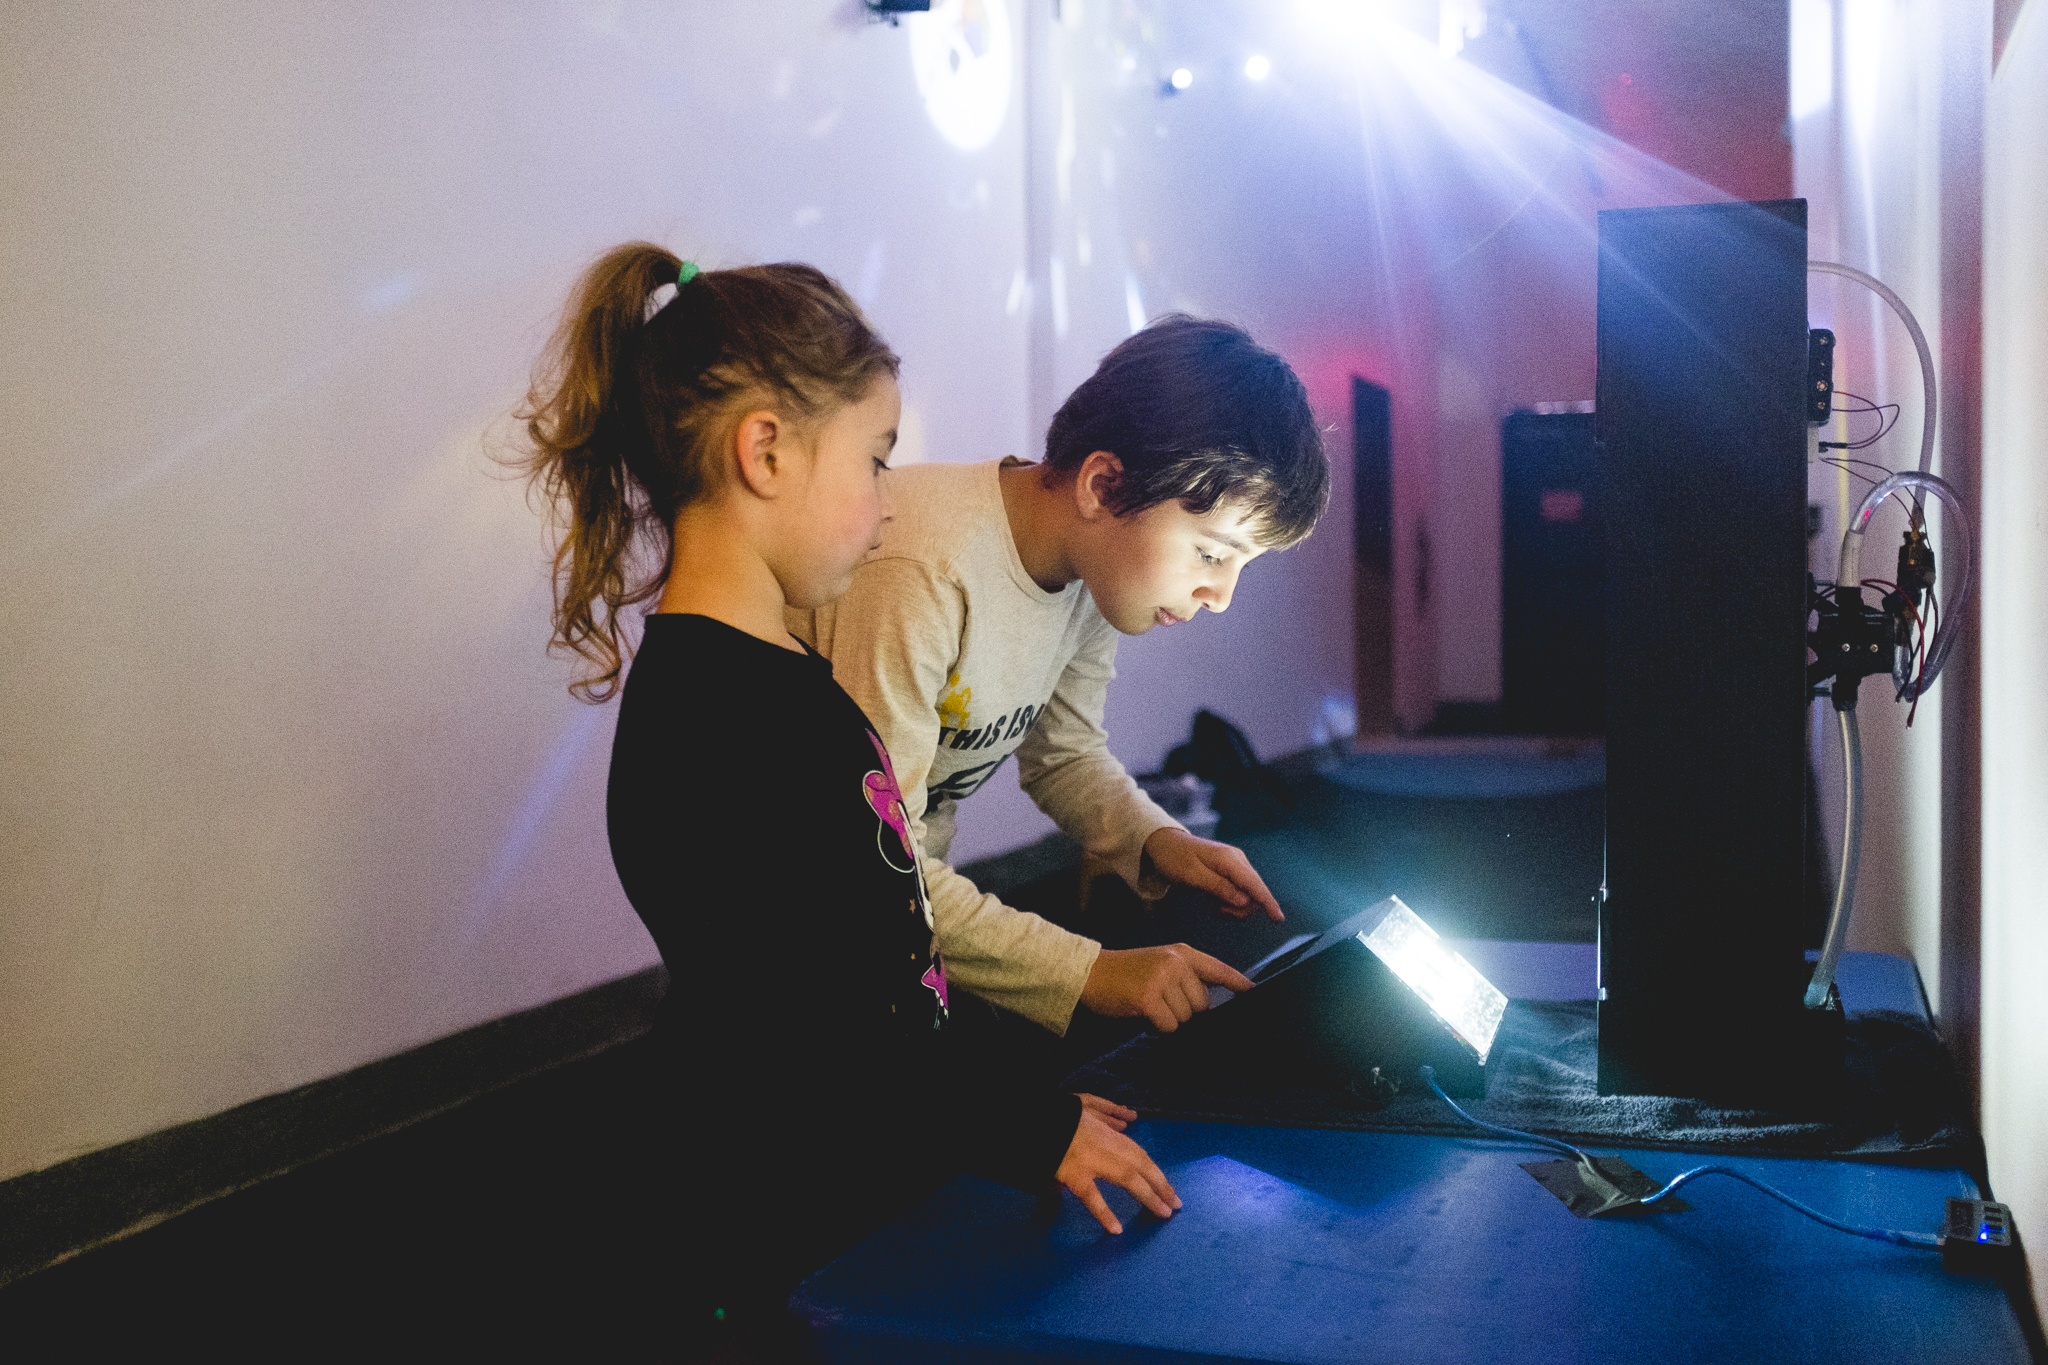
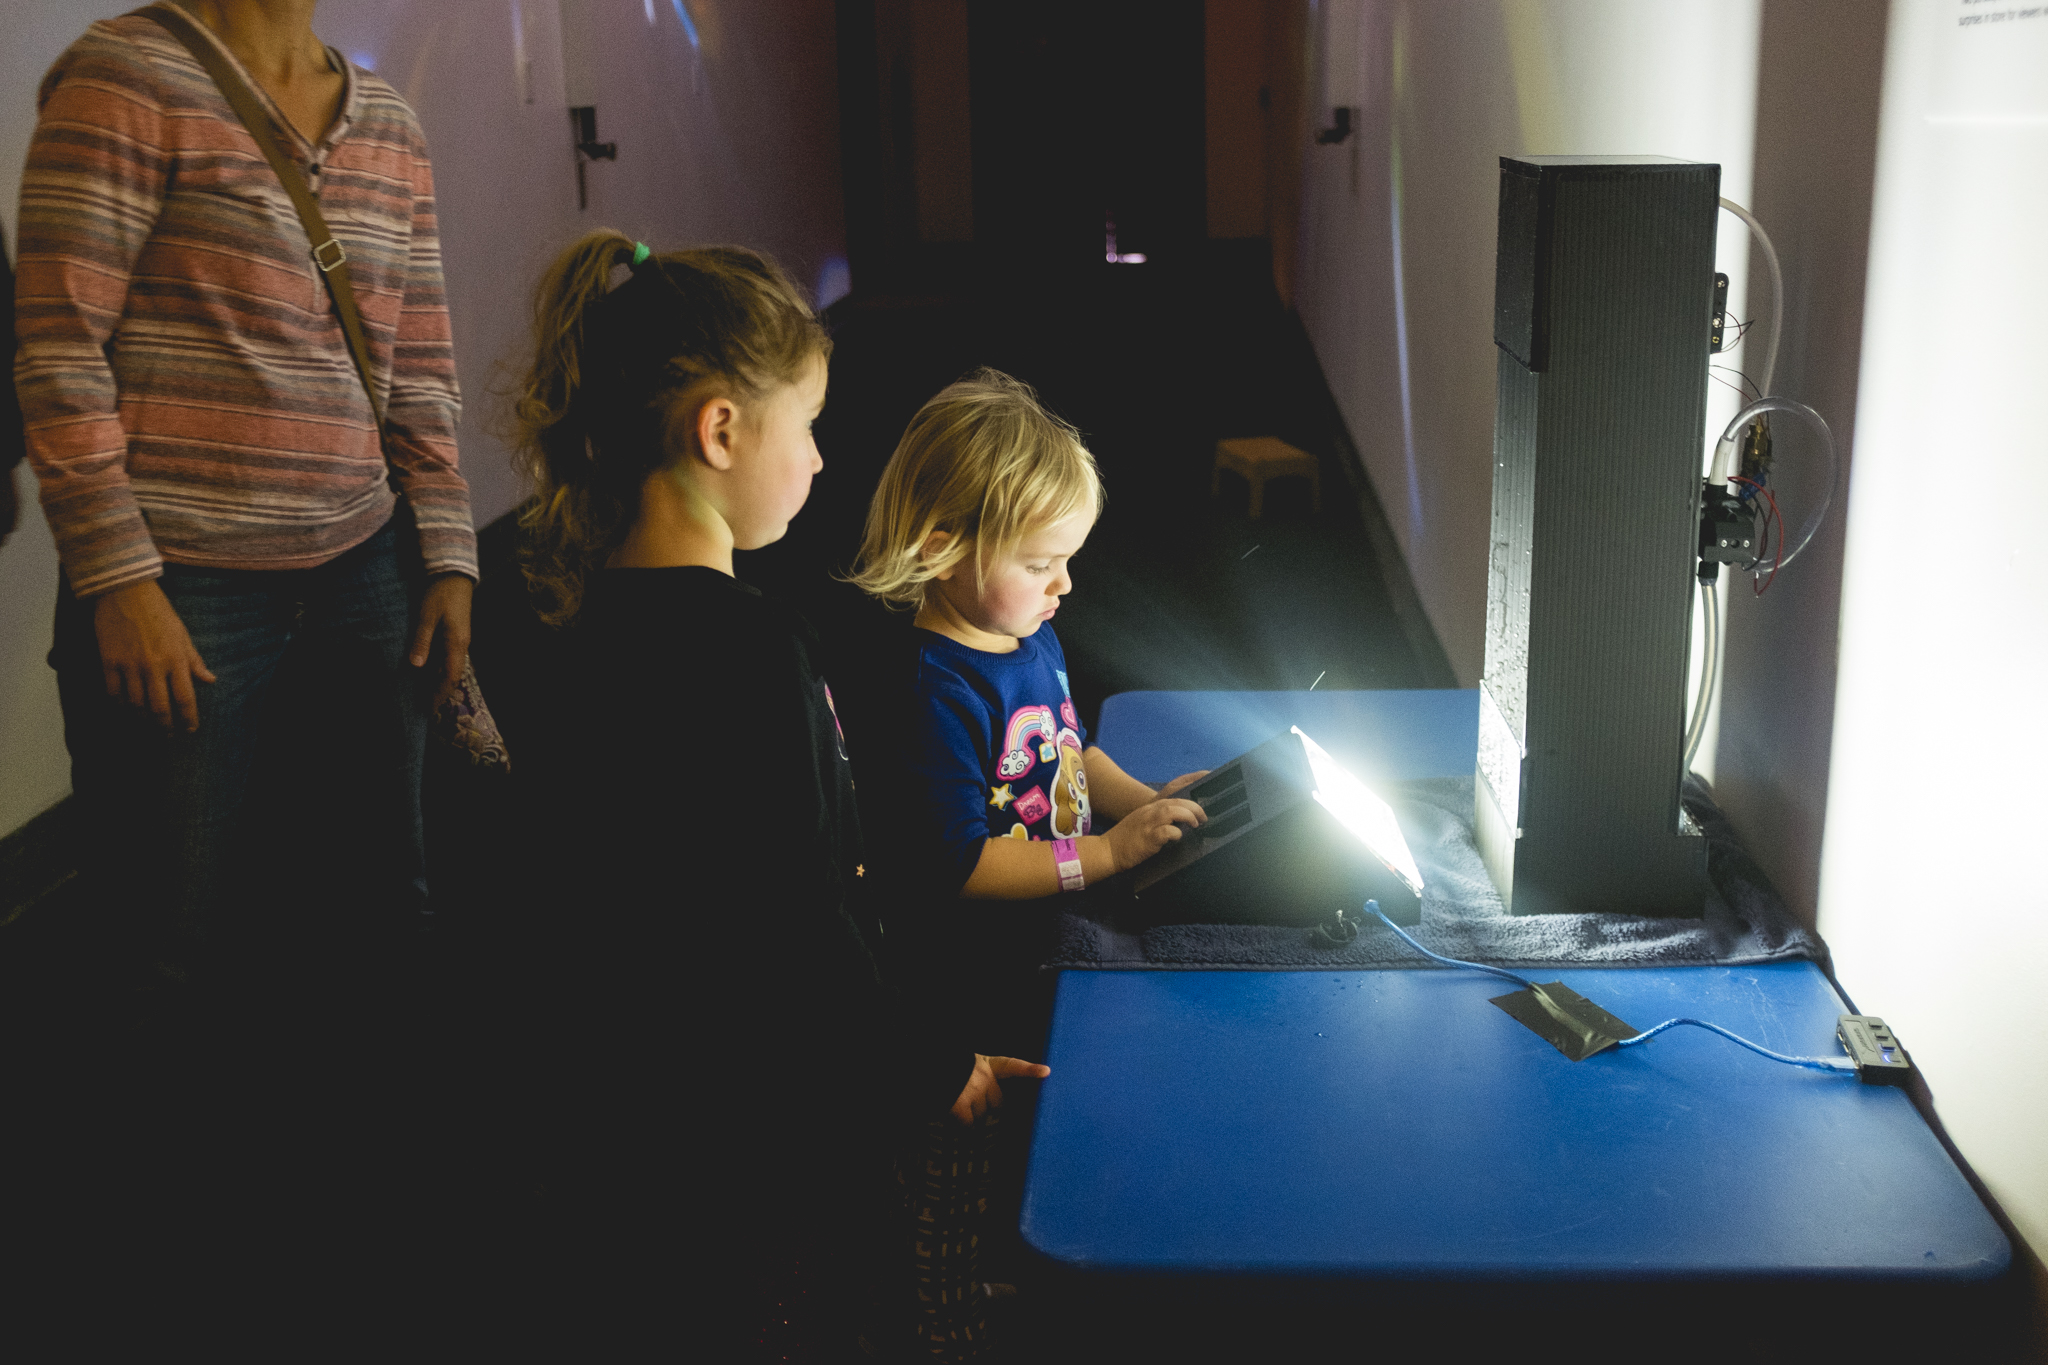
At the Museum:
These are pictures of children and parents interacting with our project.
Process Documentation: Housing
 Our first prototype.
Our first prototype allowed us to understand the nature of water dripping. We understood the relationship between water pressure and the diaphragm through which the water drips from.
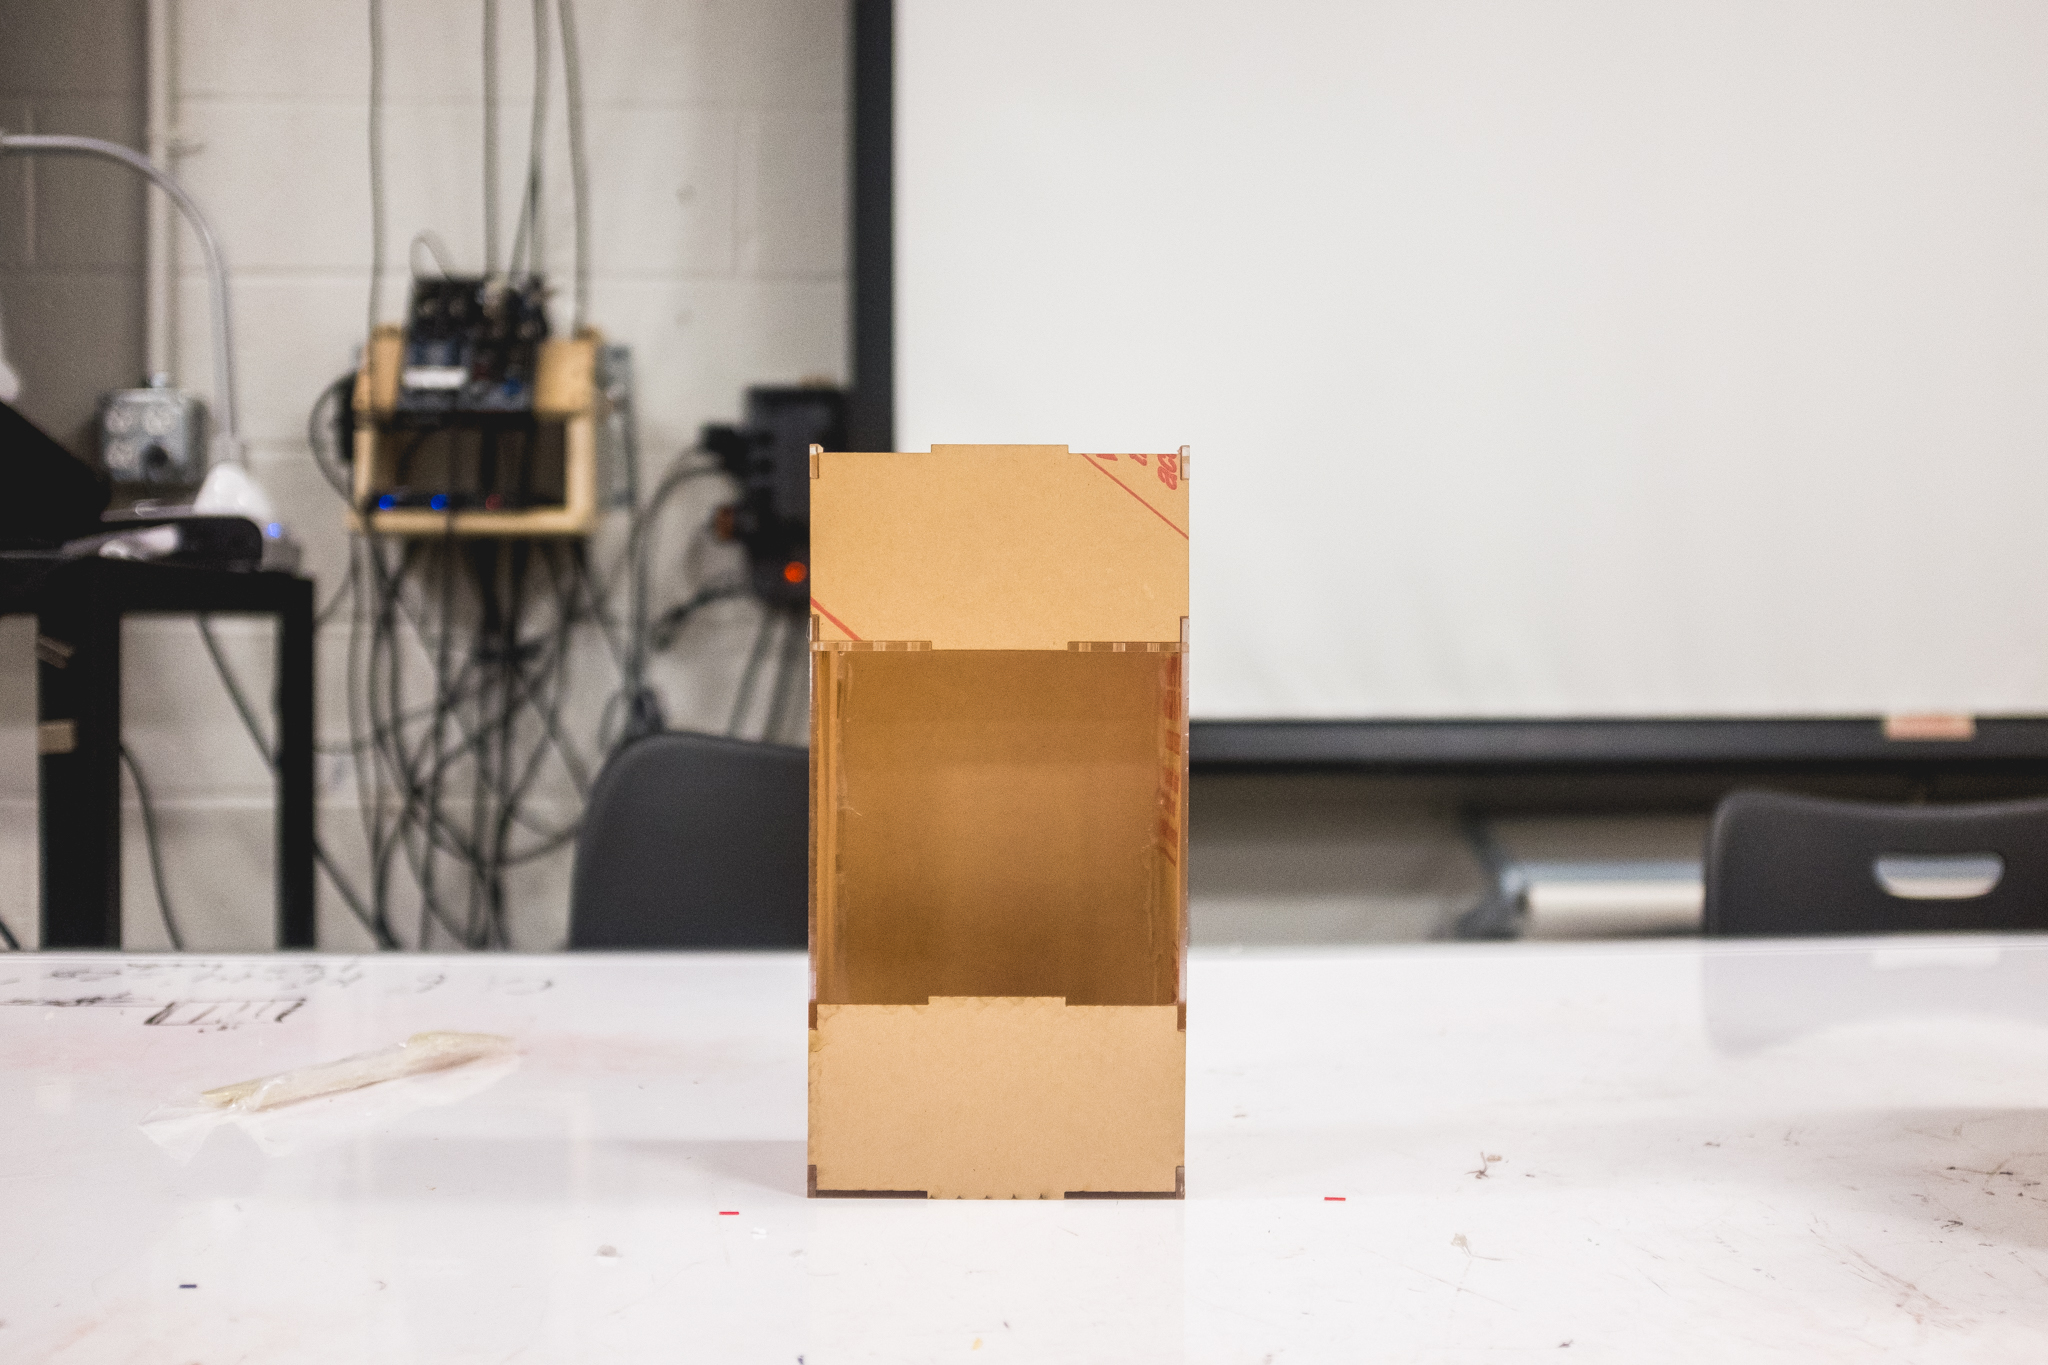
Our second prototype.
This prototype was one where we controlled the diaphragm and the water level (water pressure), but we realized that there was too much turbulence from the water tubing.

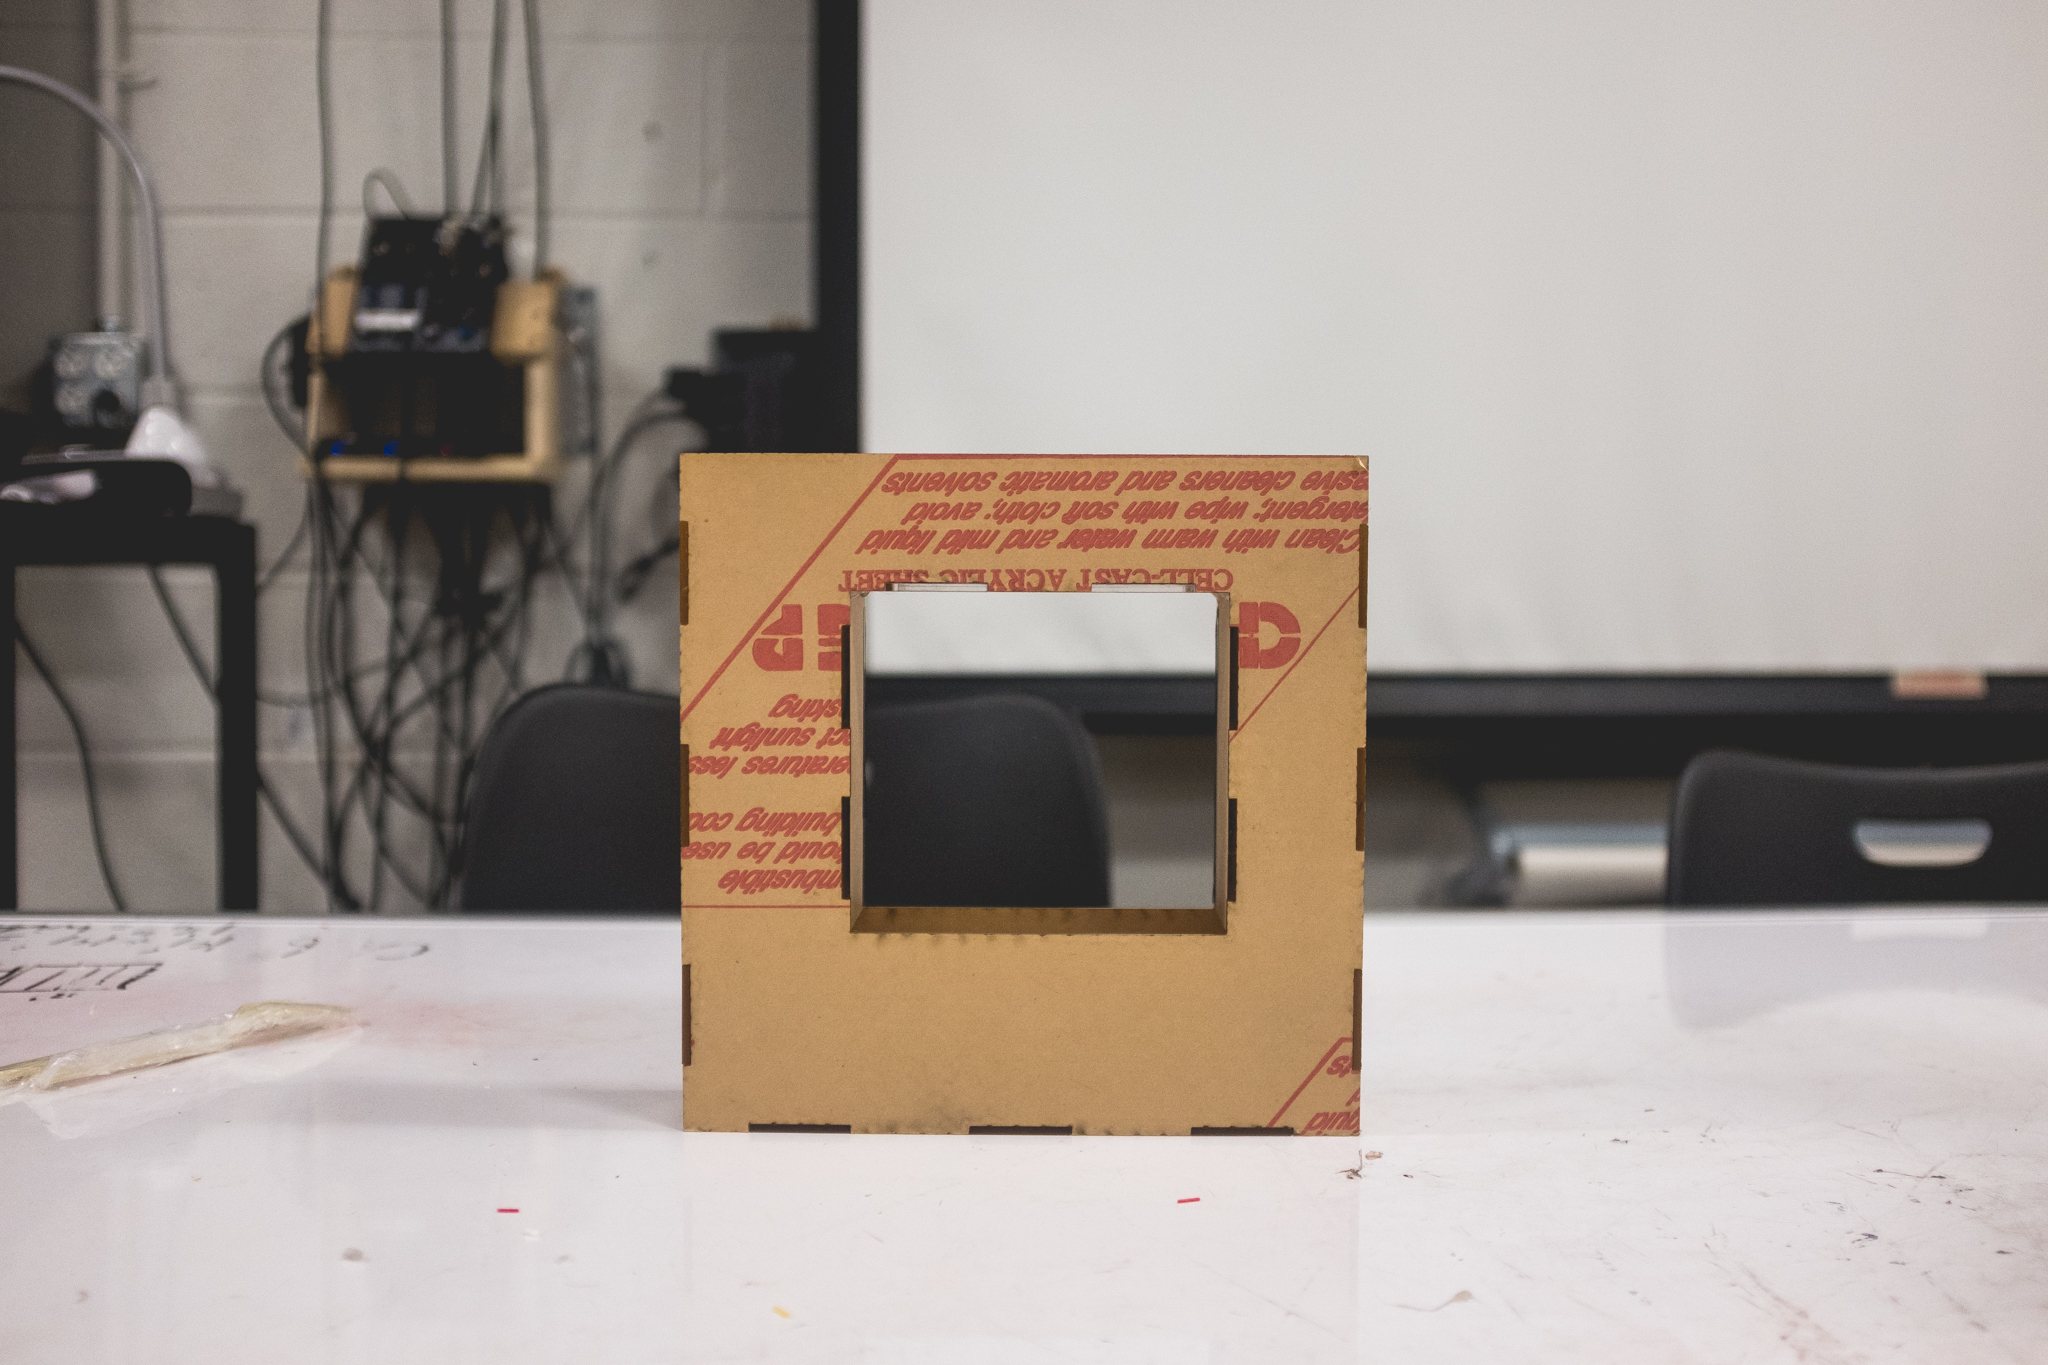
Our third prototype.
This was our third and most complicated prototype. We had a filter system through which the water would behave in a more laminar way, but we realized that we did not account for water tension and decided to shift to a drip straight from the tubing, which led us to the final prototype.
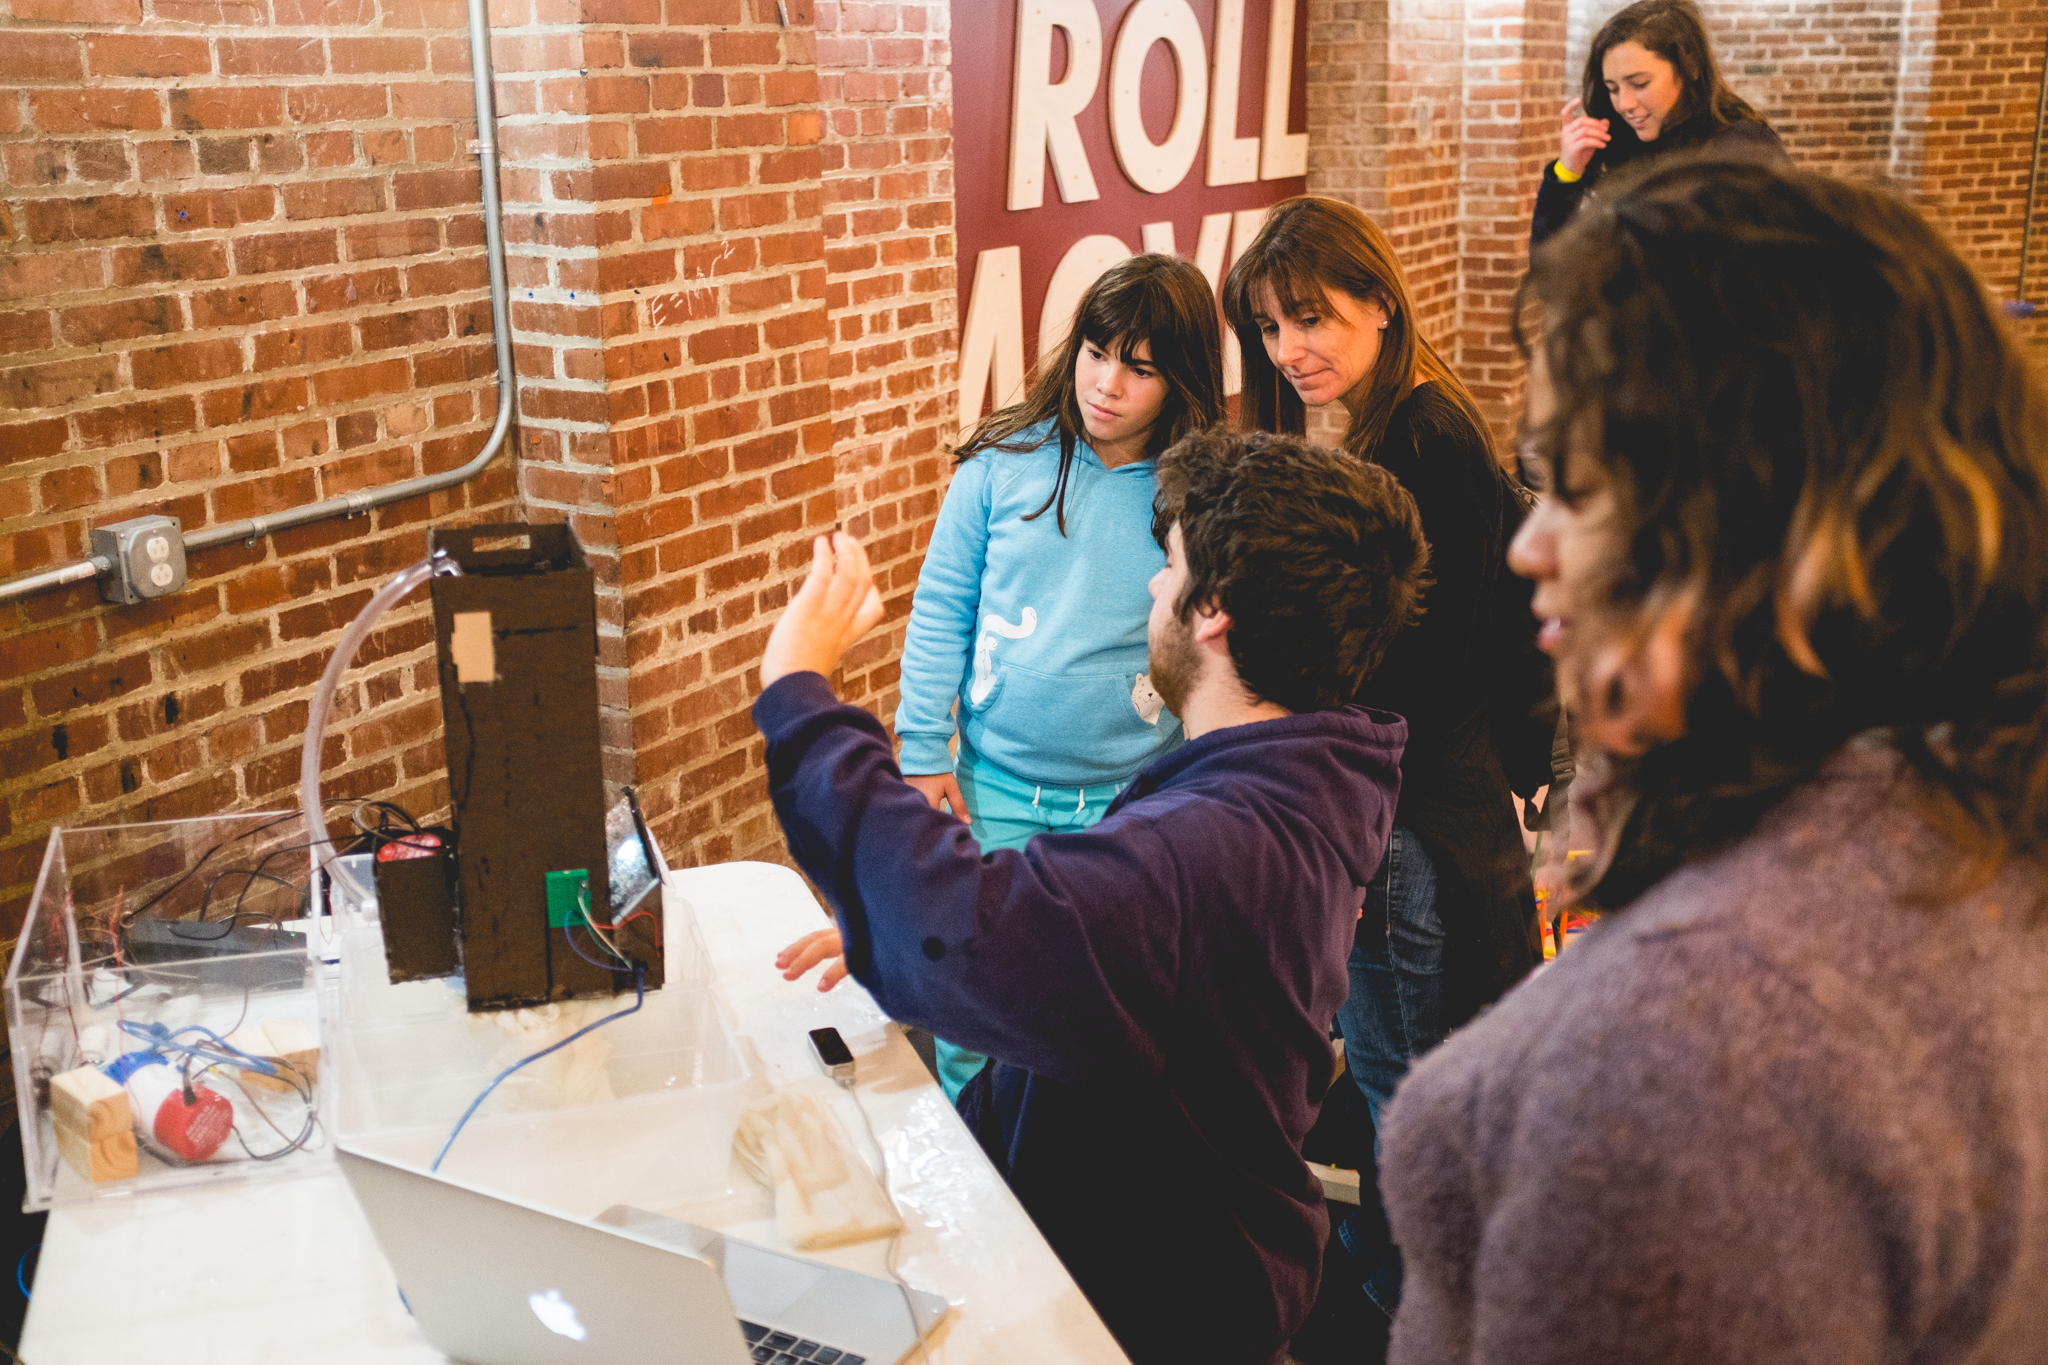
Process Documentation: First Demo
Citations —
Additional Materials —
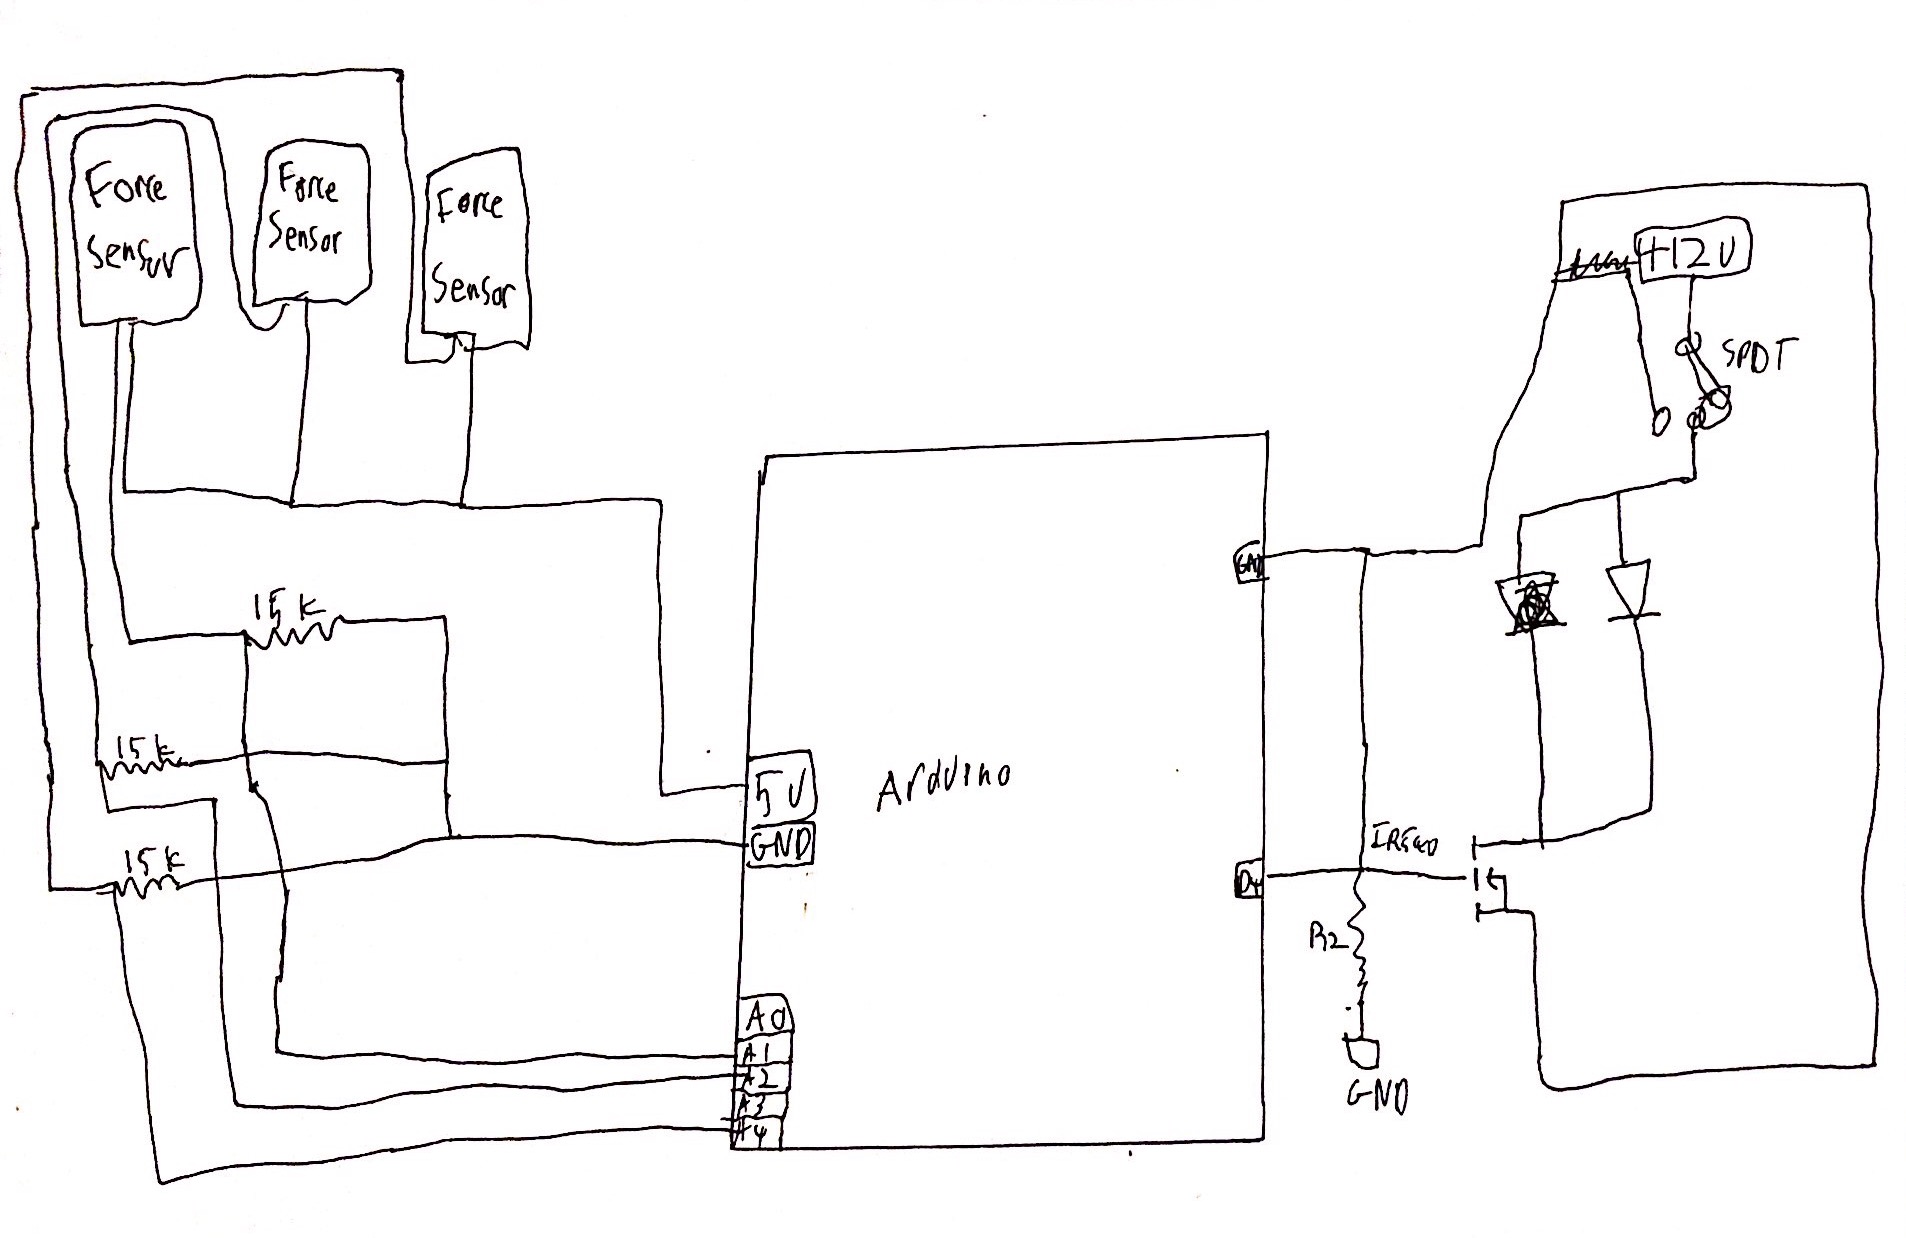
Schematics:
Schematic created by Warren Glasner.
Mechanical Drawings:
All drawings were created by Soonho Kwon.
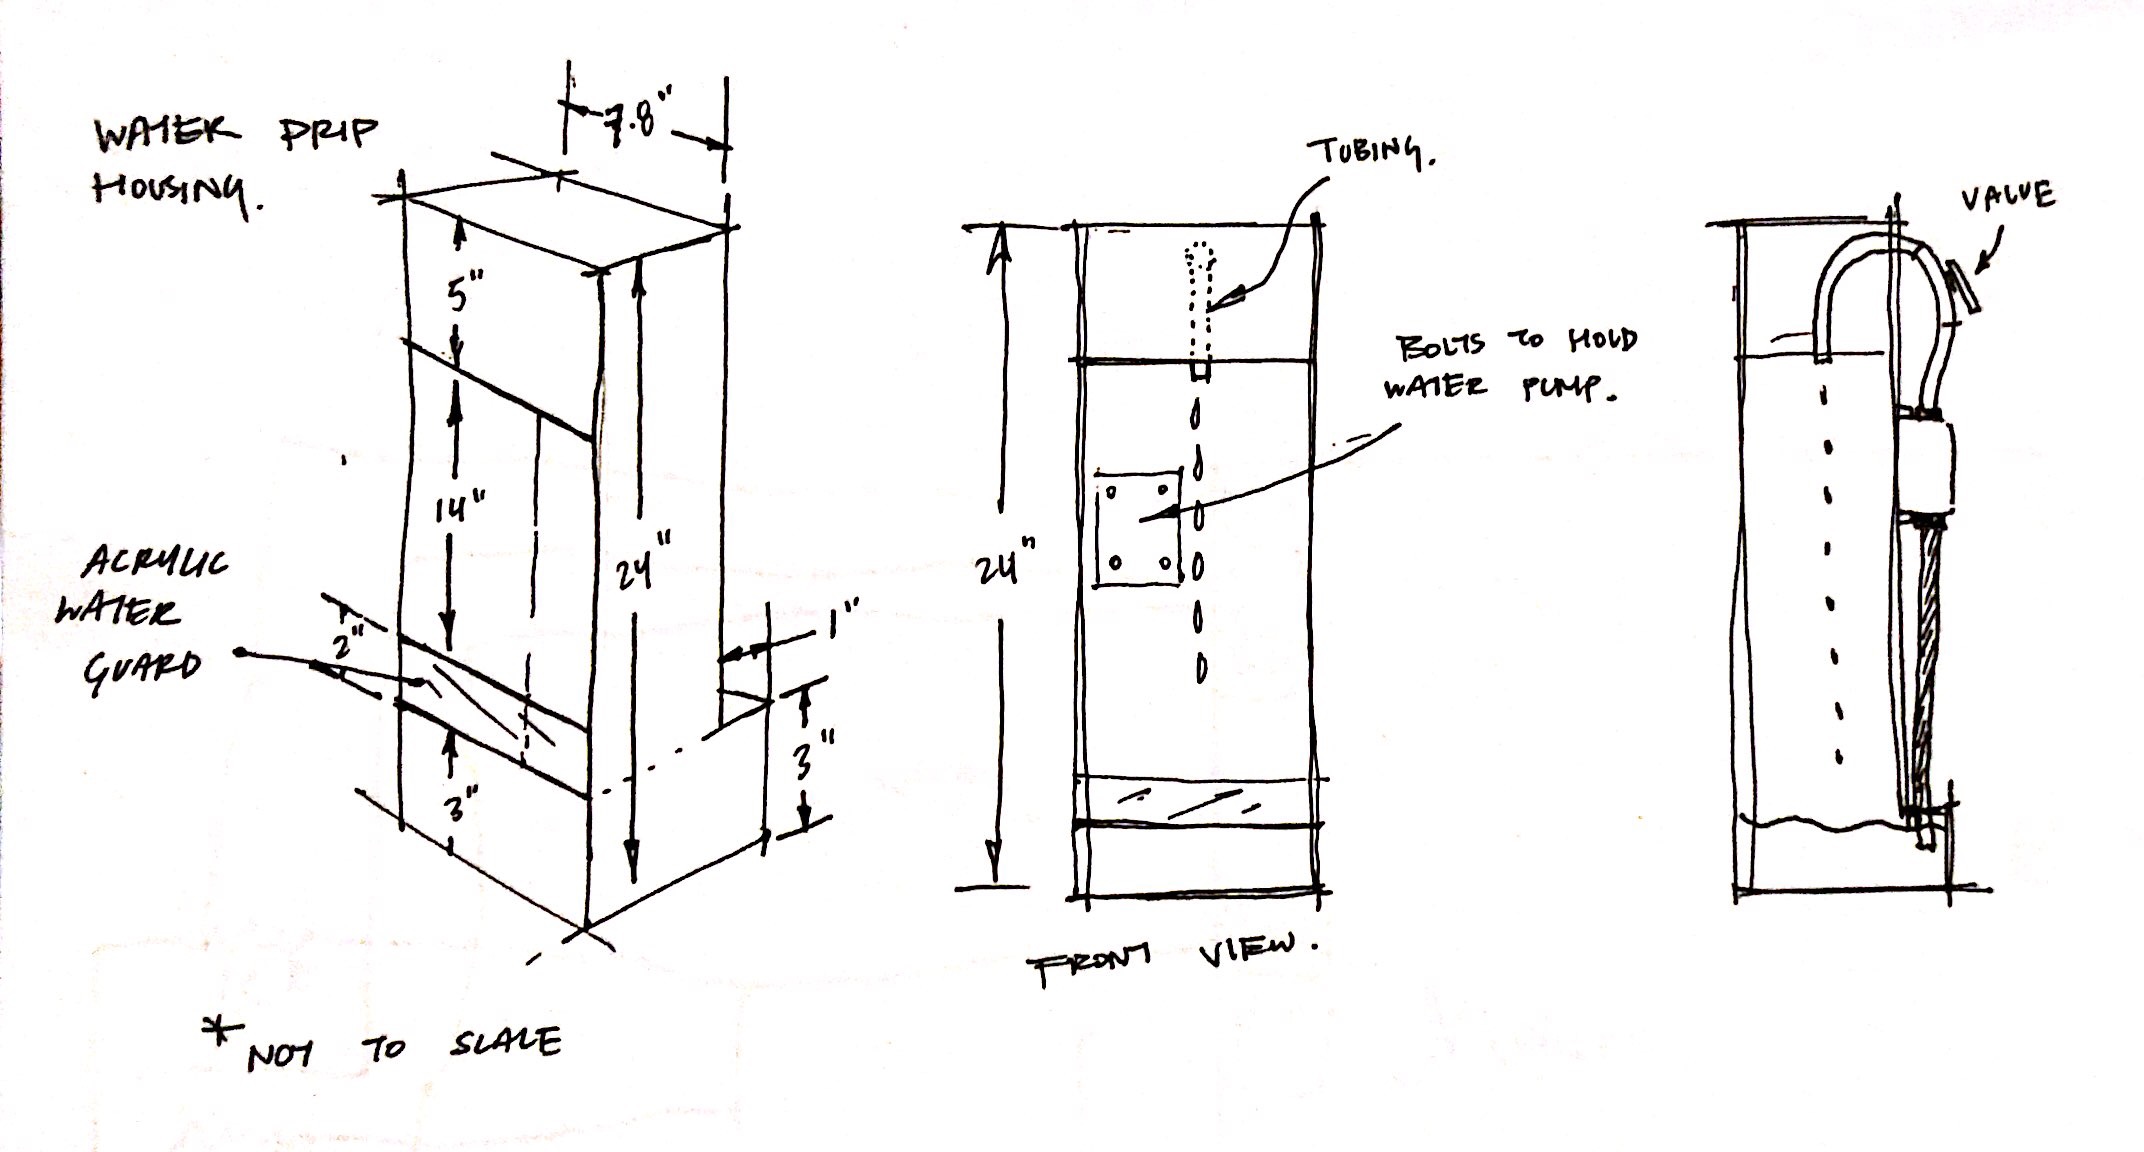
Housing Schematics
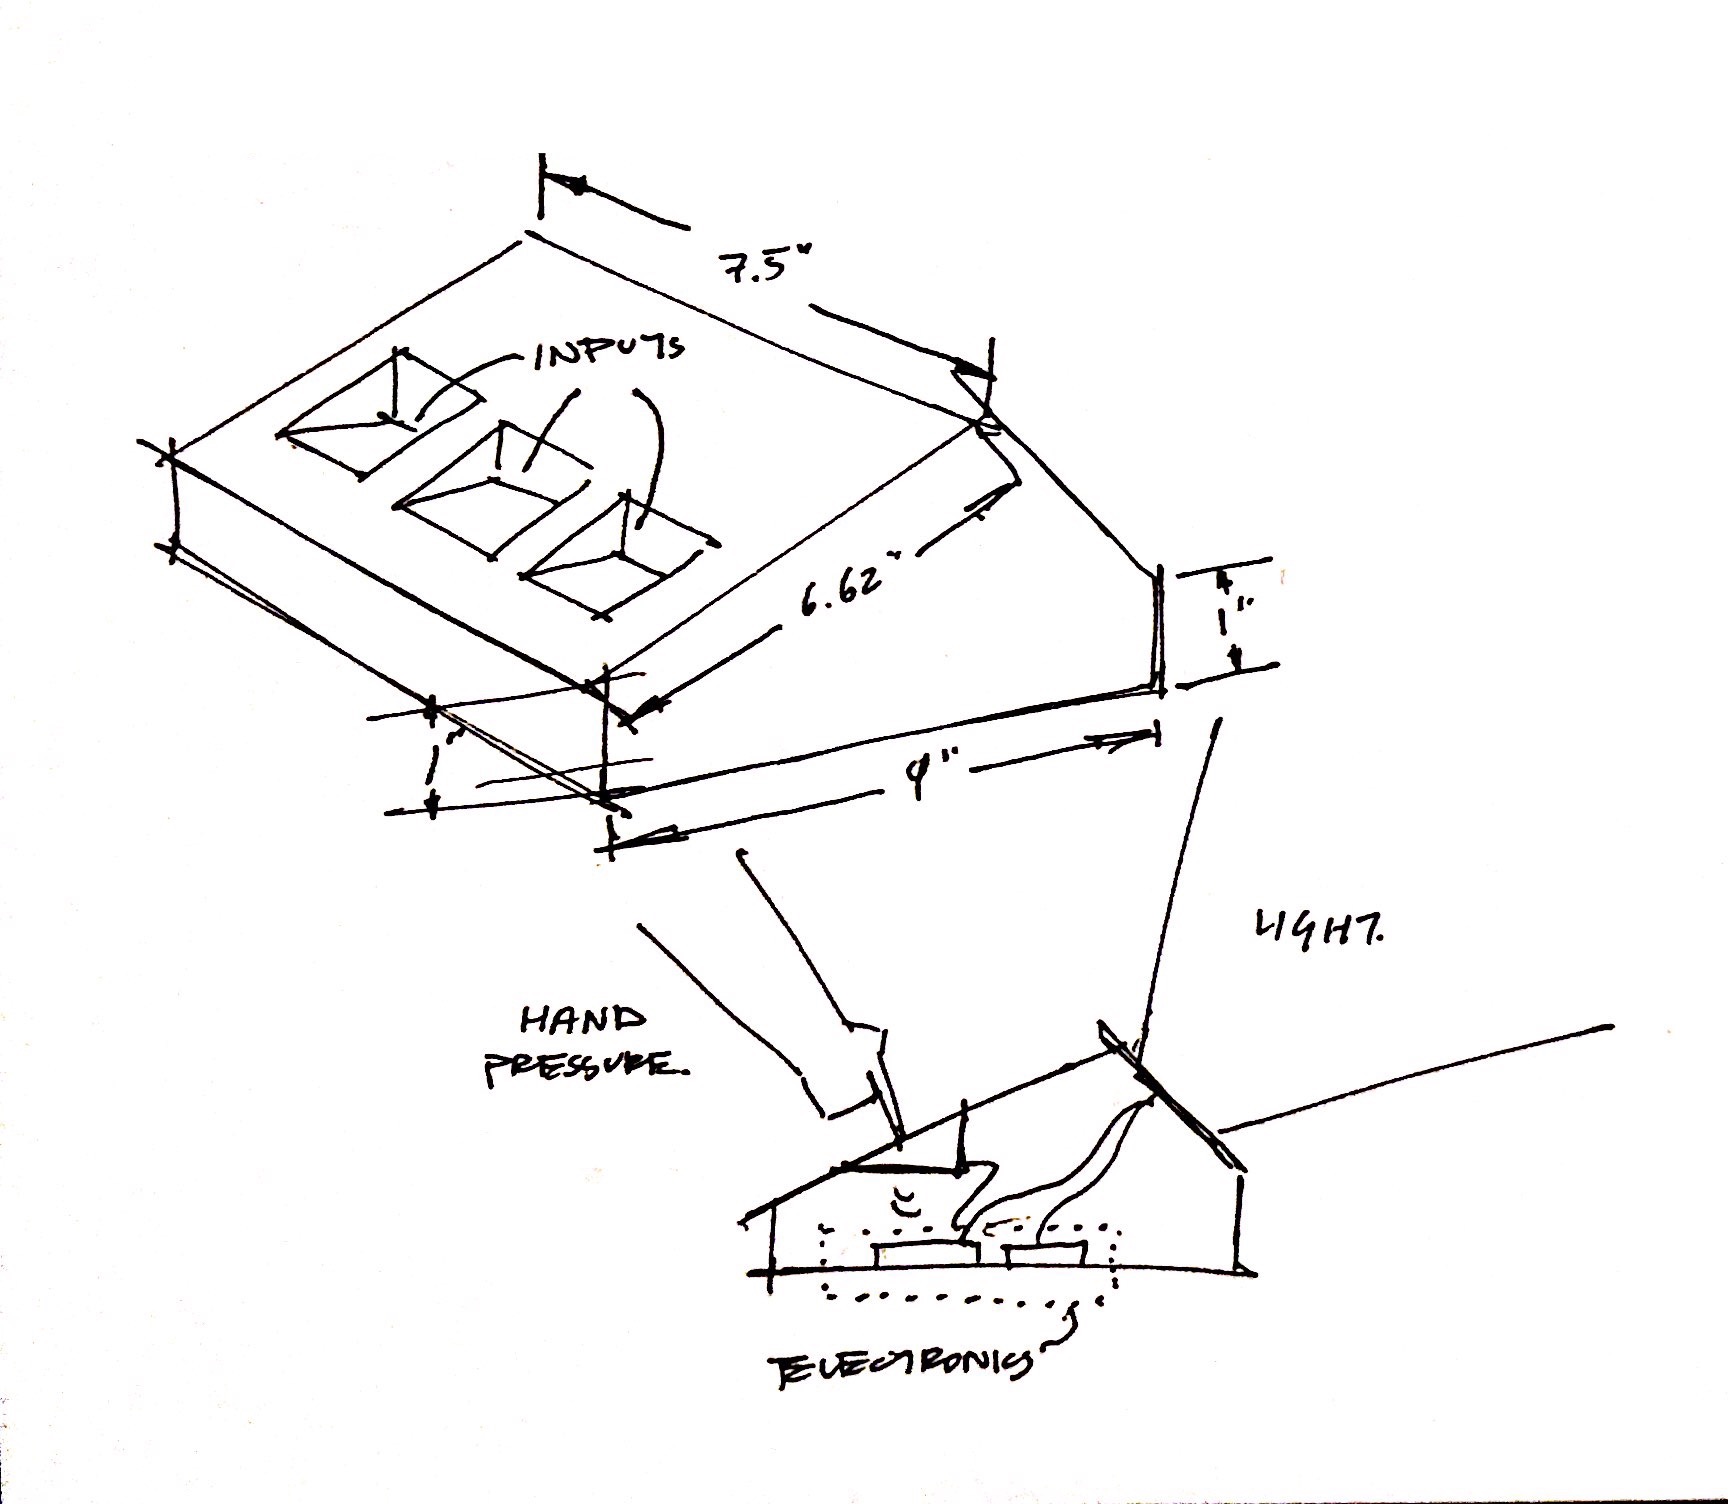
Input Housing
Code:
const int outputPin1 = 4;
 const int SPEED = A0;
 //Pressure Pads
 const int pressure1 = A2;
 const int pressure2 = A3;
 const int pressure3 = A5;

const int riseValue = 52;
 const int pauseValue = 49;
 const int fallValue = 56;

void setup() {
 pinMode(outputPin1, OUTPUT);
 pinMode(SPEED, INPUT);

pinMode(pressure1, INPUT);
 pinMode(pressure2, INPUT);
 pinMode(pressure3, INPUT);

Serial.begin(9600);
 }

void loop() {

float value1 = analogRead(pressure1);
 float value2 = analogRead(pressure2);
 float value3 = analogRead(pressure3);

// Serial.println(value1);
 //
 // float del_2= map(value1, 0, 1000, 40, 60);
 ////
 //// float del= map(analogRead(SPEED), 0, 1023, 40, 60);
 // Serial.println(del_2);
 // digitalWrite(outputPin1, HIGH);
 // delay(3);
 // digitalWrite(outputPin1, LOW);
 //// delay(del);
 // delay(45);

// SLOW RISE SETTING
 if (value1 > 100 and value2 < 100 and value3 < 100) {
 digitalWrite(outputPin1, HIGH);
 delay(3);
 digitalWrite(outputPin1, LOW);
 delay(riseValue);
 }

// PAUSE SETTING
 else if (value2 > 100 and value1 < 100 and value3 < 100) {
 digitalWrite(outputPin1, HIGH);
 delay(3);
 digitalWrite(outputPin1, LOW);
 delay(pauseValue);
 }

// SLOW FALL SETTING
 else if (value3 > 100 and value1 < 100 and value2 < 100) {
 digitalWrite(outputPin1, HIGH);
 delay(3);
 digitalWrite(outputPin1, LOW);
 delay(fallValue);
 }

// INACTIVE STATE
 else {
 digitalWrite(outputPin1, HIGH);
 }
 }
Leave a Reply
You must be logged in to post a comment.