Raspberry Pi Pico
The Raspberry Pi Pico is a new low-cost microcontroller board from the Raspberry Pi Foundation which we will be using for the course. It supports programming in CircuitPython, MicroPython, and C++. We will be using CircuitPython, which needs to be installed once on each new board.
Setup and Testing
The Pico ships with a permanent bootloader in firmware but without CircuitPython onboard. Installation of CircuitPython is as easy as copying a file to a USB stick, but there are a few steps to prepare.
I recommend you install the Mu Python Editor on your laptop or desktop. It will provide a single tool for editing CircuitPython programs, observing debugging output on the serial monitor, using the Python command line (REPL), and plotting live data. [1]
There are two CircuitPython downloads required for installation: the core system and the library bundle. The core system is specialized for the particular board. The library bundle version must match the core system.
Download a current CircuitPython installer. This will be a .uf2 file from https://circuitpython.org/board/raspberry_pi_pico/. Multiple language translations are available. For Fall 2022 we will be using the current stable CircuitPython 7.3.2 release.
(This is still an optional step.) Download the matching release of the CircuitPython library bundle from https://circuitpython.org/libraries. This will be .zip file containing a large number of .mpy library files and sample code. You’ll be unpacking this on your desktop or laptop and installing just a subset of files. For Fall 2022 we will be using the current Bundle for Version 7.x.
The basic process for installing CircuitPython is as follows:
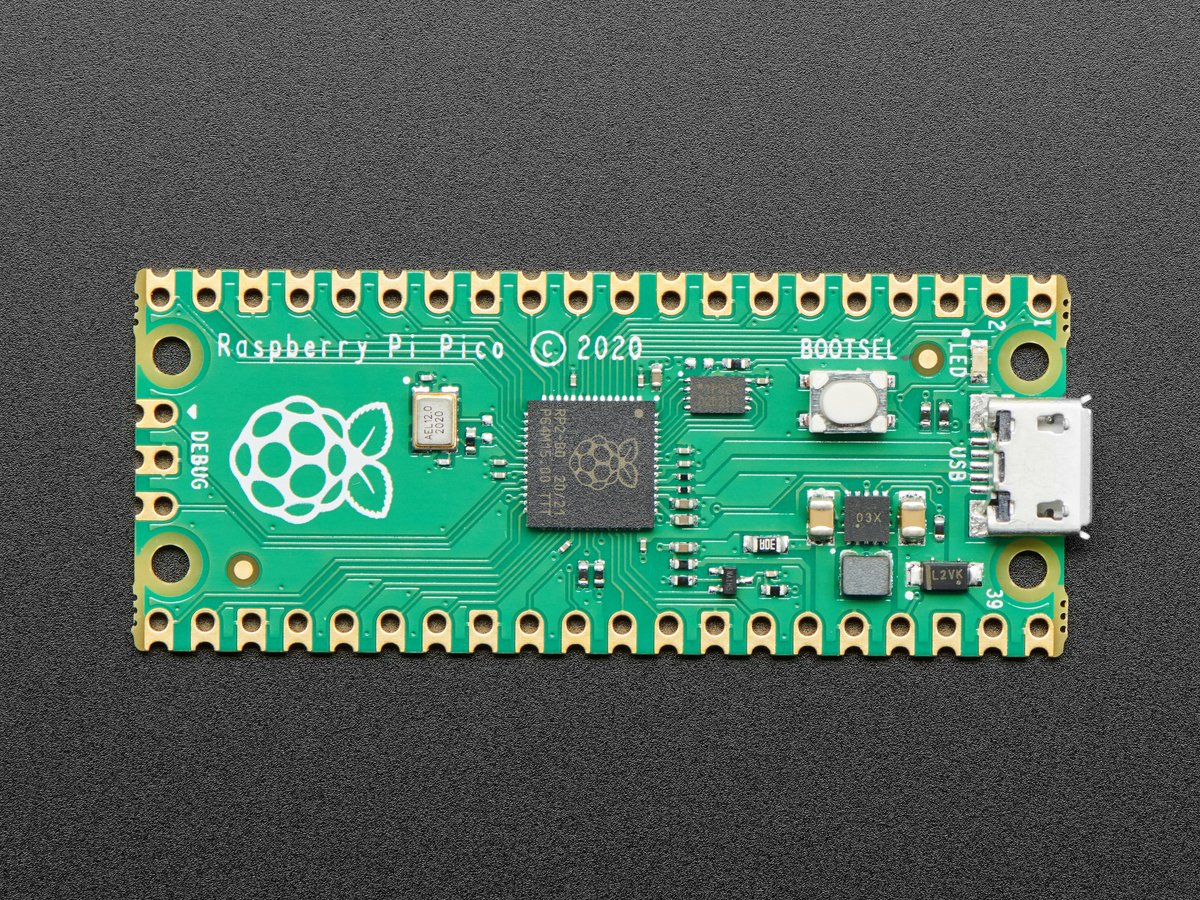
You will need a Raspberry Pi Pico and a USB micro-B cable compatible with your computer.
Locate the white BOOTSEL pushbutton on the Pico. It’s the only switch, on the top side close to the micro-USB connector.
Press and hold BOOTSEL while connecting the USB cable. (Note: it doesn’t appear holding down the switch is strictly necessary for the very first installation, but is needed to enter firmware mode for subsequent updates.)
If successful, a new ‘drive’ will be mounted on your computer as RPI-RP2.
Copy the CircuitPython .uf2 file that you downloaded to this drive RPI-RP2; drag-and-drop works fine.
After a brief delay, RPI-RP2 will disappear, a new ‘drive’ called CIRCUITPY will appear, and a new USB serial port will become aavailable.
After installing the core system, you can test it using the Serial pane in the
Mu Editor to interact directly with CircuitPython. You may need to enter a
keystroke in the serial pane to see the >>> input prompt. Then you can
enter commands: you might try help('modules') to see the available built-in
libraries. REPL stands for “Read-Eval-Print Loop”, it is an interactive prompt
at which you may enter expressions and define short programs; it is very useful
for testing individual code fragments. Control-D will reload and rerun code.py;
control-C will interrupt a running program. The prompt offers tab-completion
which is handy for exploring modules.
(This is still an optional step.) If this appears to work, the next step is to install the essential set of libraries from the bundle. After you unpack the library bundle .zip, you may wish to locate the following folders and files and copy them into the lib/ folder on your CIRCUITPY drive:
adafruit_itertools/
adafruit_motor/
Still a work in progress: the Pico doesn’t have much onboard hardware, so the recommended set of extension libraries still needs to be worked out.
Now you may try out the course-supplied Pico sample code by copying the
corresponding .py file into the CIRCUITPY drive as code.py. A good
starting point is Introductory Examples - Raspberry Pi Pico.
For online examples, you can simply cut and paste into code.py using the Mu editor. The default behavior is that saving a new version of code.py on CIRCUITPY will trigger a reload and it will immediately run. Syntax errors will generate messages on the serial console.
Note: It is convenient to edit your code directly on the Pico, but please remember to back up your code.py files to a laptop for documentation and reference.
Next steps: some of the course examples will require Python programs running on your desktop or laptop, so you may wish to proceed with installing or upgrading Python as per Python 3 Installation.
Features
The board includes many I/O pins but no on-board sensors. The only I/O device is a single green LED. The core specifications include:
Dual-core Arm Cortex M0+ processor, flexible clock running up to 133 MHz. (No hardware floating point.)
264KB of SRAM
2MB of on-board Flash memory (QSPI)
USB 1.1 with device and host support
26 × multi-function GPIO pins (3.3V logic)
2 × SPI, 2 × I2C, 2 × UART, 3 × 12-bit ADC, 16 × controllable PWM channels
8 PIO programmable I/O state machine units
single green LED on GP25
Pinout Diagram
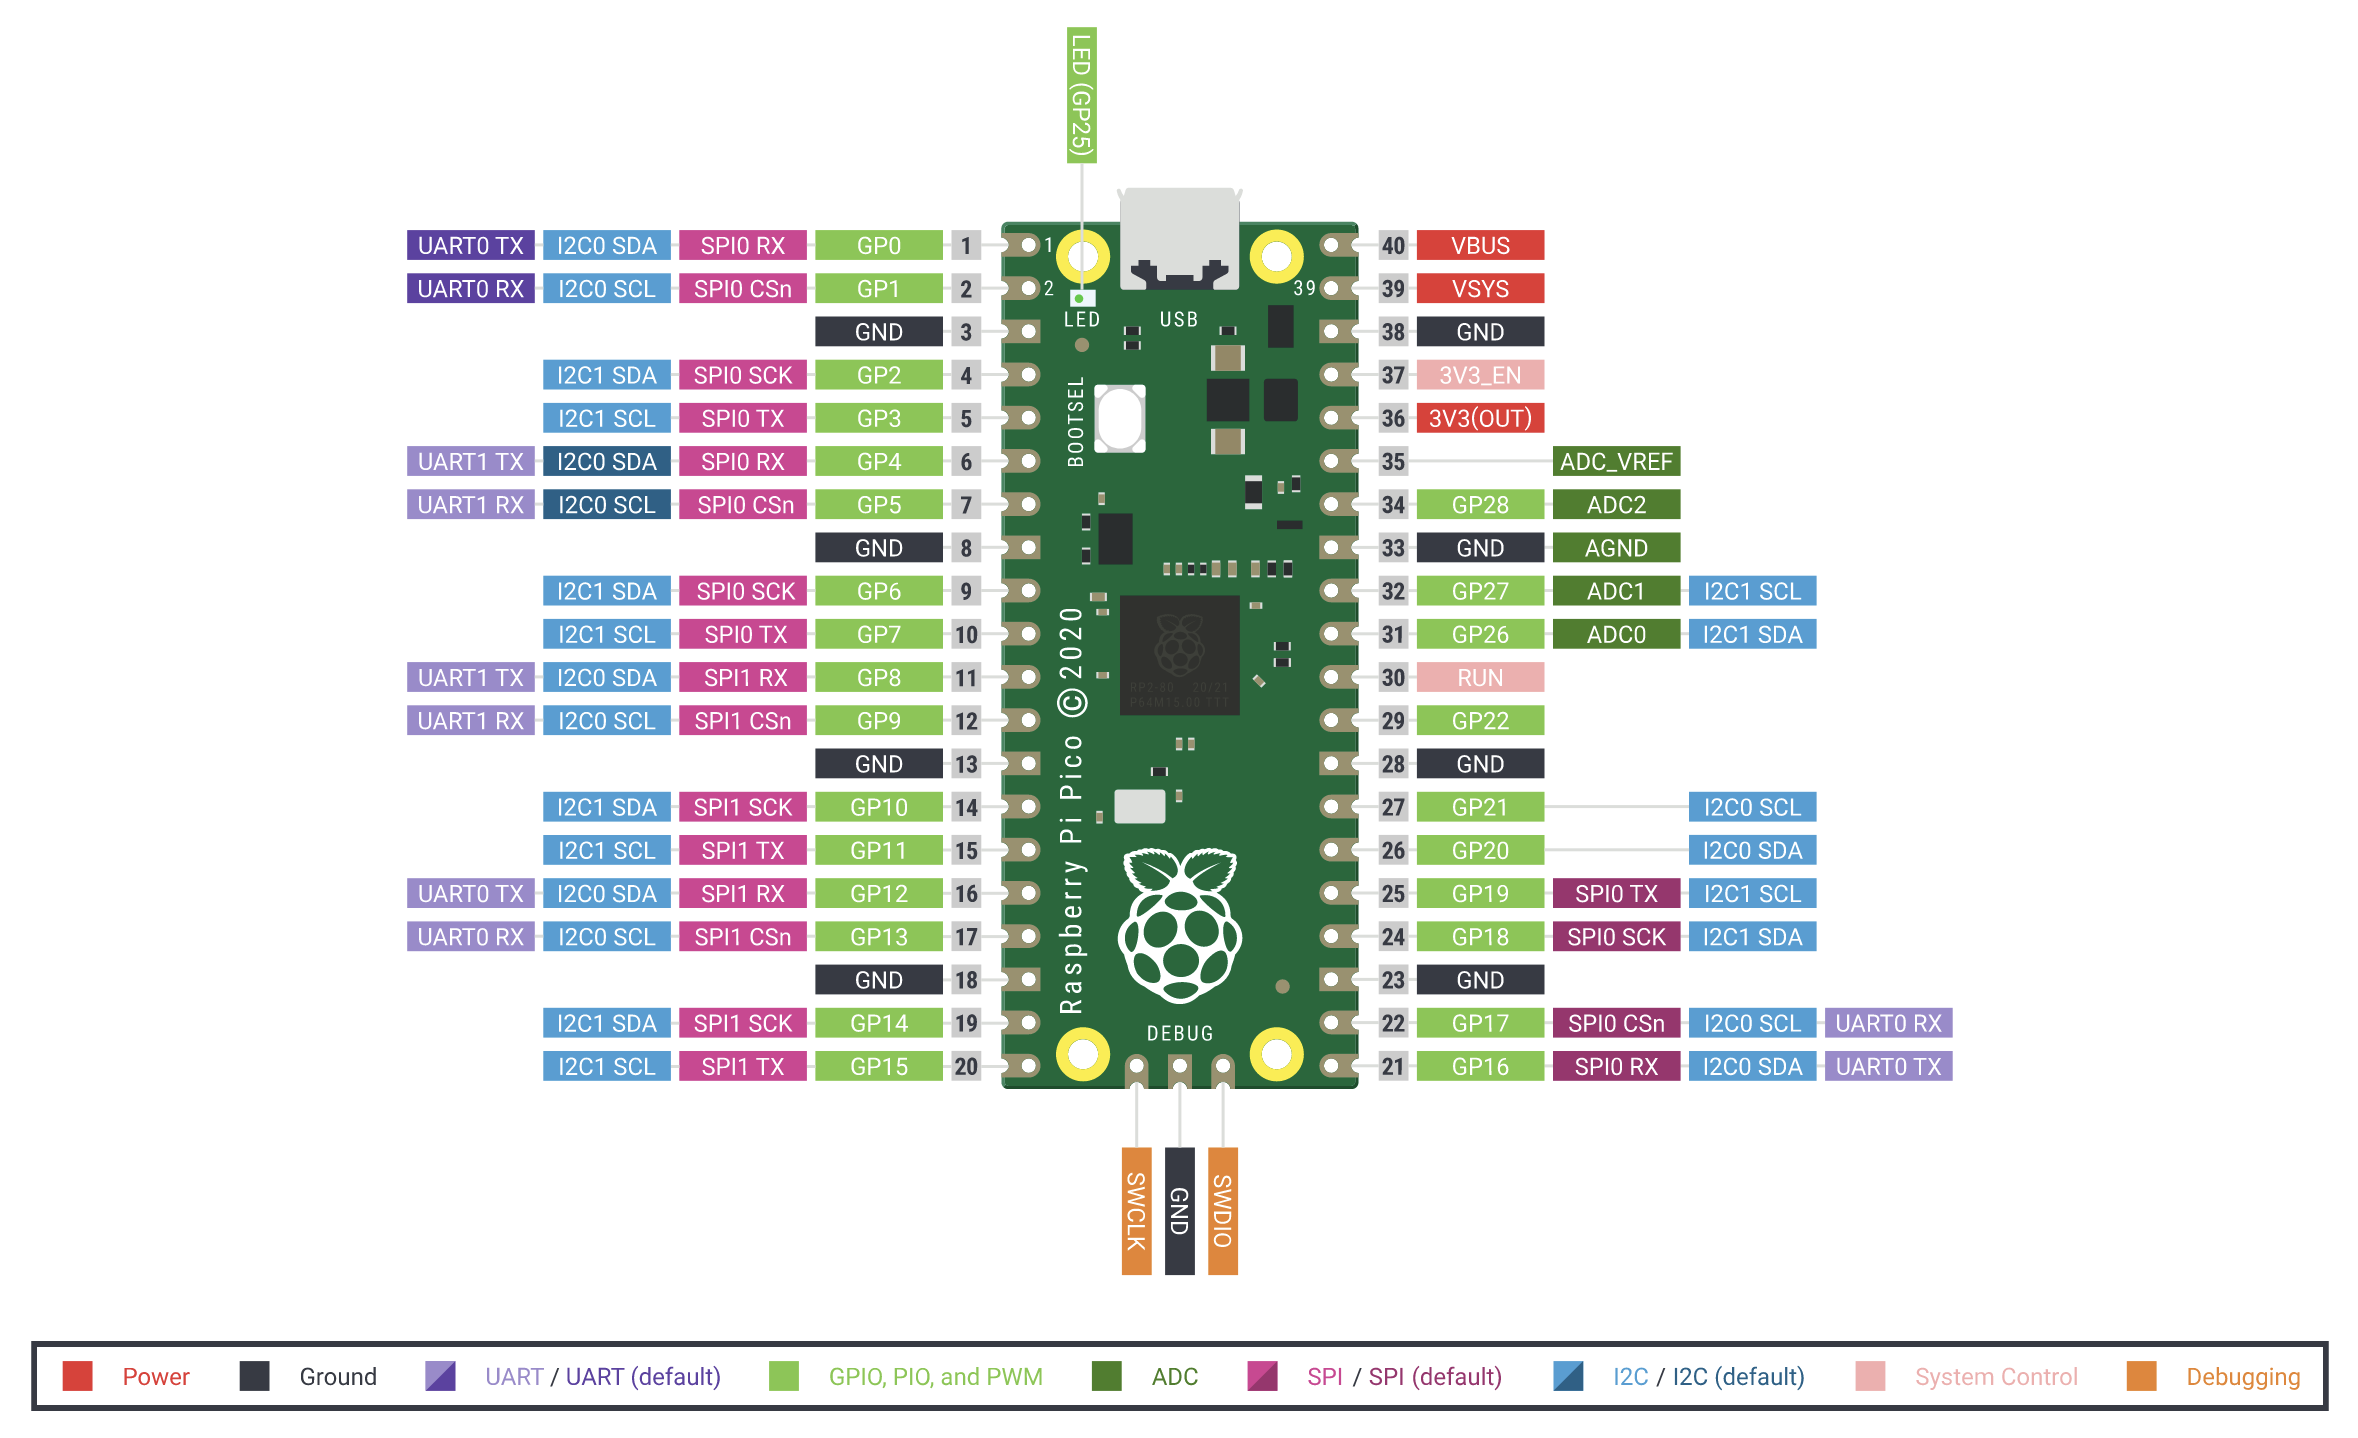
Raspberry Pi Pico diagram of pin functions.
Tutorials and Information Online
The following notes may help guide you to available Pico information online. This is specific to this board, more general CircuitPython programming information can be found in the CircuitPython Guide.
Adafruit Store - Raspberry Pi Pico RP2040. This is the purchasing page at Adafruit, one of many sources for the board.
Raspberry Pi Foundation - Pico Getting Started. Specifications, MicroPython guide, C/C++ guide, pinouts, design files.
Adafruit CircuitPython - API Reference. Our most commonly included modules:
Additional Technical Notes
External logic power.
Section 4.5 of the Raspberry Pi Pico datasheet addresses powering the Pico directly instead of via micro-USB. The safest way is to use an external Schottky diode to connect the external supply to the VSYS pin. Then the Pico will be powered by either USB or the external supply, whichever has the higher voltage. The recommended supply range is between 2.3 and 5.5V.