Jason’s Update
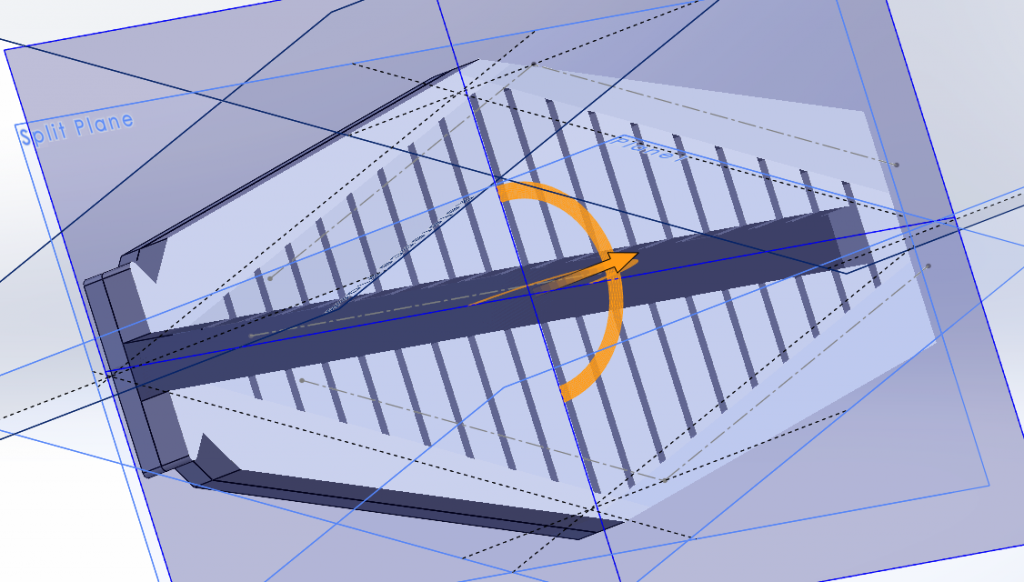
The latest iteration of the Void Crawler has seen changes in its air channel geometry along with a new slicing location. Although these changes may seem minimal, they seemed to greatly improve both the fabrication process and performance.
From this test, it seems that the flat base helped in ensuring a good bond between both parts compared to the previous chamber-to-chamber contact. Although this part did fail, its failure was contained to a single point rather than a separation of chambers. Once again, embedding the fabric within the base part allowed for more curvature. Its movement is exactly what I am looking for in bringing the Void Crawler to life. With the video, it seems it can easily and securely interact with the centerpiece. I propose for the next test to update the centerpiece to have four ports and test locomotion.
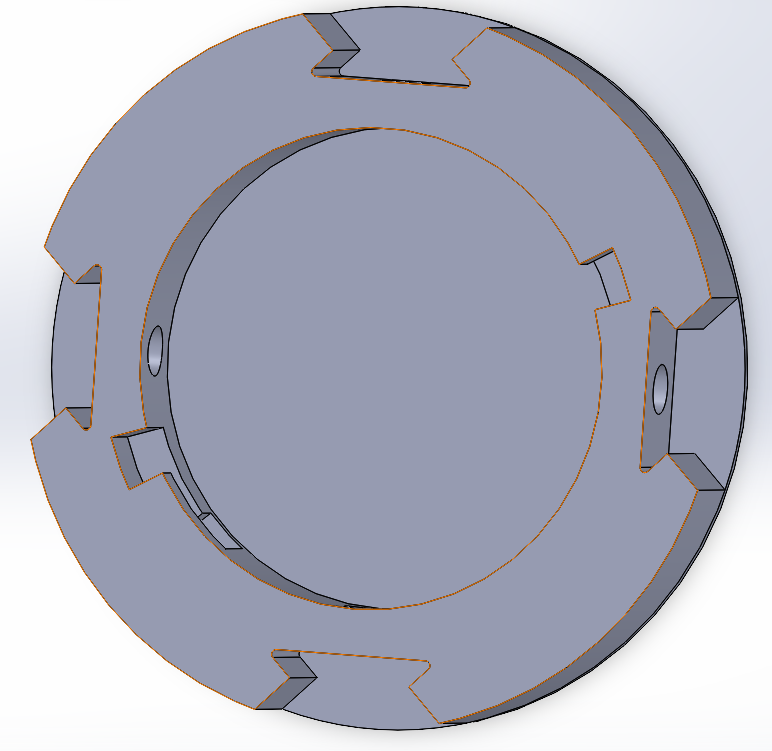
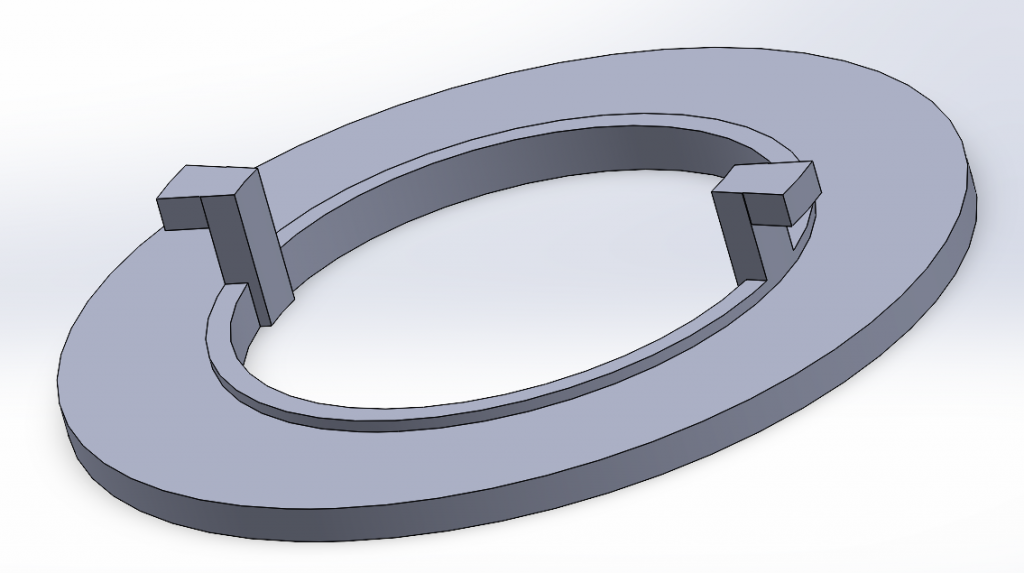
The centerpiece has been updated to include four ports and a locking mechanism. The next steps are to fully assemble the VoidCrawler and practice locomotion with the pneumatic system.
Inbar’s Update
After the previous attempt to create the entire robot, which failed mainly due to difficulty in bonding, I changed the structure and cut plan of the molds so that the tube opening is now on the top face of the robot, and all internal texture is only at the top part so that the bottom part is a thin and smooth layer (which also contain the fabric). That way, the bonding is done by coating the entire bottom part with a thin layer of silicone and then placing and aligning the top part on top.
The bonding in the current version was indeed successful – a bubble test in water showed only one bonding malfunction at the edge of one of the legs – which was easy to solve with epoxy glue.
The airway cavity of one of the distant legs was blocked during bonding, but it was easy to fix by punching the blockage with a needle.
All five parts of the robot show a nice curvature while inflating, as long as I apply pressure to close the opening around the inflating tube. I made an attempt to set the tube in one of the openings with two layers of epoxy glue and it seemed to work – as you can see at min 2:30 of the video.
The next two steps:
1. To program the choreography of the air pressure system in order to produce crawling locomotion.
2. In case I achieve crawling locomotion that is satisfying enough, I would like to plan the fabrication of a scaled-up version, that should be around 70 cm long (27.5 inches), for the purpose of filming the scene with my pet bunny.
Documentation video: