
Team Members: Henry, James, Irfan
Description:
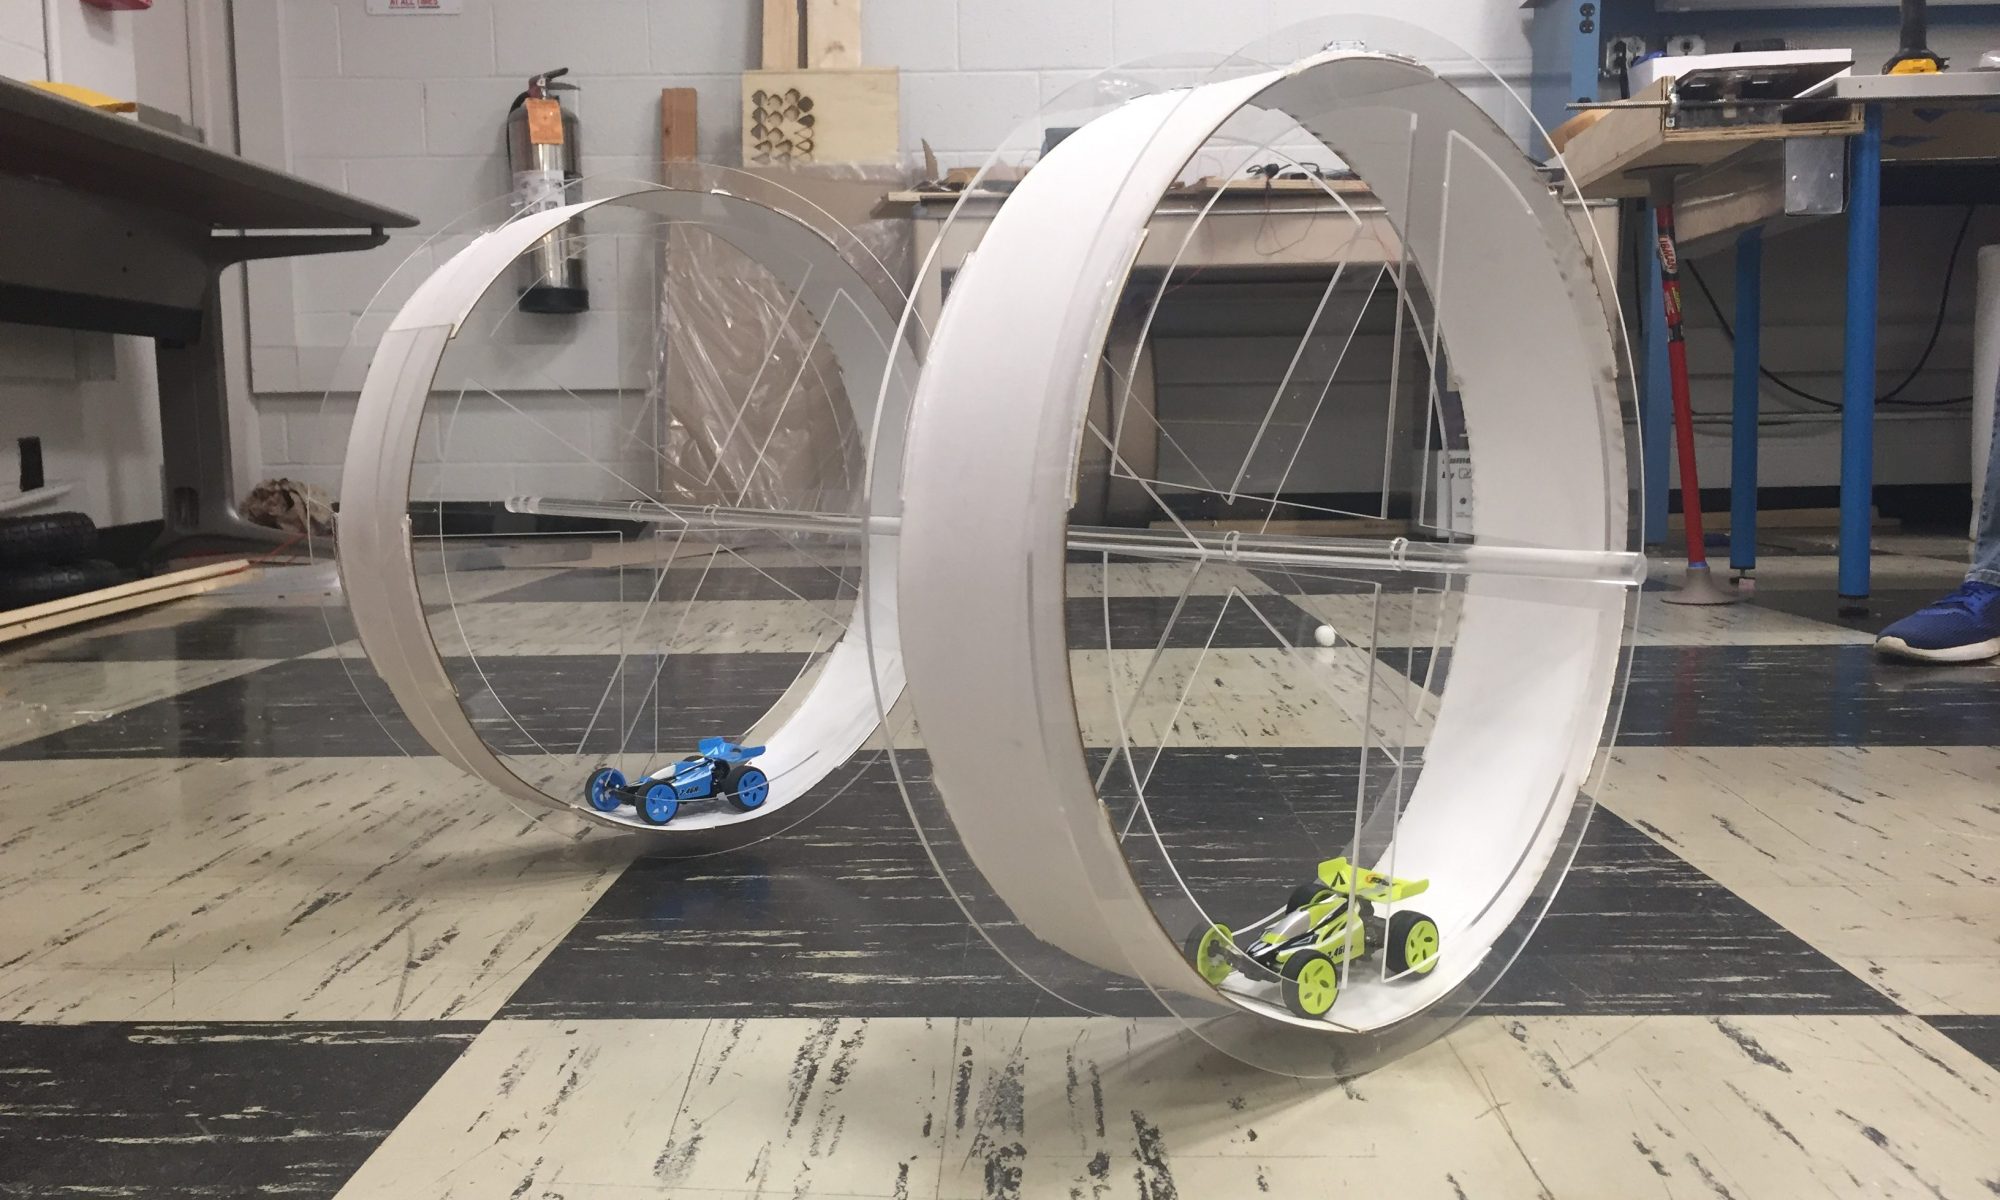
This project is centered around the physics of a basic wheel and axle. This is designed to teach the basic concepts of torque, friction, and twisting moments to children ages 9+. The there are two wheels connected by an axle. Inside these wheels are two RC cars, controlled by two drivers. Using their combined forces, the wheel can be moved and turned with a bit of coordination around a customization track and has the added challenge of a stopwatch to see how fast a course can be completed.
Learning Goals:
The children should learn how force and torque work; by testing how the cars interact inside the wheel, children should be able to determine how different forces can create a forward “push” and make the cruiser move, and will clearly see that by using the cars to create a moment, they can rotate the cruiser. In addition, testing on different surfaces will give a greater understanding of how friction and inertia can affect the speed and rotational speed. In addition, since there are two controllers, it can greatly improve communication skills and teamwork as two players race to the finish.
Operation Info:
The wheels are powered by two remote-controlled cars. It takes both cars for the wheels to move forward and spin; both must move either forward or backwards to move in that direction. To turn, both cars must move in opposite directions, or one car has to move while the other remains still, depending on the driving surface.
The objective it to go through a pre-made course without hitting the obstacles and passing through sensors that mark the finish
Note: the acrylic is very brittle as well as most of the track, so caution is advised.
How Did You Make It:
We used 3mm acrylic for the rings and cross as supports for an axle; all the material used was cut using a laser cutter. The cross is 1in wide for each side and has a 1in hole in the center. The wheel has an 18in outer diameter with a 1in thickness. Also, slots were added to the rings so that the internal track would be at a constant level and could be glued in properly. The internal track was cut to fit in the slots and the material used is whiteboard. Finally, for the axle, we used a half-inch diameter acrylic rod and used four acrylic rings to hold to the axle in place without fixing the rod to the wheels.
The track was made from the leftover material from our tests, and the code created to use sensors was made in Arduino.
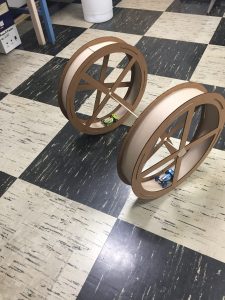
The early stage prototypes were made using cardboard and chipboard, as shown.

Also attached is the stl. file we made: spinning cruiser
Extensions:
To further this experience, older children can test what surfaces is best for speed and the cars could be replaced with motors so that the variability of the cars can be reduced and the speed, and power can be increased.
We also discussed adding a light recognition sensor to the cruiser to allow it to play “laser tag” with other cruisers. This idea would have required multiple more prototypes, adding to our materials cost, and was deemed outside the scope of feasibility for the project time frame.
Attached are handouts that we made for users to have during the activity, and for kids to take home to recap what they learned from using the toy: Spinningcruiser_flyer, Spinningcruiser_flyerforkids (1)