In class today we covered some of the basic rules and concepts of code, such as how to declare a variable, the importance of type, and why you should never confuse = (assignment) with == (is equal to).
Next we started out making our own version of Pong which we called “Ping”. We used Unity primitives to create a playing field, changed the color of the playing field with a material, and set the camera position to give us a top down view.
(Slides and Zipped project from today’s session are available on the course Box folder)
Setting up the Objects
The first thing we need is a field of play. We decided on a rectangle that is 100 units wide by 50 units high. We build this by creating a plane by selecting GameObject > 3D Object > Plane. Make sure our plane is at the origin by clicking the gear icon in the upper right corner of the Transform component and select Reset. This will set your plane’s (x,y,z) position to (0,0,0), reset all rotations to 0, and the scale to 1. Now set your plane’s scale to X:100 | Y:1 | Z: 50, and the position to X:0 | Y:-1 | Z: 0. (This -1 value ensures that the walls do not intersect with the plane, as the pivot point of Unity cube is at its center.
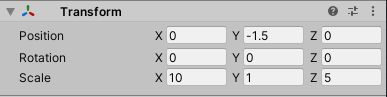
Note: Unity plane objects are 10 units by 10 units at their natural scale, so we only need to scale our x to 10 and our z to 5.
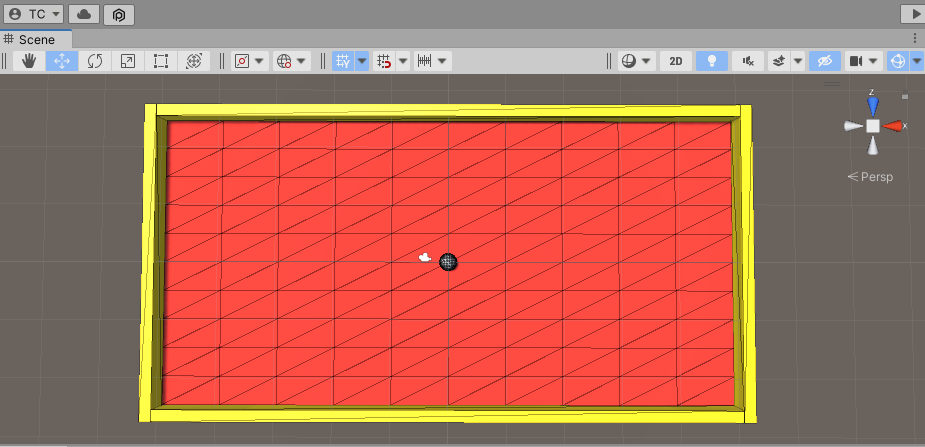
Next we create a wall by adding a Cube (GameObject > 3D Object > Cube) and setting the scale to X: 100 | Y: 2 | Z: 2. We move this wall to the side (a position of X:-26 | Y: 0 | Z: 0 should work) duplicate it, and place the copy at the other side wall. Do the same for the shorter walls, scaling your cubes to fit.
Set your camera’s Position to (0, 35, 0), and Rotation to (90, 0, 0). Adjust theheight until you can see the entire board in your Game view.
At this point, the Plane and the Walls are becoming difficult to discern from one another, as everything is currently a bright white color. Let’s change this.
We are going to create a new materials. You can do this by right-clicking your mouse in the Asset window and selecting Create > Material. You will see a new material pop up in the Asset window. Give this a name, and select it. In the Inspector, look for the Albedo setting, and click the color swatch next to it. This will bring up a color picker that lets you choose a setting. Next, change the Smoothness setting to 0. This will give our material a matte finish. Assign the material to the Plane by clicking and dragging the icon from the Asset window onto the Plane. (You will see objects temporarily assuming this material when the mouse is over them, indicating which object you will affect.
Next, we need a ball. Create a sphere (GameObject > 3D Object > Sphere). Reset the transformation to put it at the origin, and set the XYZ scale to 3.
Note: In Unity, the “Y” axis moves up/down. This differs from many modeling programs that treat “Z” as the up axis. “X” is still left to right, so if you want to make something move on the ground, as we do here, you are moving along the XZ plane.
Tomorrow we will start making things move, and then on Friday we will make them bounce!