Today we moved on from attacking spaceships and onto a new project – the 2D platformer! We explored Unity’s 2D template, learned how to import and process 2D images as “sprites”. Tomorrow we will create our first Tilemap and let our player move around!
Part 1: 2D Basics
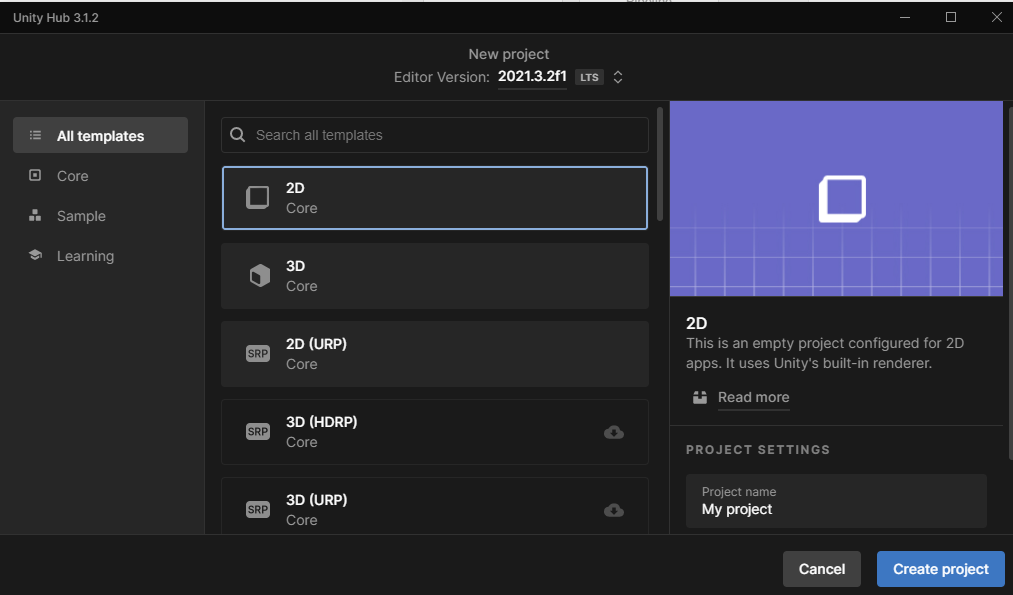
An important distinction to make about building a 2D game in Unity is that it is all the same Unity game engine. There are 2D and 3D capabilities built into the engine, but up to now we have dealt exclusively in the 3D realm. To make development (and the file-size of a project) efficient, many of the packages that are specific to 2D are turned off in the 3D templates. The best way for us to activate these packages is to launch a new project, but use the built-in 2D Template instead.
When we launch this, our editor will look mostly the same, with a few small, but significant differences. First, you will notice that our Scene window is set to “2D” mode, with our camera facing the XY plane.
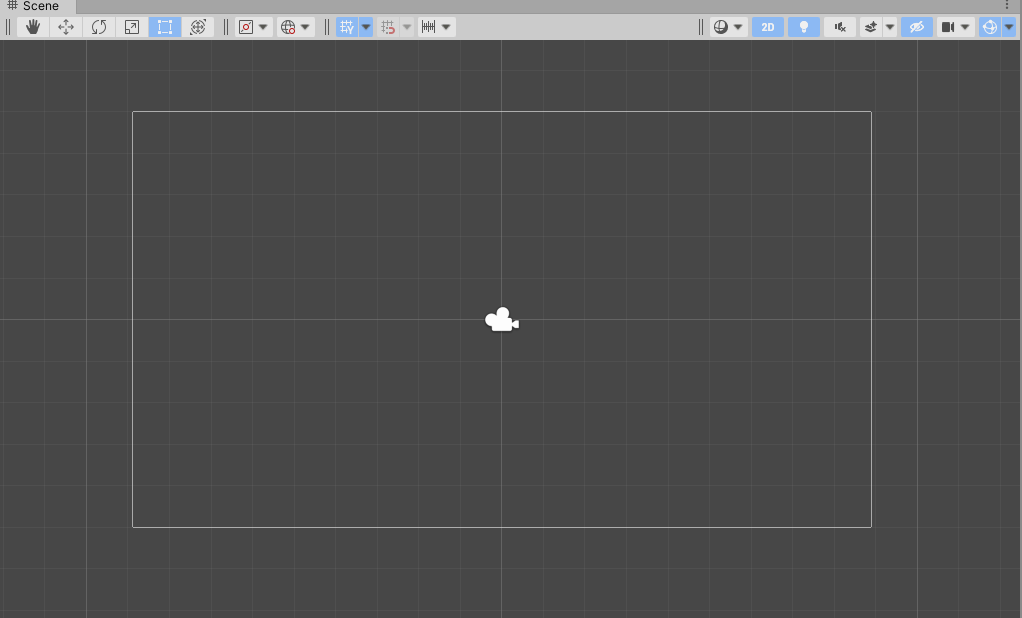
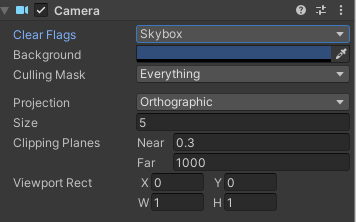
You will also notice that our scene only include a camera – by default there is no directional light, because we will be using sprite rendering in this project instead. Also, our Main Camera is a little different – our Projection is set to Orthographic, and there is no Skybox. (There can be a skybox, but none is included by default, so the Clear Flags option falls back to the Solid Color designation.
While the 2D / Orthographic camera can be used to render 3D content – remember, we did this with our Pong game – the primary method of drawing objects on the screen for 2D content is to use Sprites.
“Sprite” is a term that has been used in the video game industry almost since it’s inception. In the beginning, it referred to an image of a specific size and type that could be drawn directly to the the screen without having to be processed by the CPU, and was used to improve the performance of a game. These days, the term refers to any bitmap (or image) that is used primarily as a 2D object in a game, rather than a texture or mesh object. 2D games still rely heavily on these for their characters and worlds.
Technically, our Sprite objects in Unity are still mesh objects. Unity generates a simple flat mesh shape, and applies the bitmap to it as a texture, but instead uses an optimized shader to draw this without considering many of the procedure we would include in 3D rendering. Even our text objects generate a simplified mesh and apply the font as a texture to it. For our purposes, however, we will refer to “mesh” objects as those belonging in the 3D realm, and our “sprite” object meshes simply as Sprites.
A “sprite sheet” refers to an image that contains a collection of images to be used as sprites. Sometimes these are collections of common objects or “tiles” that can be used to create a level, as we will do here, but more often you will encounter them as collections of sequential frames for animation. The reason that these sprite sheets are used is that it is far more costly to load a number of small images into memory and swap them in and out as objects in the scene than it is to have a single large image and instead adjust which coordinates of the image will be drawn in a particular frame.
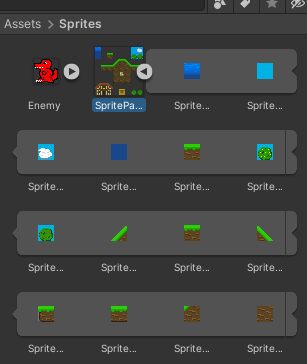
For this demo, we are going to use three files as sprites:
In this case, we have:
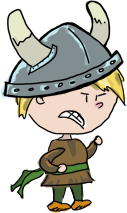
- Our hero, a little Viking Boy (a high resolution drawing, and part of a larger sprite sheet comprised of frames of animation. I’ll be showing these next week)
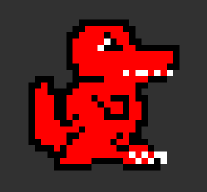
- An enemy (a very small pixelated dragon, also from a sprite sheet comprised of frames of animation)
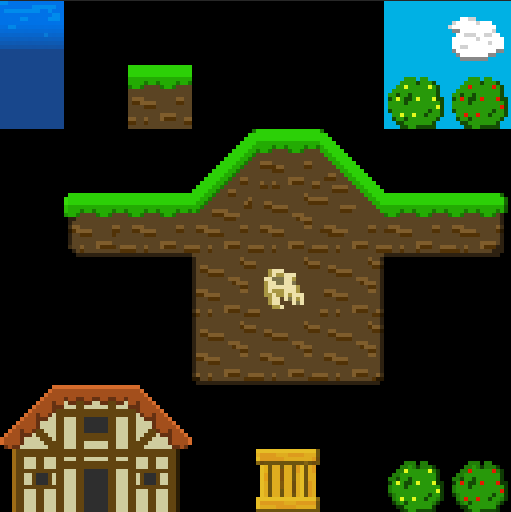
- Environment Tiles (a 128×128 sprite sheet composed of 16×16 pixelated blocks, each one intended as a “Tile” for our Tilemap)
Sprite Layering
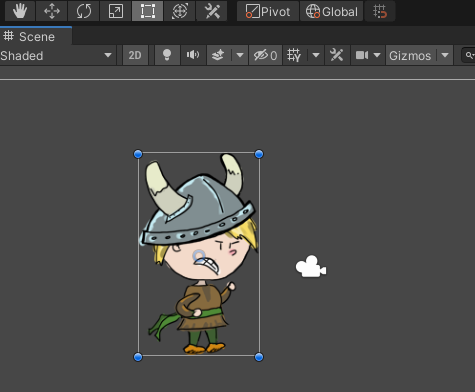
We start by placing an instance of our Viking Boy into the Scene. You’ll notice when we do this, that we have a new Component, the Sprite Renderer. (This replaces the Mesh Renderer and Mesh components from our 3D games.) You will also notice that the default tool to move the Sprite is the Rect Tool, located to the right of the Scale button. (The hotkey for this is: Y) You can still use move/scale/rotate, but the Rect tool is easier for 2D workflows.
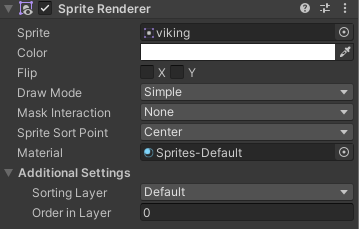
Our Sprite Renderer component gives us access to only a few controls that we will use. The “flip” property is useful for swapping a sprites direction without resorting to rotation or scaling tricks. The “color” property lets you set a tint for the sprite, as well as the alpha (transparency) value. This means that any sprite can be faded. There are no special shaders like what we had to use with our 3D blocks in the last assignment.
Under Additional Settings we find perhaps the most important setting, the Sorting Layer. Unity’s sprite rendering works a little different from what you have experienced up to this point, in that it often doesn’t matter how close or far a sprite is from the camera – the order that sprites are drawn in (and therefore the determination of which sprite will be in front of the other) comes down to a series of comparisons, the most important of which is the Sorting Layer.
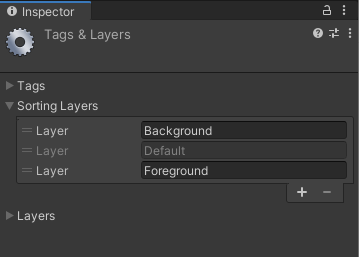
Here, we have our Viking Boy on the “Default” layer, but if we access the dropdown and click “Add Sorting Layer…” we go to our Tags & Layers panel and can create new layers. The order of these layers determines which will draw in front of which. Each layer on the list will draw in front of the layer before it, so the objects set to the bottom layer (here we created “Foreground”) will draw in front of everything else.
Also in our Additional Settings, you can see the Order within Layer setting. This takes a numerical value, and when two objects in the same layer overlap, the object with the higher number will render in front of the lower numbered object. (If objects are equal after this, distance to camera is finally considered)
Importing and Editing Sprite Sheets
Sprites and sprite sheets come into our game the same way as the rest of our resources – we import them using Assets> Import New Assets…
Once imported, you will want to select it so that you can make edits to the Import Settings. Remember, these assets are external to your editor. Nothing you do here will change the contents of the sprite sheet, only how the Editor interprets it. Also remember that once you have made changes you will need to confirm the changes by clicking the Apply button at the bottom of the panel.
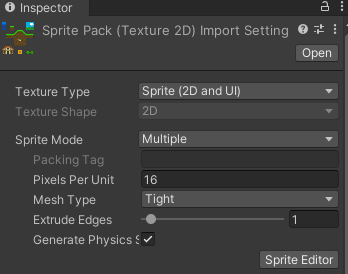
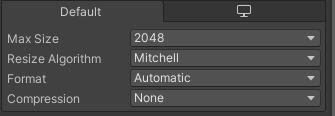
In your Import Settings, chance the Texture Type to “Sprite (2D and UI”. This tells Unity a bit about how you intend to use the file. If your sprite is a single image, then the default Sprite Mode setting of “Single” will work for you. However, if this is a sprite sheet, change this to “Multiple”, which lets unity know to expect more than one object will come out of this texture atlas. Your Pixels Per Unit setting serves as the scale for how big your sprites should be if you drop them into the scene (of course you can always scale them to meet your preference). By default this value is 100 pixels to a unit. This is great for our Viking Boy as this will make him about 2 units high, but our Environment object is only using 16×16 pixels per sprite. We change this value to “16” so that each block will be 1 unit by 1 unit.
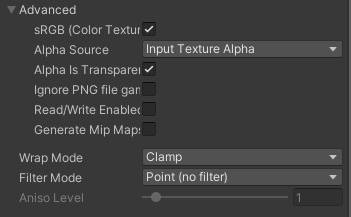
Next, we want to correct the “fuzzy” look of our smaller objects. If we post this to our level, we see the edges are blurry. This is because Unity is “sampling” the image to visualize it at a higher resolution. This is great for things like photorealistic textures, but terrible for our pixel art. To correct this, we go to the Advanced Settings and set the Filter Mode to “Point (no filter)”. This setting controls how to handle scaling images. Using “point” tells the editor that we want the images sharp edges to be preserved.
If you are using pixel art, and are still getting images that don’t look quite right (i.e. the edges are sharp, but the sprites themselves are blocky or the colors somehow.. wrong) you might be having issues with the “compression” settings. Unity automatically puts compression on all images that it imports, but for pixel art this can often create a degraded look, and the gains are super minimal because the source images are so small to begin with. To correct this, look at the Default settings at the bottom of Import Settings and set your Compression to “None”. This will remove any adjustment and use your source material as-is.
Now it is time to split the sprites, which we will do with the Sprite Editor, which you access from the sprite’s Import Settings.
NOTE: If you want to use the Sprite Editor with the 3D template, you may need to install the 2D Sprite package, which you can do from the Package Manager. If you are starting from a 2D template, this package is already activated.
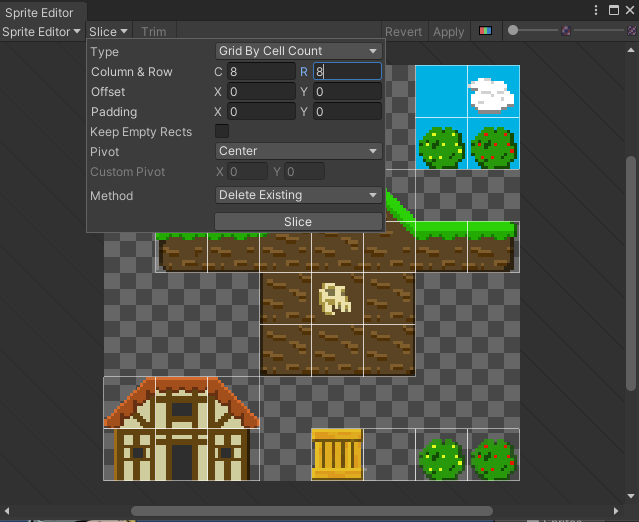
For our Environment sprite sheet, go to the Slice dropdown button at the top and select Grid by Cell Count. This will let you define the how the image should be split into pieces. For this object, we want to set the count to 8 columns and 8 rows. Keep the pivot at “Center” (you’ll want this for proper placement in the Tilemap.) Once you are ready, hit slice. You will see that small boxes have been drawn for these, but also that any empty square has been removed. If you update your sprite sheet with more sprites, you may need to run the Sprite Editor again to include the new content.
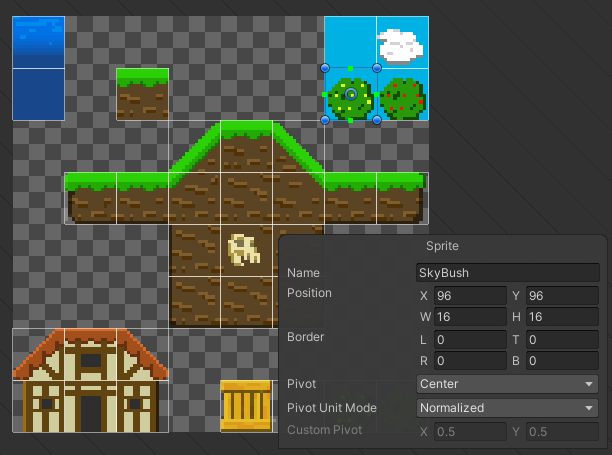
If you click one of these boxes, you will get a Rect controller, and call up information about the sprite itself. You can adjust values, or change the name of the individual sprite.
When you have completed your set-up & edits, click the “Apply” button in the Sprite Editor window, and then also the “Apply” button in the Import Settings. Now in the Asset window your sprite sheet will have a small arrow in a circle next to it. Clicking on this arrow will expand the list to show the individual sprites contained within this object.