
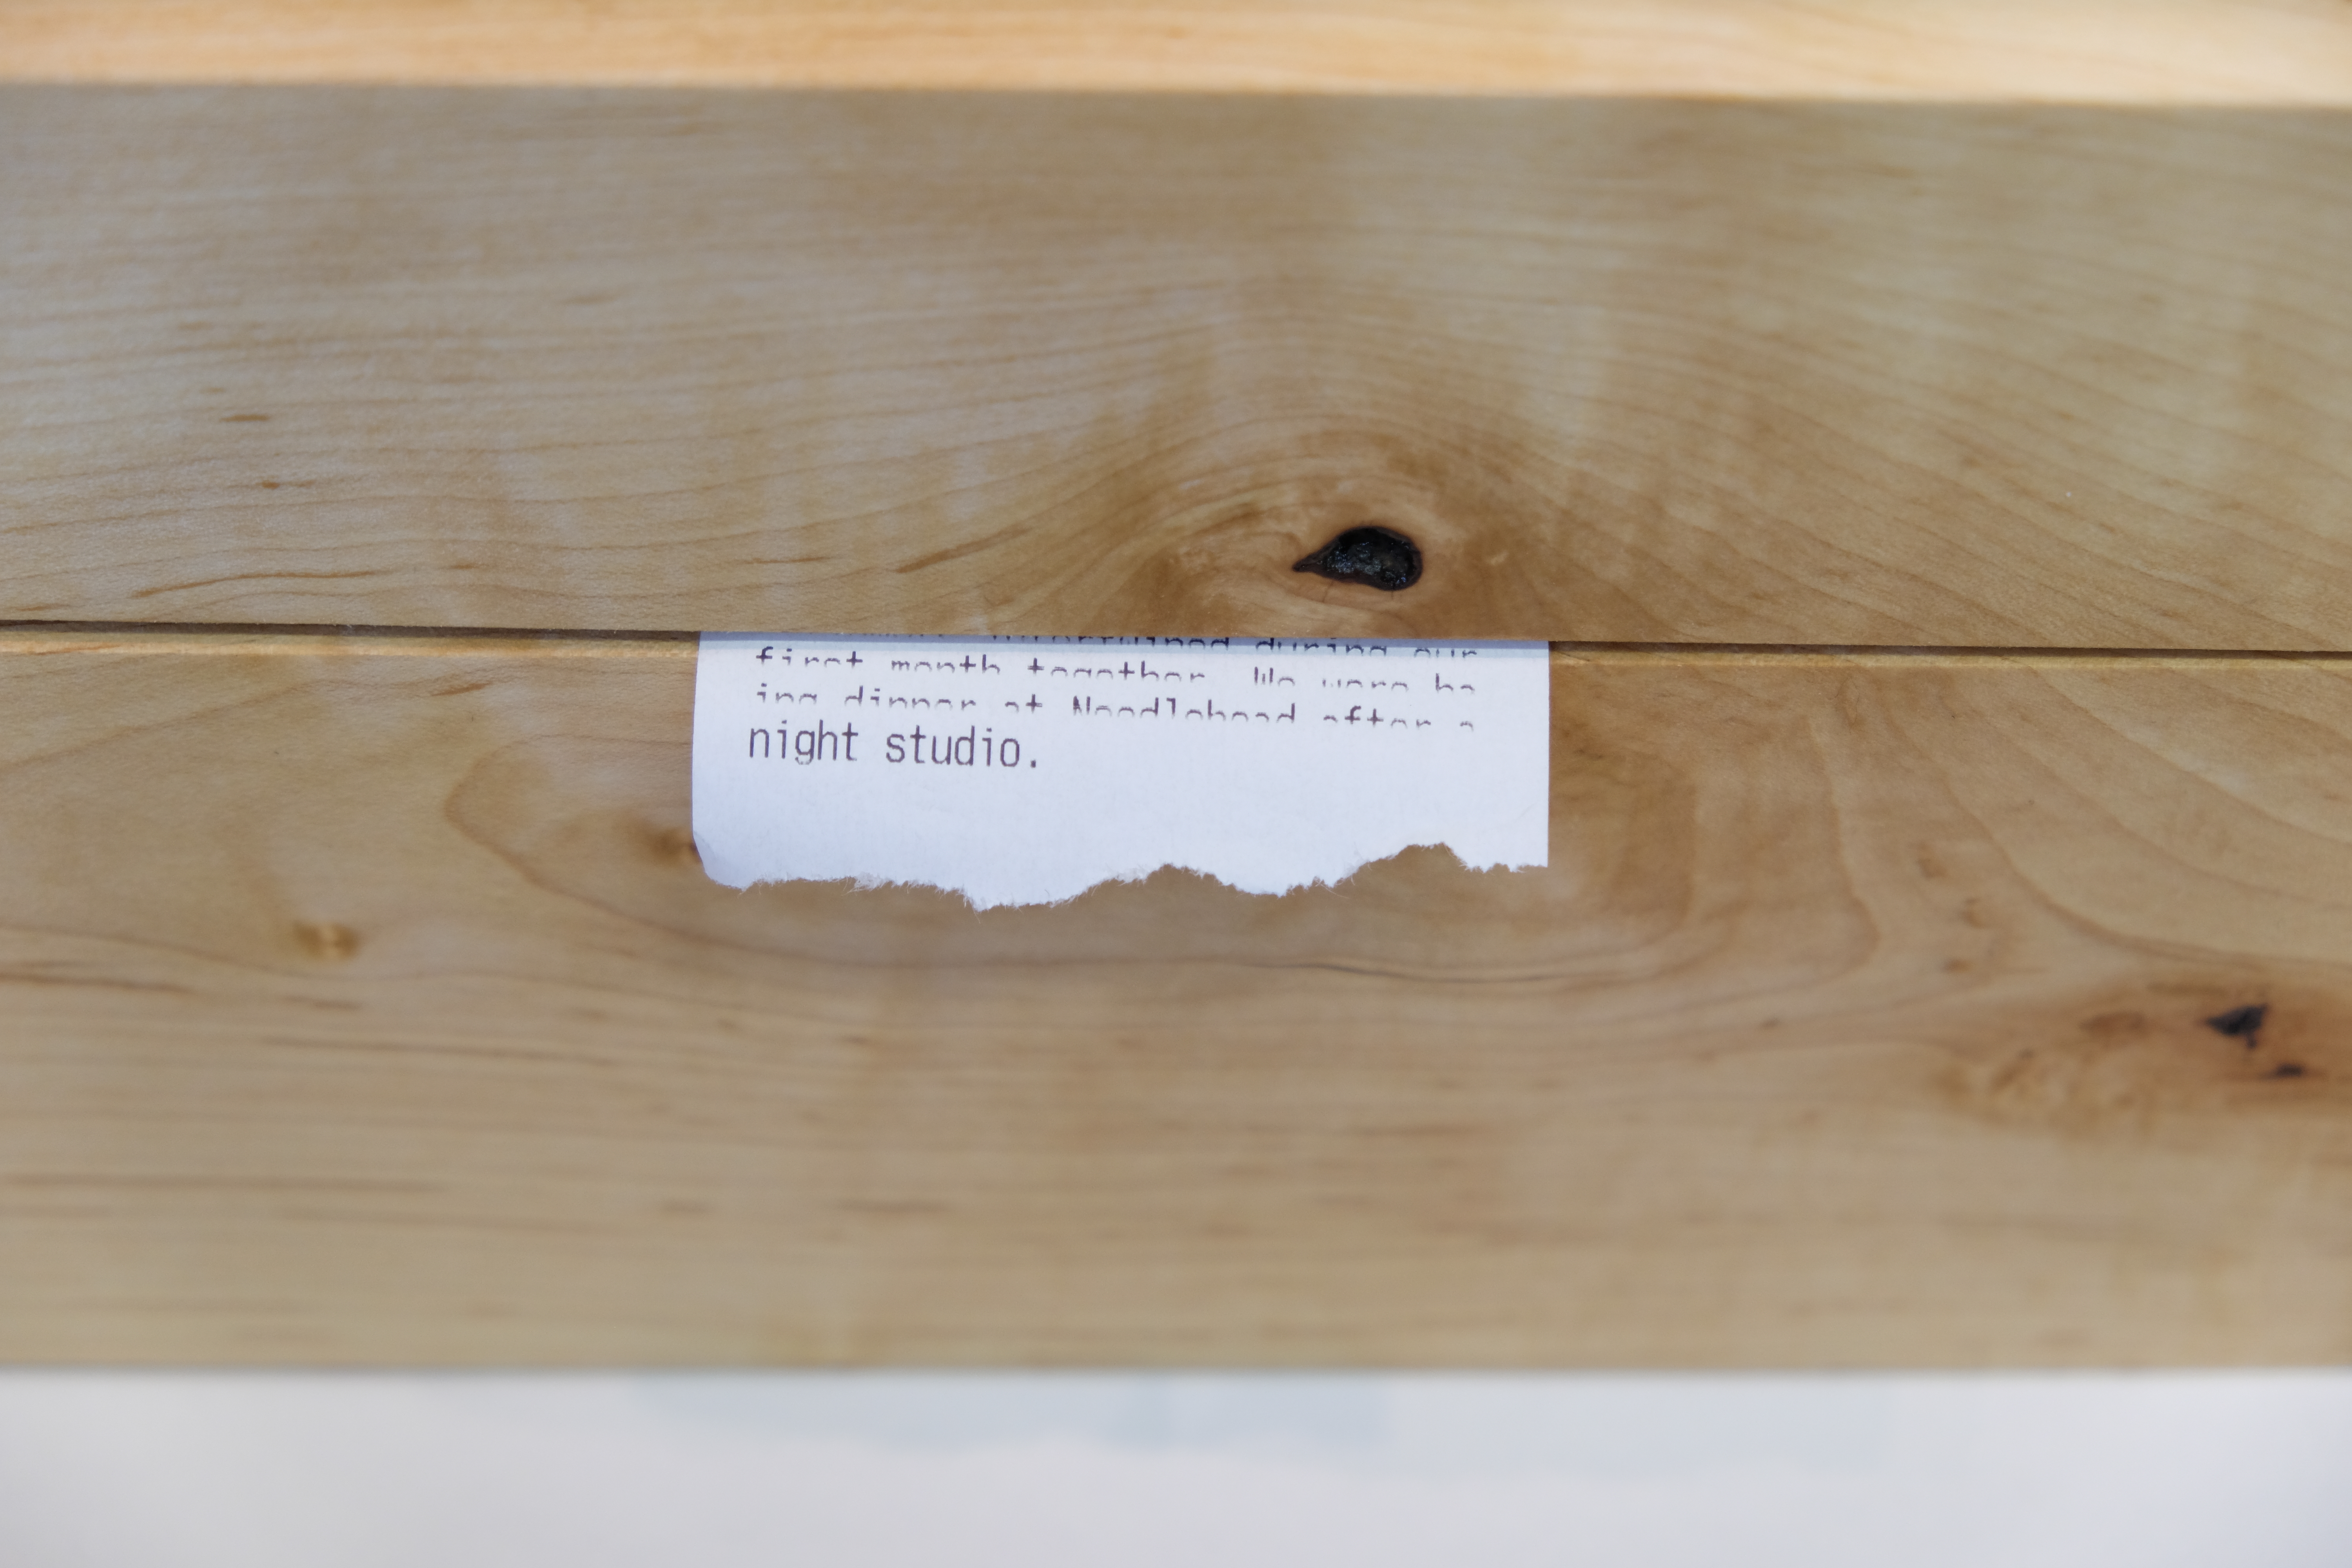
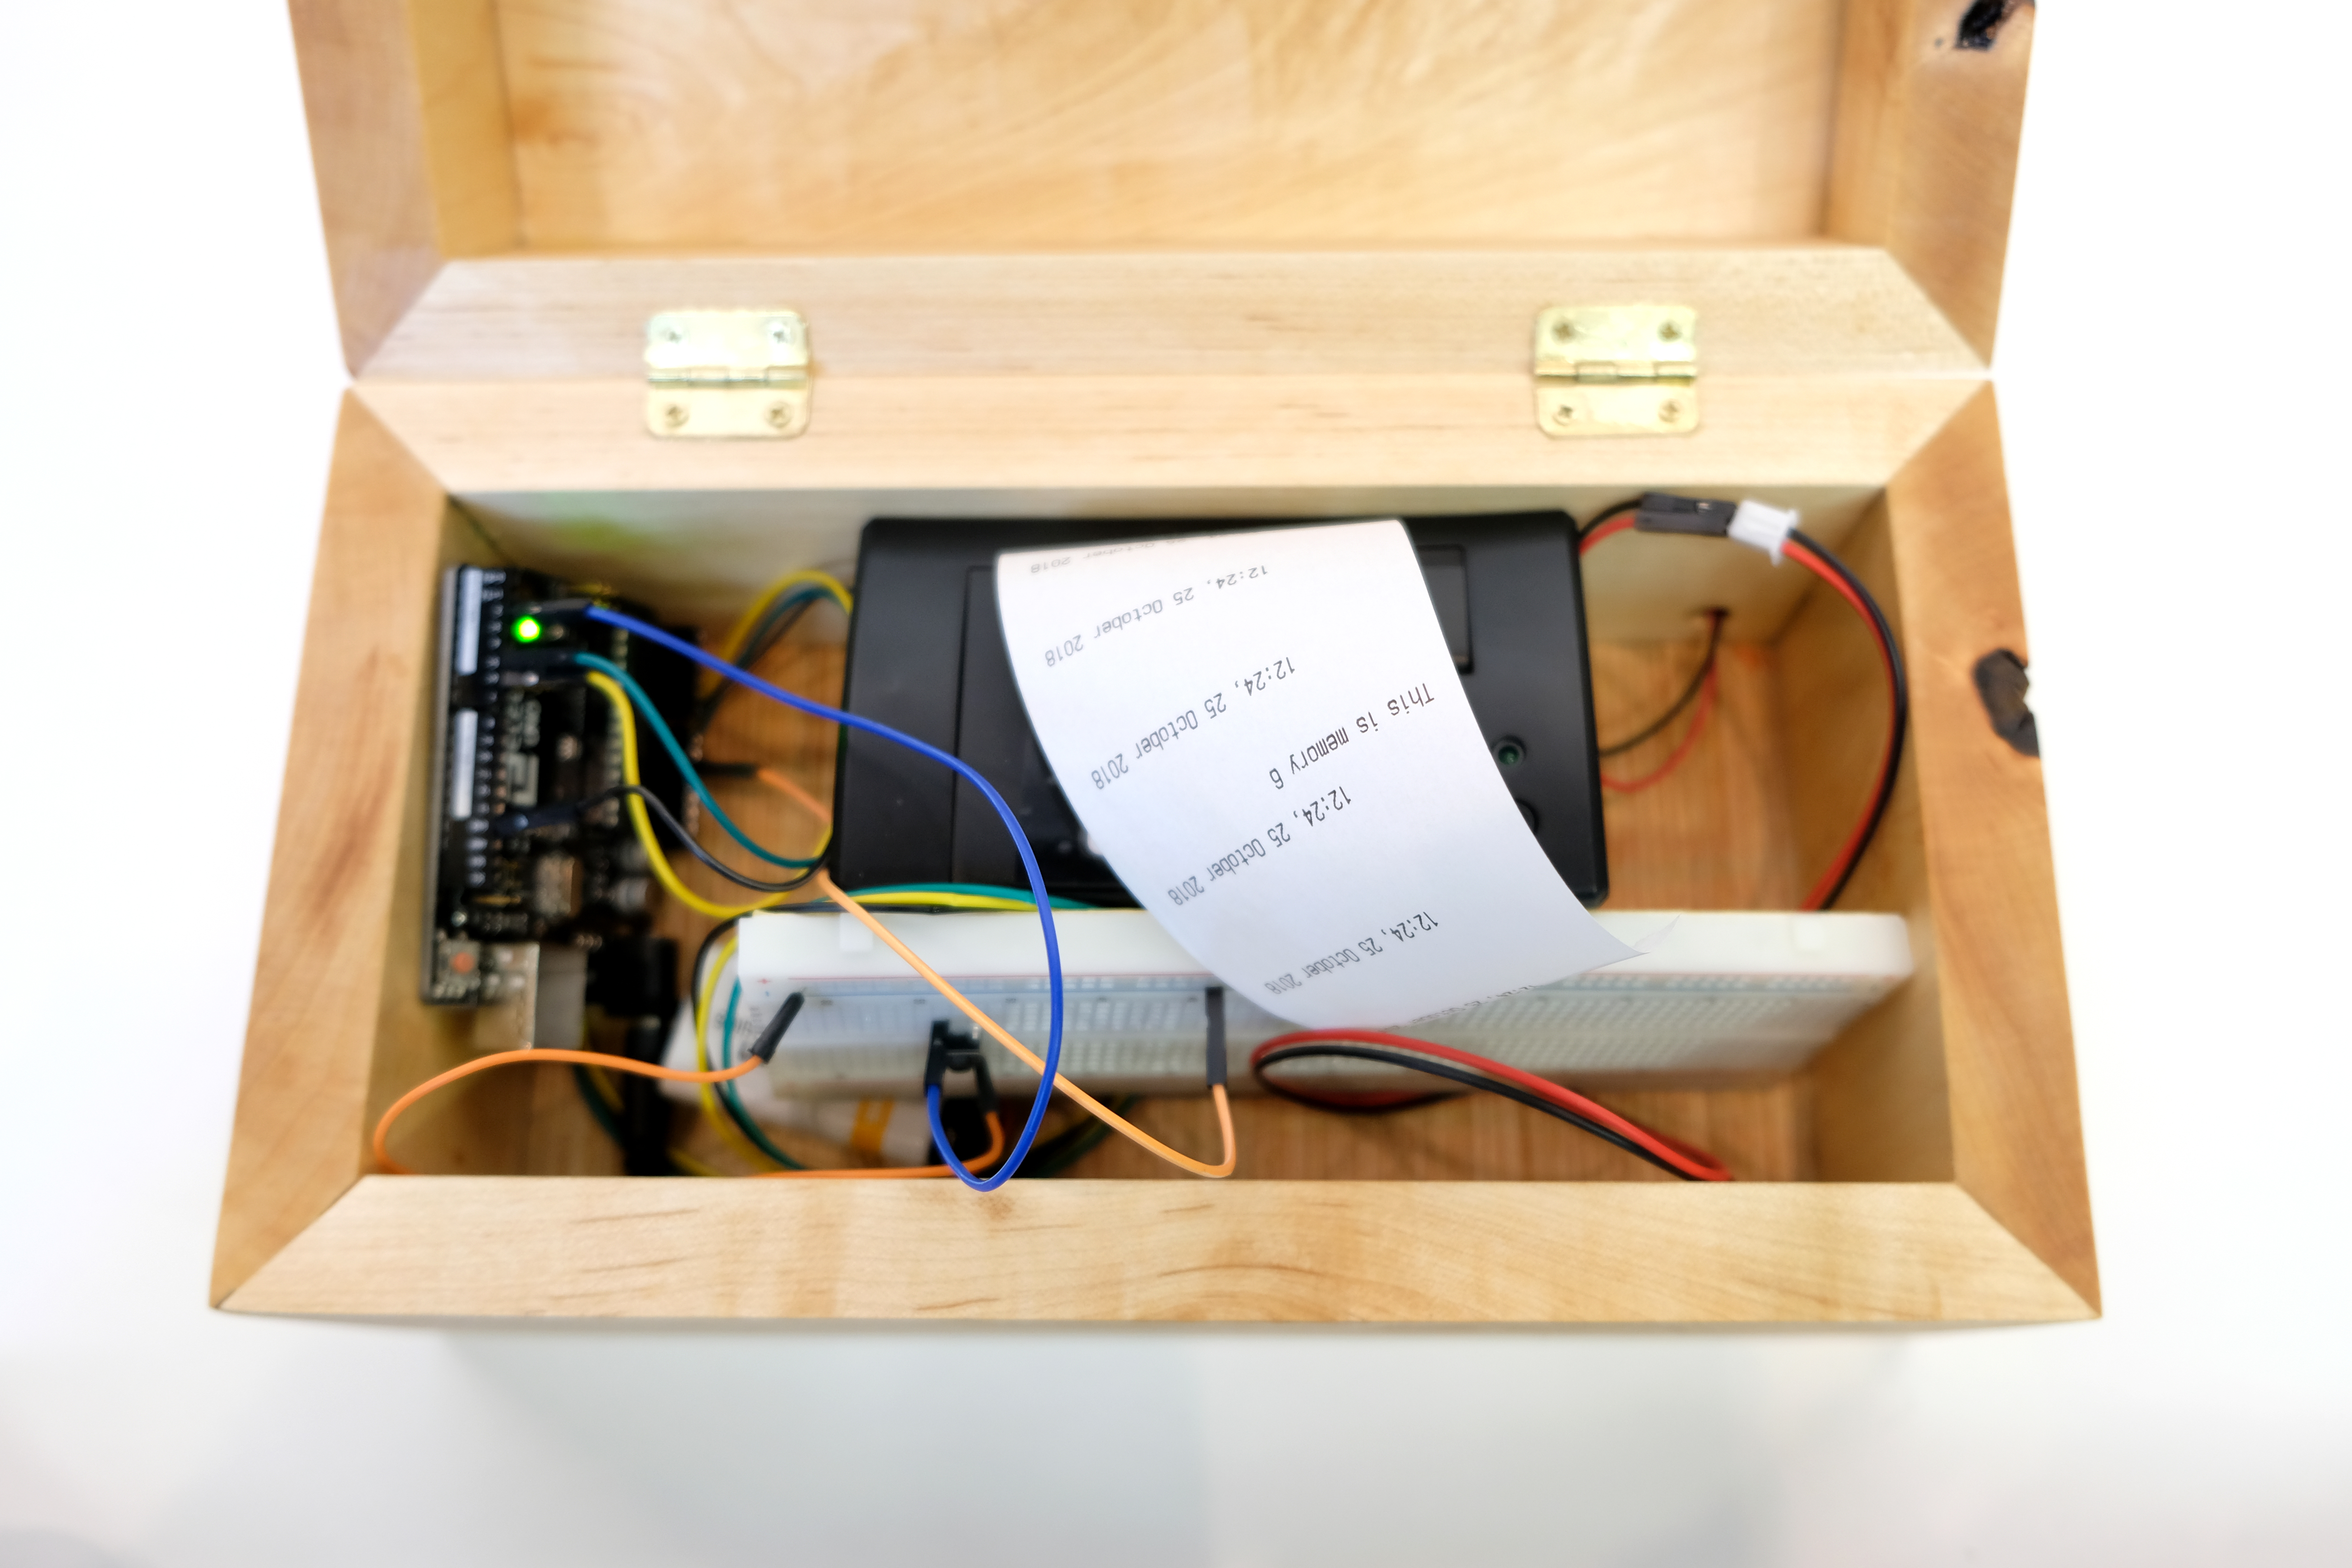
Interactive Memory Box is a tool relying on neuroscientific findings used to strengthen the engraving of long term memories right before sleep.
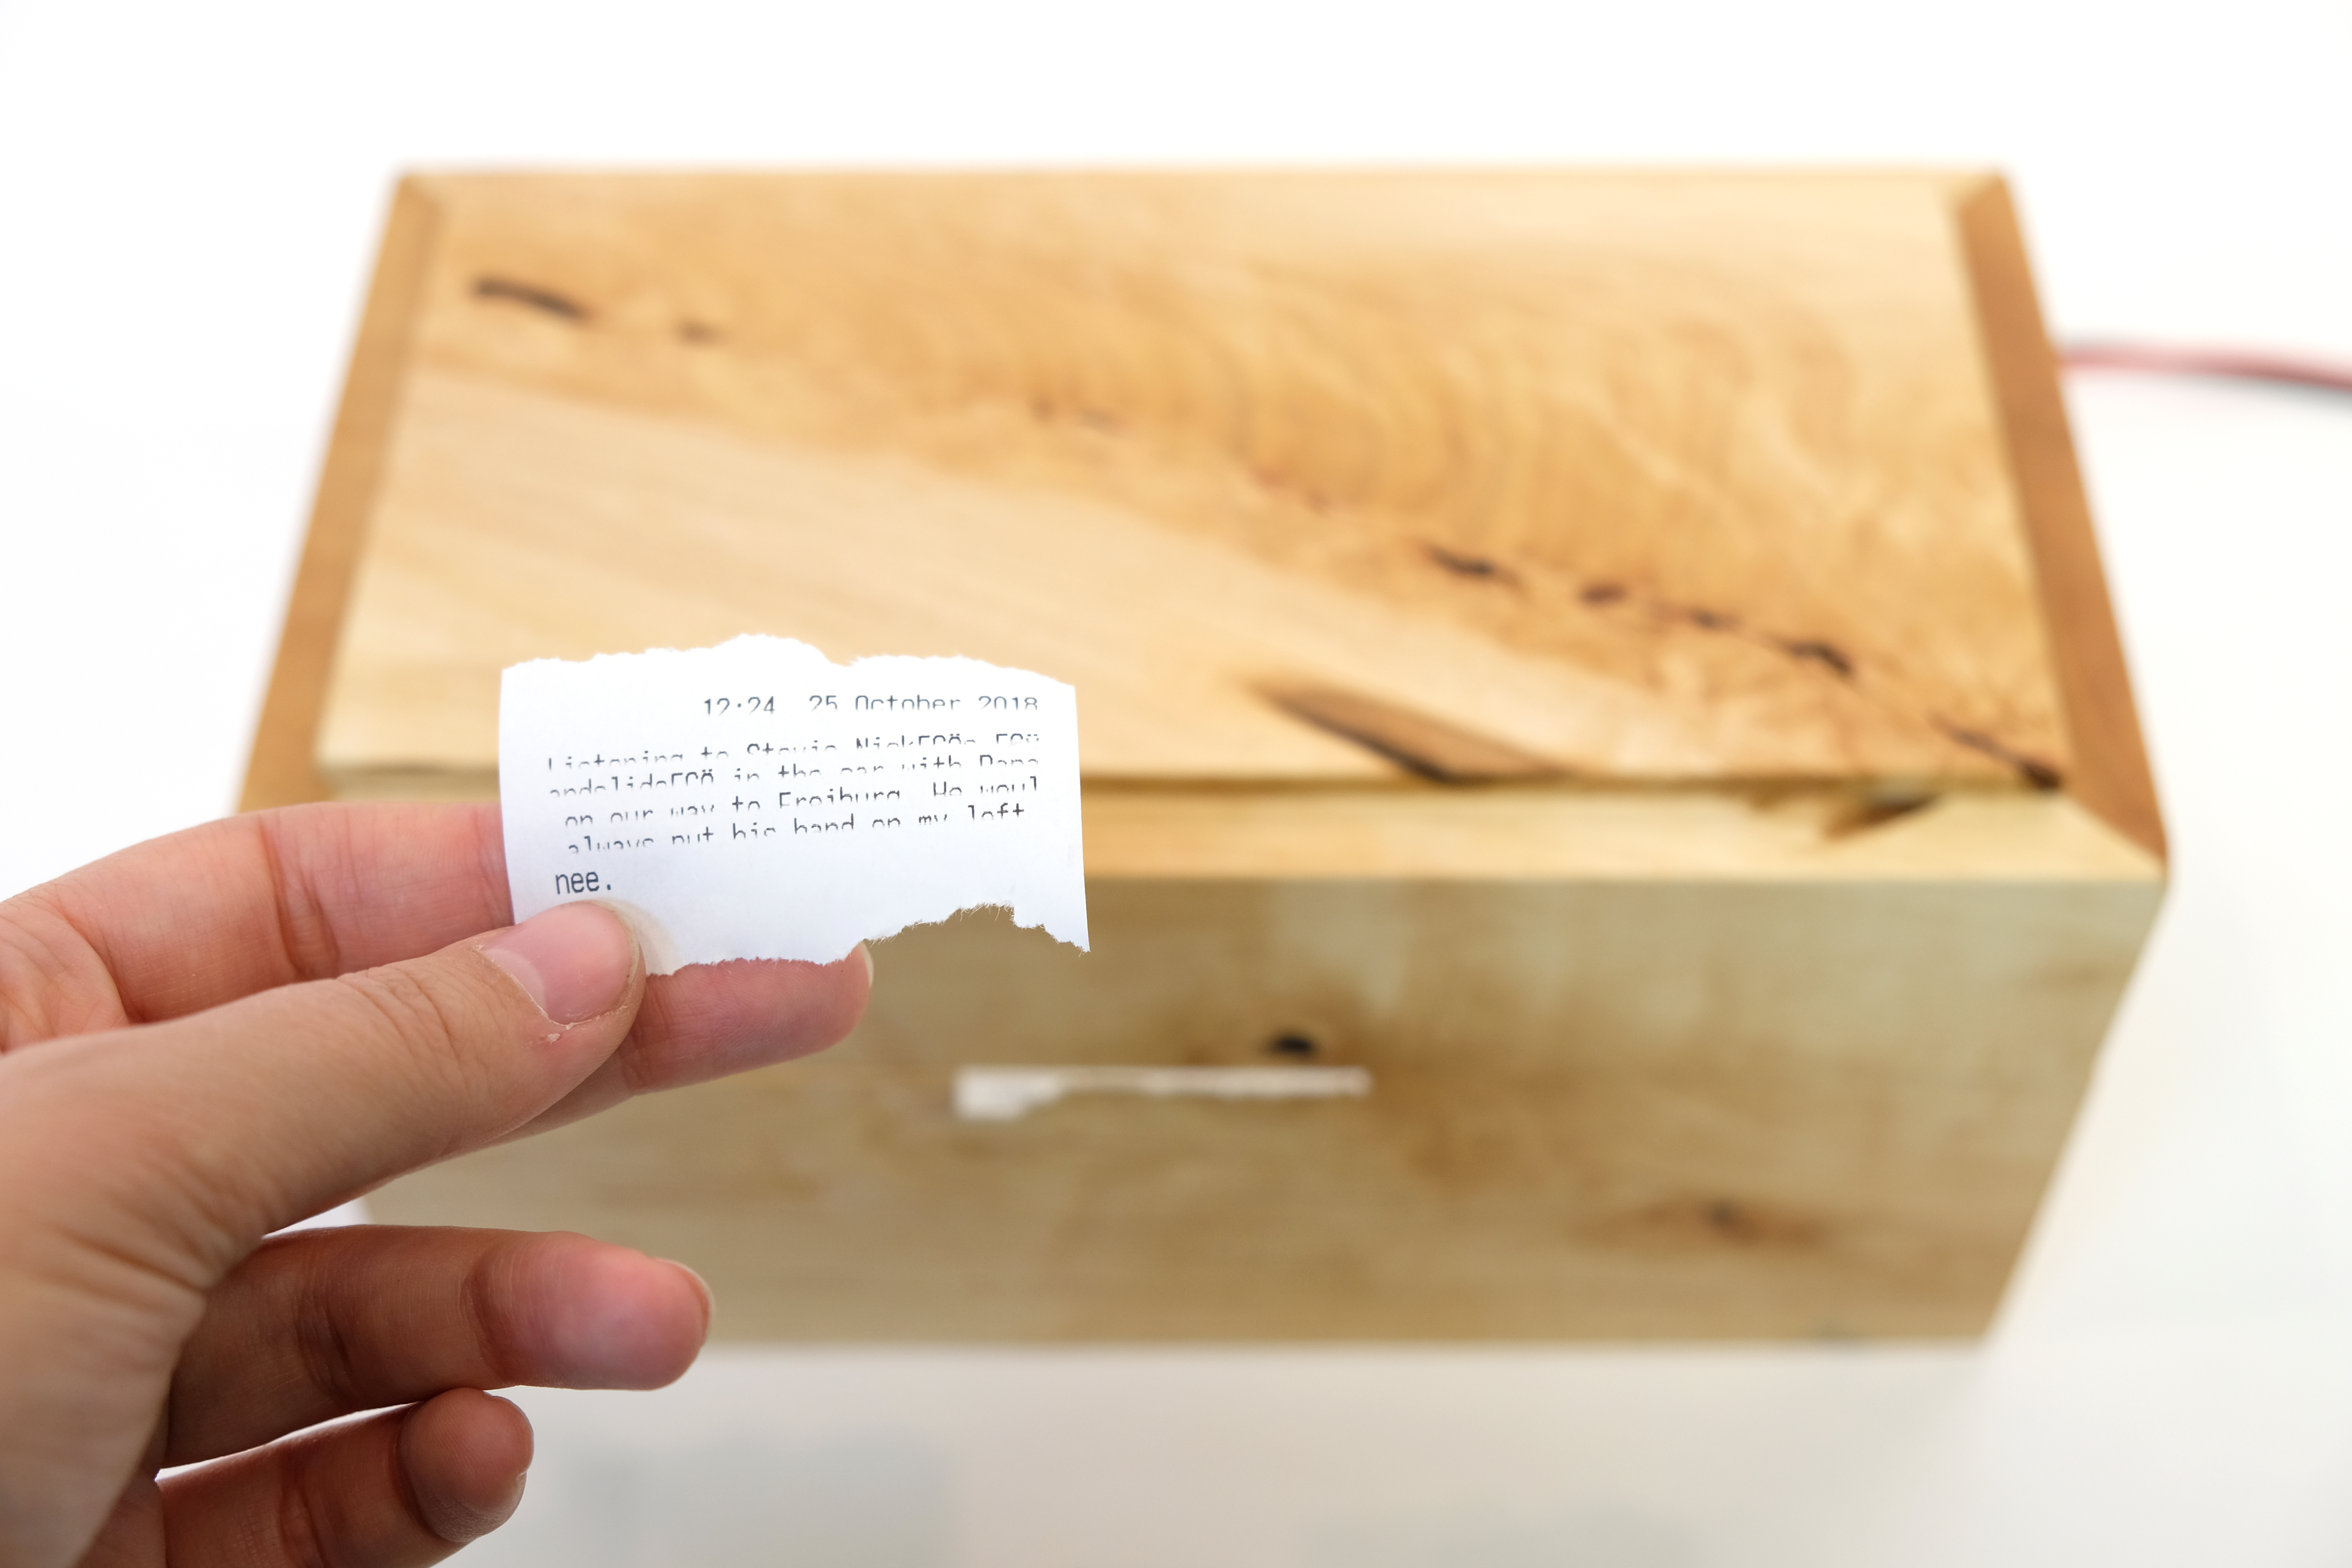
This project is a concept work which draws upon neuroscientific findings regarding the lasting effects of memory books on progressive memory loss. It works by systematically reminding you of certain memories by physically printing them on paper right before going to sleep, which causes a strengthening of neural pathways. This is thought to improve memory and protect it from potential neural damage.
Process
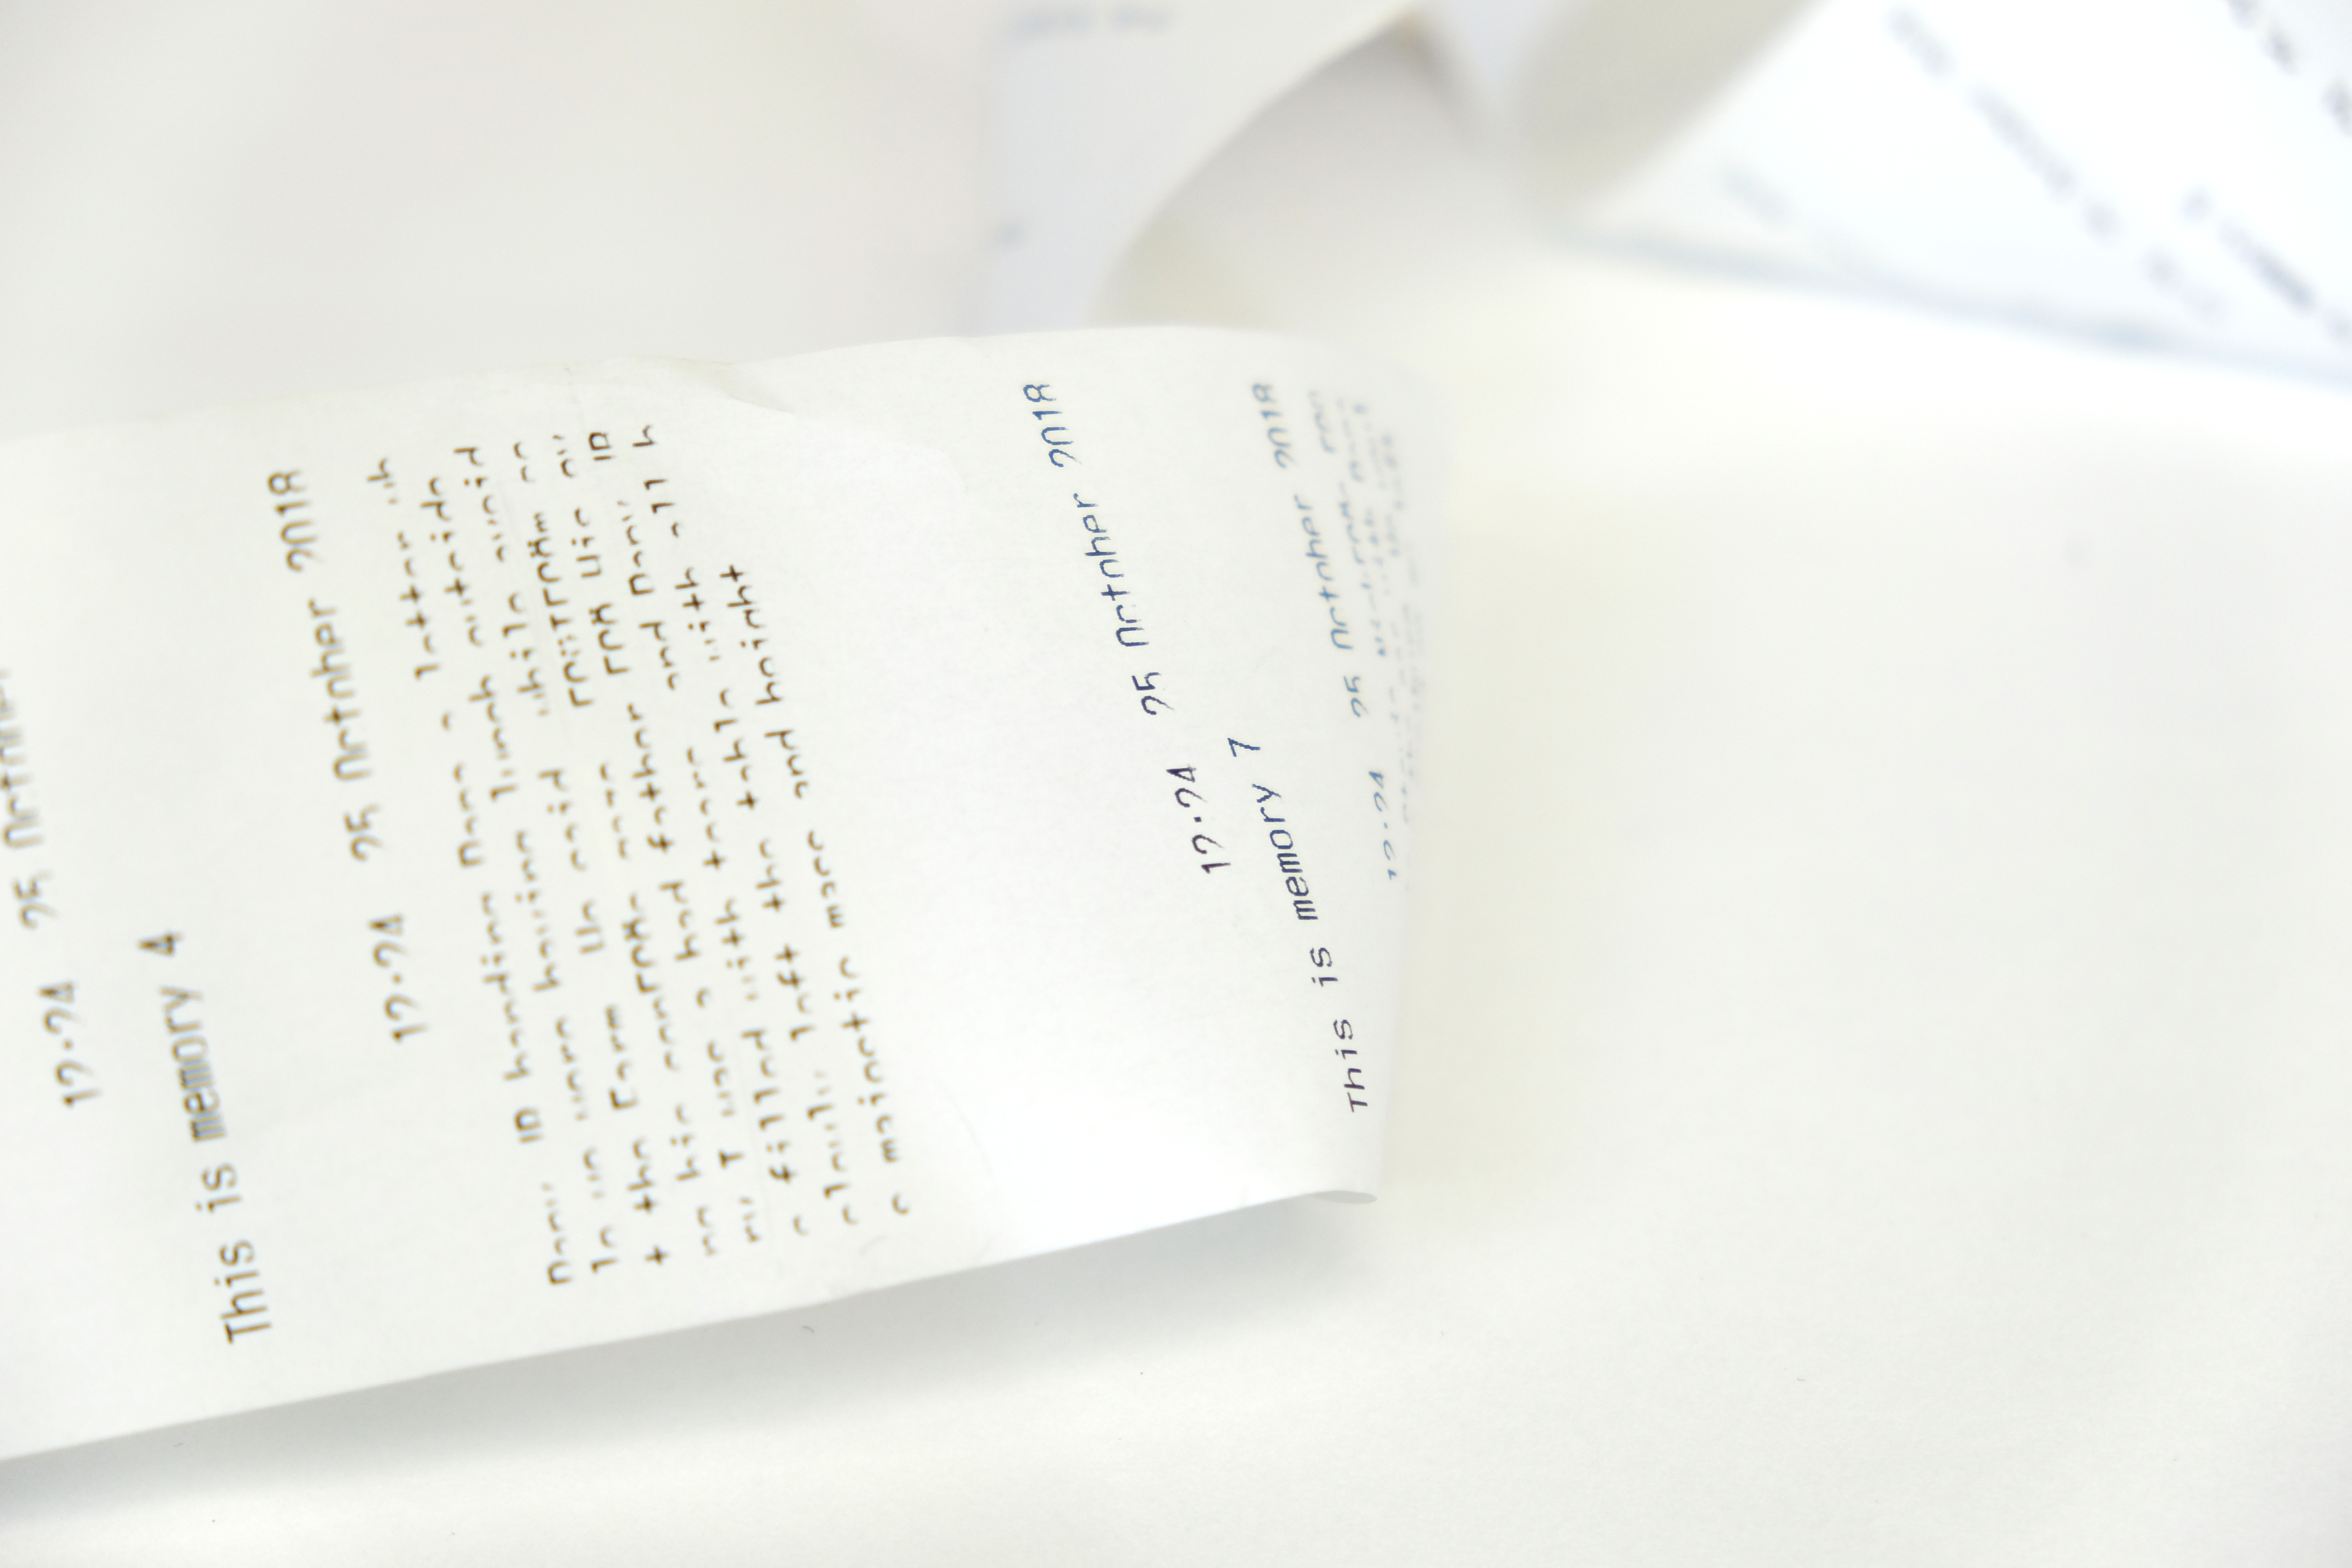
I started by working with the thermal printer, and getting it to print the content I wanted in a specific format. This meant creating a long and thorough string, my memories. Over the course of a week, I documented past memories which had been pivotal in my life in one way or another, and hardcoded the list of 100+ memories as a string. One of the things I struggled with in the programming section was getting the text to print upside down, so that it would appear right side up while coming out of the box. Unfortunately after many hours of troubleshooting I found that arduino had discontinued that command and it couldn’t be achieved without hacking into the printer.

First successful trials with the Adafruit thermal printer
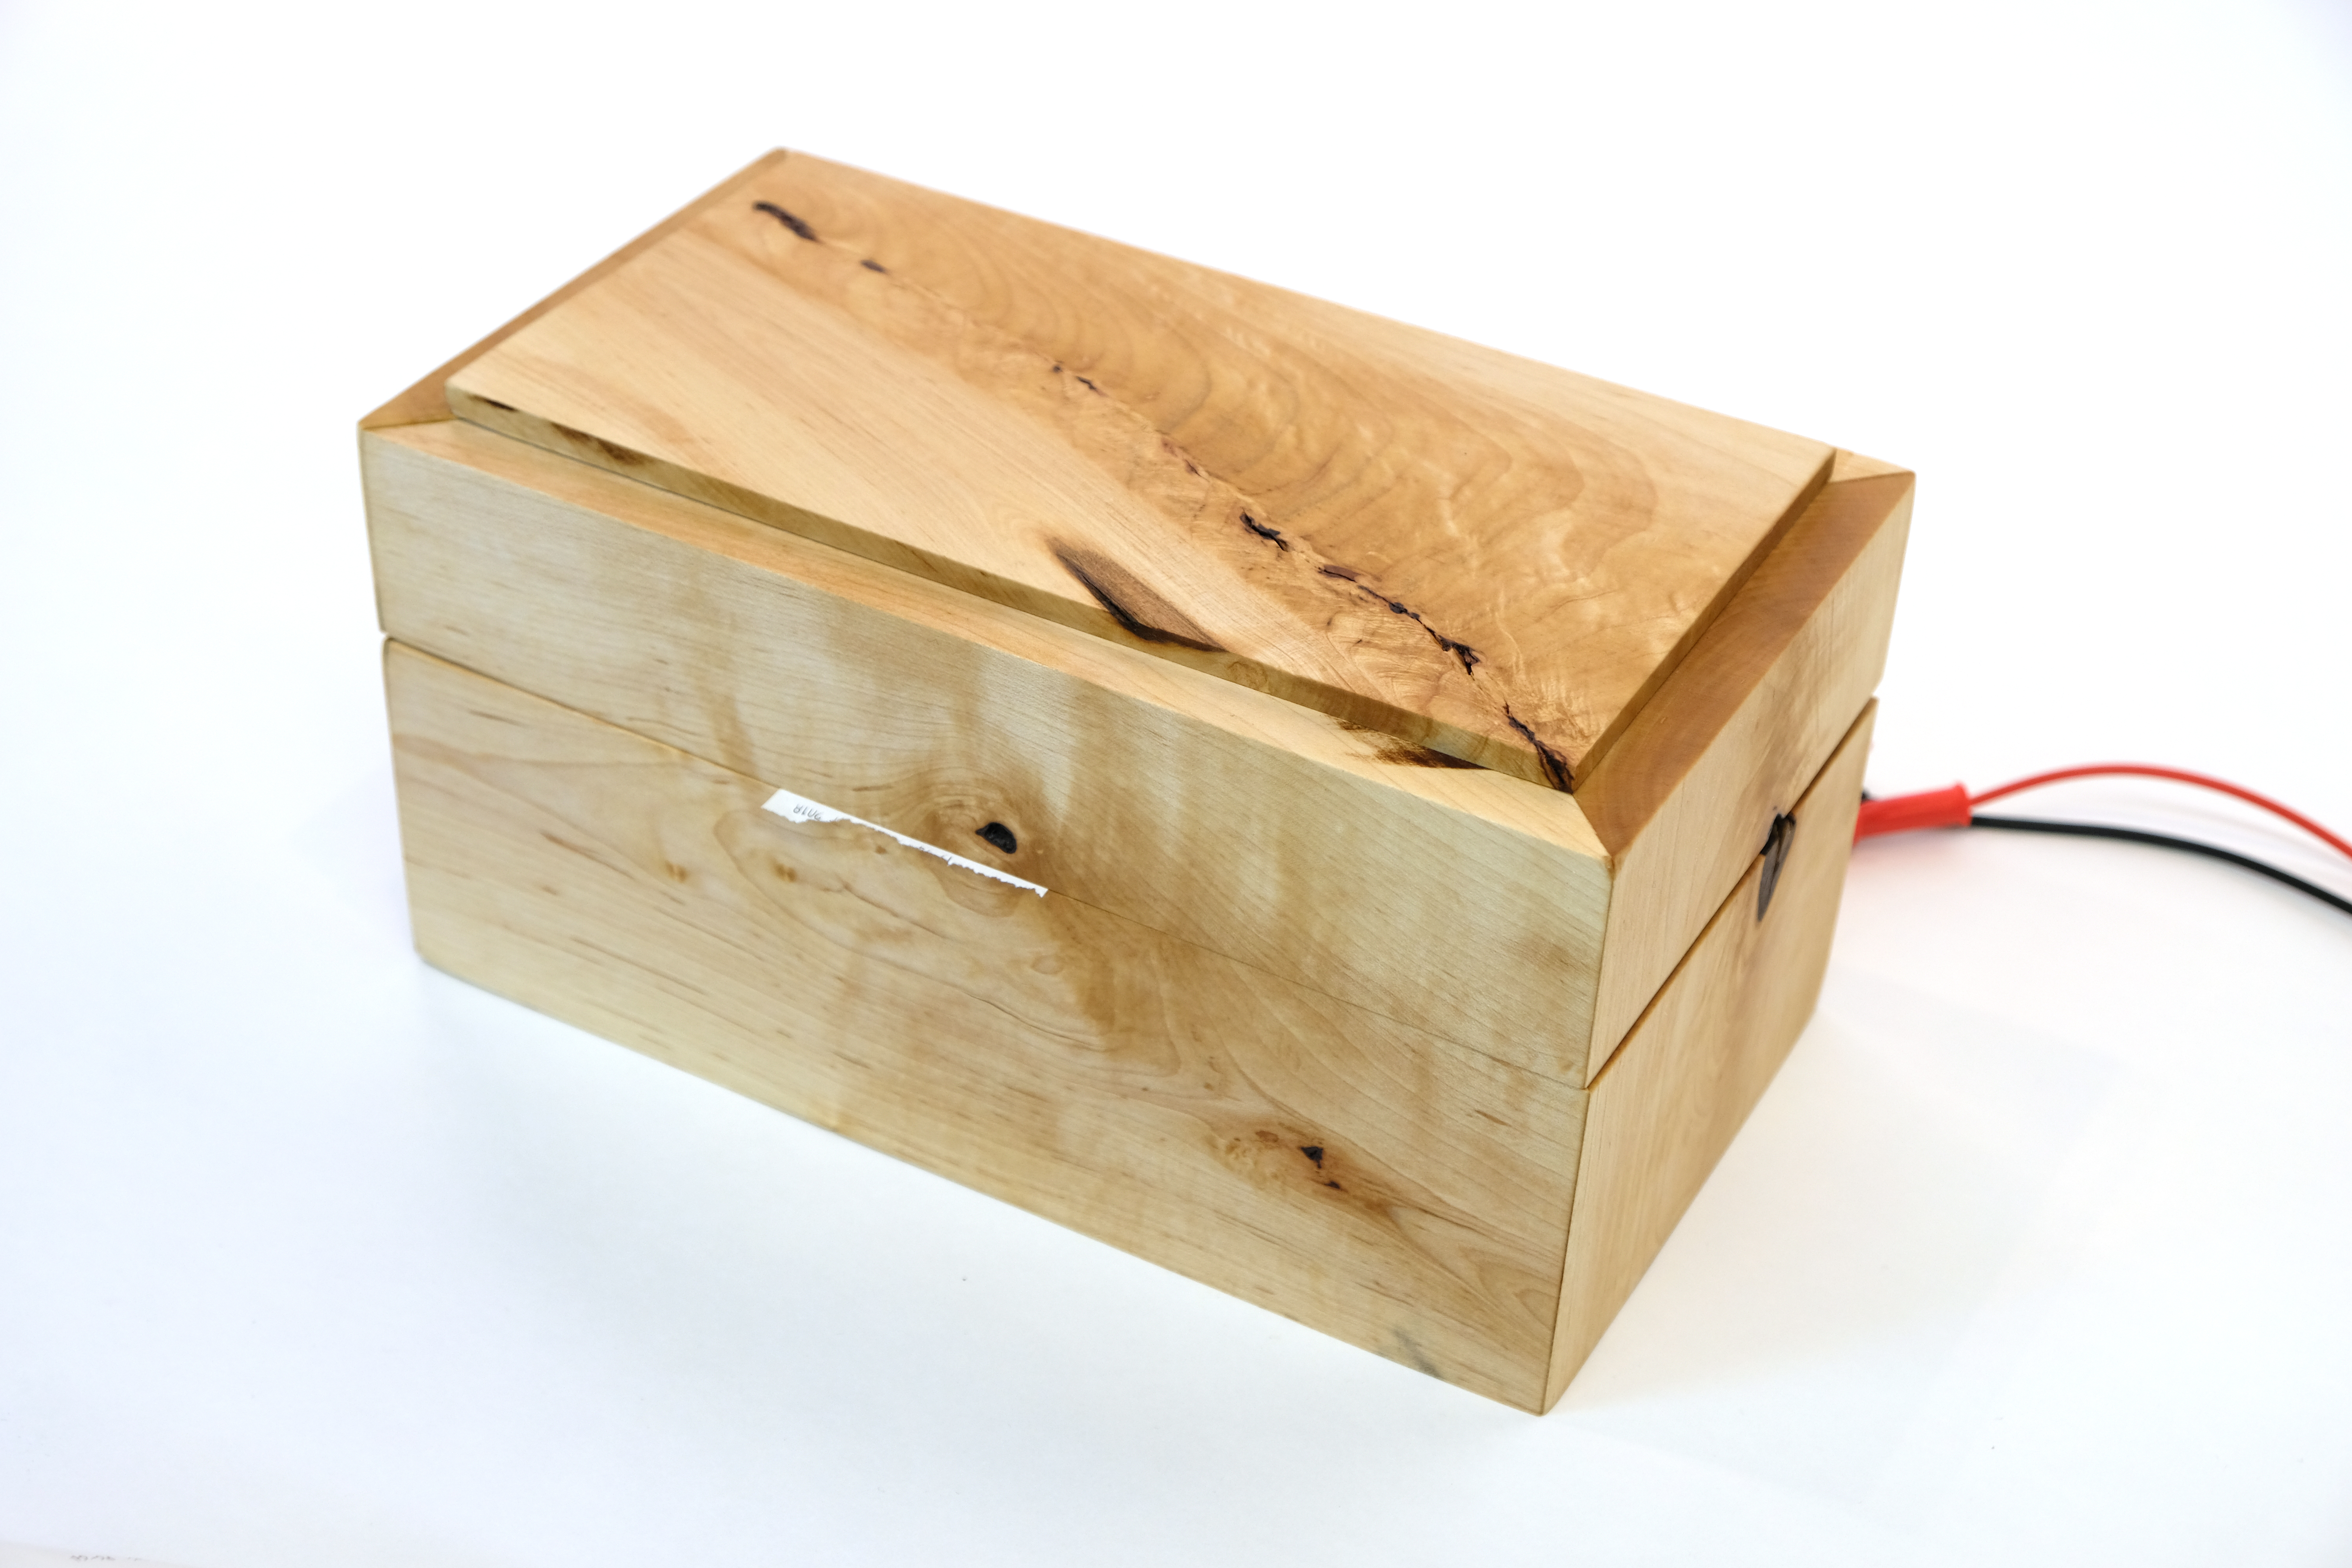
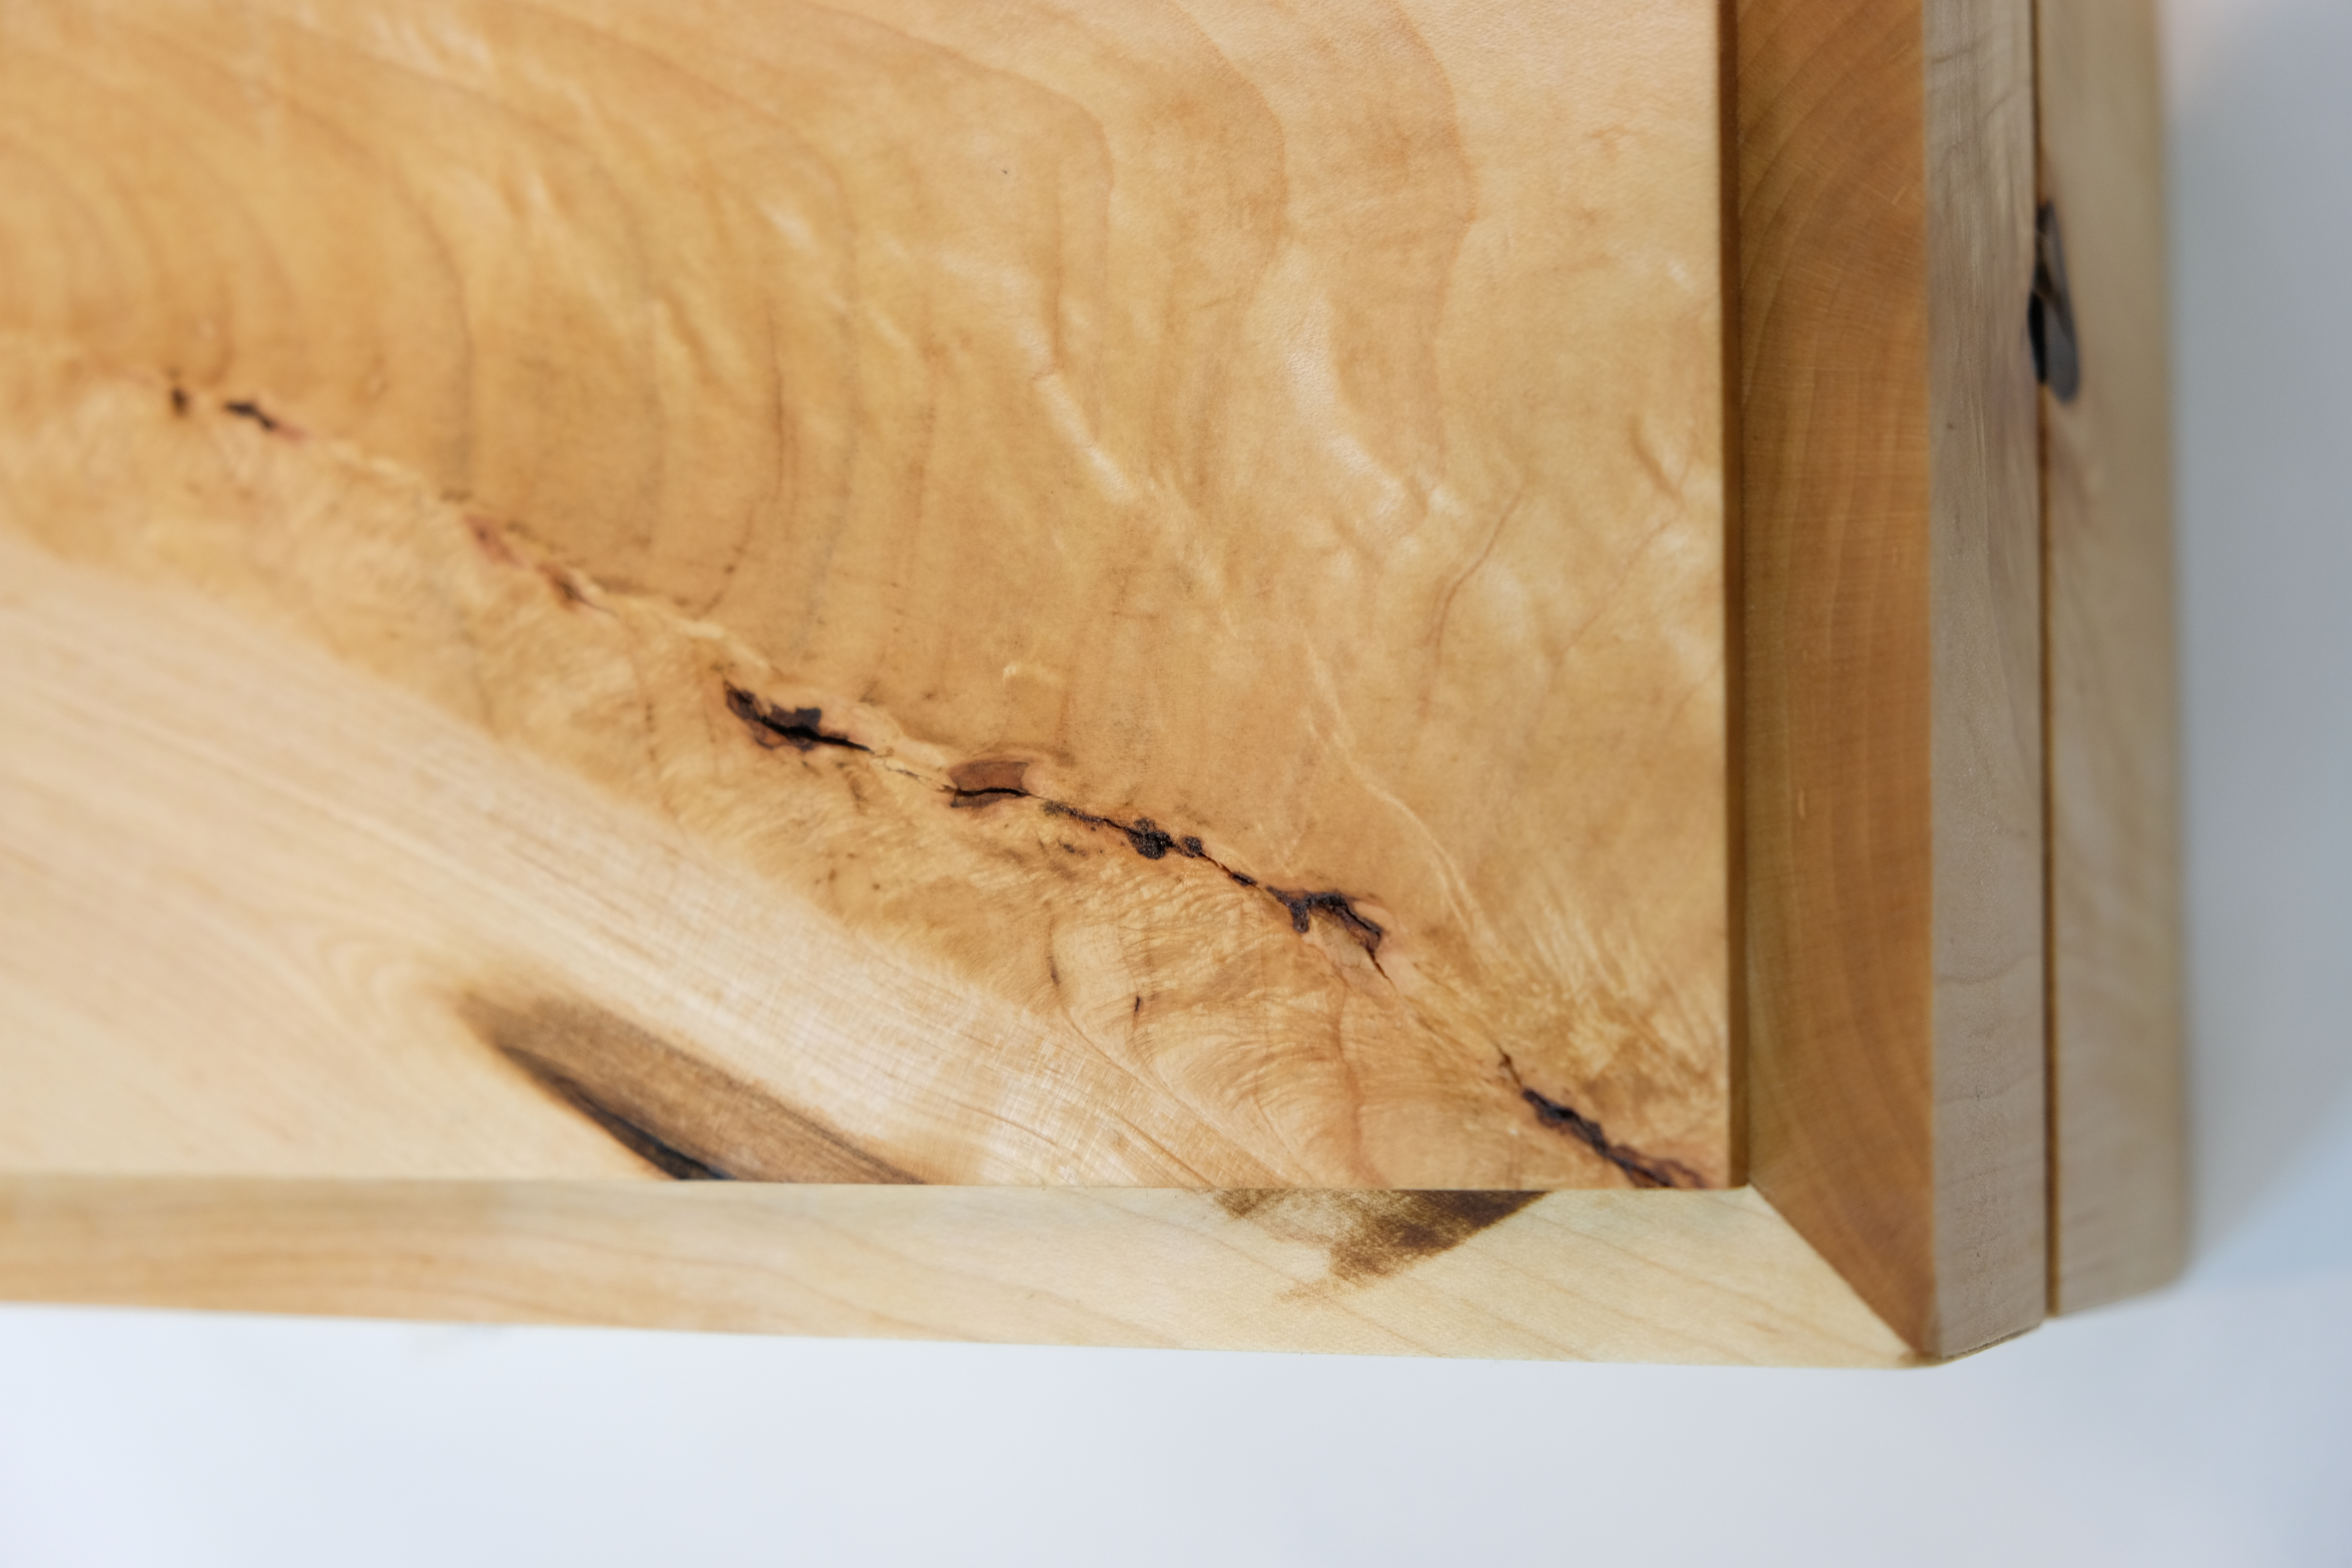
One of the main qualms I have with physical computing is often the lack of craft which goes into the physical part of the work. I felt that a piece which relies so heavily on humanity, tactility and poetry could not be 3D printed or laser cut. I therefore opted to make a hardwood box and spent a significant part of the project time in the woodshop. I purchased some nice Pennsylvania maple a bit outside of town and started the making process.
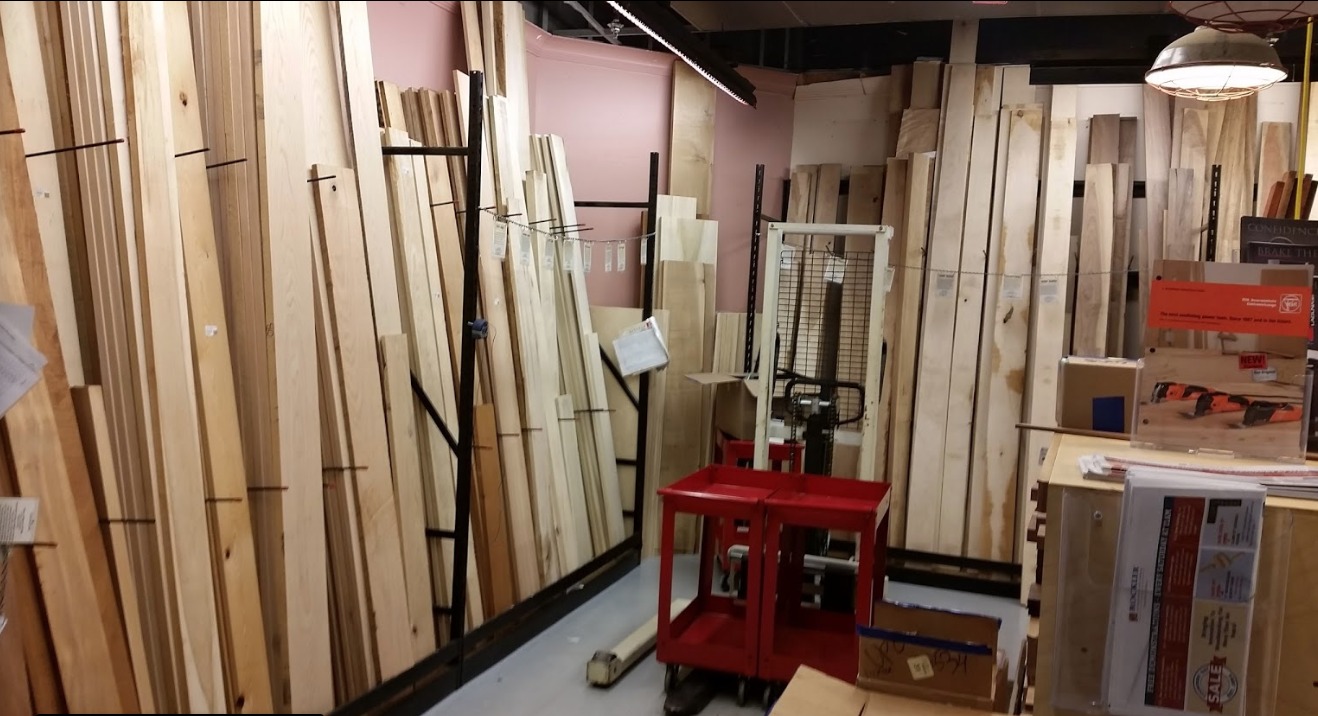
Rockler hardwood section
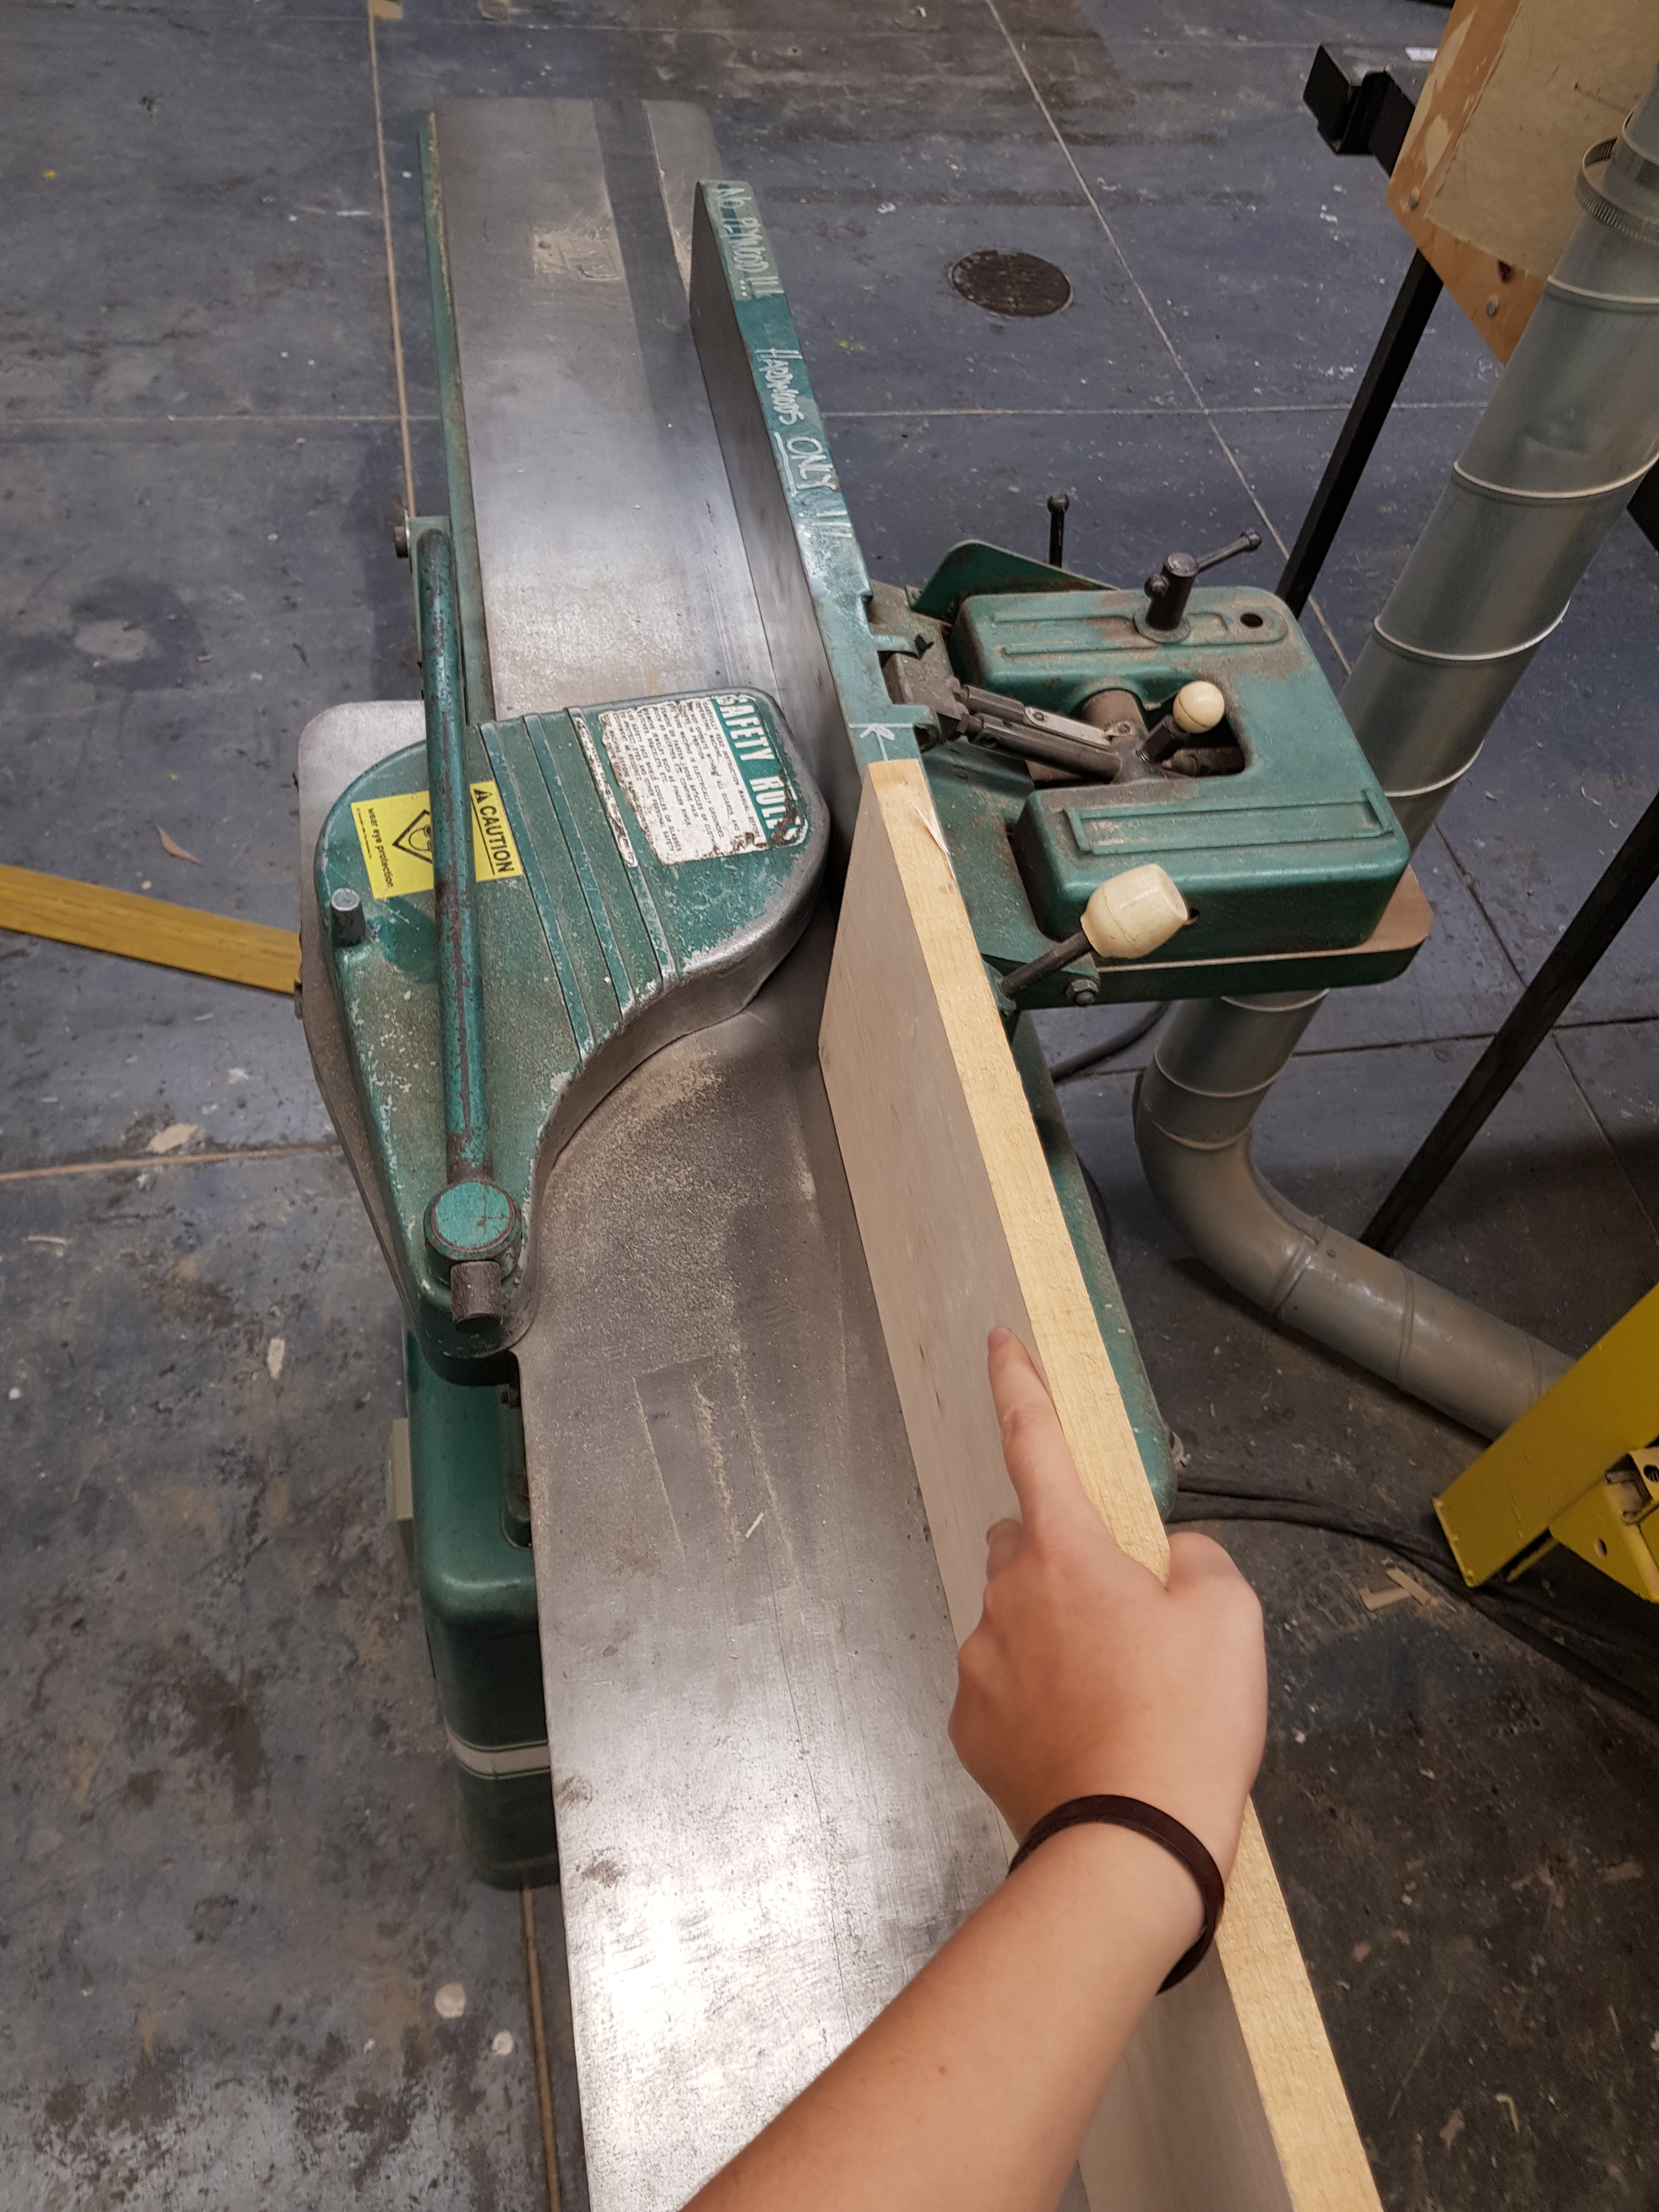
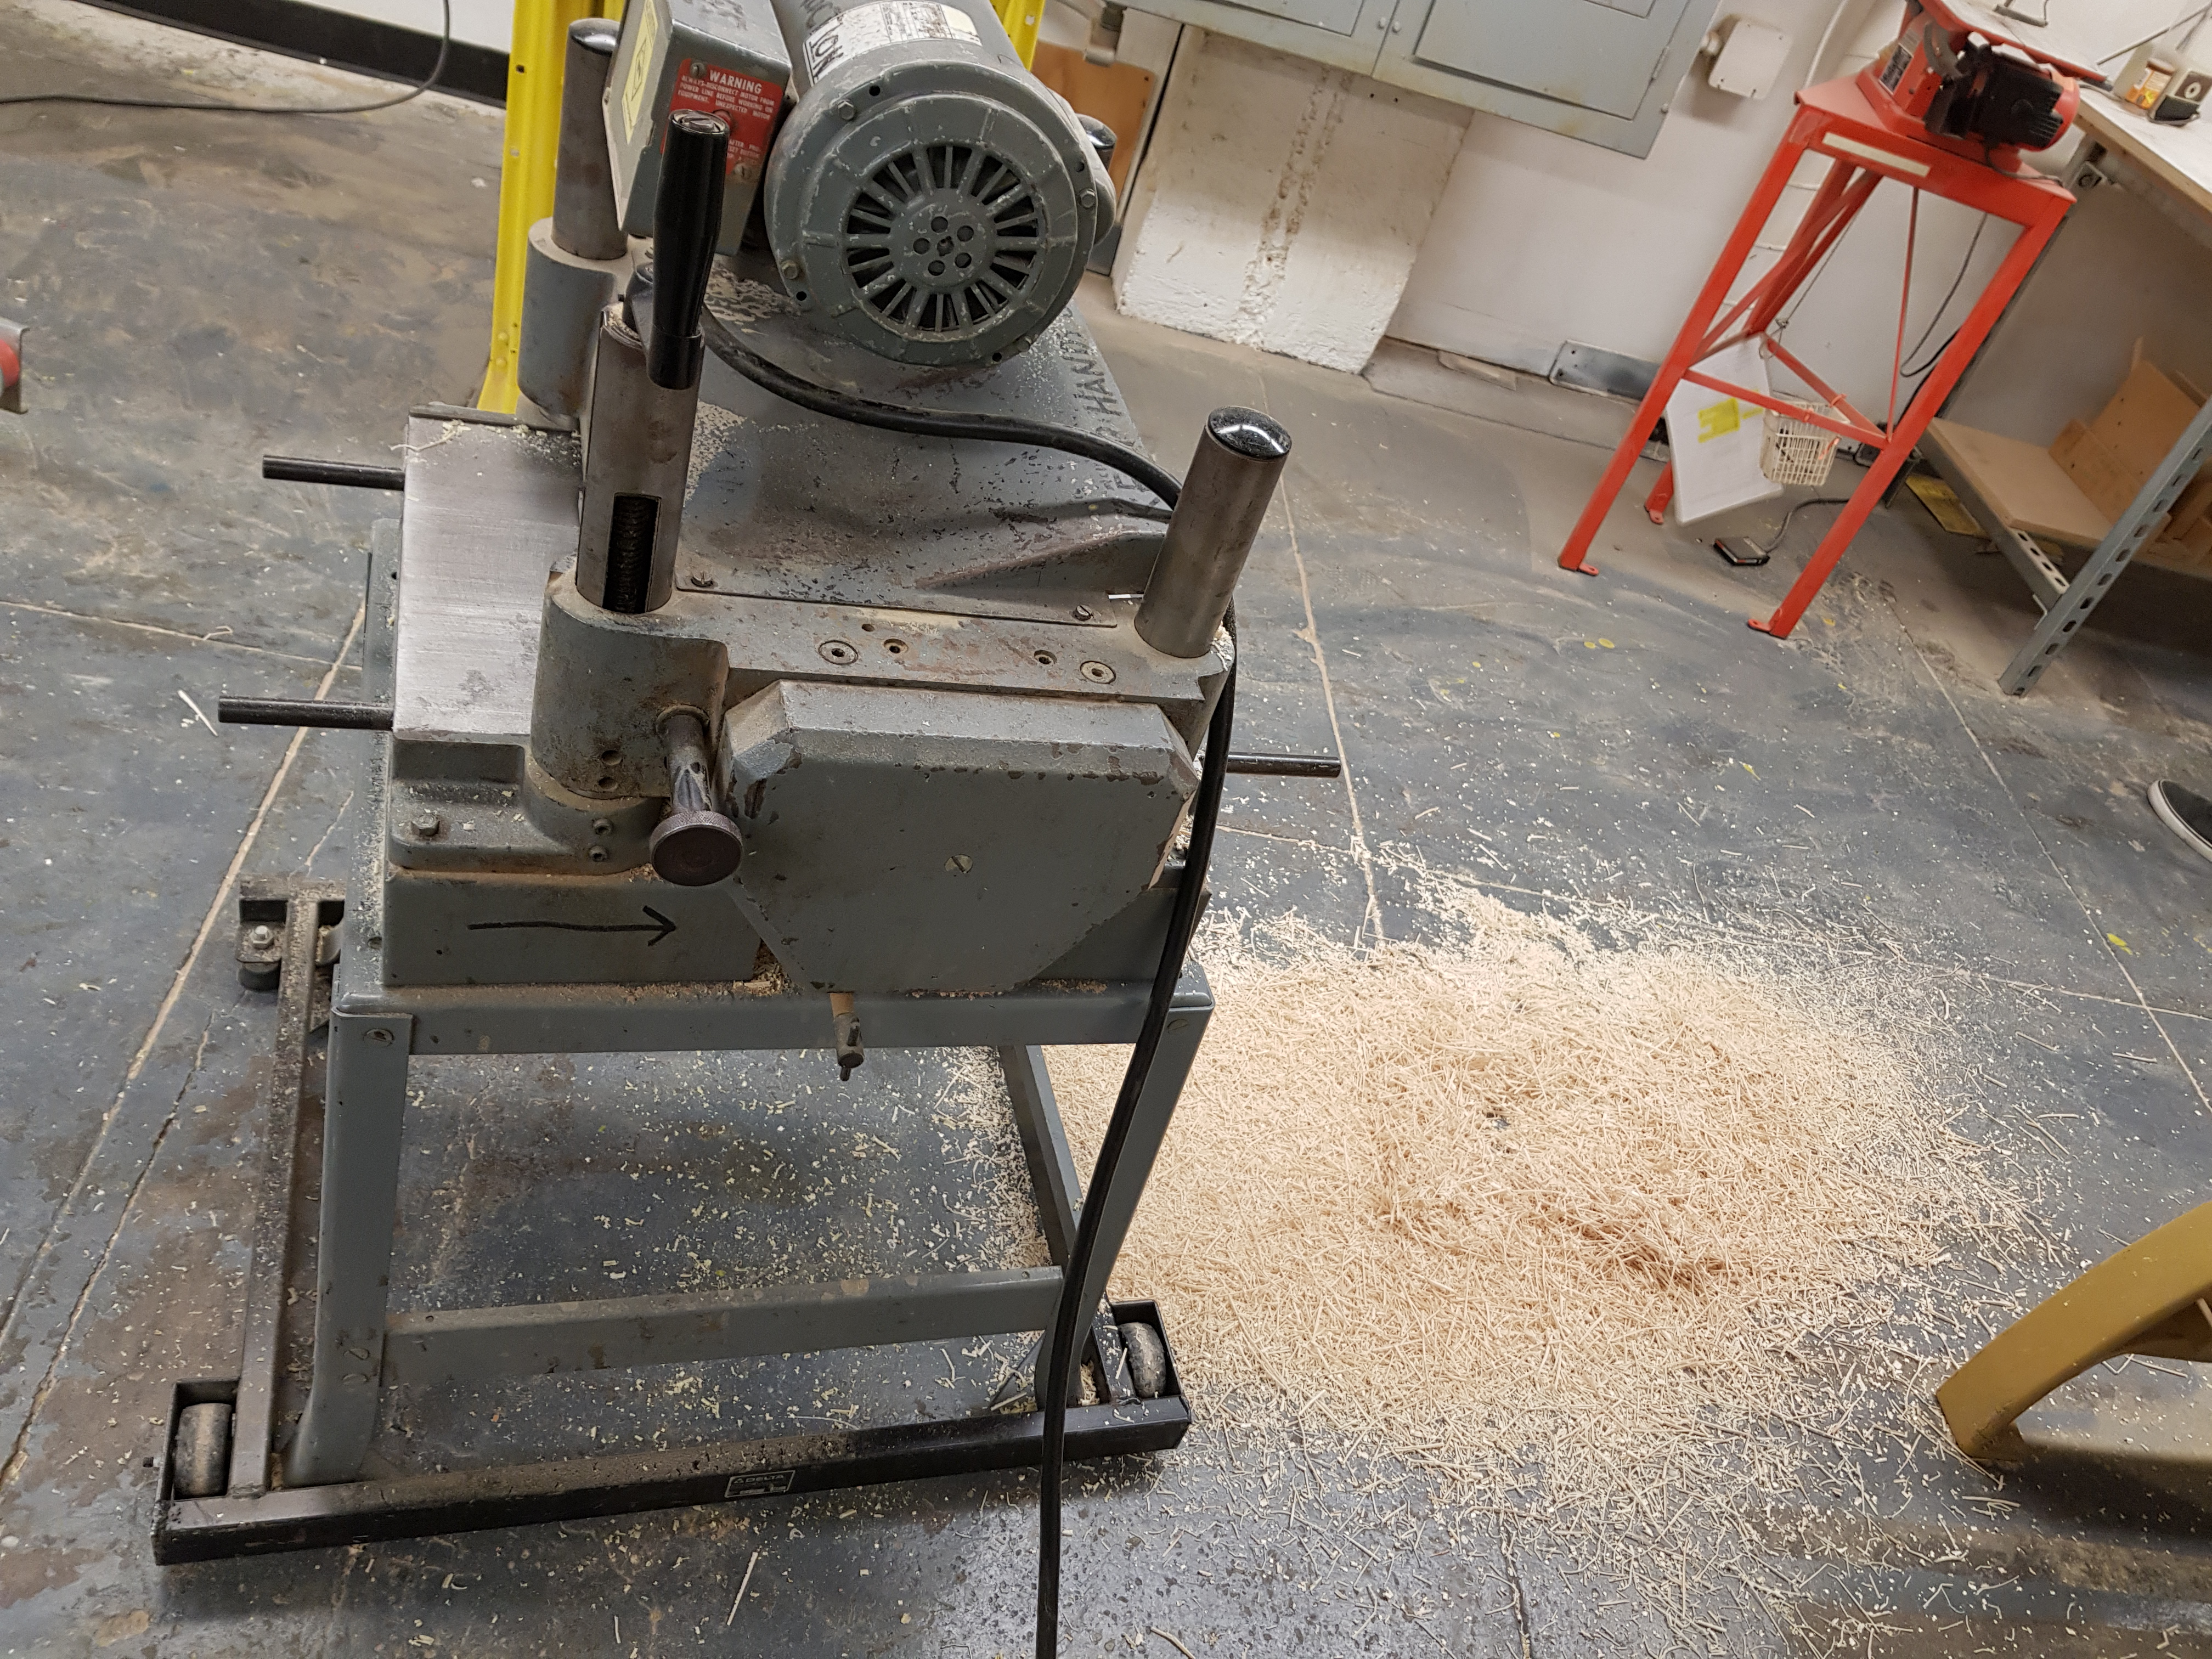
Preparing the maple
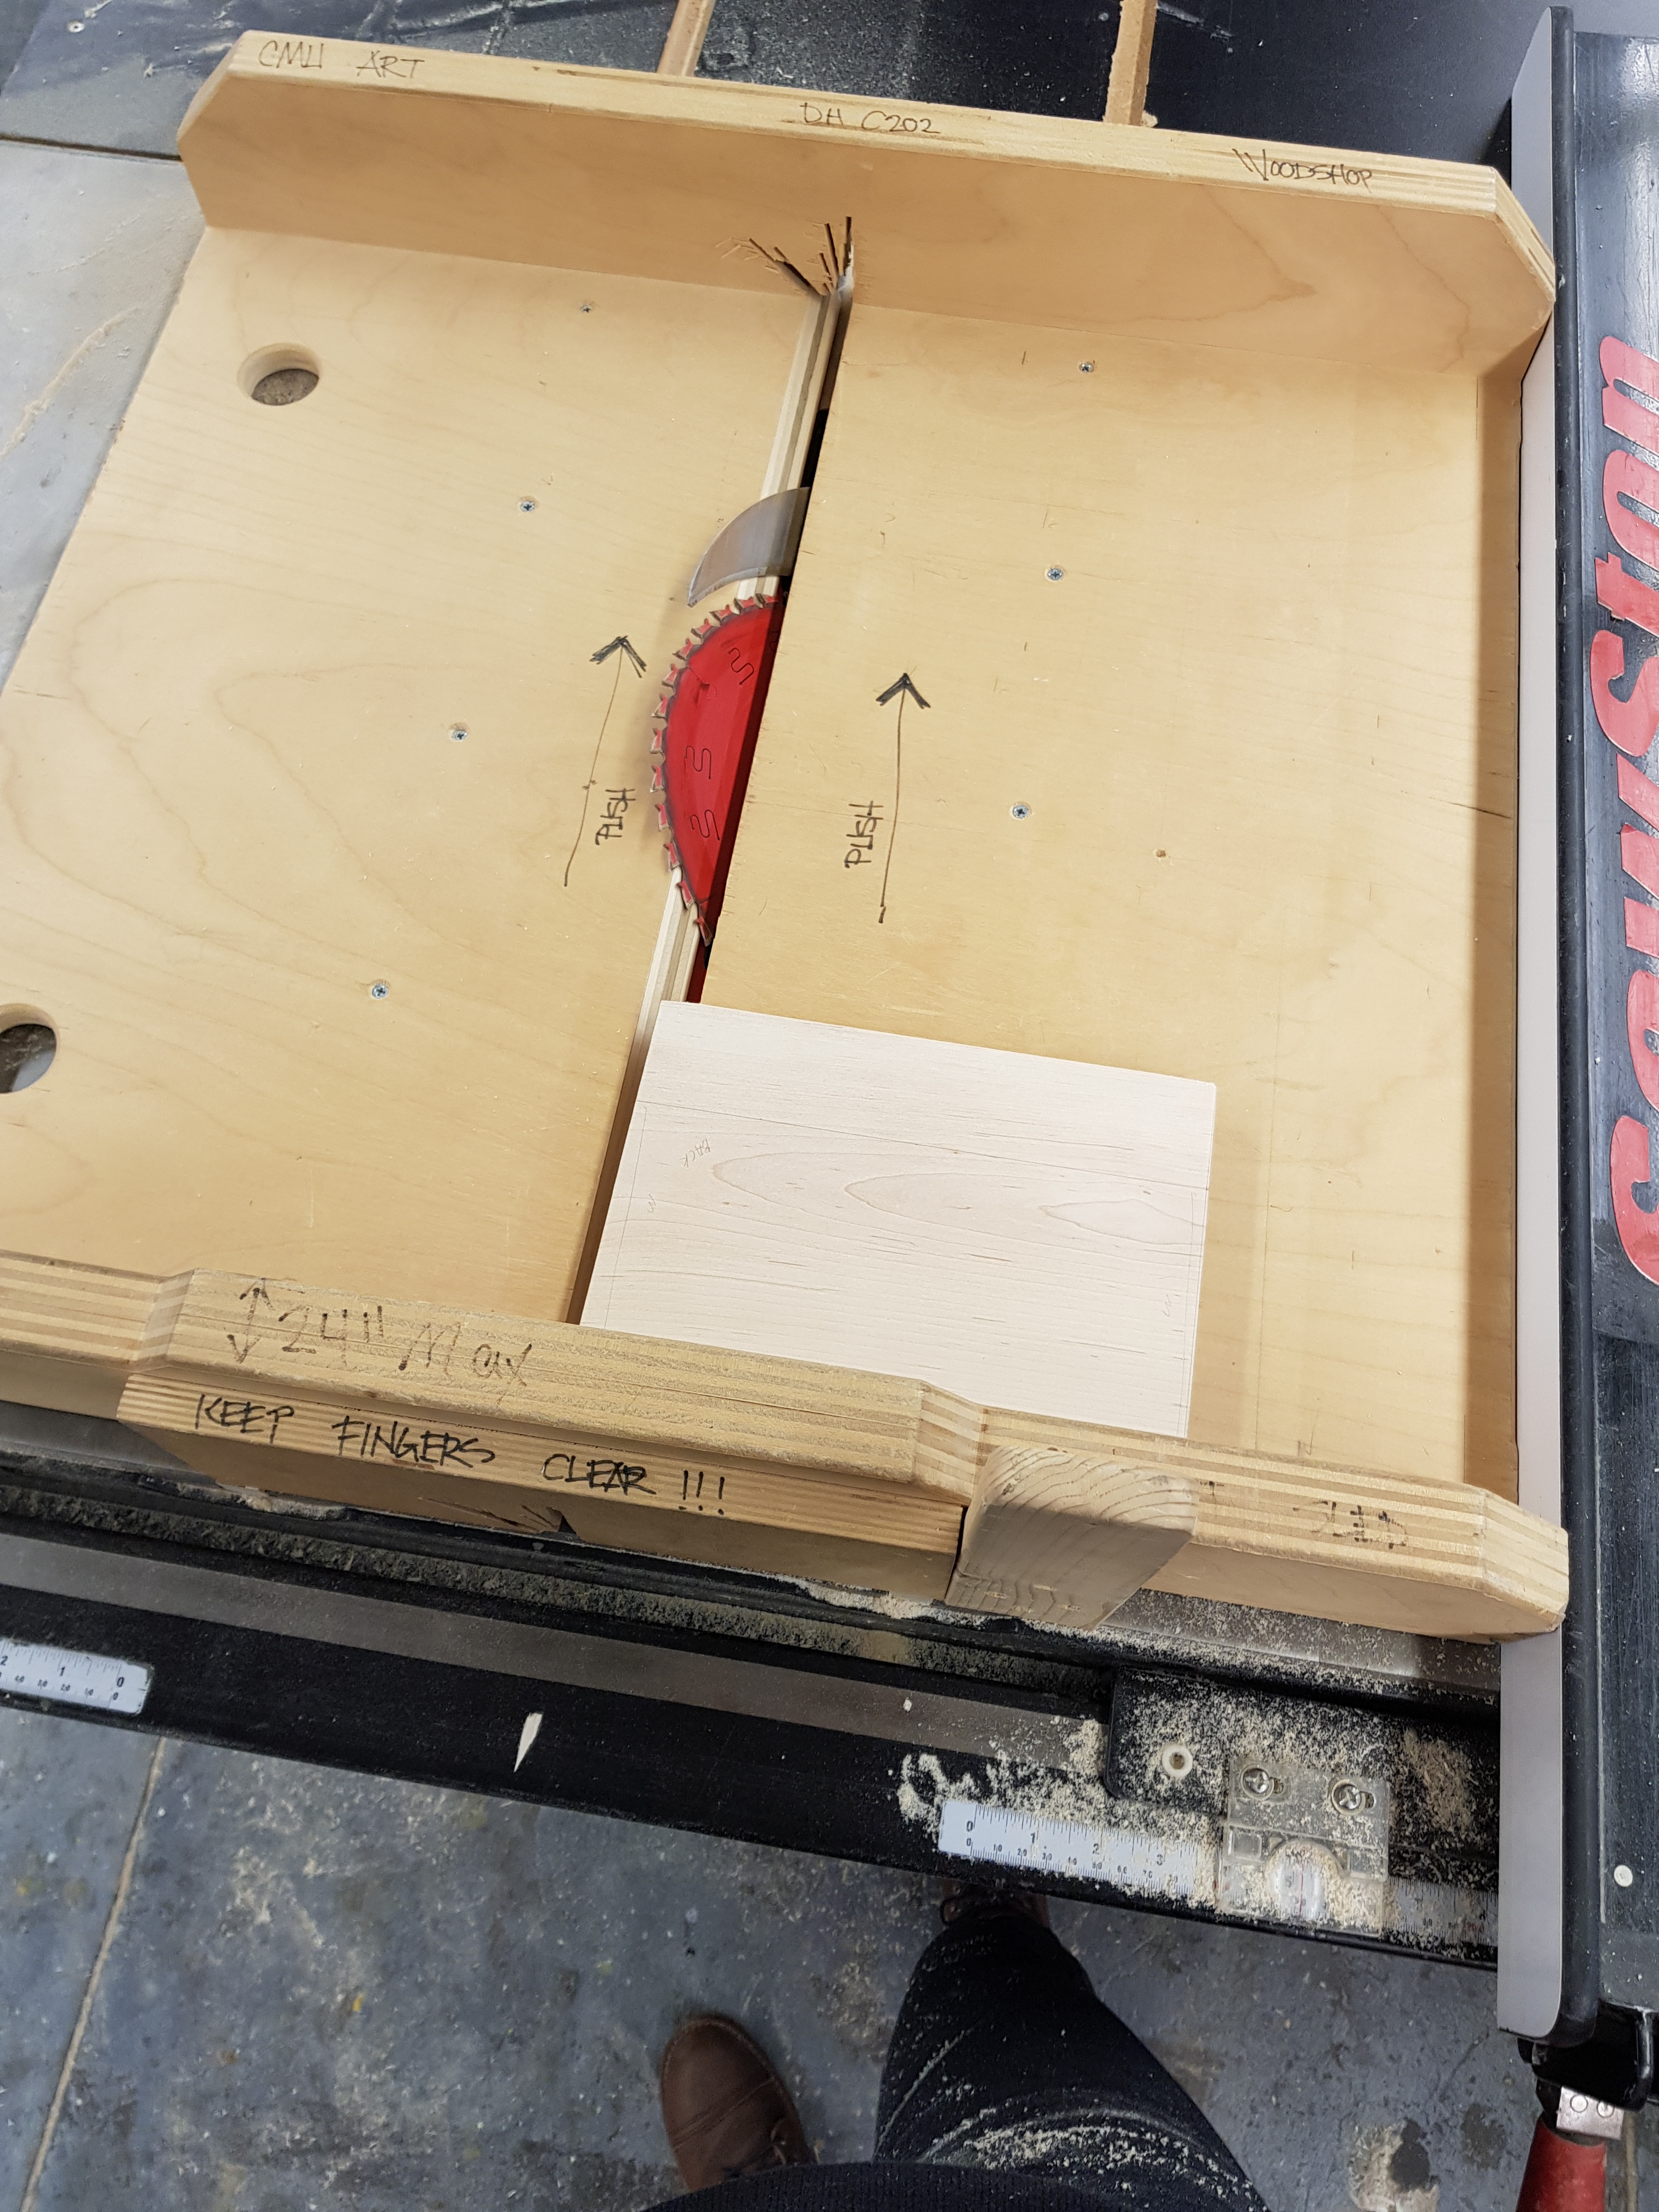

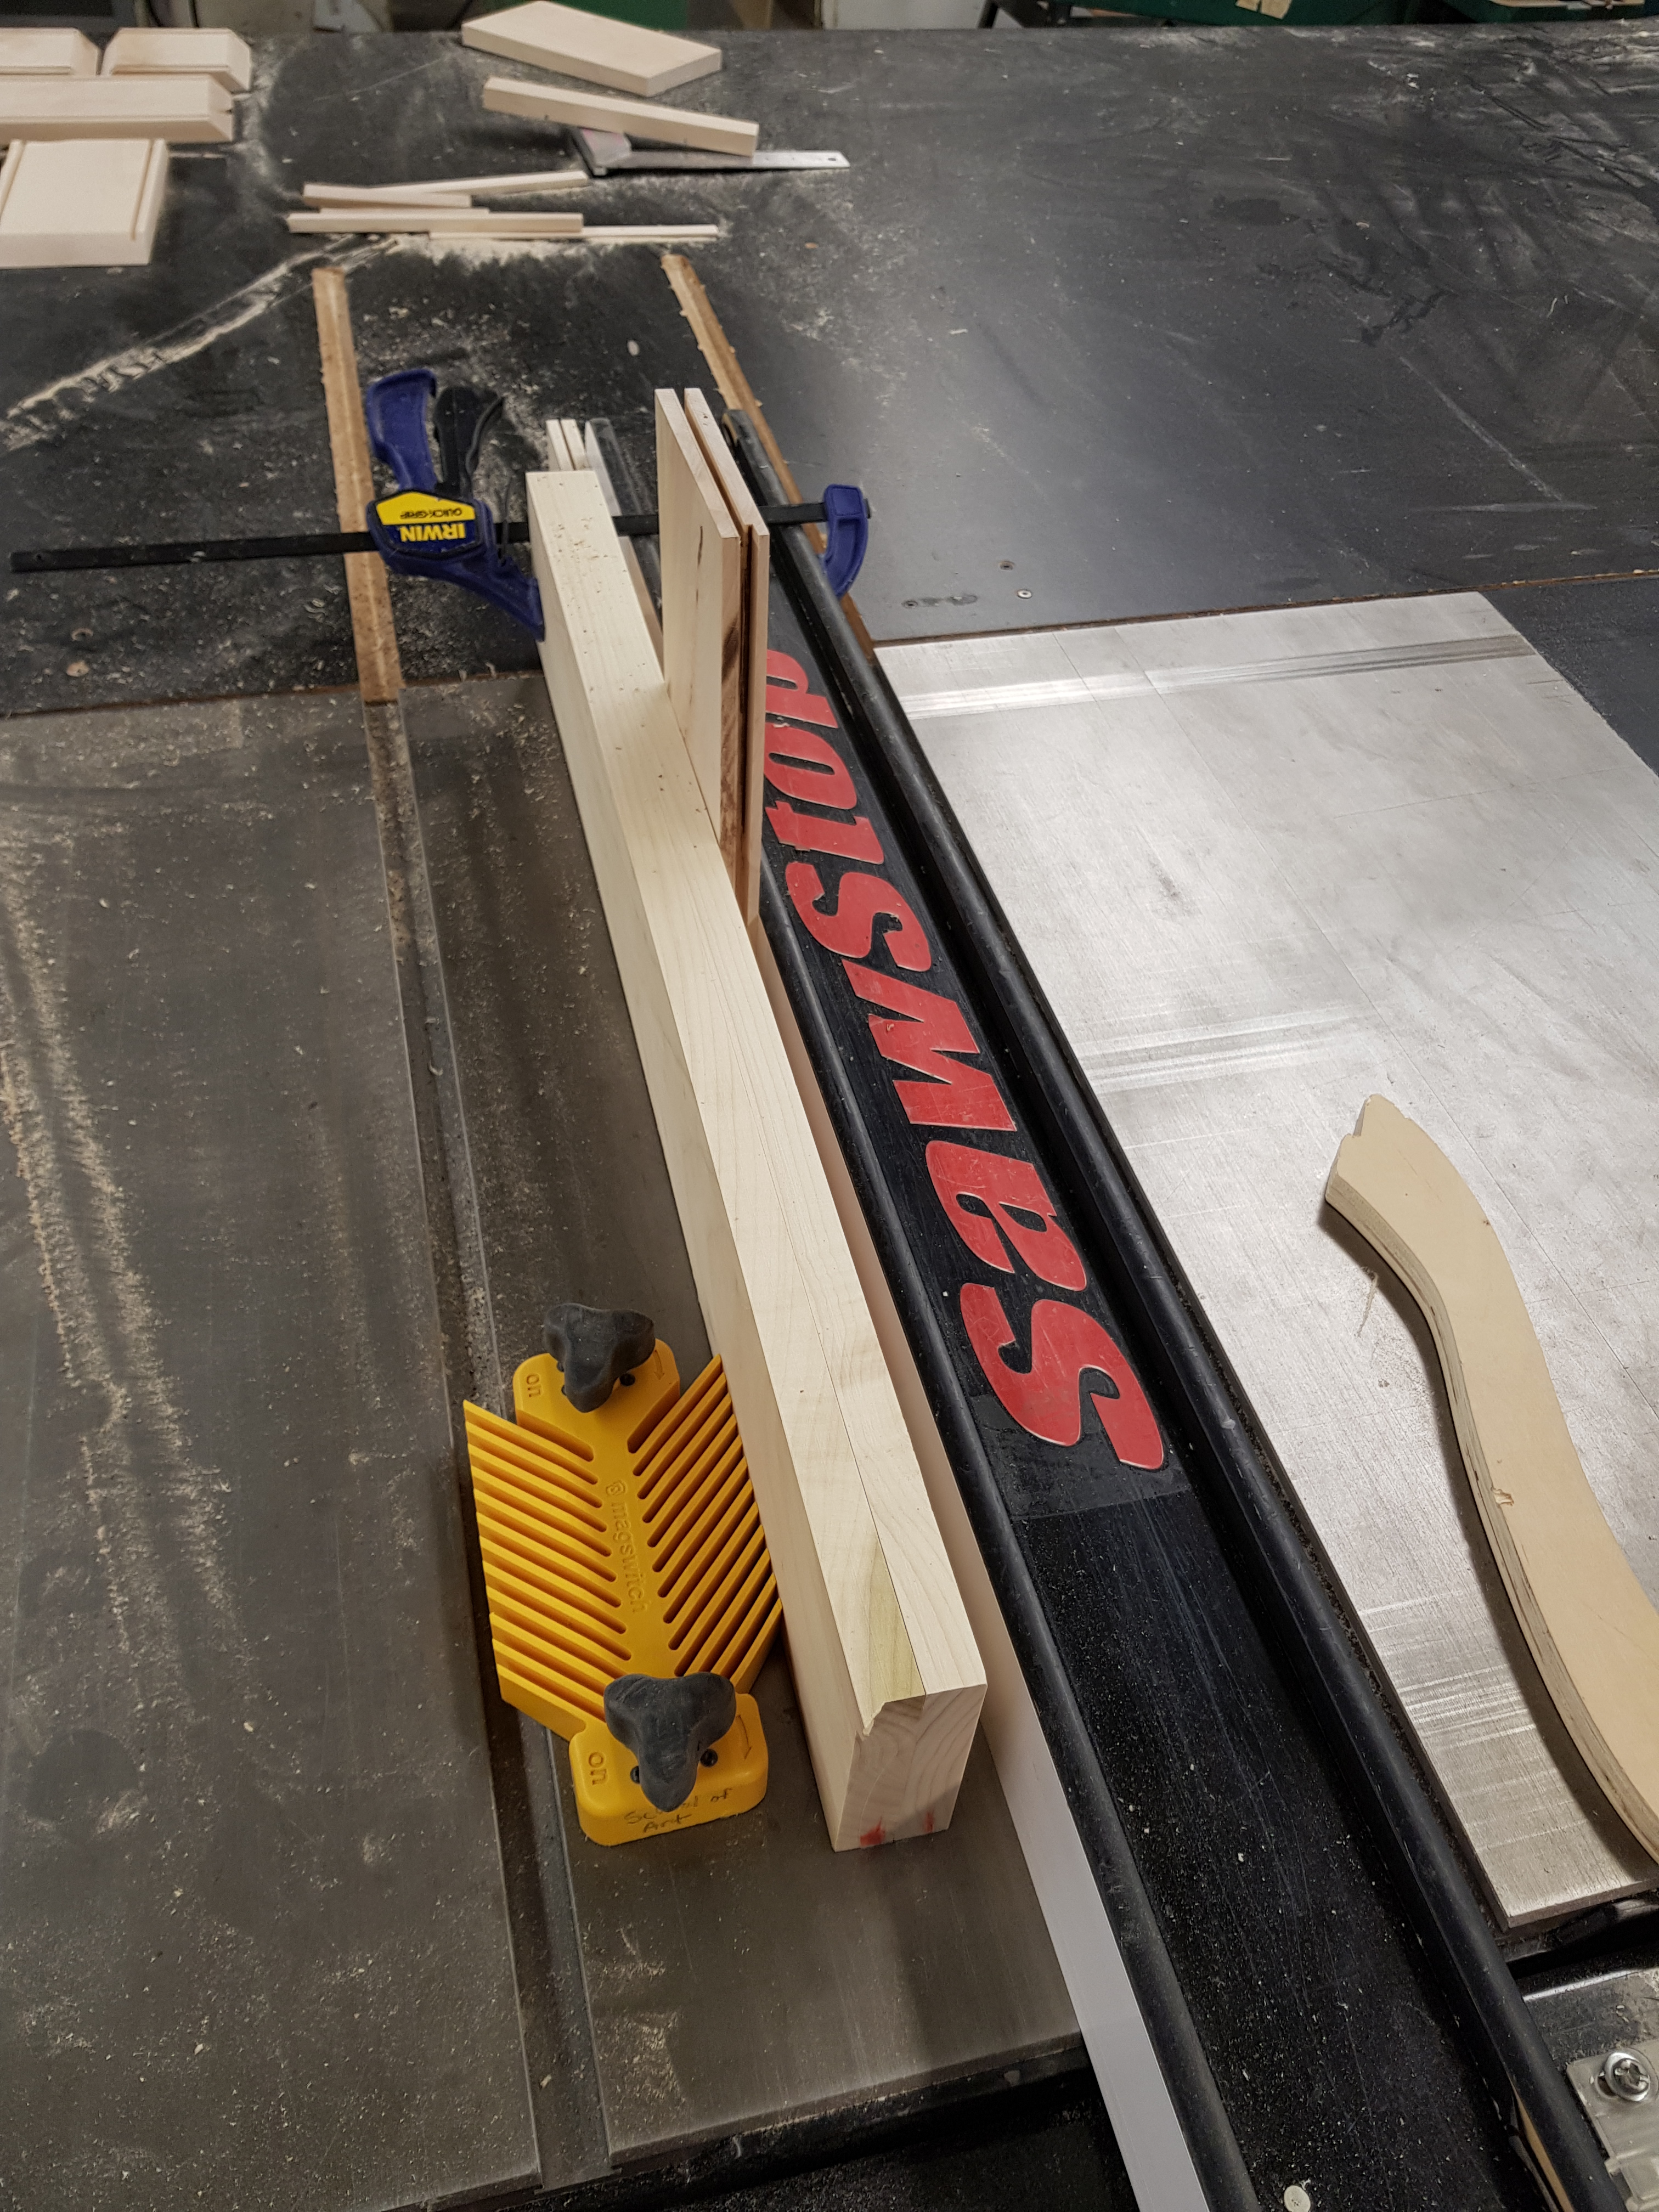
Grooves and miter joints
The hardest part of this project was probably the execution of somewhat dangerous cuts on the tablesaw and bandsaw. Measurements and cuts needed to be precise and there was no room for mess ups in this short time frame. The box only fit together after 4 or so hours of fine tuning.
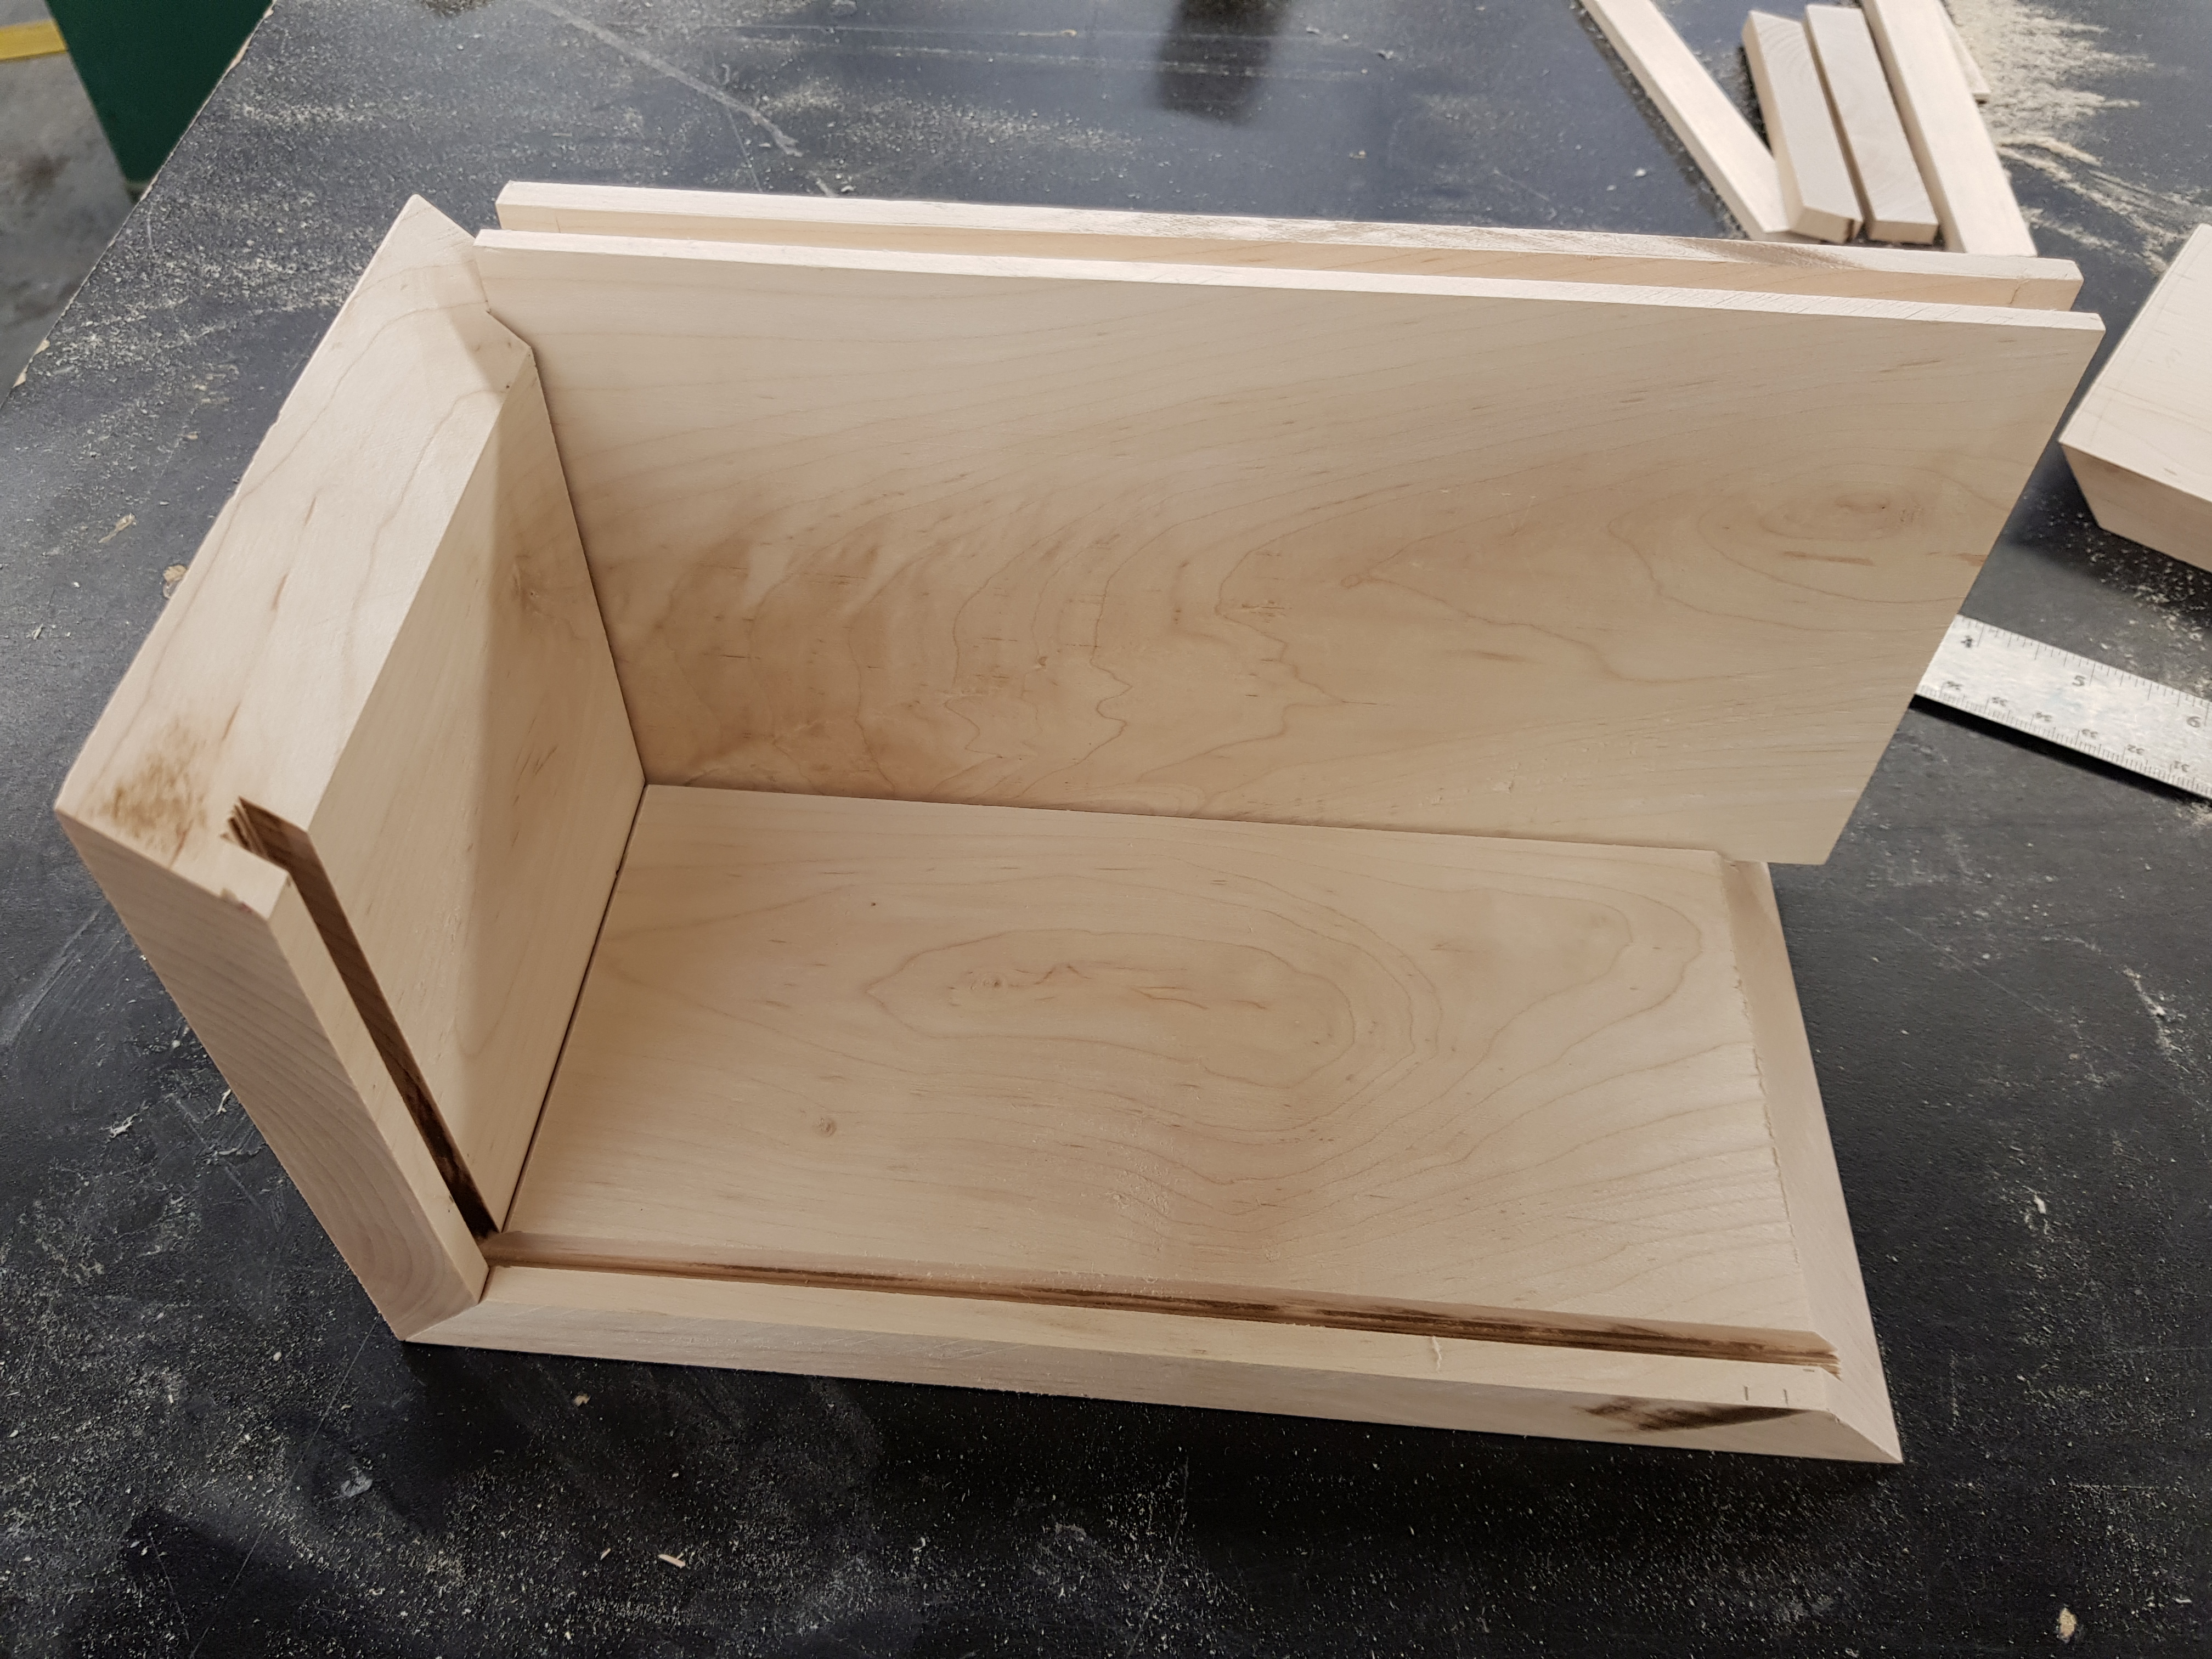
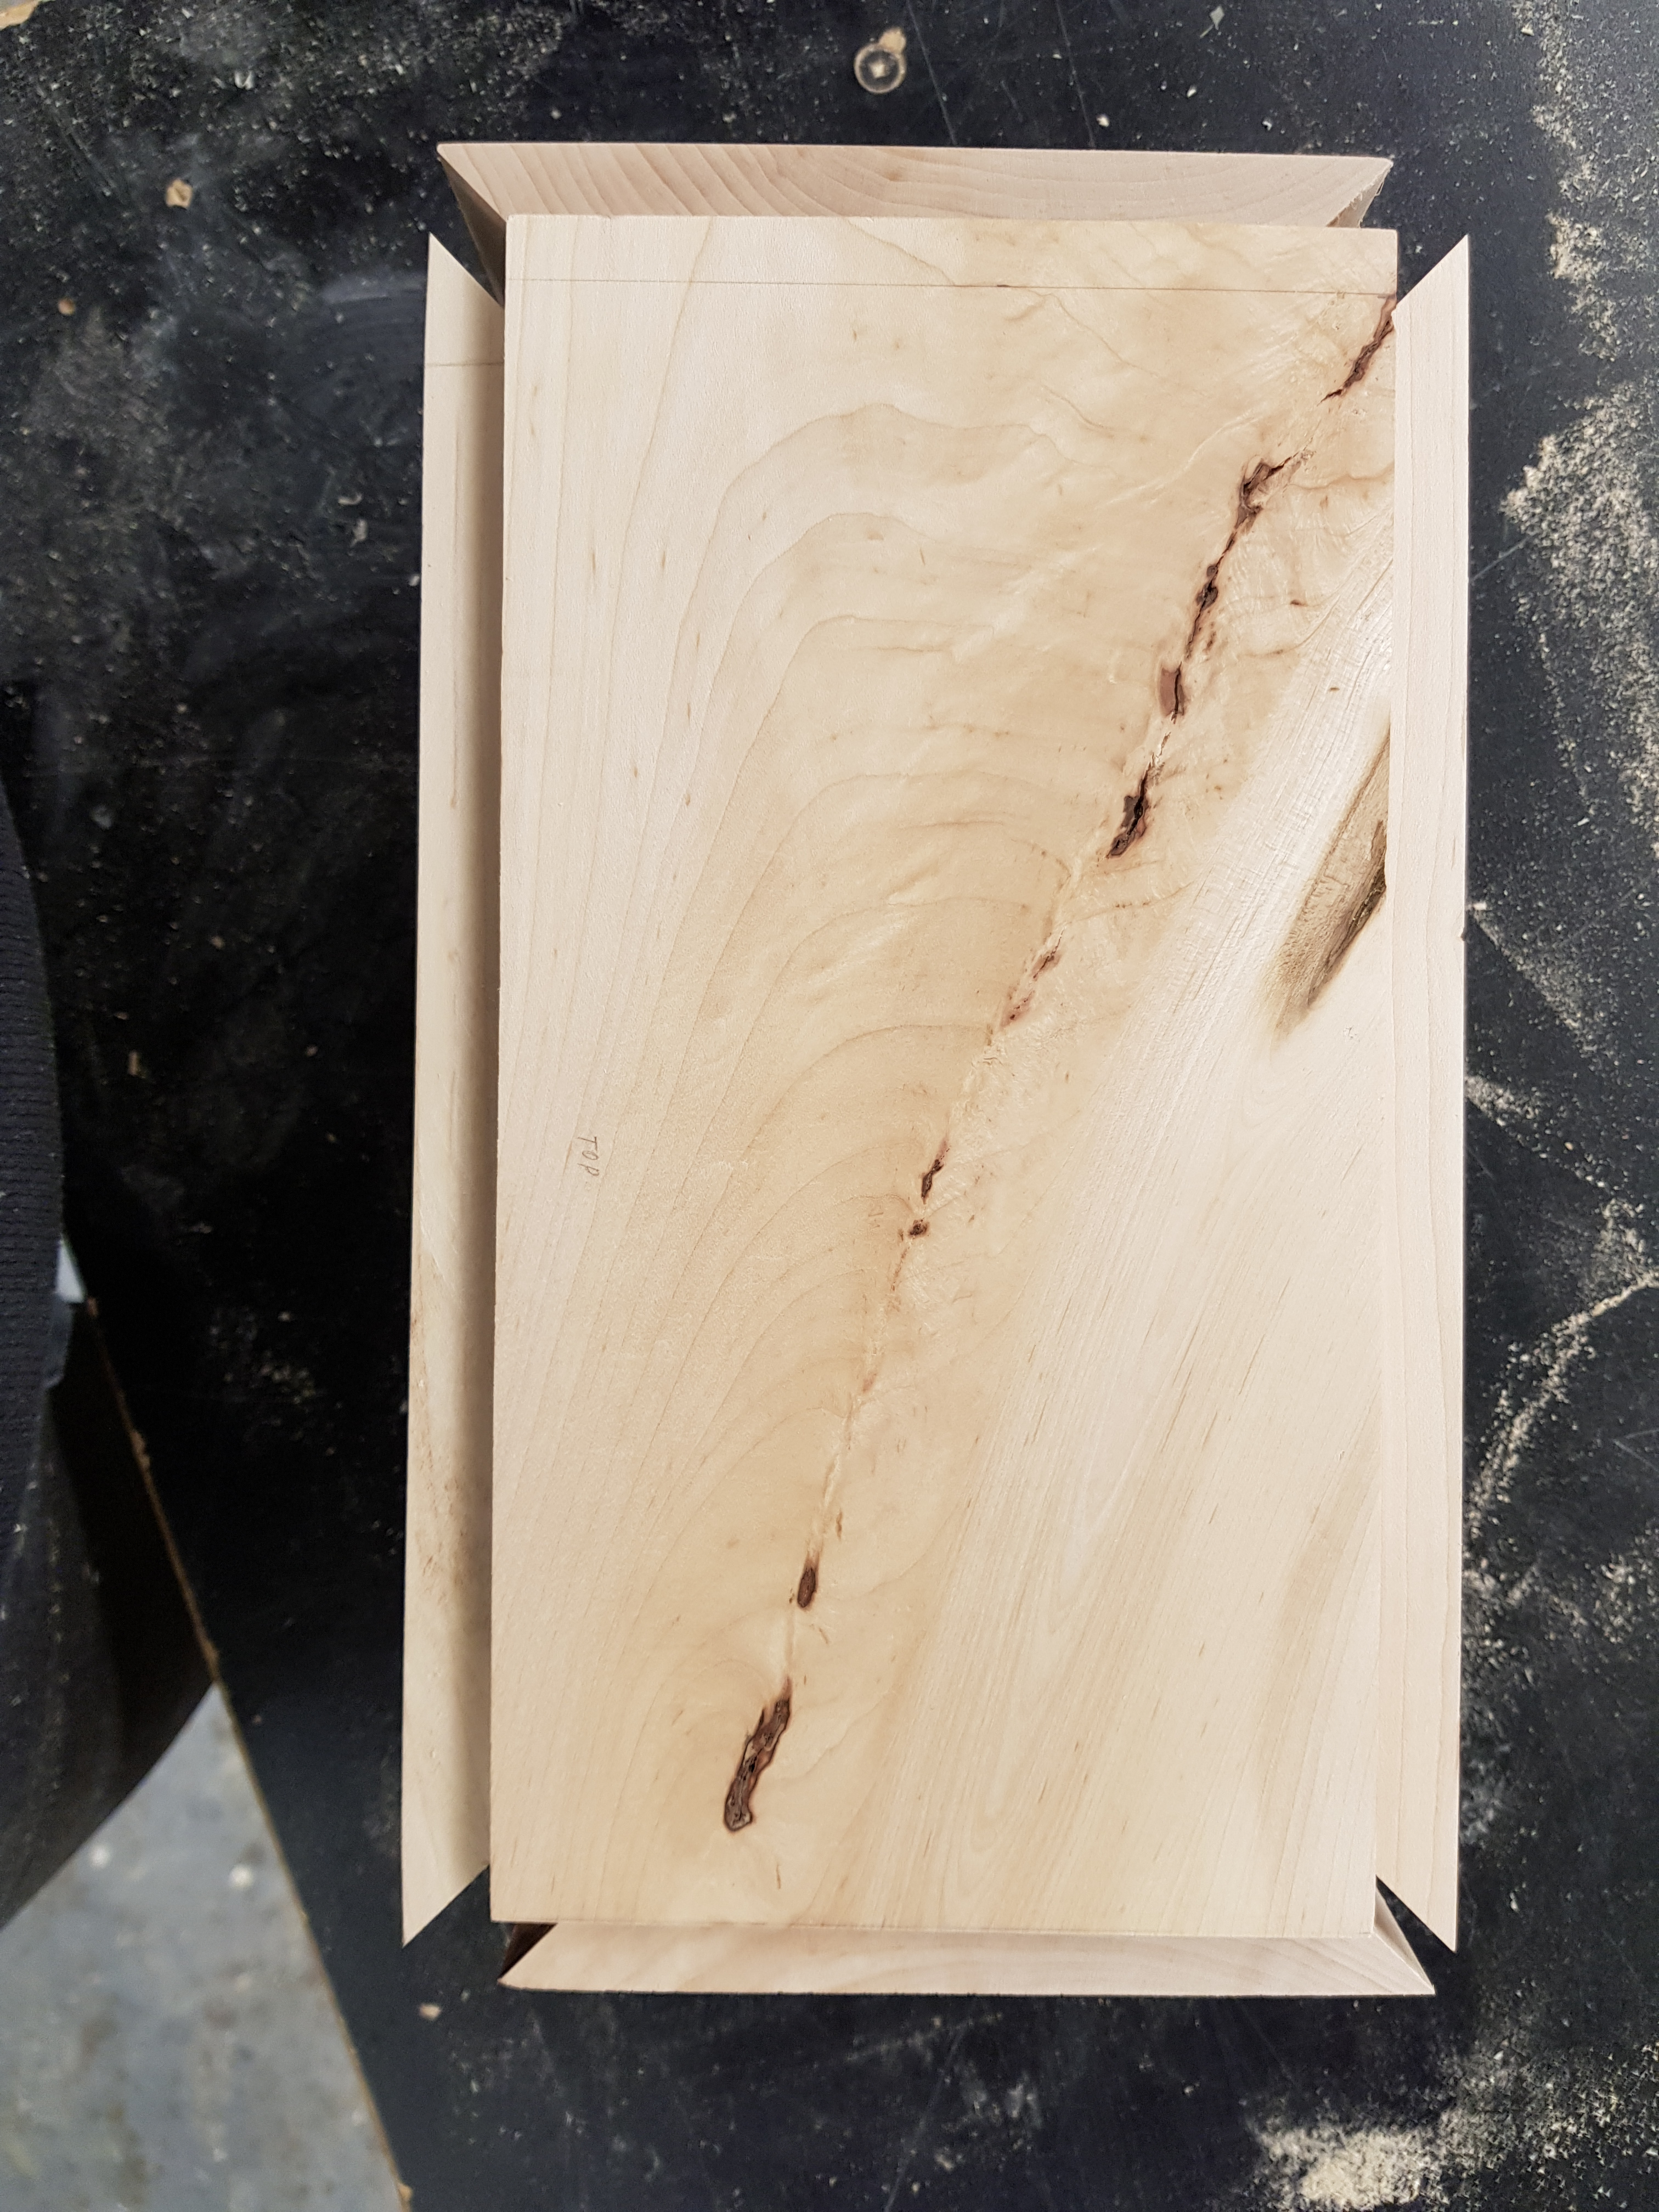
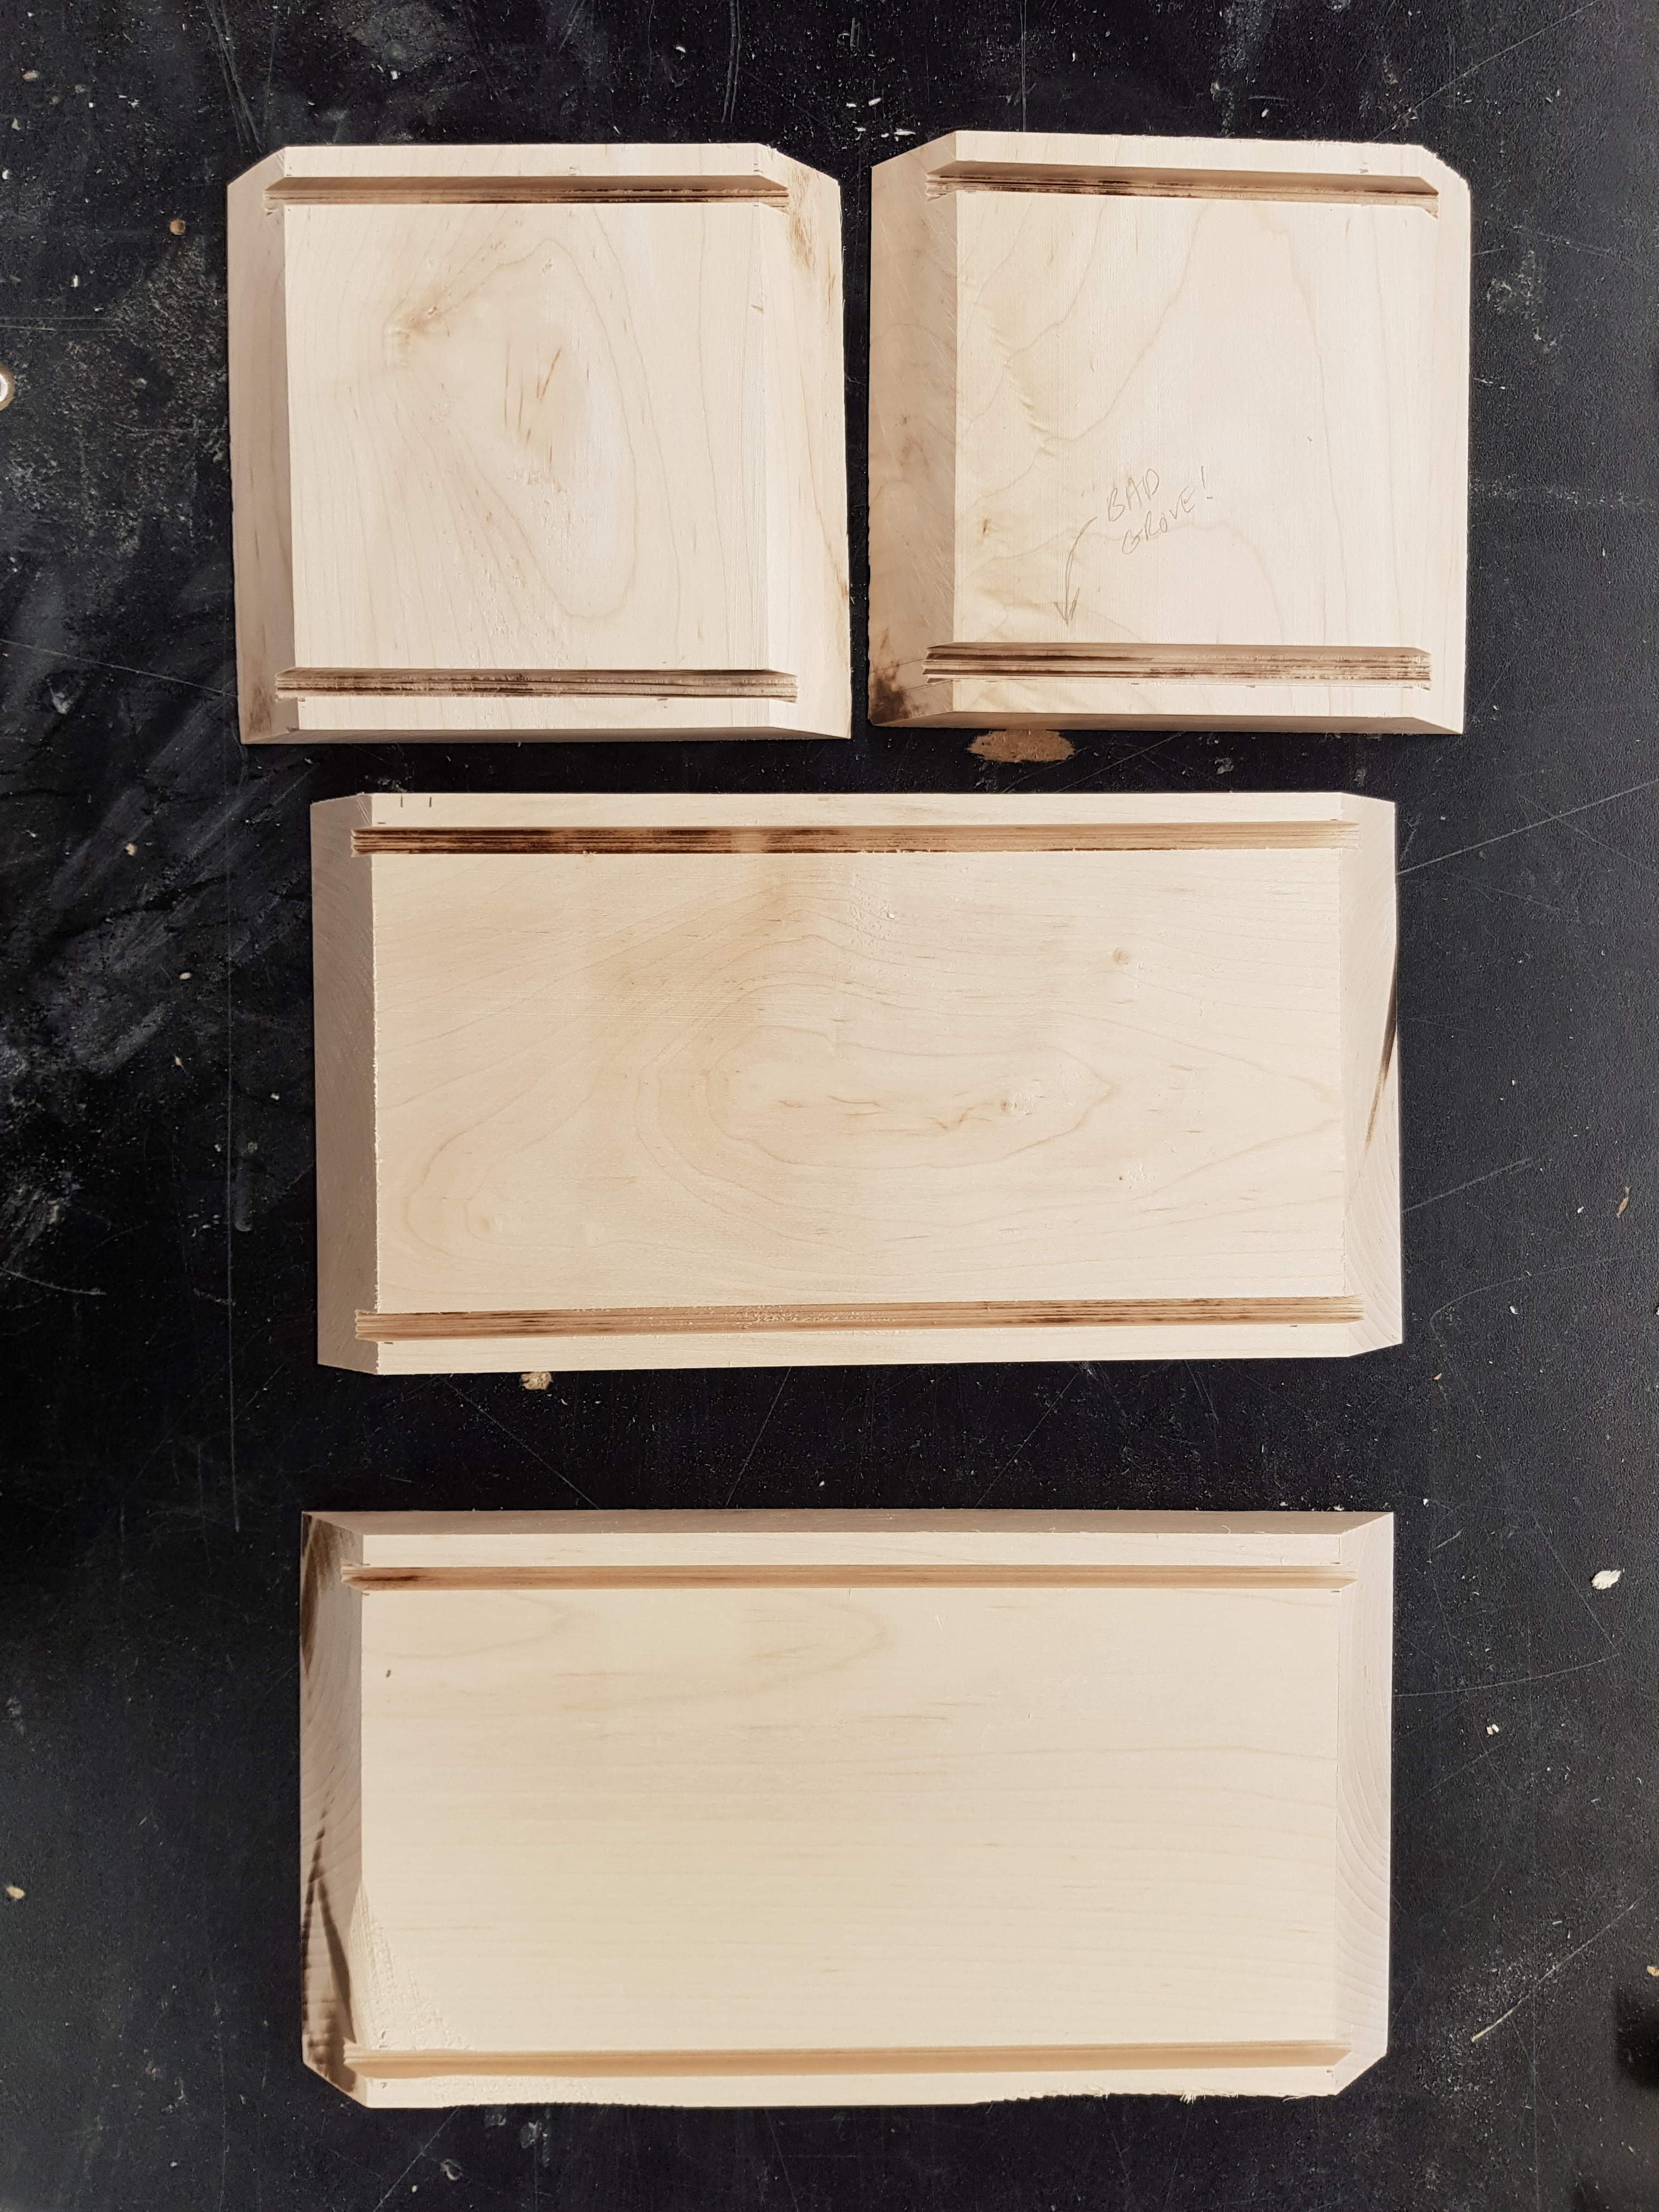
Fine tuning of the miter joints and grooves
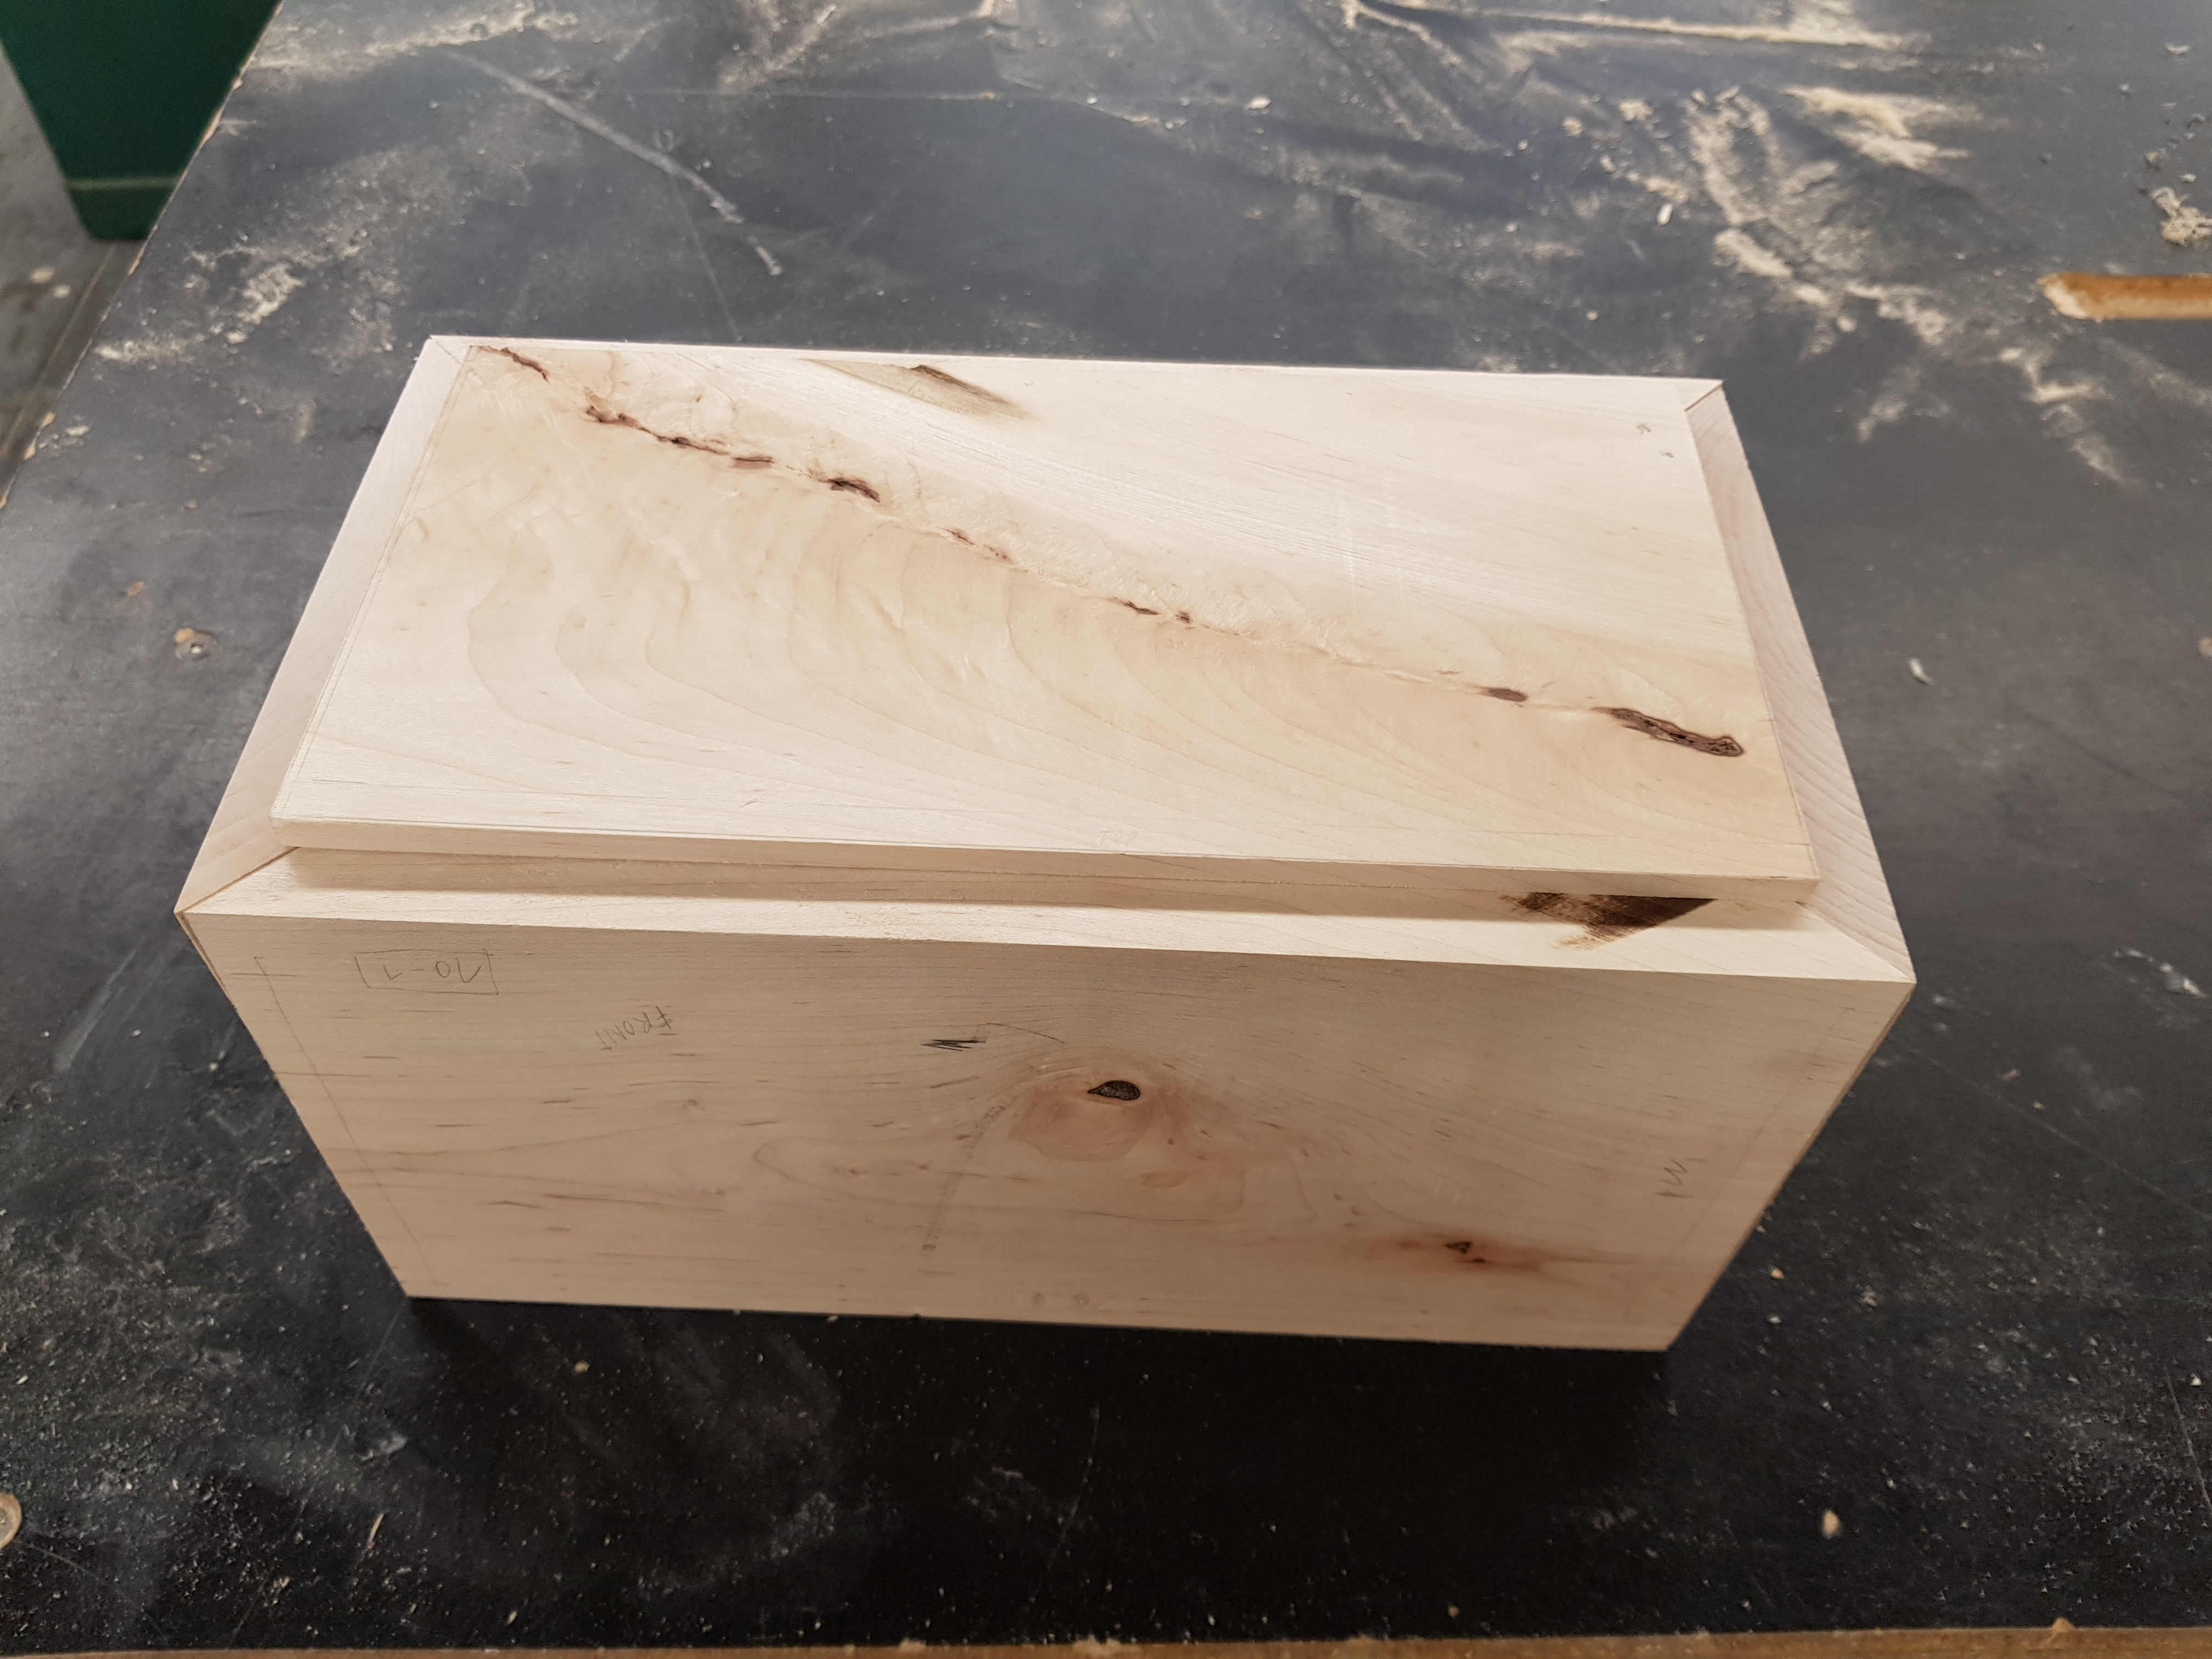
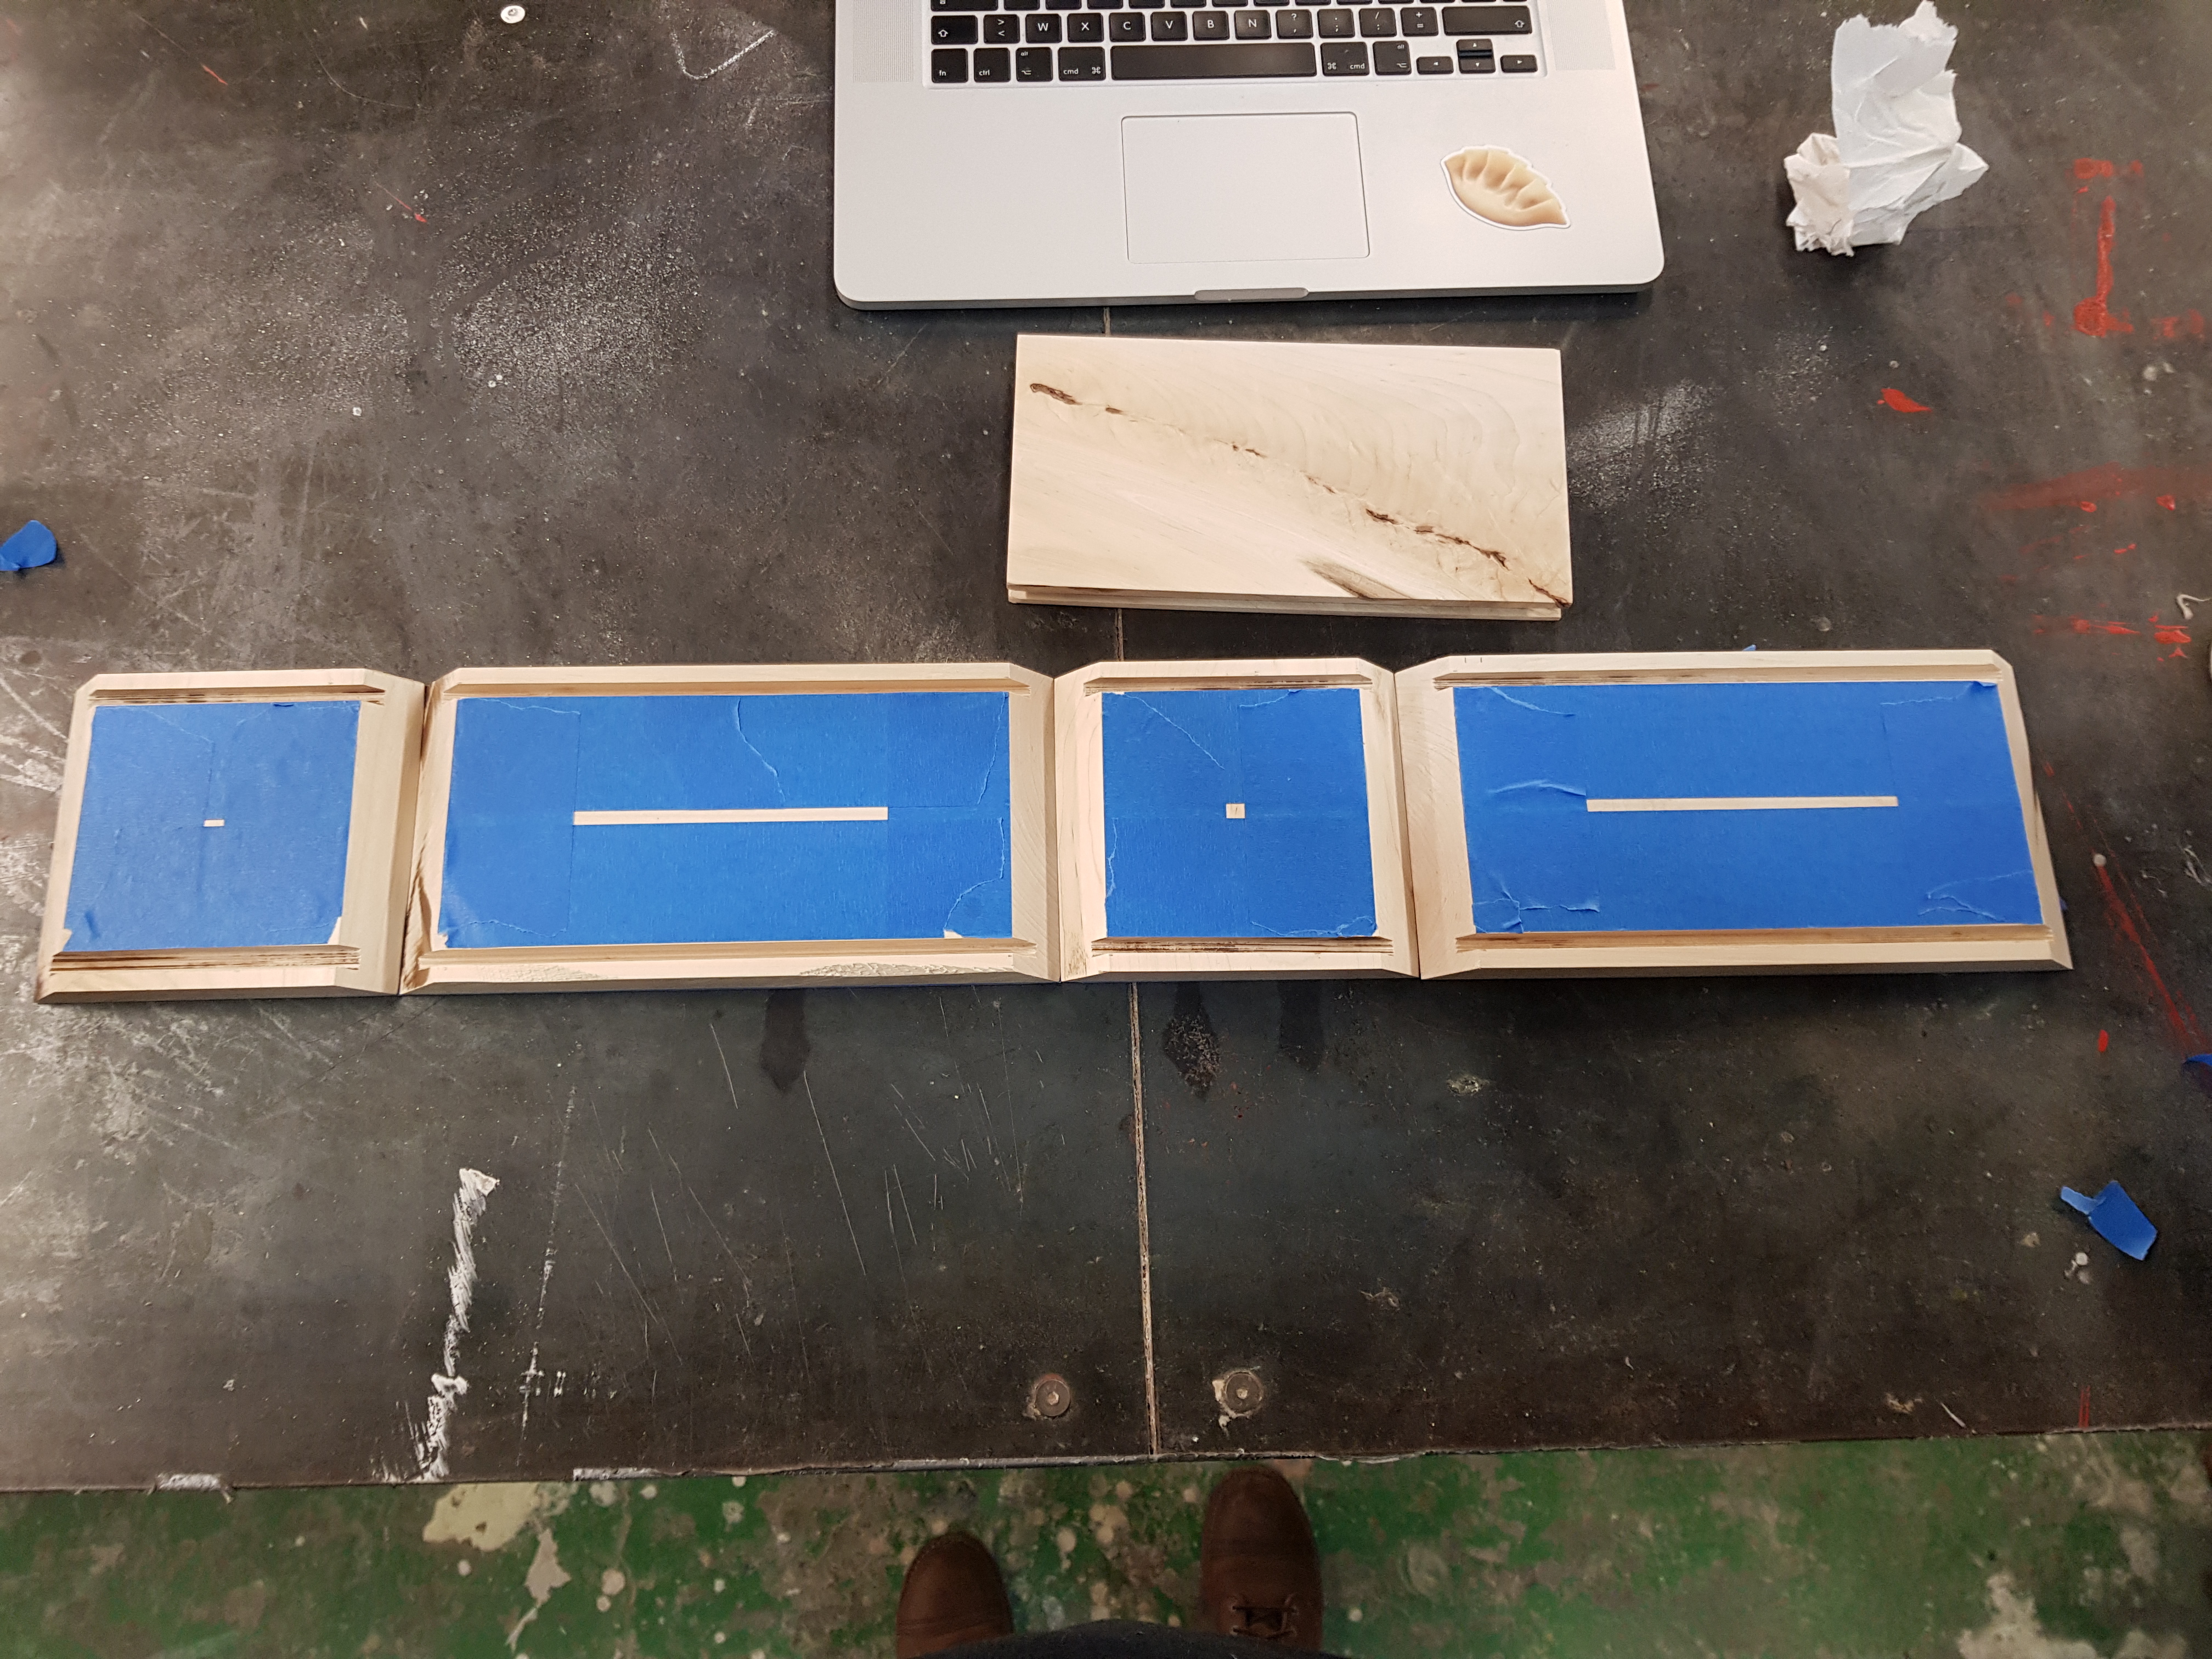
Fitting of the hardwood box
I finally drilled in holes for the power wires and the side button, assembled the box, added brass hinges, did the sanding and finished the box with tung oil.
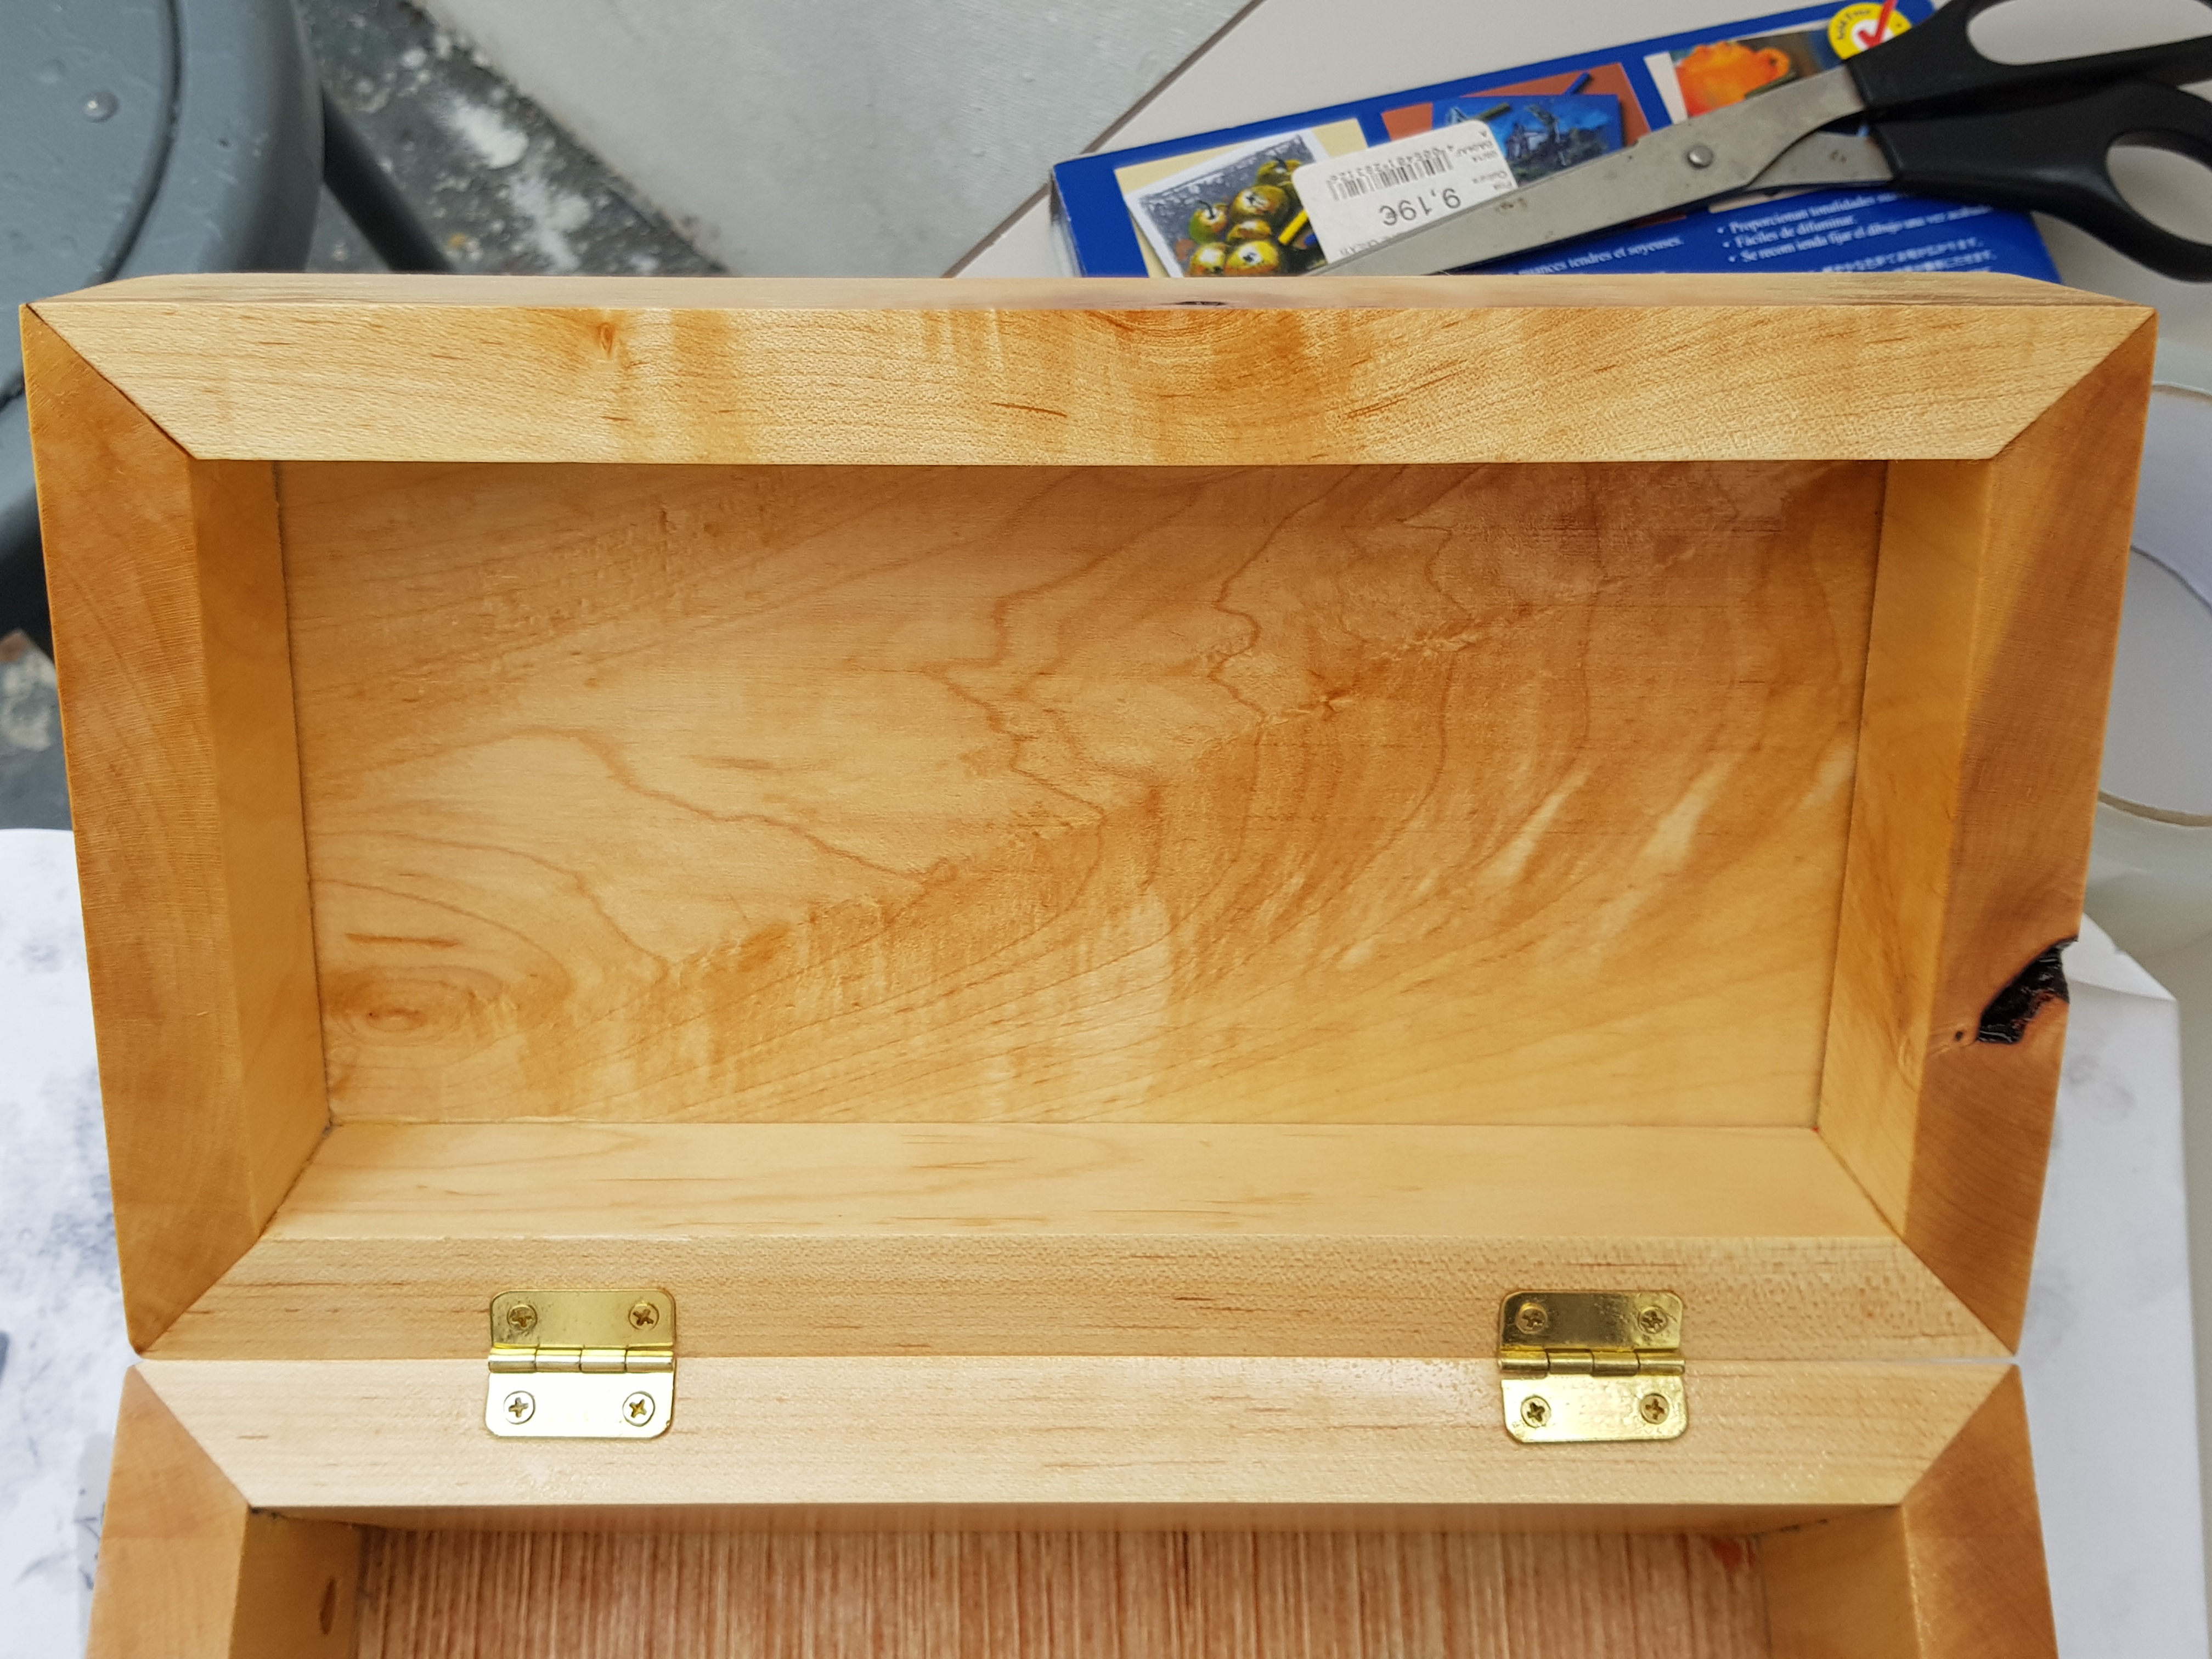
Finishing of the box and adding the hinges
Discussion
During my critique, Claire made a really nice point which made me wish I had thought of it first. She mentioned that the button on the side of the box, although discretely located, did not really respect the object’s physical language. She suggested I used a trigger which upholds the magical aspect of the box, such as an IR sensor. Another very valuable critique I got, was that the receipt printer seemed too removed from the concept. How could I make that interaction more special? Maybe I could build my own plotter, which would ‘hand’ write the notes. Finally, Joey mentioned that a more intuitive UI for the adding of memories to the string should be included, every time my laptop is opened for instance.
I am satisfied with the way this project turned out, as it is relevant to the big picture of my work and has giving me an excuse to exceed my fabrication qualifications. The concept is strong and loosely based on actual scientific evidence, which I find meaningful when making something “useful.” I did run into some issues however, such as the arduino’s storage space for my very VERY long string of memories. The genuino uno seemed to only be able to contain, 5 or 6 long sentences, which adds many complications if this project were to actually be used.
Through this project I have gained significant knowledge in the consideration of form and intent, as well as practical skills to execute these theories correctly. I found that mixing the physical and the digital gracefully is a really daunting task, and one that I might have only partially succeeded at. If I were to recreate this project, I would add more magic to the interaction, by replacing the button with an IR sensor. This would be more in line with the product language and would give it more of its own presence. Additionally, my minimal experience in the woodshop made the building process a much slower and tedious one, which would not be the case if I were to attempt to create something out of wood again.
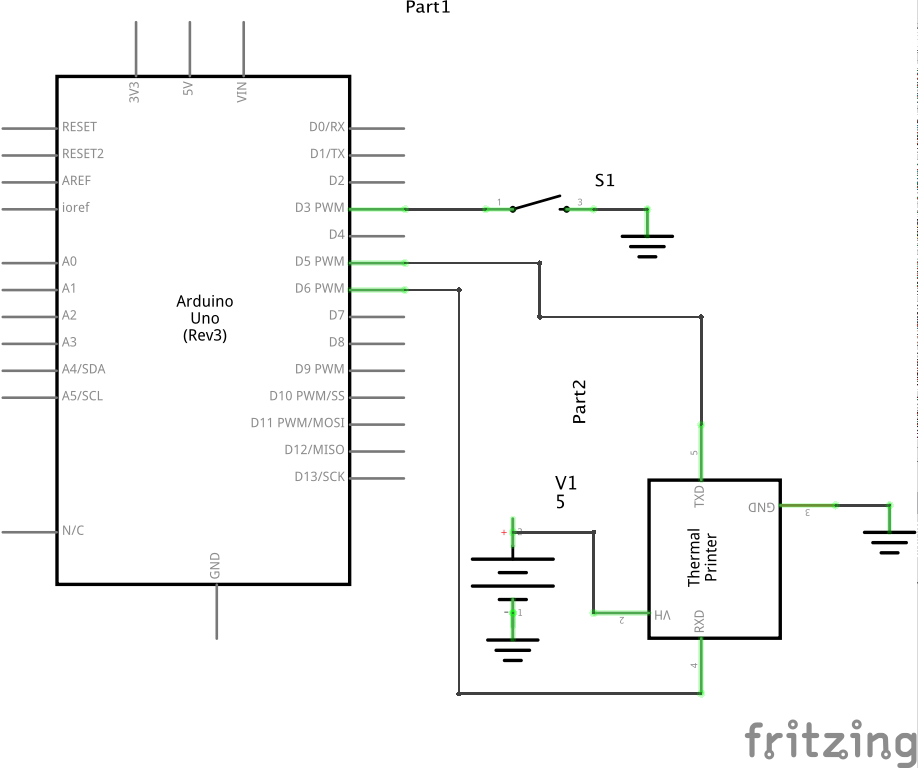
Schematic
- /* Project 02 : Interactive Memory Box
- * By Chloe Desaulles, andrew ID: cdesaull
- * Made with the Adafruit Thermal Printer Library for Arduino
- *
- * This code tells a thermal printer to print a memory at random
- * from a string every time the button is pressed.
- * The button is meant to be pressed each night before bed, i.E.
- * before long term memory encoding, which is meant to help with
- * slowing down memory loss processes as well as with memory
- * recall.
- */
- //---------------PRINTER NONSENSE--------------------
- #include "Adafruit_Thermal.h"
- #include "adalogo.h"
- #include "adaqrcode.h"
- // Here's the new syntax when using SoftwareSerial (e.g. Arduino Uno) ----
- // If using hardware serial instead, comment out or remove these lines:
- #include "SoftwareSerial.h"
- #define TX_PIN 6 // Arduino transmit YELLOW WIRE labeled RX on printer
- #define RX_PIN 5 // Arduino receive GREEN WIRE labeled TX on printer
- SoftwareSerial mySerial(RX_PIN, TX_PIN); // Declare SoftwareSerial obj first
- Adafruit_Thermal printer(&mySerial); // Pass addr to printer constructor
- // Then see setup() function regarding serial & printer begin() calls.
- //--------------------- CONTENT NONSENSE -------------------
- int seed;
- String myStrings[] {"This is memory 1", "This is memory 2", "This is memory 3",
- "This is memory 4", "This is memory 5", "This is memory 6",
- "This is memory 7", "This is memory 8"
- };
- int BUTTONPIN1 = 2;
- void setup() {
- //----------------- PRINTER SETUP ----------------
- // This line is for compatibility with the Adafruit IotP project pack,
- // which uses pin 7 as a spare grounding point. You only need this if
- // wired up the same way (w/3-pin header into pins 5/6/7):
- pinMode(7, OUTPUT); digitalWrite(7, LOW);
- //mySerial.begin(19200); // Initialize SoftwareSerial - I added it later
- //Serial1.begin(19200); // Use this instead if using hardware serial
- printer.begin(); // Init printer (same regardless of serial type)
- //------------------- LIGHTS -----------------------
- pinMode(11, OUTPUT);
- pinMode(10, OUTPUT);
- pinMode(9, OUTPUT);
- //------------------- CONTENT SETUP ----------------------
- seed = analogRead(A0); // so long as A0 isn't actually plugged into something
- randomSeed(seed);
- pinMode(BUTTONPIN1, INPUT_PULLUP);
- mySerial.begin(19200);
- Serial.begin(19200);
- }
- void loop() {
- //----------------- !!!! PRINTING !!!! -------------------
- int buttonVal1;
- buttonVal1 = digitalRead(BUTTONPIN1);
- // If button one is pressed, print a memory at random from array 1
- if (buttonVal1 == LOW) {
- //printer.upsideDownOn(); //Tried to print upside down, but isn't supported anymore
- /*digitalWrite(11, HIGH);
- digitalWrite(10, HIGH);
- digitalWrite(9, HIGH);
- delay(2000);
- digitalWrite(11, LOW);
- digitalWrite(10, LOW);
- digitalWrite(9, LOW);
- delay(1000);*/
- printer.setLineHeight(100);
- //Set text right justification (accepts 'L', 'C', 'R')
- printer.justify('R');
- printer.println(F("12:24, 25 October 2018"));
- printer.setLineHeight(50);
- printer.justify('L');
- //printer.println(F("Kind of memory or whatever"));
- //printer.println(F(myStrings[random(0,6)]));
- String printedMaterial = myStrings[random(0,7)];
- printer.println(printedMaterial);
- Serial.println(printedMaterial);
- printer.sleep(); // Tell printer to sleep
- delay(3000L); // Sleep for 3 seconds
- printer.wake(); // MUST wake() before printing again, even if reset
- printer.setDefault(); // Restore printer to defaults
- }
- }
Leave a Reply
You must be logged in to post a comment.