Introduction
The goal of this project is to create a an assistive device for an older person, in our case, this person was Jan. In our last post, we visited Jan in her home to discuss what day-to-day problems she experienced, and propose potential projects to aide her. By the end of our visit, we had settled on a device which would help her remember to exercise, and keep track of how active she was being.
Since that post, we’ve been able to construct a prototype of our device, which implements many of the core features we had planned in our first post. On Thursday, November 14th, we met up with Jan again to show her the device, and collect her feedback on how the device had evolved.
Prototype
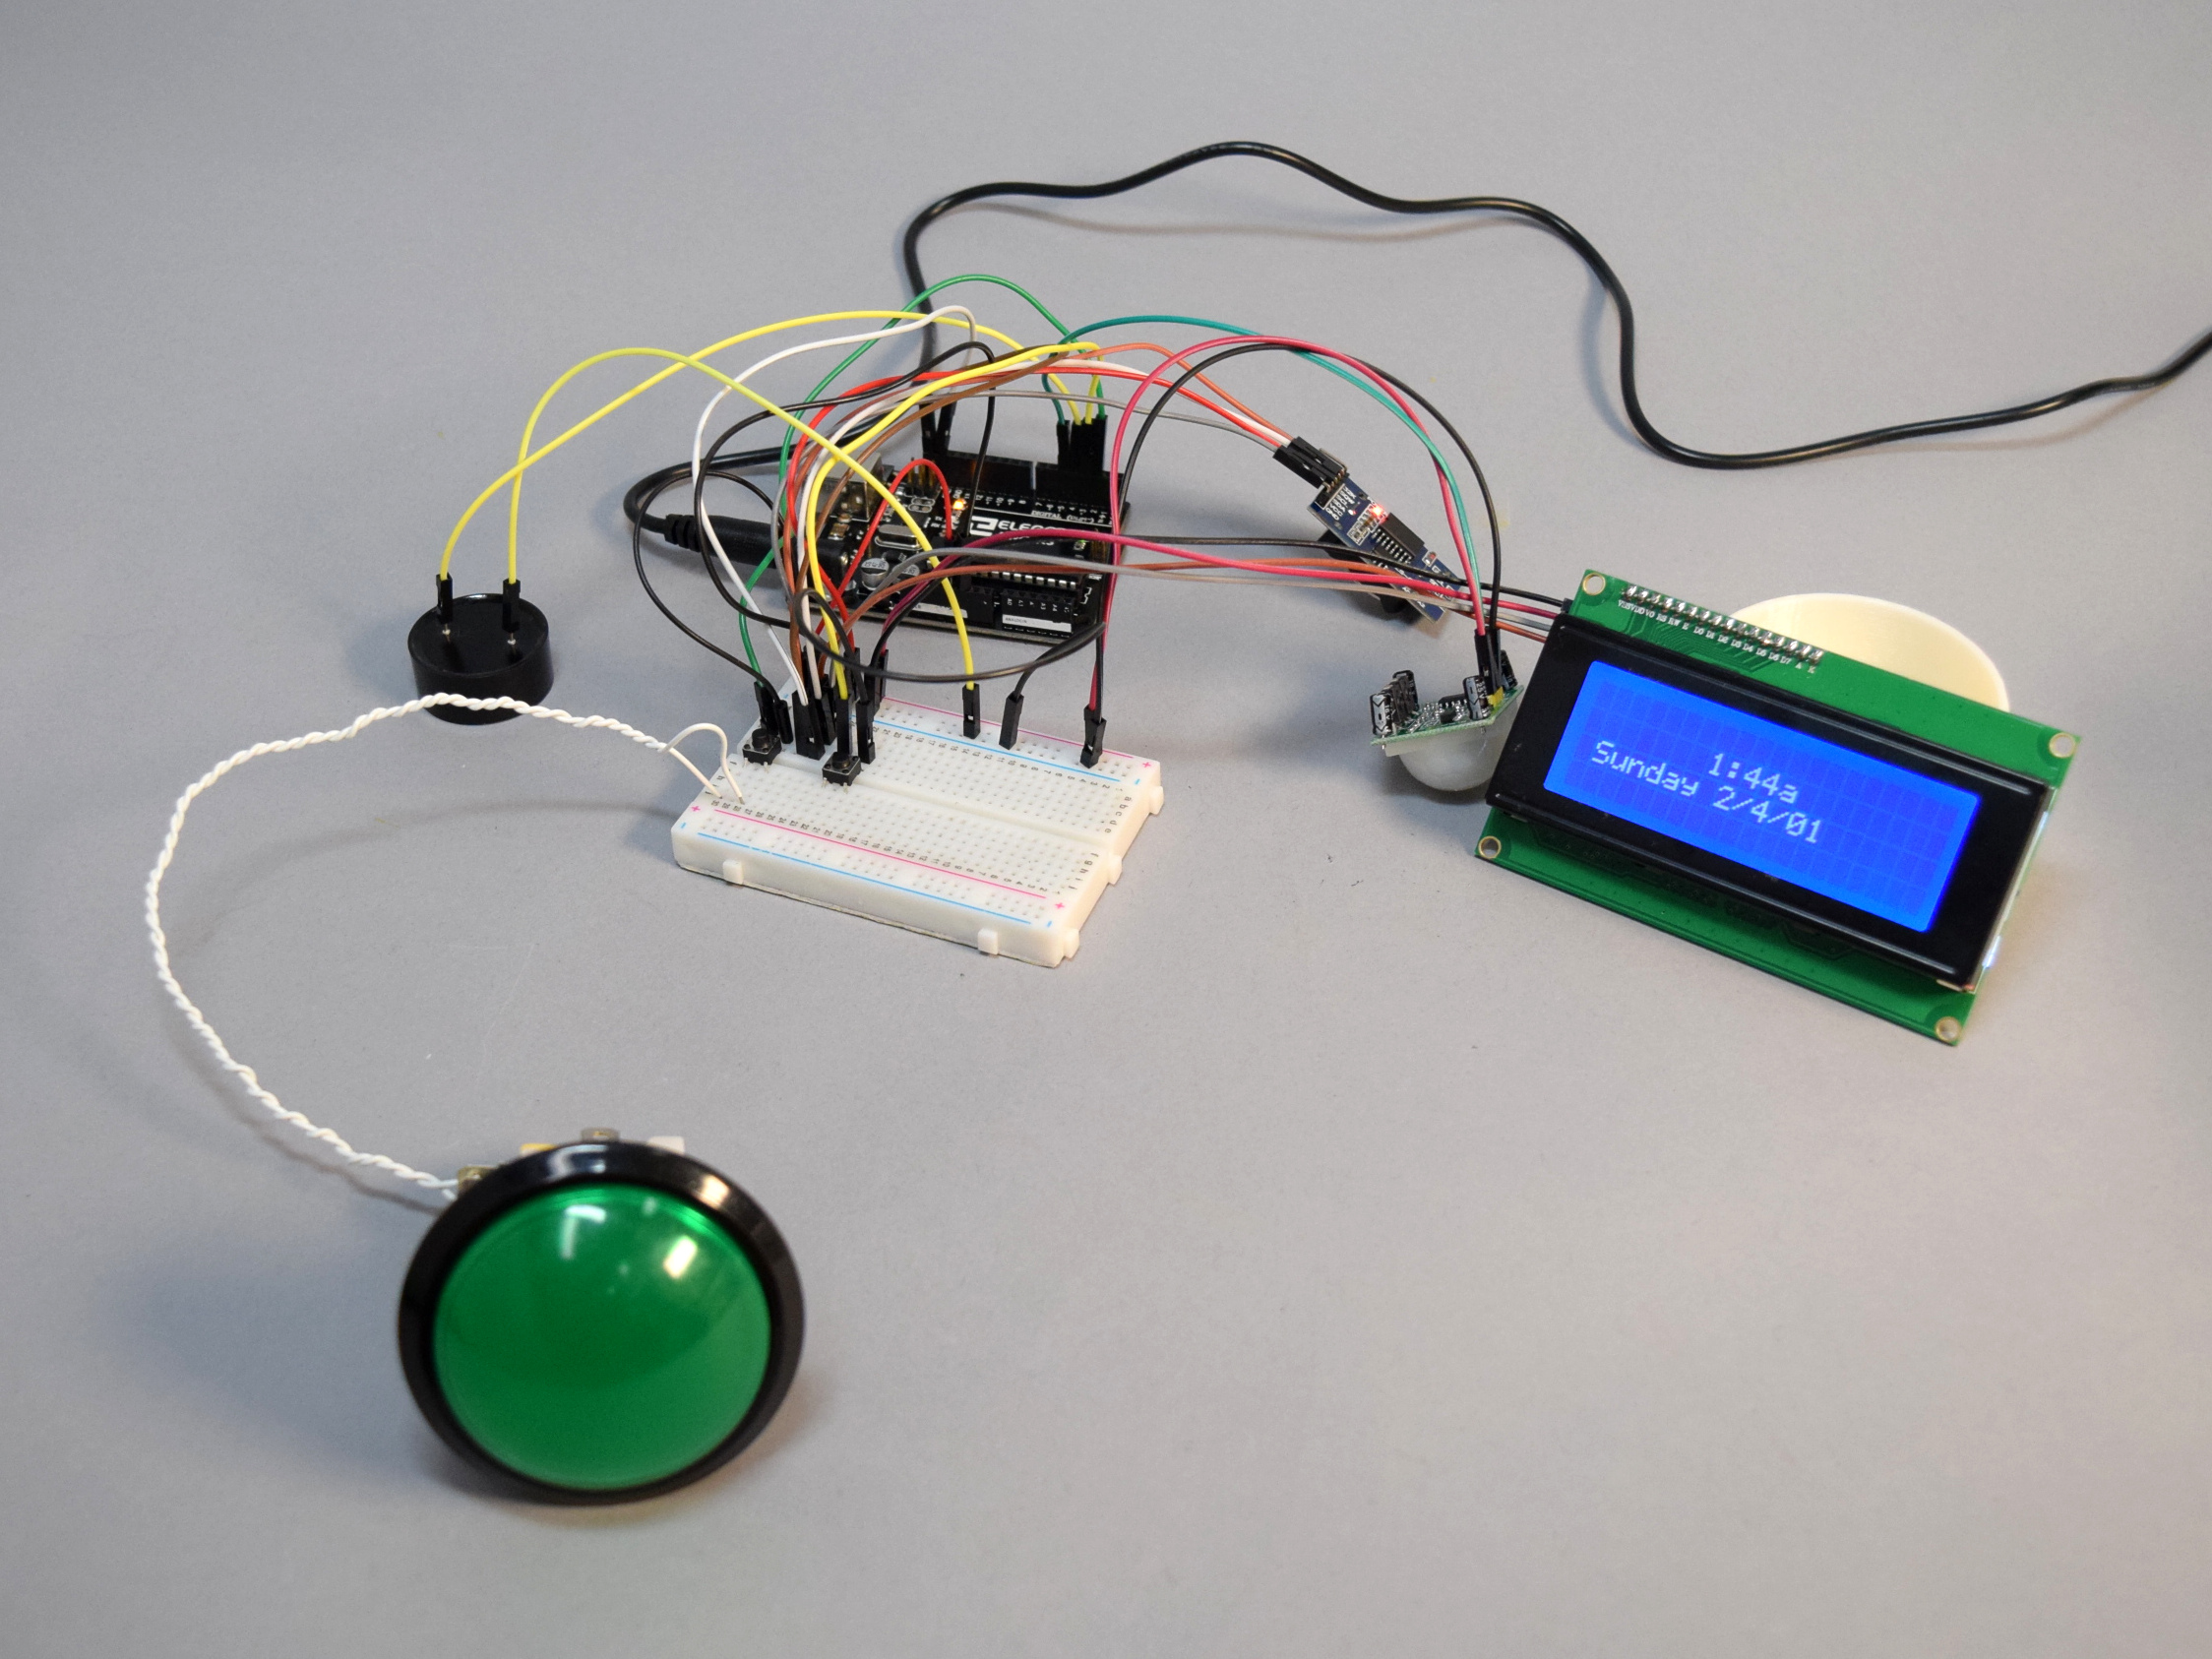
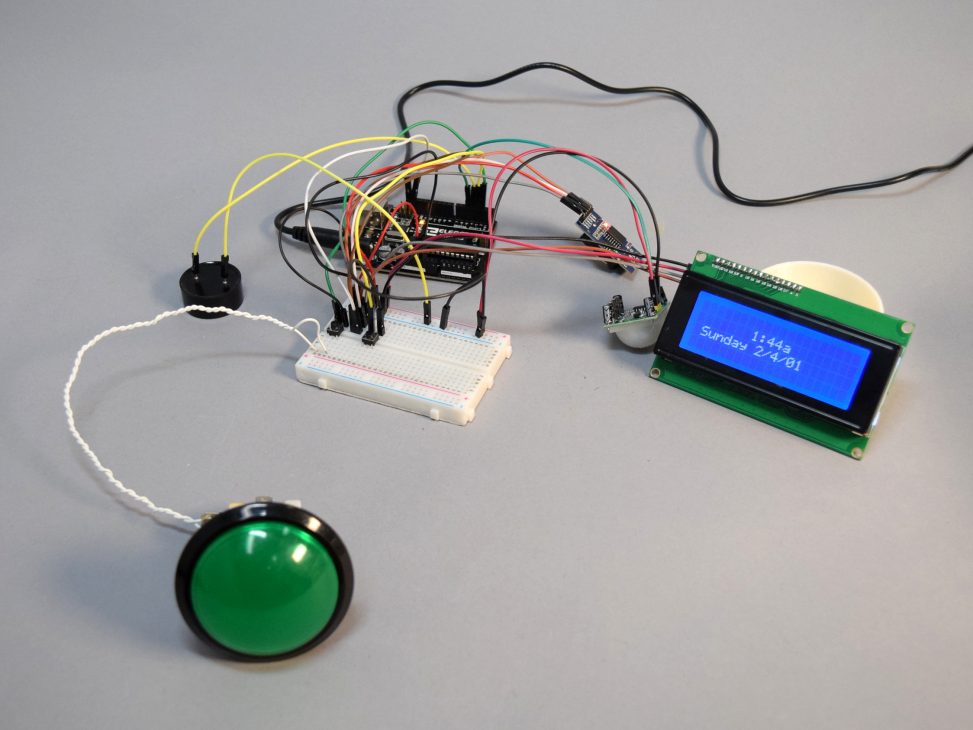
Our initial prototype for the workout clock.

The clock is able to display a simple bargraph of the past two week’s worth of exercise times.
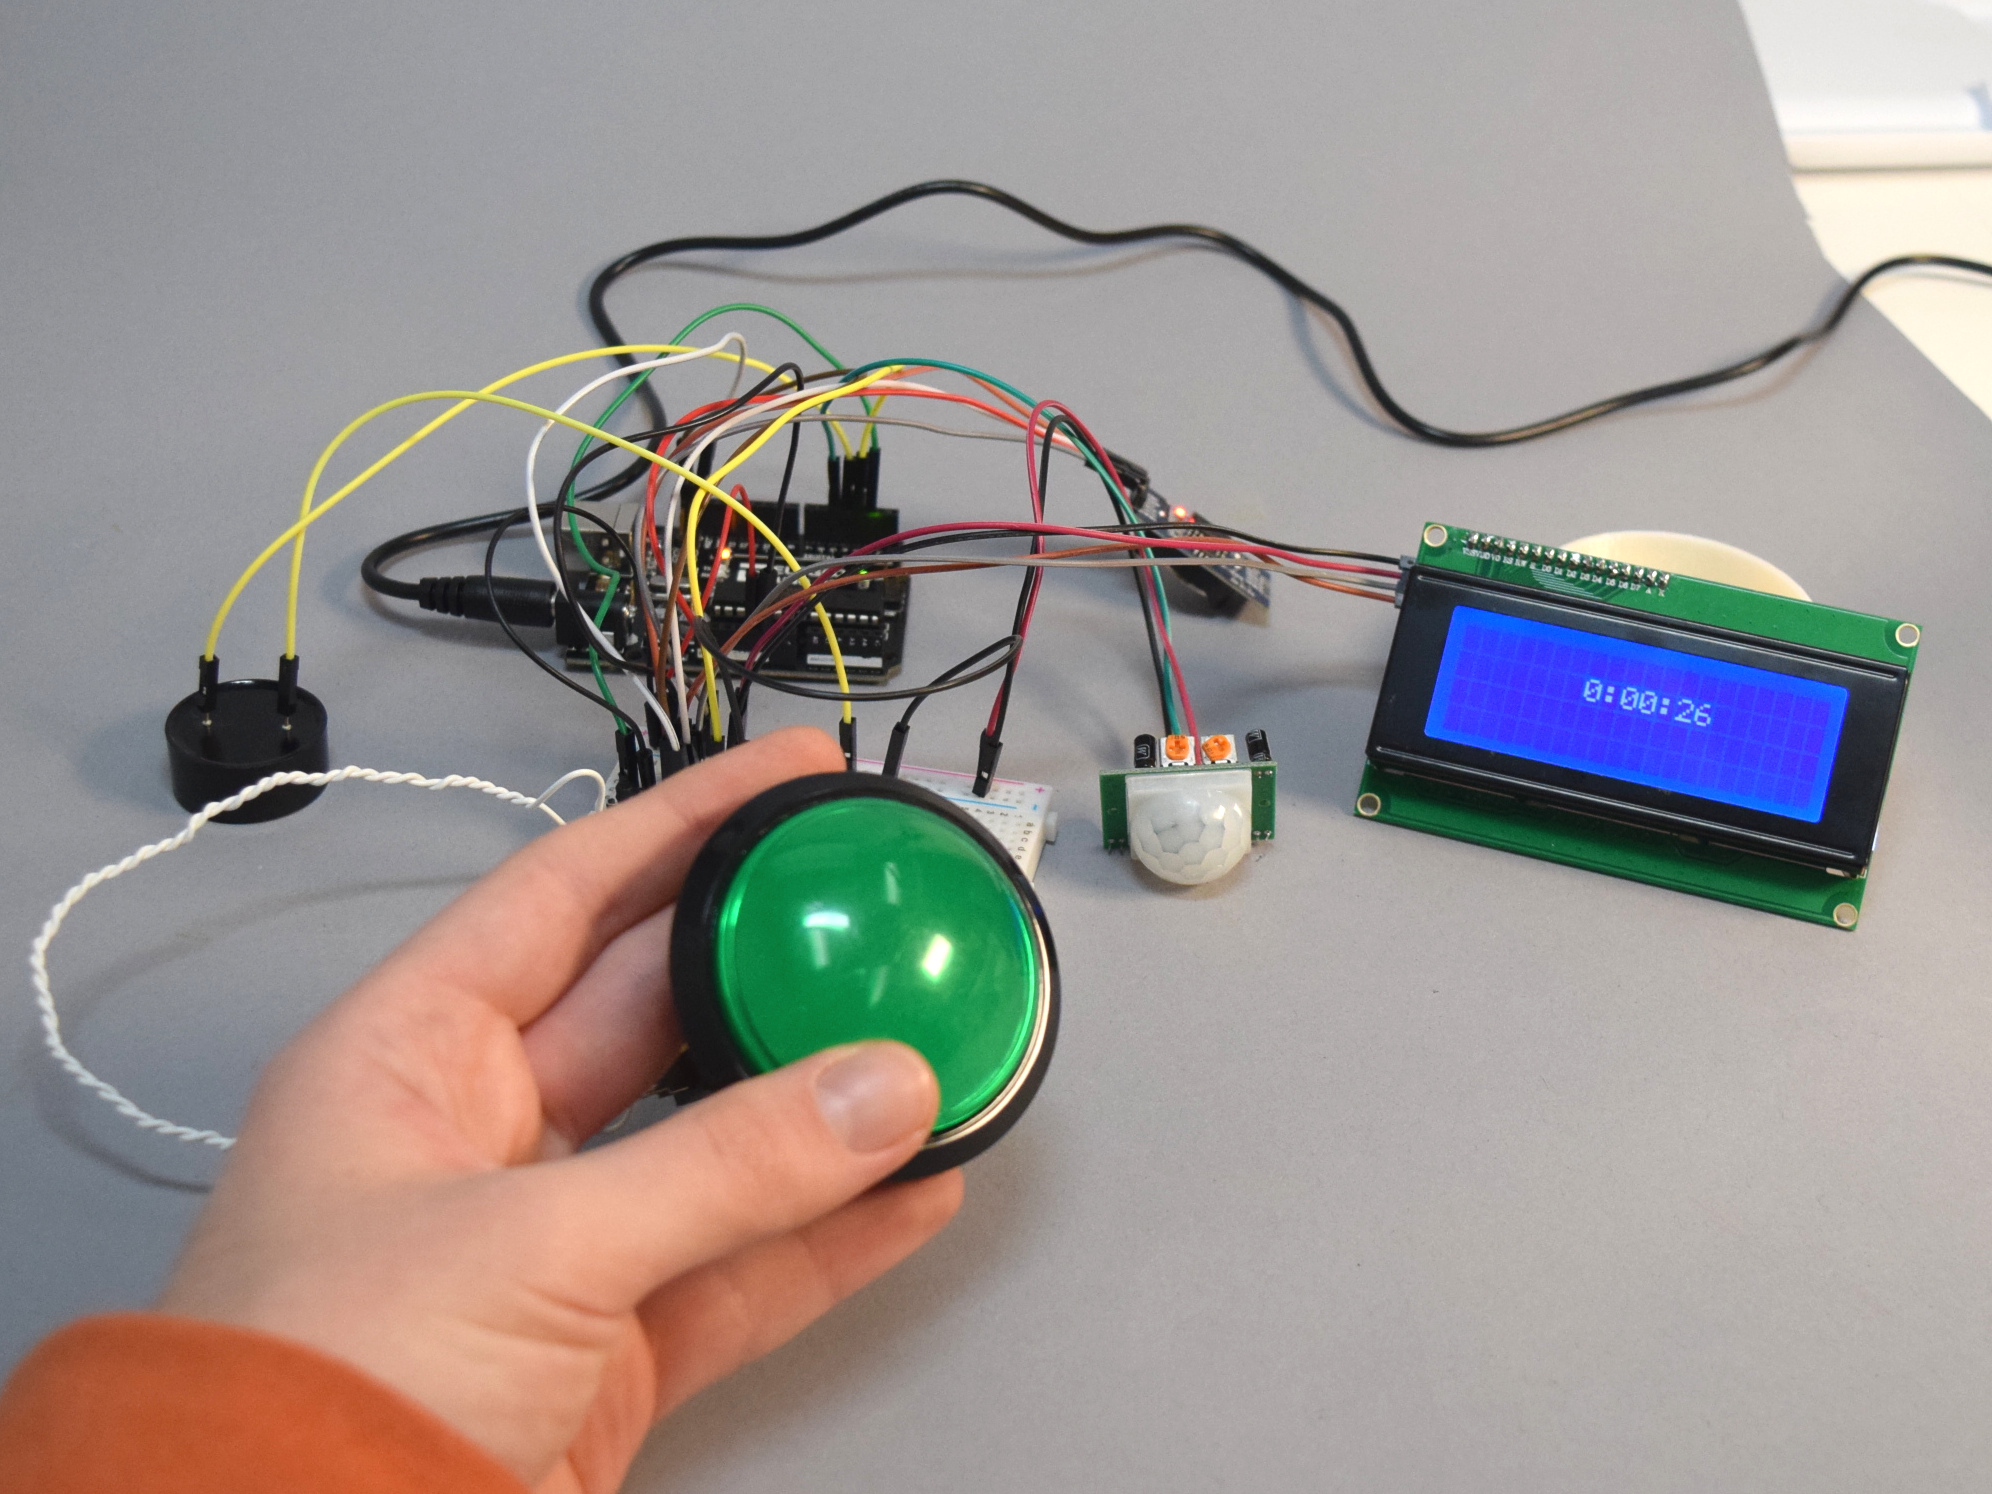
We selected a large, easily pressable button to activate and stop the timer. Here, the clock is counting how long the timer has been running.
To solve the goal of reminding Jan to stay active, our group constructed a countertop clock, which keeps track of her exercise habits. When Jan leaves her house through the back door to exercise, she presses the large button to start a timer. Upon her return, she presses the button again to stop the timer, and log the time she spent exercising, which the clock can display as a graph on its screen. The clock also features a motion sensor, which is used to occasionally remind Jan if she hasn’t exercised for the day and is in the room.
Process
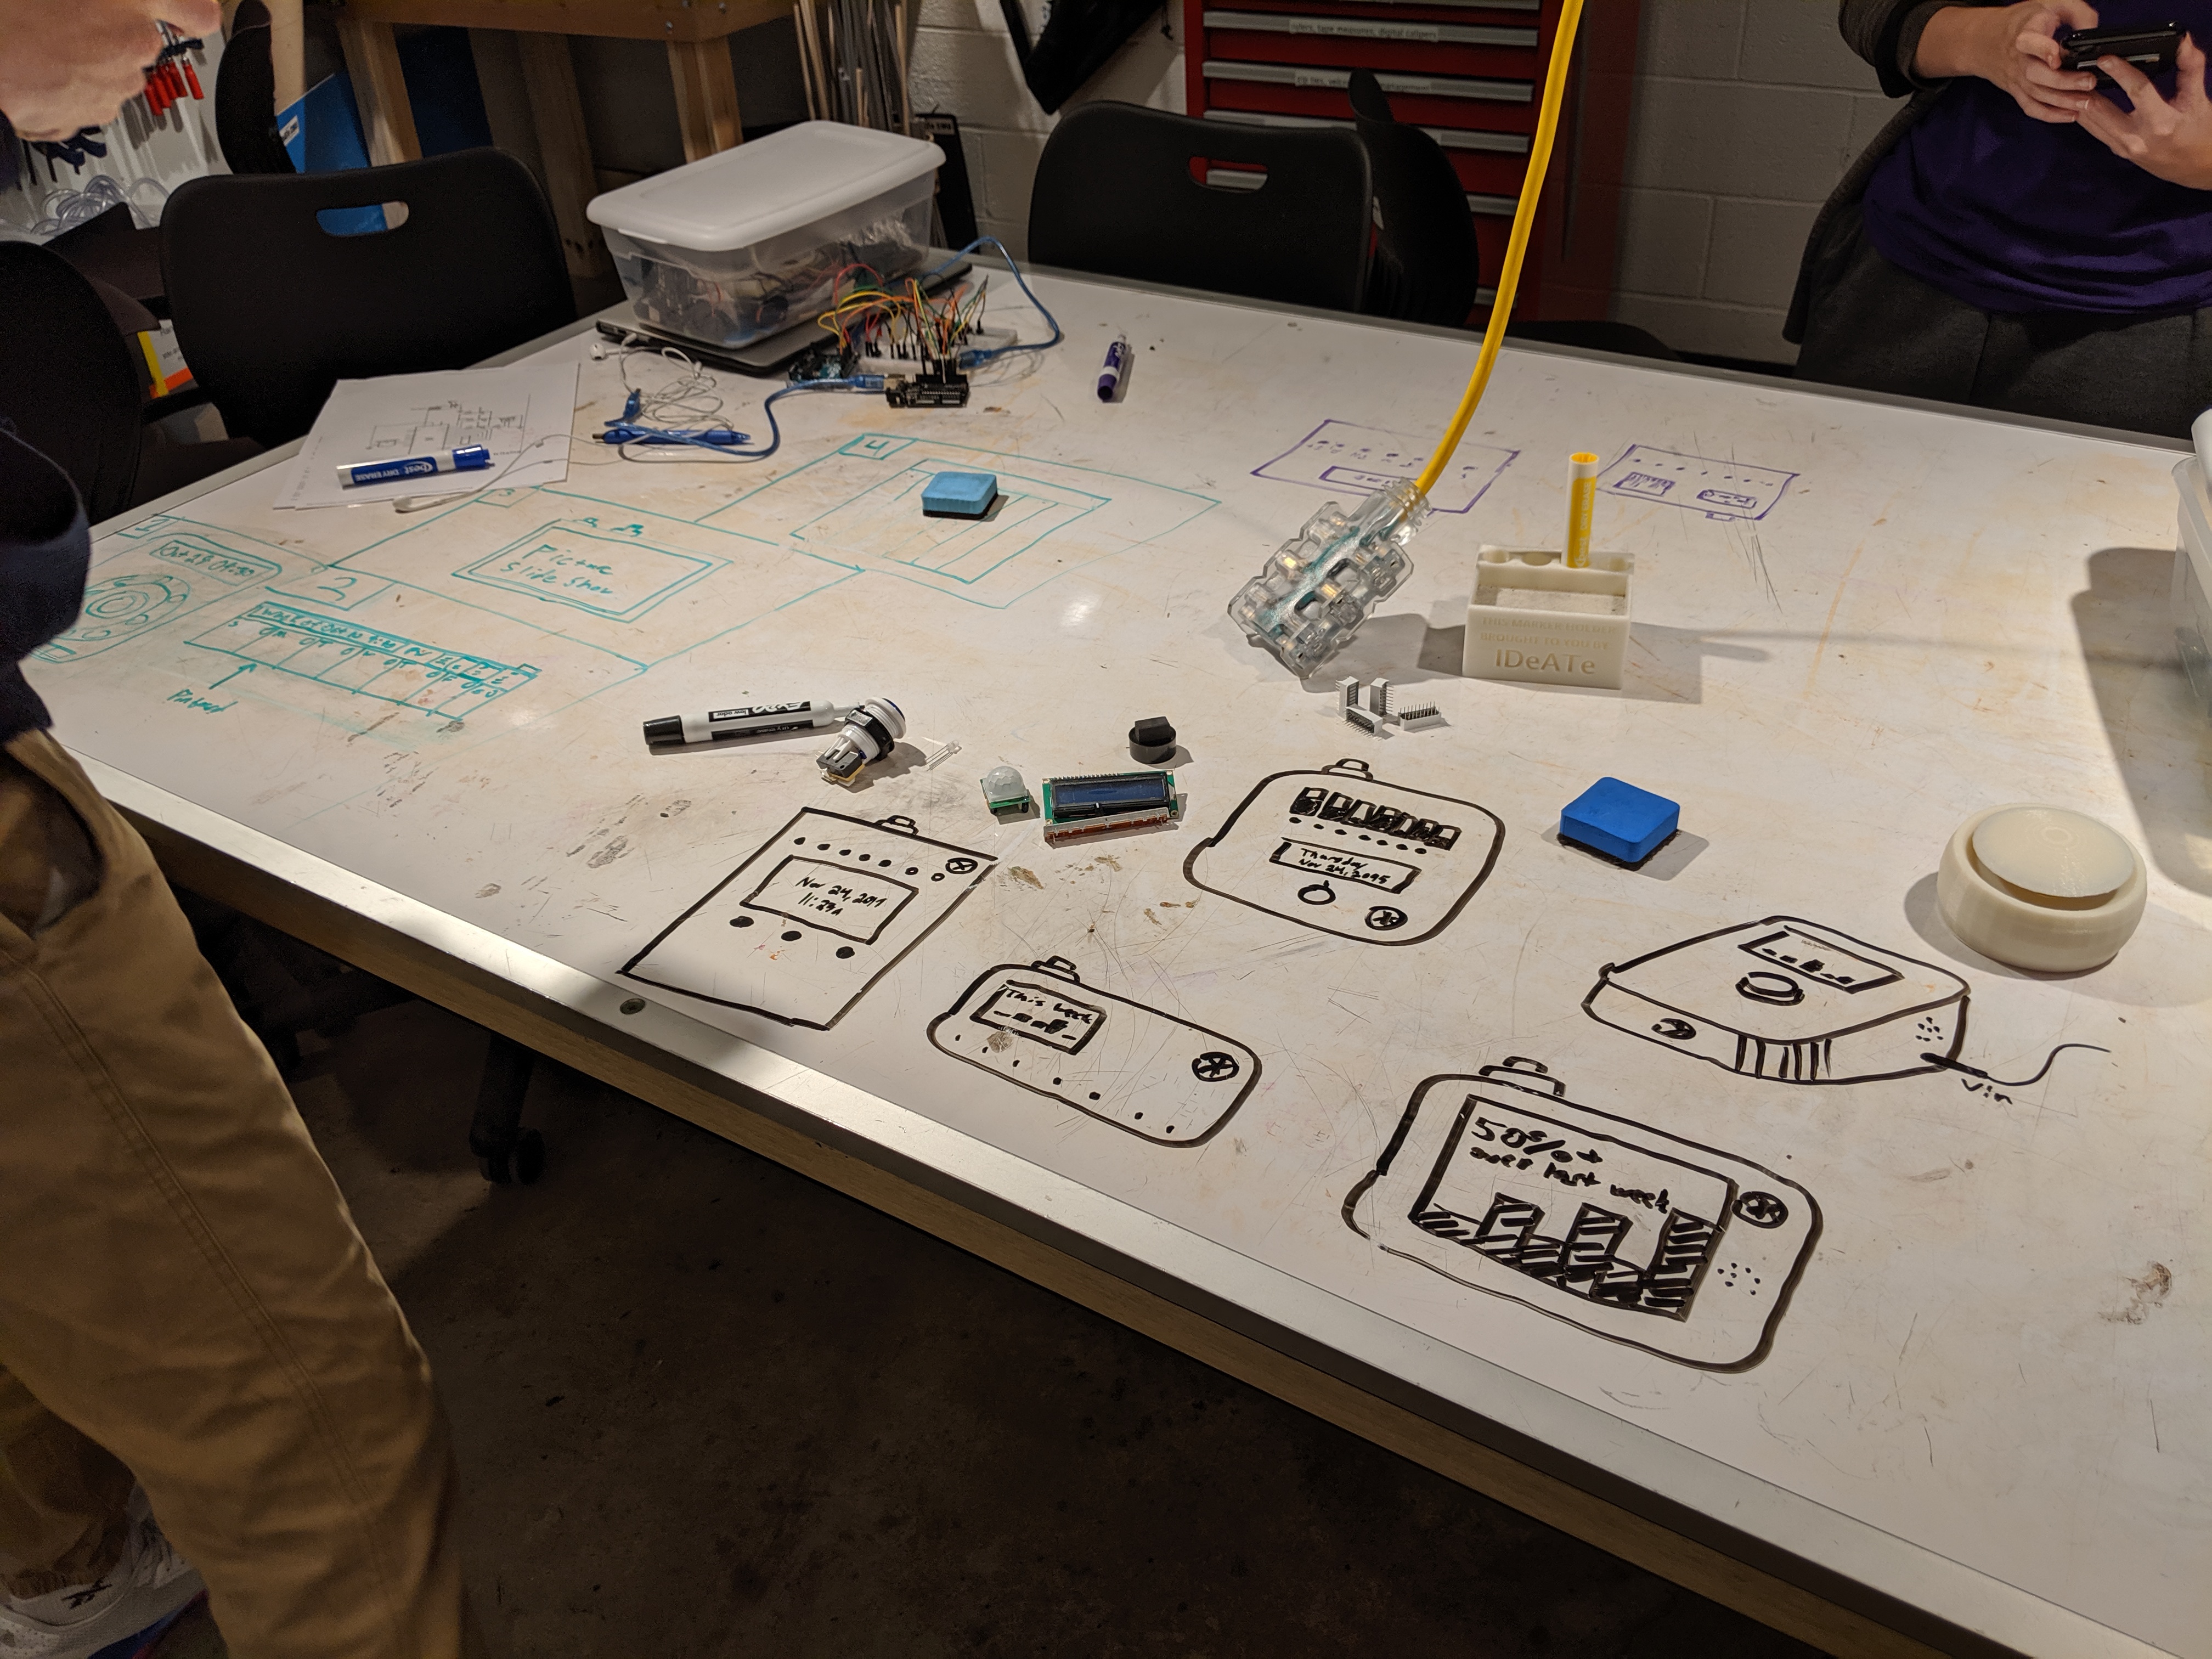
Sketches of ideas for how the final product might look, and how the information could be displayed. We weren’t looking to settle on a design, but wanted to get a good idea of what components to include in the prototype.
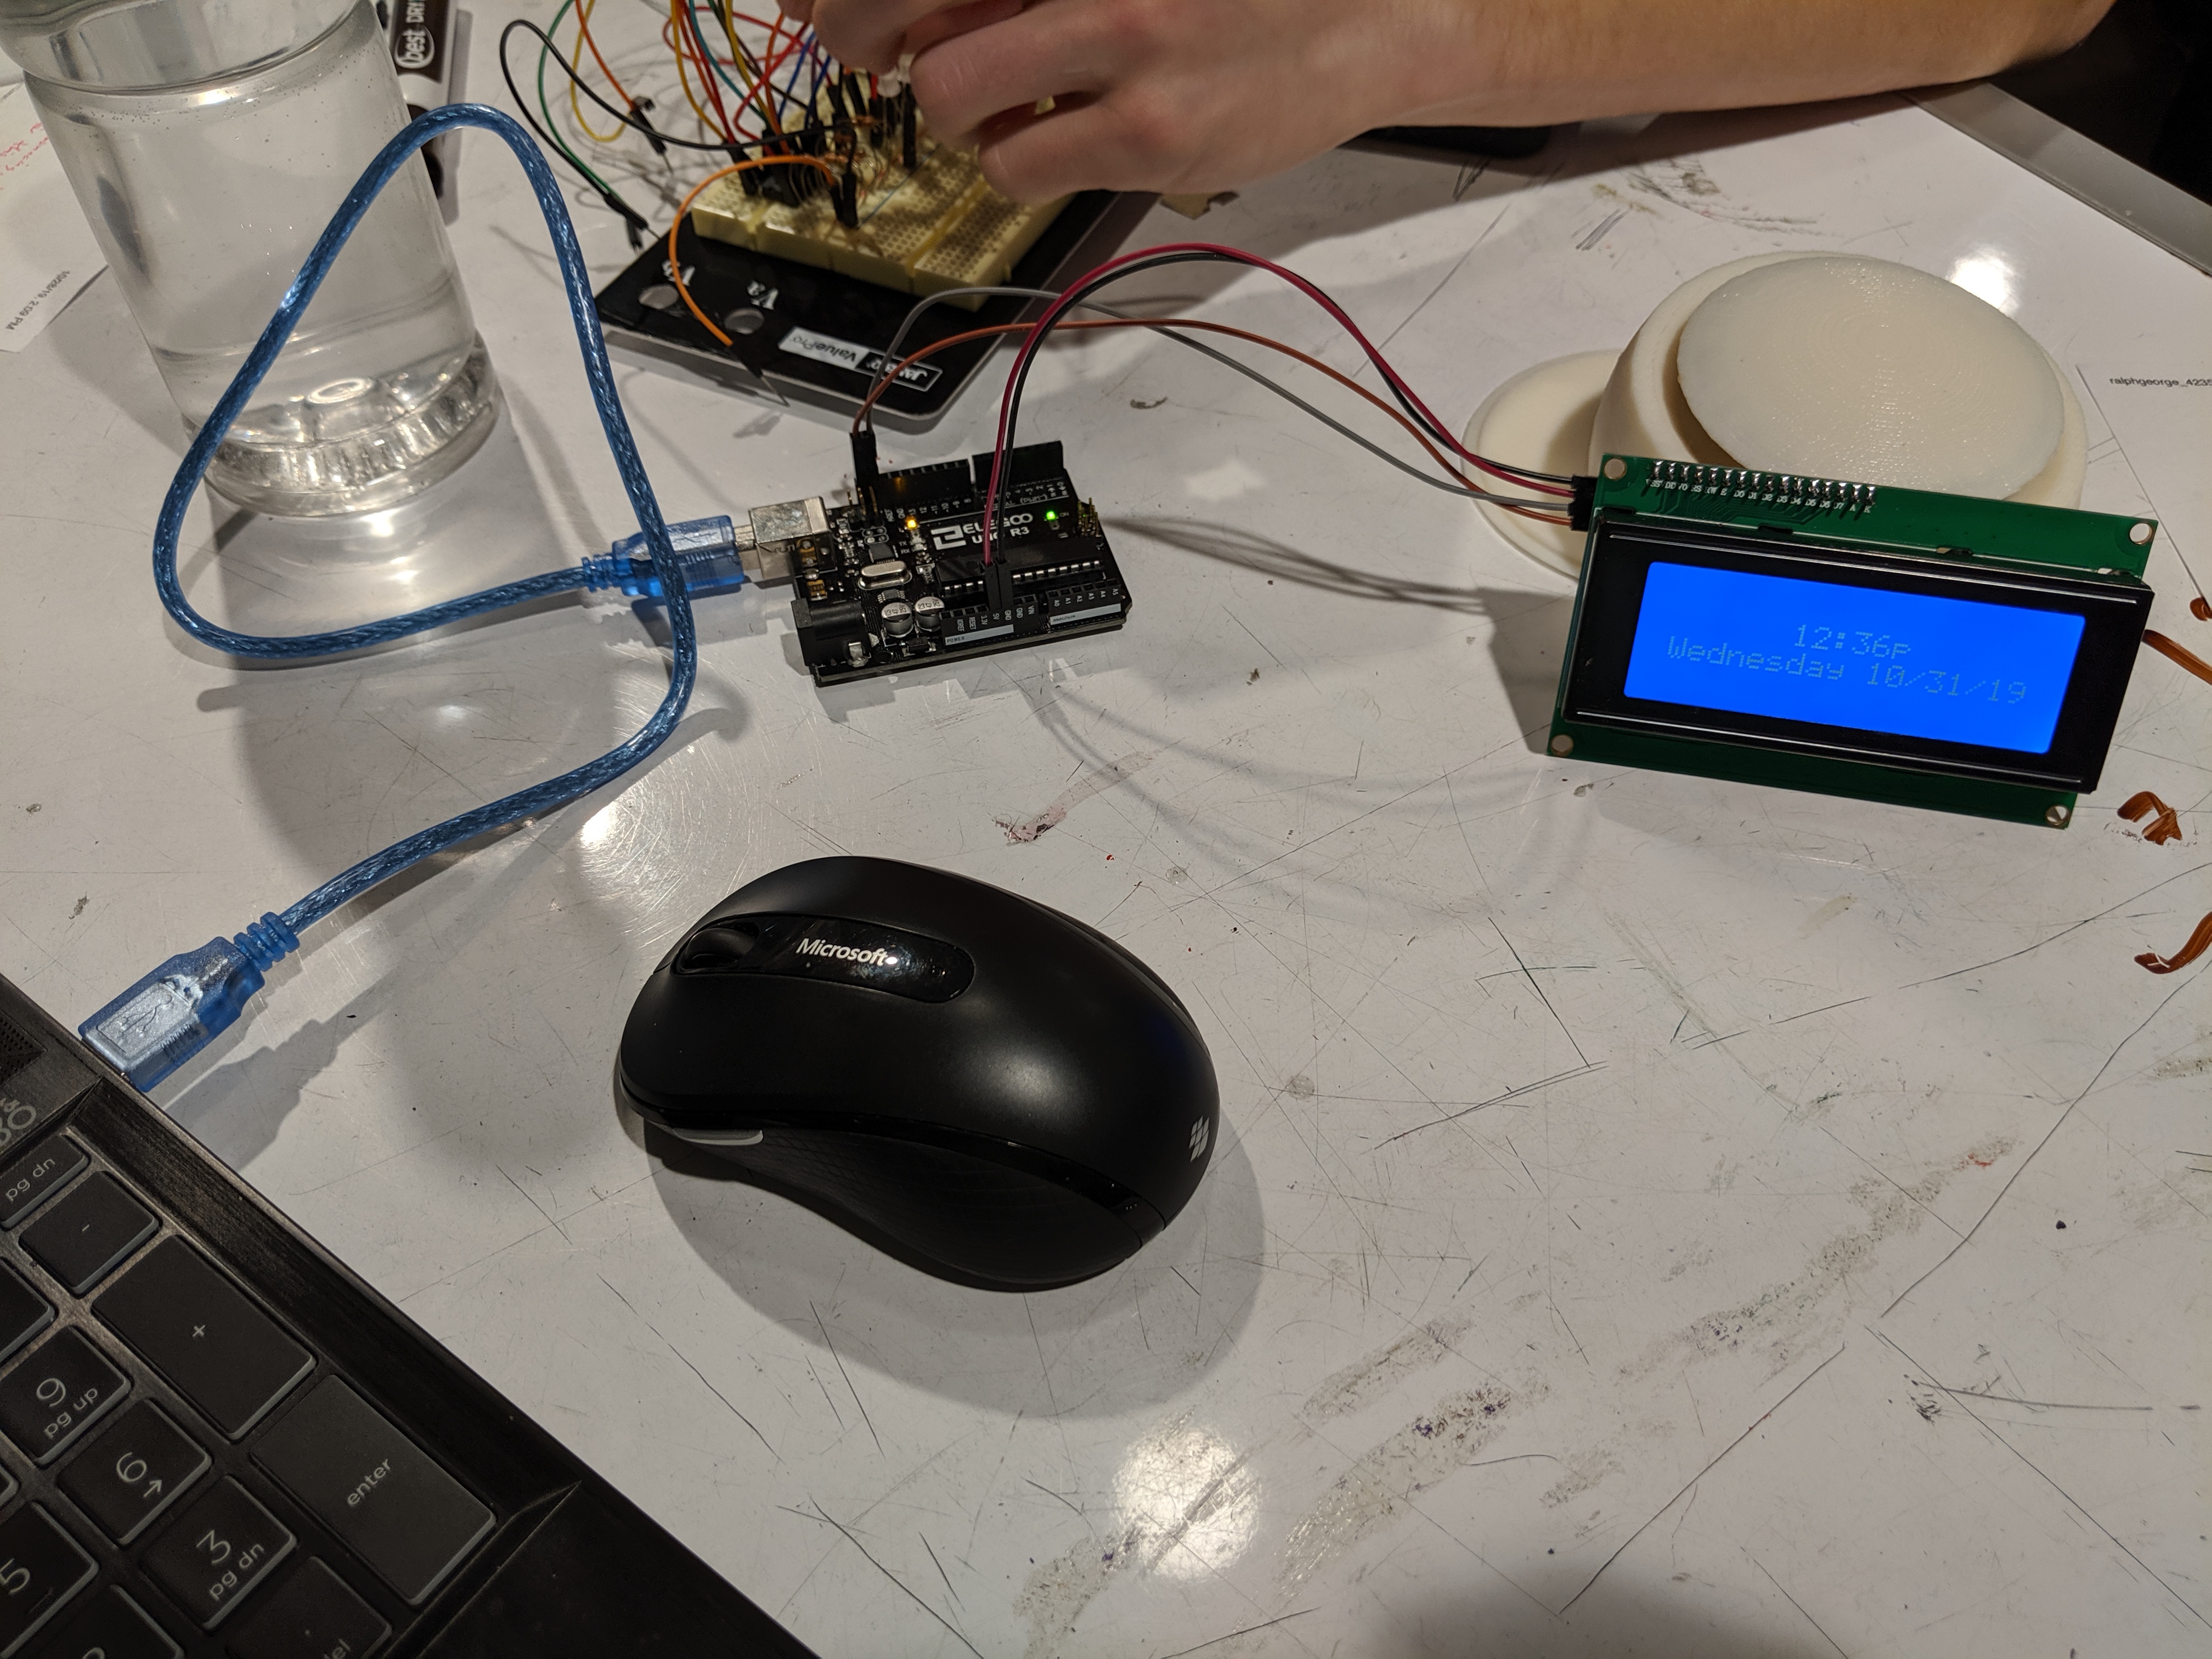
The LCD screen with the displays being tested. Early on the LCD screen and the clock were worked on separately, and were later merged together.
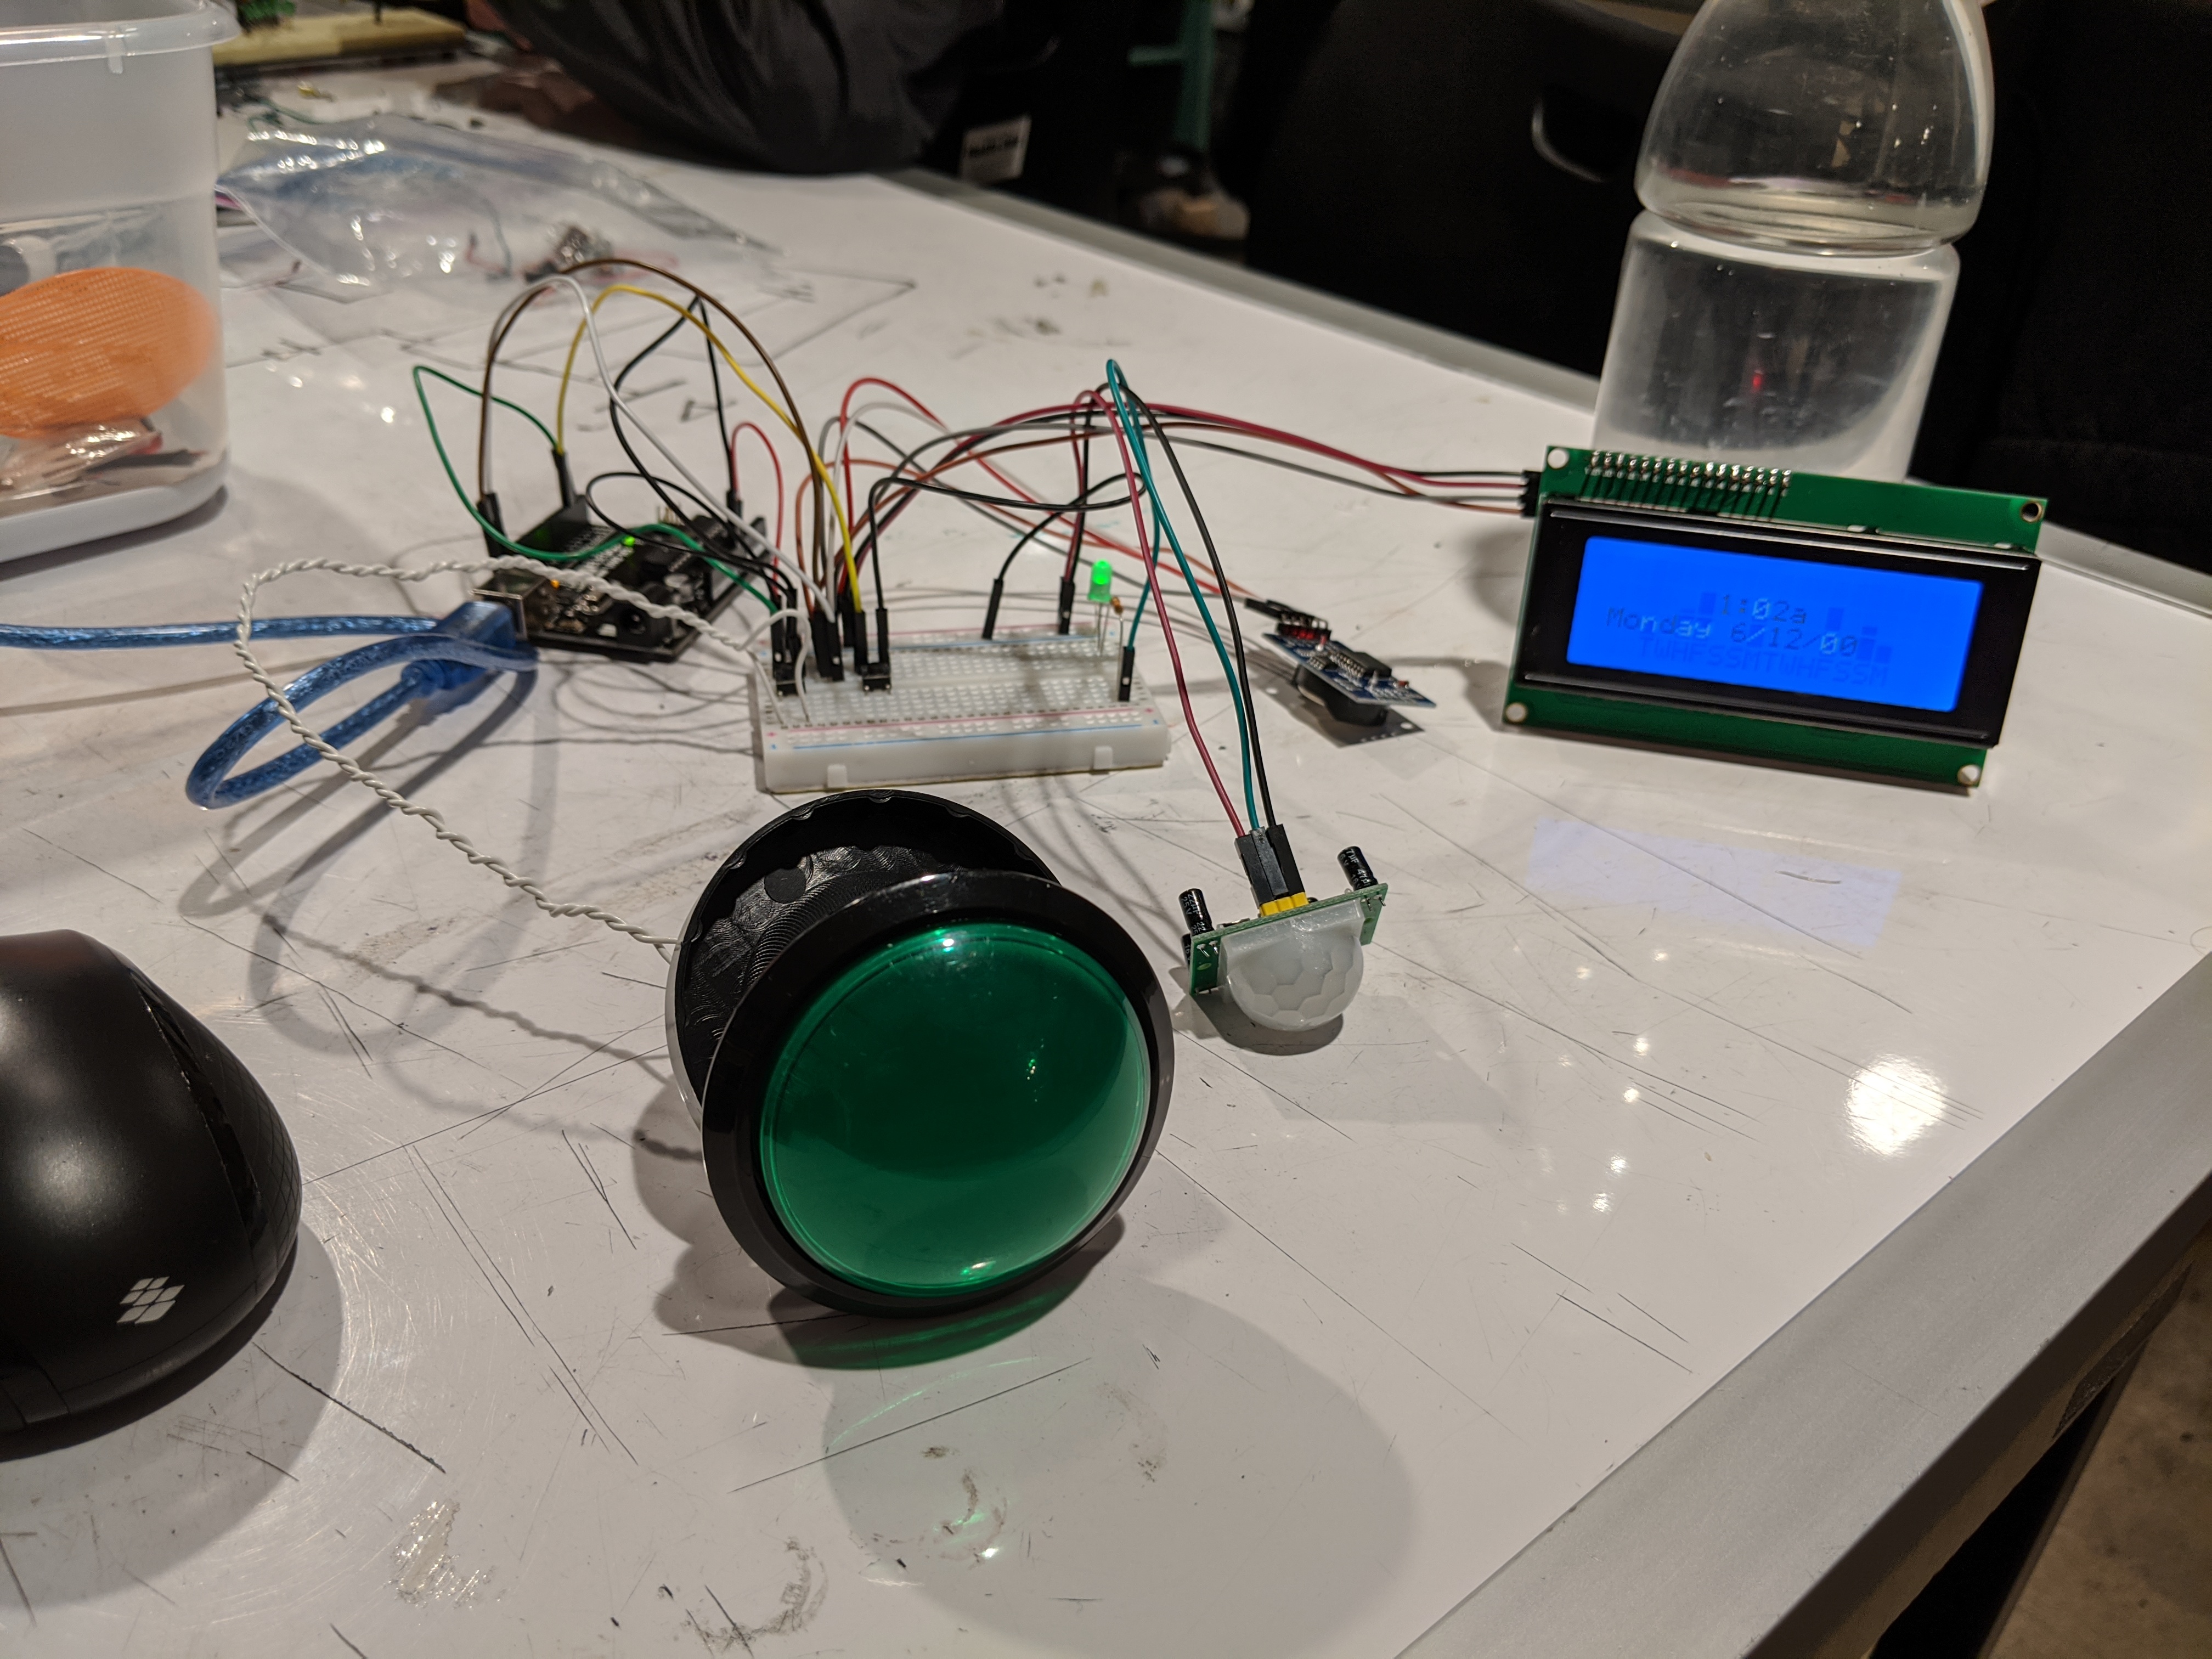
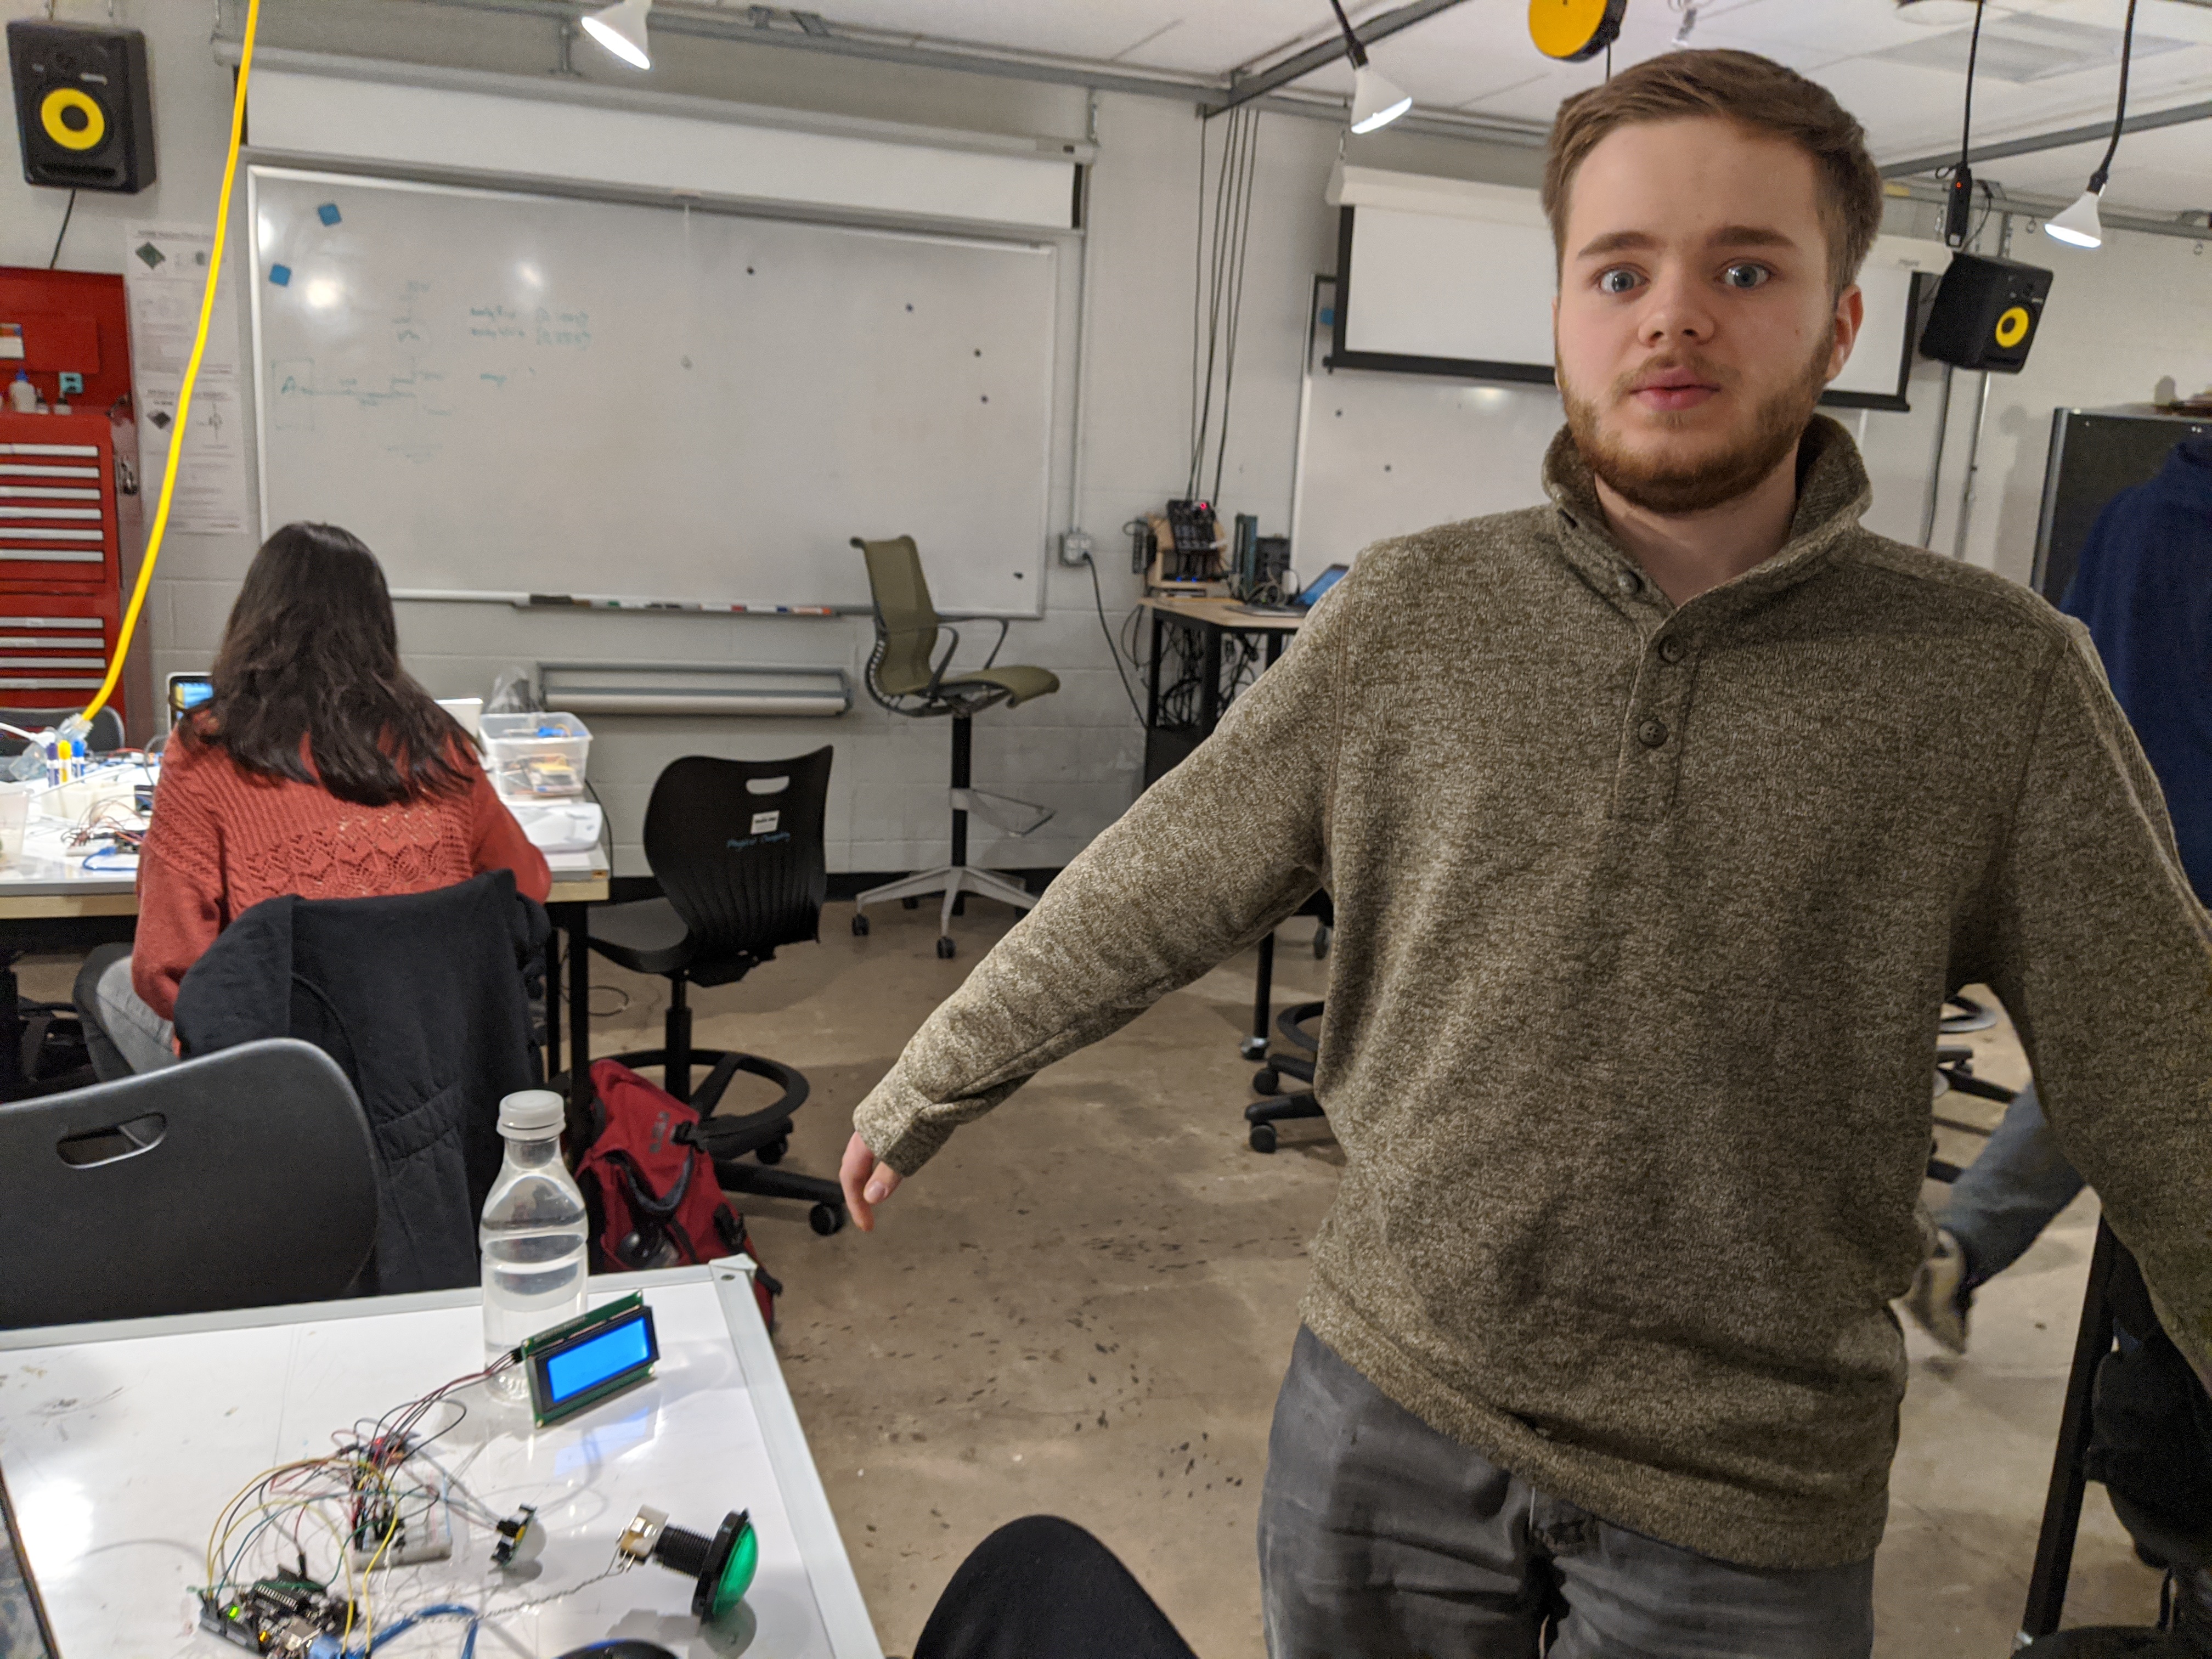
The prototype in the middle of development. The green LED was there to test the motion sensor, and was replaced by the speaker in the final prototype.
A test to make sure that the time spent exercising is being tracked when the button is pressed and that the graph is displaying the information correctly.
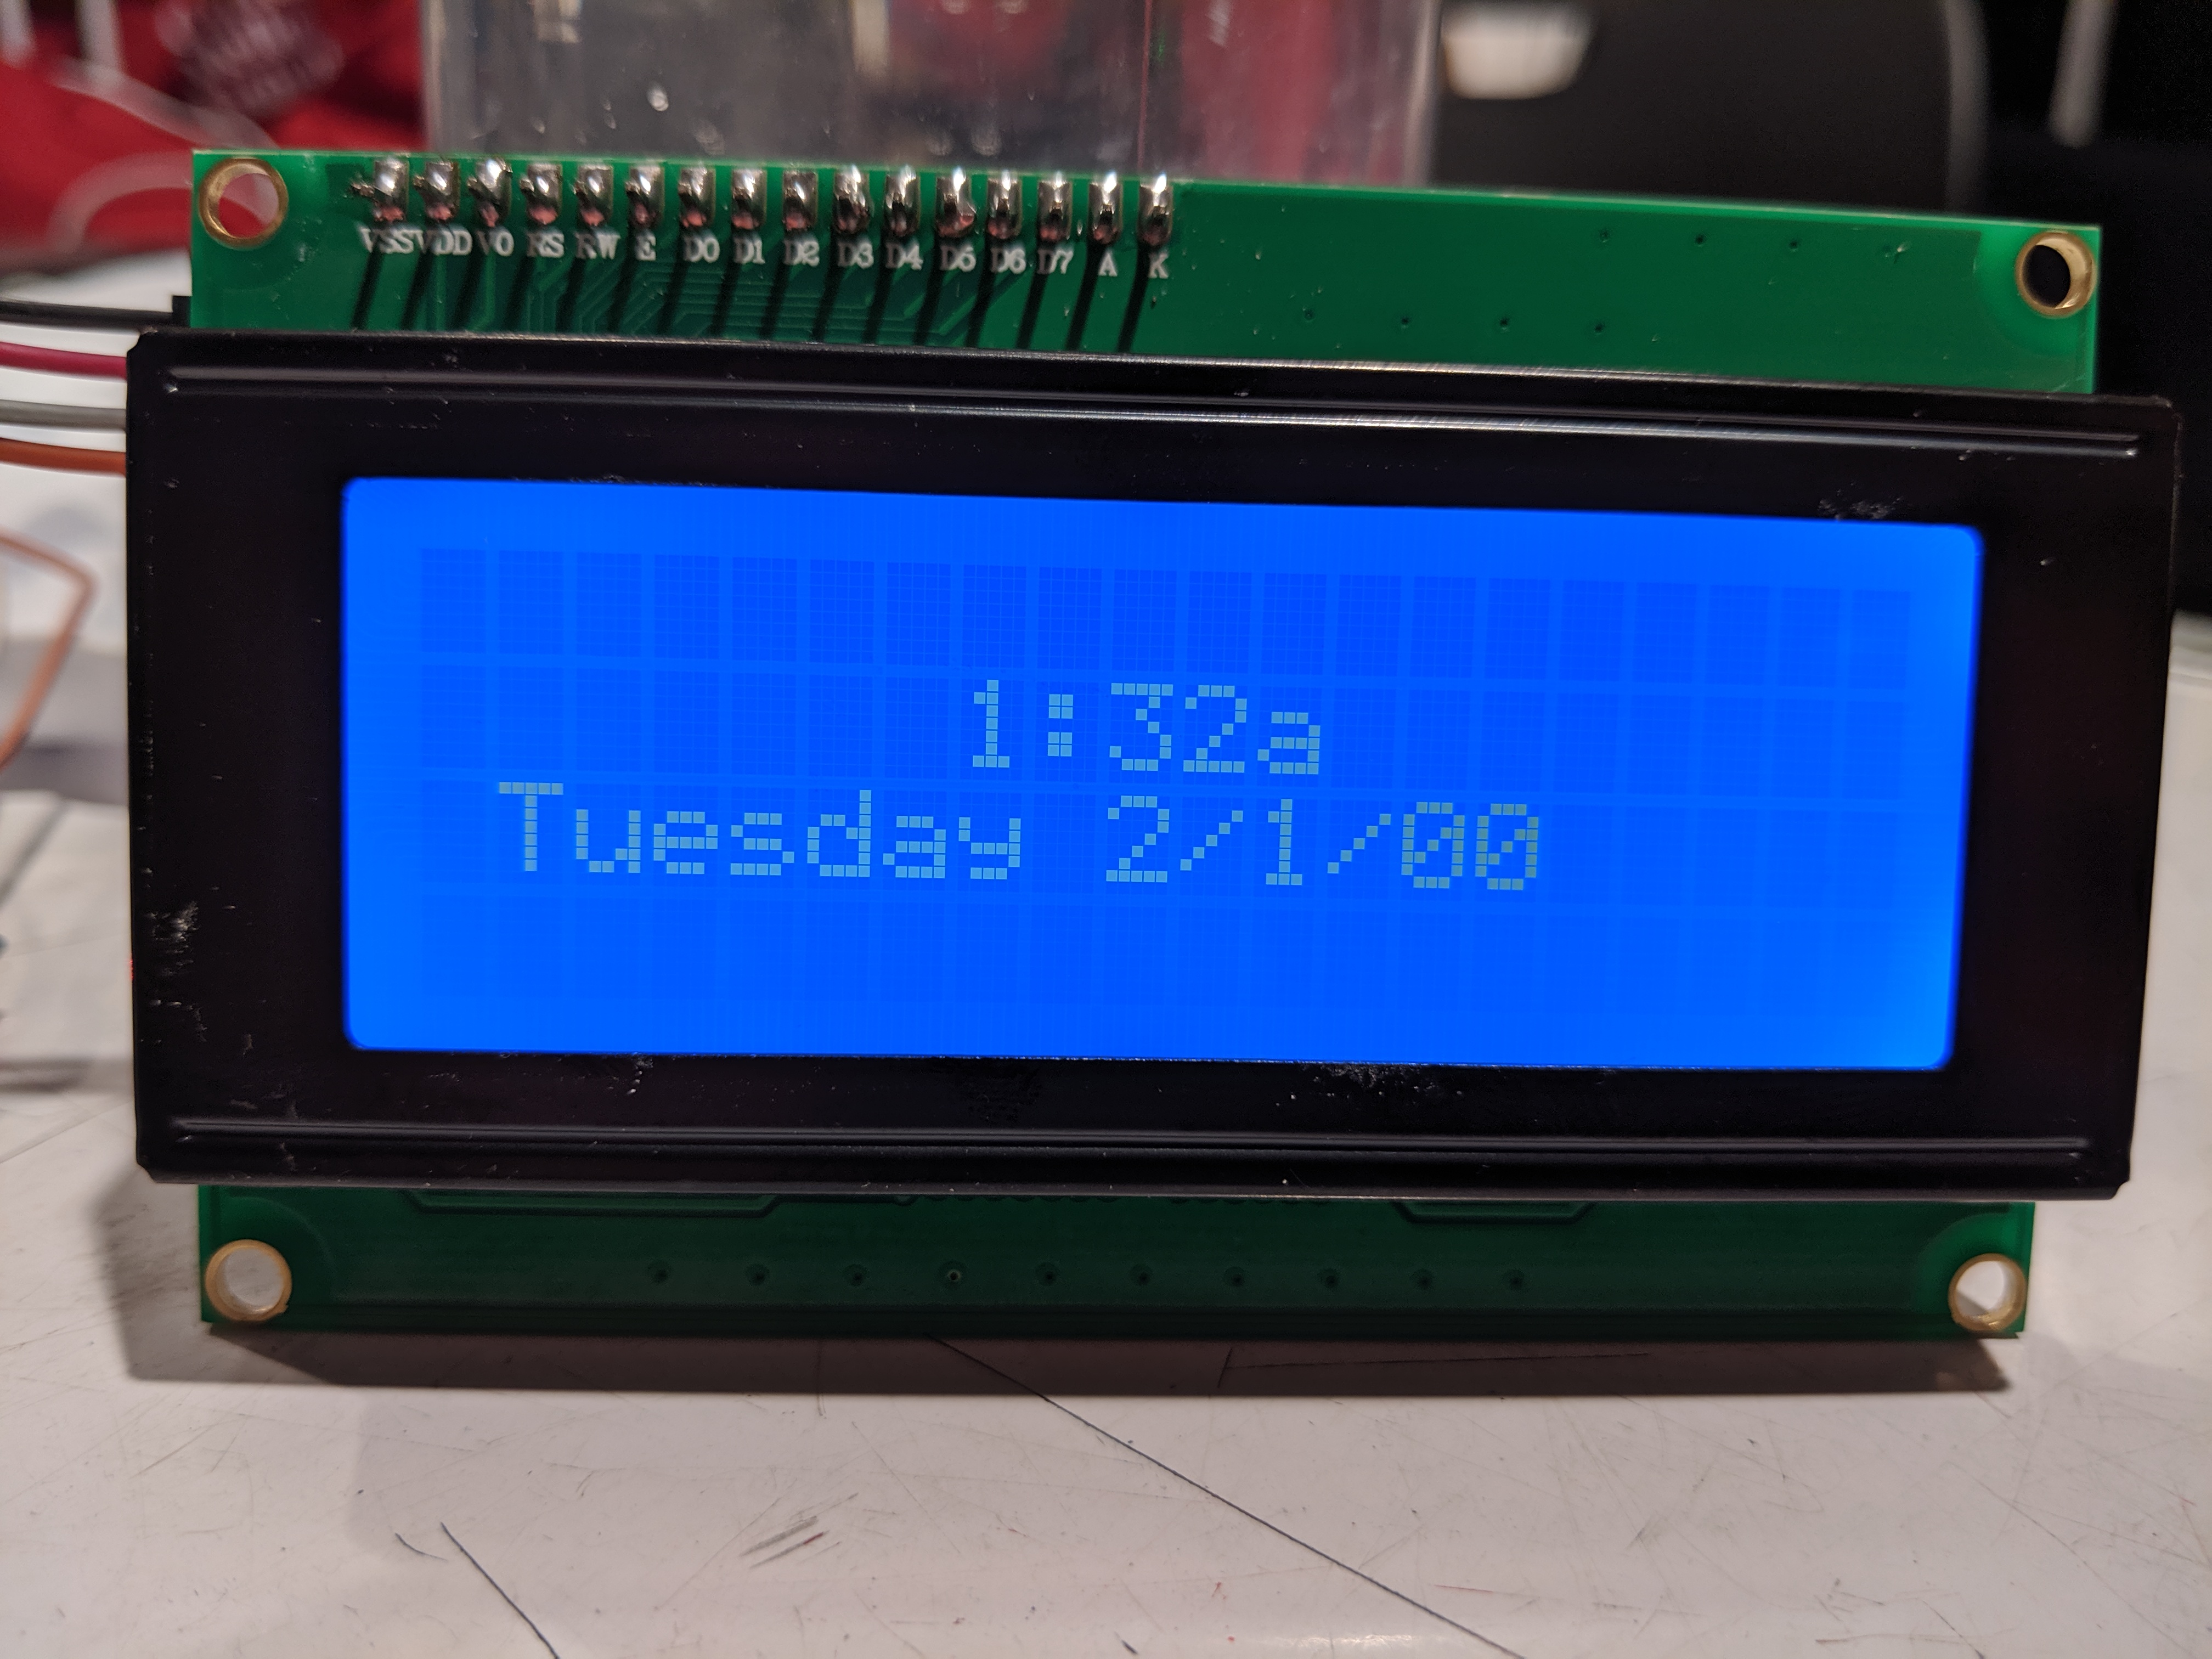
The display showing the time and date, although it isn’t the right time or date.
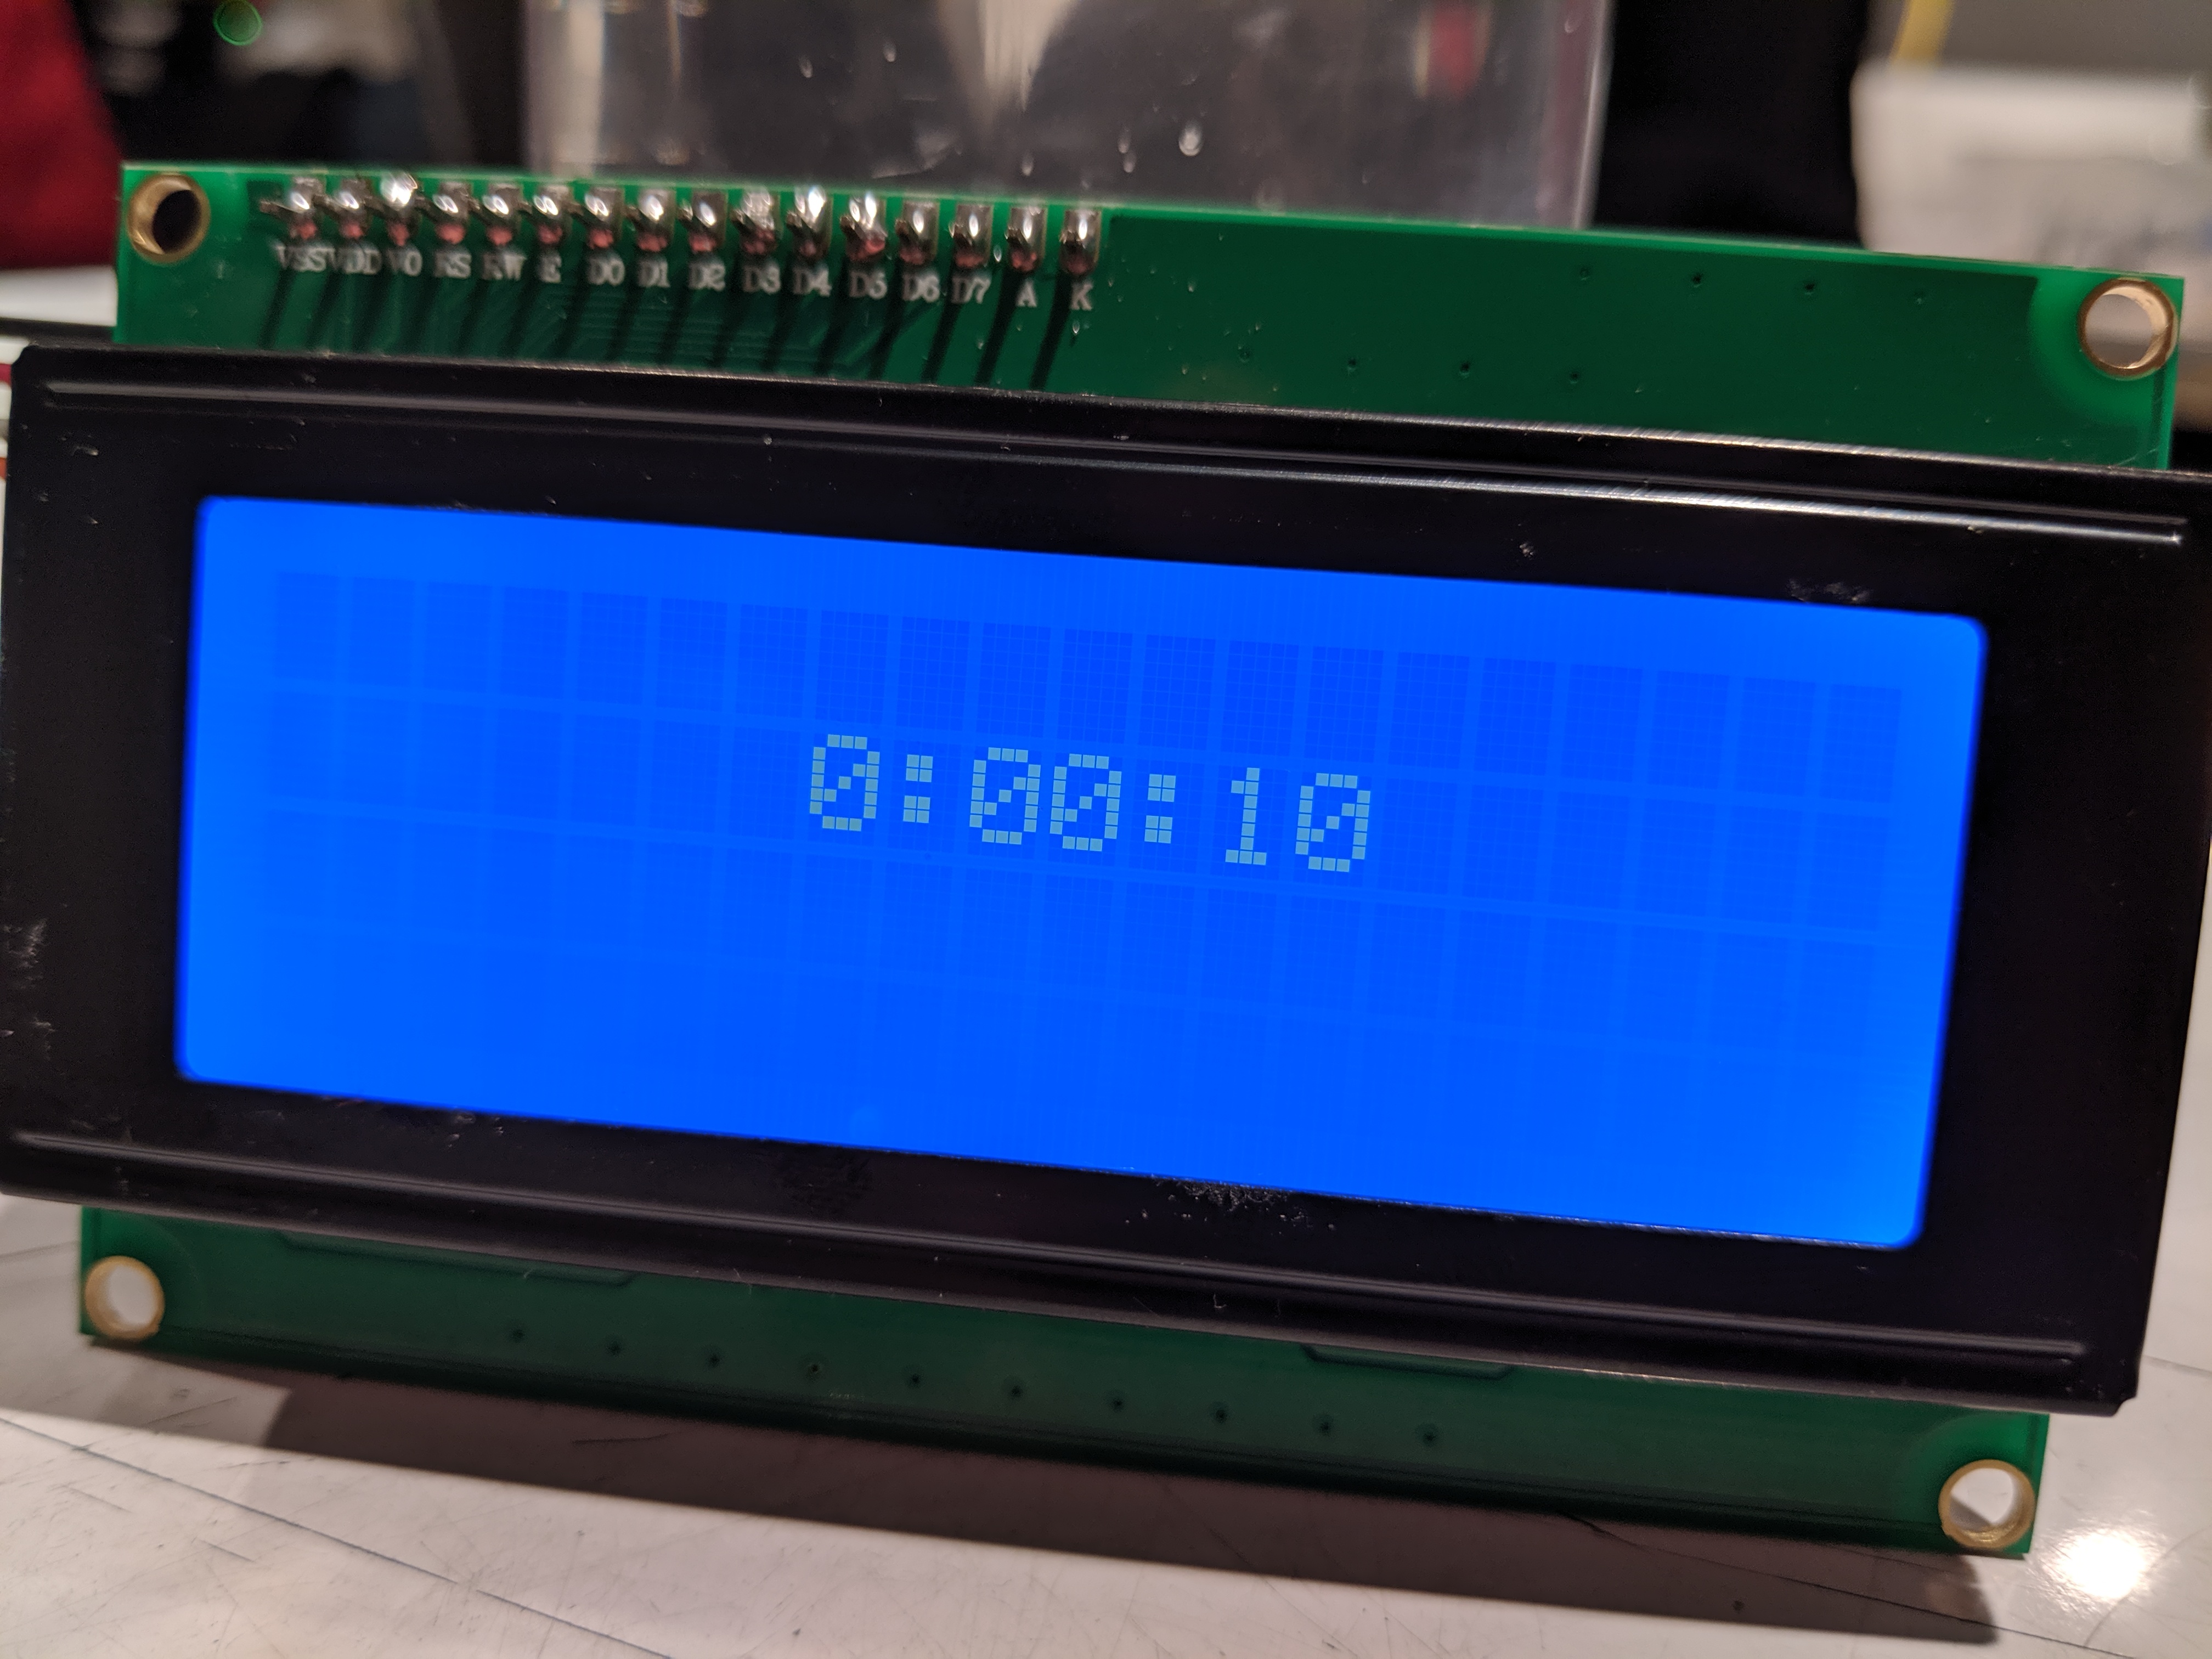
A timer that will be displayed while Jan is exercising, so she can see how long she has exercised for.
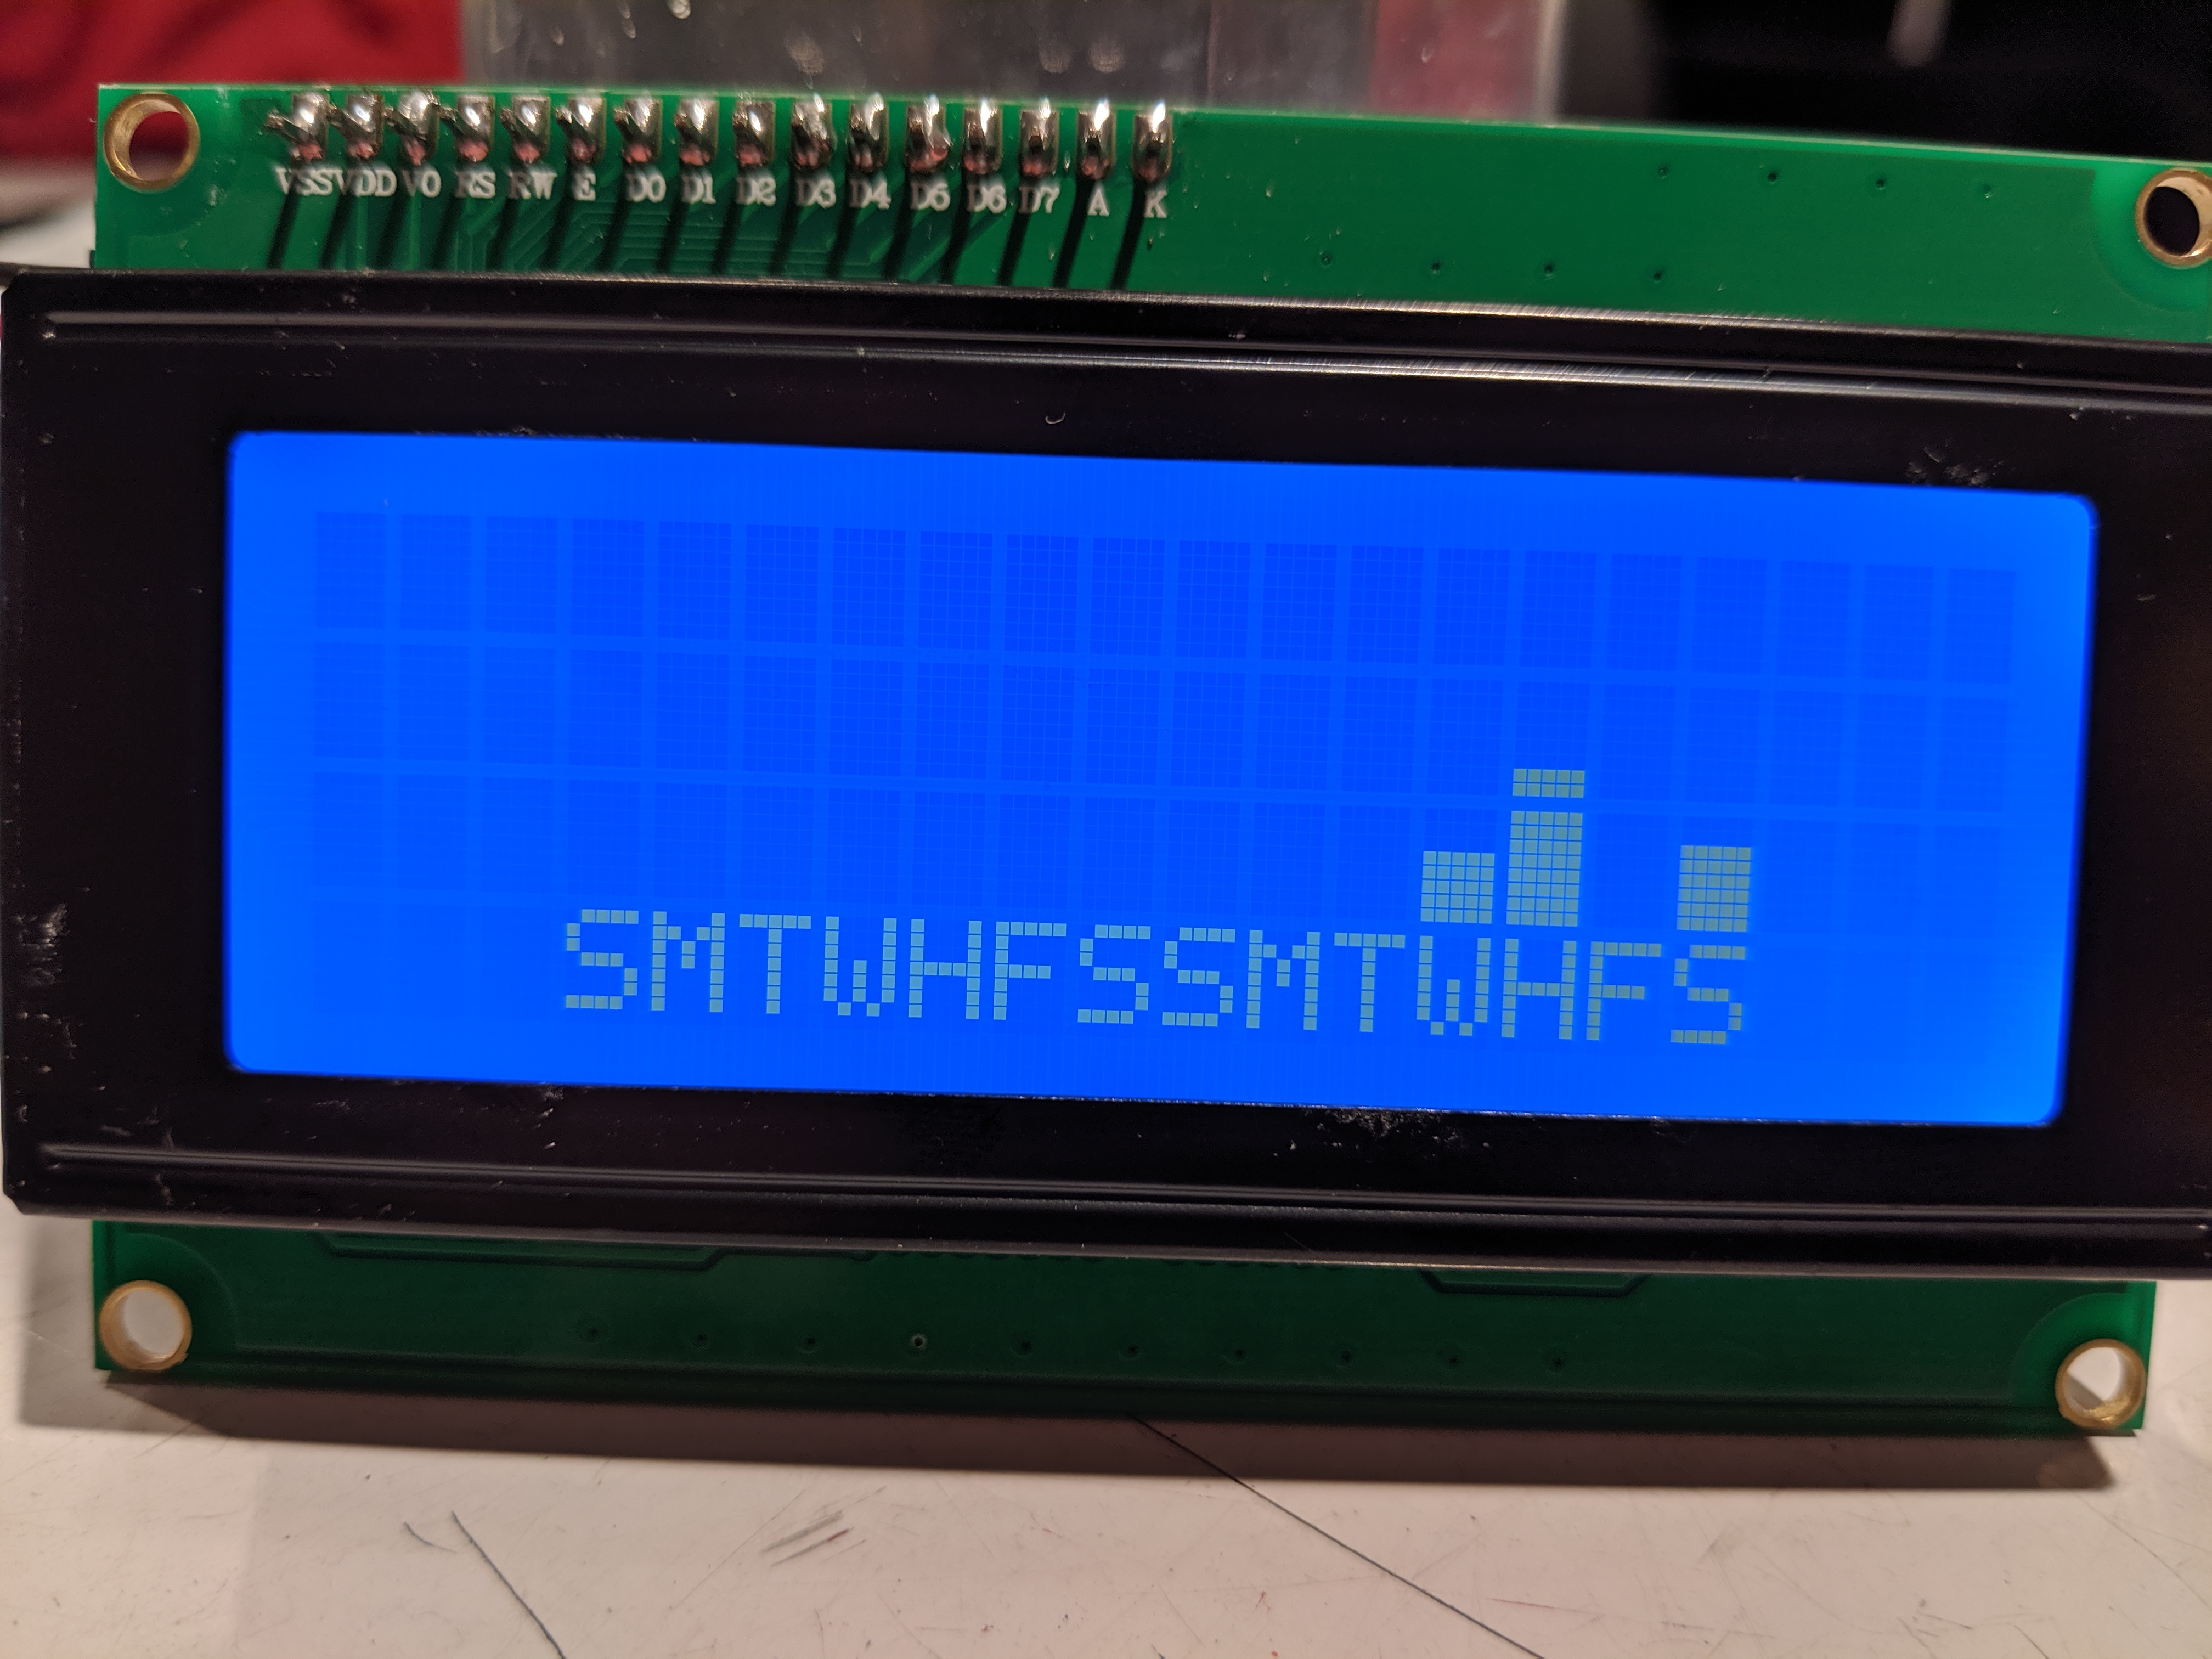
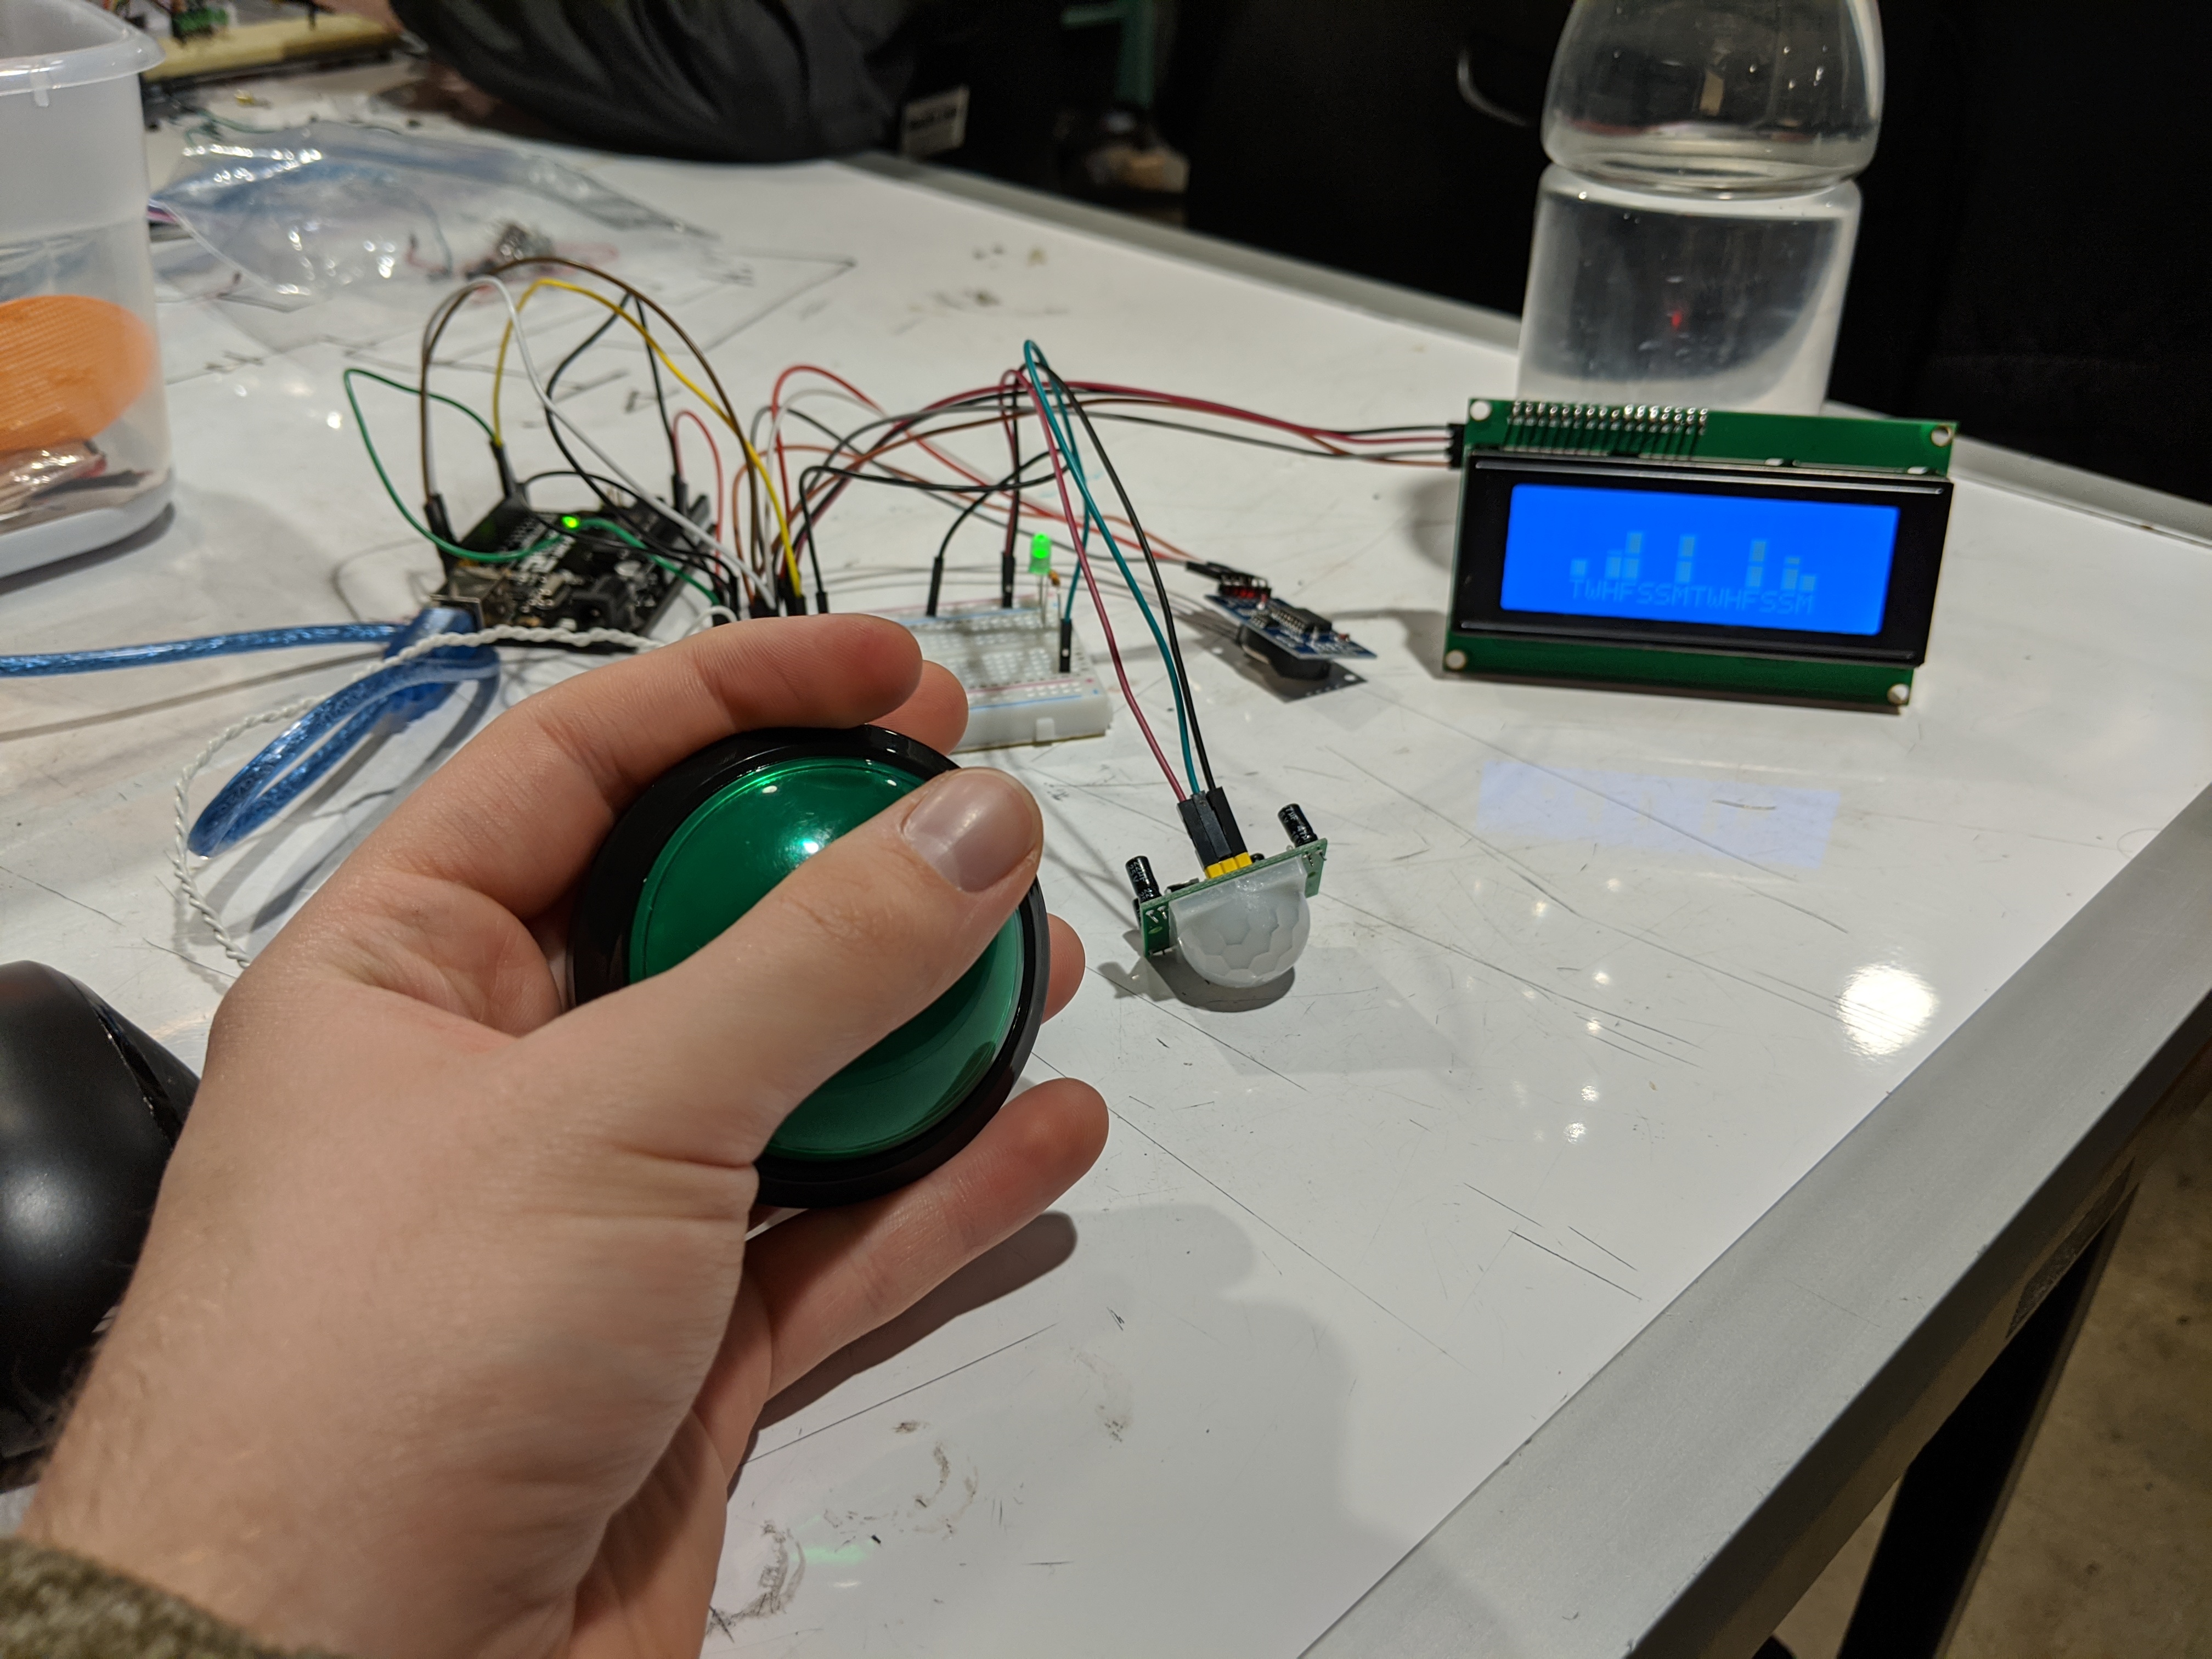
A graph that will display how long Jan exercised each day for the past two weeks. It currently displays the time between button presses with each pixel being one second.
George testing the motion sensor by walking in front of it. The idea is that if the motion sensor senses Jan walk into the room, it will make a noise to remind her to exercise.

Prototype of the lights we want to use to display the exercise history for the past week. They weren’t a part of the prototype since they are still being worked on, and the final version will most likely use seven LEDs that can be red or green instead of 7 red and 7 green LEDs.
Discussion
Our project features many technological features that worked relatively independently, so we were able to each work on a different problem for much of the prototyping process. While efficient, this parallel method of working created challenges when combining the parts. Because different aspects of the code were designed by different group members, many connecting details like variable names had to be corrected. Furthermore, time was needed for each individual to learn how the others hardware and code functioned.
Another challenge in prototyping came from the physical limitations of the Arduino. We planned to use 7 lights which can be either red or green to visibly represent Jan’s recent workout history. However, using conventional wiring practices, this would require 14 Arduino pins, which there is not enough pins for. To solve this problem we decided to use transistors to reduce the number of pins to 7. This method is possible because each light can be either red or green at a certain time. Eventually this method was effective, but it took a large amount of time to learn an effective wiring and was not able to be incorporated into the prototype by the critique. Thankfully, this was more of an additional feature than a core functionality.
The critique on November 12th gave us insight into how to better personalize our final project for Jan’s own use. We found the personal conversation with Jan to be the most useful part of the critique and were surprised how easy it was to fill an hour with meaningful conversation about our assistive device. We were originally unsure about the timing of our reminder system, but Jan mentioned that a beep every 3-4 hours between 9am and 9pm would be sufficient. She also raised several concerns such as her neighbors coming to feed her cat when she is away and her wanting to be able to change the reminder time if necessary. Therefore, we think it would be useful to include an option to turn off and change the reminder system. Furthermore, we discussed ideal room placement and size for our final project, and Jan sent us measurements when she returned home.
While there were many useful suggestions from the critique, not all criticism could be acted on. Jan pointed out that her cat could set off the infrared sensor and asked if there was any way to prevent this. However, our current PIR sensor returns a single binary value, and a correctly interpret an analog signal from a different sensor would require extensive and invasive testing. Therefore, we believe it is best to ignore this specific problem. Also, in the full class critique someone pointed out a small break in our LCD display’s bar graph. This problem is caused by the physical limitations of the display (not having any pixels in the area of the break), and would require a different display to be used. We have chose to ignore this criticism, because we believe time spent incorporating a different display could be better used elsewhere.
Moving Forward
Having gotten some useful feedback from Jan, we’re ready to proceed with this project to completion. One major addition that we plan to make to this project is the construction of an aesthetically pleasing enclosure for our electronics. Additionally, we intend to add the following features over the next few weeks:
- (11/19/19) – Add the LED bargraph to the main circuitry
- (11/19/19) – Implement a “power off / mute” switch
- (11/21/19) – Implement a dial interface for setting the time
- (11/21/19) – Begin construction of the plastic enclosure
- (11/26/19) – Final assembly of project
- (12/3/19) – Final project crit
- (12/5/19) – Last minute bug squashing and tweaks
Comments are closed.