
Introduction
This document highlights the prototyping process of our assistive device for Diane. The interviewing and ideation process can be seen here:
https://courses.ideate.cmu.edu/60-223/s2020/work/meeting-with-diane/
We decided to create a personal metronome for Diane. It will take a form factor of a wristband, and allow Diane to choose different frequencies that will output as a vibrating buzzer.
We took three separate approaches to the prototype, where we looked at how we wanted the device to behave, work, and look like.
Prototyping
Behaves like (Elizabeth)
This prototype served to answer how Diane can intuitively customize her metronome beats without verbal instructions. Main considerations were put into how various buttons should be placed on the bracelet, as well as the types of feedback Diane should receive in order to set the beat frequency to her desired speed. The prototype was made in two versions — first, through paper prototypes to determine how Diane would customize her beats and two, through a paper model to determine a user-friendly form.
Overview of functionalities
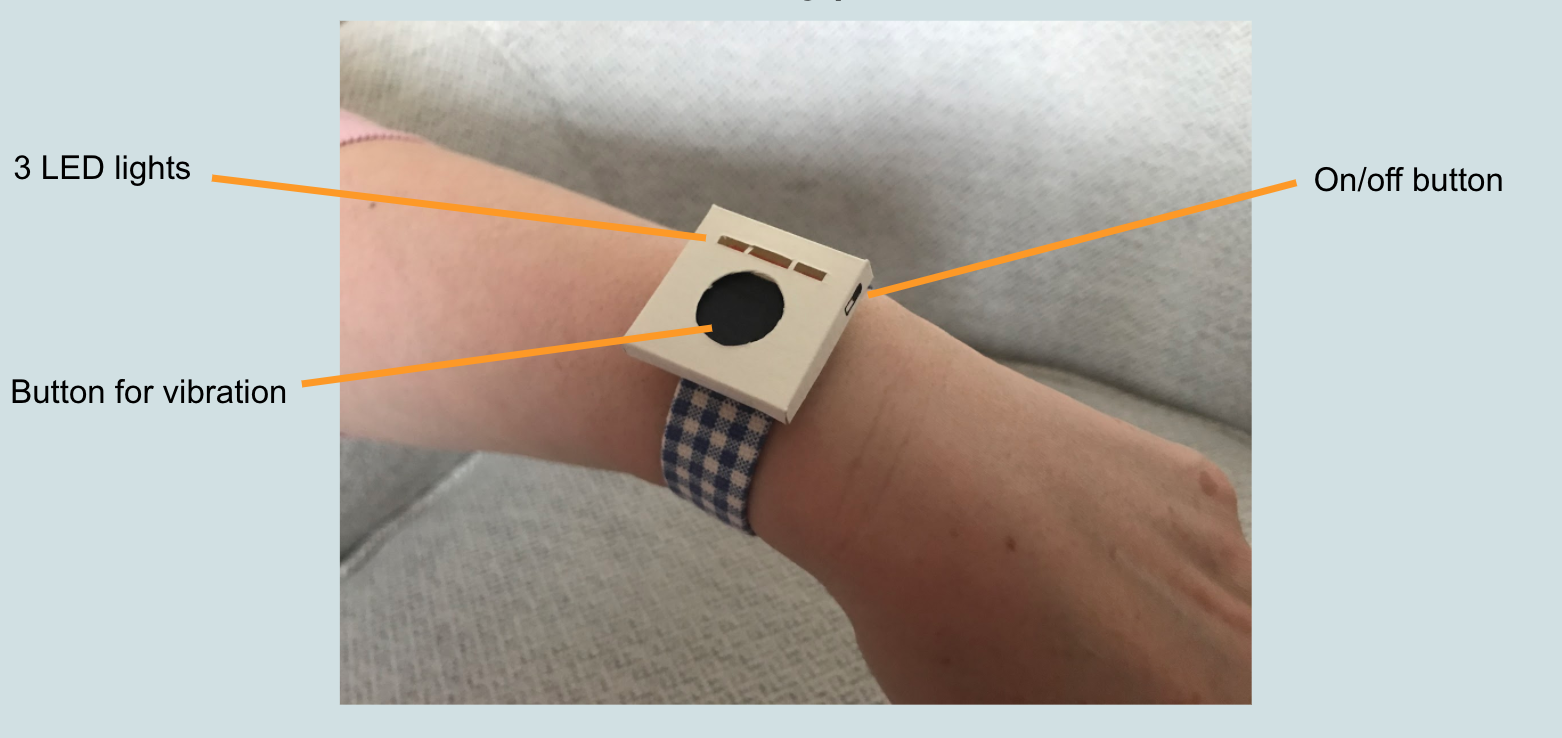
Before I began making the prototypes, I sketched out different ideas to see how Diane should be guided in customizing her beats. Based on our technical framework, our user flow was: 1. Diane turns on the bracelet through a on/off switch. 2. Diane presses the center button three times, according to her desired frequency. LED and haptic feedback would indicate that she is in the “customize” state. 3. The metronome begins based on the customized frequency. LED turns off, to indicate that she is now in the “metronome” state.
Clarifying the difference between the “customize” and the “metronome” state was the key issue at hand. While I initially thought that one LED may suffice to reflect the beat pattern, I received feedback from my parents that it would not be clear that they have to press three times. As such, I opted for three LED lights to reflect a sort of progress bar. 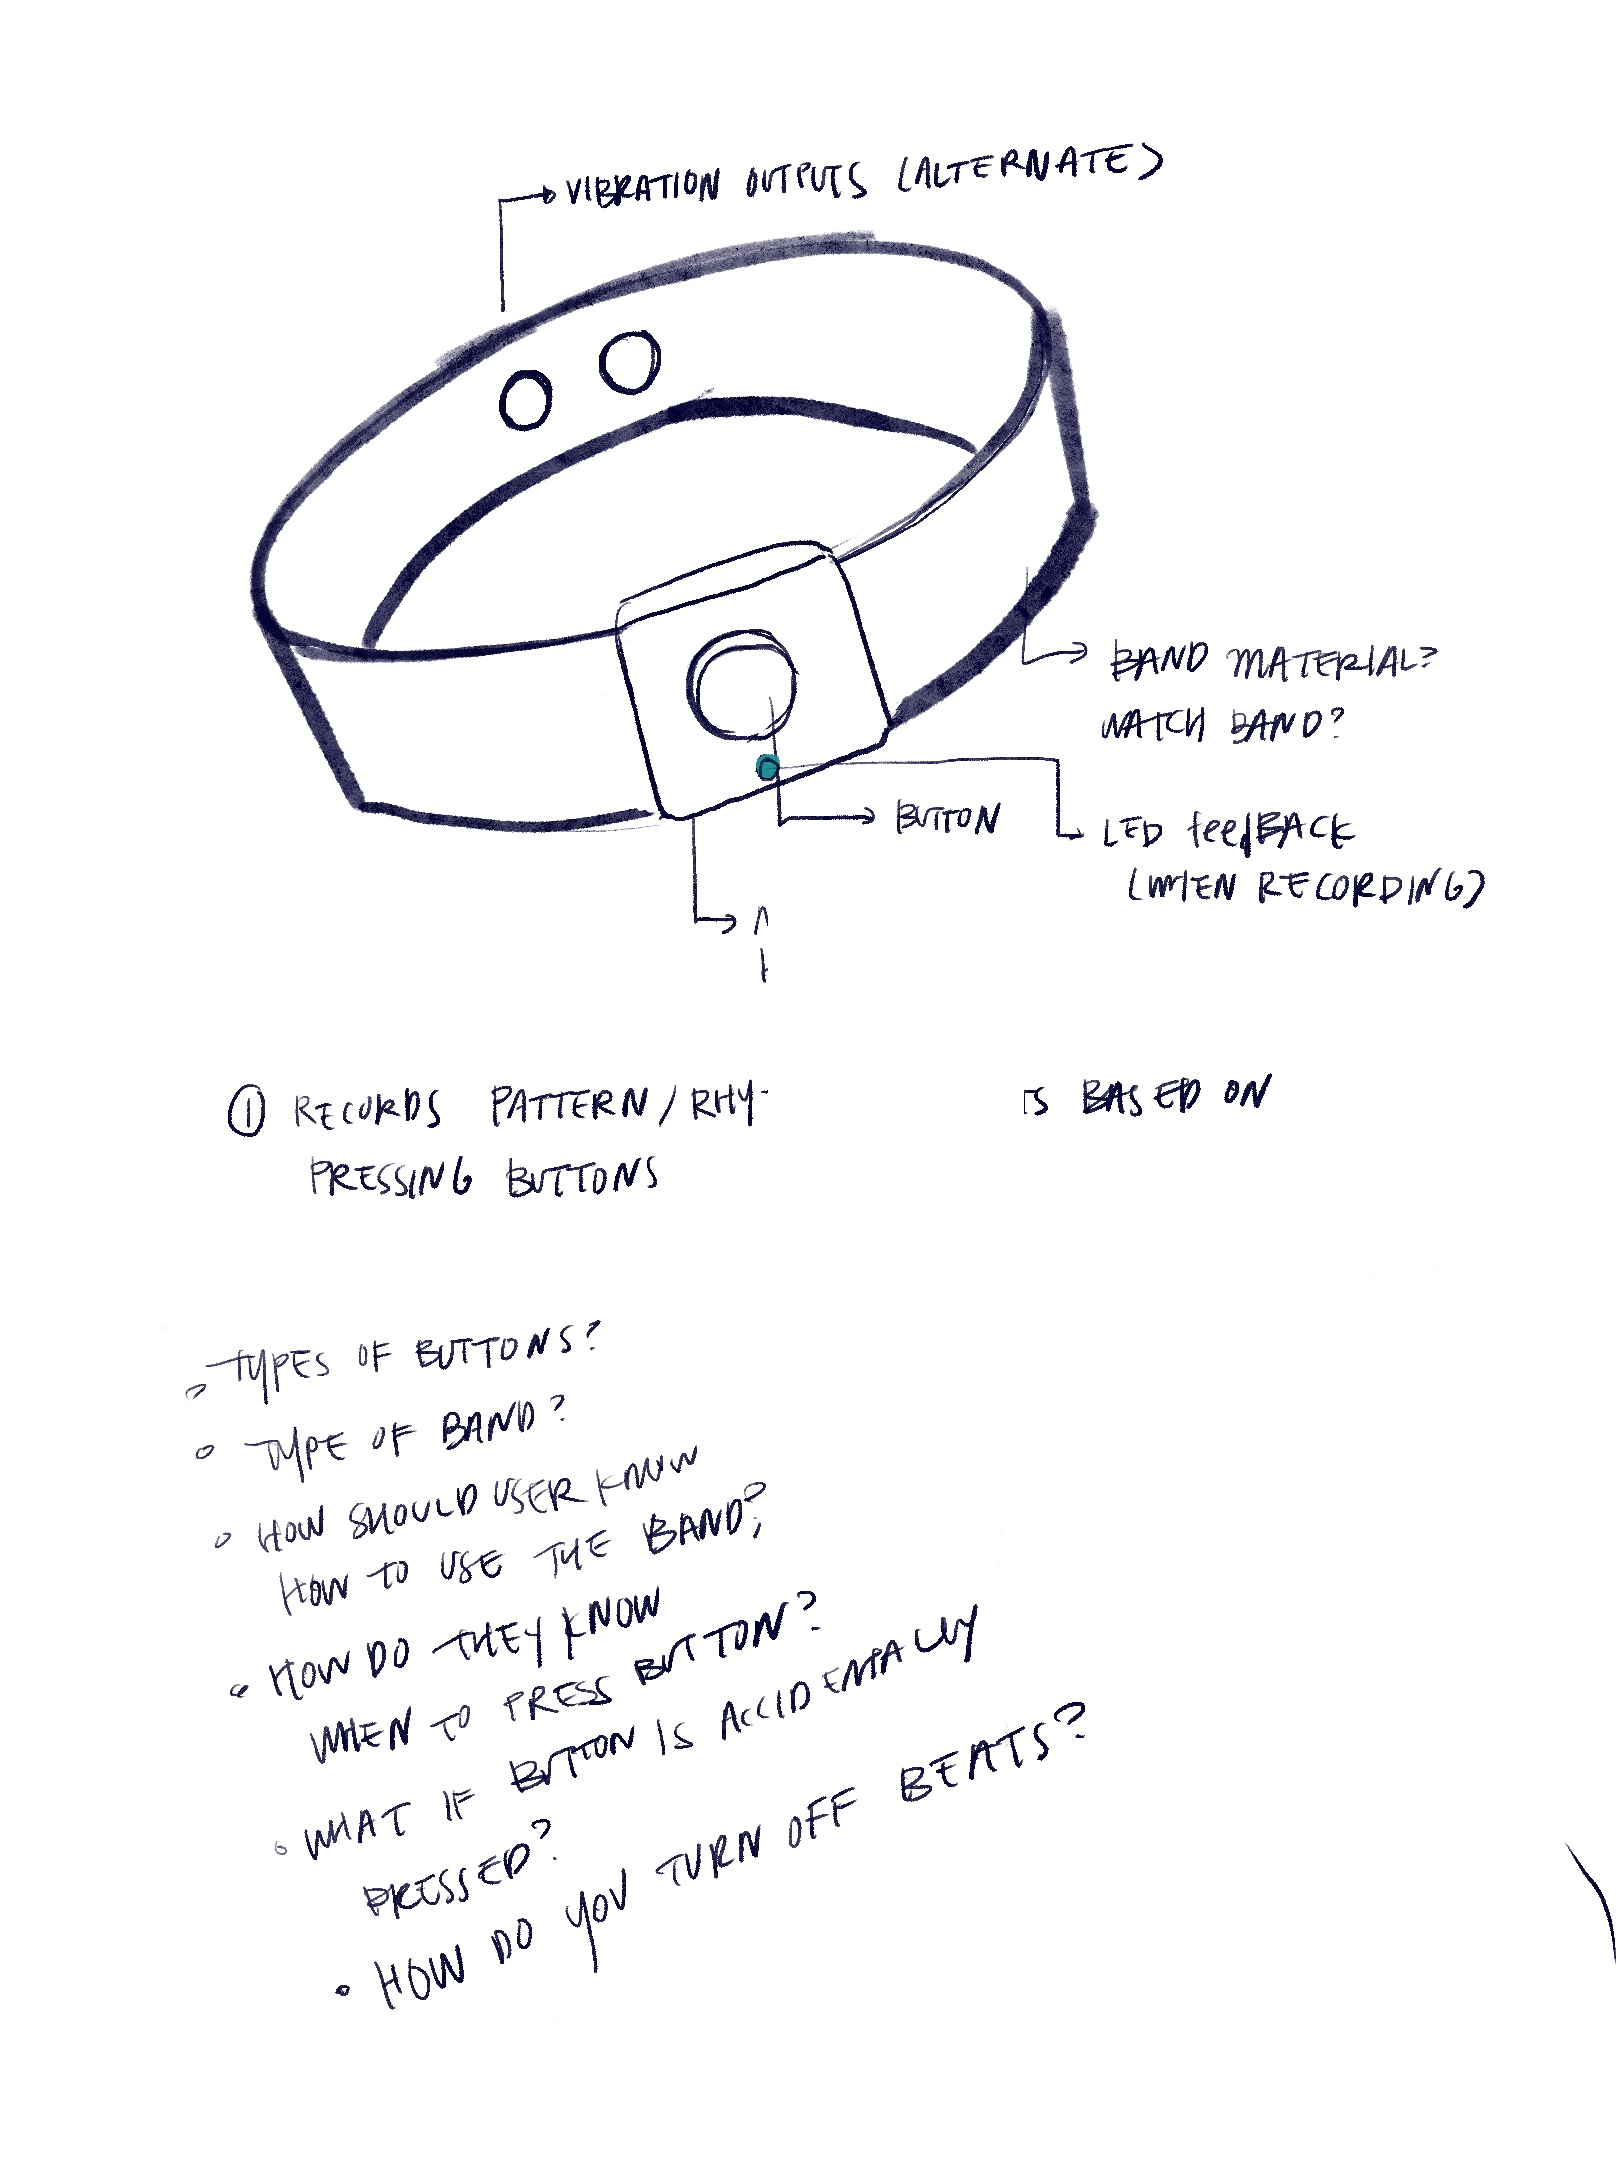
I began with how the prototype should feel like in its 3d form, to understand the types of inputs and outputs Diane would interact with. While I initially worked with clay for easy adjustment of the form, the clay that I owned was too crumbly to add appropriate details.
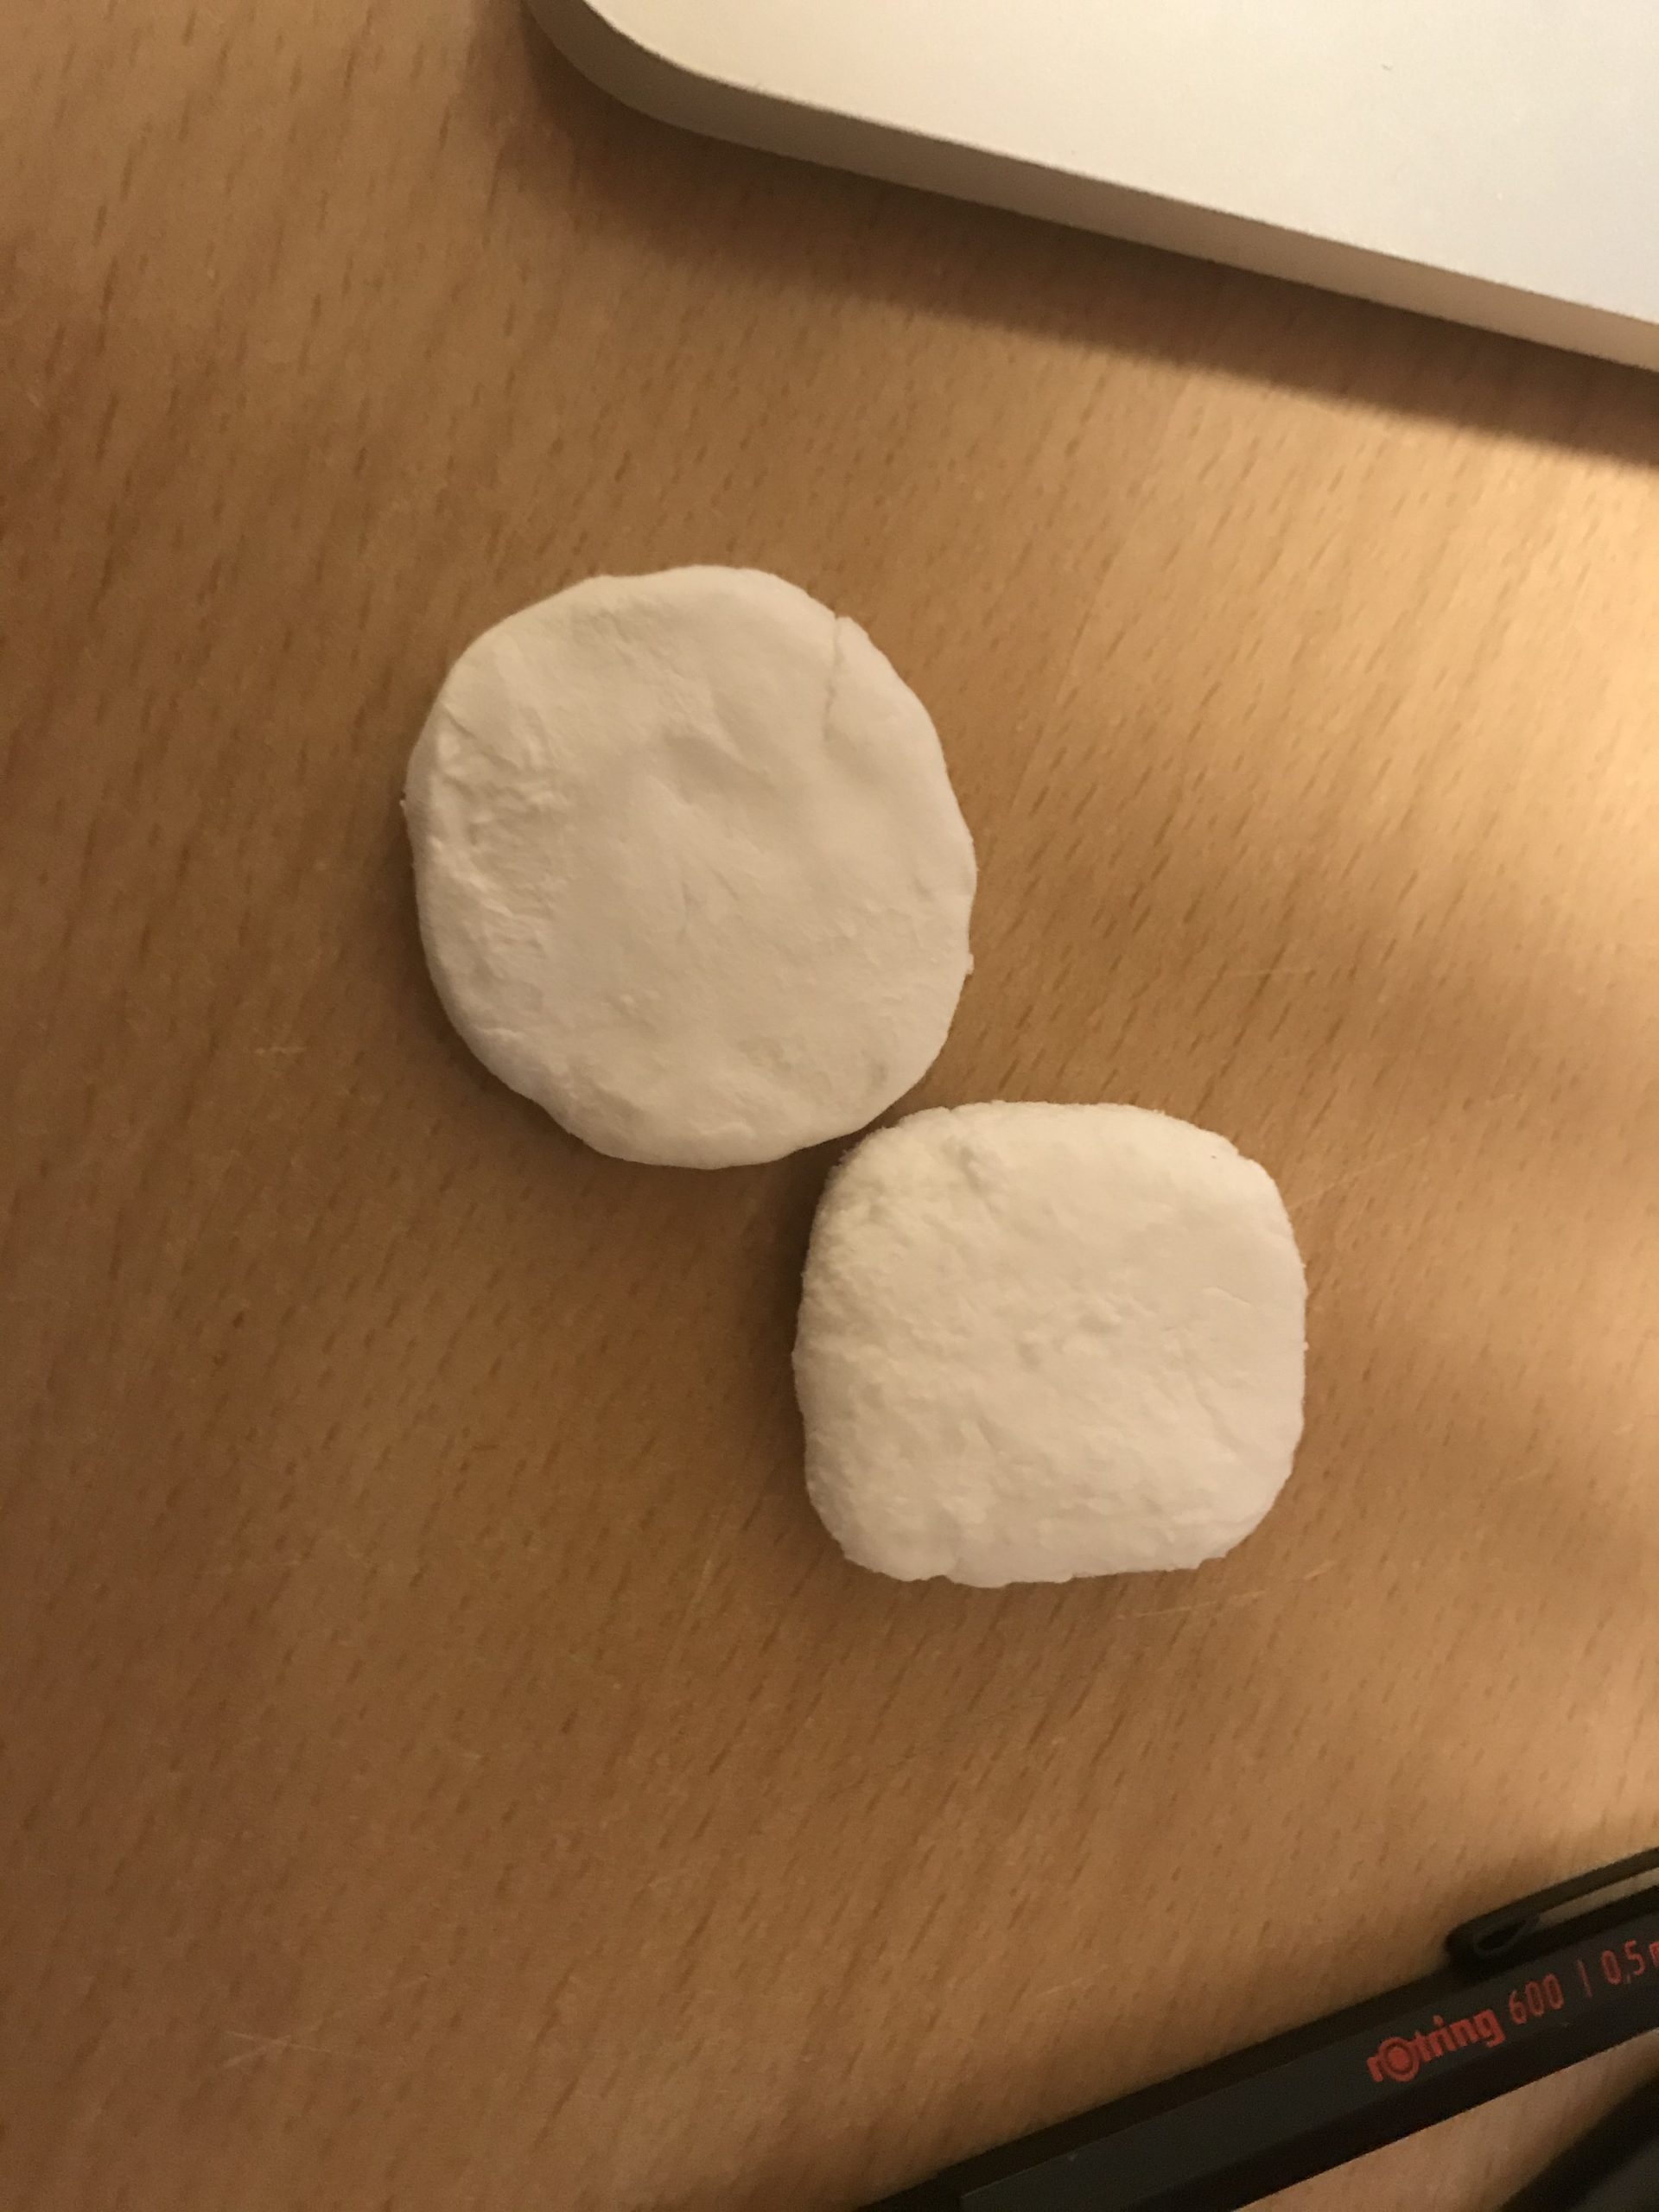
Initial clay model. Too crumbly to make detailed prototypes. Tried out circular form, for perhaps a rounded display, rather than rectangular.
As such, I created a model using cardstock paper. This was particularly successful, as it gave me precise control over the placement of buttons and the LED feedback.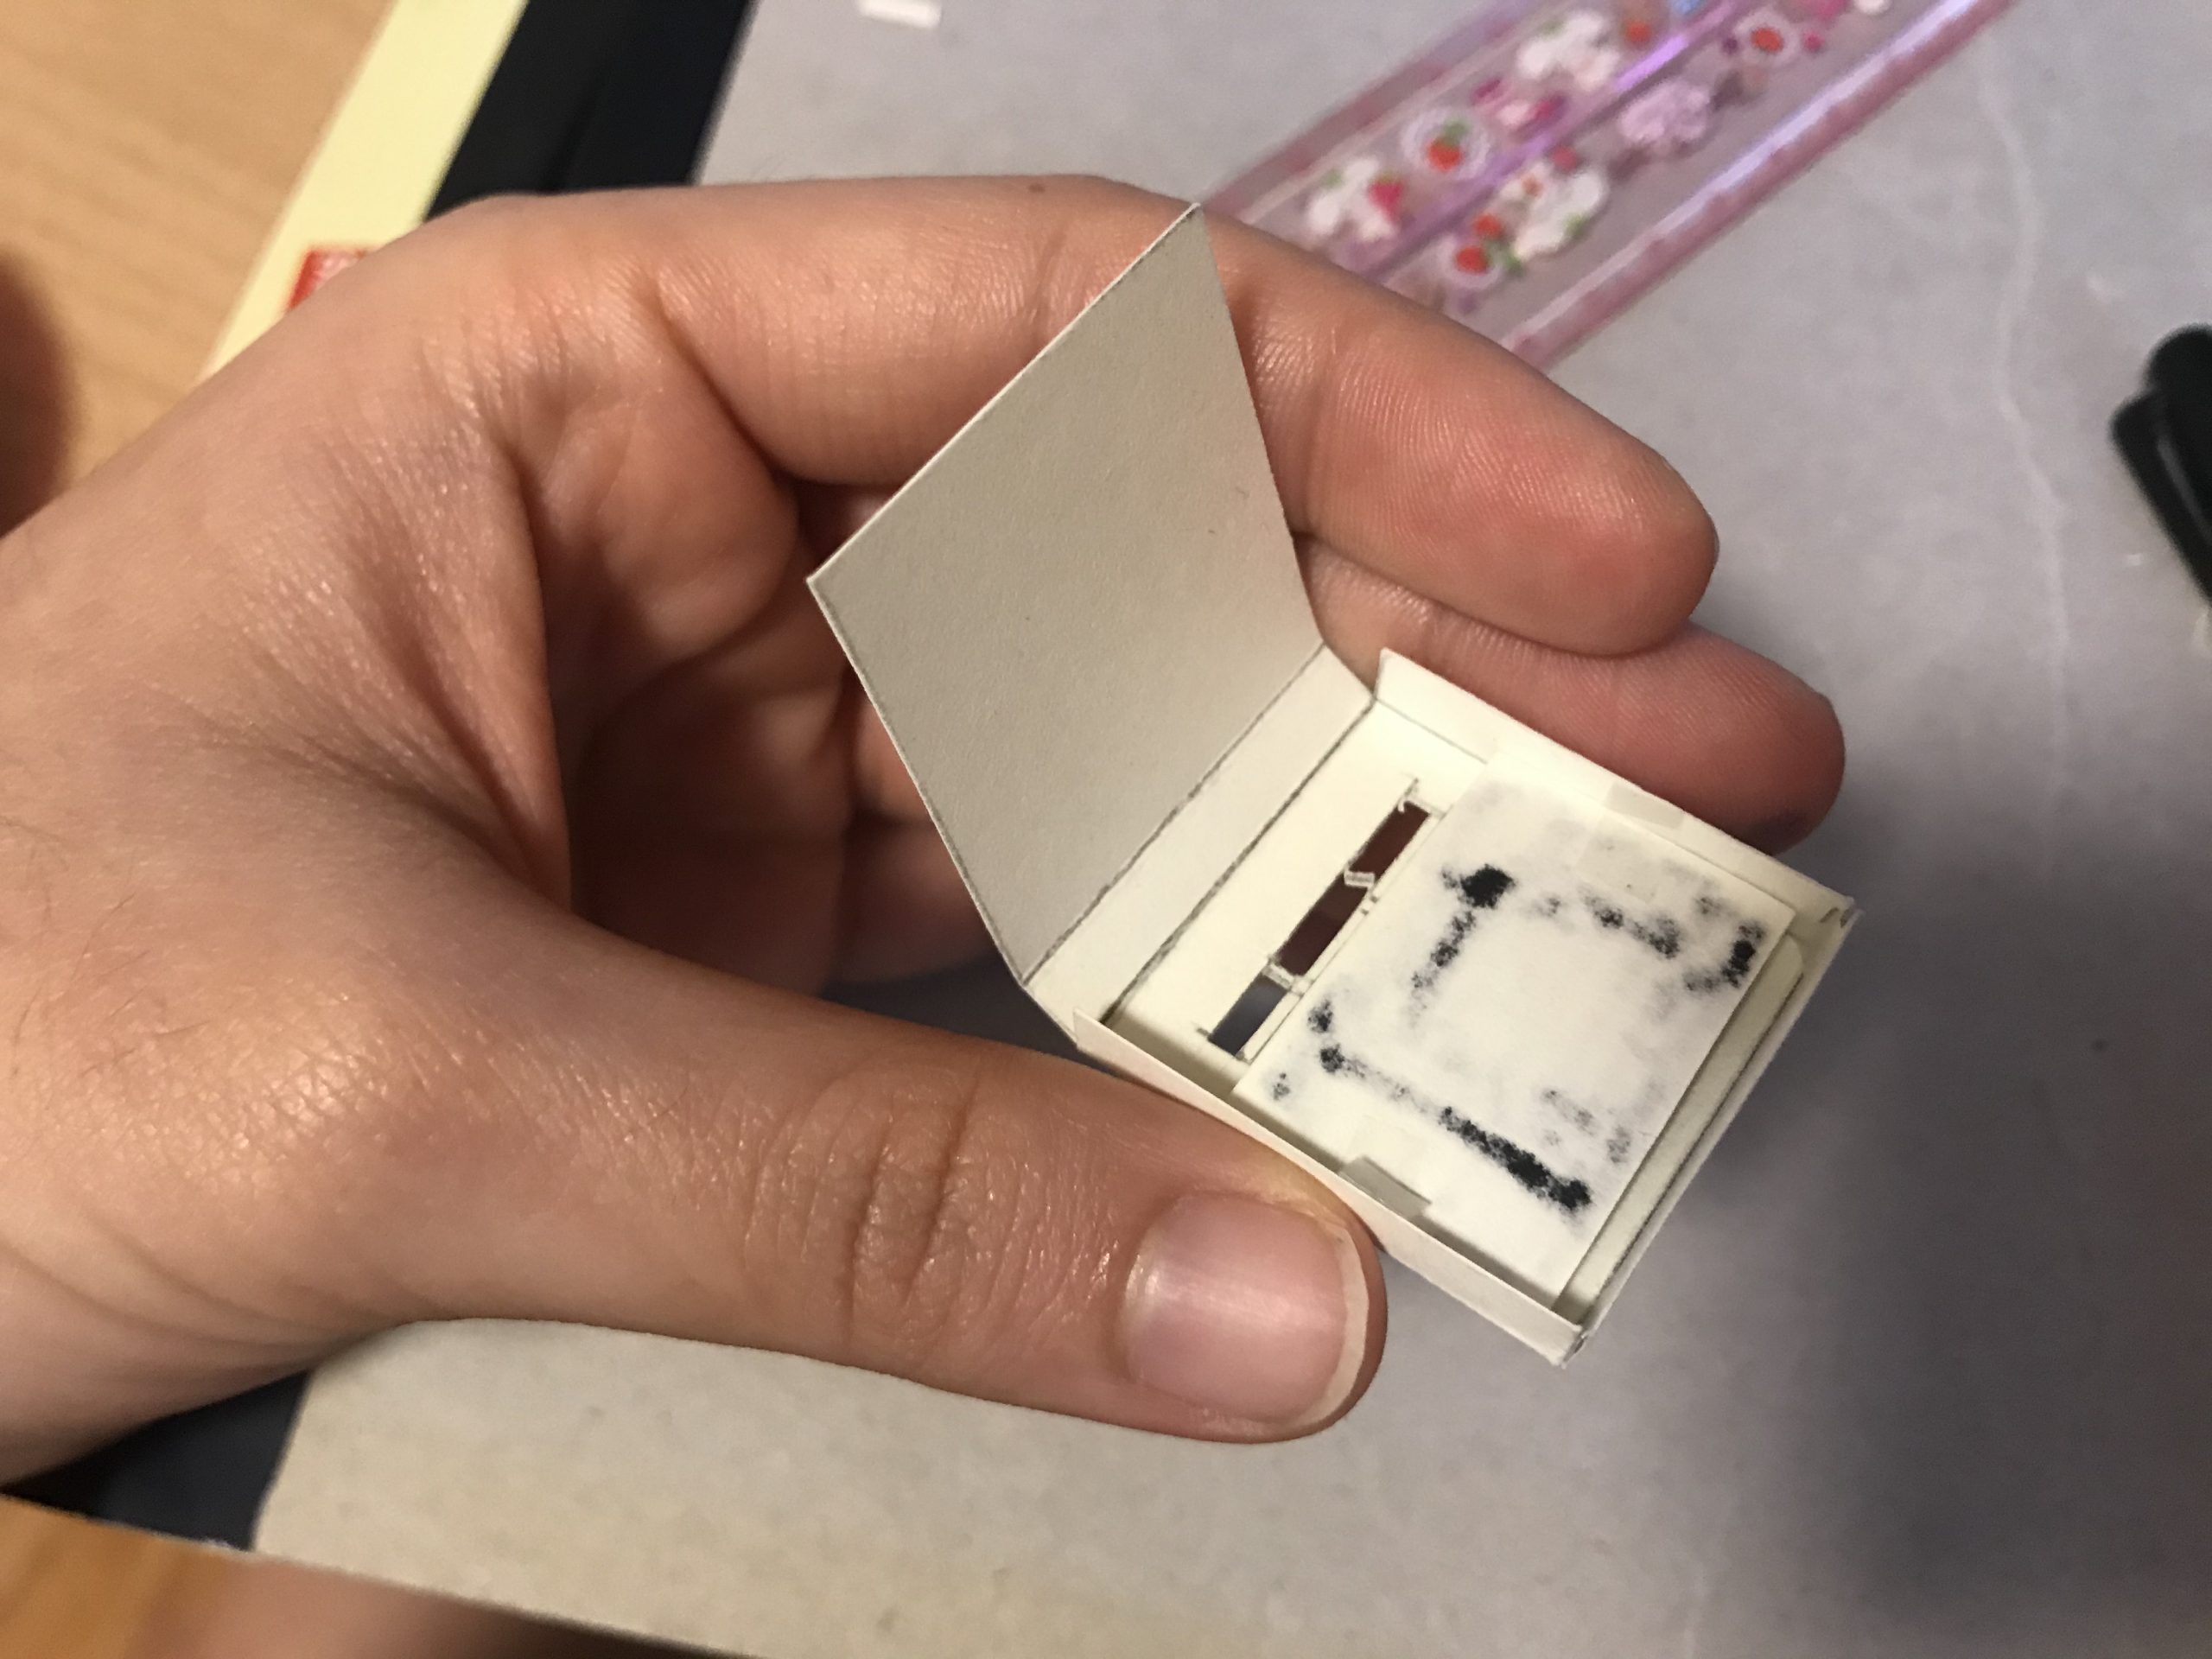
Scored and cut out box on cardstock for housing of electronics The main insight from this was that the button should be placed inwards to prevent any accidental presses. This naturally meant that the button should take up most of the real estate on the model, as it needed to be big enough for a finger to go in. When testing this with my parents, they found it pretty straightforward. My mom liked how simple it was, as having too many buttons would be confusing and frustrating to figure out.
Inward button to prevent accidental presses. Small form factor for least amount of intrusion.
The second prototype came through paper prototypes of the user interface. I tested this with my parents, by giving them different “screens” and telling them how the interface would react. While they were initially a bit hesitant to play around with it, it gave me a better idea of how the haptic and visual feedback should be patterned.
My initial iteration was that at each time you press the button, you get a single haptic feedback, and the number of lit LED lights increases with each press. My dad pointed out how it would be more intuitive if at the second press, you get two beats based on the frequency of the beats you customized, and only after the third press, you get the whole metronome.
As for my mom, she said that she would rather have set frequencies to dial through, rather than create the beat herself. To her, customizing the beats implies that she would be able to have variations in the vibration feedback, but since this was a metronome, she would rather prefer going through set beats. I was rather surprised to hear this, as this was a much simpler solution that we hadn’t approached, simply because it didn’t seem as interesting from a maker’s perspective. However, I could see why a simpler solution is more user friendly. While my mom’s suggestion was very valid, since the “customization” was our main feature for this iteration, I decided to go forward with my dad’s direction instead.
The following is the final experience paper prototype. I followed my dad’s suggestions of giving two vibration feedbacks upon the second press:
When talking with Diane, she wanted a couple changes to the prototype. First, she much preferred my mom’s suggestion of dialing through set frequencies, rather than customizing her own beats. (This meant creating a whole new interface to determine how Diane should dial through five to eight modes of frequency.) Second, she brought up concerns with the LED lights, as she didn’t want to bring any attention to the device. When I told her that it would only be lit in the “customize” phase, she was more relieved. However, this was a good feedback to keep in mind, as I knew that the LEDs should be as small and inconspicuous as possible. Third, she liked the small form factor, particularly since she has a small wrist.
One important insight was that Diane does not want the bracelet to look like a medical device, or even a typical fitness bracelet. She was happy with the looks of Chloe’s prototype (shown below), but her preference towards aesthetics was important to prioritize for future iterations.
Looks like (Chloe)
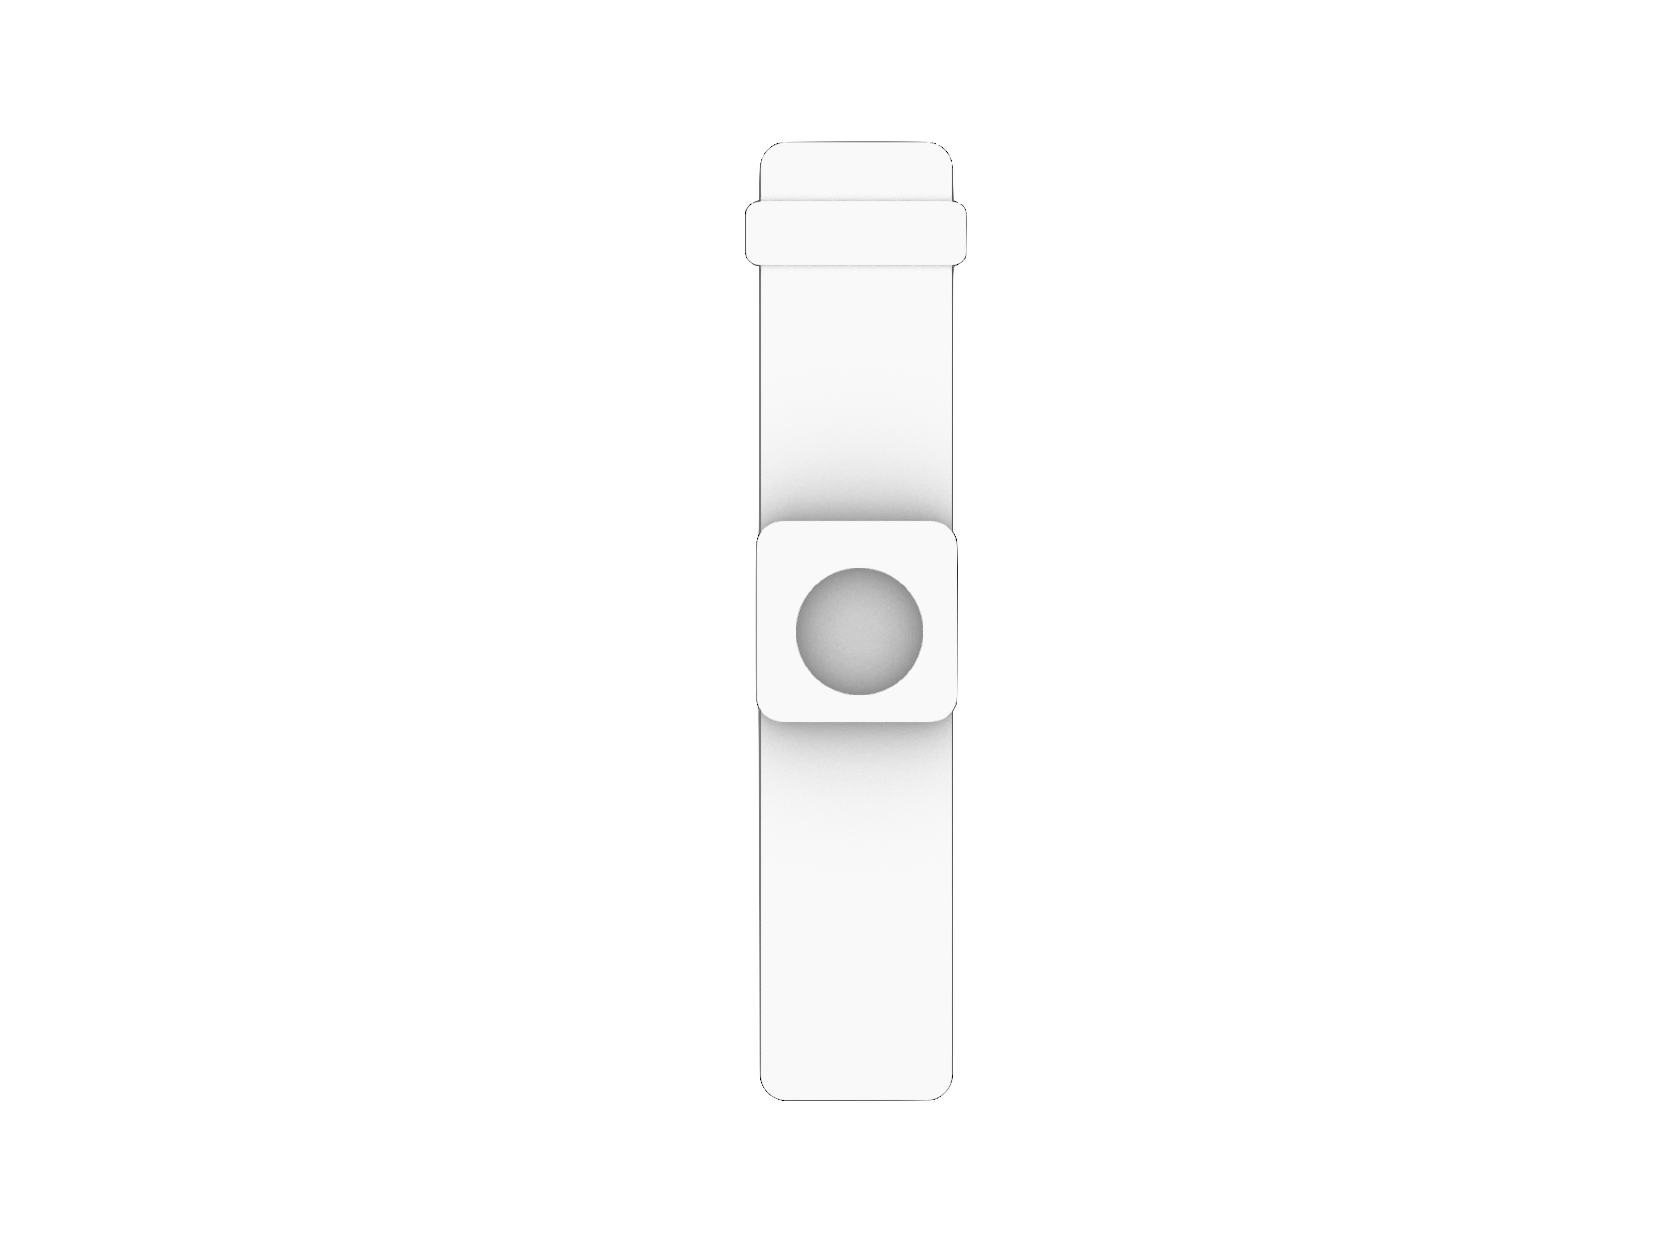
The front view of the prototype
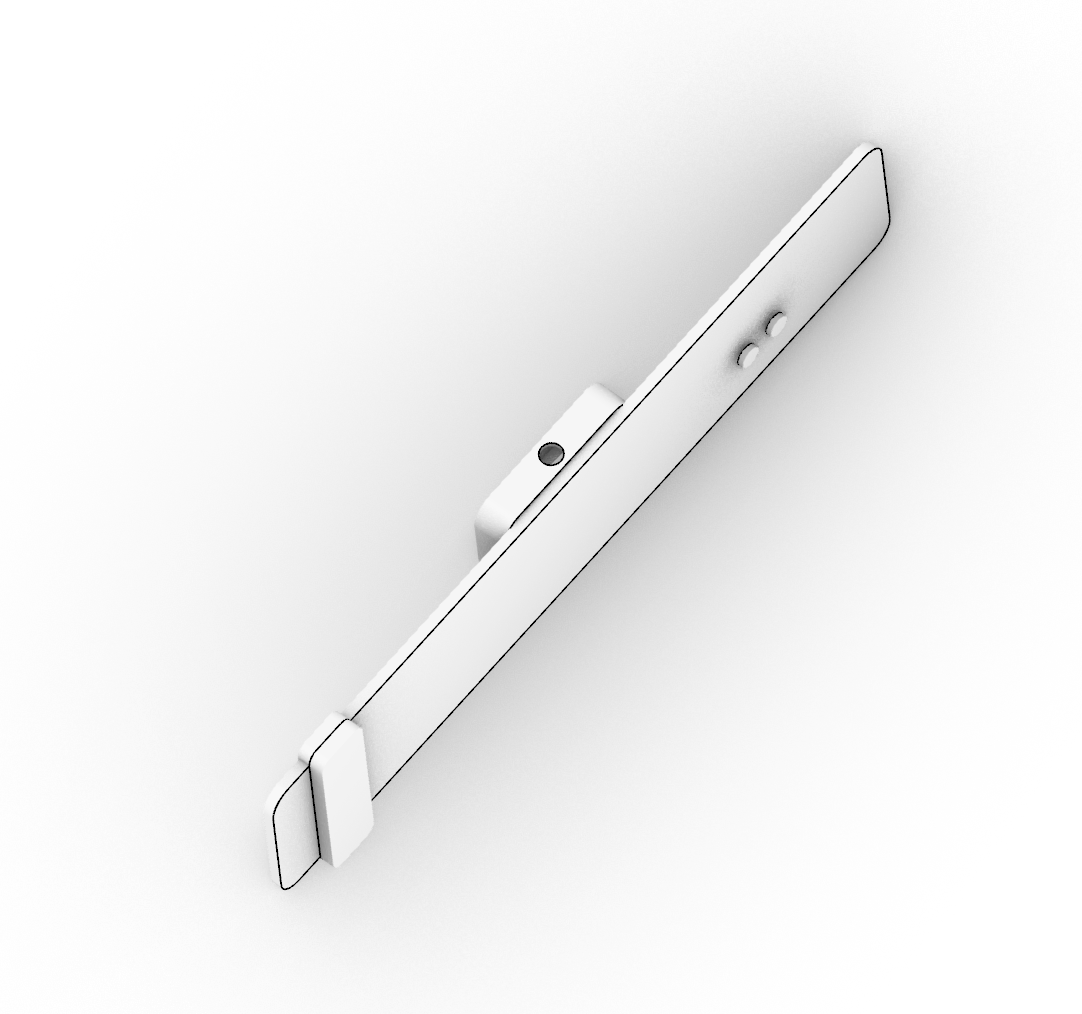
The side view
This prototype was designed to help answer. The design question: what the device would look-like. This prototype is in two forms, one physical and one digital. The physical prototype is made out of clay, and it shows what it will look like when it is in use. The digital prototype shows more realistic, detailed design as a product.

The beginning of the prototype.
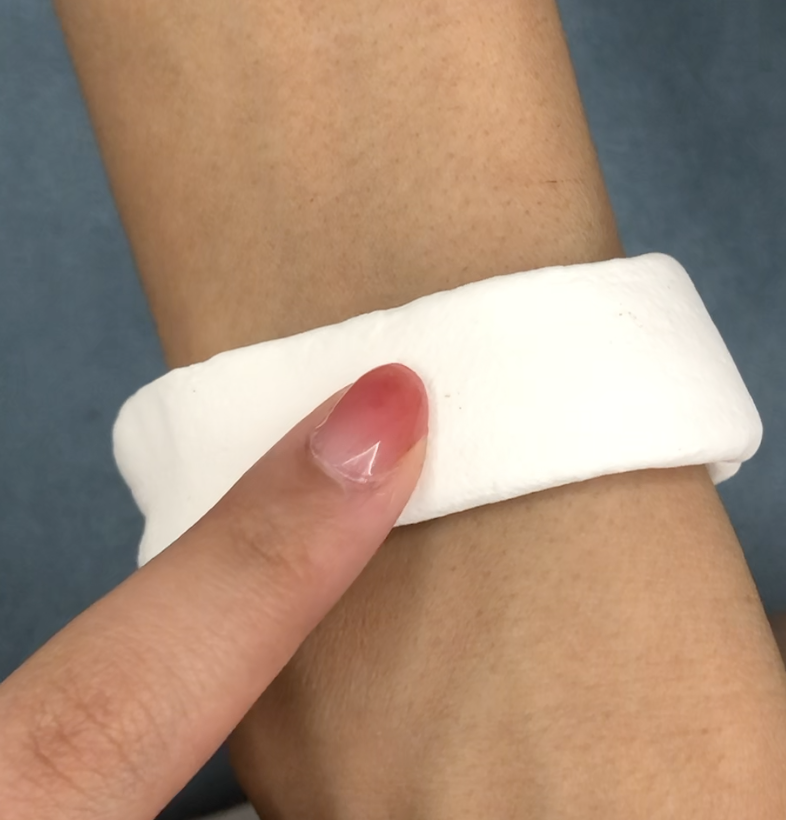
Telling her the face will be placed here
https://drive.google.com/file/d/19xJQwwU0UHXcEqI3ZDZhMnkBVBEy7Owp/view?usp=sharing
It was interesting to work on a “look-like” prototype that will be having a human interaction. I realized that there were so many parts to consider when it is designed for a personal use. Our Osher student had most concerns about its look, afraid of people seeing it as a medical device. I believe that nobody should feel ashamed or embarrased about assistive/medical device, yet I do understand her concerns, and since our task is to assist with out client’s personal need, I followed her idea and tried to make it look “cool (in direct Diane’s words)” so that nobody sees it as a medical device. Diane went further with her feedback and asked if the design could get simpler, as it would look like a silcione cuff, and I agreed. As much as the wiring does not get in the way, I agreed to make it look simpler. My local person mentioned about the material and preferred hand of my client. I have decided to use silicone as material, since it is resistable to water, sweat, and rust. Also from the question about preferred hand, I figured out that Diane is right handed. I was surprised that she actually thought the design was fashionable. I have always made artworks with Rhinoceros 6, but regarding that this was my first time designing a product, Diane’s comment really motivated me.
The process went smoother than I thought. I think taking the feedbacks from last class and integrating the buttons and LED into the wristband and altering its look in to a silcone cuff would be aesthetically pleasing and achievable at the same time. The next step for me would be figuring out the dimensions of the parts that will be embeded under the silicone. Even though I am the most experienced person with 3D modeling in my team, I never worked thinking within the precise dimensions; therefore, I think it will be a good challenge for me. Next time, I think I would use a different program (maybe) for the looks of it. I am more comfortable with Rhinoceros 6, yet I think it looks more detailed and well-presentable when it is done in Fusion360. For my own practice and development, I think I might try Fusion360.
Works like (Ivan)
My prototype was designed to test out one specific method of input for our device. To keep our device extremely compact, we thought to only have a button as input and a switch for on and off. Thus, we had to figure out if there was a way to input frequency using just one button. The prototype takes in three presses of the button, and takes the average time between the two intervals, and sets that as the frequency of our output. It does this by keeping track of four states. States 0, 1, 2 are when the device is waiting for input, and state 3 is when the device produces output.
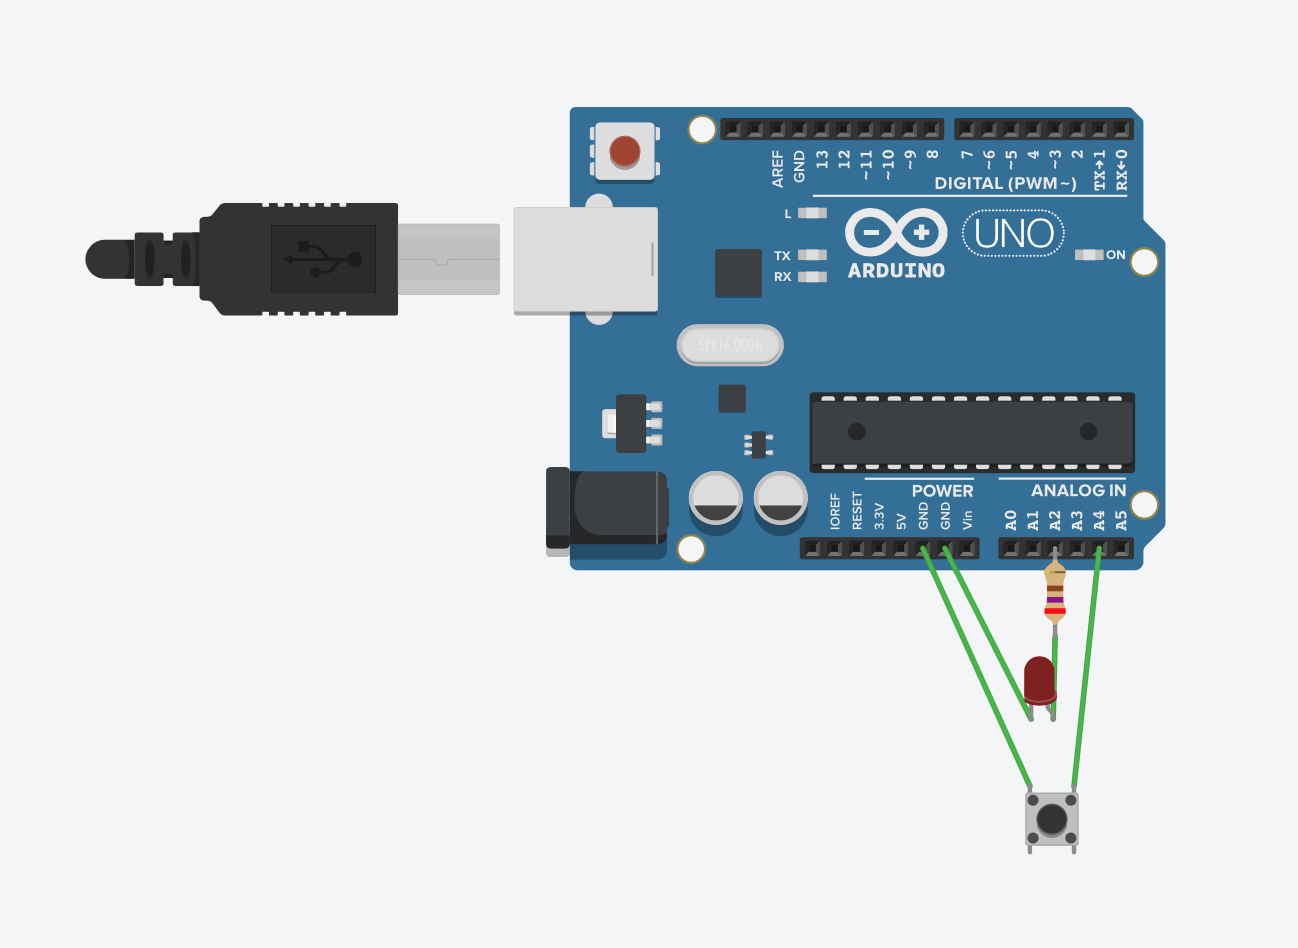
Tinkercading the input test
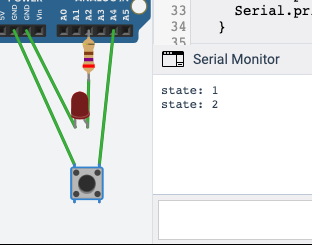
Reading the Serial Output for the 0-3 States
const int BUTTONPIN = A4;
const int REDPIN = A2;

int state = 0;
unsigned long timeStore[] = {0,0,0};

int freq;

bool buzzState = false;

void setup() {
  pinMode(BUTTONPIN, INPUT_PULLUP);
  pinMode(REDPIN, OUTPUT);

  Serial.begin(9600);
}

void loop() {
  if (not digitalRead(BUTTONPIN) and state < 3){
    timeStore[state] = millis();
    state = state + 1;

    Serial.print("state: ");
    Serial.println(state);
    delay(100);
  }

  if (state == 3){
    freq = ((timeStore[2] - timeStore[1]) + (timeStore[1] - timeStore[0]))/2;
    buzzState = true;

    Serial.print("buzzstate: ");
    Serial.println(buzzState);
  }

  if (buzzState){
    analogWrite(REDPIN, HIGH);

    delay(freq);

    analogWrite(REDPIN, LOW);
   }

}
During my prototype testing with my friends I was with during my process, I got a lot of positive feedback. They thought the input was clever and intuitive. When I brought up the idea of a larger set of buttons, or a slider, they thought that even though it could work, it loses the simplicity found in this method of input.
Video of input working in Tinkercad
However, when we showed this input to Diane, she brought up a good point that we didn’t think about. She wants there to be a preset range of frequencies, as opposed to making one for herself on the spot. This is something that this method of input cannot do, and she dislikes that. I think that answers the design question for this prototype extremely well. As even though we have found that this input is a feasible design, it is not the appropriate design for Diane, and we will need to rethink a way to minimize the input. We will be looking into alternatives that Diane brought up, of using knobs or sliders, while thinking about not making the device too bulky at the same time. It will be a challenge as knobs and sliders are more tactile, so they take up larger space, but we will be going down that path.
Moving forward
We think the prototyping process went fairly well. Under the odd circumstance, where there was limited material, and everything had to be done virtually, I think we were able to present our ideas well to Diane. The virtualness of it meant that it was hard for Diane to show us exactly what she wanted, as she could not form the clay or move things around herself. But we figured out what she wanted after a few back and forths. I think we will be revamping a lot of our design for this product. We will try to make it look more like a piece of jewelry as opposed to a device. And we have decided to use a different type of input, namely a SoftPot Membrane Potentiometer.
One key insight from Diane was that she would want some variation between the “inhale” beats and the “exhale” beats, for cases when she uses this to control her breathing in pilates. This was surprising, as she envisioned herself using this metronome in multiple scenarios, rather than a set instance of when she wants to be less restless. This indicated that our prototype should be more flexible towards allowing variations of use cases. While we are not sure if this would be a possible feature to add, this was definitely a food for thought to make our prototype more sophisticated.
If we were to do this prototyping again, I think we would come together and make a more diverse range of prototypes, as opposed to three parts of one idea. I think that will show our client a better range of what could happen, and could allow for better discussion of what they would want.
All in all, we think that the prototyping process has gone very smoothly, and we are excited to implement the feedback we got into our final product.
Comments are closed.