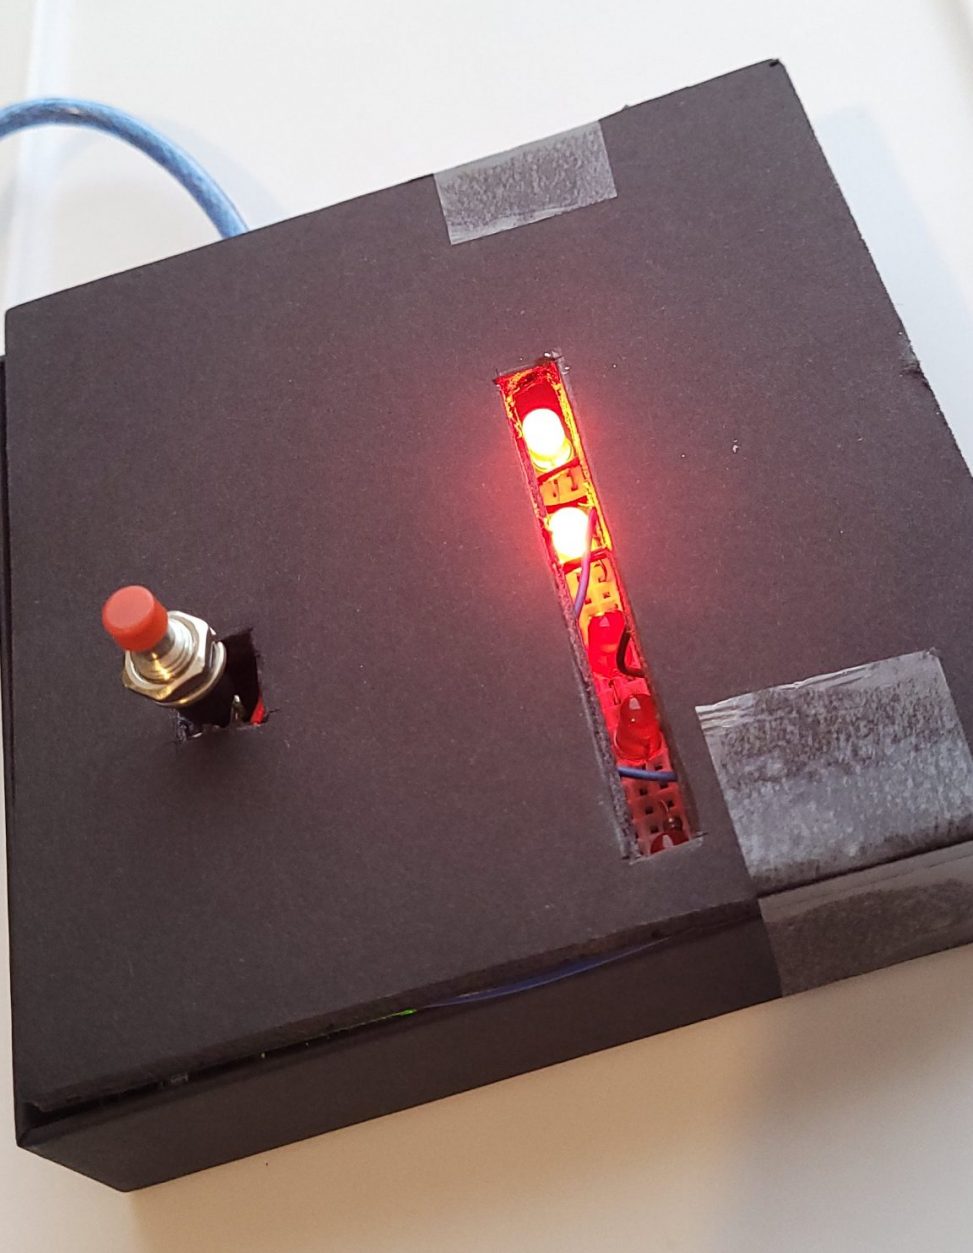

The Exercise Set Tracker (EST) helps me keep track of my 5×5 sets during workouts with just the push of a button.
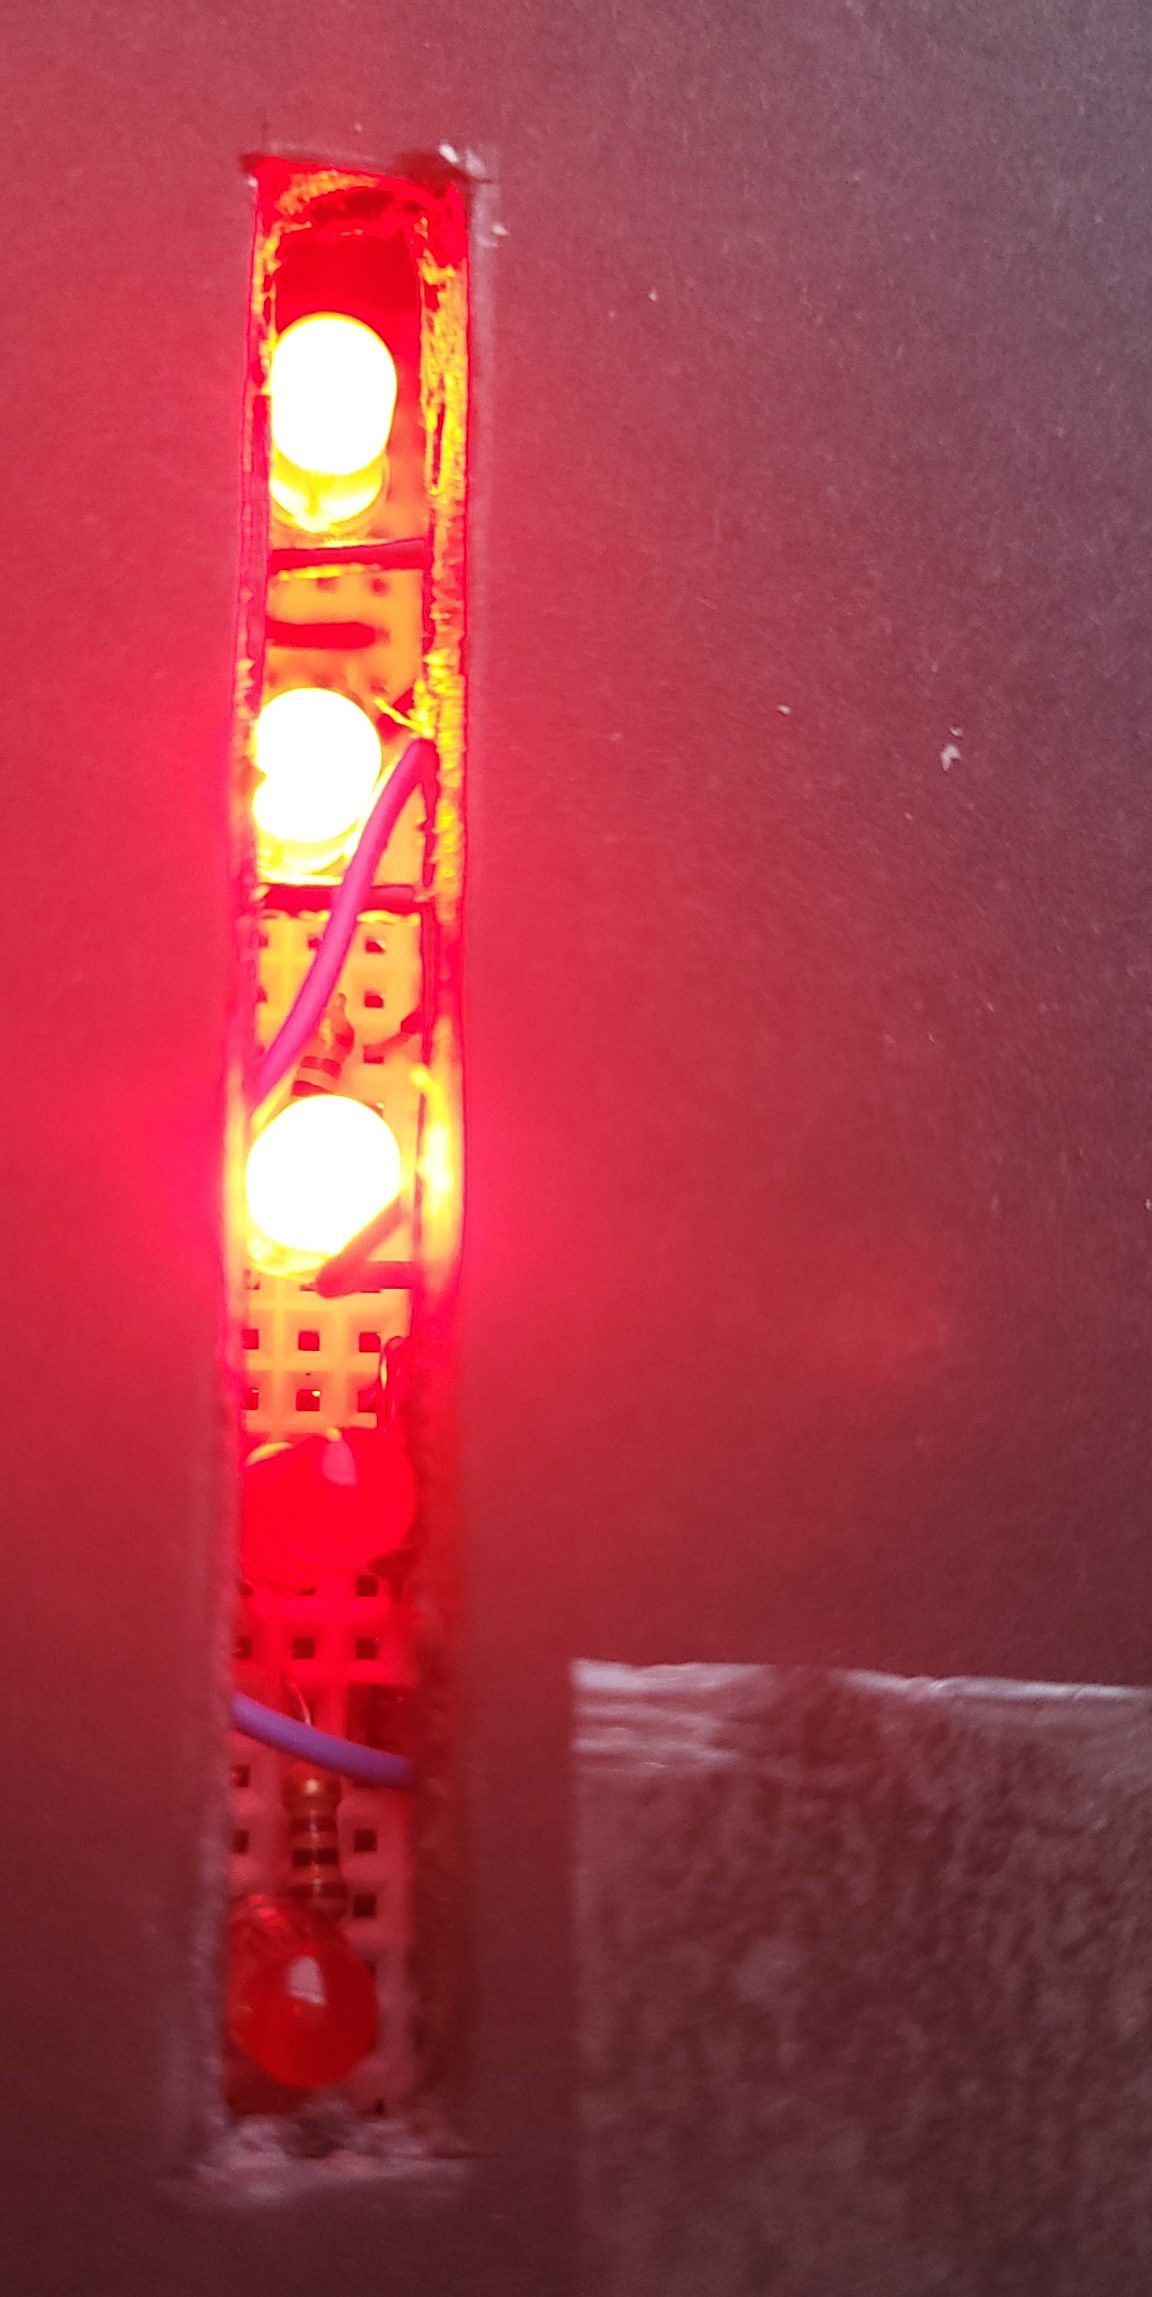
LEDs in use.
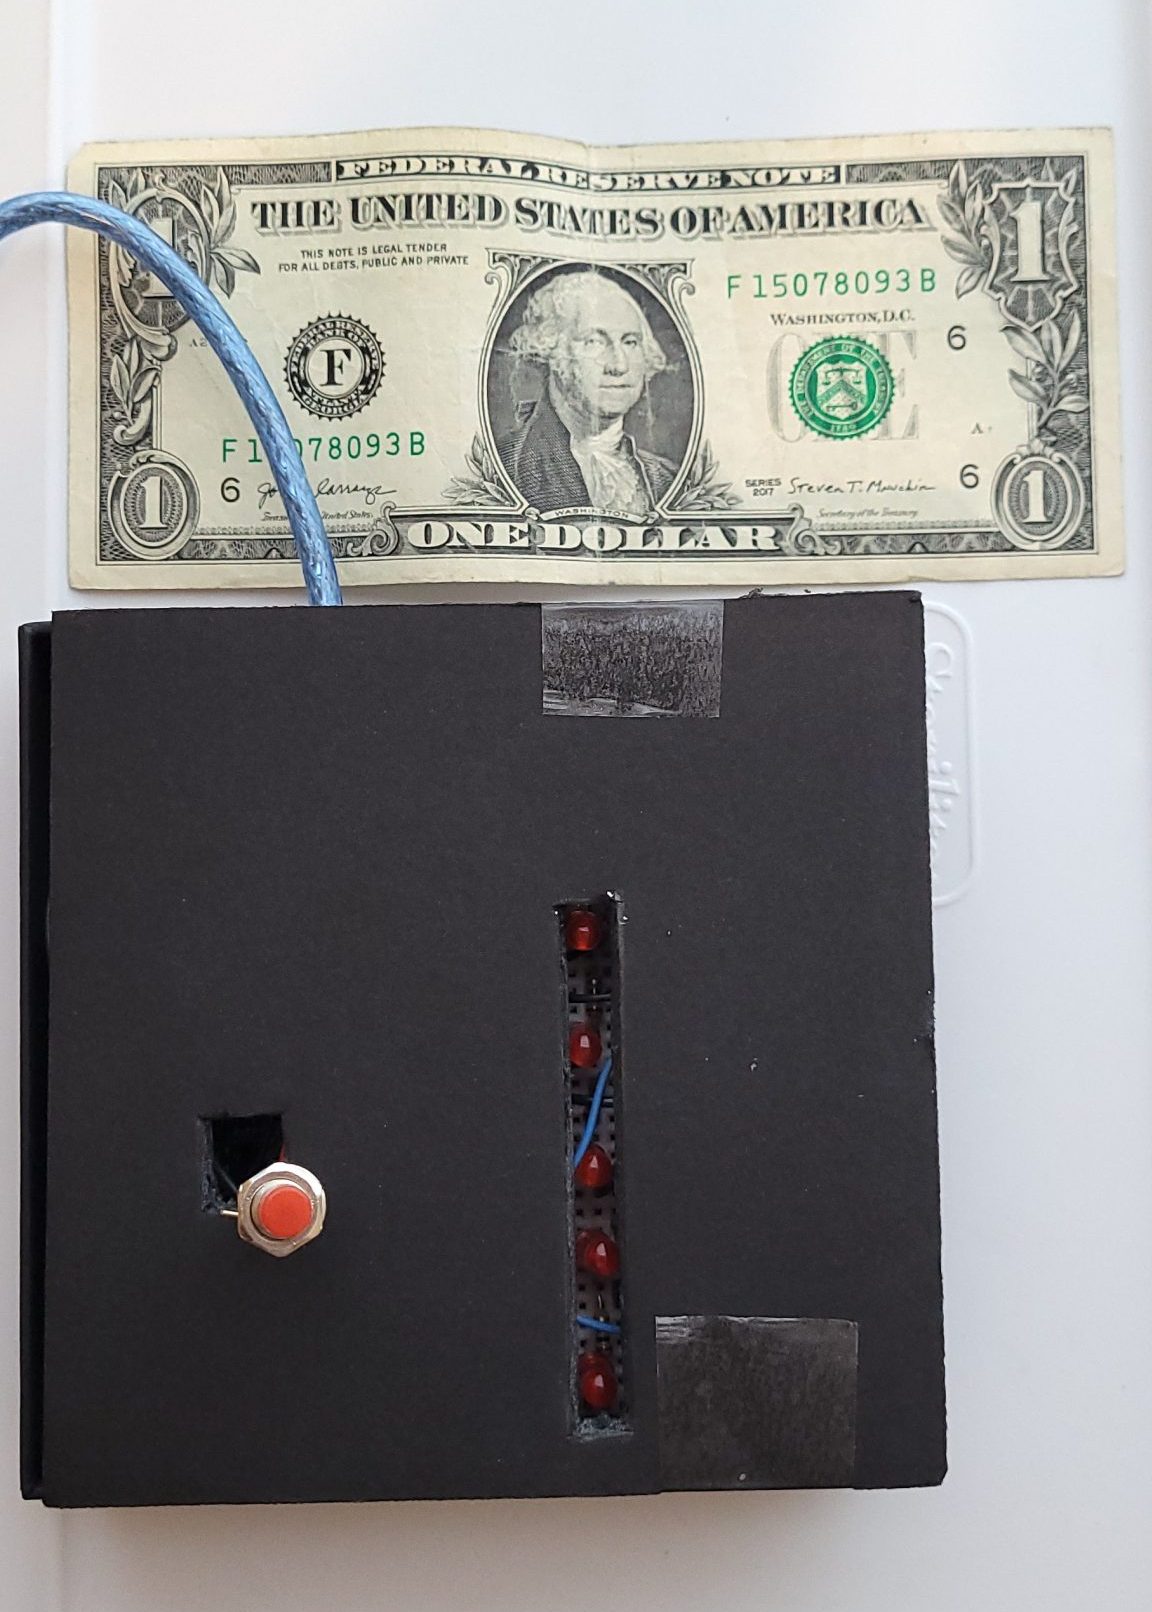
Dollar for size and scale comparison.
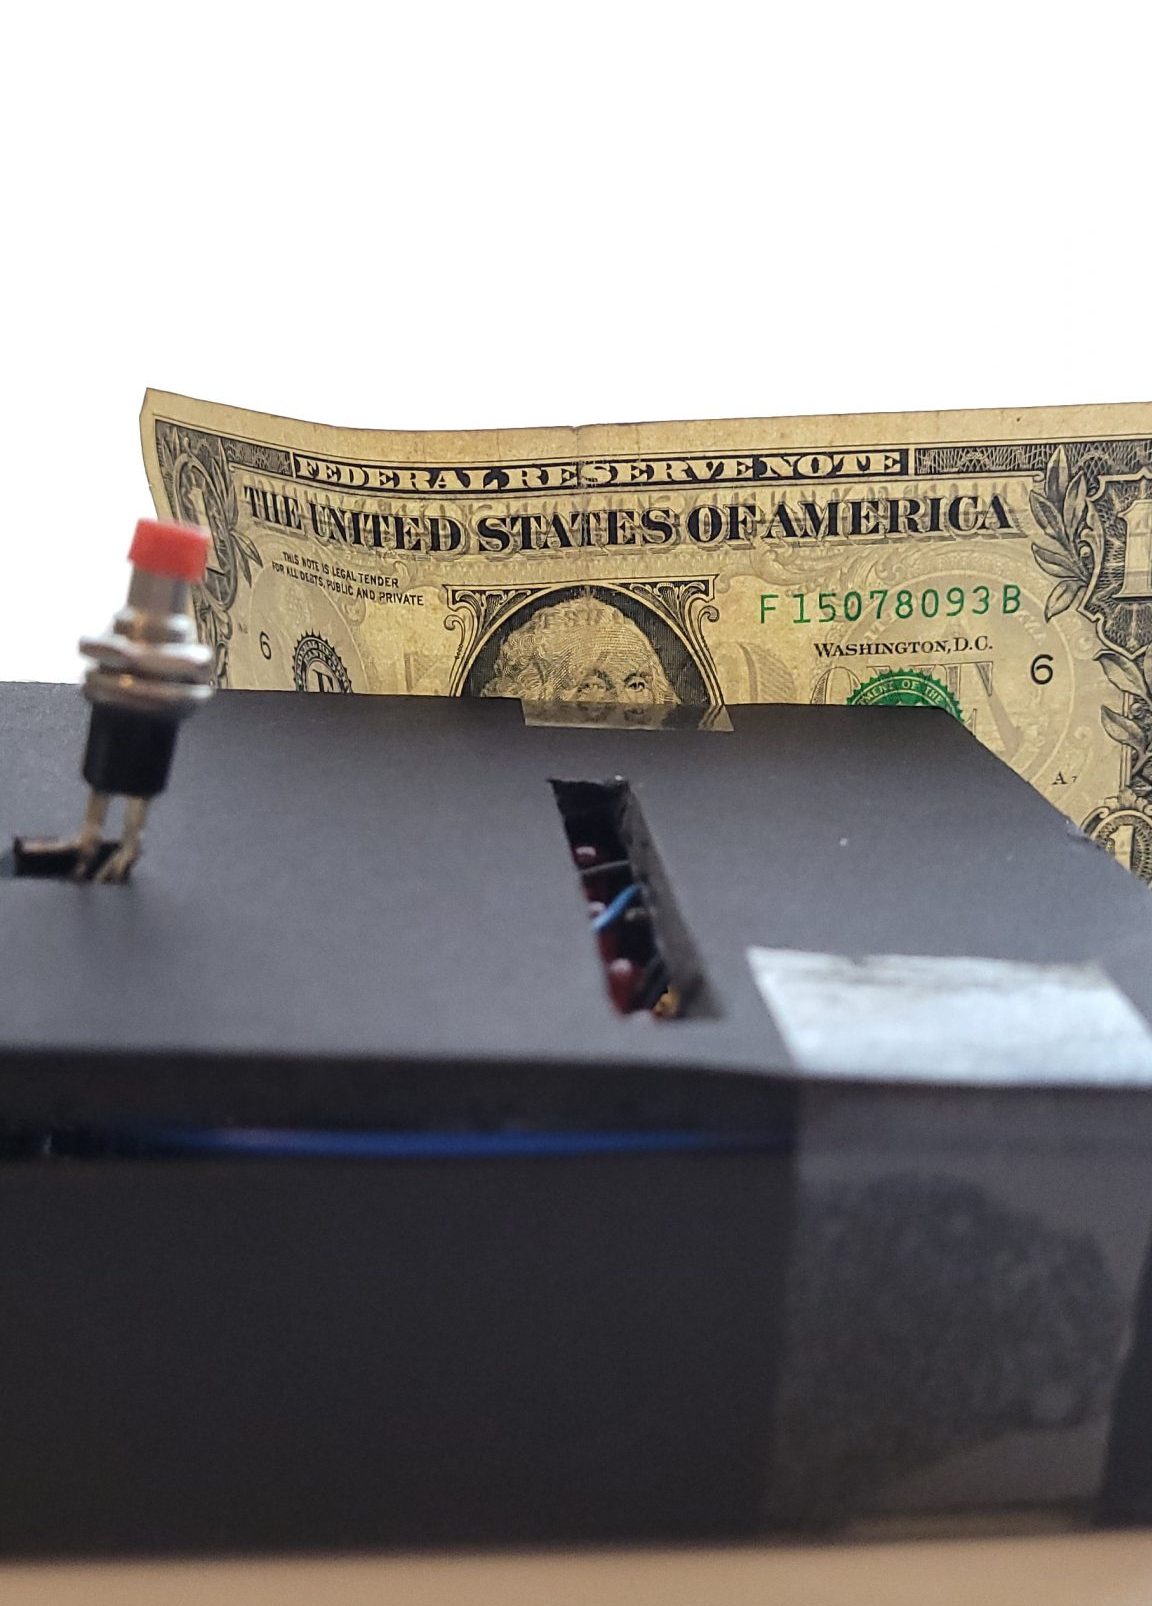
Dollar for size and scale comparison 2.
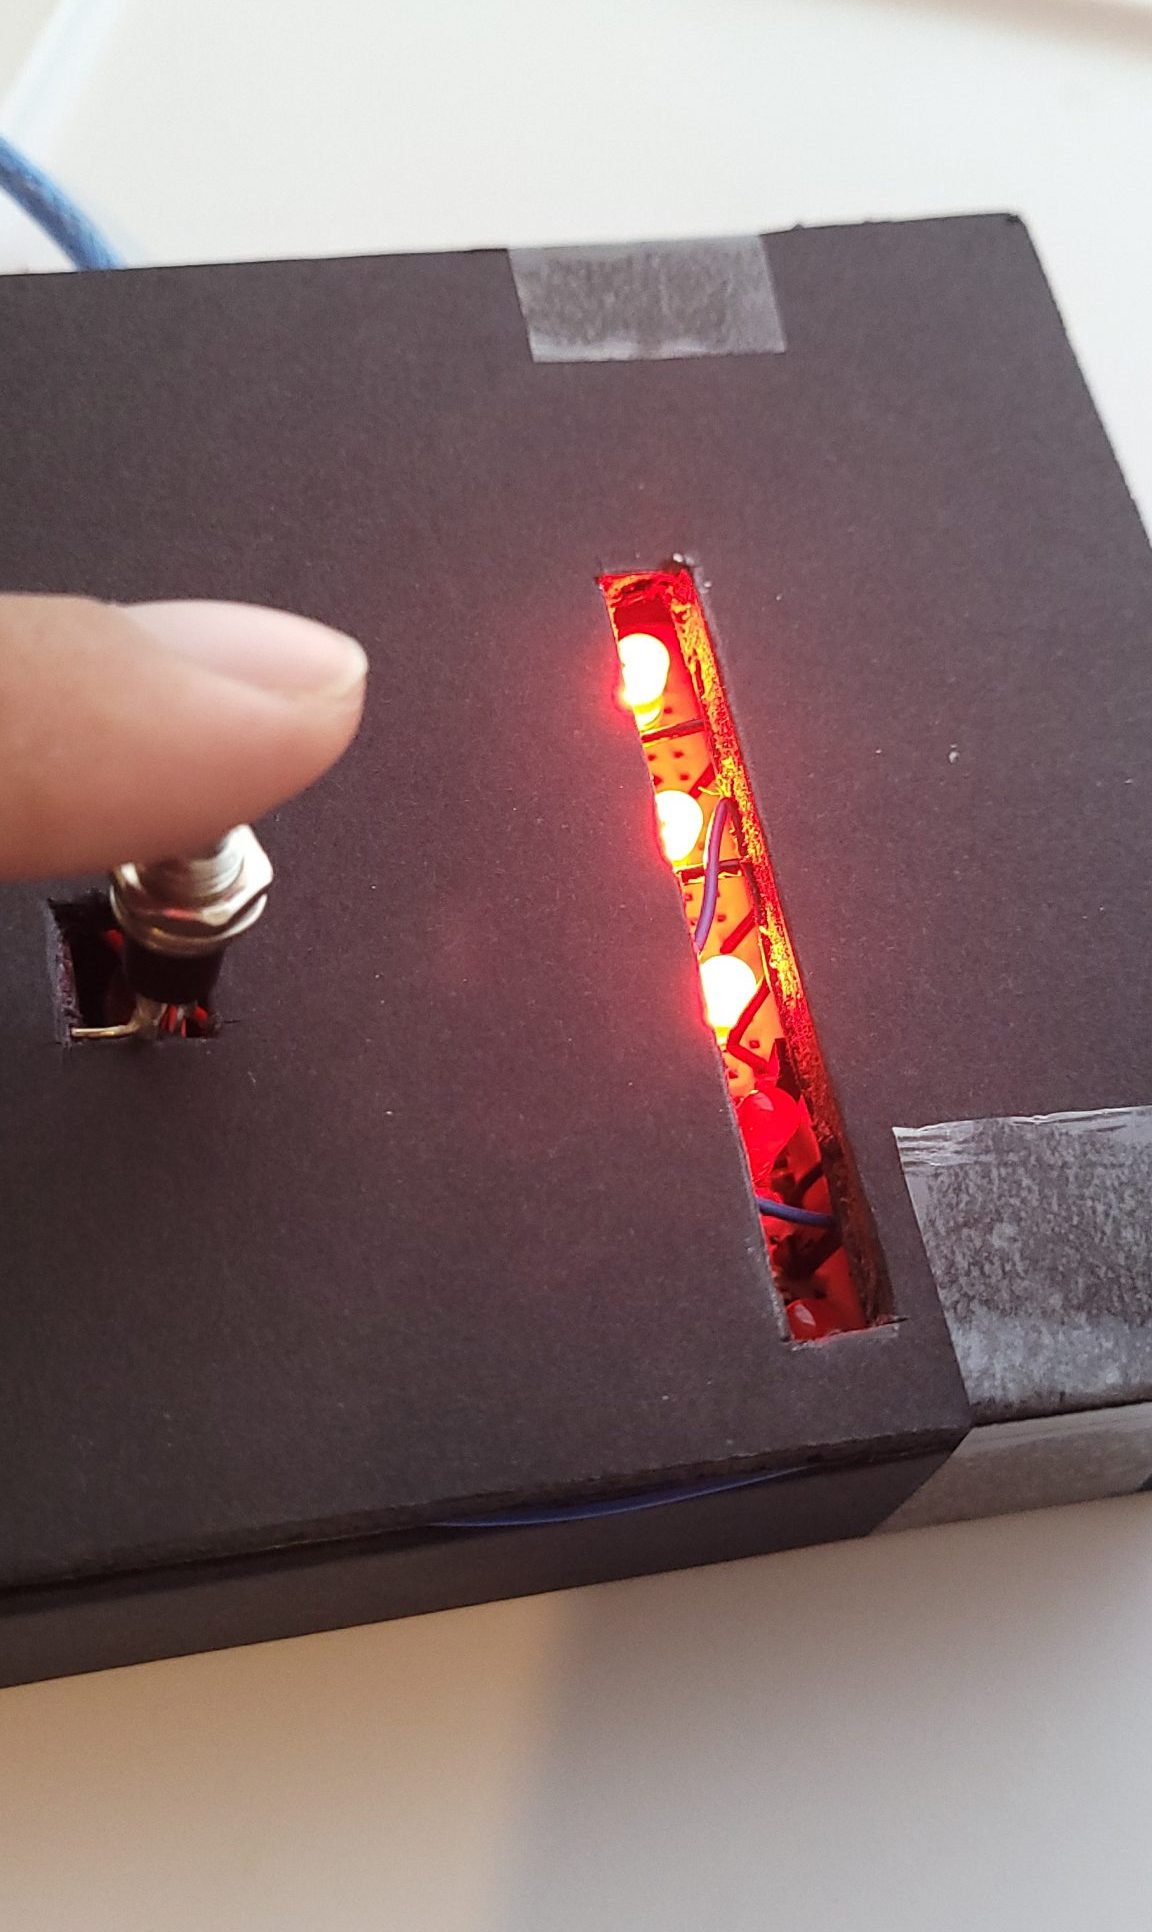
EST in use.
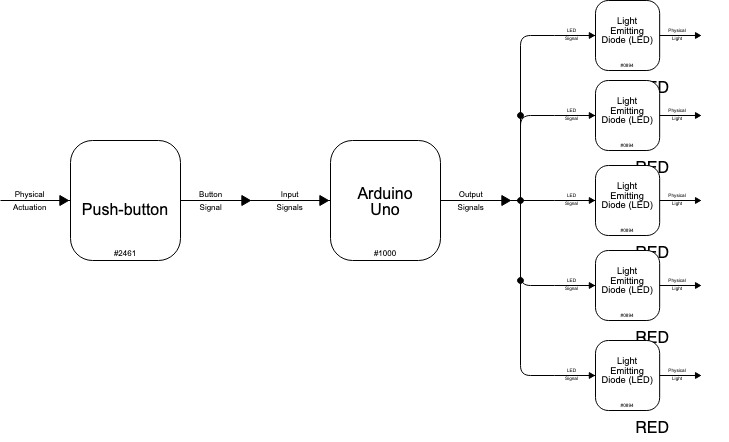
Process
One decision point in my process revolved around just how many LEDs the EST should have. Originally I had planned on having the EST feature 10 separate LEDs and having each one of them account for a single repetition of an exercise. It didn’t take long for me to realize that such a set up would quickly change the EST from being a helpful device to an annoying one depending on the exercise, so I cut the amount of LEDs by half. Doing so resulted in the remaining 5 LEDs accounting only for the amount of sets I typically do- making the EST more ‘universal’ in terms of exercise usefulness as I typically do five sets for almost all of my exercises.
The biggest decision point in my process, however, had to do with the physical case containing the EST. In my original design of the EST, it was meant to be as small as possible to the point where it’d be able to fit on my wrist. Given the relative simplicity of the EST (after all, it’s essentially just a button turning on lights), there were many possibilities as to what the physical case containing the EST could look like. I went so far as to acquire the necessary compact microcontroller and event print out a bracelet holder for the EST. Ultimately, however, due to time constraints I had to pivot to an easier to acquire and make ‘box’ set up. The box, whose dimensions are approximately 4.5in x 4.5in x 1.5in, was still compact enough so as to not be inconvenient to bring around but not as compact as I had originally hoped.
Discussion
All things considered, I would say that I’m moderately content with how the EST turned out. Although it wasn’t exactly close to what I had originally planned in terms of size and form, it does function as intended and its final form is good enough to carry around with me and actually use at the gym. Considering an imposing lack of time due to some personal circumstances, I was honestly kind of surprised the final outcome of the EST was actually quite usable. That being said, it is still far from ideal and as a result I wouldn’t say I’m super happy with it, but I am somewhat satisfied mainly after considering some of the personal constraints I faced throughout the project.
Probably the biggest flaw in the EST is its admittedly unattractive physical case. I agree with a comment from the in-class crit concerning this: “The enclosure is pretty sloppy; this is a sort of project that’s a good candidate for laser cutting a simple little box.” If I had known that my original plan of a small wrist watch-esque form wasn’t going to pan out, I would have instead opted for 3D-printing a nice case for the EST. Ultimately the sloppy little box was a result of last minute necessity, and I totally agree that laser cutting would have been useful here. One of my errors during this project was my desire to stay away from laser cutting and use 3D-printing instead. The latter simply required more time which I just didn’t have, and in retrospect I would have just stuck with laser cutting if I had known 3D-printing wasn’t going to work out.
Something I overlooked regarding the EST was its button; another piece of feedback I got from the in-class critique was: “I’d make your button much easier to mash on indiscriminately rather than needing to carefully push on it”. I fully agree with this and hearing this feedback made me realize that I had not considered the button component of the EST nearly as much as I should’ve. Rather than going with the first button prepared I saw, I should’ve instead considered different button setups. I really do think that the EST could have benefitted from a larger button that isn’t so delicate- I was so caught up with the other aspects of the EST (mainly its form and software) that after wiring the physical components (the button and LEDs) my focus completed shifted away from them. In retrospect, this was an error on my end and really limits the usefulness of my EST.
Ultimately I found that creating the physical form of my EST was by far the most challenging task for me. This honestly caught me off-guard, as a step I thought would take no more than a day suddenly required most of my concern and attention. I had anticipated the wiring and programming of the EST to be relatively straightforward, and thankfully that was indeed the case, but my estimate of how long I’d take on the physical aspect of the project was totally off and was a source of most of my issues. I regret aiming for such a tiny and intricate physical form of the EST from the beginning, and I wish I had instead started off with a simple laser-cut box as a prototype and then making it even smaller if time permitted. My desire to leverage 3D-printing ended up backfiring, and if I were to do things differently I would instead have learned how to laser cut for this project.
One of the few positives from the current version of the EST is that it works and can be improved much, much further. I can see myself building another iteration of this project that’s much smaller and more visually appealing. Given that I would have much more time (since I wouldn’t try another iteration otherwise), I would definitely attempt to reduce the EST to its smallest possible size.
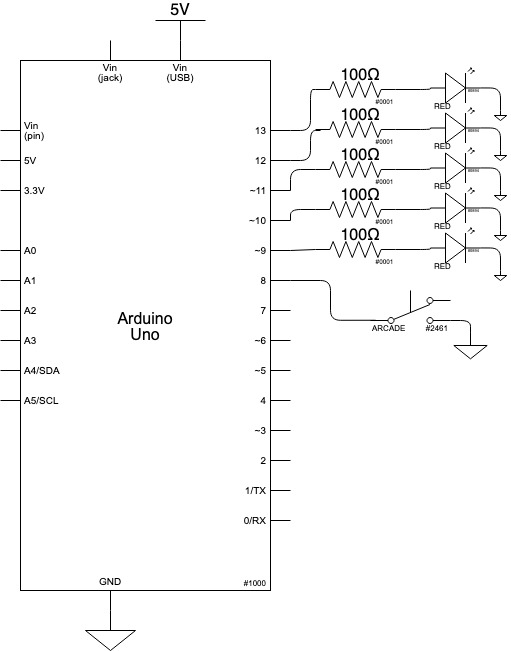
Technical Information
/*  Project 2 - Excercise Set Counter (EST)
 *   Juan Meza (jmezavin)
 *
 *   Description:
 *   This code handles the turning on (and off) of the EST's LEDs.
 *   The EST must appropriately respond to a button press, and this code
 *   enables this. After reaching five sets and five lit-up LEDs, for instance,
 *   the code resets them all to prepare for the next excercise.
 *
 *
 *   Pin Mapping:
 *
 *   Pin    / Mode    / Description
 *   -------/---------/------------
 *   8        input     button
 *   9        output    LED red 1
 *   10       output    LED red 2
 *   11       output    LED red 3
 *   12       output    LED red 4
 *   13       output    LED red 5
 *
 *
 *   Much thanks to the 'Task Buddy' project from the previous semester (F21)
 *   for insight on how to handle button presses and timing!
 *   https://courses.ideate.cmu.edu/60-223/f2021/work/task-buddy/
 *
 */

#define BUTTON 8
#define LED1 9
#define LED2 10
#define LED3 11
#define LED4 12
#define LED5 13

bool isButtonPressed = false;
unsigned long buttonTime;
int ButtonPresses = 0;


void setup(){
  pinMode(BUTTON,INPUT_PULLUP);
  pinMode(LED1,OUTPUT);
  pinMode(LED2,OUTPUT);
  pinMode(LED3,OUTPUT);
  pinMode(LED4,OUTPUT);
  pinMode(LED5,OUTPUT);

  buttonTime = millis();
  Serial.begin(9600);
}

void loop(){

  int buttonVal = digitalRead(BUTTON);
  //Serial.println(buttonVal);

  if(buttonVal == 0 && millis() - buttonTime >= 500){ //button is being pressed for reasonable time

    //Serial.println(millis()-buttonTime);
    ButtonPresses++;
    buttonTime = millis(); //reset buttonTime for next button press
    //Serial.println("Button is being pressed.");
    Serial.println("Button has been pressed this many times:");
    Serial.println(ButtonPresses);

  }
  else{
    //Serial.println("Button is NOT being pressed.");
  }

  if(ButtonPresses >= 1){
   digitalWrite(LED1,HIGH); //on, LOW for off
  }

  if(ButtonPresses >= 2){
   digitalWrite(LED2,HIGH);
  }

  if(ButtonPresses >= 3){
   digitalWrite(LED3,HIGH);
  }

  if(ButtonPresses >= 4){
   digitalWrite(LED4,HIGH);
  }

  if(ButtonPresses == 5){
   digitalWrite(LED5,HIGH);
  }

  if(ButtonPresses > 5){ //more than 5,  reset!
    Serial.println("TIME TO RESET");

    digitalWrite(LED1,LOW);
    digitalWrite(LED2,LOW);
    digitalWrite(LED3,LOW);
    digitalWrite(LED4,LOW);
    digitalWrite(LED5,LOW);

    delay(300); //do some blinking first

    digitalWrite(LED1,HIGH);
    digitalWrite(LED2,HIGH);
    digitalWrite(LED3,HIGH);
    digitalWrite(LED4,HIGH);
    digitalWrite(LED5,HIGH);

    delay(300);

    digitalWrite(LED1,LOW);
    digitalWrite(LED2,LOW);
    digitalWrite(LED3,LOW);
    digitalWrite(LED4,LOW);
    digitalWrite(LED5,LOW);

    delay(300);

    digitalWrite(LED1,HIGH);
    digitalWrite(LED2,HIGH);
    digitalWrite(LED3,HIGH);
    digitalWrite(LED4,HIGH);
    digitalWrite(LED5,HIGH);

    delay(300);

    digitalWrite(LED1,LOW);
    digitalWrite(LED2,LOW);
    digitalWrite(LED3,LOW);
    digitalWrite(LED4,LOW);
    digitalWrite(LED5,LOW);

    ButtonPresses = 0;
  }

}