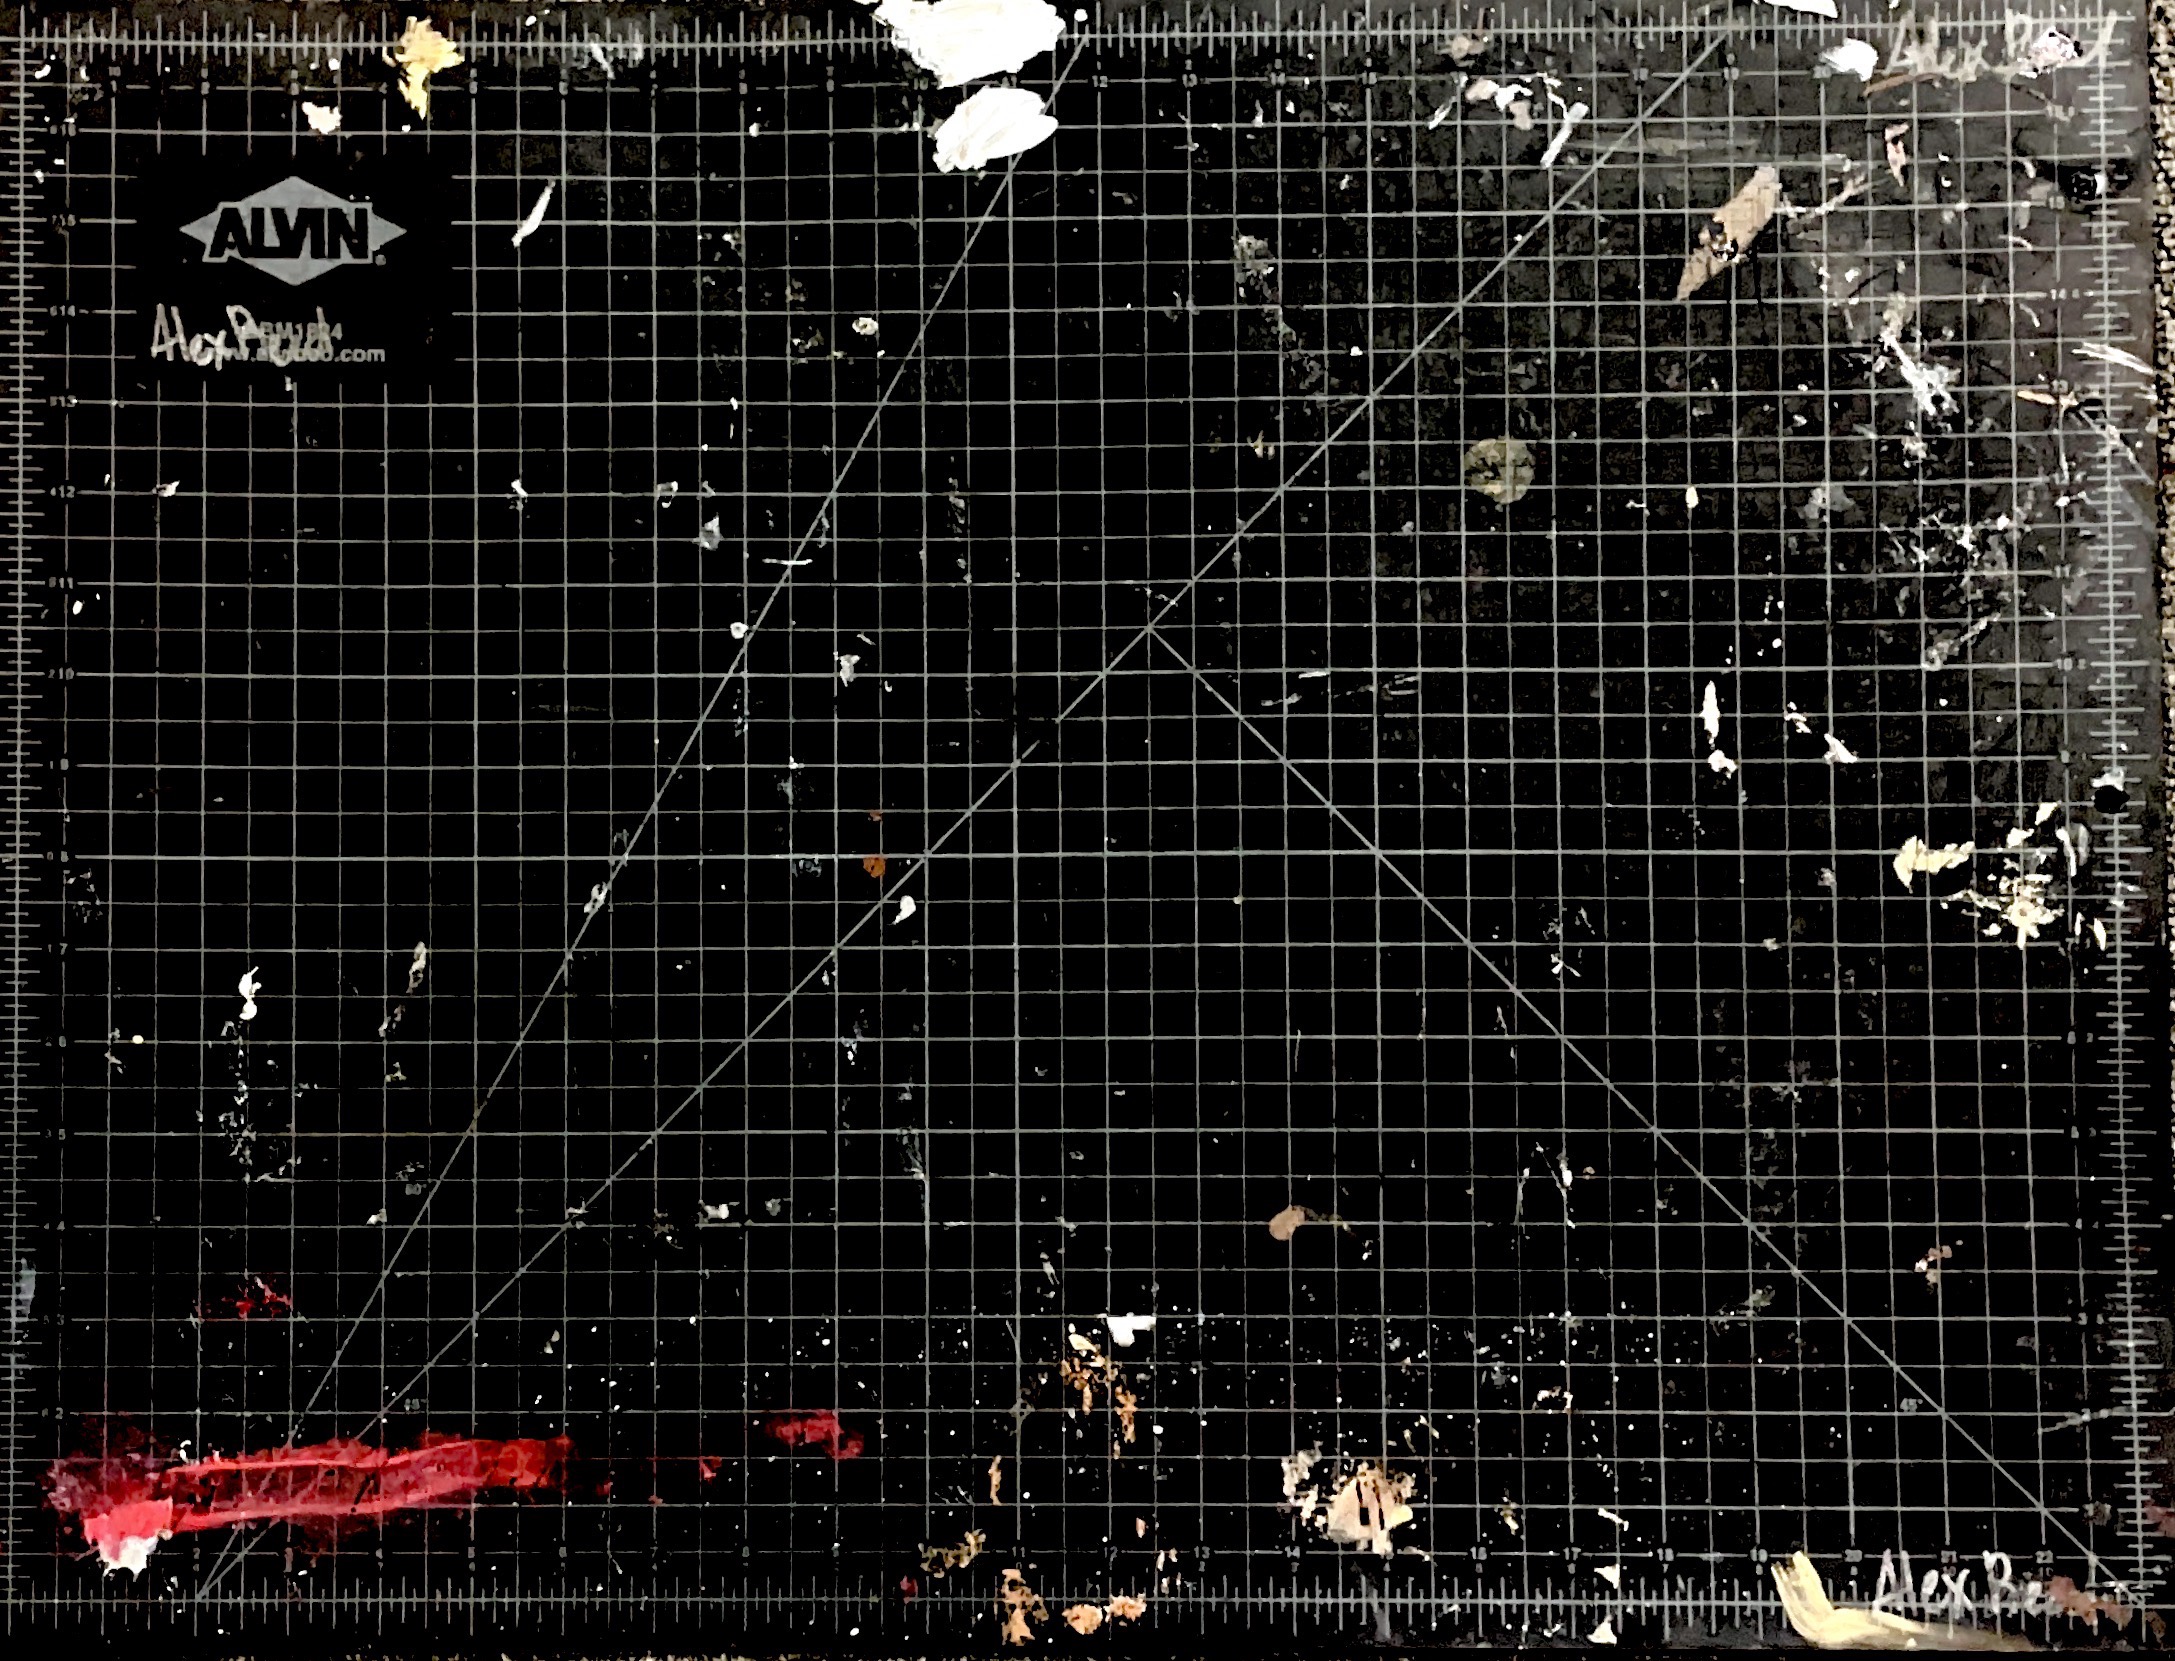
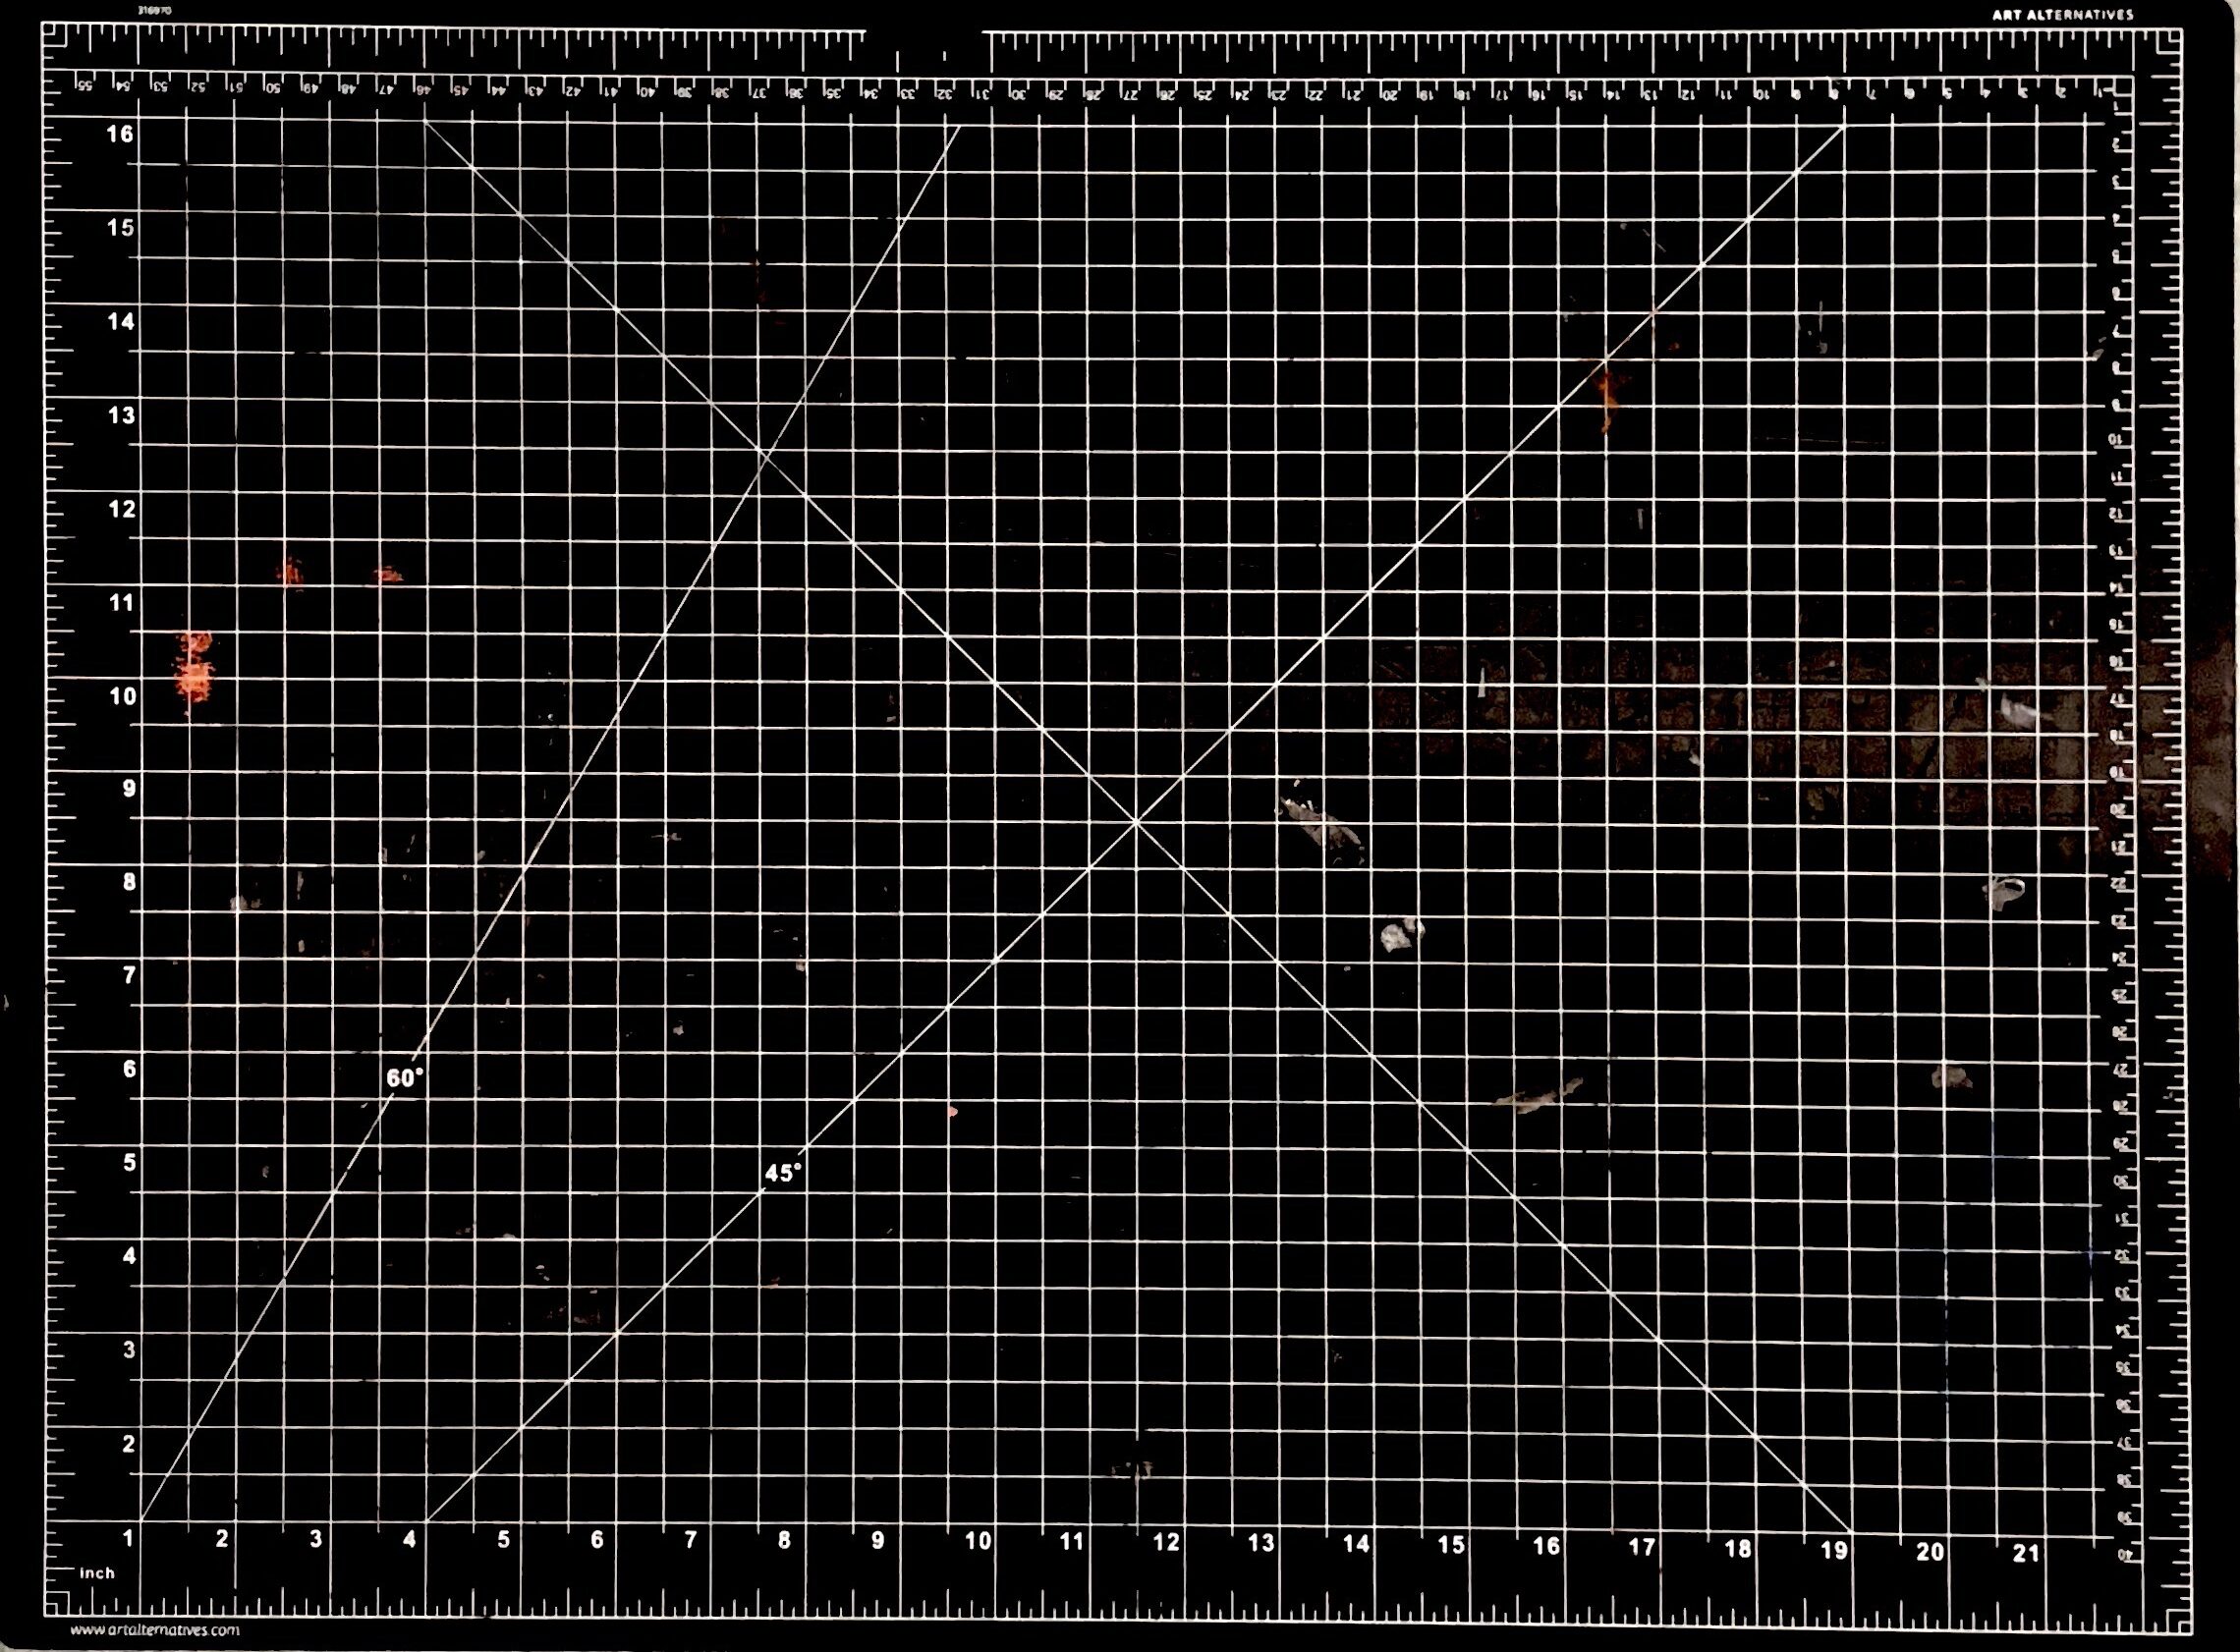
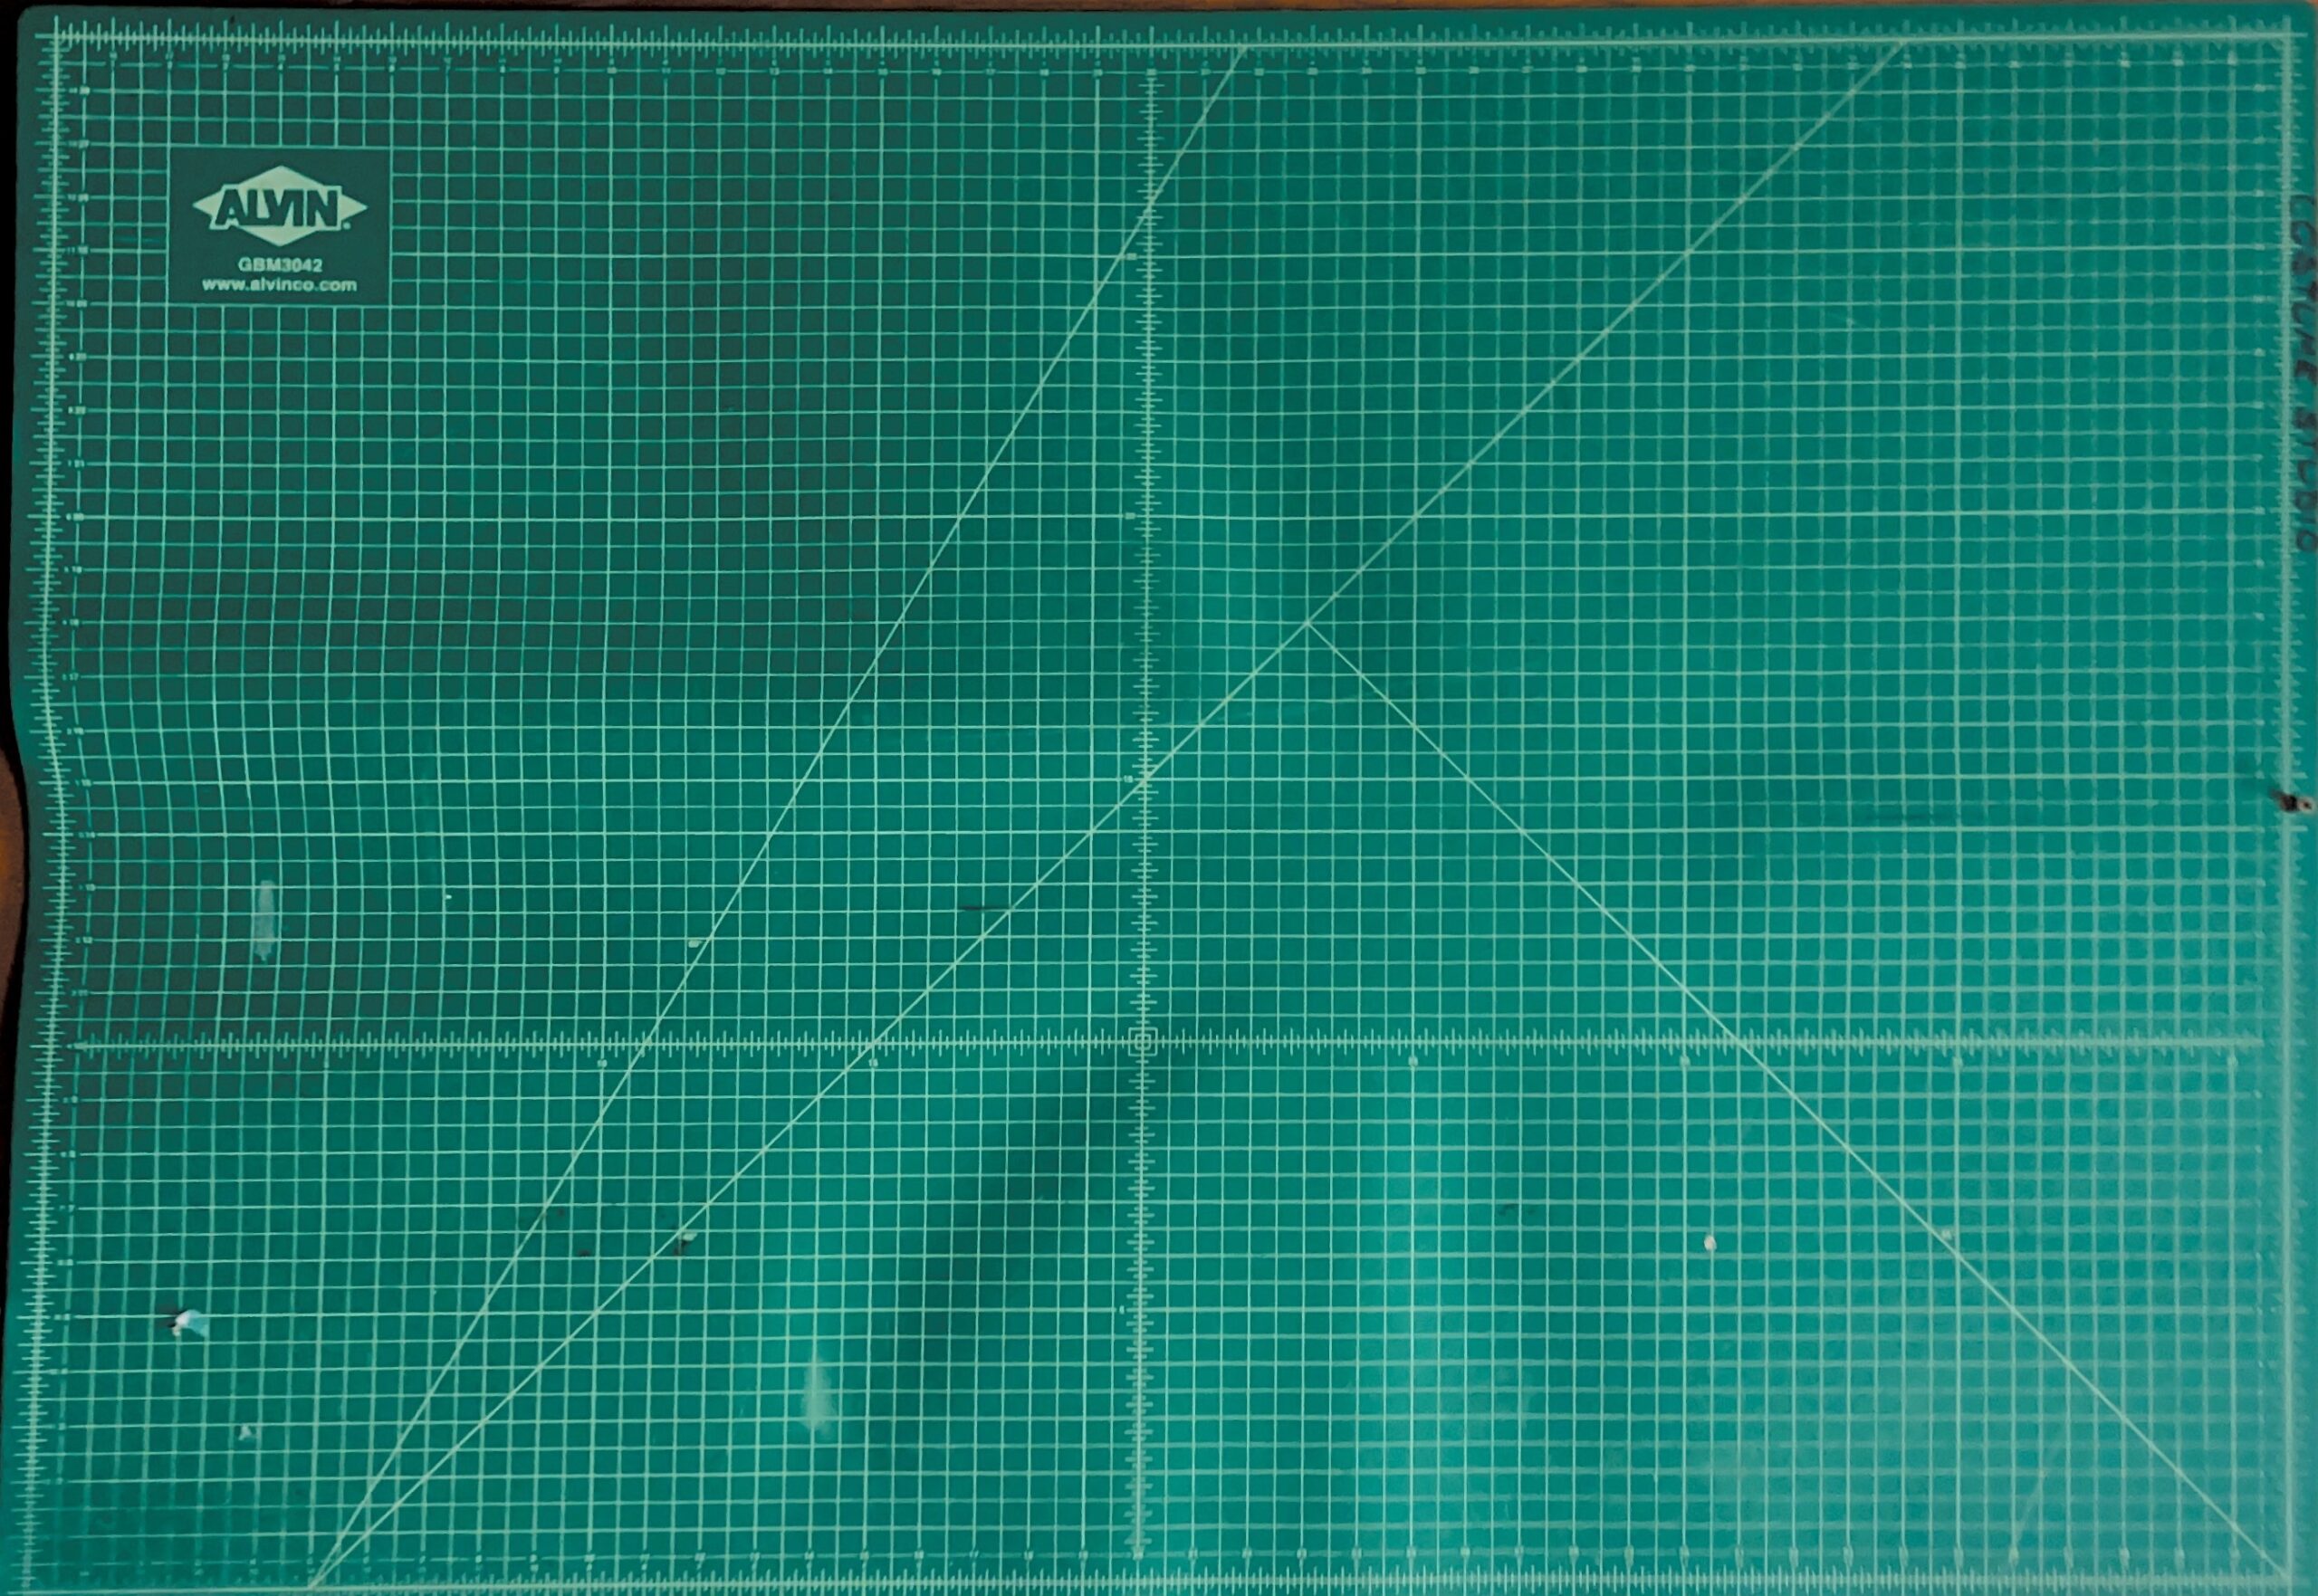
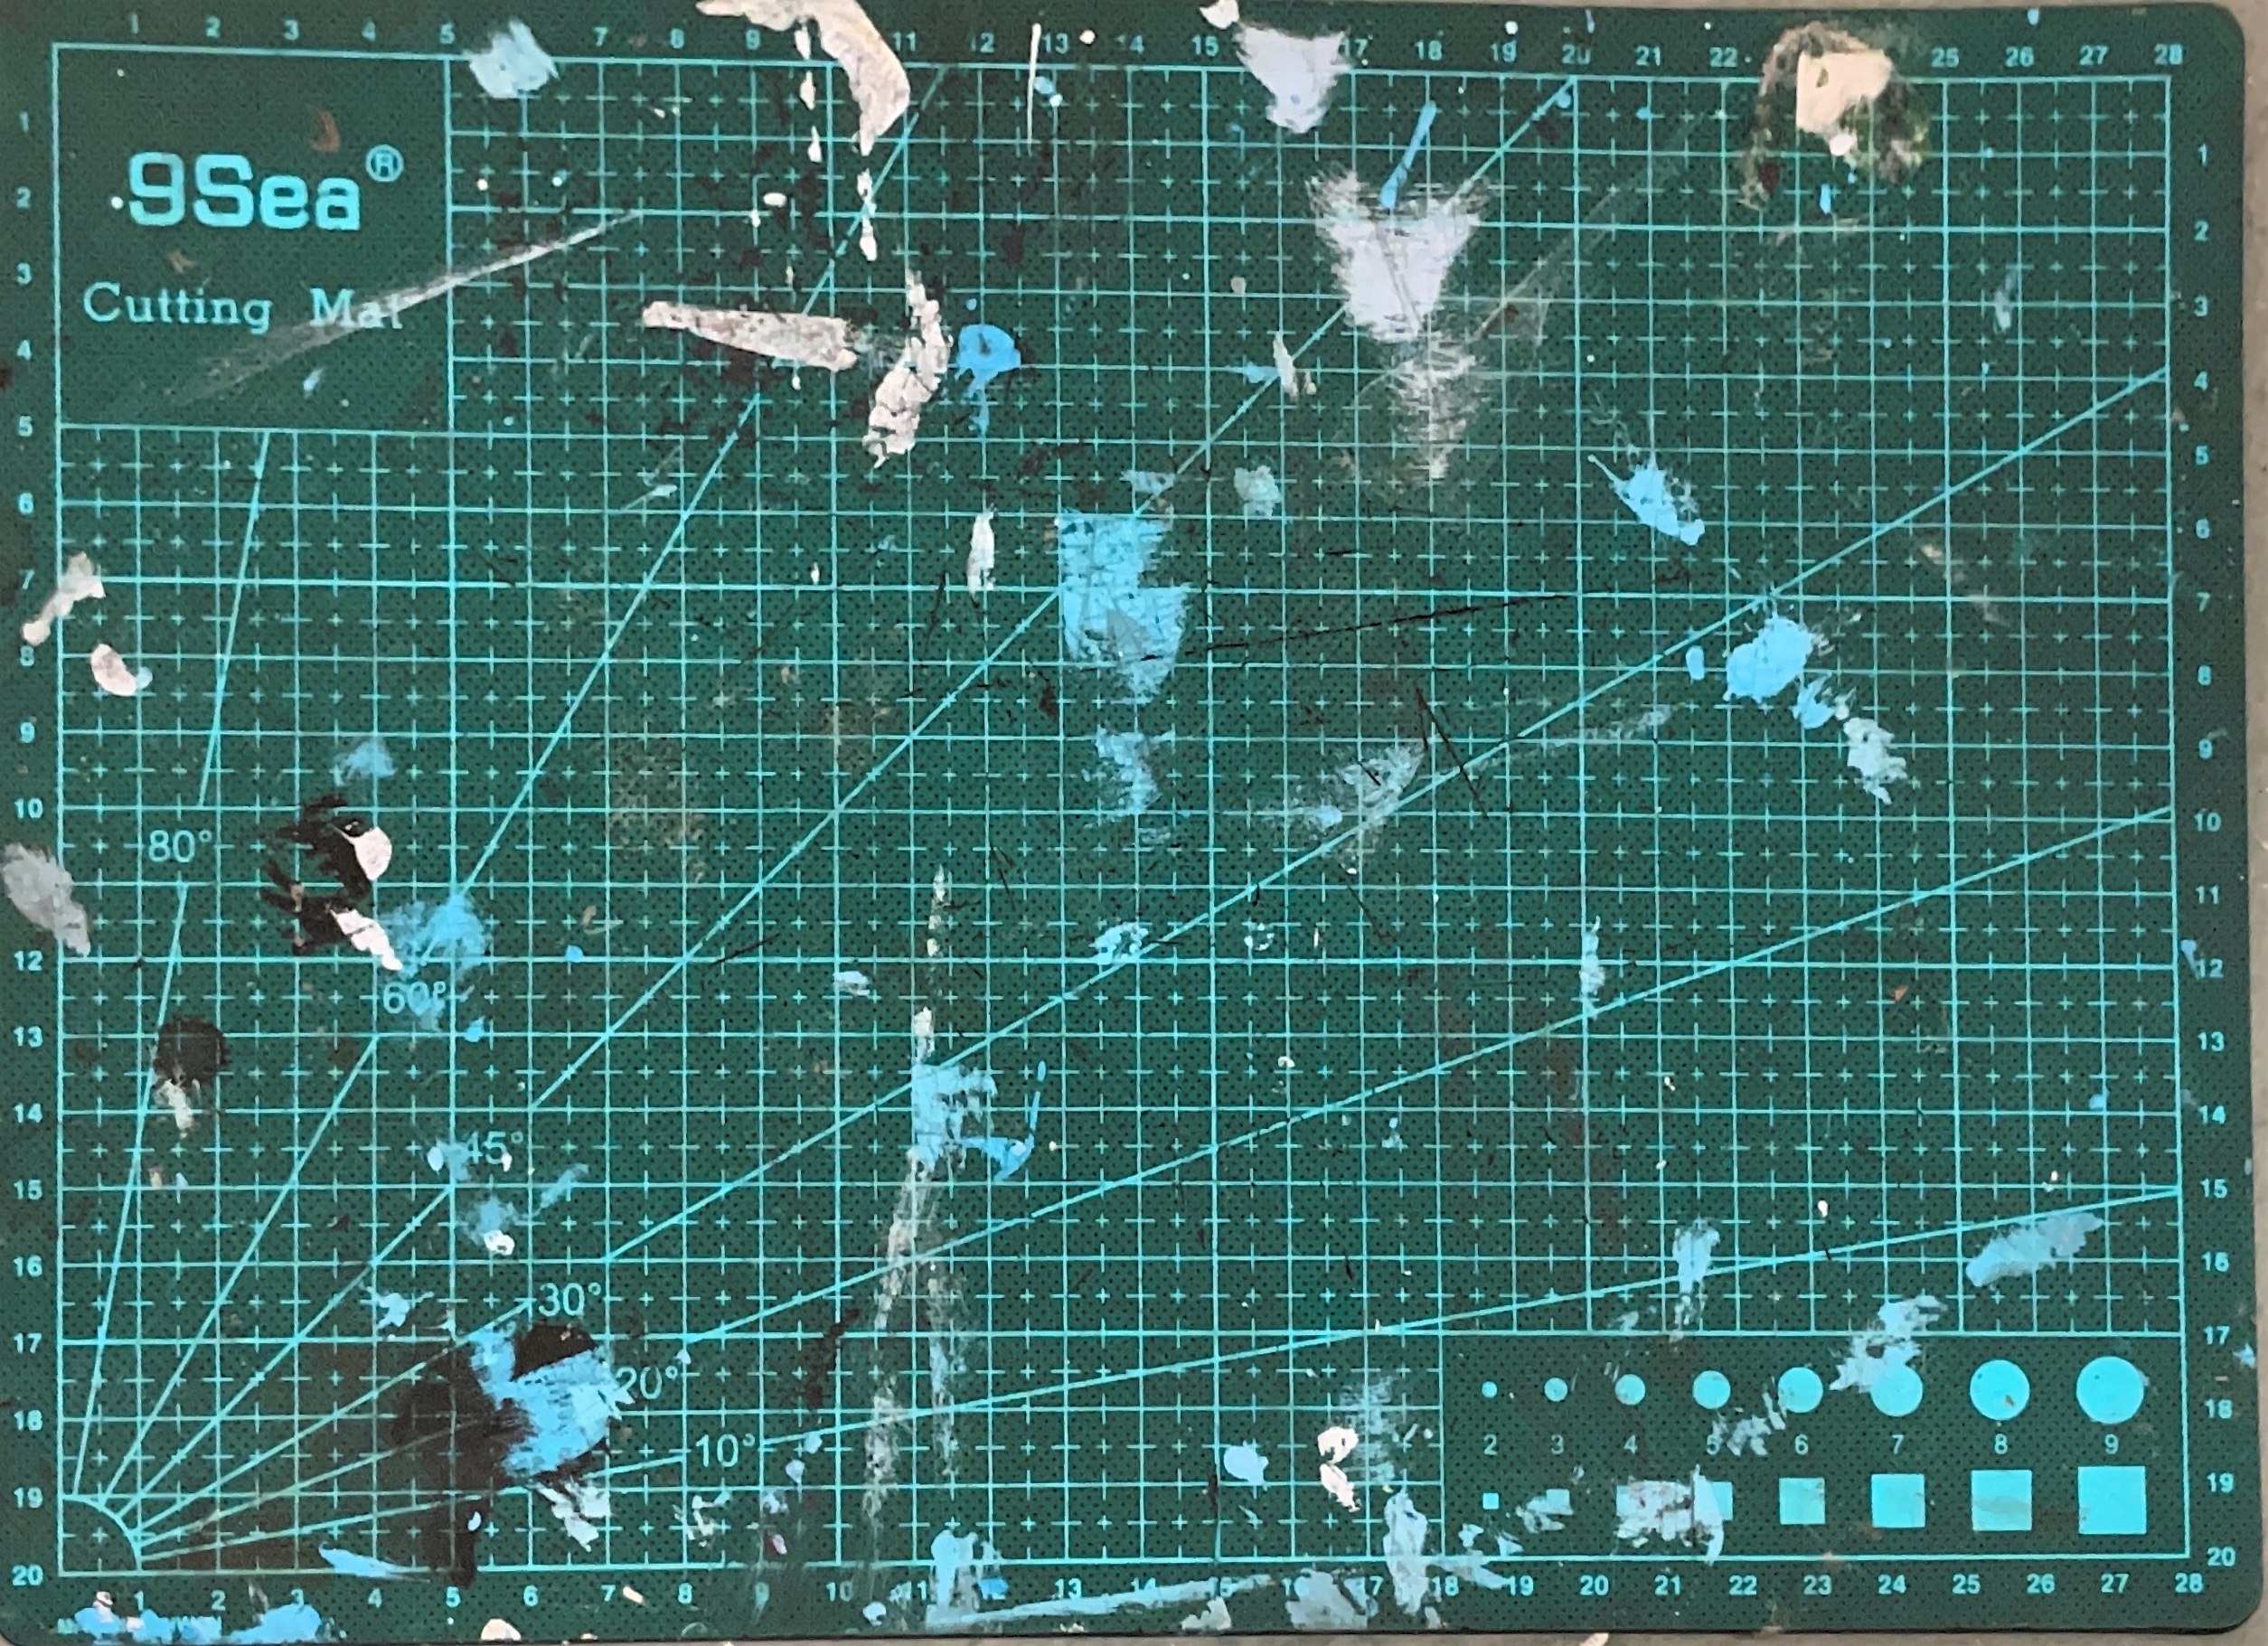
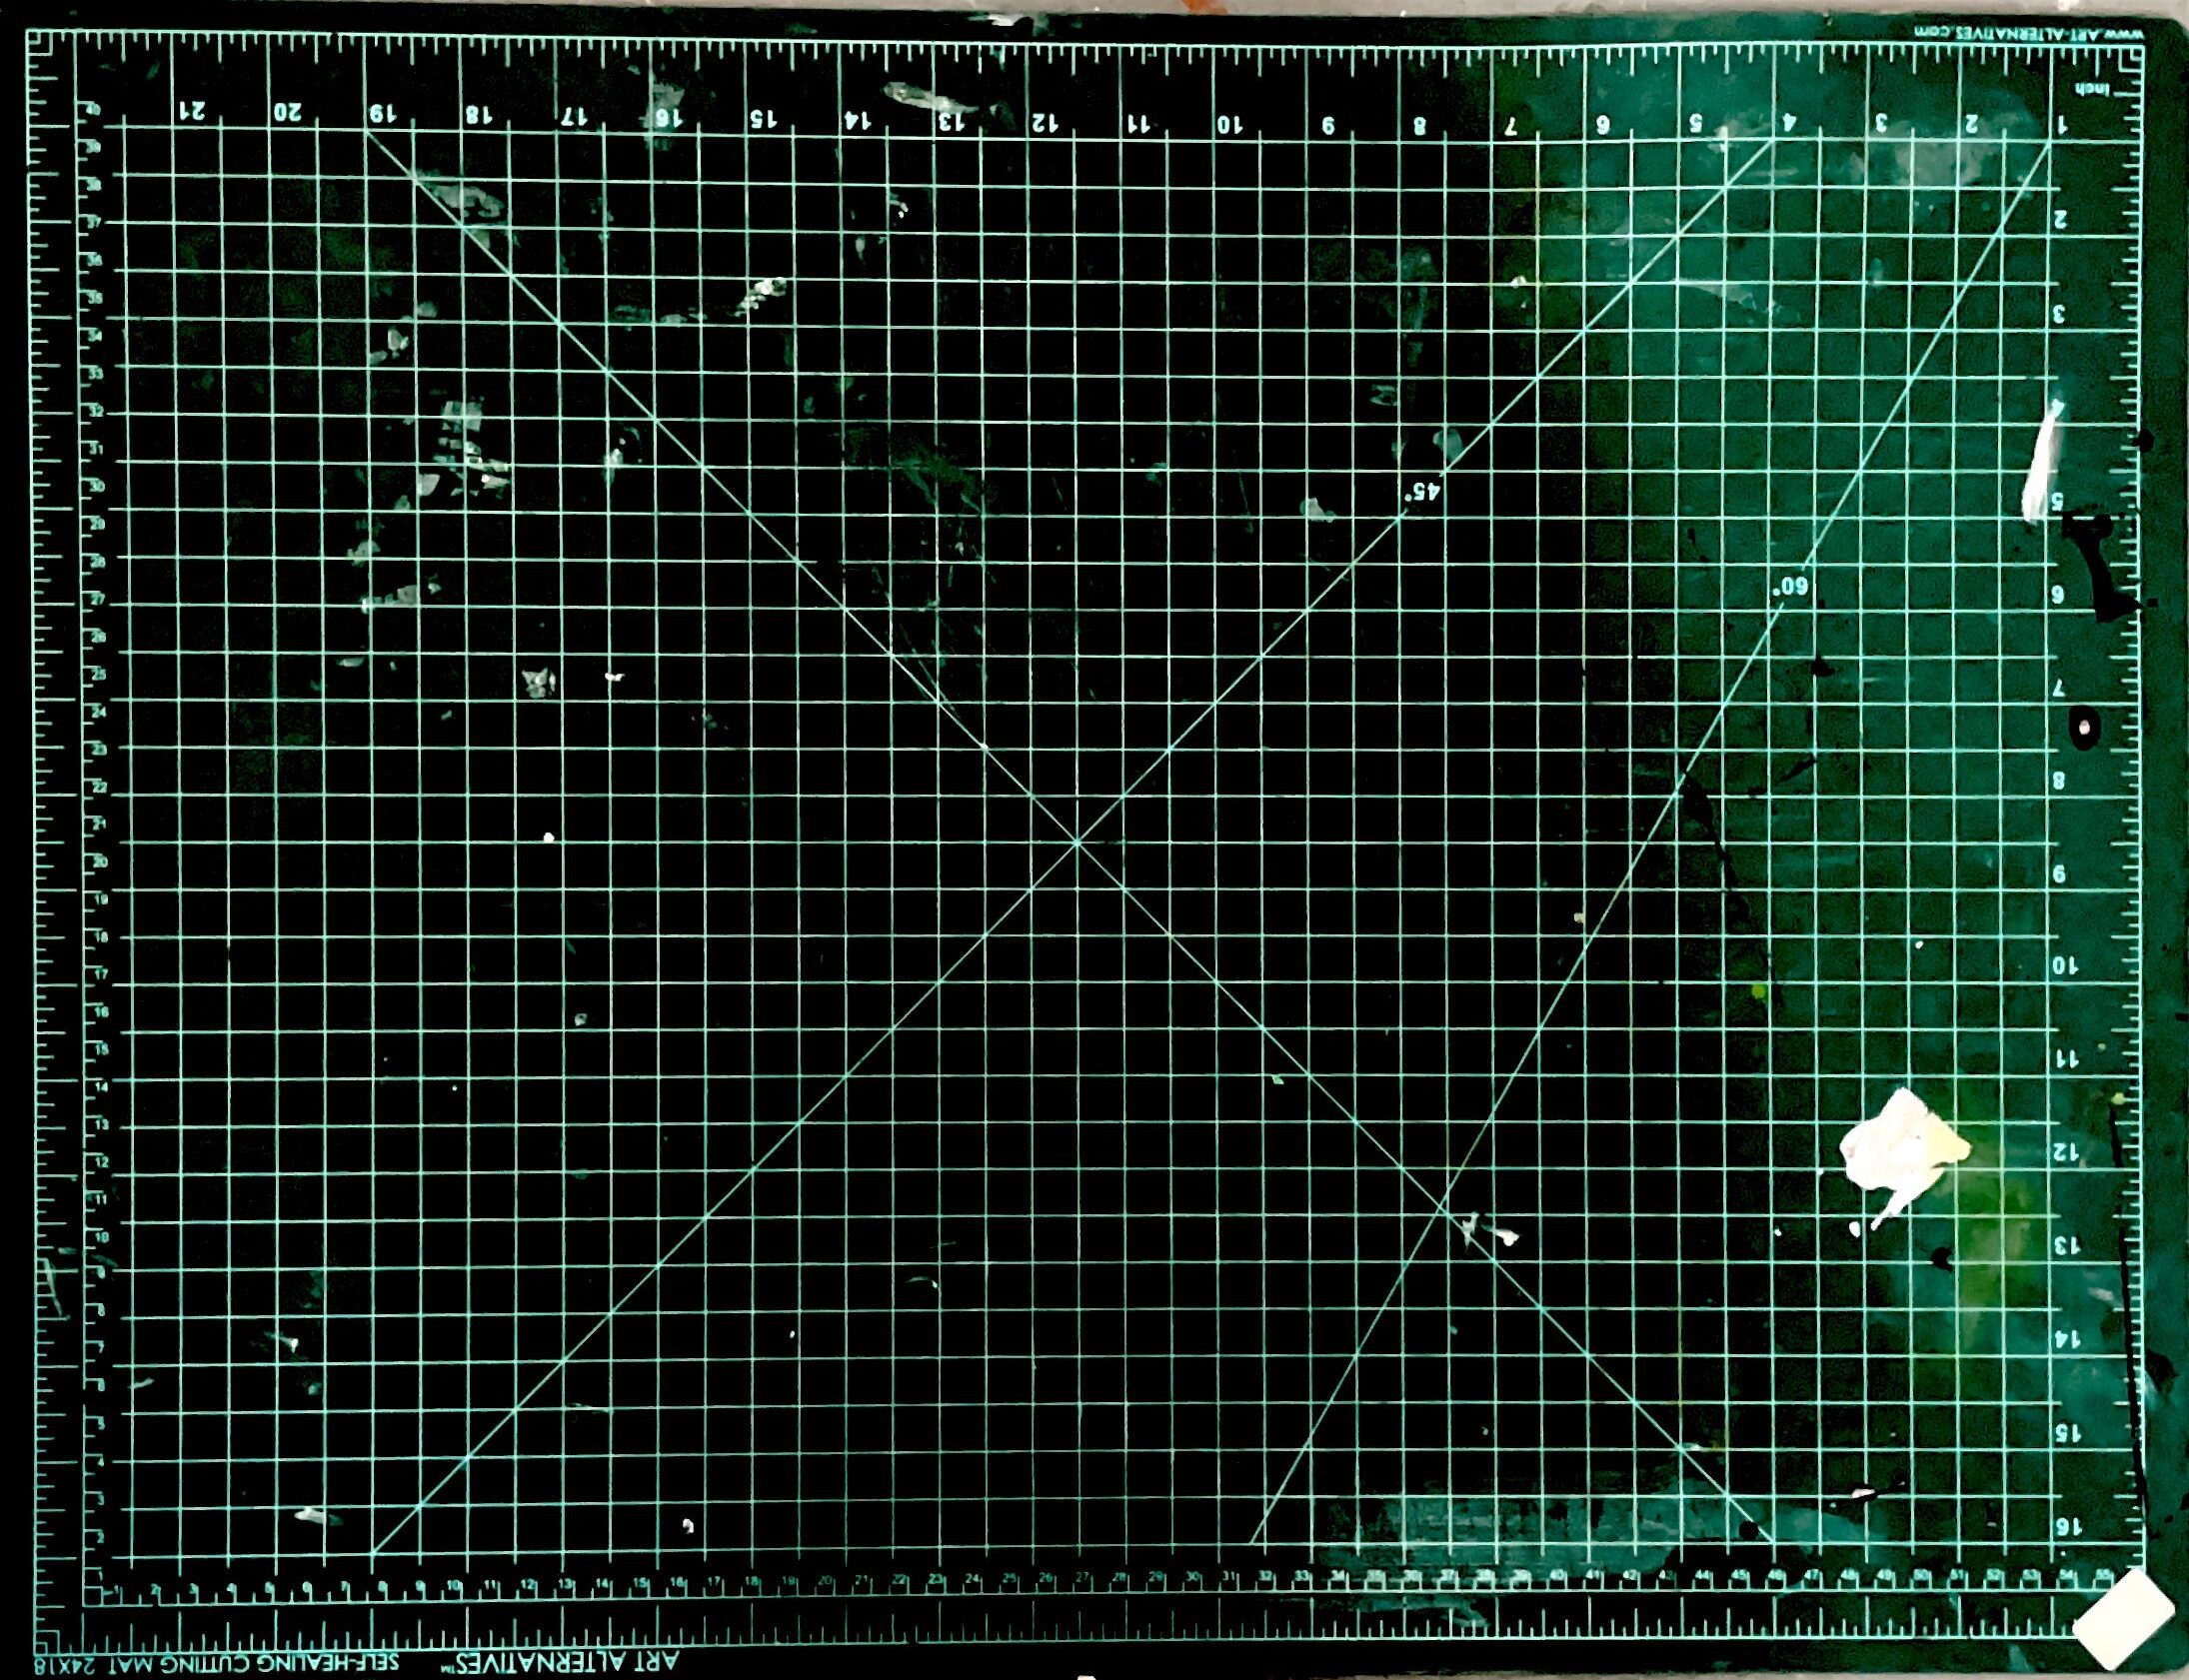
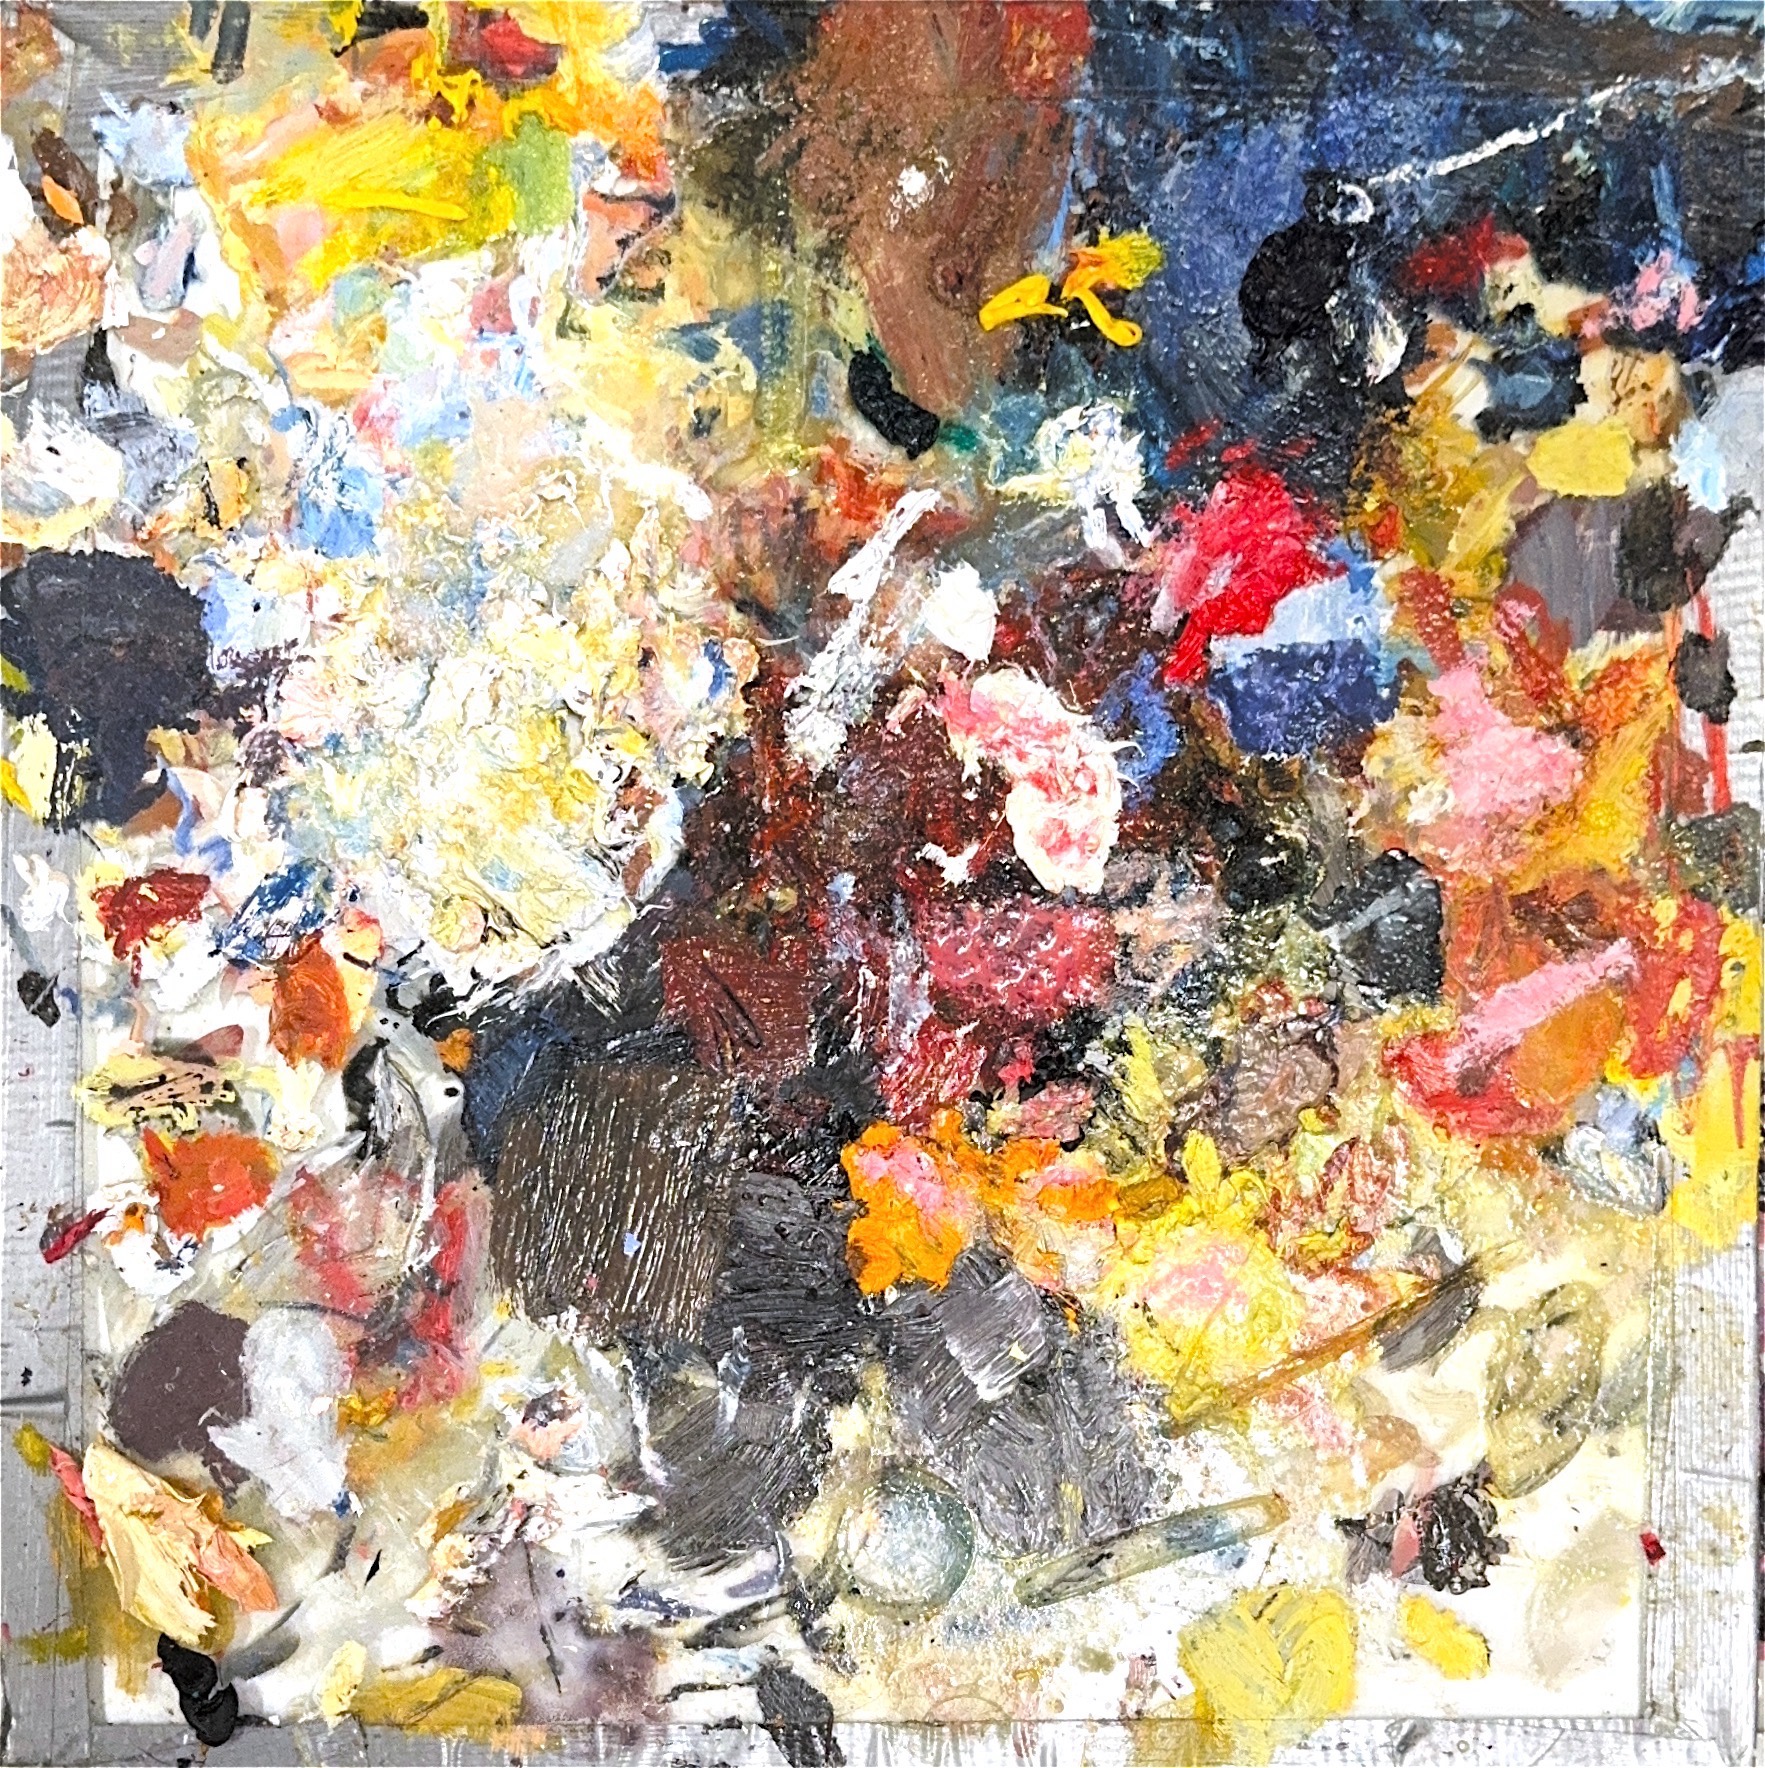
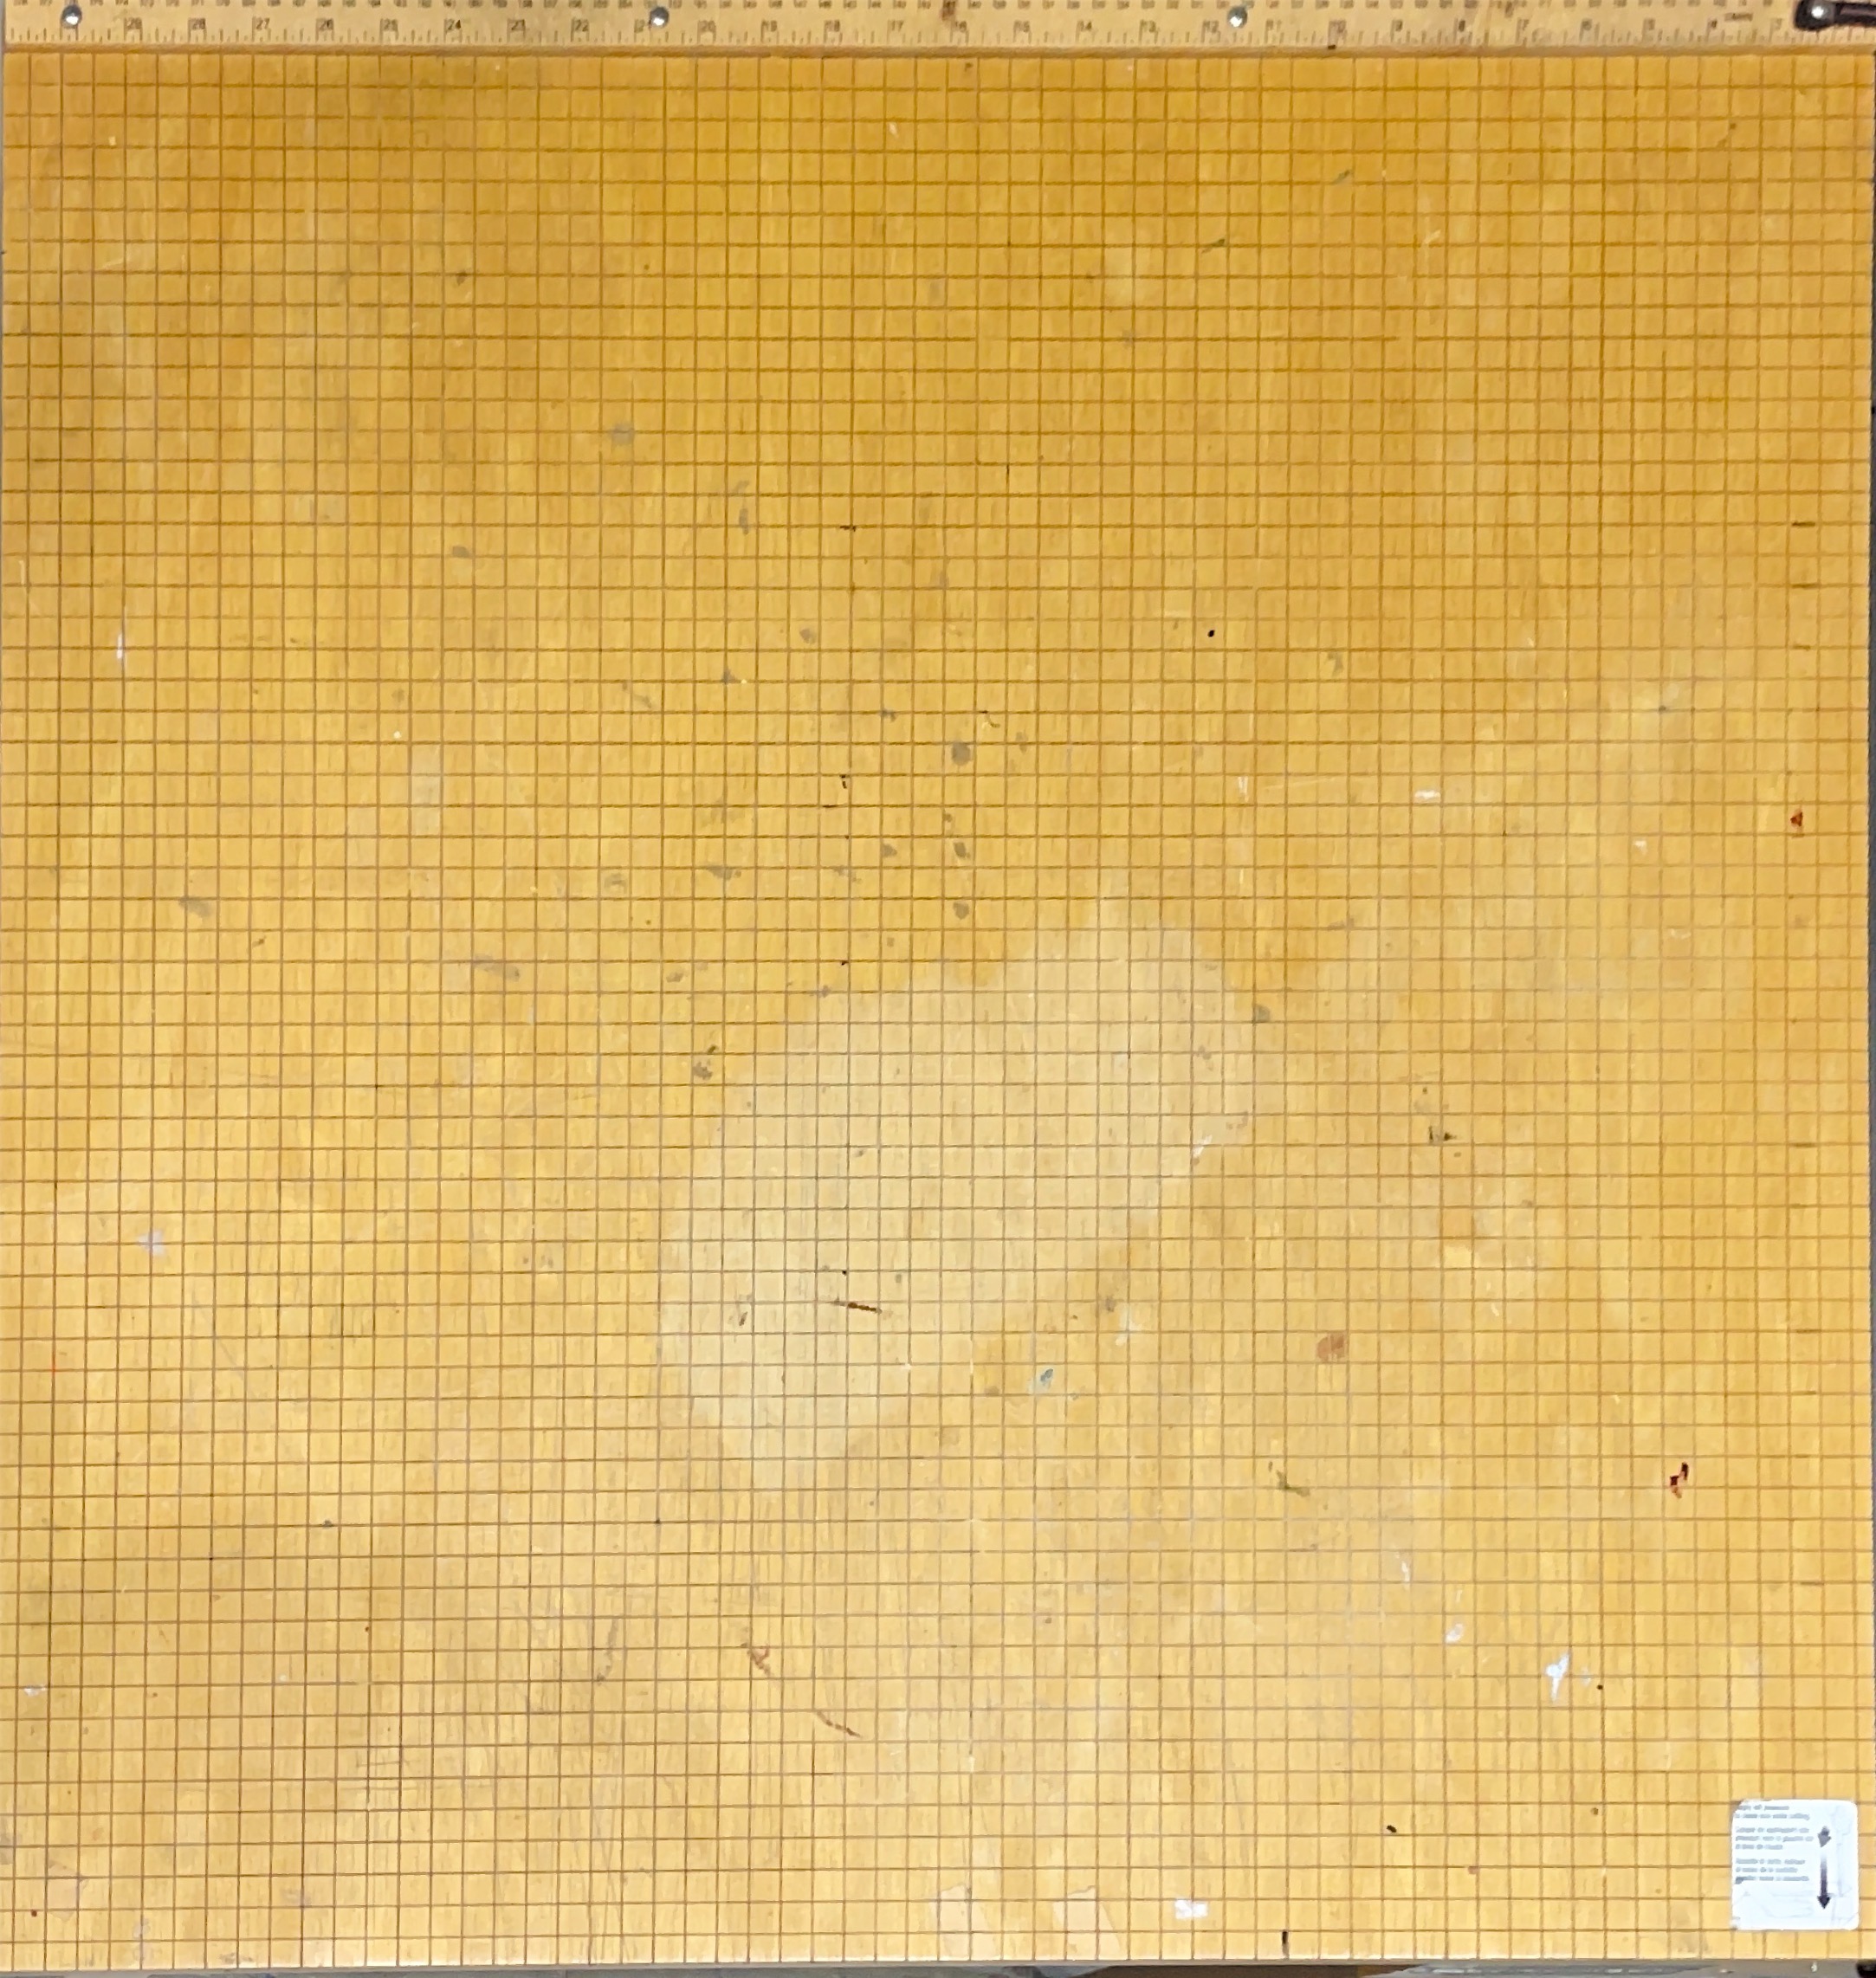
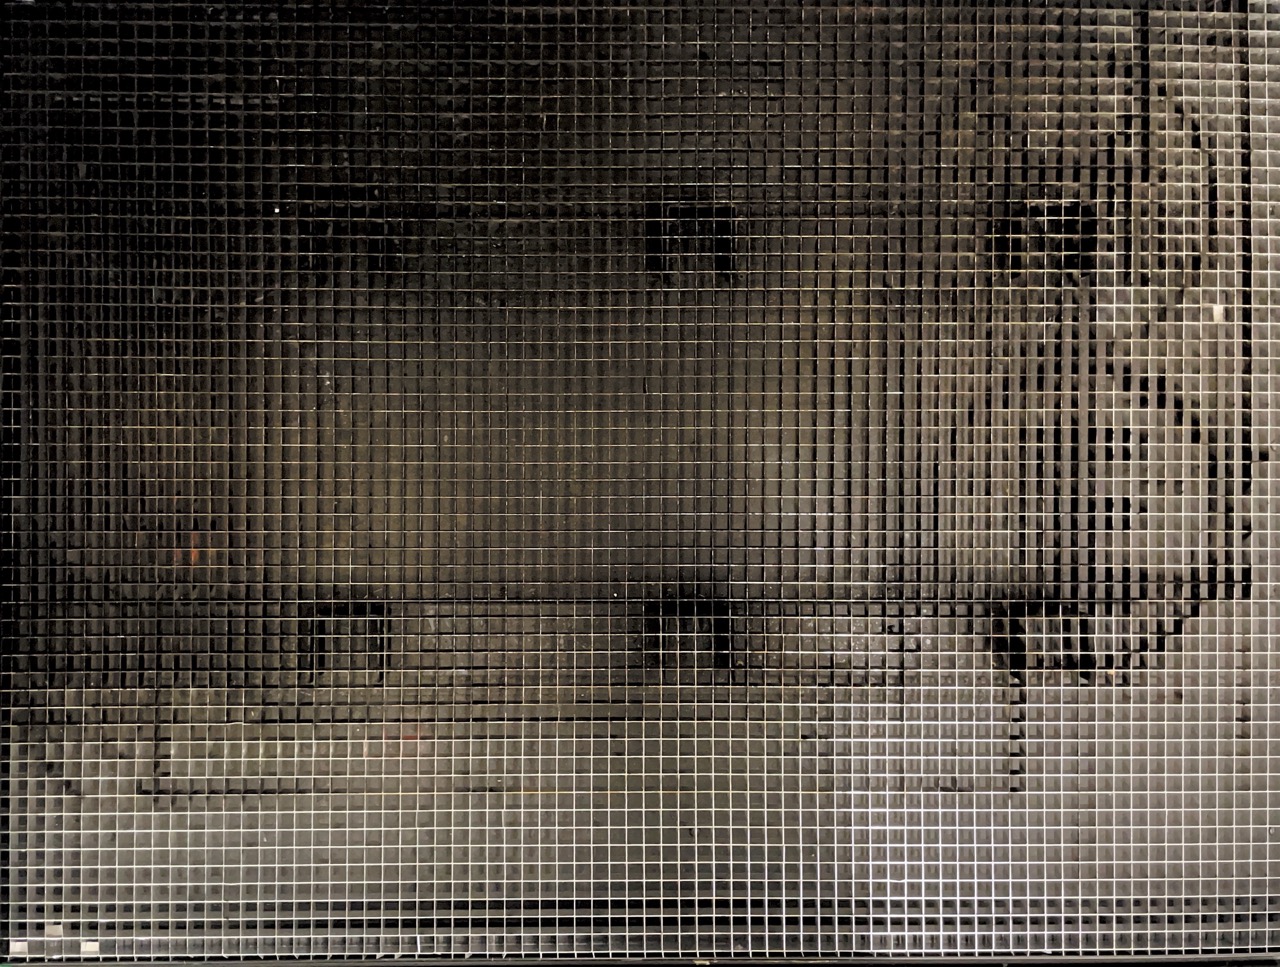
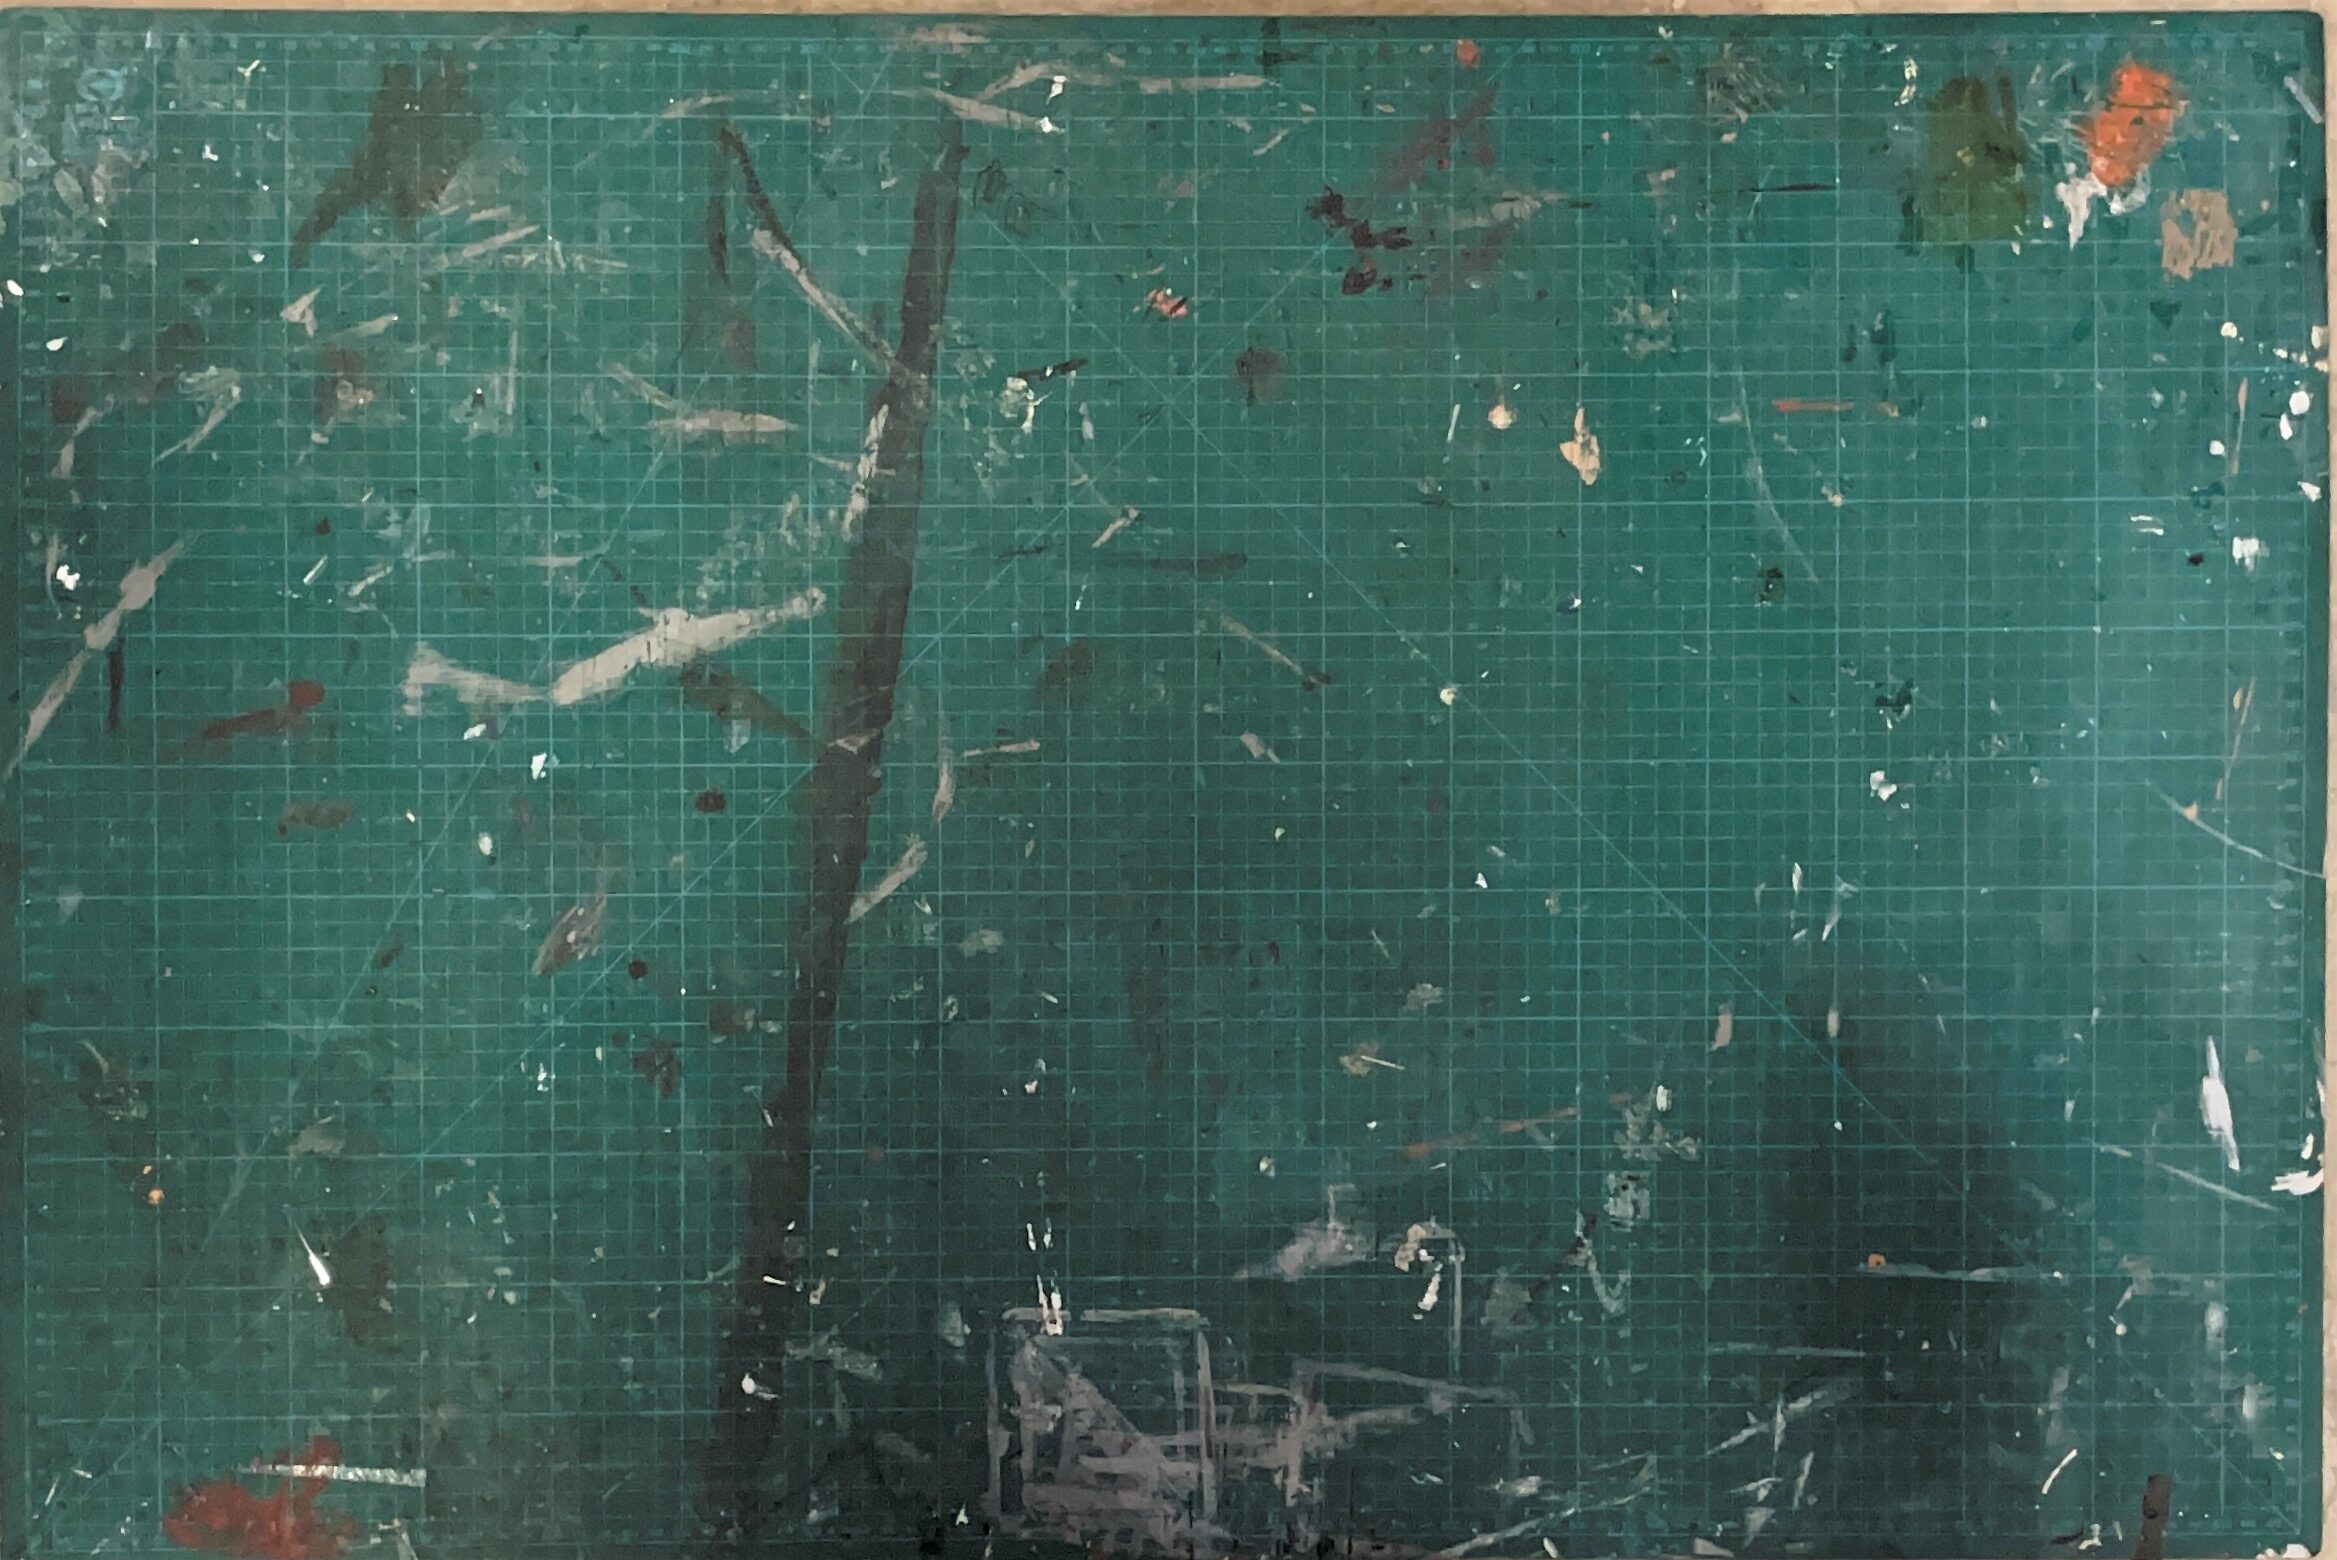
In this project, I used the “Scan Documents” feature on the iPhone Notes app to isolate evidence of “work” (paint marks, scratches, debris) from the surface of cutting mats.
The Discovery Process
The project just started with wondering if I could use the scanning feature for something other than documents. The in-class activity where we took portable scanners inspired me mainly because it was so fun to do! I also liked the level of focus it gave to the subject you were scanning. However, the portable scanners were limited because of their size and uniformity. This is why I turned to my Notes app scanner, which I knew had the same purpose.
I began testing with what happened to be in front of me- a cutting mat- and was surprised by the result:

The paint marks and scruffs are not as prominent in person as in the scans. To me, the damage seemed like an overlay on top of the cutting board, which made me test more:
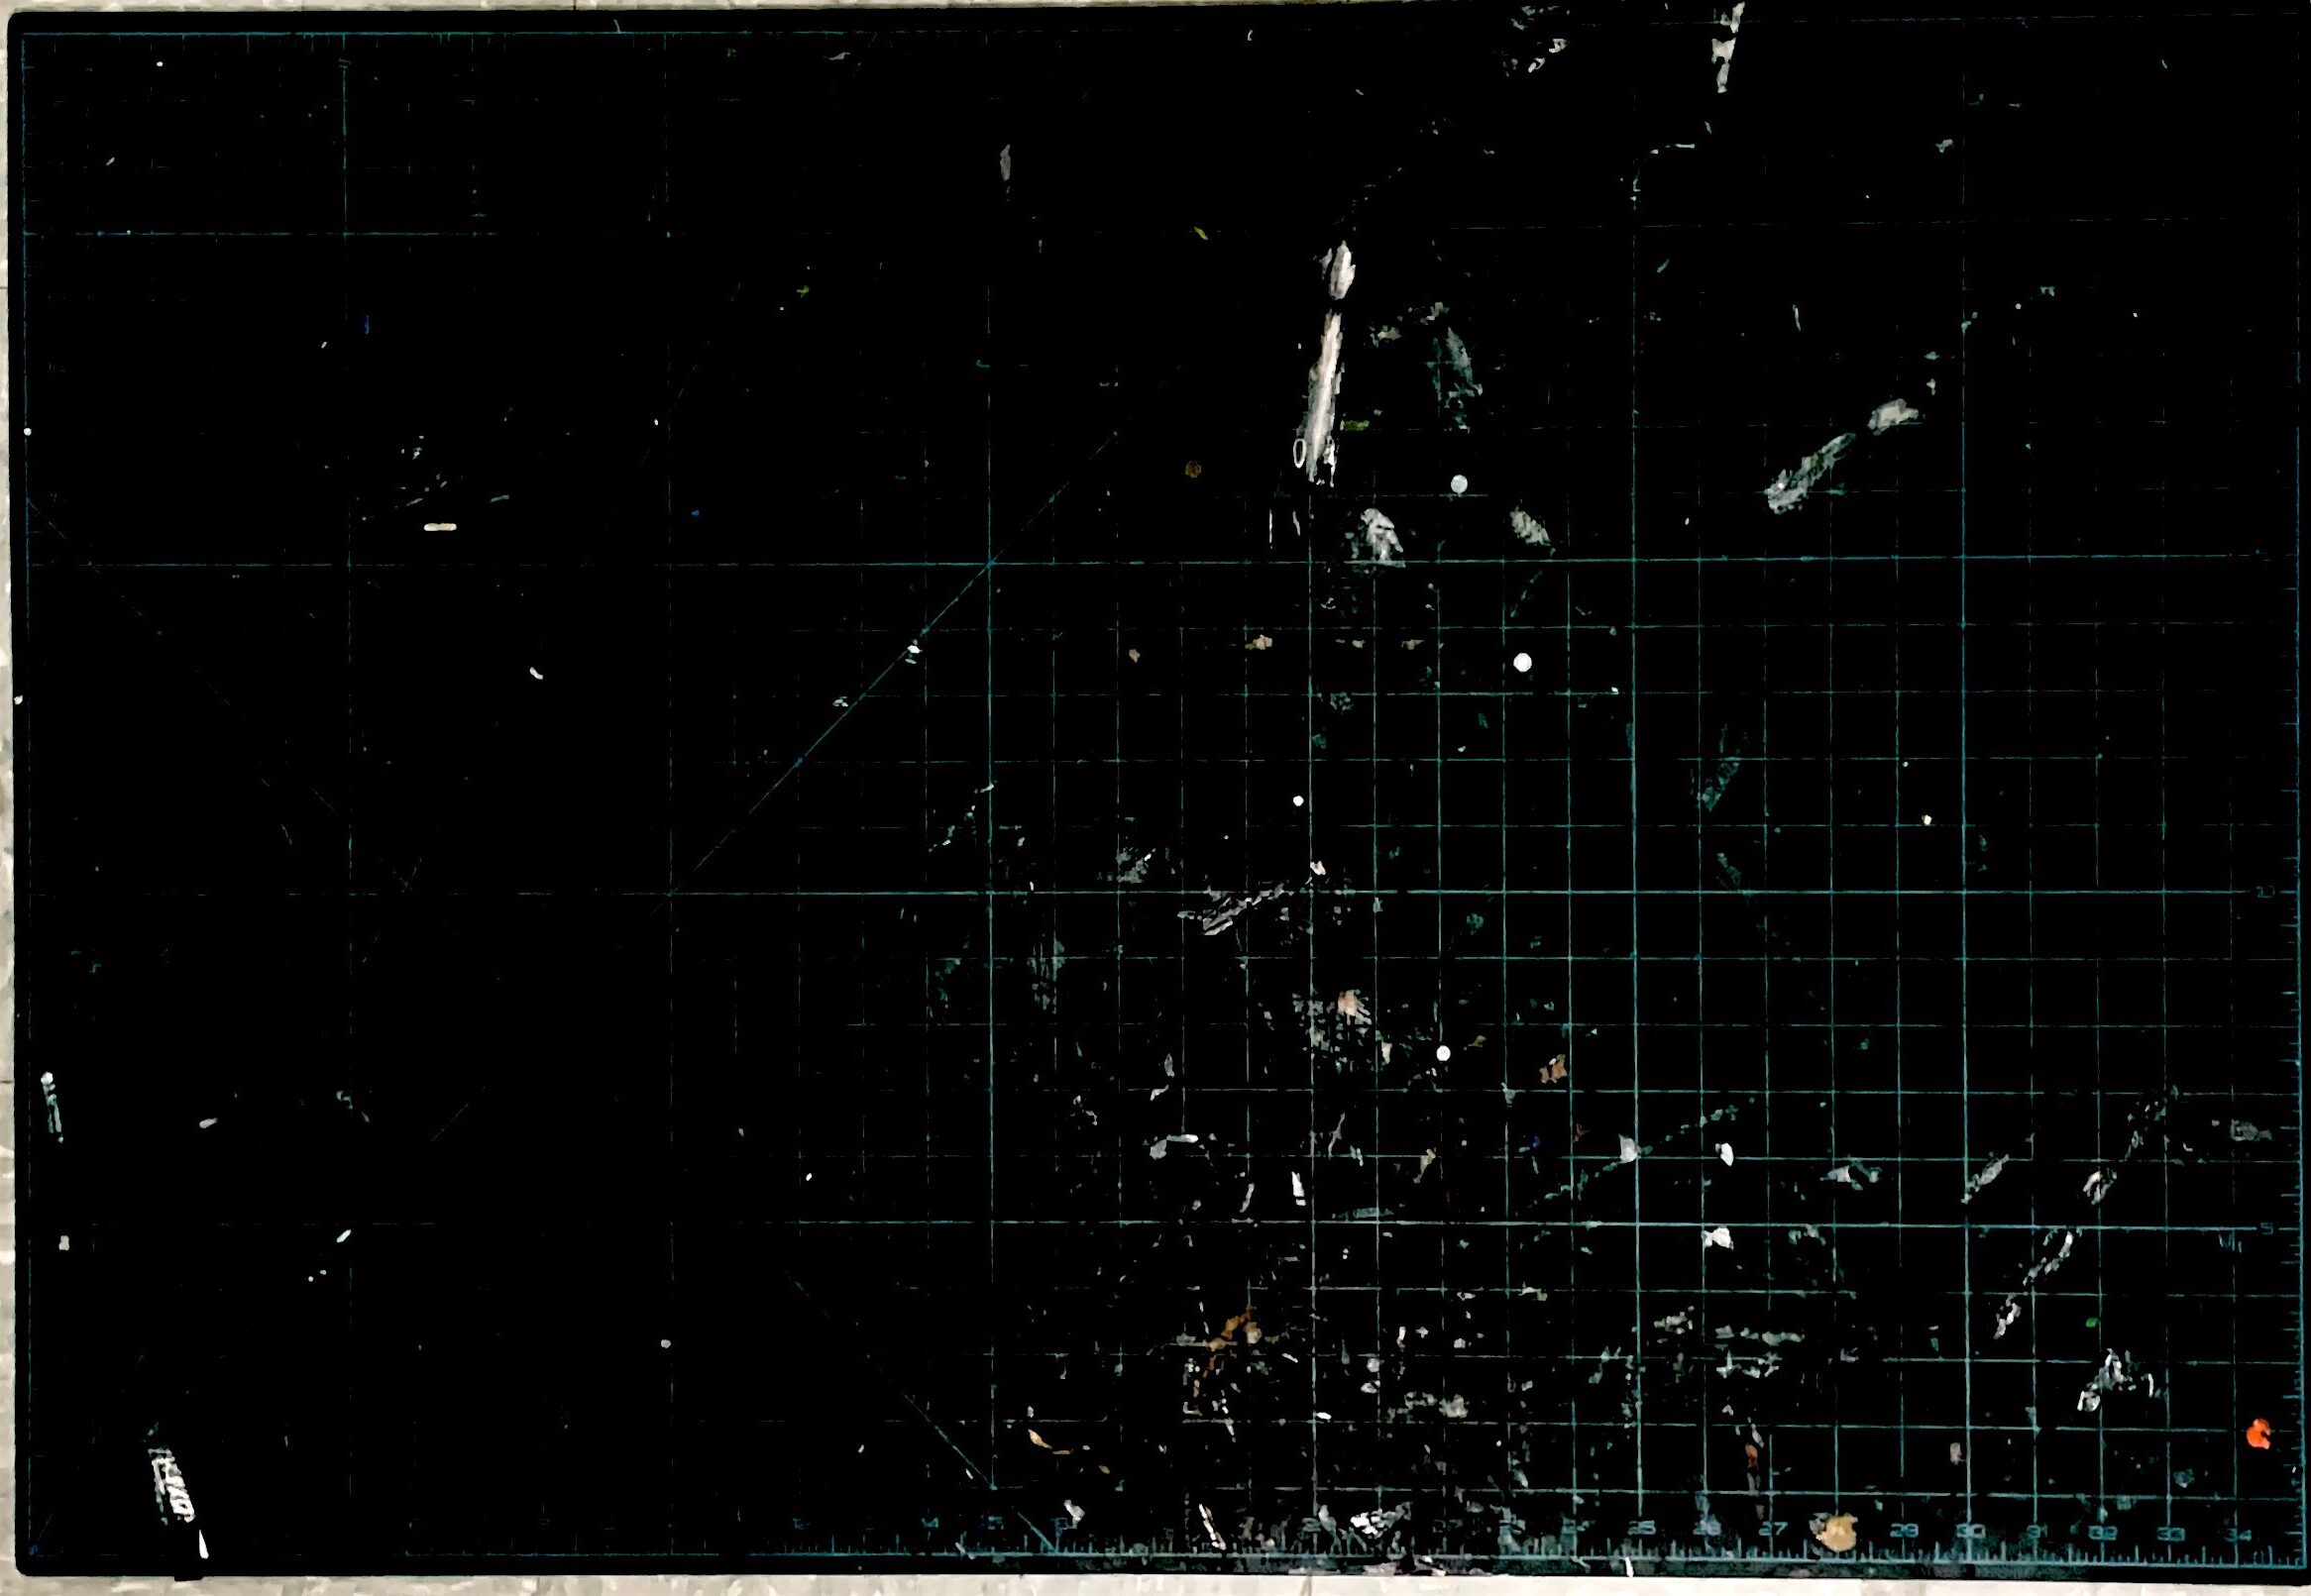
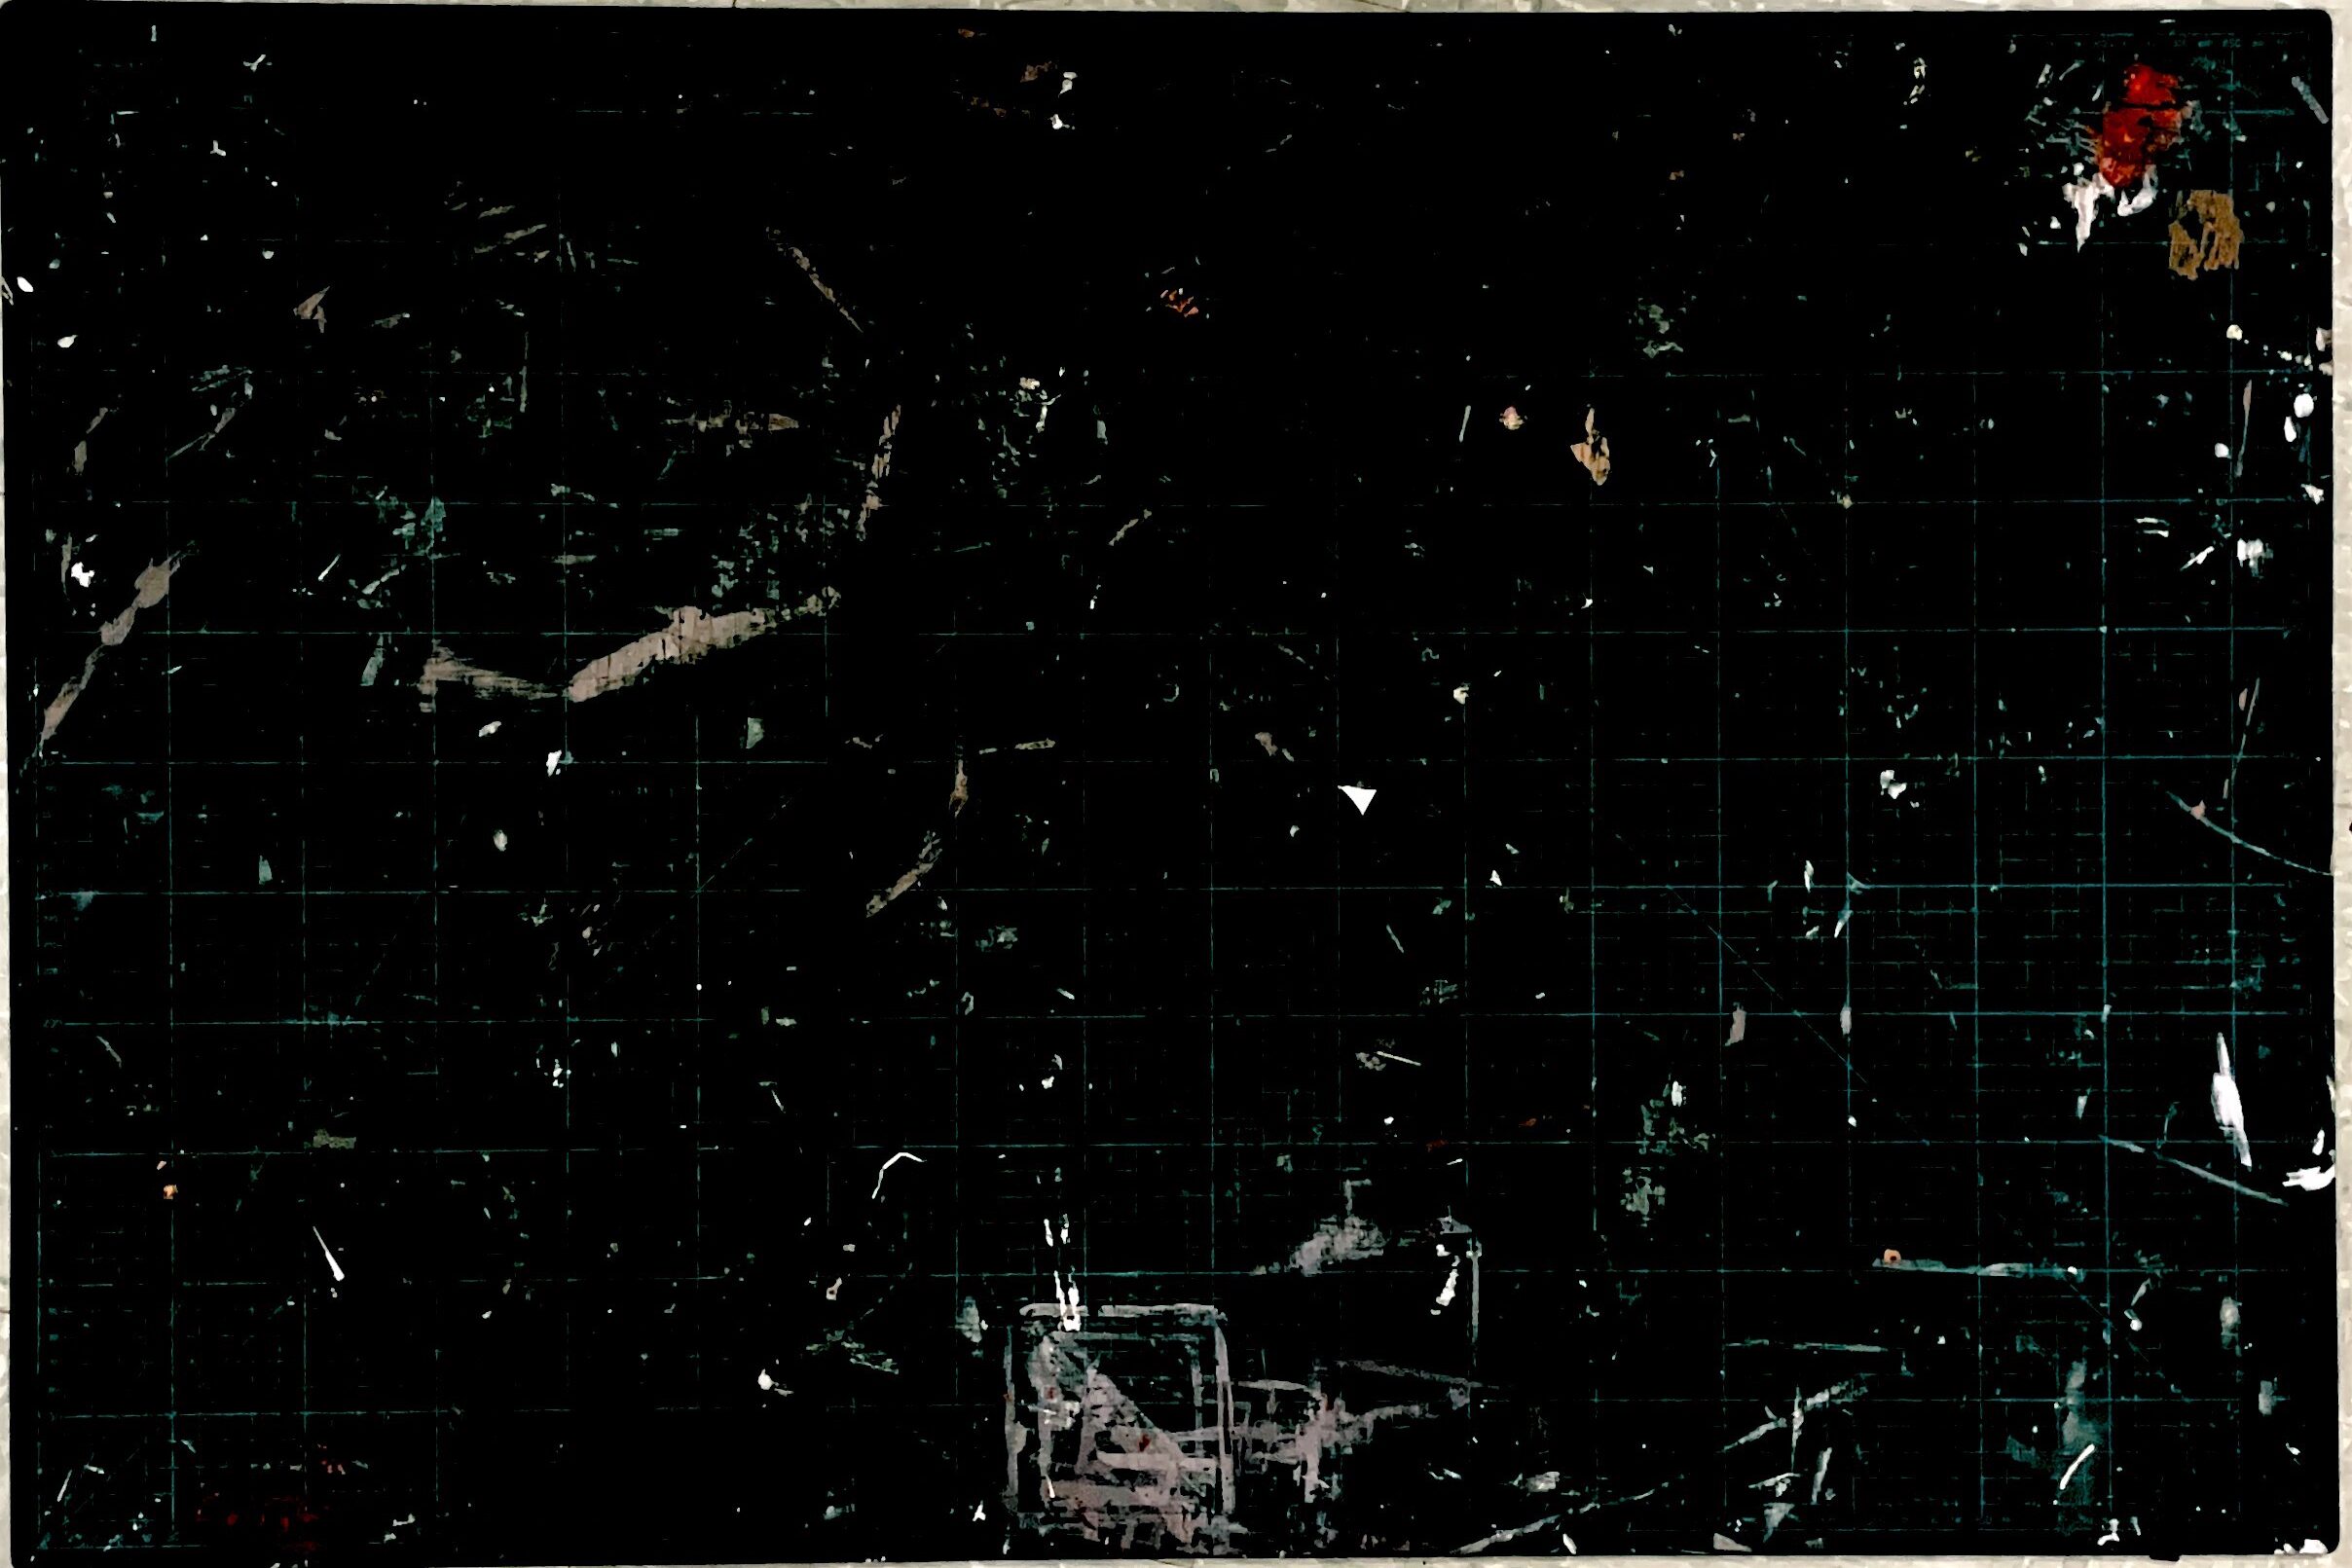
This is the same app, and the same cutting board, but instead, this one was slightly in shadow. And when I say slightly, I mean the only shadow in this image was my own shadow. I was intrigued by how it was able to clearly isolate the scruff marks and paint on top of the board.
I decided to pursue cutting mats as my subject of choice because they are often neglected in the creative process. There is nothing that shows your progress more than the surface you work on, and I wanted to see if I could isolate the evidence of work from the mat itself using the simple Apple Notes app document scanner feature.
The Workflow
The workflow I developed was to place the cutting mat either on the floor or table and use the auto-capture feature to select my mat and take a picture. Sometimes the auto-capture will fail to work and I would have to take a general picture and use the four circles to crop where I want the app to scan:
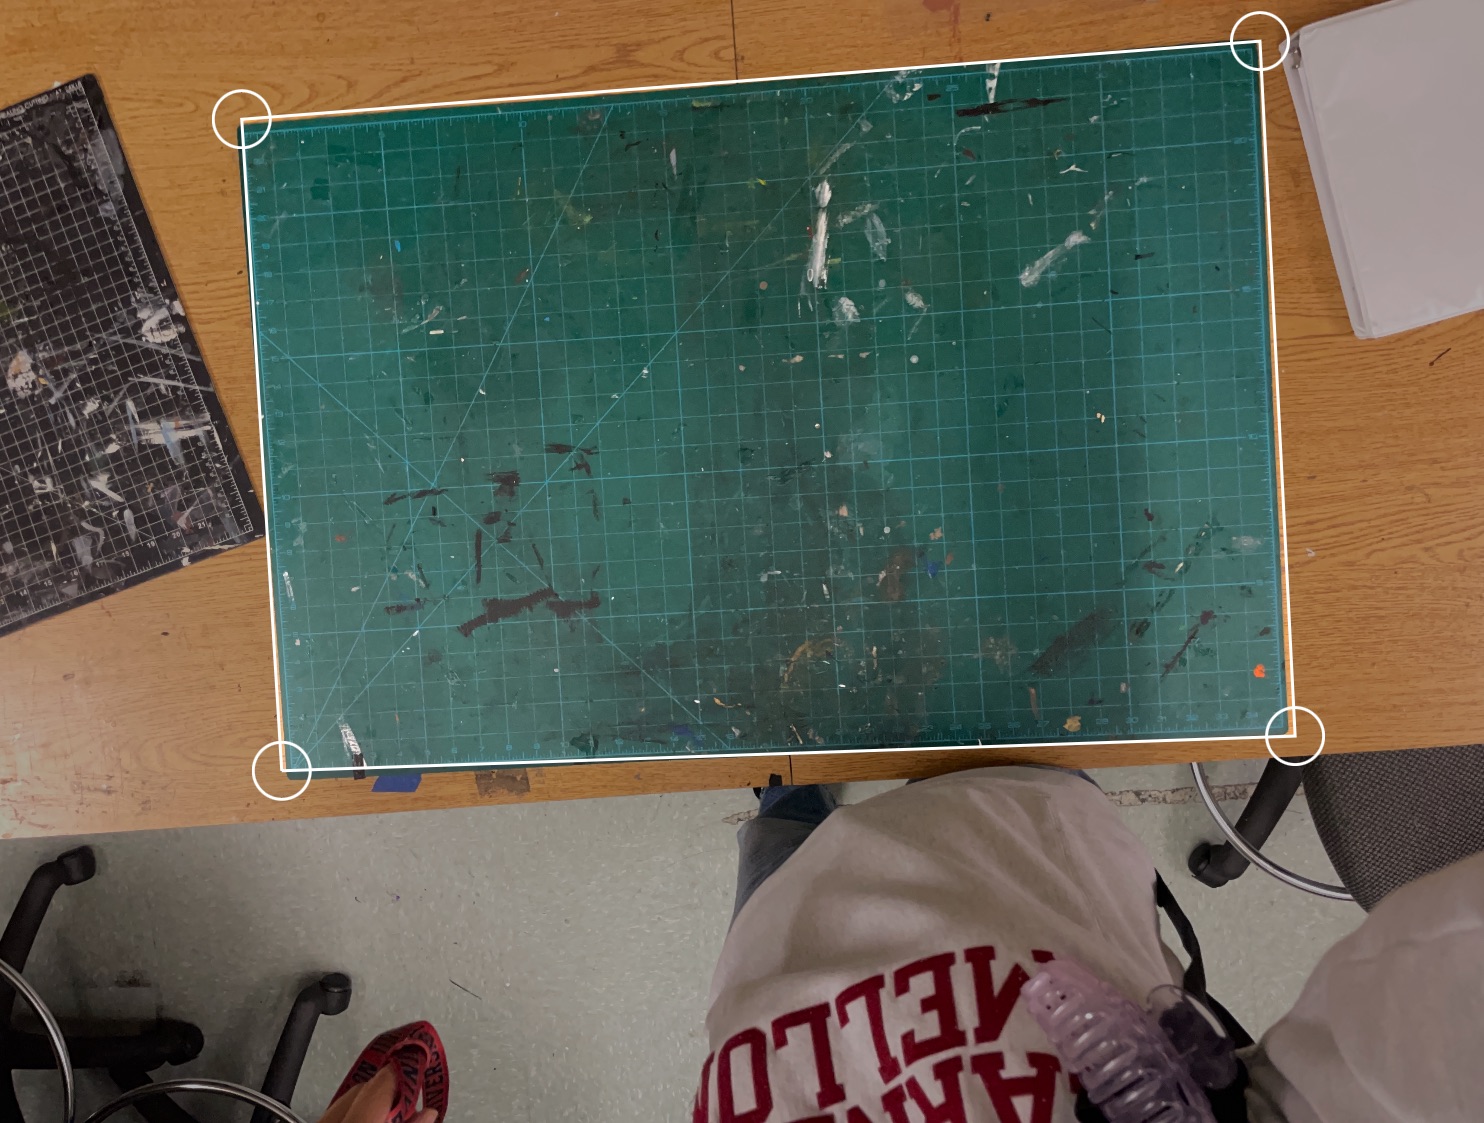
After taking the picture in even lighting (which I defined by fluorescent overhead lighting), I would move the cutting mat to a shadowed location and take another picture and compare.
The Results
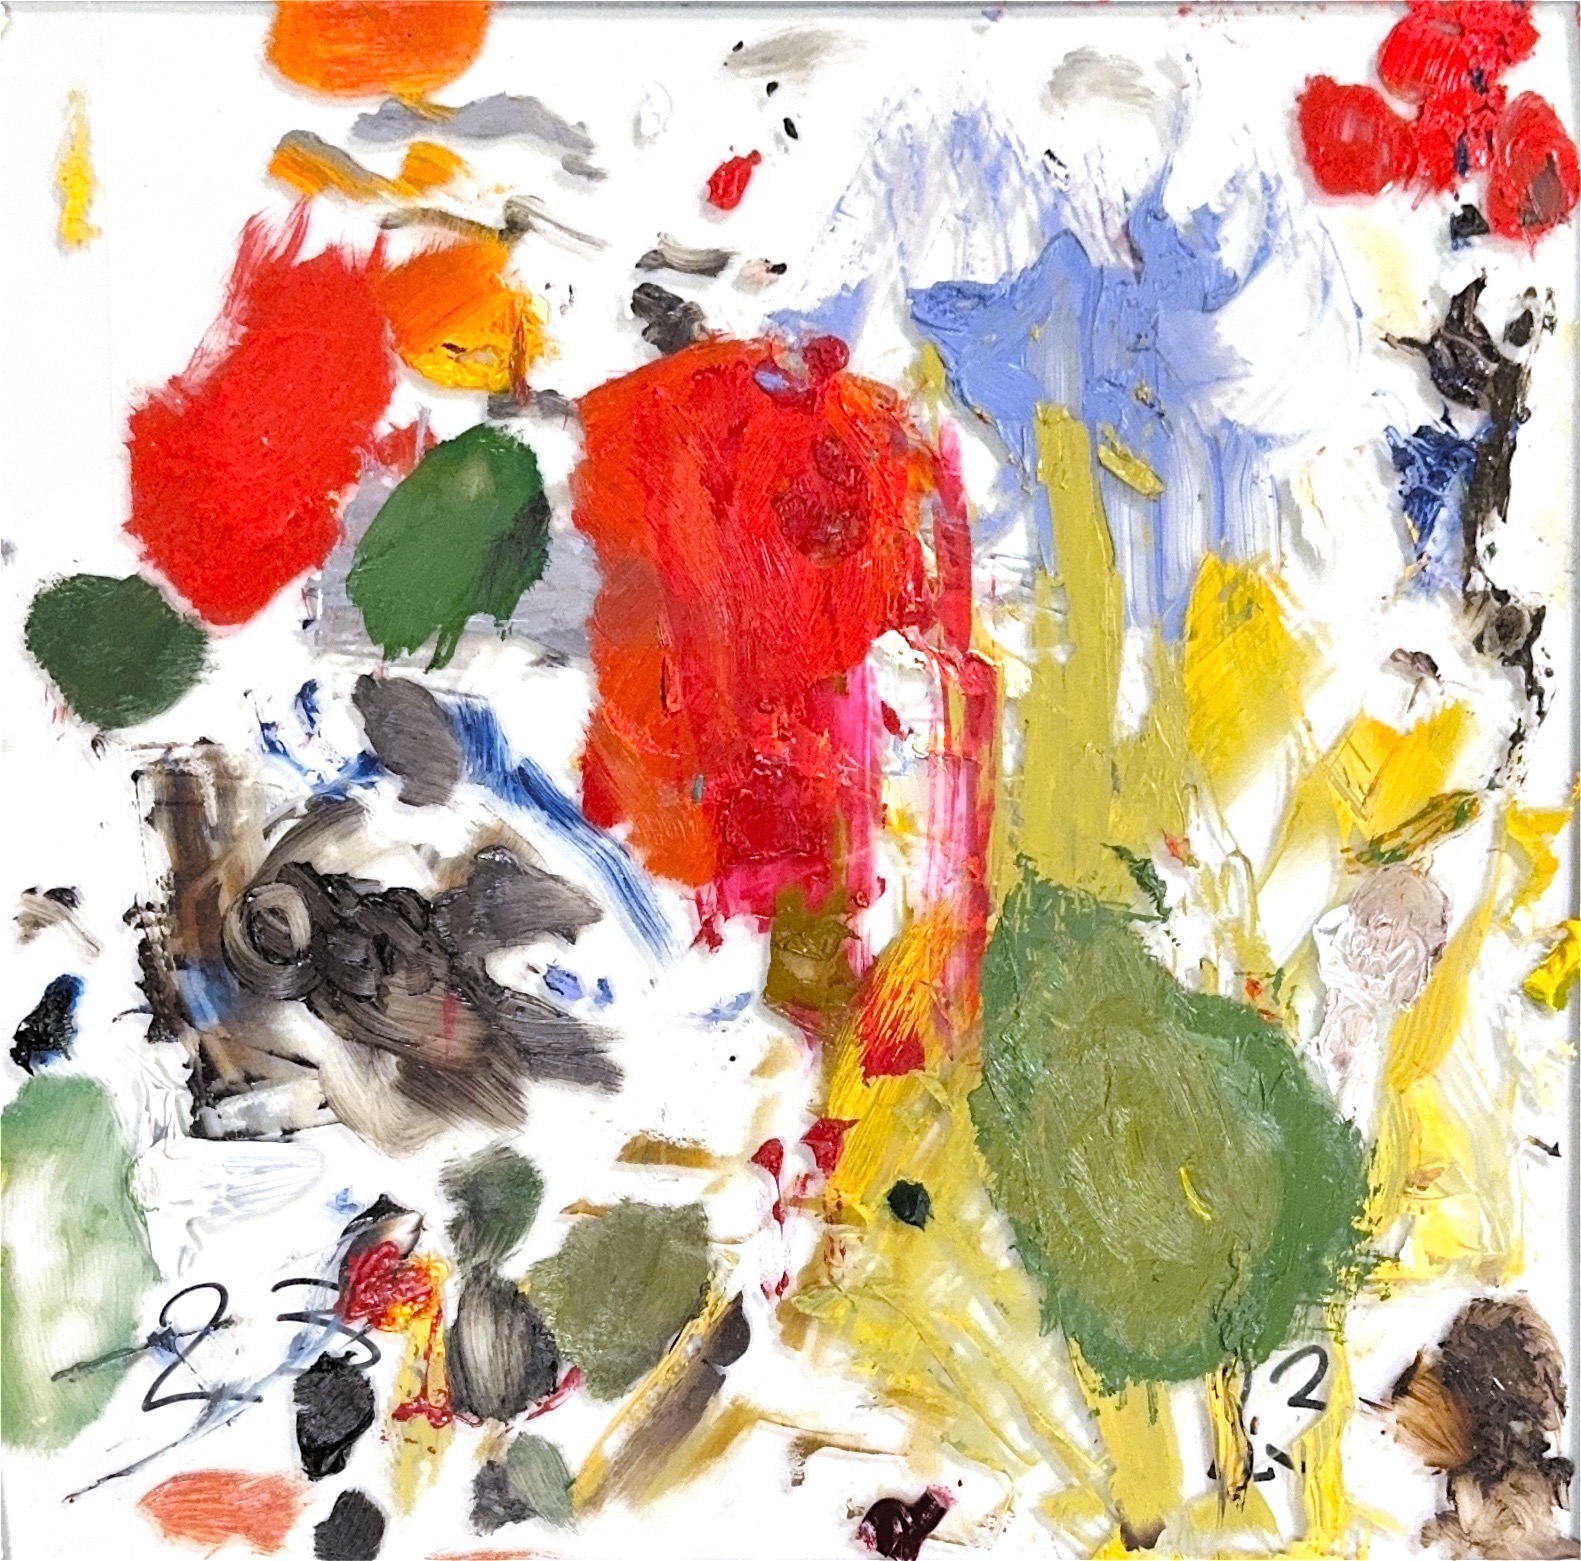
Some Selected Scans:
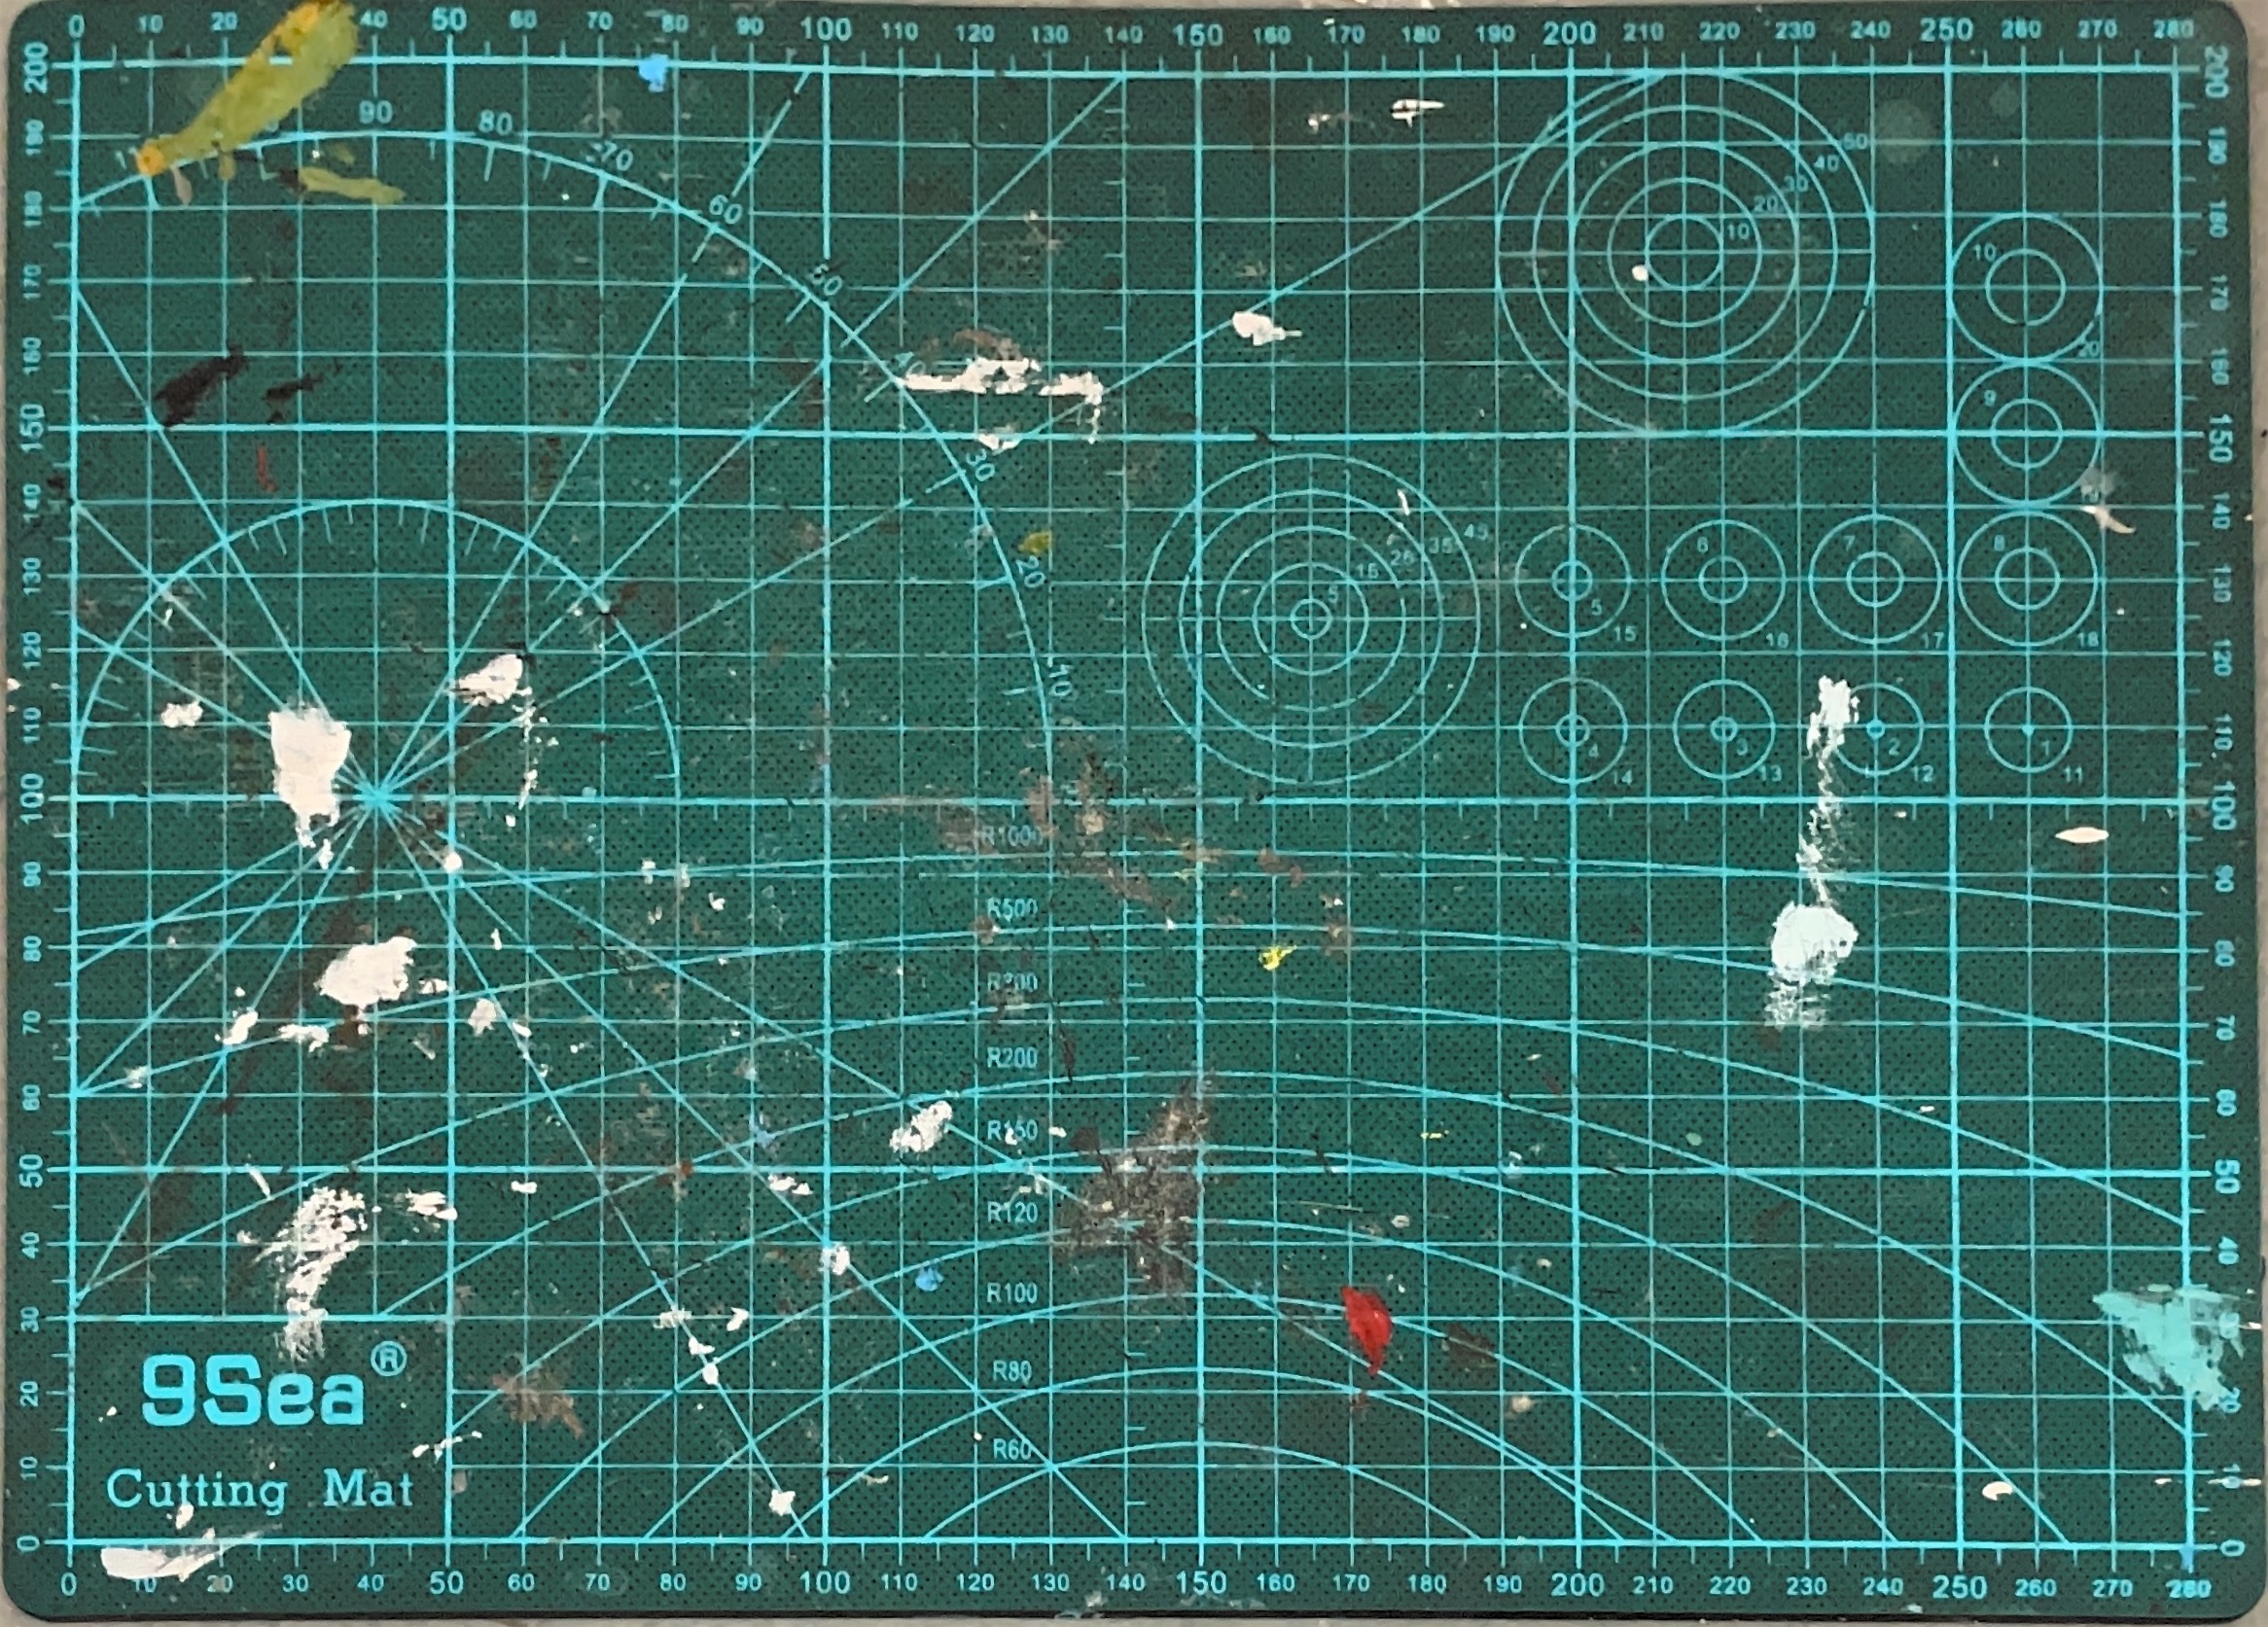
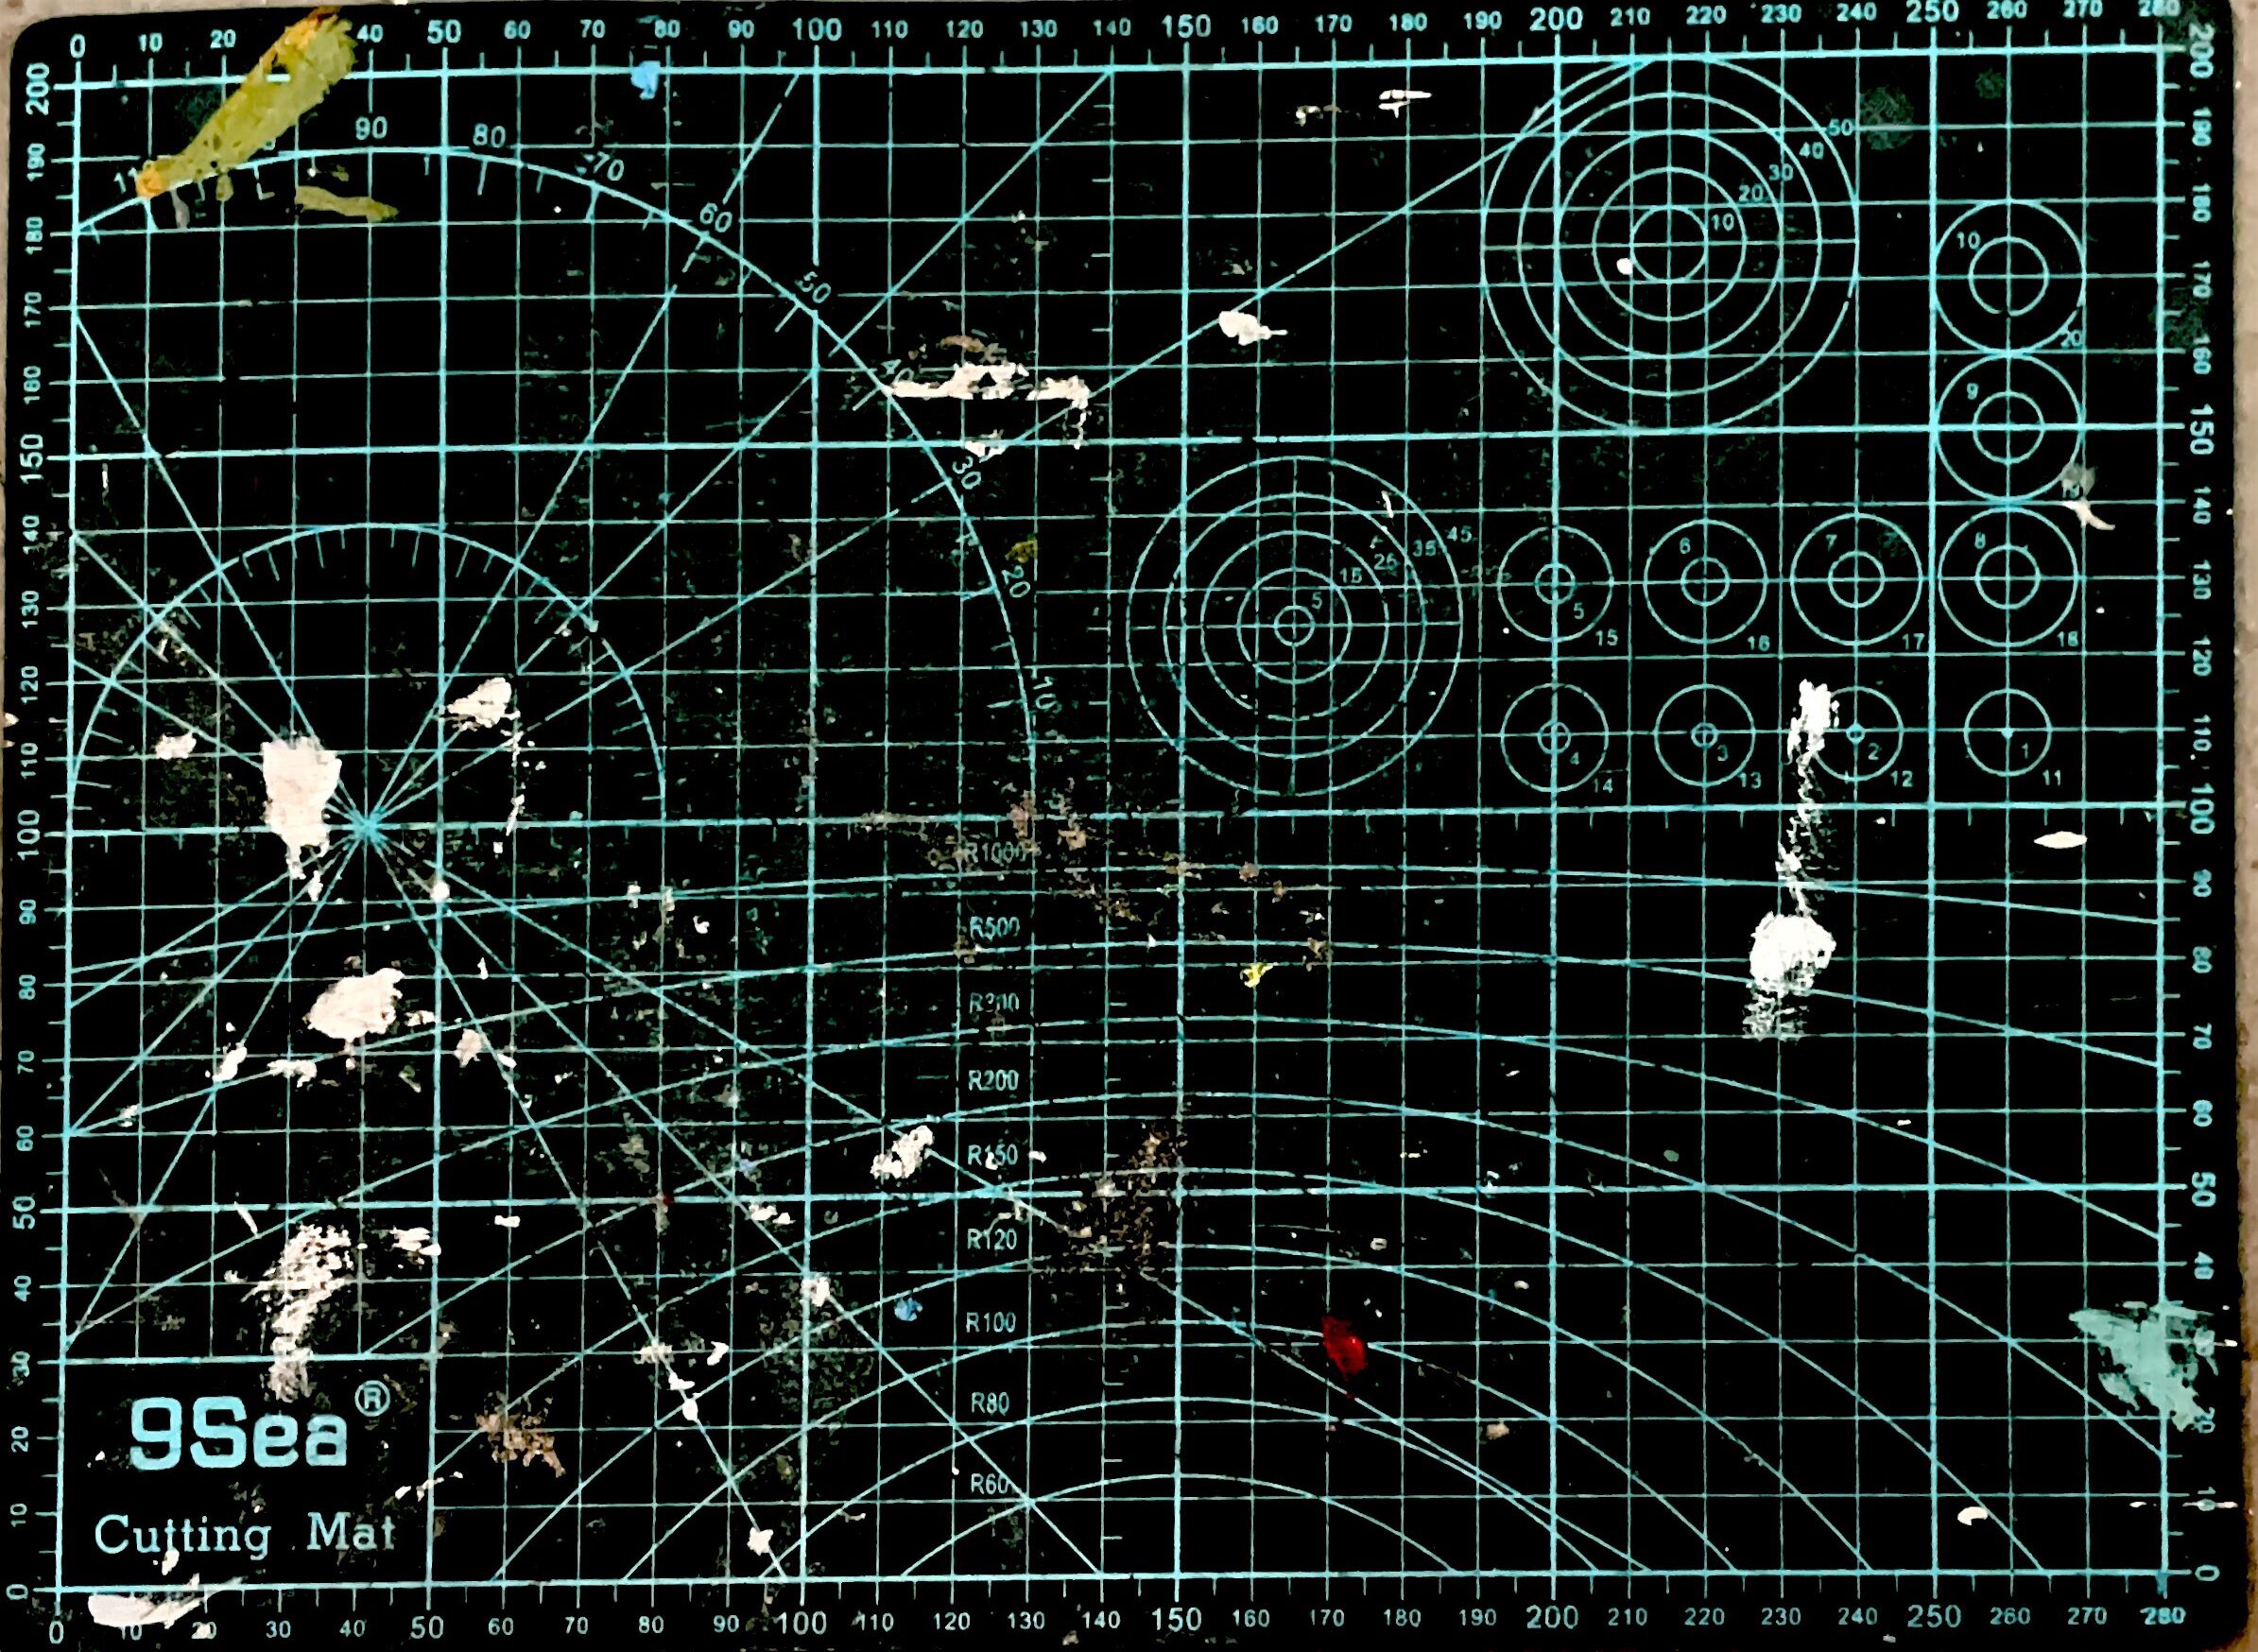
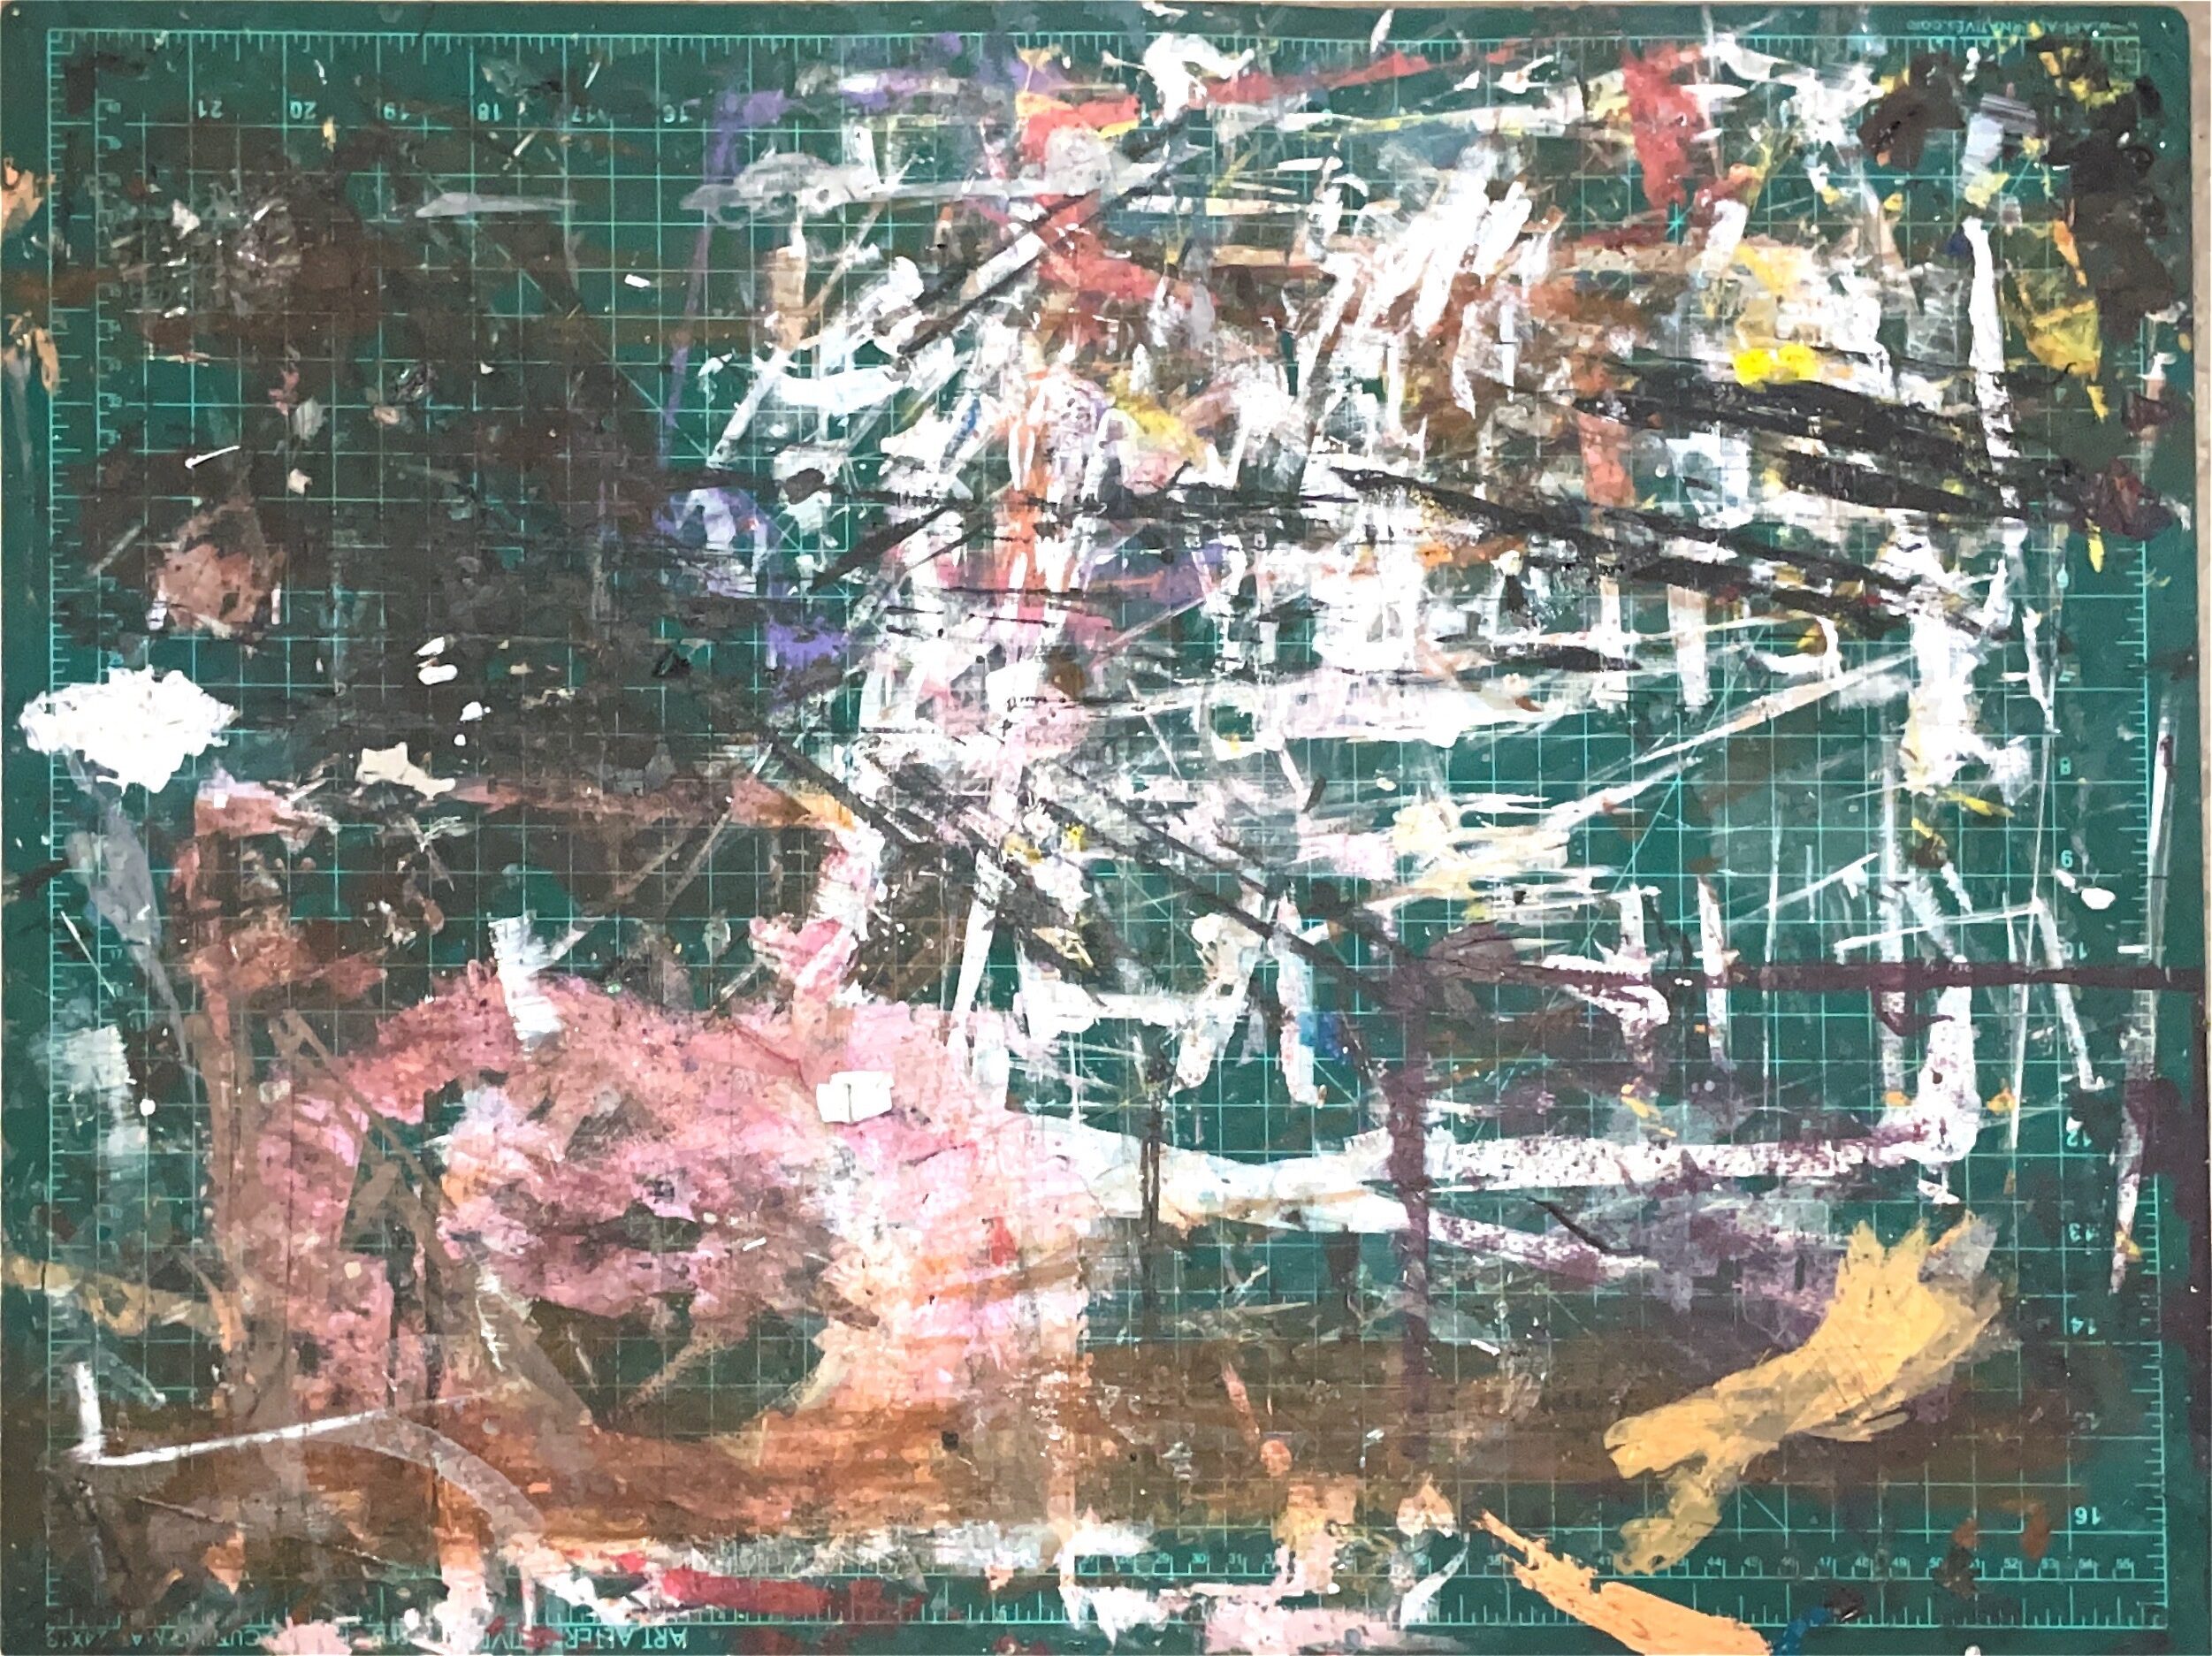
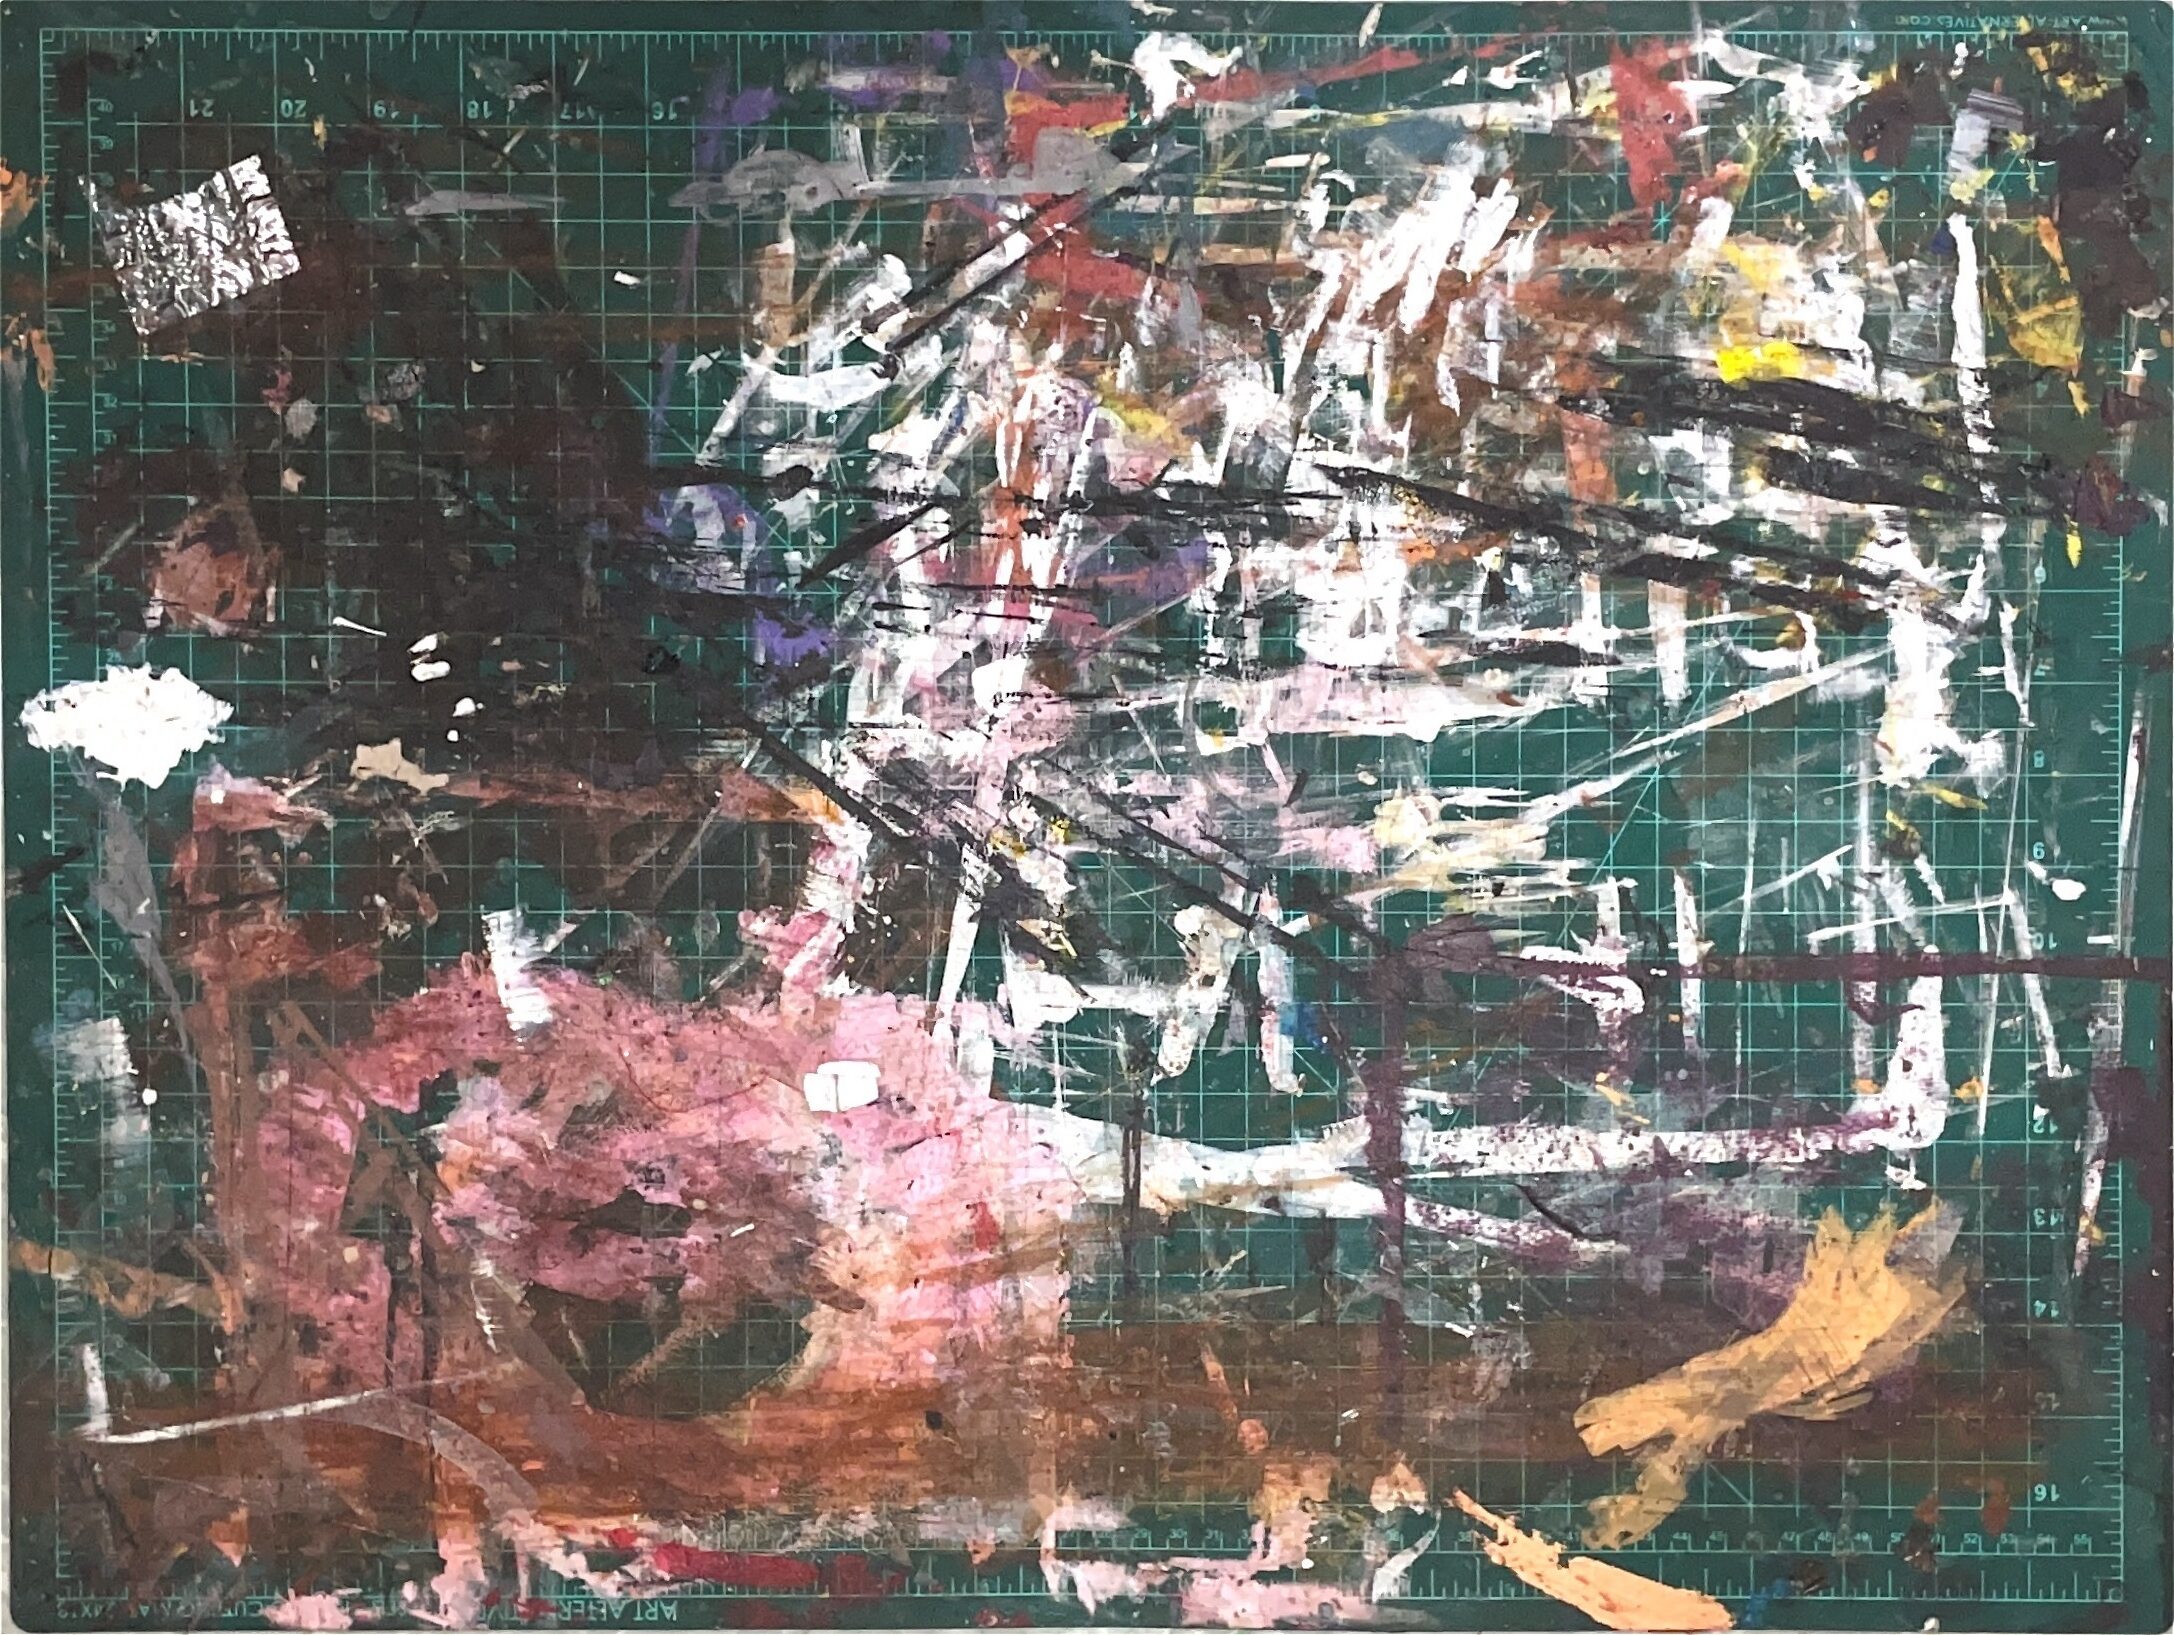
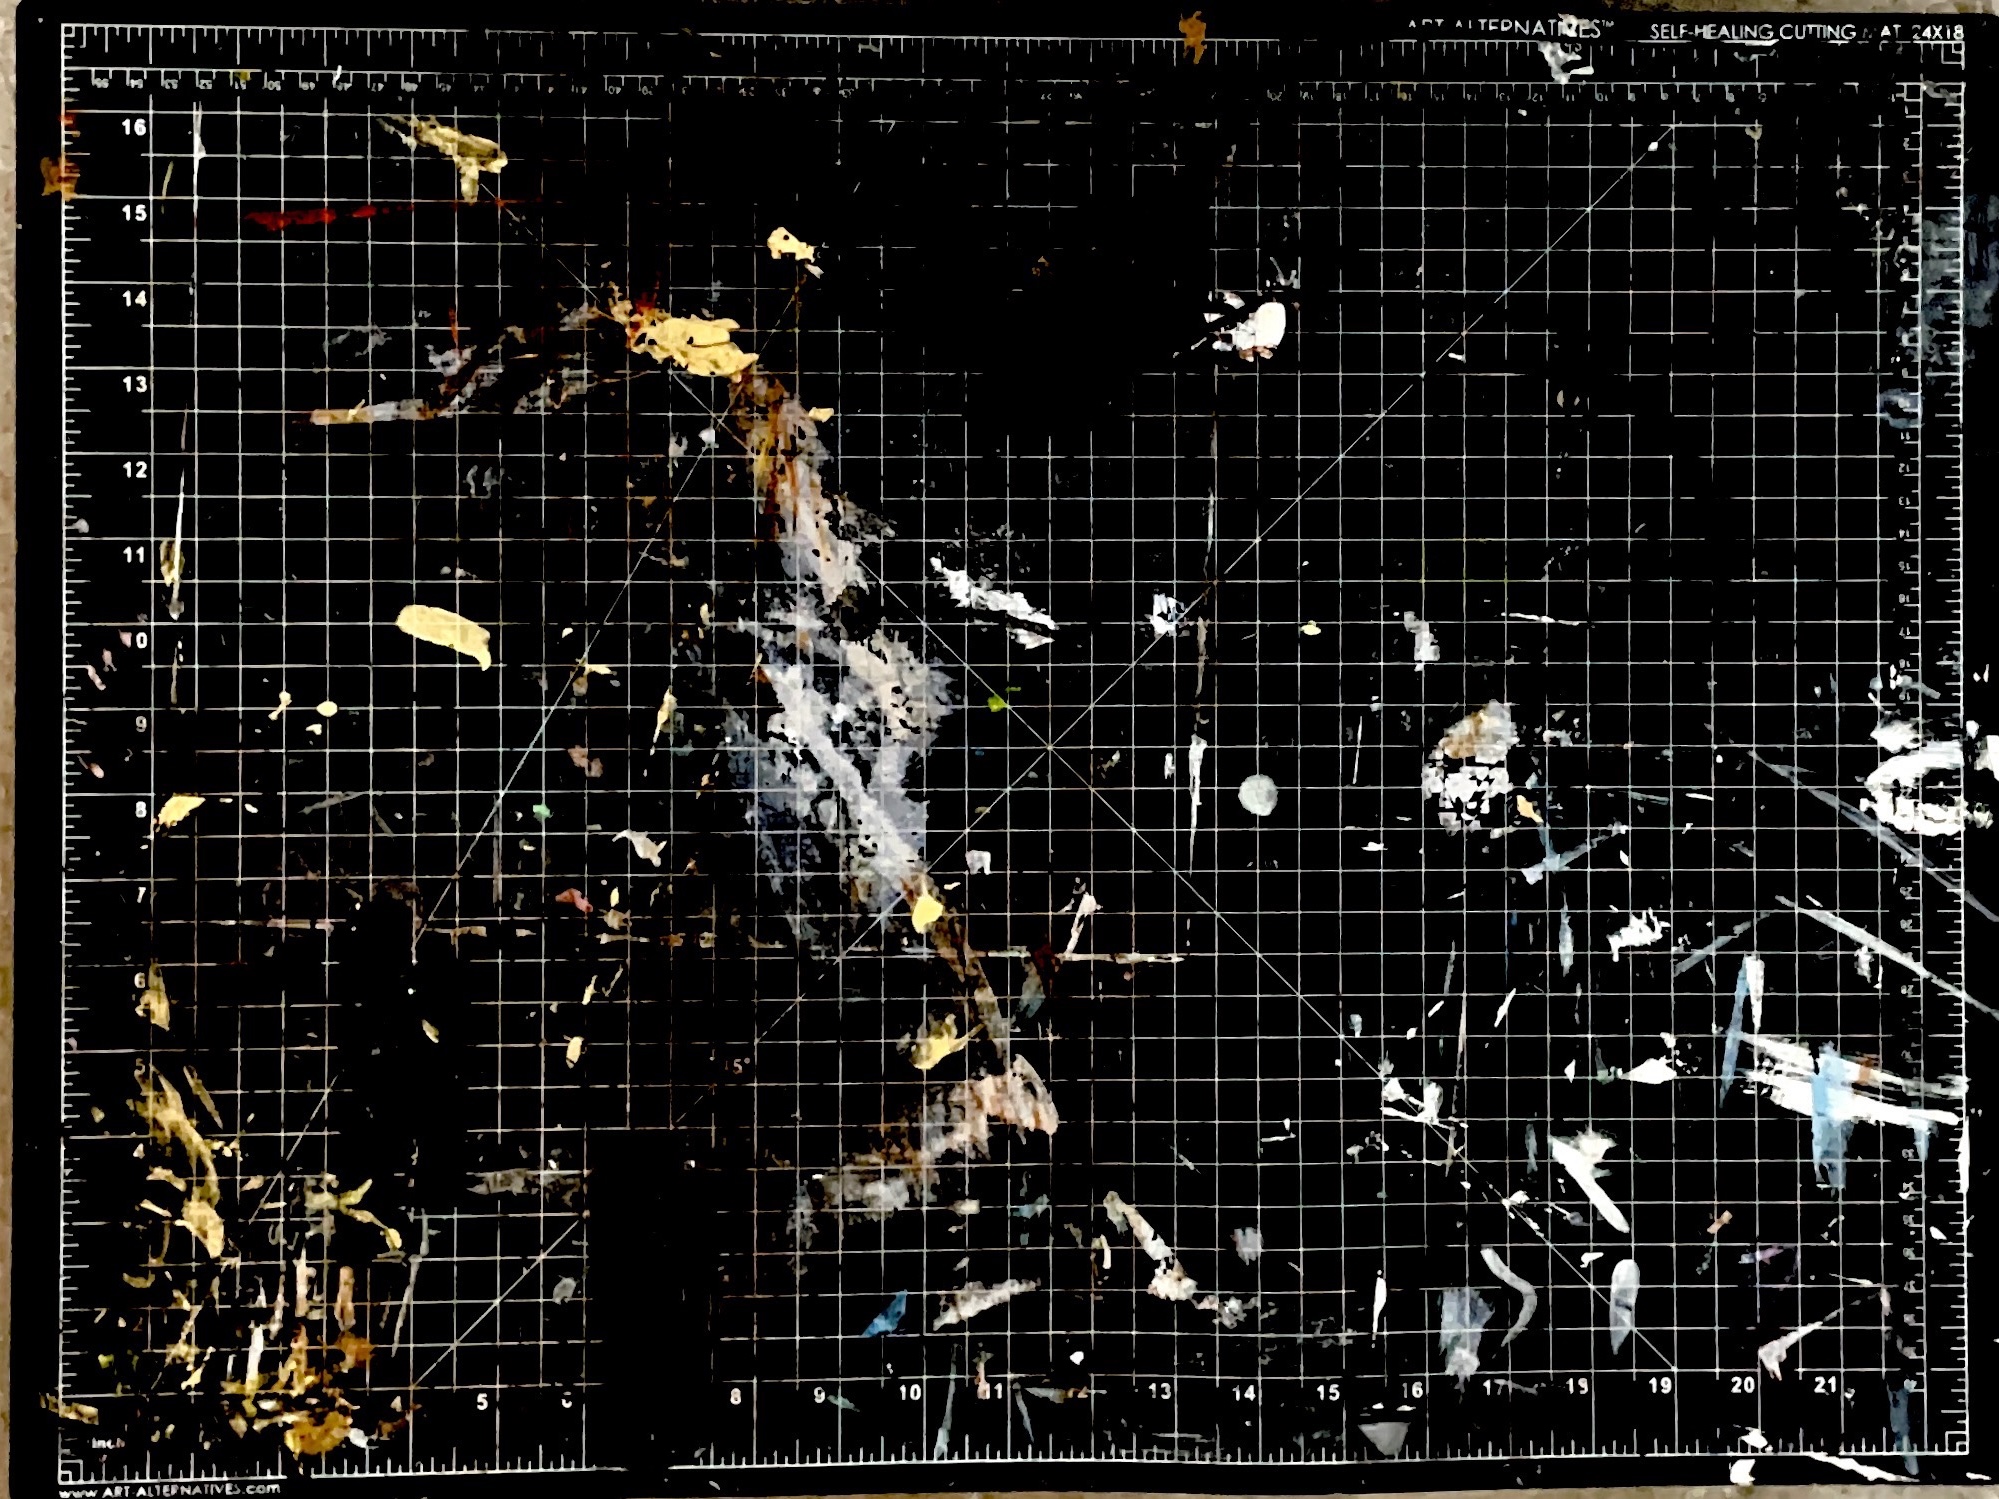
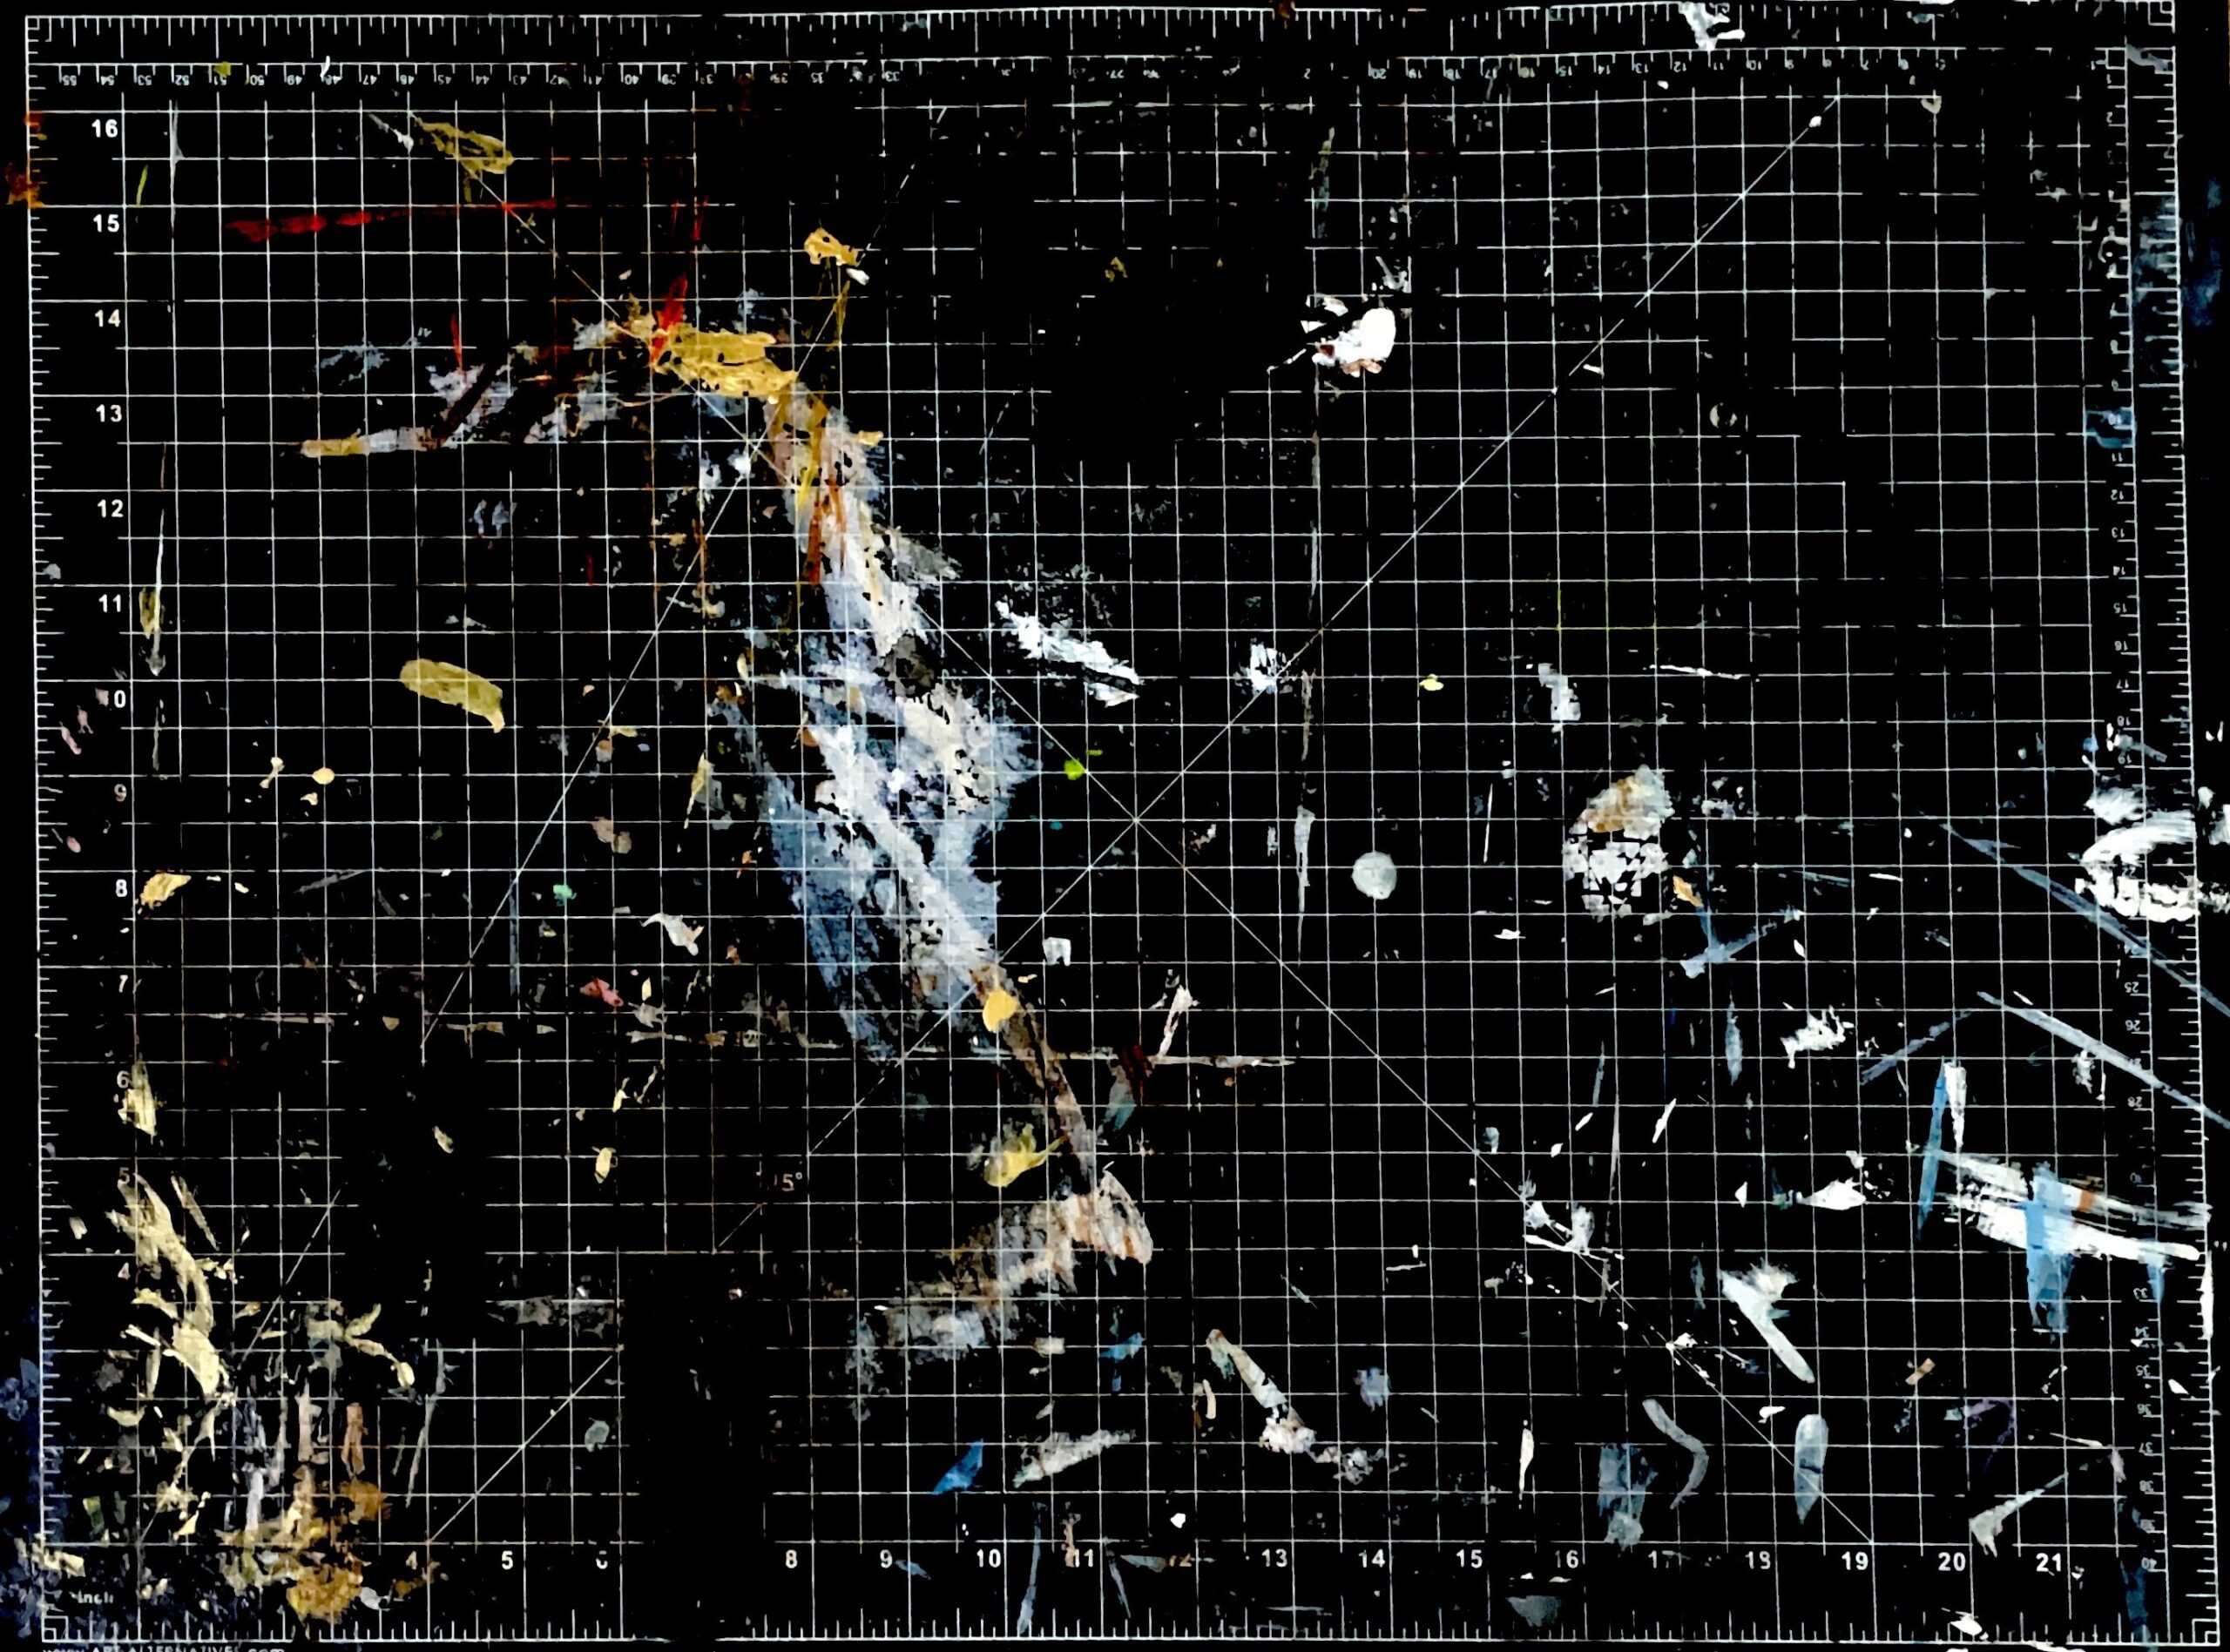
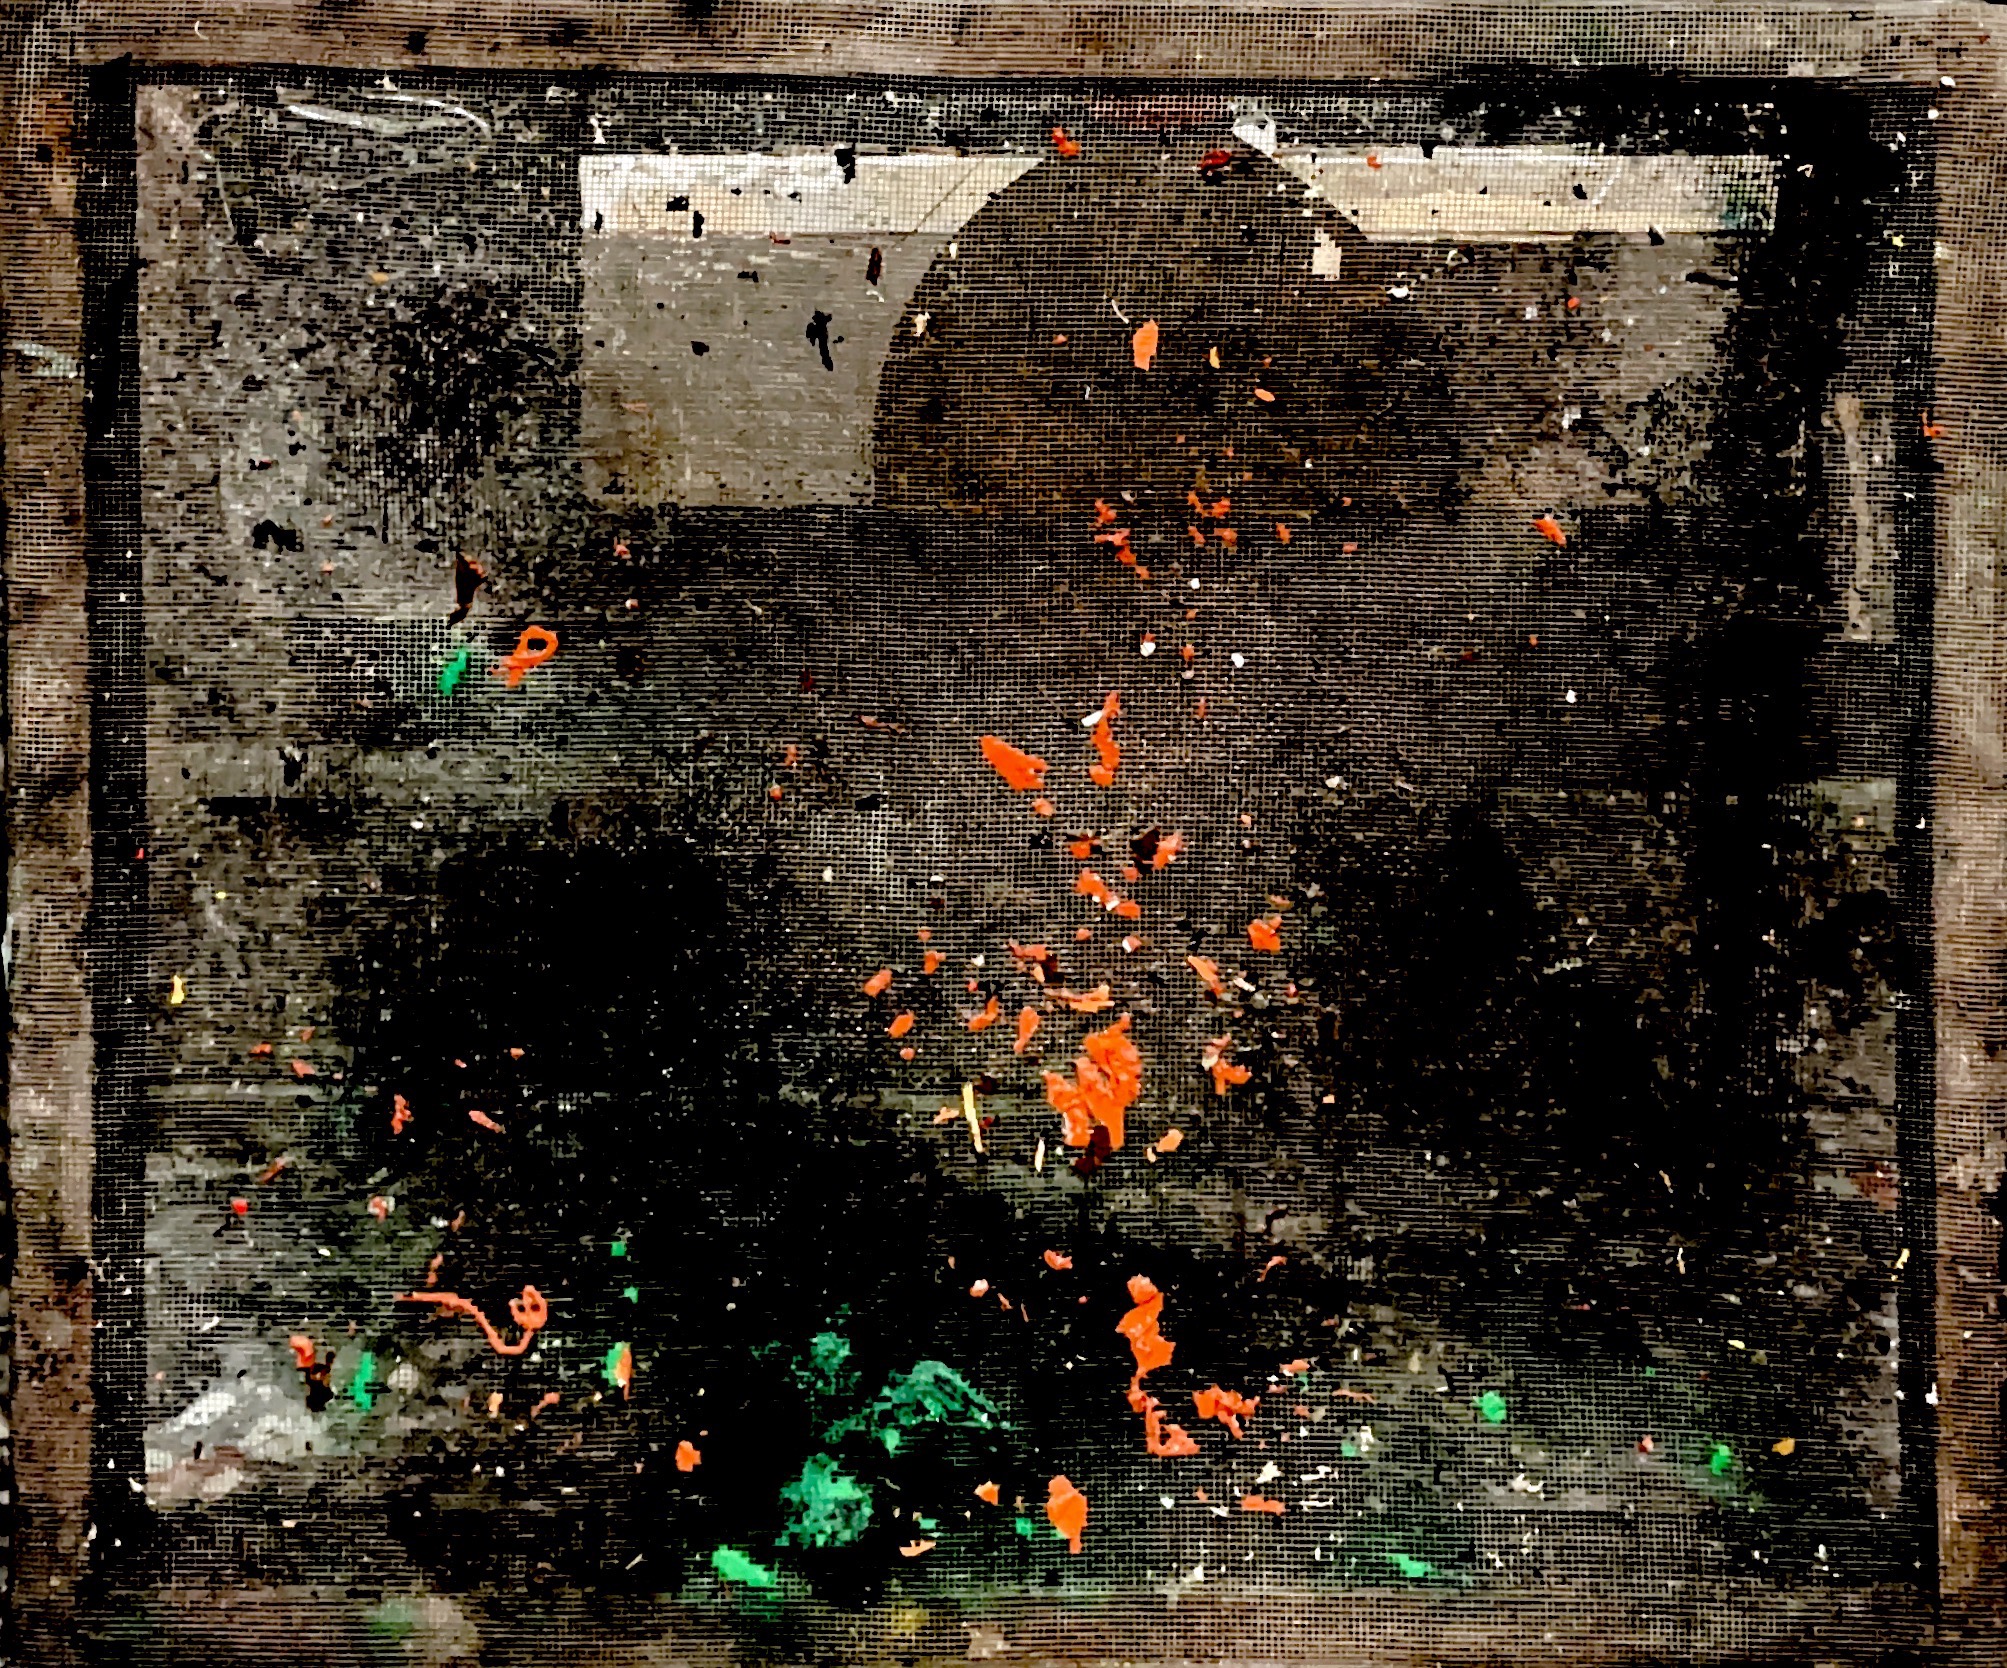
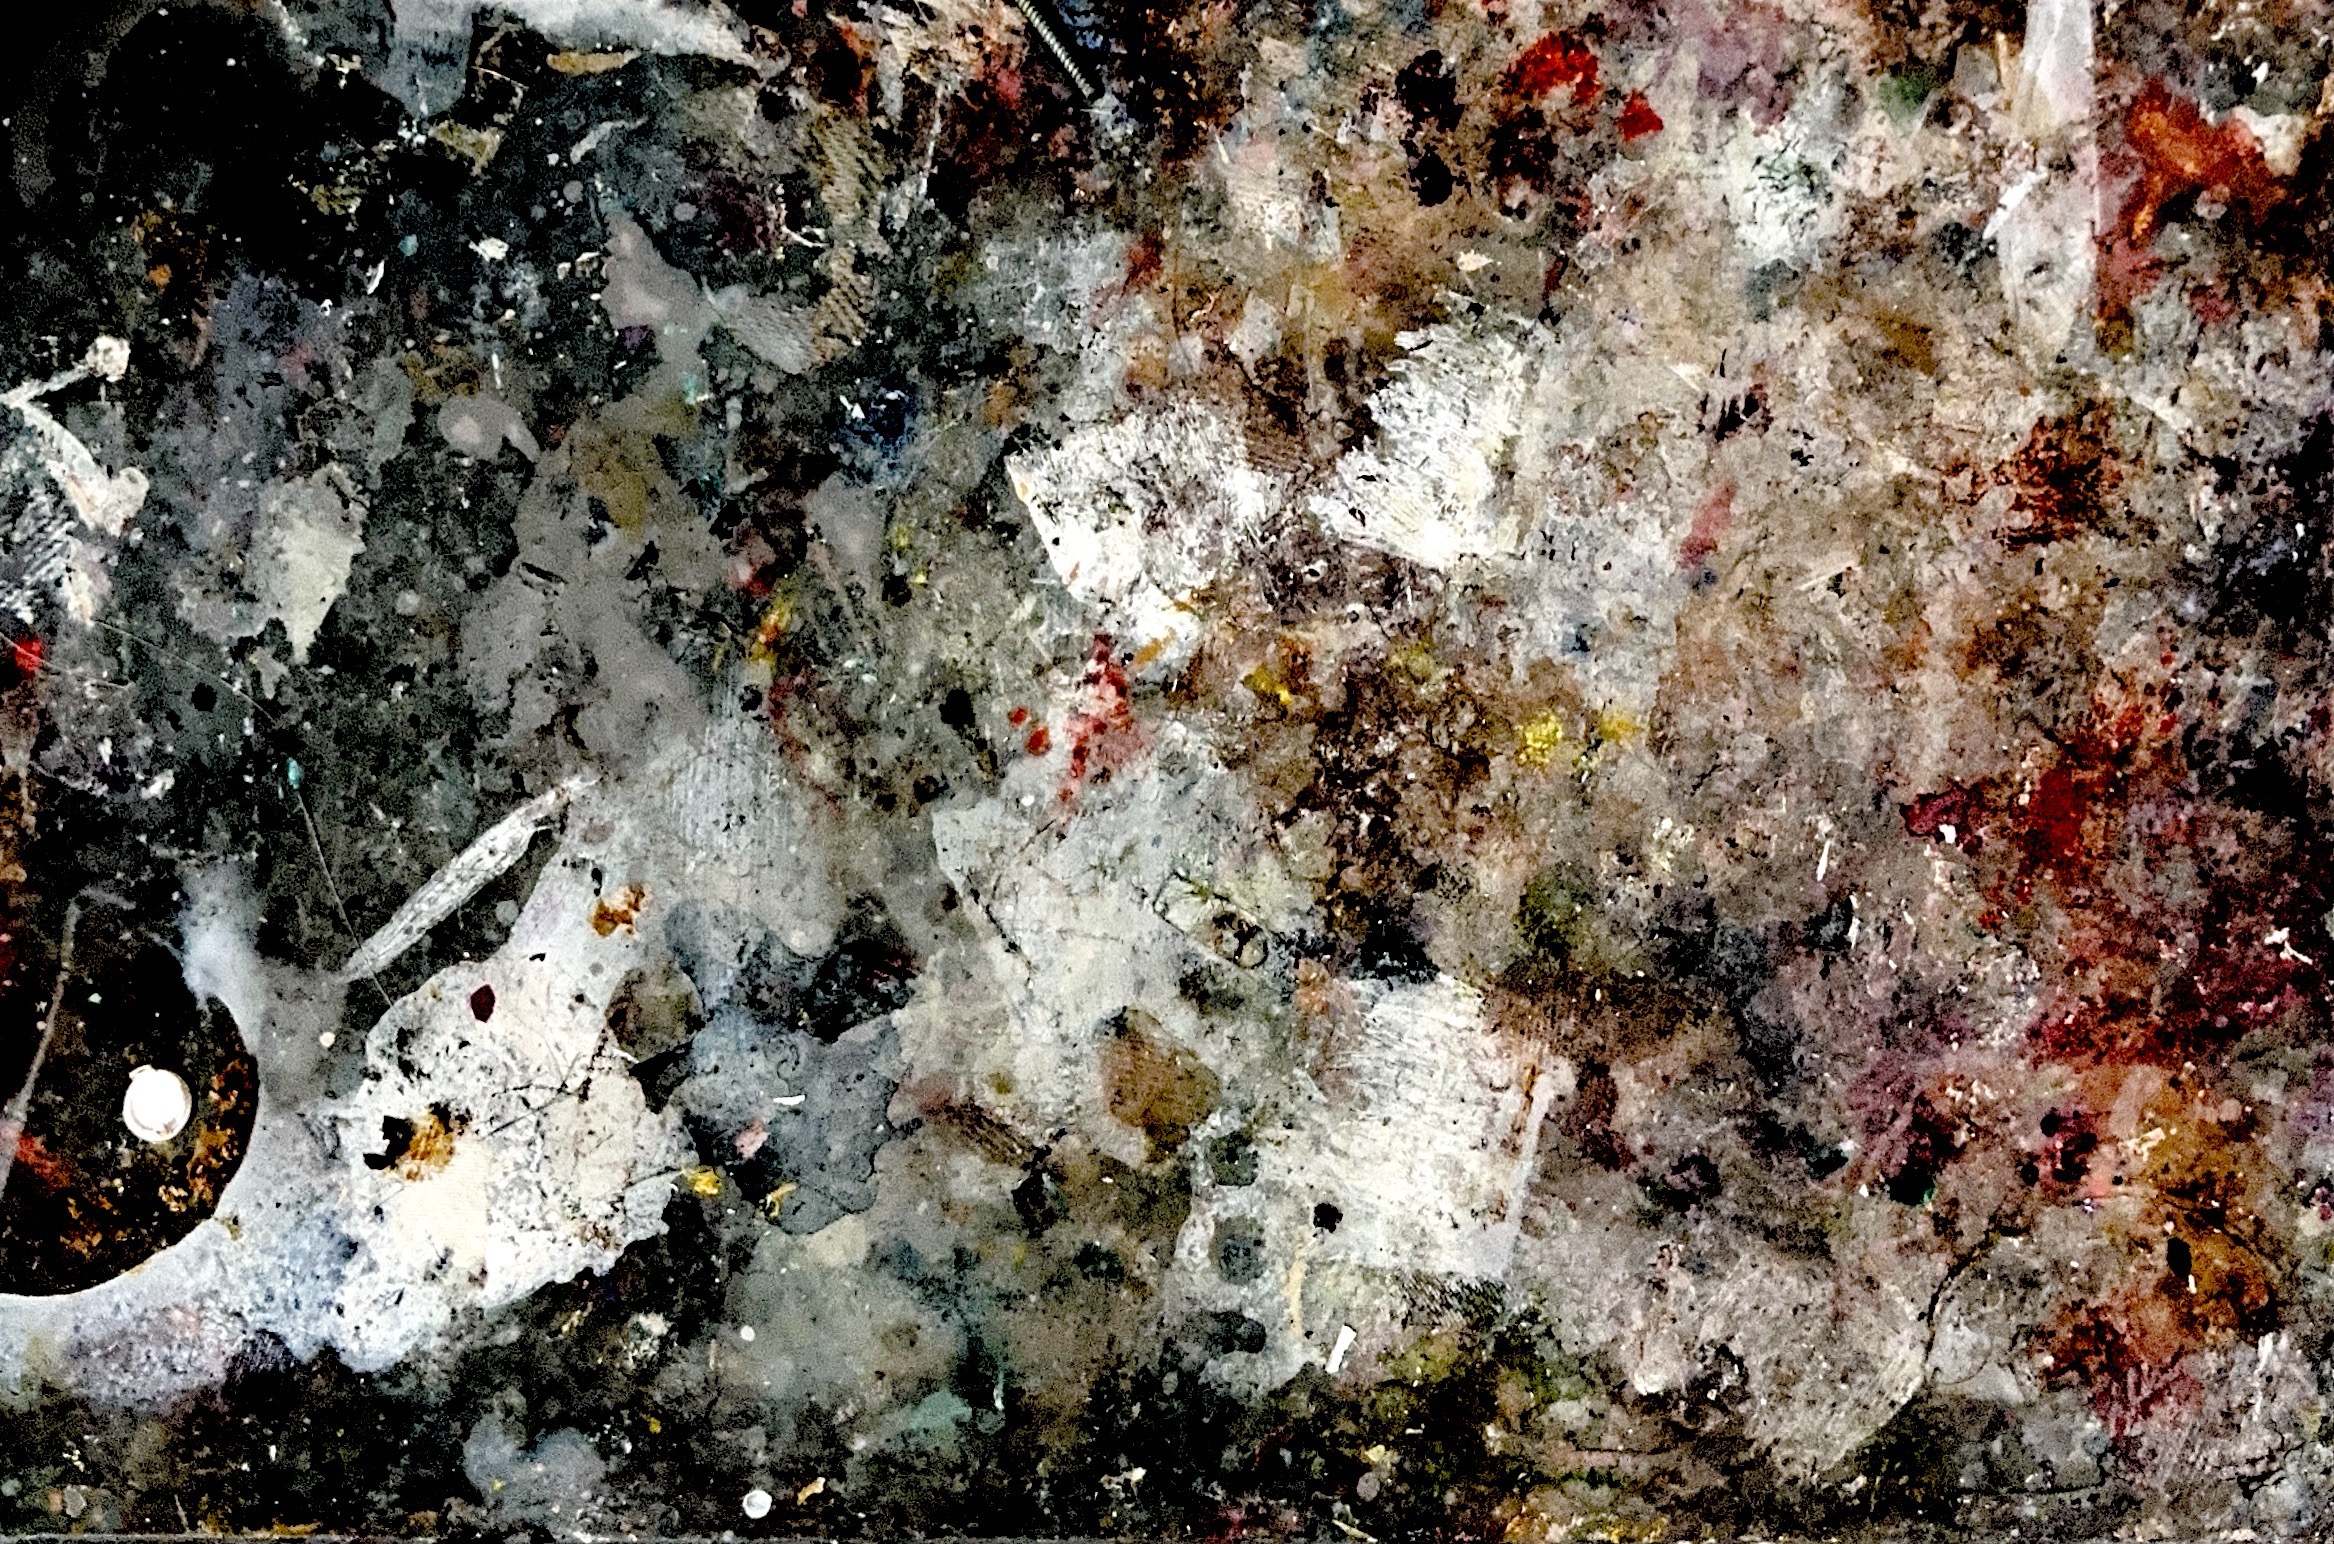
Some Fun Ones:
Troubleshooting
Things I realized with this project:
- The contrast between the floor and the mat matters for the auto-capture to work. The scans look best when it is shot by auto-focused capture as they are less likely to be warped and capture the details better. Example:
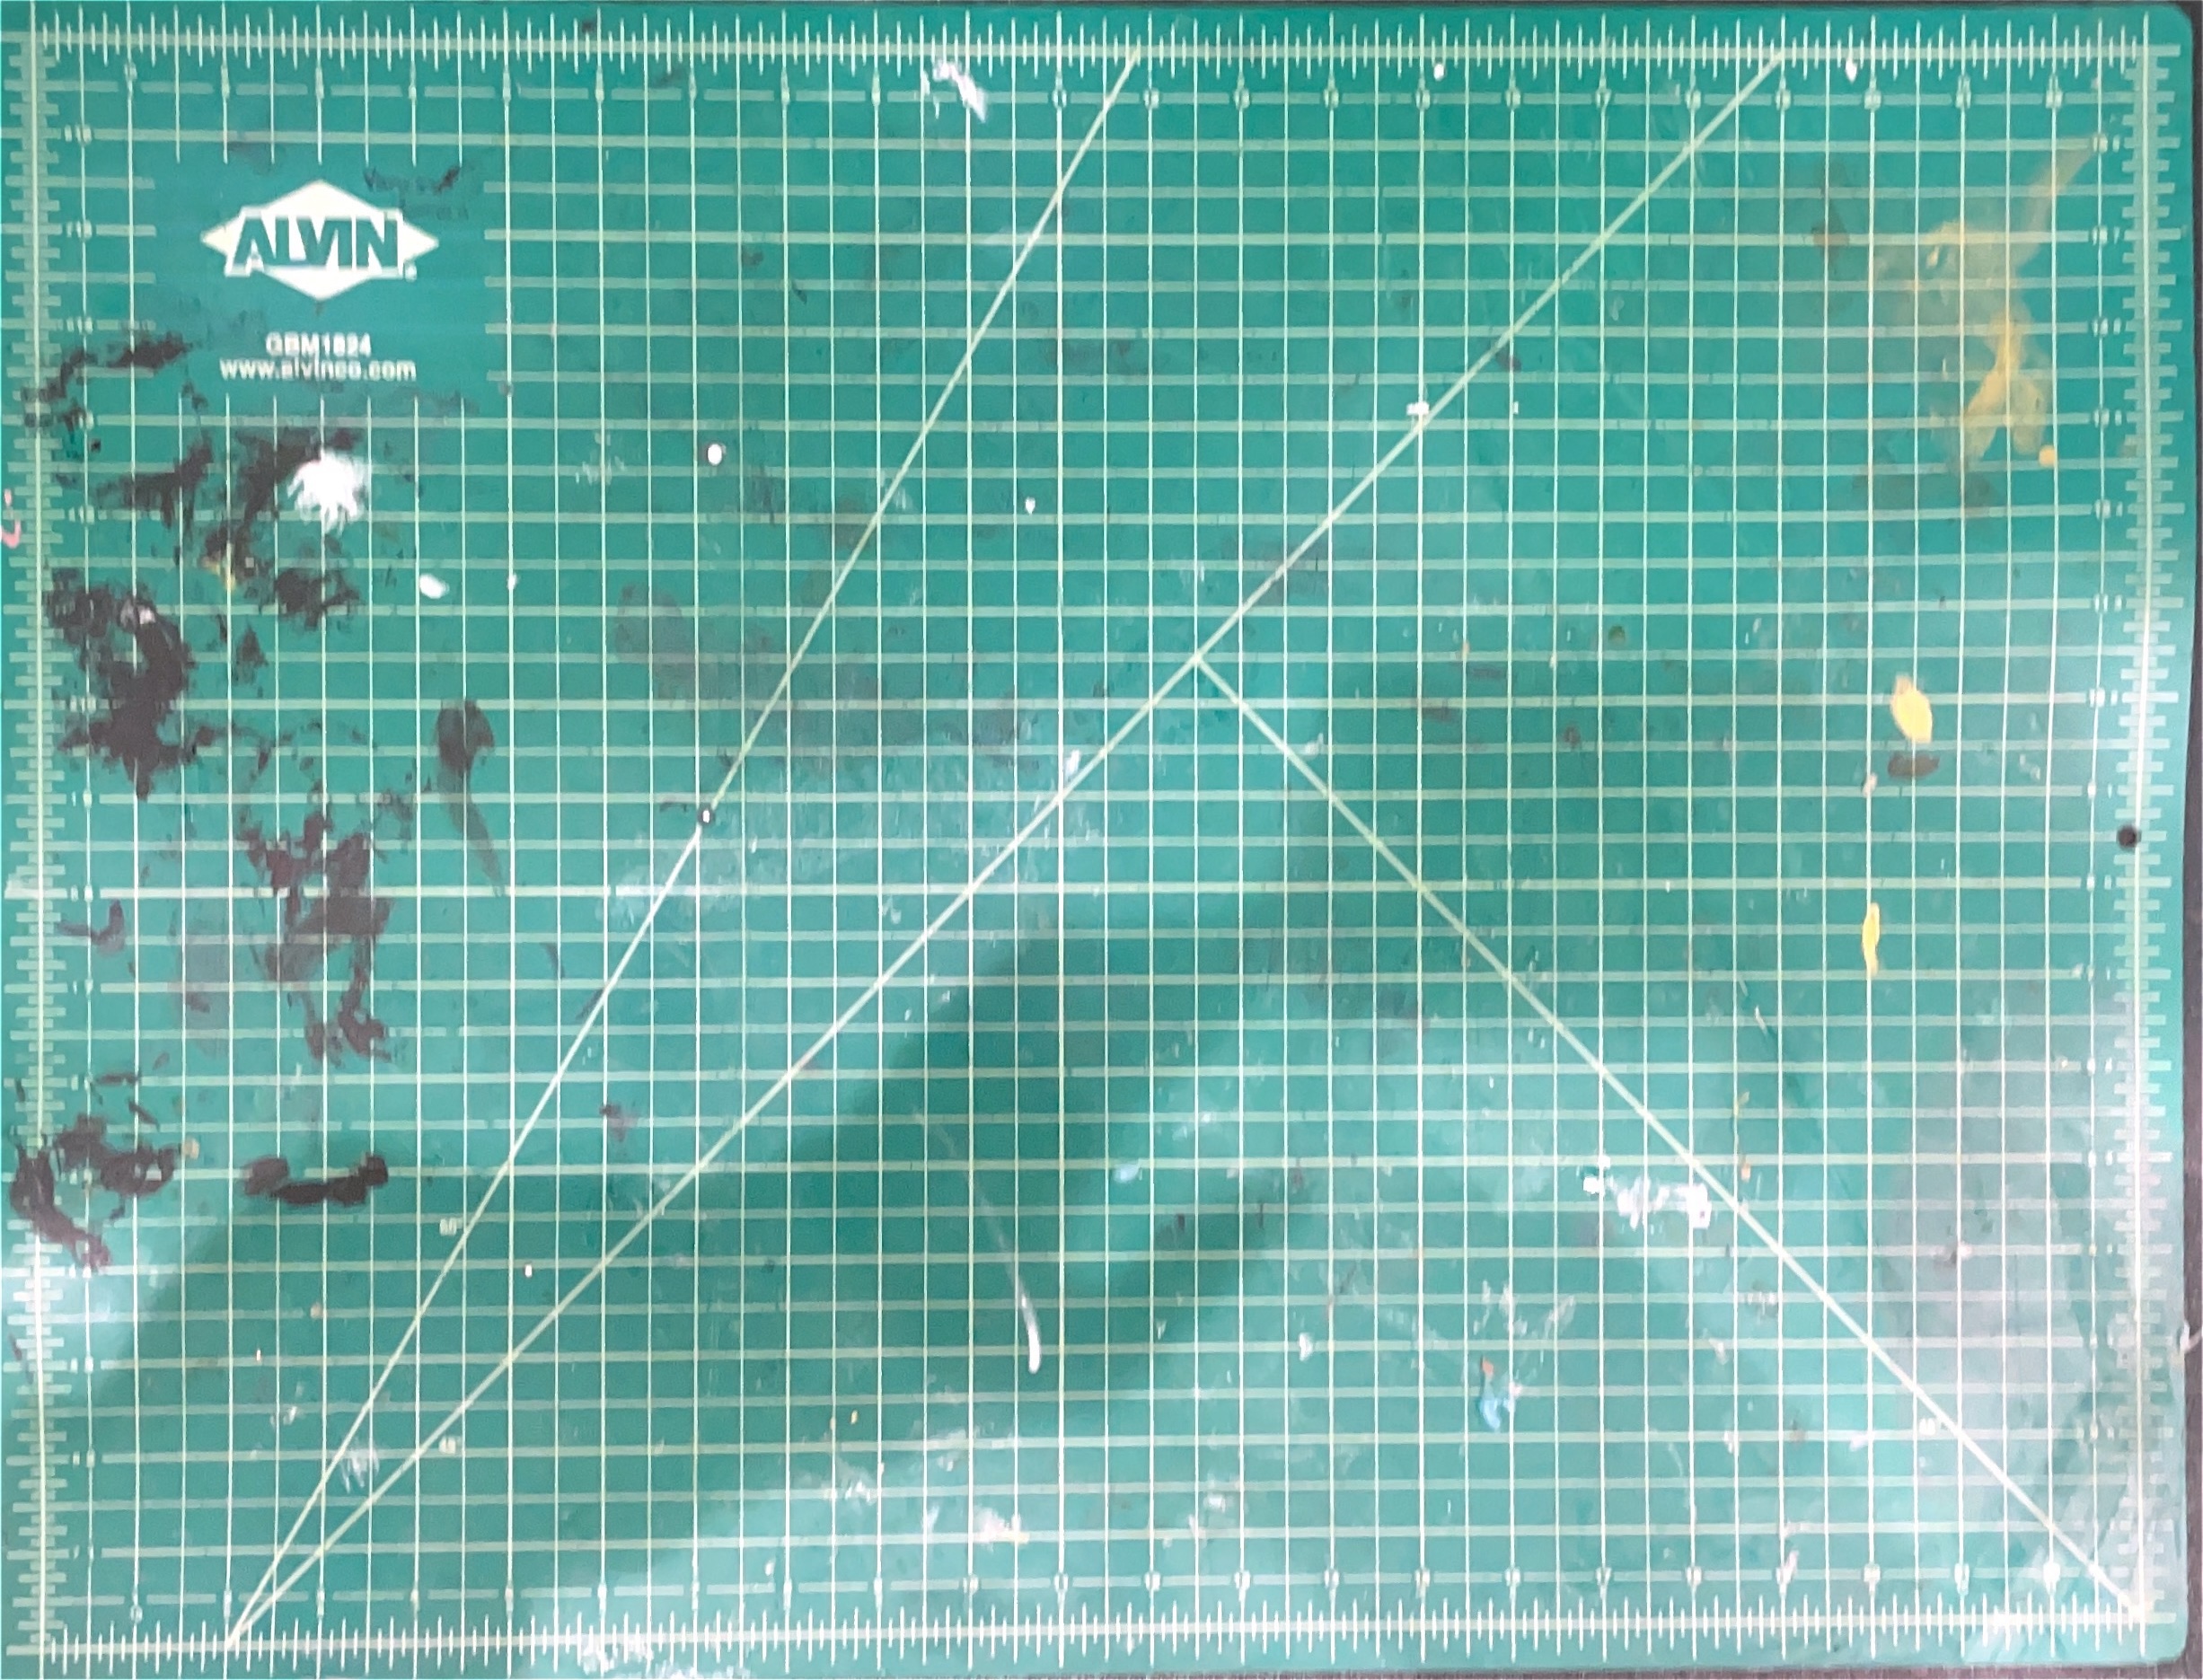
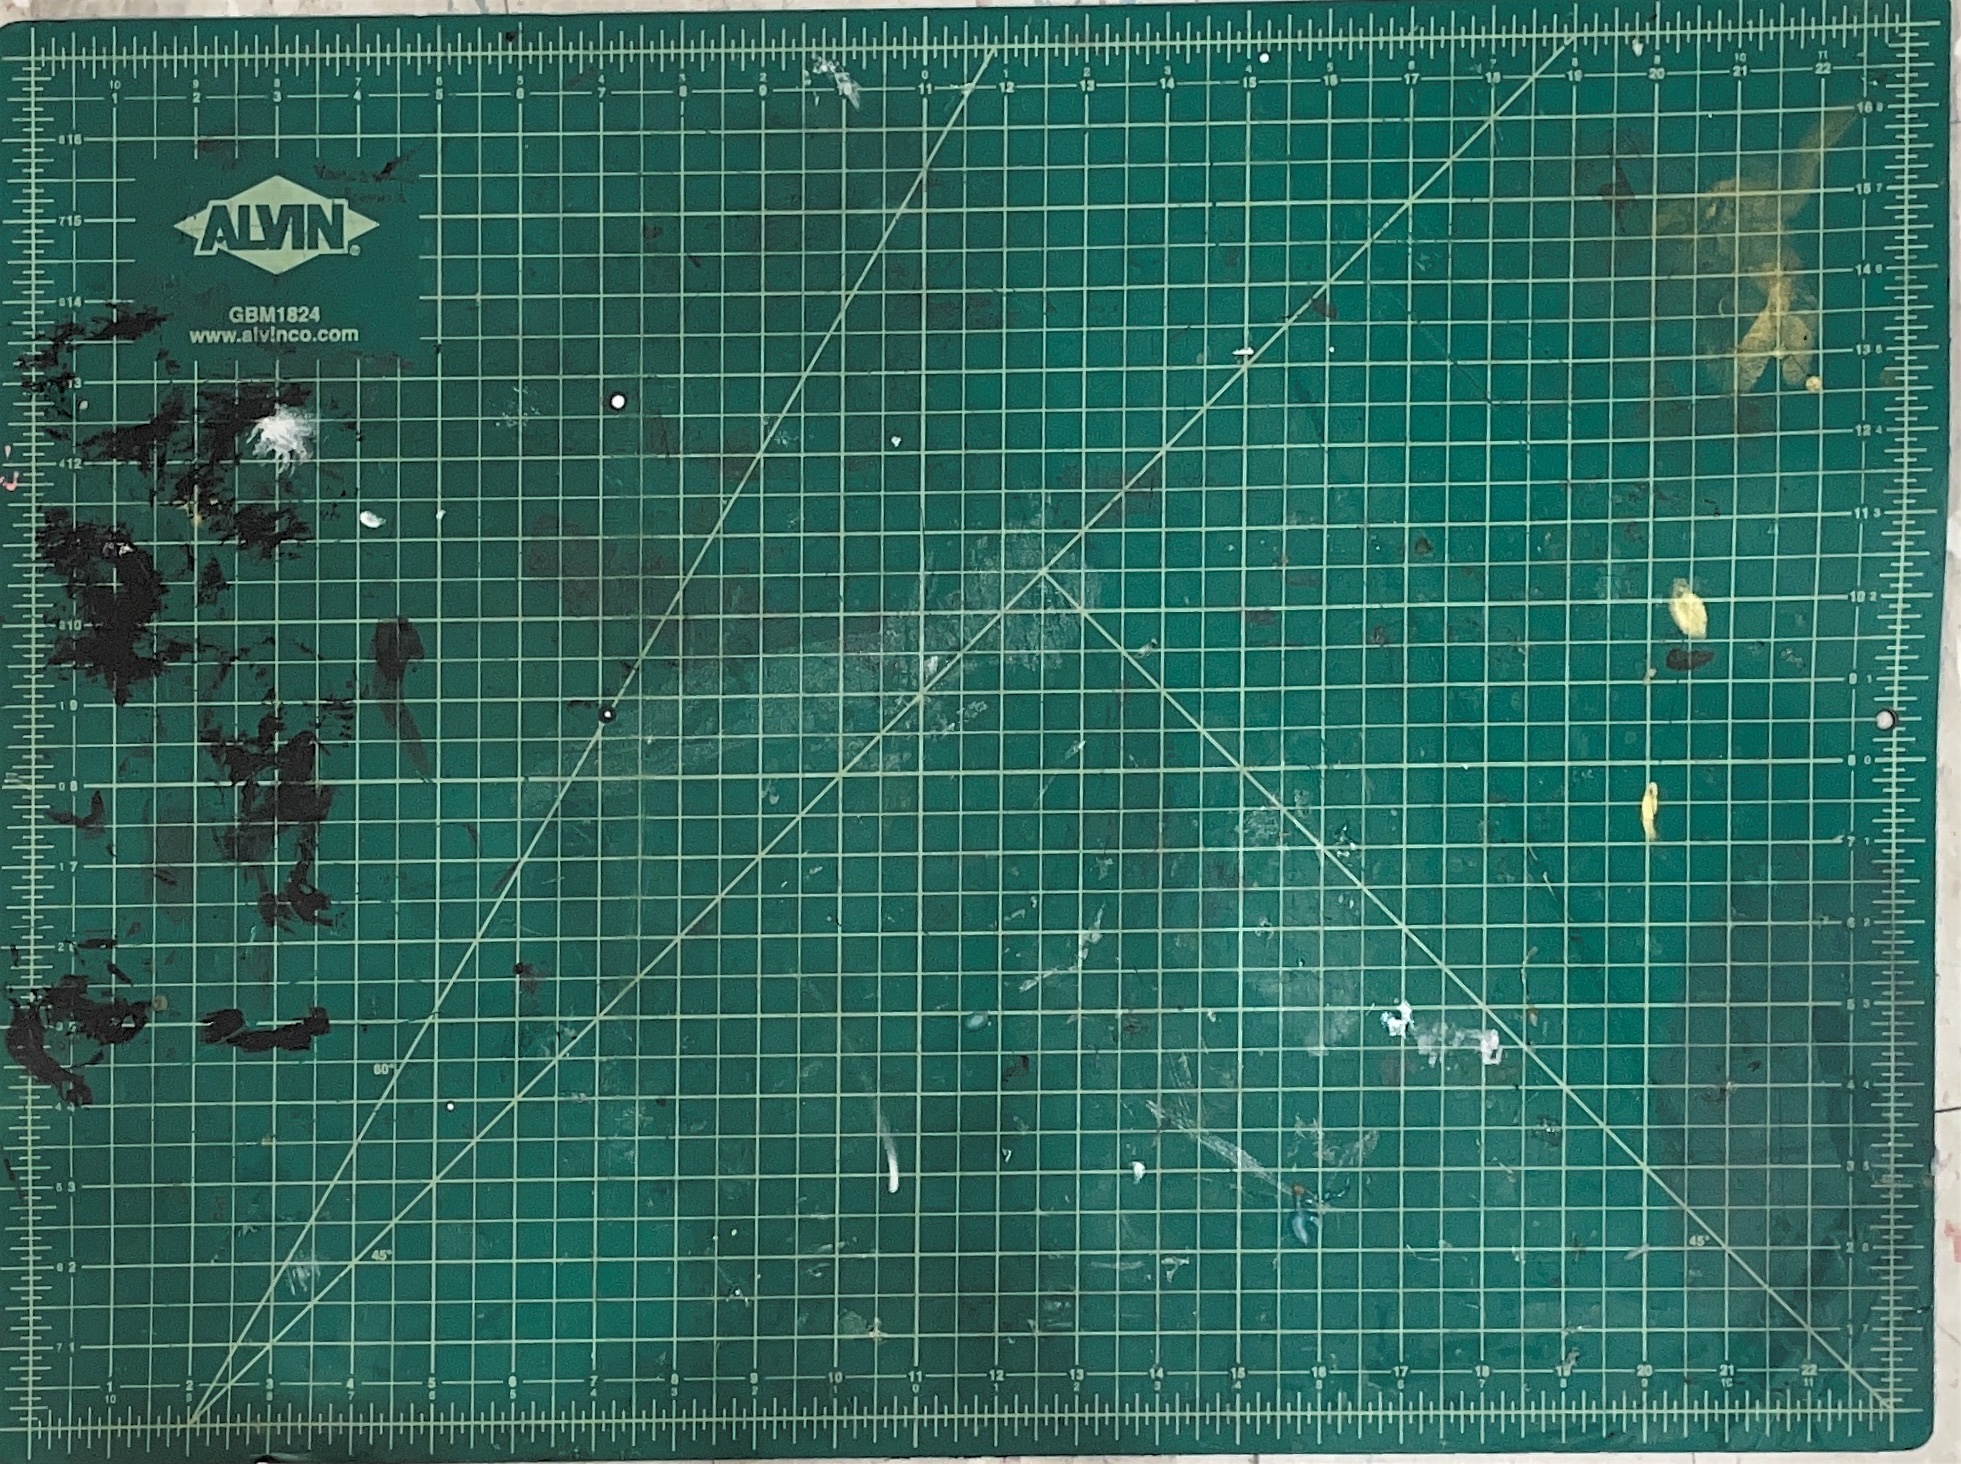
- Diffused lighting is key to getting the best scans without light spots.
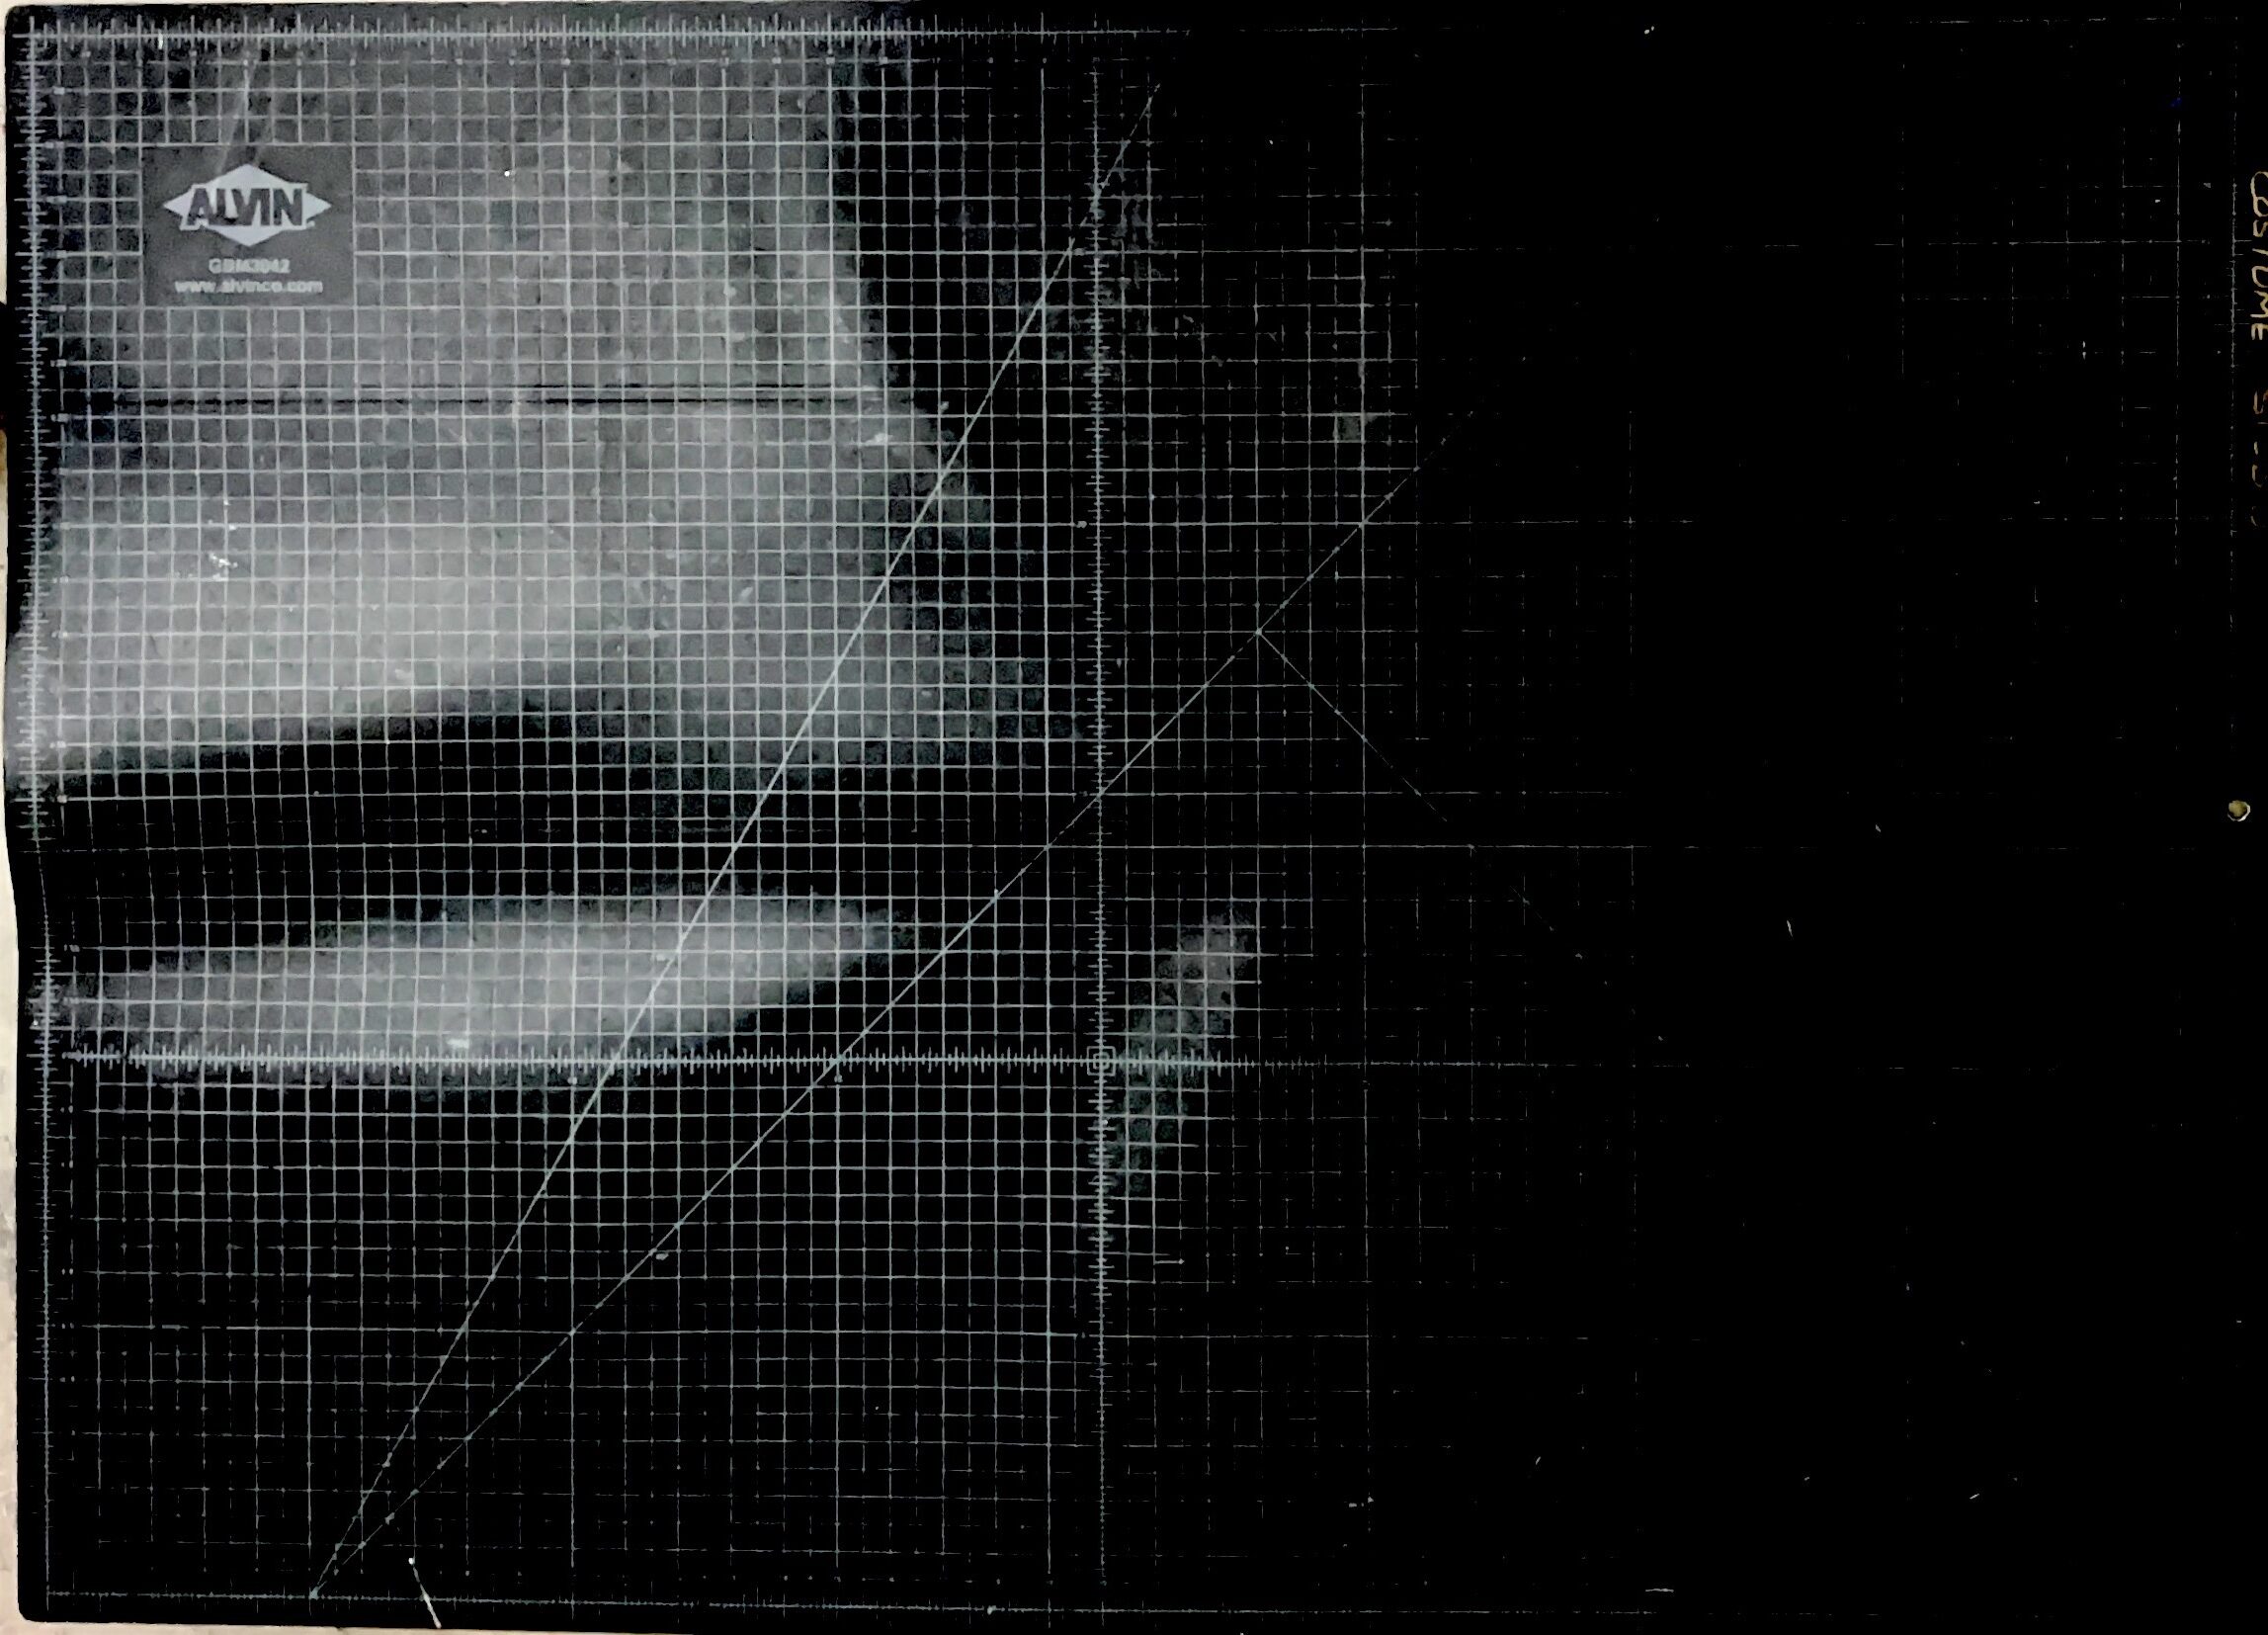
- The color of the cutting board matters. Black cutting boards offer better contrast and separation between the surface damage and the mat. However, it is more vulnerable to light spots and the details of the cutting mat itself gets lost. This makes it difficult to get a clean image. Example:
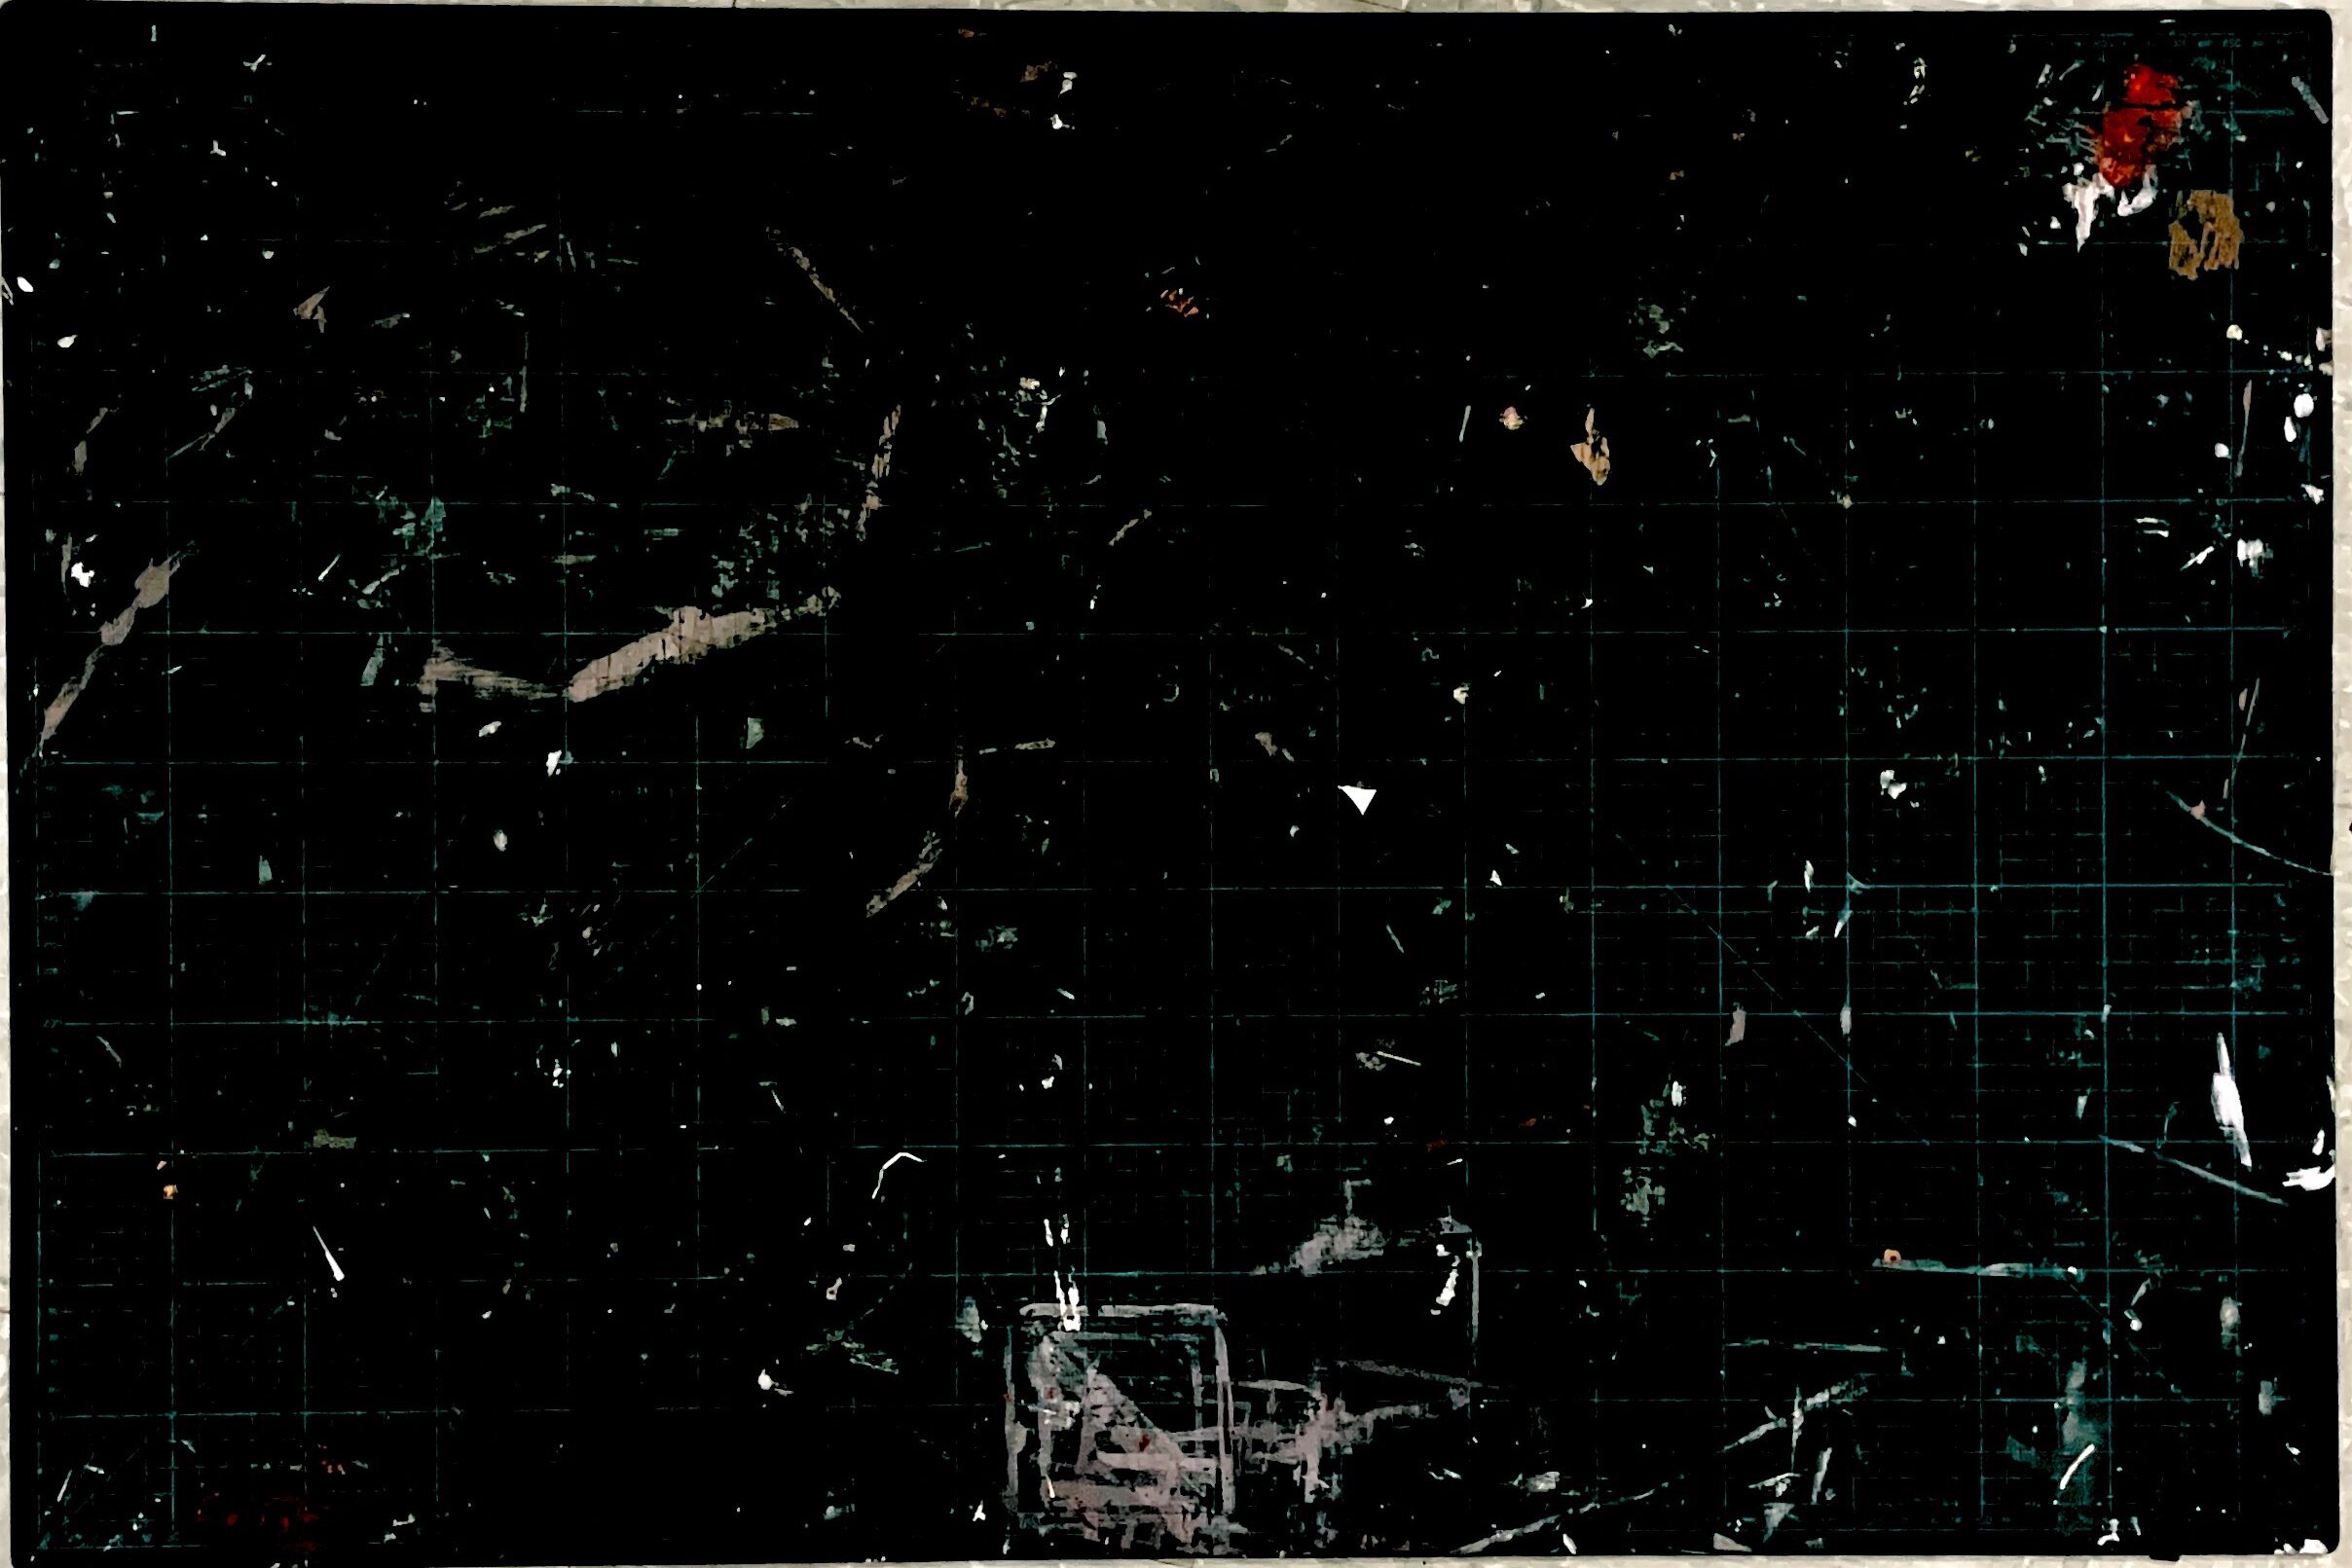
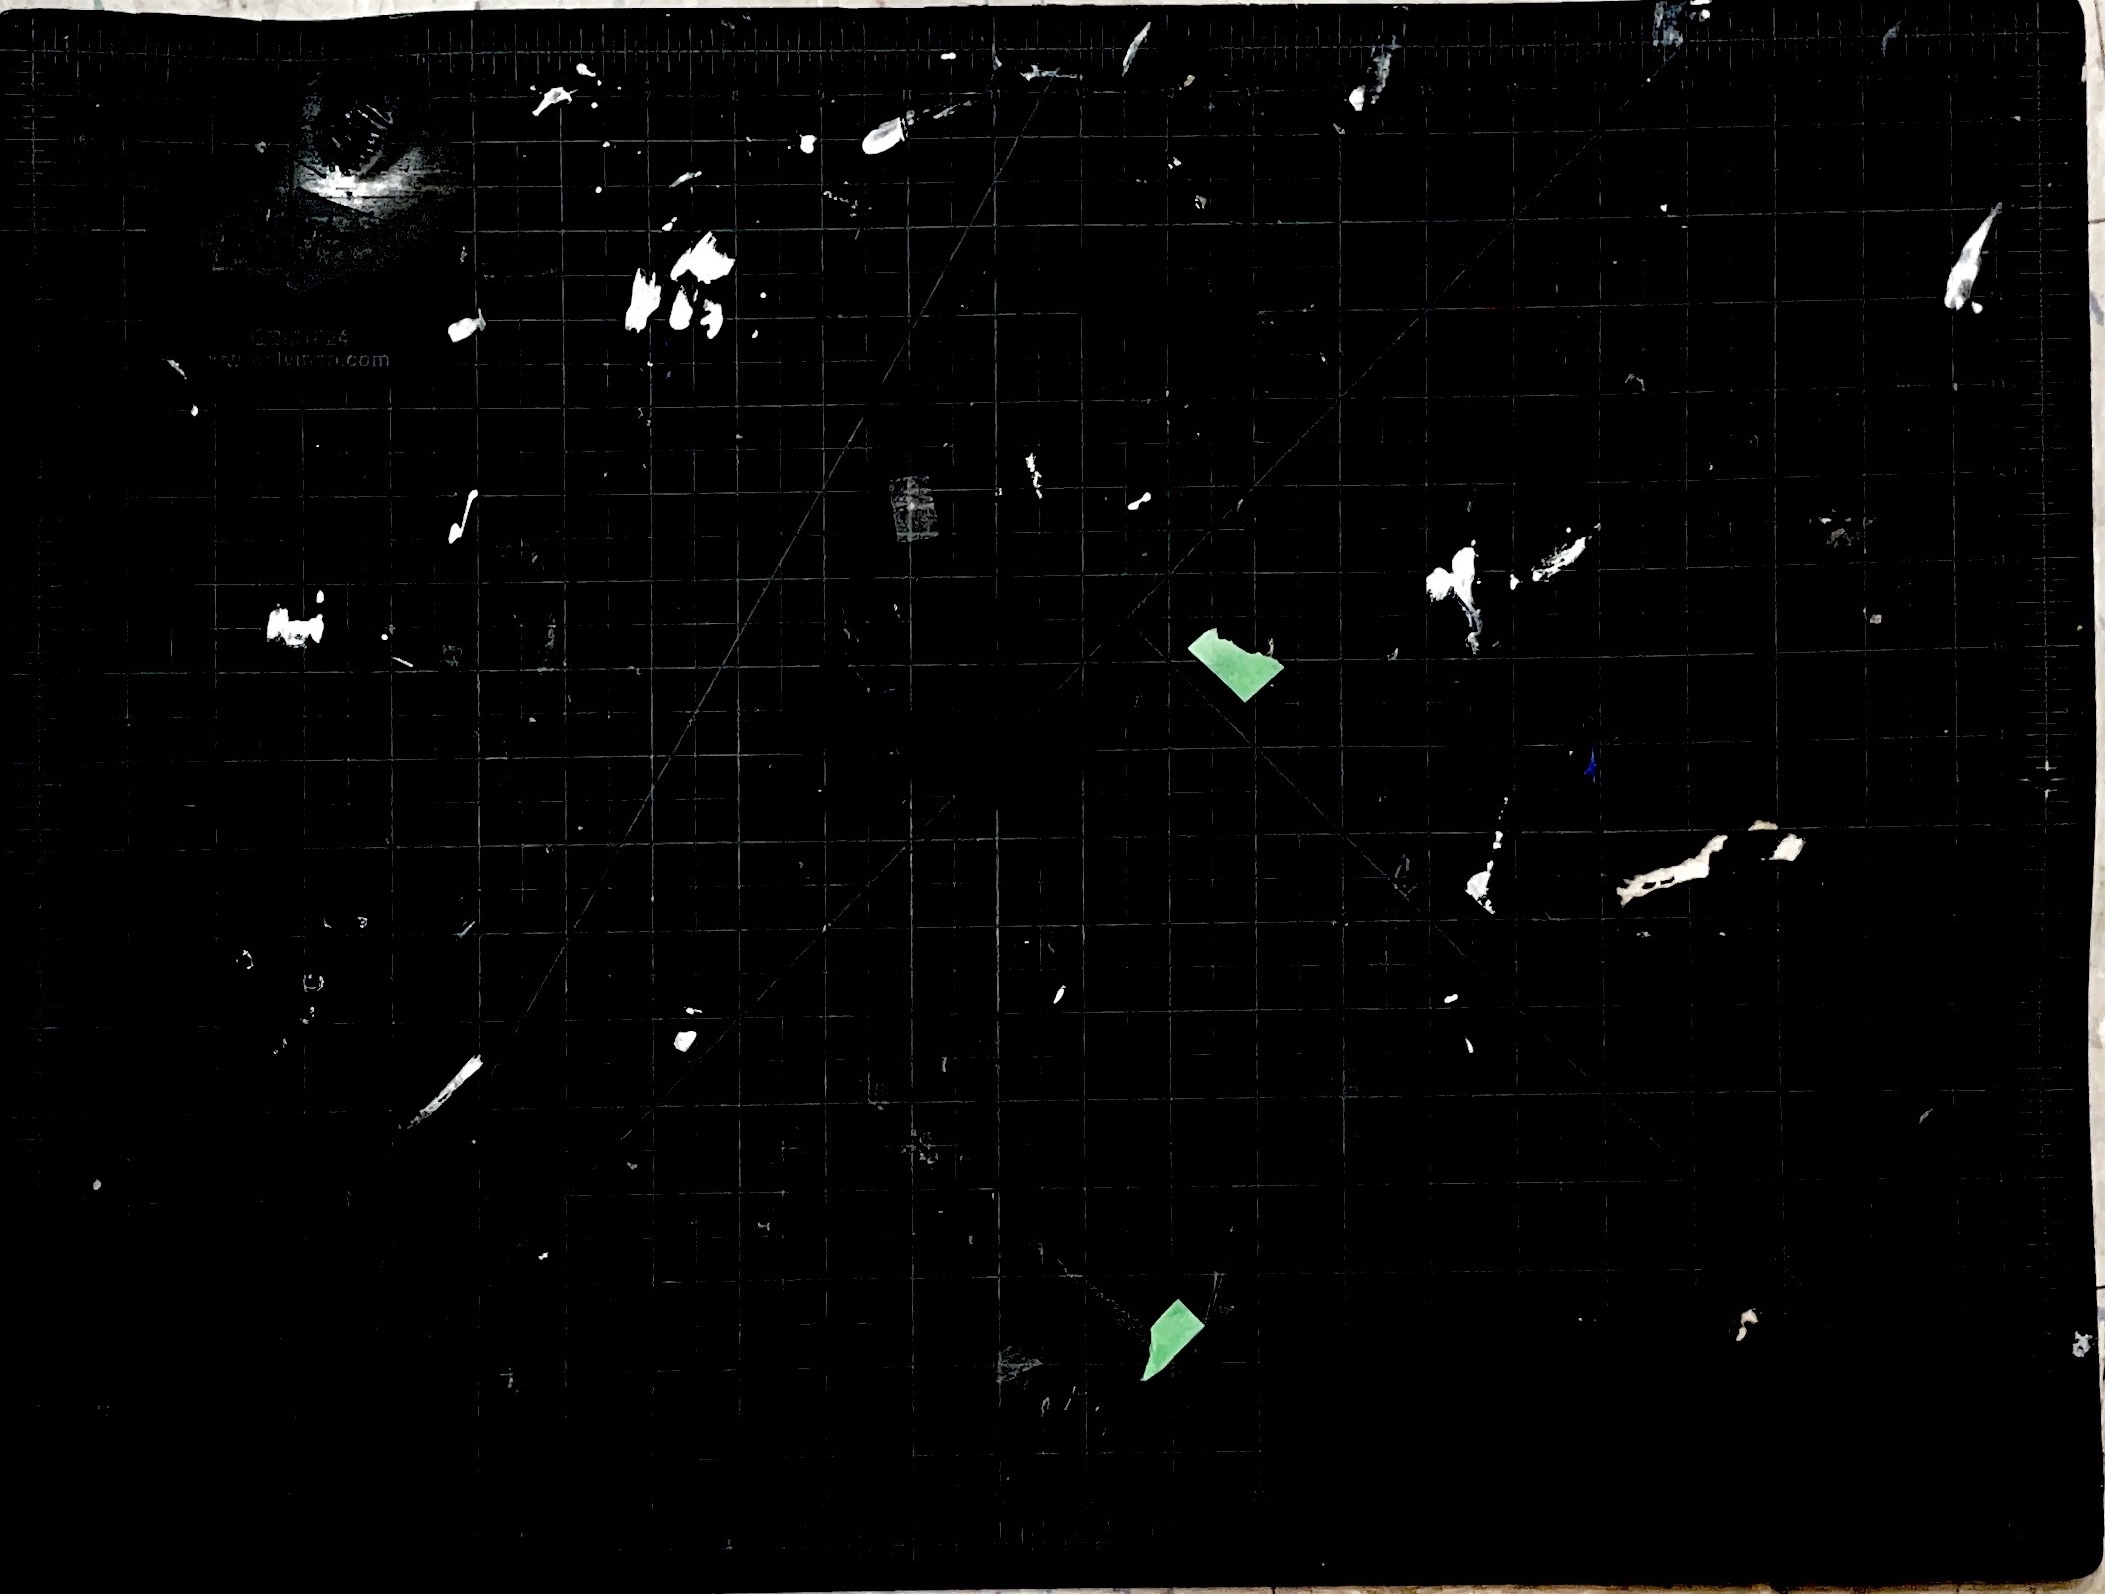
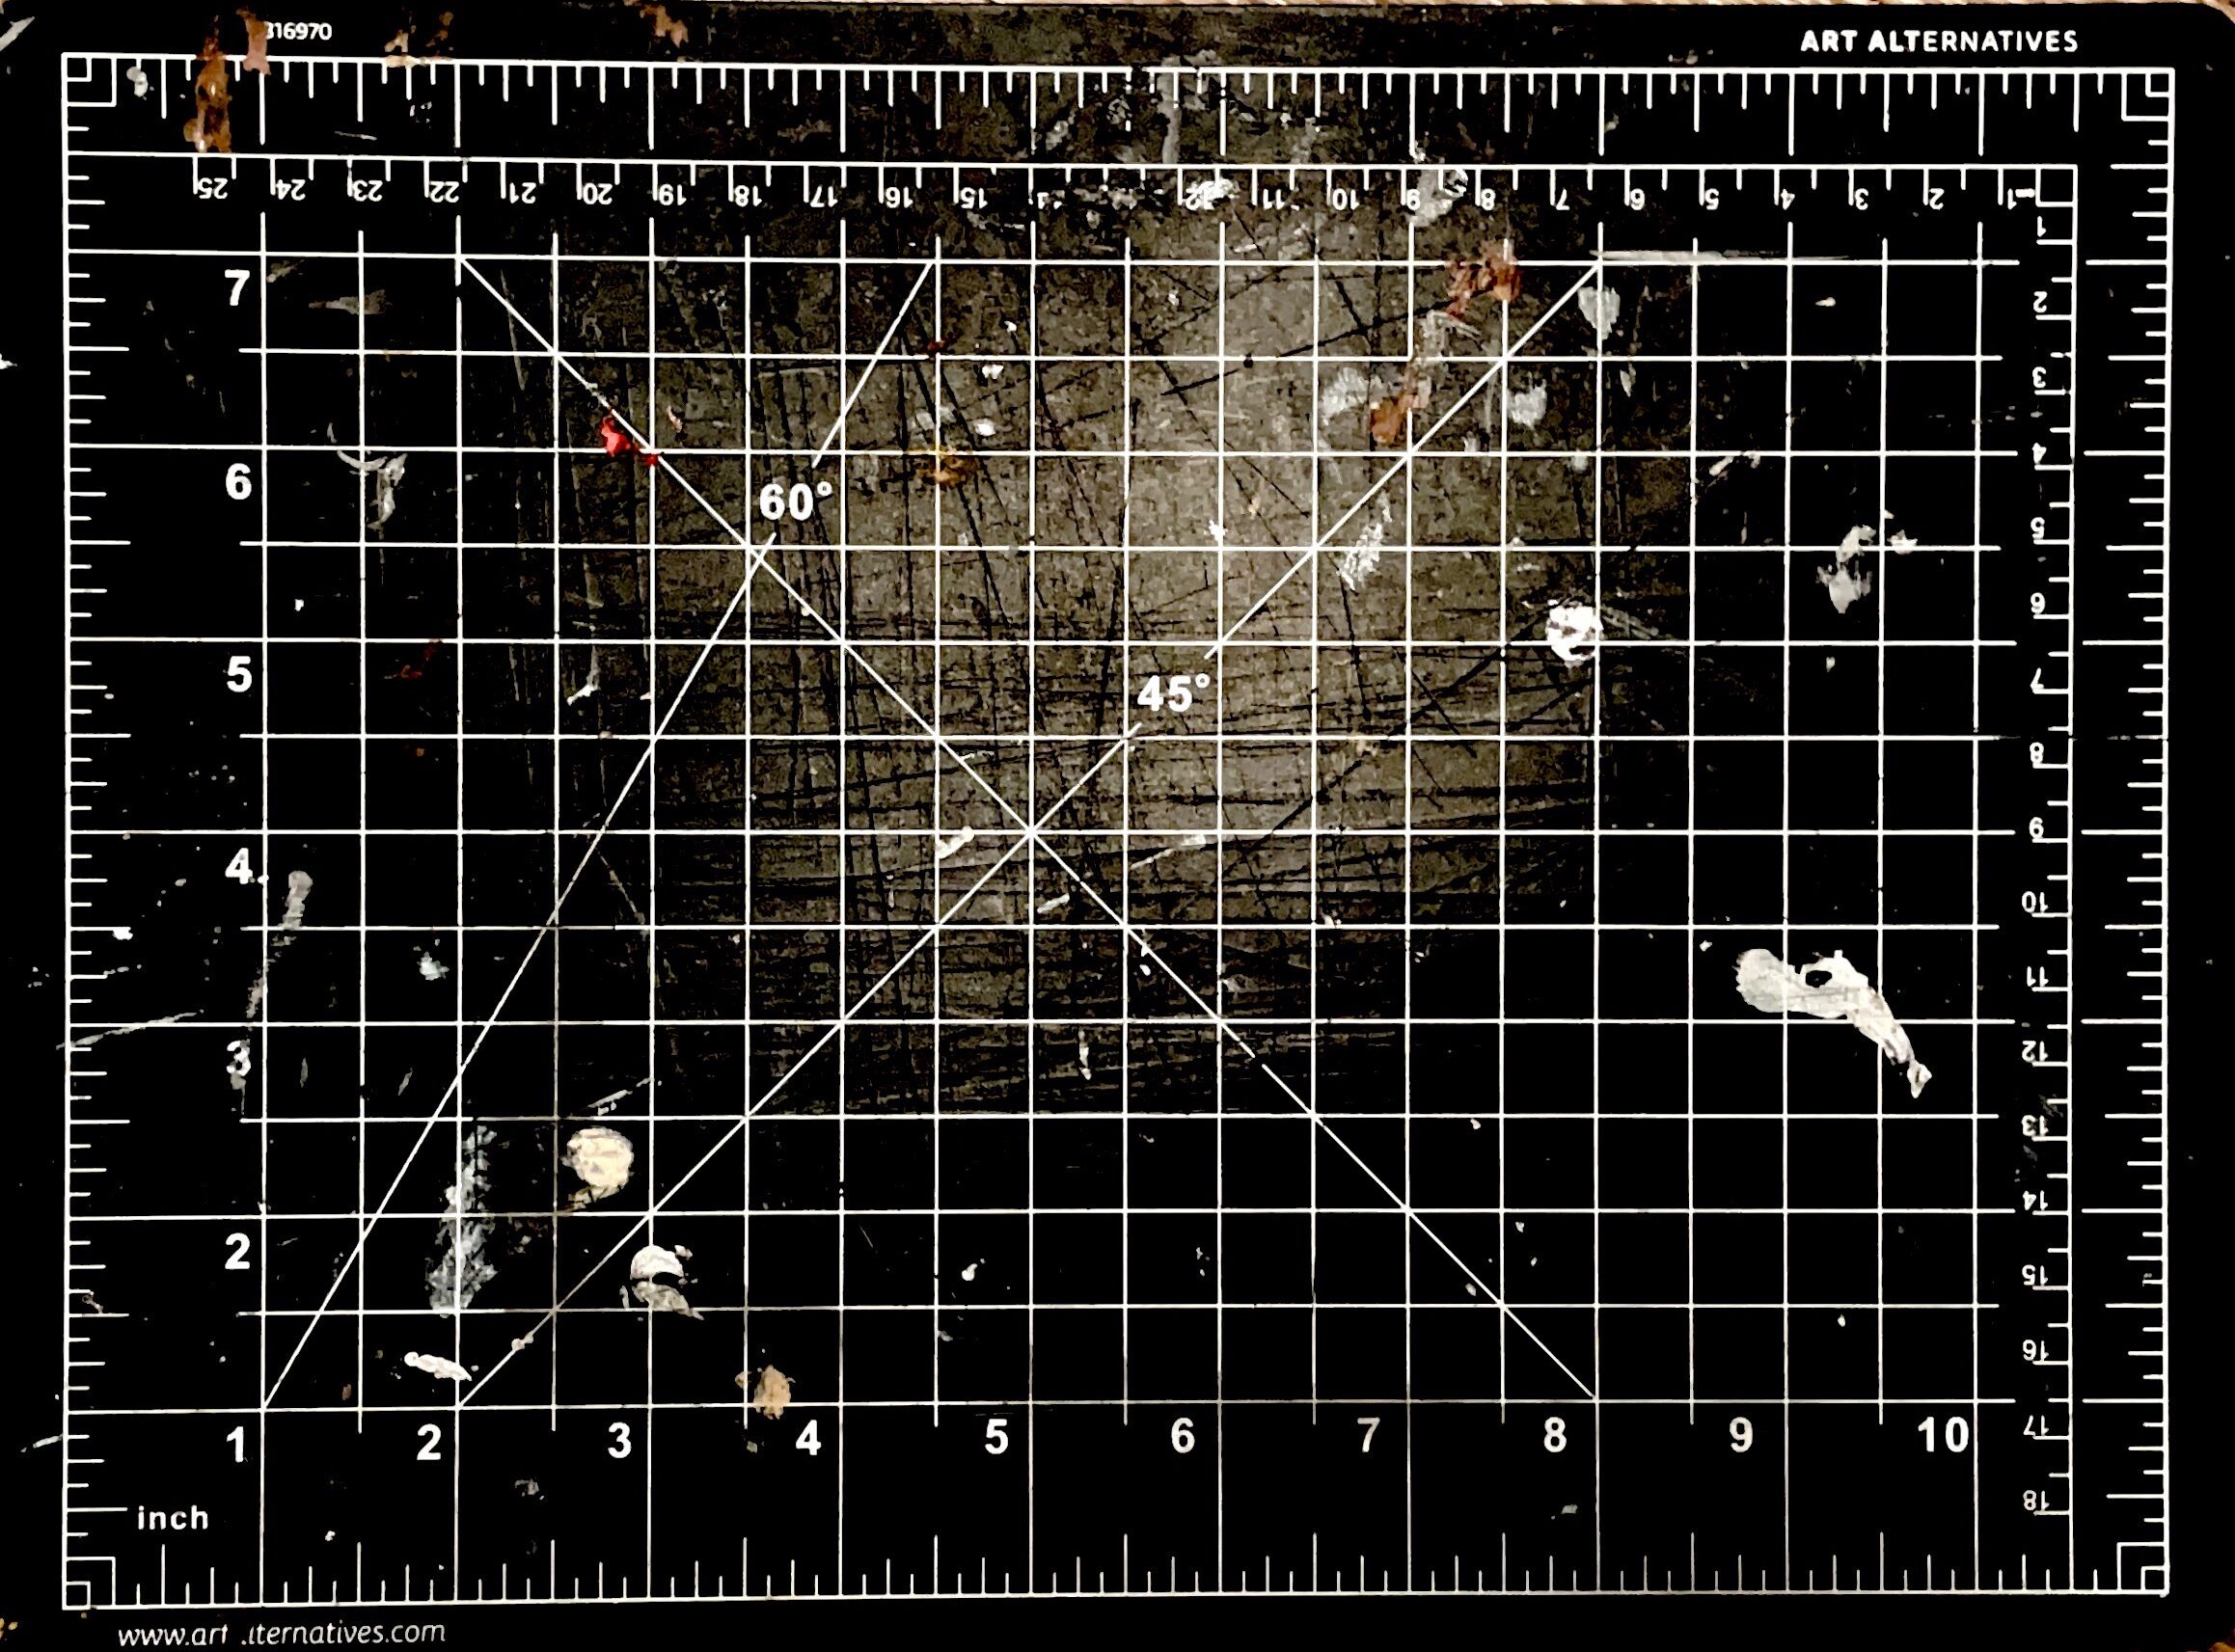
Final Thoughts
Ultimately, I am satisfied with where my project went. It is very different from what I had been ideating for the past month, but this project sparked my curiosity more, and it was fun running around Purnell and CFA scanning people’s cutting mats and recognizing some of the projects that were worked on them.
However, I struggled to strike the exact balance I was looking for of both the cutting mat and the damage on top being equally visible due to the factors listed above. If I pursue this more in the future, I would like to standardize my lighting in a studio setting. I feel that this will give me more flexibility and control with the different cutting mats. Further, I wondered if there was a process where I could use the Notes App feature but not the native iPhone camera so that I could capture it in an even higher resolution. Finally, I am pretty sure that there are more cutting boards than the ones I’ve scanned. If I were to broaden the scope of this project, I would see if I could befriend an architecture kid and go around their studio taking scans.
The Rest of It (or at least the ones worth seeing)
