Final Project: Thanksgiving Pupils

This project is an extension of my preview project People In Time-Pupil Stillness. I had essentially developed a technology for farther distance pupil detection. With this project I wanted to use it to capture something less performed and more organic.

With the opportunity of Thanksgiving last week, I decided to film my mother and grandmother during Thanksgiving dinner. My grandmother has some hearing issues so she is usually less engaged in conversation, I often view her as a fly on the wall. My mom is often also more on the reserved side during meals so I thought it could be interesting to put the spotlight on them.

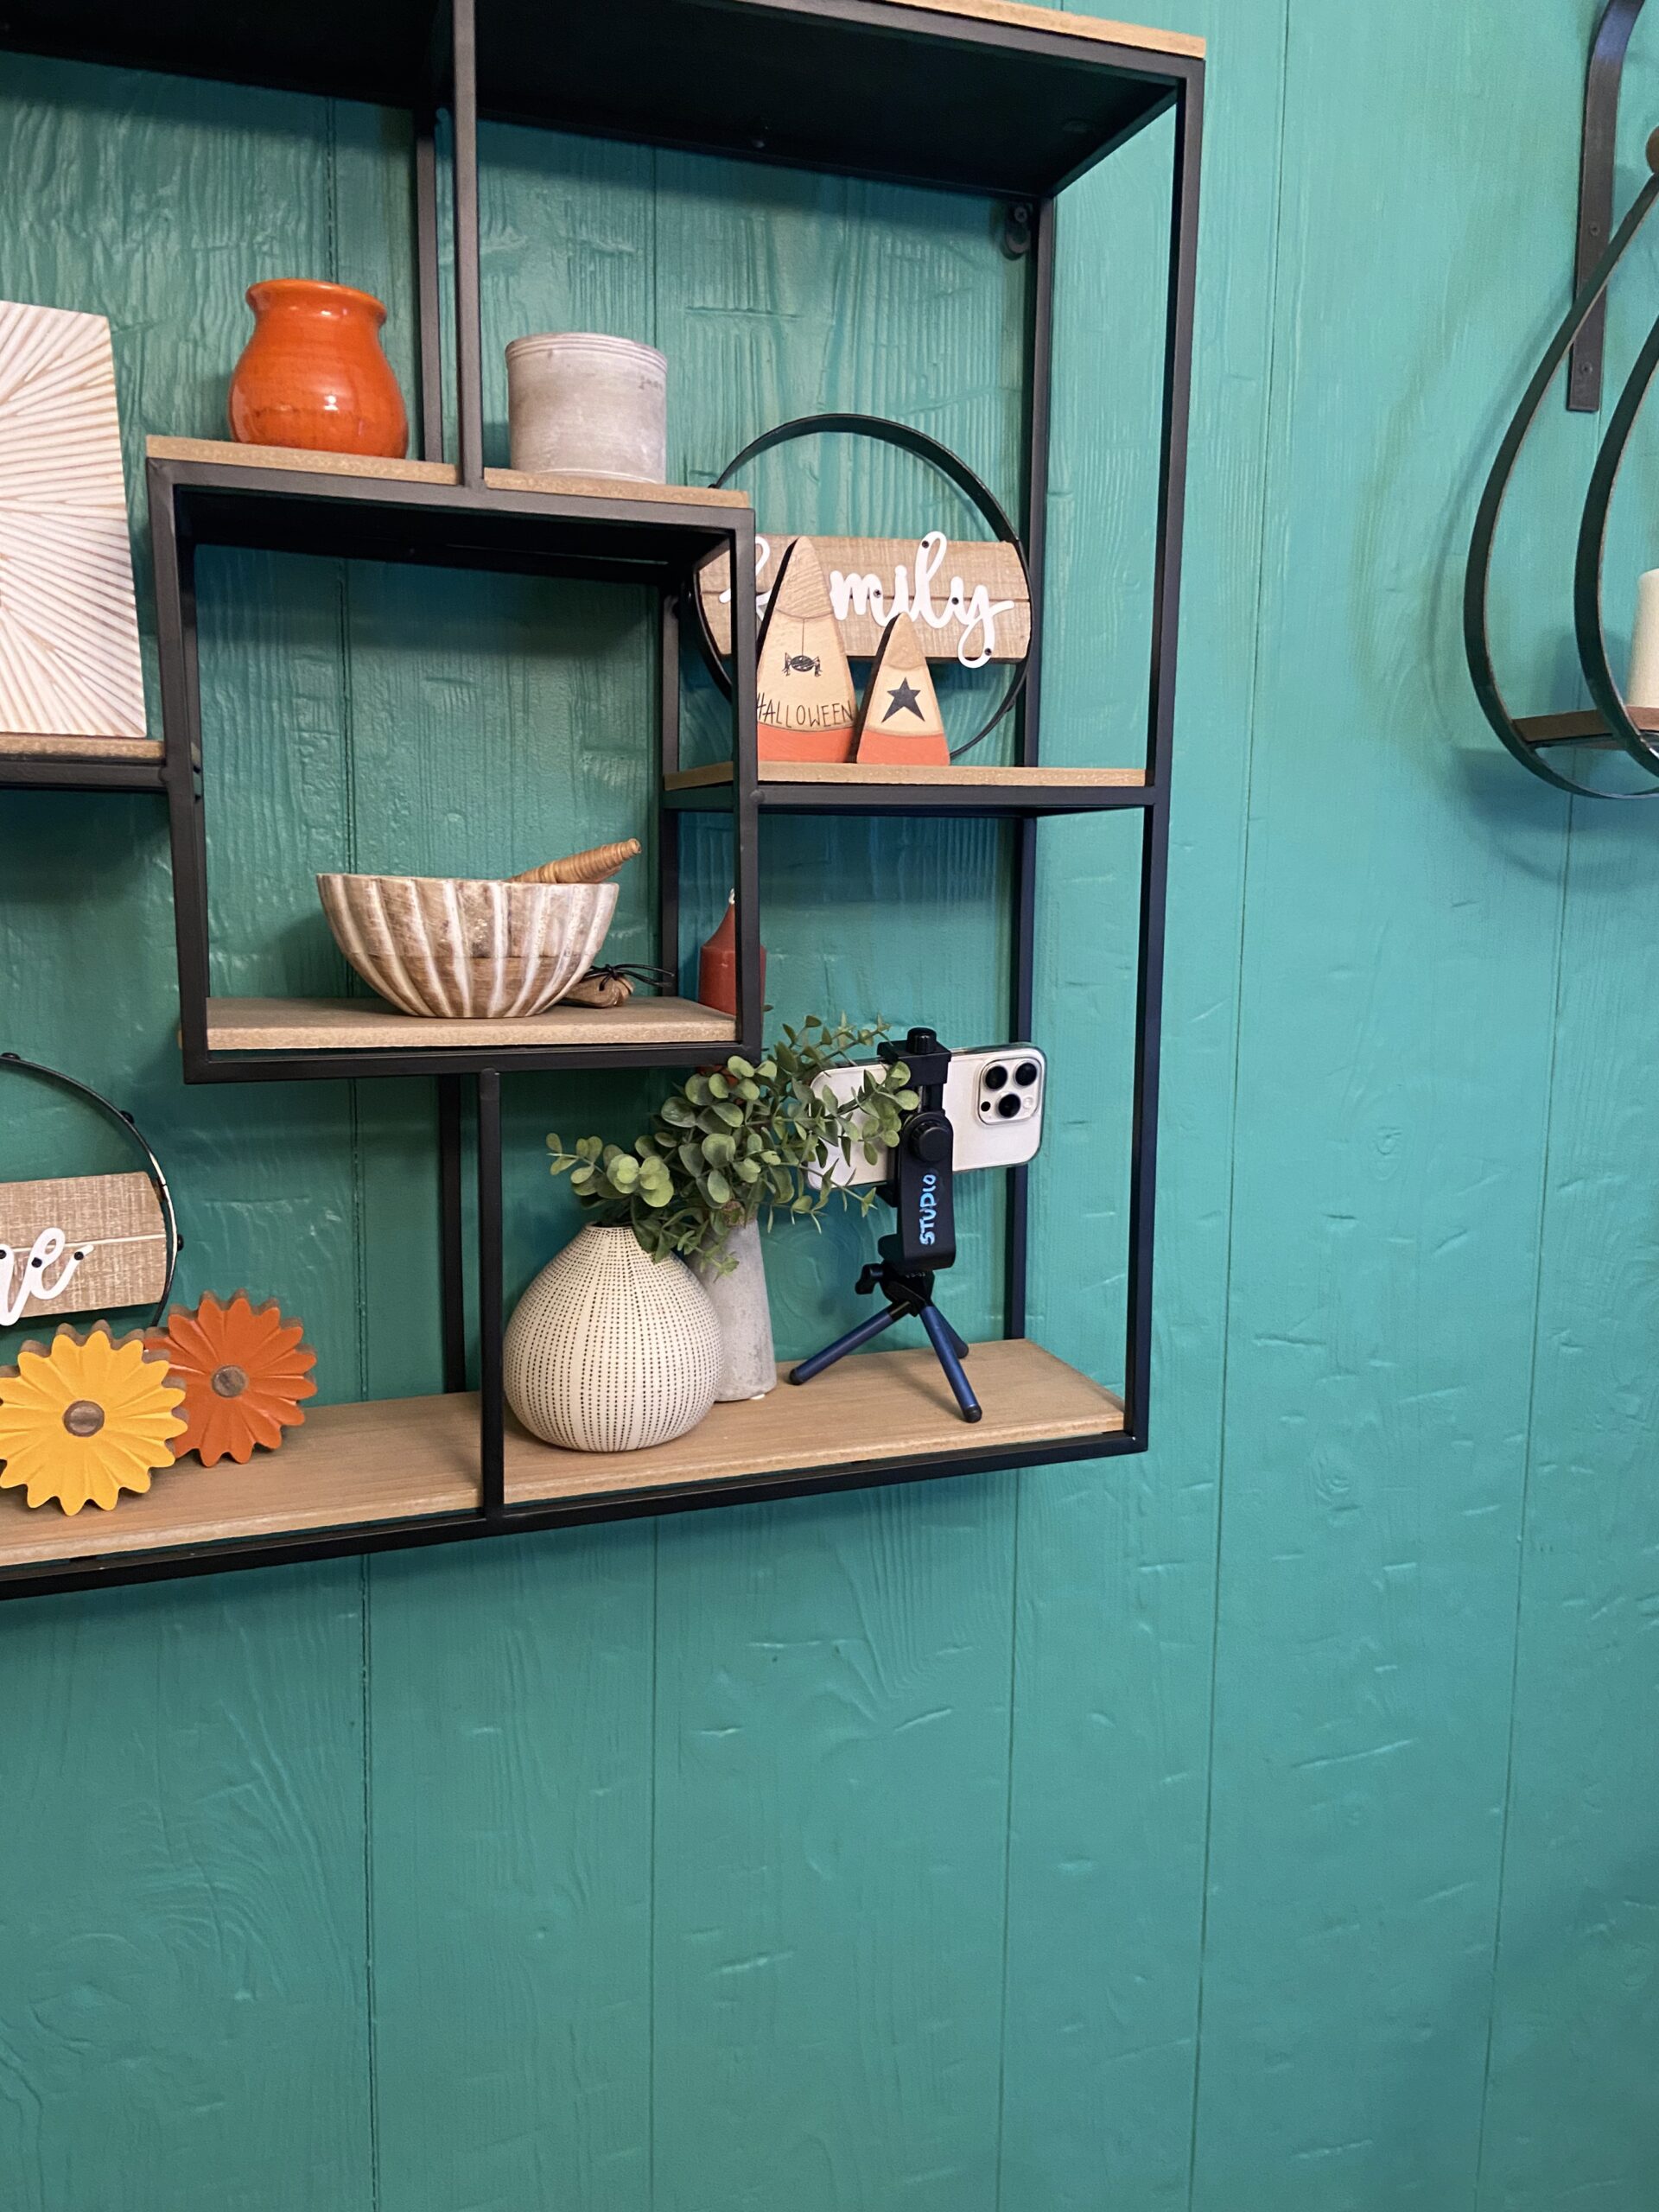
I set up two cameras 1 on a shelf zoomed in on my mom:

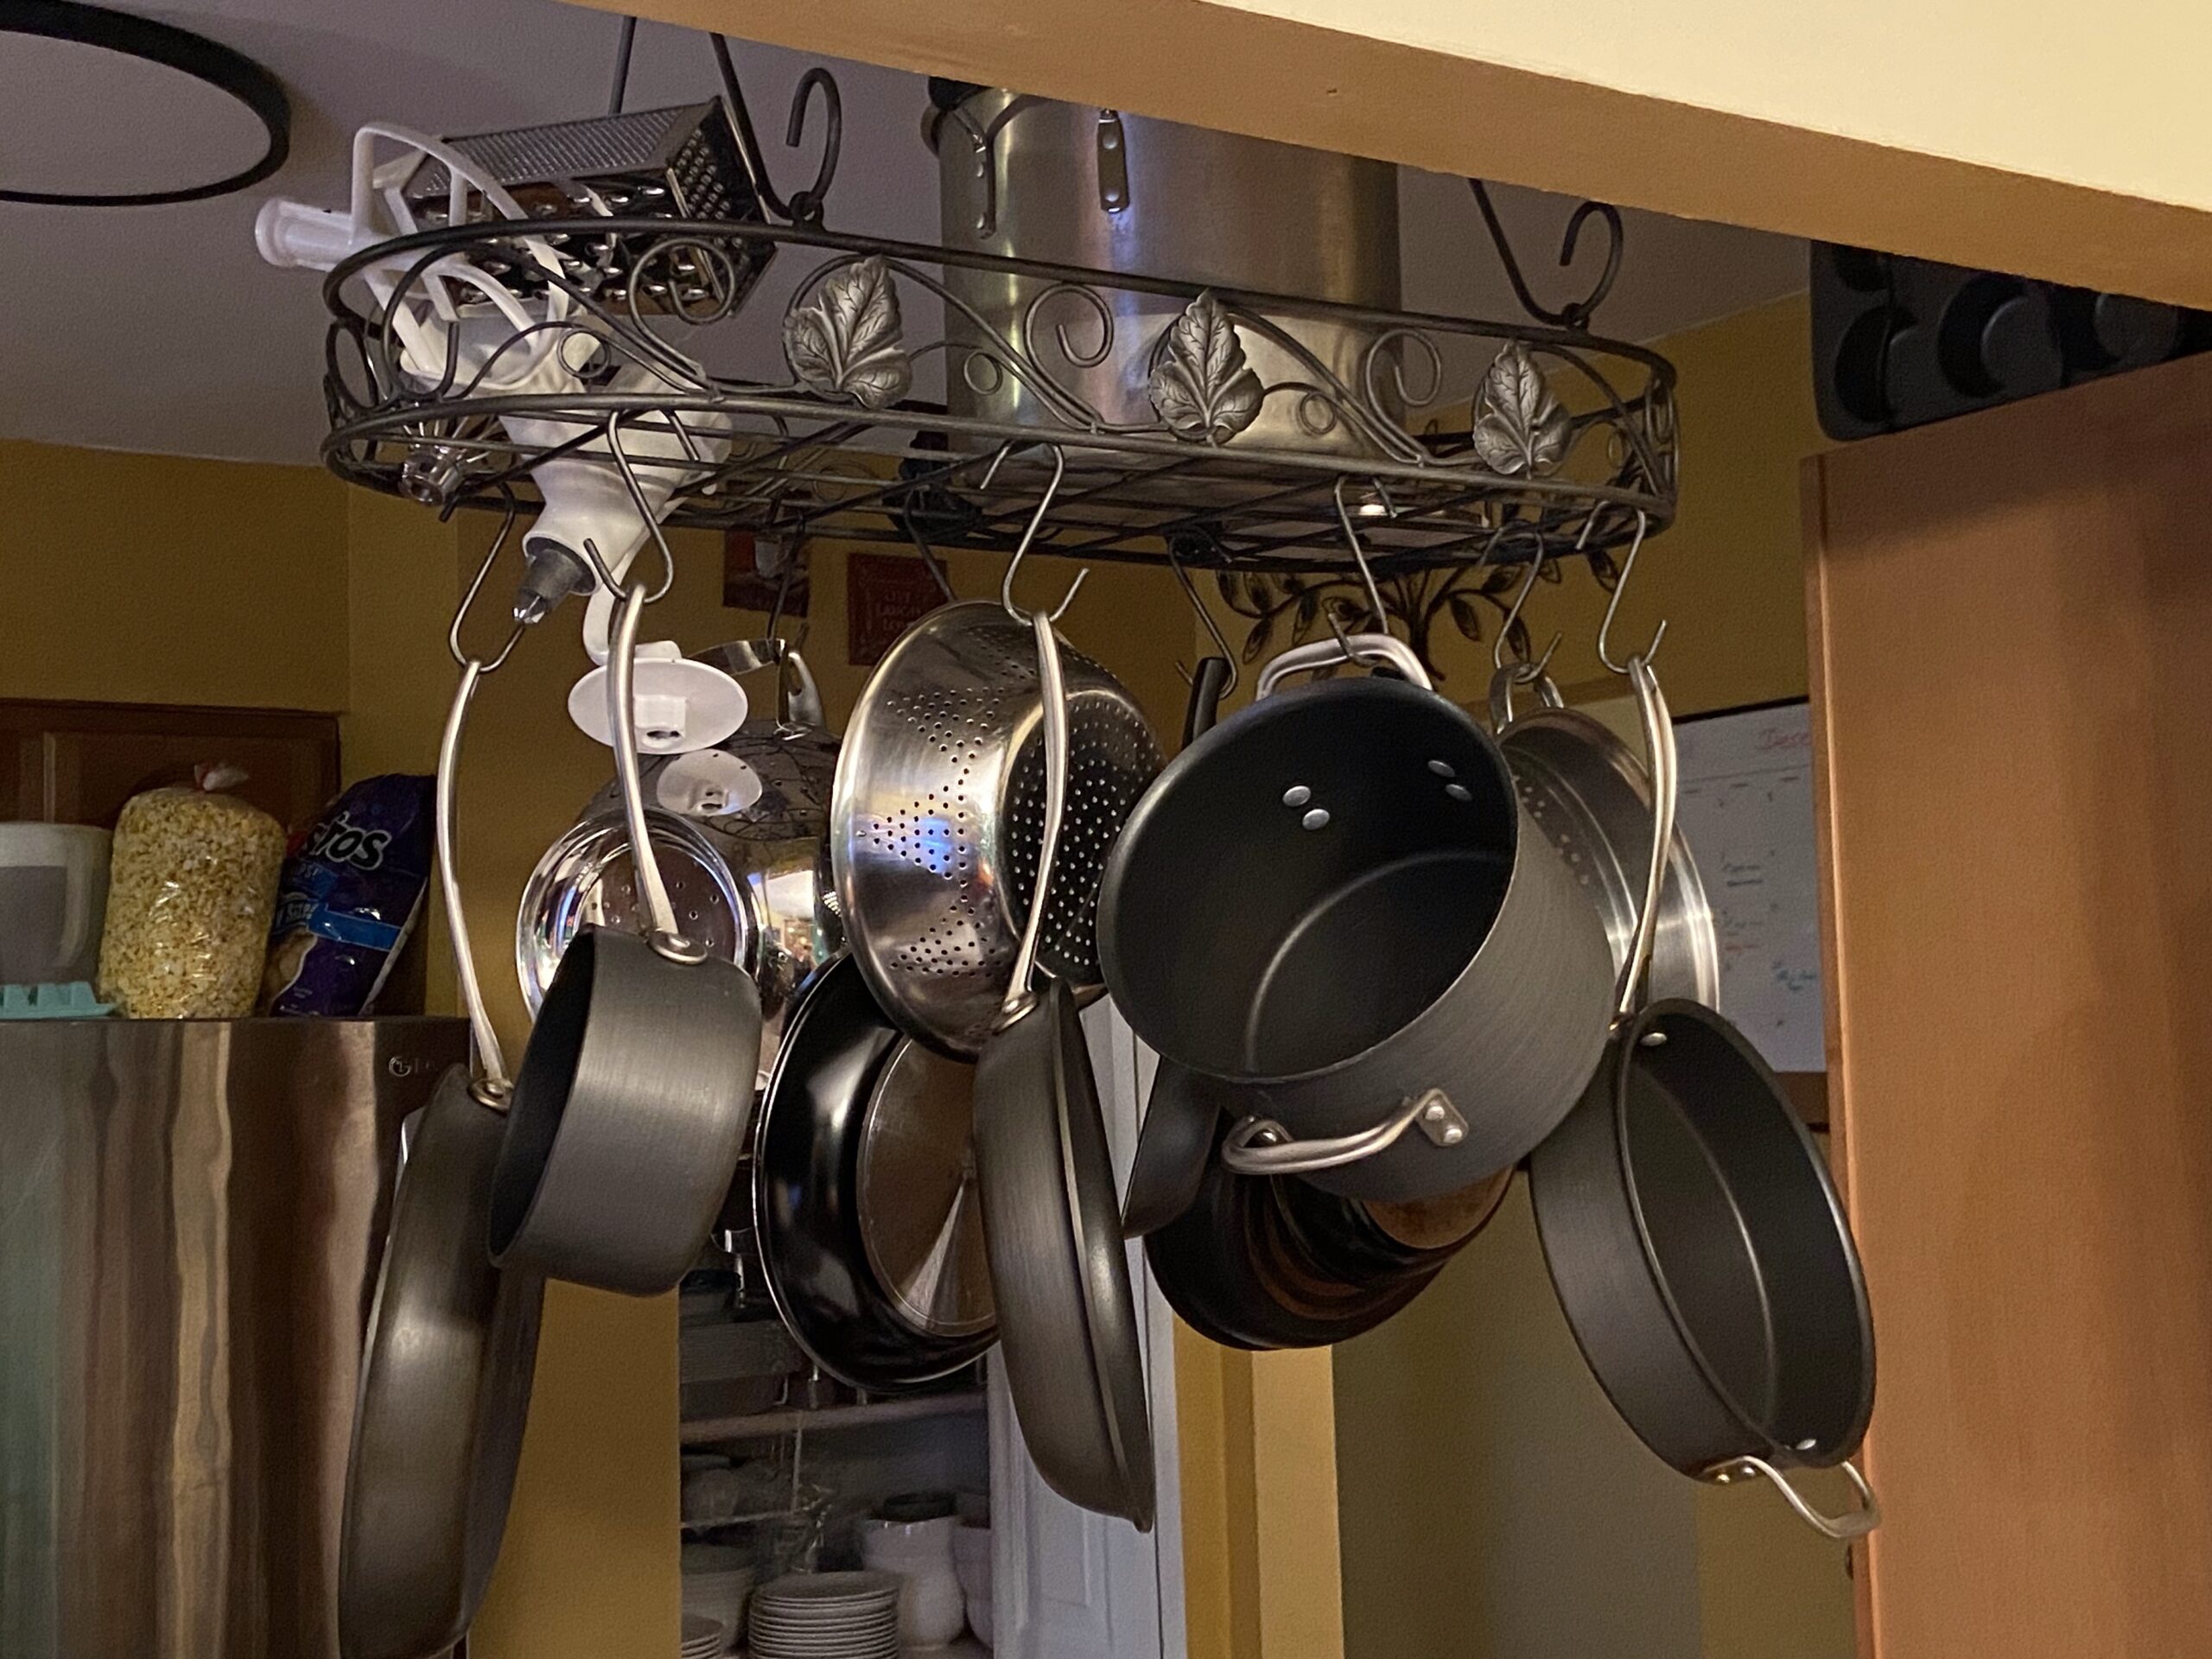
And another (which I forgot to photograph) that was hanging from the pots and pans holder using a magic arm.

No one noticed the cameras which was great because I didn’t want them to change their behavior from knowing they were being filmed.

Here is a side by side, 2 minute segment, centered and rotated in alignment with their eyes:

Extra if time:

drive link:
https://drive.google.com/file/d/1oq-m-V6lfHwxYX60Y2QresFYoX-9KRCF/view?usp=drive_link

Final Project Proposal

Idea 1: Thermal sunset/sunrise

Thermal Imaging Training with WildlifeTek - Training for Ecologists - Bat Conservation Trust

Can Heat Damage a Camera Lens? How Hot Is Too Hot? – joshweissphotography.com

My first idea is to capture the warmth of a sunrise or cooling of a sunset. I would essentially set up a regular camera and a thermal camera and capture the entire sunrise/sunset. I’d process the video as a time lapse and put them side by side. To expand on this and make it more ‘experimental’ I could also place an interesting object in the camera’s view, to see how its relative temperature changes over the course of the sunrise/sunset. One idea is a cup of ice in front of a sunset. You would expect the ice to melt, increasing in temperature, while the environment would be decreasing in temperature, which could create a cool effect.

Idea 2: Fractals in Nature

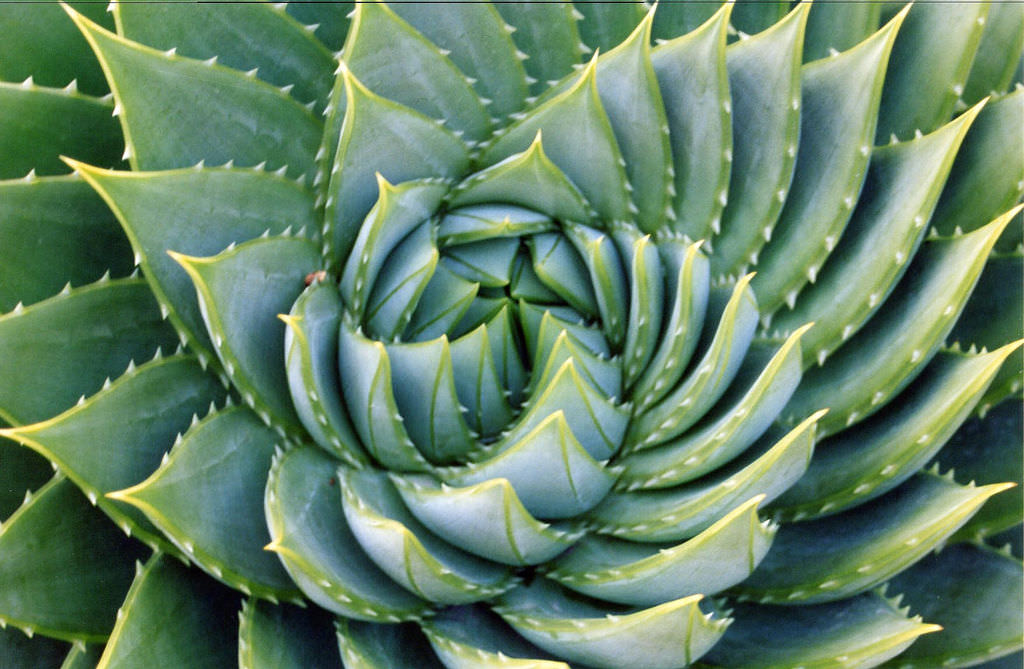
Fractals In Nature: Develop Your Pattern Recognition Skills

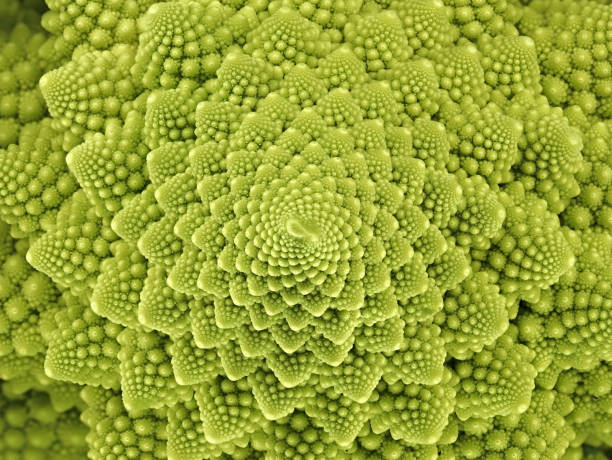
4,200+ Fractal Vegetable Stock Photos, Pictures & Royalty-Free Images - iStock

My second idea is to capture fractals in nature, both at a macro and microscopic level. I think it could be interesting to see/juxtapose a plant’s fractal shape with its microscopic structure. It could also be interesting to try to mathematically formalize this structure and create digital versions of these structures.

Pupil Stillness-People In Time Final

This project is inspired by changing our perception of things in motion. By fixing something moving to be still, we can see relative motion previously unperceived. This project explores this idea with human eyes. What does it look like for a person to move around the pupils in their eyes?

Pupil Detection

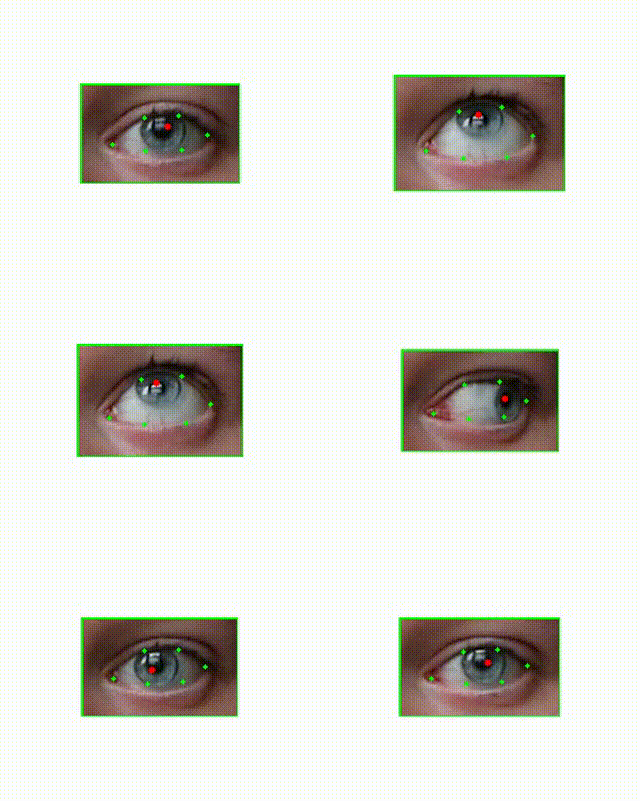
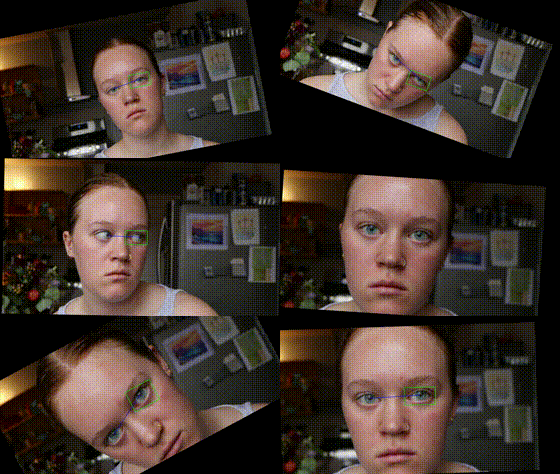
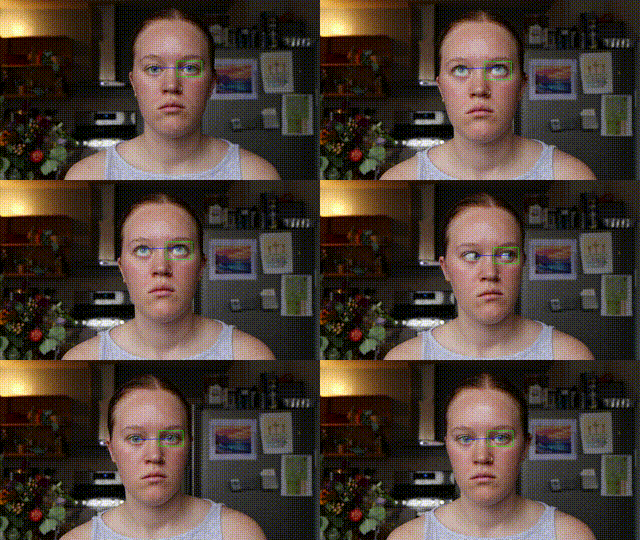
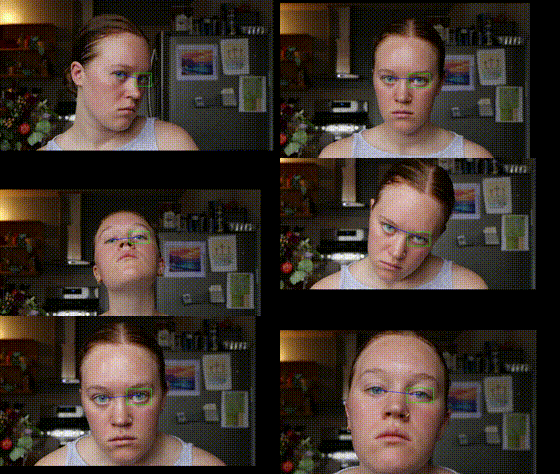
I knew I wanted video that extended beyond the eyeball, since the whole point was to see facial and head movements around the eye. I captured video that included the head and face and then used computer vision software to detect eye locations. Specifically, I used an open source computer vision library called dlib (https://github.com/davisking/dlib). This allowed my to detect the locations of the eyes. Once I had those points (shown in green), I then needed to detect the pupil location within these points. I was planning to use an existing piece of software for this but was disappointed with the results so I wrote my own software to predict pupil location. It essentially just looks for the darkest part of the eye. Noise and variability here are handled in later processing steps.

Centering

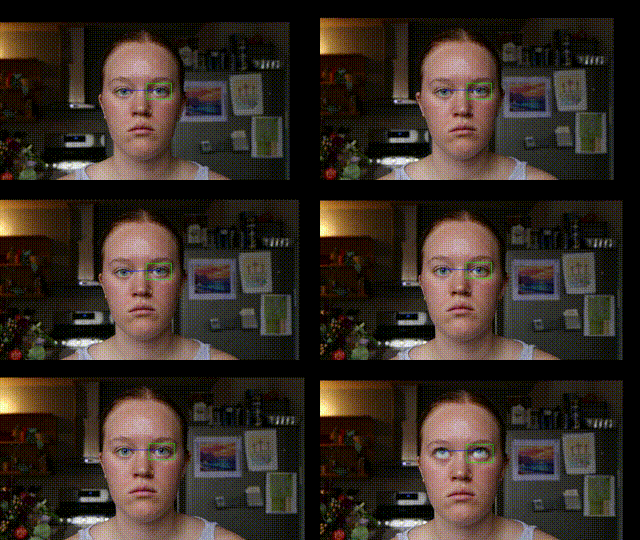
Once I processed the videos for the pupil locations, I had to decide how to use this data to further process the video. The two options were to 1. center the pupils of one of the eyes and 2. center the average of the two pupil locations. I tested both options. The first video below demonstrate using both eyes to center the image. I essentially took the line that connects both pupils and centered the middle point on this line. The second video is centered by the location of the right pupil only.

Centering by both eyes
Centering by a single eye (the right one)

The second option here (centering a single eye) showed to allow for a little more visible movement especially when tilting your head, so I continued with this approach.

Angle Adjustment
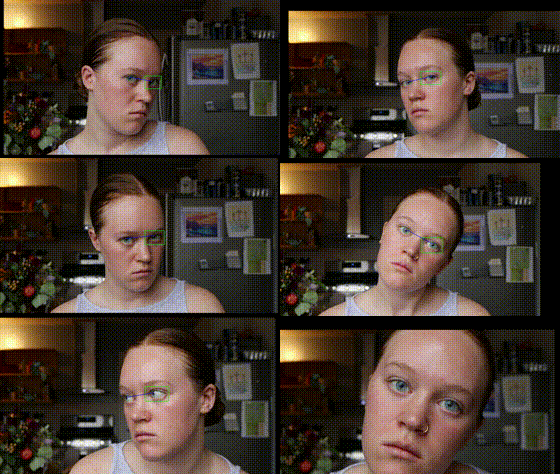
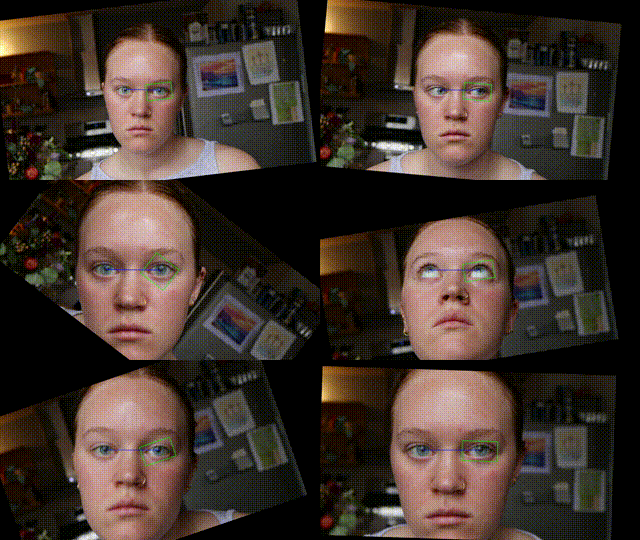
I was decently pleased with how this was looking but couldn’t help but wish there was some sense of orientation around the fixed eye. I decided to test out 3 different rotation transformations. Option 1 was to make no rotation/orientation transformation. Option 2 was to correct for the eye rotation. This mean ensuring that the line between the two pupils was always perfectly horizontal. This required rotating the frame the opposite direction of any head tilt. This looks like this:
This resulted in what looked like a fixed head with a rotating background. I cool effect but not exactly what I was going for. The 3rd option was to rotate the frame the same extent and direction as the eye tilt. This meant the frame of the original video was parallel with the eye tilt as opposed to the frame of the output video being parallel to the eye tilt. This looks like this:
This one gave the impression of the face swinging around the eye, which was exactly what I was going for.

Noise Reduction

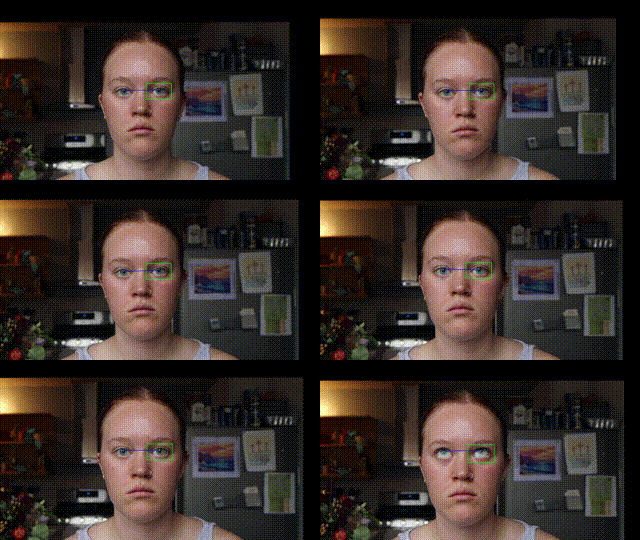
If we look back to the video of the eye from the pupil detection section above, you can see that there is a lot of noise in the location of the red dot. This because I opted to obtain some location in the pupil as opposed to calculating the center. The algorithms that do this require stricter environments i.e. close video shot by infrared cameras and I wanted the videos to be in color, so I wrote the software for this part myself. The noise that exists in the pupil location however, was causing small jitter movements in the output that weren’t related to the person’s movements, but rather the noise in the specific pupil location selected. To handle this, I essentially chose to take the pupil locations of every 3rd or 5th frame and interpolate the pupil locations for all the frames in between. This allowed for a much smoother video that still captured the movements of the person. Below is what the video looks like before and after pupil location interpolation.

Before Noise Reduction
After noise reduction

Final results:
https://youtu.be/9rVI8Eti7cY

Pupil Capture- Person In Time WIP

Pupil Tracking Exploration

I have two main ideas that would capture a person in time using pupil tracking and detection techniques.

1. Pupil Dilation in Response to Caffeine or Light

The first idea focuses on tracking pupil dilation as a measurable response to external stimuli like caffeine intake or changes in light exposure. By comparing pupil sizes before and after exposure to caffeine or varying light conditions, the project would aim to capture and quantify changes in pupil size and potentially draw correlations between stimulus intensity and pupil reaction.

2. Fixed Pupil Center with Moving Eye (The idea I am likely moving forward with)

Inspired by the concept of ‘change what’s moving and what’s still,’ this idea would create videos where the center of the pupil is always fixed at the center of the frame, while the rest of the eye and person moves around it.

Implementation Details

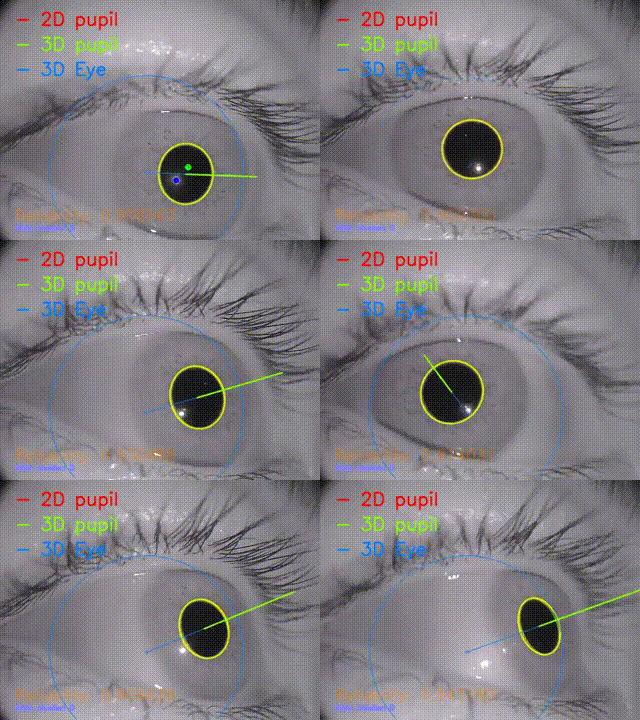
Both projects rely on an open-source algorithm that detects the pupil by fitting an ellipse to the pupil. Changes in pupil size will be inferred from the radius of the ellipse. The second idea will involve frame manipulation techniques to ensure that the center of the pupil/ellipse remains in the center of the image or video frame at all times.

https://github.com/YutaItoh/3D-Eye-Tracker

Temporal Capture- 3 Inspirations: Looking Outwards #4

  1. A capture of pupil dilation:

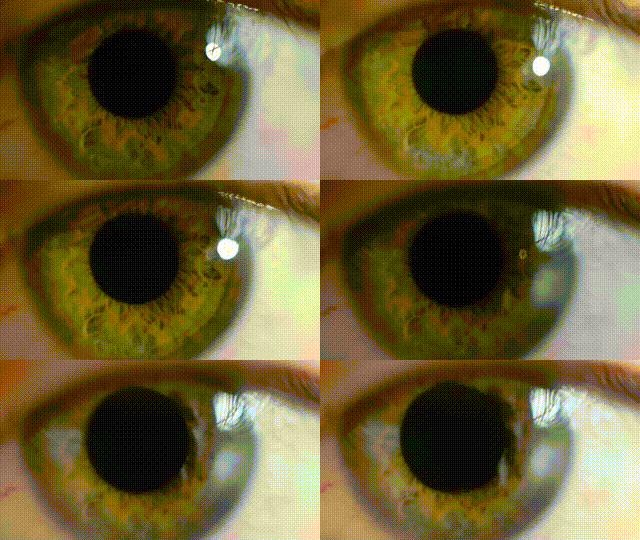
This is a simple capture of pupil dilation, I am interested in potentially capturing changes in pupil size with varying light exposures and/or caffeine levels.

2. A time lapse of a baseball game shot with the tilt shift:

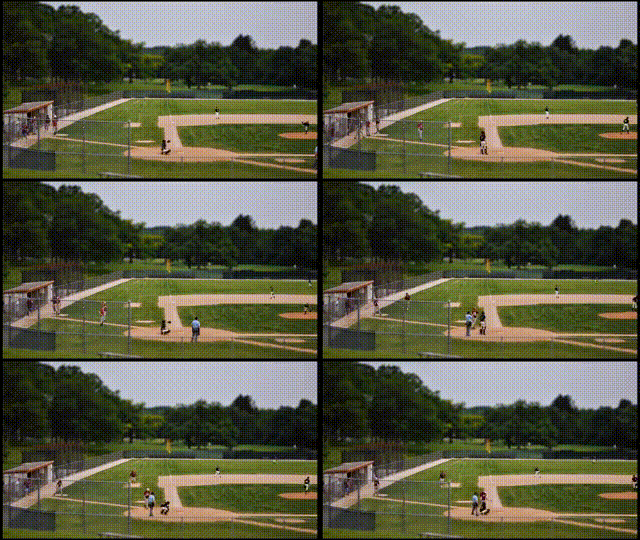
The person shot an entire baseball game with a tilt shift lens, and then converted it into a time lapse. This was essentially the exact same as an idea I had for using the tilt shift lens for this project, but I was going to potentially record a CMU football or volleyball game. It seems this idea is a bit unoriginal, but still good to see what was out there.

3. The use of a pupil detection/tracking algorithm:

This video demonstrates the work of a computer vision research project to enable fast and accurate eye tracking. If I proceed with capturing pupil dilation or eye motion this could be a great tool.

People as Palettes: A Typology Machine

How much does your skin color vary across different parts of your body?

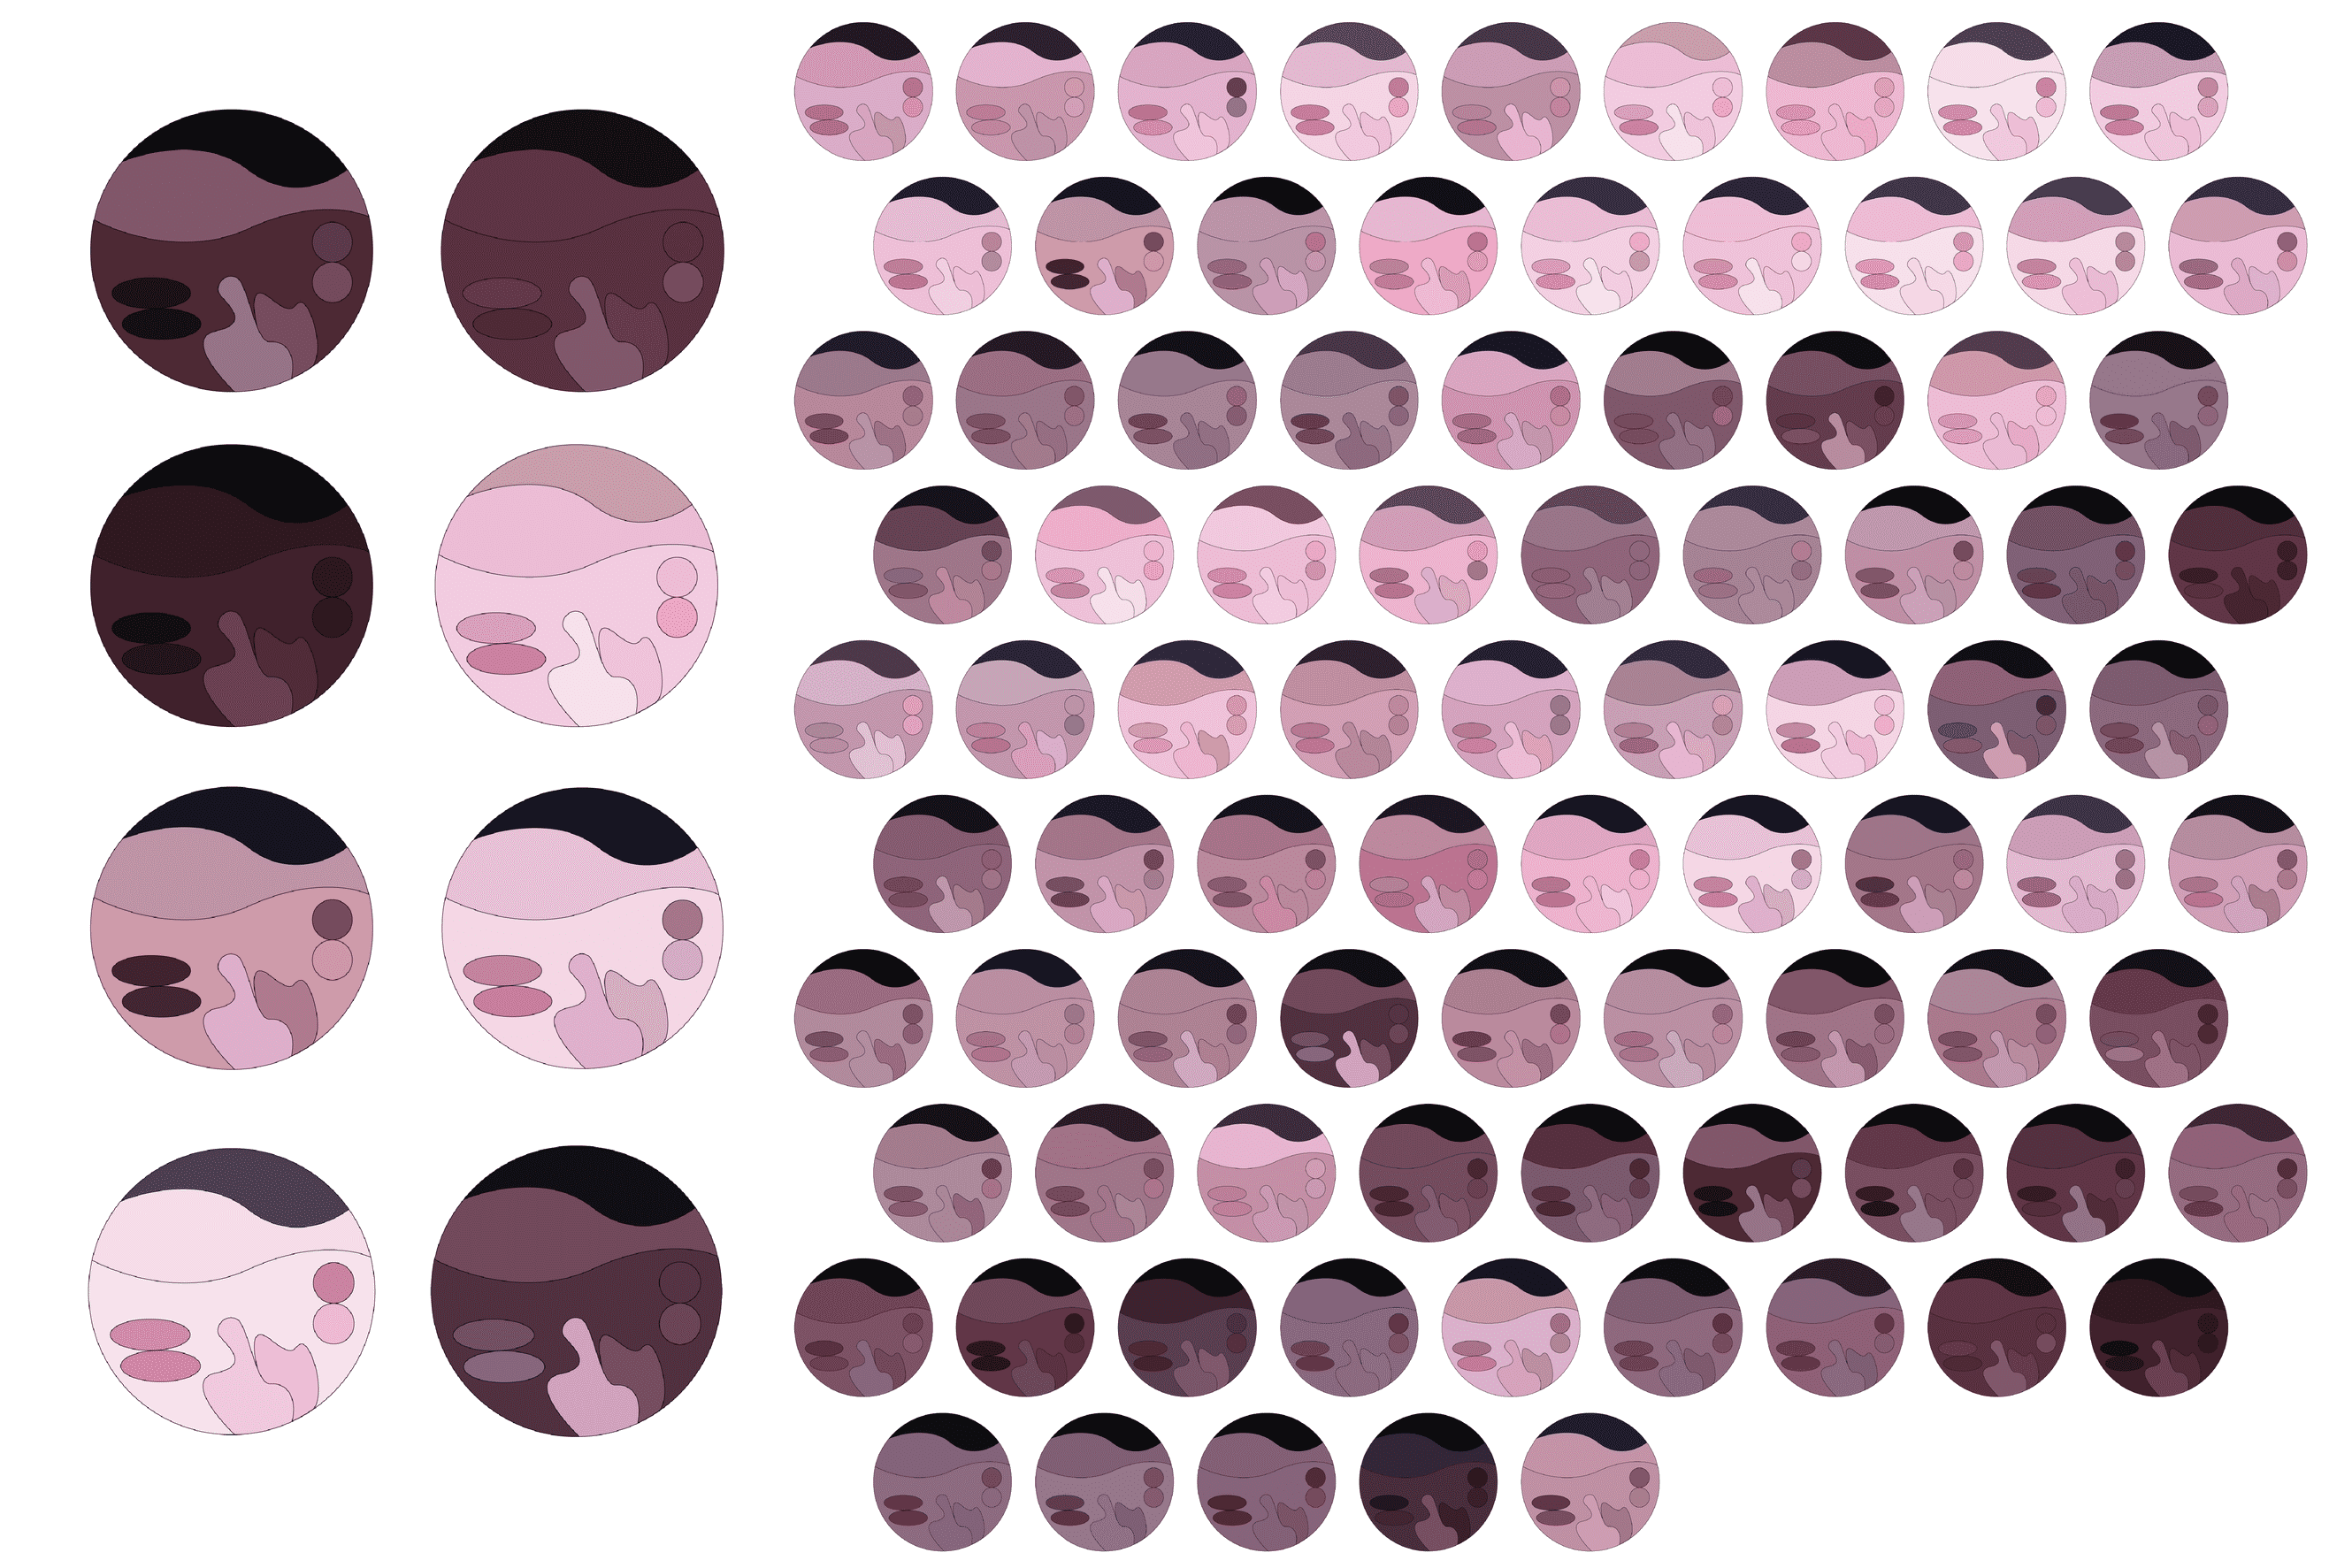
While most of us think of ourselves as having one consistent skin color, this typology machine aims to capture the subtle variations of skin tone within a single individual, creating abstract color portraits that highlight these differences.

I started this project by determining which areas of the body would be the focus for color data collection. To ensure comfort and encourage participation, I selected nine areas: the forehead, upper lip, lower lip, top of the ear (cartilage), earlobe, cheek, palm of the hand, and back of the hand. I also collected hair color data to include in the visuals.

I then constructed a ‘capture box’ equipped with an LED light and a webcam, with a small opening for participants to place their skin. This setup ensured standardized lighting conditions and a consistent distance from the camera. To avoid camera’s automatic adjustments to exposure and tint, I used webcam software that disabled color and lighting corrections, allowing me to capture raw and unfiltered skin tones.

Box building and light testing:

Next, I recruited 87 volunteers and asked each to have six photos taken that would allow me to capture the 9 specific color areas. The photos included front and back of their hands, forehead, ear, cheek, and mouth.

Once the images were collected, I developed an application to allow me to go through each photo, select a 10×10 pixel area and identified the corresponding body part. The color data was then averaged across the 100 pixels, labeled accordingly, and stored in a JSON file, organized by participant and skin location.

A snippet of the image labeling and color selection process:

Using Adobe Illustrator, I wrote another script to map the captured color values into colors in an abstract designs, creating a unique image for each person.

The original shape in Adobe Illustrator and three examples of how the colors where mapped.
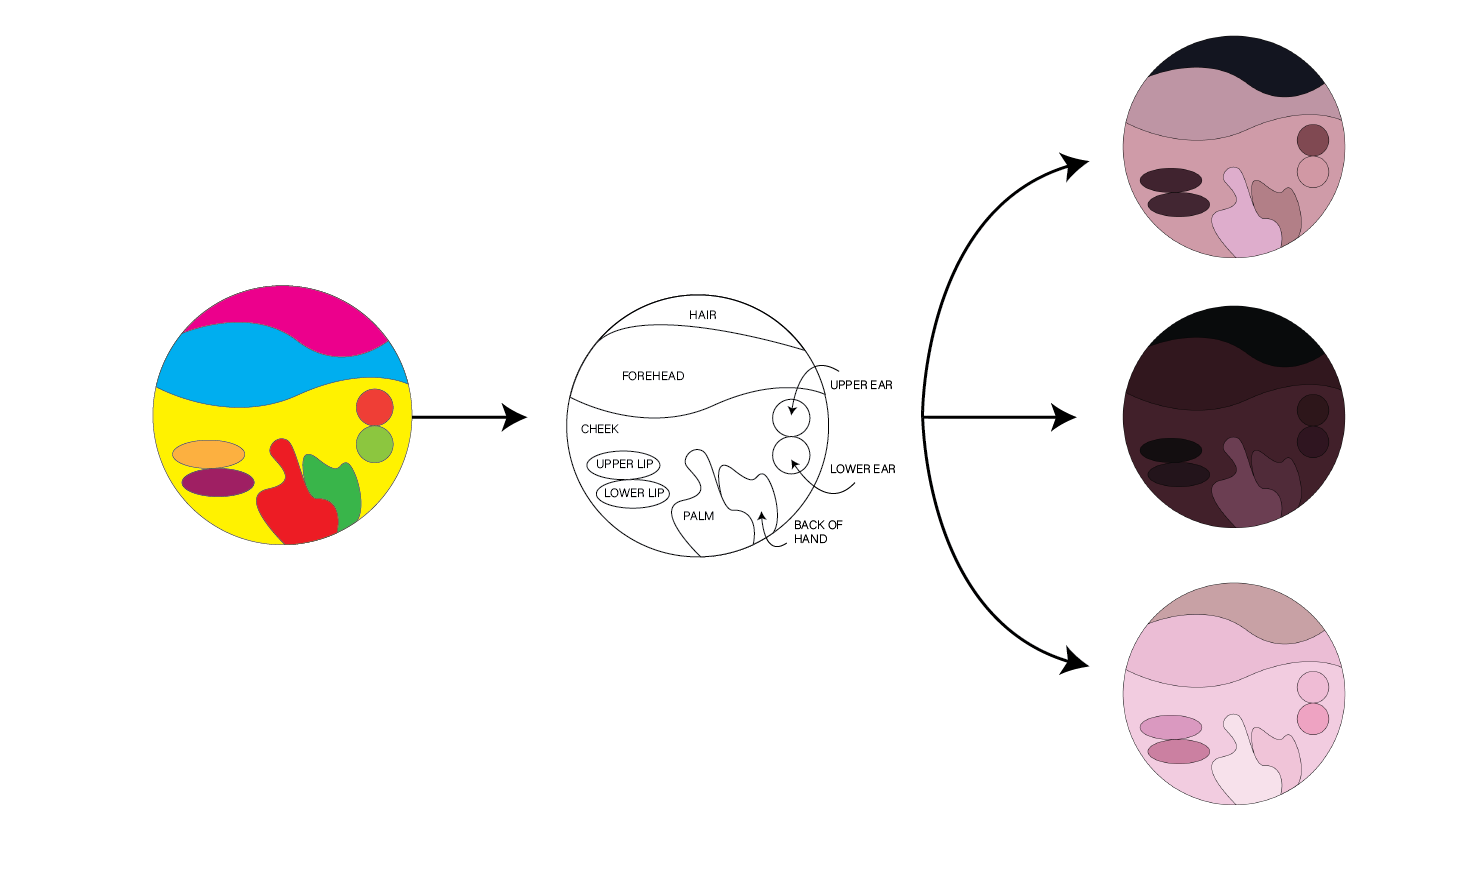
Overall, I’m pleased with the project’s outcome. The capture process was successful, and I gained valuable experience automating design workflows. While I didn’t have time to conduct a deeper analysis of the RGB data, the project has opened opportunities for further exploration, including examining patterns in the collected color data.

A grid-like visual representation of the entire dataset:

Skin Tone Variation Typology Machine

The main idea is to create a typology documenting the variation in skin tones across different parts of the human body.

I plan to use a photography setup that includes standardized lighting and camera settings to capture photos of different body parts: the face, hands, feet, etc. This ensures that the lighting and exposure are consistent across all photos, emphasizing differences in skin tone, brightness, contrast etc.

I plan to use image processing software, extract RGB values or other color data from each image. These values will then be plotted on a color grid, showing the skin tone range for each person.

I plan to present the collection of these colors in grid format for comparison between individuals, highlighting the diversity in skin tones even within one person. They can be sorted or ordered by greatest to least contrast, color hues, or something else that becomes apparent from the data

An example for what it might look like for one person:

Pocket Postulating- iNaturalist, Ghost Vision, ZIG SIM

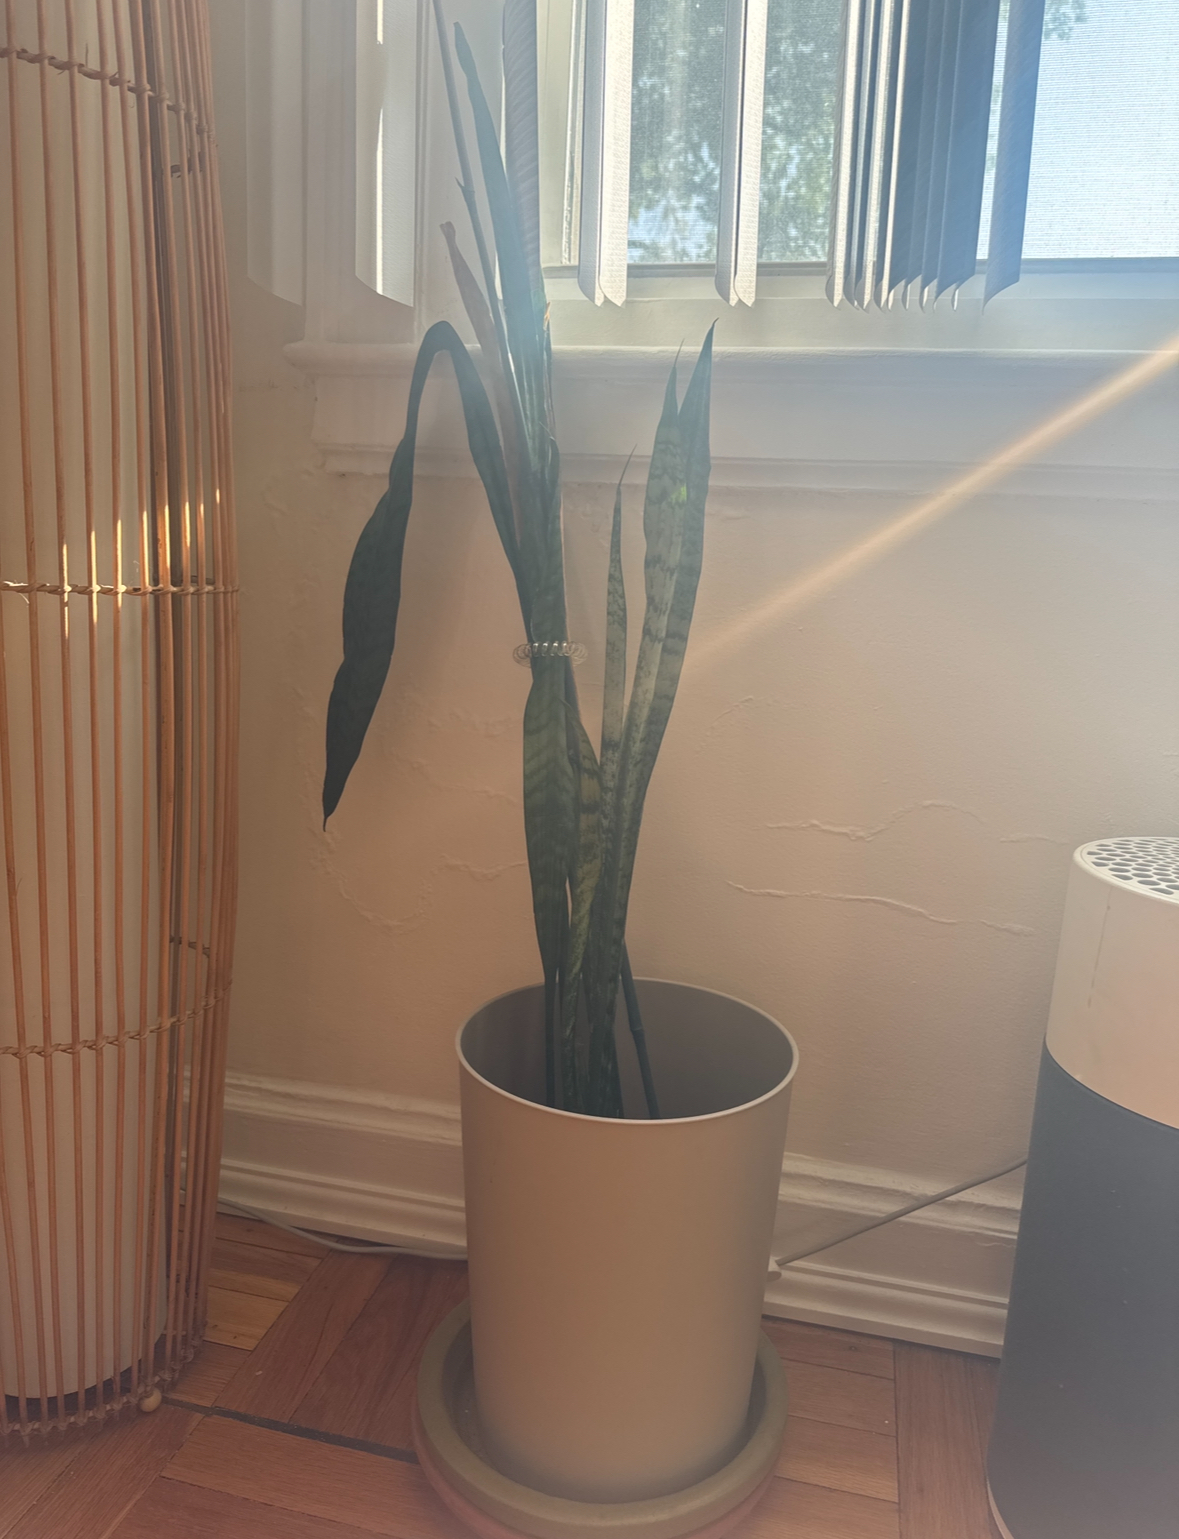
iNaturalist is a mobile app that uses image recognition technology to identify the plants and animals around you. I snapped a photo of two plants in my apartment, a basil plant and what I learned to be known as a Mother-In-Law’s Tongues! The app identified the plants and offered information about them.

Ghost Vision uses machine vision to detect human figures in real time providing skeletal data of the person in-view. It can even detect multiple people at once. I snapped a picture of myself in the mirror to try this out!

ZIG SIM uses data from a ton of different sensors in your phone to allow you to obtain a ton of different metrics. You can measure things like touch radius, pressure, mic level, gps, etc. Below are screenshots of me trying out the gravity and compass features!

Looking Outwards #3-Spectre Camera

Spectre is a paid artificial intelligence camera app designed to take long-exposure photos. Specter can remove people from your images by setting a medium or long shot duration.

At night you can use it for light painting or creating light trails from traffic. The Spectre camera saves live photos letting you choose the best frame or save your shot as a video clip.

The built-in image stabilization allows you to shoot sharp shots handheld. So you do not need a tripod to smooth out water and clouds like you would with a DSLR.

This is a free app for three- and five-second exposures. But you have to pay for the pro version that lets you take exposures up to 30 seconds.

https://spectre.cam/

7 Best AI Camera Apps in 2024 (For iOS and Android)

Photography and Science-Reading 1

It was fascinating to learn about the practical and scientific uses of photography, especially how it contrasts with the casual way we use it today. In the past, photography wasn’t just about capturing memories or sharing moments on social media; it was a crucial tool for scientific discovery and documentation. The use of photographic emulsions, for example, enabled scientists to capture phenomena like X-rays and distant celestial bodies, allowing them to study and analyze things that were invisible to the naked eye. This historical perspective highlights how photography was once a specialized, precise tool for exploration and knowledge.

One artistic opportunity made possible by scientific approaches to imaging is the ability to visualize and explore things beyond the reach of the naked eye, which significantly expands our creative potential. Innovations like X-ray, infrared, and microscopic imaging allow us to see the world in entirely new ways, revealing hidden structures and patterns that were previously invisible. This not only broadens our understanding of the world but also fuels our visual imagination, opening up new realms of creativity. By making the unseen visible, these advancements inspire artists to explore and reinterpret the natural world in ways that were once unimaginable. For example, a fashion designer takes images of what fabric looks like under a microscope and makes a collection with these images blown up and printed on the fabrics they use.

The more we know, the more we realize we don’t know, and the more we can imagine as artists.