Final Project Draft: Bridge Typology Revision

For my final I decided to build upon my typology from the beginning of the semester. If you’re curious, here’s the link to my original project.

In short, I captured the undersides of Pittsburgh’s worst bridges through photogrammetry. Here’s a few of the results.


For the final project, I wanted to revise and refine the presentation of my scans and also expand the collection with more bridges. Unfortunately, I spent too much time worrying about taking new captures/better captures that I didn’t focus as much as I should have on the final output, which I wanted to ideally be either augmented reality experience, or a 3d walkthrough in Unity. That being said, I do have a very rudimentary (emphasis on rudimentary) draft of the augmented reality experience.

https://www.youtube.com/watch?v=FGTCfdp8x4Q

(Youtube is insisting that this video be uploaded as a short so it won’t embed properly)

As I work towards next Friday, there’s a few things I’d like to still implement. For starters, I want to add some sort of text that pops up on each bridge that has some key facts about what you’re looking at. I also currently don’t have an easy “delete” button to remove a bridge in the UI, but I haven’t figured out how to do that yet. Lower on the priority list would be to get a few more bridge captures, but that’s less important than the app itself at this point. Finally, I cannot figure out why all the bridges are somewhat floating off the ground, so if anyone has any recommendations I’d love to hear them. 

I’m also curious for feedback if this is the most interesting way to present the bridges. I really like how weird it is to see an entire bridge just like, floating in your world where the bridge doesn’t belong, but I’m open to trying something else if there’s a better way to do it. The other option I’m tossing around would be to try some sort of first person walkthrough in unity instead of augmented reality.

I just downloaded Unity on Monday and I think I’ve put in close to 20 hours trying to get this to work over 2.5 days… But after restarting 17 times I think I’ve started to get the hang of it. This is totally out of my scope of knowledge, so what would have been a fairly simple task became one of the most frustrating experiences of my semester. So further help with Unity would be very much appreciated, if anyone has the time!! If I see one more “build failed” error message, I might just throw my computer into the Monongahela. Either way, I’m proud of myself that I have a semi functioning app at all, because that’s not something I ever thought I’d be able to do. 

Thanks for listening! Happy end of the semester!!!!

Final-ish Project: Portable Camera Obscura!!!!

In this project, I built a portable camera obscura.

Quick Inspo:

Abelardo MorellCamera Obscura, View of Lower Manhattan, Sunrise, 2022

Camera Obscura- View of the Florence Duomo in Tuscany President’s Office in Palazzo Strozzi Sacrati, Italy, 2017

He makes these awesome full-room camera obscuras in his home and even hotel rooms.

I was particularly inspired by his terrain works, where he uses natural terrains and camera obscuras to mimic impressionist paintings.

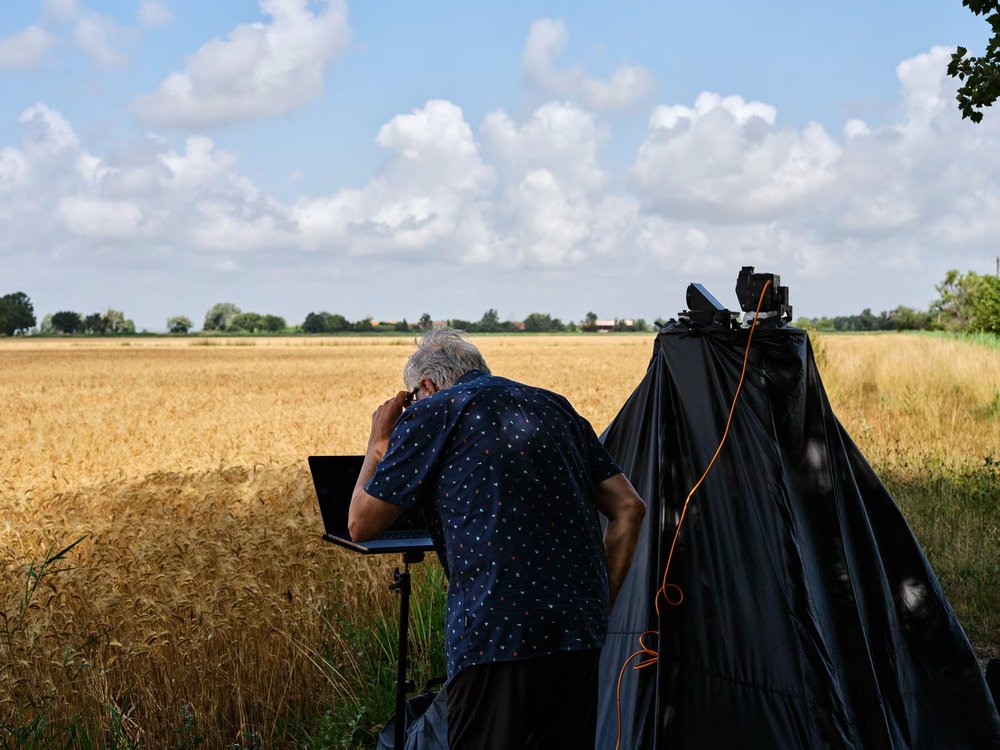
Tent-Camera Image: Lavender Field, Lioux, France, 2022

FranceProduction_ReducedSize_Image01.jpg

This was motivated because I intend to use it in part of a longer-term project. Eventually, I want to get it to the level where I can record clear live videos through this.

This served as my first attempt at making a prototype.

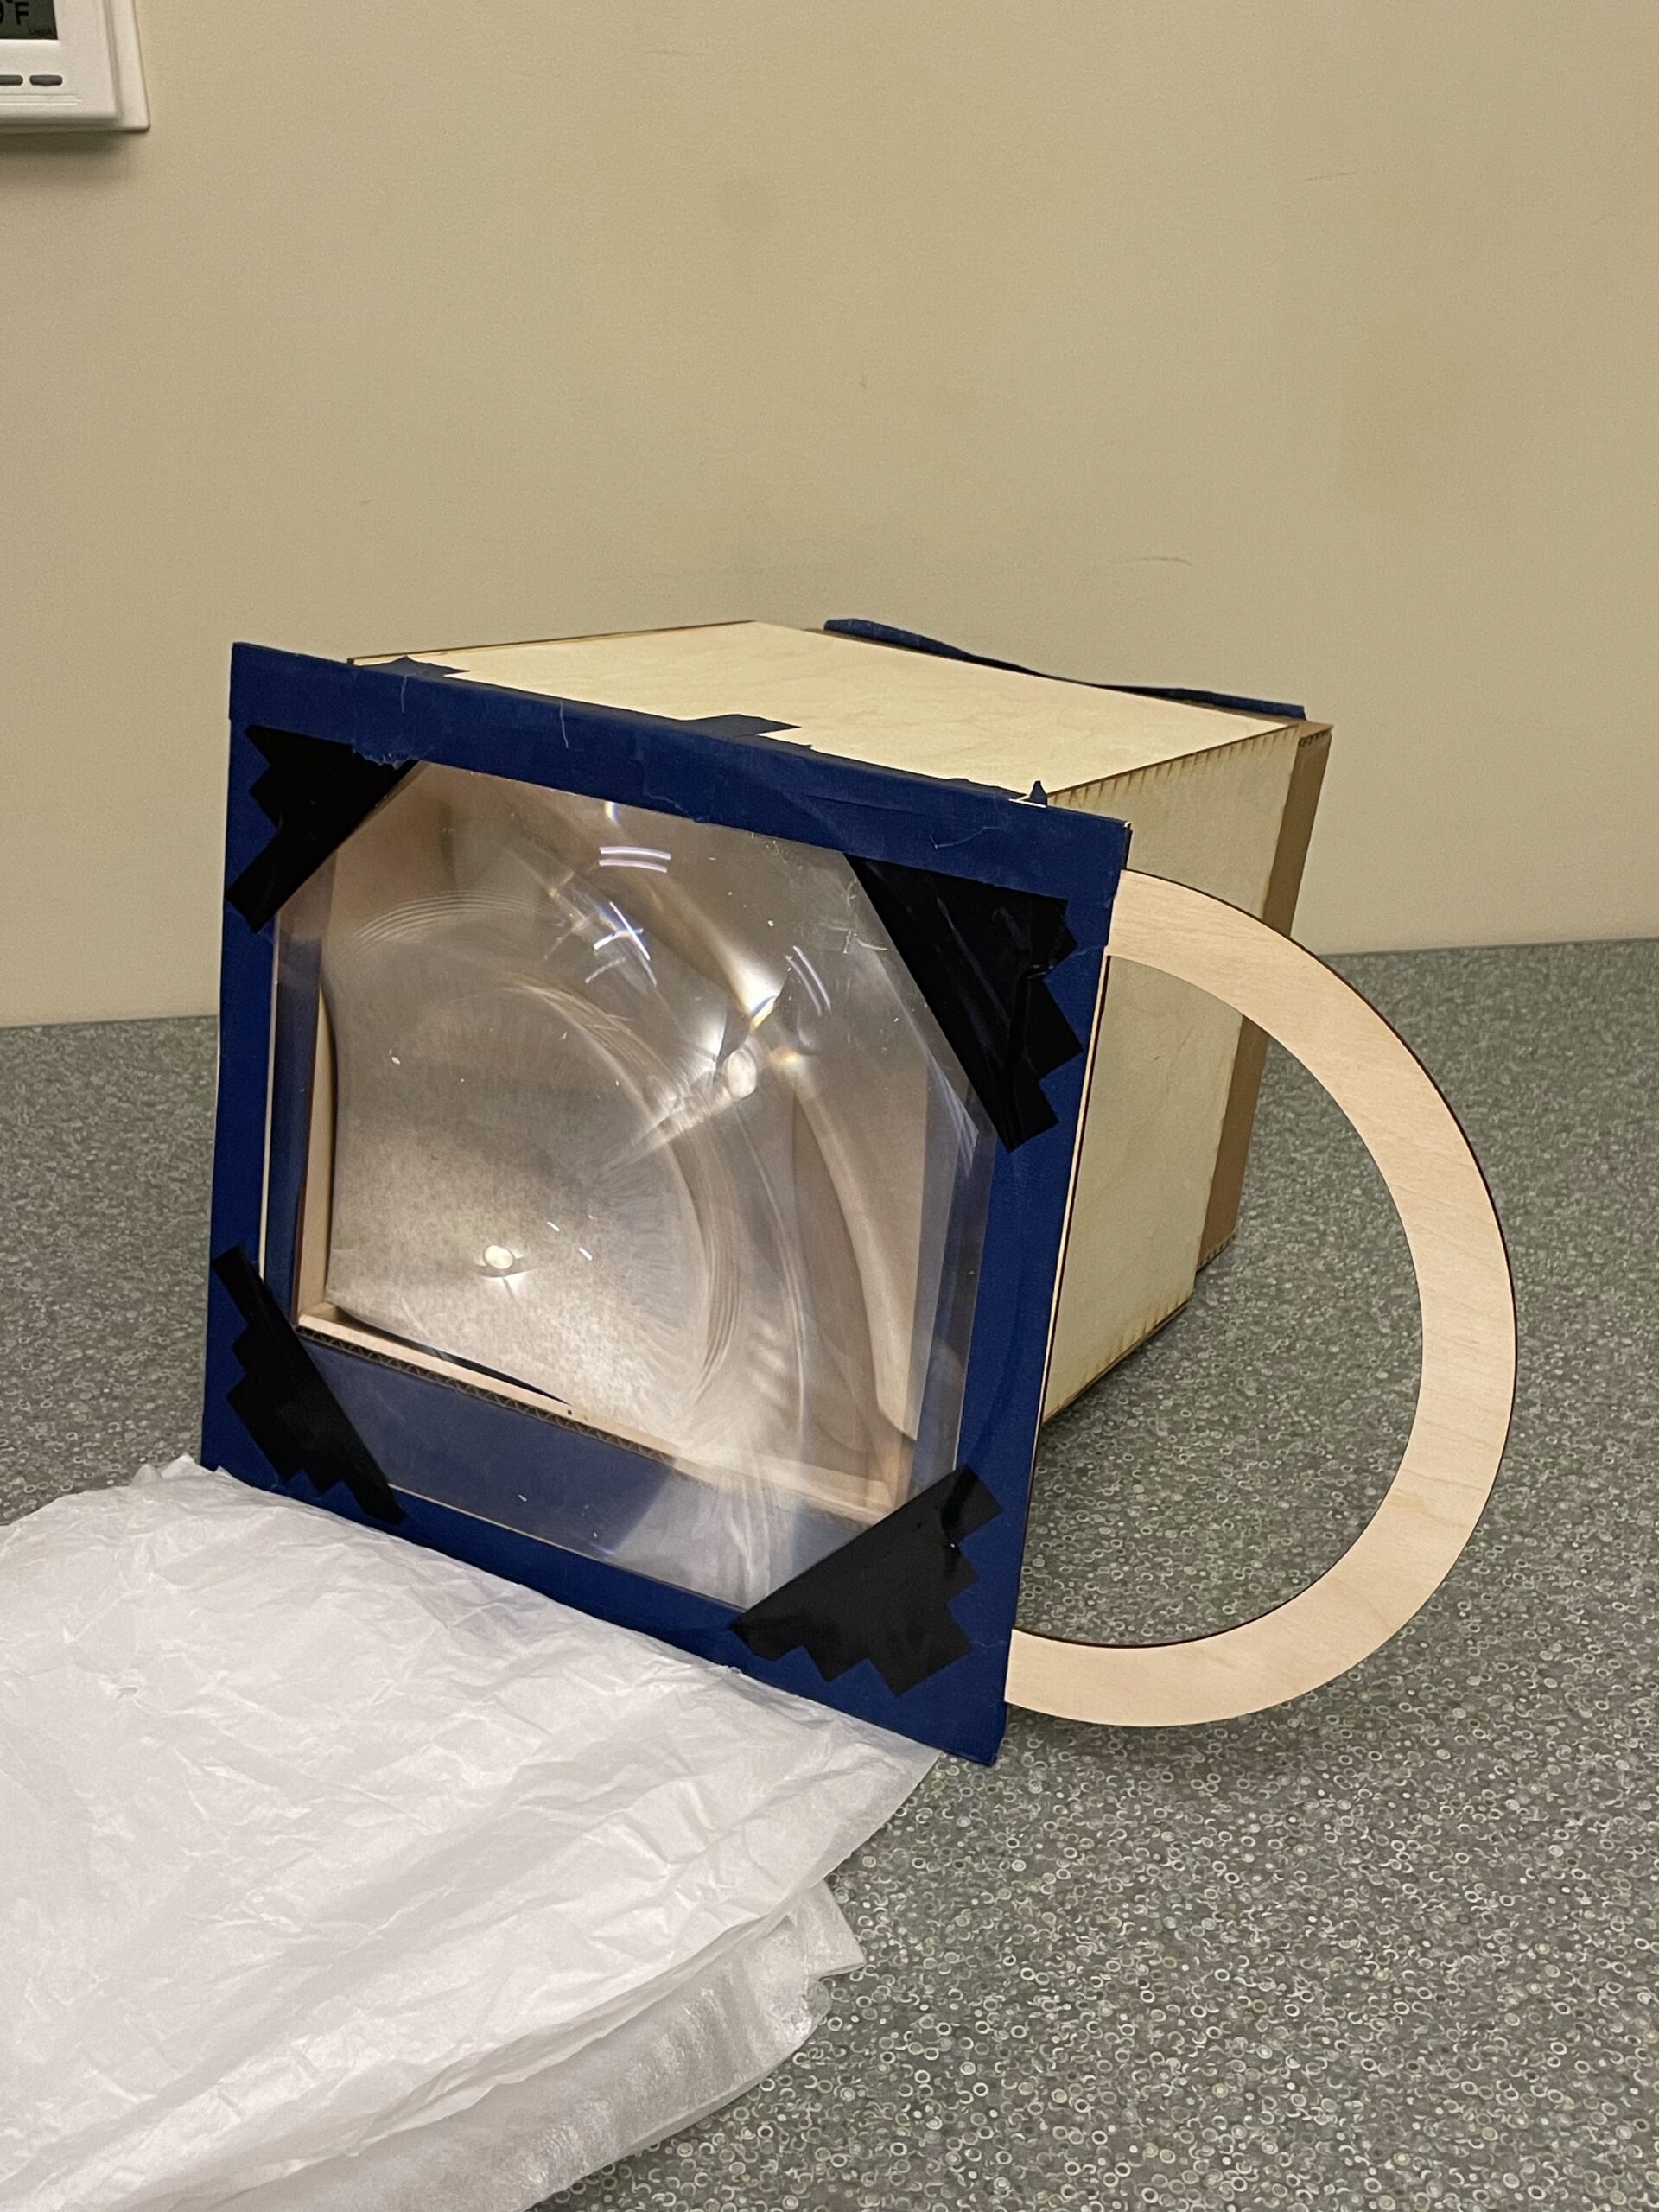
I was given a fresnel lens with a focal length of 200mm but in my research, this would also work with a common magnifying glass. The only downside of this kind of substitution seemed to be that it would produce a less sharp image.

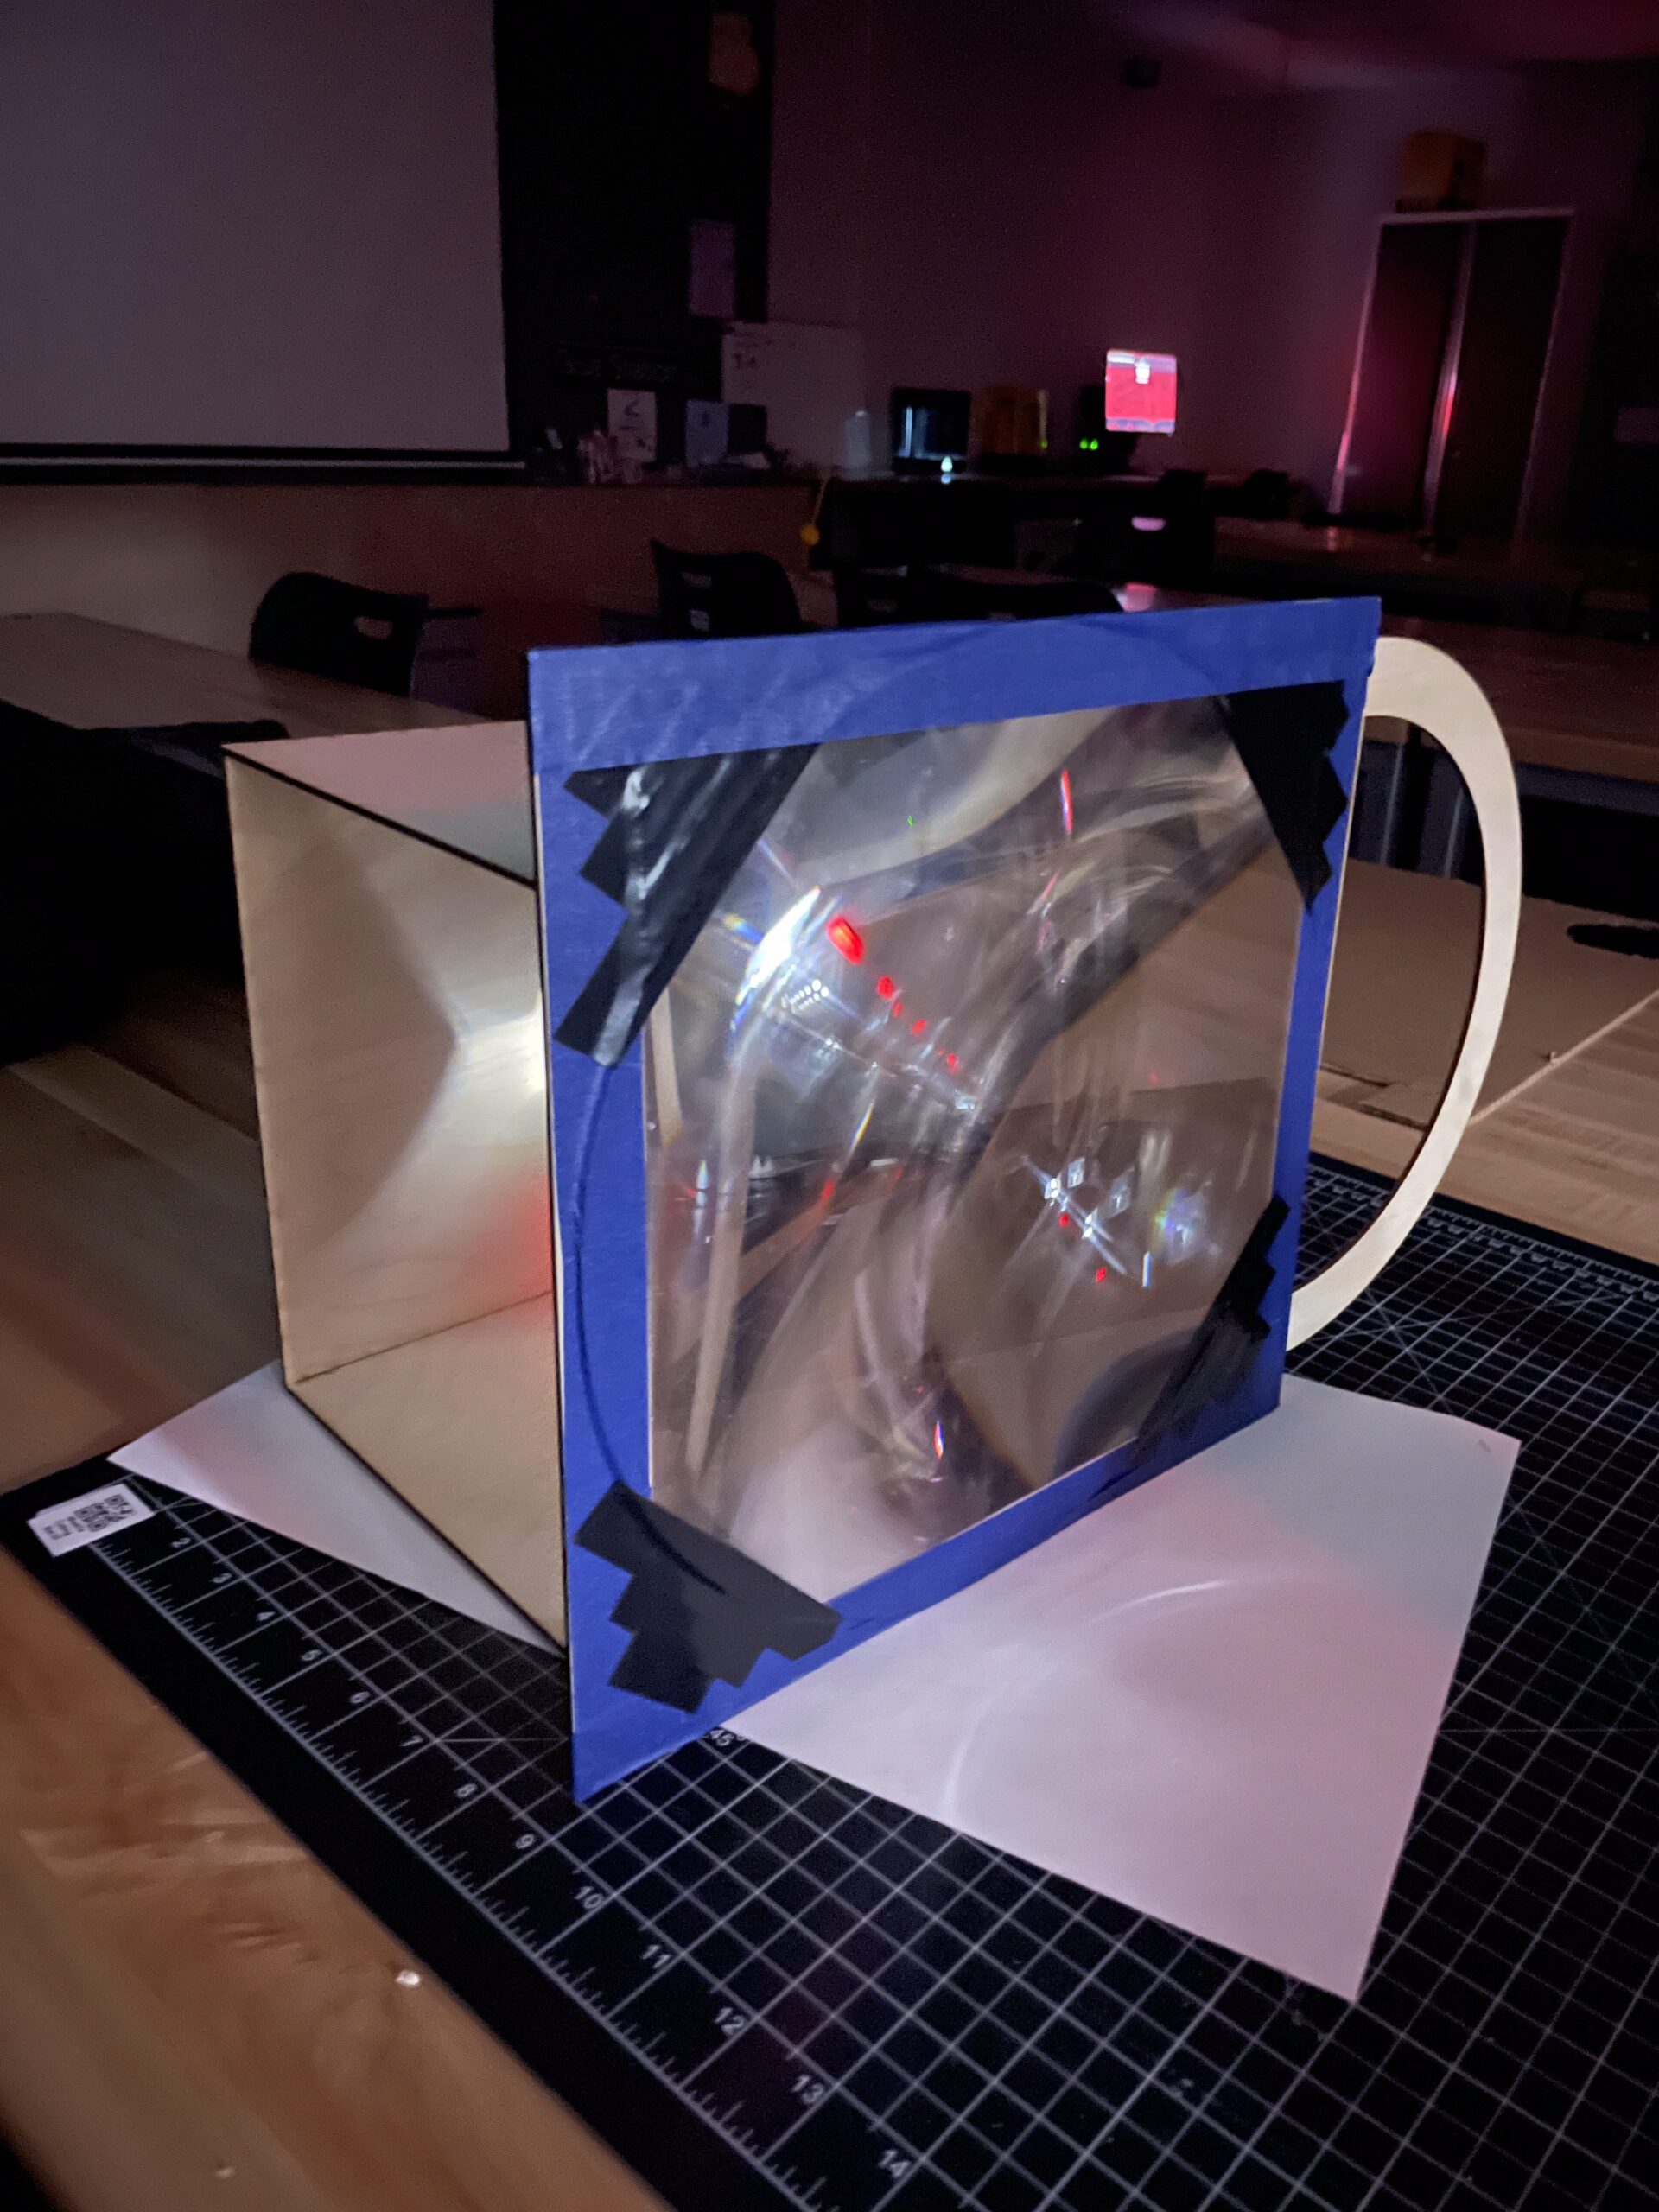
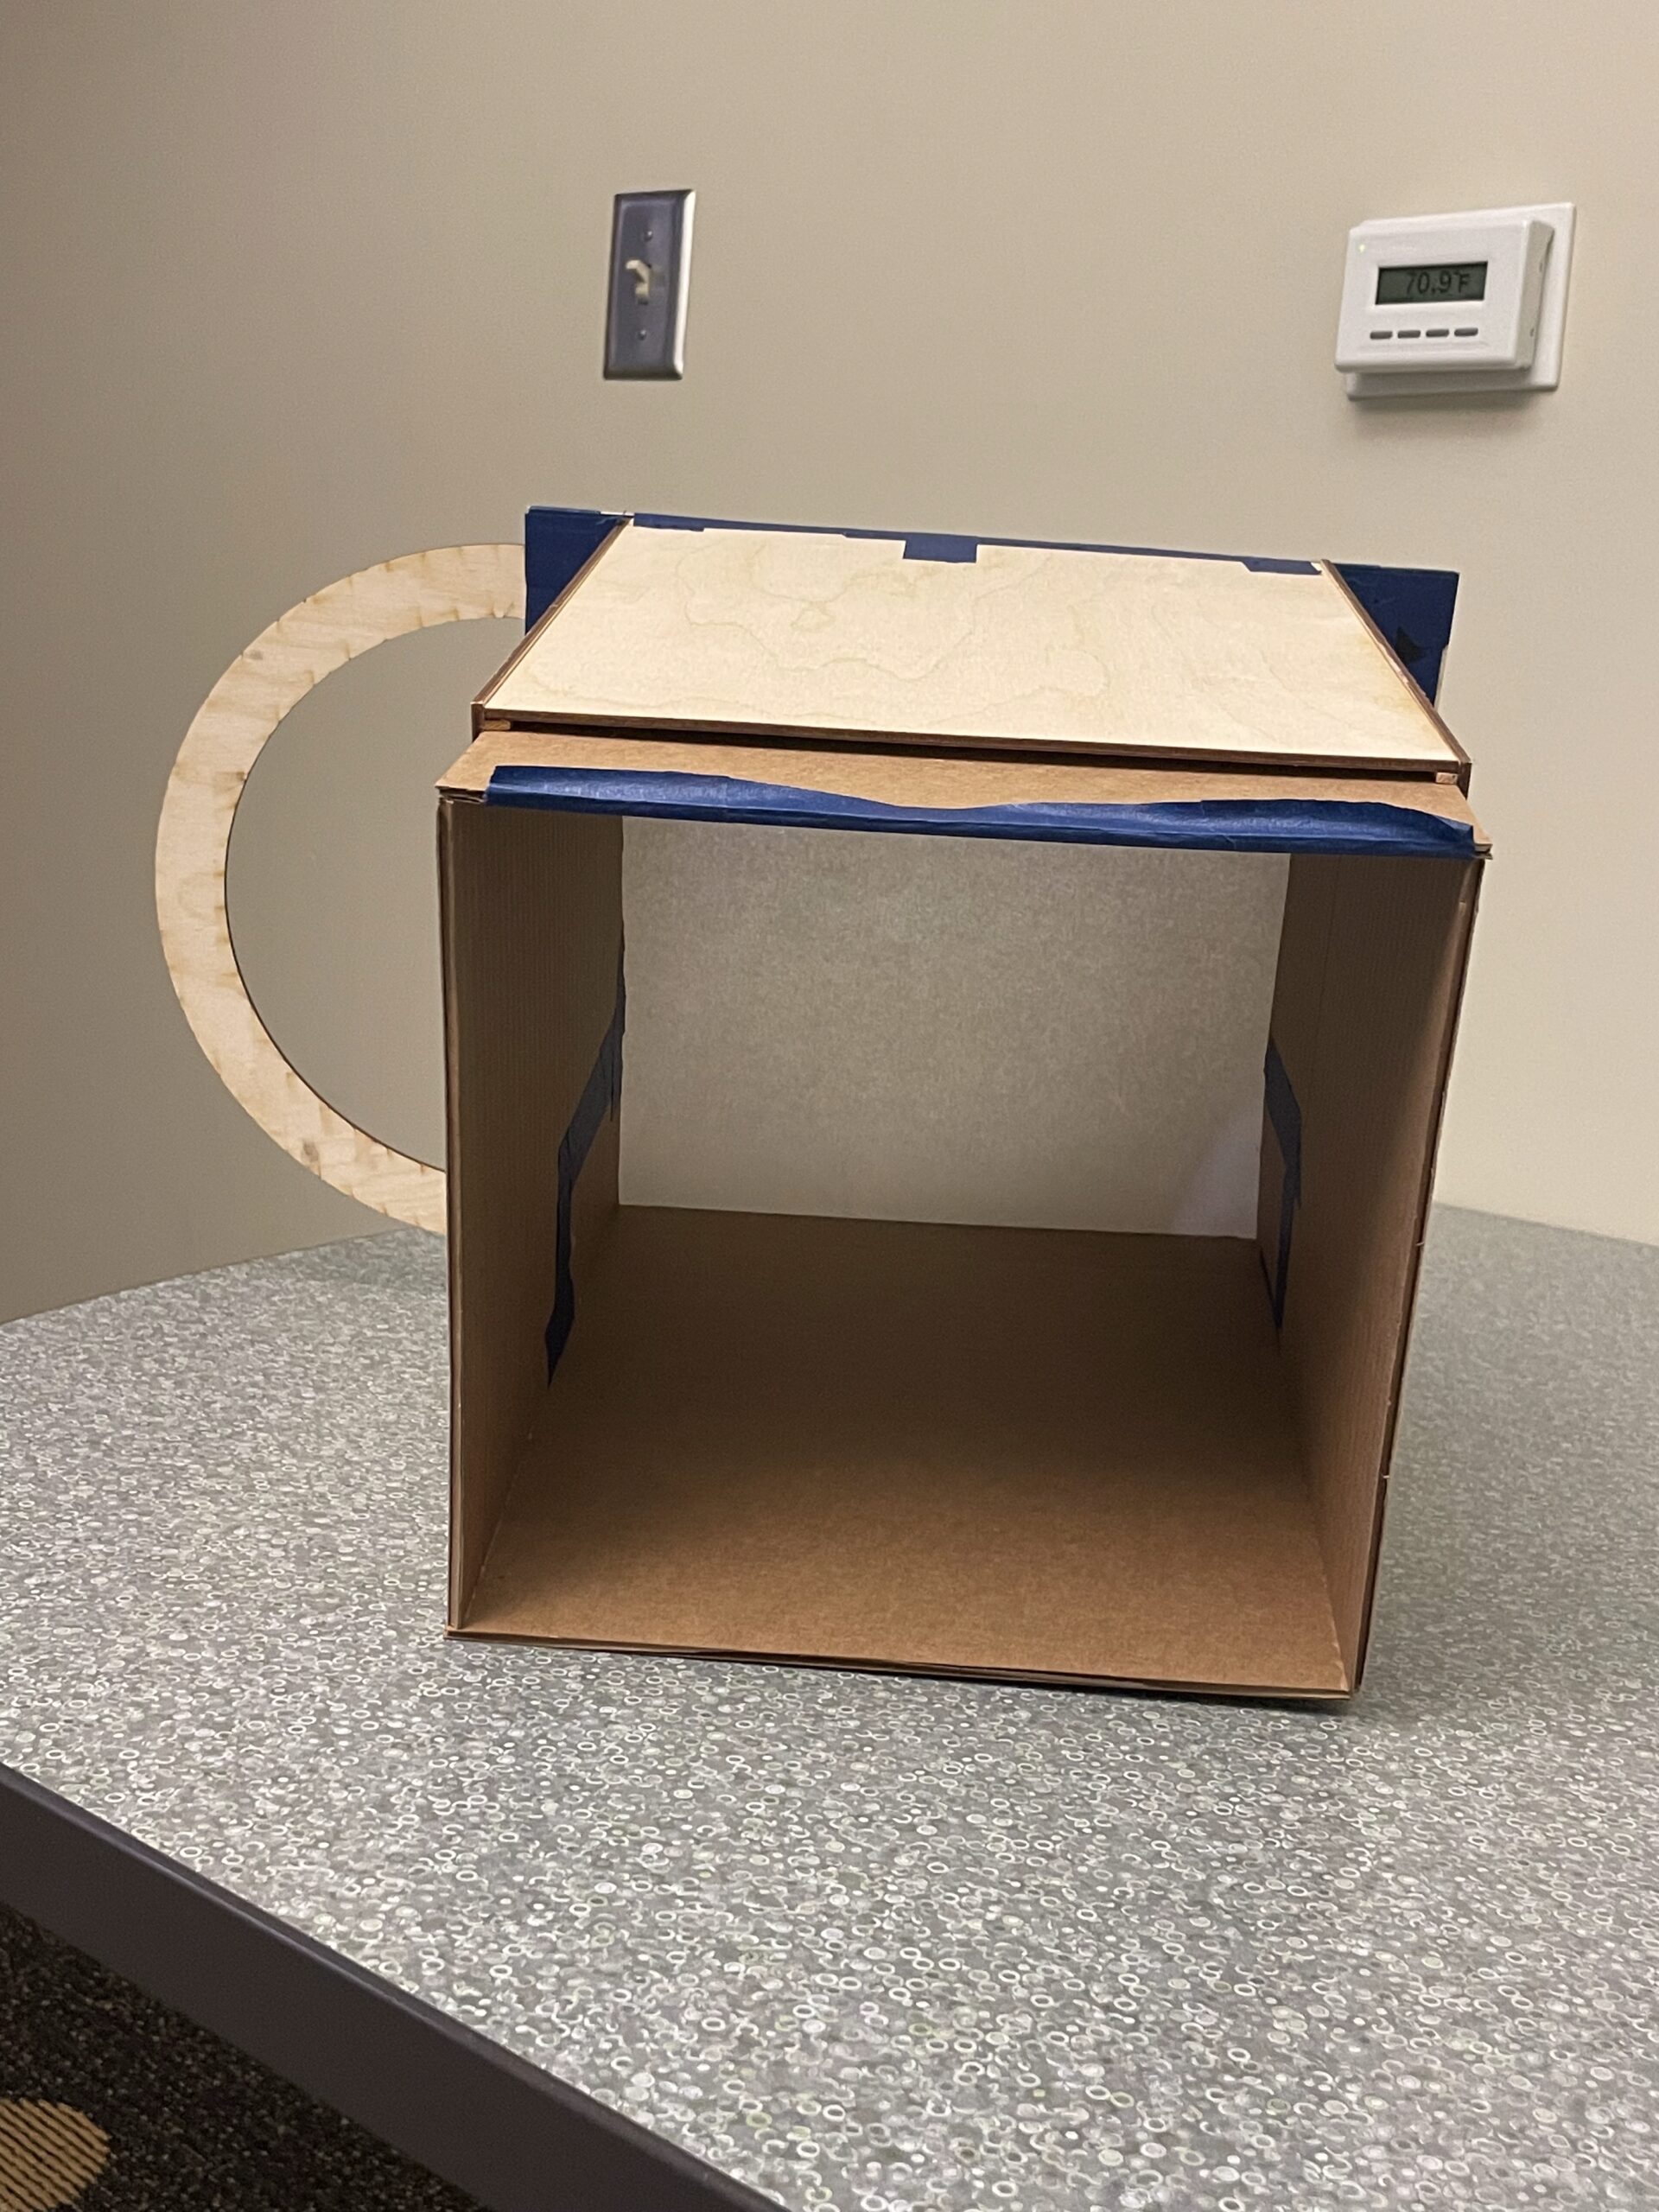
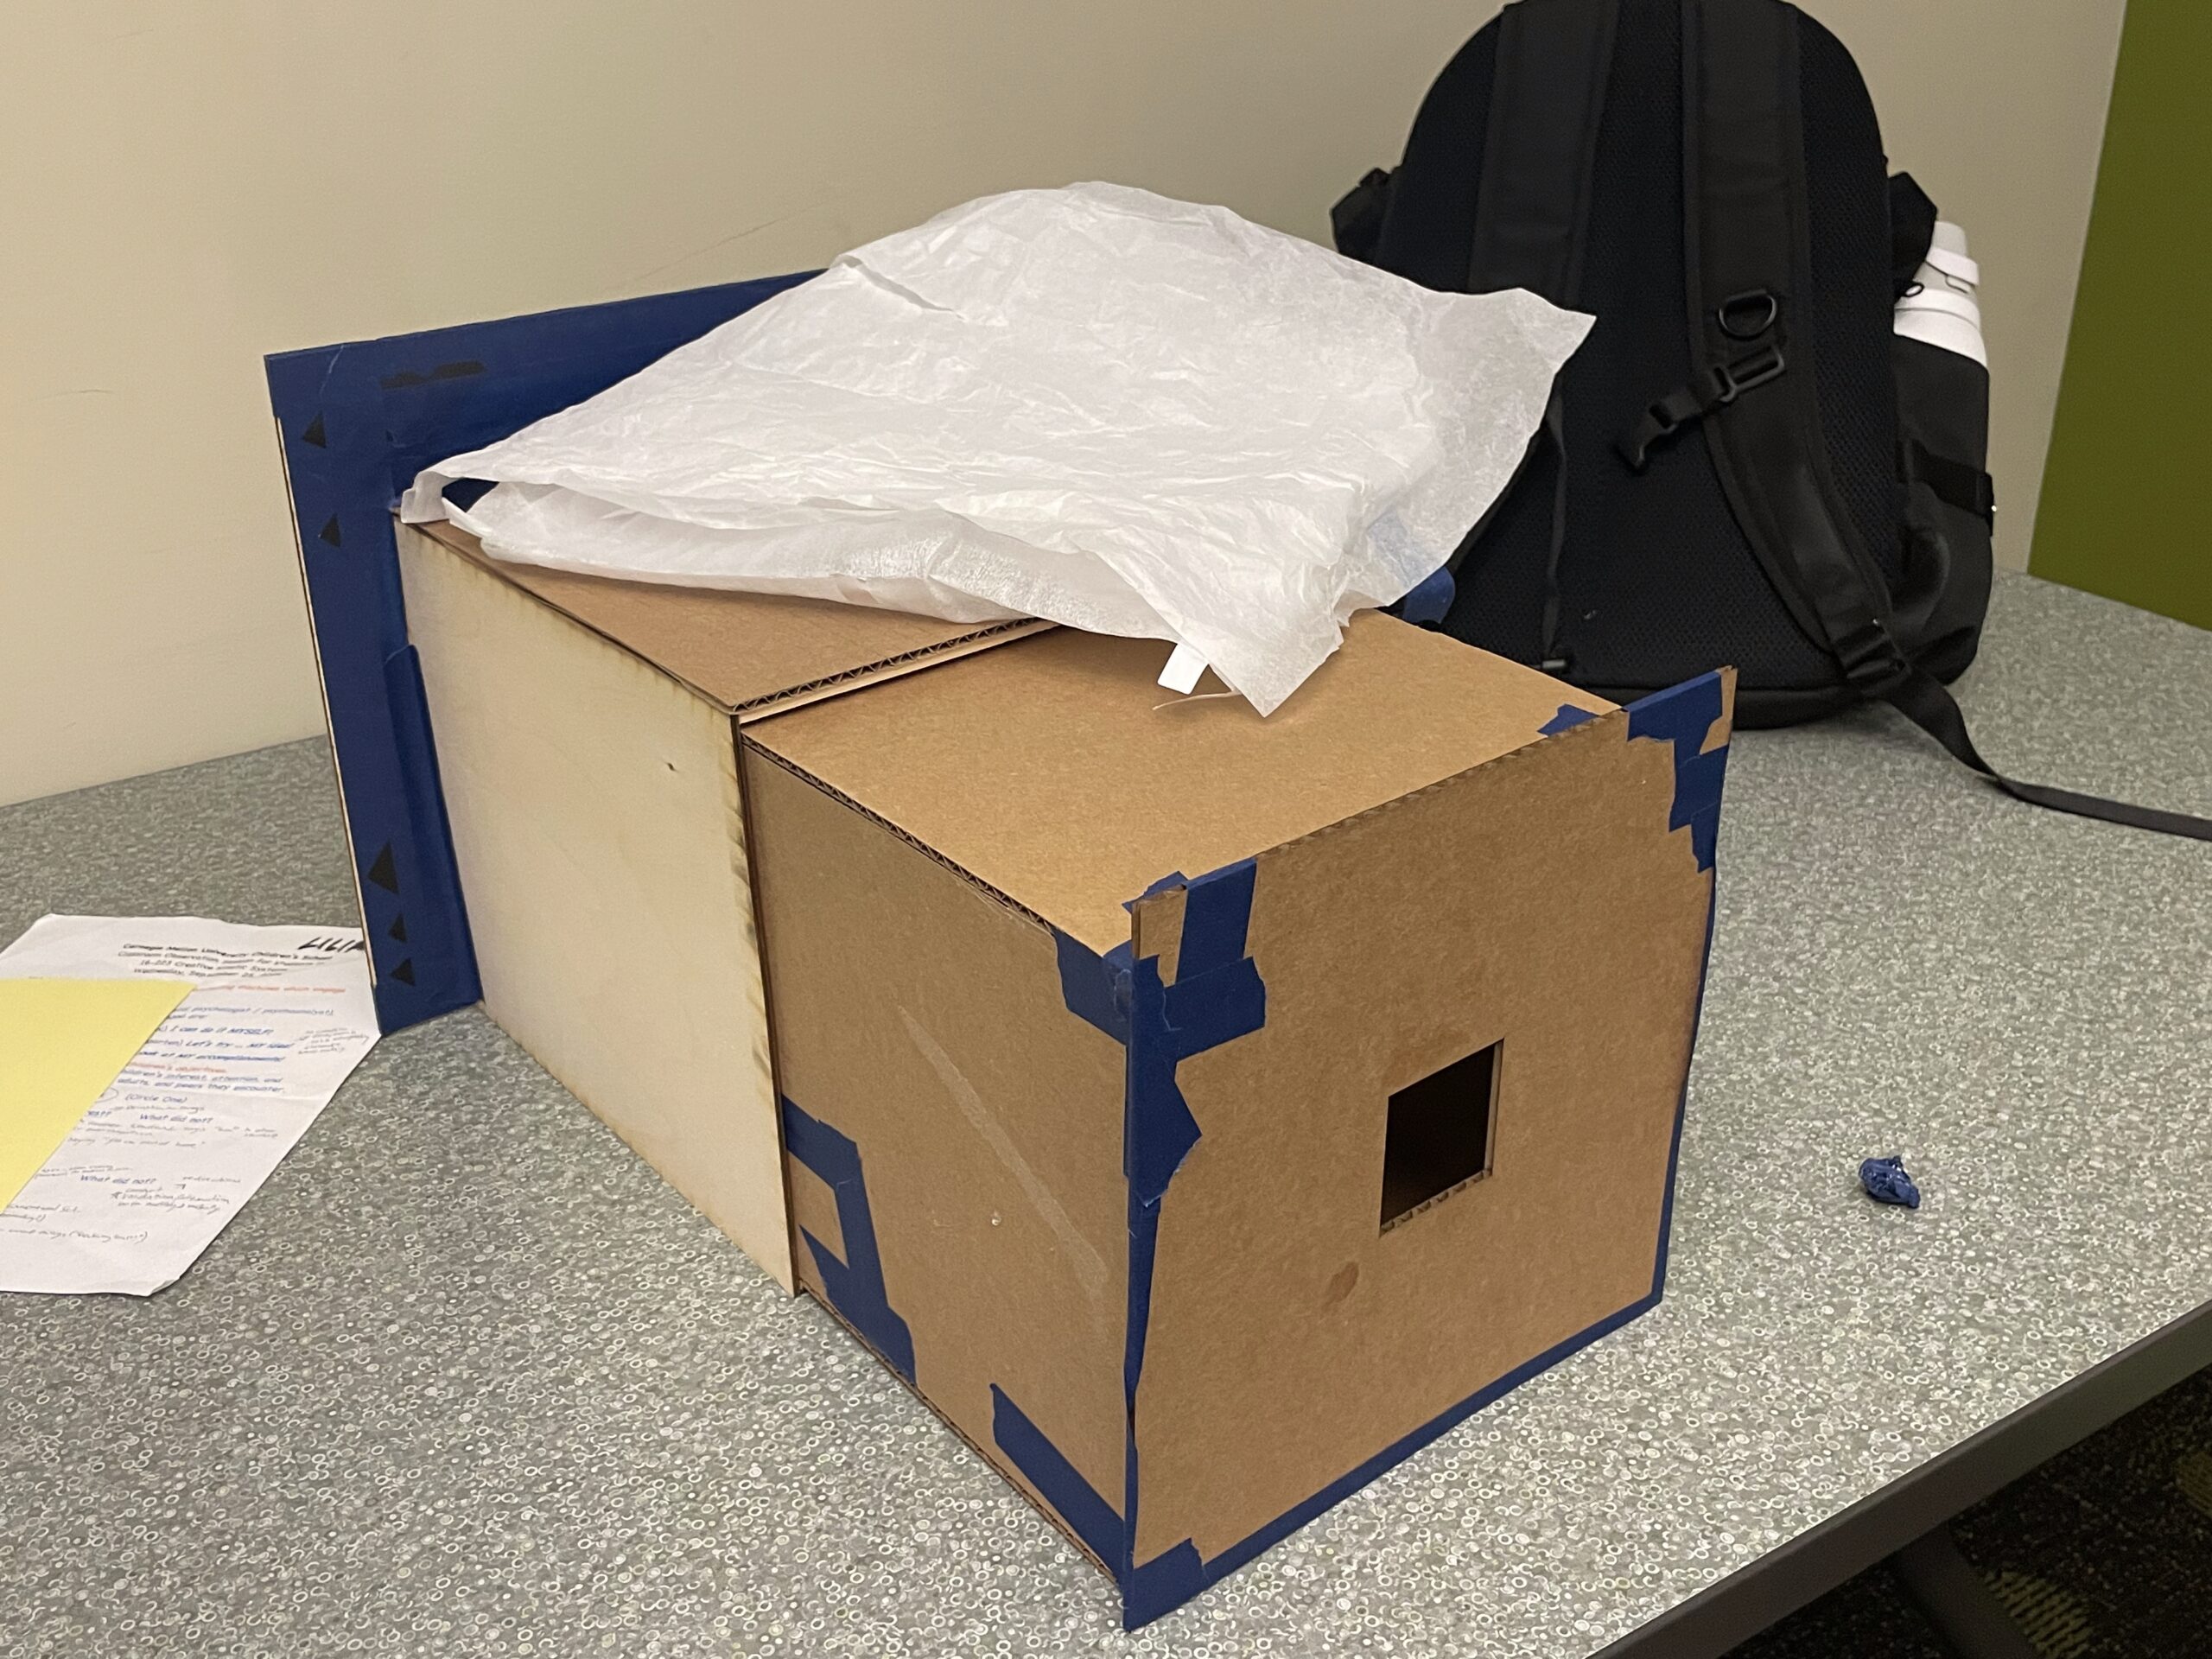
The basic setup is pretty basic, it’s essentially a box within a box with a piece of parchment paper attached to the end of the smaller box. The fresnel was attached with electrical tape and painter’s tape to a frame I had already made for another project.

Process:

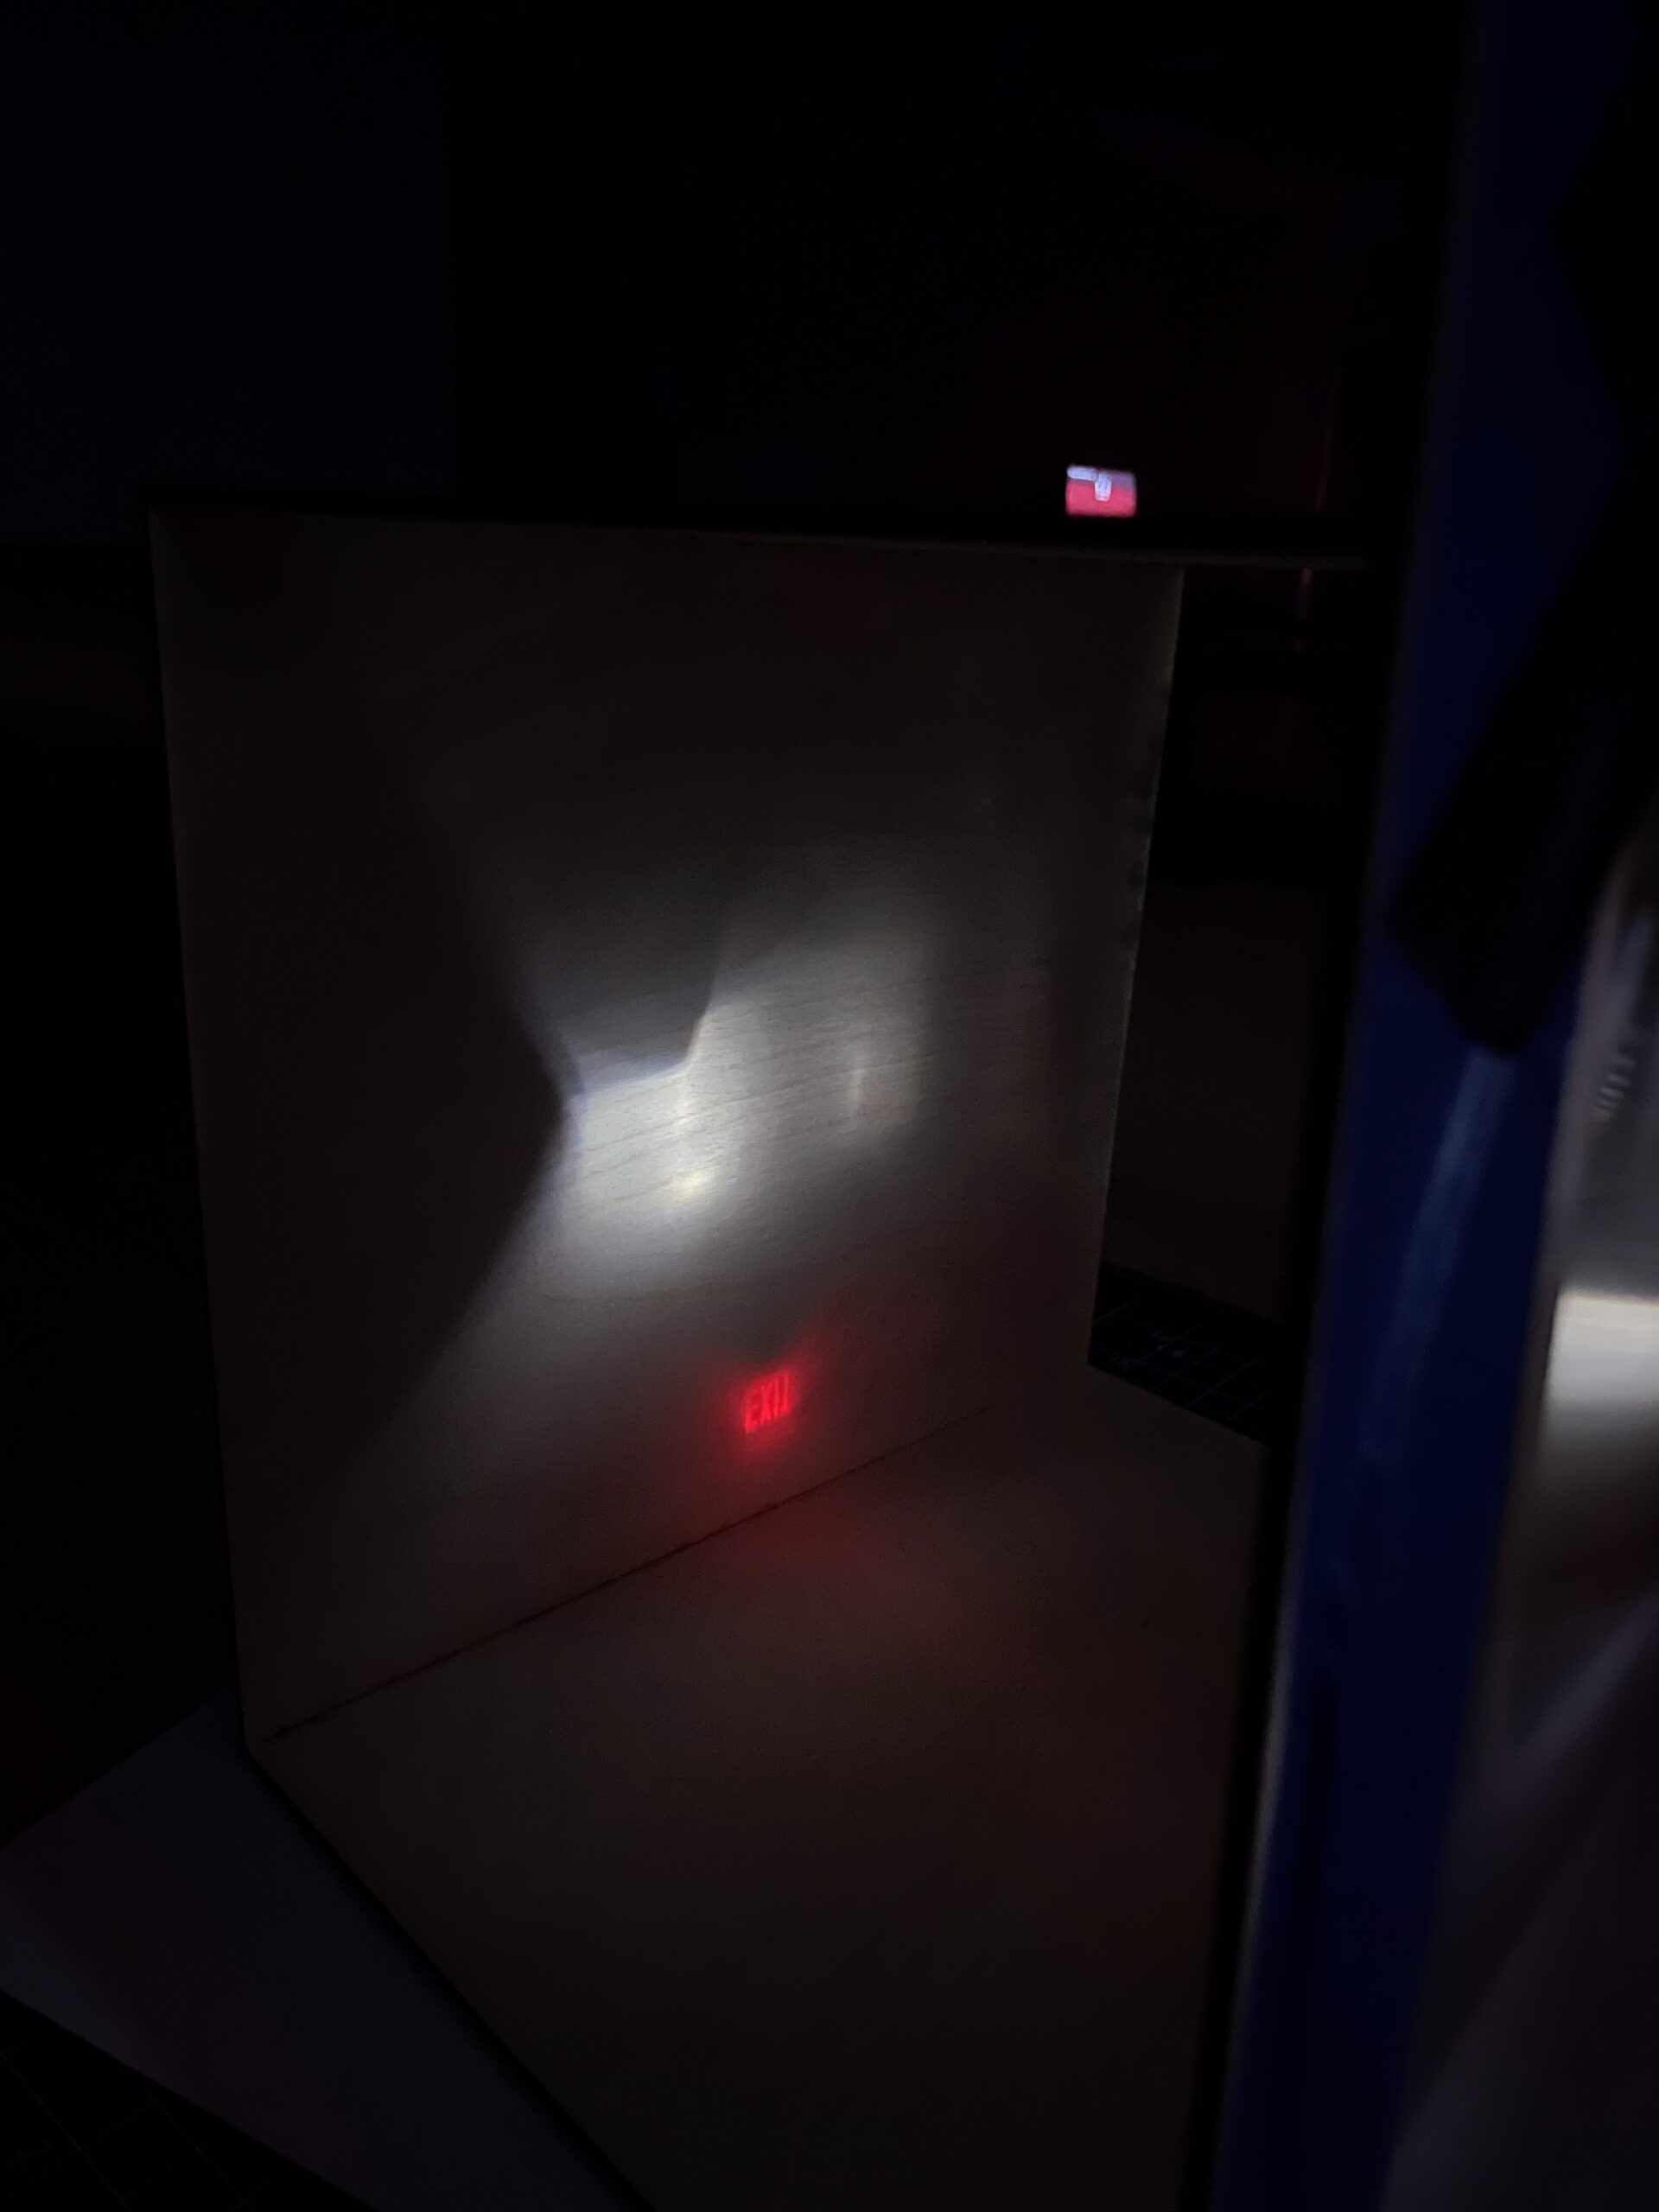
During building the box, it was nighttime, so I played around using lights in the dark.

It was looking surprisingly ok.

I went ahead and finished a rough model.

Video Testing:

Further thoughts:

To expand, I want to get it to a better clarity and experiment with using different materials for the projection screen.

I saw this great video where they used frosted plastic and a portable scanner to extract the projected image, which I am super interested in pursuing.

The end goal is to have something I can run around town with and get reliable results, make content, and experiment with the form.

“Little Bosi”: Being Seen

Introduction

In this interactive digital art project, I explore the emotional and energetic effects of being observed versus being alone. Using Unity as the primary platform, I’ve created a digital “me”—Little Bosi—who resides within a 3D living space on a computer screen. Little Bosi reacts differently based on the presence or absence of an audience, offering a poignant reflection on isolation and human connection, inspired by my own experiences during the pandemic and its aftermath.


Concept

This project delves into the transformative power of attention. During the pandemic, I endured long periods of solitude, disconnected from people and outside signals. Weeks would pass without meaningful interactions, and sometimes I would go days without speaking a word. It felt as though I lived inside a box, cut off from the external world. During that time, my mental state was one of exhaustion and sadness.

The process of emerging from that state highlighted how every interaction and moment of attention from others created ripples in my internal world. A simple gaze or fleeting connection could shift my emotional energy. This concept inspired the idea for Little Bosi: an embodiment of these emotional dynamics and a visual representation of how being seen impacts the human spirit.


Interaction Mechanics

When Alone:
Little Bosi enters an emotional down state, expressing sadness, boredom, and exhaustion. The digital character performs actions such as slouching, sighing, and moving lethargically. The world around Little Bosi gradually fades to a monochromatic tone, symbolizing emotional depletion.

When Observed:
When someone approaches the screen, Little Bosi transitions to an interactive state, showing joy and energy. Actions include smiling, waving, and sitting upright. The environment regains its vibrancy and color.


Techniques

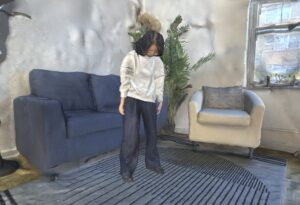
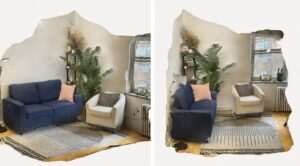
  • 3D Scanning: I used Polycam to scan 3D models of myself (Little Bosi) and my living room to create a digital space resembling my real-life environment.
  • Animation Development: The animation library was built using online motion assets, which were refined through IK rigging and manual keyframe adjustments. Transition animations were crafted to ensure smooth movement between emotional states.


  •  Placeholders: For the current concept and testing phase, video placeholders are used to represent animations while final transitions are being completed in Unity’s Animator.
  • Interactive Coding: Unity’s OpenCV plugin powers the interaction system. Using the plugin’s object detection and face recognition models, the camera identifies the presence and position of individuals in front of the screen. This data triggers Little Bosi’s behavioral state:
    • Face Detected: Activates interactive state.
    • No Face Detected: Switches to solitude mode.

Reflection

The project aims to create a “living space” that bridges the digital and emotional realms. By using 3D modeling, animations, and environmental changes, I evoke the contrasting experiences of loneliness and connection. The audience becomes an integral part of the narrative; their presence or absence directly influences the digital world and Little Bosi’s emotional state. Through this work, I hope to resonate with audiences who may have faced similar feelings of loneliness, reminding them of the importance of connection and the subtle ways we leave traces in each other’s worlds.


Next Steps

  1. Finalizing animation transitions in Unity’s Animator to seamlessly connect Little Bosi’s emotional states.
  2. Enhancing the environmental effects to amplify the visual storytelling.
  3. Expanding the interaction mechanics, possibly incorporating more complex gaze dynamics or multi-user scenarios.


Final Project | Walk on the earth

Concept

I seek to pixelate a flat, two-dimensional image in TouchDesigner and imbue it with three-dimensional depth. My inquiry begins with a simple question: how can I breathe spatial life into a static photograph?

The answer lies in crafting a depth map—a blueprint of the image’s spatial structure. By assigning each pixel a Z-axis offset proportional to its distance from the viewer, I can orchestrate a visual symphony where pixels farther from the camera drift deeper into the frame, creating a dynamic and evocative illusion of dimensionality.

Capture System

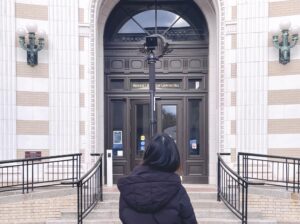
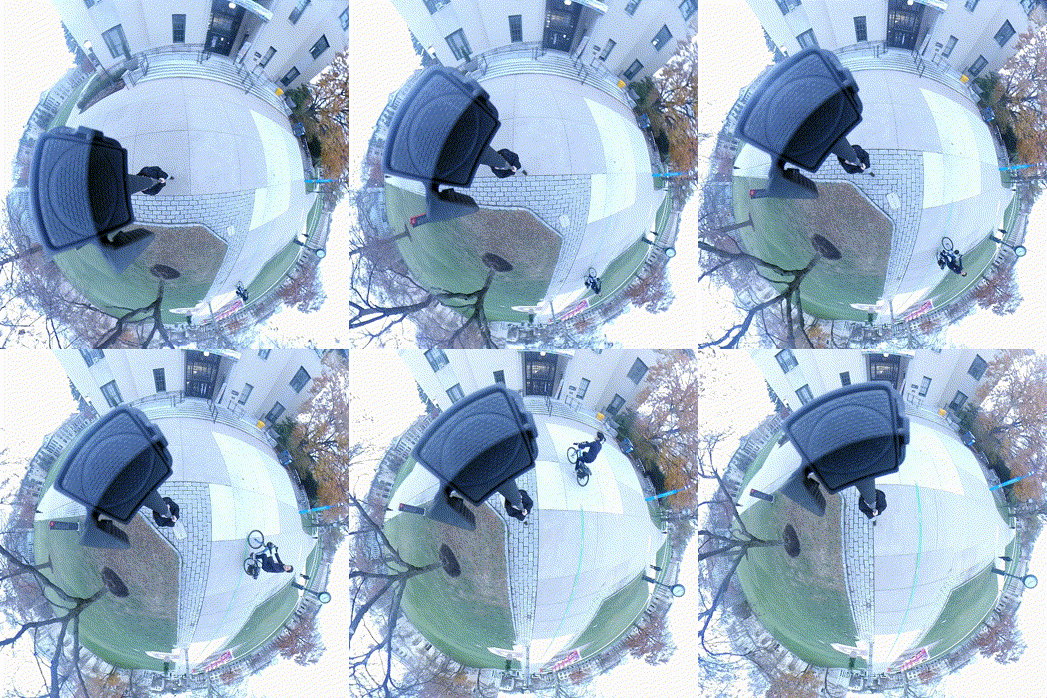
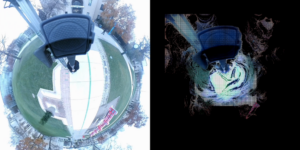
To align with my concept, I decided to capture a bird’s-eye view. This top-down perspective aligns with my vision, as it allows pixel movement to be restricted downward based on their distance from the camera. To achieve this, I used a 360° camera mounted on a selfie stick. On a sunny afternoon, I walked around my campus, holding the camera aloft. While the process drew some attention, it yielded the ideal footage for my project.

Challenges

Generating depth maps from 360° panoramic images proved to be a significant challenge. My initial plan was to use a stereo camera to capture left and right channel images, then apply OpenCV’s matrix algorithms to extract depth information from the stereo pair. However, when I fed the 360° panoramic images into OpenCV, the heavy distortion at the edges caused the computation to break down.

Moreover, using OpenCV to extract depth maps posed another inherent issue: the generated depth maps did not align perfectly with either the left or right channel color images, potentially causing inaccuracies in subsequent color-depth mapping in TouchDesigner.

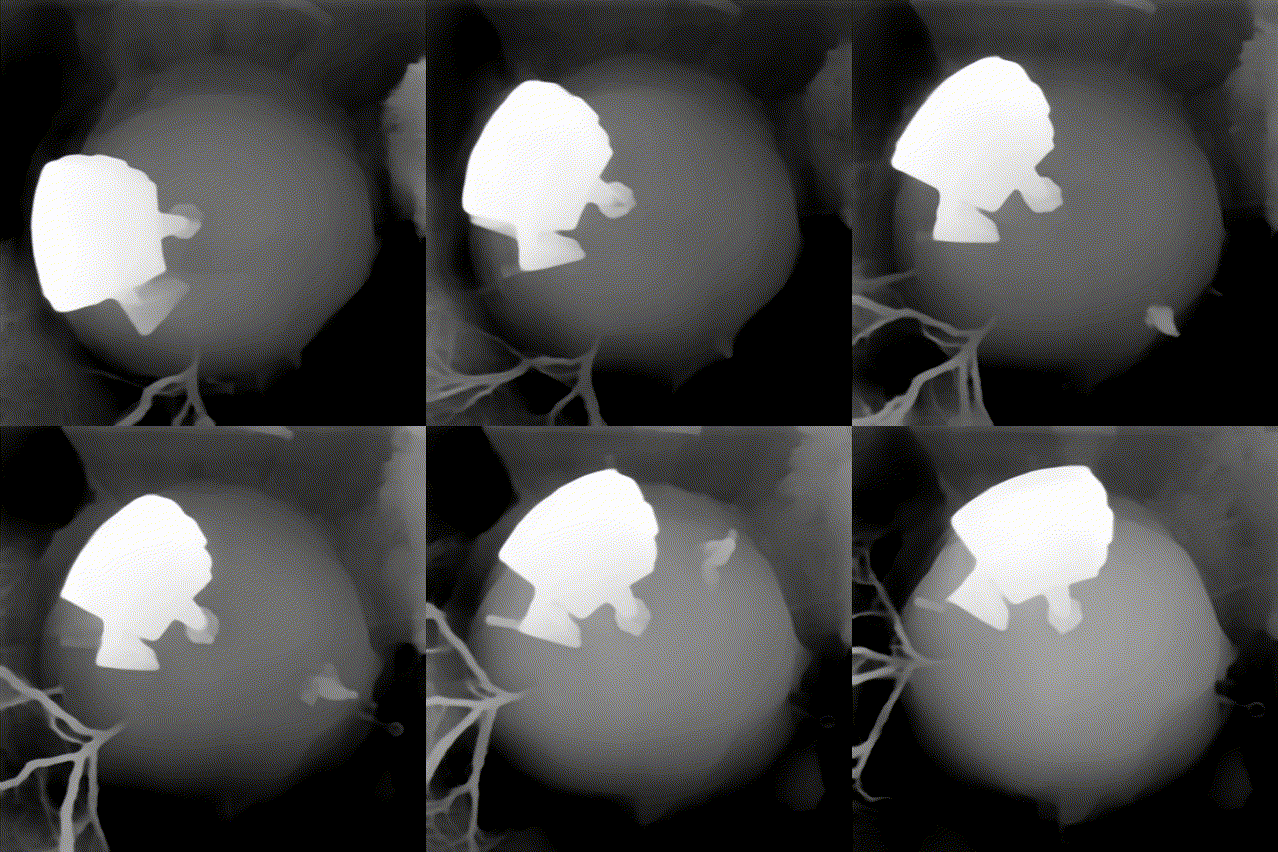
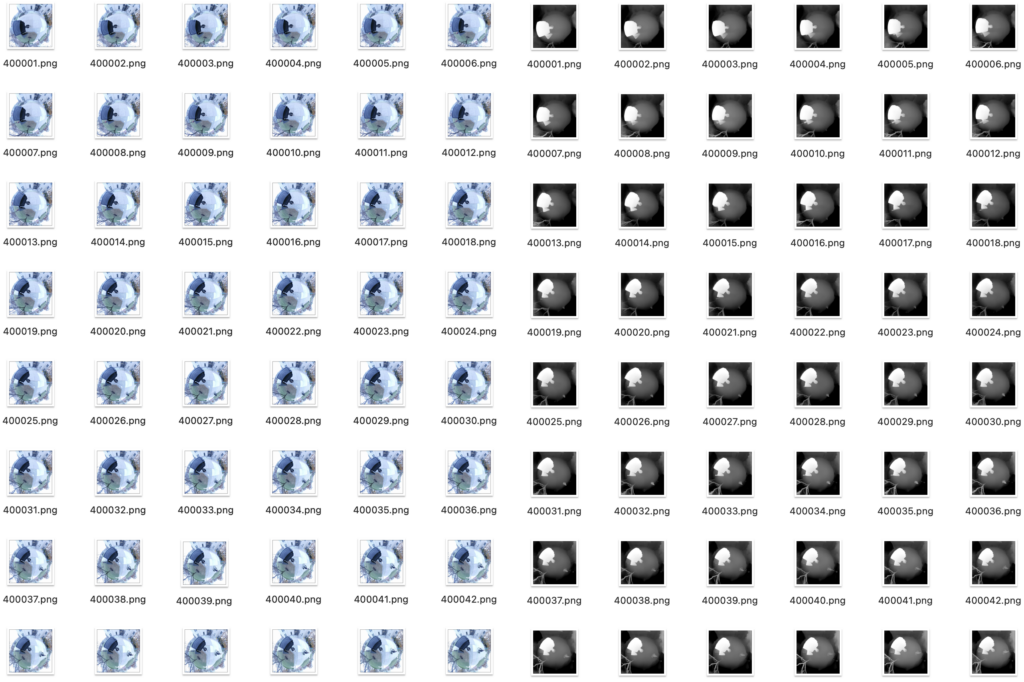
Fortunately, I discovered a pre-trained AI model online Image Depth Map that could directly convert photos into depth maps and provided a JavaScript API. Since my source material was a video file, I developed the following workflow:

  1. Extract frames from the video at 24 frames per second (fps).
  2. Batch processes 3000 images through the Depth AI model to generate corresponding depth maps.
  3. Reassemble the depth map sequence into a depth video at 24 fps.

This workflow enabled me to produce a depth video precisely aligned with the original color video.

Design

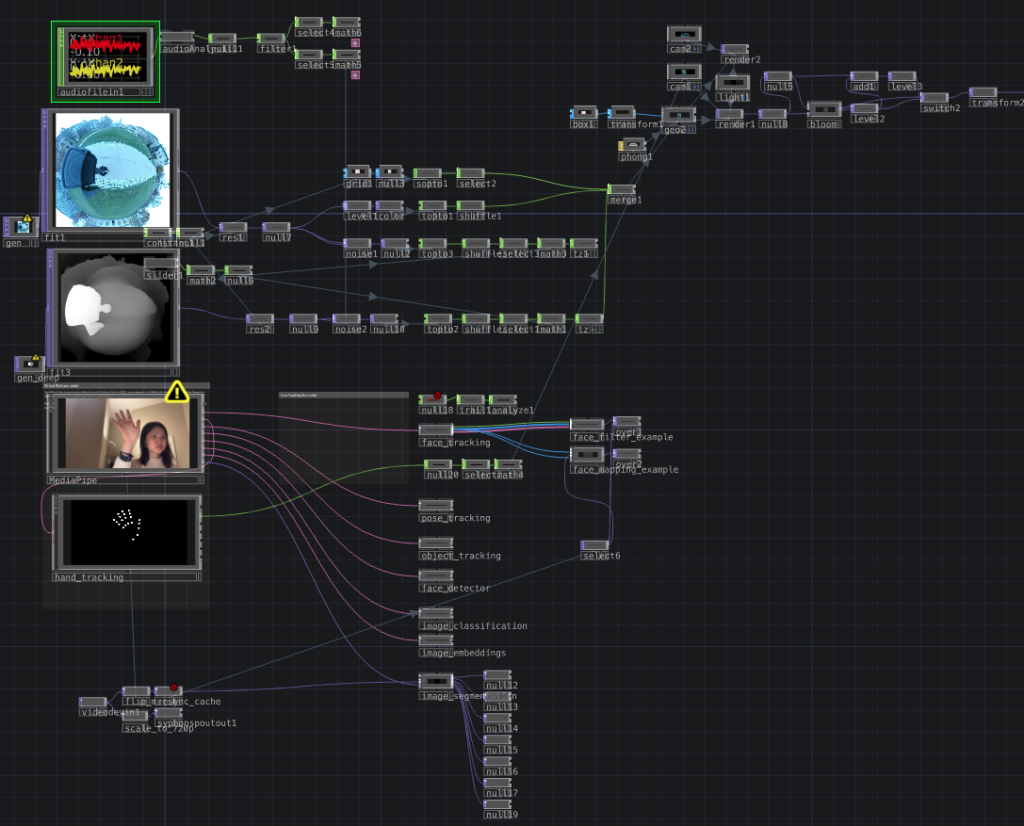
The next step was to integrate the depth video with the color video in TouchDesigner and enhance the sense of spatial motion along the Z-axis. I scaled both the original video and depth video to a resolution of 300×300. Using the depth map, I extracted the color channel values of each pixel, which represented the distance of each point from the camera. These values were mapped to the corresponding pixels in the color video, enabling them to move along the Z-axis. Pixels closer to the camera moved less, while those farther away moved more.

To enhance the visual experience, I incorporated dynamic effects synchronized with music rhythms. This created a striking spatial illusion. Observing how the 360° camera captured the Earth’s curvature, I had an idea: what if this could become an interactive medium? Could I make it so viewers could “touch” the Earth depicted in the video? To realize this, I integrated MediaPipe’s hand-tracking feature. In the final TouchDesigner setup, the inputs—audio stream, video stream, depth map stream, and real-time hand capture—are layered from top to bottom.

Outcome

The final result is an interactive “Earth” that moves to the rhythm of music. Users can interact with the virtual Earth through hand gestures, creating a dynamic and engaging experience.

Critical Thinking

  1. Depth map generation was a key step in the entire project, thanks to the trained AI model that overcame the limitations of traditional computer vision methods.
  2. I feel like the videos shot with the 360° camera are interesting in themselves, especially the selfie stick that formed a support that was always close to the lens in the frame, which was very realistic and accurately reflected in the depth map.
  3. Although I considered using a drone to shoot a bird’s-eye view, the 360° camera allowed me to realize the interactive ideas in my design. Overall, the combination of tools and creativity provided inspiration for further artistic exploration.

Final Project — Revision of Project Two (Smalling)

Hello darlings. My final project is essentially a revised and fixed version of my previous project –smalling.

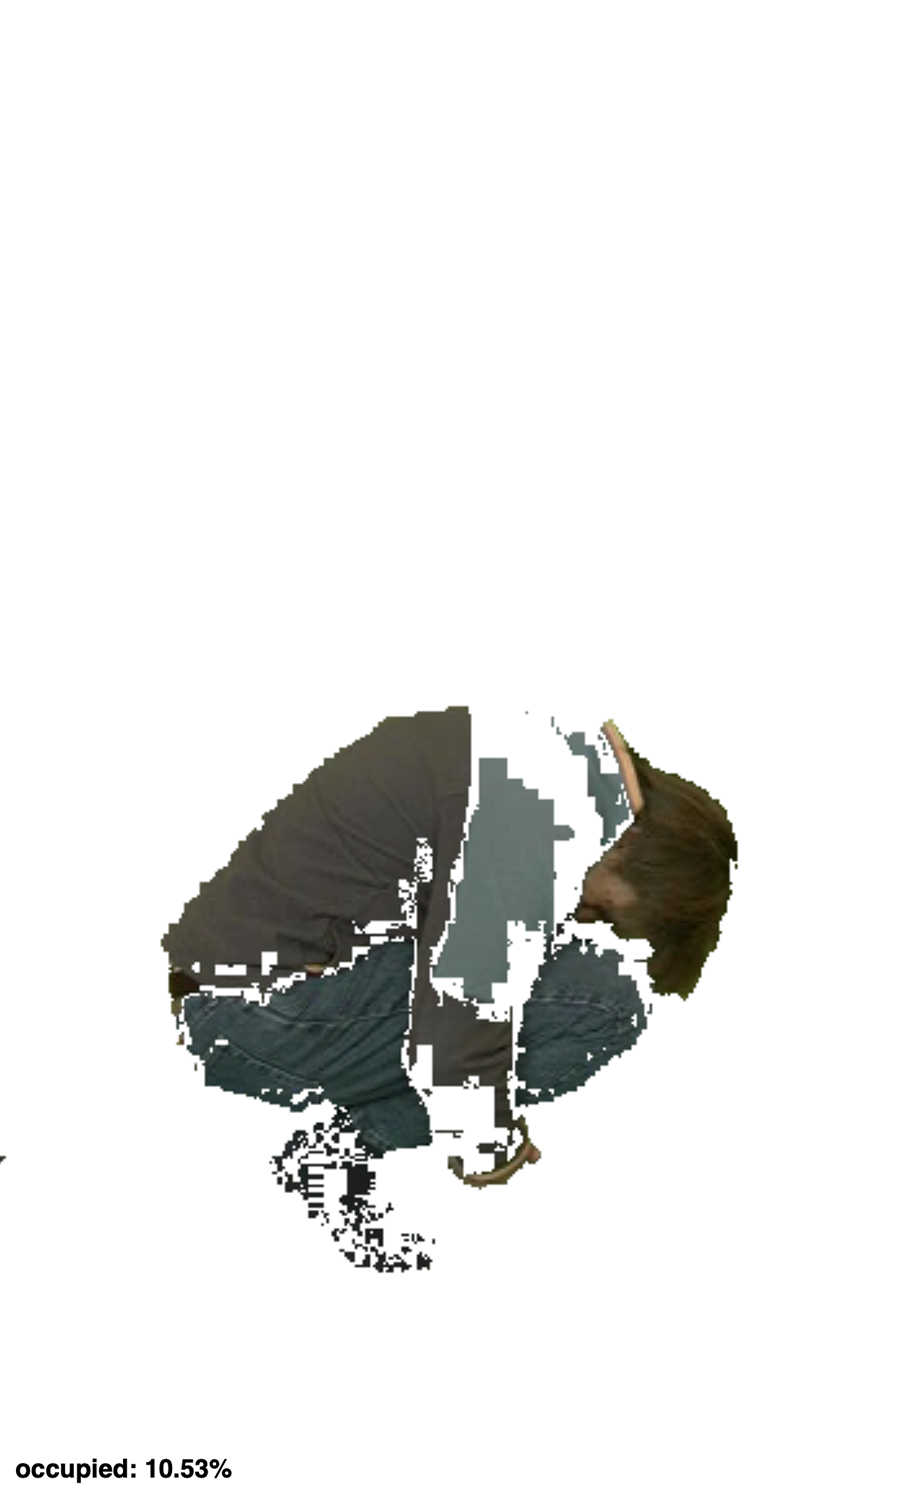
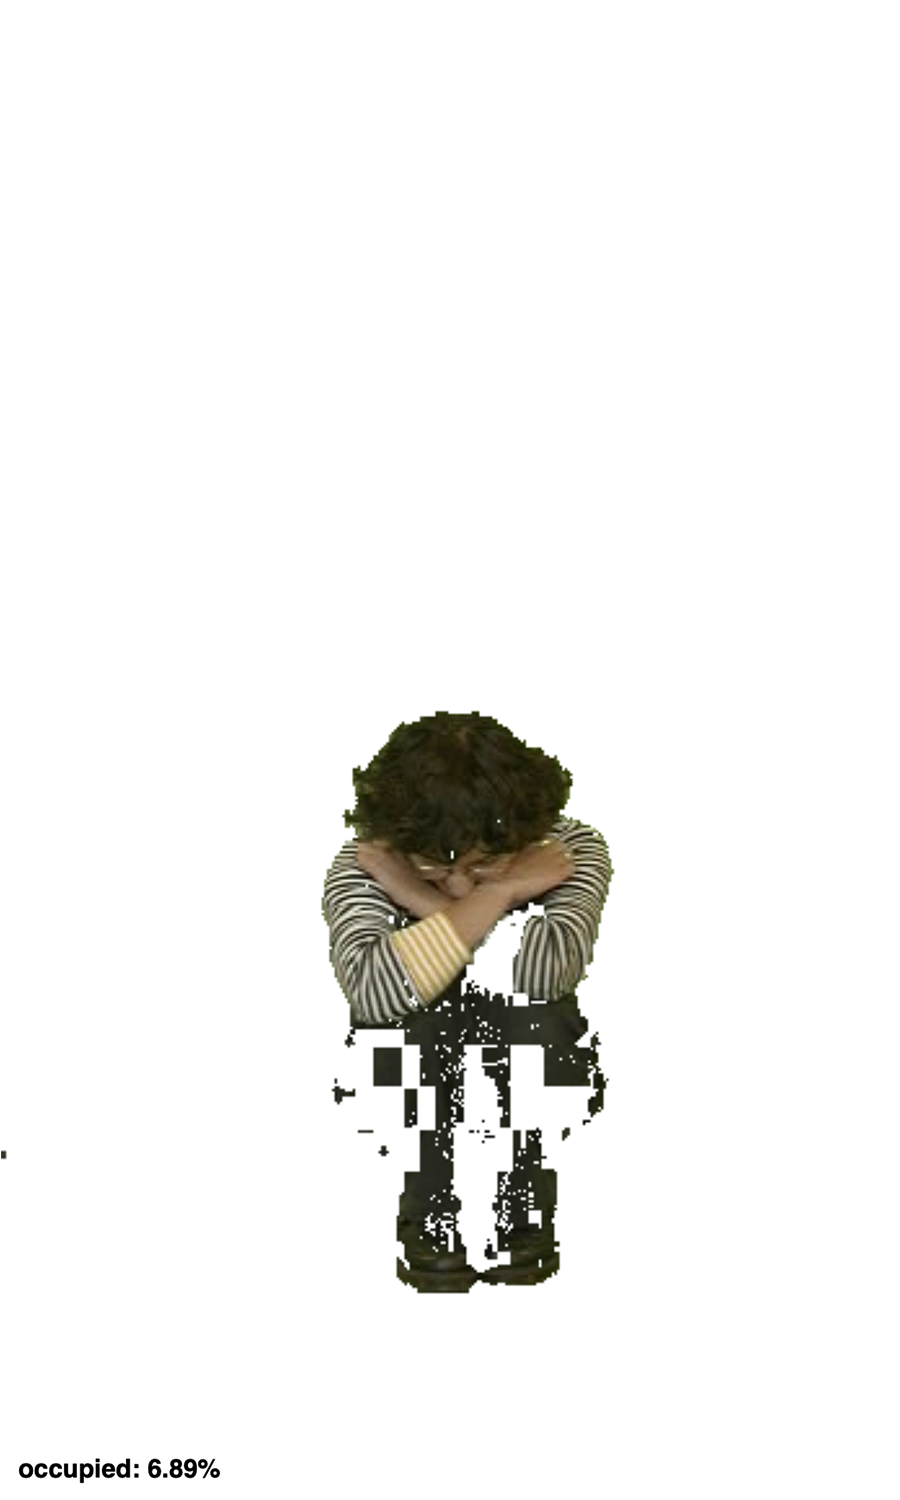
To recap, particularly for any new guests, I’m interested in the form of being small, the action of having to contort oneself, and how that works when it has to happen consciously, with no immediate threat or reward. This idea came out of considering more formal elements of small bodies along with “smallness” as a symbolic item (as it’s used in movies and other media,) and smallness as a relatable concept. Some of the images I was looking at were these:

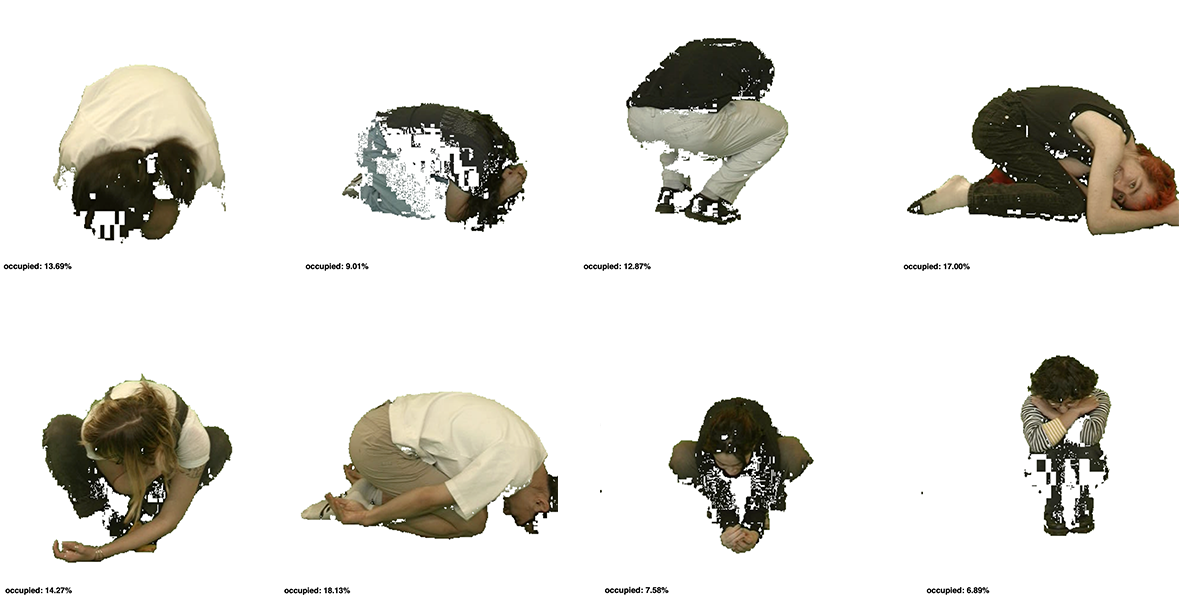
I had ChatGPT write most of my code, and then Golan, Leo, Benny, and Yon helped fix anything that I couldn’t figure out past that, so I can’t explain most of the technical details here. What I can say is that it’s a pretty basic green screen setup, the program turns anything green to white judging on hue values, functions for ten-thirty seconds (this number has changed over the course of the project,) and retroactively takes a picture of the participants at their smallest size during that time. The tests from the previous version looked like this:

The problem with this, which I didn’t address in the last critique, was that it measured the size of the person compared to the canvas, not as compared to their previous size. This privileged people with smaller frames and was never my intention, it was a genuine forgotten detail over the course of the mess of me ChatGPT-ing my code. This is fixed now (wow!)

Here’s a mini reel because WordPress doesn’t like anything that isn’t a teeny tiny gif compressed to the size of a molecule ♥️  sorry

This is essentially where it’s at right now. I’m mostly looking for feedback on potential output and duration of the piece. As far as duration, I noticed that even with more time, most people tended to immediately get as small as possible and then were left to backtrack or just sit there. On the other end, there were a few participants that were kind of shocked by the short amount of time, even when they knew what it was before starting.

As for output, I had somewhat decided on a grid of photos of people at their smallest that’s automatically added to as more people participate, but I started feeling not so good about that. It would look something like this: (and be displayed on a second monitor next to the interactive piece)

Some of the other ideas mentioned in my proposal include:

  • physical output (golan mentioned receipt printer, but open to other ideas here) example here: https://www.flickr.com/photos/thart2009/53094225345
  • receipts could exist as labeling system or just an image
  • scoreboard on a separate monitor
  • website with compiled images of people at their smallest
  • email sent to participants of their photo(s)
  • value to descriptor system
  • some other form of data visualization or image reproducing (???)

I’m not married to any of these. If any ideas are had please let me know. I just don’t want anything to become too murky because it’s being dragged down by a massive unrelated piece of physical/digital output/data visualization/whatever. There’s already the element of interaction that makes this project inherently game-like, but I’m trying to keep it from becoming too gimmicky.


Final Project: Thanksgiving Pupils

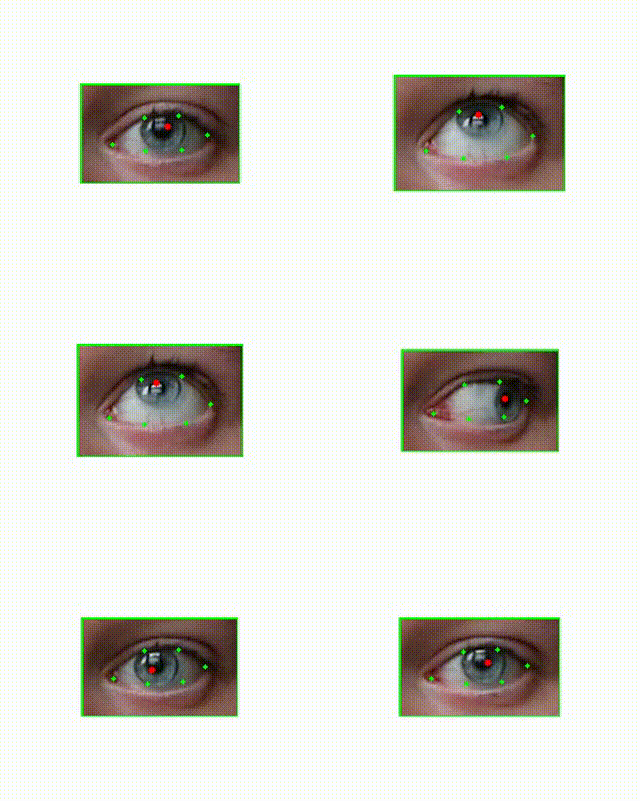
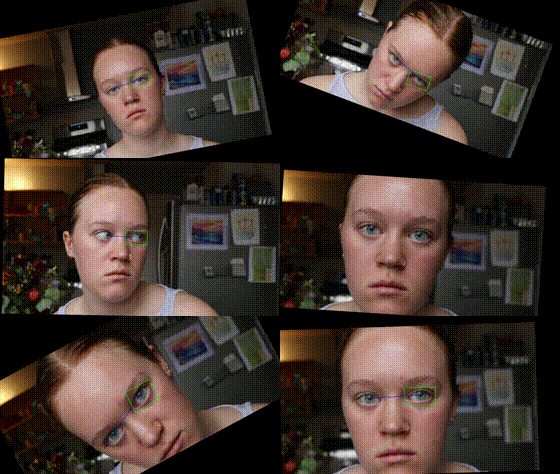
This project is an extension of my preview project People In Time-Pupil Stillness. I had essentially developed a technology for farther distance pupil detection. With this project I wanted to use it to capture something less performed and more organic.

With the opportunity of Thanksgiving last week, I decided to film my mother and grandmother during Thanksgiving dinner. My grandmother has some hearing issues so she is usually less engaged in conversation, I often view her as a fly on the wall. My mom is often also more on the reserved side during meals so I thought it could be interesting to put the spotlight on them.

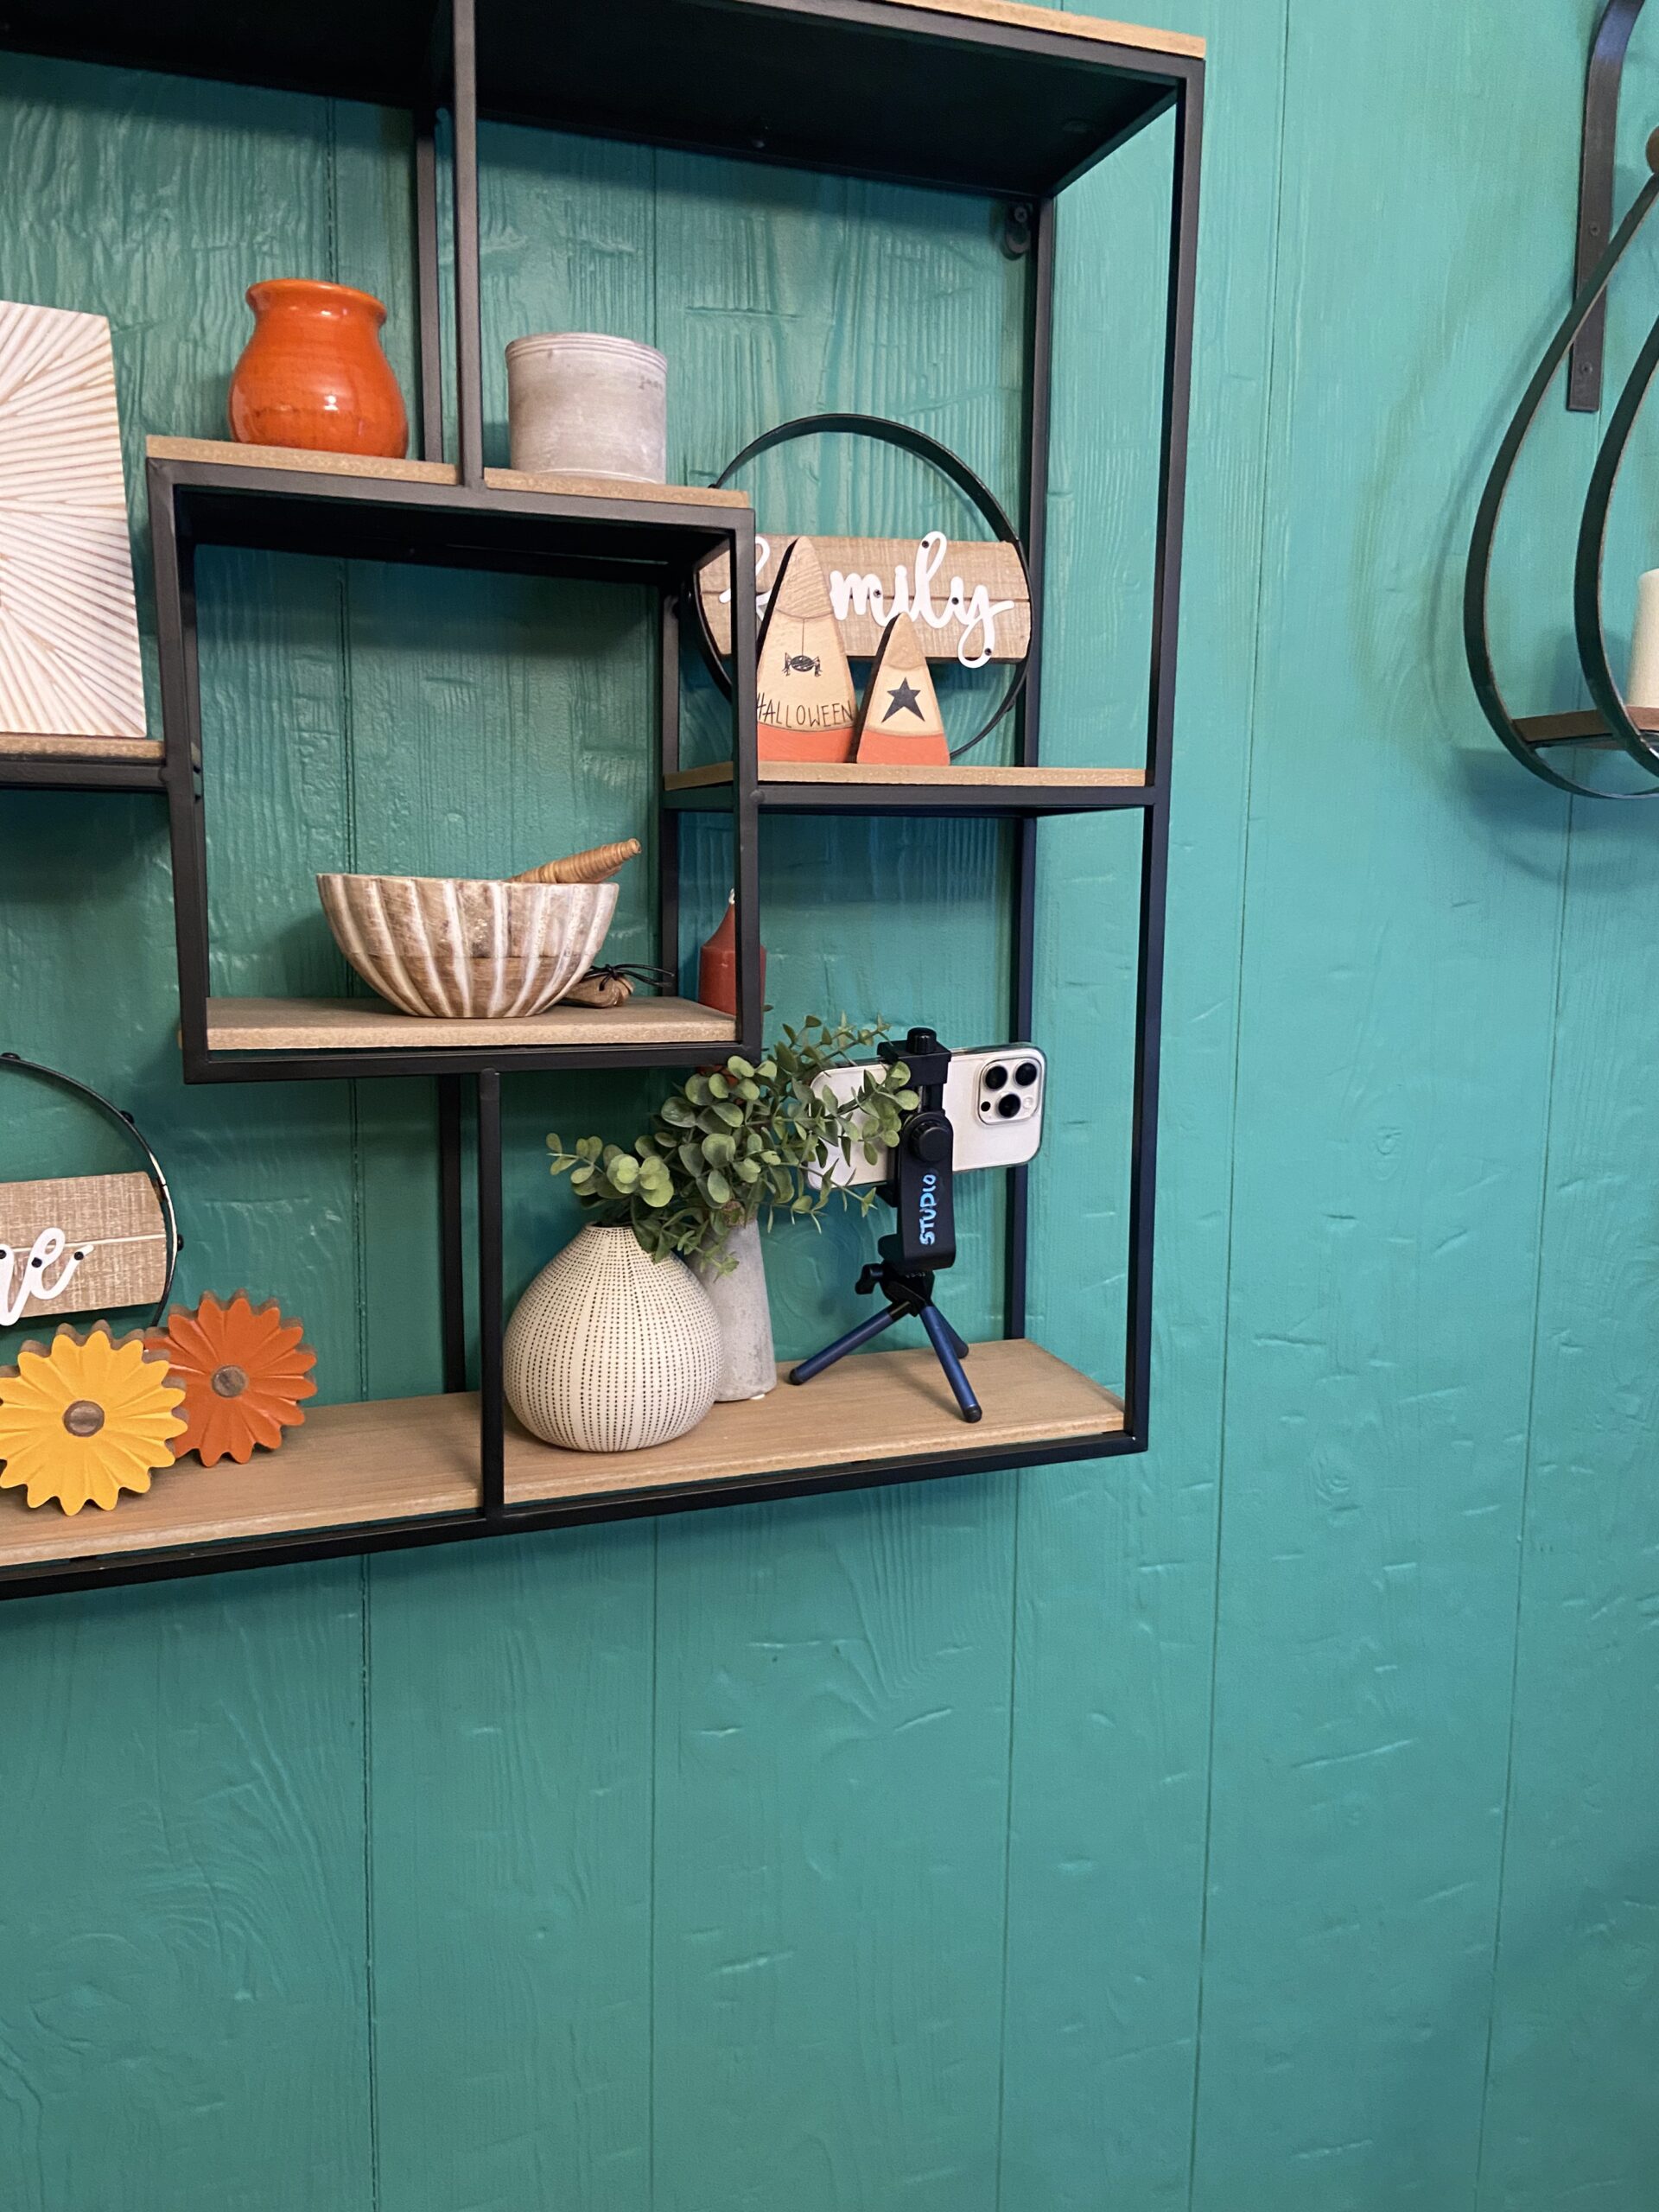
I set up two cameras 1 on a shelf zoomed in on my mom:

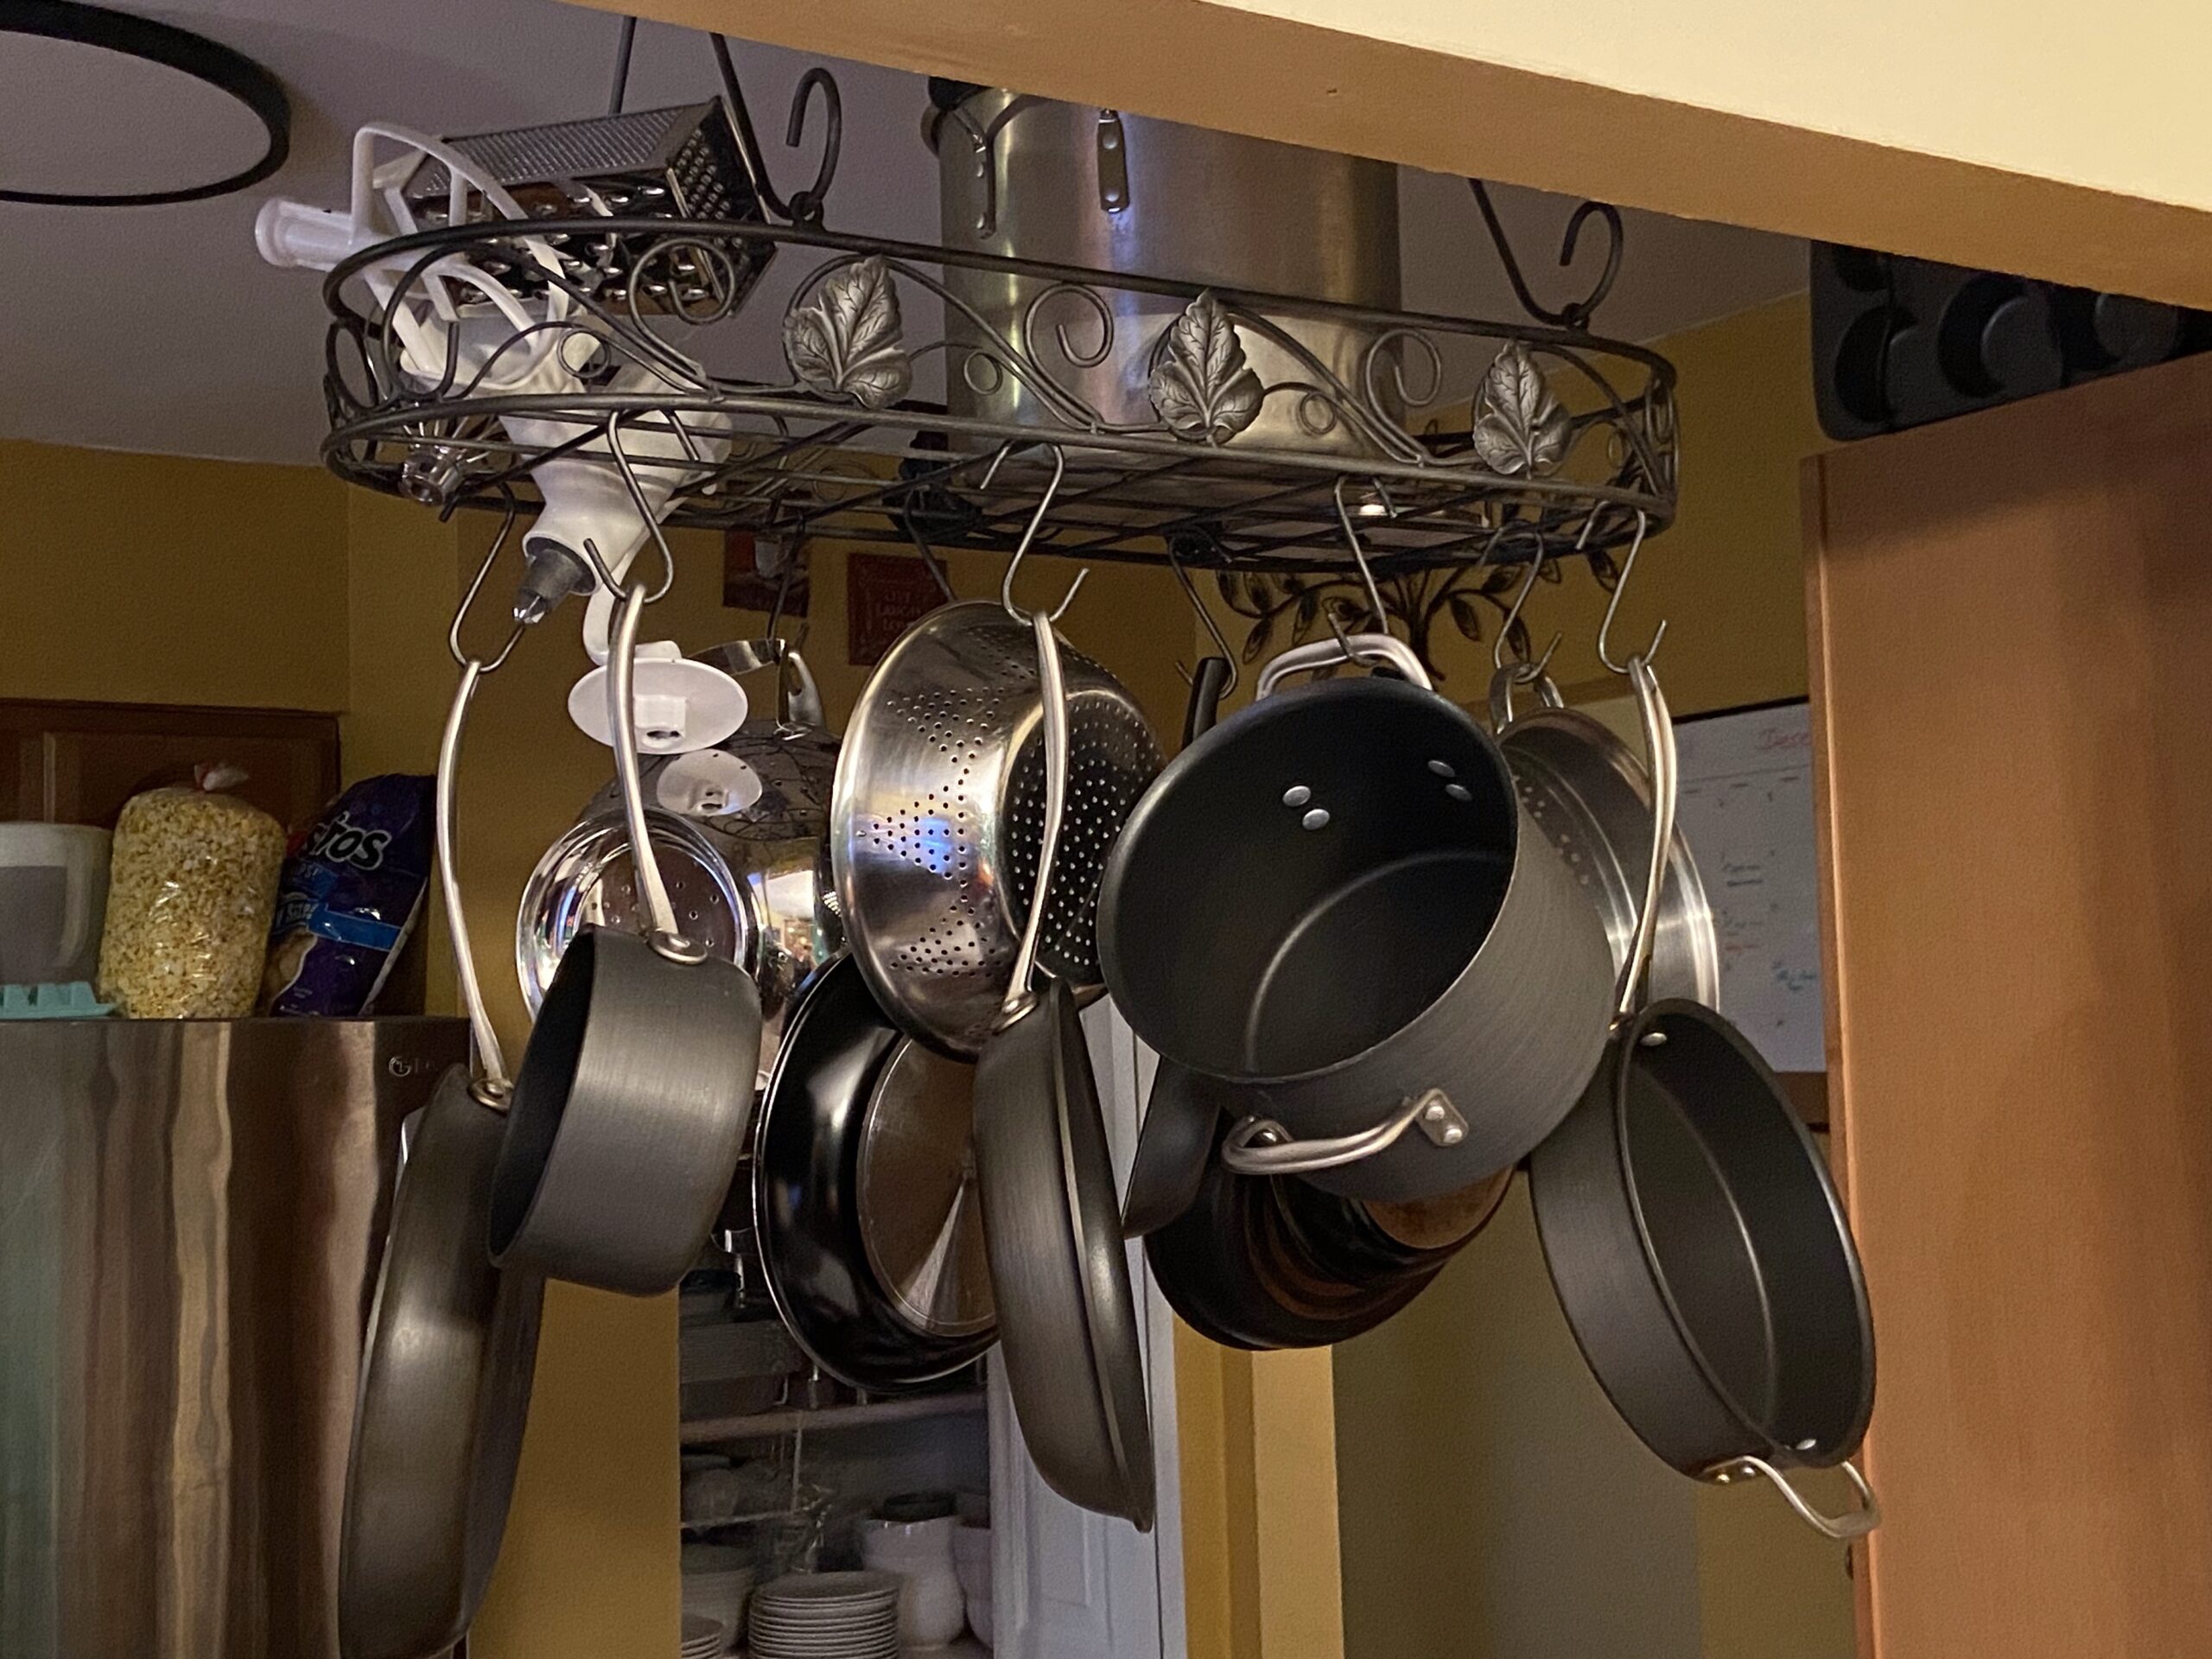
And another (which I forgot to photograph) that was hanging from the pots and pans holder using a magic arm.

No one noticed the cameras which was great because I didn’t want them to change their behavior from knowing they were being filmed.

Here is a side by side, 2 minute segment, centered and rotated in alignment with their eyes:

Extra if time:

drive link:
https://drive.google.com/file/d/1oq-m-V6lfHwxYX60Y2QresFYoX-9KRCF/view?usp=drive_link