Category: PersonInTime
breaktime
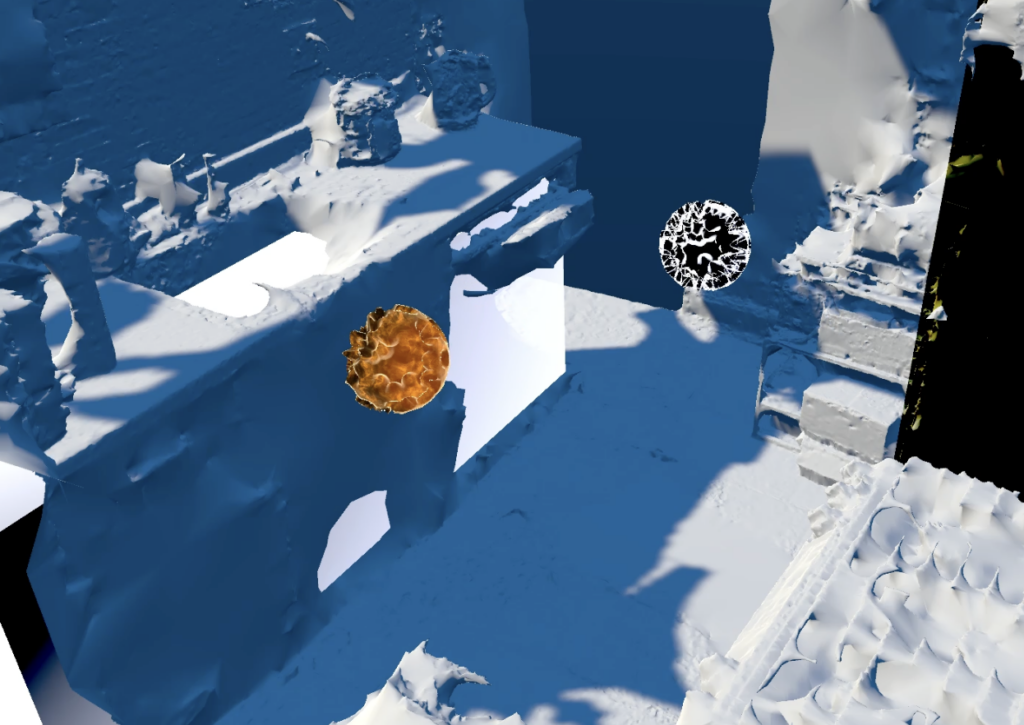
TLDR: I took a break and had the robot supervise my break time: a self-imposed timeout.
urscript code: https://cmu.box.com/s/vjpo6s4ji6vdo2vp1iefm85jxokj3x56
Subject: myself or any singular person.
Topic of focus: what happens when people are forced to be bored? how does the presence of a robot arm affect how people act?
Inspiration: shooter, candid shot, this project about robot surveillance, MITES@CMU
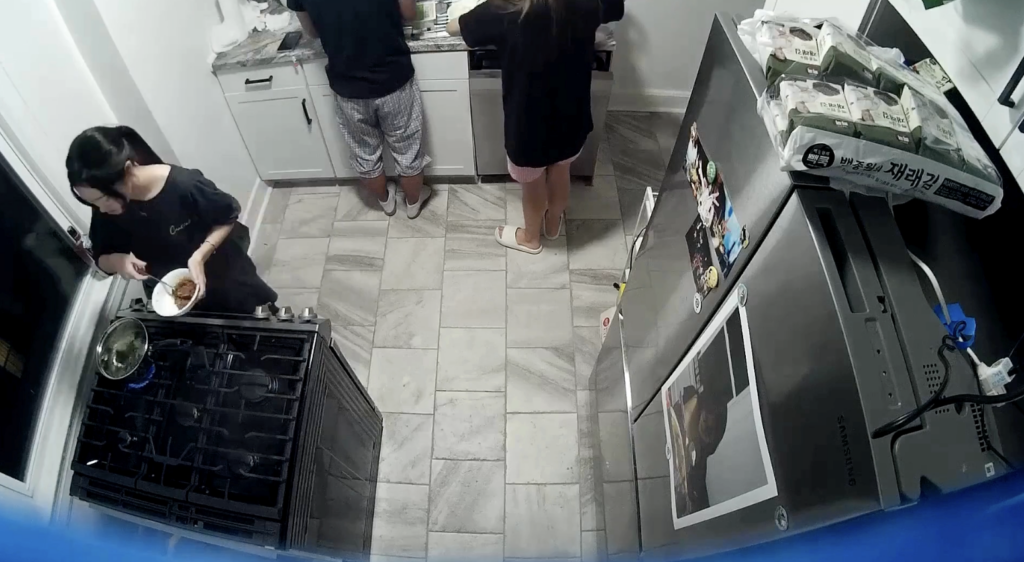
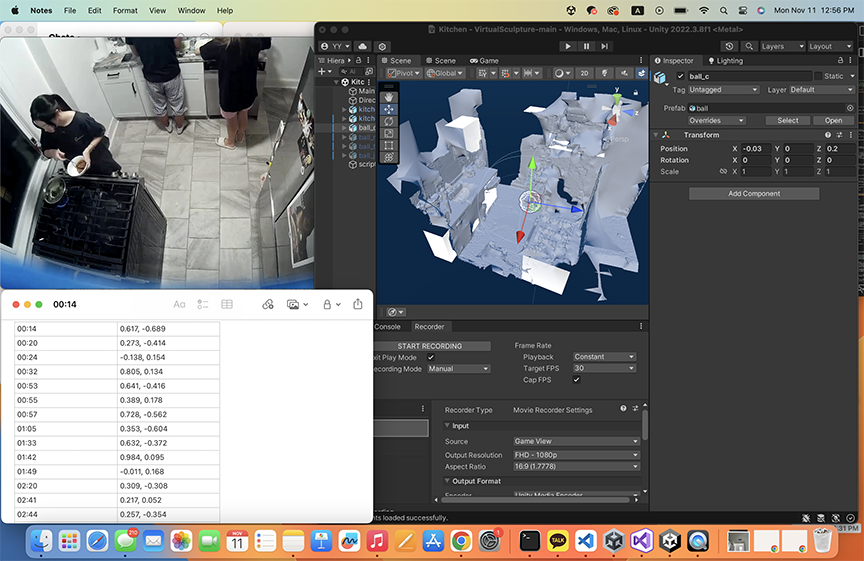
Observation of myself as a result: I fidget a lot. And I think as time went on, I got sleepy and I cared less and less about the camera (I didn’t realize this is how it looks when I nod off in class).
This project is a bit last minute, due to two main components for my original idea not working. One thing I kinda got working was URScript (thank you golan!) but to be quite honest, even that wasn’t working very well. I think there’s some math involved that makes looping in a half circle (in a very simple, maybe dumb manner) that doesn’t work due to division by zeros due to zero radius (idk what this even means). Even after debugging my script, the math didn’t work out and I ended up resorting to just making scripted motion just by moving the robot to the position I thought it needed to be at.
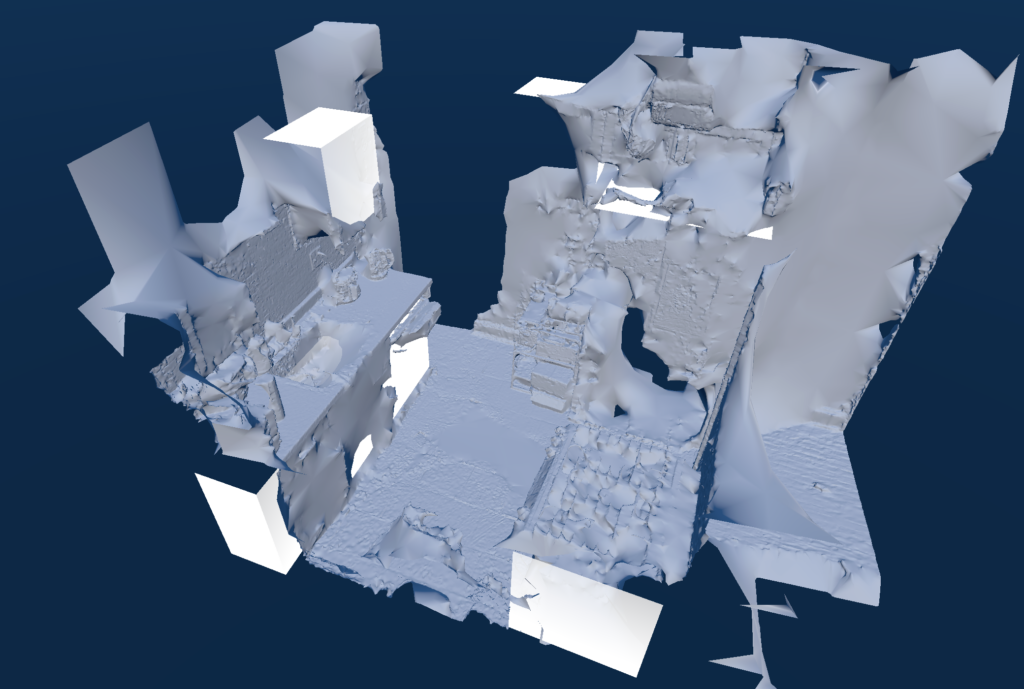
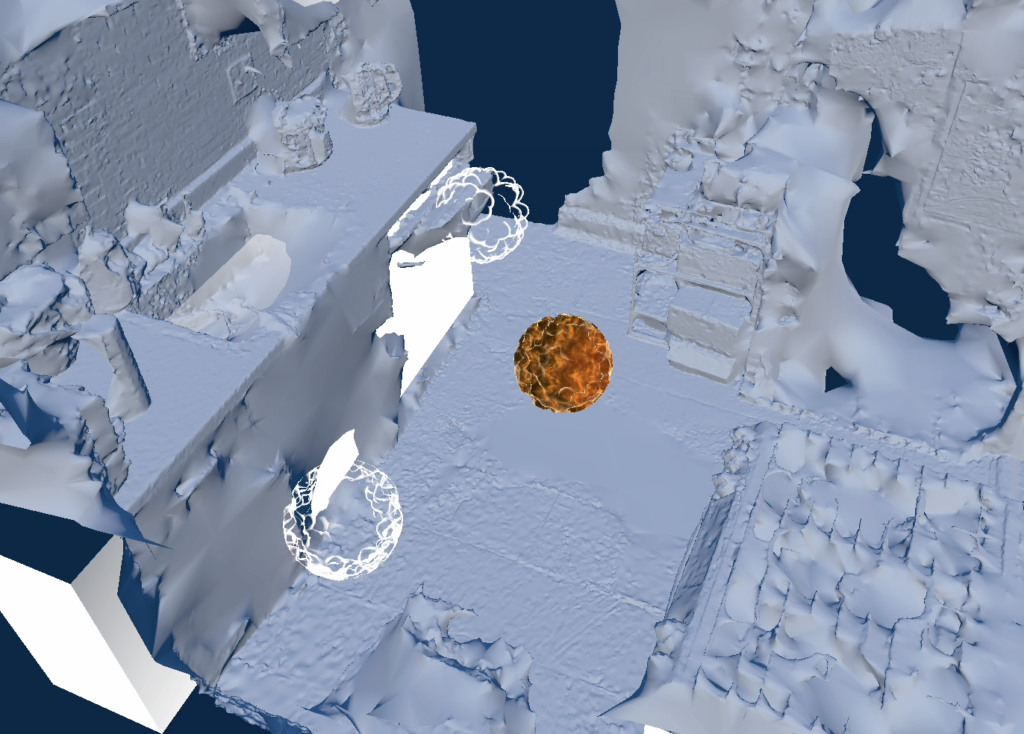
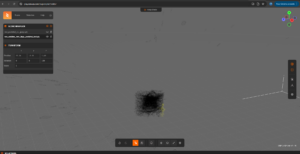
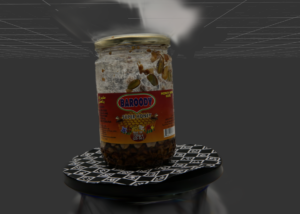
The original idea was to use the robot arm to make animated 3D objects, which proved to be way too large in scope for this to be completed. I spent the majority of the last 2-3 weeks working on developing a script to automate the creation of multiple Gaussian splats, a new-ish way to create 3D objects. This didn’t work (it’s still not working). Thus, speed project was enacted and this was made. I really struggled with URScript — it took me 1.5 hrs to debug why my script wasn’t compiling (apparently if statements also need to be ended with an ‘end’ in URScript). But even after getting to compile, there was something about the computed trajectory that resulted in the robot just not being happy with me.
some thoughts: I think this is just a little sloppy. If I were to redo it, I would make a good filming box for myself. There’s too much background clutter that was captured due to the angles the robot arm was filming from. I think idea-wise, this project still explores the concepts of surveillance and how we occupy space/exist differently with weird pieces of tech added to our environments. I will be continuing to explore these ideas, but I think as an entirely different project. This robot arm frustrates me.
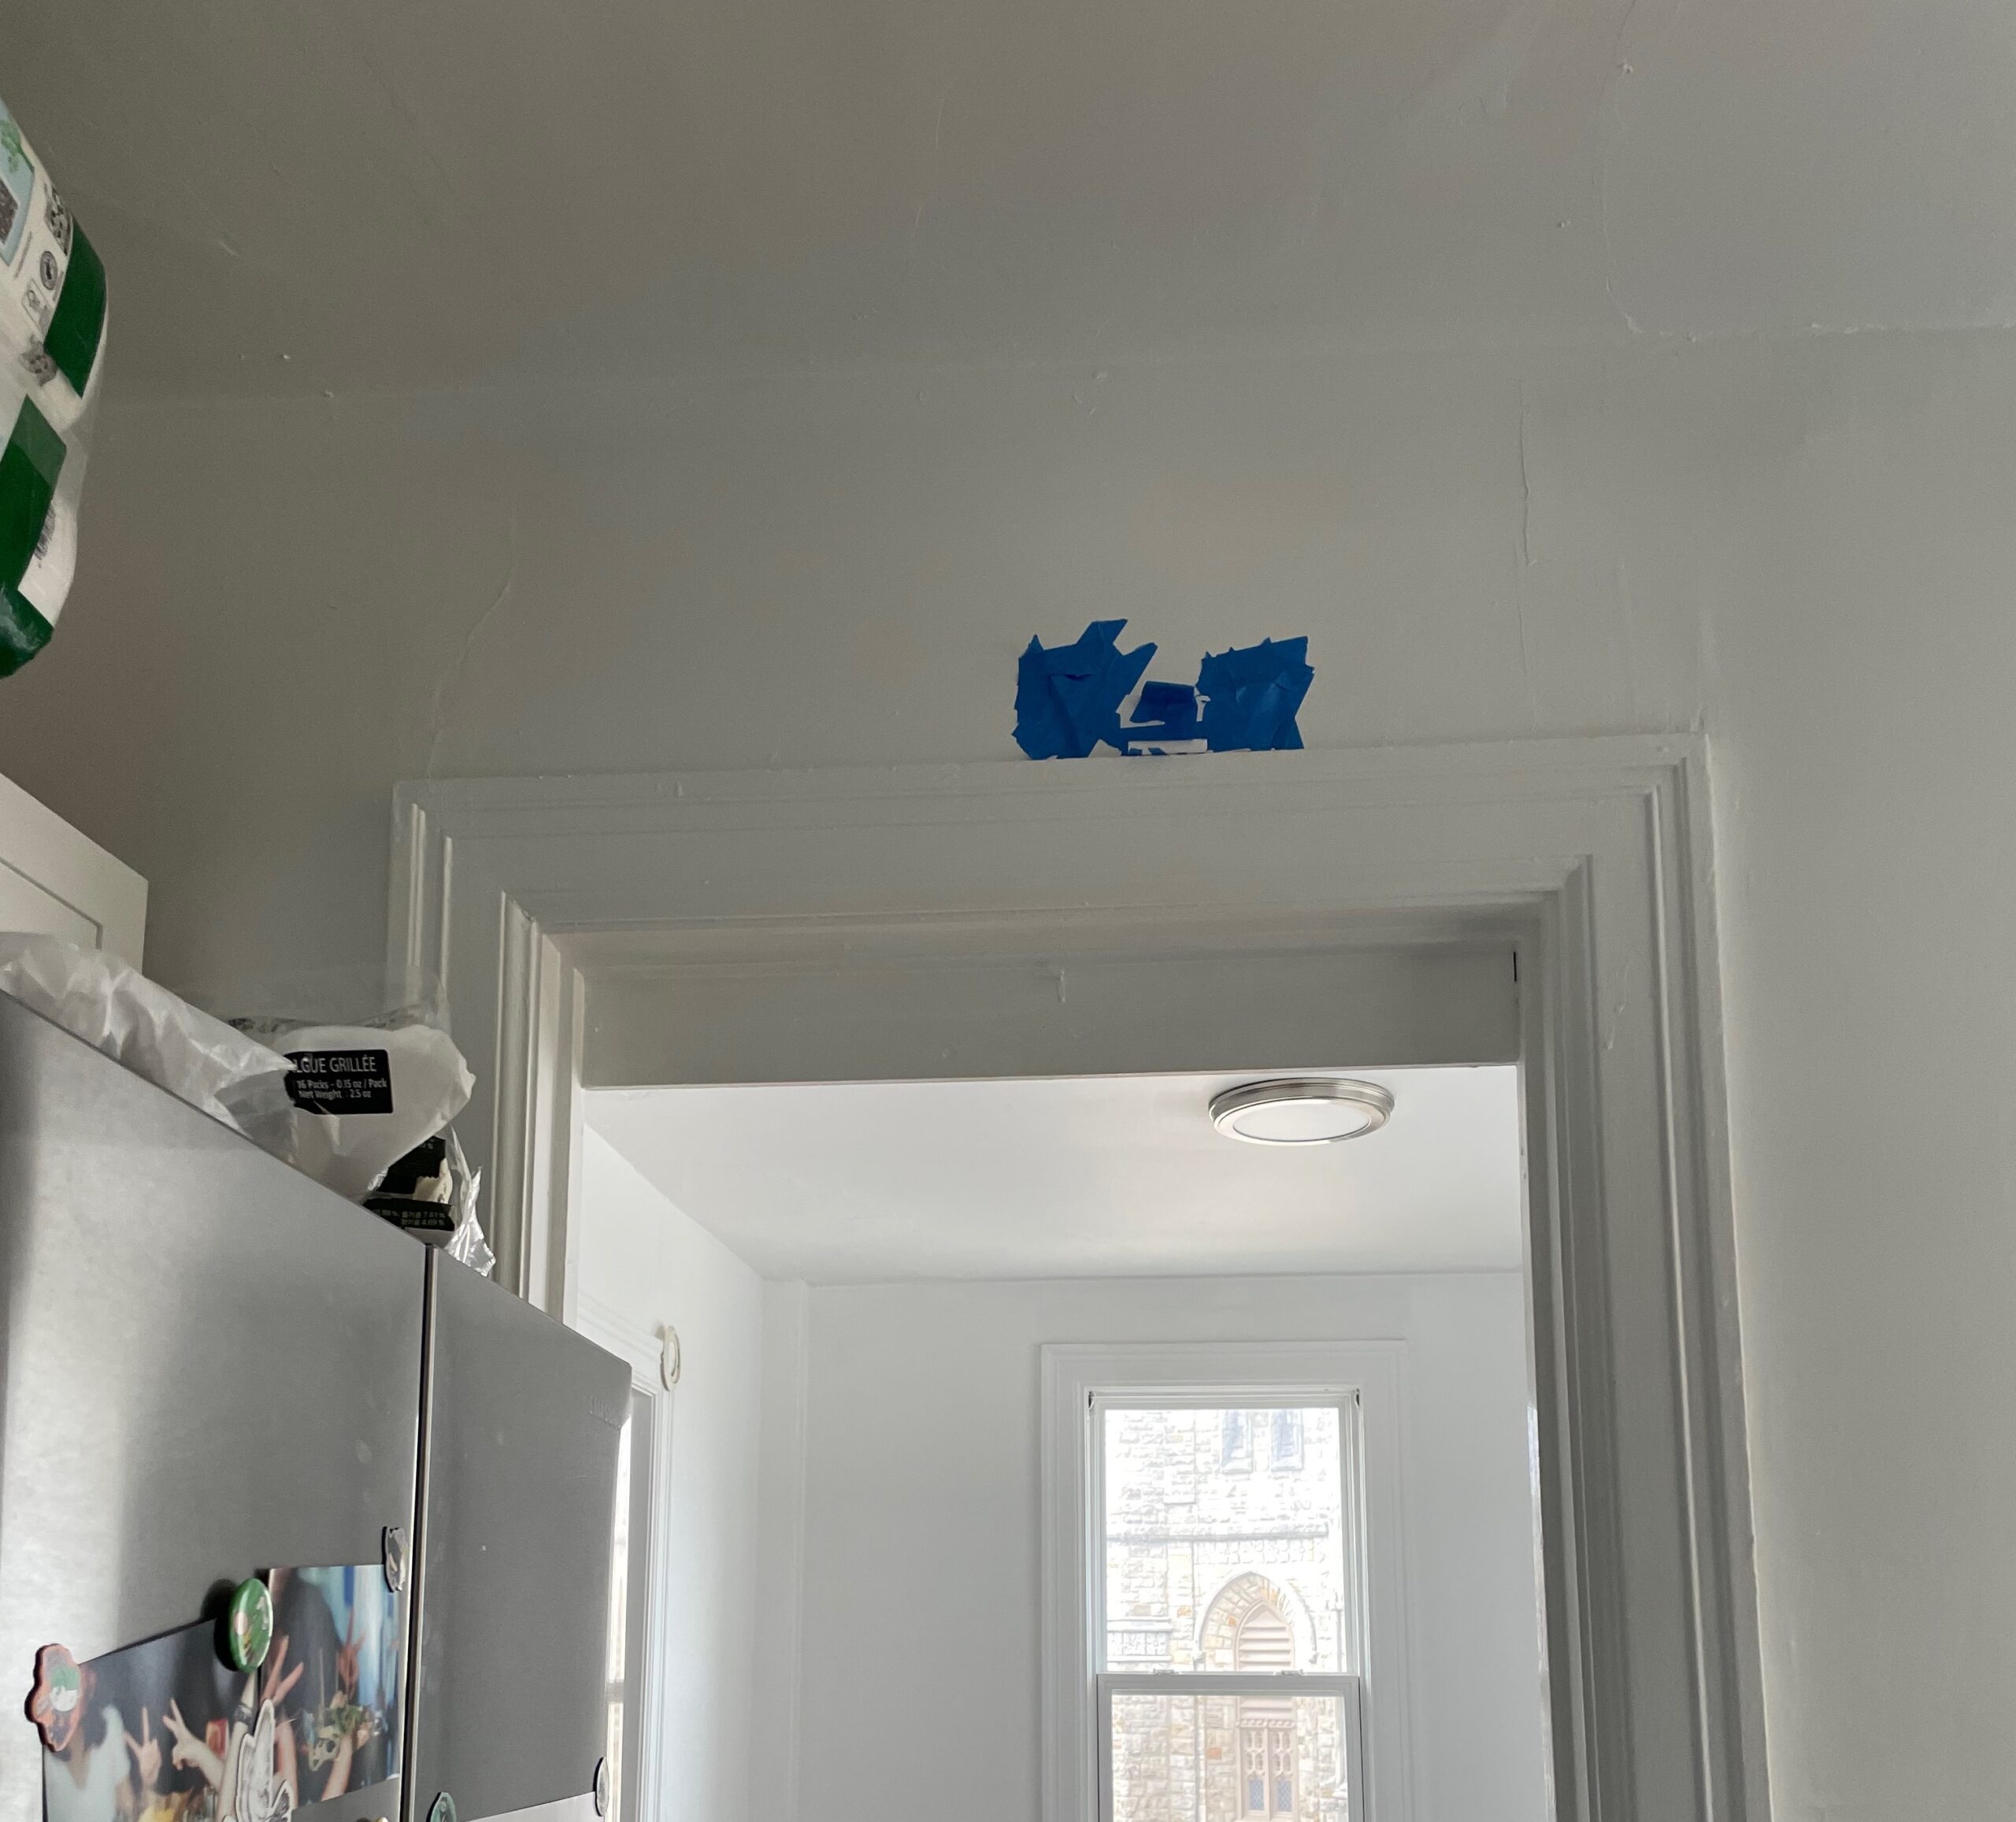
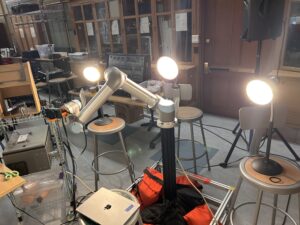
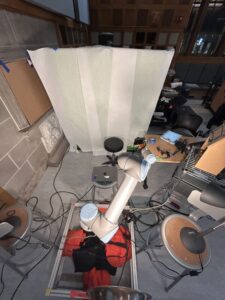
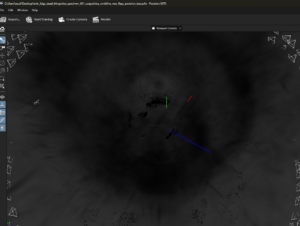
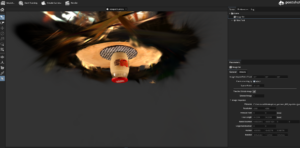
setup for filming:
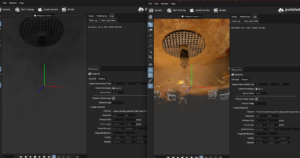
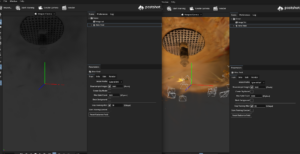
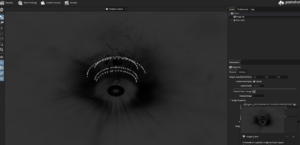
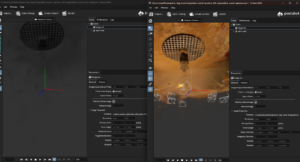
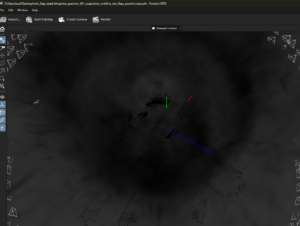
debugging process for original idea and modified idea: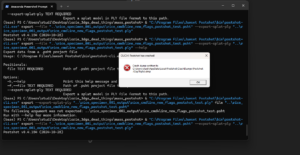
Pupil Stillness-People In Time Final
This project is inspired by changing our perception of things in motion. By fixing something moving to be still, we can see relative motion previously unperceived. This project explores this idea with human eyes. What does it look like for a person to move around the pupils in their eyes?
Pupil Detection
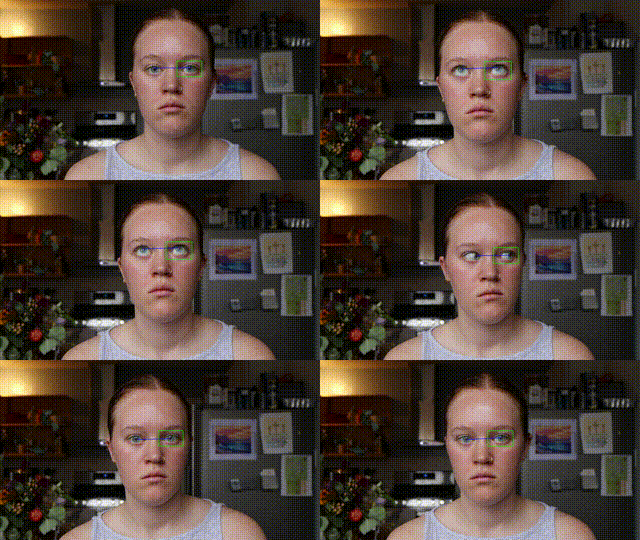
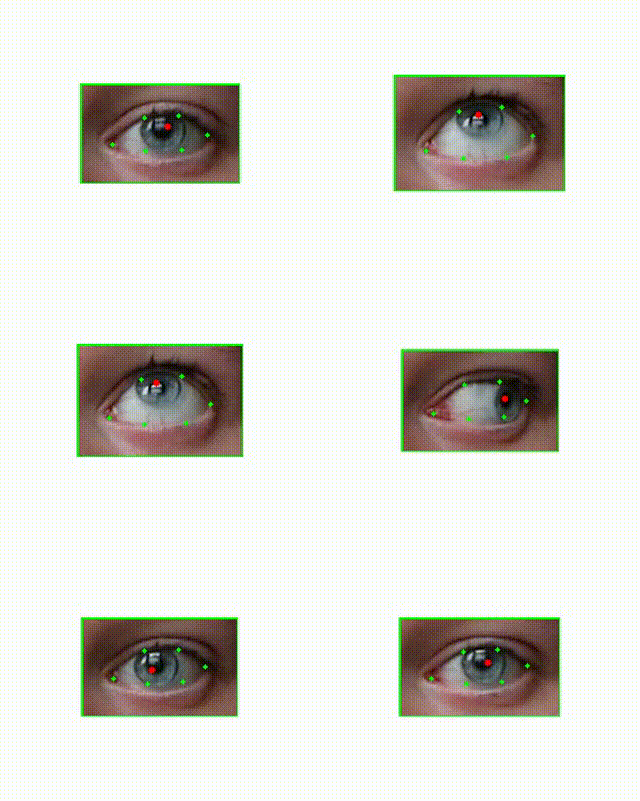
I knew I wanted video that extended beyond the eyeball, since the whole point was to see facial and head movements around the eye. I captured video that included the head and face and then used computer vision software to detect eye locations. Specifically, I used an open source computer vision library called dlib (https://github.com/davisking/dlib). This allowed my to detect the locations of the eyes. Once I had those points (shown in green), I then needed to detect the pupil location within these points. I was planning to use an existing piece of software for this but was disappointed with the results so I wrote my own software to predict pupil location. It essentially just looks for the darkest part of the eye. Noise and variability here are handled in later processing steps.
Centering
Once I processed the videos for the pupil locations, I had to decide how to use this data to further process the video. The two options were to 1. center the pupils of one of the eyes and 2. center the average of the two pupil locations. I tested both options. The first video below demonstrate using both eyes to center the image. I essentially took the line that connects both pupils and centered the middle point on this line. The second video is centered by the location of the right pupil only.
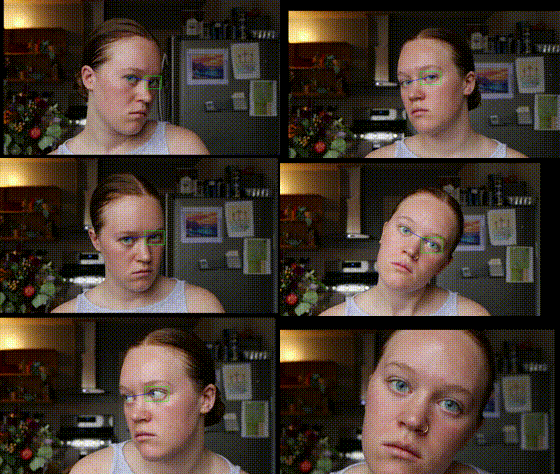
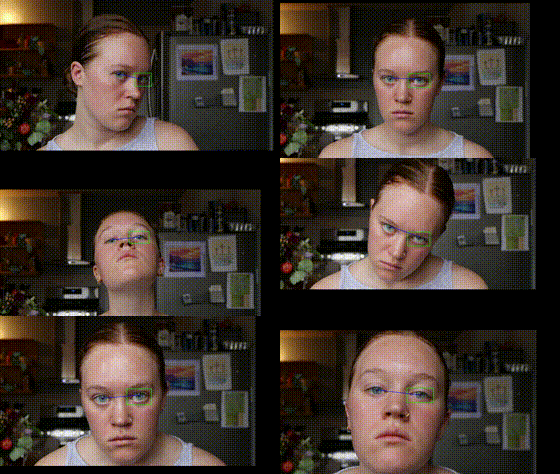
The second option here (centering a single eye) showed to allow for a little more visible movement especially when tilting your head, so I continued with this approach.
Angle Adjustment
I was decently pleased with how this was looking but couldn’t help but wish there was some sense of orientation around the fixed eye. I decided to test out 3 different rotation transformations. Option 1 was to make no rotation/orientation transformation. Option 2 was to correct for the eye rotation. This mean ensuring that the line between the two pupils was always perfectly horizontal. This required rotating the frame the opposite direction of any head tilt. This looks like this:
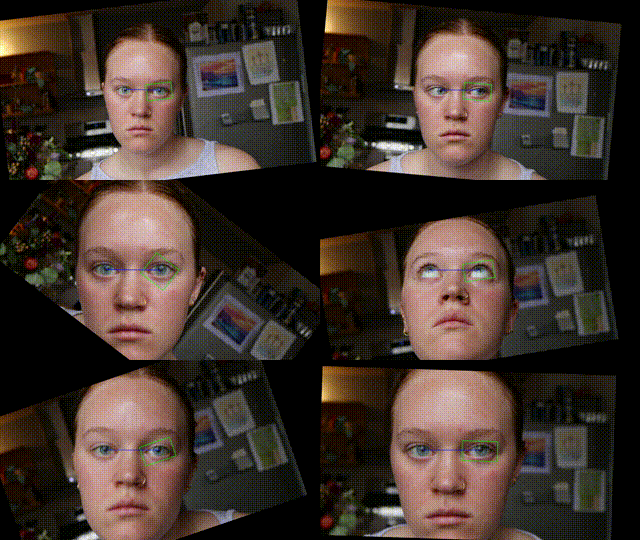 This resulted in what looked like a fixed head with a rotating background. I cool effect but not exactly what I was going for. The 3rd option was to rotate the frame the same extent and direction as the eye tilt. This meant the frame of the original video was parallel with the eye tilt as opposed to the frame of the output video being parallel to the eye tilt. This looks like this:
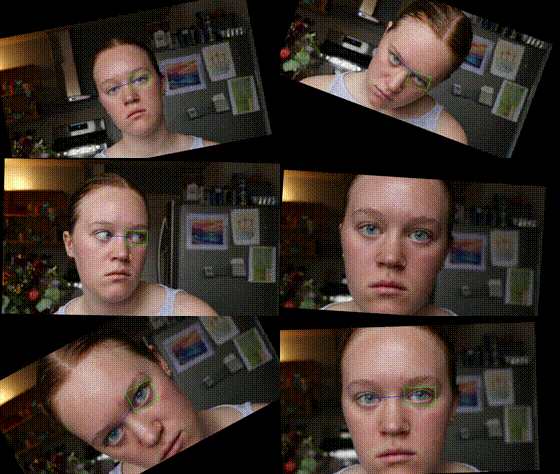 This one gave the impression of the face swinging around the eye, which was exactly what I was going for.
Noise Reduction
If we look back to the video of the eye from the pupil detection section above, you can see that there is a lot of noise in the location of the red dot. This because I opted to obtain some location in the pupil as opposed to calculating the center. The algorithms that do this require stricter environments i.e. close video shot by infrared cameras and I wanted the videos to be in color, so I wrote the software for this part myself. The noise that exists in the pupil location however, was causing small jitter movements in the output that weren’t related to the person’s movements, but rather the noise in the specific pupil location selected. To handle this, I essentially chose to take the pupil locations of every 3rd or 5th frame and interpolate the pupil locations for all the frames in between. This allowed for a much smoother video that still captured the movements of the person. Below is what the video looks like before and after pupil location interpolation.
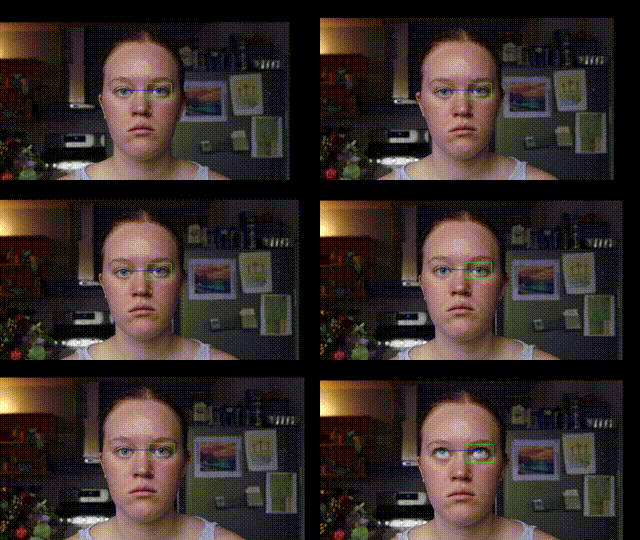
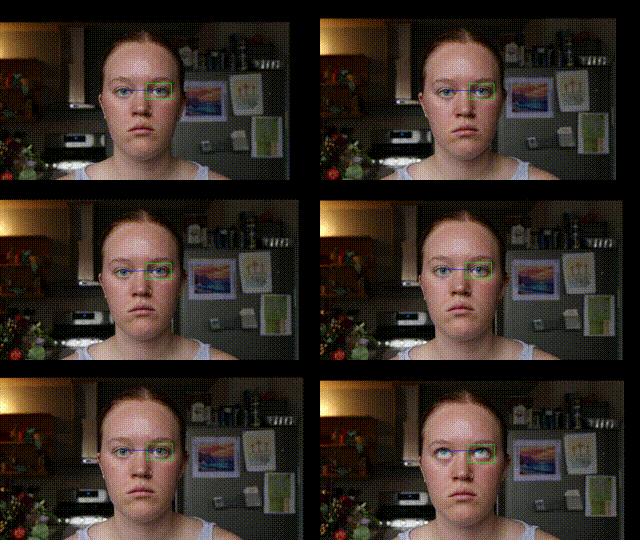
Final results:
https://youtu.be/9rVI8Eti7cY
Person in Time – Printed Impressions
Printed Impressions.
Research Question
How does the sequence of the printing process vary between individuals, and to what extent are students aware of the subtle surveillance from a nearby individual when completing their routine actions?
What event did I choose to capture? Why this subject?
I chose to capture Carnegie Mellon students who are printing out assignments, surveilling their behaviors and habits in this mundane yet quick routine. After a lot of trial and error, I realized the simplicity of observing individuals in this sequence of entering the print station, scanning their card, waiting, foot-taping, and either taking the time to organize p or leaving their account open—creates an impression of each person over time and reveals subtle aspects of their attention to their surroundings, details, and visual signals of stress over time.
I chose this particular subject because not many people would be aware of subtle surveillance when doing such a mundane task, I thought it could also probe more of a reaction, but to my surprise, most people were unaware of my intentions.
Inspirations
1. Dries Depoorter, The Follower (2023-2024)
https://driesdepoorter.be/thefollower/
I found this absolutely incredible project (for my looking outwards 4!) by an artist who takes an individual’s Instagram picture and uses a surveillance camera company called EarthCam to show the real-time process of that individual attempting to capture the very image they posted to Instagram. Depoorter essentially exposes the real-time workflow behind an Instagram capture, illustrating the the ironic relationship between personal photo consent and public surveillance consent
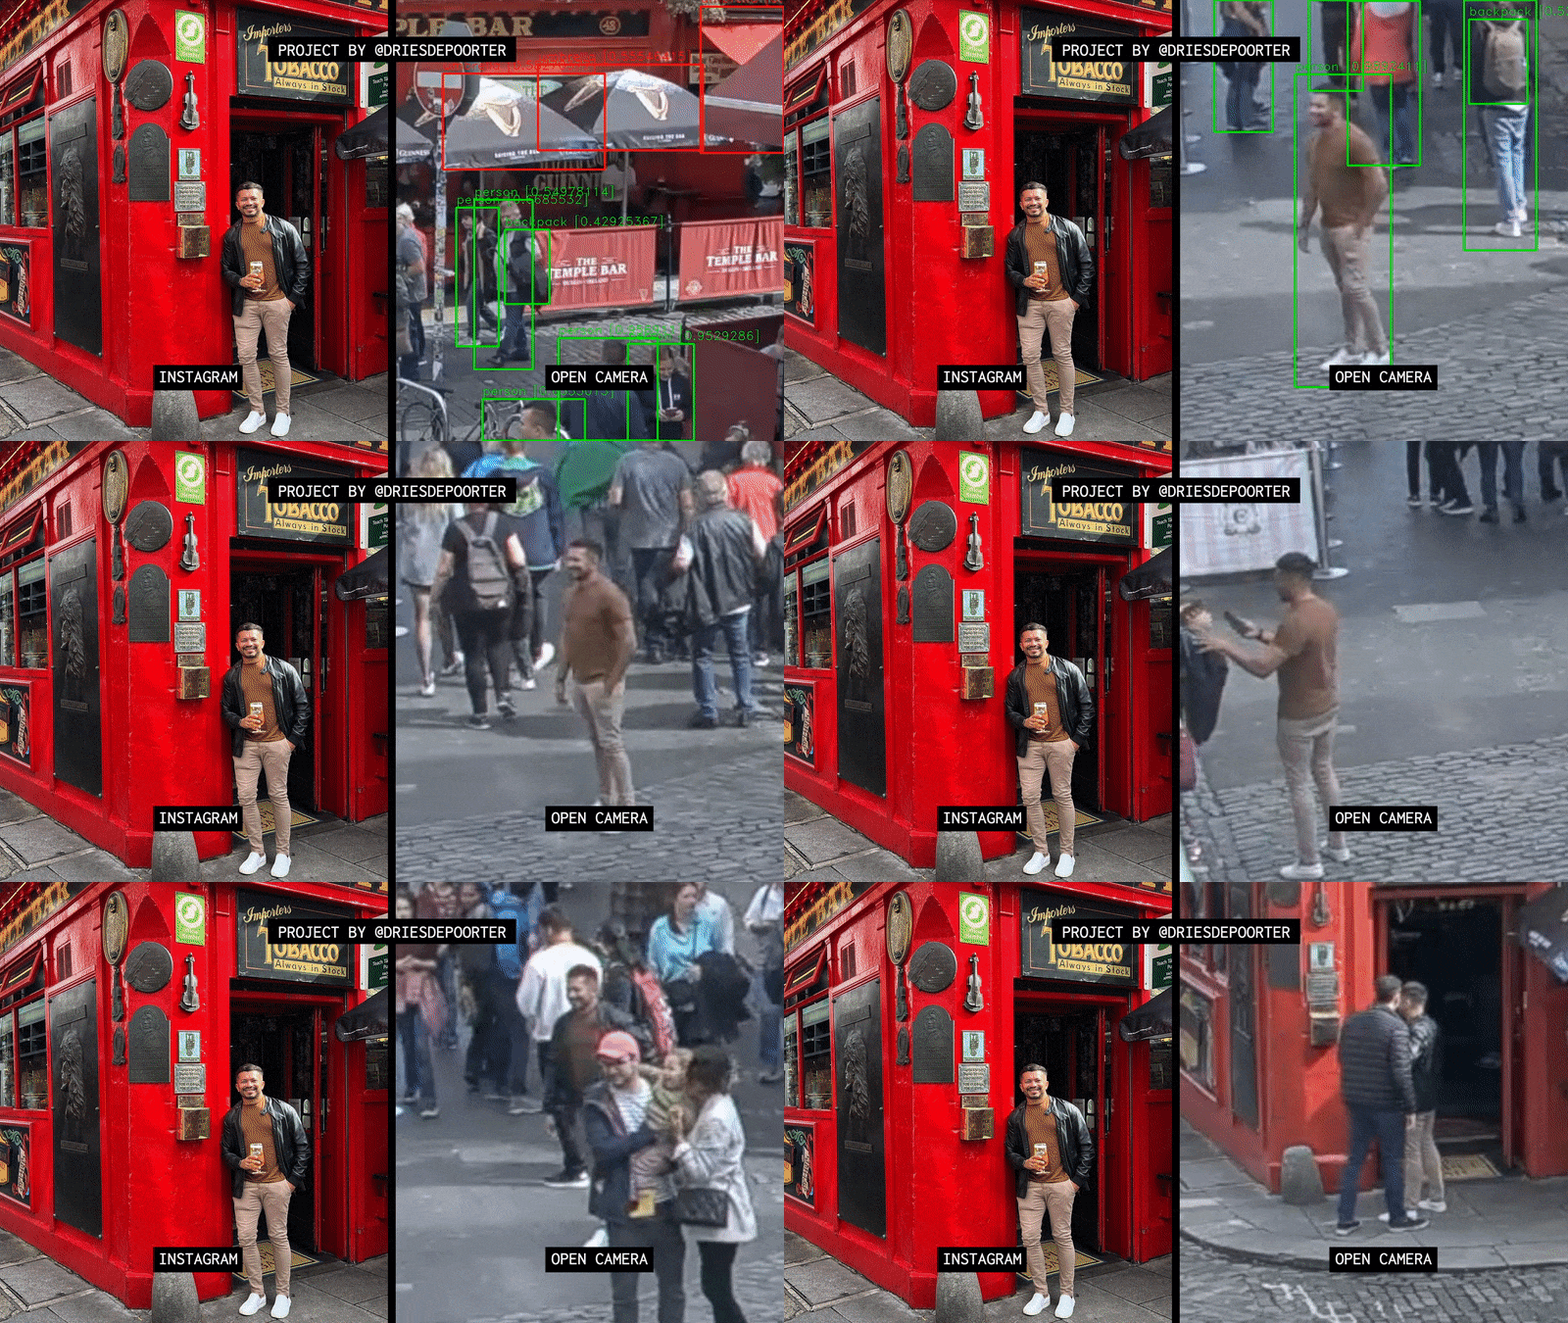
B’s Typology on Surprise, capturing people’s surprise reactions as they opened a box.
and… Special shout out to Hysterical Literature & Paul Shen’s Two Girls One Cup
Initial Project Focus & Redirection 
I was initially really obsessed with subtle surveillance that could capture a series of fear or shock committed by an unknowing individual and even capture some information about them that isn’t revealed verbally.
However, much conversation and redirection from Golan and Nica was exceptionally helpful to uncover what exactly is a quiddity, and how I should capture a person over time. I was really grateful for my talk with Nica because they really reminded me the importance of trial and error, to quite literally go out and figure out what works well (and doesn’t) with the creep cam. Golan’s reminder that sometimes the more simple project is often the most powerful was really helpful.
I did a LOT of overthinking since I felt like it was too close to the first project, but I’m confident that although I’m using the same capture method, it’s intention relates etc a completely different capture, one that simply observes
So with their wonderful advice, I got to work!
Capture System – Creep Cam
-
- Discuss the system you developed to capture this event. Describe your workflow or pipeline in detail, including diagrams if necessary. What led you to develop or select this specific process? What were your inspirations in creating this system?
I built this capture method for my previous class project where I would bump into people who were on their phones, and would then ask “what are you doing on your phone”. I wanted to stay with turning the Creep Cam into capturing something more positive, but still staying in line with subtle surveillance as the purpose of the project is to incorporate subtly film the entire footage without asking for permission.
What is a Creep Cam, you may ask? It’s a small 45-degree prism used by predators on the subway to subtly look up people’s skirts. So, why not repurpose this unfortunately very clever idea in a completely new way?


Ethics was heavily discussed, and since the footage is in a public place, turns out it’s all good–no permission required . After discussing my concerns with Golan, he suggested the PERFECT solution: a Creep Cam.
Close Ups of the Rig!
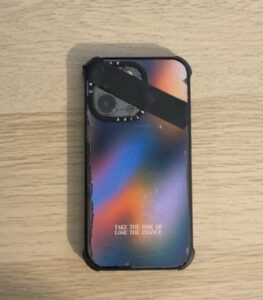
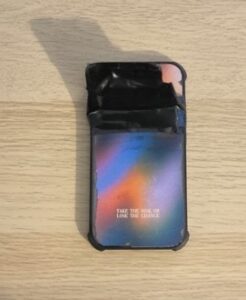
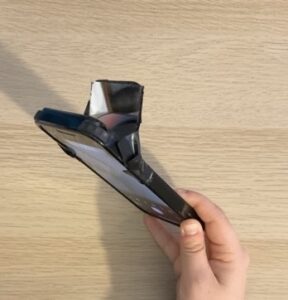
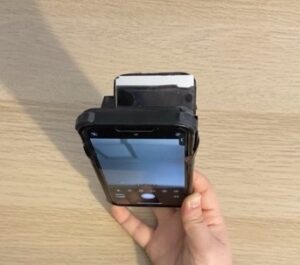
Set Up – Creep Cam in the Wild
When employing the creep cam to capture the event, I need to wear black clothing. On the day of I wore all black: dark pants, top, coat – the real deal to make sure the camera was as unnoticeable as possible! (Pictures don’t show the outfit I wore the day of)
I chose my location in the UC Web Printer, an alcove that’s nice and small to make sure my creep cam could see all the little details.
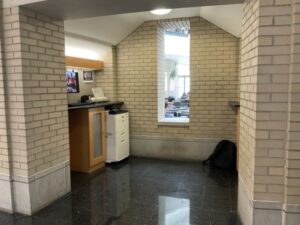
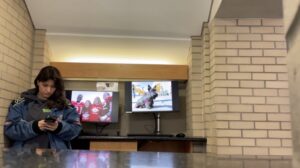
Printed Impressions
I was pretty shocked to see the results to say the least… I was able to record 12 people!!! My personal favorites are 5, 9, 11, 13, 14!
Insights & Findings
-
- Advantages of the Dual Camera
A big comment that was given on my previous project was that I should learn to take advantage of the creep cam’s dual camera. Since the creep cam has a dual camera of both the top and bottom half of a person, it perfectly captured the stress you could feel from them having to wait for a printed image. Many of them would tap their fingers on the table, tap their foot, or even sigh! I was really excited because the environment perfectly captured each individual’s process at an interesting angle.
2. Most Individuals did NOT realize I was filming them
Most people who went to use the printer would ask if I was printing something out, when I would say no, they would rapidly go to print out their stuff. After reviewing the footage, I think some people were somewhat aware, but wasn’t completely reflecting the possibilities of what was going on.
3. Person in Time is Clear!!!
I was most excited with the fact that it perfectly captured a quiddity, a subject of a person completing an action in time, and you could witness the varying factors of stress or habits among individuals. Printing is such a mundane task that requires someone to wait for the output especially in such a digital world, that it really boils down to focusing on the individual’s focus at the task at hand.
4. Happy Accidents
I was extremely happy with the added aspect of surveillance towards revealing personal information, since most people using the printer failed to log out of their account. I was able to use this to catch a glimpse into the possibilities of who they are and what they’re working on!
now for the project 
Person 1 – Liam C. – First Year, Dietrich College
Person 2 – Unknown
Person 3 – Unknown
Person 4 – Unknown
Person 5 – Unknown
Person 6 – Tomas R. – Sophomore, Business
Person 7 – Unknown
Person 8 – Unknown (Again)
Person 9 – Nick B, Junior, Business
Person 8 – Amy C, First Year, CFA
Person 11 – Kobe Z, 5th Year, Electrical & Computing Engineering
Person 12 – Nikolaj H, Masters, Mechanical Enginerering
Person 14 – Unknown
Evaluation of Printed Impressions
Project 2: Person in Time “Quiddity”
I’ve always found a certain fascination in reflections and comfort in hiding behind a reflection—observing from a space where I’m not directly seen by the subject. There’s something quietly powerful in capturing moments from this hidden vantage point, where the world unfolds without the pressure of interaction. The reflection creates a barrier, a layer between myself and the moment, allowing me to observe without being observed. It offers a sense of safety, distance, and control while still engaging with the world around me.

This project emerged from that same instinct—an exploration of the subtle dynamic between visibility and invisibility,
Self-Glance Runway

For this project, the process was centered on capturing spontaneous human behavior related to this phenomenon—how we, as individuals, instinctively pause to check our reflections when presented with the opportunity.
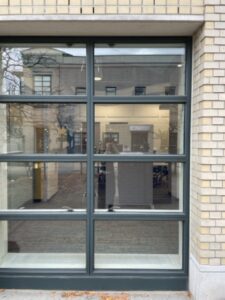
Setting up at Merson Courtyard, just outside the UC building, provided an ideal backdrop. The three windows leading up to the revolving doors created natural “frames” through which passersby could glimpse themselves.
To discreetly capture these candid moments, I placed a DJI Osmo Action 4 camera on a tripod inside, a compact setup that minimized visibility, while a Bushnell Core DS-4K wildlife camera outside caught “behind the scene clips”. I took measures to make the glass more reflective by dimming indoor lights and using movable whiteboards to create subtle, controlled lighting.

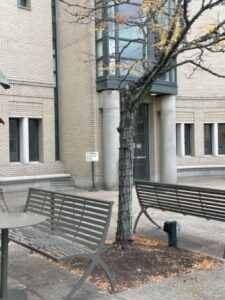
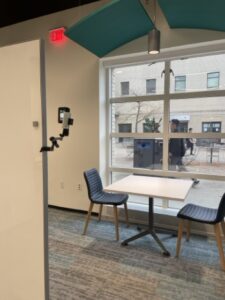
![]() The footage was taken on 11/07th from approximately 12:3oPM-5:30PM. And edited by hand in Premiere Pro. I wish I somehow made a system to organize these clips with a system instead of manual labor but I also don’t know how accurate it might’ve been especially in a group movement.
The footage was taken on 11/07th from approximately 12:3oPM-5:30PM. And edited by hand in Premiere Pro. I wish I somehow made a system to organize these clips with a system instead of manual labor but I also don’t know how accurate it might’ve been especially in a group movement.
Reflecting on this project, I found myself confronting something unexpected. While editing the hours of footage, I felt a strange authority over the people outside the window, watching their lives unfold in these small, unguarded moments. There was something powerful in observing the casual details—how they dressed, who they were with, the lunches they carried—moments they never intended for anyone to see. But toward the end of the footage, I noticed something unsettling as the sun started to set. With the changing light, more of the indoor space I was working in started to reflect through the windows. I hadn’t timed it right; I didn’t anticipate how early the inside would become visible. Suddenly, as I was watching them, I was on display too, exposed to the very people I thought I was quietly observing.
It felt strange, almost as if I had crafted a scene meant to be invisible, only to find myself unexpectedly pulled into it. The dynamic of gaze and surveillance shifted as the light changed, turning the lens back onto me.
Hands Conversation
Clip of Theseus
Basic idea:
Mapping and rearranging pixels of one image to form another.
Or, in the more ornate words of a friend based on a basic description of the project: “The machine projects the memory of the source image onto its perception of its incoming vision from the new image. Is it hallucinating? Or just trying to interpret the new stimuli in terms of past experiences?”
Questions:
- How much can an image’s constituent pixels be rearranged before it loses its original identity? Where/when does one thing end and another begin?
- Can the ways the pixels are changing reflect the different timelines on which different organisms and systems exist?
- Can Alice finish Project #2 for ExCap on time?
- (the answer is “yes?* but not to the desired effect”)
- *for some definition of yes
Inspiration:
Generally, I’m really inspired by media theoretical work from the likes of Hito Steyerl (e.g. poor image), Trevor Paglen (invisible image), Legacy Russell (Glitch Feminism), and Rosa Menkman (Glitch Manifesto). There are also definitely general inspirations from pixel sorting tradition.
Here’s a page out of Menkman’s Glitch Manifesto:

Three topics:
There were 2.5 topics through which I wanted to experiment (none of which I’ve been able to really flesh out yet):
1) Non-human labor of lichen and moss
1a) s1n0p1a x lichen/moss collaboration
2) the story of my friend/housemate Jane and me.
Non-human labor of lichen and moss:
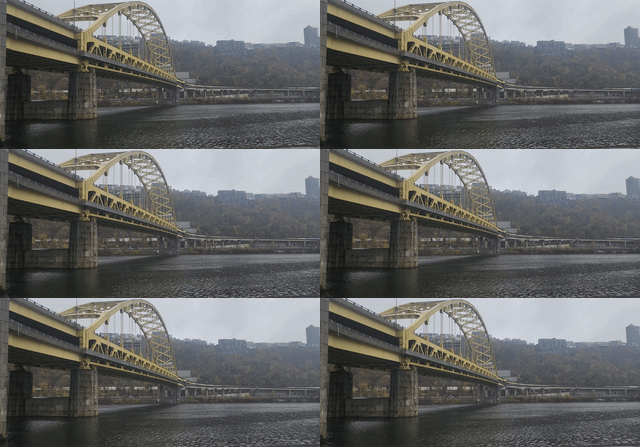
My original idea around highlighting non-human labor: such as the enduring role of lichen and moss in restoring post-industrial landscapes and ways in which species persist alongside and in spite of human development. Lichen and moss are keystone species/genus that survived Earth’s last major extinctions. They grow slowly over decades, centuries, millenia–existing on a timeline that exceeds our understanding. For this stage/iteration of the project, I wanted to film 1) the bridge/trains/cars of Pittsburgh and 2) lichen and moss; our changes are intertwined. For the site, I chose to film at the Pump House, the site of the 1892 Battle of Homestead–one of the most pivotal and deadly labor struggles in American history.
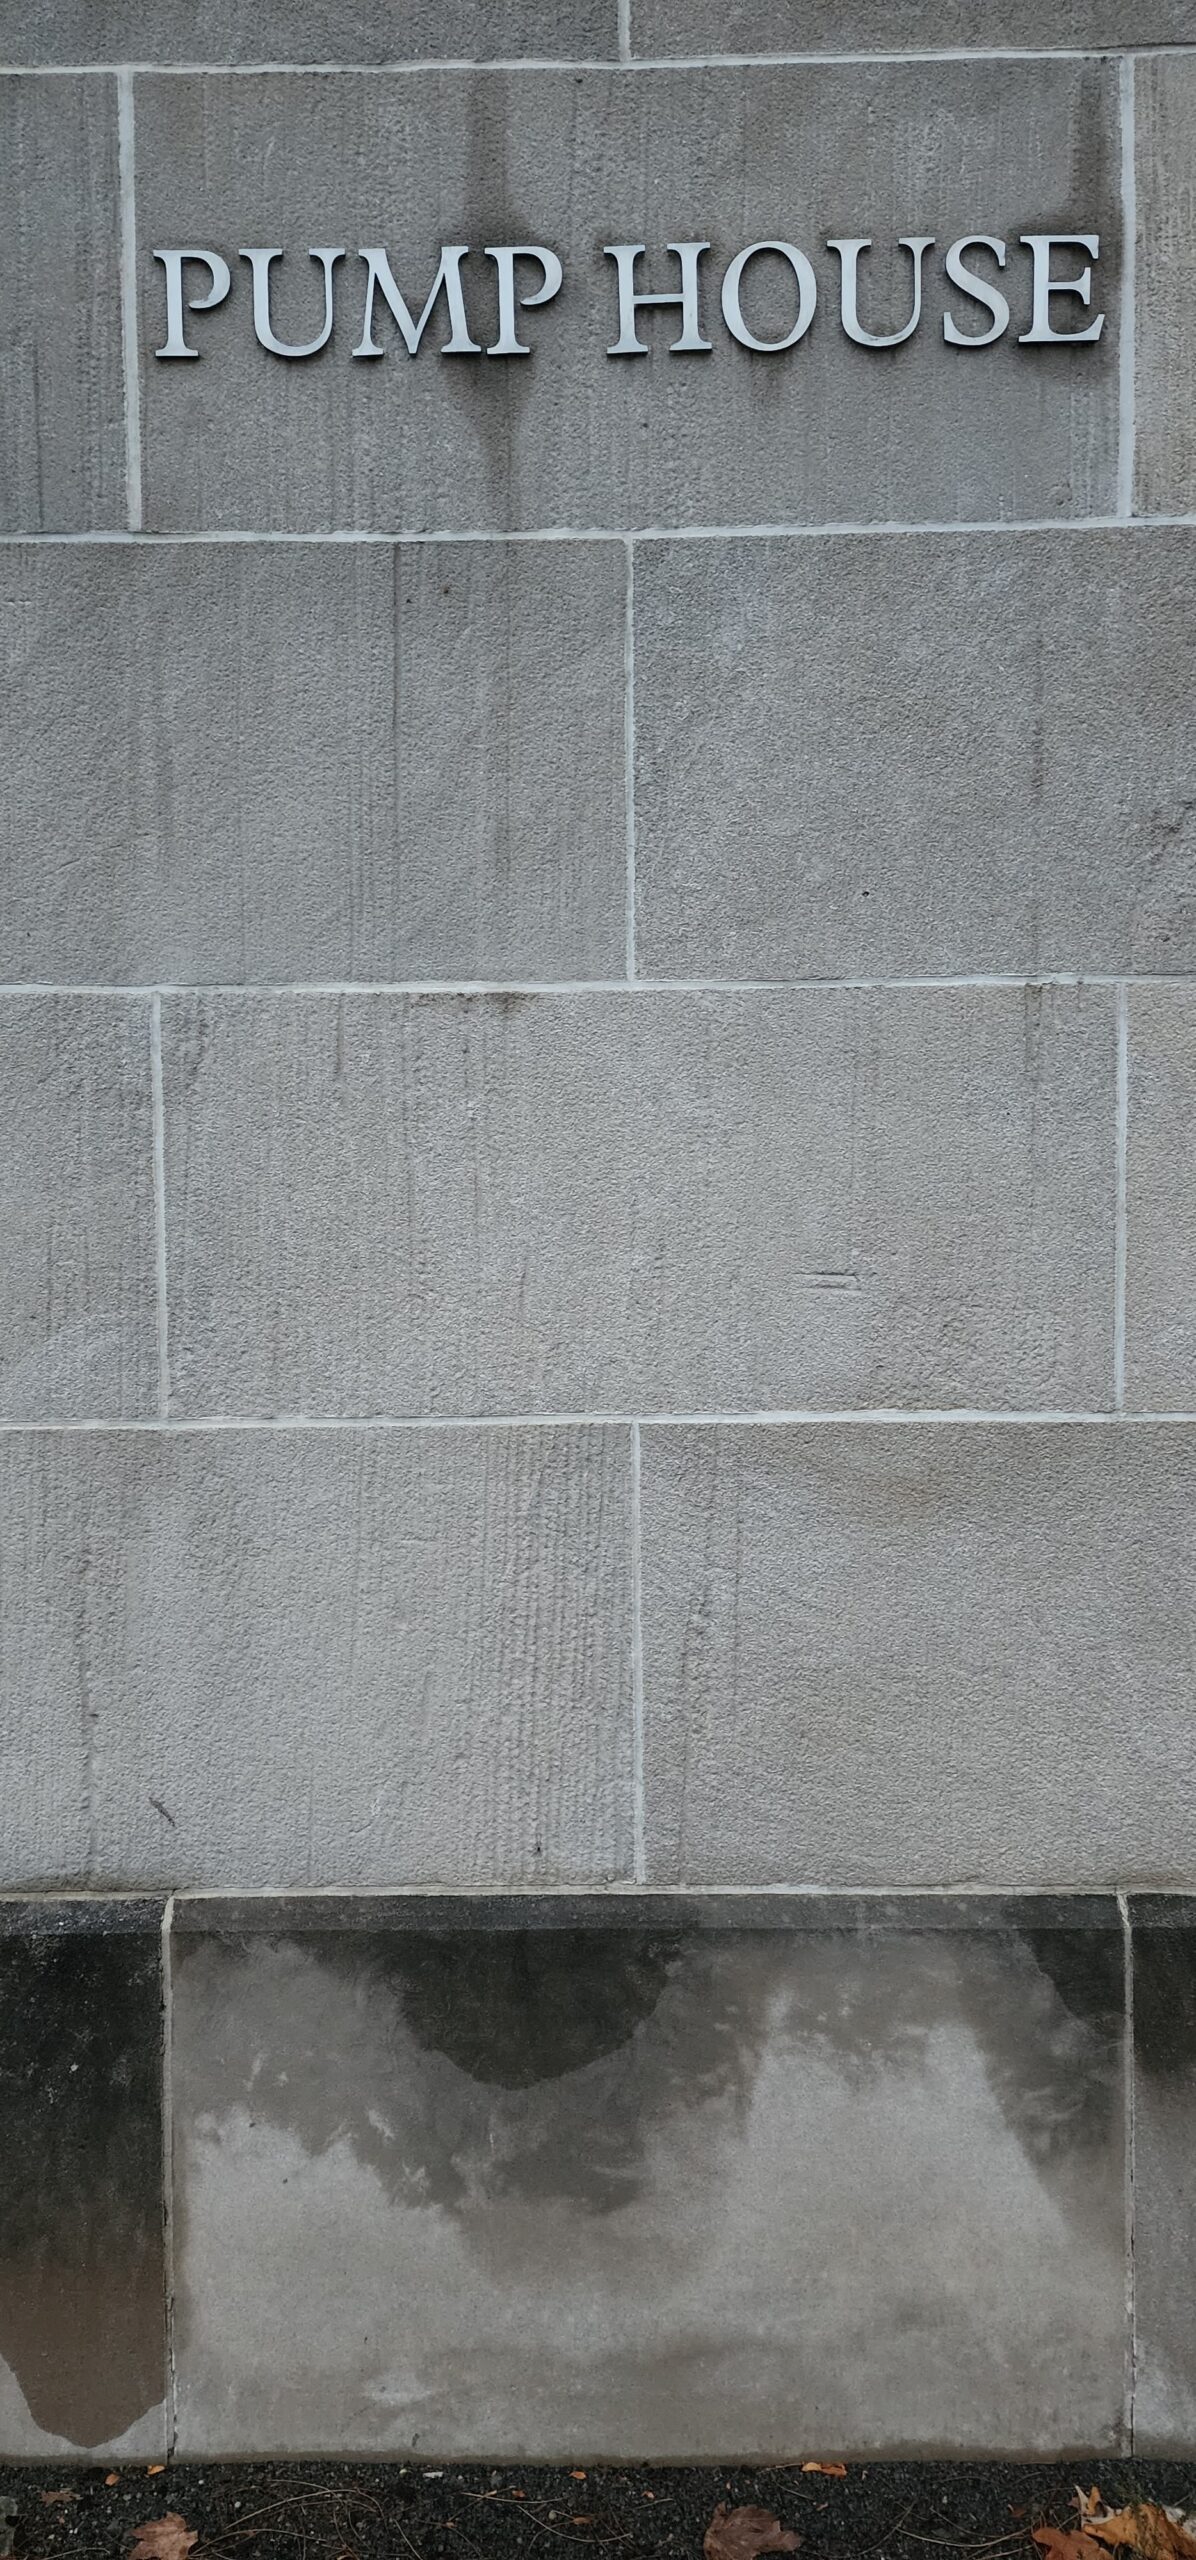
Pump House
Pixels of Bridge Mapped to Pixels of Lichen:
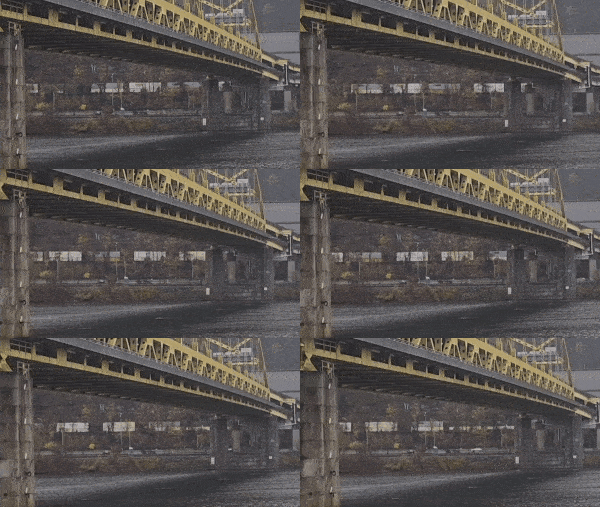

Collected video x Collected video:
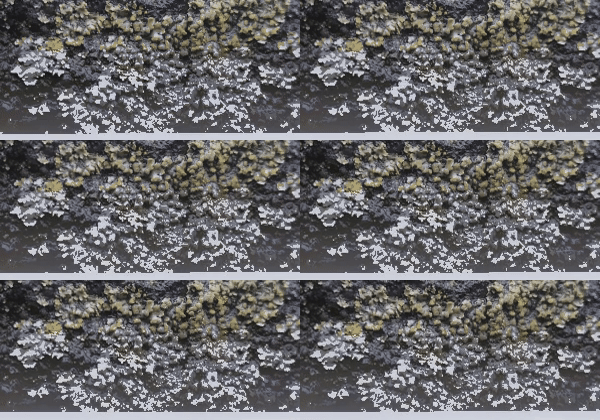
Lichen on a rock next to the Pump House

Moss/lichen on the wall of the Pump House
Collected video (I took this video) x Sample Image (I did not take these images):
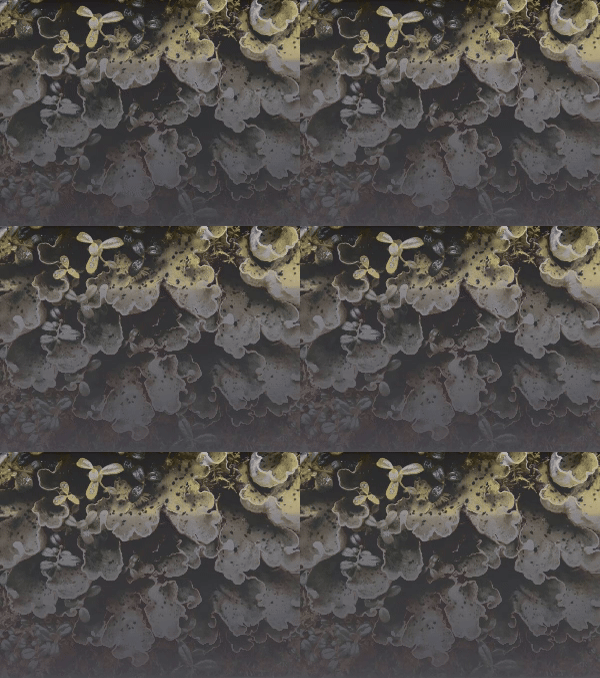
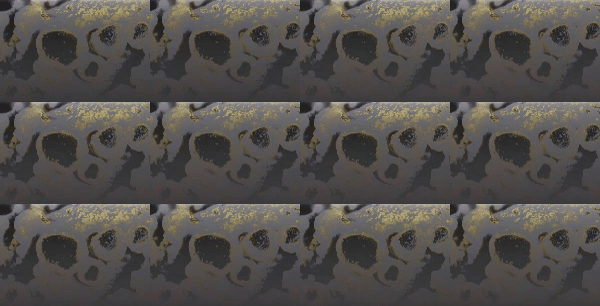
stereoscopic!
I’m not too happy with the results on this one because the images just don’t… look too good? In future iterations I think I need to be more strategic with filming. I think part of it too was not being able to do stereo in macro out in the wild (but I’m trying to work on this! this seems like a good lead for future exploration).
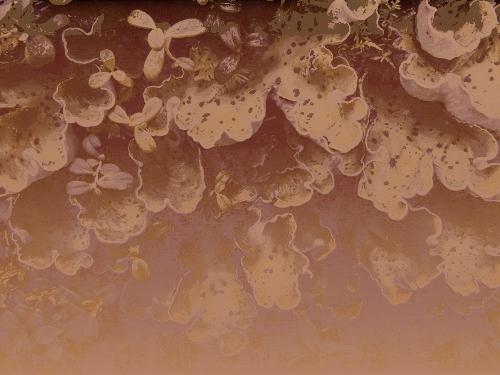
- s1n0p1a x lichen/moss webshop: This idea ties back to the non-human labor of lichen and moss original idea. My original plan involved a webshop selling art (or experiences?) that highlighted non-human labor and attempted to collect fees to donate to environmental organizations. One pressing question was WHAT ART? Stereoscopy relates back to the spectacle, voyeurism, and the desire to own (e.g. curiosity cabinet) and clips/art for sale bring to mind pornographic/erotic content. An idea that came to mind was quite simply combining the two via pixel remapping. Does the Free Model Release Form apply here? Might be good on my end because I’m using nude photos of myself? Even though those pixels were shattered, why do I admittedly feel some reticence with using e.g. a photo of myself unclothed. Should the lichen consent to having their likeness represented in this way? I was intrigued by this kind of intimacy. Least progress was made on this idea, but are some sample image (1st and 3rd were images from online and second was an image I took myself, since I didn’t particularly like any of the macro/stereo lichen shots I took):
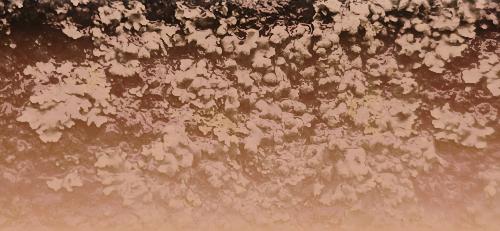
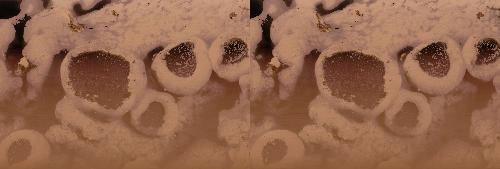
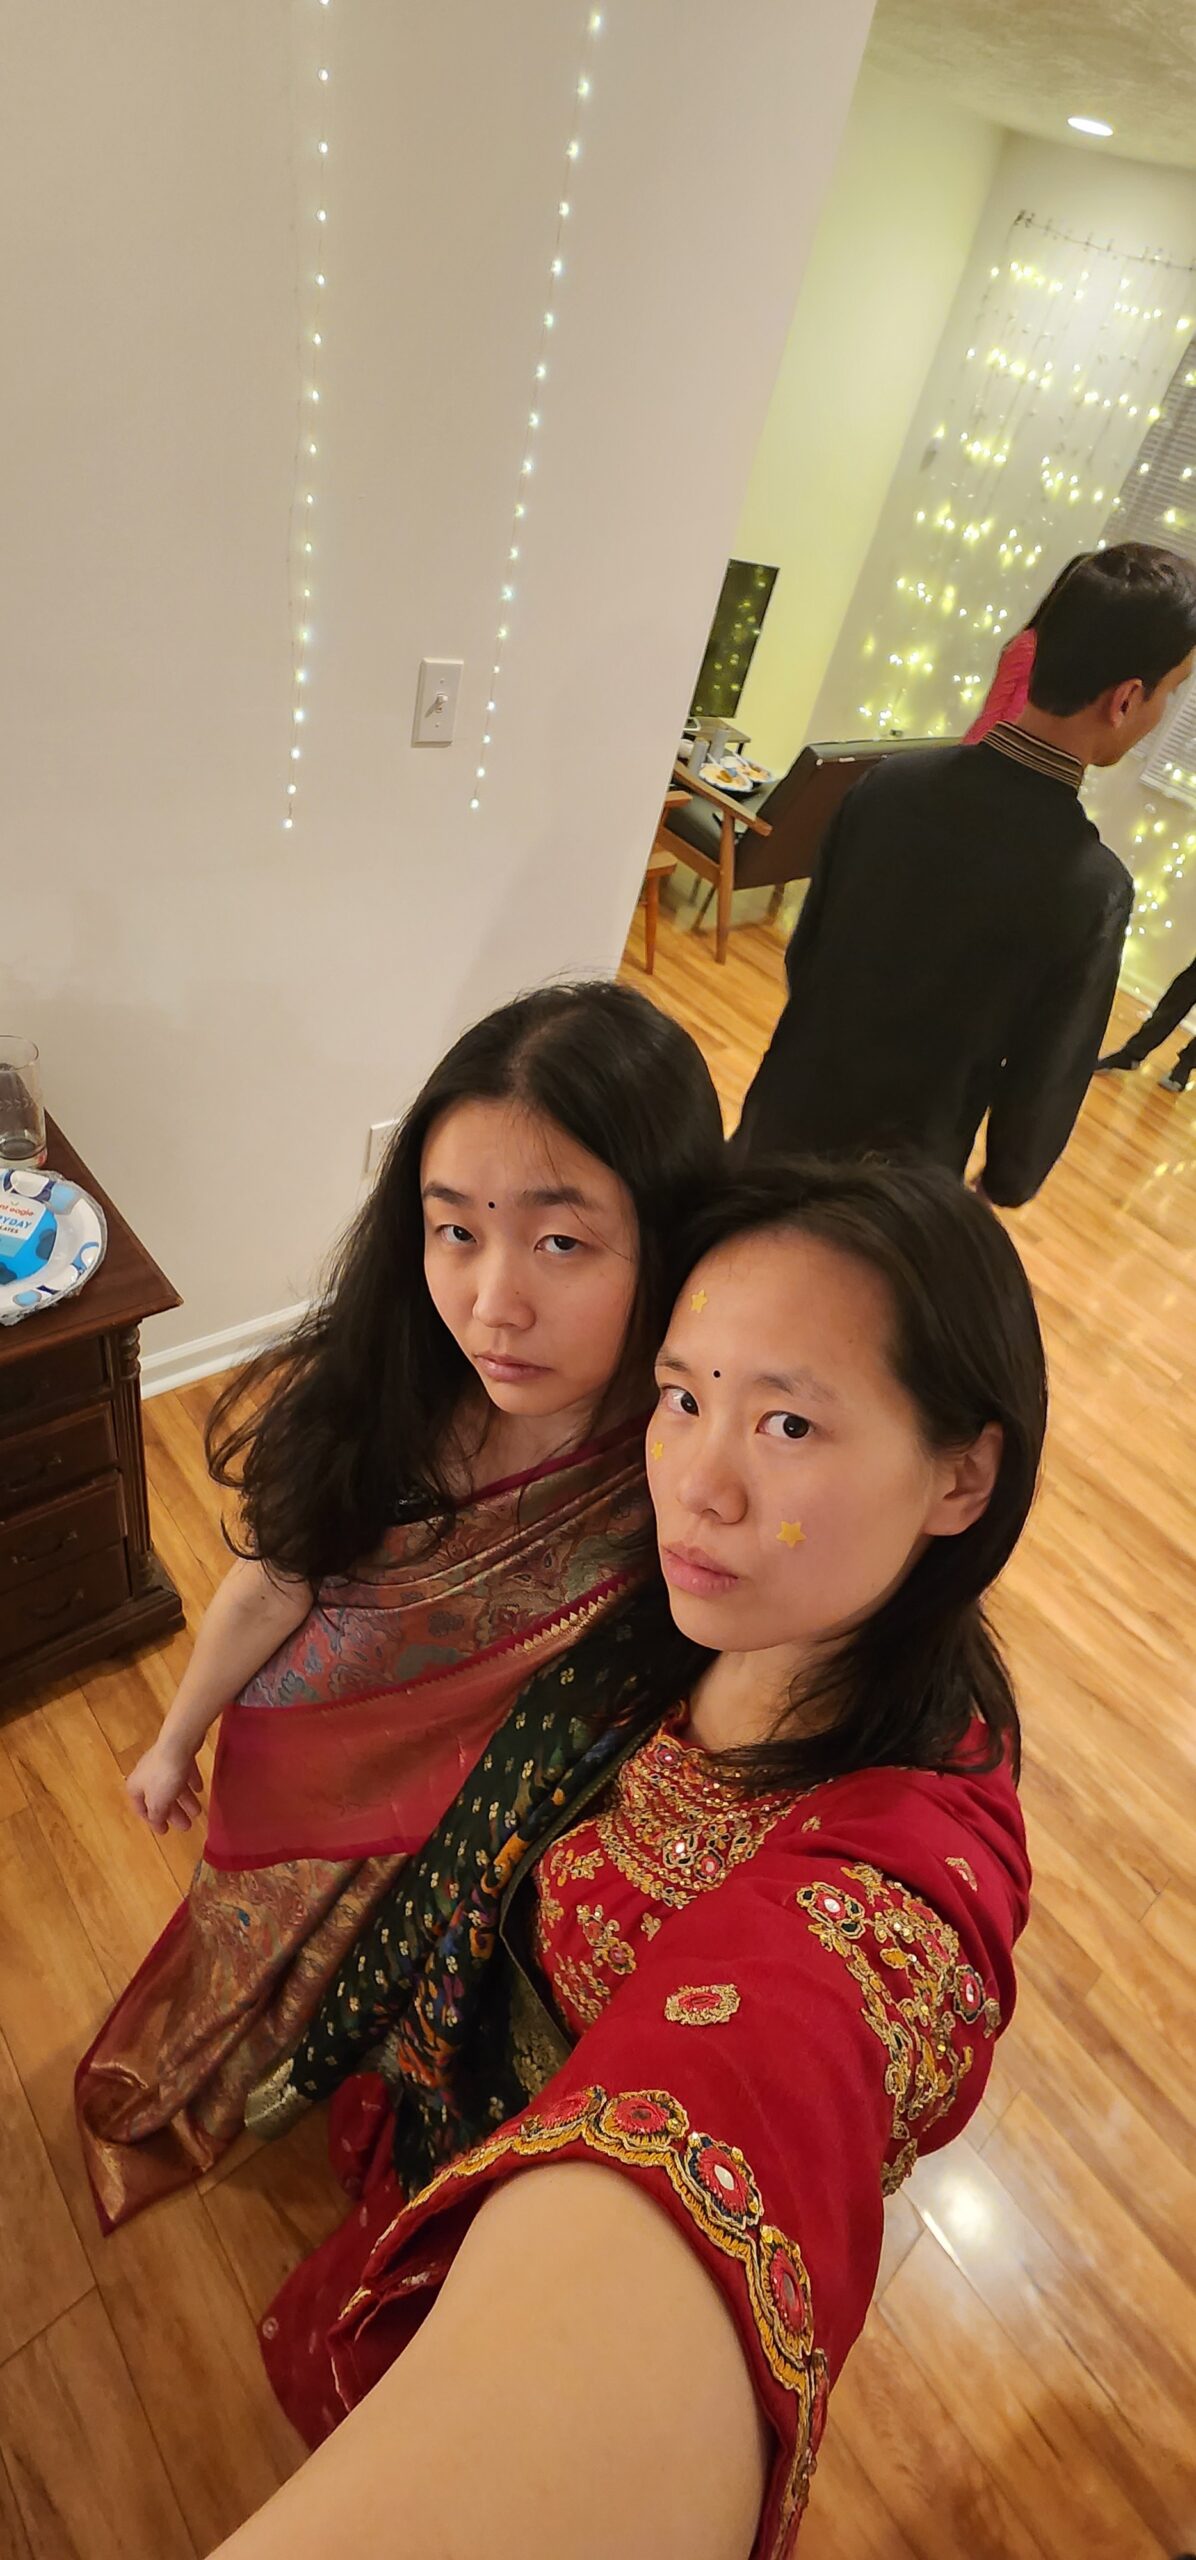
The story of my friend/housemate Jane and me: Often when I refer to Jane in conversation with others I call her my “housemate,” but I immediately feel the need to clarify that we’ve also been “friends since 6th grade.” As someone who identifies as aroace and constantly tries to rally against amatonormativity; I feel inept at capturing, in conversations with others, the meaningfulness of our longstanding friendship and the ways in which we live together–sharing meals and mutual support over the years. I wanted to honor a bit of that through this project. Over the years, we’ve changed in some ways, but in many ways we’ve stayed the same.
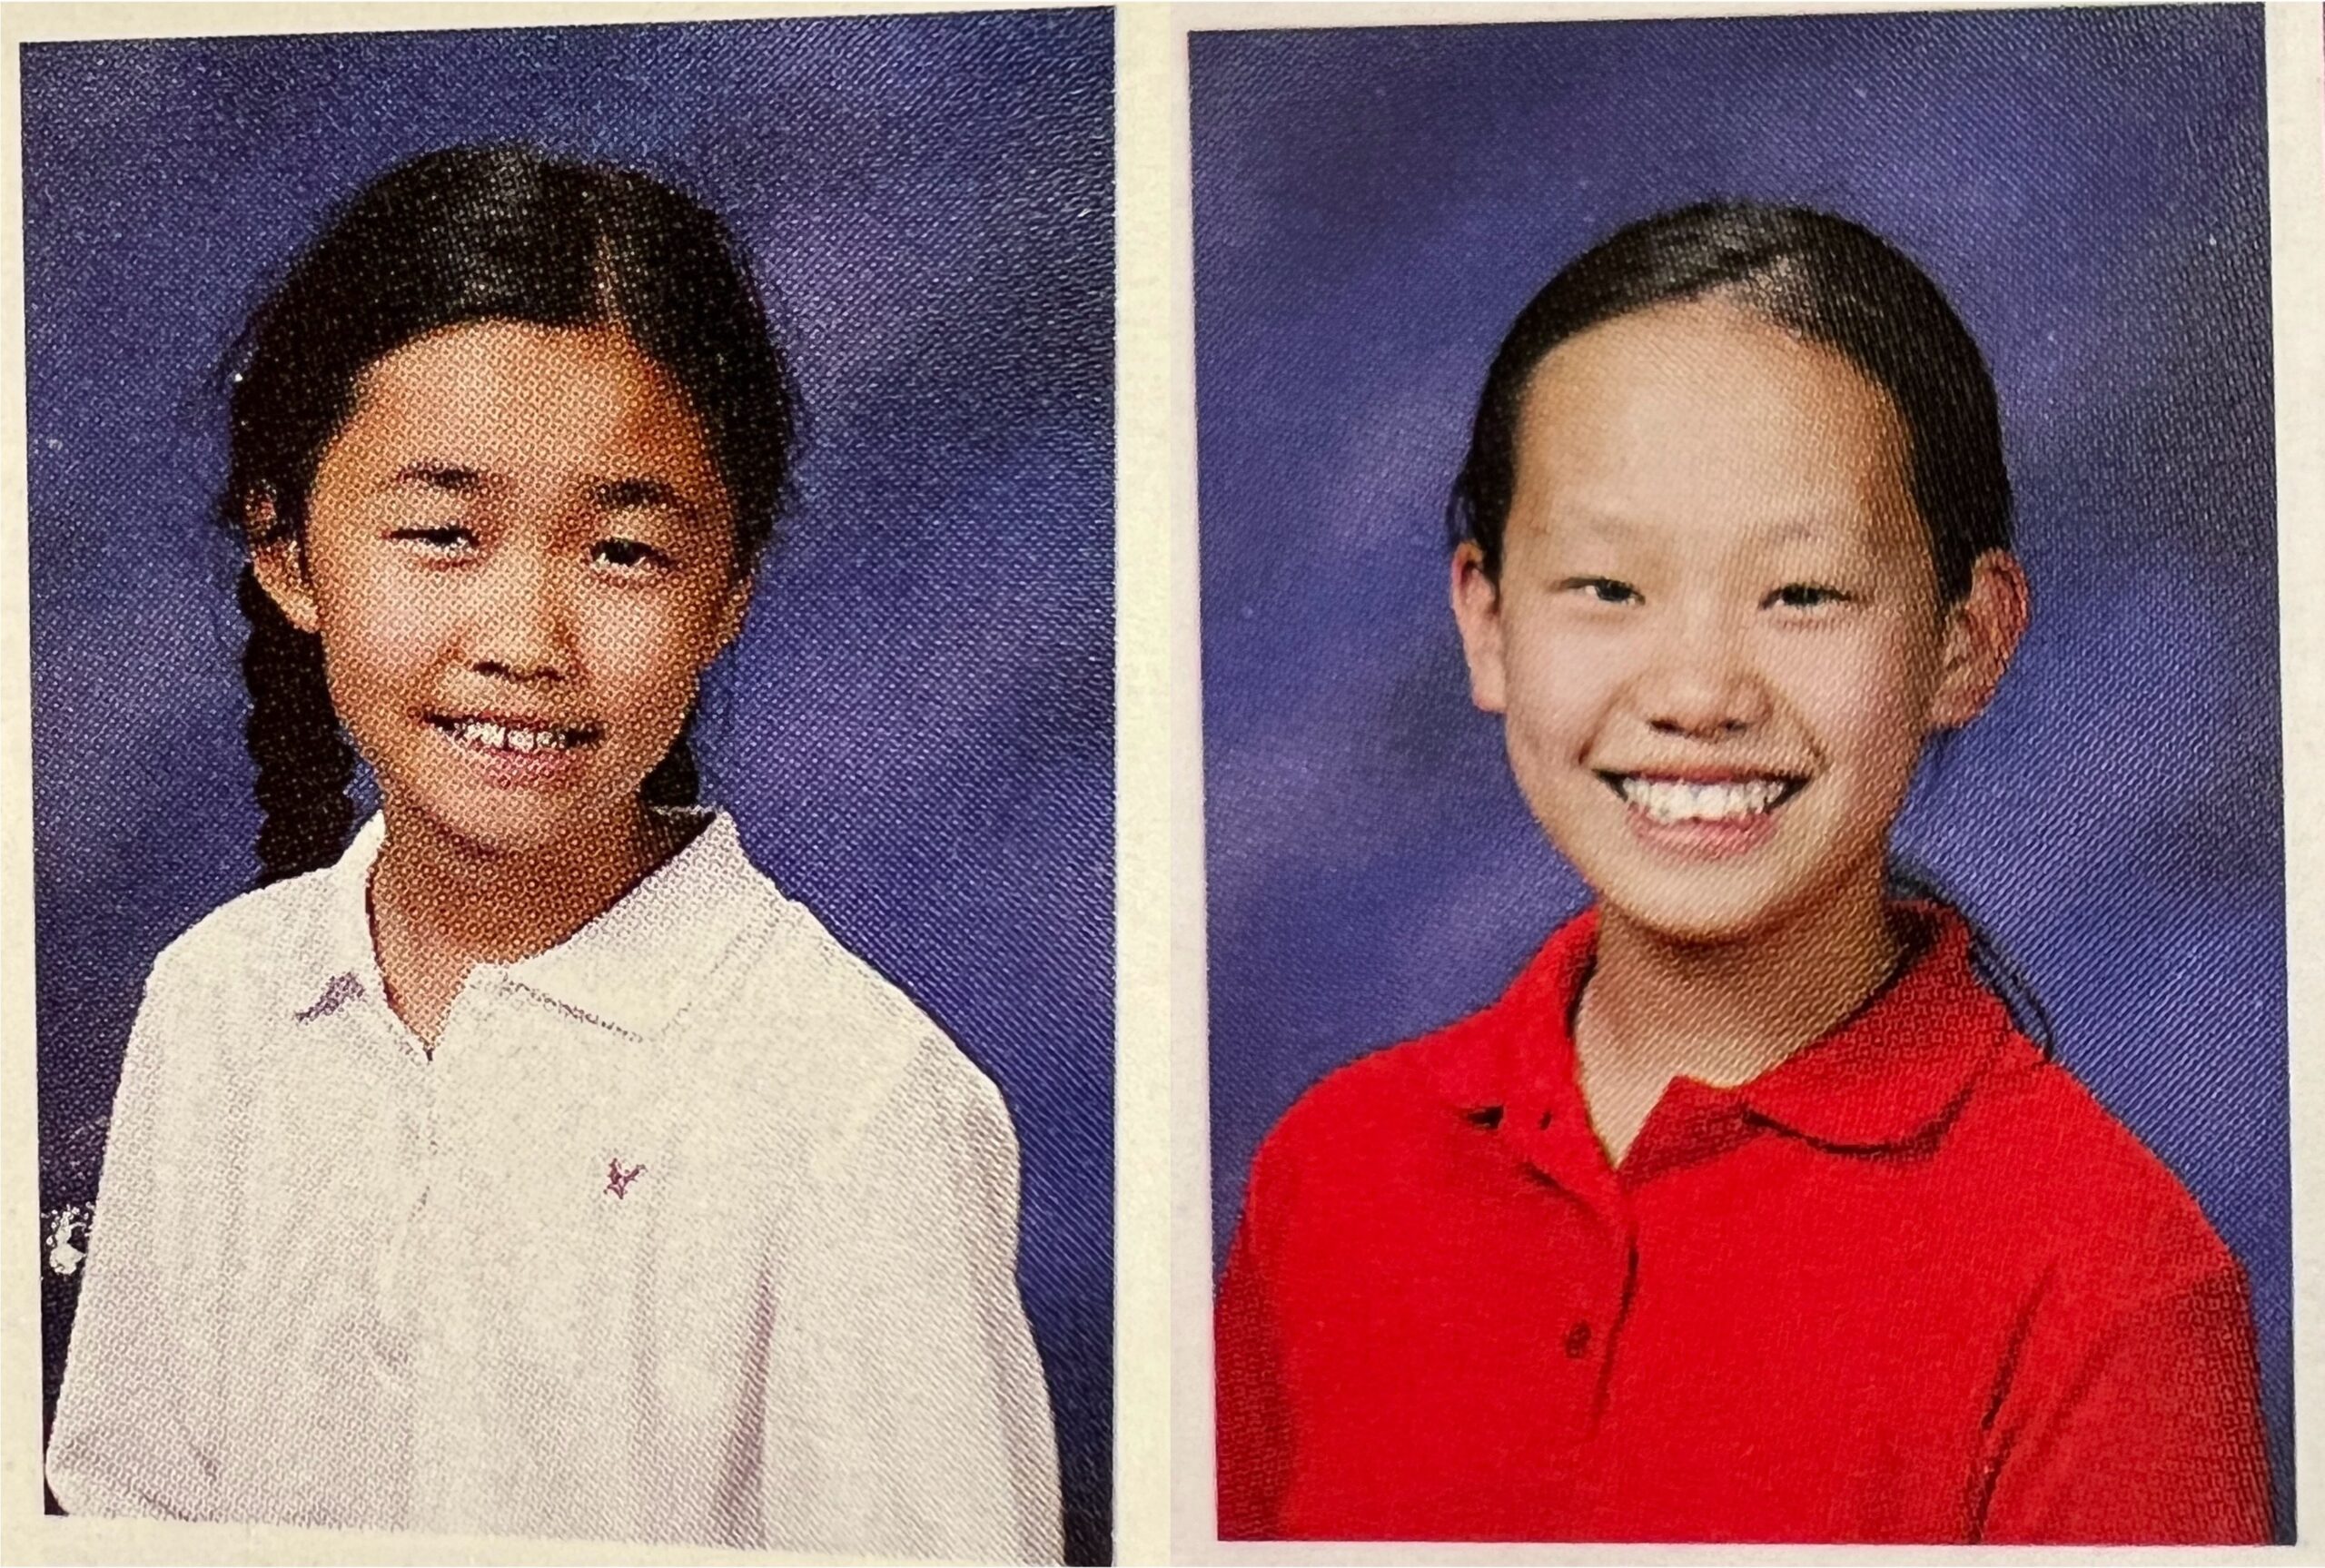
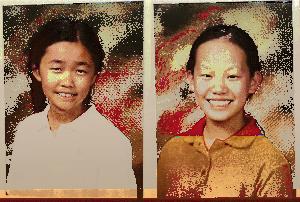
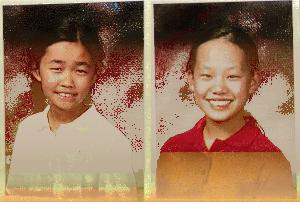
6th grade (Left: HSV, Right: Lab)
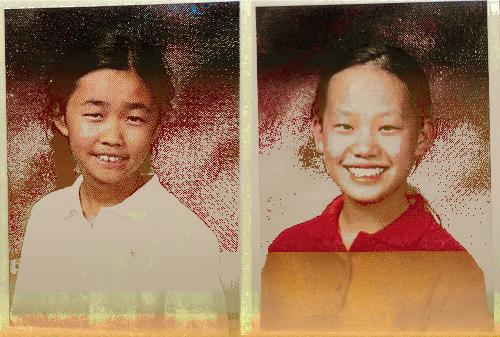
Lab w/ max_size 1024
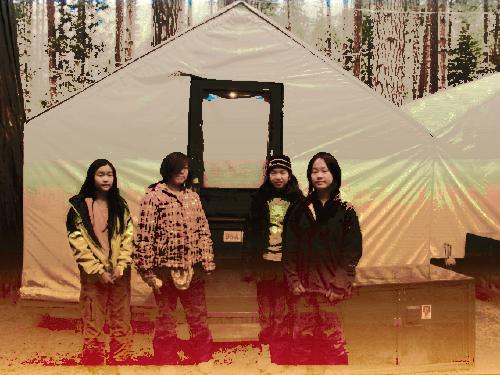
8th grade Yosemite trip
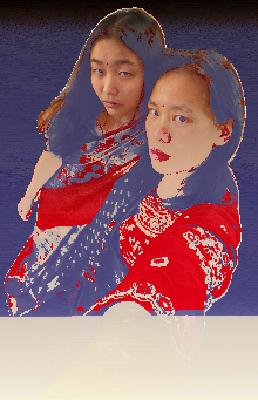
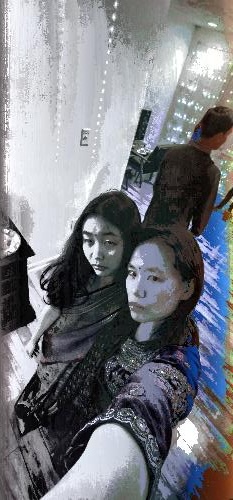
Recent image together (L: lab on cropped image, R: HSV)
Algorithm:
Reconstruct one image (Image B) using the colors of another (Image A) via mapping pixels to their closest color match according to Lab, HSV, and RGB. (After some texts across images, I found I generally liked results from Lab the best.) Both images are downsized (largest dimension limited to max_size parameter) to reduce computational load. A KD-Tree is built for Image A’s pixels. Each pixel in Image B is then matched to the closest unused pixel in Image A based on color similarity; ideally, every pixel in Image A is used exactly once. It gets pretty computationally heavy at the moment and definitely forced me to think more about the construction, destruction, and general features of media.
Some analysis:
The runtime should be O(nlogn) for building the KDTree and O(m*n) for querying m pixels and iterating over n unused pixels for each query, leading to O(nlogn)+O(m*n).
I documented the results of a couple initial tests and found that for images from my phone setting max_size to
50 yields results in ~0.5s
100 yields results in ~6s
150 yields results in ~35s
200 yields results in about 1.25 minutes
50 was computationally somewhat feasible for generating a live output feed based on camera input. I found results start to look “good enough” at 150–though high resolution isn’t necessarily desirable because I wanted to preserve a “pixelated” look as a reminder of the constituent pixels. In the future, I’ll spend some time thinking about ways to speed this up to make higher resolution live video feed possible, though low res has its own charm
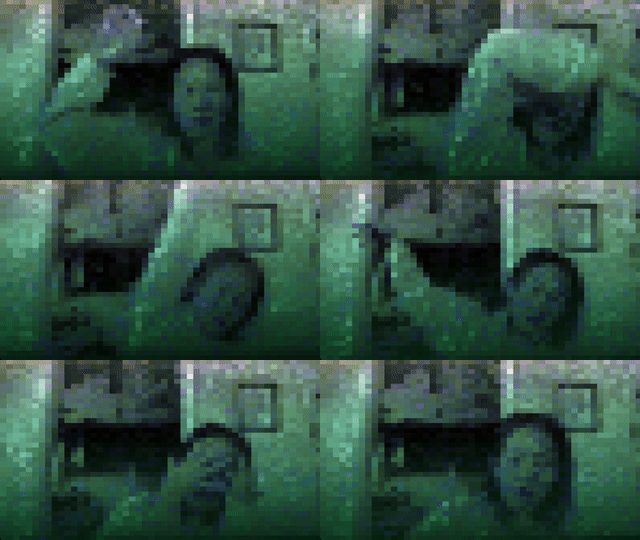
Combinations I tried:
Image + Image
Image + Live Video
Image → Video (apply Image colors to Video)
Video frames → Image (map video frame colors to image in succession)
Video + Video
Future Work
Other than what has been detailed in each of the experiment subsections above, I want to generally think about boundaries/edge cases, use cases, inputs/outputs, and the design of the algorithm more to push the meaning generated by this process. For instance, I might consider ways to selectively prioritize certain parts of Image B during reconstruction
Moving Together
I created a pipeline that takes a video and creates an abstract representation of its motion.
see it for yourself : https://yonmaor1.github.io/quiddity
code : https://github.com/yonmaor1/quiddity
videos:
WHY:
I’m interested in analyzing how people move, specifically how people move together. Musicians were an obvious candidate, because their movement is guided by an ‘input’ that the audience is able to hear as well. I was curious about abstracting away the musicians motion into shapes that we can follow with out eyes while also listening to the music, in order to see what in the abstraction is expected and what isn’t. Certain movements correspond directly to the input in ways that are expected (the violist plays a forte and moves quickly so their motion blob becomes large), while others are less expected (the violinist has a rest so they readjust their chair, creating a large blob in an area with little movement otherwise).
how:
video -> optical flow -> Gaussian Mixture Model -> Convex Hull -> b-spline curve -> frame convolution
in detail:
1. I used a video of the Beethoven String Quartet Op.59 No.1 “Razumovsky”
Credit: Matthew Vera and Michael Rau – violins. David Mason – viola Marza Wilks – Cello
2. Optical Flow
I used OpenCV in python to compute dense optical flow of the video. That is, I represent the video as a 2d grid of points and compute a vector stemming from each of those point, representing the direction and magnitude that that point is moving in in the video.
3. Gaussian Mixture Model
I filter out all vectors below a certain threshold, then use the remaining vectors (represented in 4 dimensions as x, y, magnitude, angle) as data points in a Gaussian Mixture Model clustering. This creates clusters of points which I can then transform into geometric blobs.
aside: why GMM? GMM clustering allows for both non-spherical clusters and overlapping clusters, both of which are unachievable with other popular clustering algorithms like k-means or nearest neighbors. My application requires a lot of irregularly shaped, overlapping clusters as the musicians overlap one another while they play.
4. Convex Hull
I now take each collection of points that step 3. yeilded, and compute its convex hull – that it, a closed shape tracing the perimeter of the cluster.
5. B-spline curve
I can now smooth out this convex hull by treating it as a set of control points of a b-spline.
6. frame convolution
This step simply smooths out the output video, in order to create a less sporadic final video. This essentially transforms each frame into the average of the frames surrounding it.
This is Your Brain on Politics
For this project, I ended up deciding to use an EEG device, the Muse2 headband, to create real time spectrograms of the electrical activity in my brain before, during, and after the 2024 election. I actually started with a completely different topic using the same capture technique, but I realized last Monday what a great opportunity it was to do my project around the election, so I decided to switch gears.
I was really excited by this project because biology/life science is really interesting to me. An EEG is just a reading of electrical signals, completely meaningless without context, but these signals has been largely accepted by the scientific community to correlate with specific emotional states or types of feelings, and it’s fascinating how something as abstract as an emotion could be quantified and measured by electrical pulses. Elections (particularly this one) often lead to very complicated emotions, and it can be difficult to understand what you’re feeling or why. I liked the idea of using
I was inspired by a few artists who use their own medical data to create art, specifically EEGs. Here’s an EEG self potrait by Martin Jombik, as well as a few links to other EEG artwork.
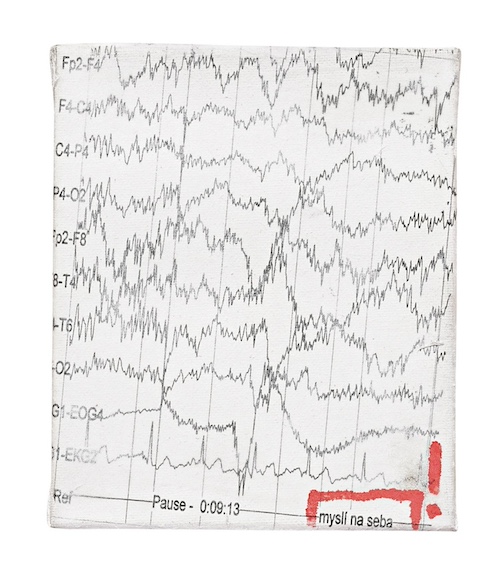

I was interested in using a capture technique that
Workflow
To take my captures, I tried to standardize the conditions under which they were taken as much as possible. For each one, I tried to remain completely still, with closed eyes. I wanted to reduce the amount of “noise” on my recordings- aka any brain activity that wasn’t directly related to my emotional state or thoughts and feelings. I also used an app called MindMonitor which has a convenient interface for reading the data coming out of the Muse2 headset.
For my first capture, the “control,” I tried to do it in a state of complete relaxation, while my mind was at rest. I took it on November 3rd, when election stress was at a neutral level. After that, I experimented with what I did before the capture like watching political ads, reading the news, and of course finding out the results. I then laid down with eyes closed while wearing the headset. Finally, I took one last capture 3 days later, on November 1oth, once my stress/emotional state had returned to (semi) normal.
I decided to present my captures in the form of spectrograms, which is a visual representation of signal strength over time. I found this to be easier to understand than the raw data, as it showed change overtime and provided a color coded representation of signal strenght. These spectrograms can then be distilled into single images (which capture a finite moment in time), or a moving image that shows the results over several minutes. I’ve decided to present each spectrogram as a side by side gif with time stamps to reveal the differences between each one.
Results
There are 5 different types of brain waves that are plotted on the spectrogram, ranging in frequency from 1 to 60hz. I’ve included a glossary of what each frequency/wave type might mean.
- Delta, 1-4hz: Associated with deep sleep/relaxation, found most in children/infants.
- Theta, 4-8hz: Associated with subconscious mind, found most often while dreaming or sleeping.
- Alpha, 8-14hz: Associated with active relaxation, found most often in awake individuals who are in a state of relaxation or focus, like meditation.
- Beta, 13-25hz: Associated with alertness/consciousness, this is the most common frequency for a conscious person.
- Gamma, 25-100hz: The highest frequency brain waves, associated with cognitive engagement, found most often while problem solving and learning.
Generally, the areas of 0-10hz are always somewhat active, but in a state of relaxation you should see the most activity around 5-14hz, and barely any activity at the higher frequencies. Blue indicates areas of very low activity, while red indicates an area of high activity.

I think the video is really effective at showing the differences between each over the same length of time. Prior to the election, the results show relatively low activity overall. While there is consistently a band of red on the leftmost side, the spectrogram from November 3rd is consistent with a person who is relaxed. Going into November 5th and 6th, things look very different. There’s greater activity overall, especially with regards to beta and gamma waves. In fact, there is so much more activity that there is barely any blue. Even without knowing how I felt or what was going on the day these were taken, it’s clear that my brain was substantially more active during those two days than it was before or after. I found the results to be incredibly revealing with regards to the acute impact this years election cycle had on me, especially when placed into context with my “normal” spectrograms before and after.


