Pupil Stillness-People In Time Final

This project is inspired by changing our perception of things in motion. By fixing something moving to be still, we can see relative motion previously unperceived. This project explores this idea with human eyes. What does it look like for a person to move around the pupils in their eyes?

Pupil Detection

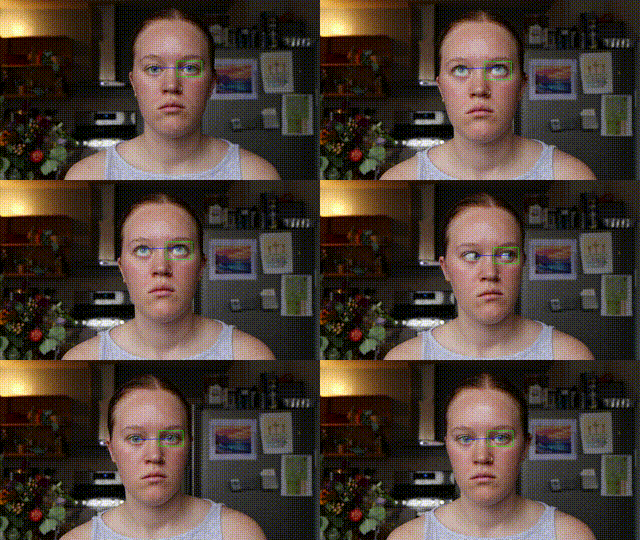
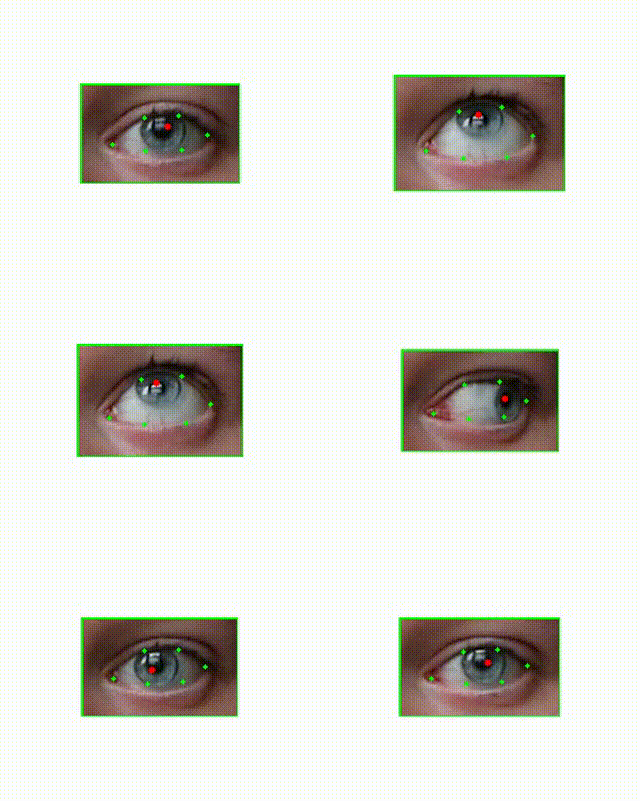
I knew I wanted video that extended beyond the eyeball, since the whole point was to see facial and head movements around the eye. I captured video that included the head and face and then used computer vision software to detect eye locations. Specifically, I used an open source computer vision library called dlib (https://github.com/davisking/dlib). This allowed my to detect the locations of the eyes. Once I had those points (shown in green), I then needed to detect the pupil location within these points. I was planning to use an existing piece of software for this but was disappointed with the results so I wrote my own software to predict pupil location. It essentially just looks for the darkest part of the eye. Noise and variability here are handled in later processing steps.
Centering

Once I processed the videos for the pupil locations, I had to decide how to use this data to further process the video. The two options were to 1. center the pupils of one of the eyes and 2. center the average of the two pupil locations. I tested both options. The first video below demonstrate using both eyes to center the image. I essentially took the line that connects both pupils and centered the middle point on this line. The second video is centered by the location of the right pupil only.
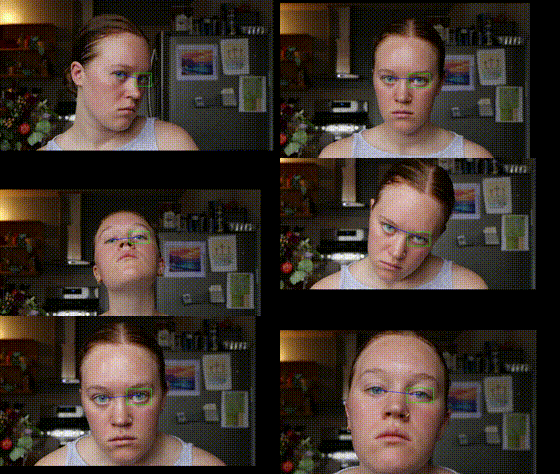
Centering by both eyes
Centering by a single eye (the right one)

The second option here (centering a single eye) showed to allow for a little more visible movement especially when tilting your head, so I continued with this approach.

Angle Adjustment
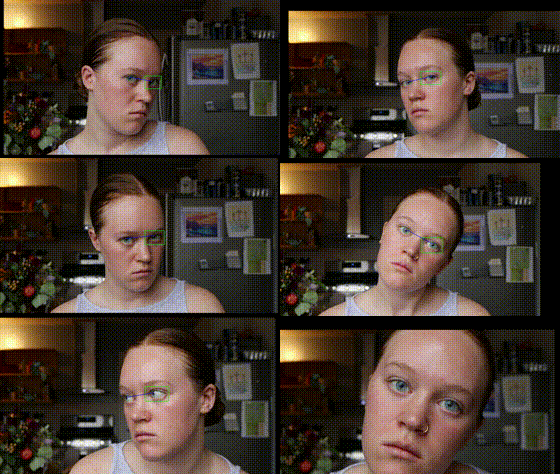
I was decently pleased with how this was looking but couldn’t help but wish there was some sense of orientation around the fixed eye. I decided to test out 3 different rotation transformations. Option 1 was to make no rotation/orientation transformation. Option 2 was to correct for the eye rotation. This mean ensuring that the line between the two pupils was always perfectly horizontal. This required rotating the frame the opposite direction of any head tilt. This looks like this:
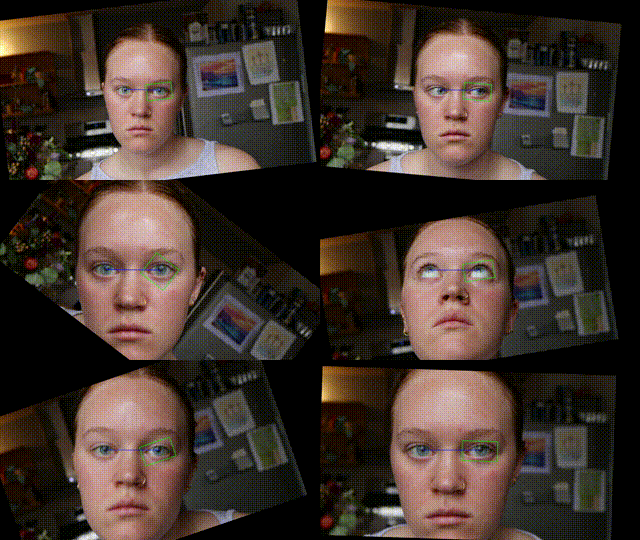
This resulted in what looked like a fixed head with a rotating background. I cool effect but not exactly what I was going for. The 3rd option was to rotate the frame the same extent and direction as the eye tilt. This meant the frame of the original video was parallel with the eye tilt as opposed to the frame of the output video being parallel to the eye tilt. This looks like this:
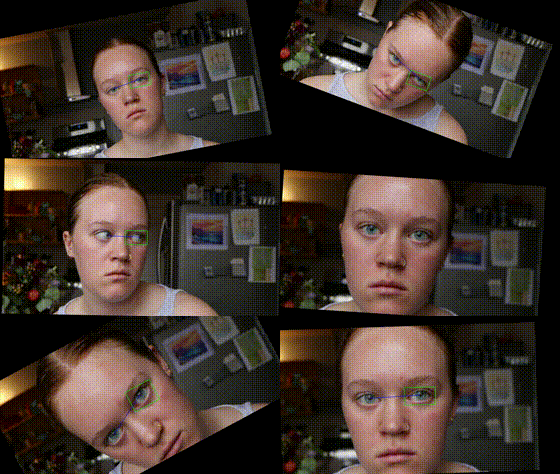
This one gave the impression of the face swinging around the eye, which was exactly what I was going for.

Noise Reduction

If we look back to the video of the eye from the pupil detection section above, you can see that there is a lot of noise in the location of the red dot. This because I opted to obtain some location in the pupil as opposed to calculating the center. The algorithms that do this require stricter environments i.e. close video shot by infrared cameras and I wanted the videos to be in color, so I wrote the software for this part myself. The noise that exists in the pupil location however, was causing small jitter movements in the output that weren’t related to the person’s movements, but rather the noise in the specific pupil location selected. To handle this, I essentially chose to take the pupil locations of every 3rd or 5th frame and interpolate the pupil locations for all the frames in between. This allowed for a much smoother video that still captured the movements of the person. Below is what the video looks like before and after pupil location interpolation.
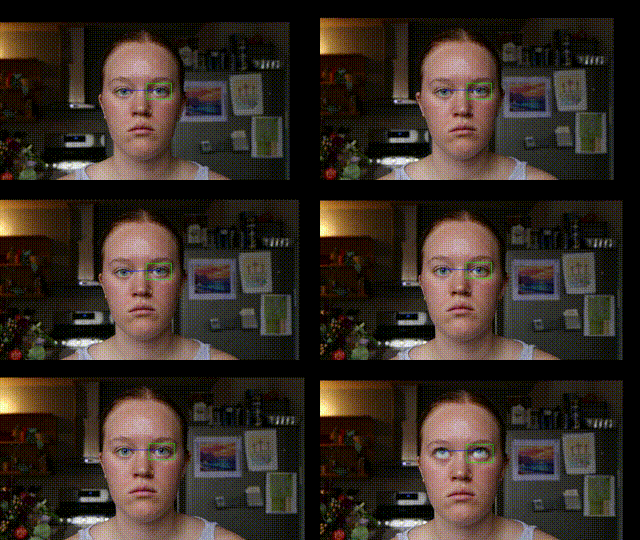
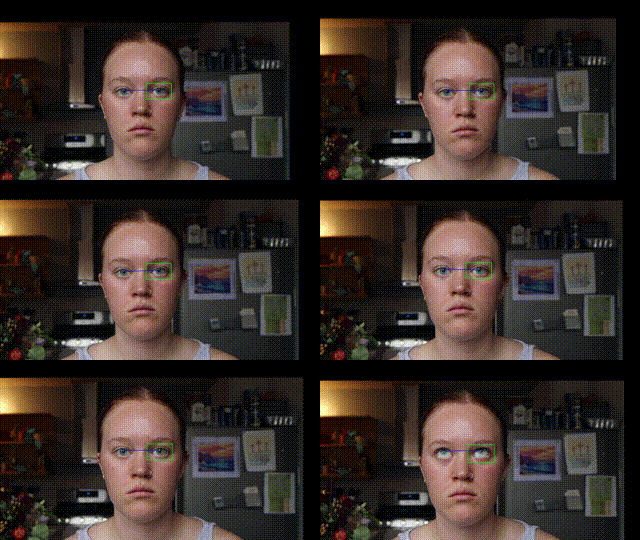
Before Noise Reduction
After noise reduction

Final results:
https://youtu.be/9rVI8Eti7cY
Person In Time_ Cooking in Concert

My roommates and I have been living together for about 2 and a half years now. In the beginning, it was kind of like living with siblings for me, since I’m an only child and not used to sharing a living space. But over time, we’ve sort of just fallen into this unspoken routine in the kitchen – we each have our own designated spots for prepping ingredients, watching the stove, and cleaning up as we cook.

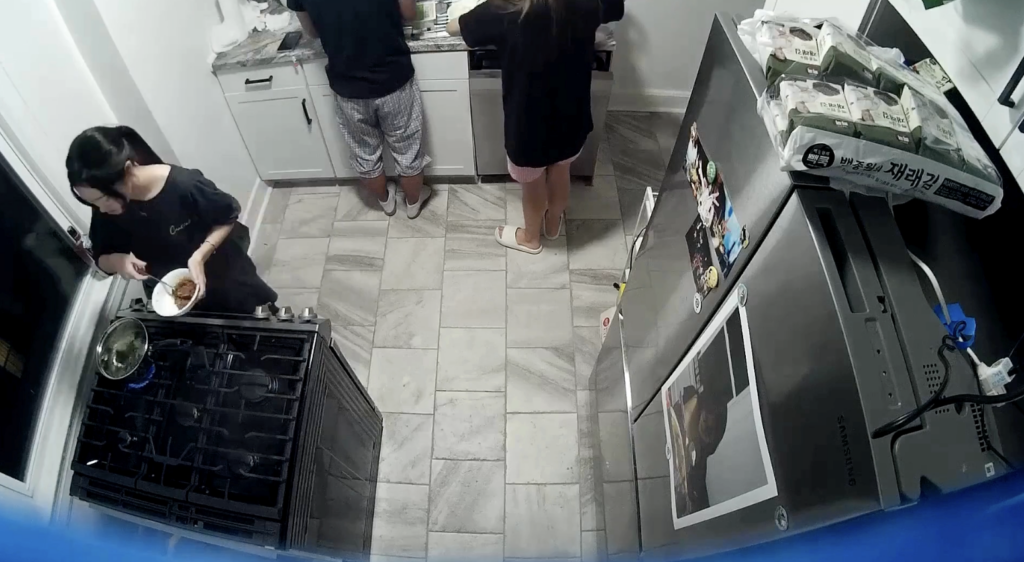
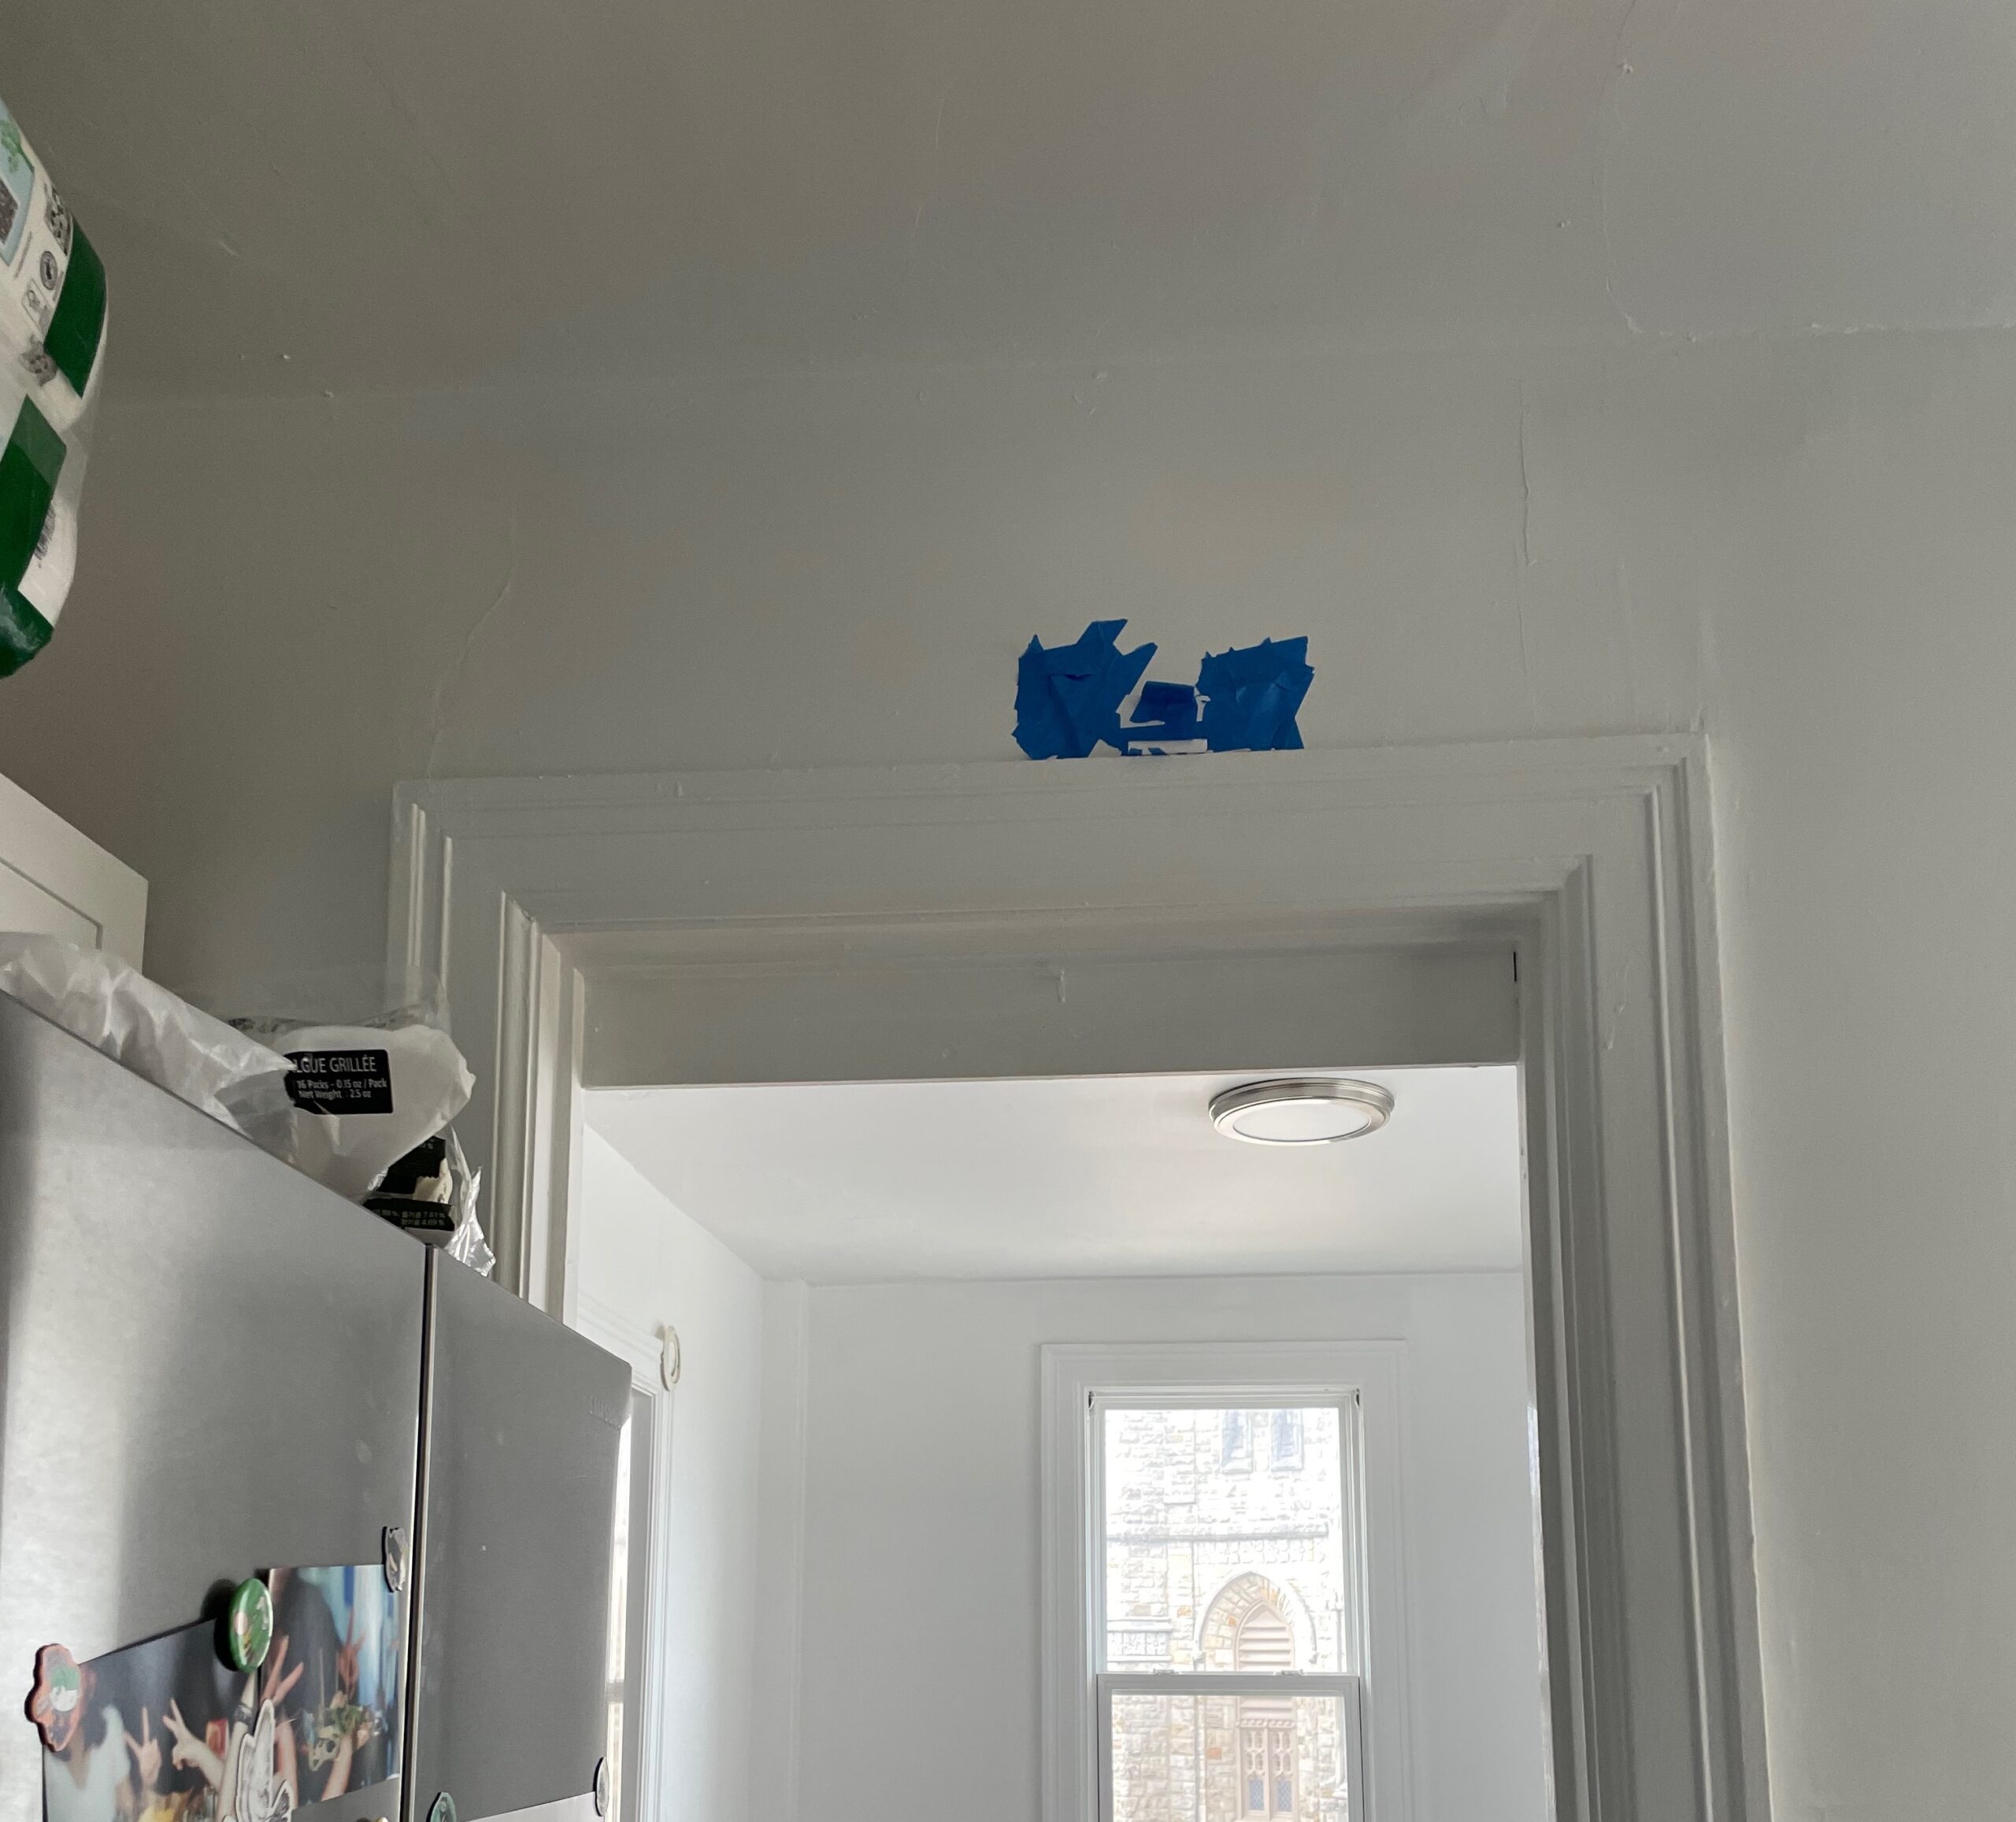
I wanted to document how we move around and work together in our small kitchen, so I set up a GoPro camera in the doorway to get a full view of the space.

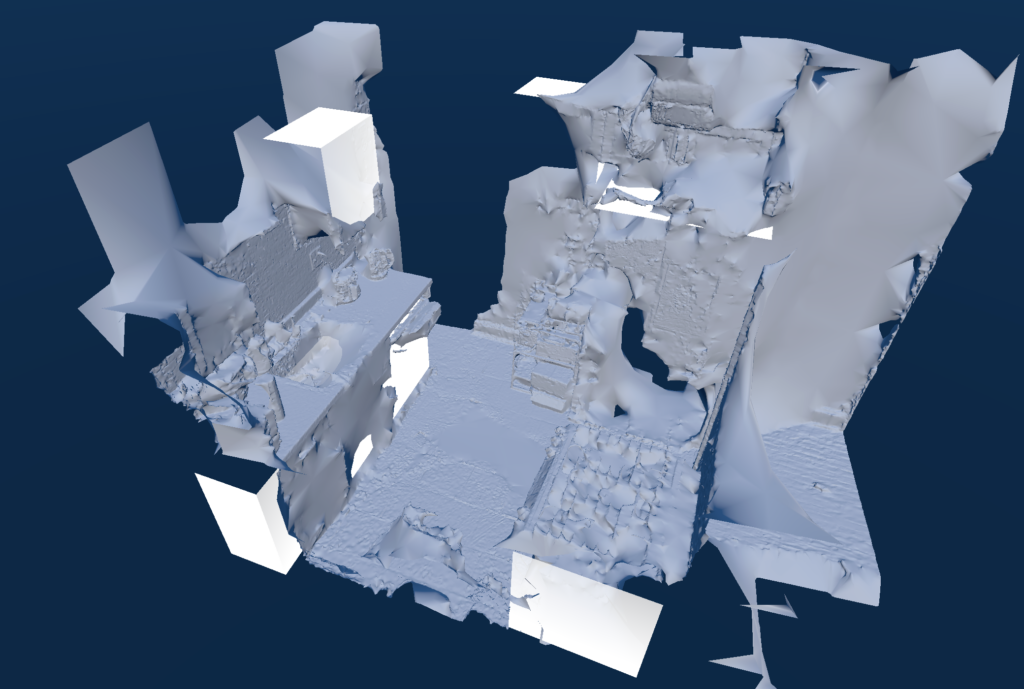
But instead of just showing the actual footage, which would include my roommates, I decided to reinterpret it in 3D using Unity. That way I could focus just on the patterns of movement without exposing anyone’s face.

Actual Footage
3D scan of the kitchen with Reality Scan in Unity

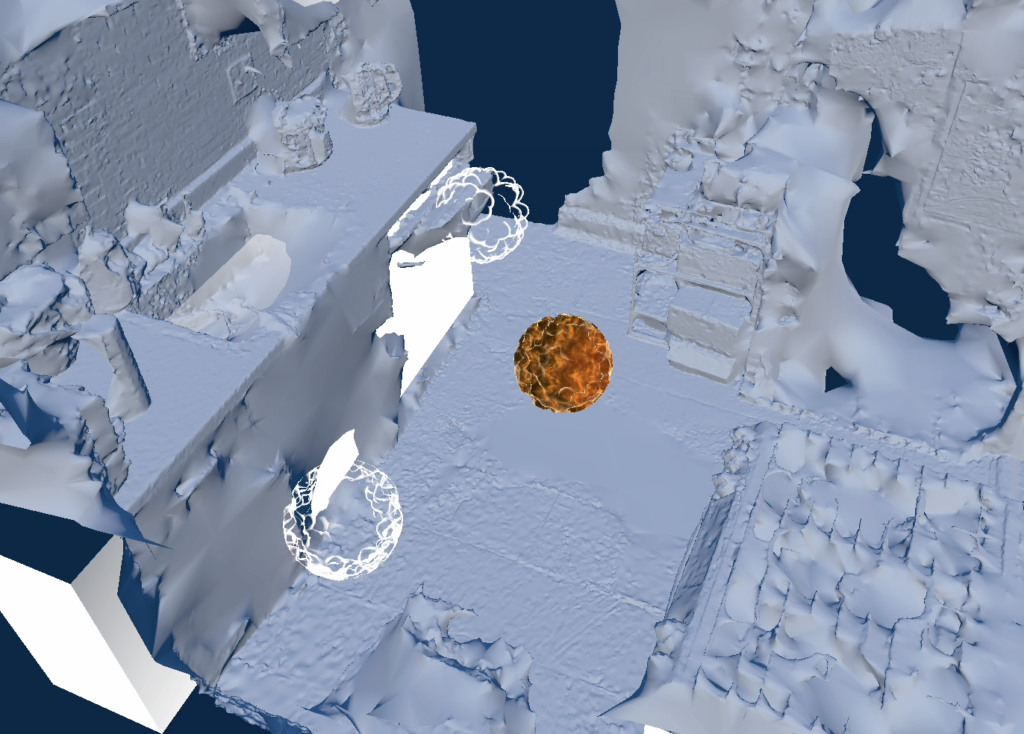
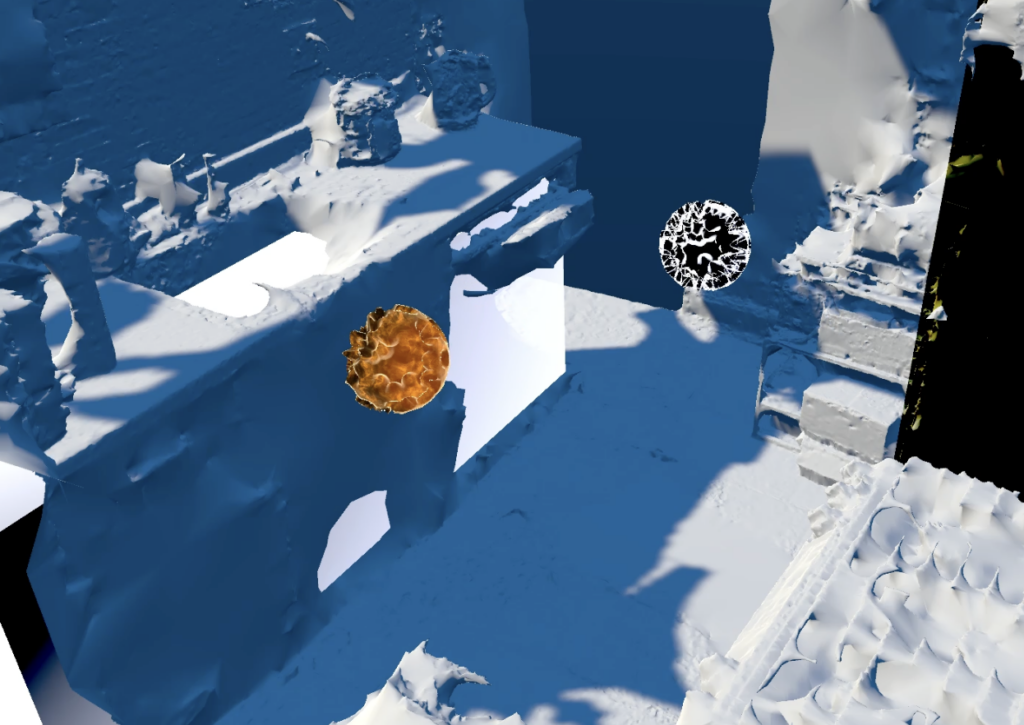
Final output

Interesting Observations

In the beginning, we’re all moving around, getting ingredients out of the fridge and trying to find our spots. But after maybe 10 minutes or so, we’ve each kinda claimed our own little stations – one of us watching the stove, one chopping stuff up, etc.

The interesting variable is that our third roommate was pretty busy with work this day, so she joined the cooking a bit later (around 14 min mark). And we had another friend (who doesn’t live with us) to help out in the kitchen. Since that friend isn’t used to our normal kitchen routine, you can see him kind of drifting around in the middle, not really sure where to go or what to do.

But by the end, he’s found his spot over by the sink, doing the dishes, while I’m keeping an eye on the stove and my other roommate is adding in the ingredients. It was interesting to see how we all fall into our roles, even with the new person joining in. This sort of natural collaborative pattern is what I wanted to capture with this abstract 3D interpretation.

Imagery inspo

Struggles

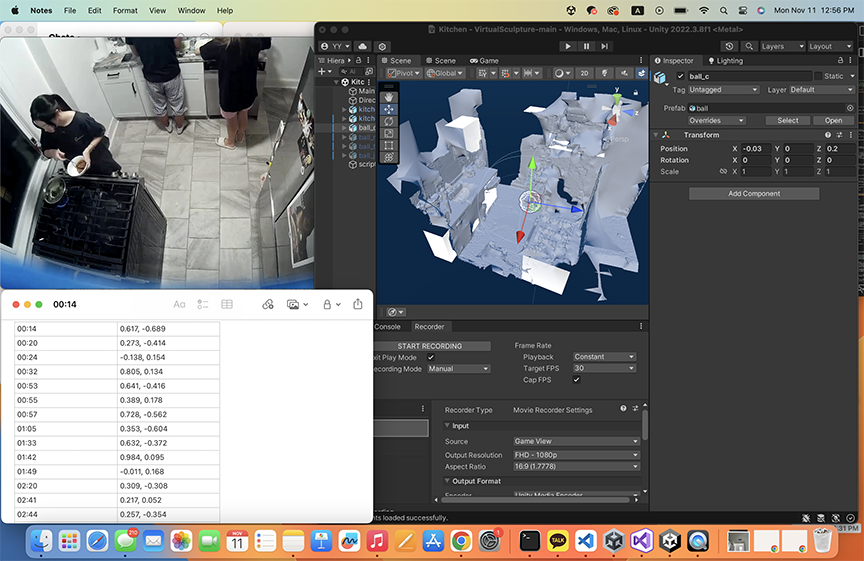
Converting the 2d video of multiple subjects moving quickly in a small space into 3d Unity coordinates was the most difficult problem.

I first tried to use the depth map of the video to calculate the distance of the subject from the camera but I found that Unity can read the depth information of each pixel on the recording, which is not so helpful since all of us are moving around switching places all the time.

Then I tried to use the motion tracking, which worked a lot better. My logic was that if I figure out how Unity tracks where the red square was moving in the screen (placed in Unity the same spot the actual camera was positioned) I can extend that position into a vector perpendicular to the screen and create another plane parallel to the ground. If I find the intersection point of the vector and the plane that should be the position of our subject.

However, I got stuck at trying to make Unity track the red square. The code that I had simply did not work :’) so I decided to use the more manual approach of recording each key timestamps and its respective position in Unity in a table. I converted the table into JSON file the Unity script can use to change the positions.

Next step: converting the 360 recording to VR video

Person In Time – Beyond Boundary


Concept

A glass wall is at once an unseen divide and a bridge of layered depth, allowing two worlds to mingle and merge. This stems from the dual properties of glass—reflection and transmission. If equipped with a polarizing camera (an instrument that captures light from a specific direction), interesting effects can emerge. Through this project, I aim to capture the subtle interactions between people on opposite sides of the glass.

Inspiration

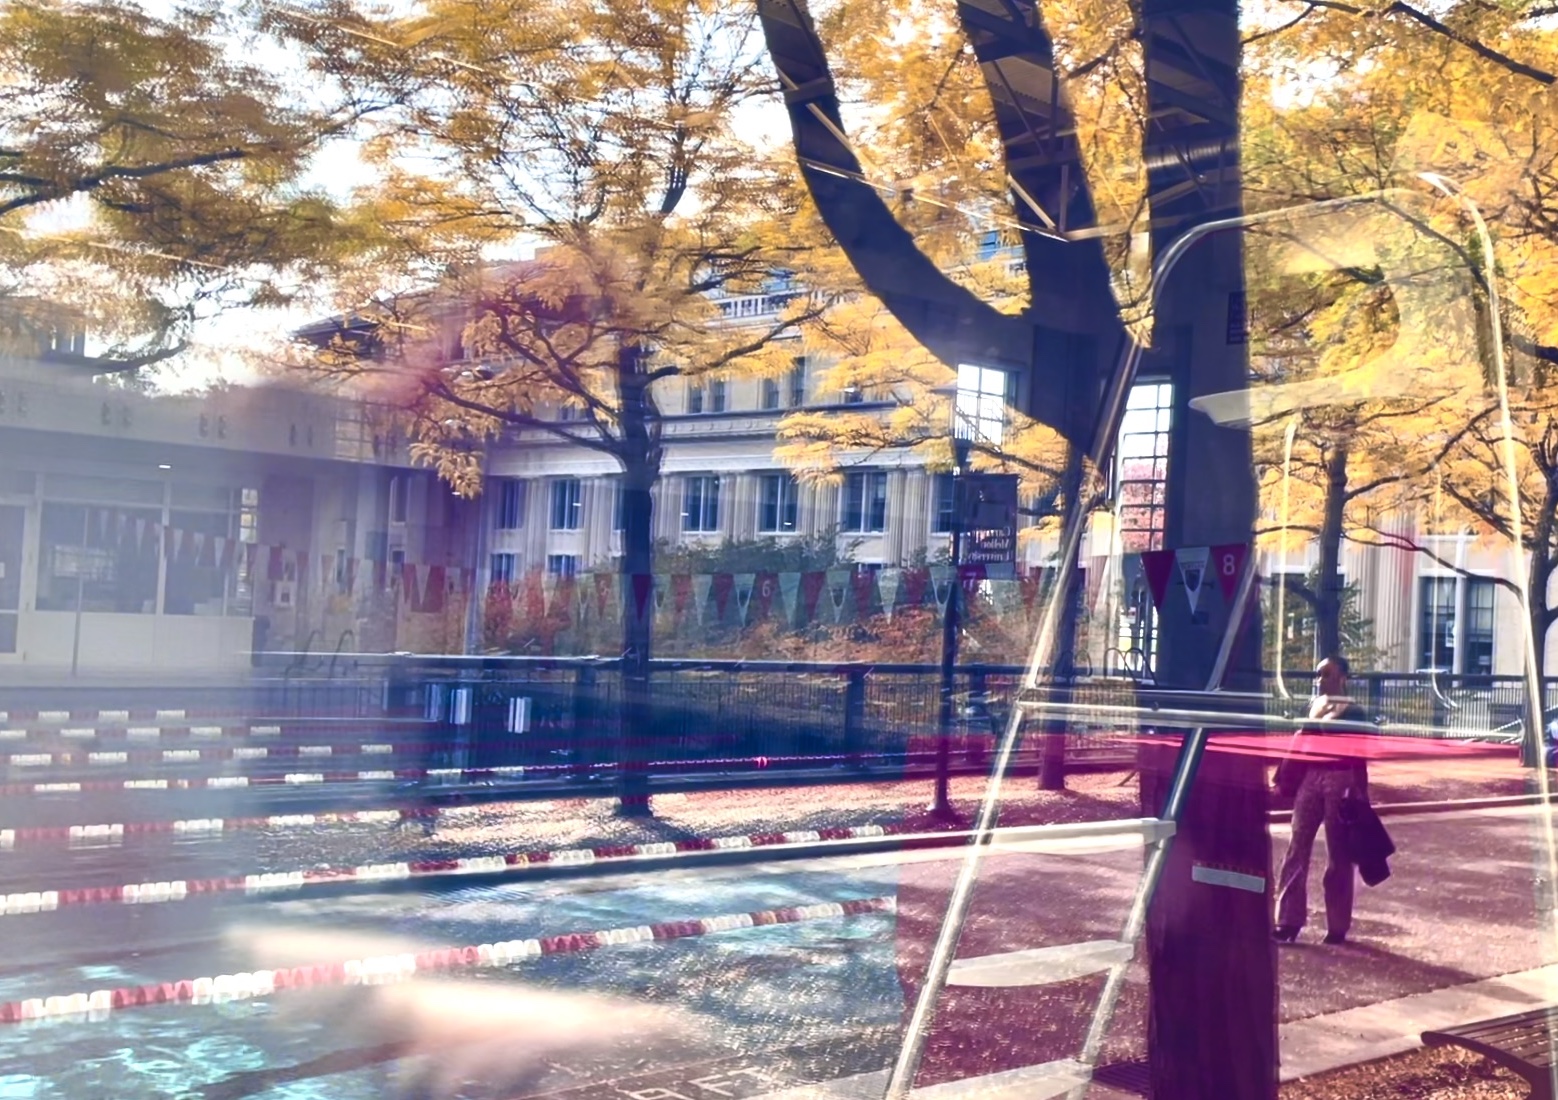
One sunny autumn afternoon, after swimming, I stood outside the glass wall of the pool and was struck by the scene on the glass. I captured this moment on my phone. The glass seemed to merge the indoor and outdoor spaces seamlessly. The transparency of the glass determines the visibility of indoor people, events, and scenes, while the reflectivity decides how much of the outdoor world is visible. Thus, the indoor and outdoor spaces interact along this boundary.

Capture System

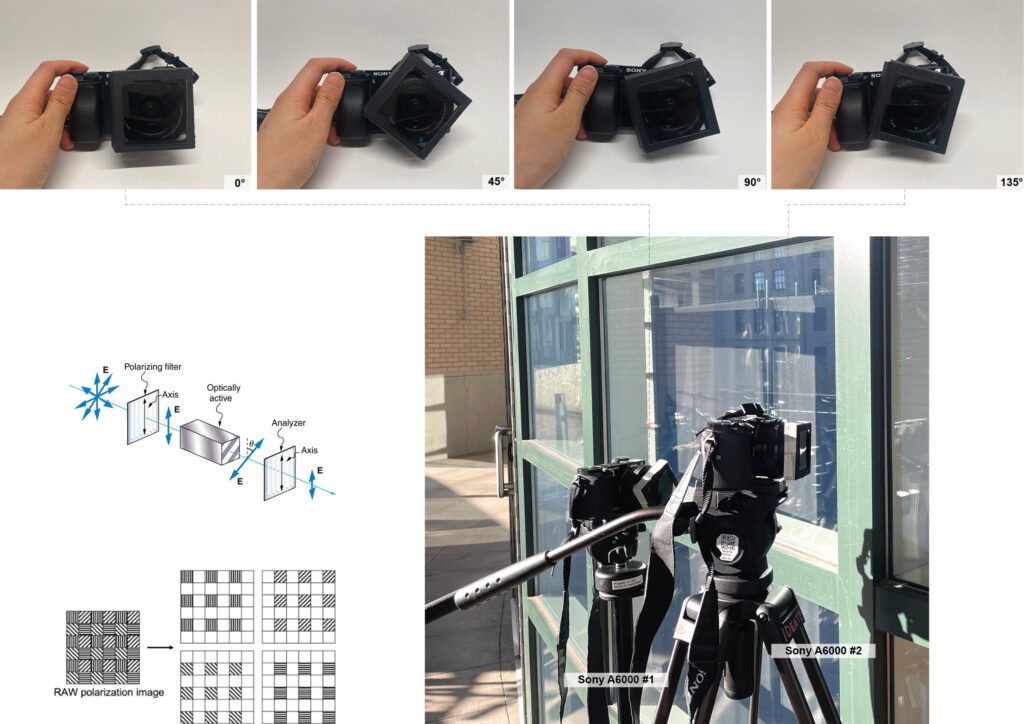
The polarized camera allows me to select the light entering my lens, choosing between transmitted or reflected light from the glass.

I started with a DIY “polarized camera” (two Sony Alpha a6000 mirrorless digital cameras + two sheets of polarizing filter), creating a setup that allows free rotation of the polarized film to form a “colorized polarized camera.” Each time a door opens, the sound in the video toggles between the indoor and outdoor spaces (throughout the 4:27 video, this toggle happens 7 times, and the door of the space “switches” 7 times).

I placed a recording device inside to capture interior sounds (this device was even noticed by the girl at the beginning of the video). Outside, I recorded video at the same spot using my DIY polarized camera, aligning the exterior visuals and sounds. To synchronize the interior and exterior sounds, I tapped the glass while inside—this tapping, cut from the final video, enabled me to match the audio from the recording and video devices during post-production.

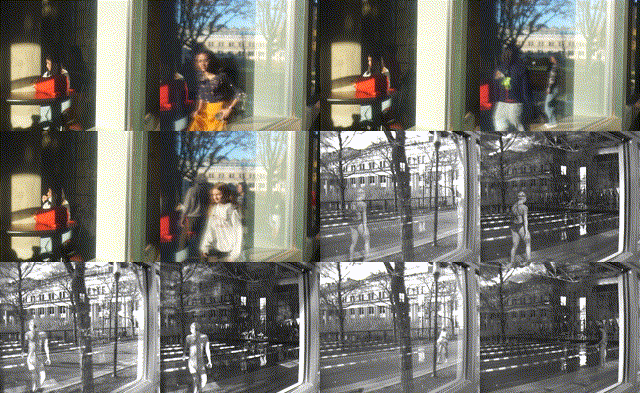
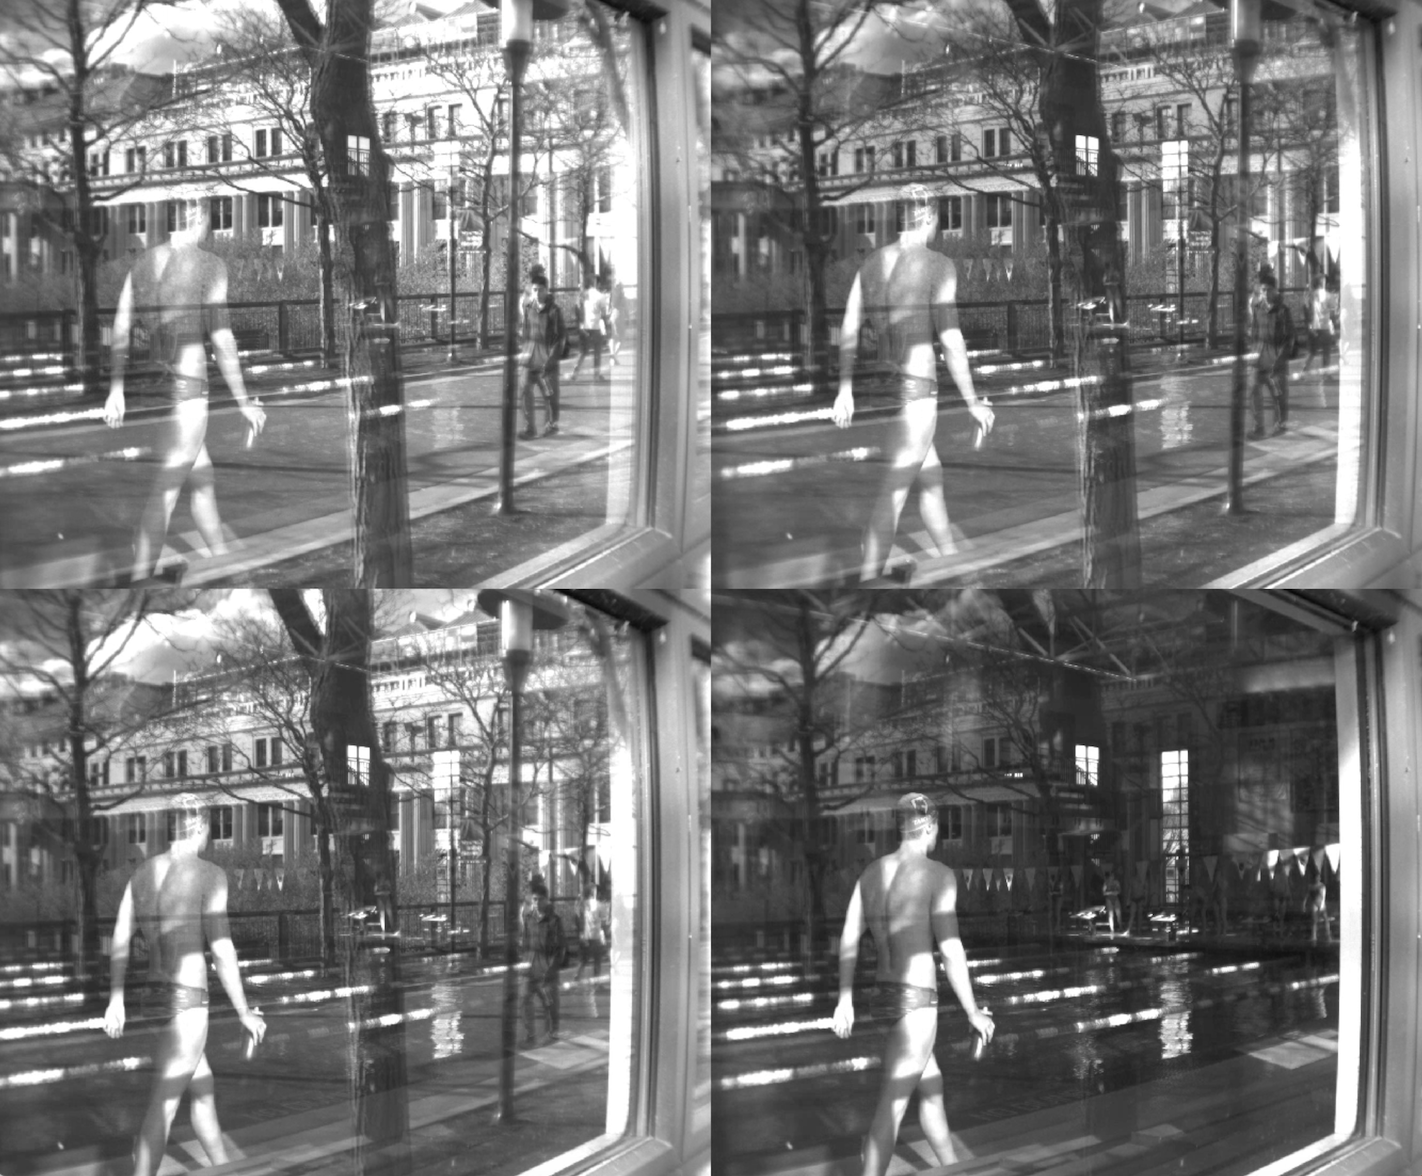
Next, I captured another piece using the Blackfly S BFS-U3-51S5P monochrome polarized camera. This involved (1) positioning the camera so that reflections of the road on the glass aligned with the pool lanes, (2) recording people on both sides of the glass, (3) exporting the video, and (4) using a GitHub package to separate images from different angles, selecting the two with the highest contrast. 

Spatial Illusions

“Aligning the road and the pool lanes” by design created an illusion: it looked as though people were swimming on the road, or as if those in swimsuits were walking on it. When a person appeared in the center of the image, it became hard to tell if they were coming from the pool or the forest. Over time, I believe you’ll develop your own way of distinguishing between indoor and outdoor figures. Here’s mine: (1) From left to right, do they transition from clear to blurry, or vice versa? (2) Are they wearing a swimsuit? (Shh!)

Later, I conducted an experiment: I tinted the black pixels in the indoor image blue, and the outdoor black pixels red. Then, I linearly combined the overlapping pixels, dynamically blending people and activities in both spaces over time through computer rendering.


Tips (If you’d like to try capturing people on glass using a polarized filter, here are a few insights):

  • Angle: Direct reflections can be challenging to capture. The closer the camera angle is to the glass, the better the outdoor reflection image.
  • Time of Day: Midday, with the sun directly overhead, is optimal for capturing both indoor and outdoor scenes. In the afternoon, the bright outdoor light can overpower indoor details, while in the early morning and evening, indoor light dominates, and reflections weaken.

Challenges

  • Despite bringing plenty of backup batteries, the two Sony cameras ran out of power at different rates, resulting in videos with slightly different lengths.
  • Weather! Passing clouds affected the current image quality. Clear sunlight and clean glass were essential, as was keeping the polarized film spotless.
  • People were unpredictable. Sometimes I’d arrive with my cameras and tripod, only to find no one swimming. Other times, swimmers would be there, but no one would pass on the street. Occasionally, someone would walk through the pool, but no one swam! This required patience and frequent visits to the glass wall.

Reflection

  1. Compared to my DIY color polarized camera with audio, the professional polarizer produced much clearer images (likely due to differences in filter quality). But my version added color and sound, which brought their own value.
  2. Surprisingly, capturing black-and-white images on glass actually enhanced the spatial illusion, as losing color information removes one of the clues distinguishing the two spaces.
  3. Glass is fascinating—it’s an invisible boundary through which people see each other, yet it’s also thick enough to host stories on both sides, allowing both to unfold simultaneously.

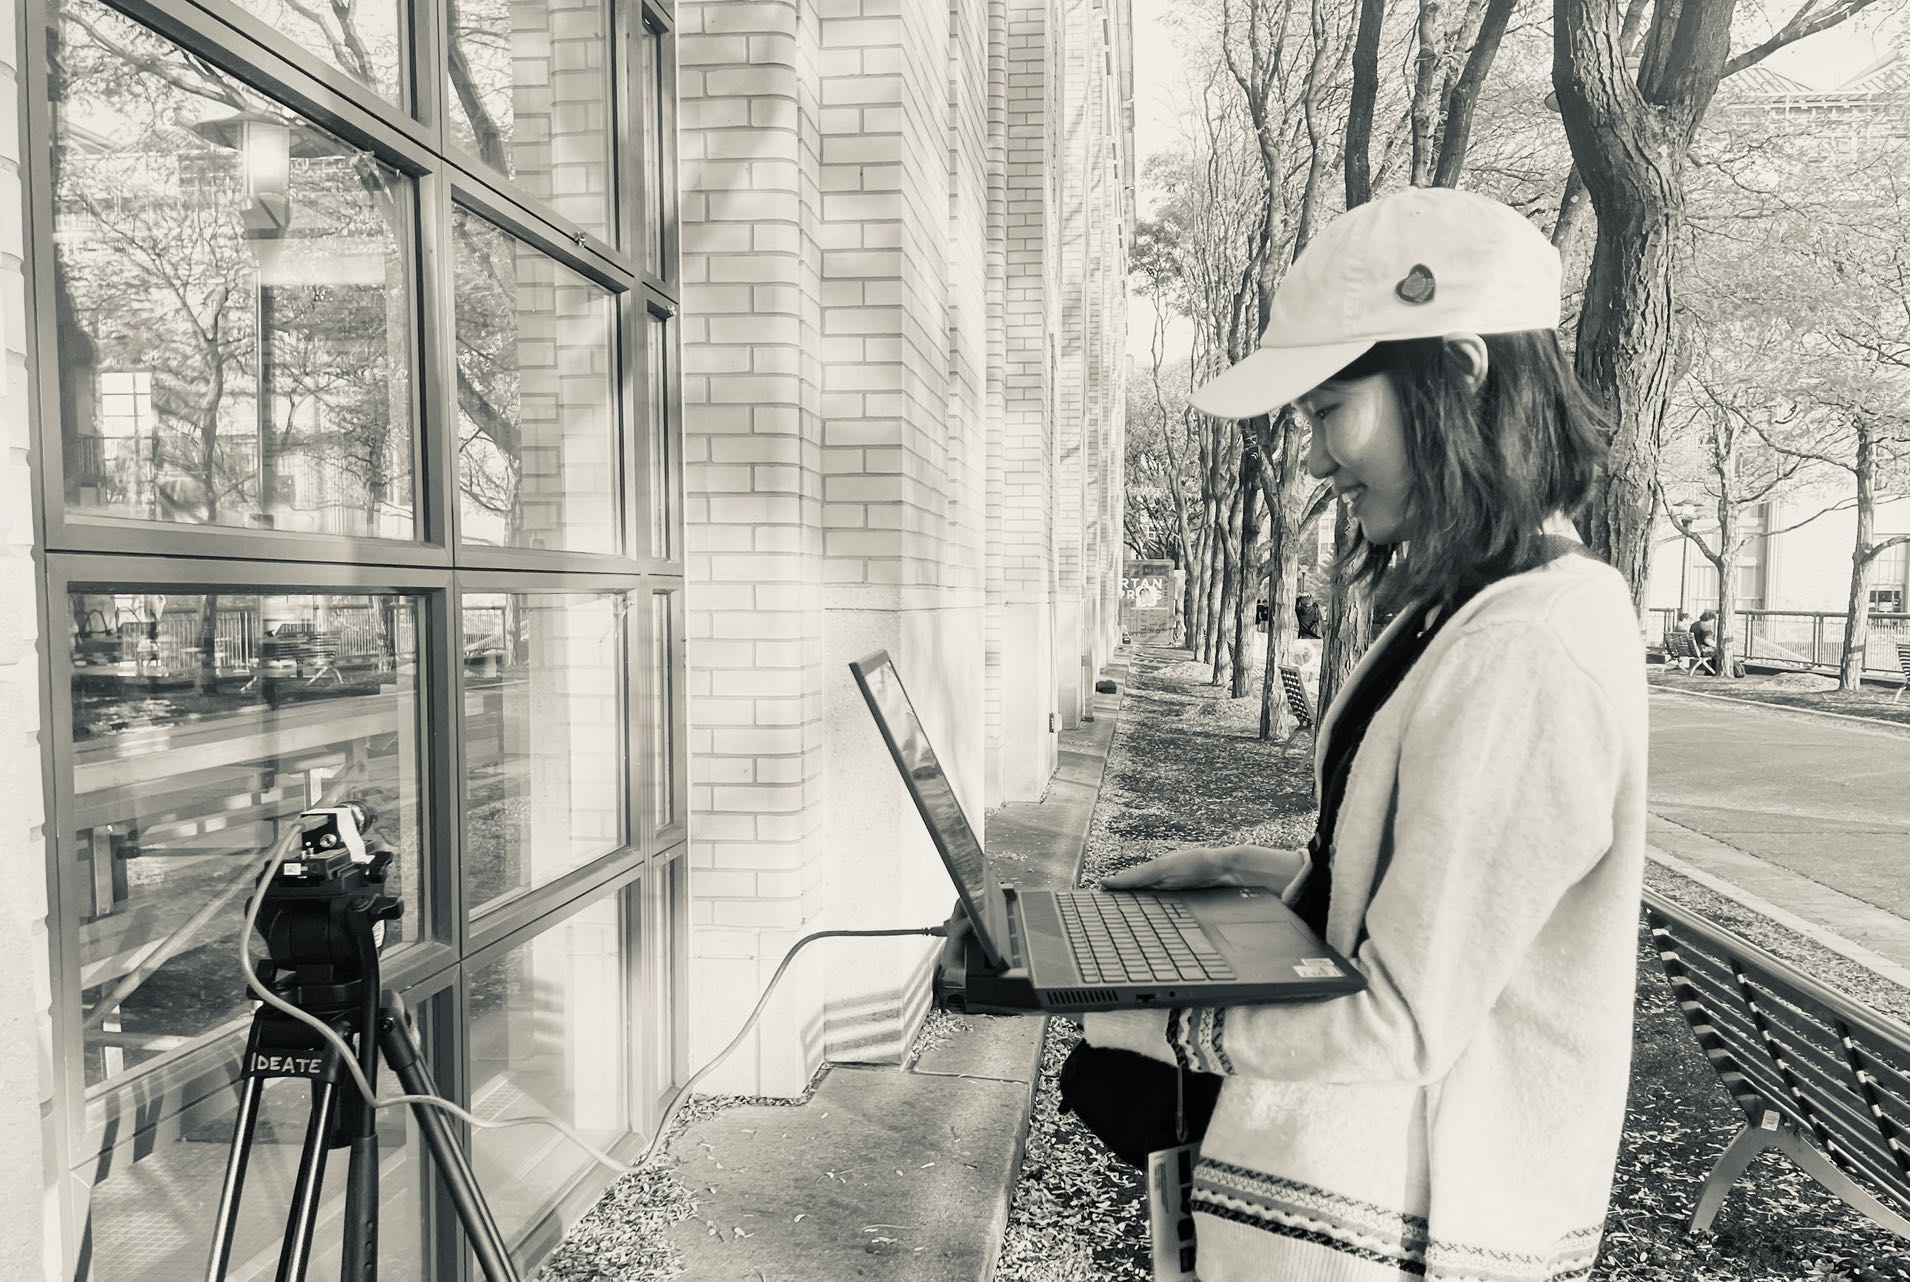
Here’s a shot of me working with the Blackfly S BFS-U3-51S5P camera!

Person in Time – Interactive Dance Installation

Introduction:

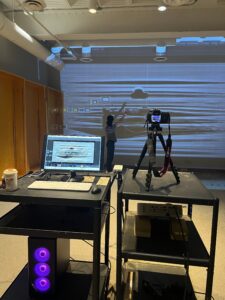
For this project, I used TouchDesigner to create an interactive installation. Lines with the spring feature are projected onto a wall, and a dancer performs in front of this projection. Her movements, especially her hand motions, cause the lines to respond and move.

Workflow:

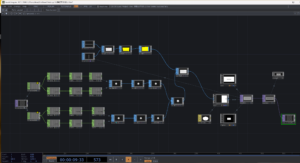
I used TouchDesigner to create an interactive installation that captures and responds to a dancer’s movements. I created two invisible balls in TouchDesigner that follow her hands. Each ball has a specific size and weight, acting as the force that moves the projected lines on the wall.

(TouchDesigner patch)

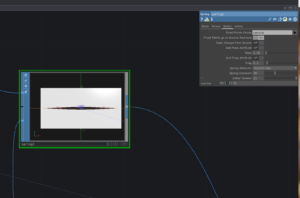
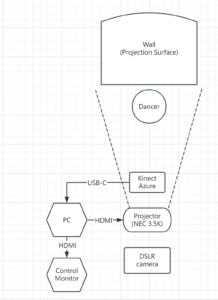
To capture her movements accurately in low light, I used the Kinect Azure’s depth-image feature. This depth data feeds into TouchDesigner, where it tracks her hand movements and moves the invisible balls. These balls, in turn, cause the lines to respond dynamically. Each line is made up of multiple points, which I carefully adjusted to create smooth, natural interactions. I also tuned the spring constant to make sure the lines have a fluid feel as they move.


(System Diagram)


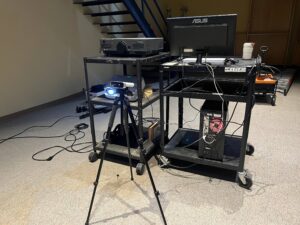
(Set-up Picture)

For the final piece, I filmed the interaction with a DSLR camera, capturing how the lines and dancer create a unique, expressive performance.


Final Work:


Discussion:

I chose an interactive projection for this project because it brings the dancer’s essence—the unique energy and fluidity of her movements—into a visible, tangible form. The interactive element responds in real-time, allowing her movements to directly shape and influence the projected lines. This immediate response captures the intangible qualities of her performance, making the interaction between the dancer and the projection feel almost like a conversation.

This interaction between the physical and virtual spaces adds an extra layer of depth to the performance, as the projected lines become an extension of her movements. The projection also allows viewers to experience the dancer’s expressive style beyond what a simple recording could convey, as her motions actively sculpt the environment around her.


Inspiration Cite:


Special Thanks:

Performer – Meixin Yu

Assistant – Elvin Jiang