 |
||
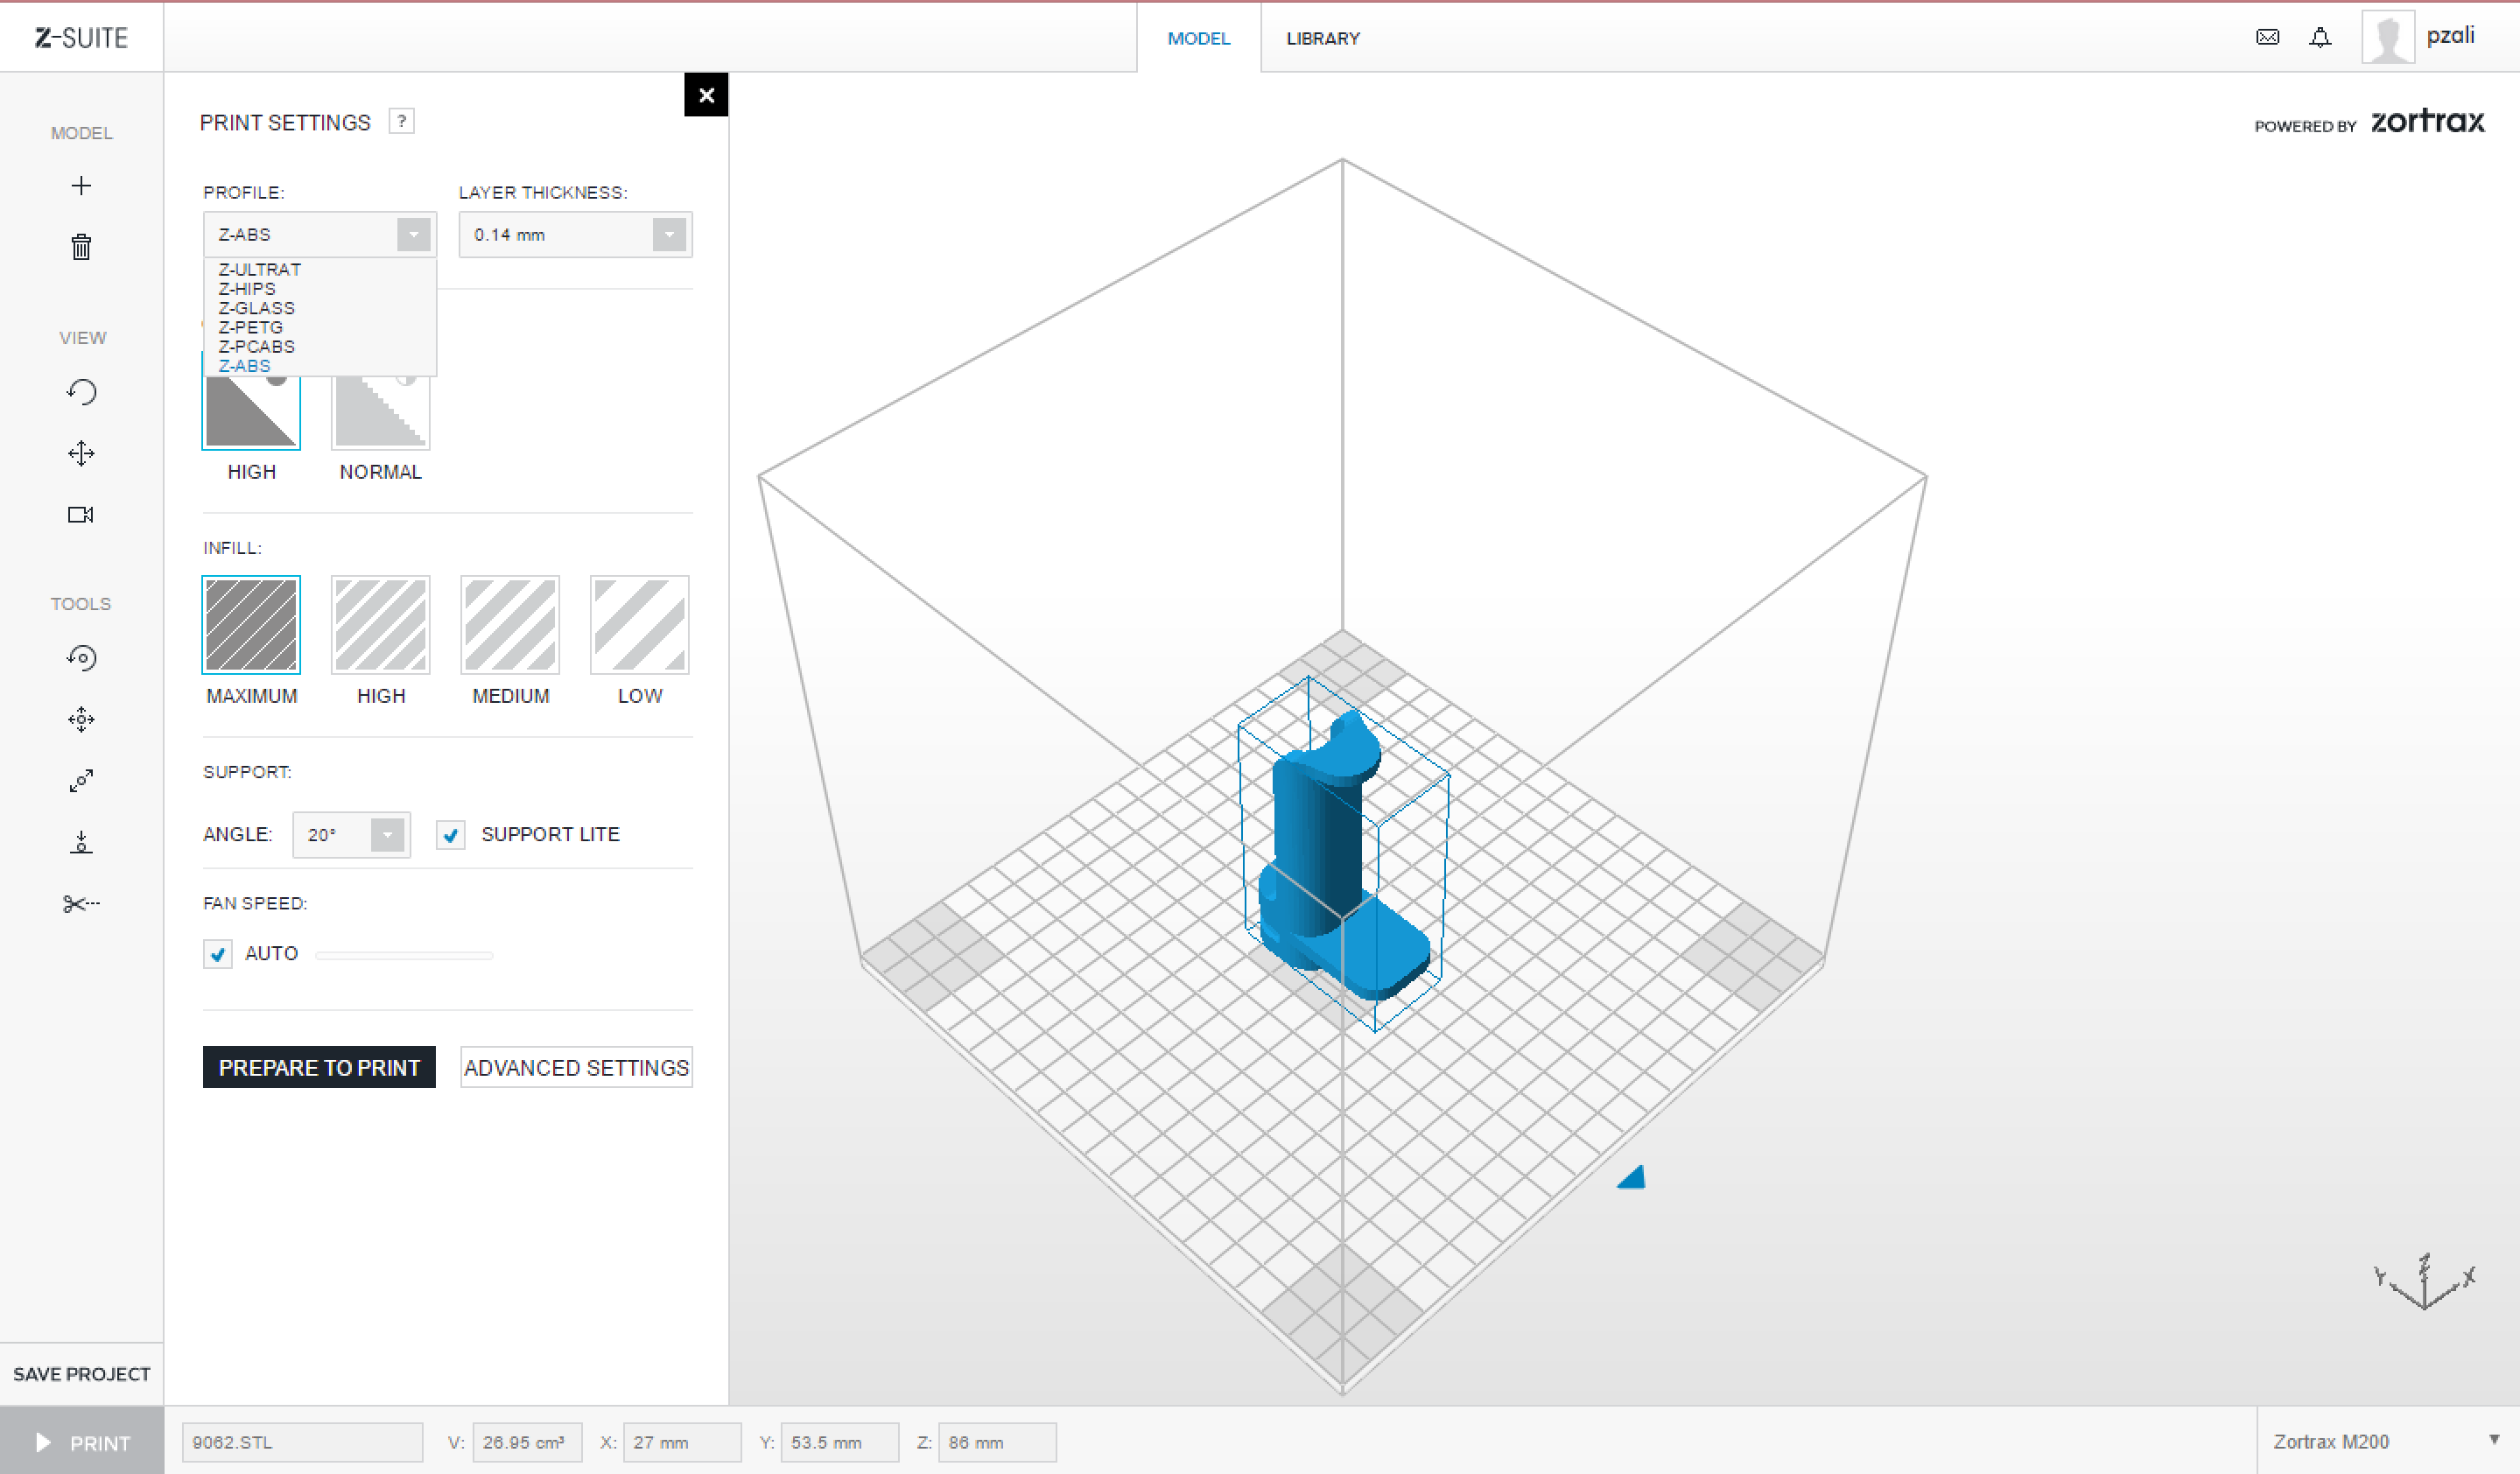
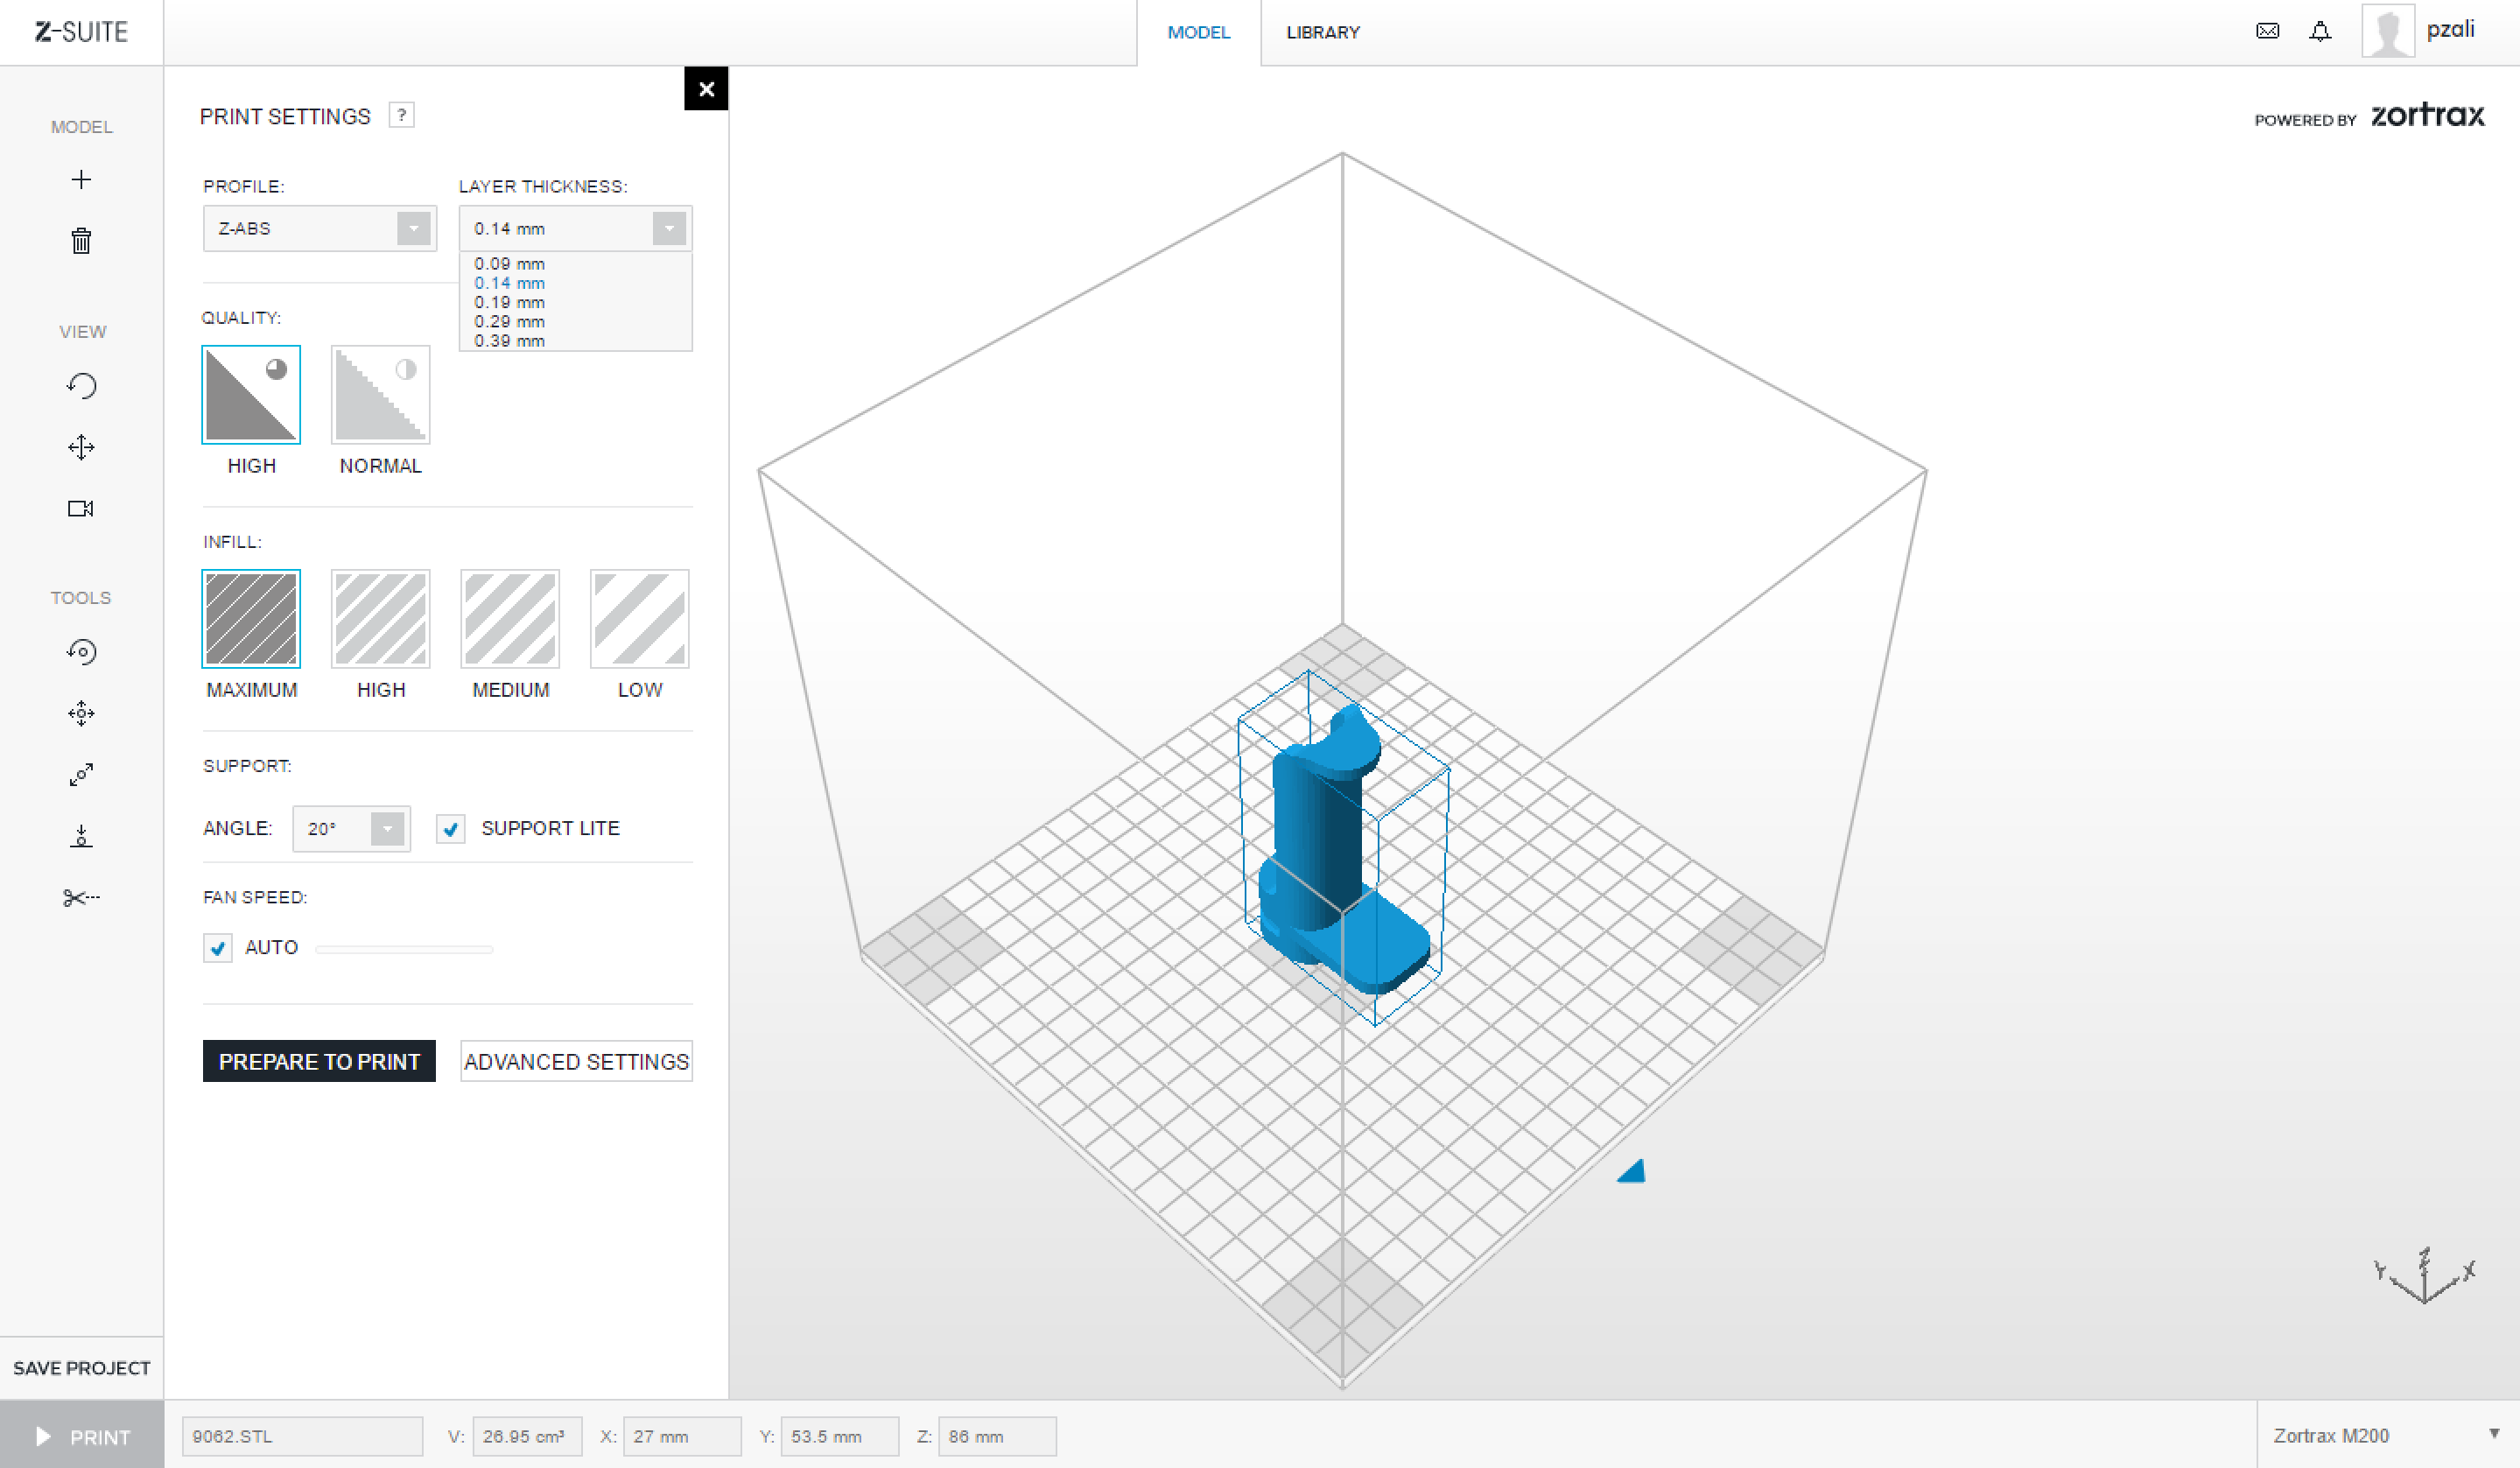
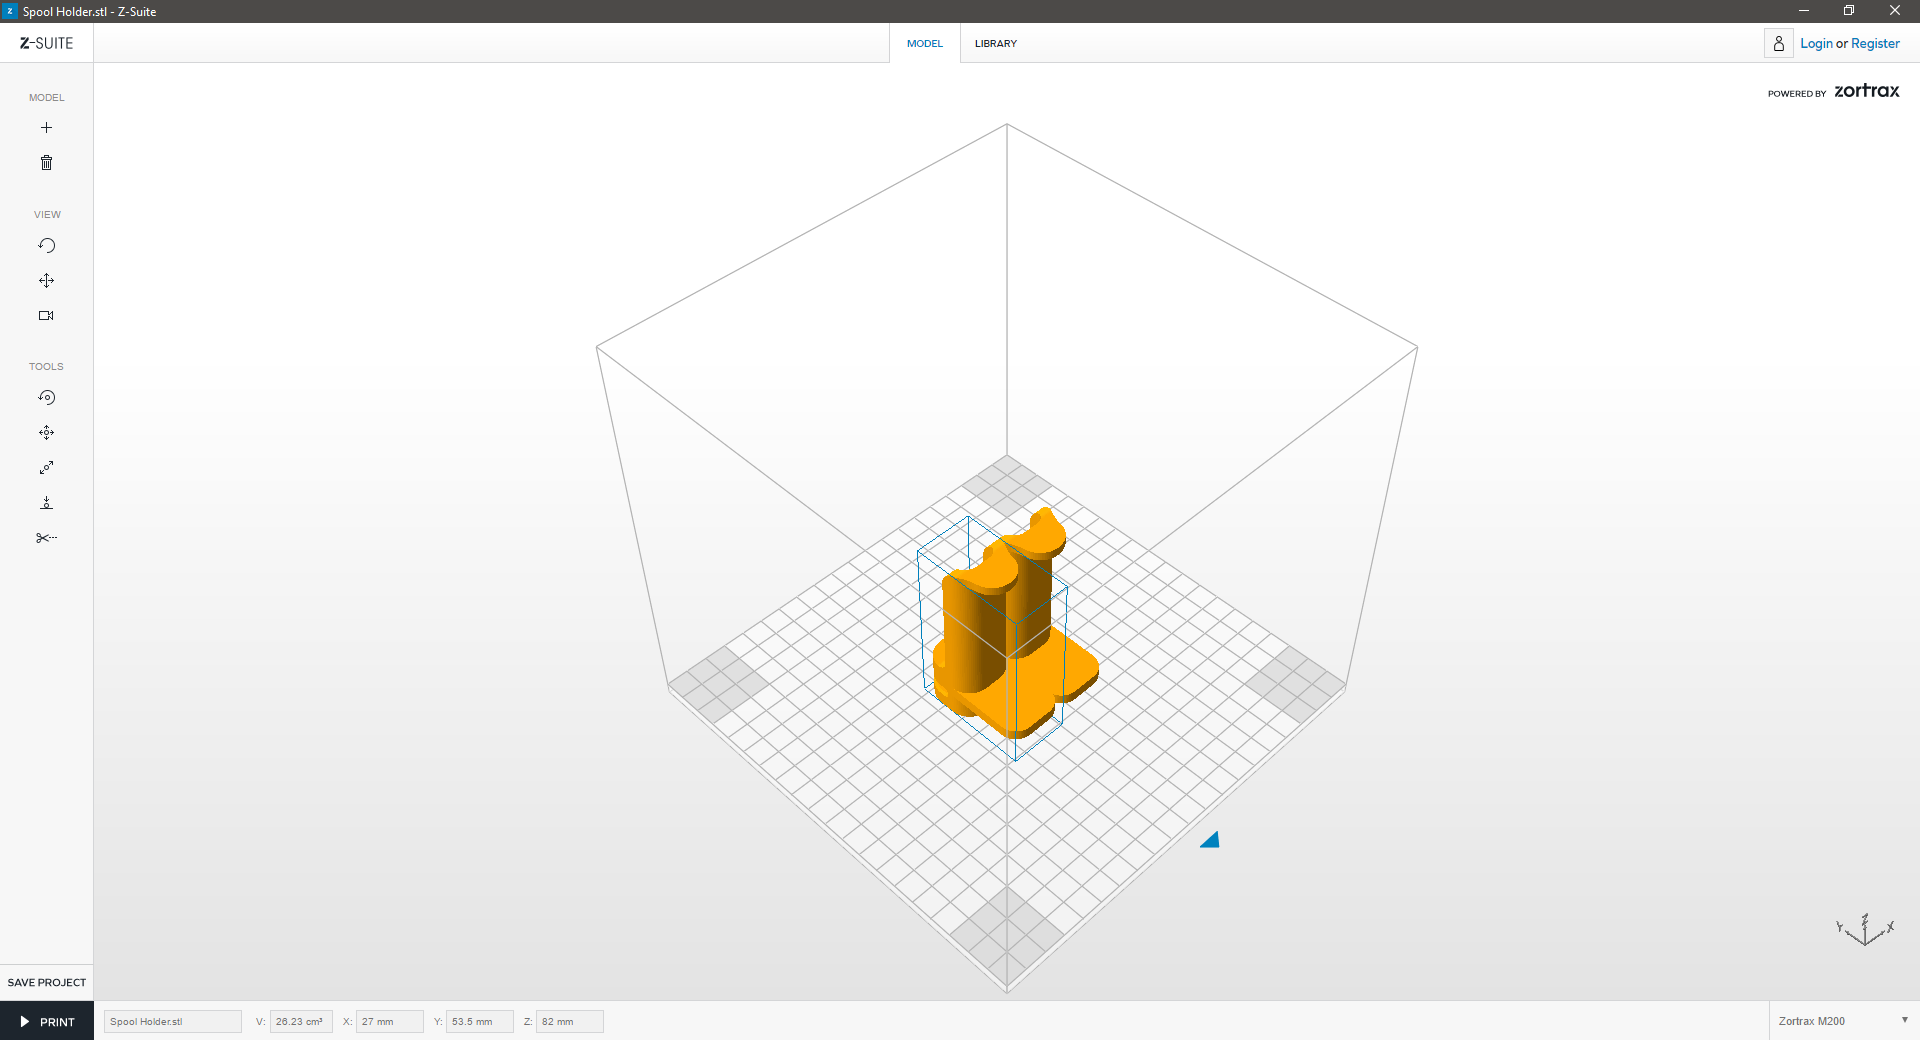
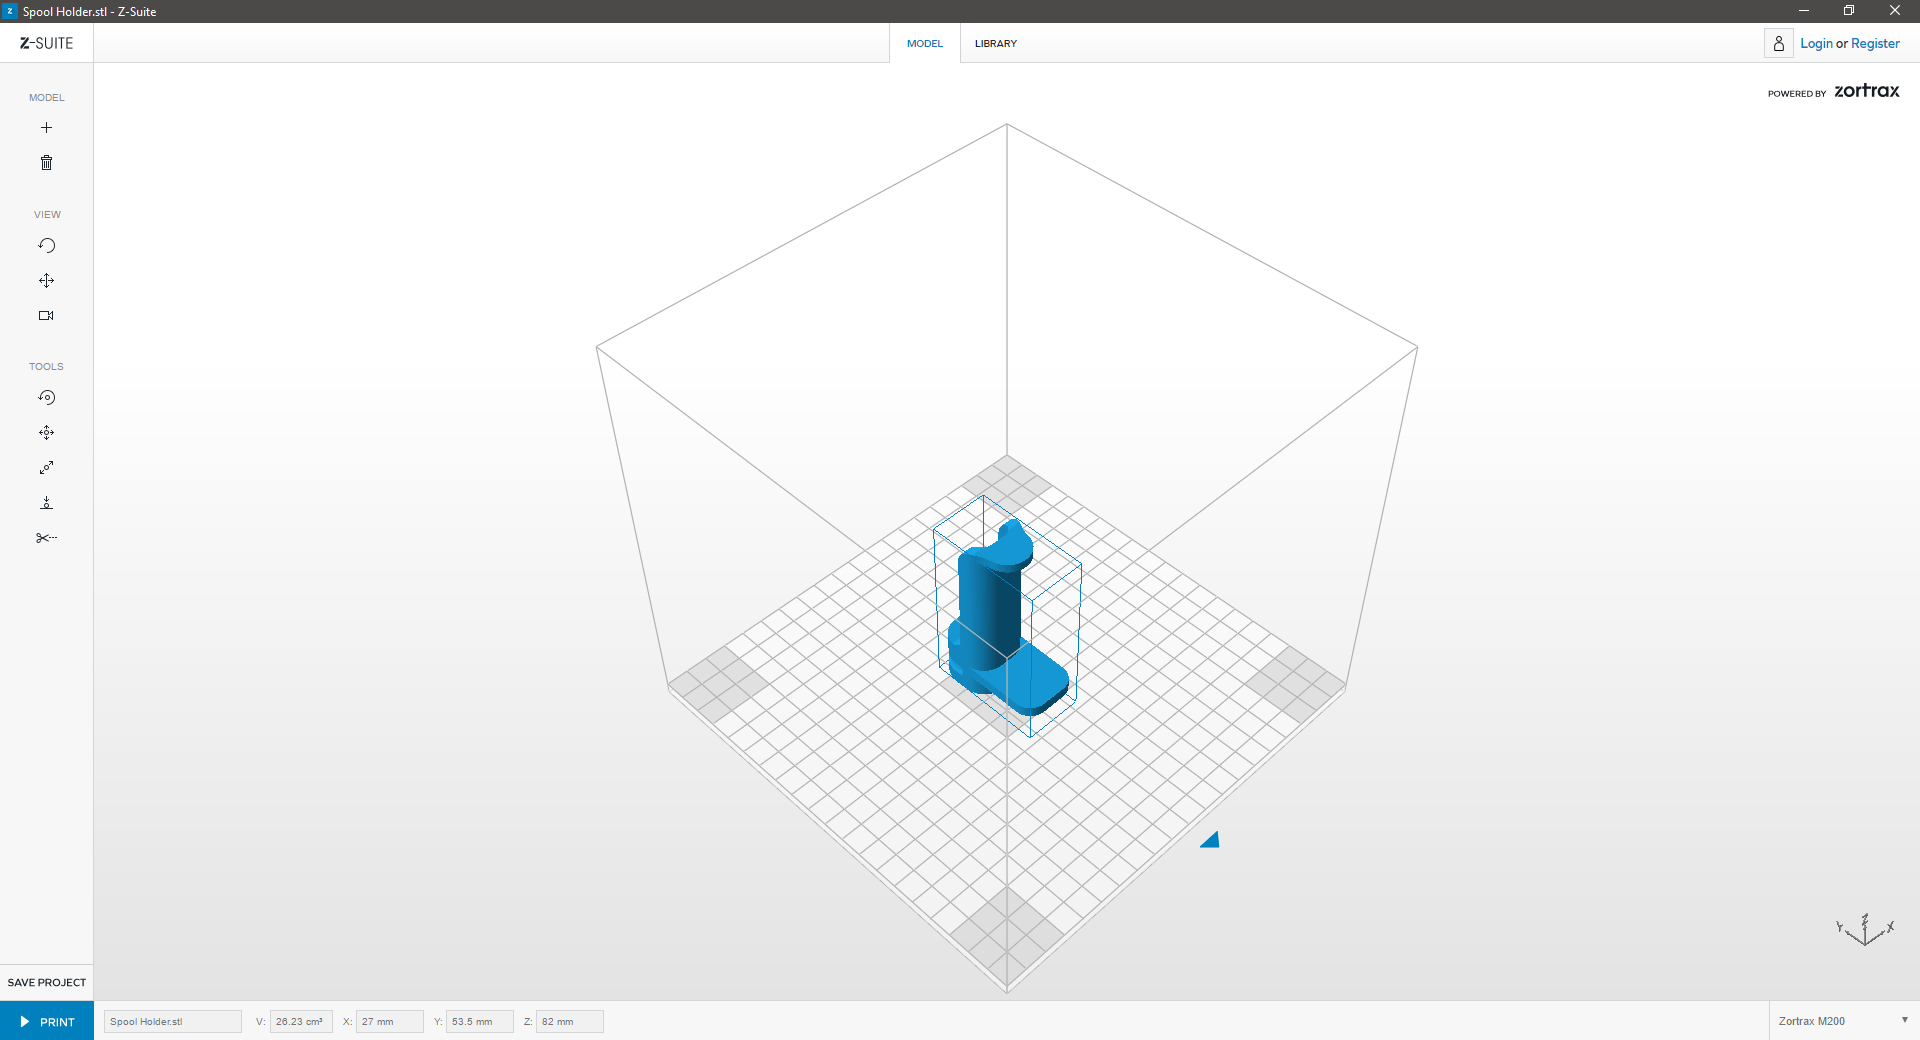
| If your model is ready to be printed, click “Print.” | ||
 |
||
| This will expand a side window, allowing you to adjust some basic print settings and preferences for your 3D Print. | ||
Z-Suite: Interface & Tools
Views
Move
| Move | ||
|---|---|---|
 |
||
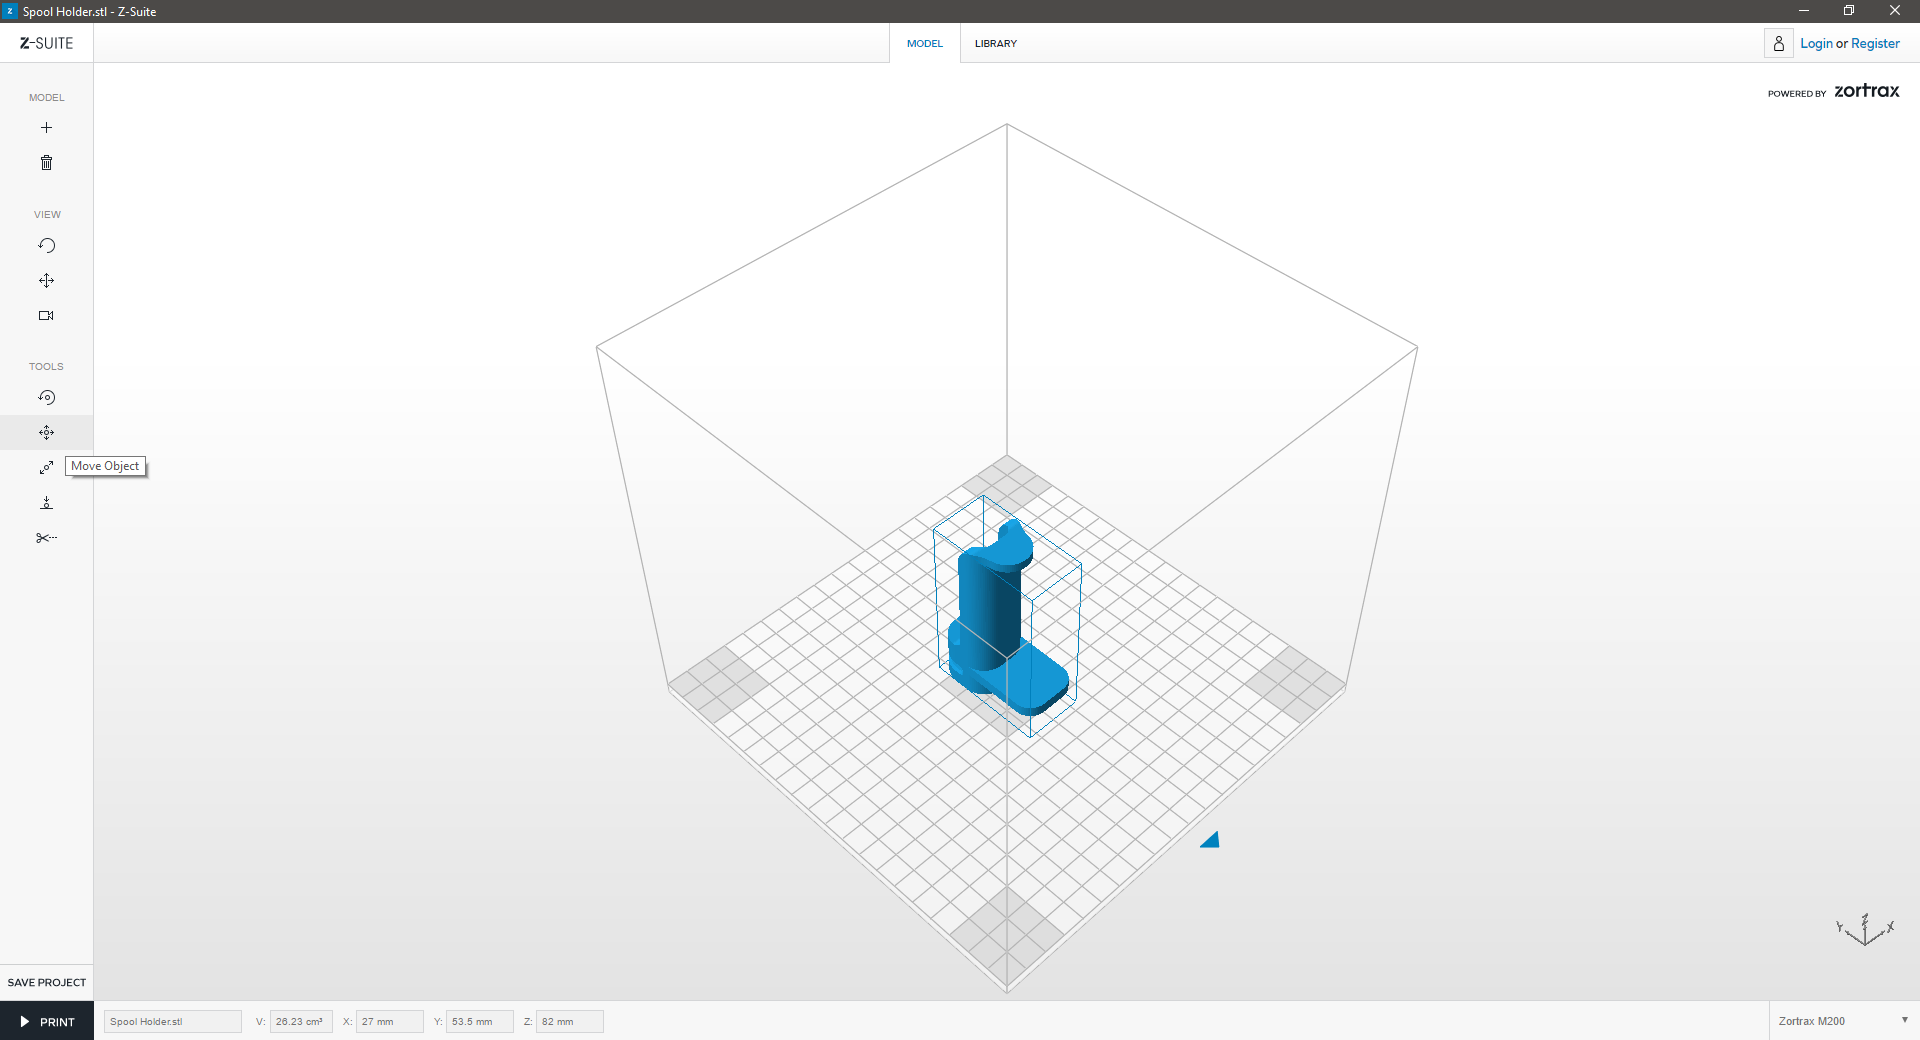
| Click “Move Object” icon to move the model in the workspace. You can move the model by editing X and Y parameters or click and drag the selected model. | ||
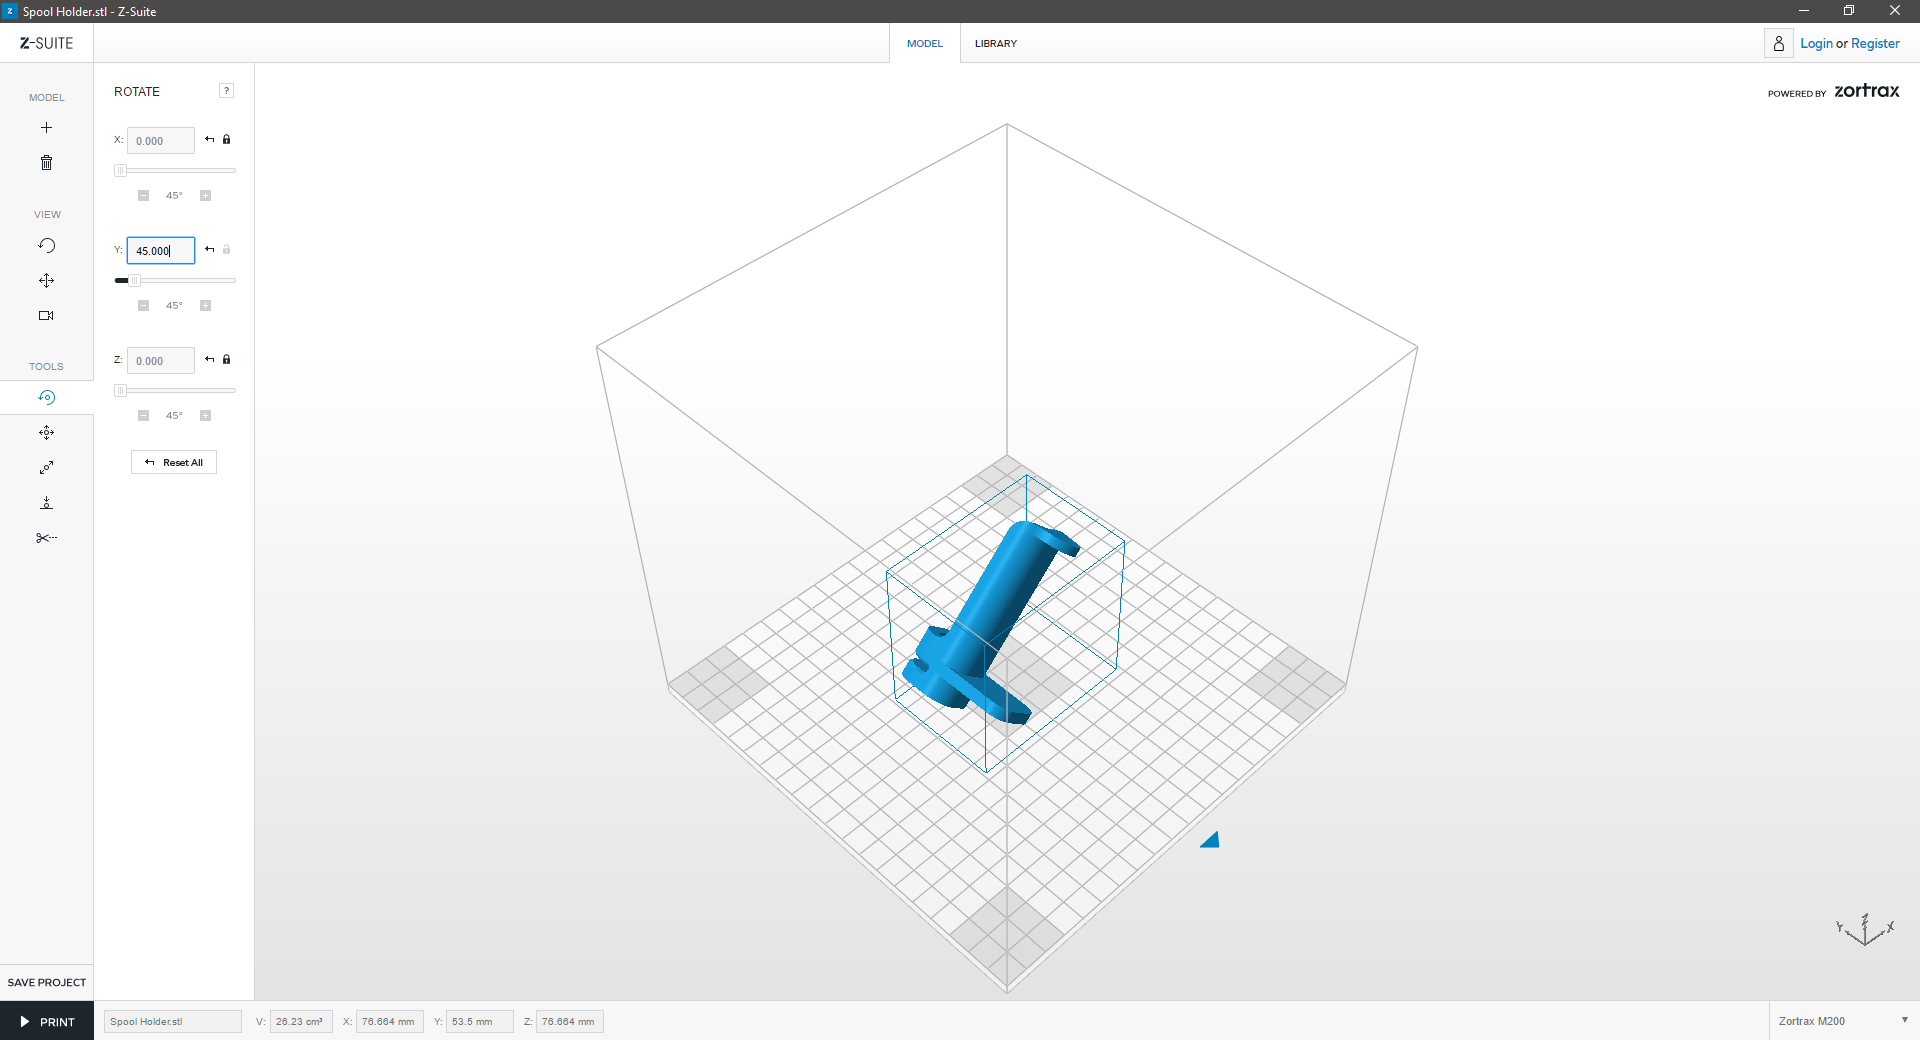
Rotate
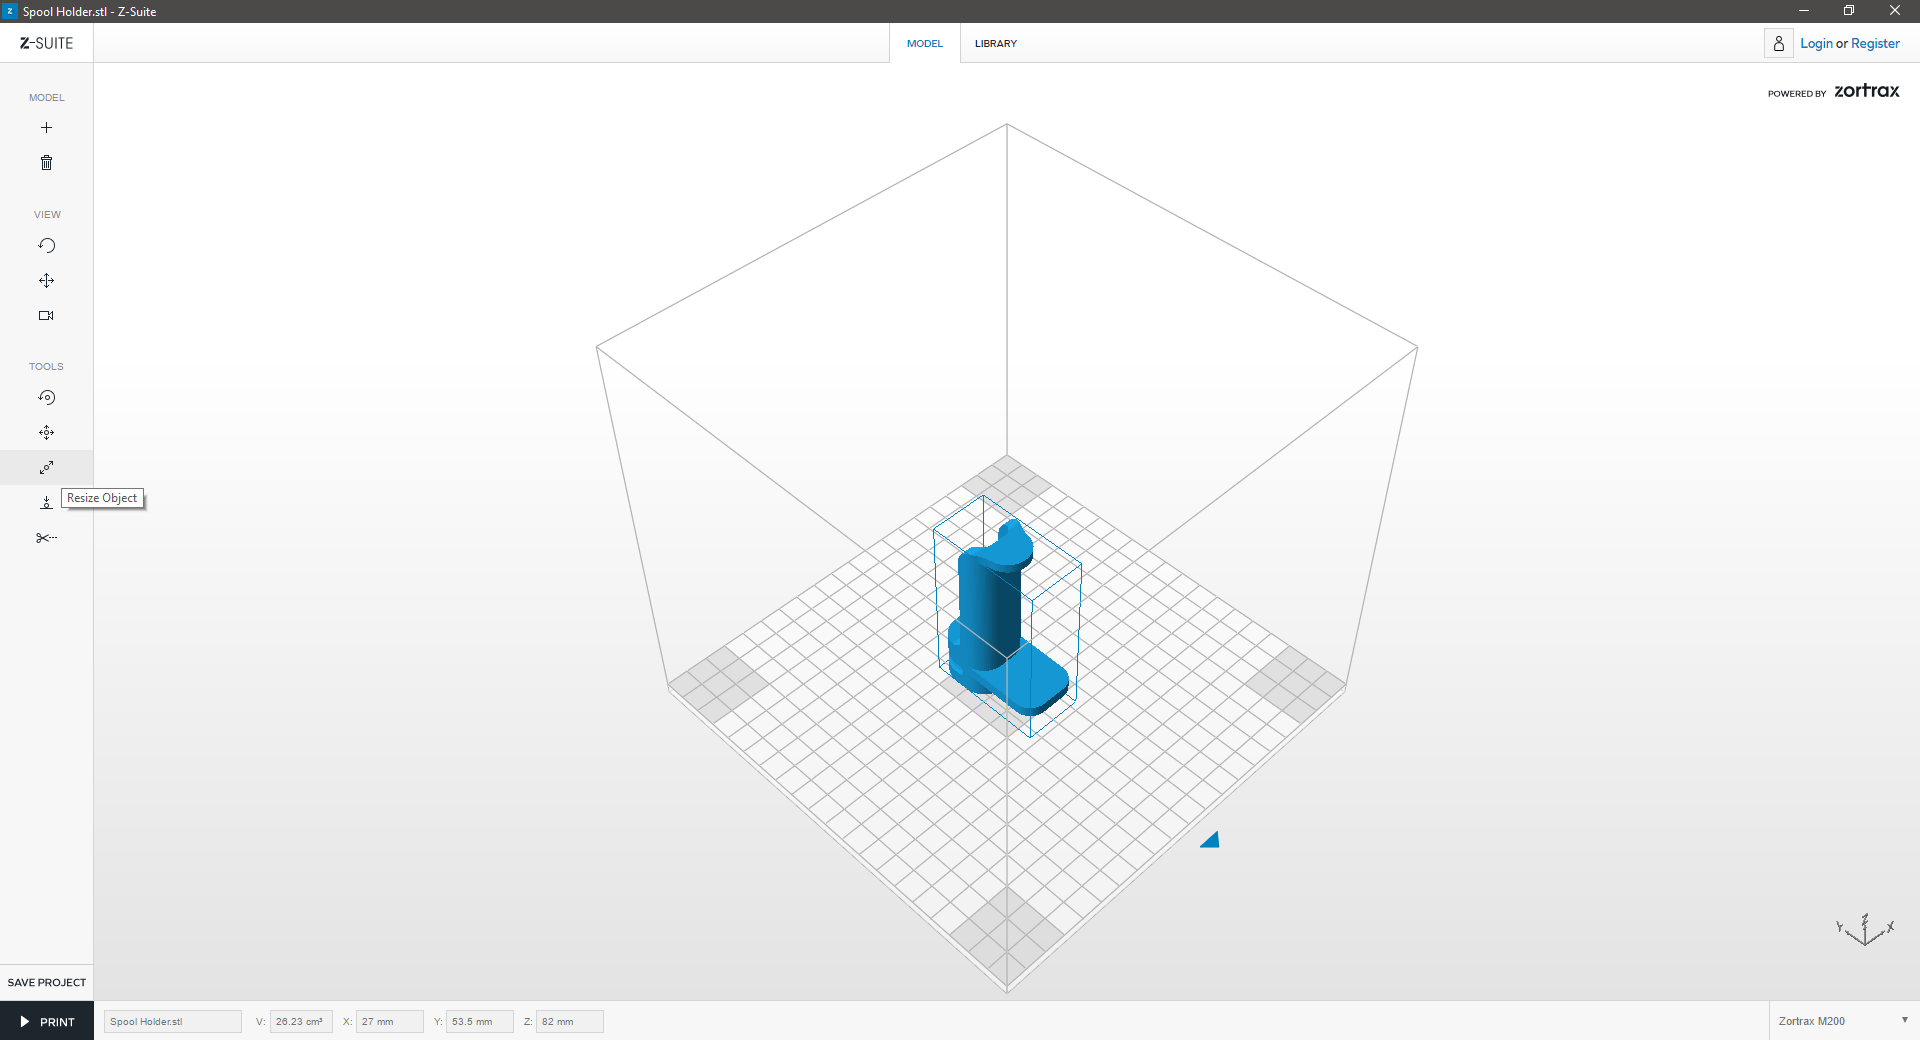
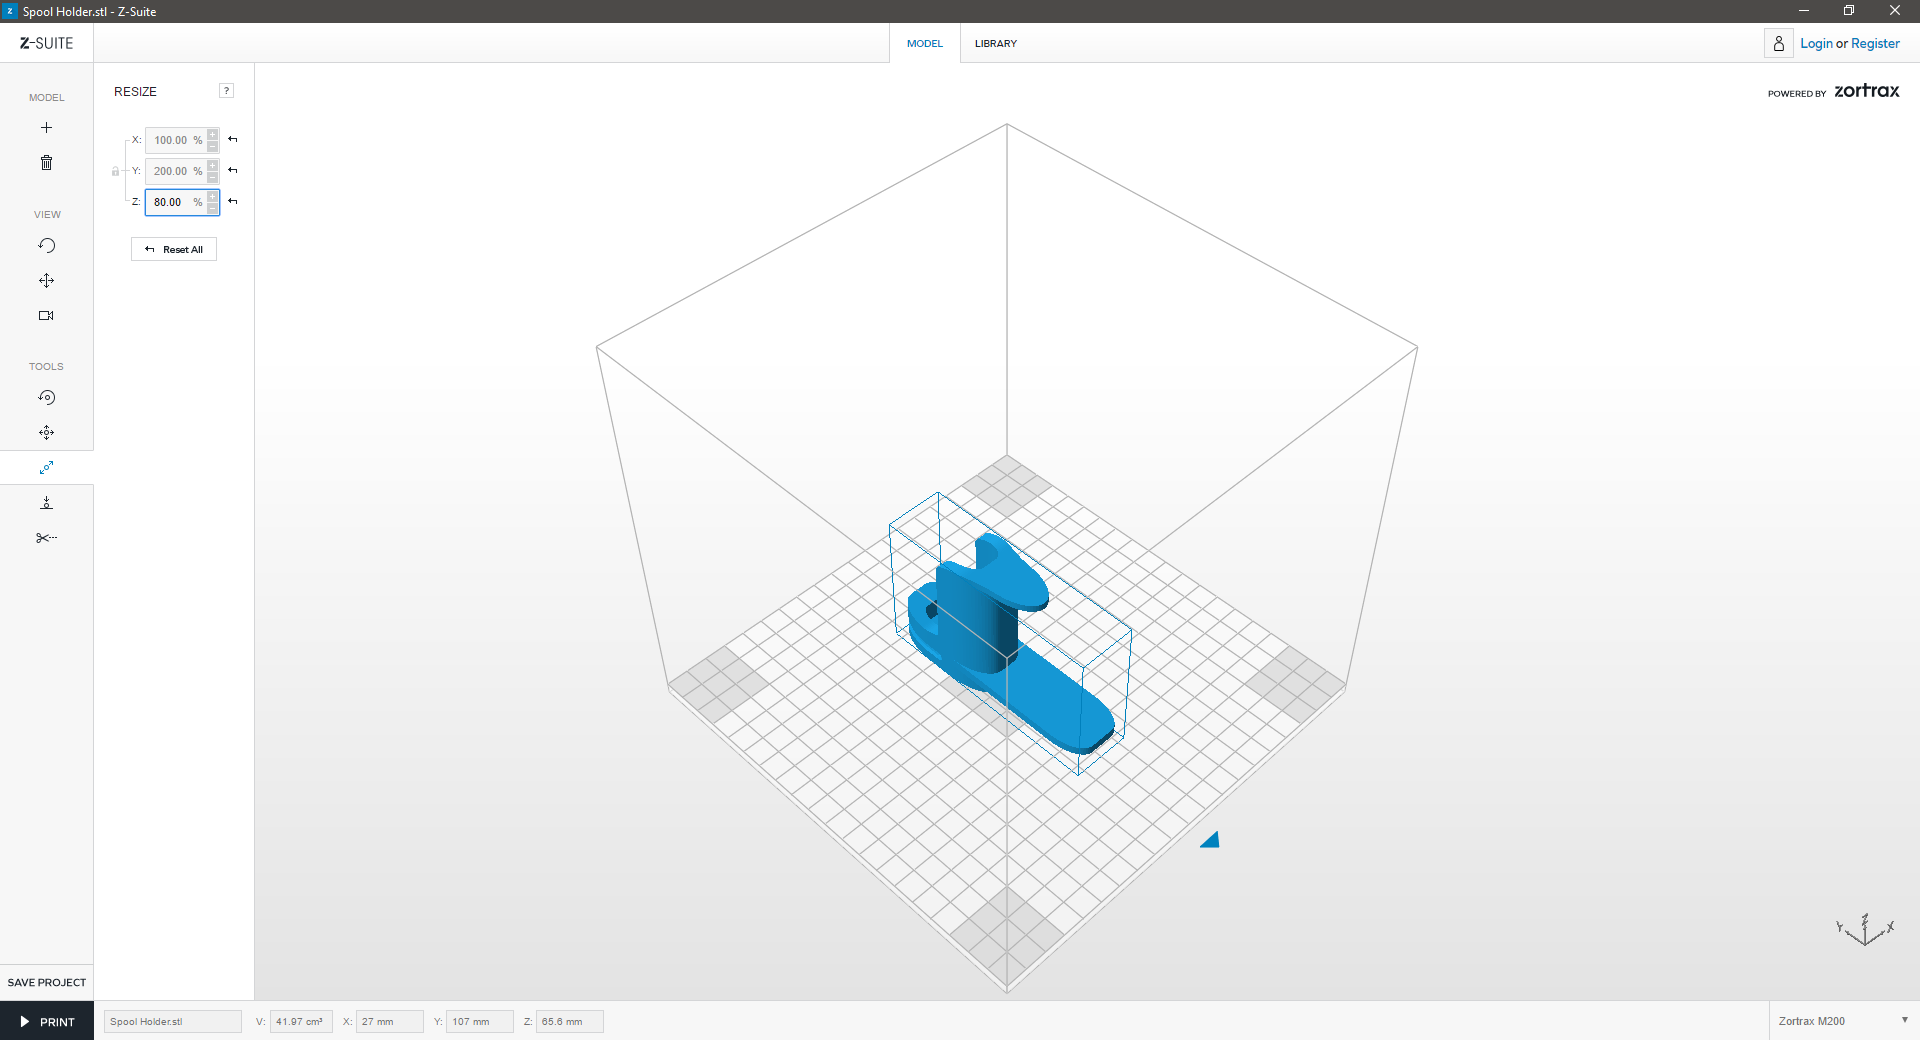
Resize
Copy/Delete
| Copy or Delete | ||
|---|---|---|
 |
||
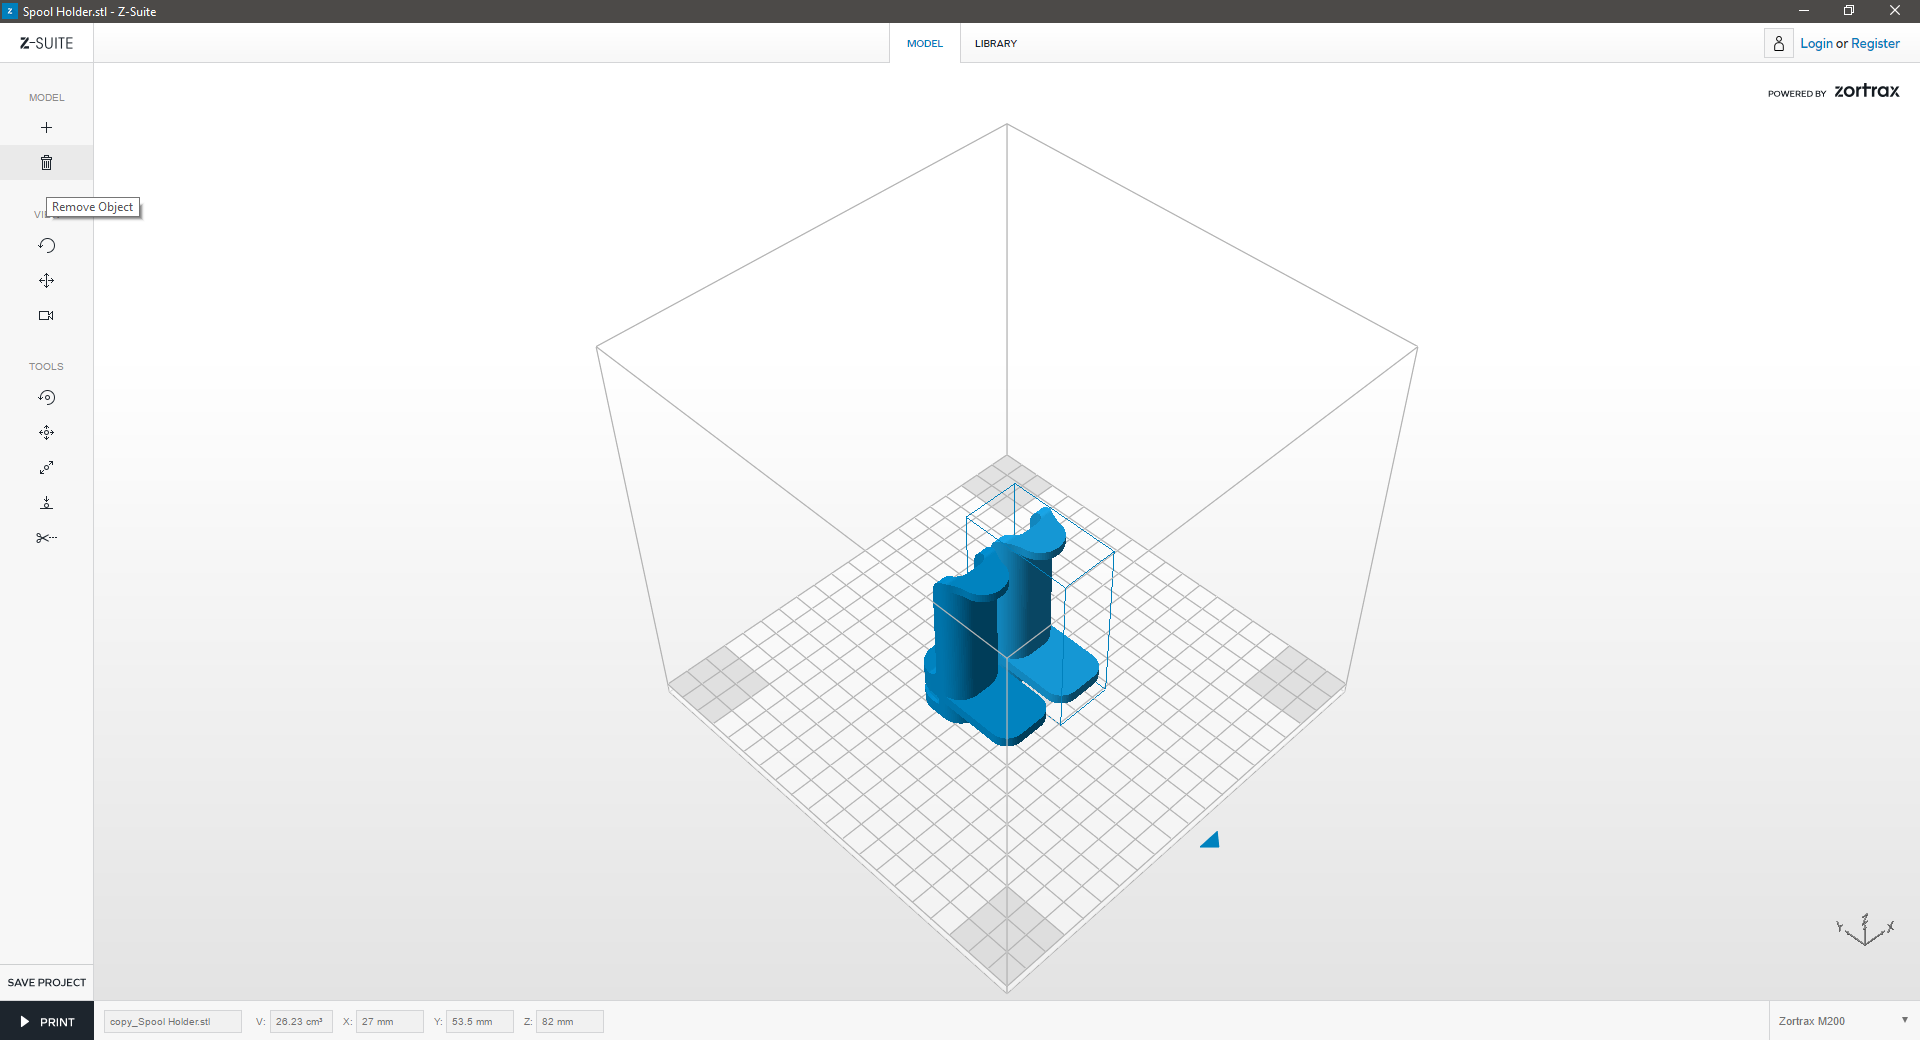
| To copy a model, select an object and press CRTL + C keys. Select the model and click “trash” icon or press delete key on your keyboard to delete it. | ||
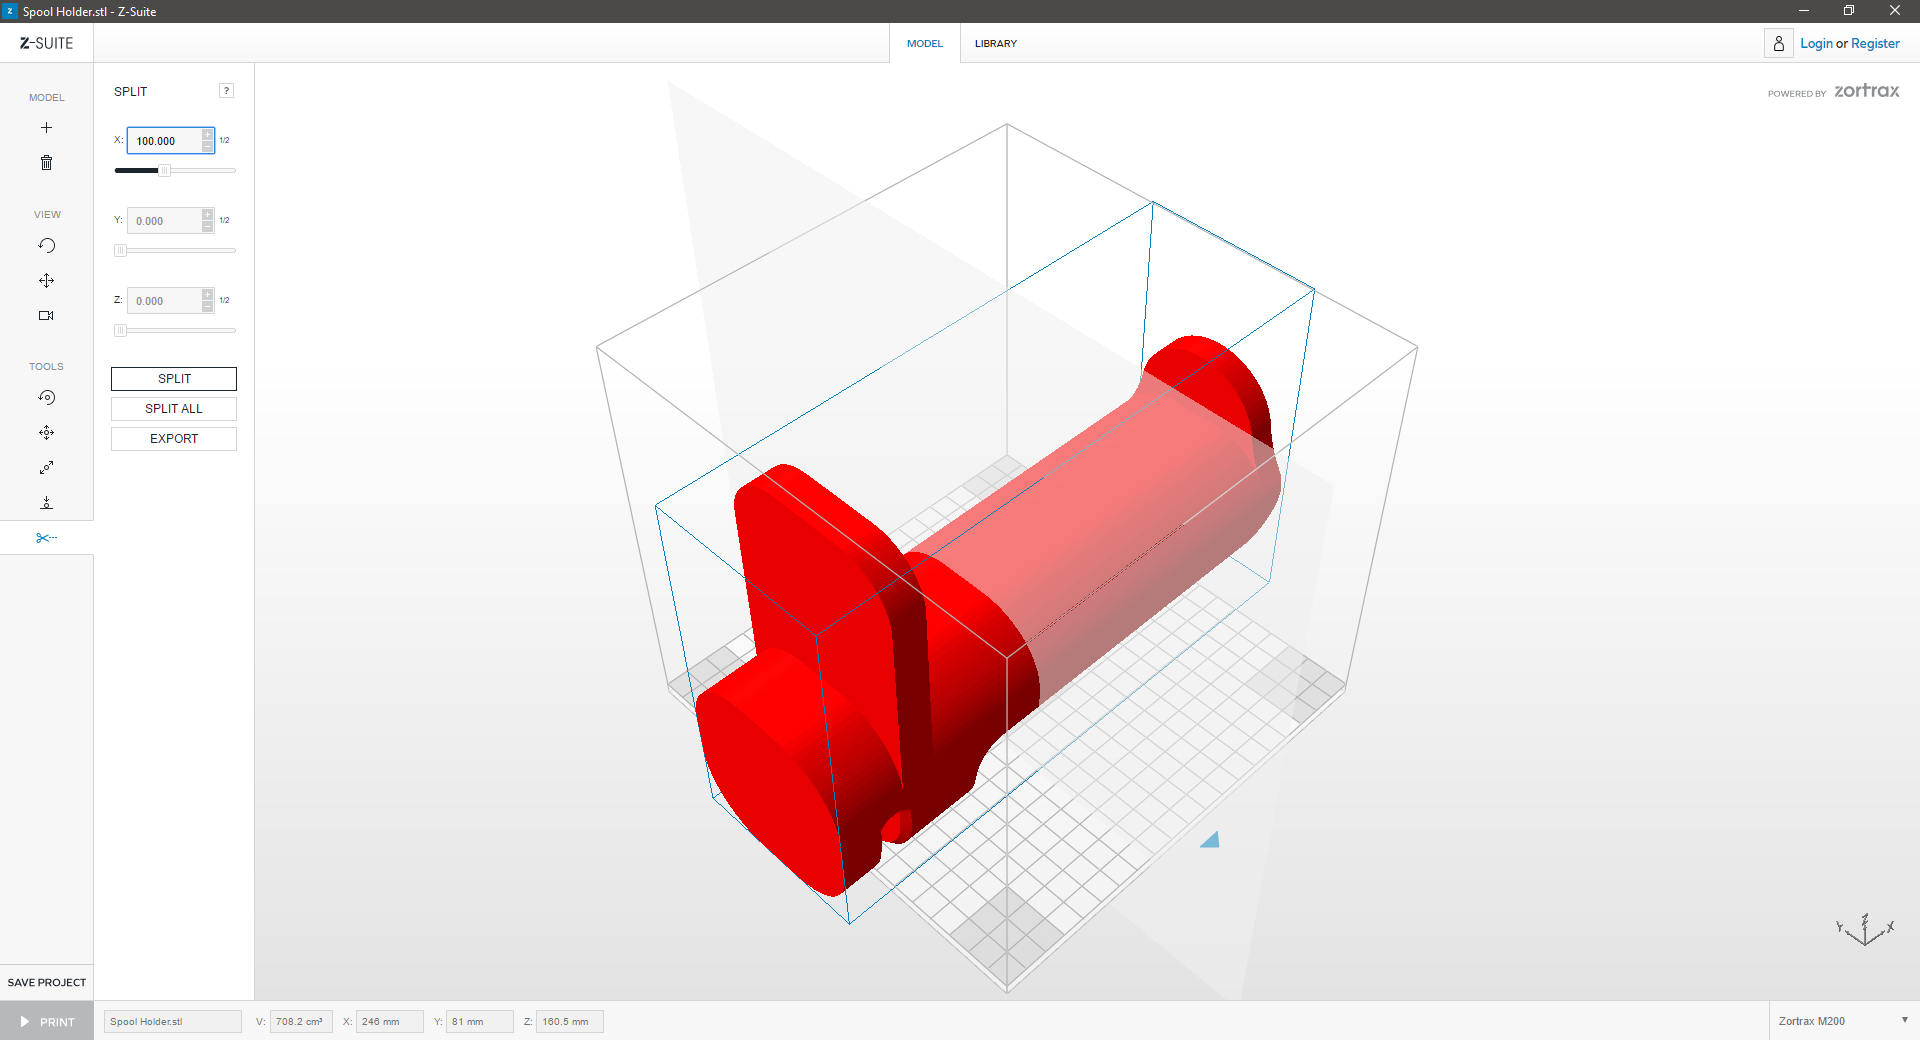
Split
Is your model too large? Z-Suite can split your model into multiple, smaller print-jobs that fit on the print platform:
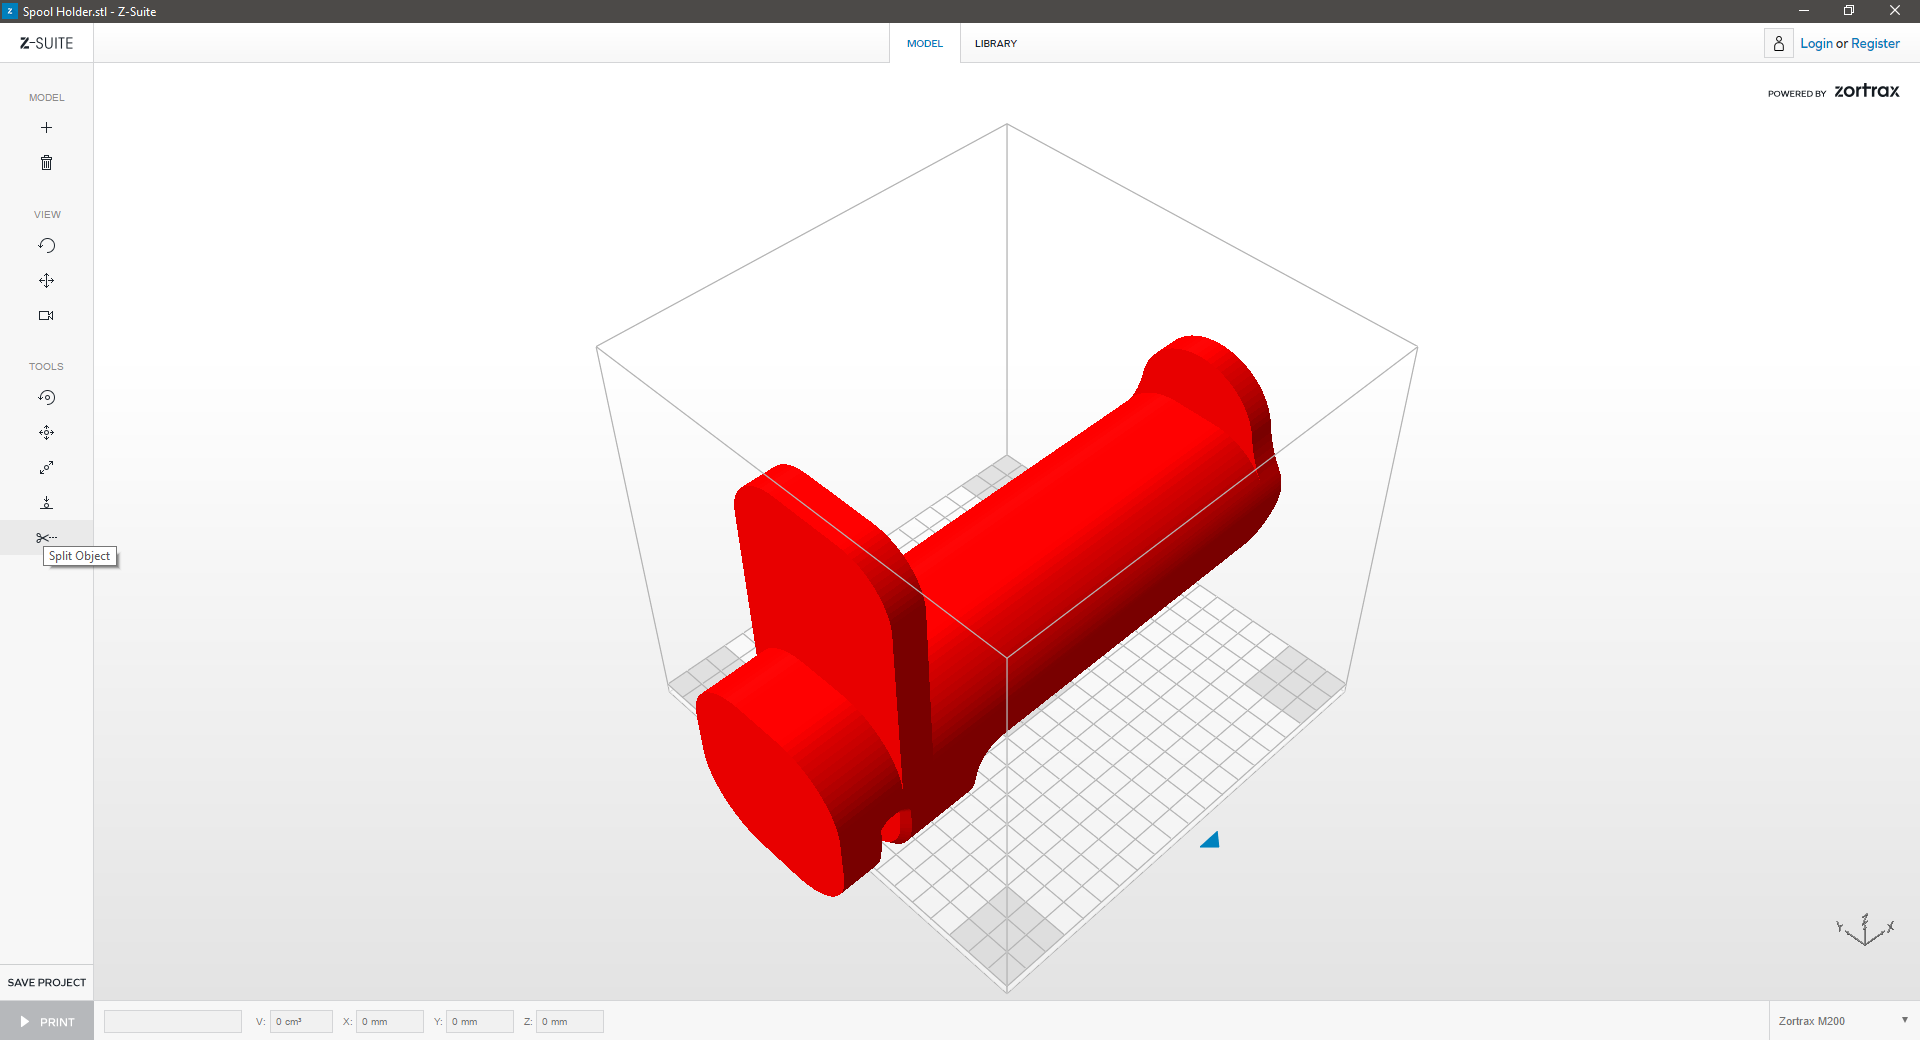
| 1. Split | ||
|---|---|---|
 |
||
| Click “Split” icon to split the model. | ||
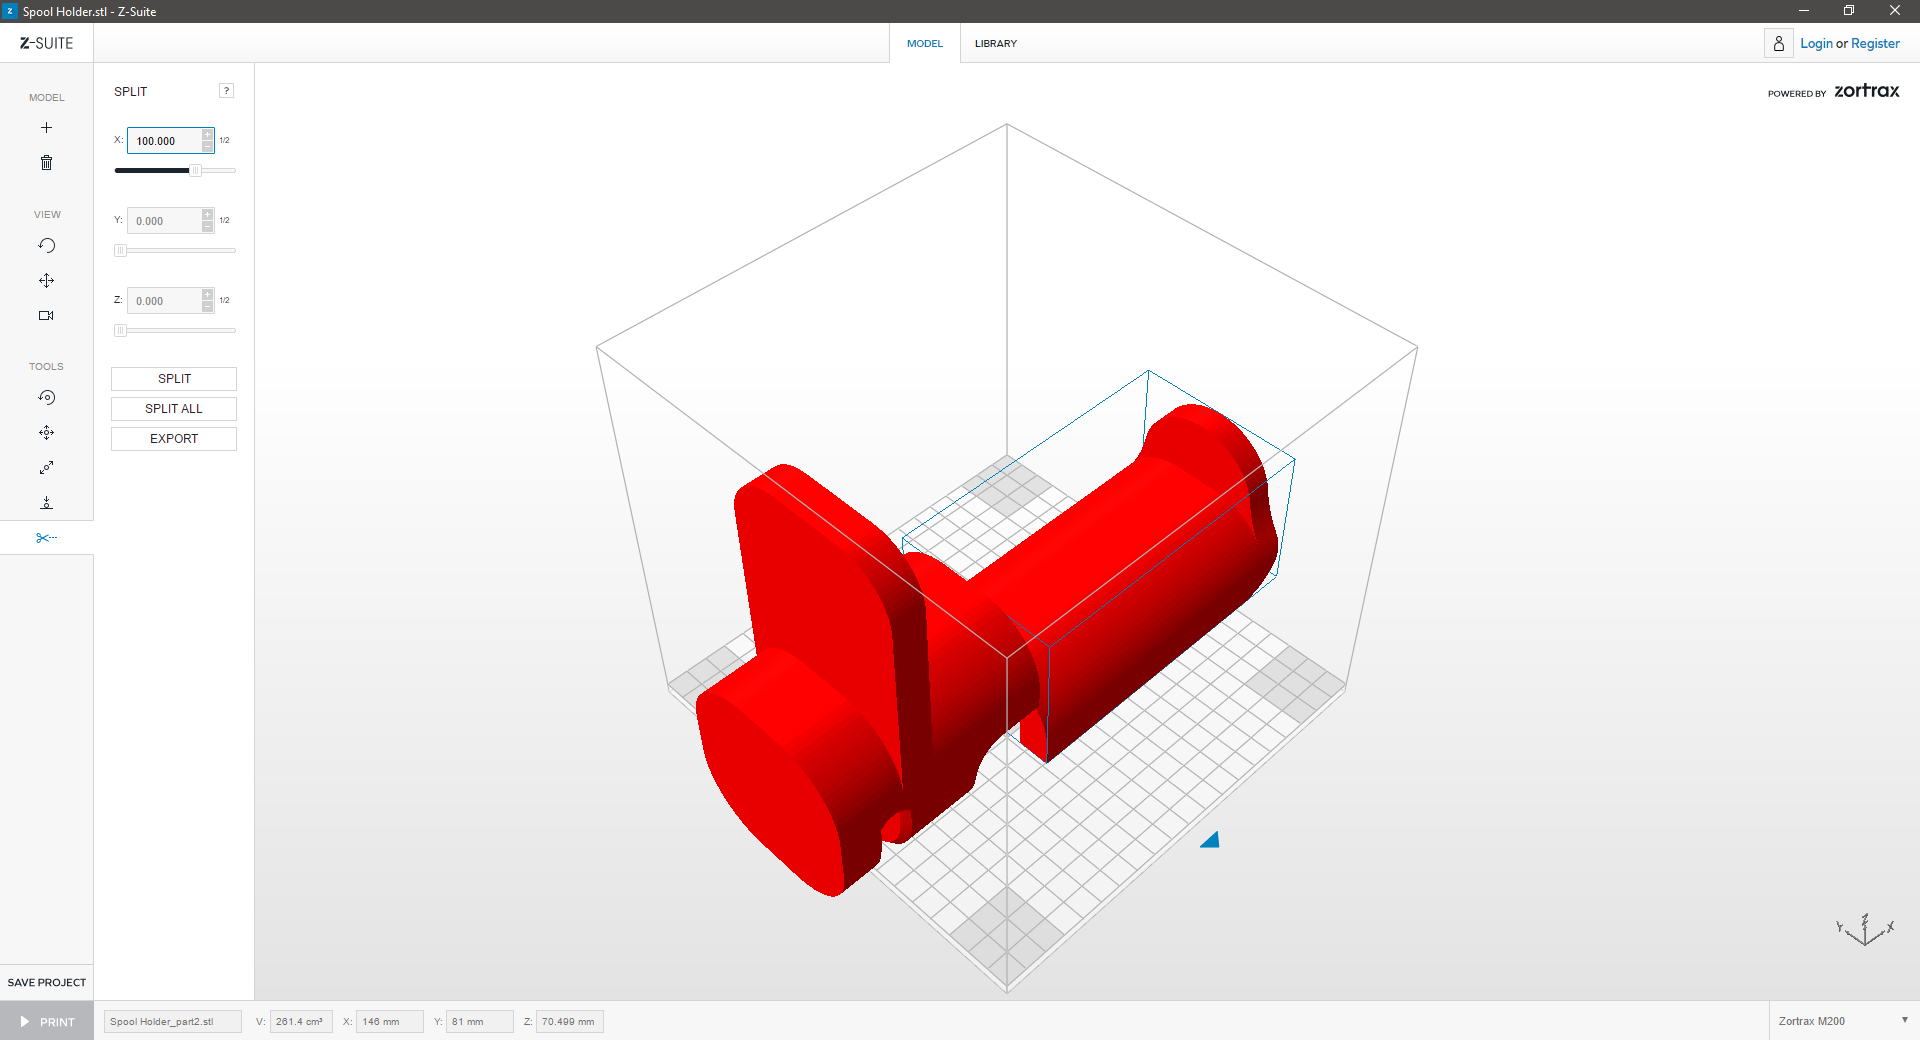
| 3. Arrange | ||
|---|---|---|
 |
||
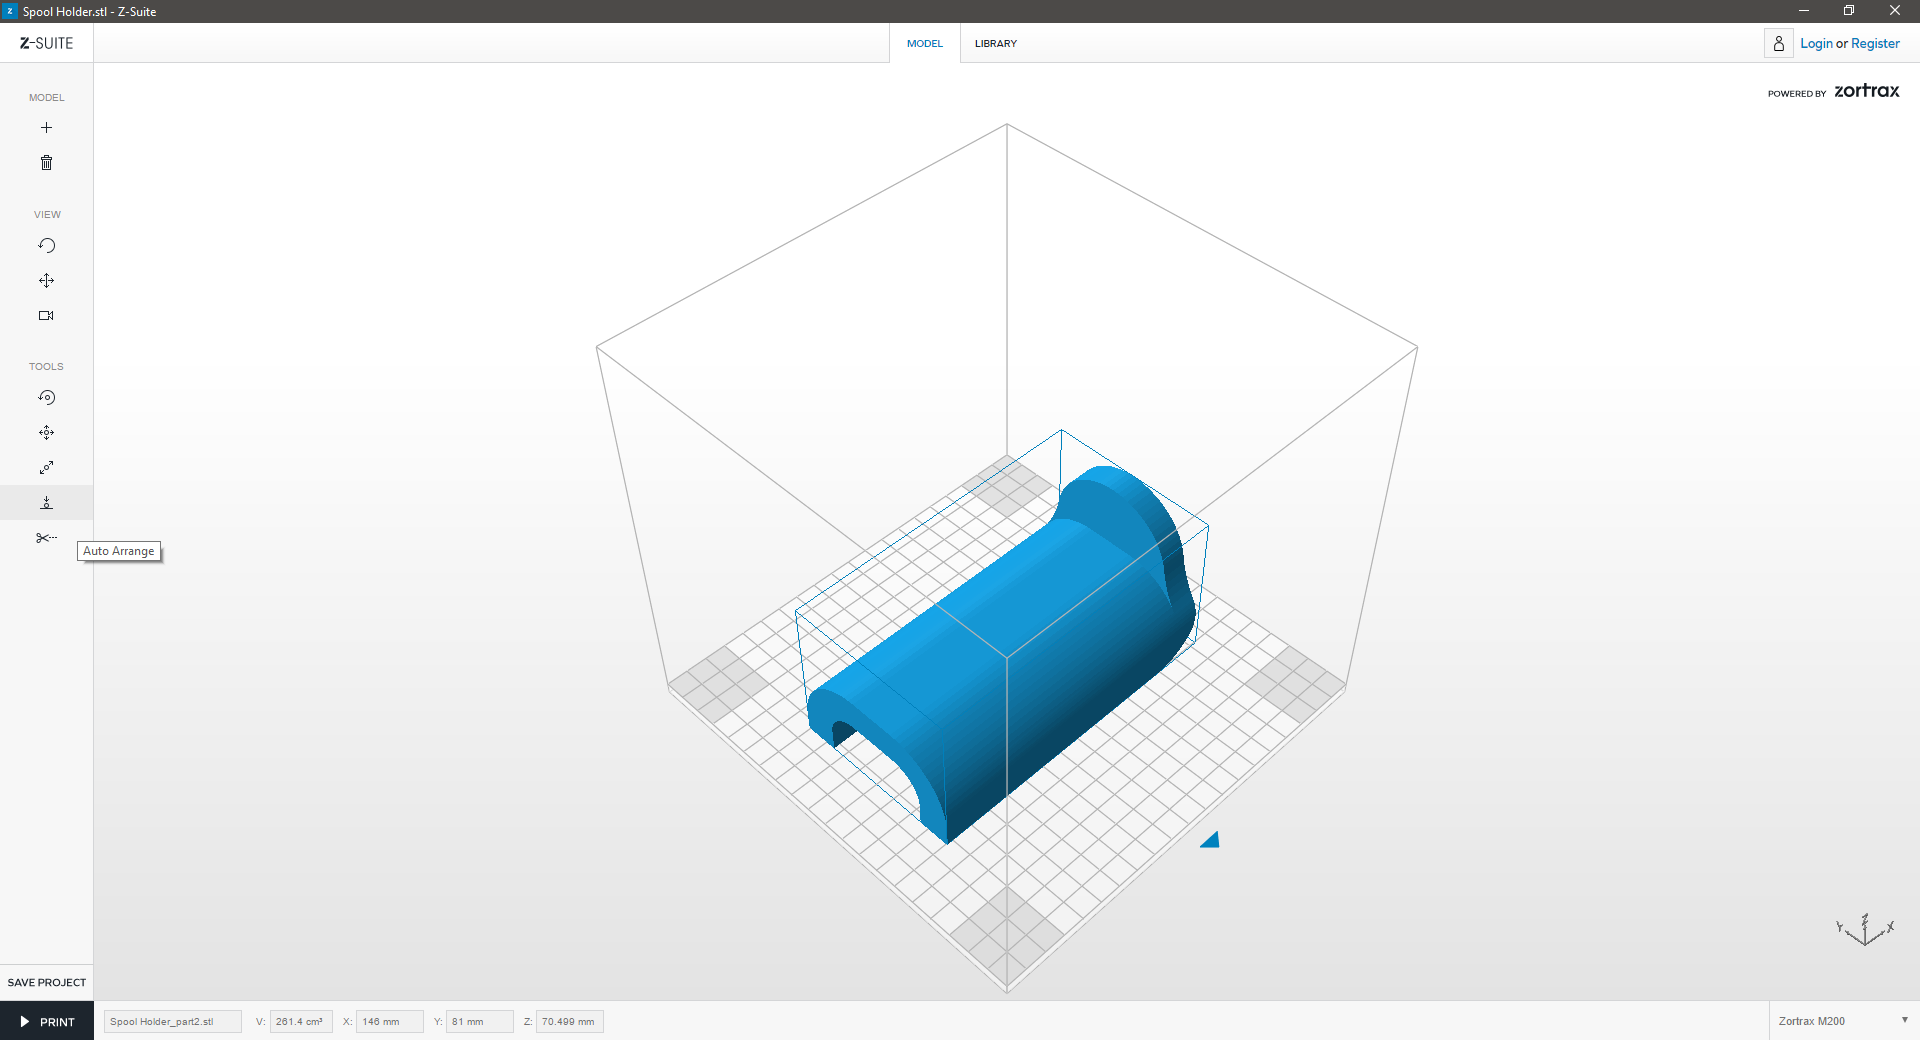
| Delete one part of the model and “Auto Arrange” the other part in the workspace to prepare it for printing. | ||
 |
||
Arrange
Do you have a multi-part print? If you’re uncertain how to arrange all the items on the print platform, use the Auto Arrange tool:
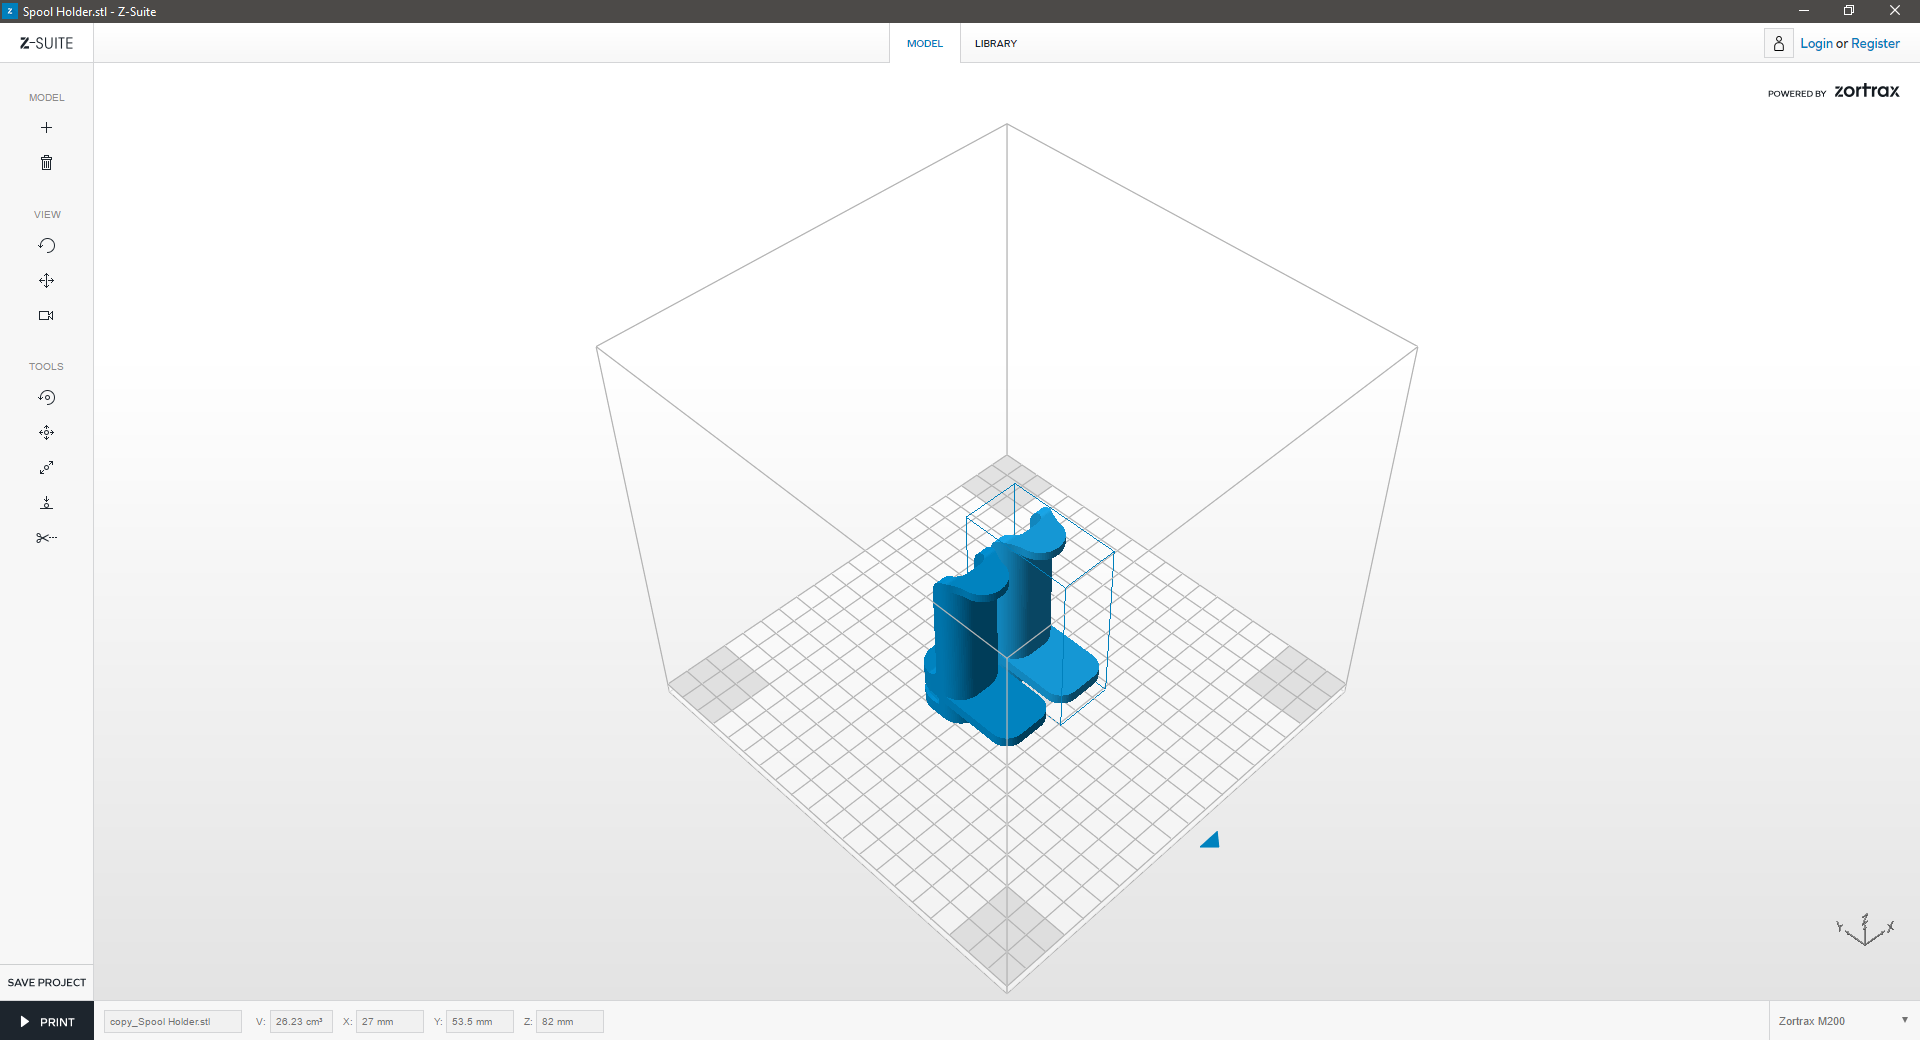
| 1. AutoArrange | ||
|---|---|---|
 |
||
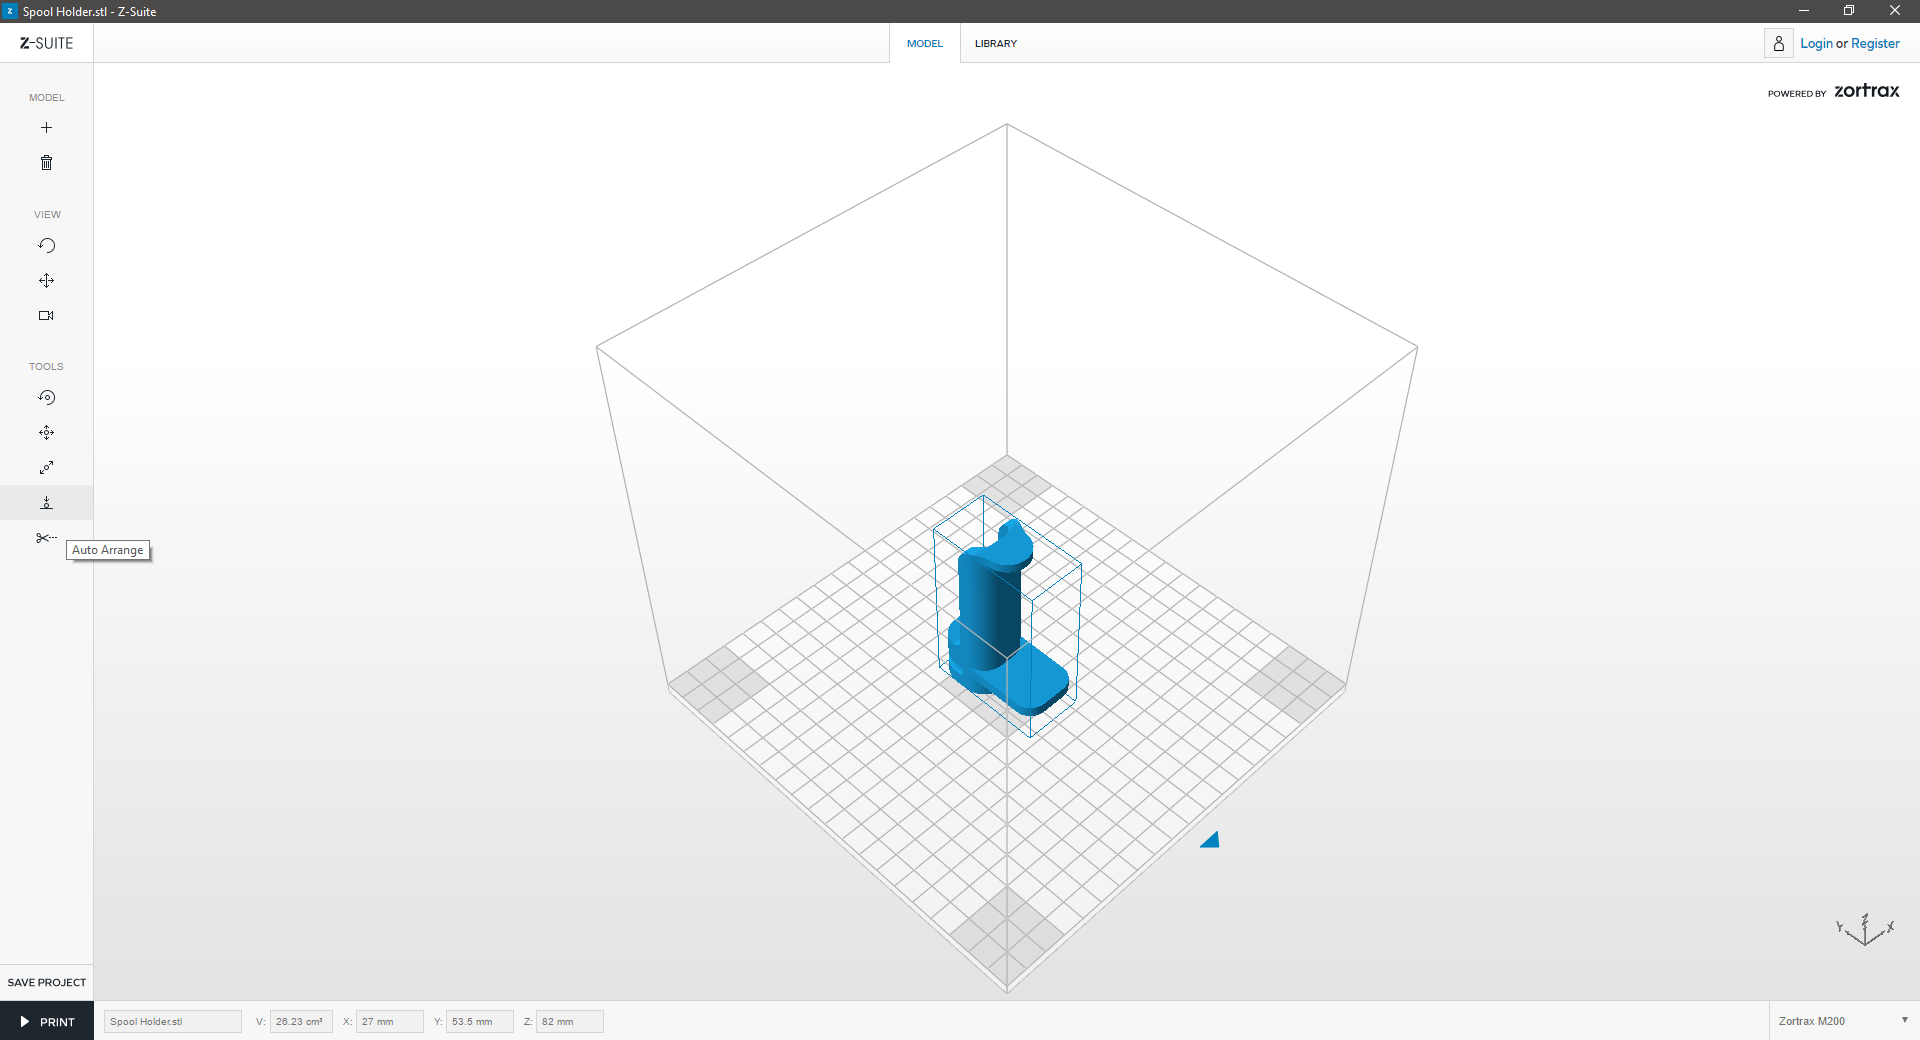
| Click on the “Auto arrange” icon in the left menu bar to auto arrange your model in the workspace. | ||
 |
||
| 2. RED Geometry | ||
|---|---|---|
 |
||
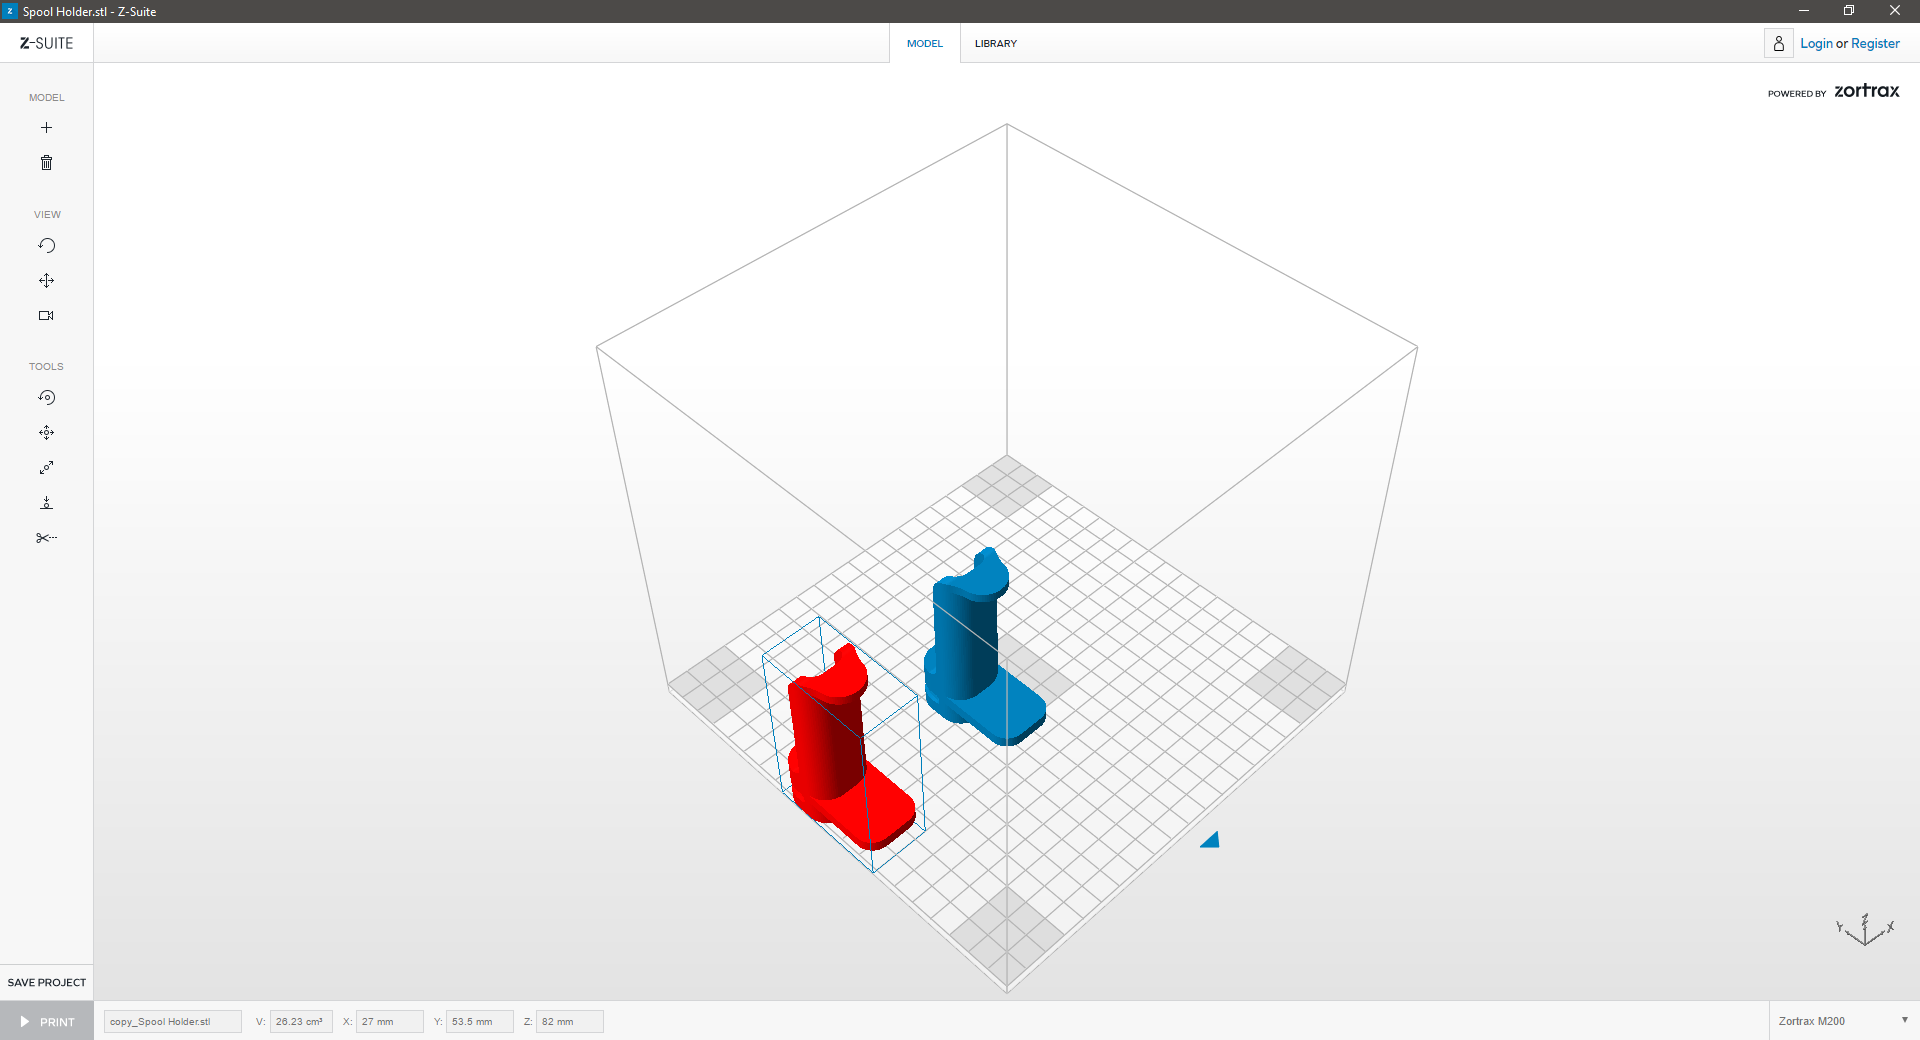
| If the model turns red, it means that your model is outside the workspace. Resize or move the model to mould it to the workspace. | ||
Z-Suite: Import
Open Z-Suite and upload your file into the workspace:
| 1. Select System | ||
|---|---|---|
 |
||
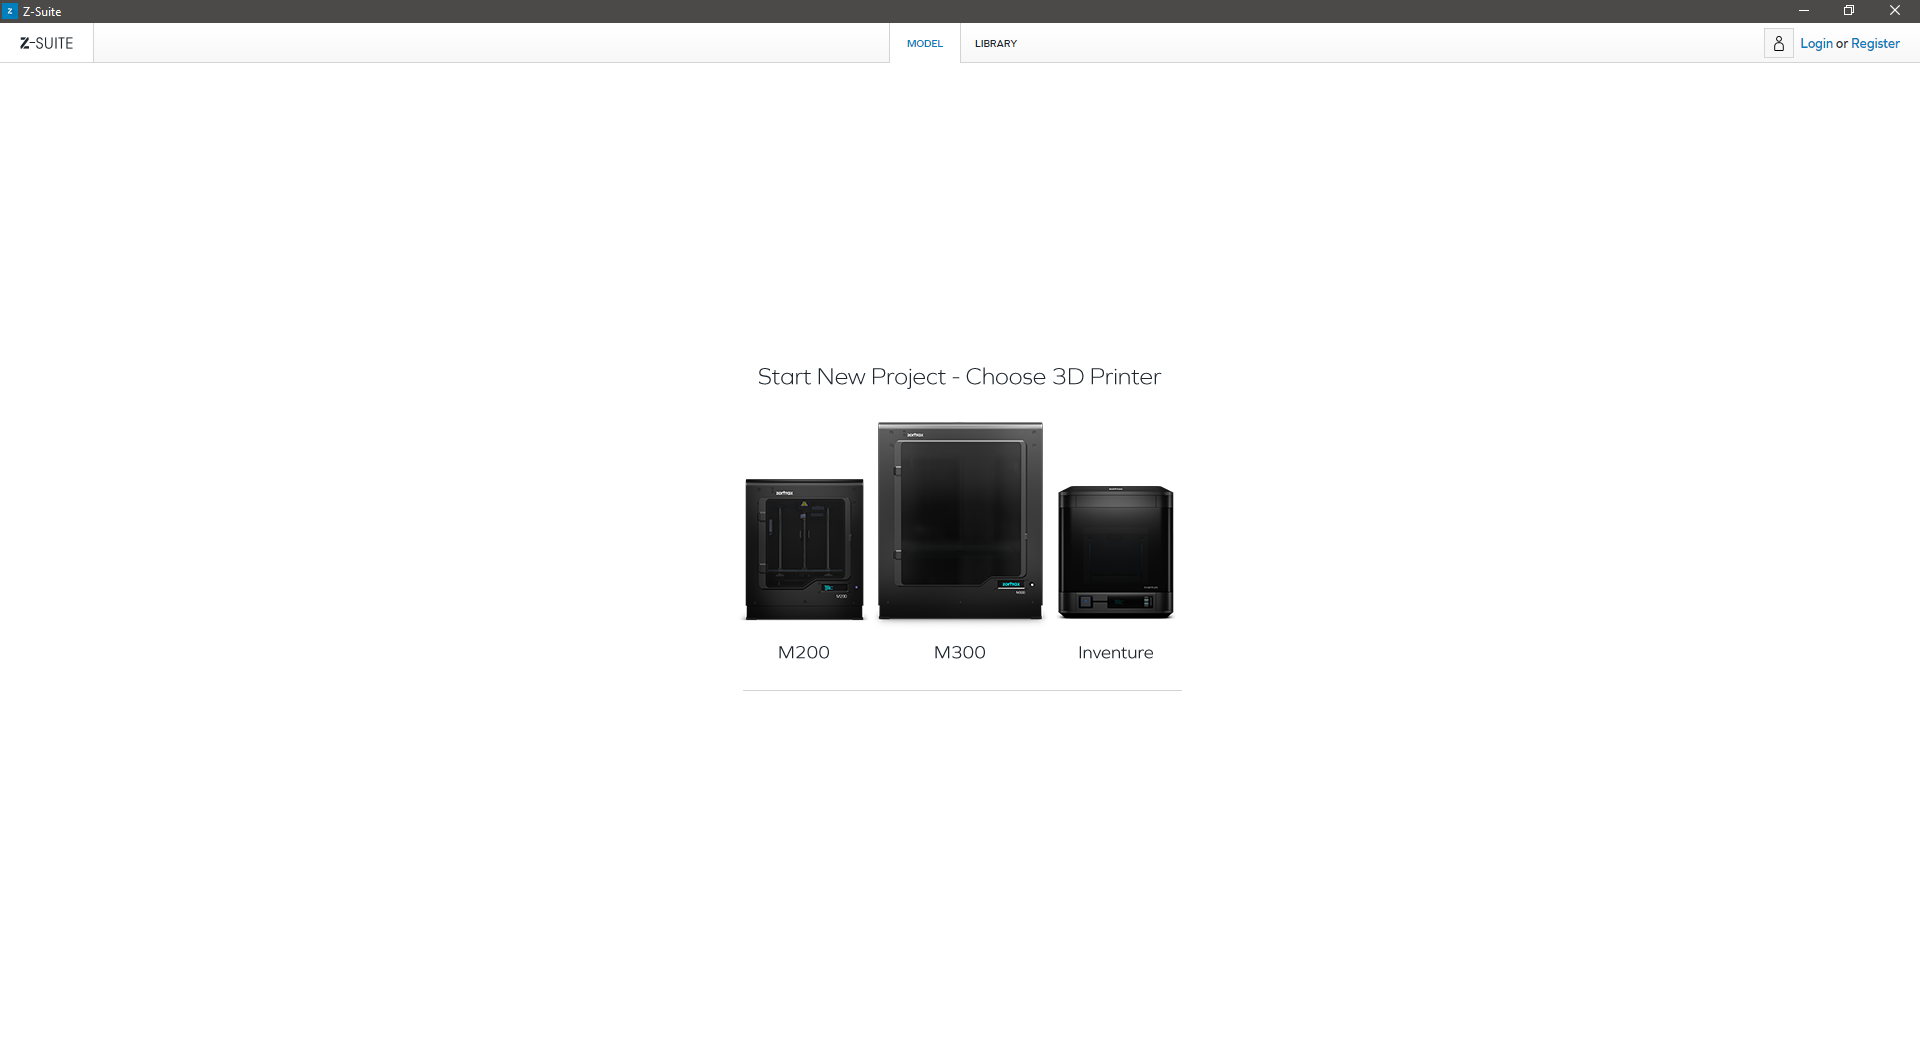
| On the start screen, select the model of your printer which will be used. | ||
| 2. Upload | ||
|---|---|---|
 |
||
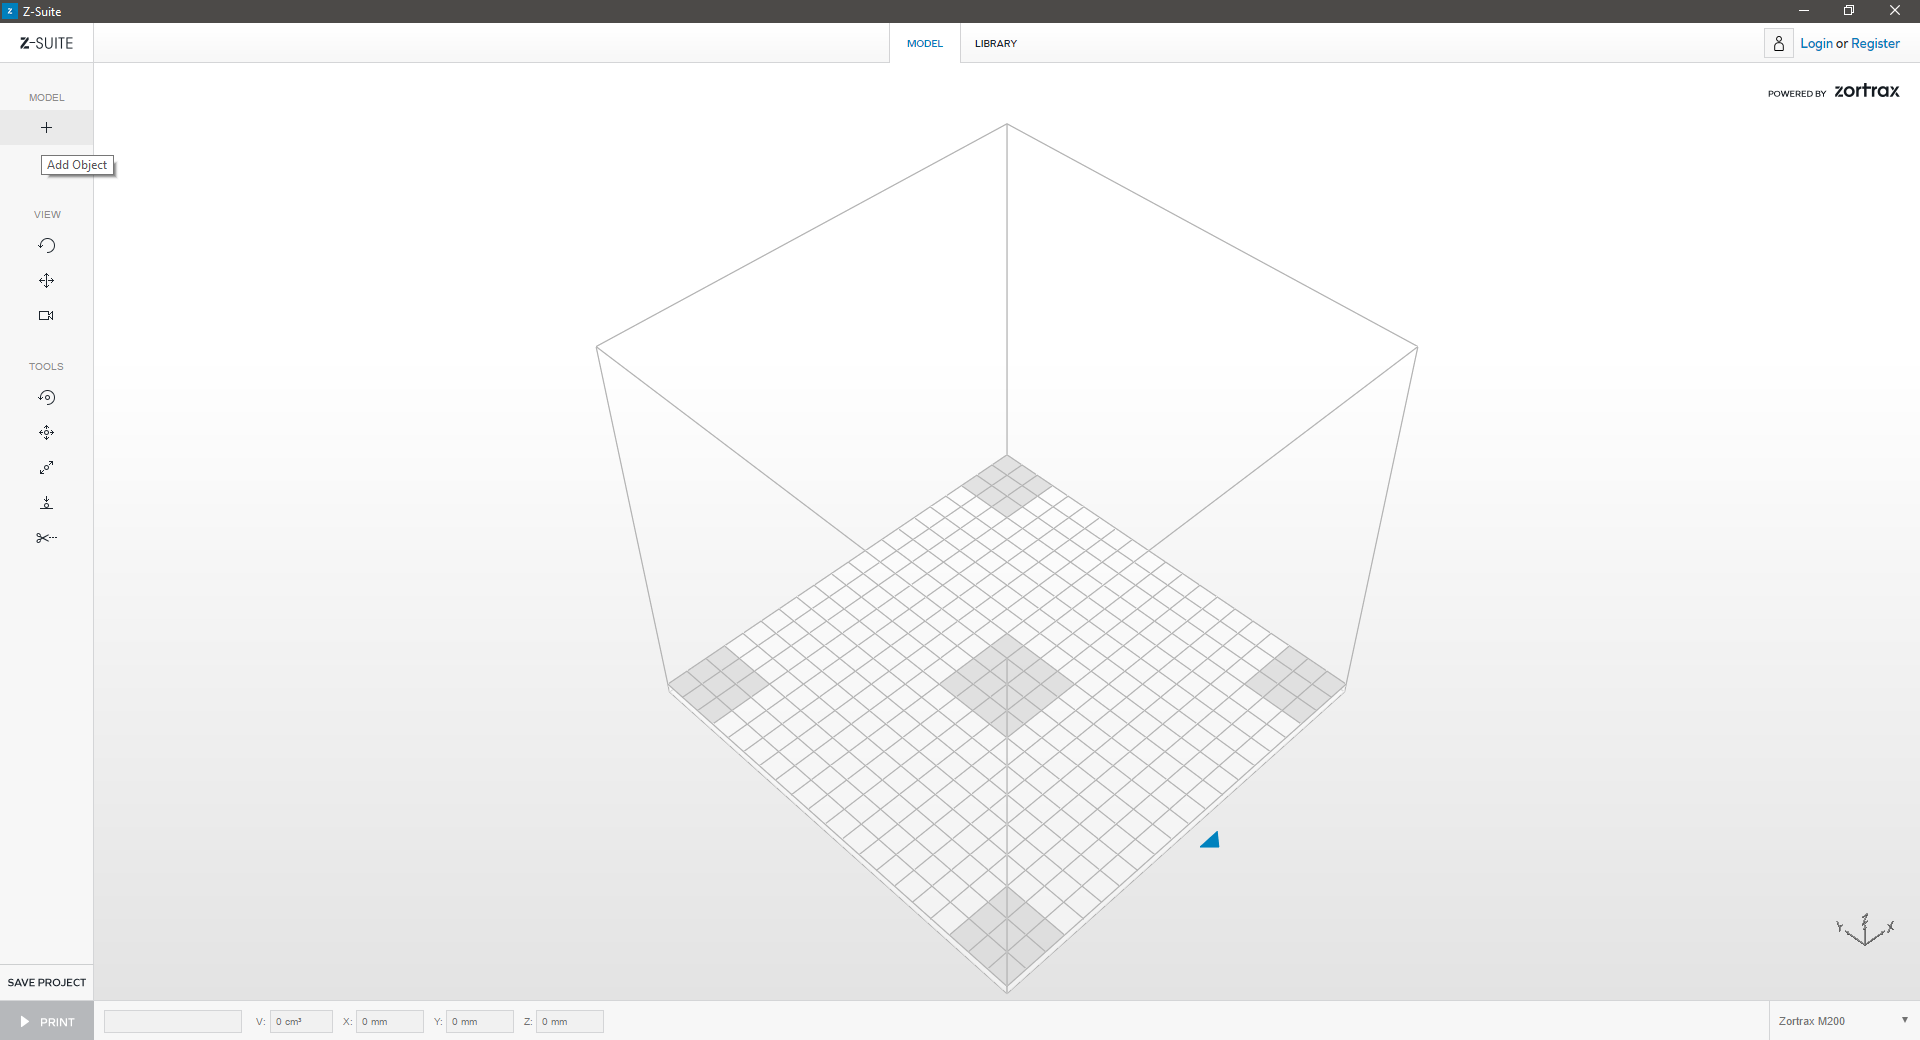
| Use the “+” icon or the drag-and-drop option to upload a model. You may do so with models saved in an .stl or an .obj format. | ||
| 3. OPEN | ||
|---|---|---|
 |
||
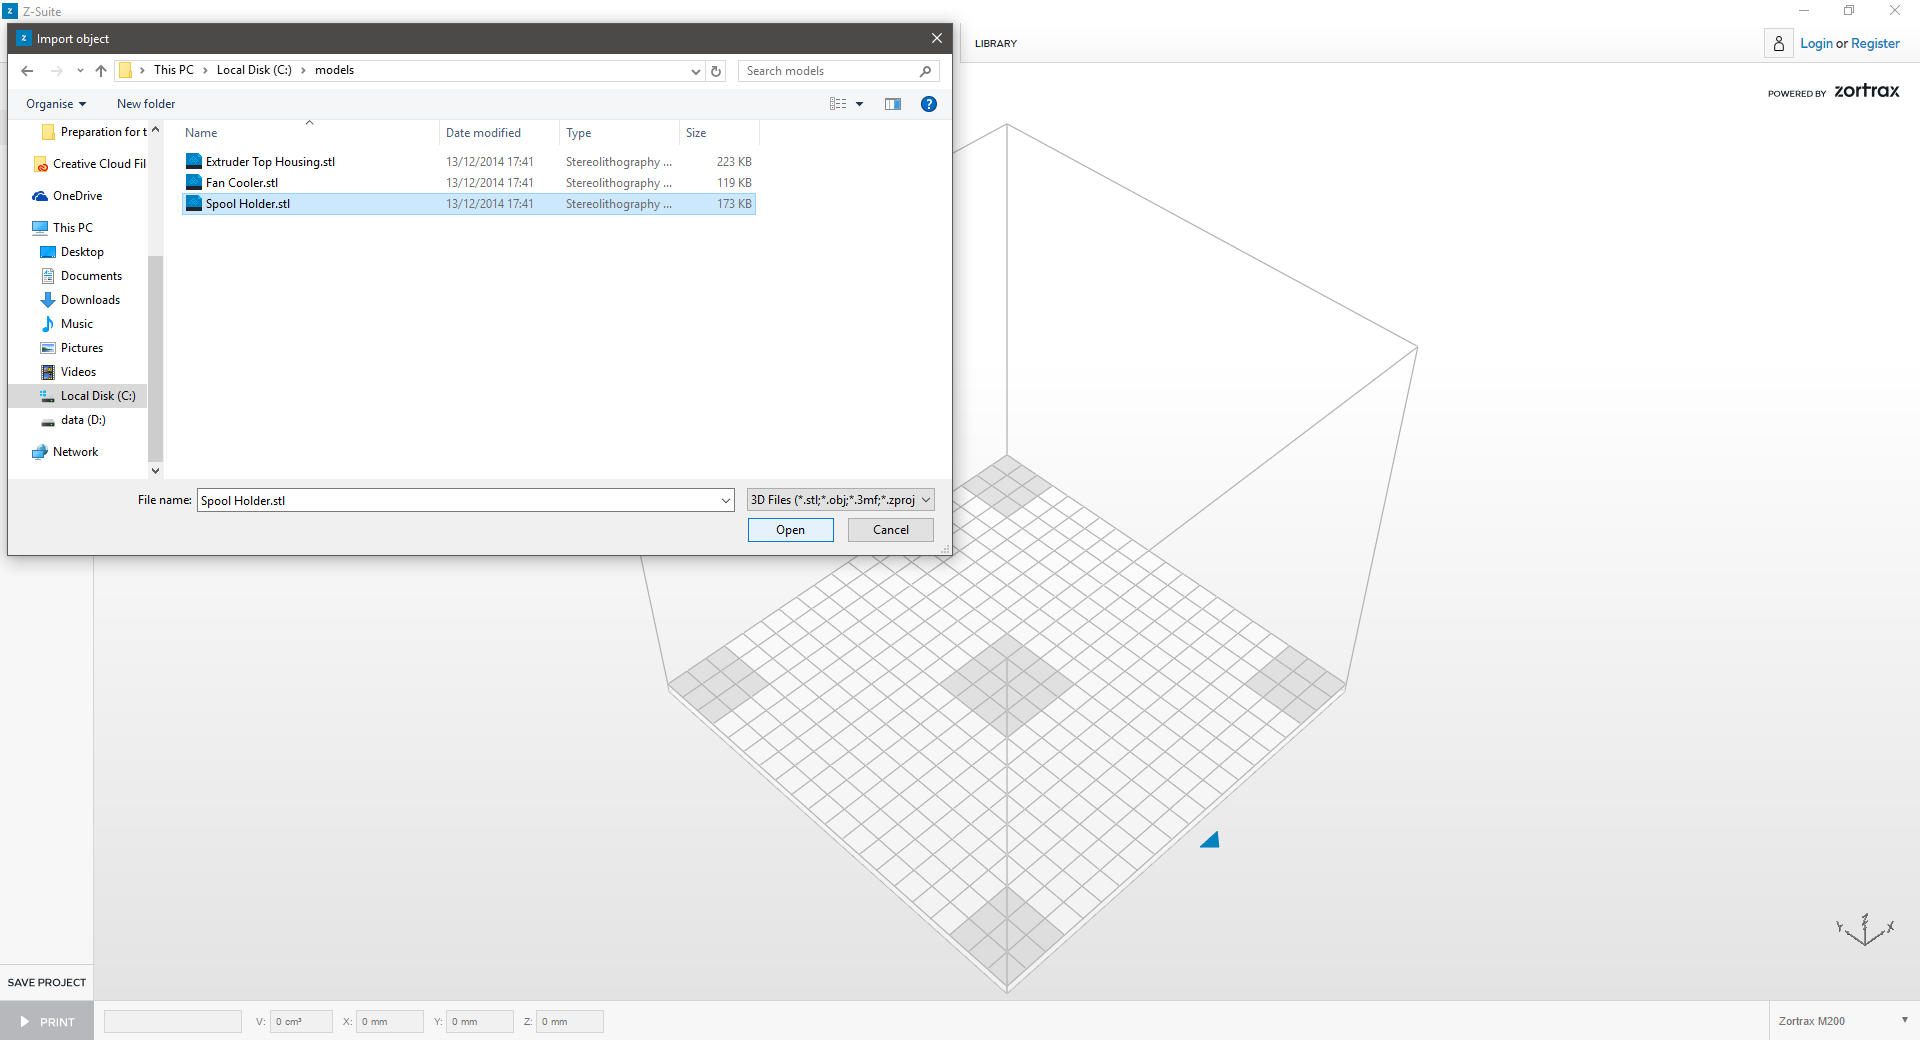
| Browse to your file location, select and click OPEN. | ||
| 4. Prepare | ||
|---|---|---|
 |
||
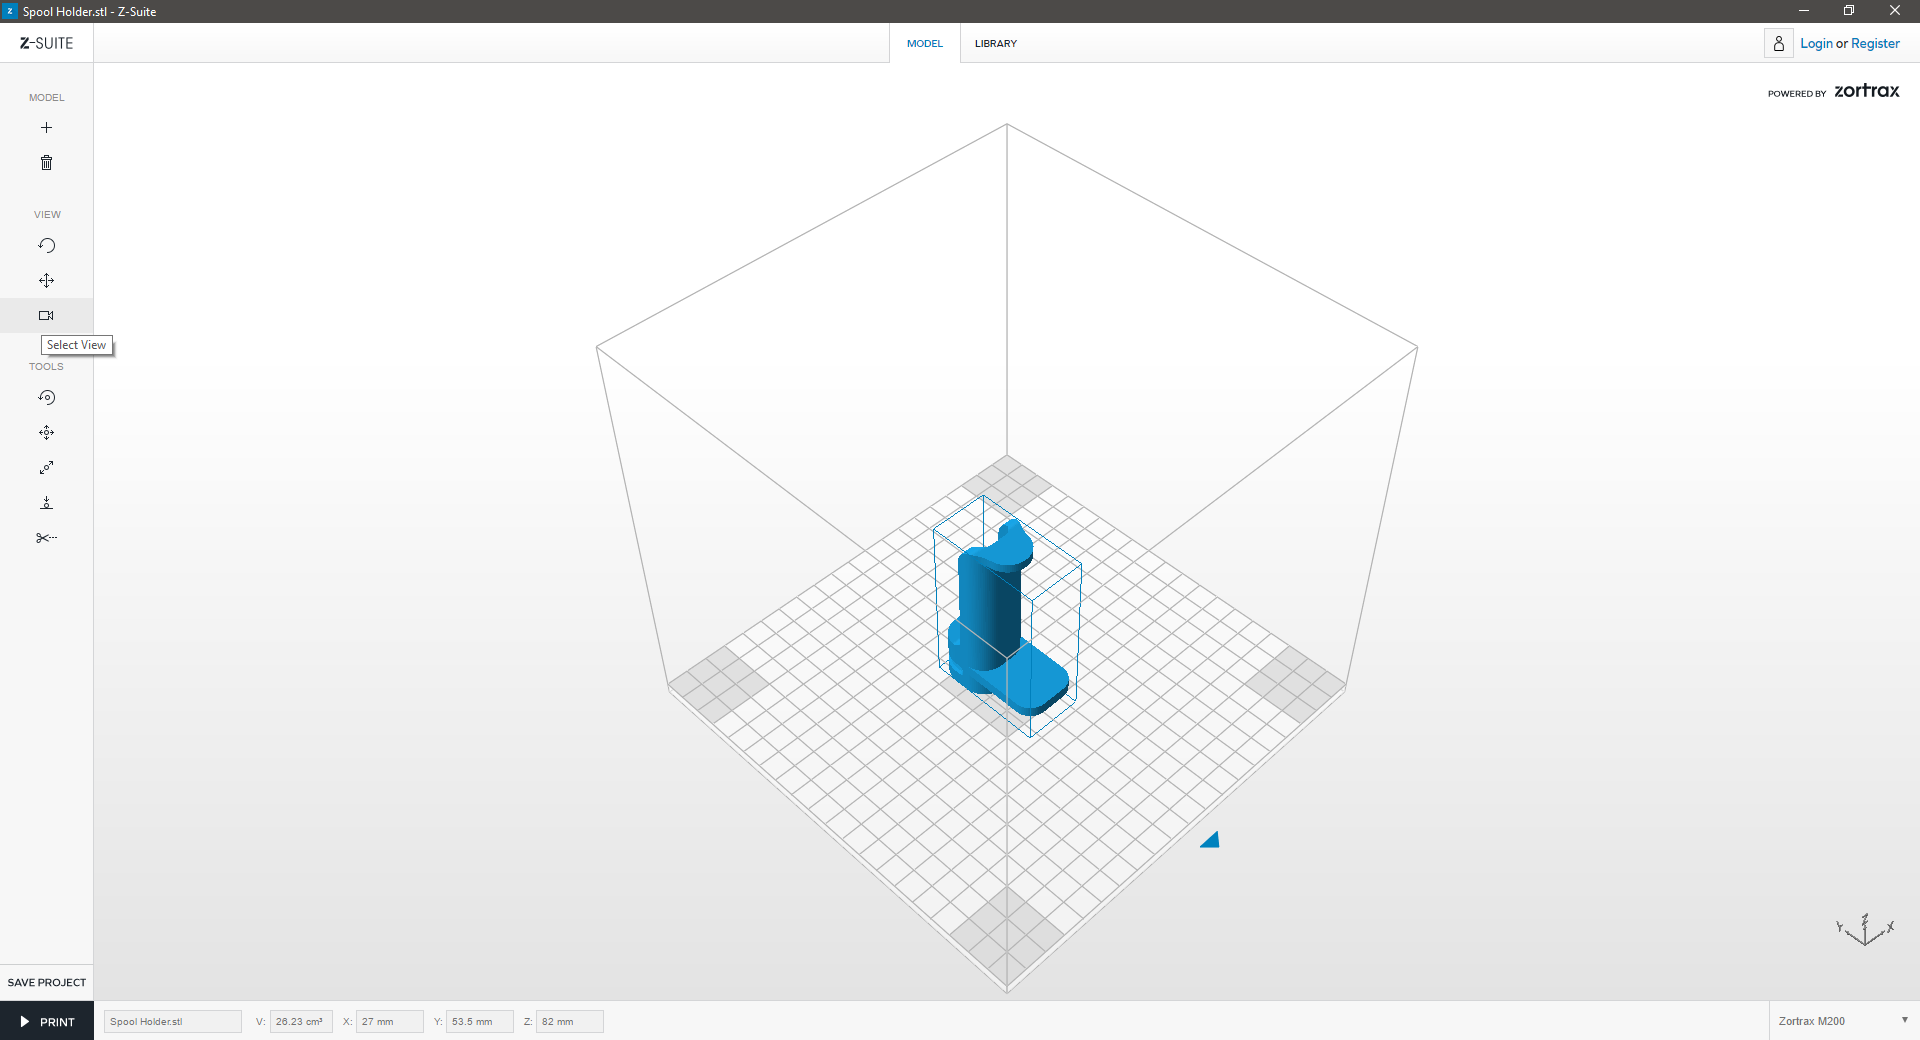
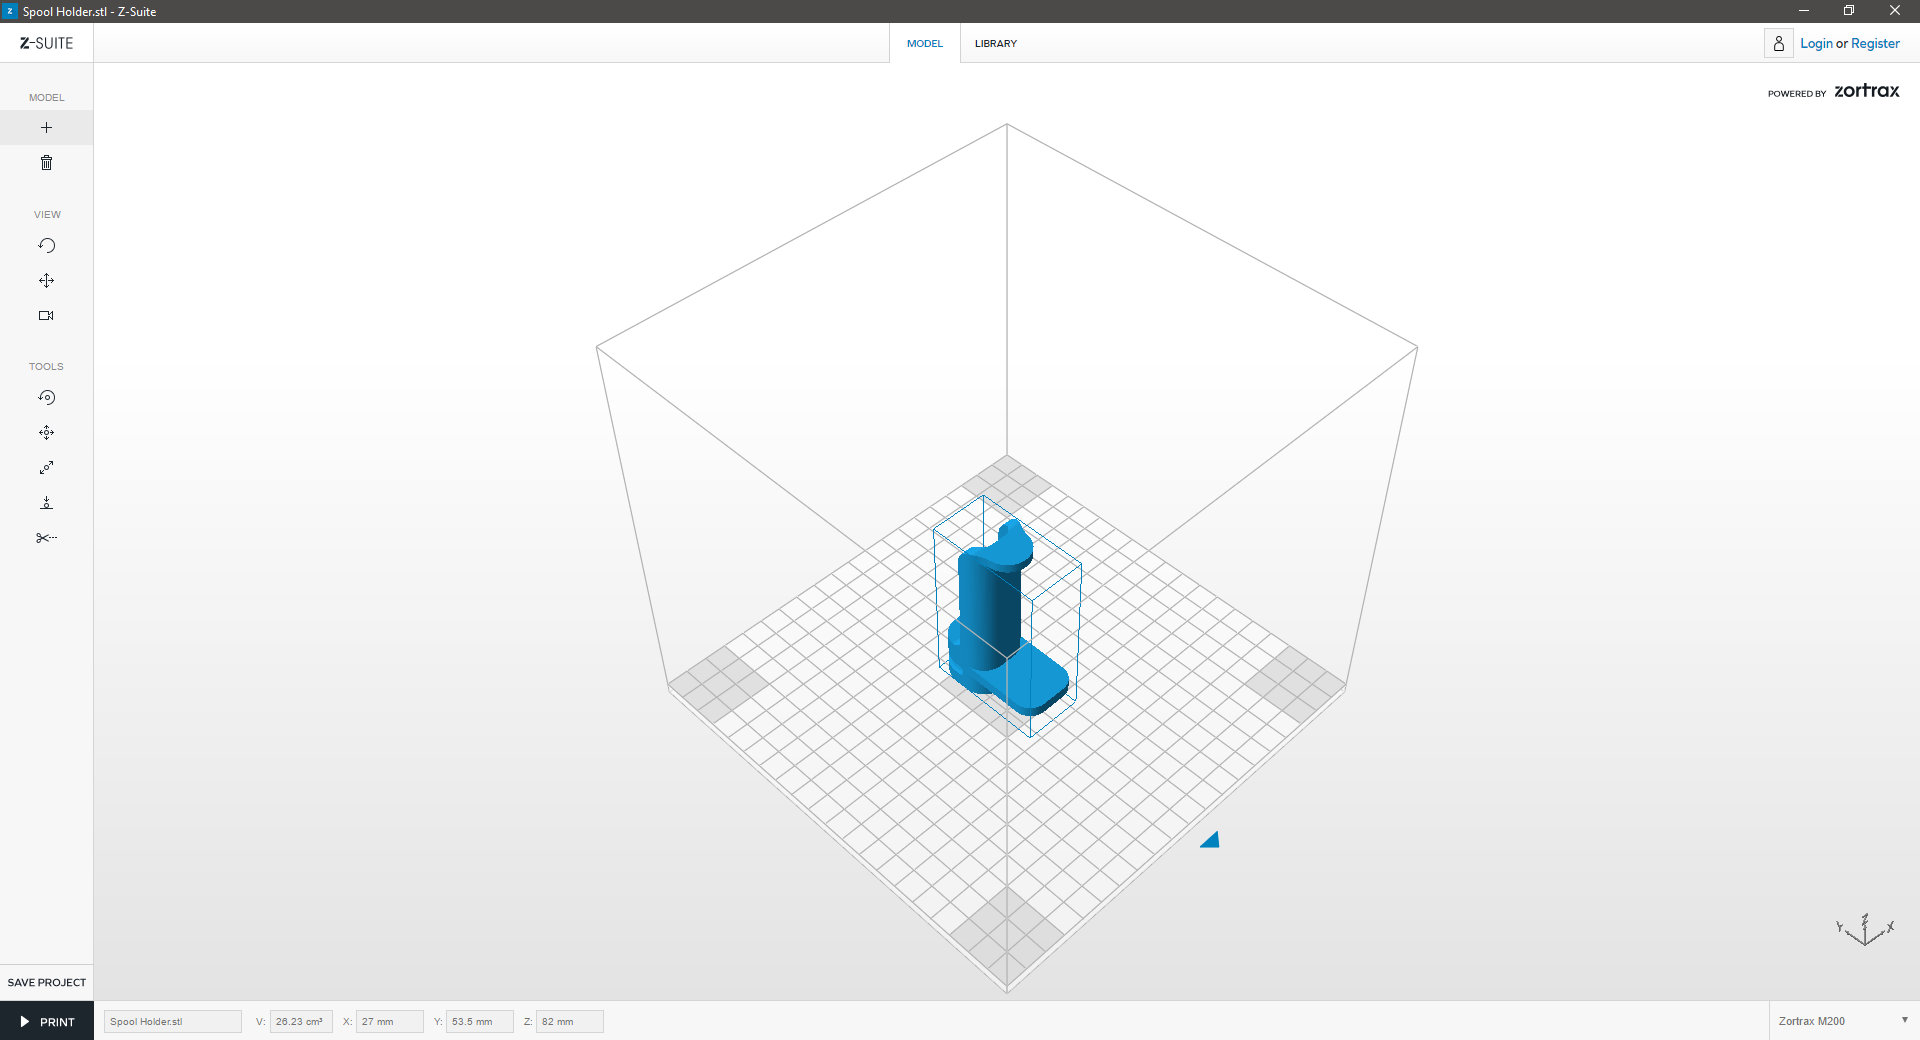
| Your model is now within the workspace. To select the model, click the right mouse button. You can save your model at any time by clicking SAVE PROJECT. | ||
09, Wednesday
Today’s class was dedicated work time. Students continued working on file preparation for Project1 (Laser) and Project2 (3DPrint).
I also provided Laser Equipment Operation training to those whom did not receive the training on (Class 05, Wednesday).
08, Monday
Today’s class was dedicated to Environmental Health & Safety’s: Fire Extinguisher Identification and Use Training. To retain access to the eFab Lab and the Laser Equipment, you must complete this training. If you missed today’s session, you can visit:
https://cmu.bioraft.com/node/284572/sessions/
… and sign up for the next available session. If you participate in training outside of this class-time, you must email me with the EH&S Training Certificate.
07, Wednesday
In today’s class, we continued our discussion on 3D Modeling for 3D Printing. Specifically, we revisted: What defines a Surface; What defines a Solid; How to pull Curves from Surfaces; and How to create surfaces from curves.
We also introduced some Rhino Solid operations. After which, we explained how to export 3D Geometry as a Stereolithography [.stl] File Type. Lastly, we introduced the Zortrax M200 3D Printer and the Zortrax Z-Suite.
06, Monday
In today’s class, we introduced 3D Printing Technologies and Processes. After the presentation, we began introducing and discussing 3D Modeling in Rhinoceros 3D. Specifically, we discussed: What defines a Surface; What defines a Solid; How to pull Curves from Surfaces; and How to create surfaces from curves.
05, Wednesday
In today’s class, we reviewed how to export a Rhino File for laser processing. After which, we introduced LaserCut: a Laser preparation program, that allows you to import your prepared geometry and begin designating specific elements for specific processes (cutting, engraving, scoring). The LaserCut interface is shown in the Laser Processing Introduction (Slides 15-20); but it’s more thoroughly reviewed in the LaserCut Tutorial. We also reviewed IDeATe’s Laser Equipment Policies. The end of class was more ‘Rhino play-time’, but we also began training on Laser Equipment operation/procedure. You should be thinking about Project 1, and either preparing the suggested project geometry, or developing your own project.
