Jiyeon – Push/Pull Part 1

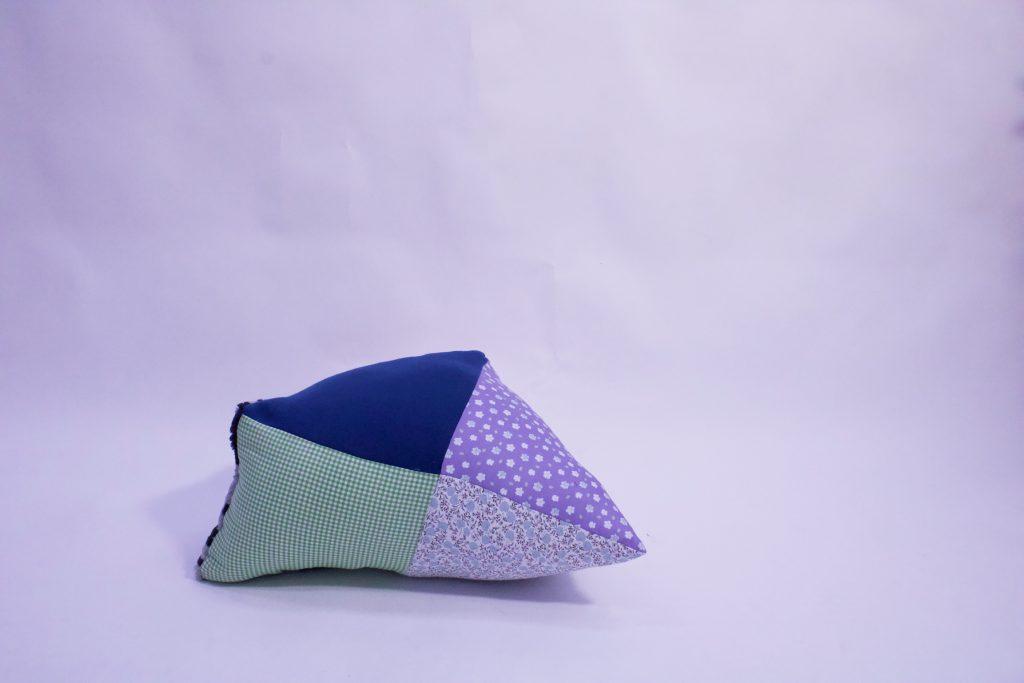
For my first object, my goal was really just to play with a simple cube form as I got a hang of using the sewing machine for the first time. I cut and pieced a classic cube template using six 1 ft. x 1 ft. squares. I had planned to just sew a regular cube form, and then alter it using baffles and other constricting methods, but I actually sewed it up wrong, and I ended up with this trapezoidal form:

my “confused cube.”

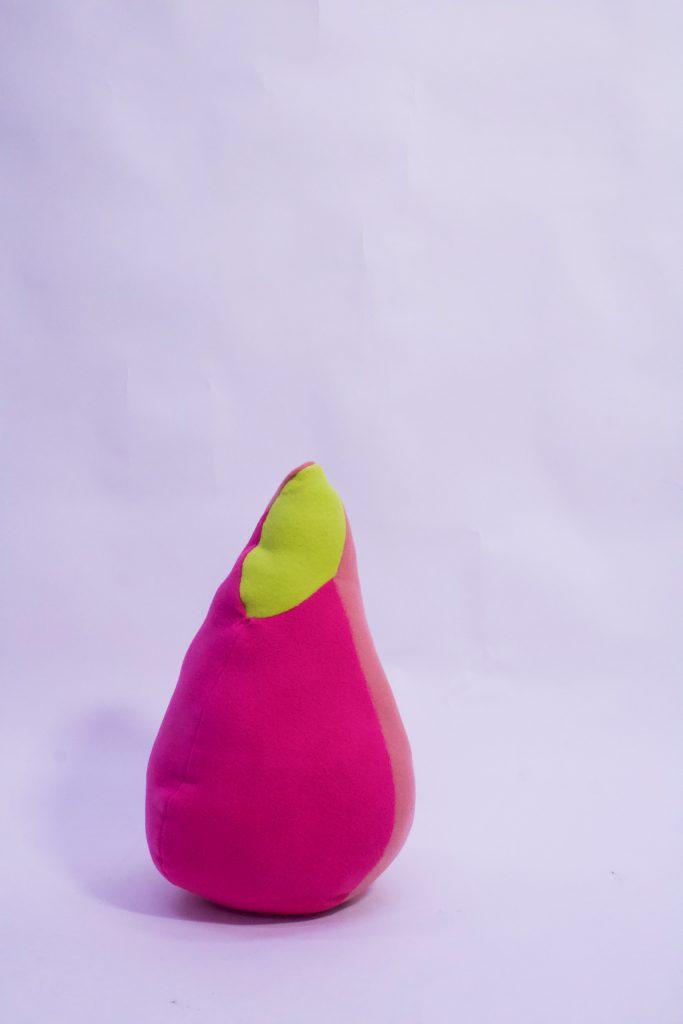
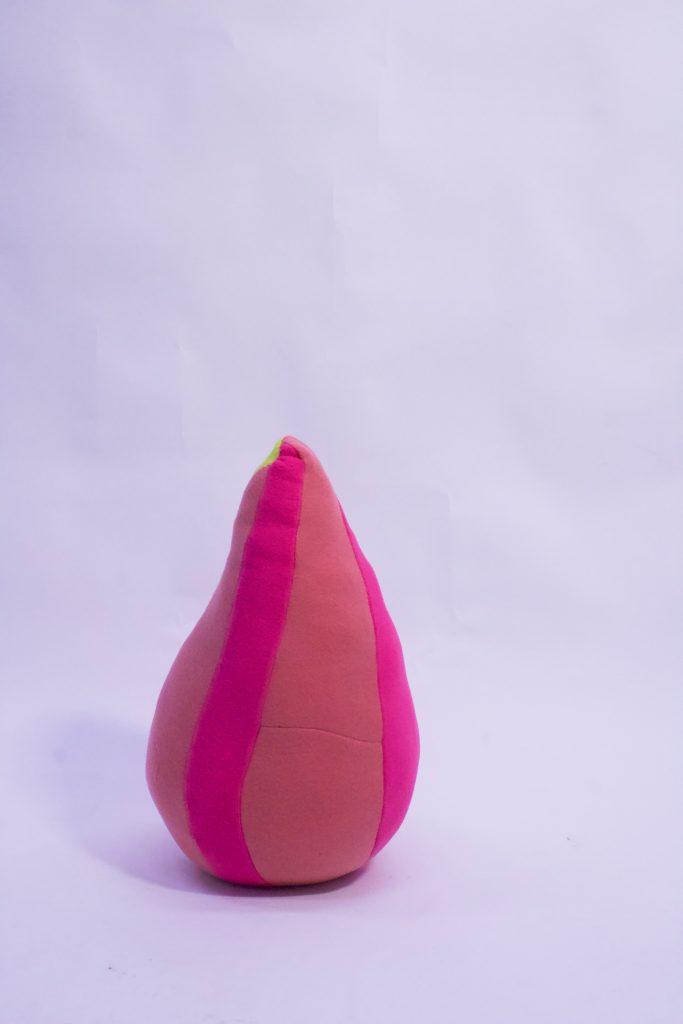
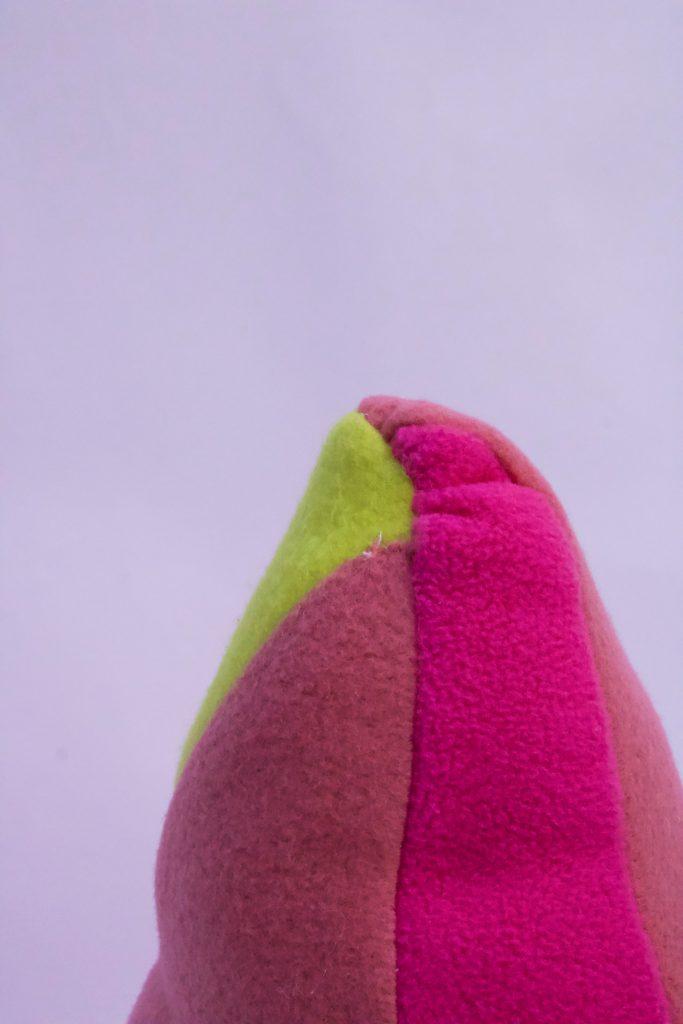
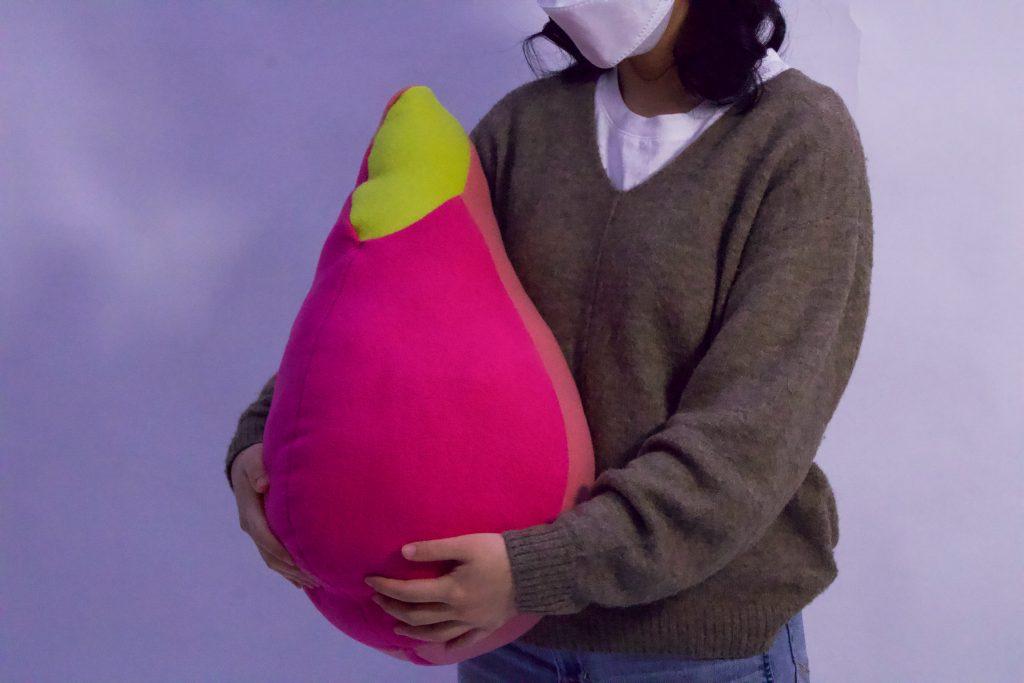
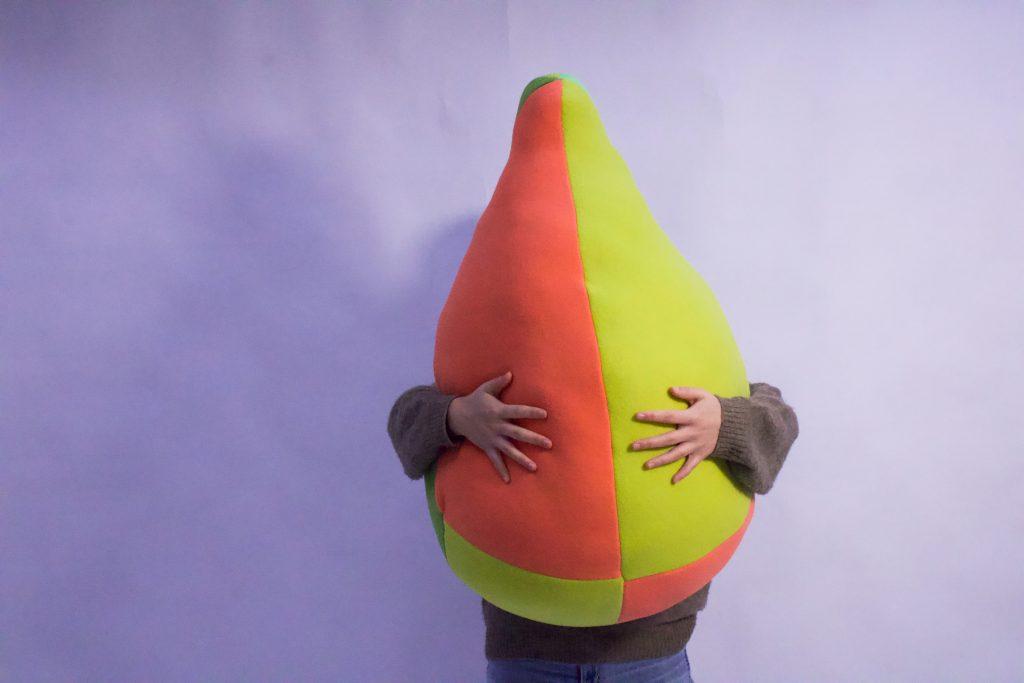
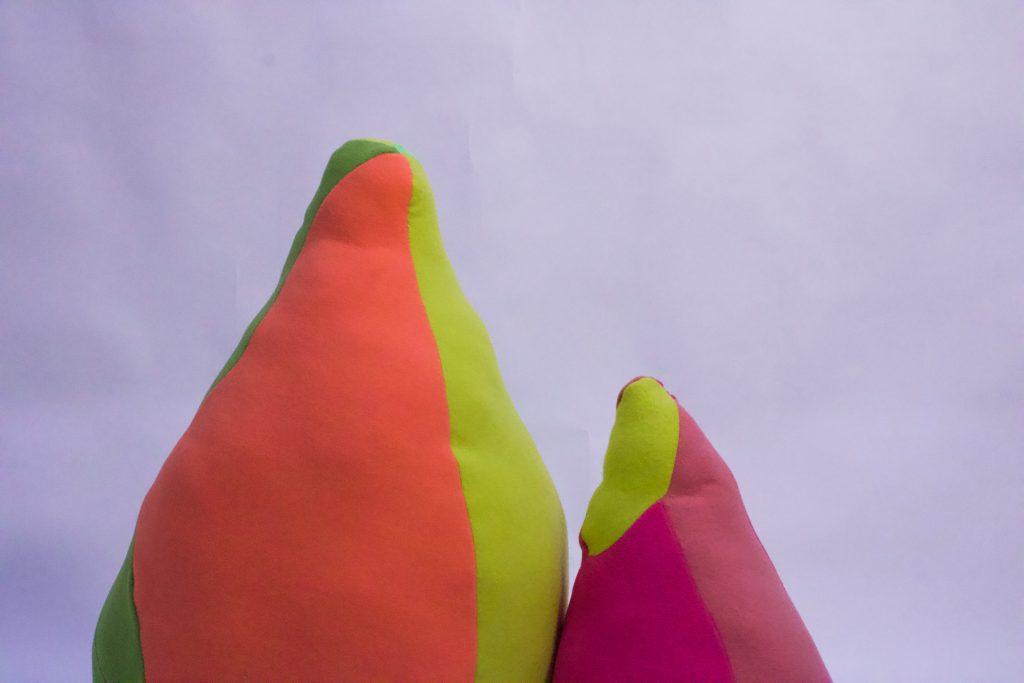
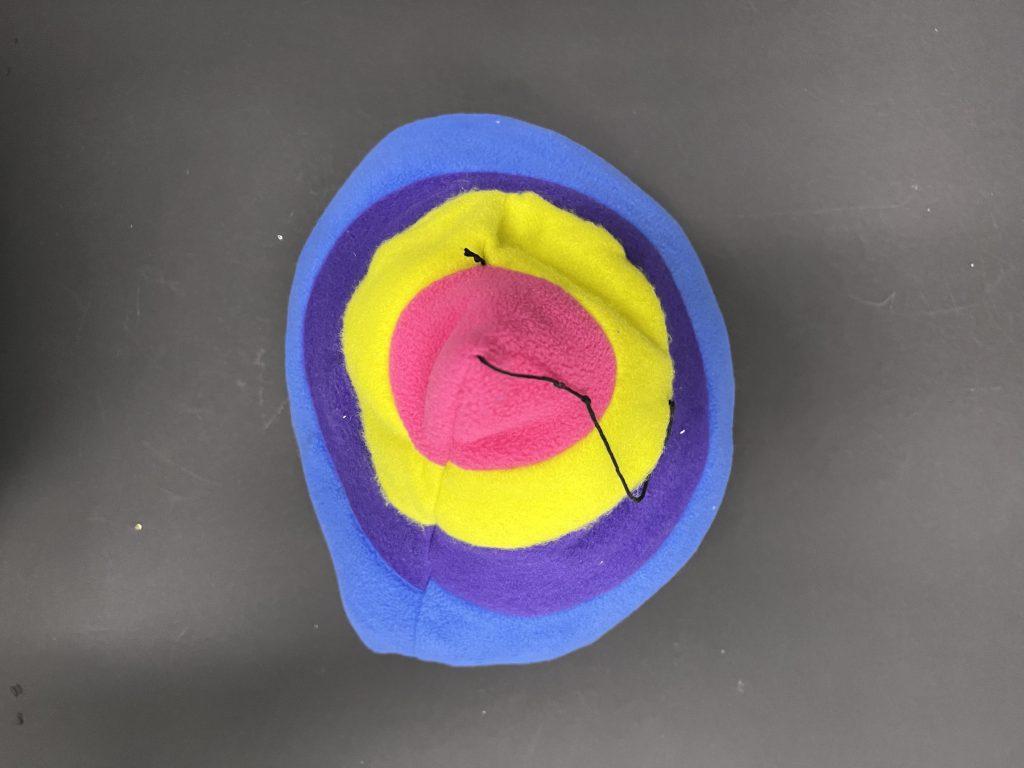
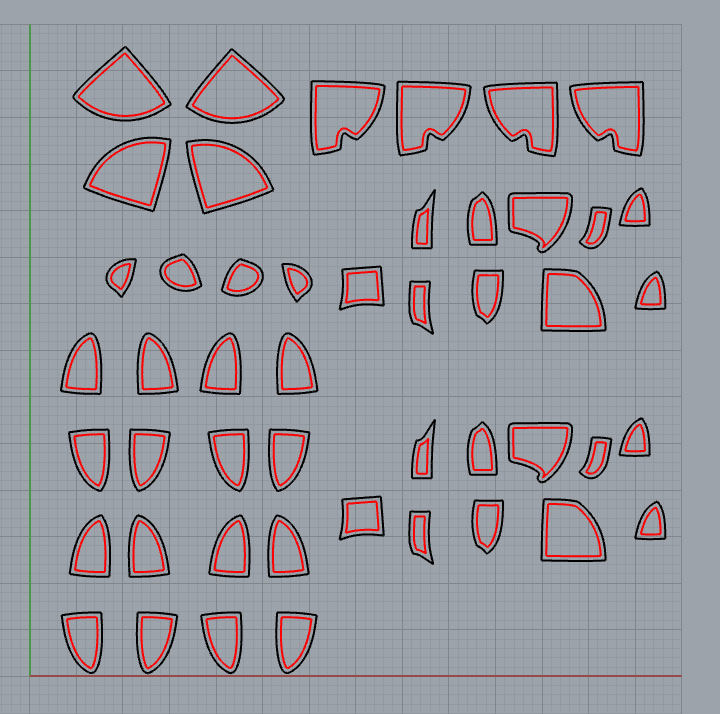
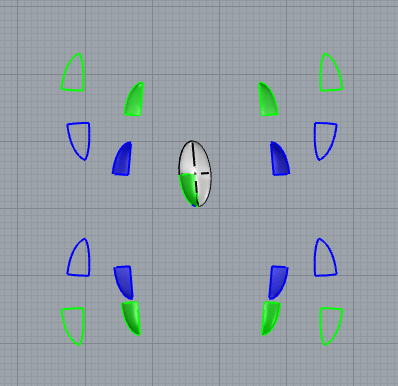
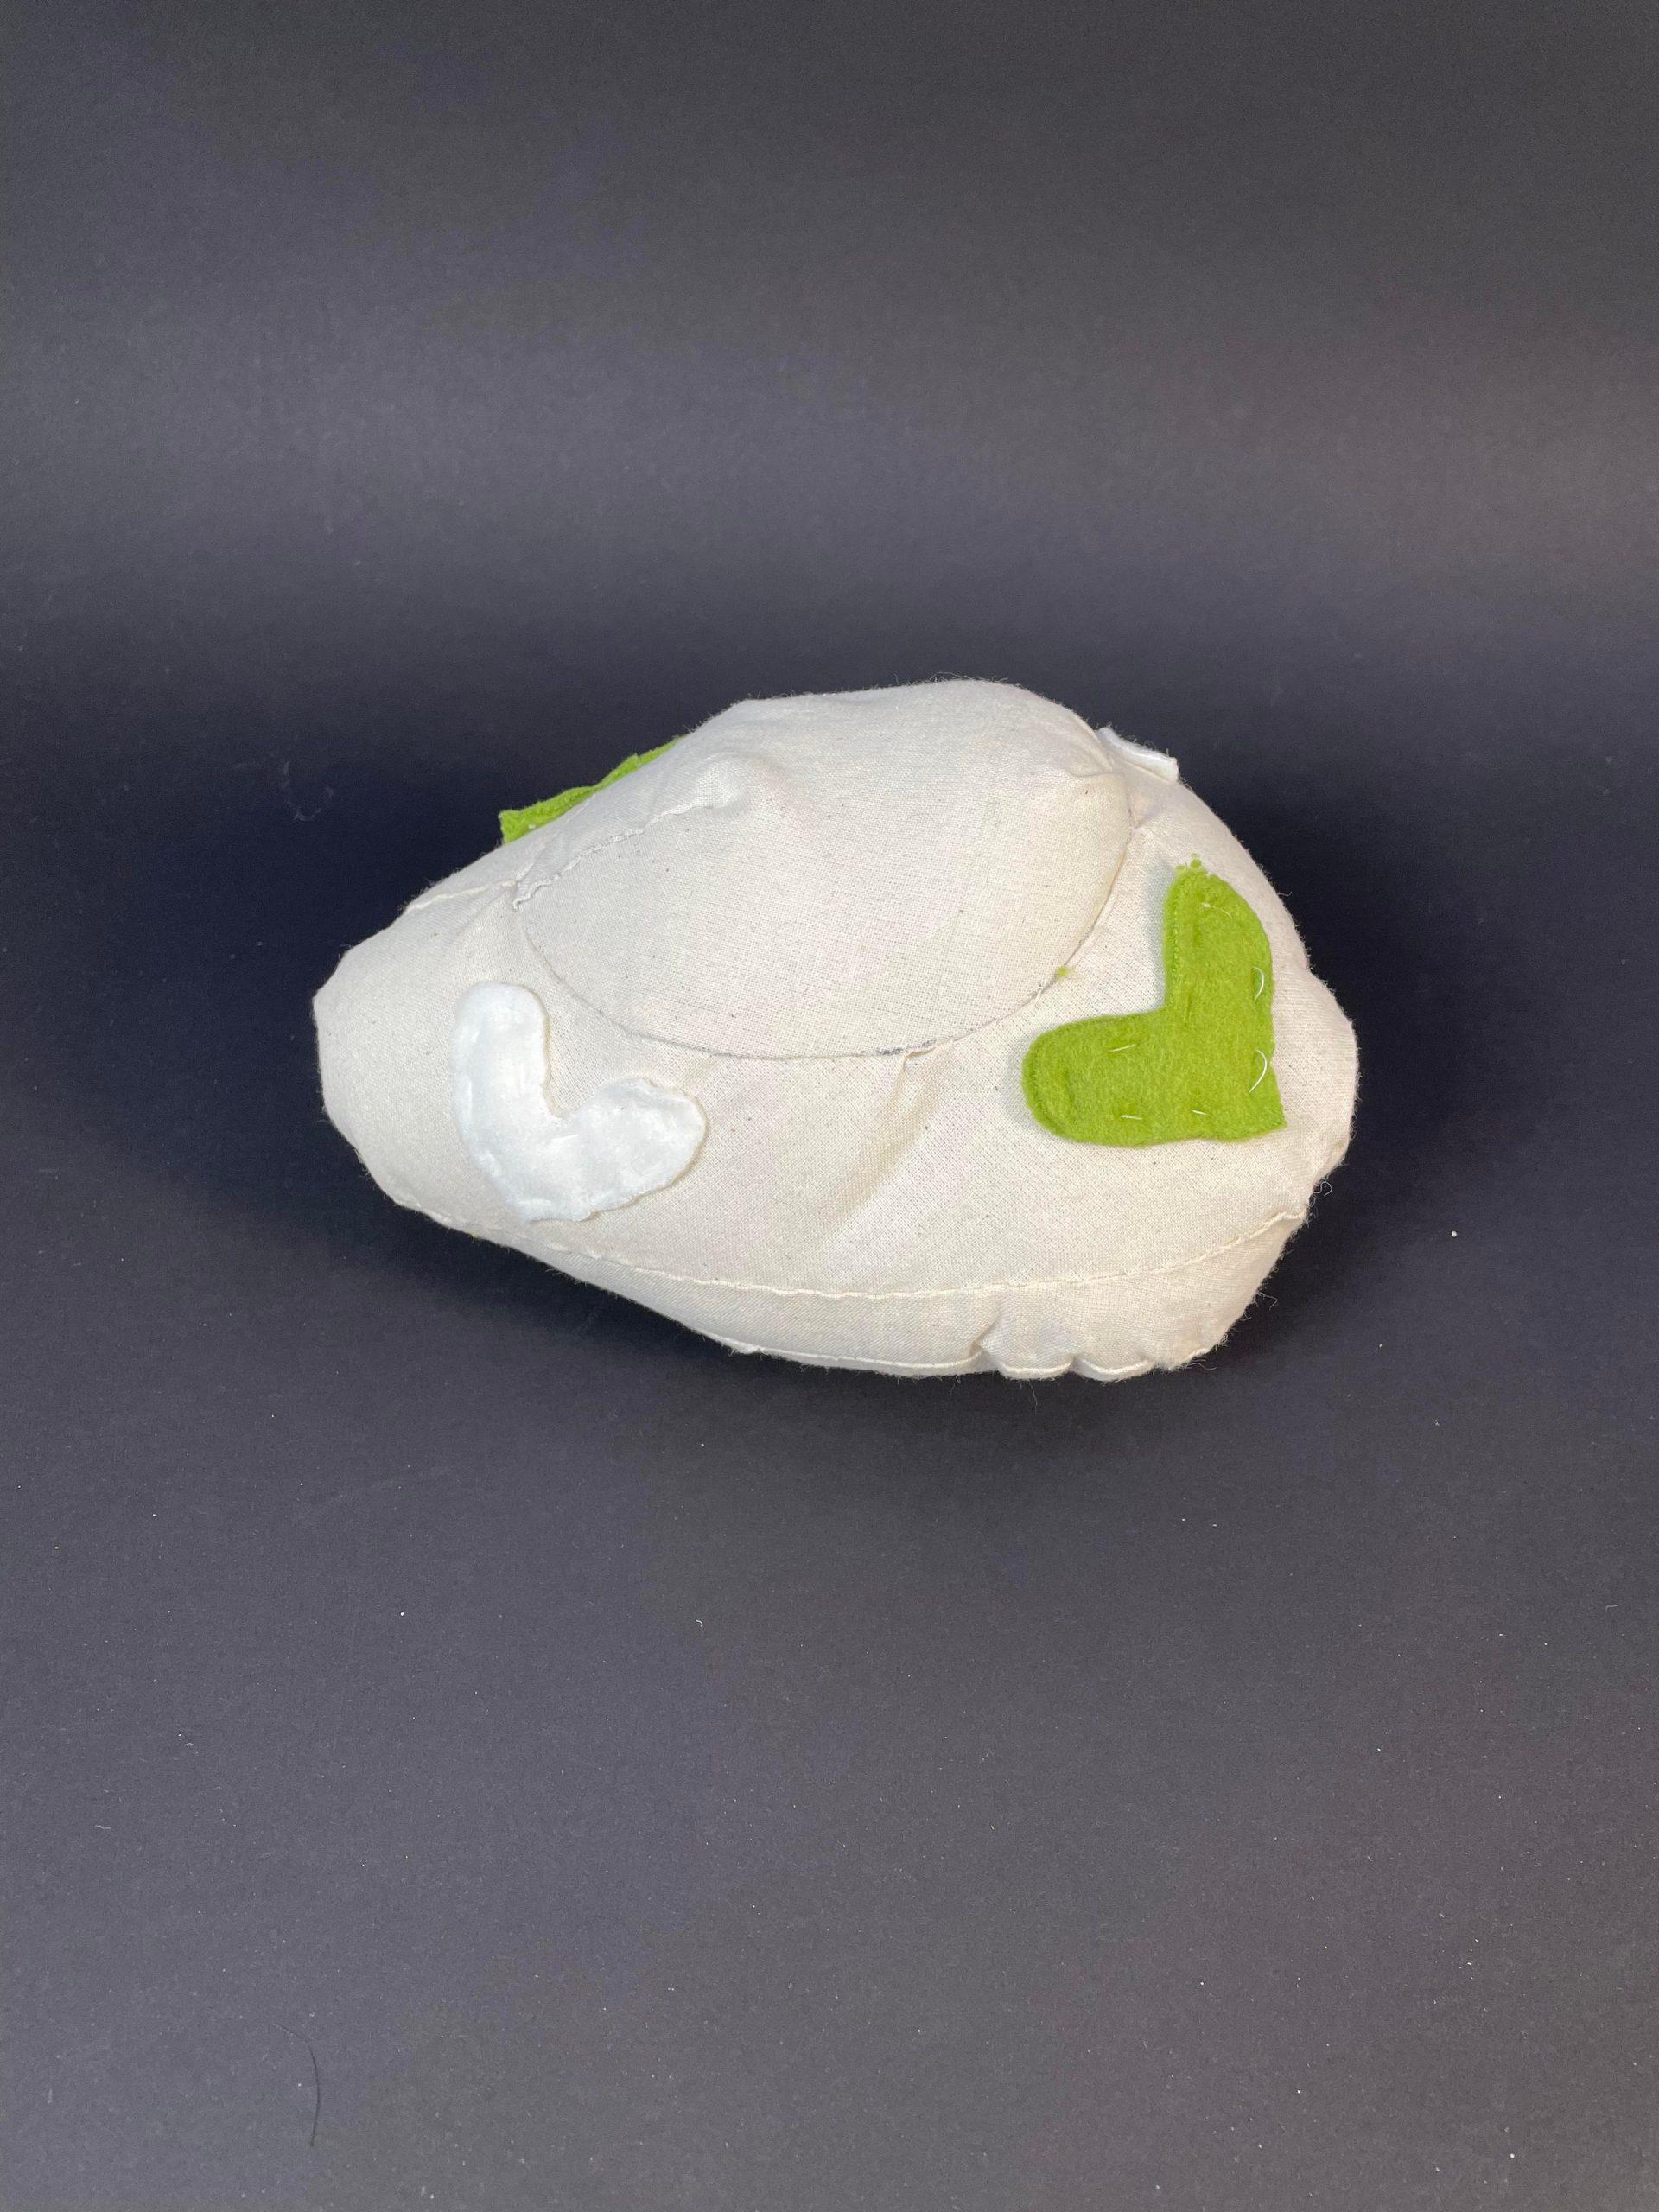
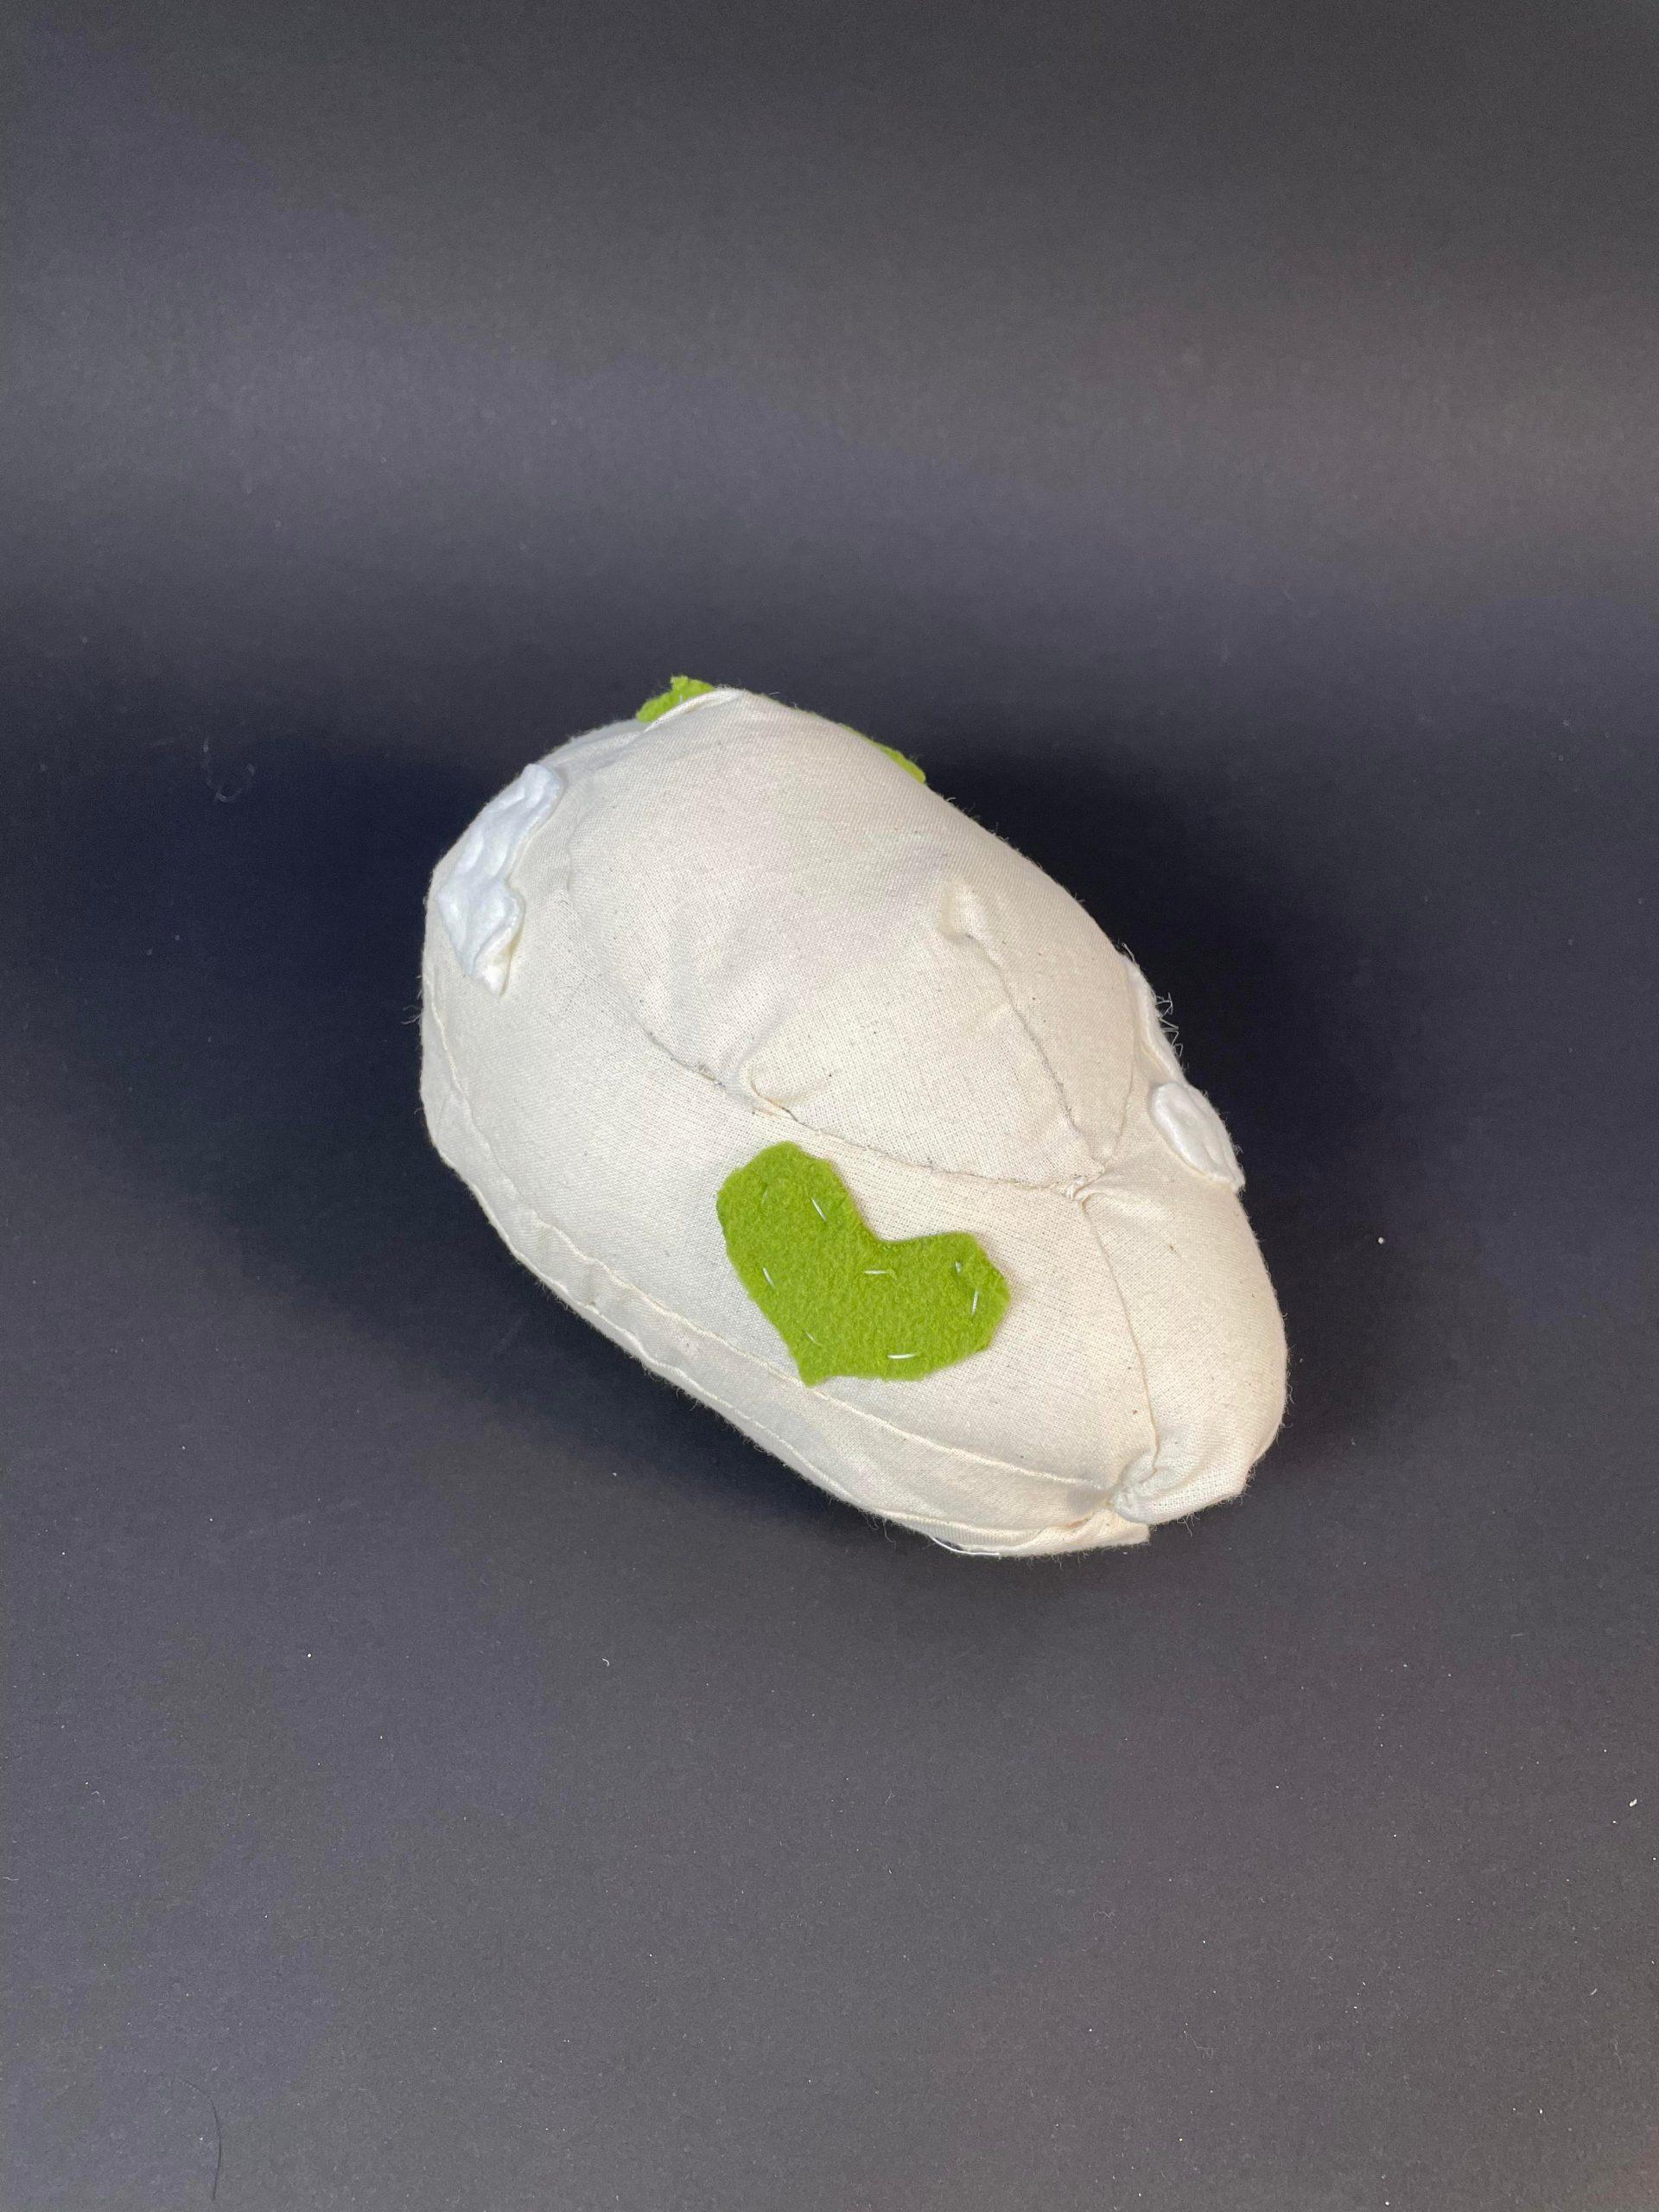
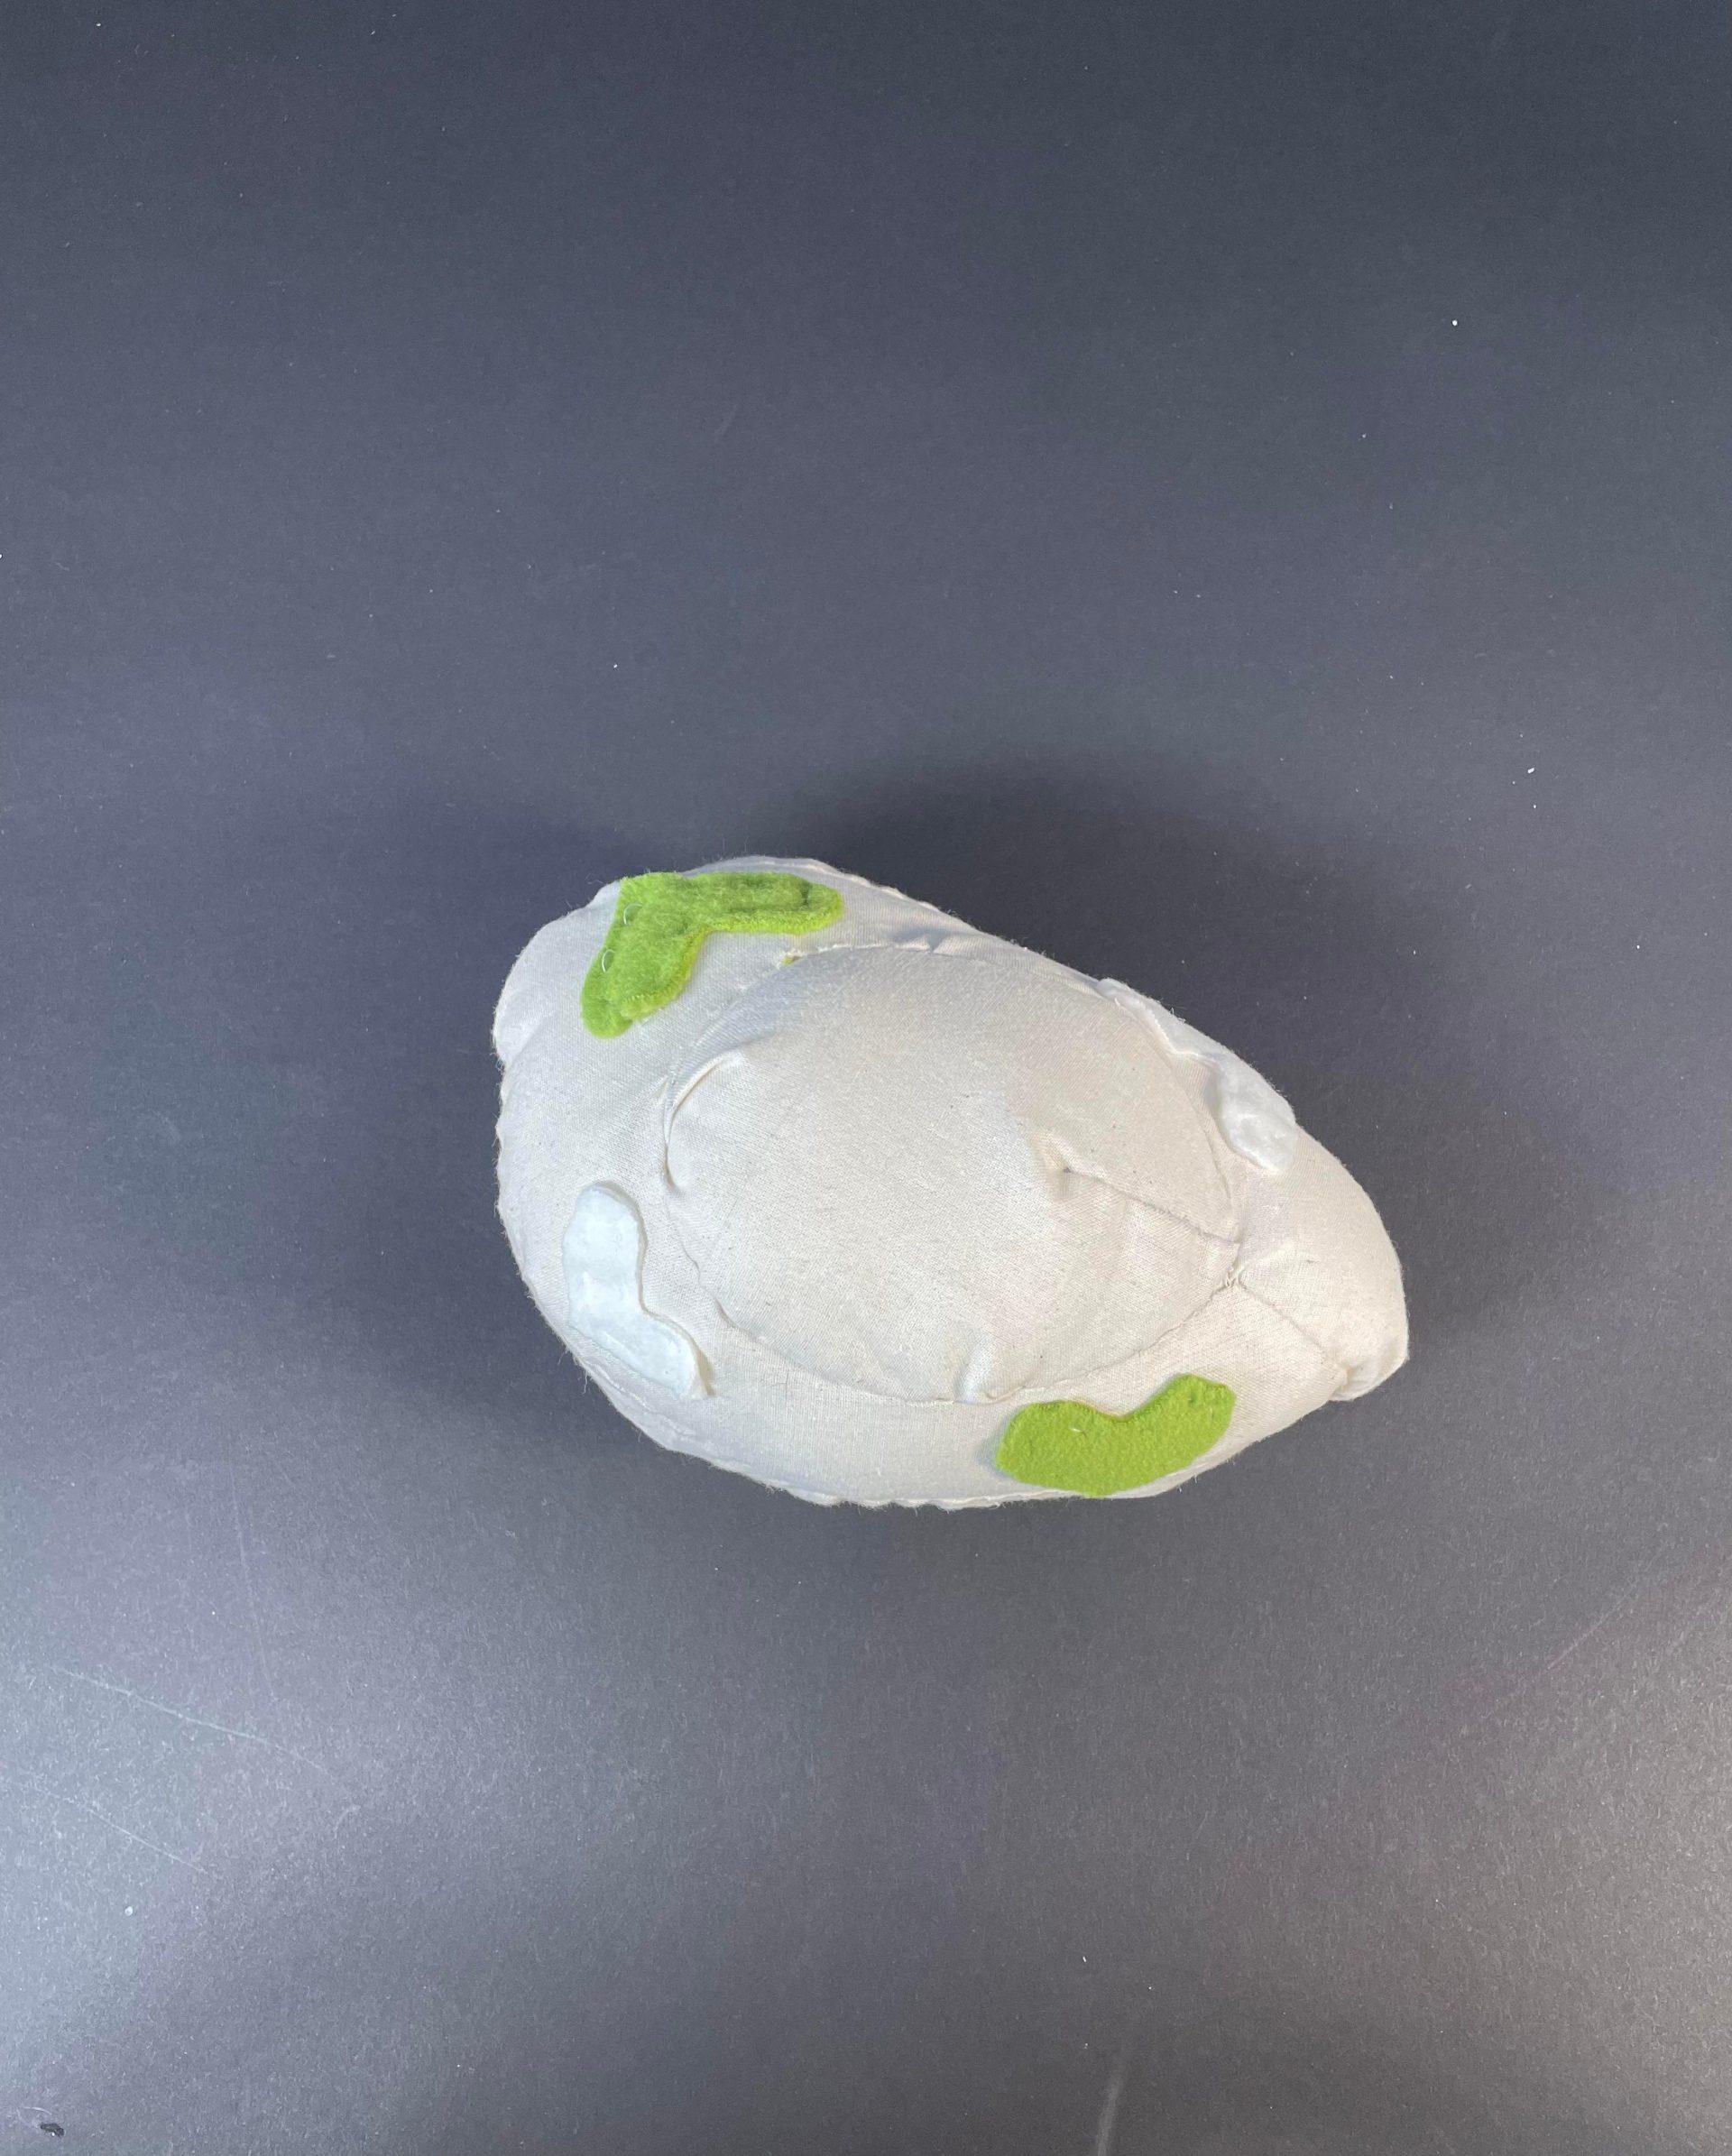
I began using Rhino with my second object. I used the CageEdit feature on a sphere to stretch it into a cone-like shape, and extracted surfaces using interpcrvonsrf, split, and extractisocurve. I chose different shades of pink and green for the circle to make it almost look like it has a face of sorts!

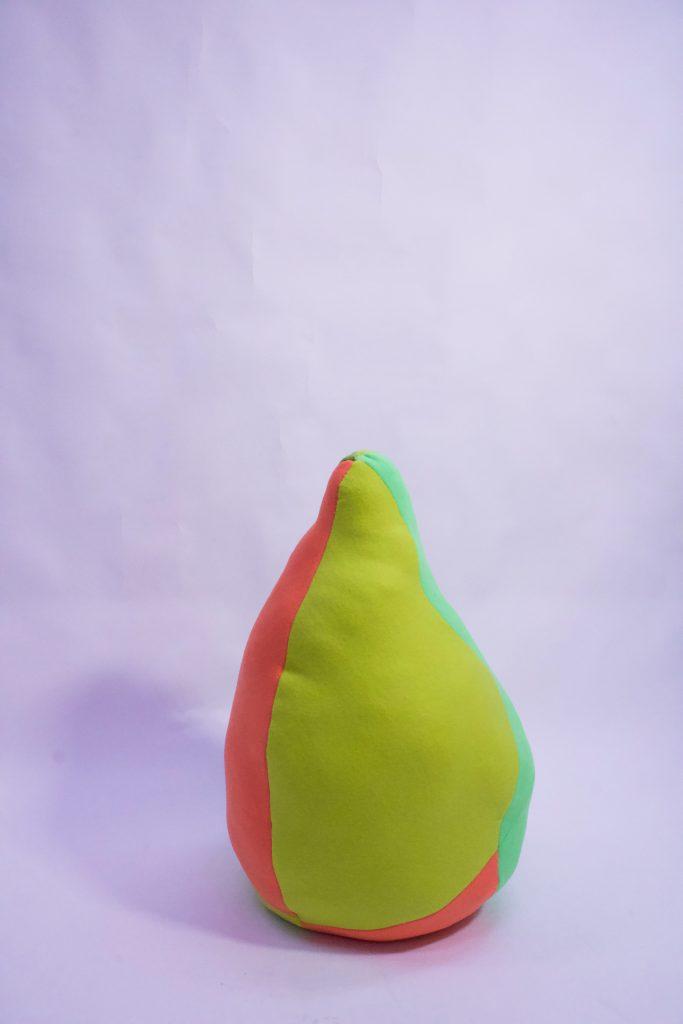
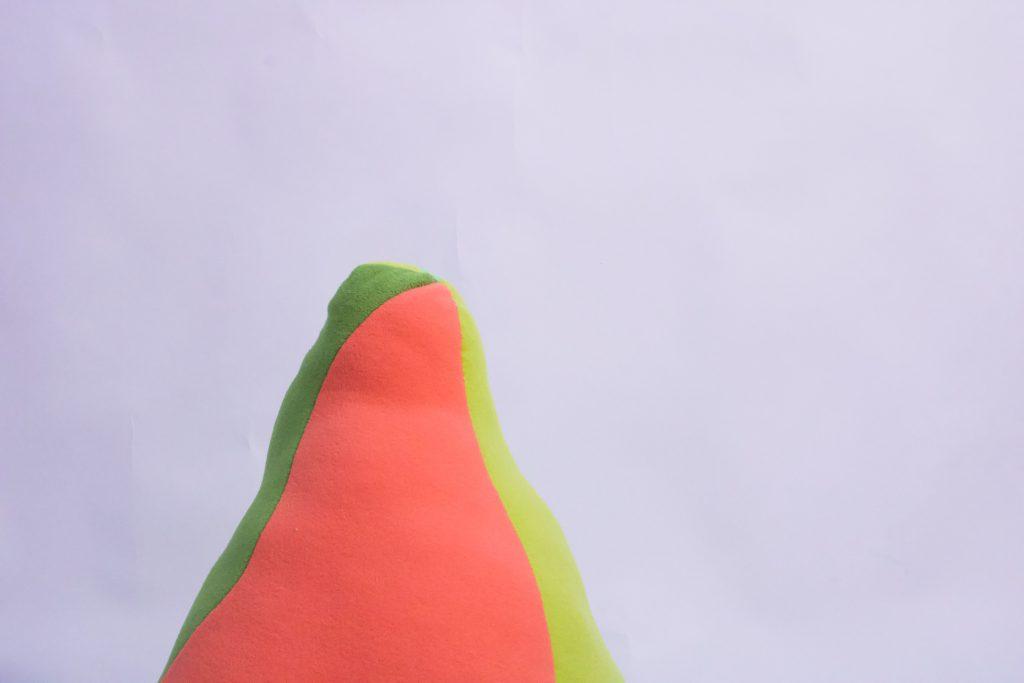
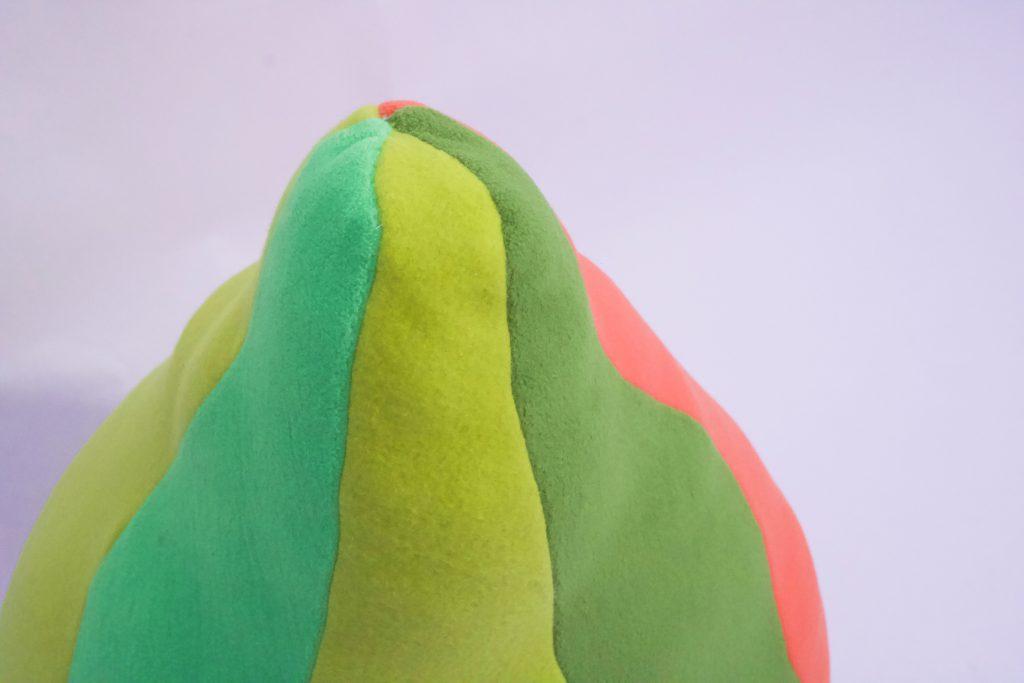
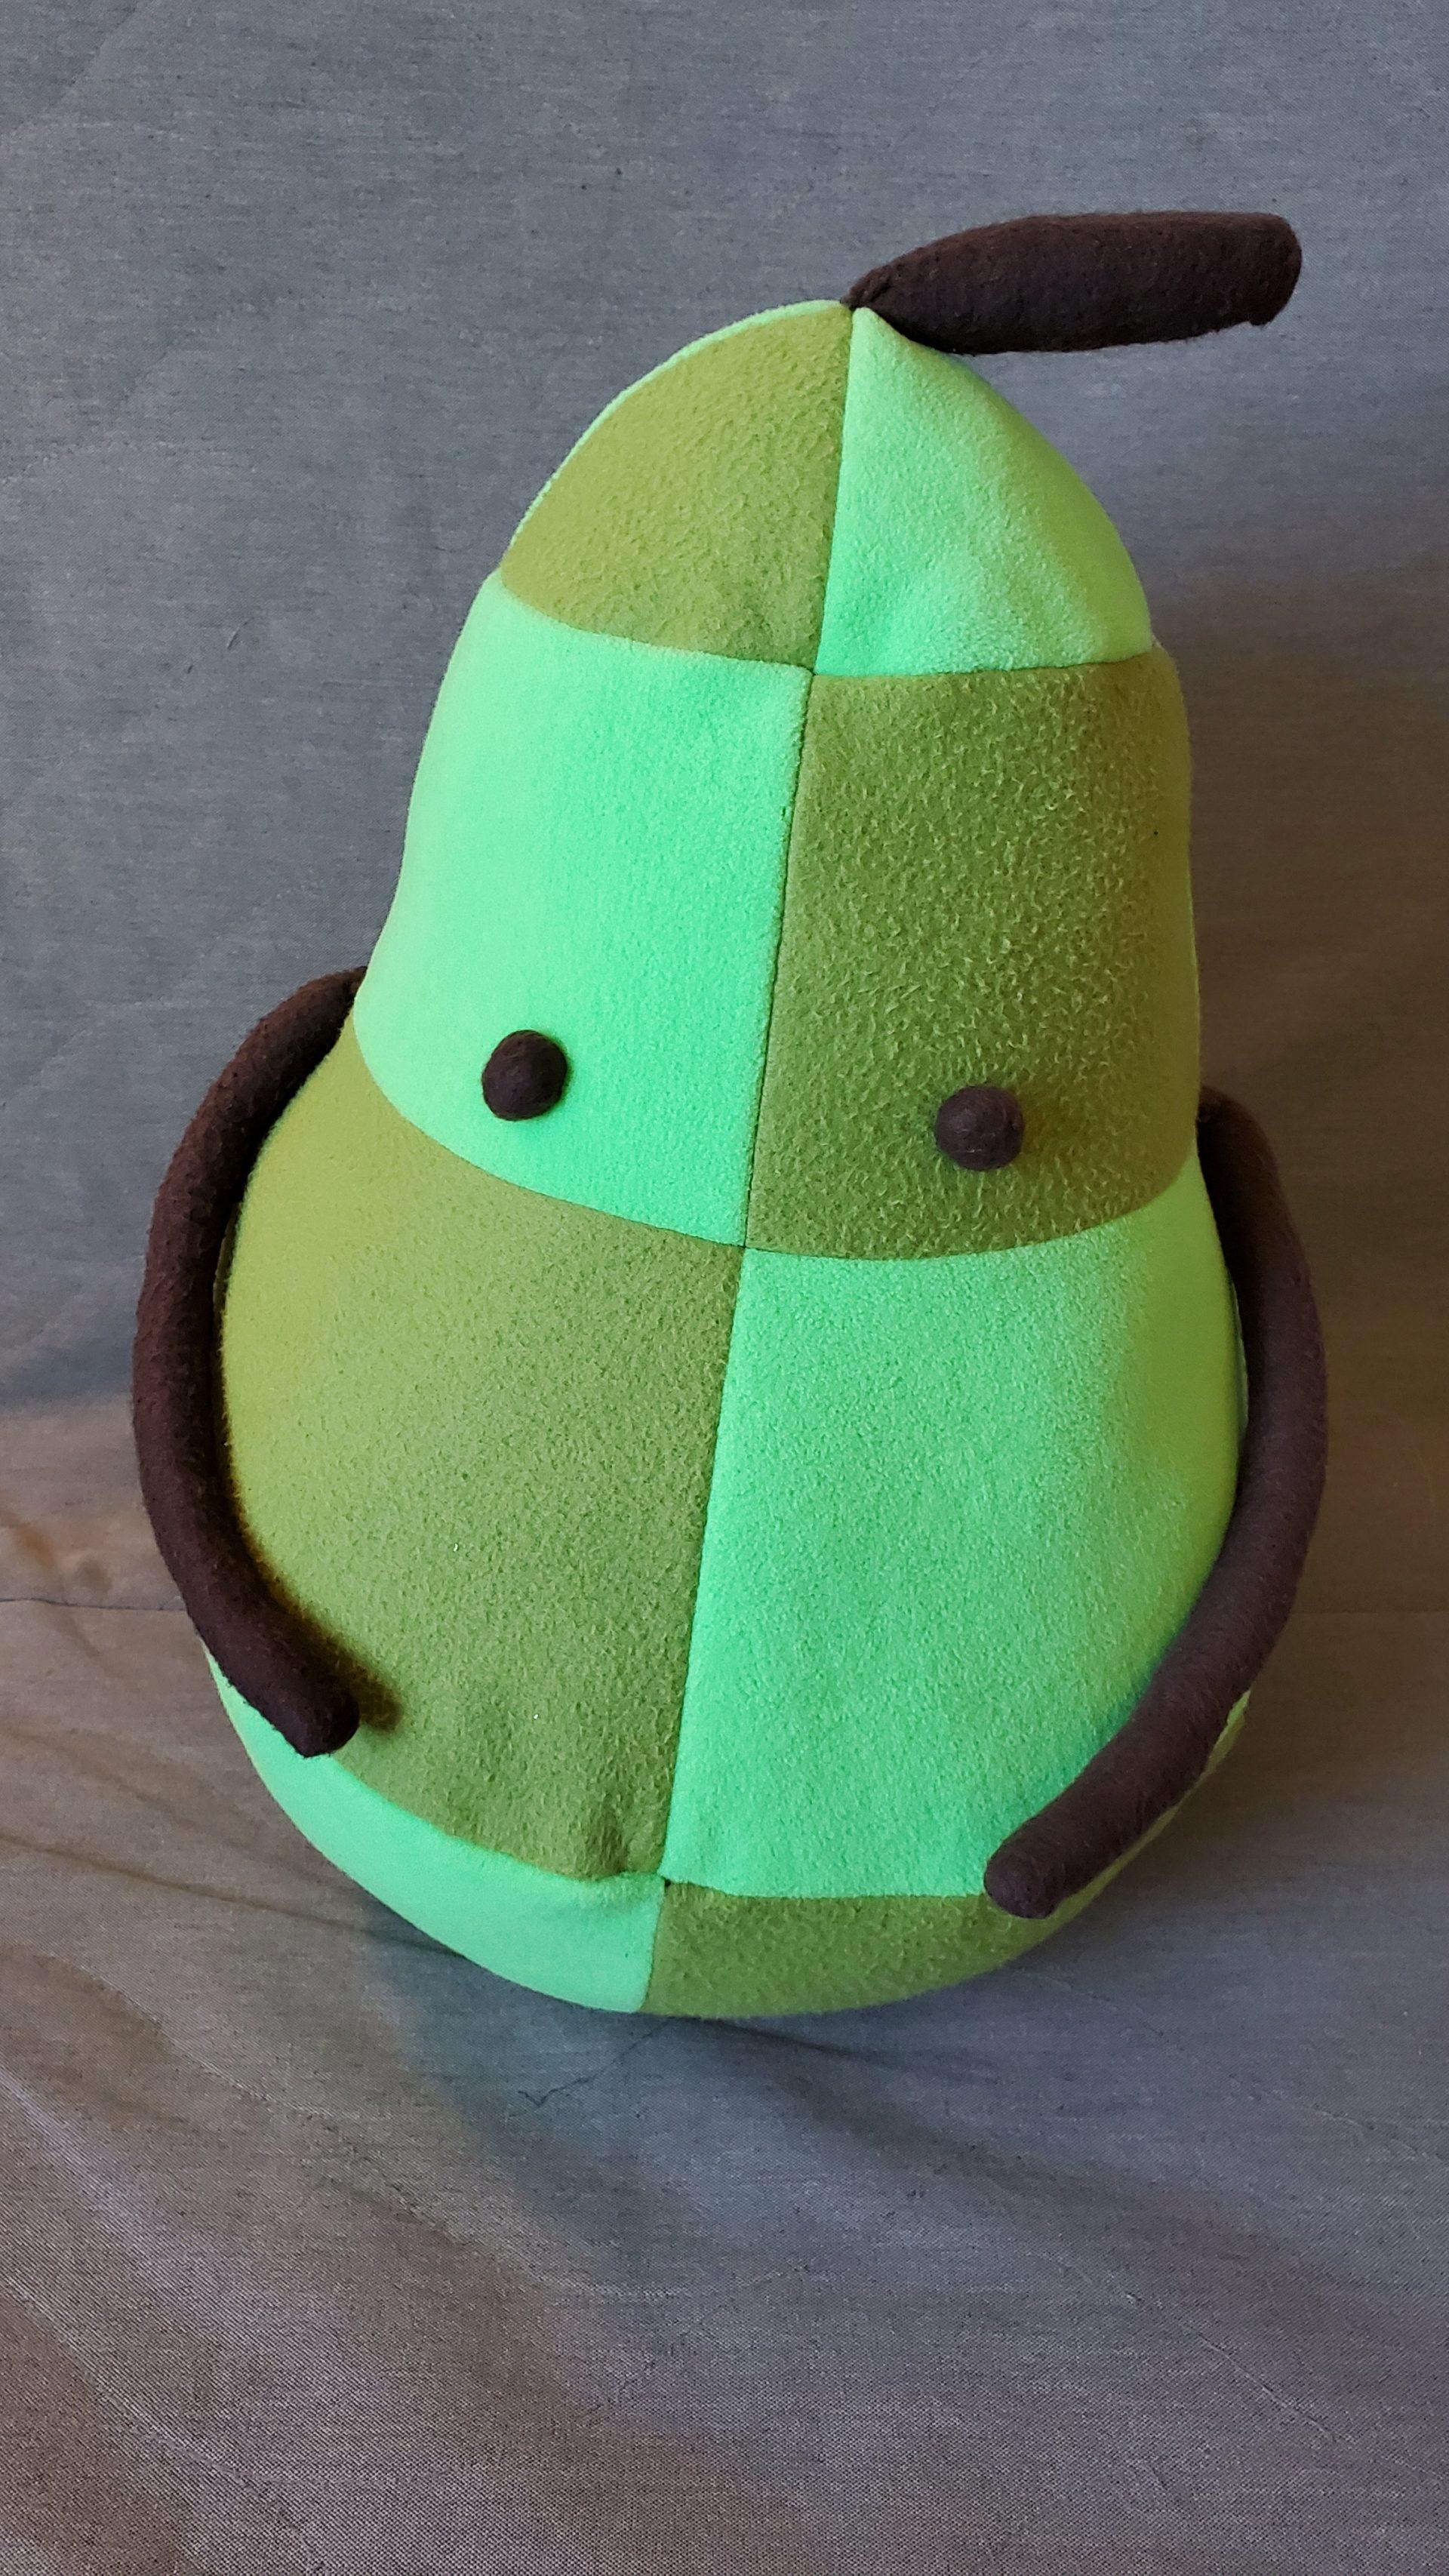
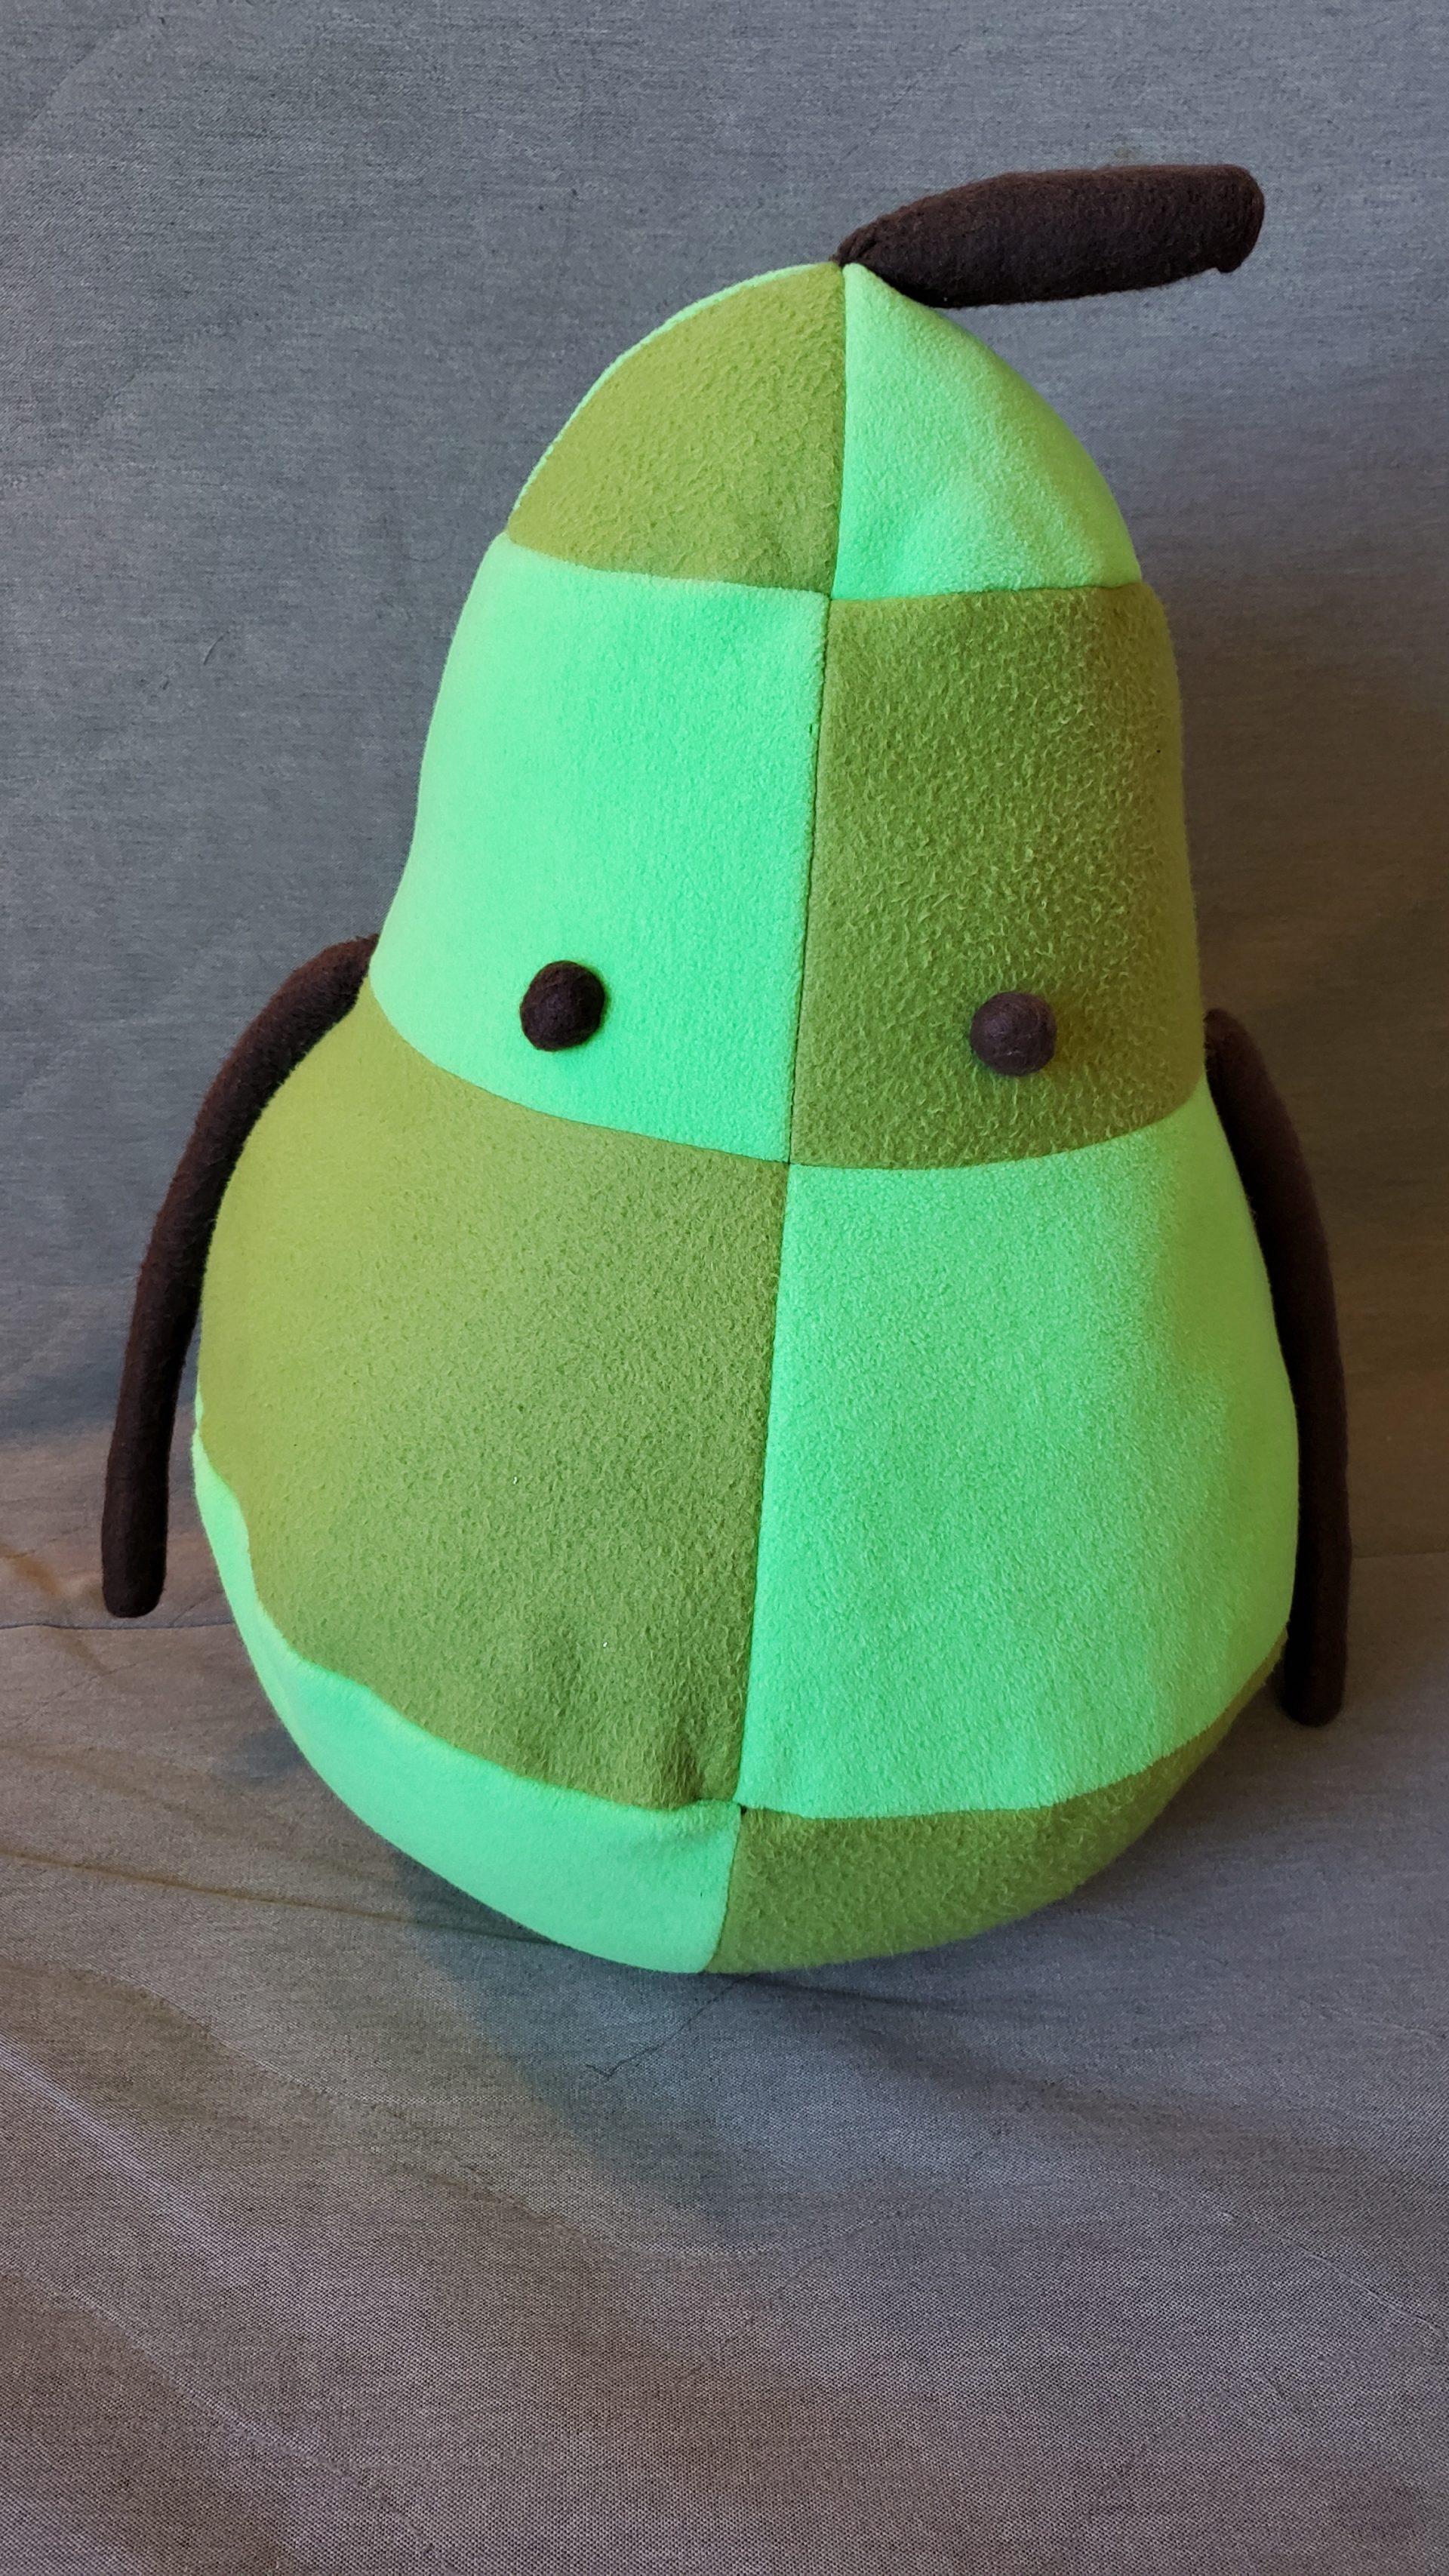
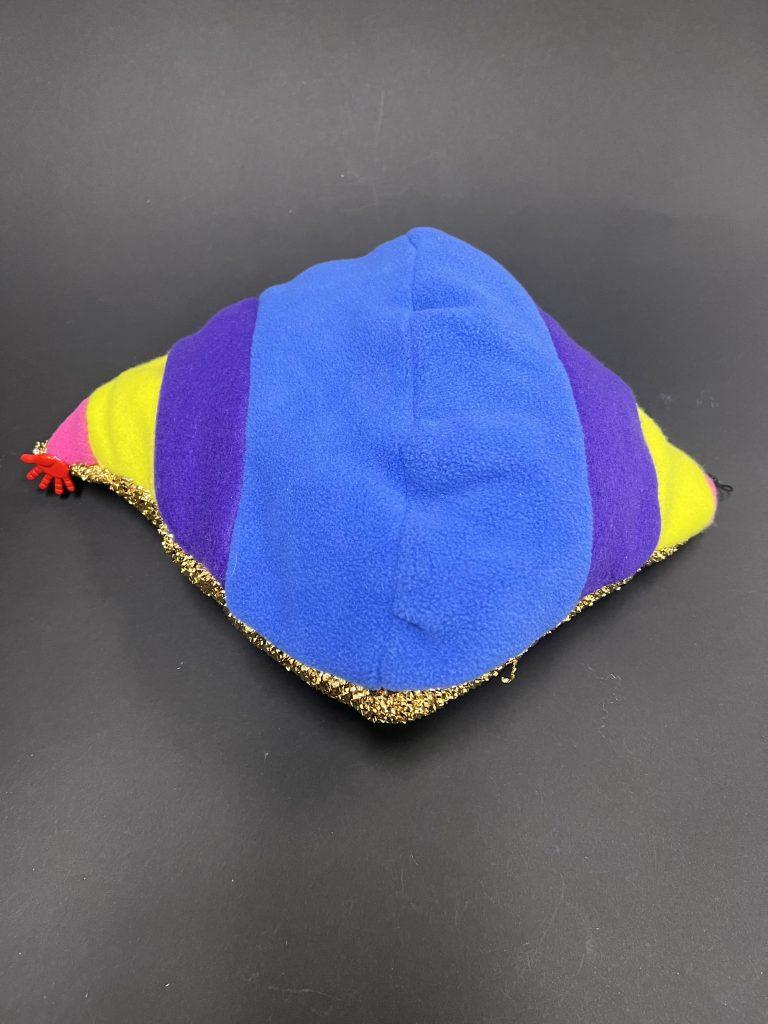
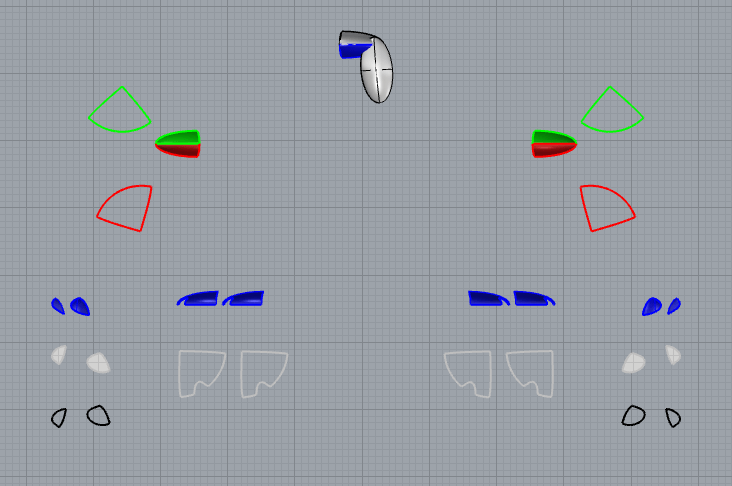
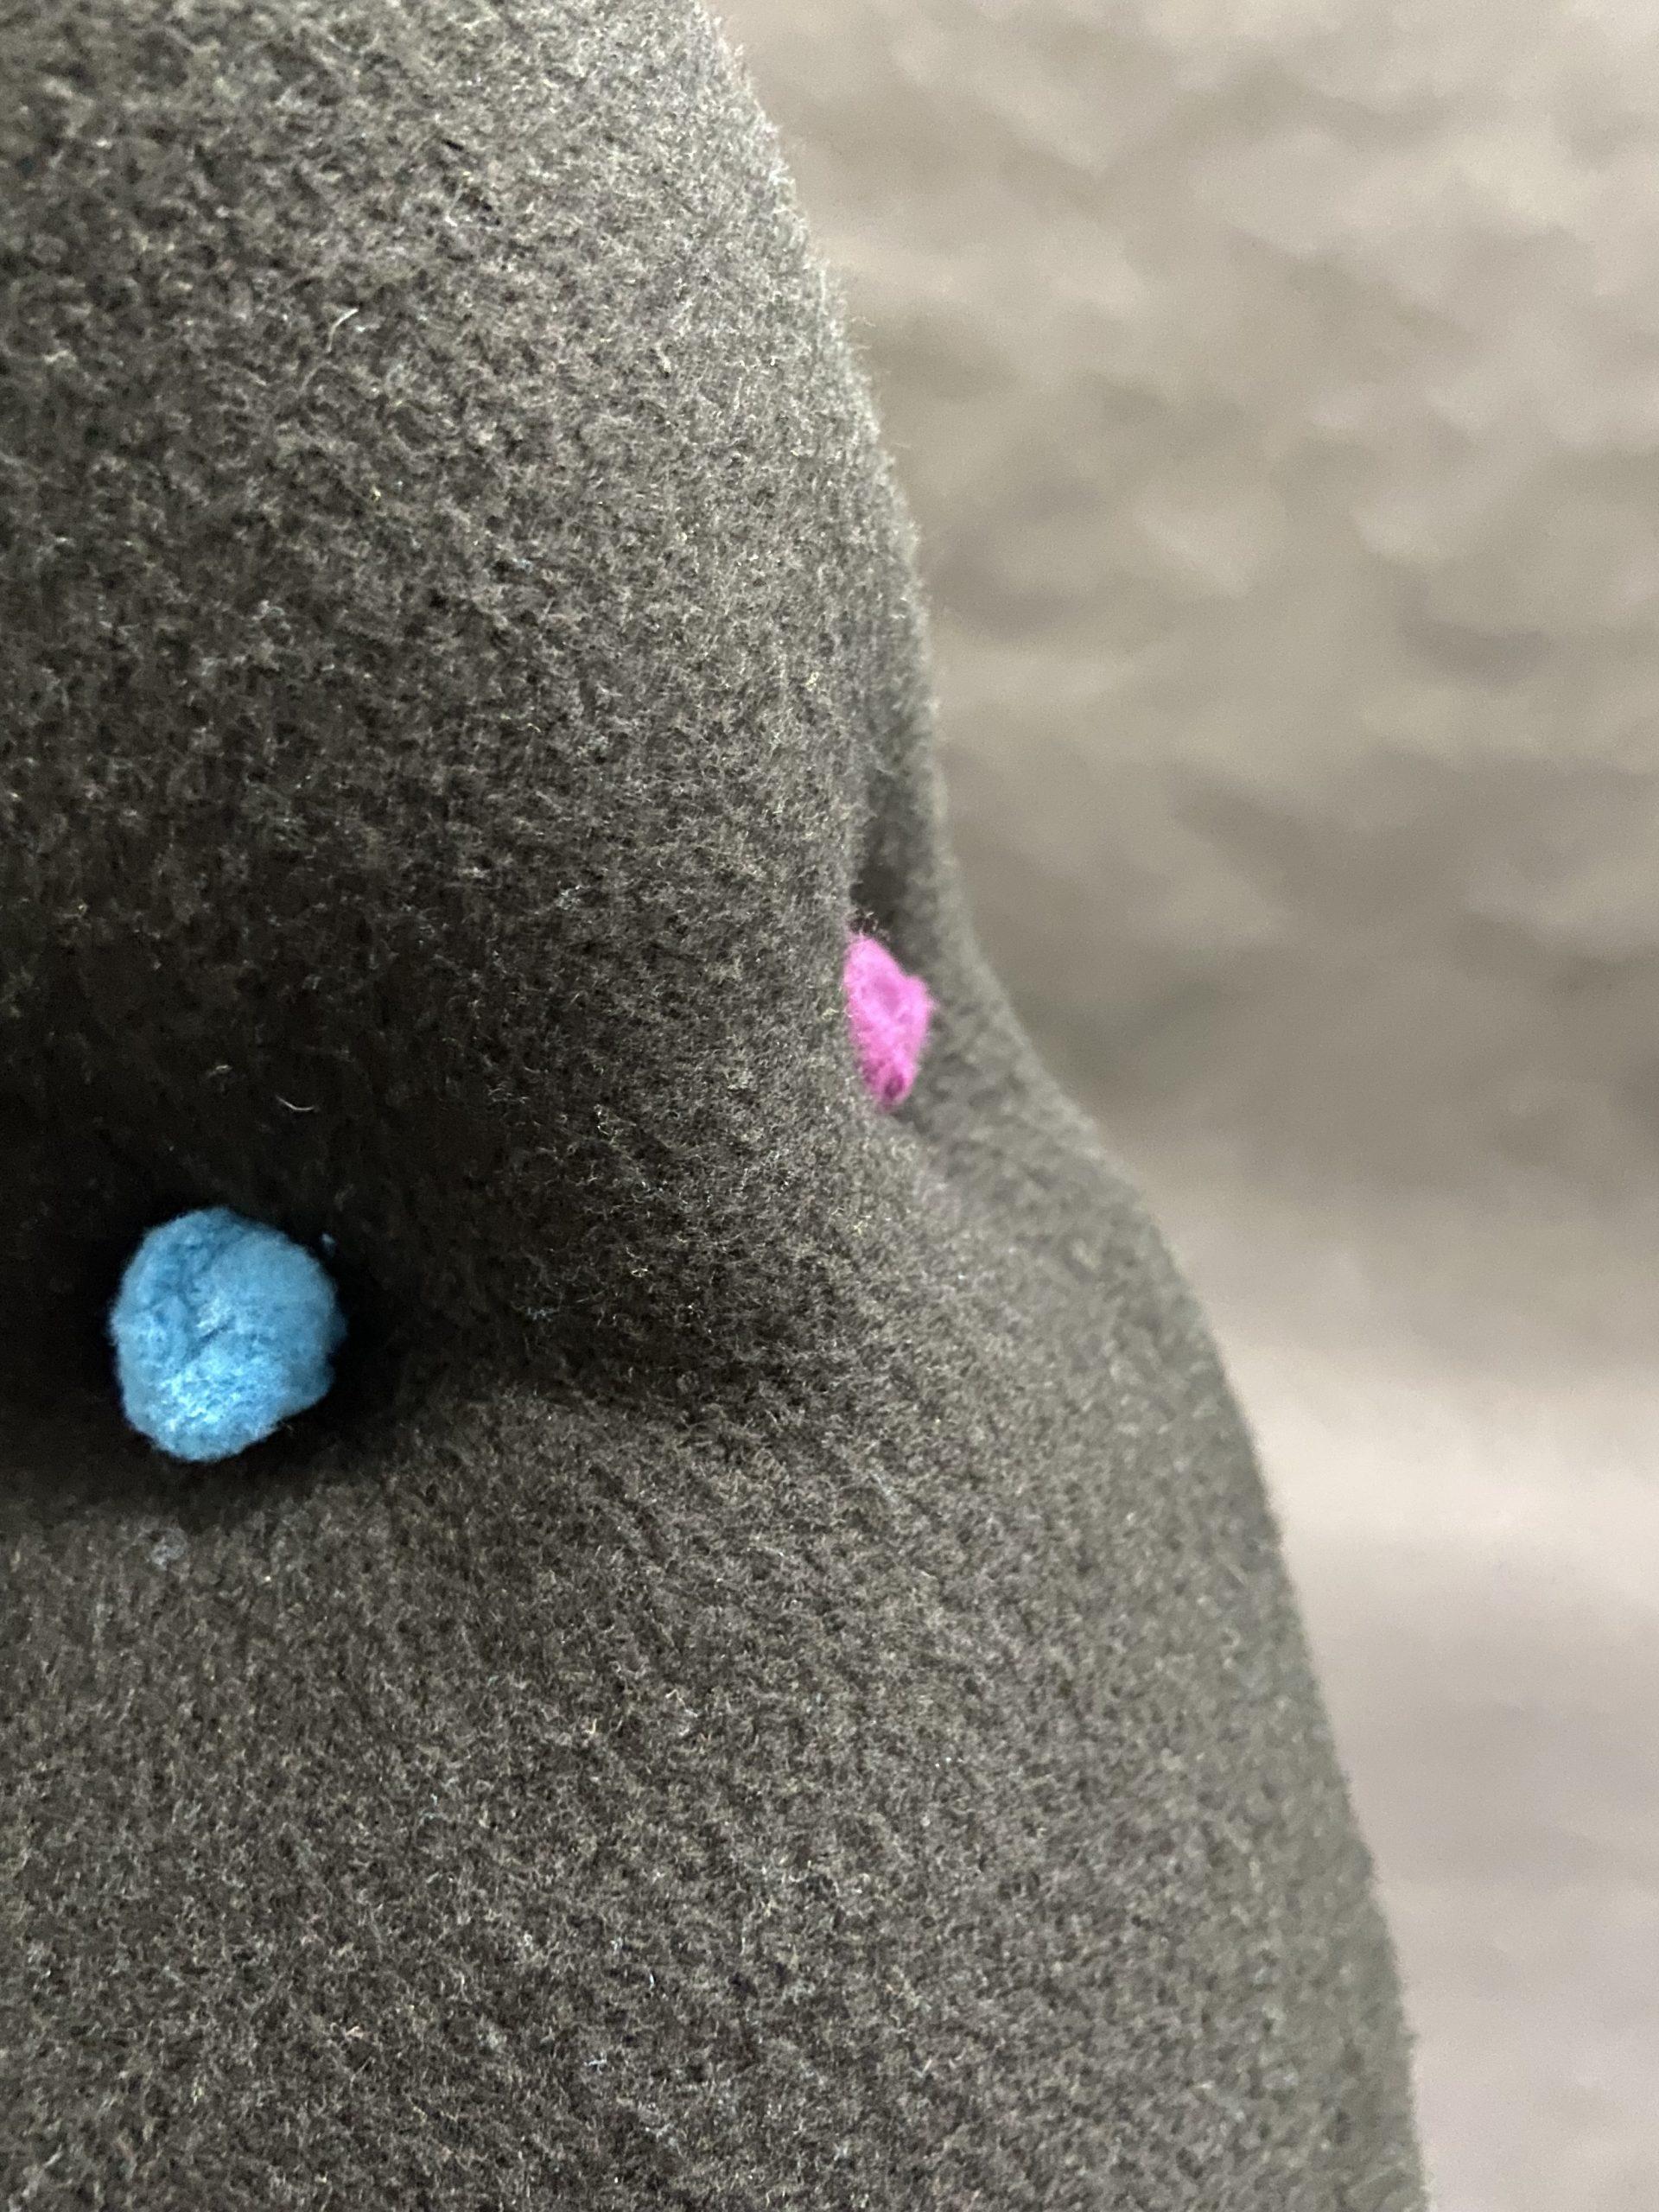
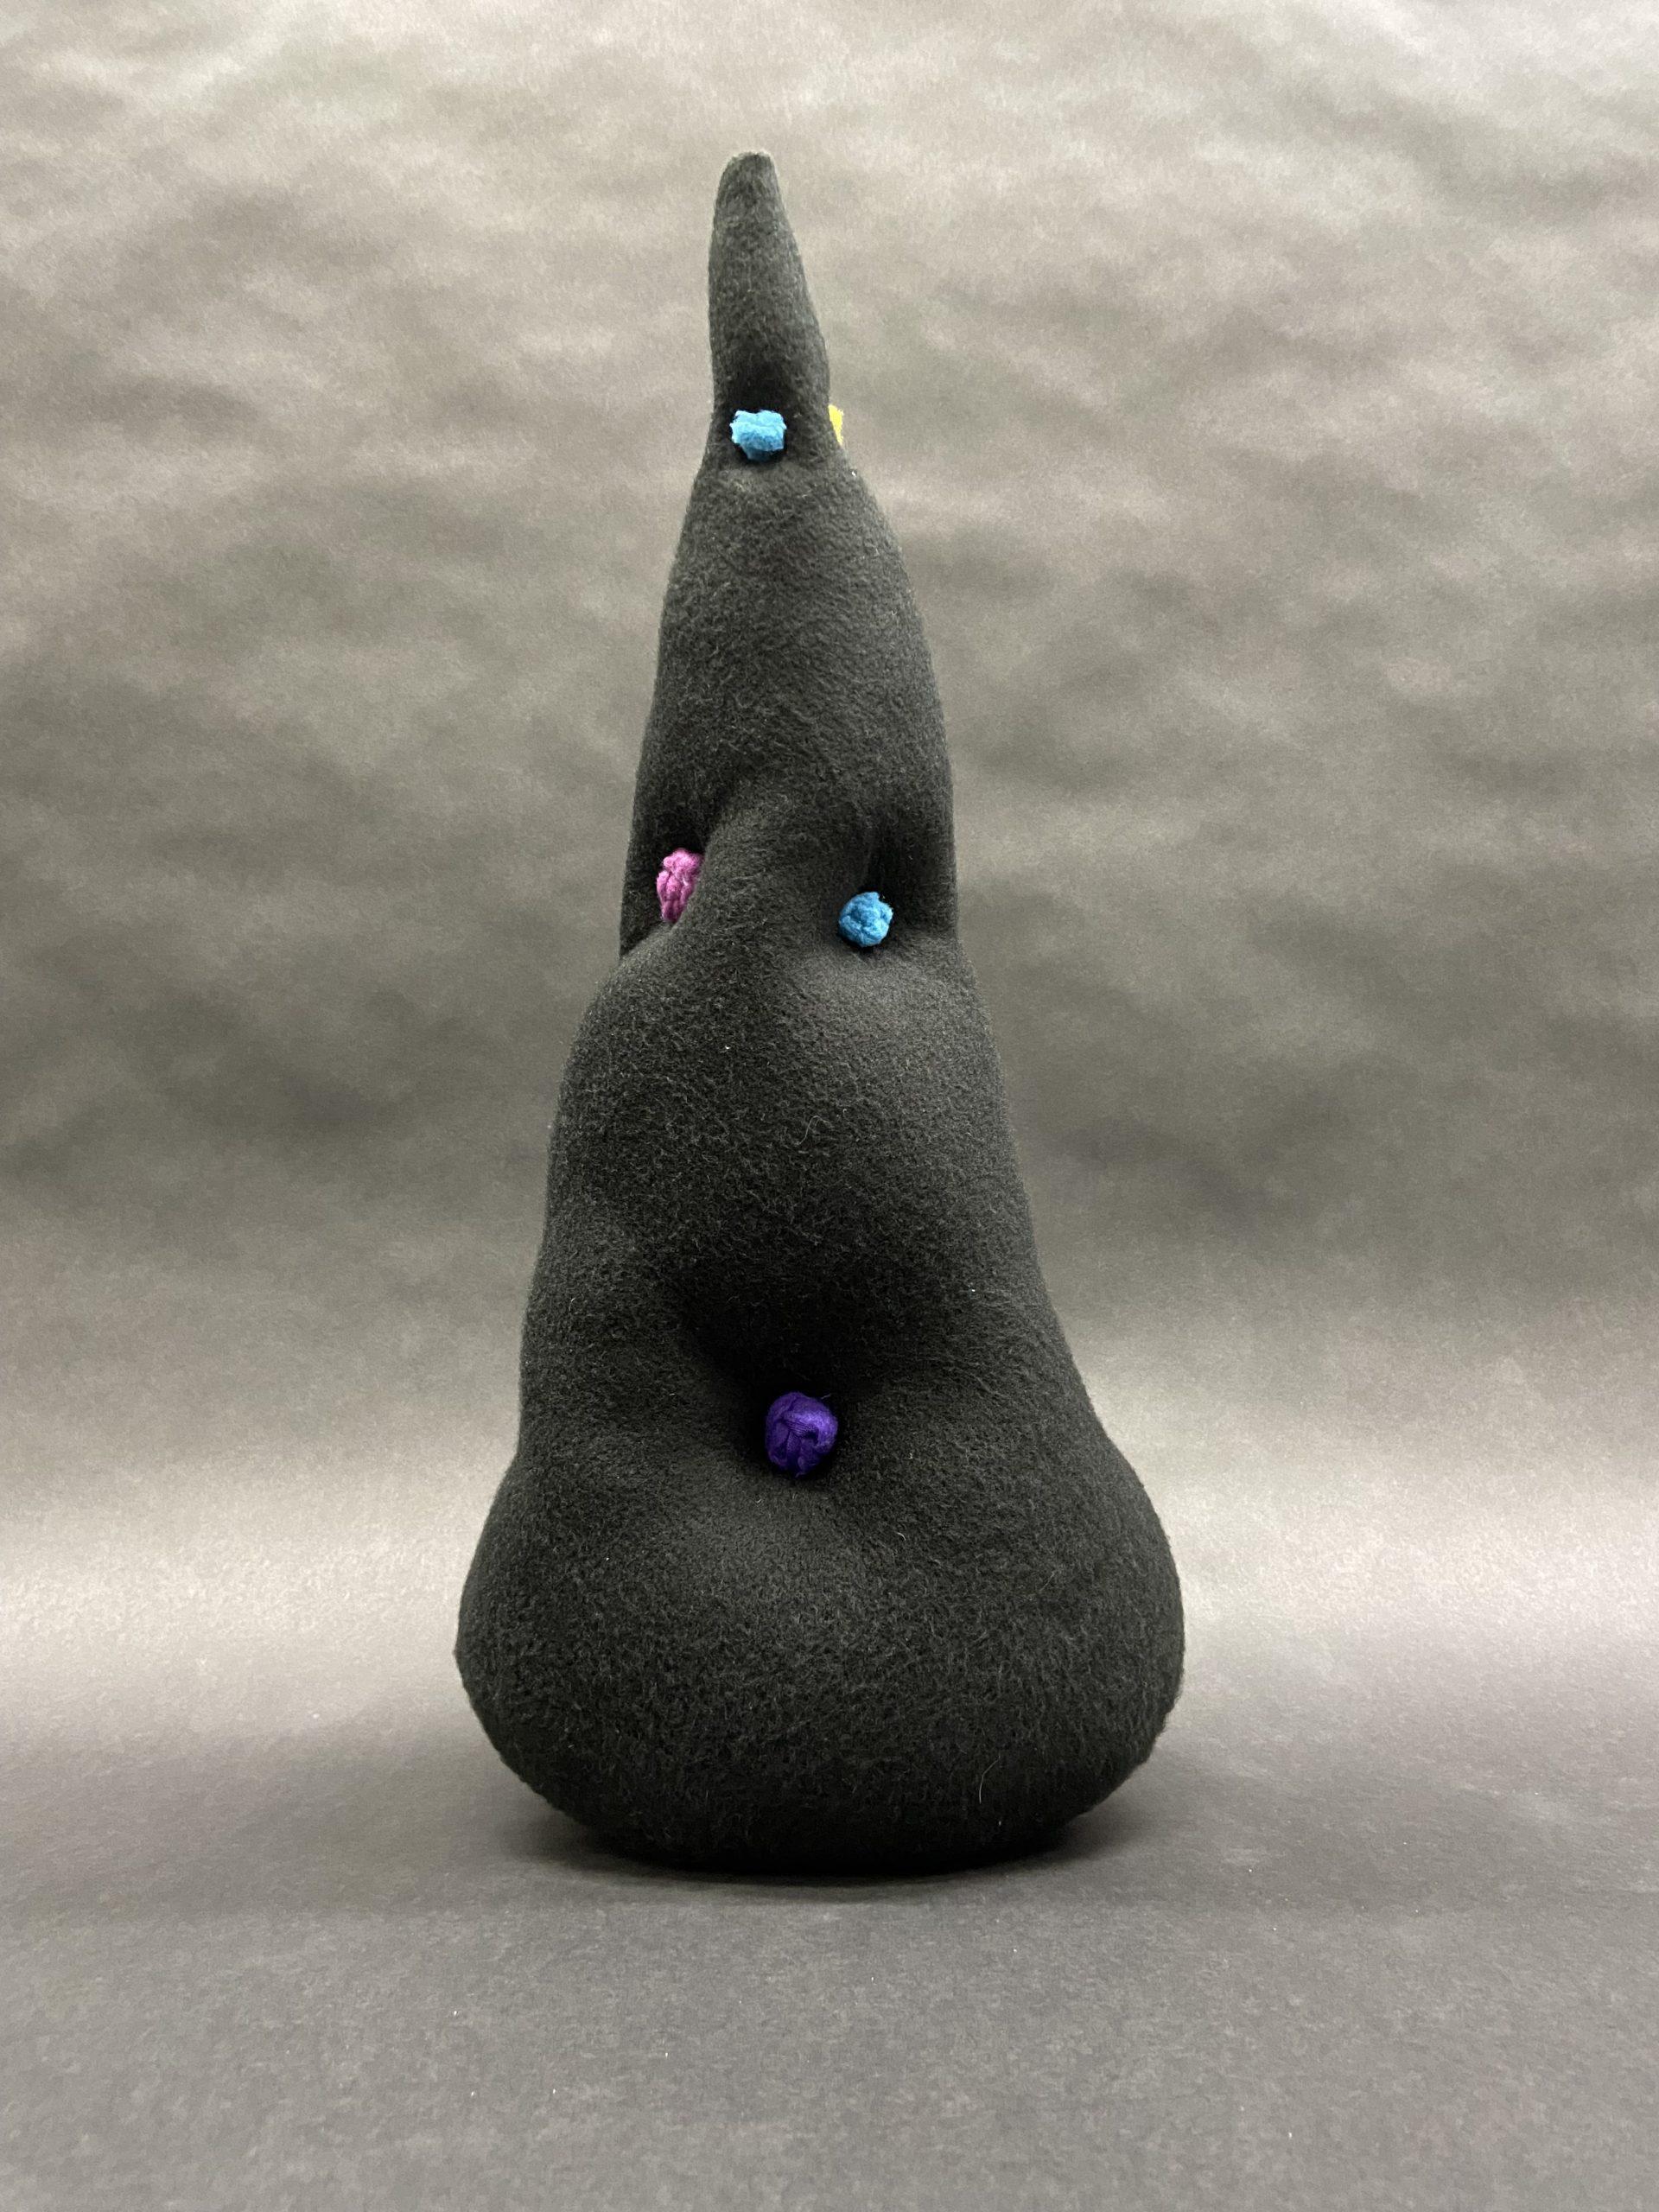
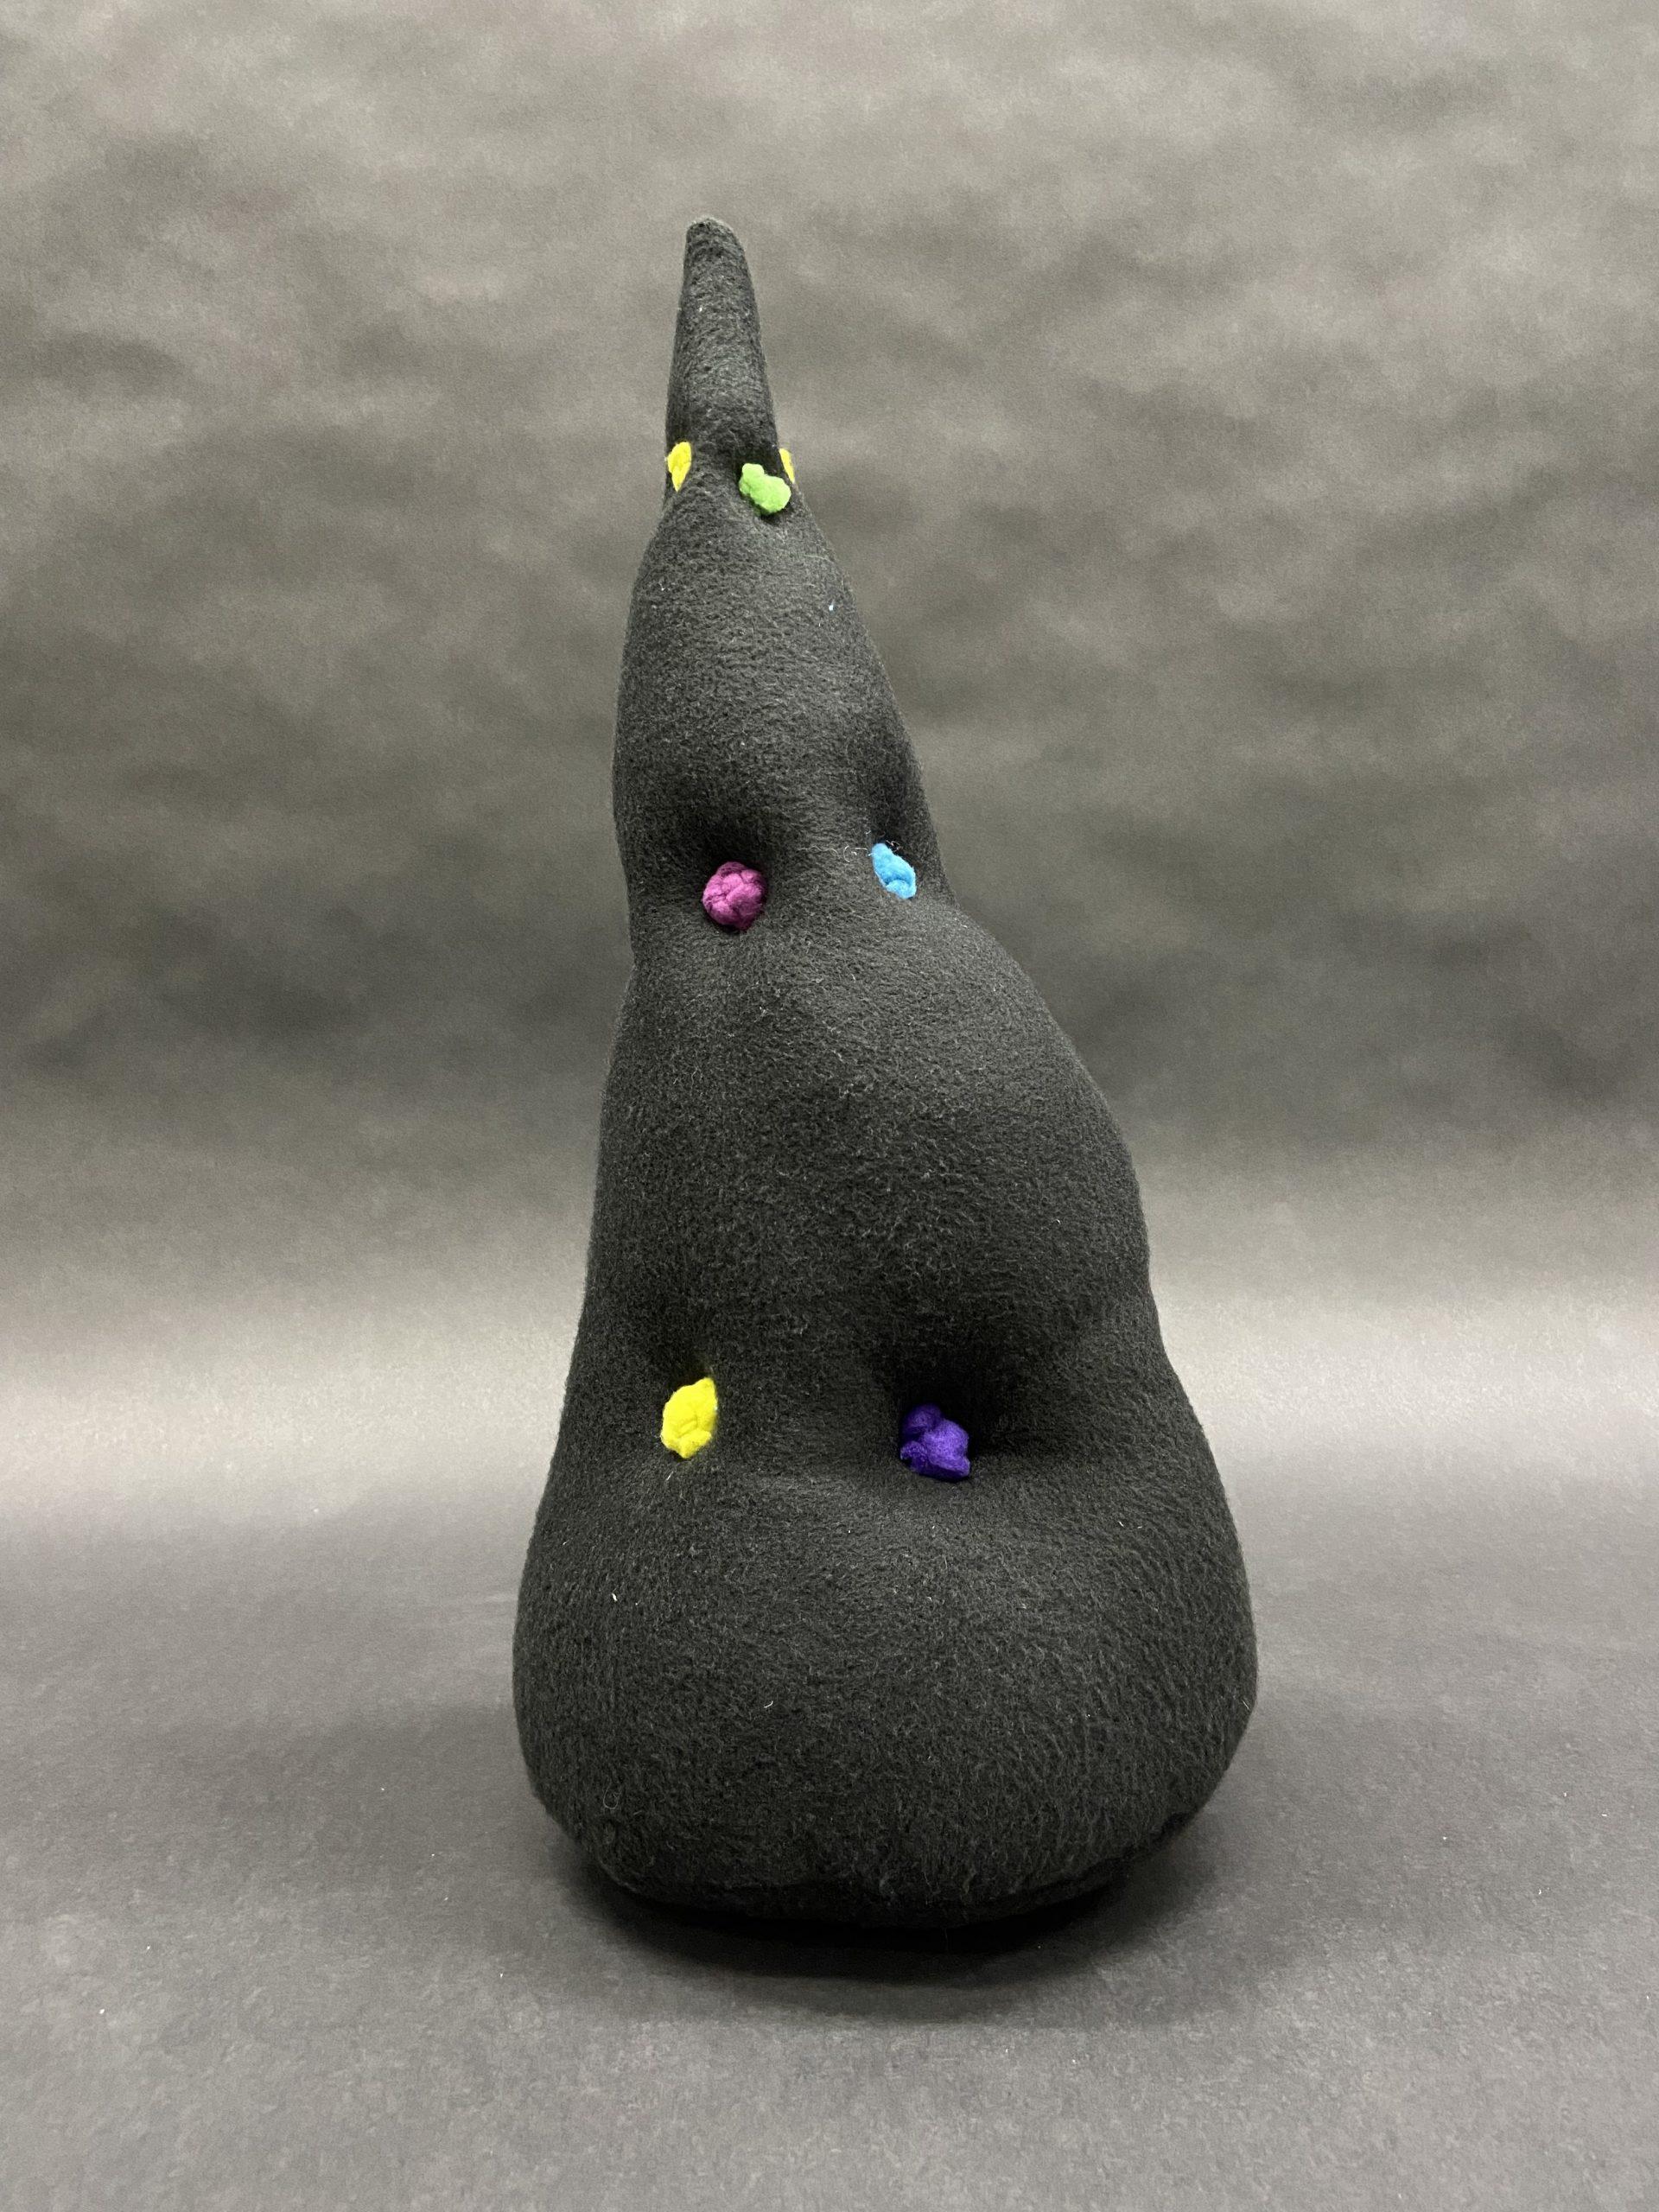
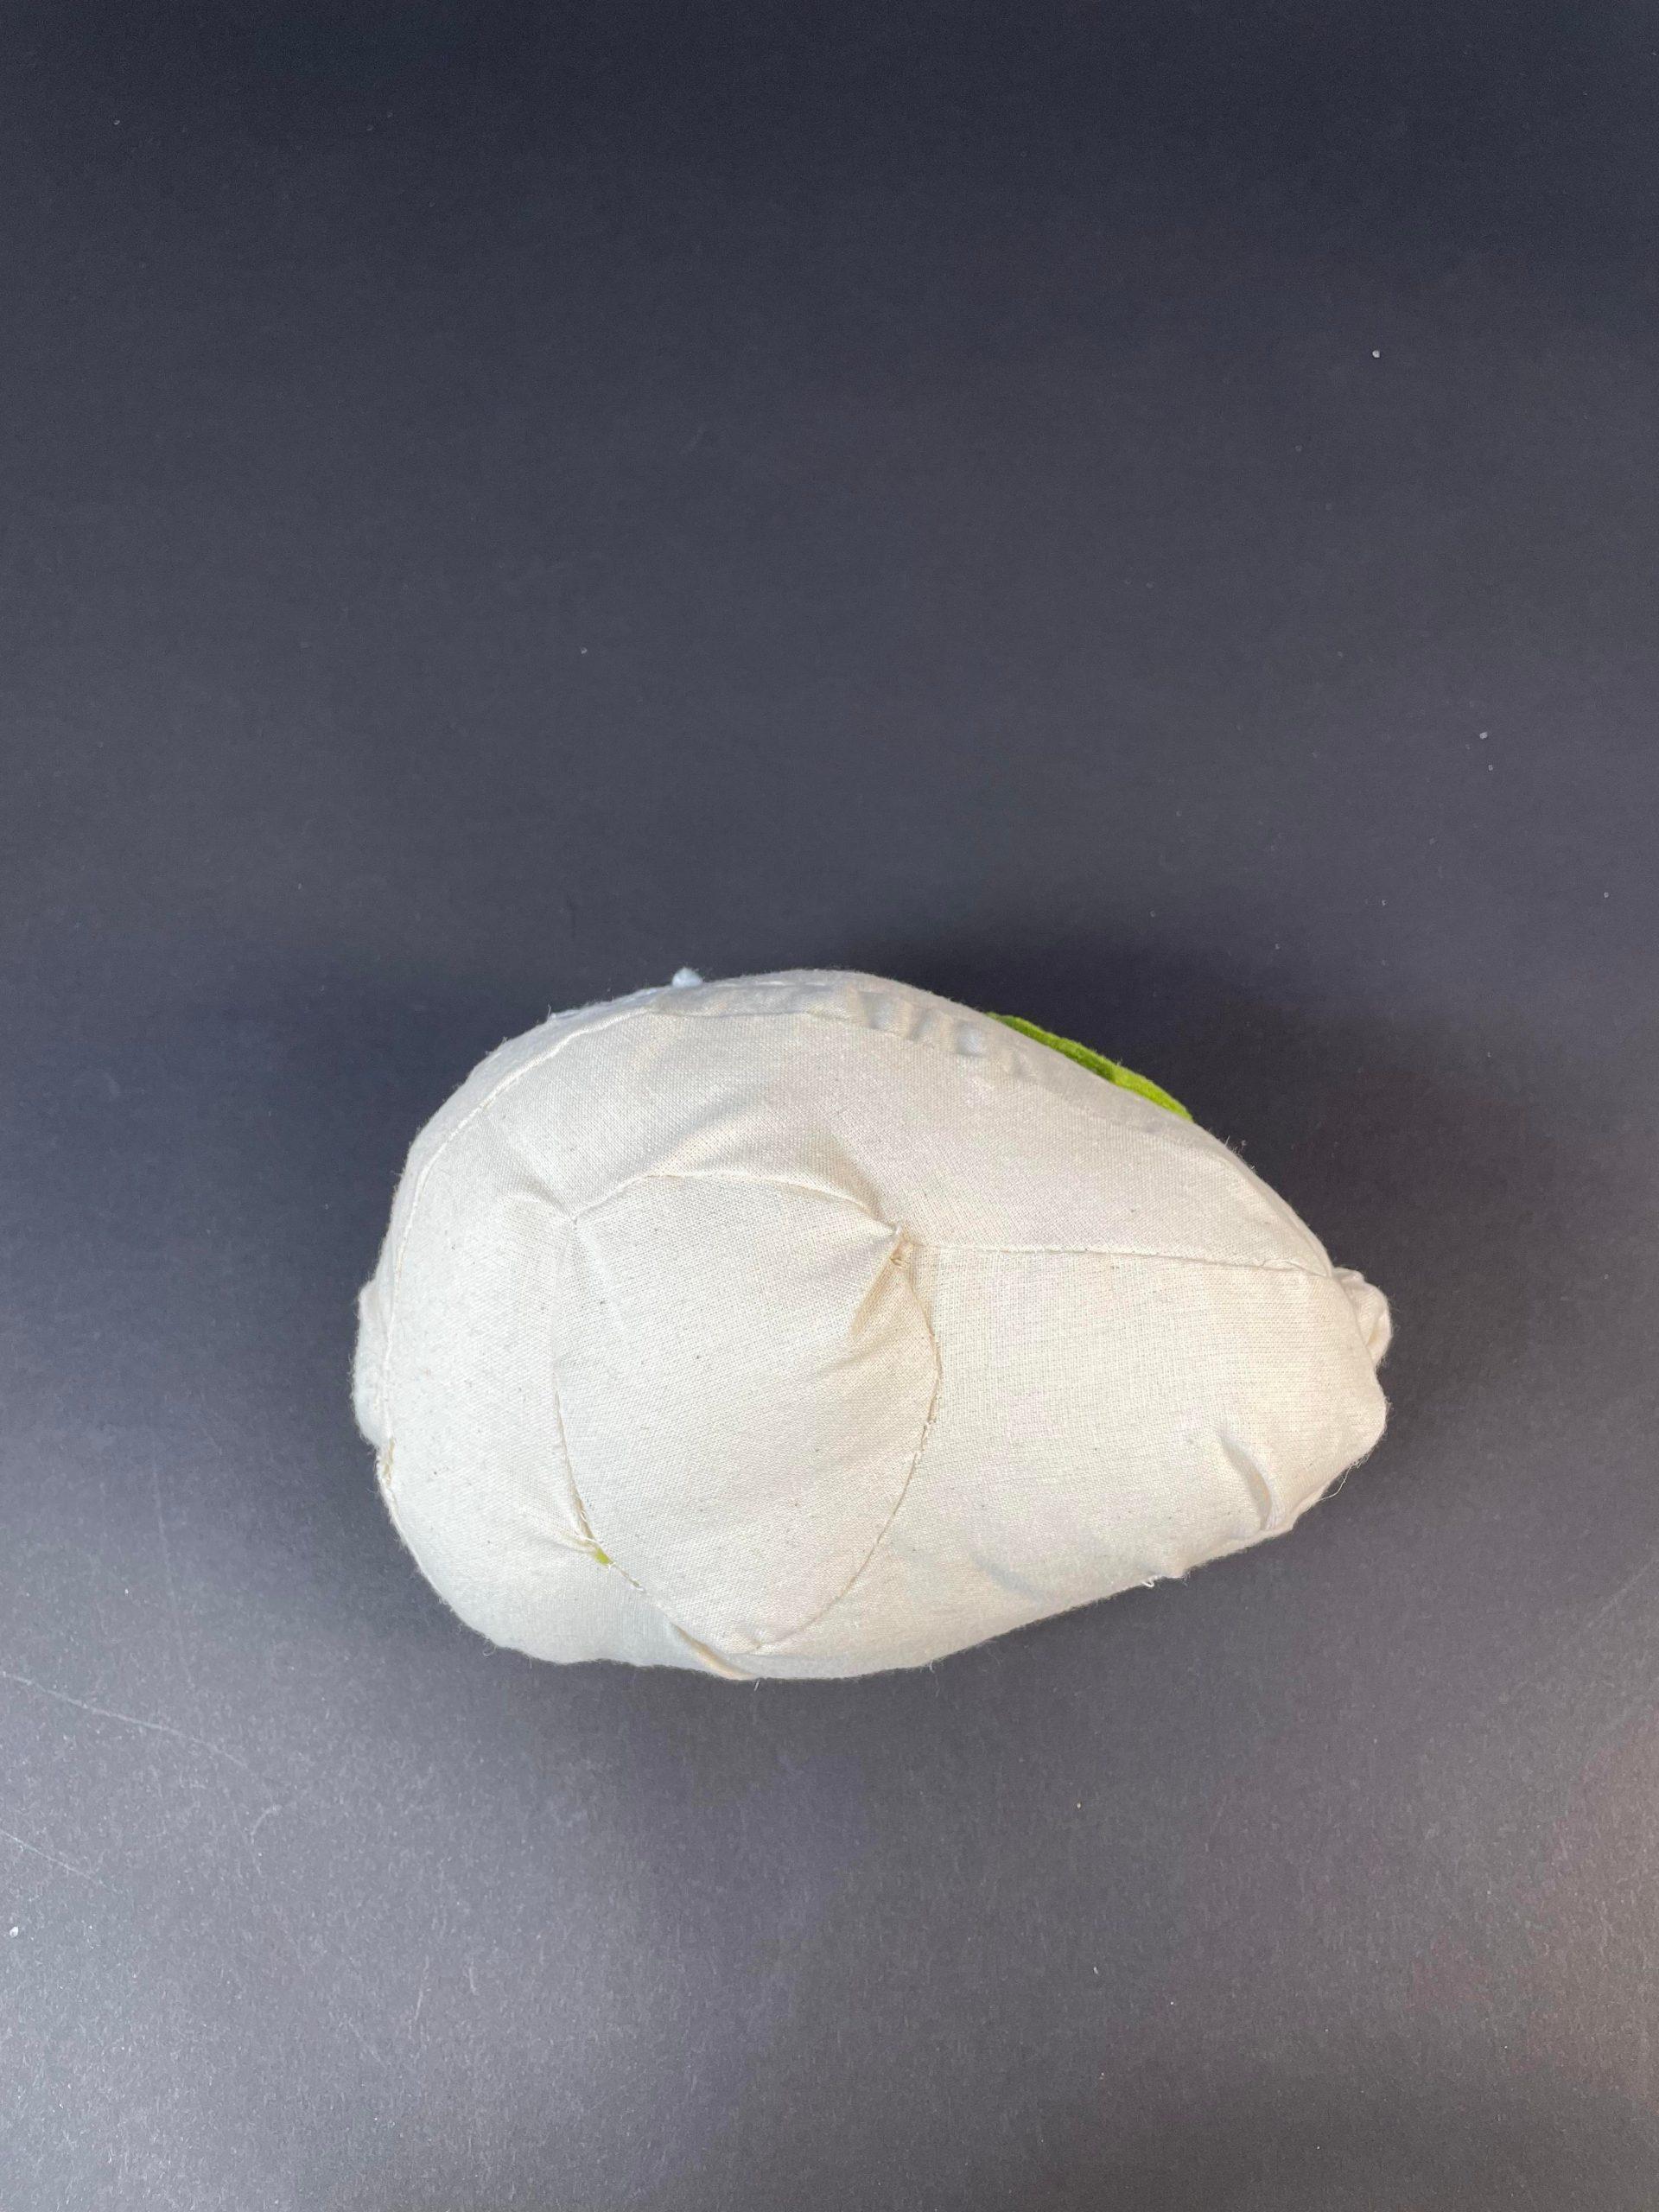
Although this second object was a fairly simple exploration of 3D modeling and laser cutting, I really really enjoyed how it turned out! So, I wanted to make another object of a similar “family” or “language,” so this time I used the pipe feature on a curve wherein the diameter of one side was larger than another to create this pear-like shape. I also wanted to create some interesting surface patterning, so I projected a wavy curve onto the form to extract the surfaces. I also made it significantly larger to play with scale and create a bit of contrast and an interesting dynamic between the two. With these two objects, I simply really enjoyed the forms and found them really delightful, they are fairly simple in form and construction but I’m really happy with them, I think I successfully made objects that are cute, lovely, and huggable!

Push/Pull Part1 – Heejin Son

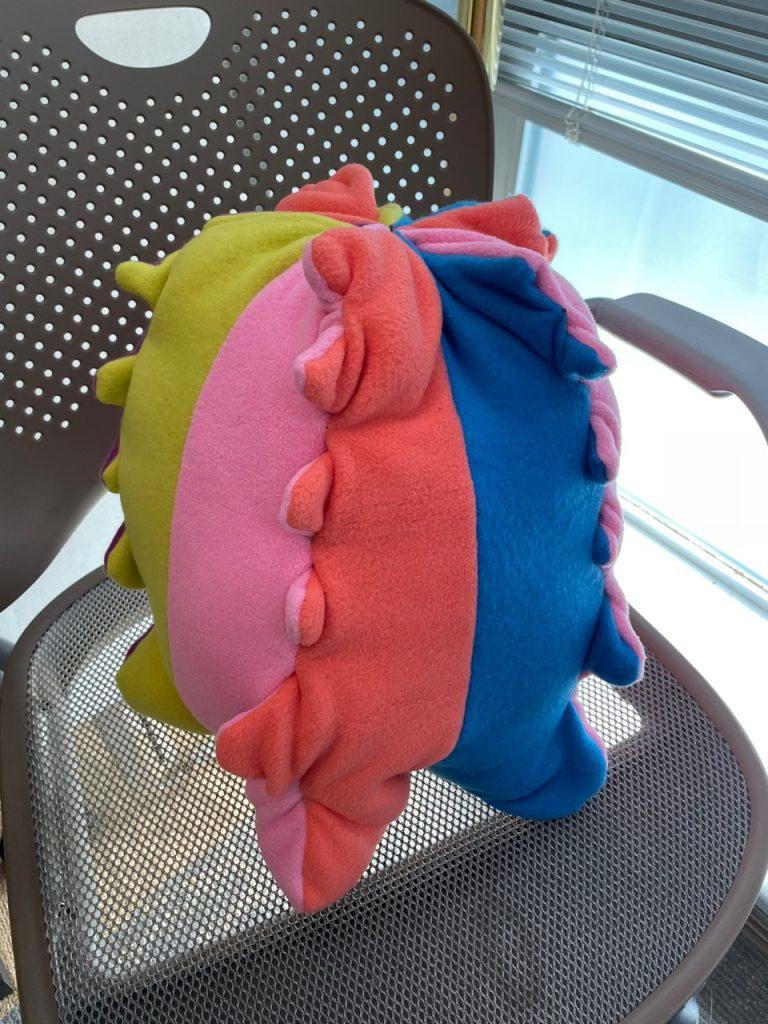
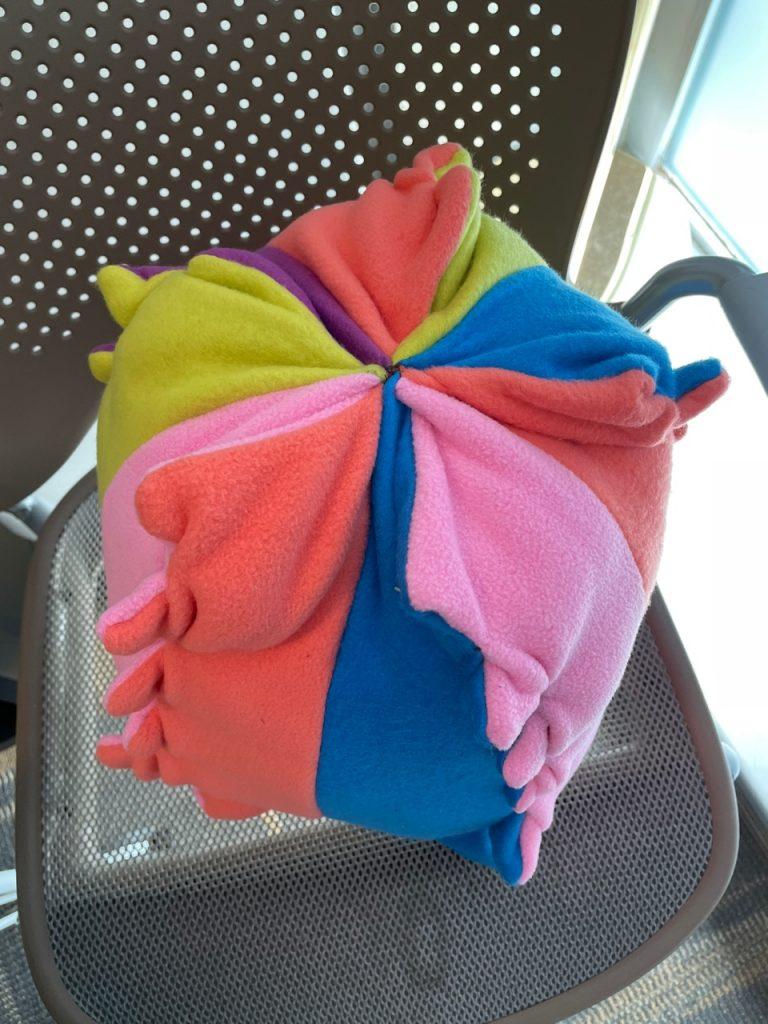
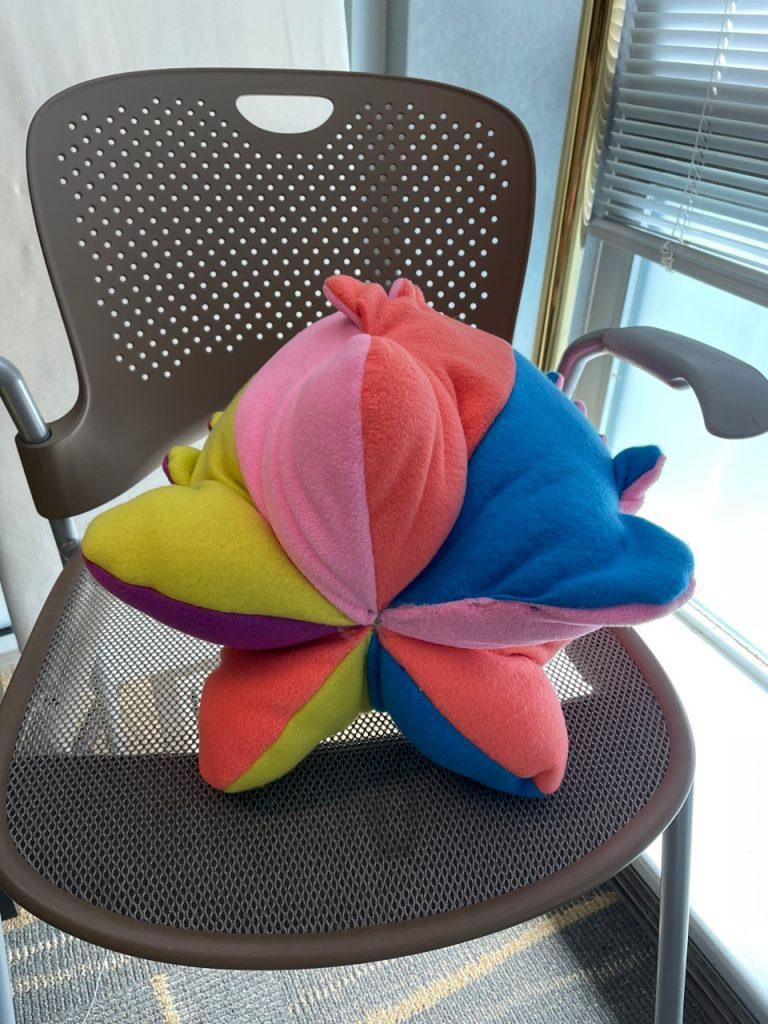
The first inflatable inspired from a felted Christmas tree figure that I had made in the past. However, I distorted the shape so that the spikes of the trees would The first inflatable was inspired by a felted Christmas tree figure that I had made in the past. However, I distorted the shape so that the spikes of the trees would be smaller in size. I drew the distorted shape on hardwood, split the shape in half, and cut the two symmetrical pieces. Each piece was then replicated five times, ending up with ten spiky shapes. As it was my first inflatable with many pieces, it was challenging to figure out which part of the fleece to sew together or to leave open. As I was sewing together the spikes, I realized that the spikes had gotten way smaller than expected. Furthermore, the spikes were pulled inwards.

After receiving feedback from my classmates, I realized that the tension between the fabric remaining behind the seemliness had cased the inner contortion of the spikes. One comment that I remember is that the inflatable looks like five dinosaurs cuddling together.

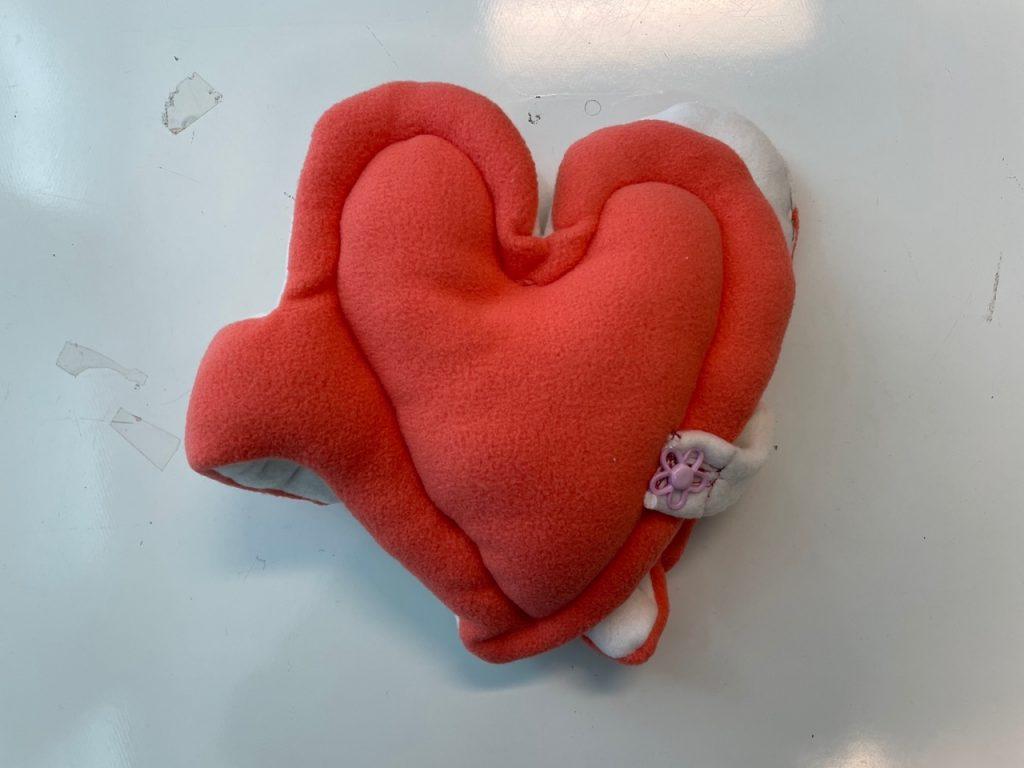
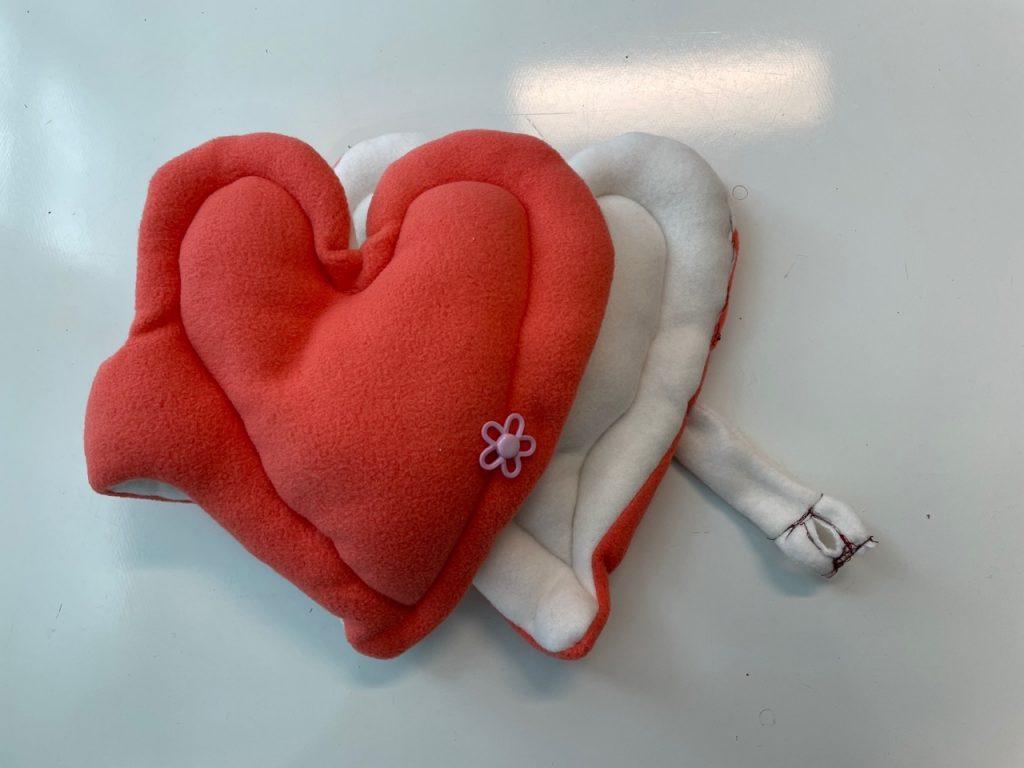
The second inflatable was inspired by the lovely notes that were sent to each other during Valentine’s Day. The lovely notes reminded me of a personal diary that I used to keep as a child. I decided to create a heart-shaped diary that can open and close with the use of a button. I wanted to experiment with the quilting technique – where the fabric goes through the sewing machine with fluffy fillings inside. It was a huge struggle to push the inflated heart shapes through the small space between the stopper and the sewing machine. I find the color contrast between the pink outer and white inner layers interesting as it accentuates the form.

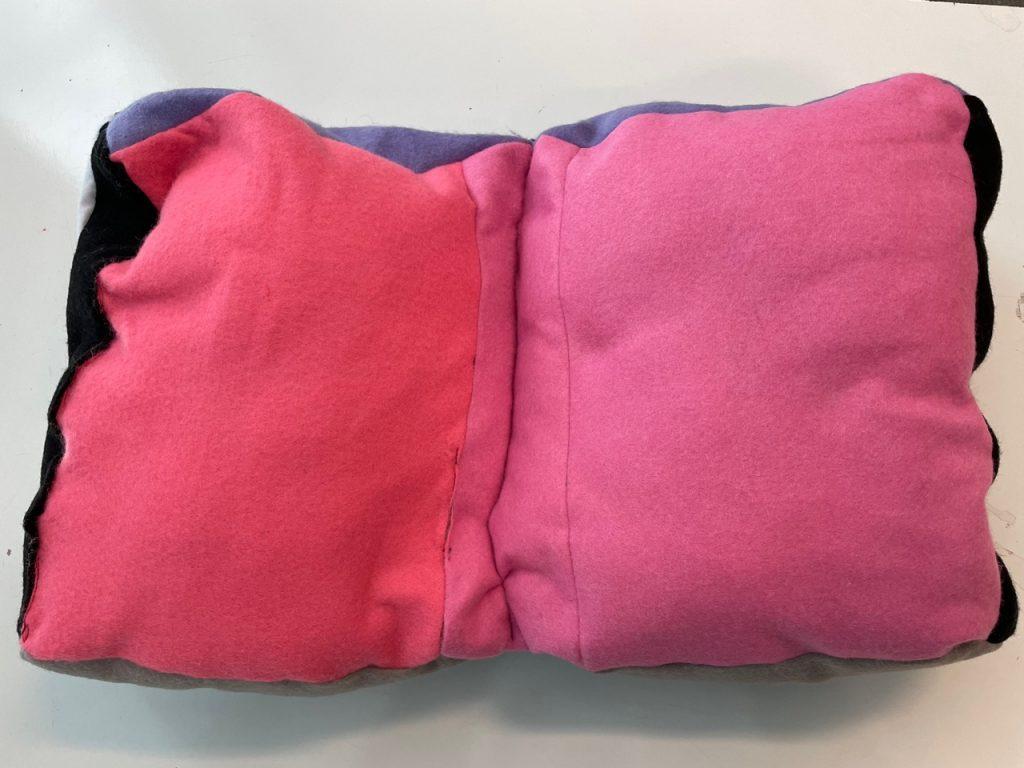
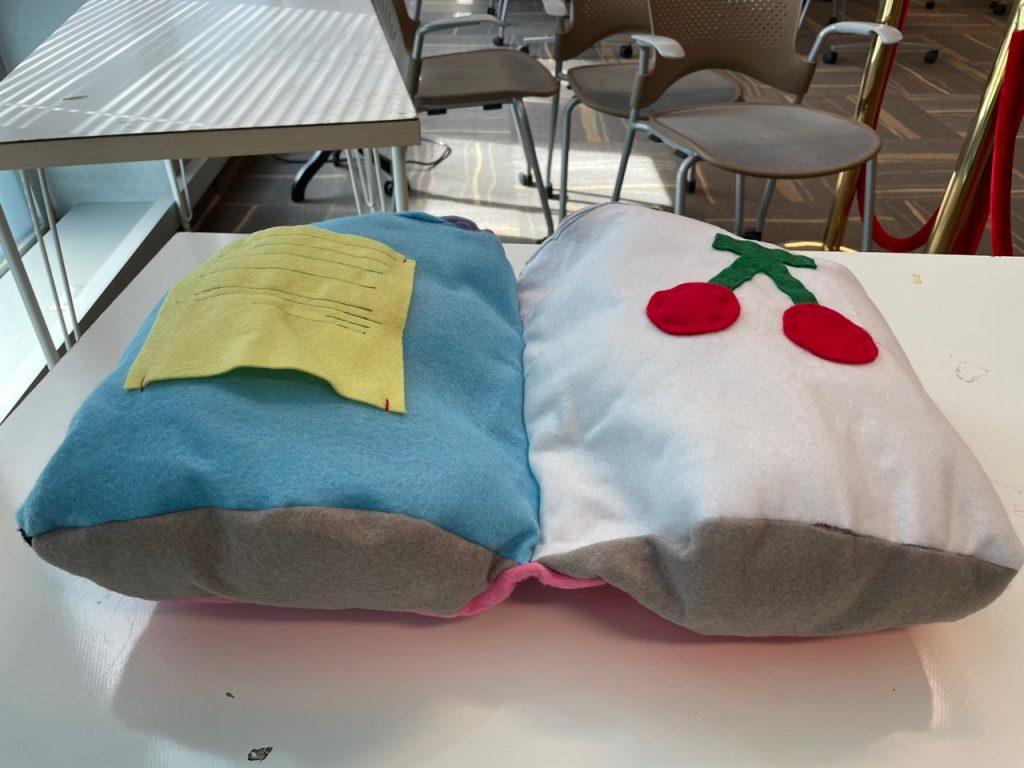
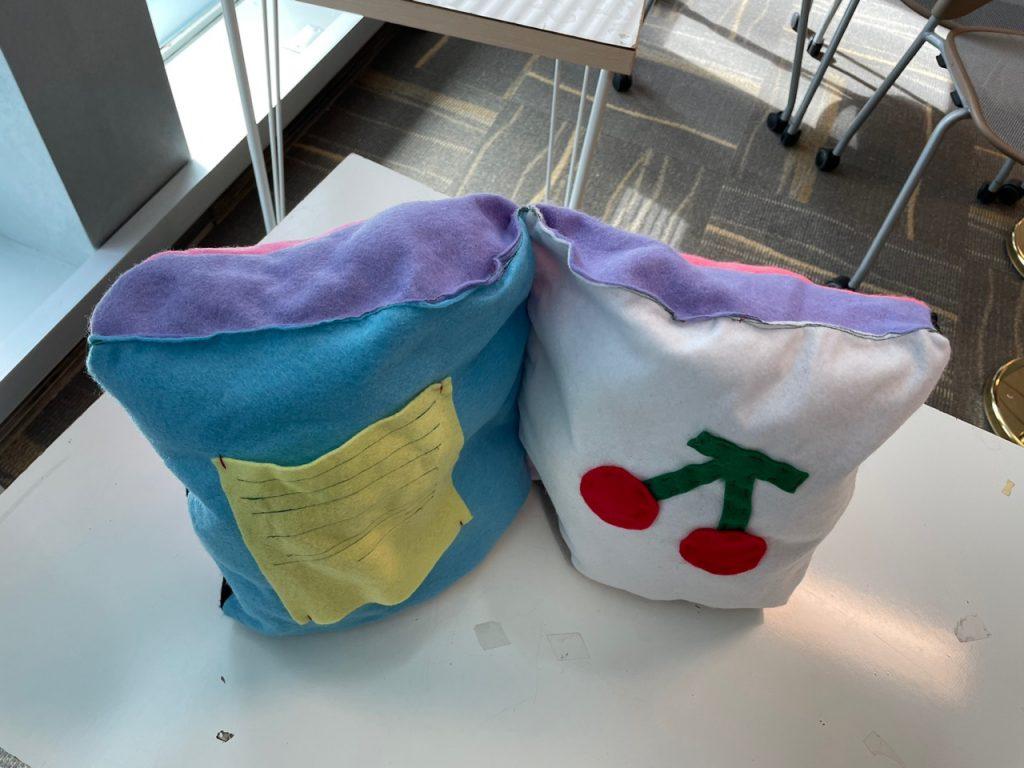
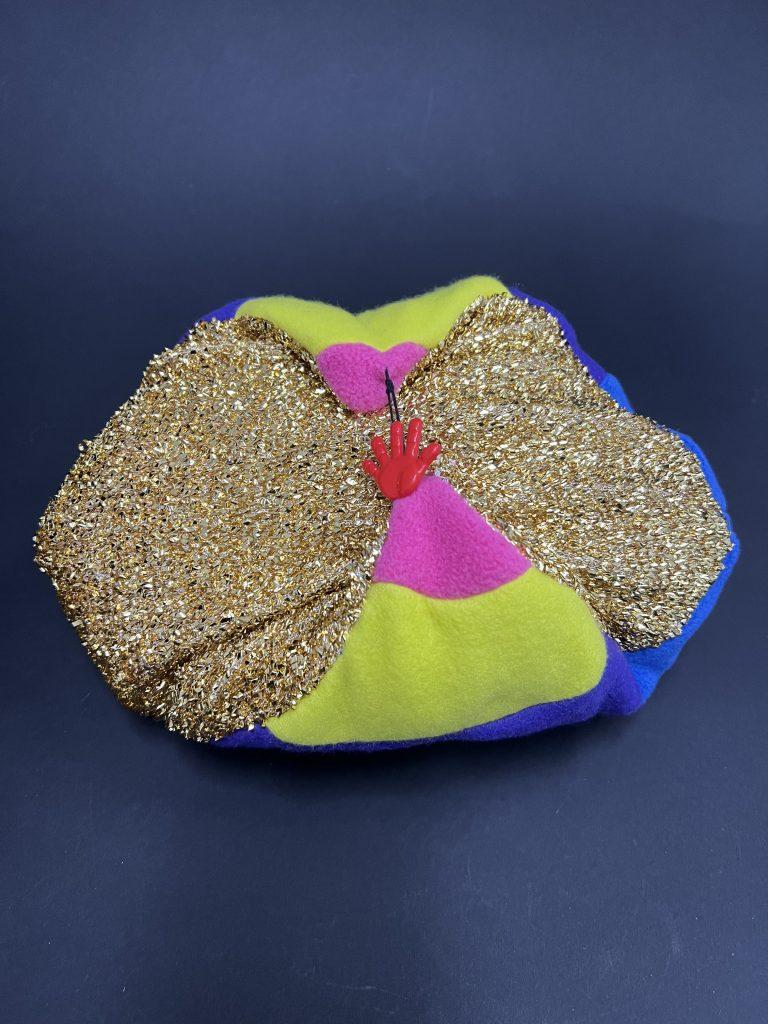
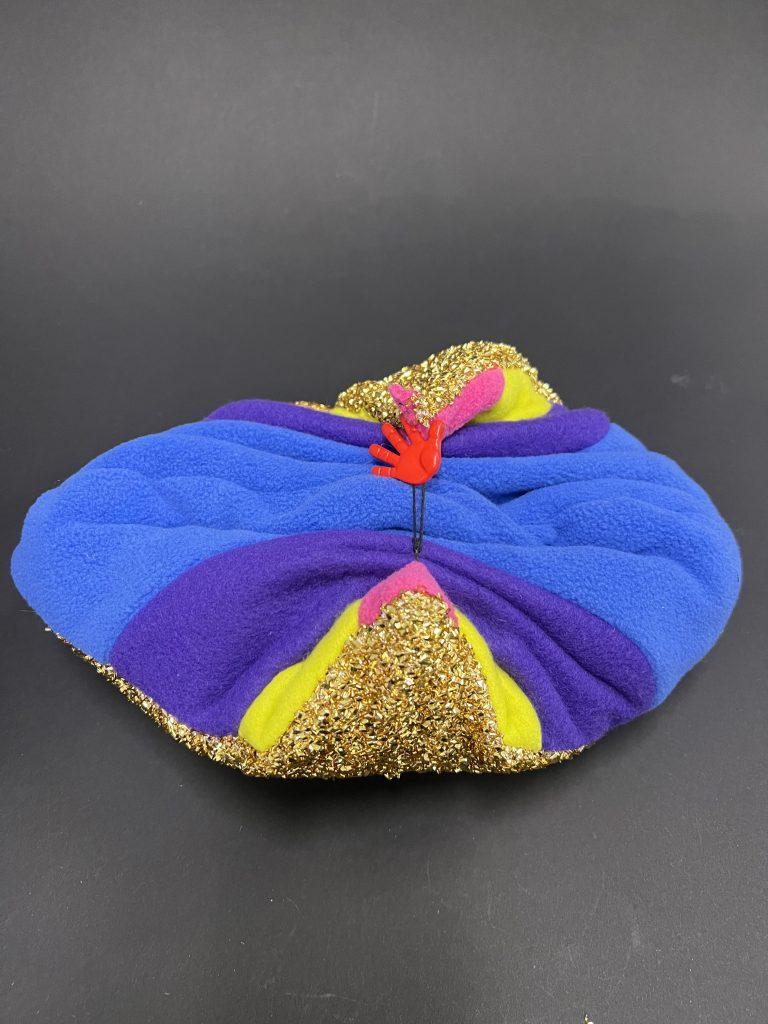
The third inflatable was inspired by the second inflatable. I wanted to create a book-shaped inflatable where the two sides of the book can be pulled together to be folded. I used a playful color palette of purple, pink, blue, and yellow. I added a cherry symbol that is from the game Animal Crossing. How I created the two sides of the book is sewing the all fabric together into an empty box shape, then going once more through the middle of the box through the sewing machine.

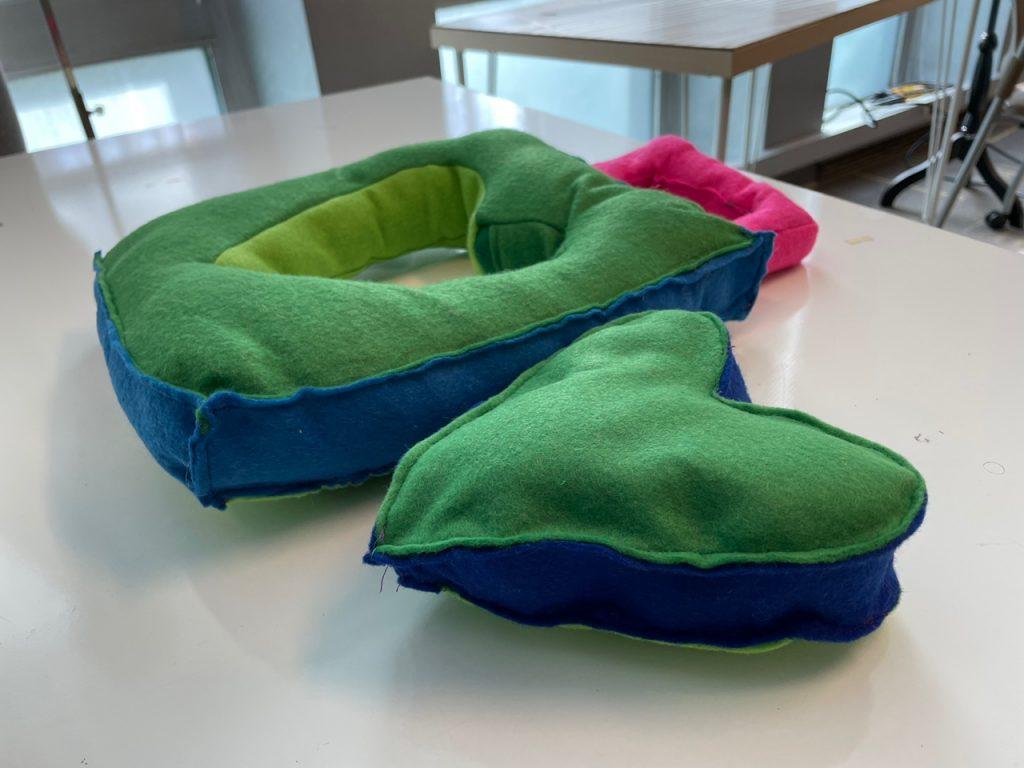
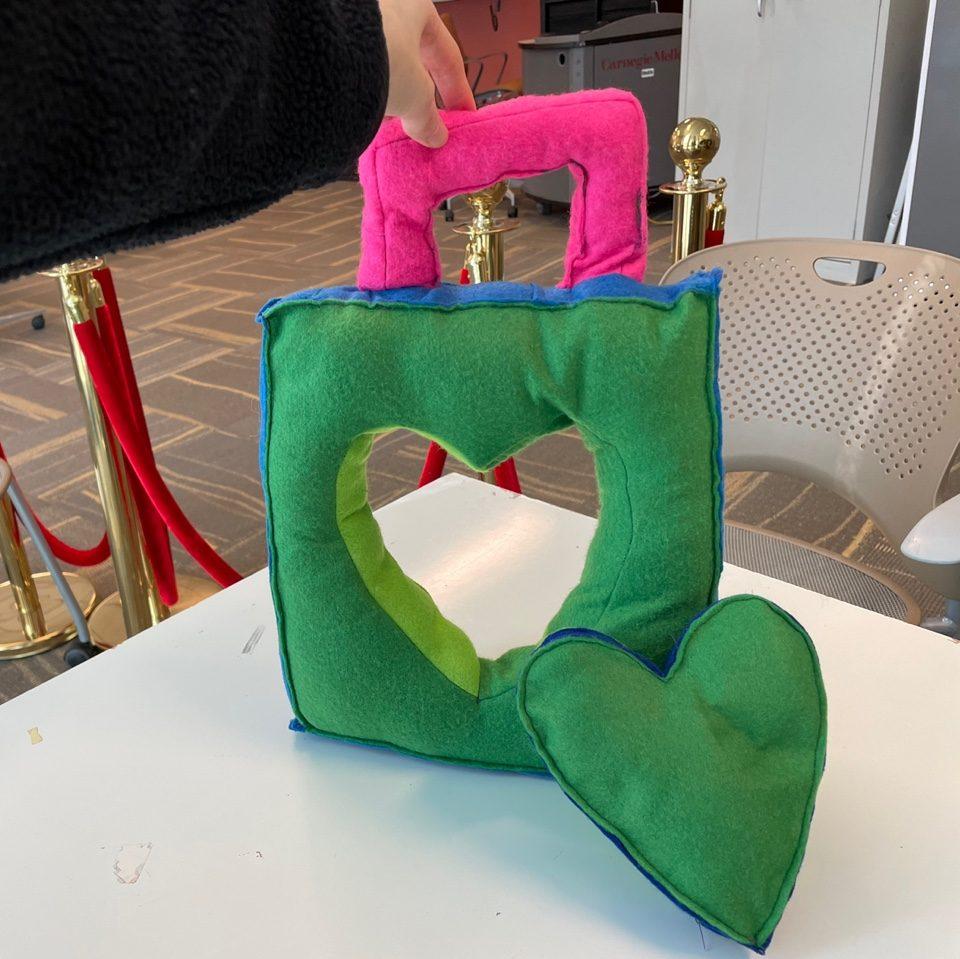
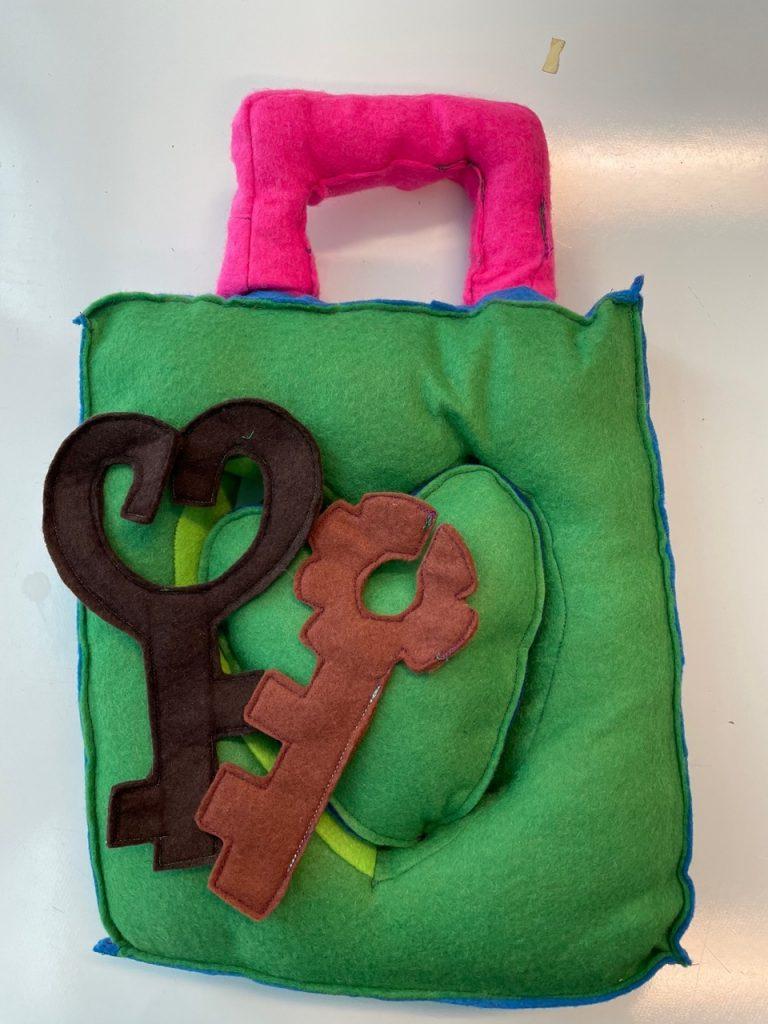
The final inflatable is a lock and key. The lock can be pushed through to reveal a heart shape. I wanted the reveal of the heart shape to have an element of surprise to it. So, I used blue fabric for contrast to the sides of the heart shape. After filling the inflatable with polyfill, the lock looked more like a portable bag with a handle. To give more identity to the object, I created two keys that be connected to the handle.

The critique was helpful in understanding and reviewing the pieces that I made. I discovered that my pieces resembled childhood toys where you could interact with the toys. I believe it is because of the interactive aspect of the pieces, the color scheme, the shapes, and the resemblance to real-life objects. I was also very happy that the class could understand my attempt for each object. Maybe the directness of my objects can be open for more exploration and personal narration to the objects. One more thing to mention is my developed sewing skills and my understanding of 3d forms throughout this project.

Lori Kipp – Push/Pull Part 1

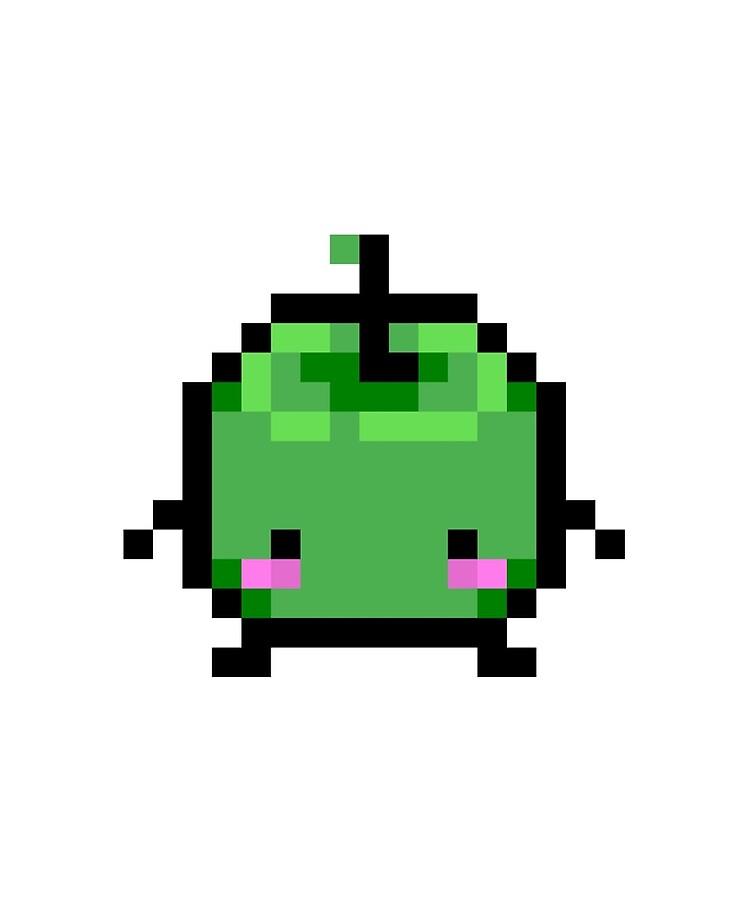
For my set of Push/Pull objects, I intitally wanted to focus on creating characters; I wanted to explore how different forms could lead to different expressions. My first two objects are loosely based off of Junimos, which are small, helpful creatures from the game Stardew Valley, and were created in Rhino, while my third object was patterned by hand and was intended to serve a specific purpose.

Object 1 – Pear Junimo

Visual Portfolio, Posts & Image Gallery for WordPress

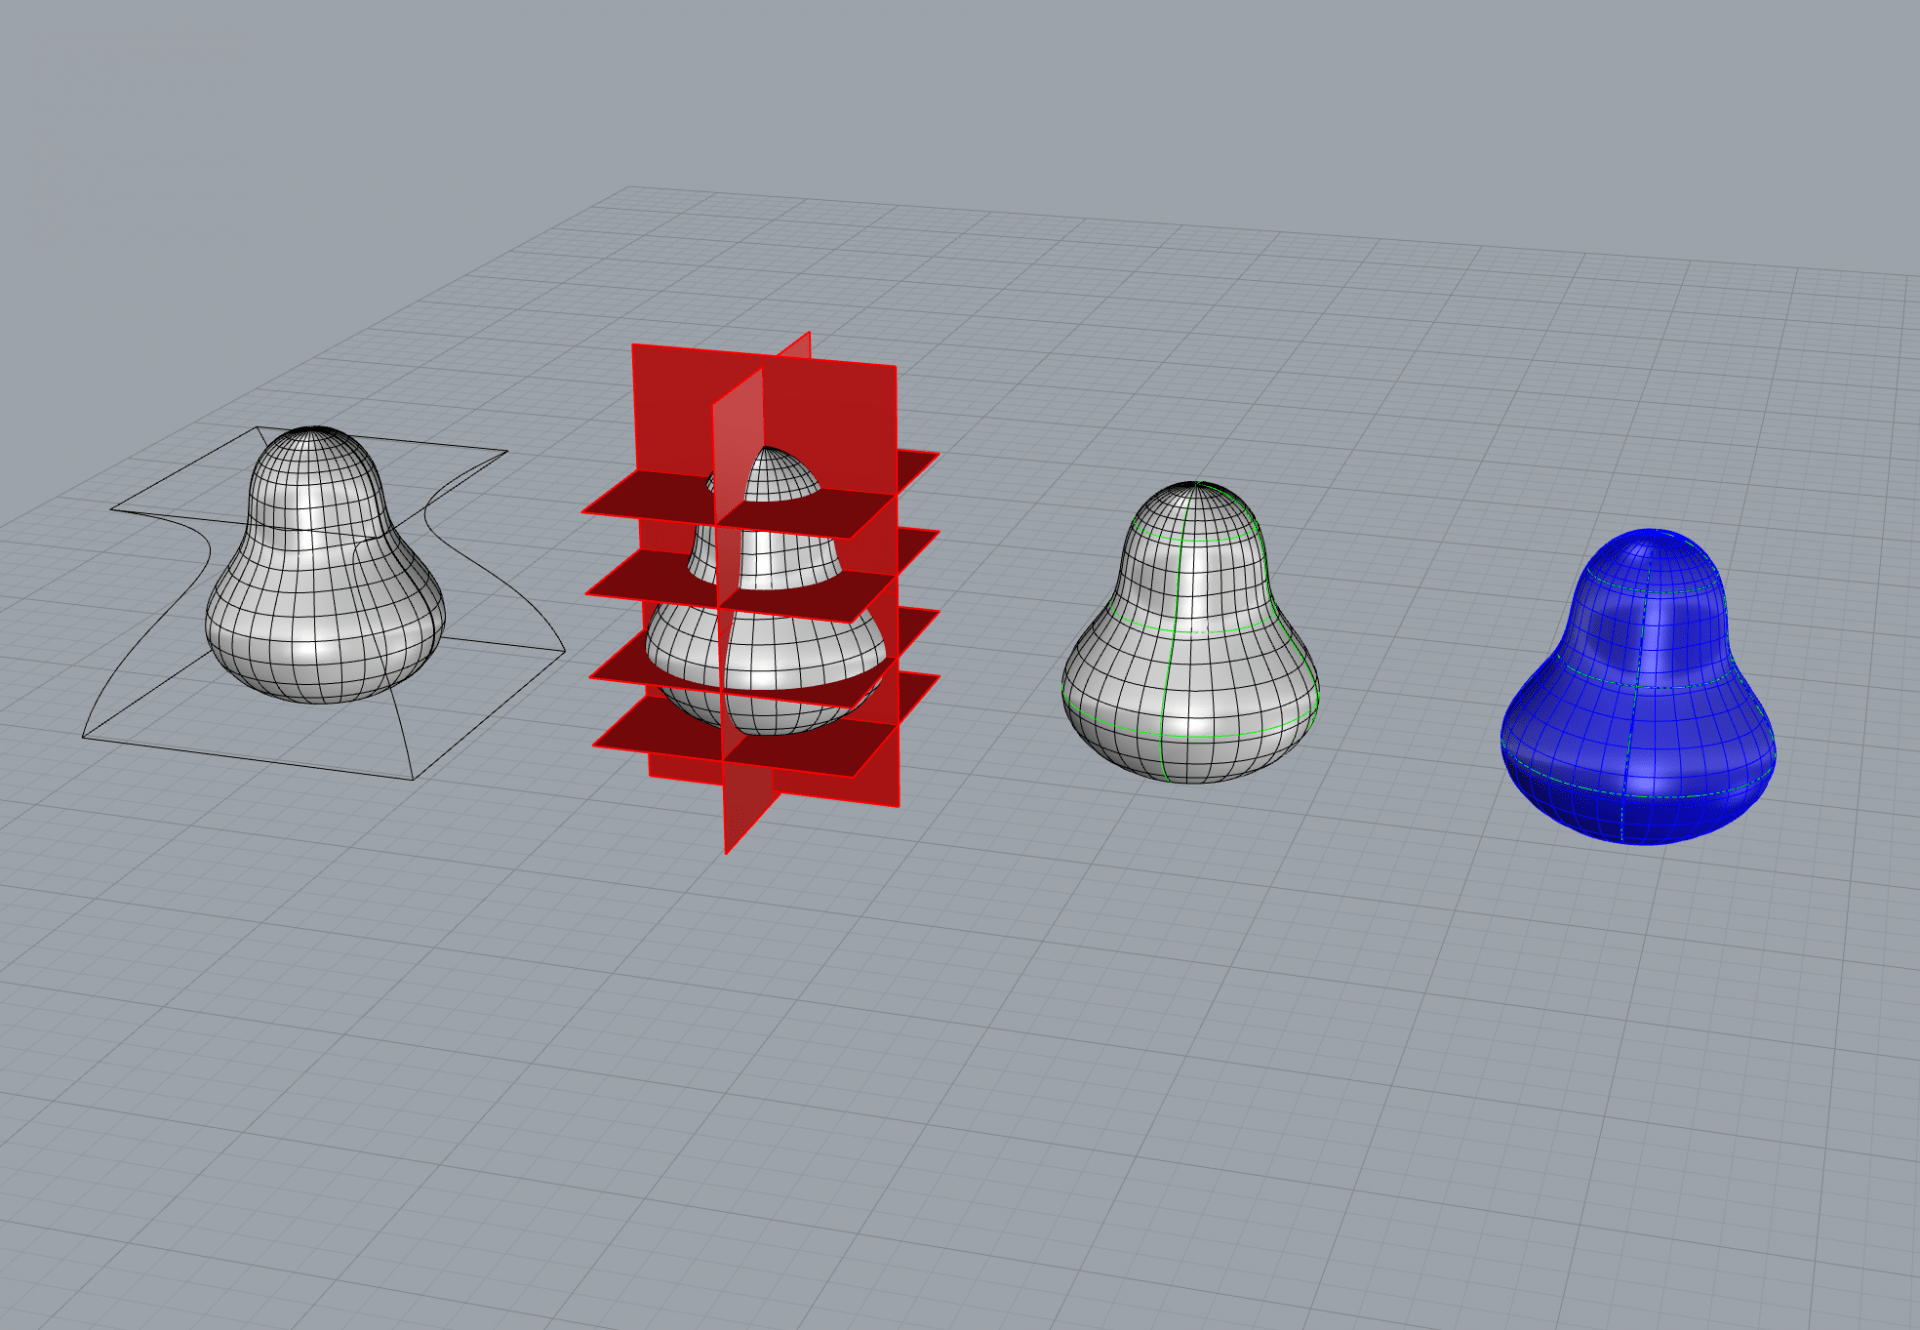
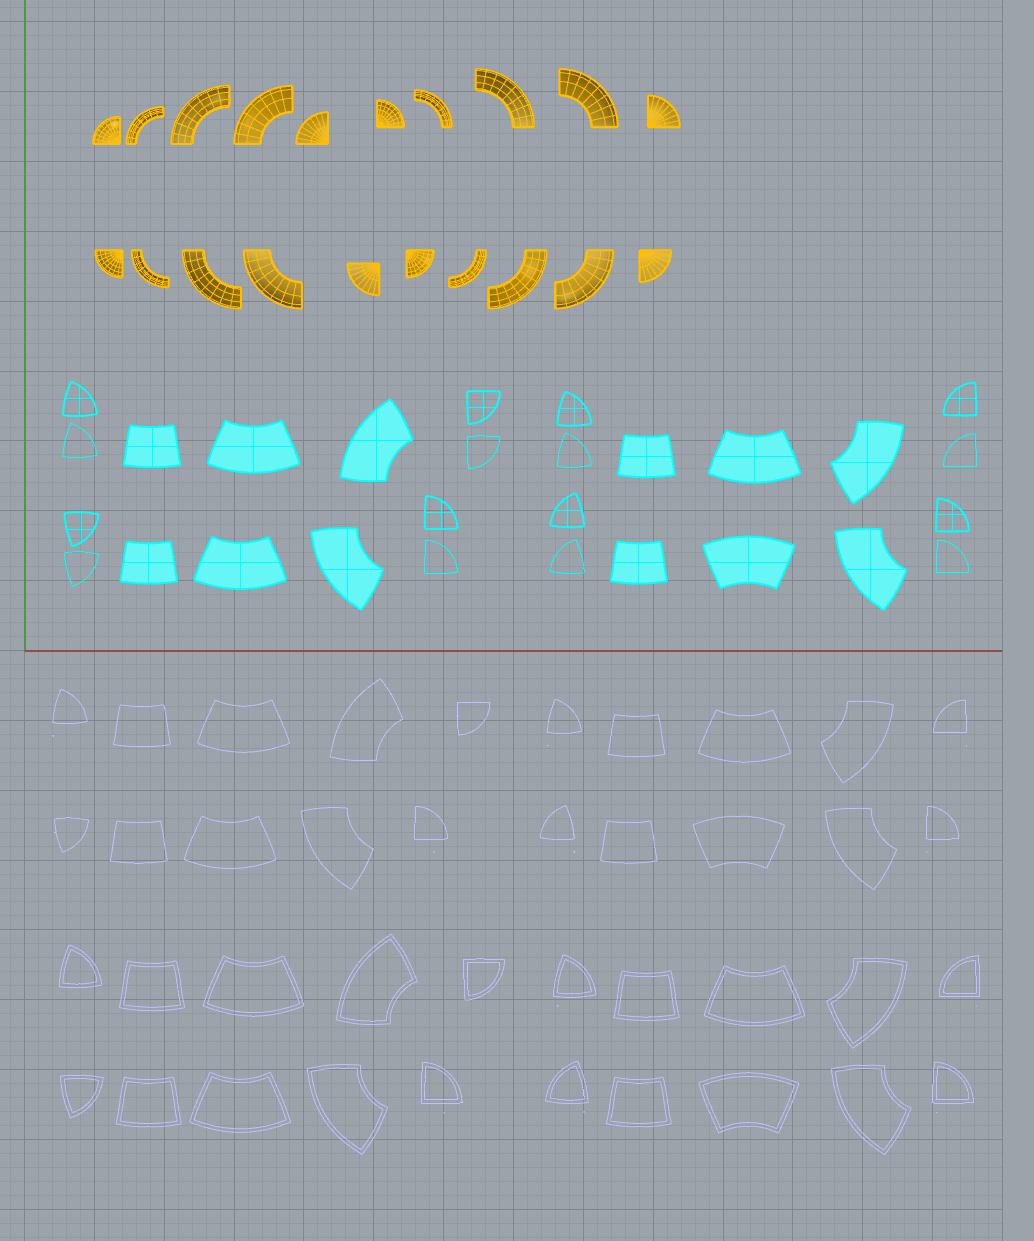
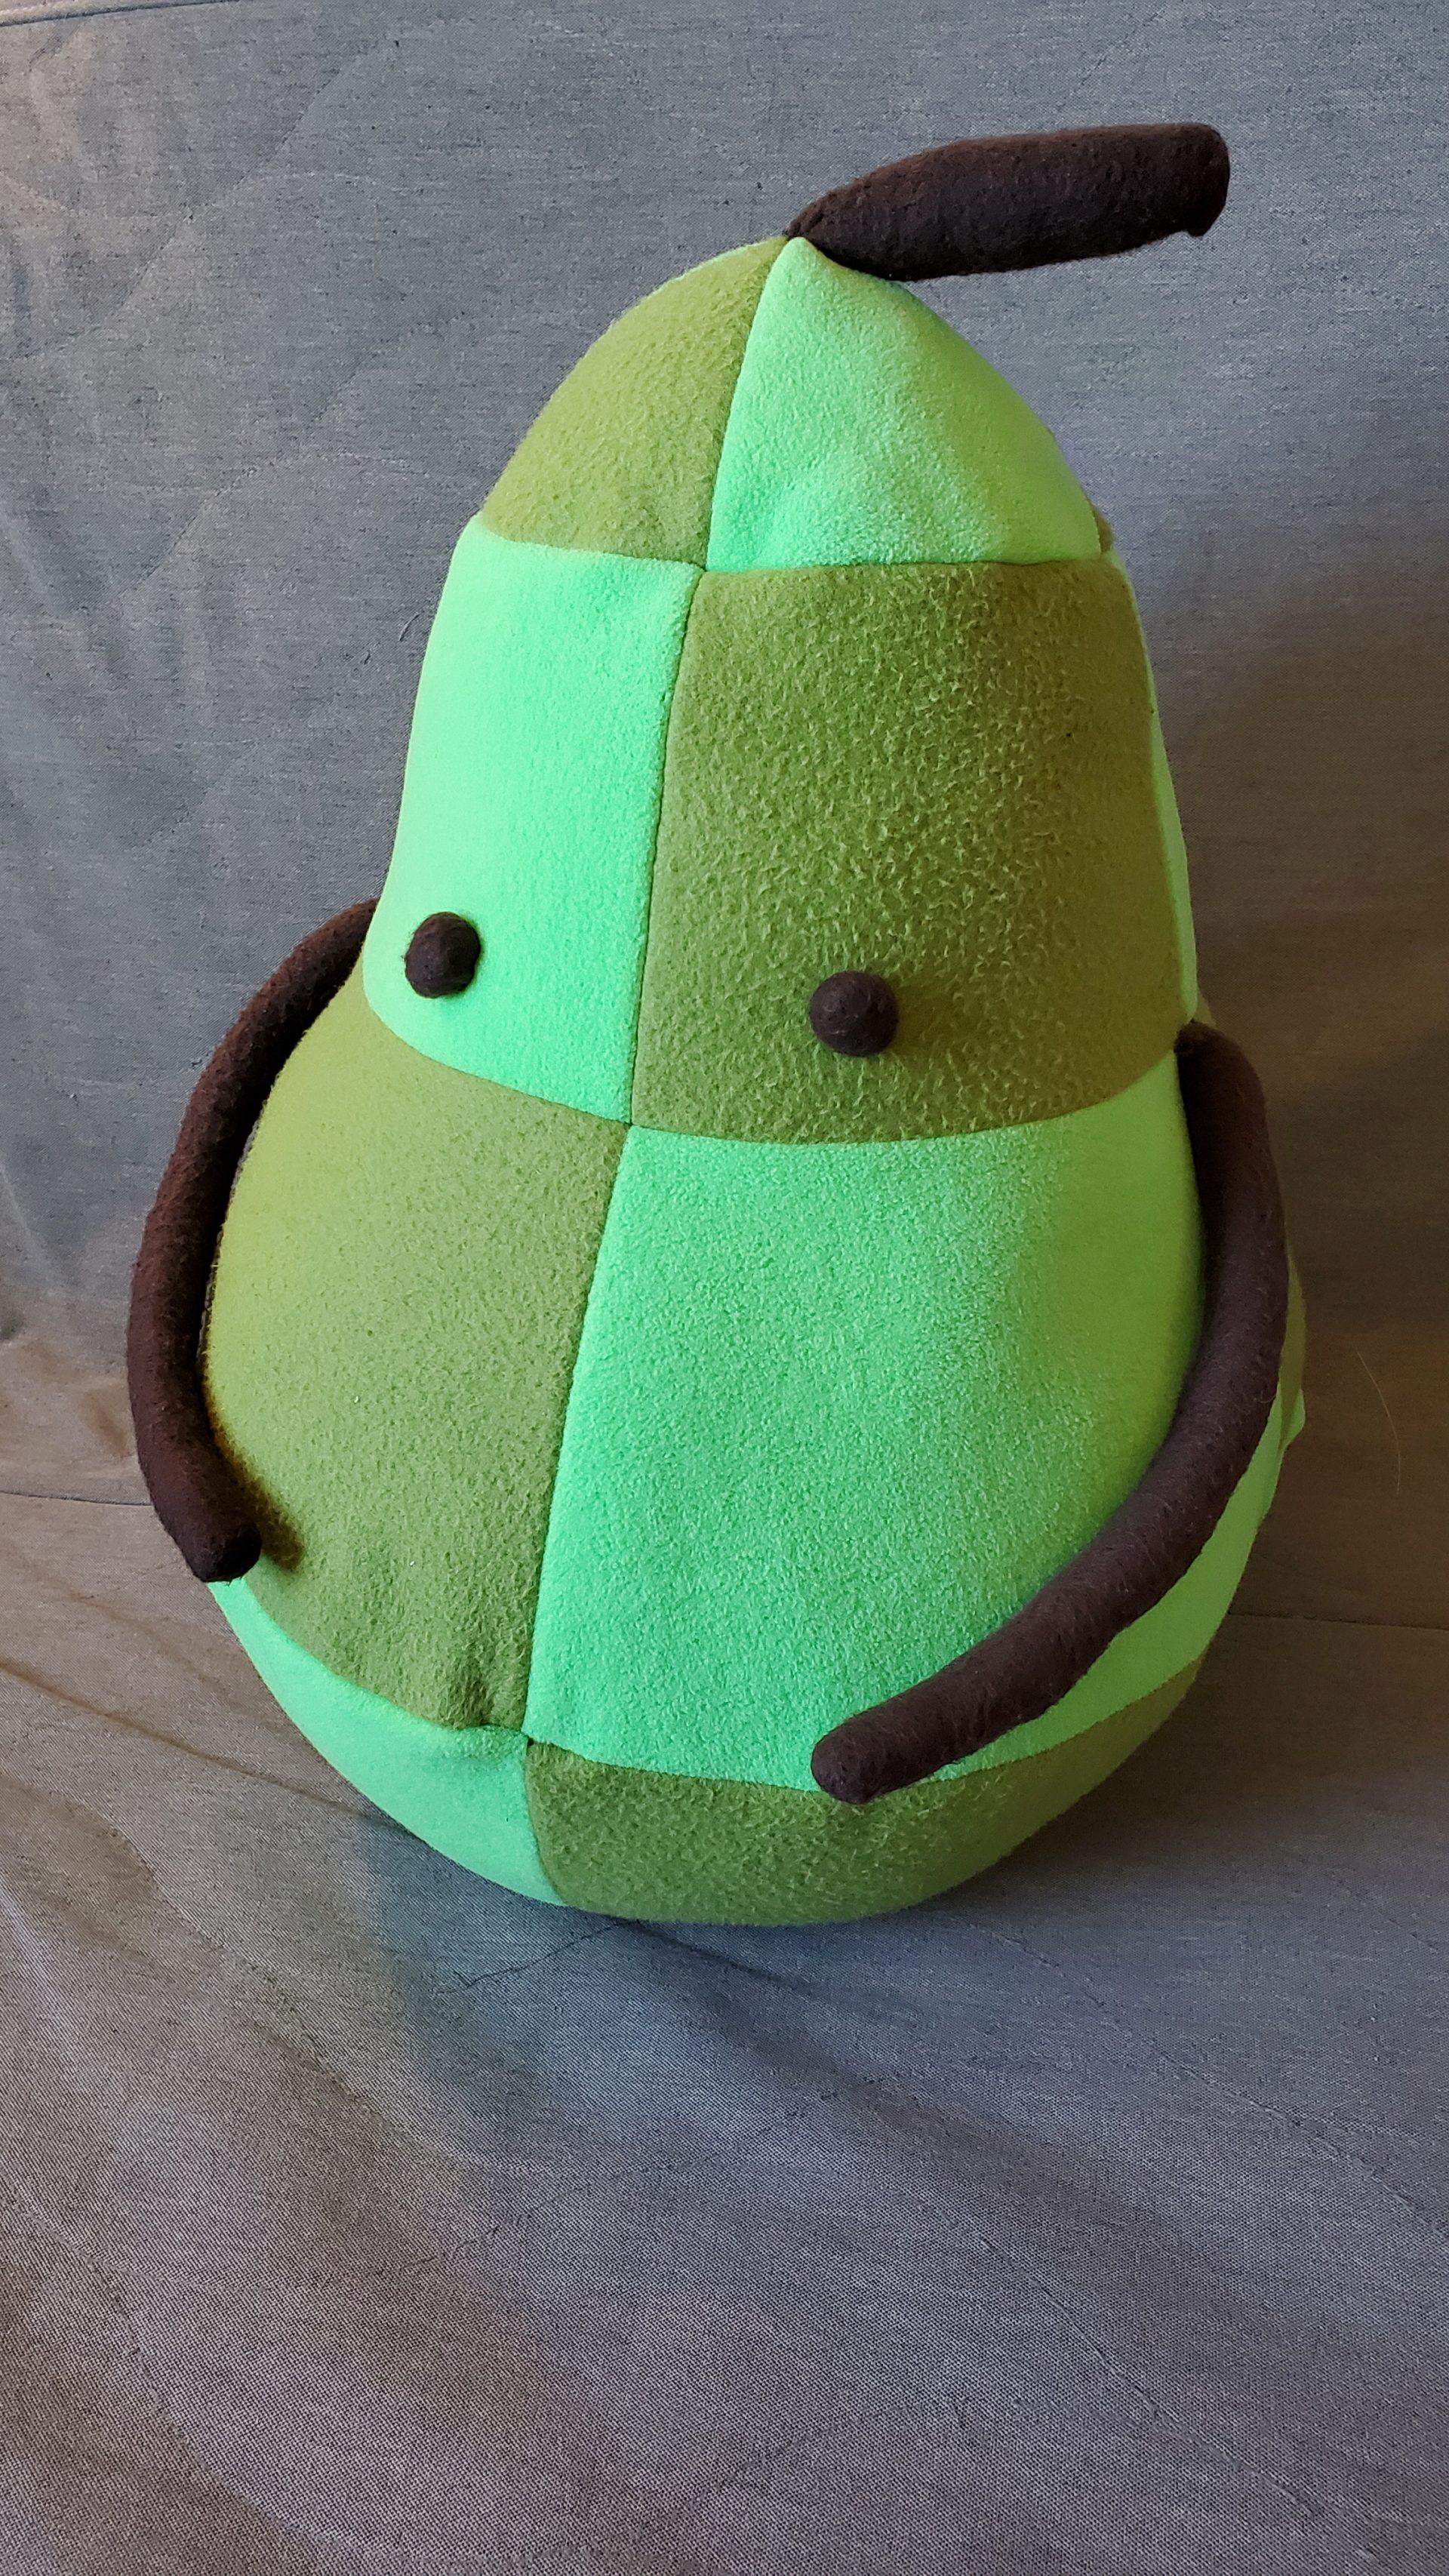
I modeled the pear-shaped body in Rhino by symmetrically deforming a sphere. In Rhino, I was able to explore how various alterations to basic forms resulted in new forms, and I was particularly interested in how they squished to being represented by 2D curvature. Because the Pear Junimo is rotationally symmetric, each of the surfaces in the same patterned ring squished down to the same geometry. The arms and stem were originally intended to be cylindrical, with defined circles on the ends, which I intended to form small domes on the ends of the arms. However, when I actually sewed up the pieces, the arms were much too small to accomodate adding the circles as I had modeled in Rhino. I turned these fleece circles into the small button-eyes on the figure.

I also found that the arms had a natural curvature at the seamline, which I had not anticipated. I believe this to be due to the fleece fabric stretching slightly more where there were no seams when I stuffed the arms. Although because of this, I did learn that when working with stretchy fabric, the location of seams actually changes the form of the final figure. I also found that hand-sewing smaller additions – the arms and eyes, was much more time consuming than stiching the rest of the form by machine. In hindsight, for the arms, I should have stuffed them and sewn them into the seam on the large figure directly rather than handsewing them on afterwards, although I am still incredibly pleased with the result.

Object 2 – Blueberry Junimo

Visual Portfolio, Posts & Image Gallery for WordPress

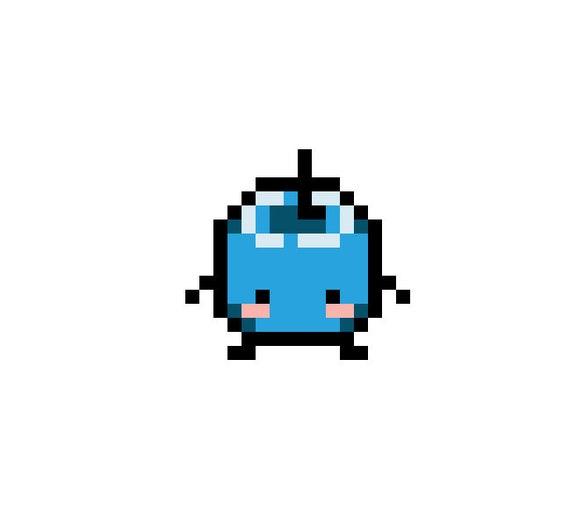
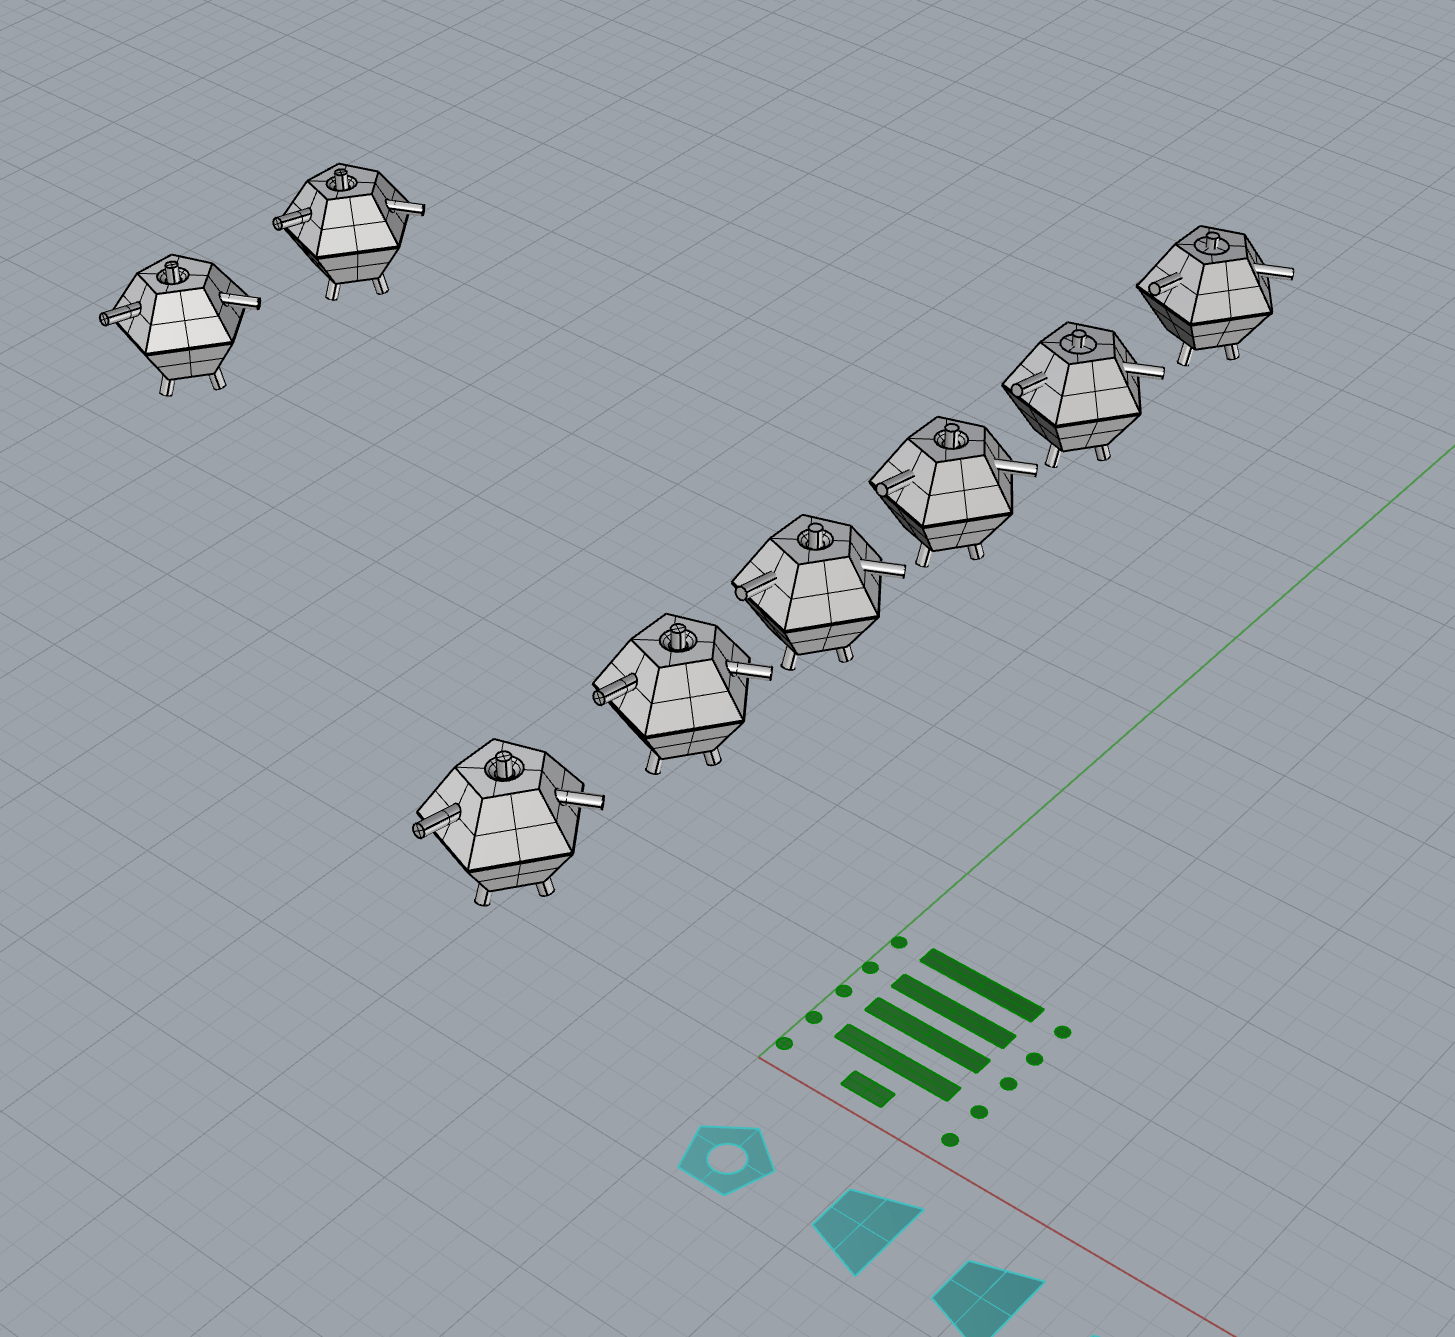
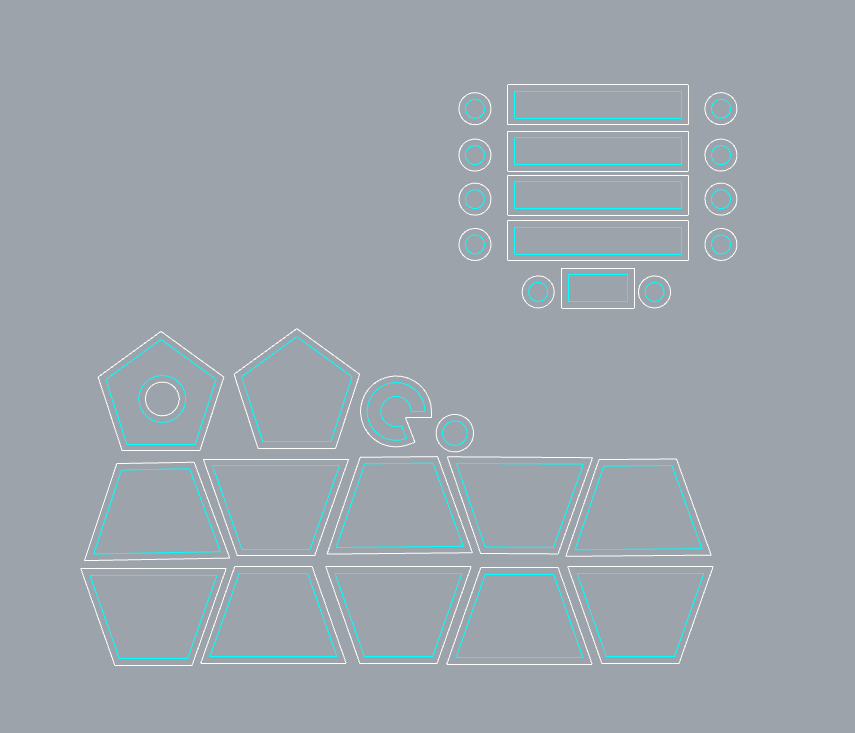
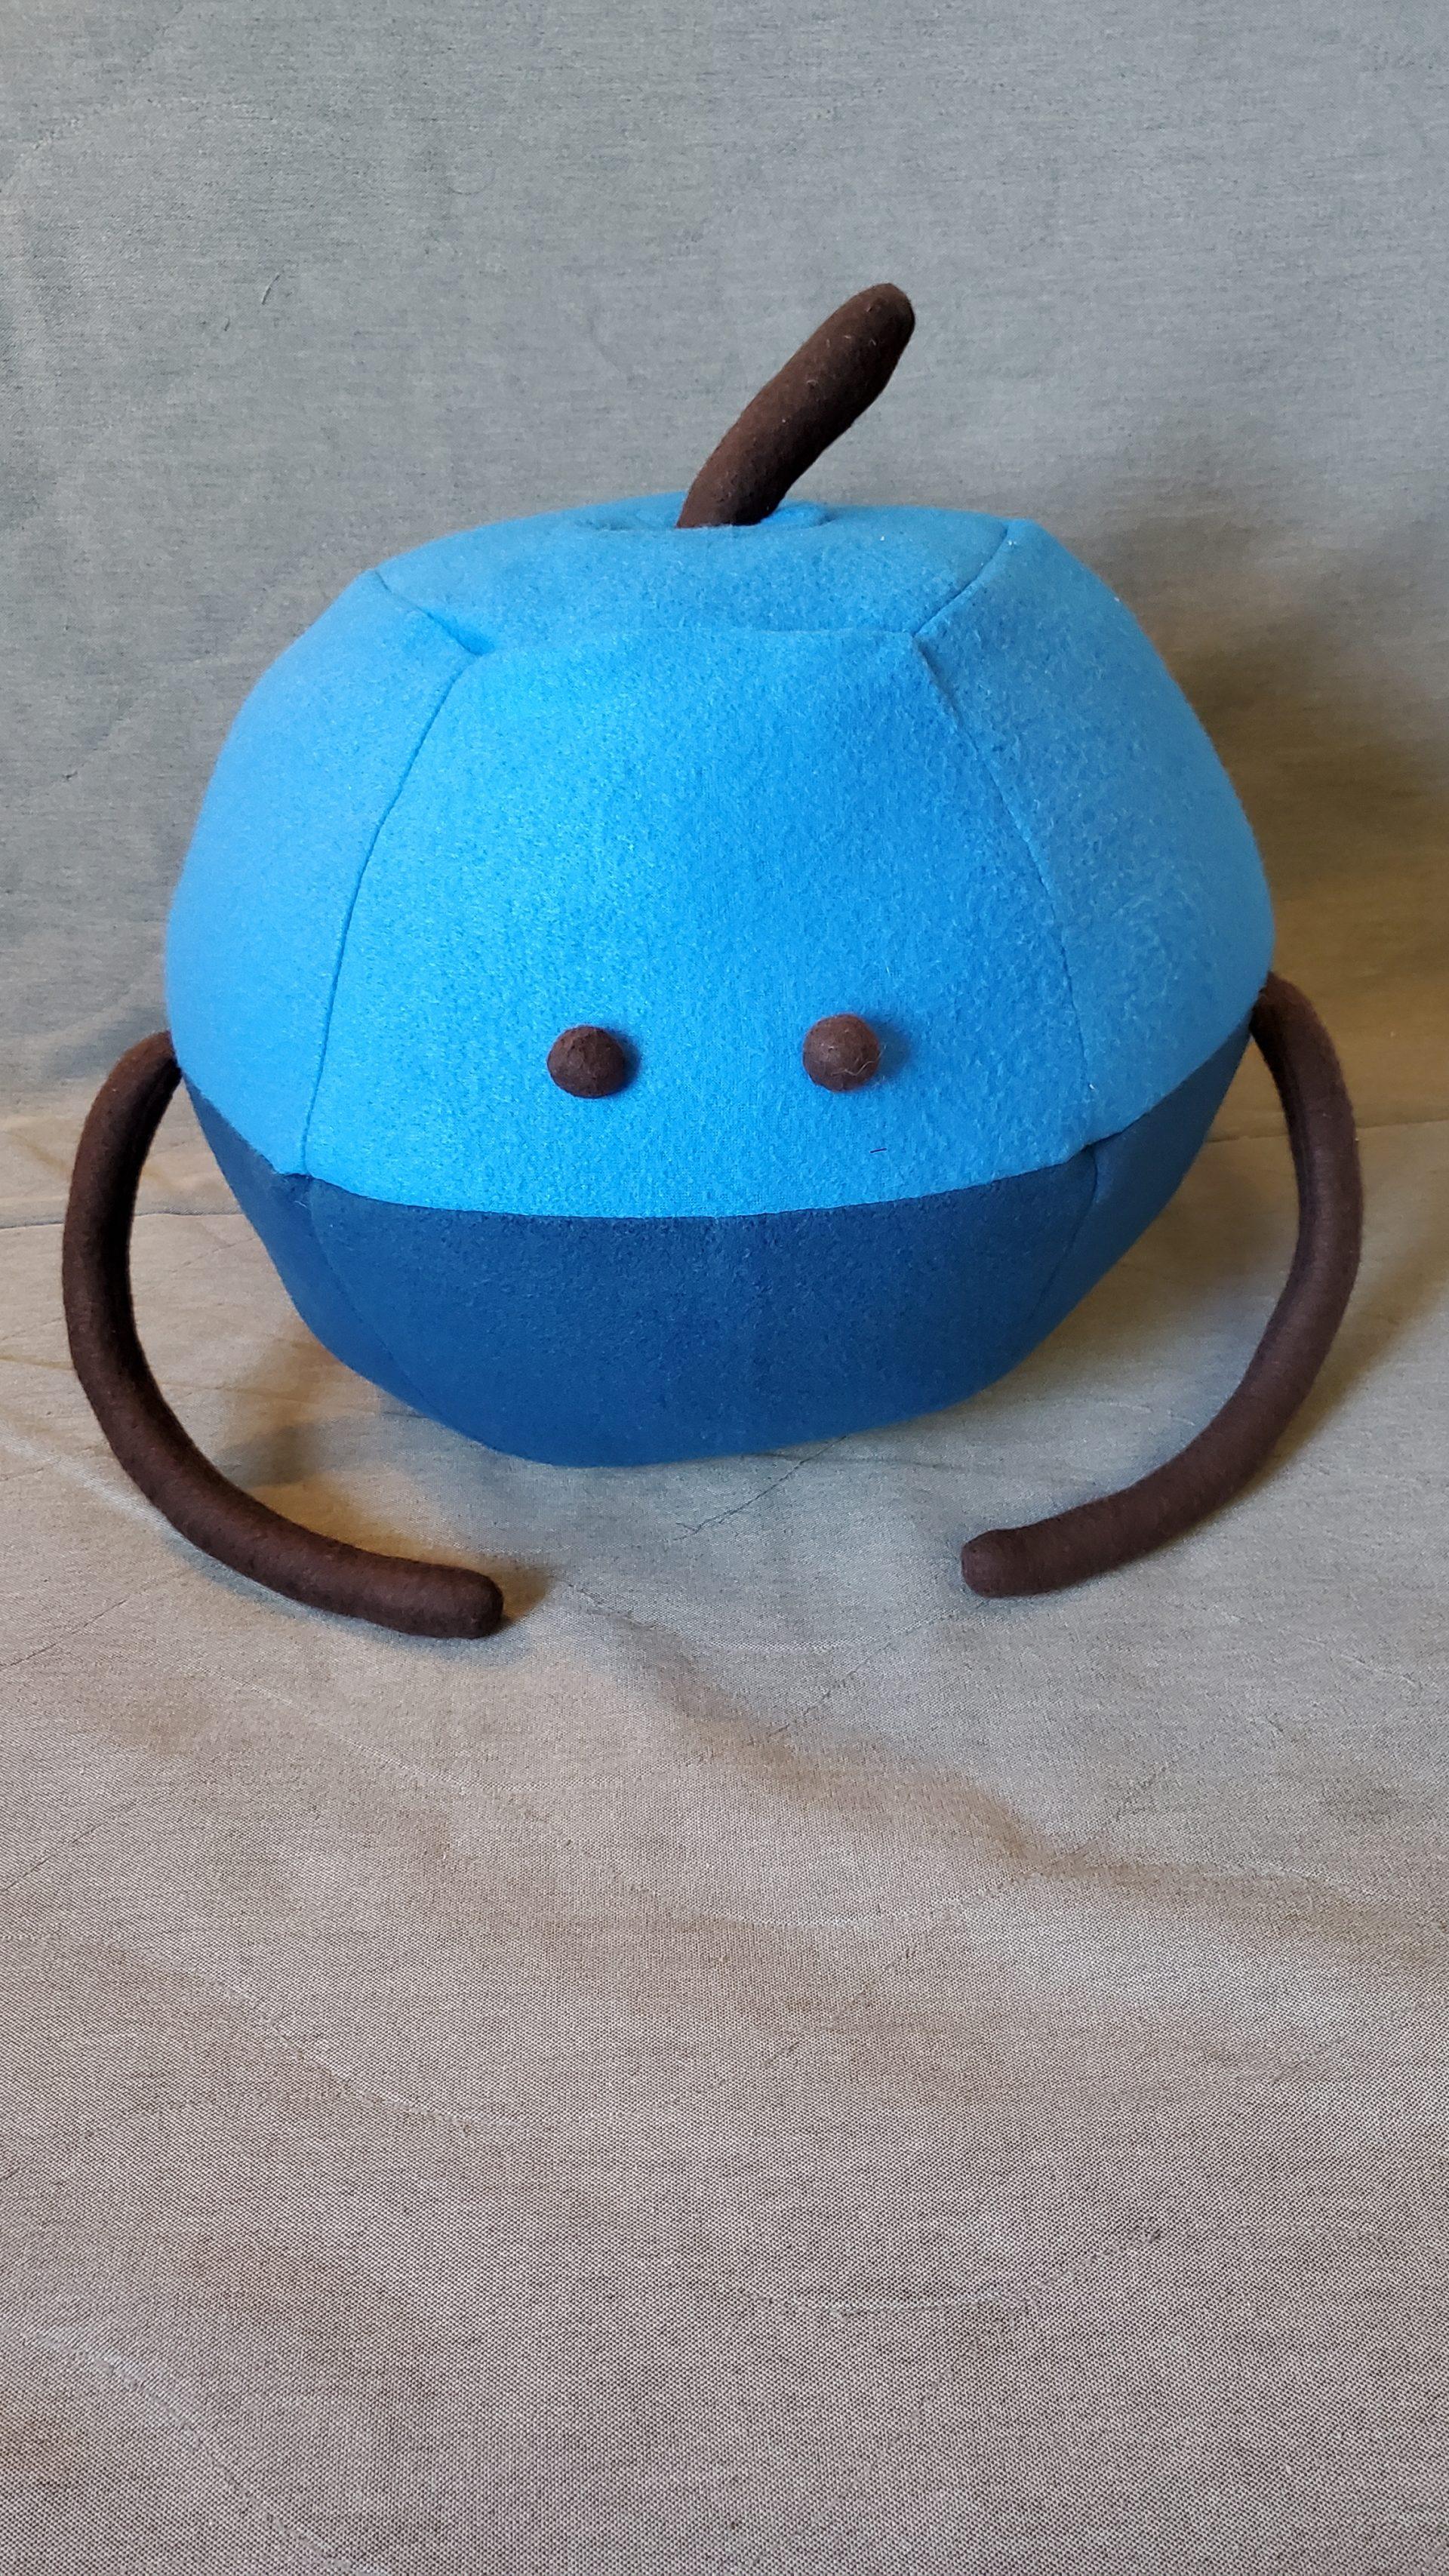
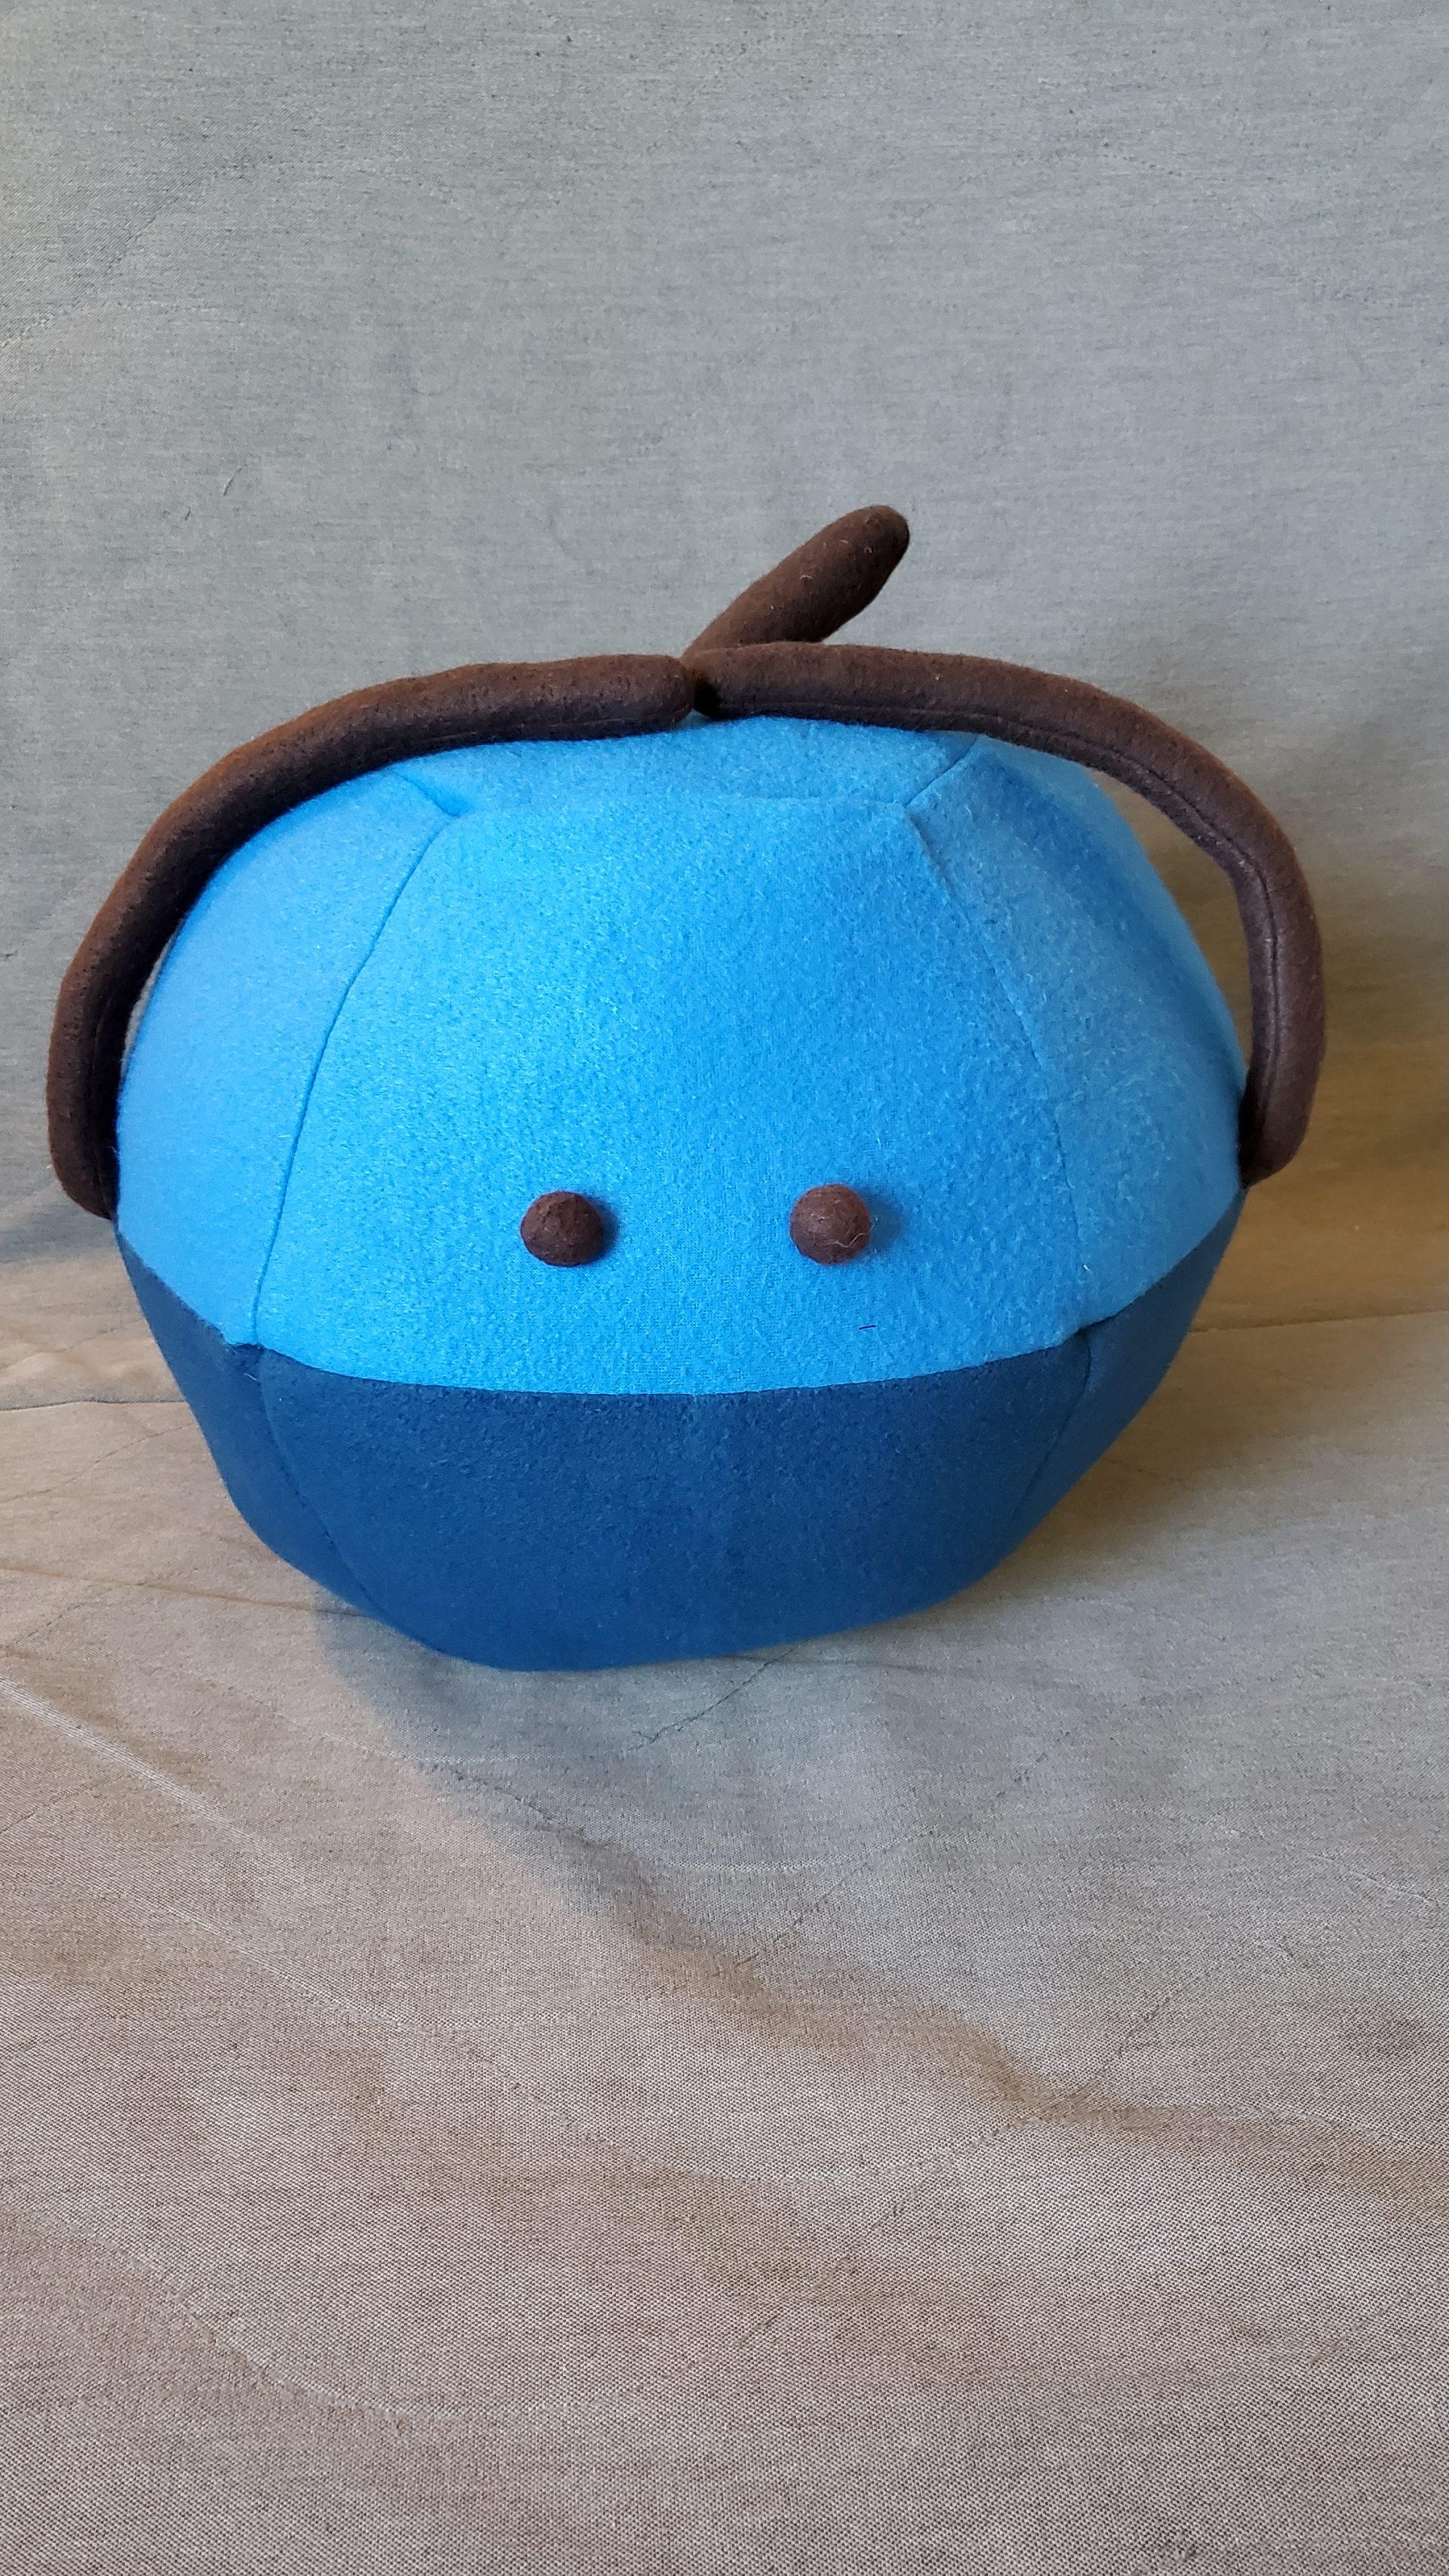
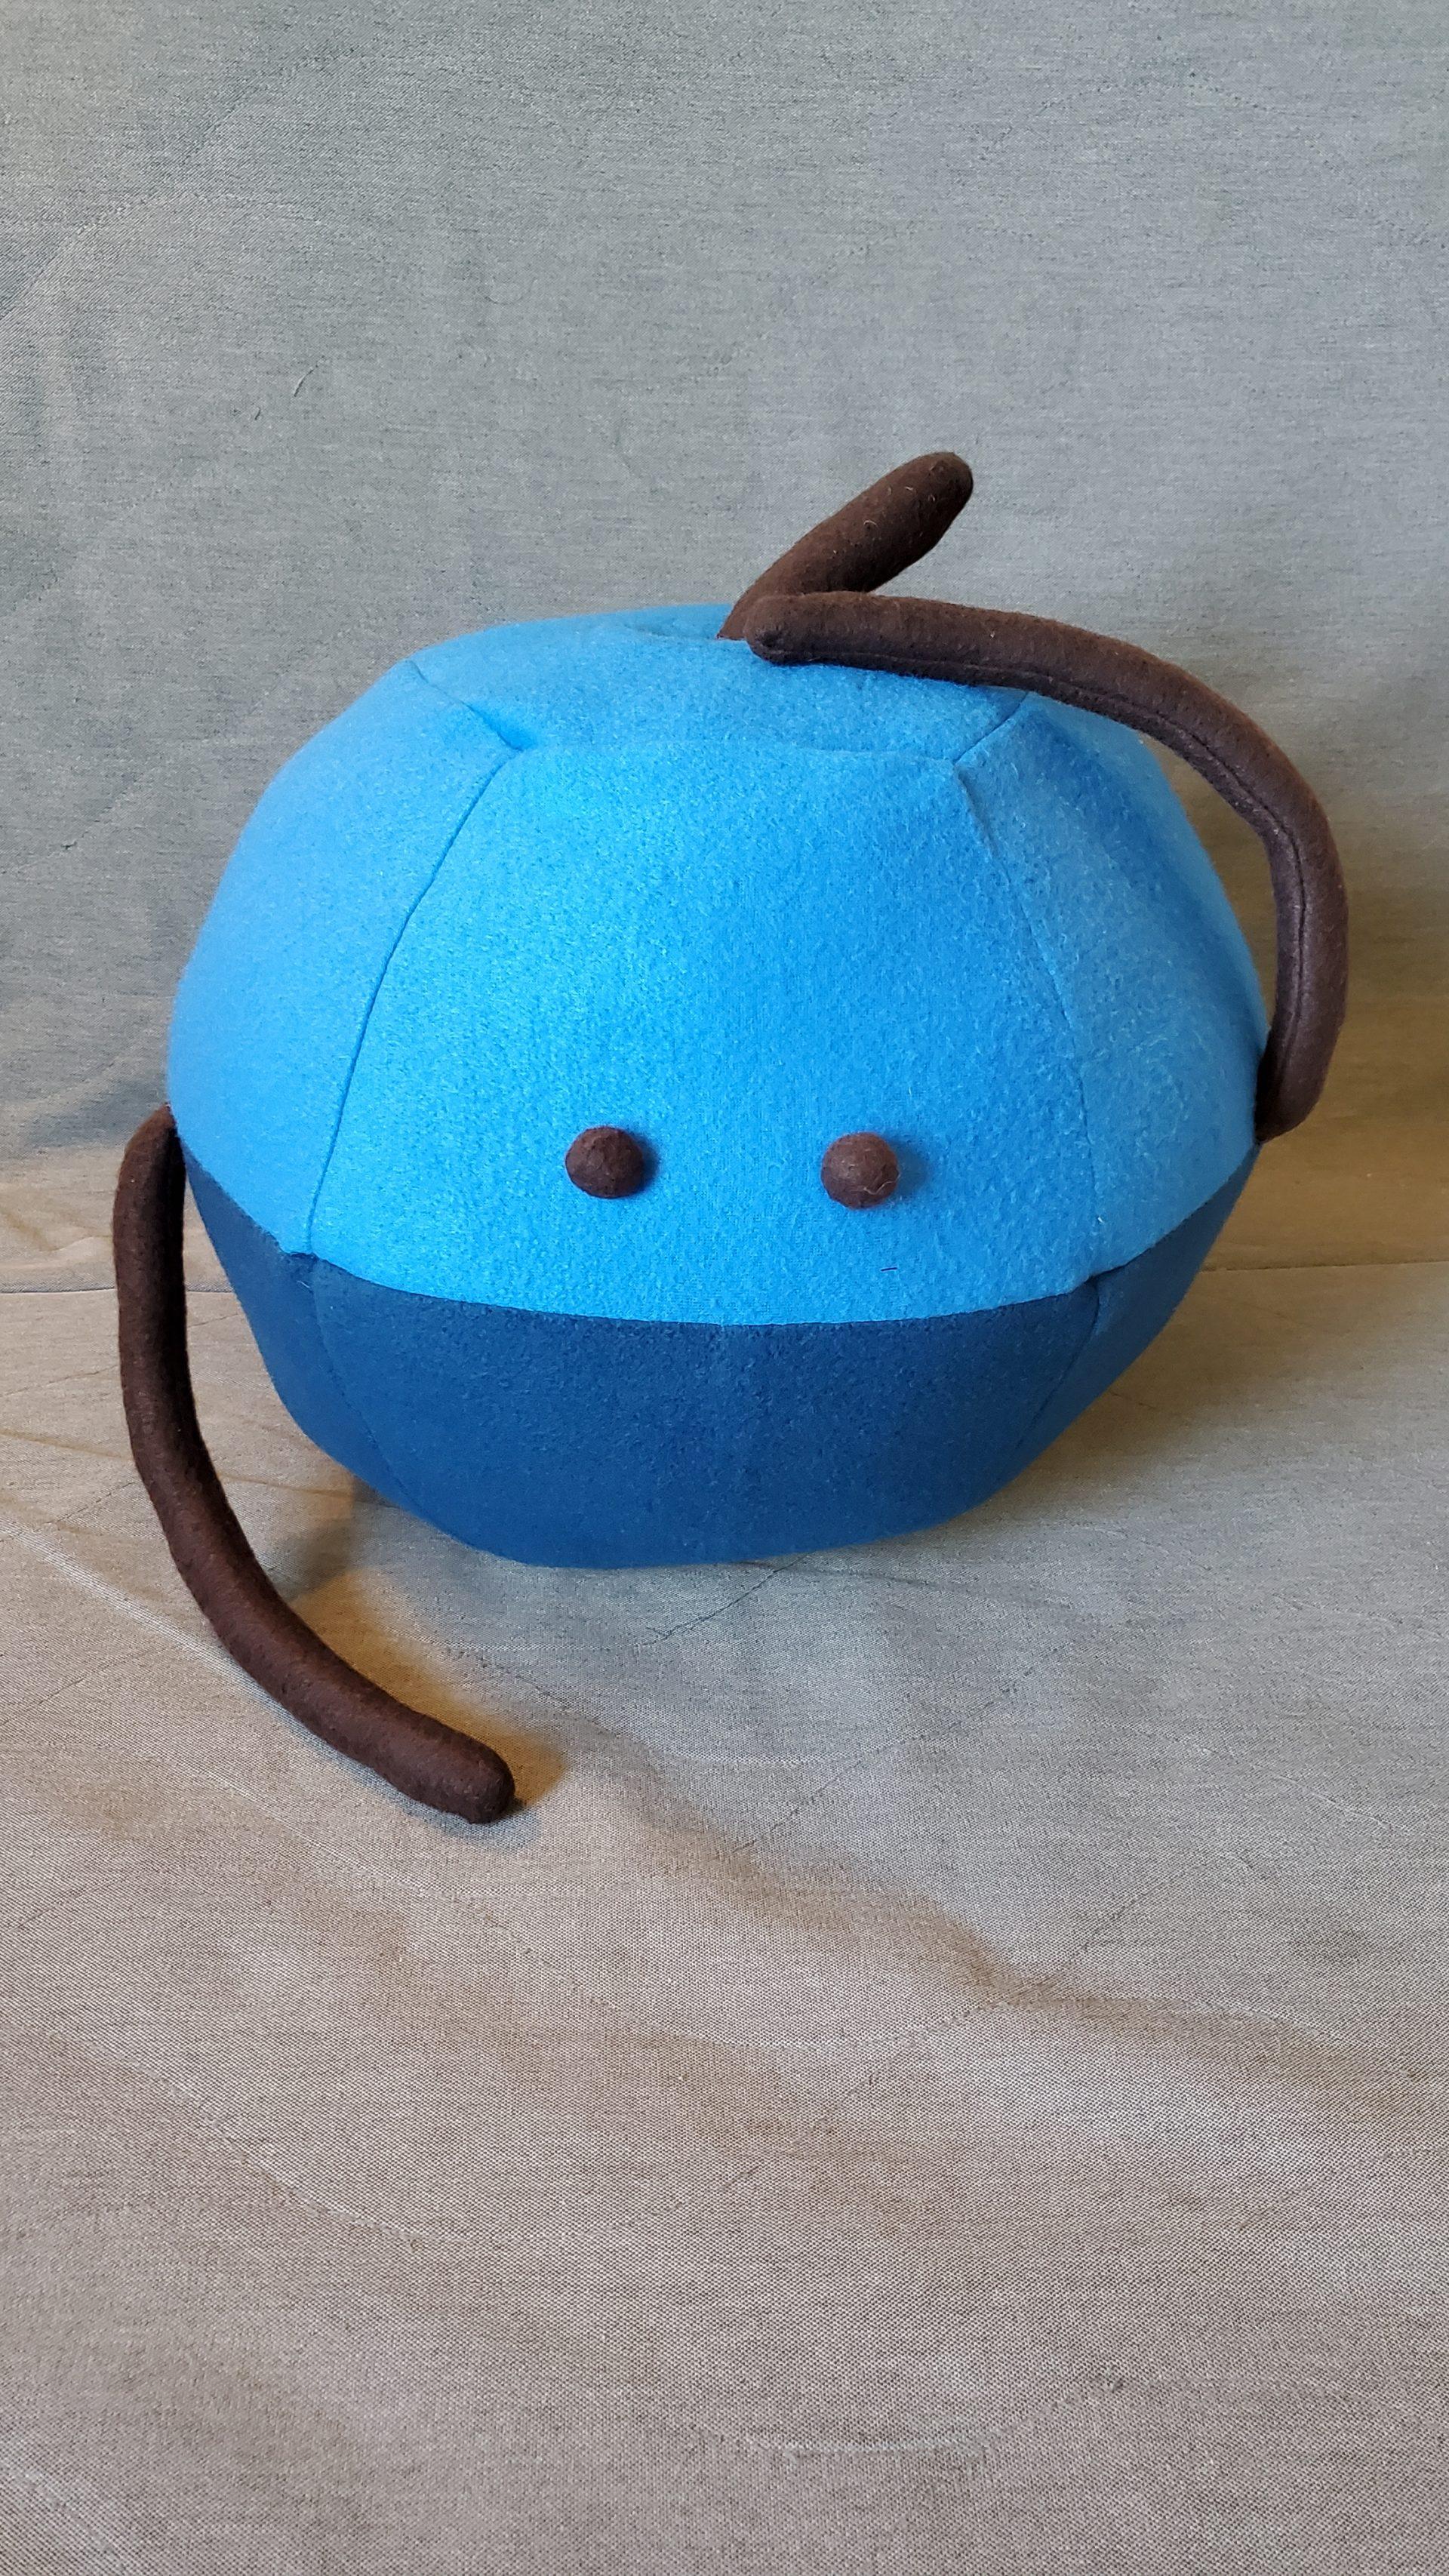
I also modeled the body of the blueberry junimo in Rhino, but instead of deforming a sphere, I used boolean operations between basic forms. Originally, I intended for my second character to be an apple, however after learning how difficult it was to include smaller details with my pear junimo, I realized the indent at the top of the body would likely be lost (and it was). I attempted to anchor the center of the top face (under the stem) to the bottom of the body, however I did not make the anchor an appropriate length and had to overstuff the body to see any difference.

Similar to the pear junimo, I attached arms, eyes, and a stem. I used the same methodology for these.

Ultimately, I found the blueberry junimo to be somewhat easier than the pear junimo, as the vast majority of the the seams were straight lines. However, the conical indent at the top (which was ultimately lost) had to be hand-sewn because it was too small to be stitched by a machine. I found the hand-sewn parts of both projects to be the most tiresome, as I often felt very little progress was made for the amount of time I spent.

Object 3 – Beach Ball Pillow

Visual Portfolio, Posts & Image Gallery for WordPress

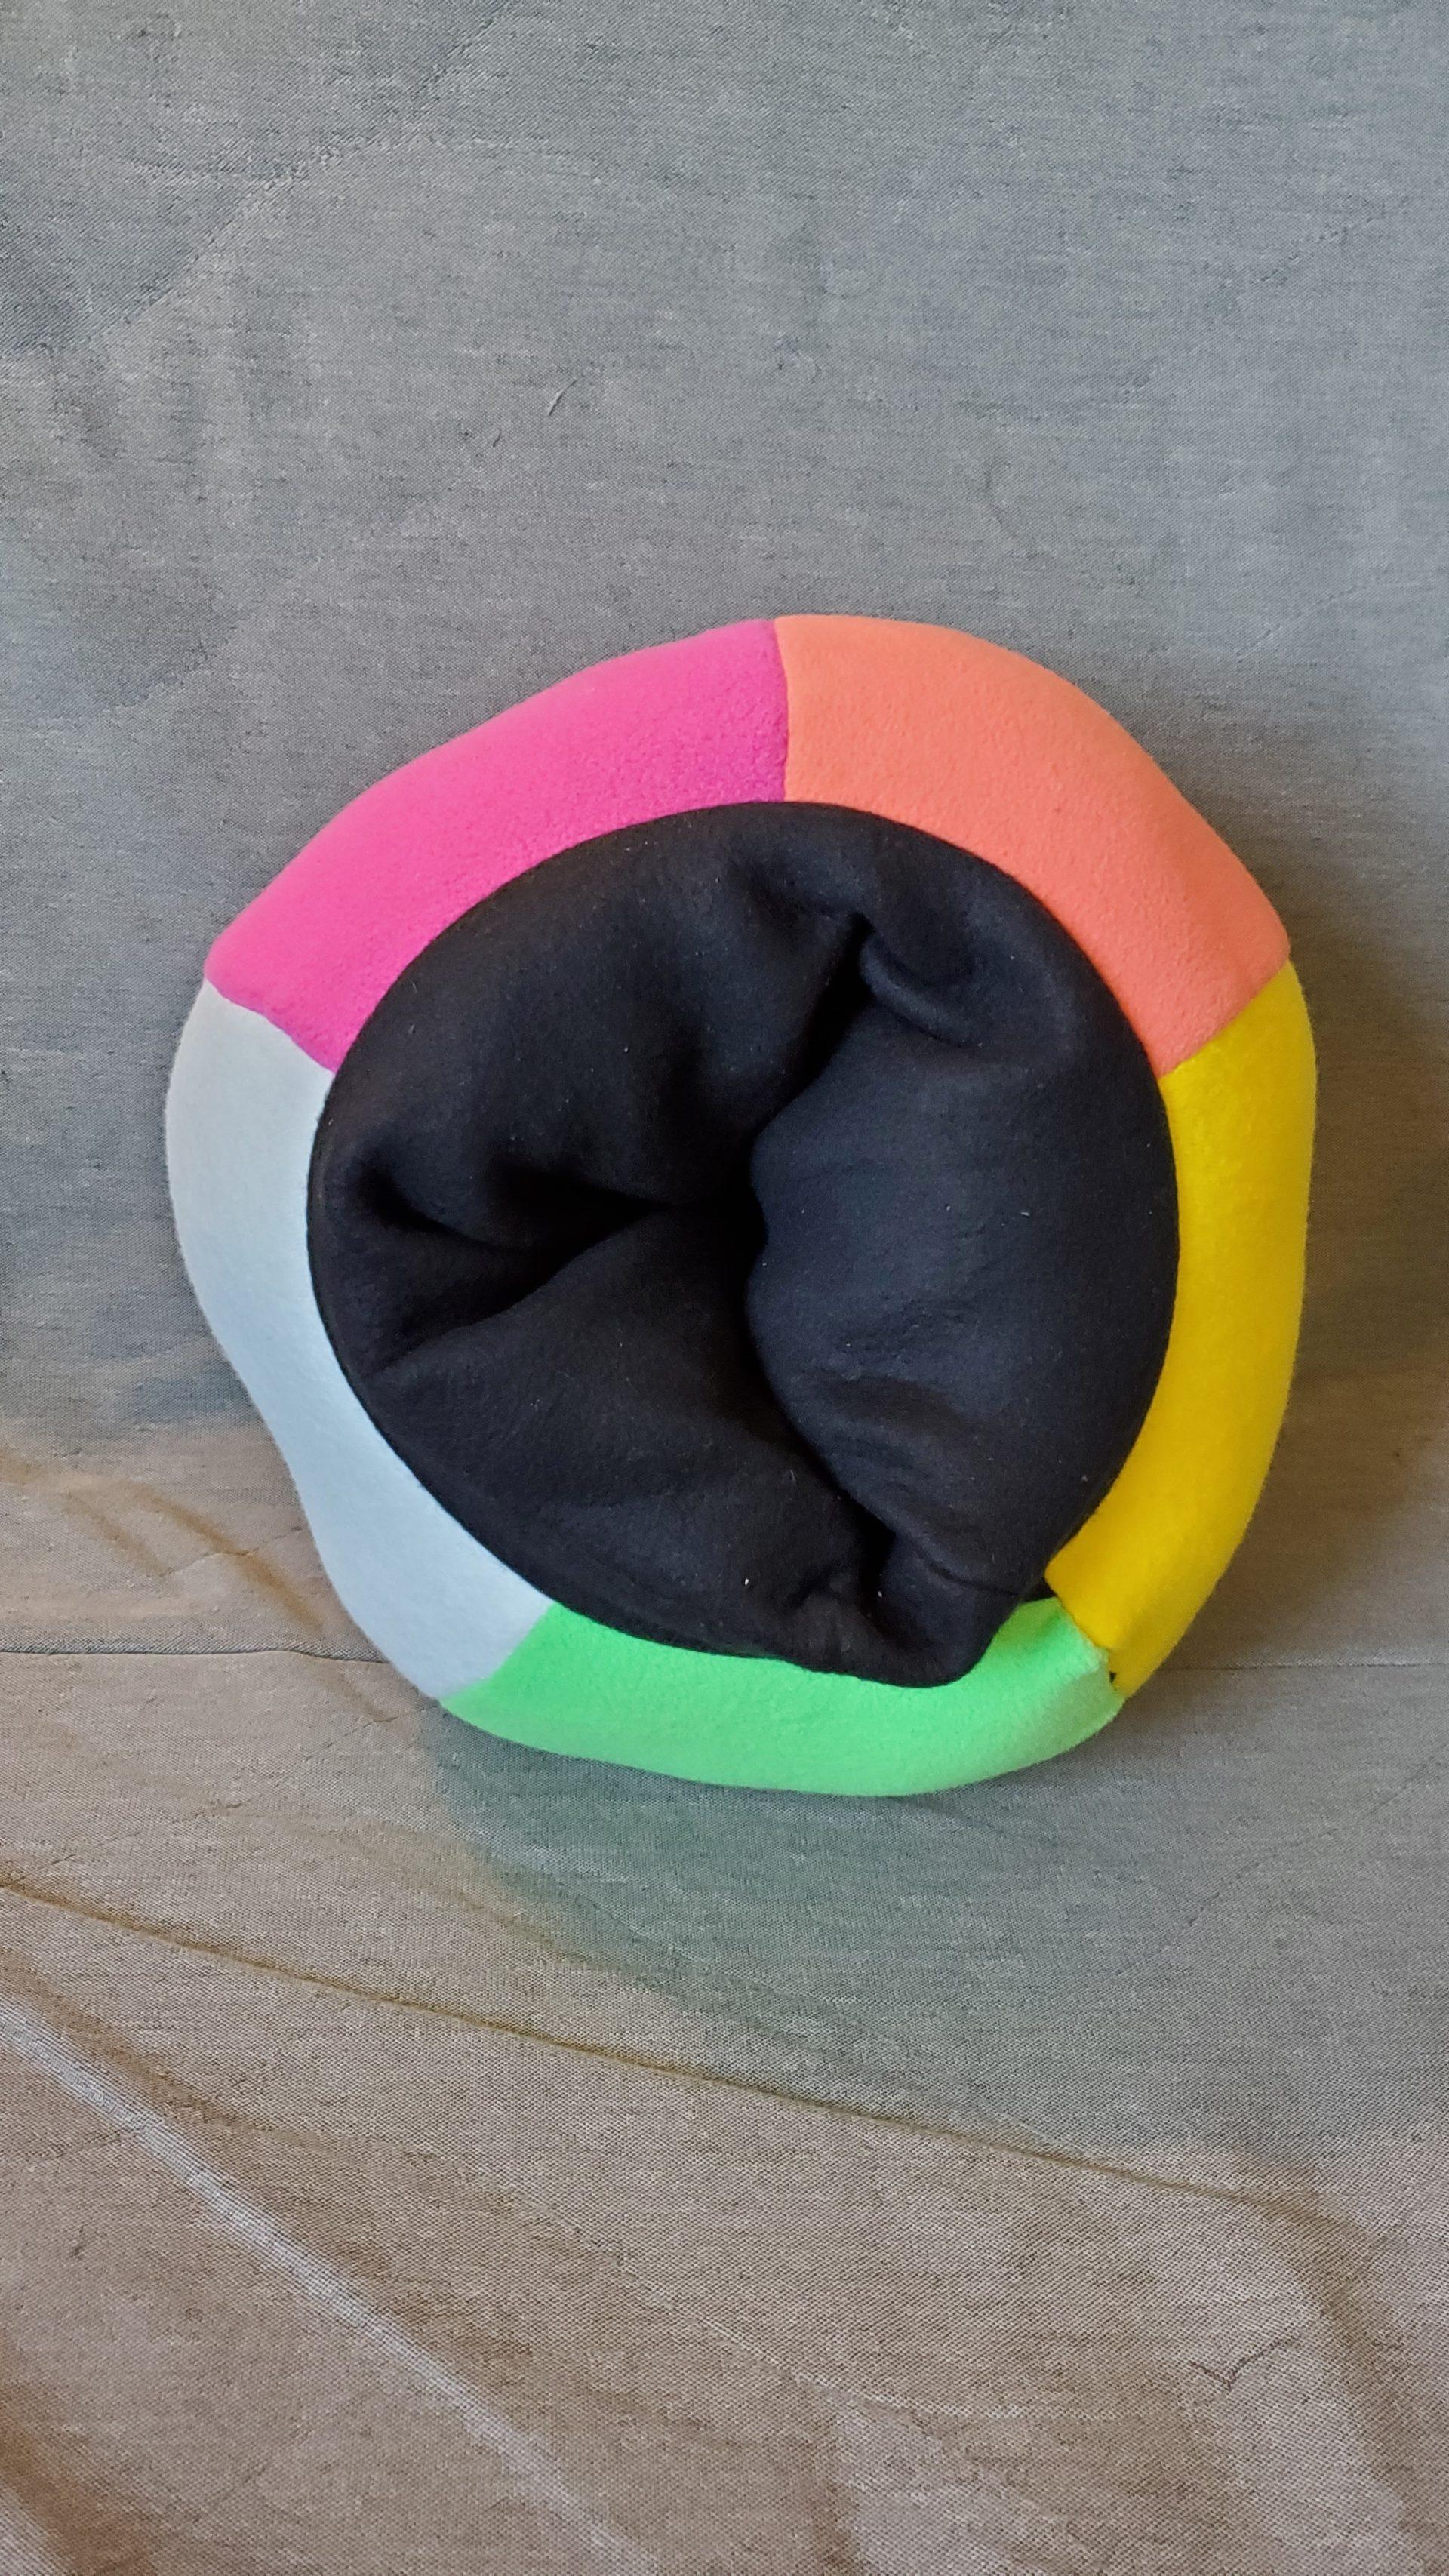
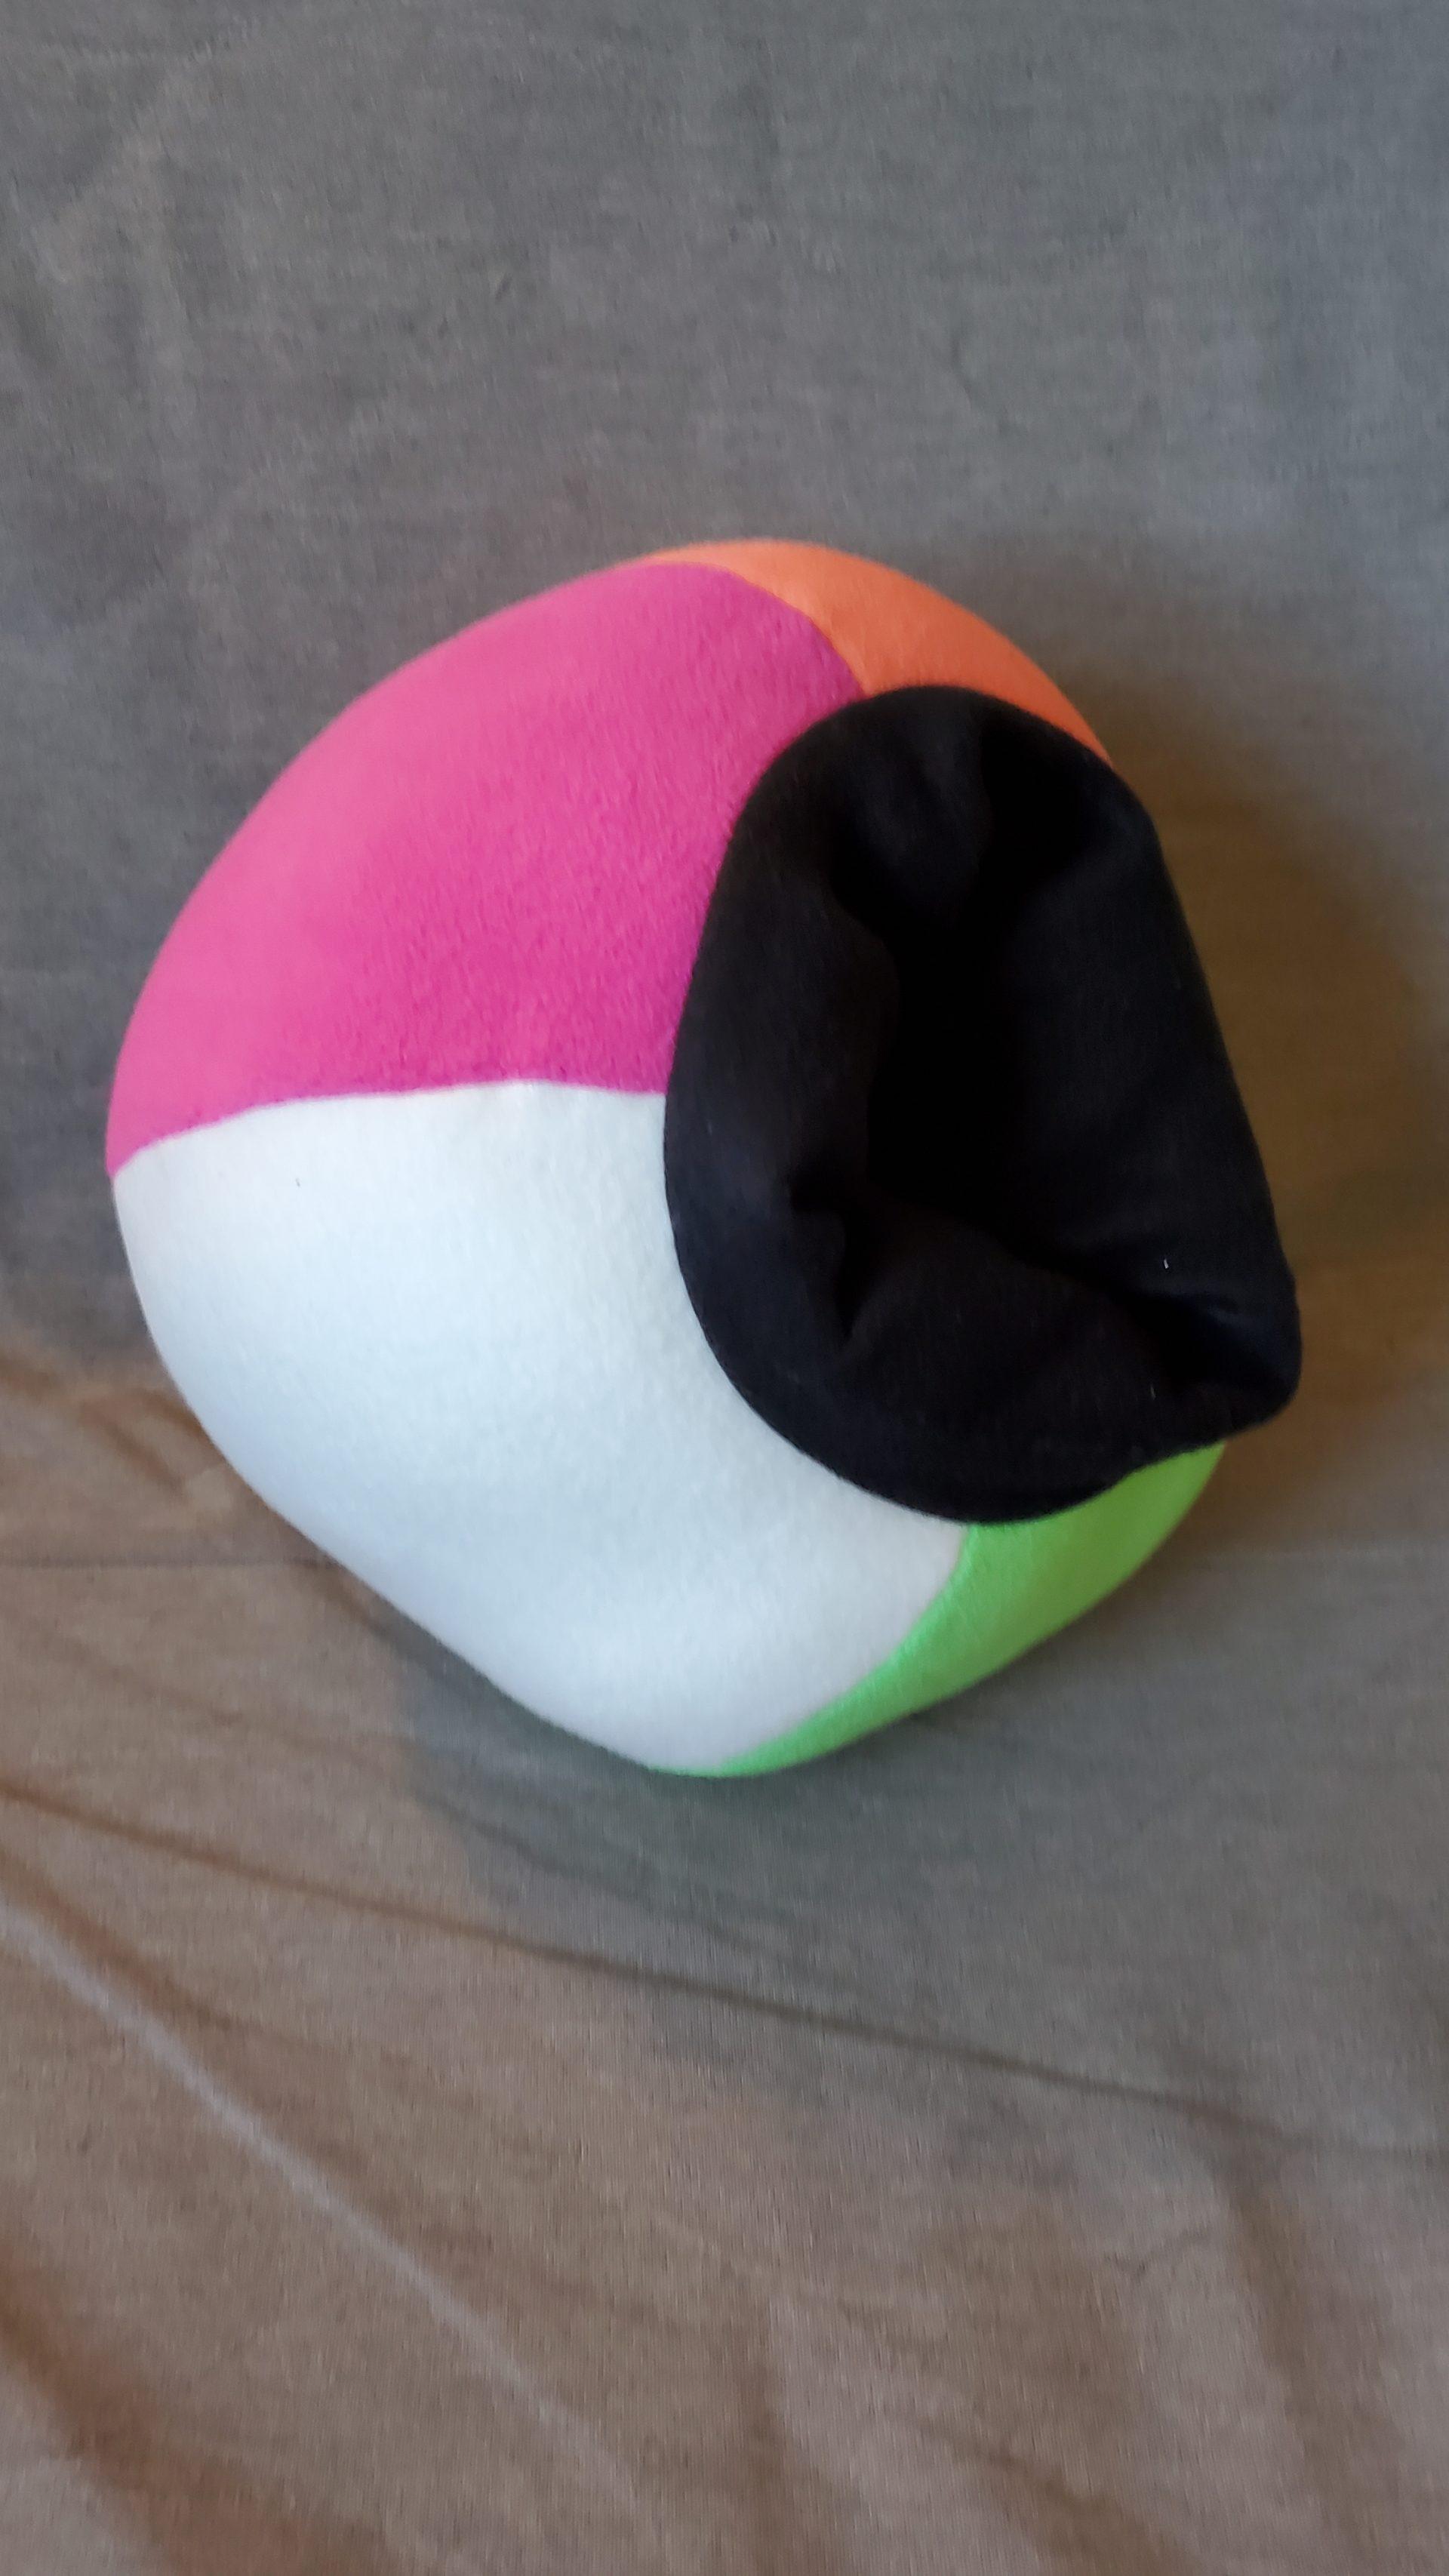
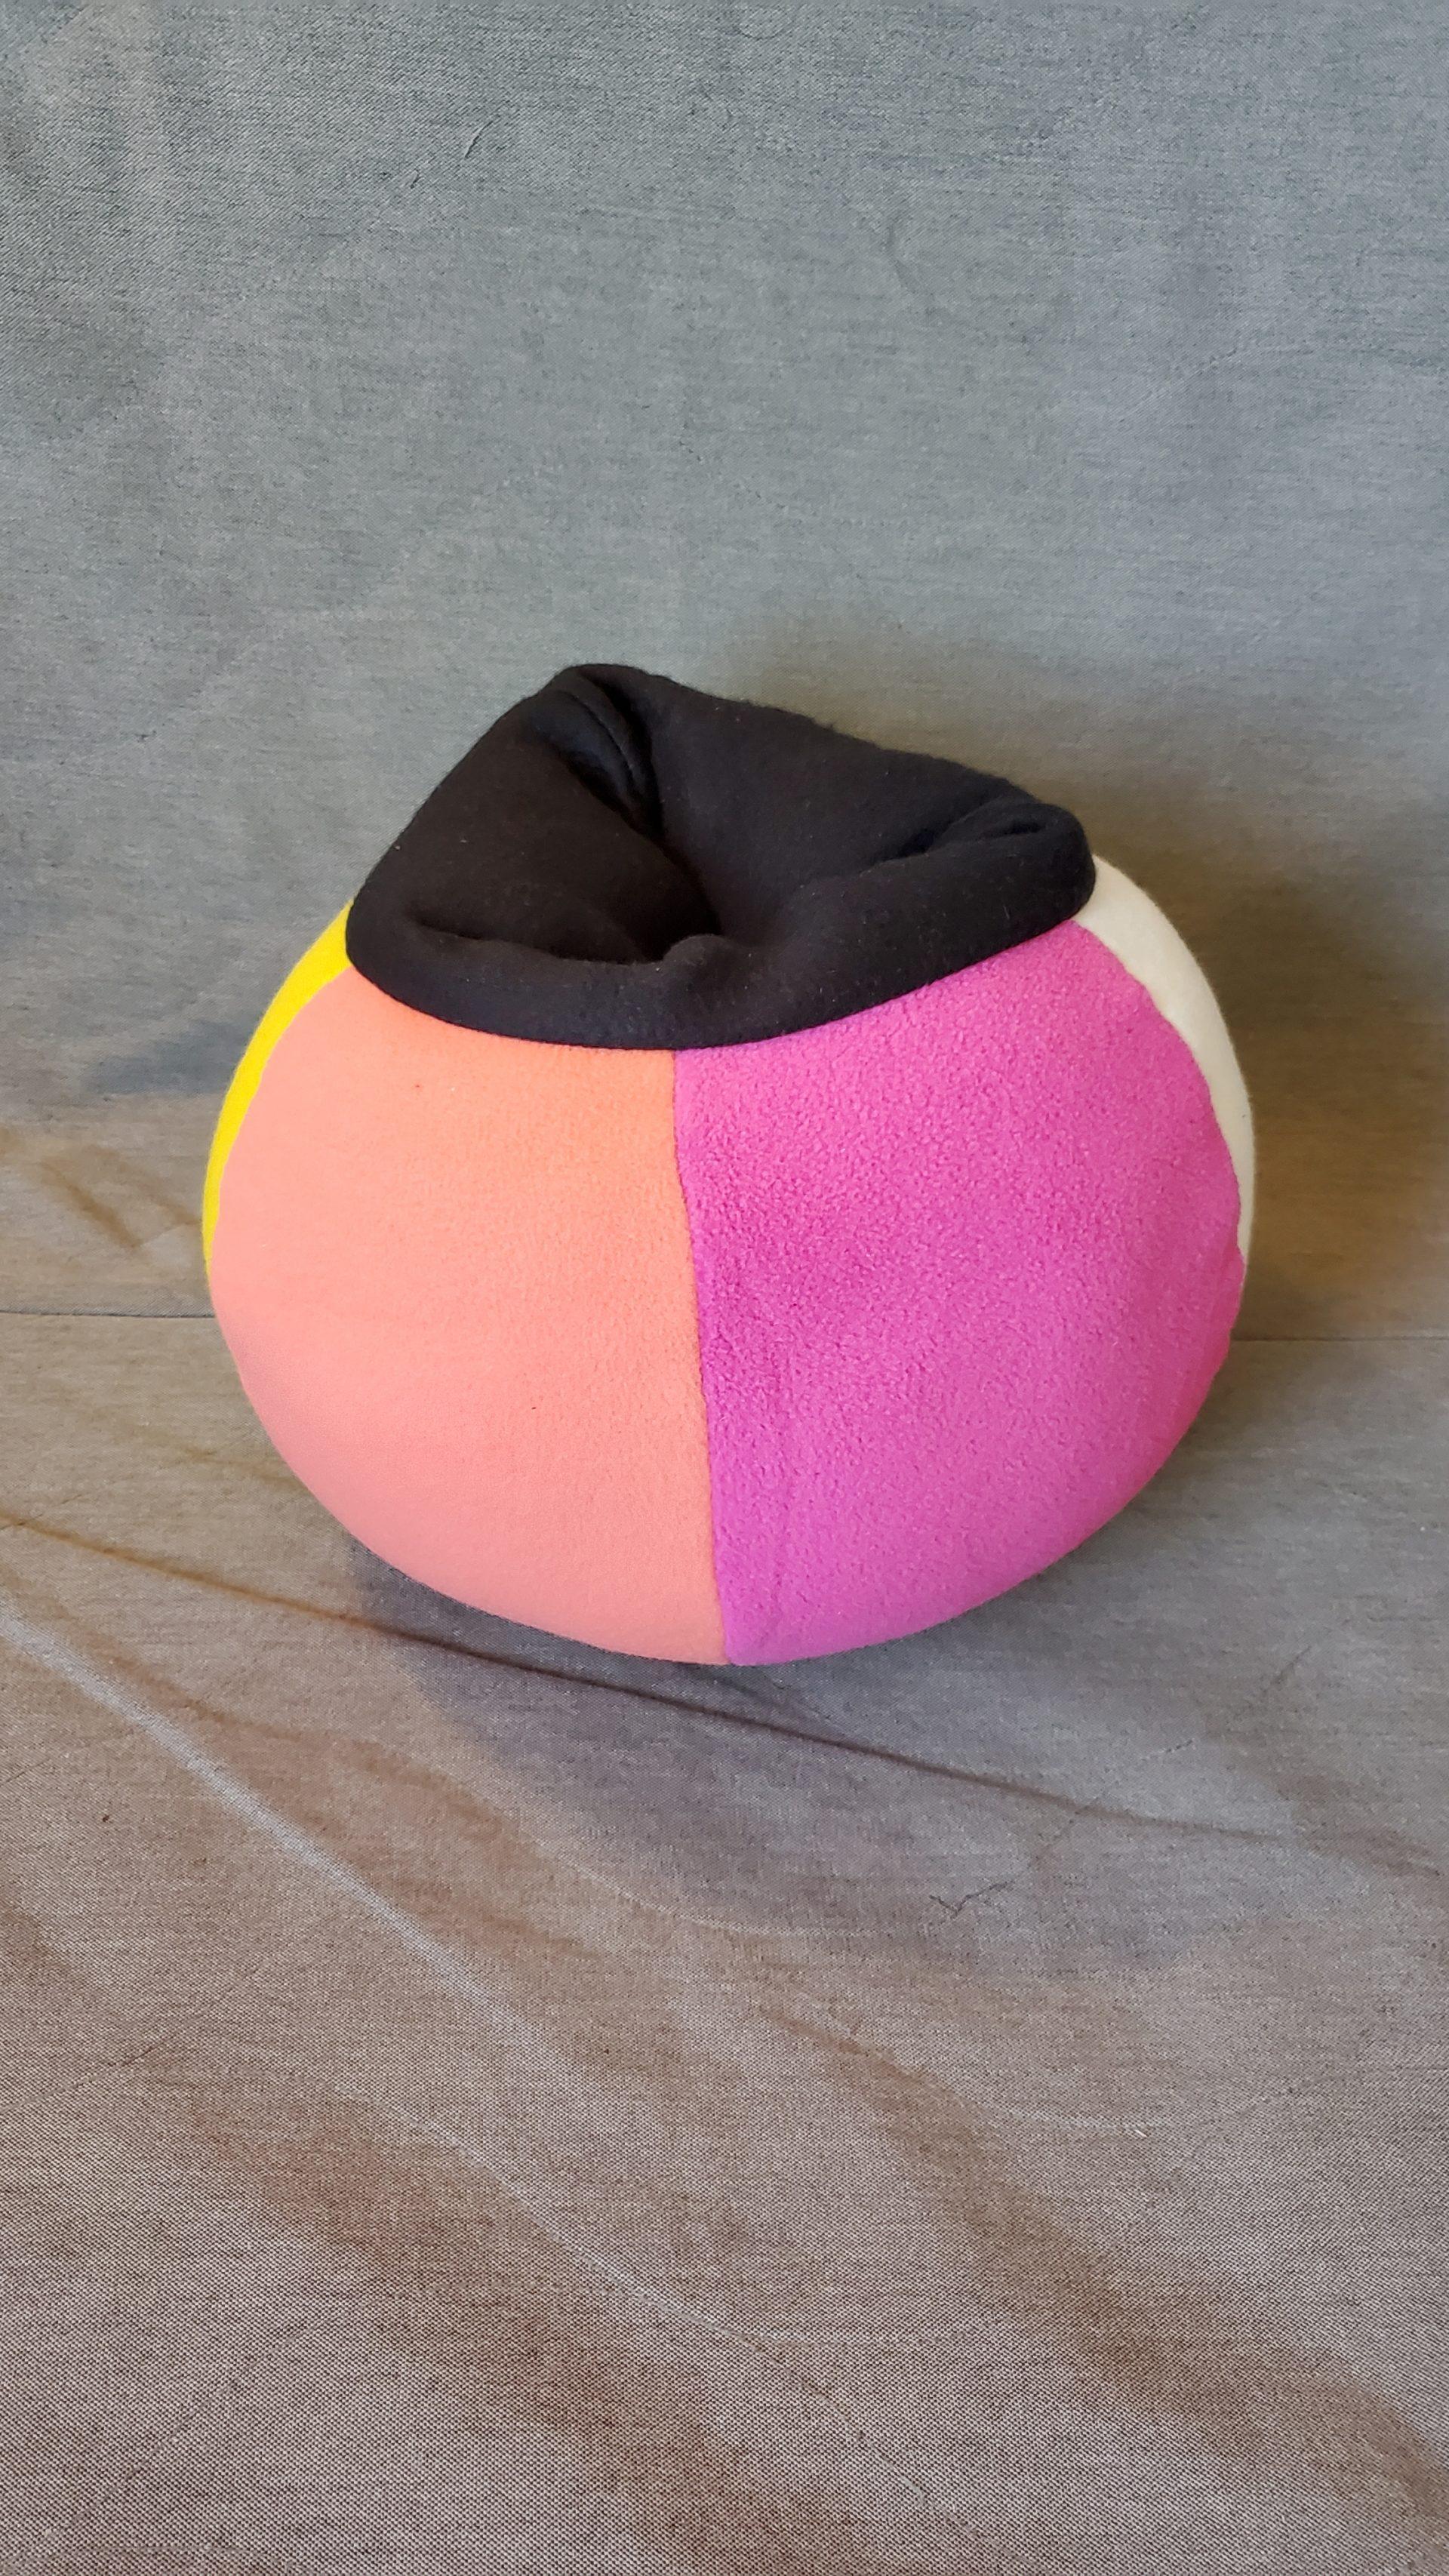
Unlike my first two fruit characters, for my third object I decided to create something functional. Inspired by Heeyun’s handwarming cube, I created a beach ball-patterned pillow for taking desk naps. The inner black tube extends through the beach ball and is sized for two arms, as if you were taking a nap on your arms. This was also the only object I made without using Rhino, as I wanted to try my hand at patterning without the assistance of a program.

I started with the provided beach ball-style sphere pattern. For the pillow, I wanted to use vibrant colors, which actually resulted in me using a combination of the fleece fabric and a more felt-like fabric. The felt fabric (white and yellow) did not stretch as much or in the same way as the fleece (pink, orange, and green), ultimately resulting in a somewhat irregular shape once I stuffed it. To make the cylinder, I used the rectangular portion of the provided cylindrical pattern, and then cut curves around the top of the five sphere pieces that together would make the circumference of that cylinder.

This form proved to be the most difficult to assemble; I struggled to figure out how to insert the black cylinder while keeping the right sides facing each other. Determining the assembly of the form proved to be the hardest part out of all three objects, as I ended up having to rip seams a couple times before figuring out that the trick was to sew the edges of the black cylinder after fully attaching it to the rest of the material.
Kavya – Push/Pull Part 1

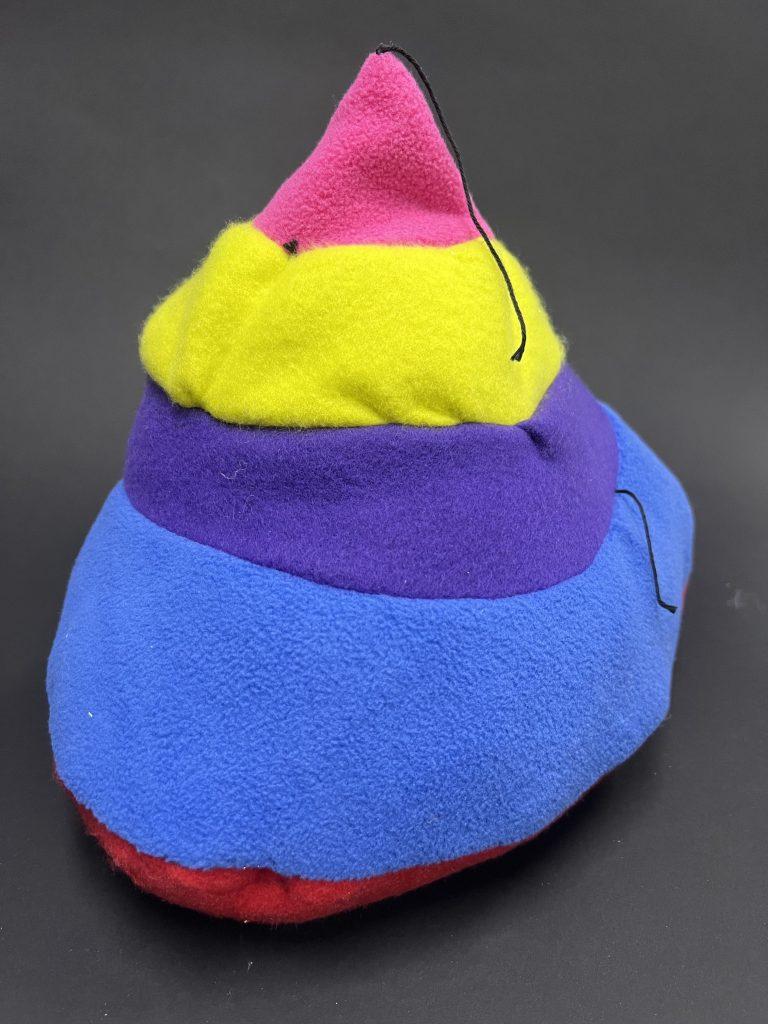
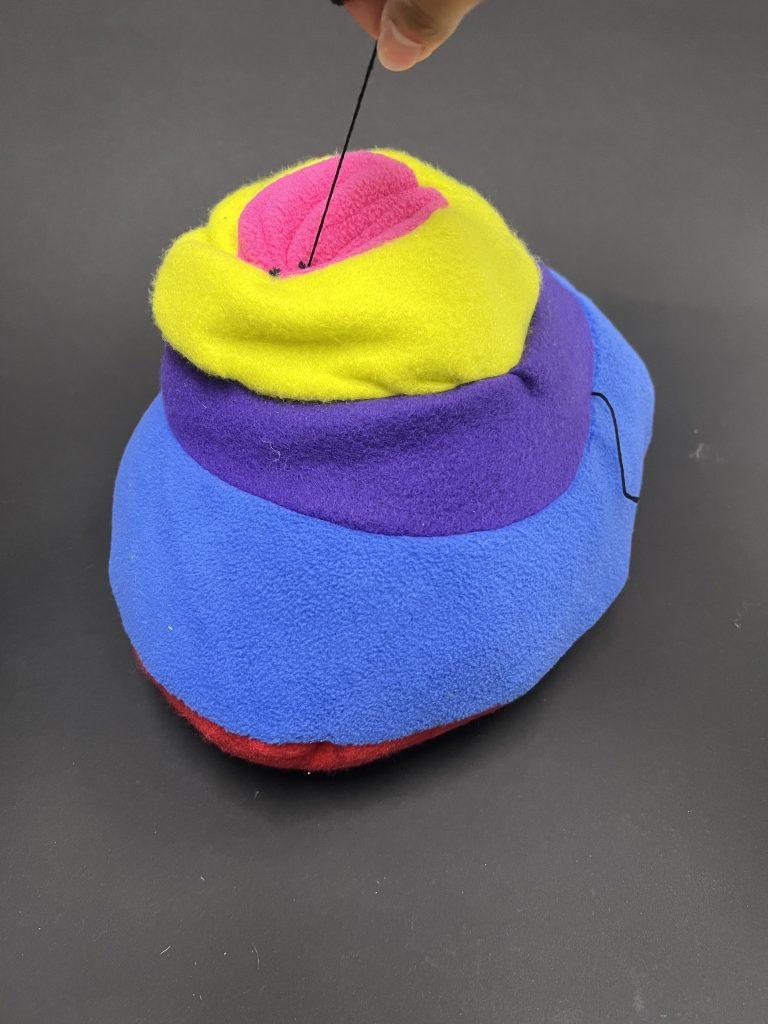
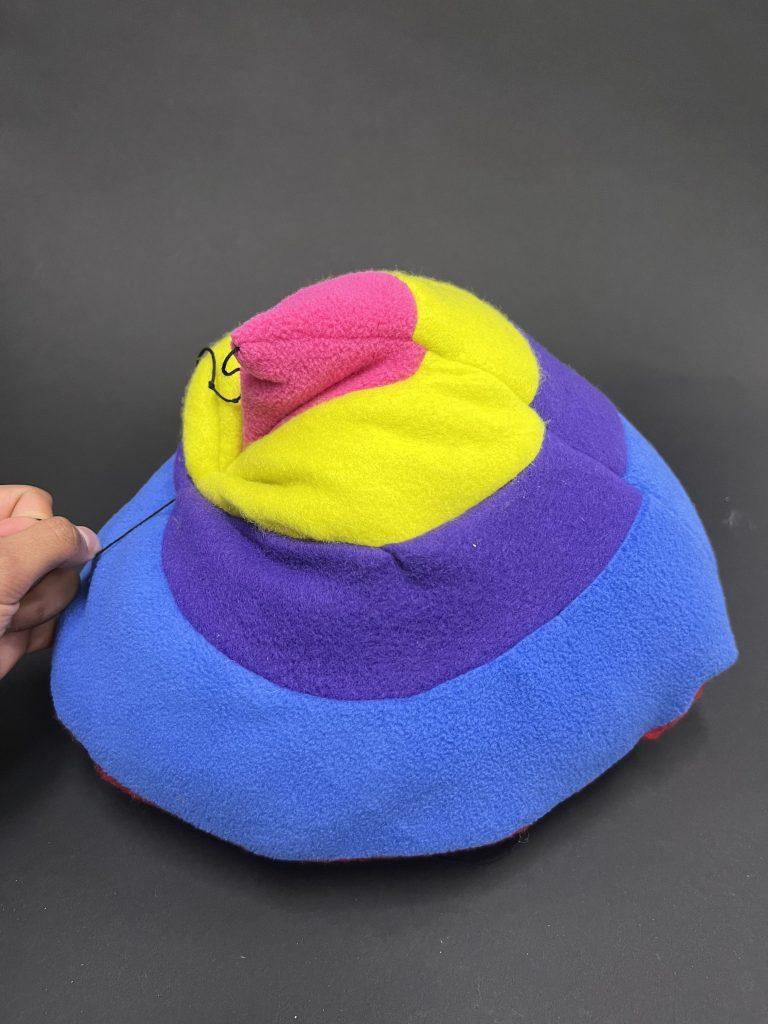
When we presented our progress in small groups, I was really fascinated by Charlotte’s object with the strings attached in certain places, pulling the object in interesting ways. I decided to do my own take on it, adding an element of surprise with strings coming out of arbitrary places and pulling at other random places when tugged at. I realized after I had closed the piece that I should have stuffed it less because it made interacting with the object harder when it was fully stuffed, which I took forward to consider when stuffing the last two objects. I also enjoyed the color combination in the end; even though I initially just wanted a rainbow, it looked more vibrant and stood out in the arrangement I ended up with.

This object came about on a whim because I had seen buttons when looking for the zippers and wanted to play around with those. I also cut out the entire circles for my cone in the previous object, so I had a lot of that fabric remaining and wanted to put it to good use. I immediately thought of a book or journal and the button as the clasp keeping it open or closed. I think it would be interesting to have it open to reveal one type of fabric and closed concealing it, but as you can see from the pictures I again stuffed it too much and it had a scrunched up look reminding me of a dumpling with the button holding it together at the top. Though it didn’t end up like a book, I liked the way it turned out when the colored fabric was on the inside and it gave it a unique feel, again allowing people to interact with the object to reveal a new form of it.

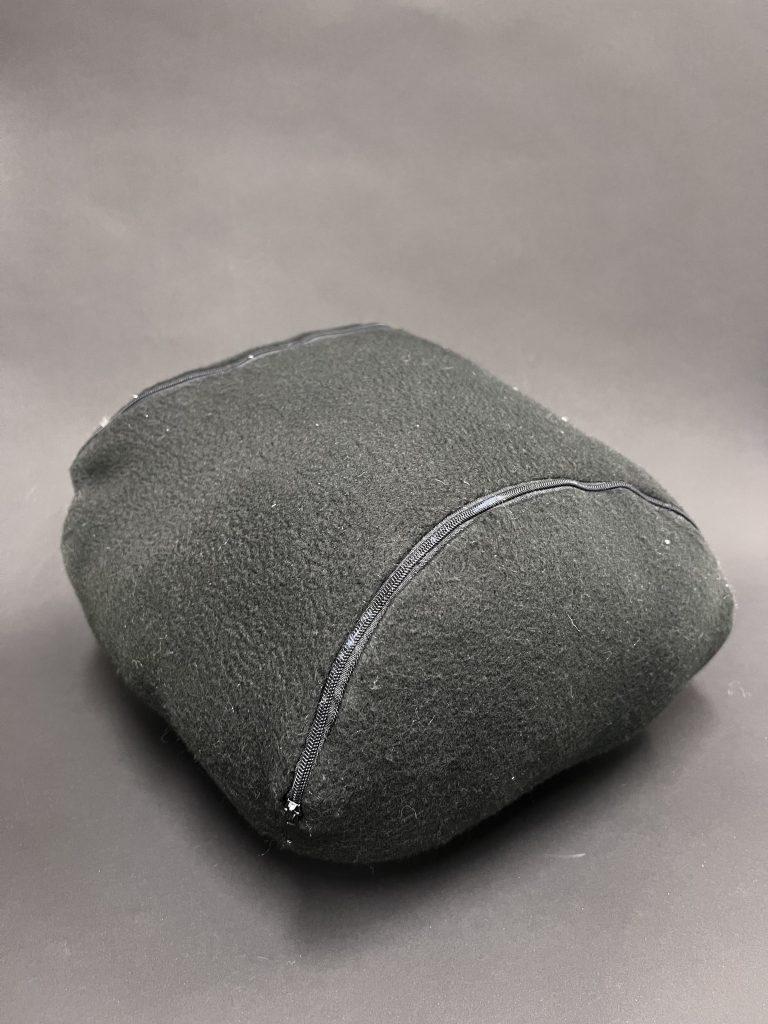
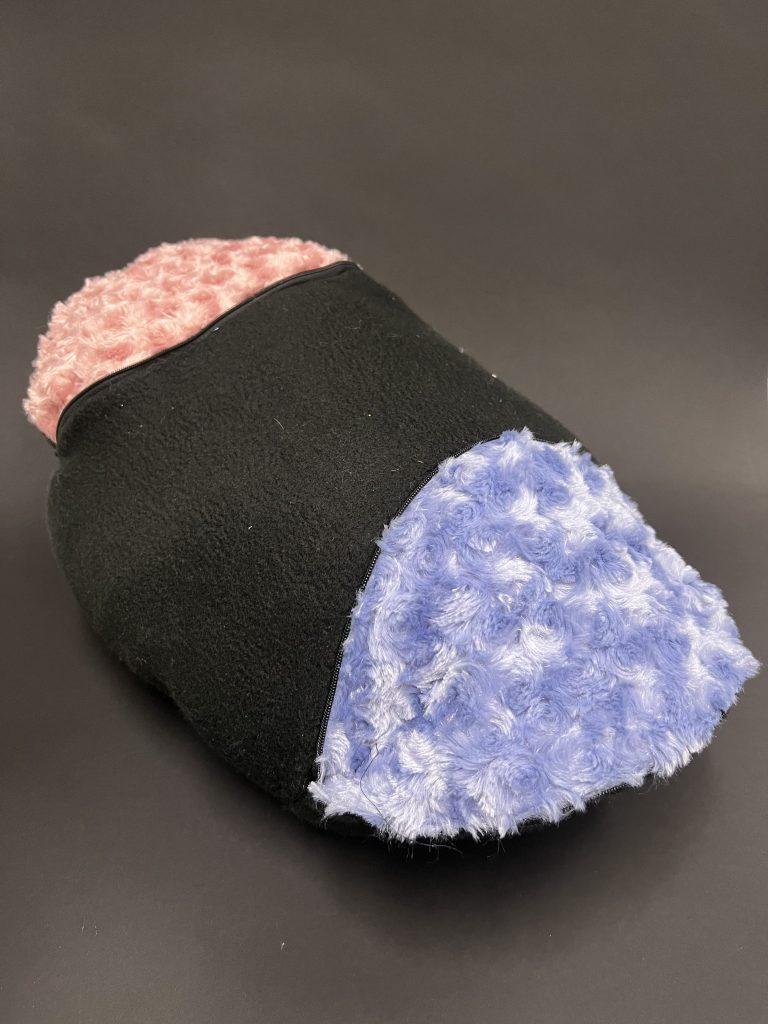
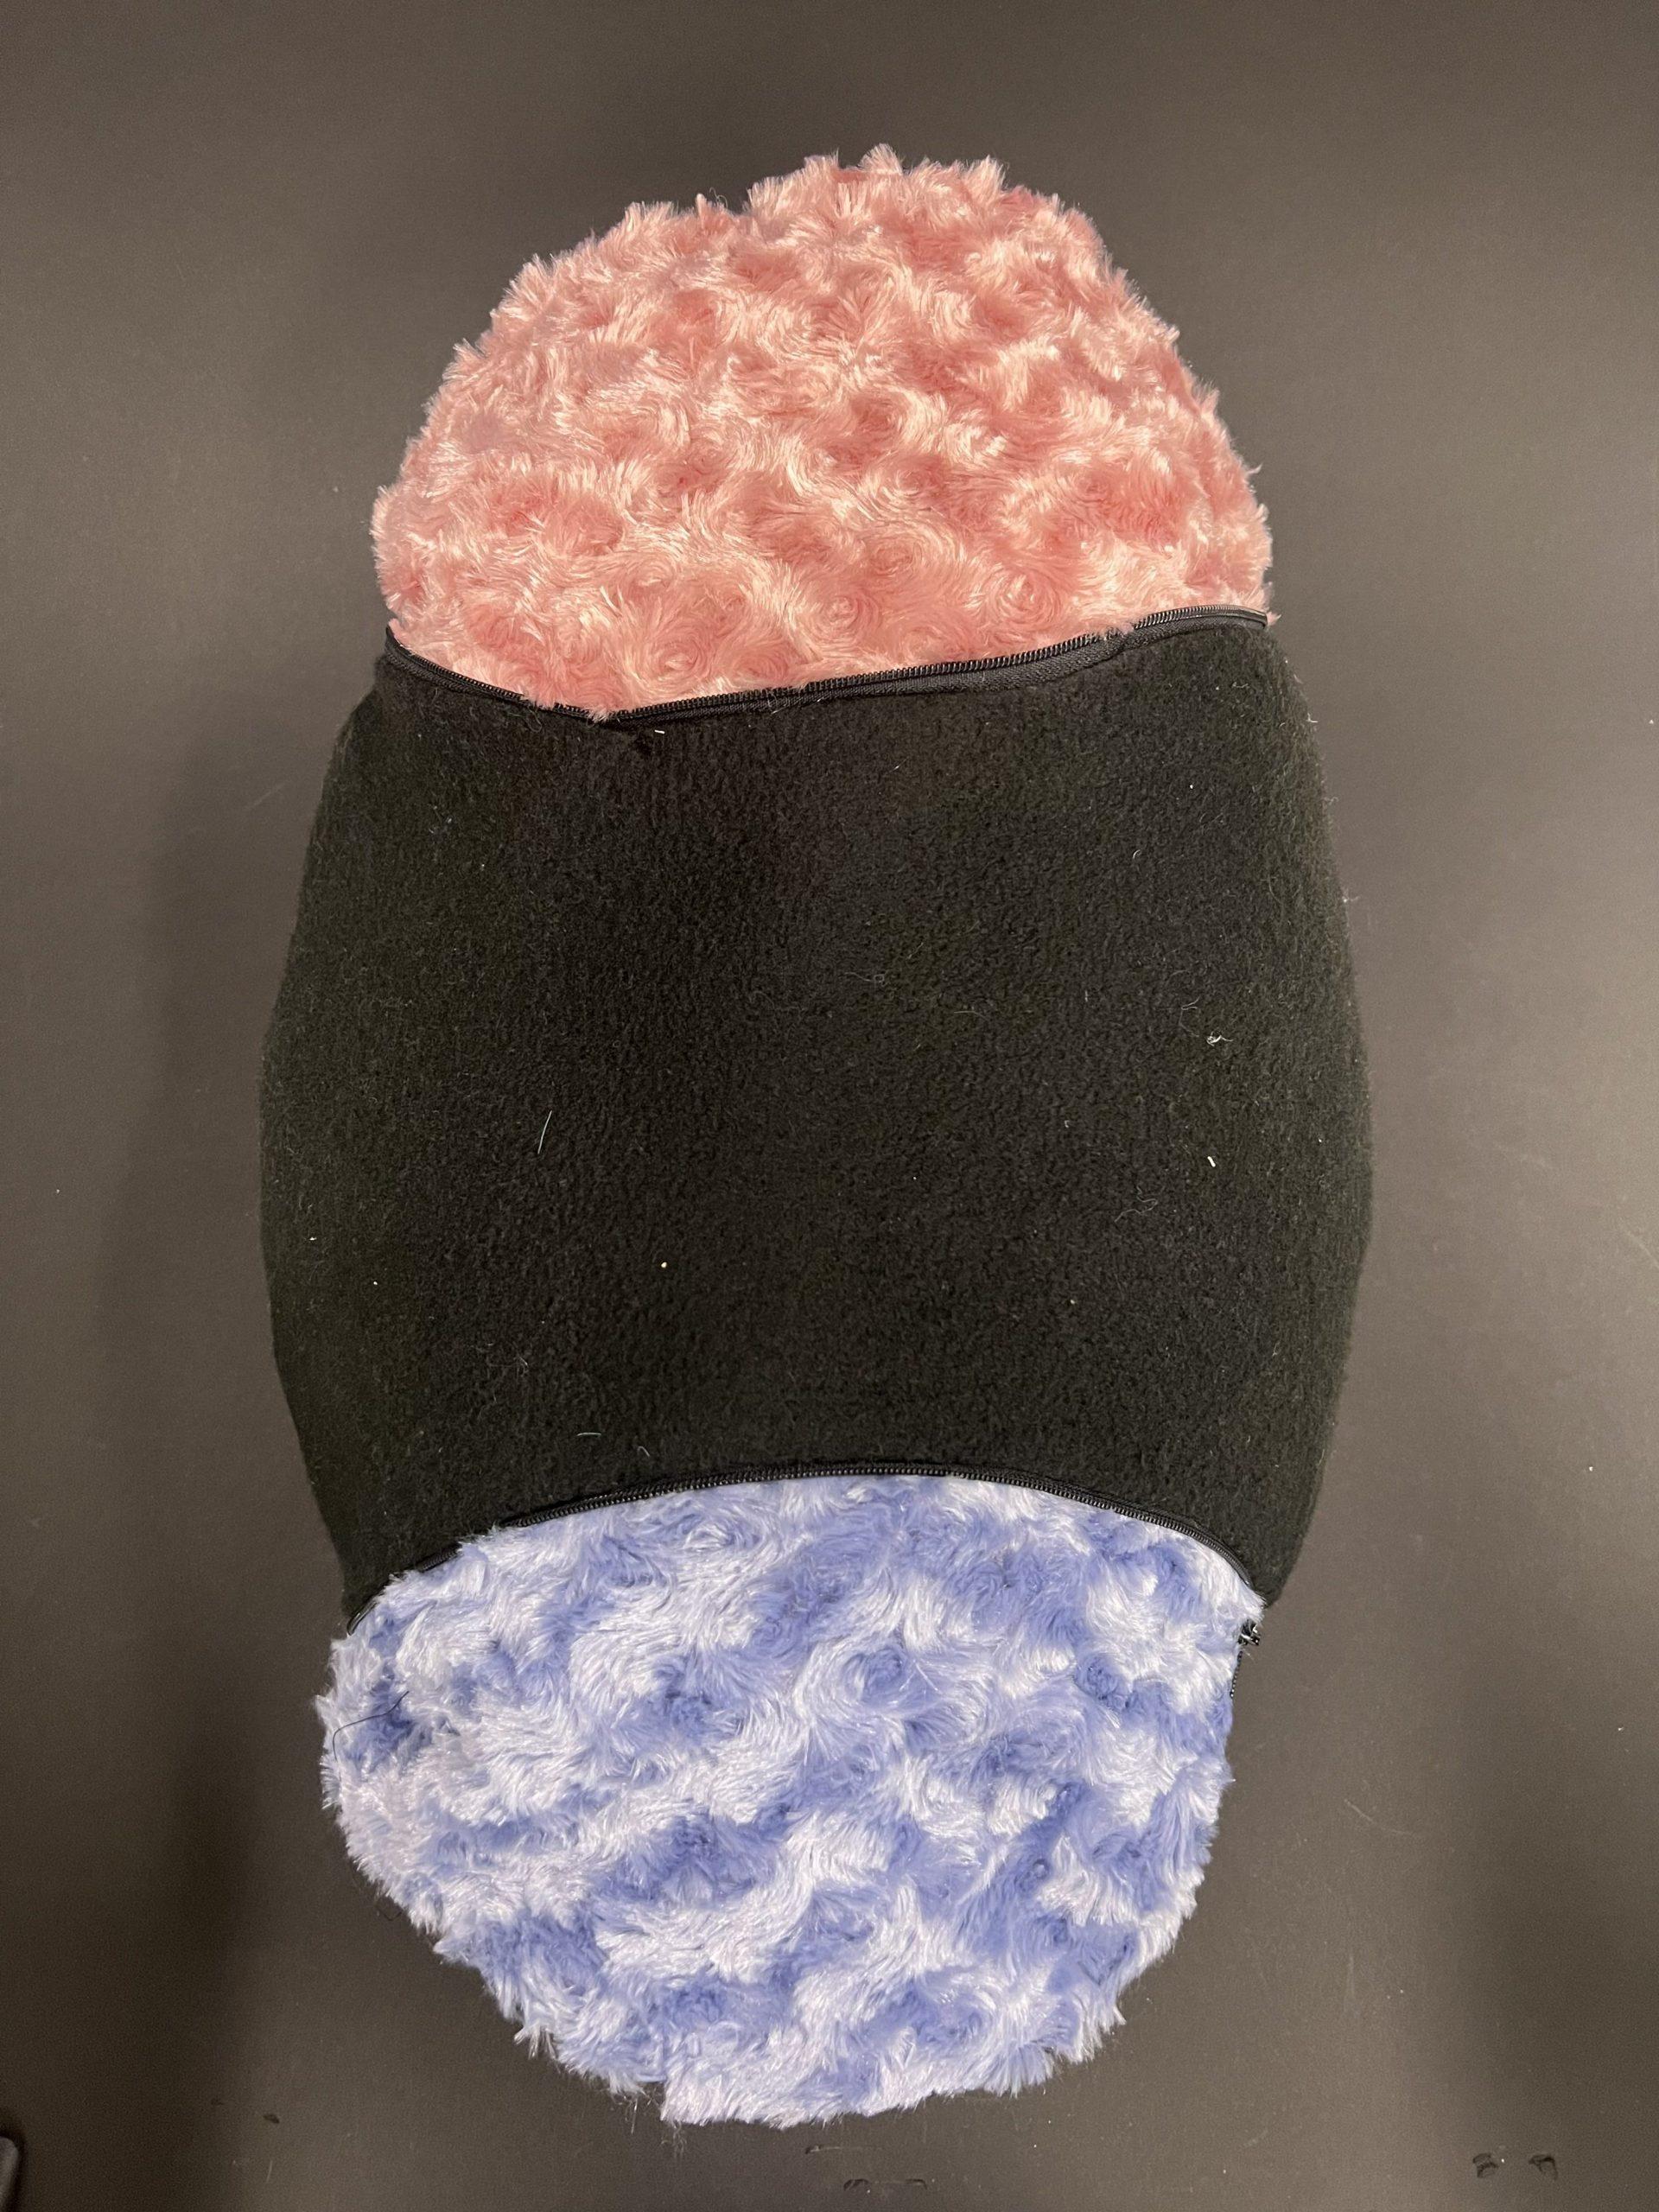
When we were going over earlier years’ examples in class, one student’s design that really stood out to me was their object with zippers revealing unique colorful fabrics on the inside. I knew I wanted one of my pieces to be similar in design. I started out with black felt and black zippers to keep the piece as dull and uninteresting to the eye. I then found a rose fluffy fabric in both pink and blue and decided to use these as the surprising pops of color when the zippers opened. I wanted to do this on a sphere object and used the baseball pattern as this was the largest sphere pattern I could find in the precut patterns. This ended up in an interesting shape as it turned into more of a duffel bag shape when opened rather than a larger sphere, which I realized may have been achieved if I used the beach ball pattern instead. However, I still loved how the object turned out and am excited to continue to use zippers to play with the designs of my future inflatables.

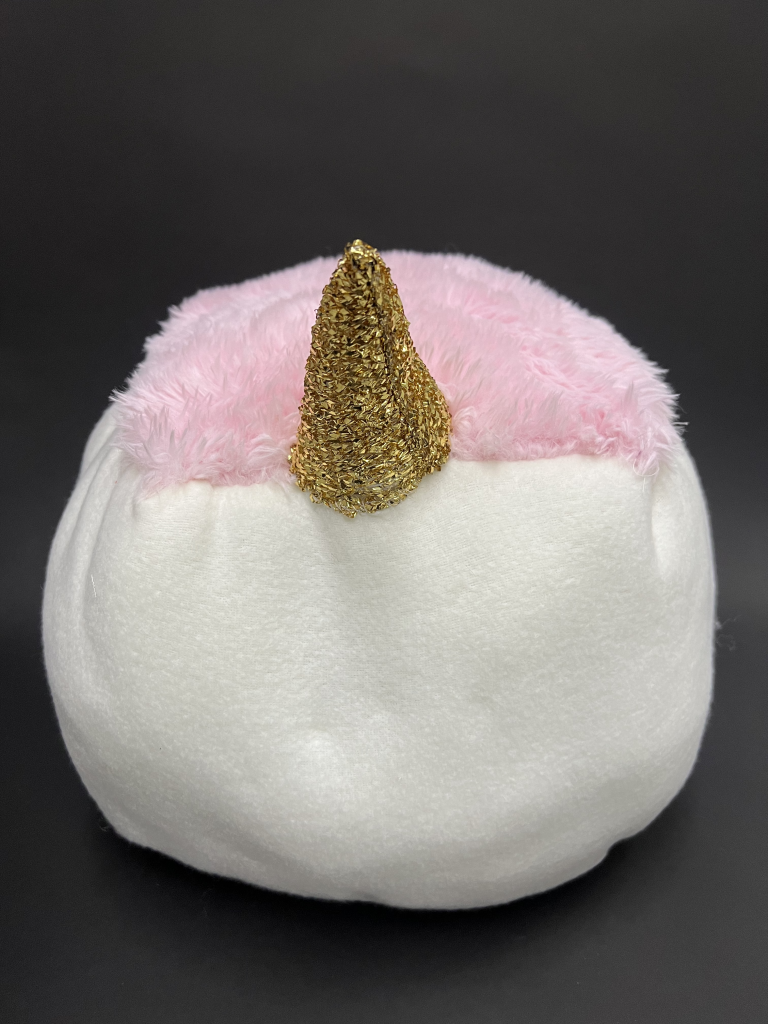
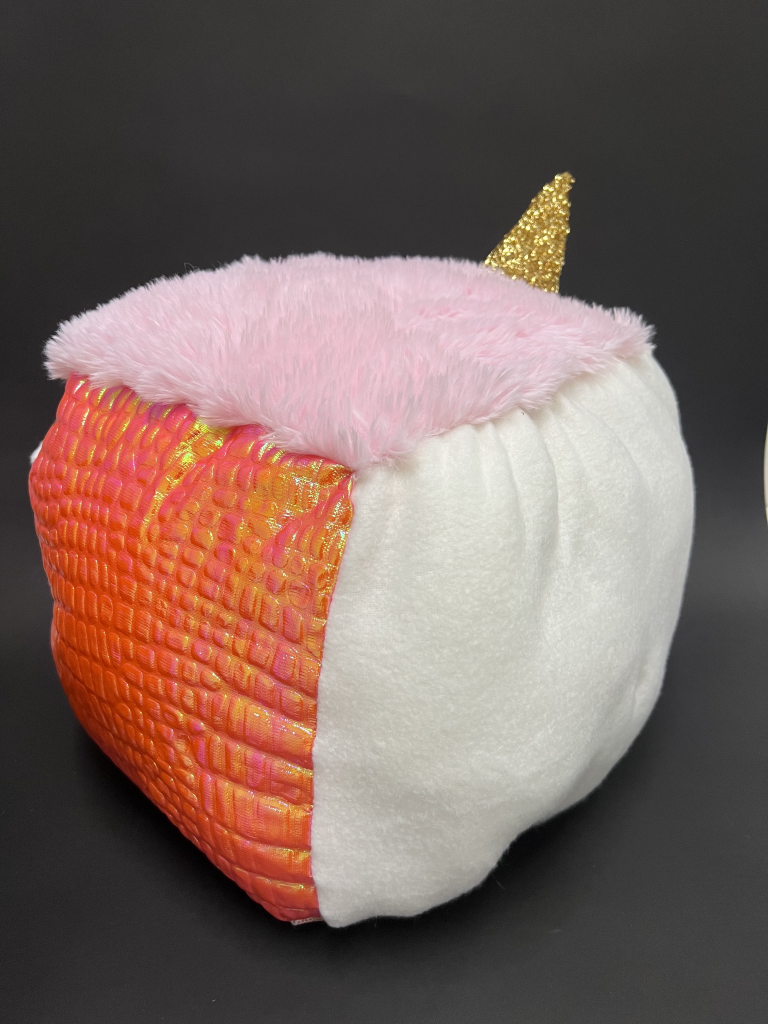
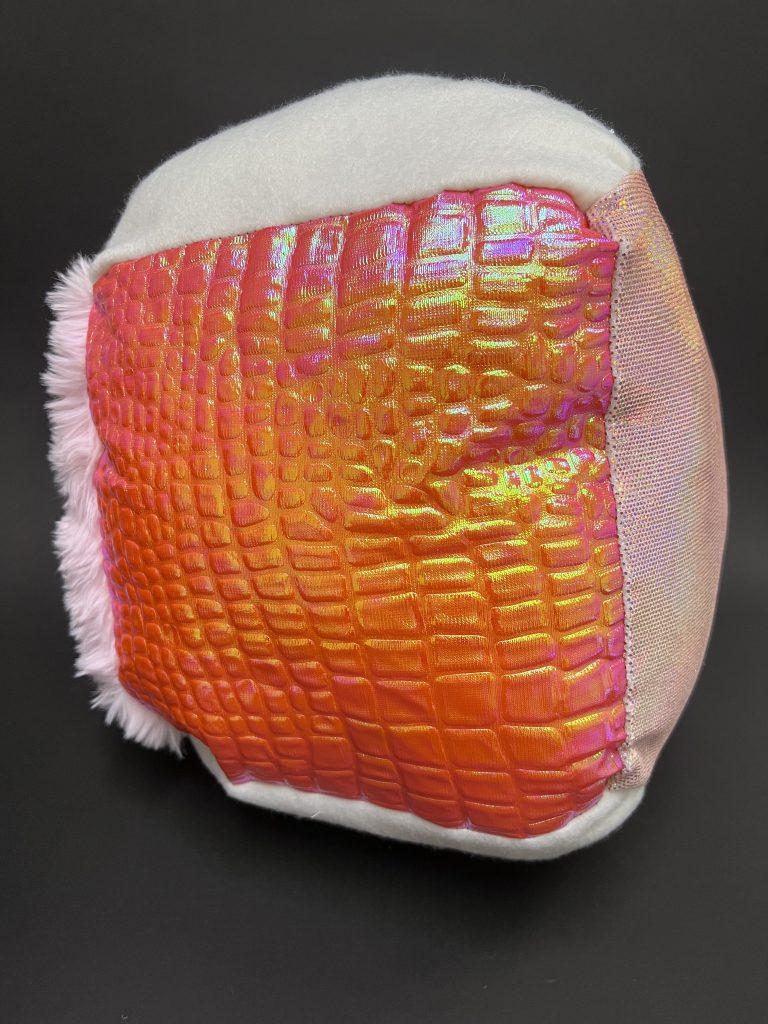
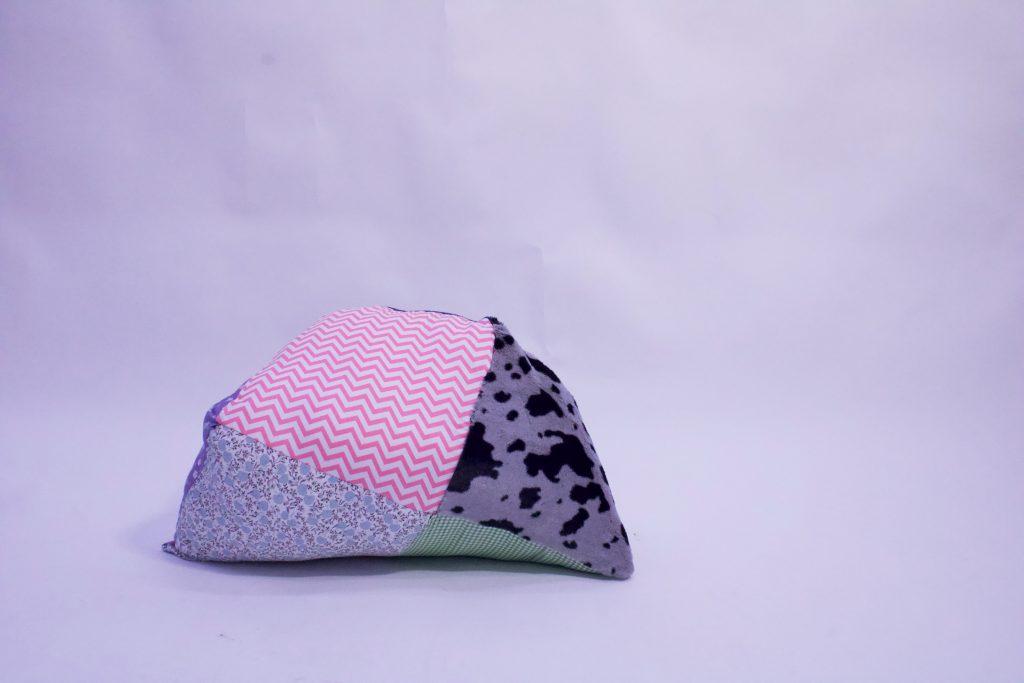
When this assignment was first introduced, what immediately came to my mind was the soft, huggable squishmallows often seen in stores. I’ve always wanted one so I thought this assignment would be the perfect excuse to make myself one. I wanted to use interesting fabric finds, so when I found three different textures of pinkish fabrics, it reminded me of a magical creature so I decided to create a unicorn with the cube pattern. I made the cut of white felt much longer than the cube pattern desired so that I could add some gathering (although it didn’t show that much once I put the stuffing in) and I added a golden horn to keep the design abstract but recognizable. I also didn’t stuff the object as fully as some of my others to preserve that squishable, huggable feeling of a stuffed animal.

Push/Pull Part 1 – Sophia Huang

Creature with Wings

Visual Portfolio, Posts & Image Gallery for WordPress

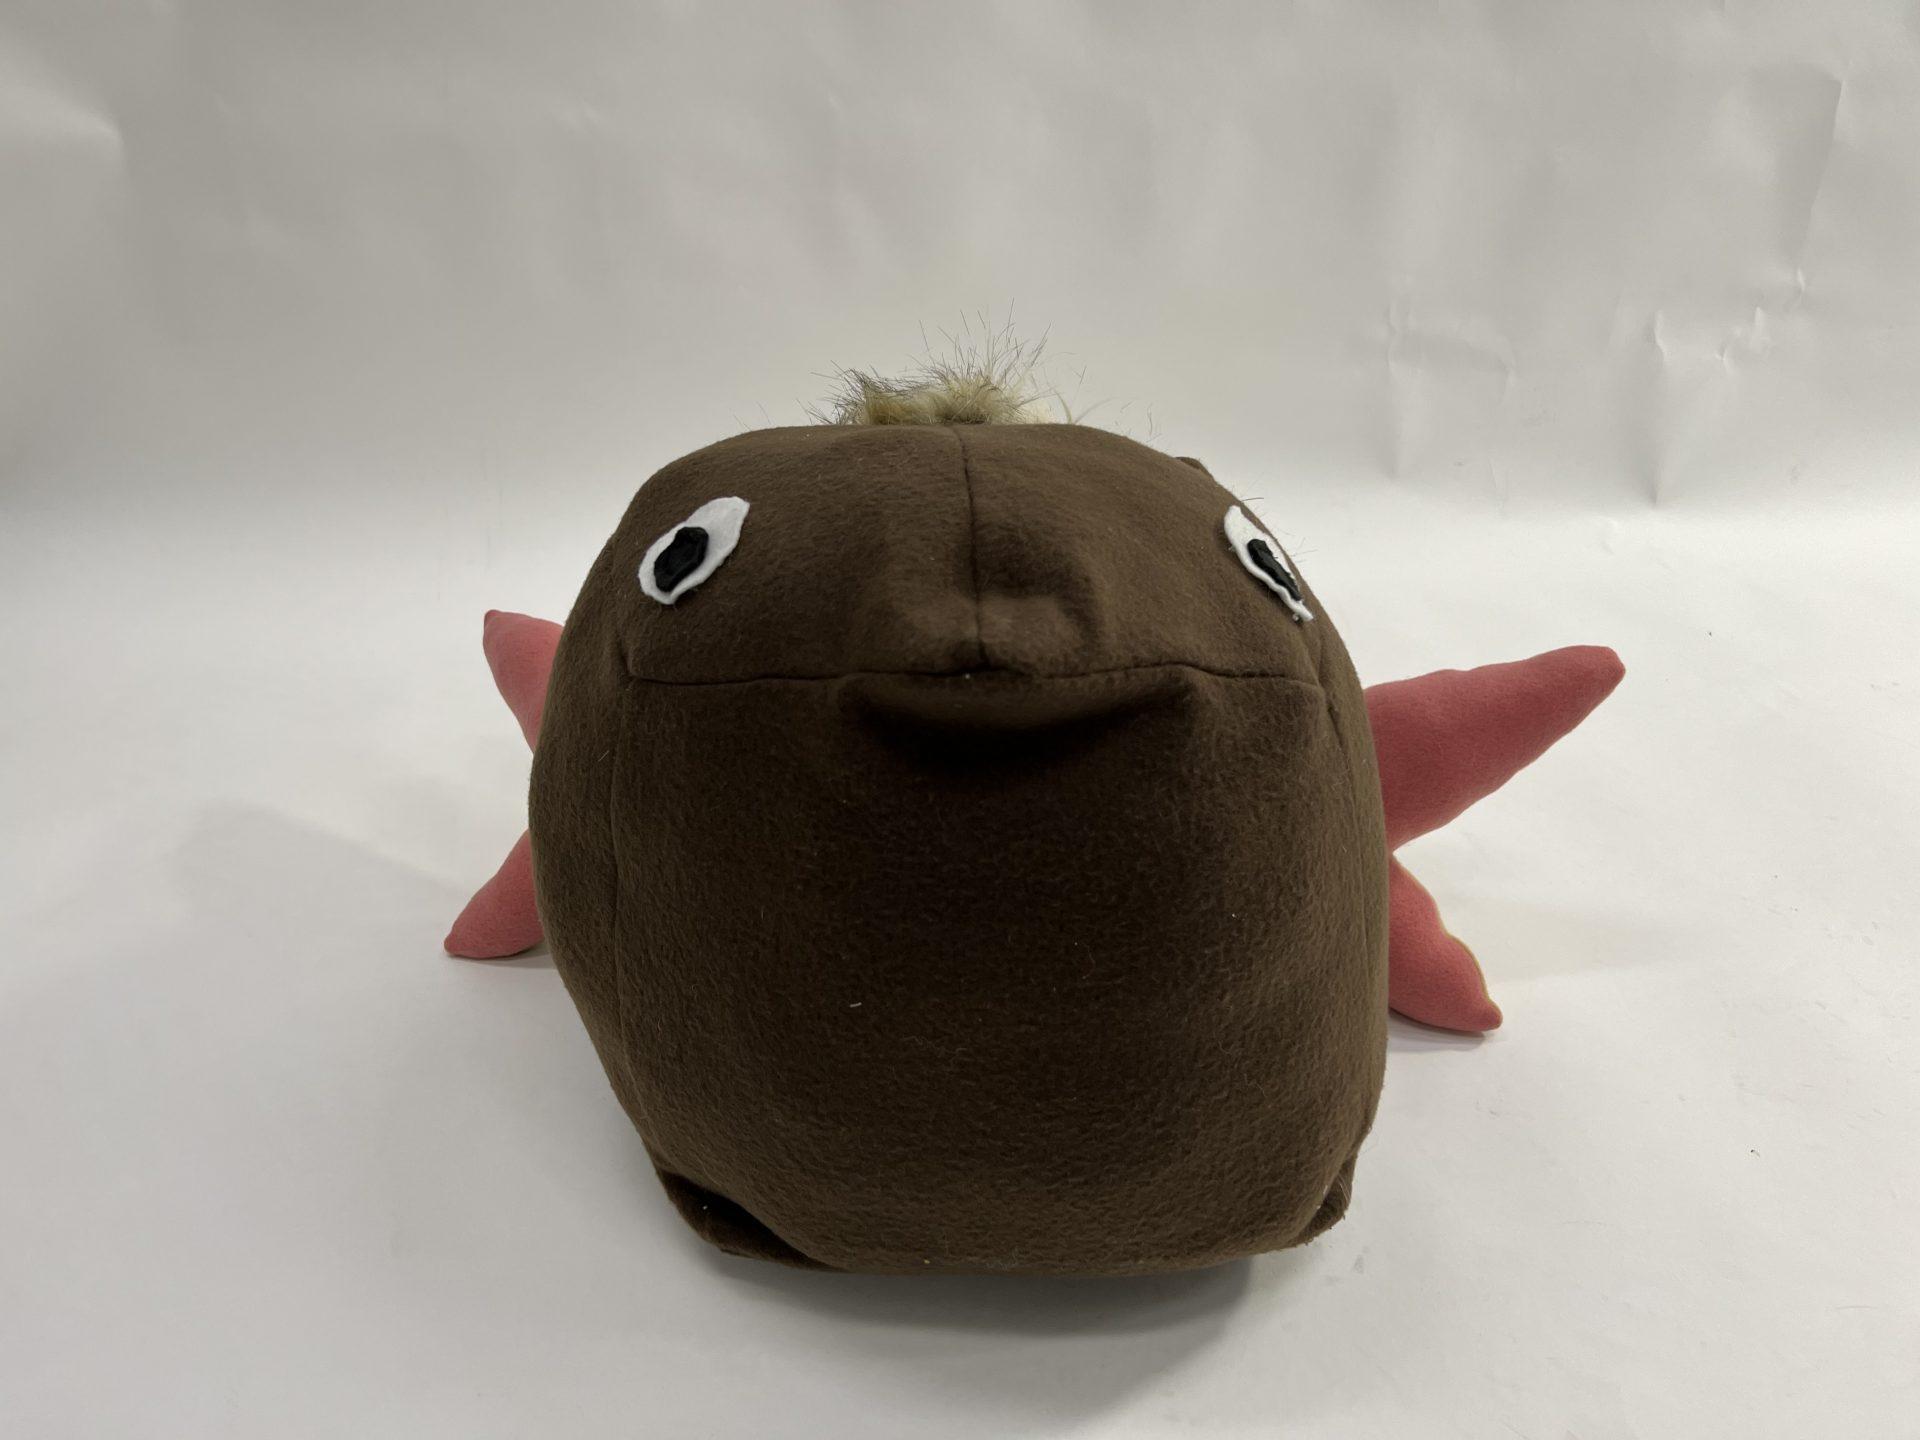
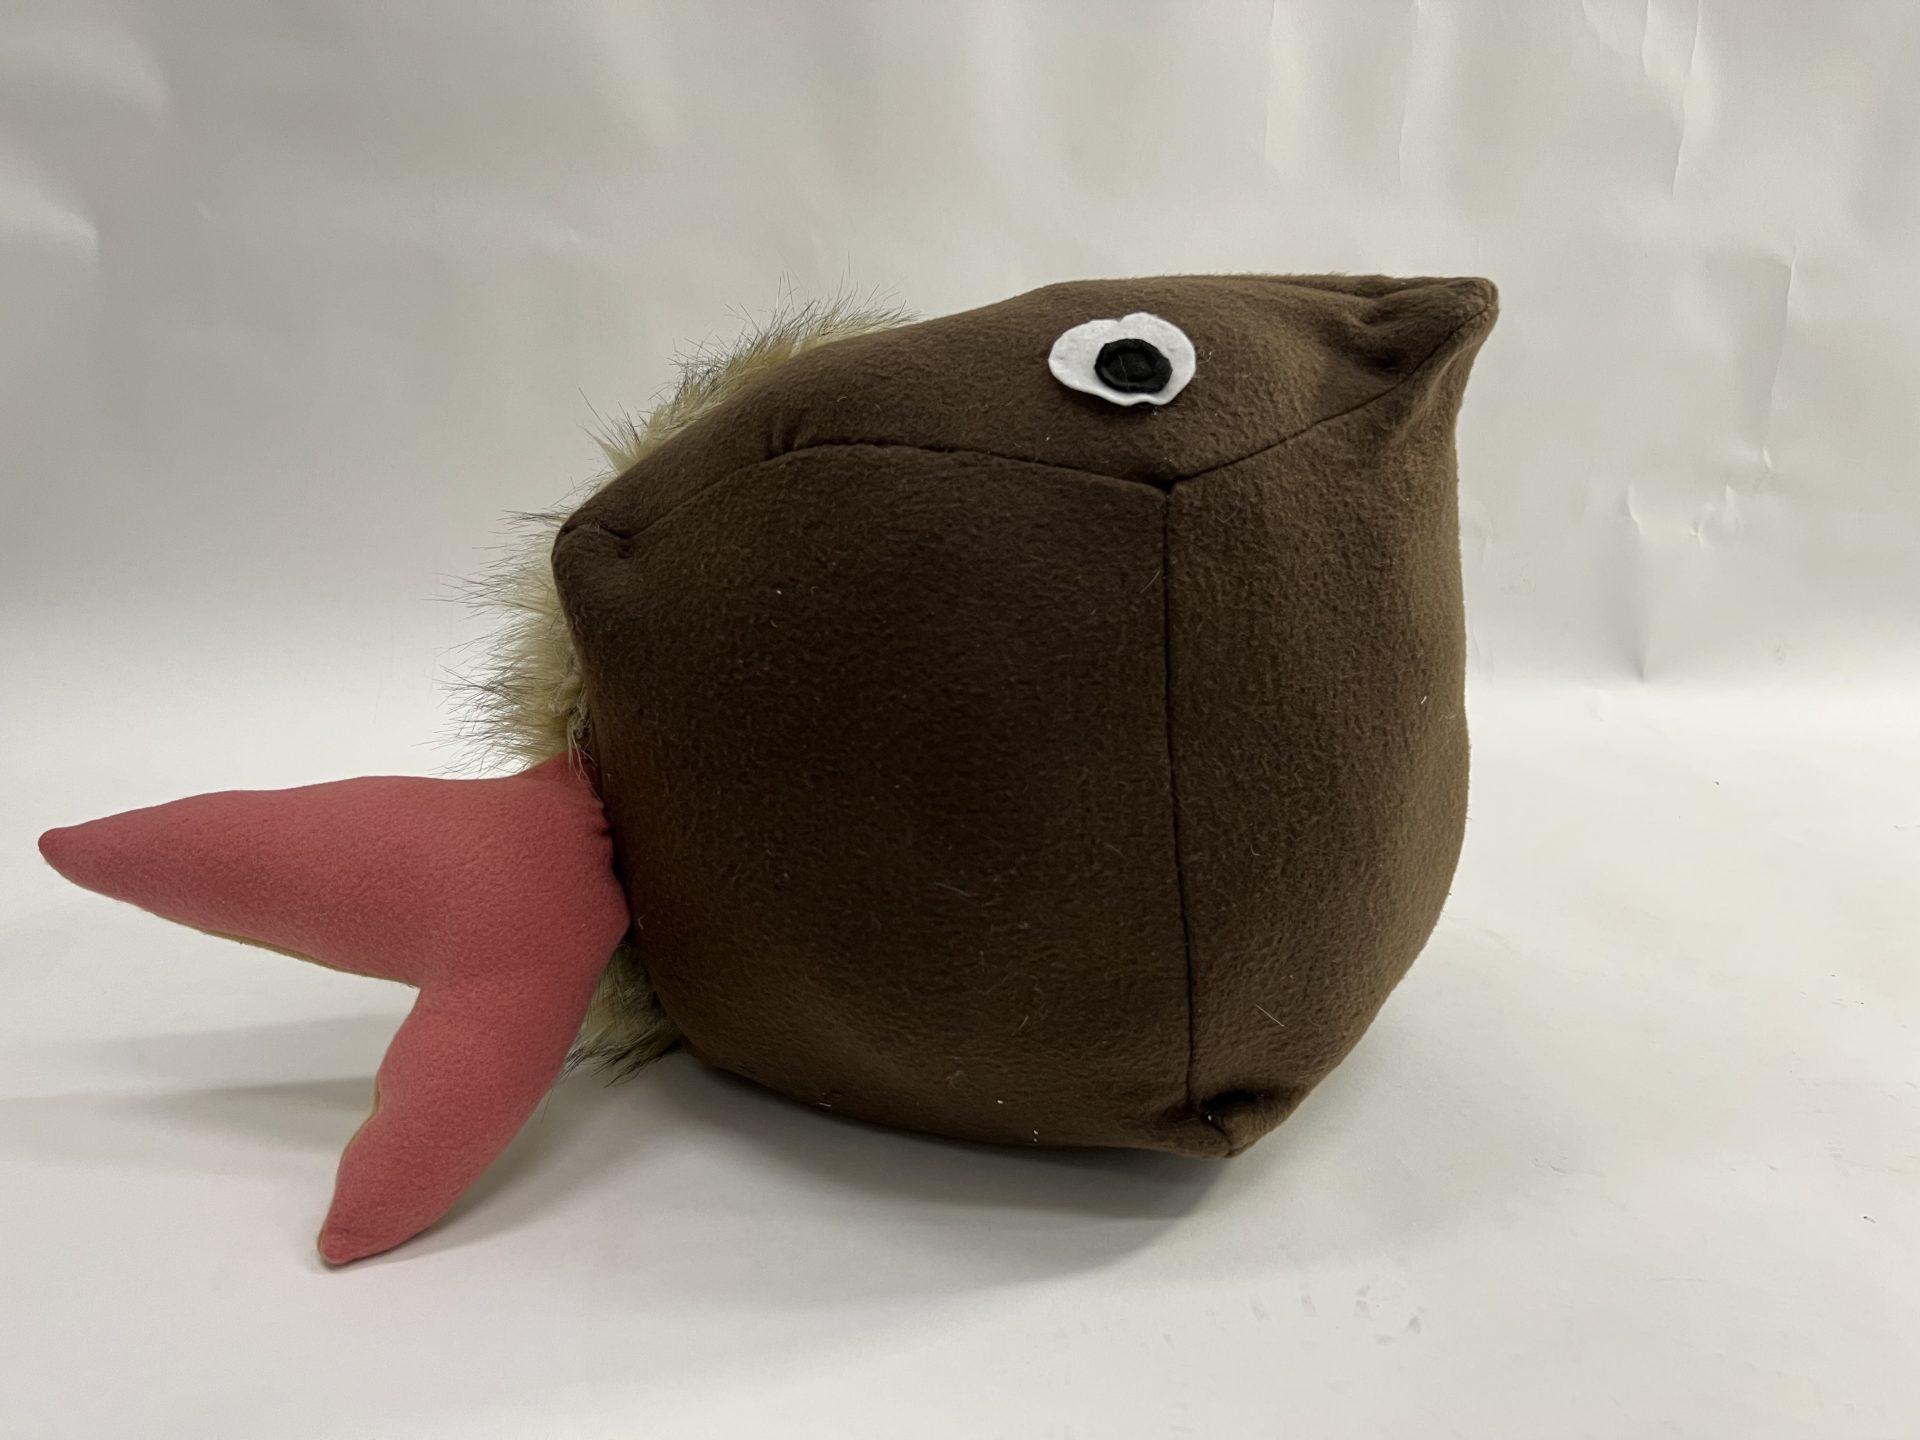
The first inflatable I made is this creature with wings and fur on the back. I originally wanted to make an inflatable house. However, it got too round after inflating and I decided to change my idea. I also noticed that the edges look like a nose, ears, and feet and I added a couple of stitches to make those features more obvious. I then decided to play with the fur-like fabric and added it to the back. Sewing on the fur-like fabric was a little challenging because the fur on the edges wants to come off. I wanted the creature to have really large wings but the fabric pieces I cut were too small after being flipped inside-out. 

Flowerpot

Visual Portfolio, Posts & Image Gallery for WordPress

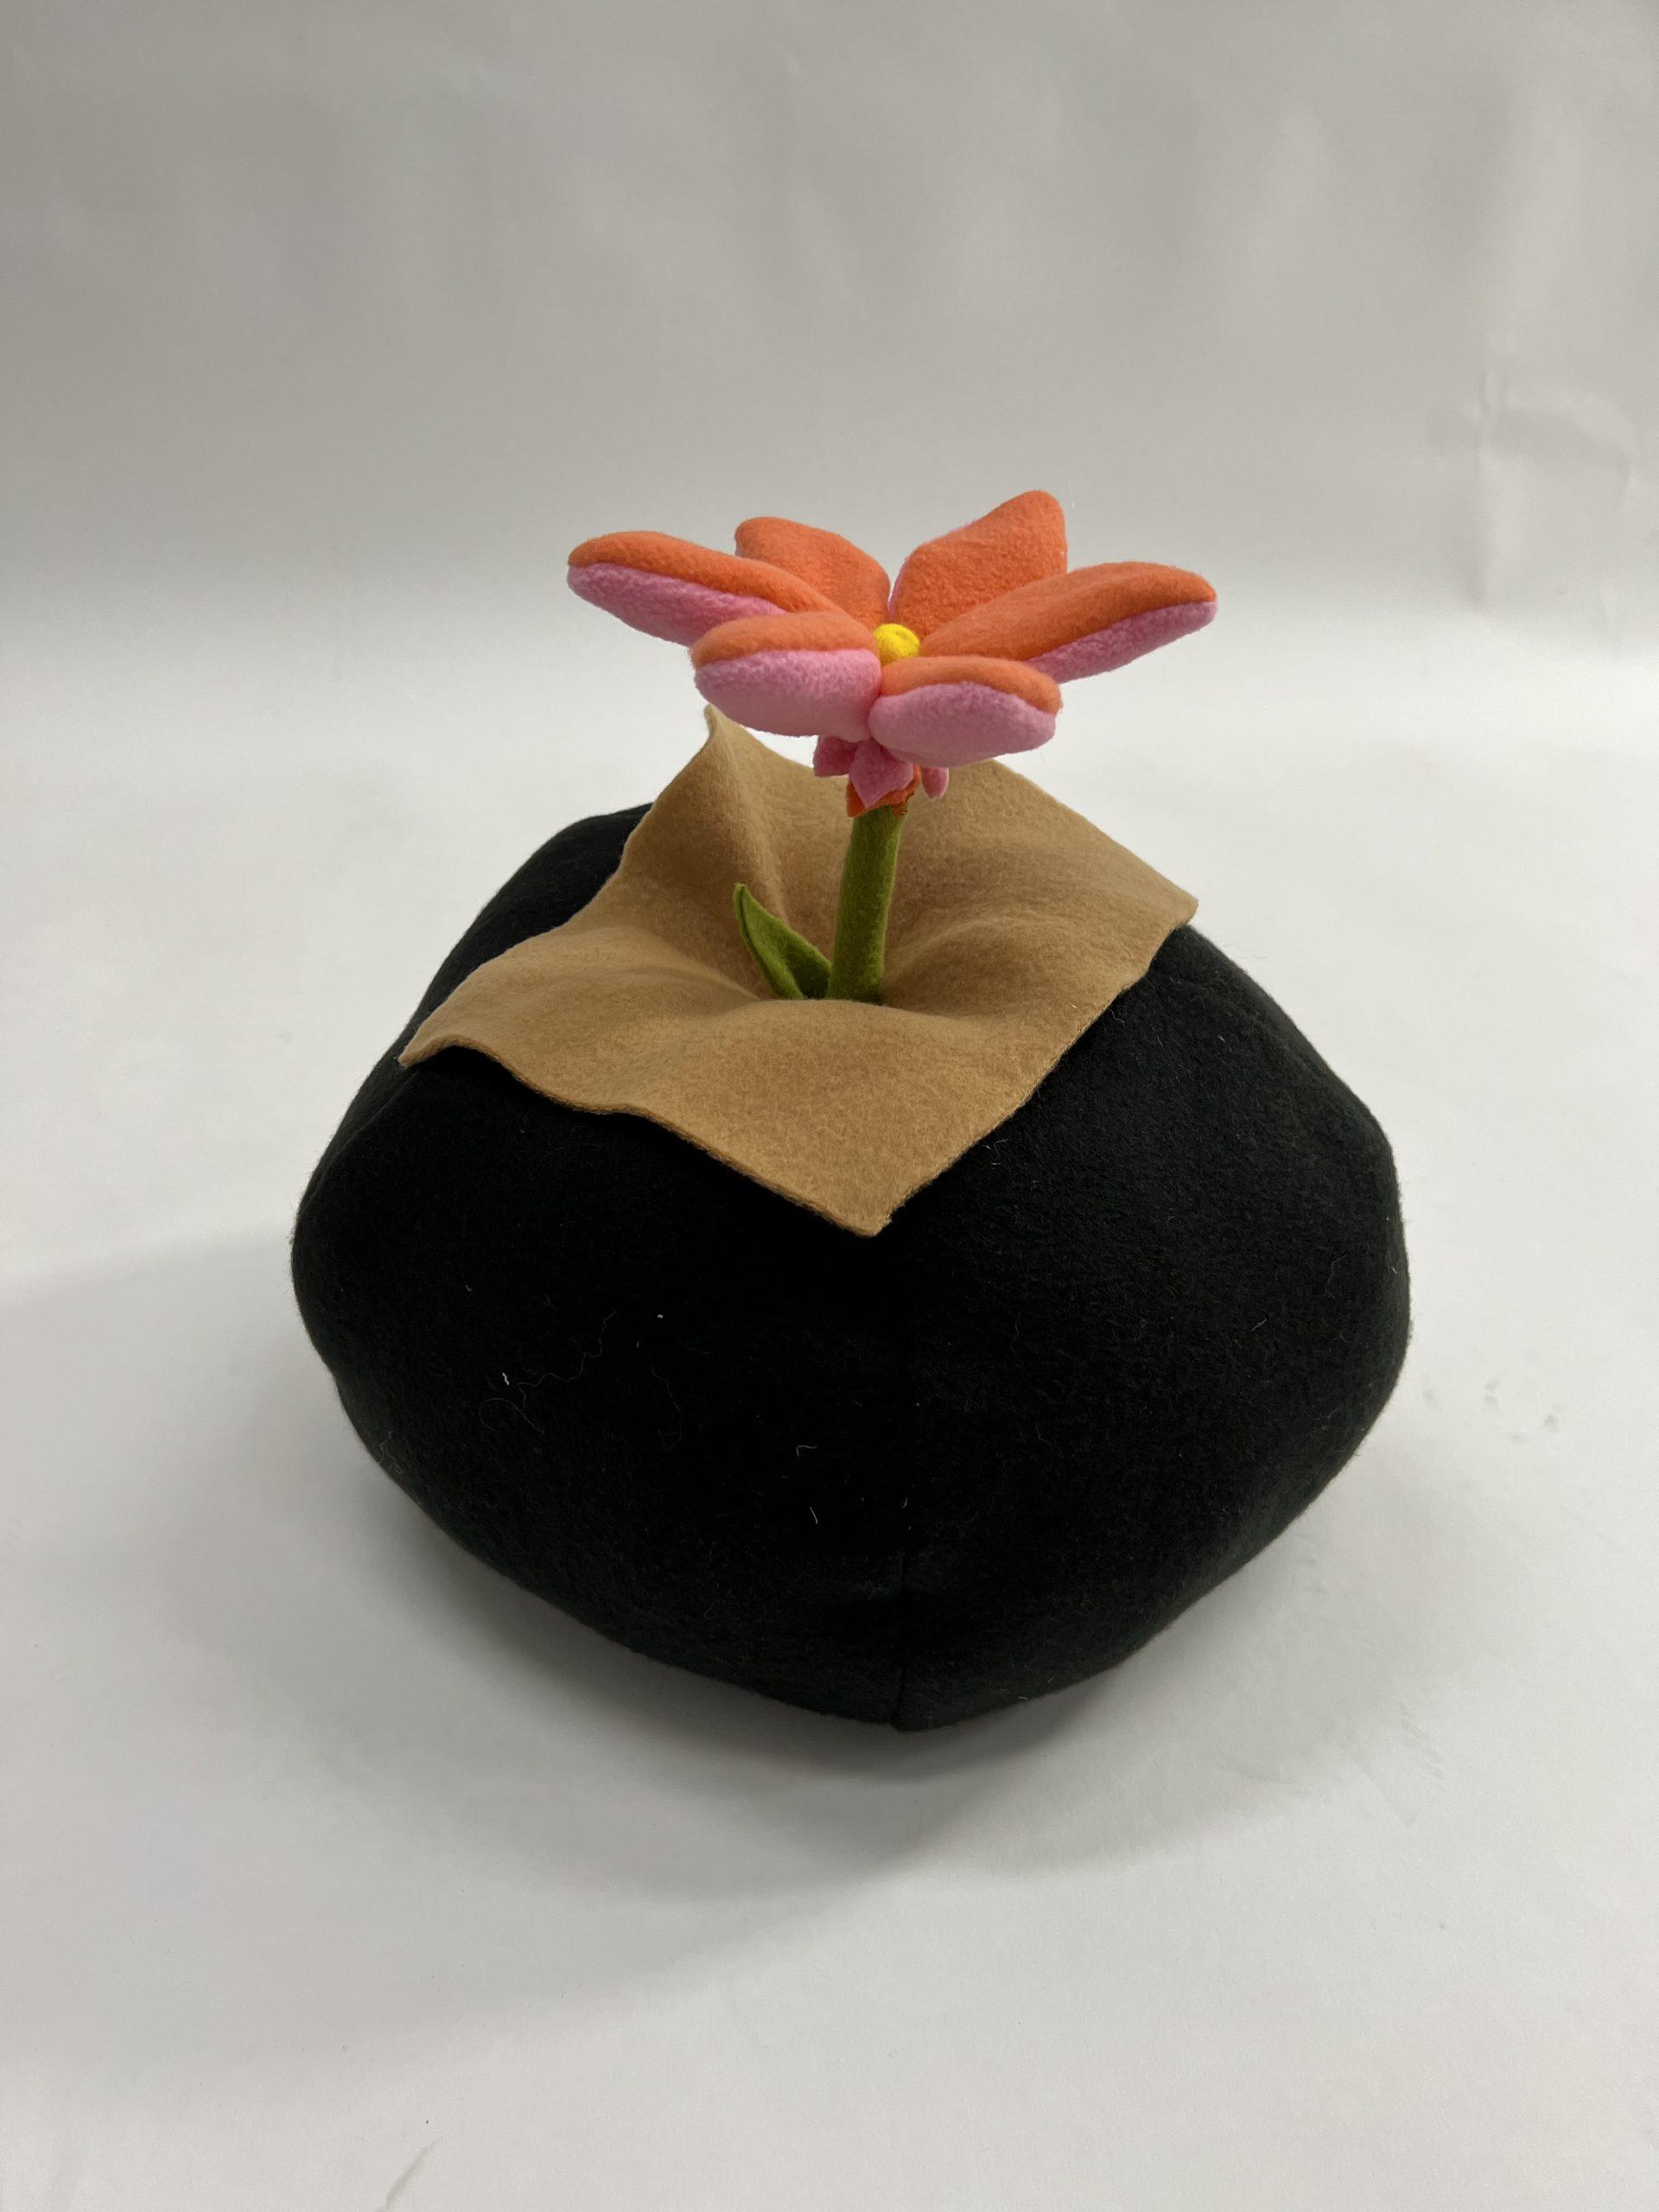
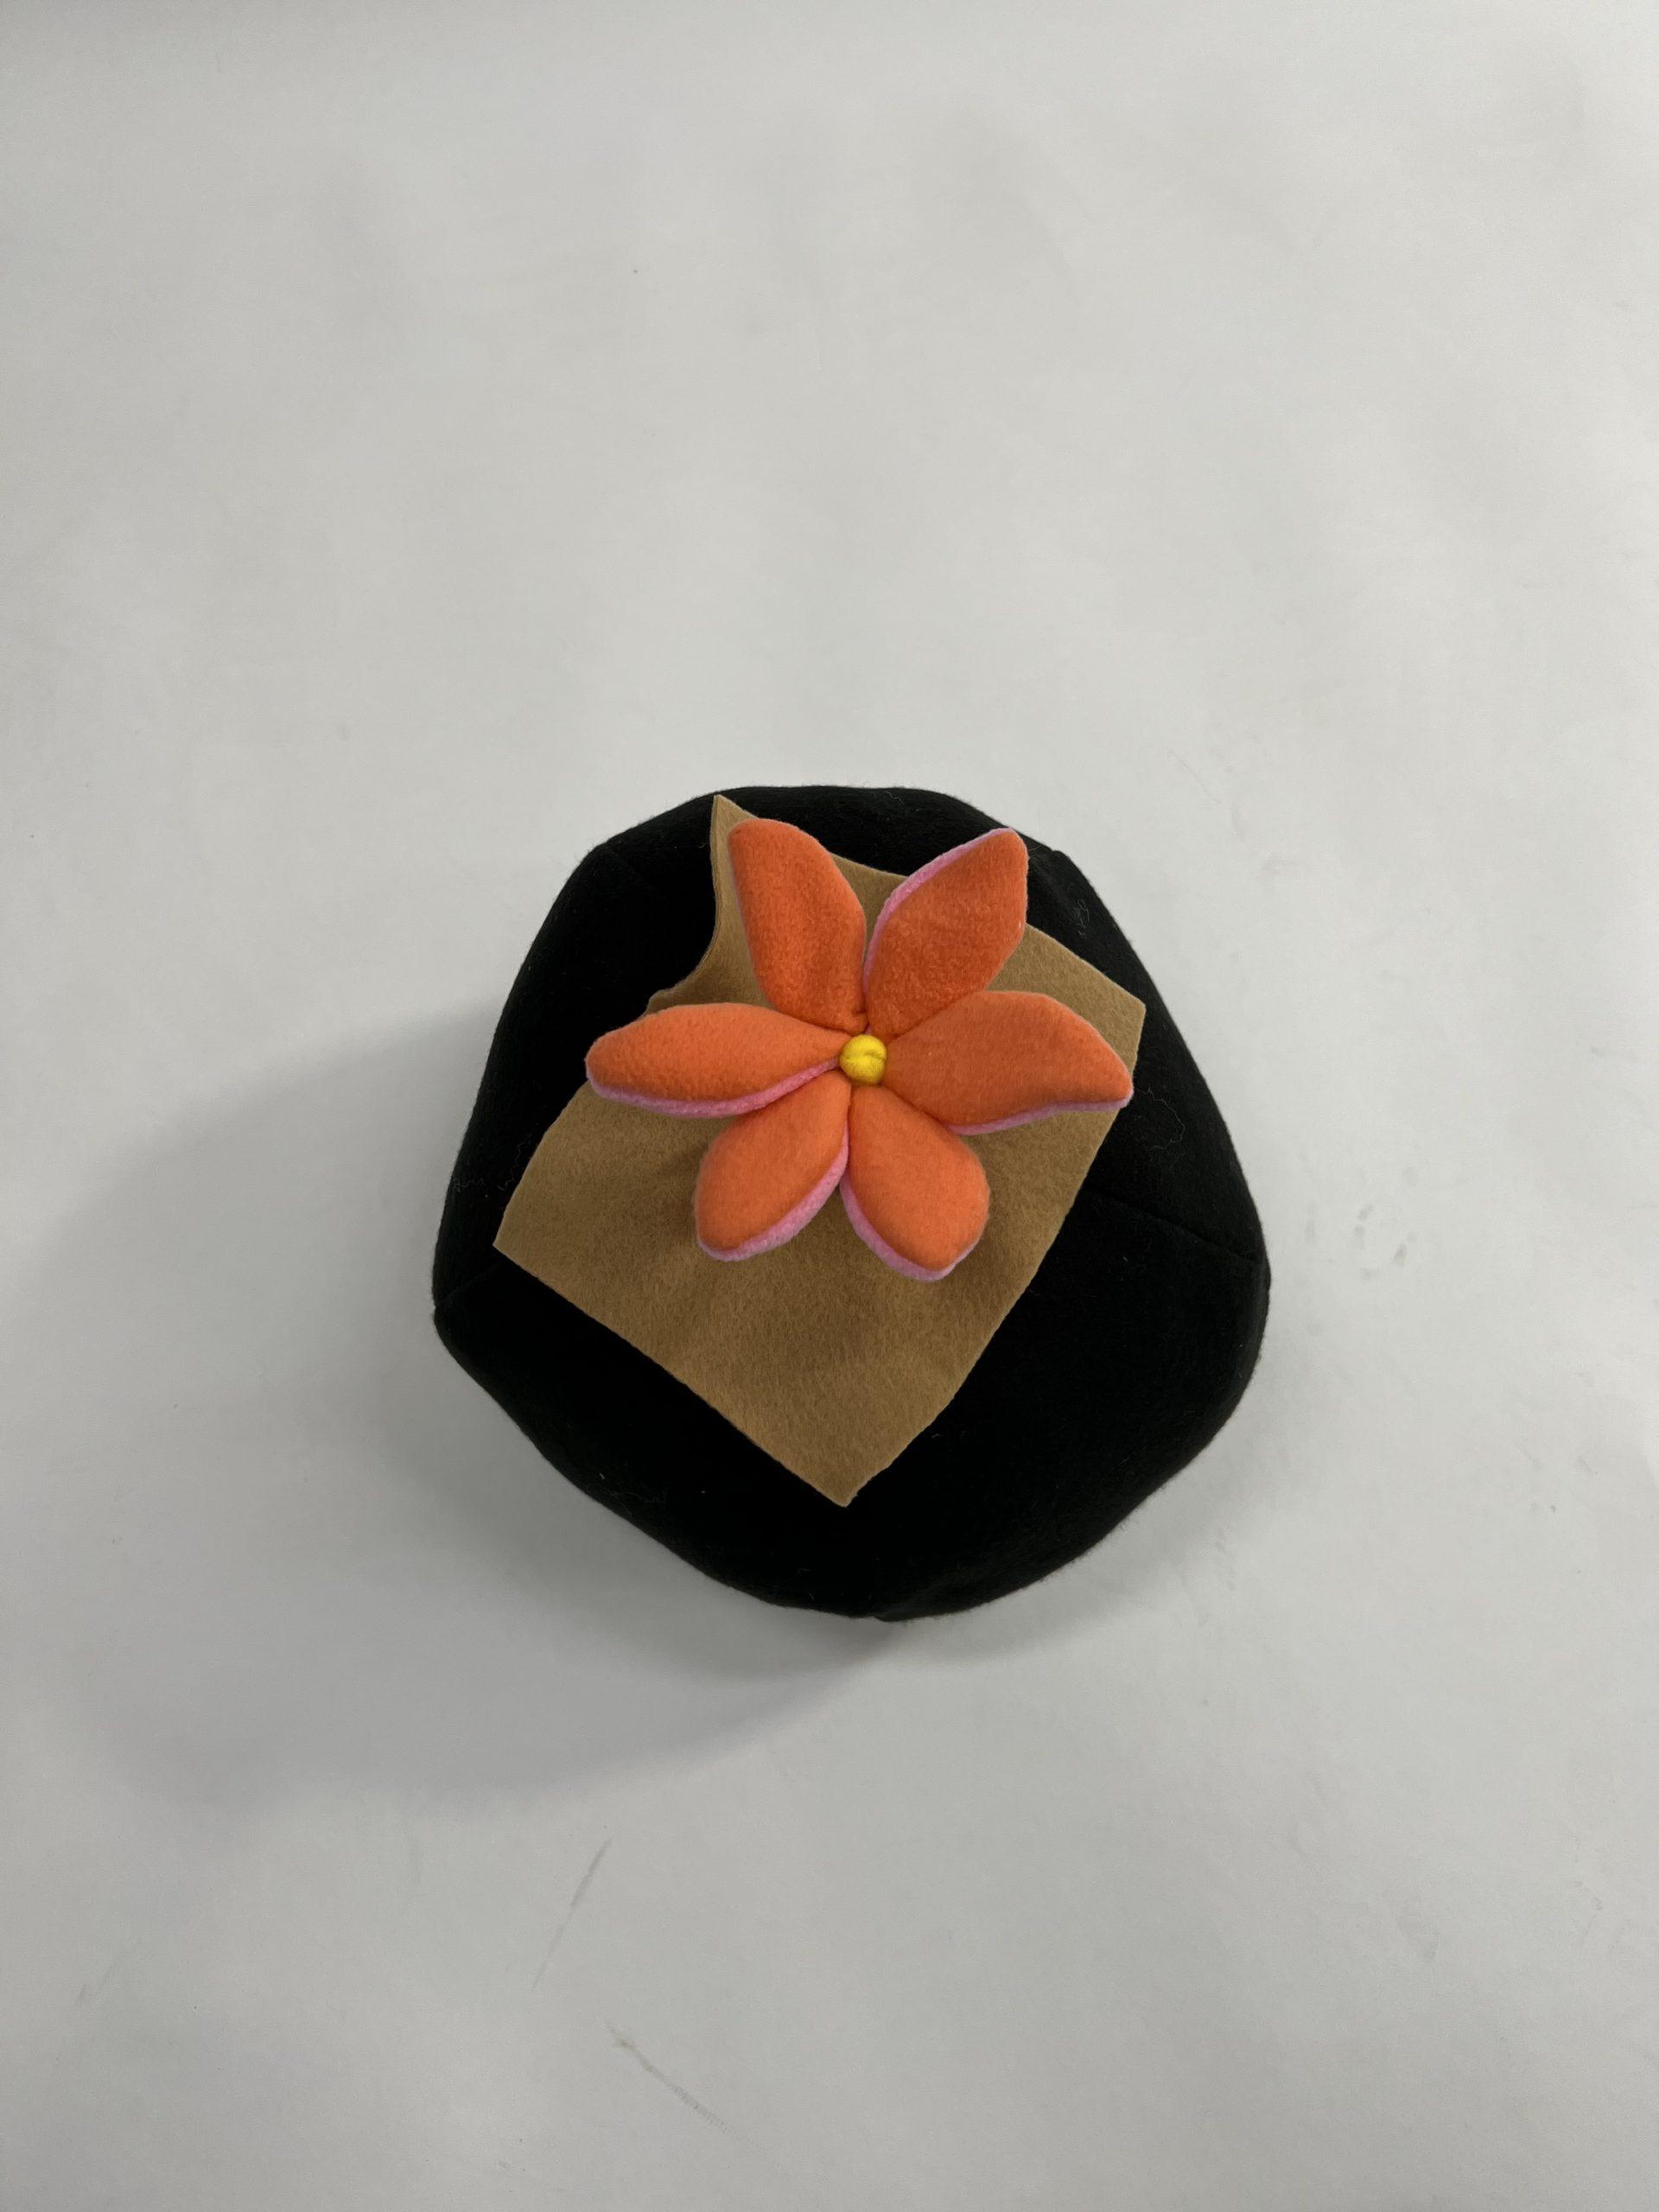
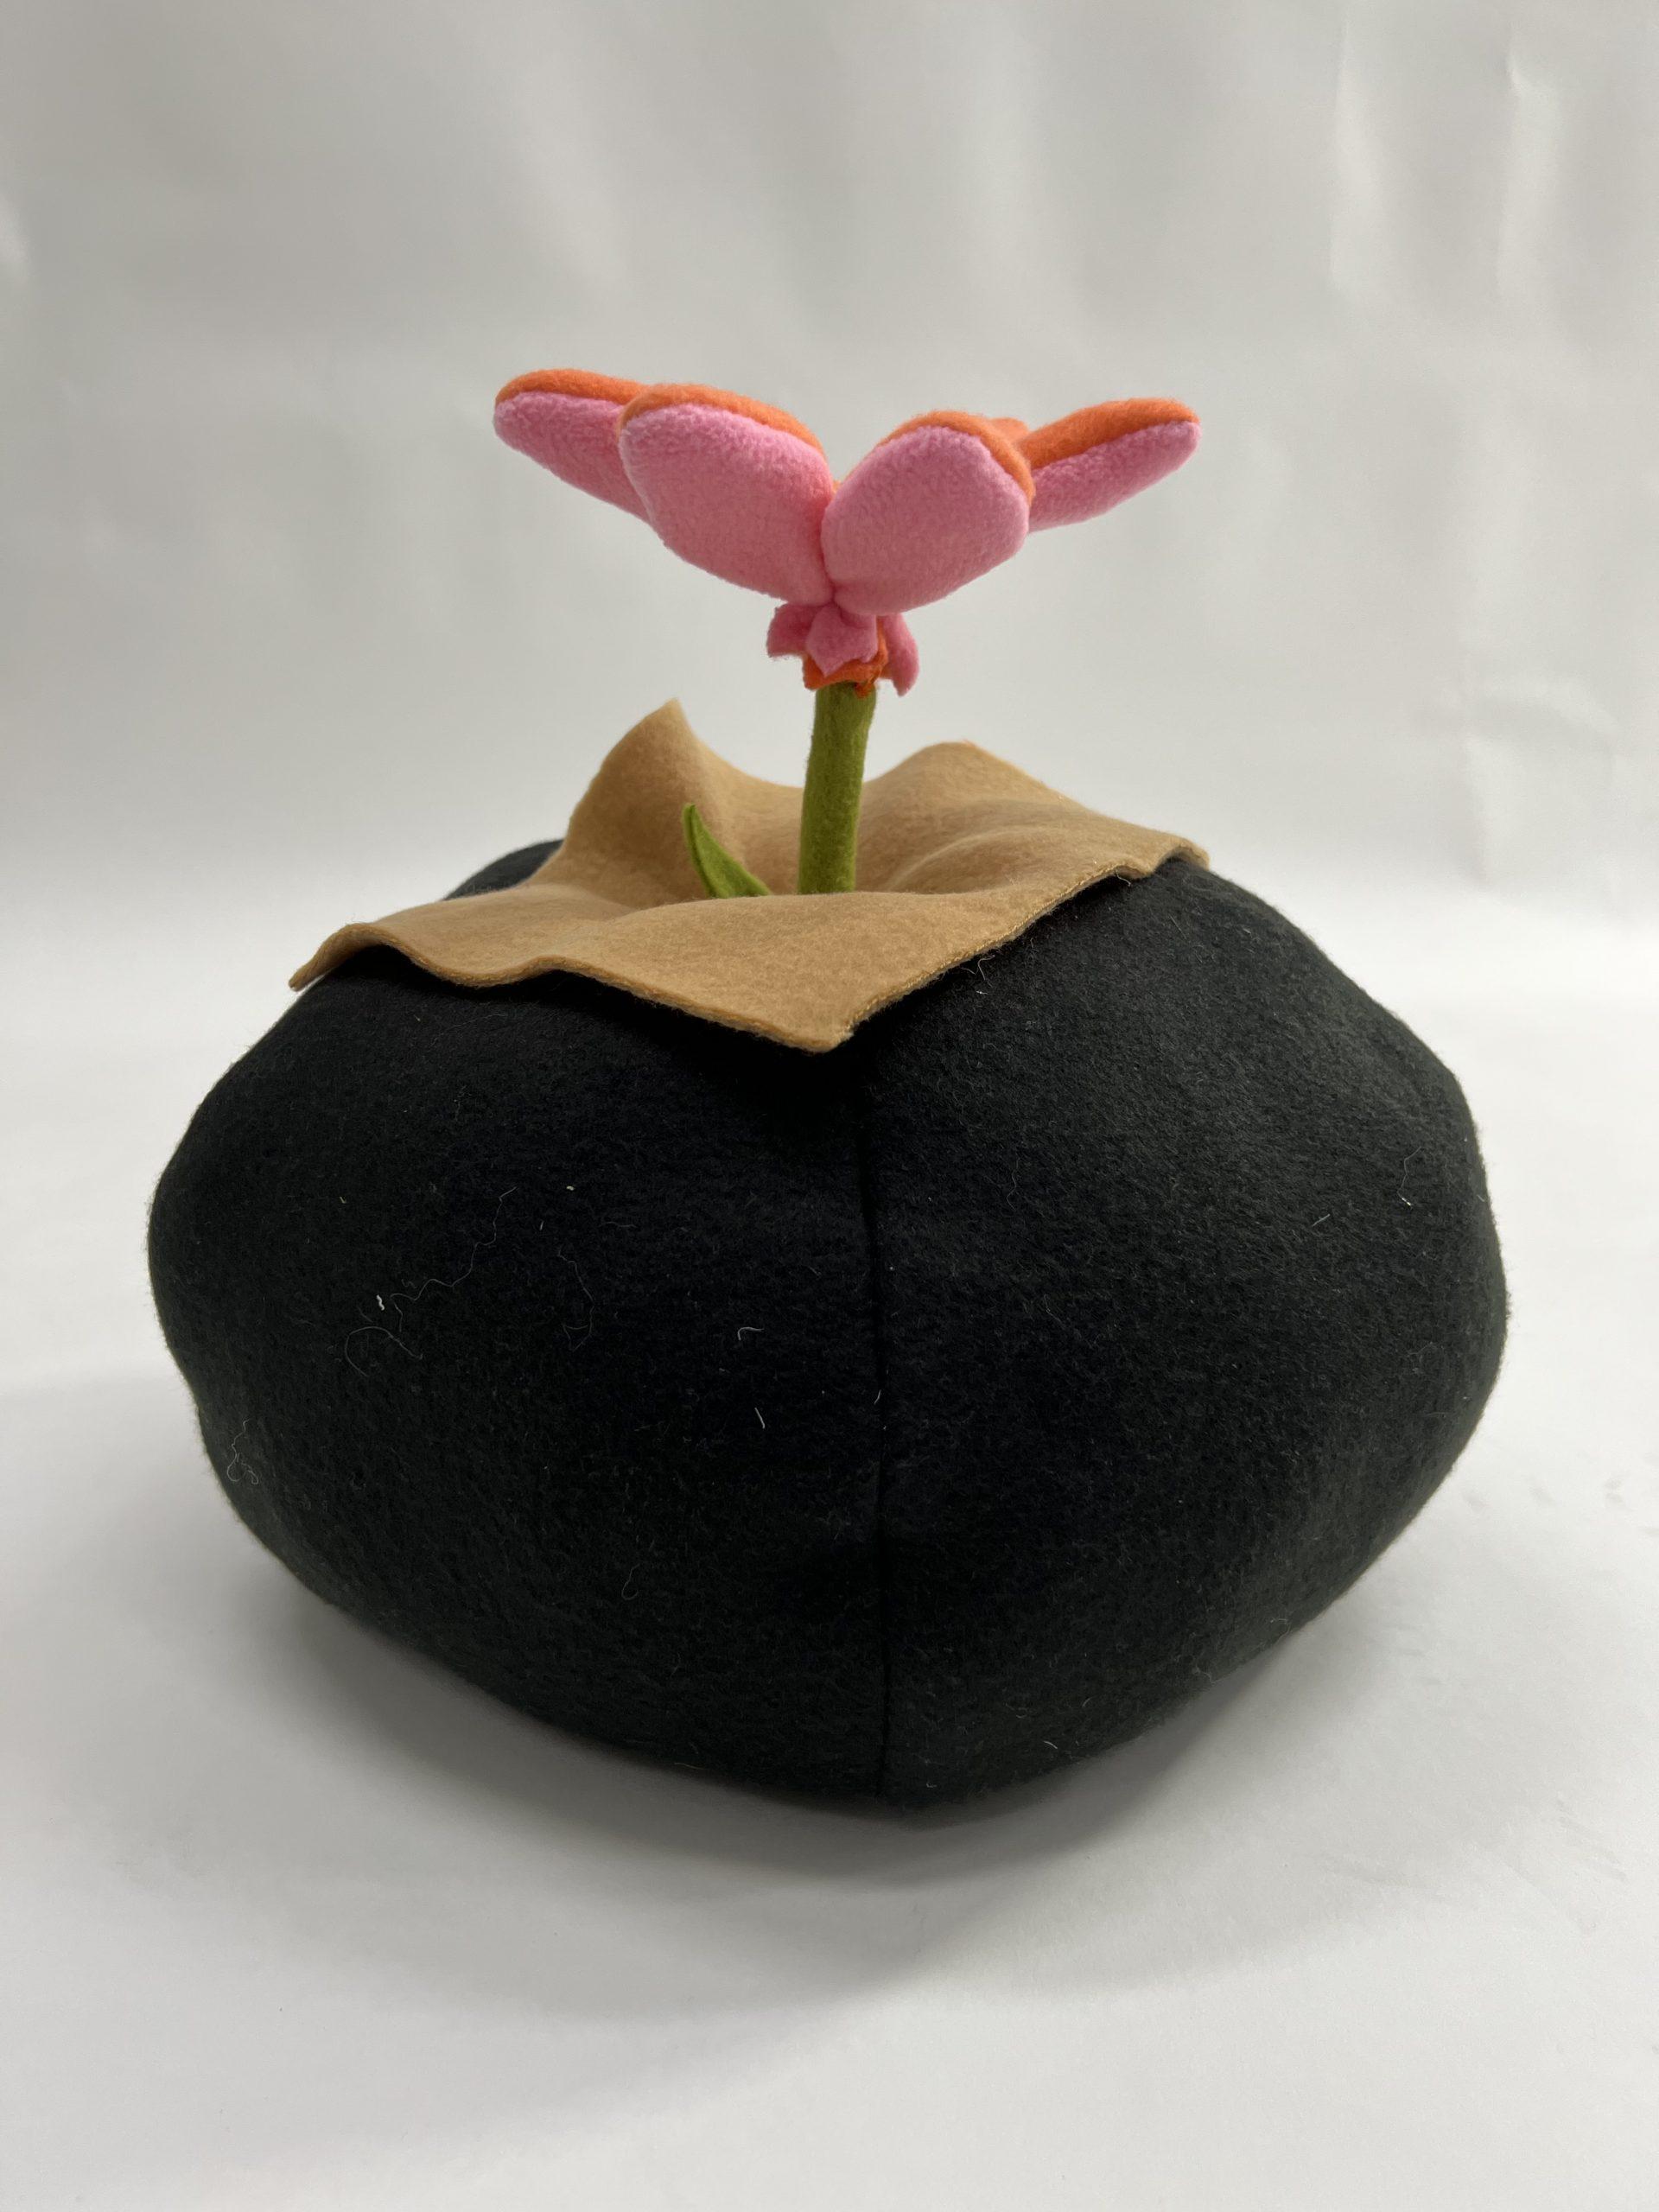
My next inflatable was this flowerpot. I originally wanted to make a round object with two arms sticking out. I wanted the arms to be able to support the round center object and lift it off of the surface. When I was squeezing the center object to determine the size of the arms, I realized that the object really looked like a flowerpot. I then decided to change my idea. I added the brown fabric piece to make the creases in the pot more obvious (also to mimic soil). I then made the flower with fabric and added metal wires inside to give it more support. At first, I wanted to close off the bottom of the pot, but I realized that sometimes if you pull too hard on the wire, the flower could come out so I decided to leave the bottom part open to better adjust the wires when the flower falls out.

Dumbbell

Visual Portfolio, Posts & Image Gallery for WordPress

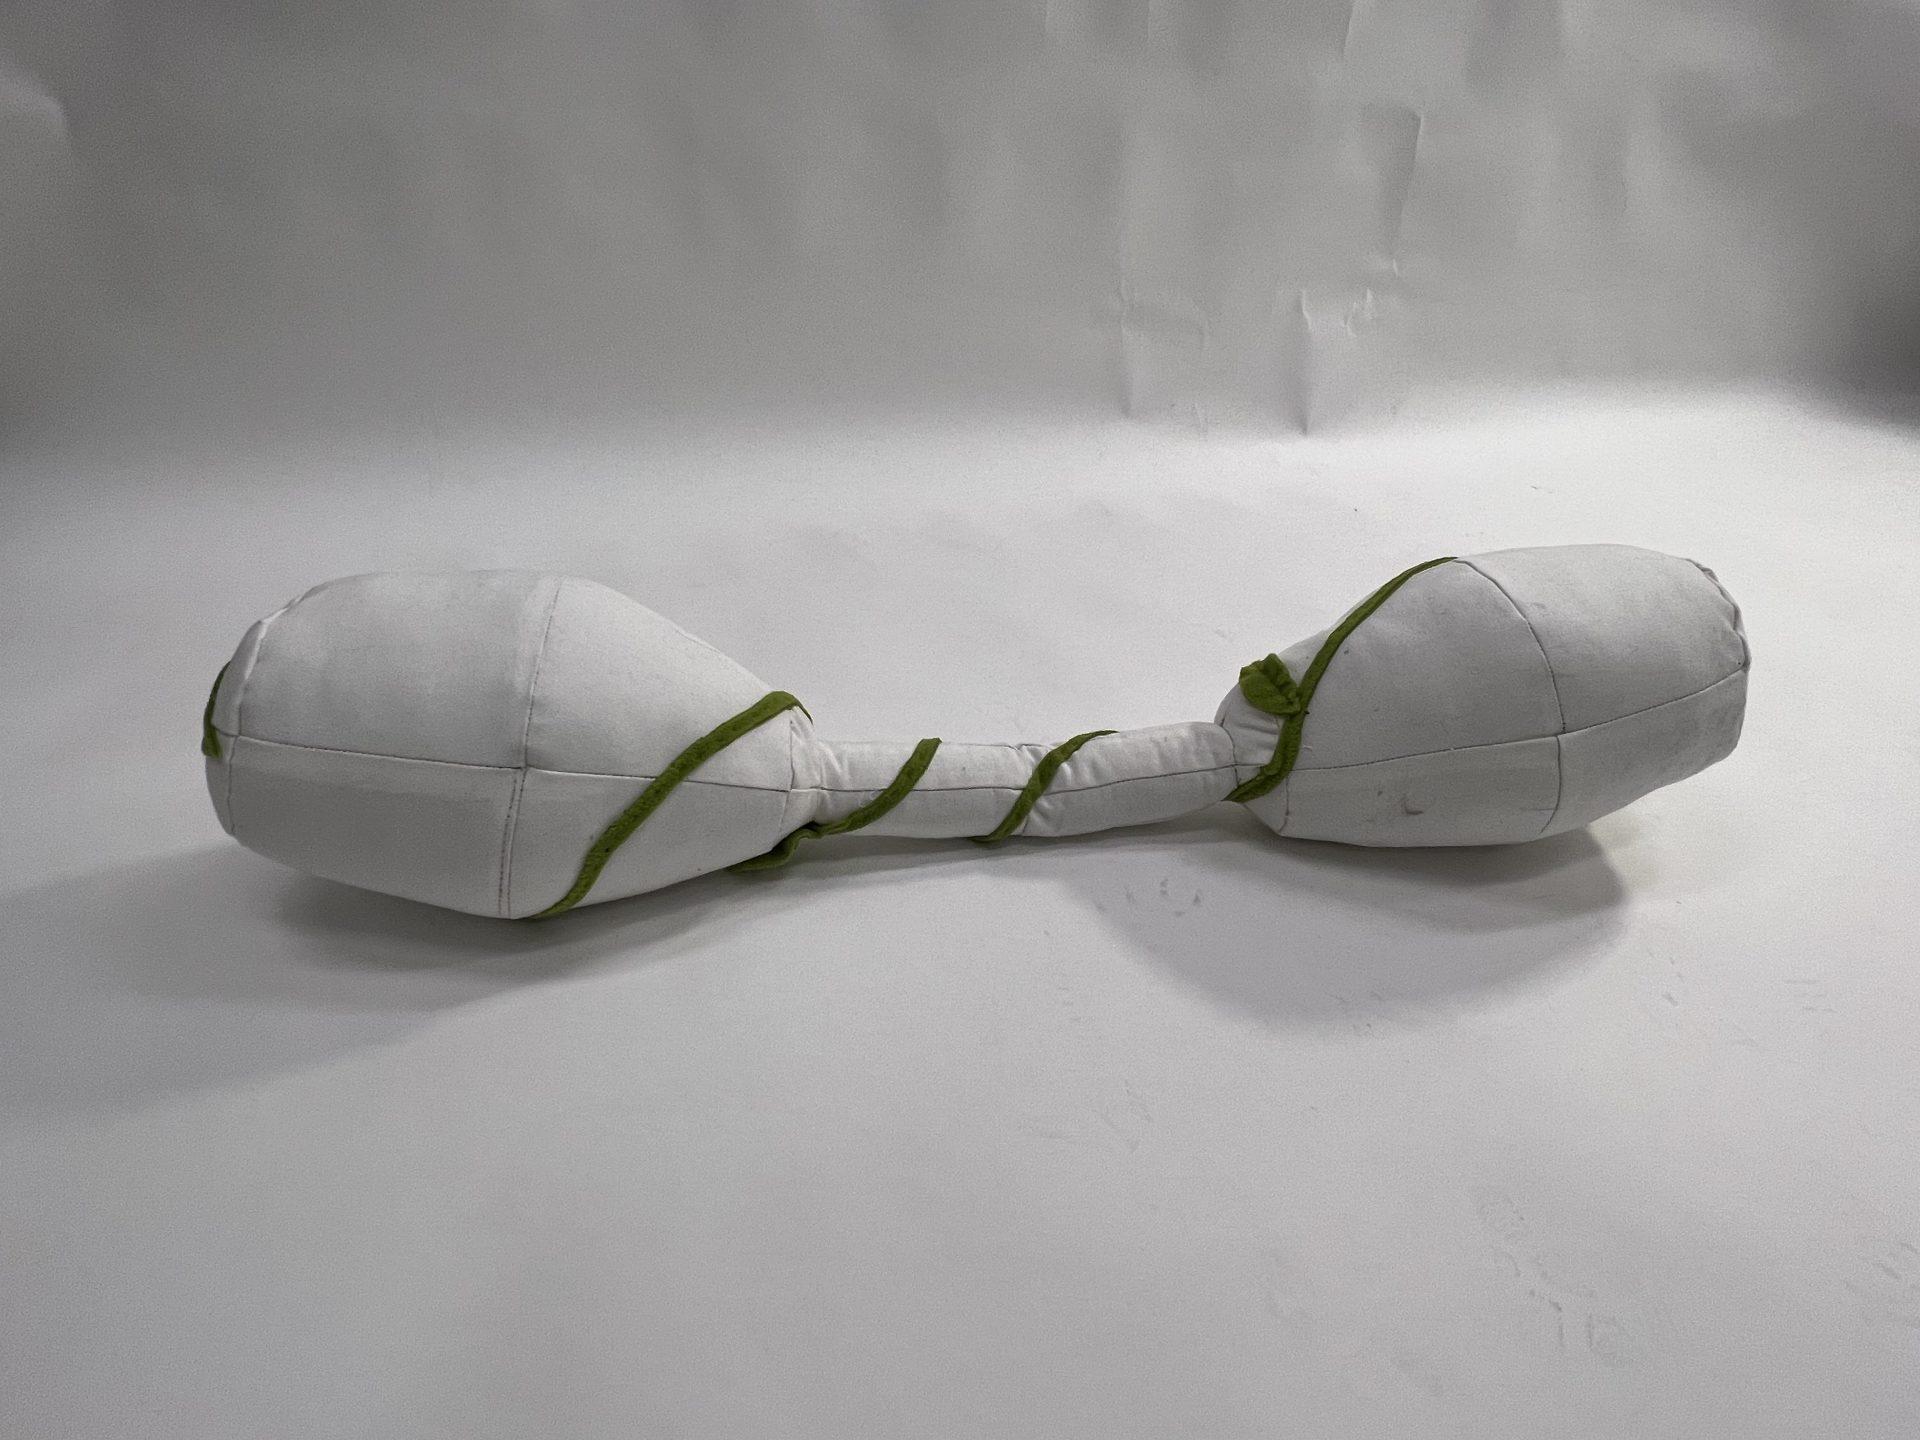
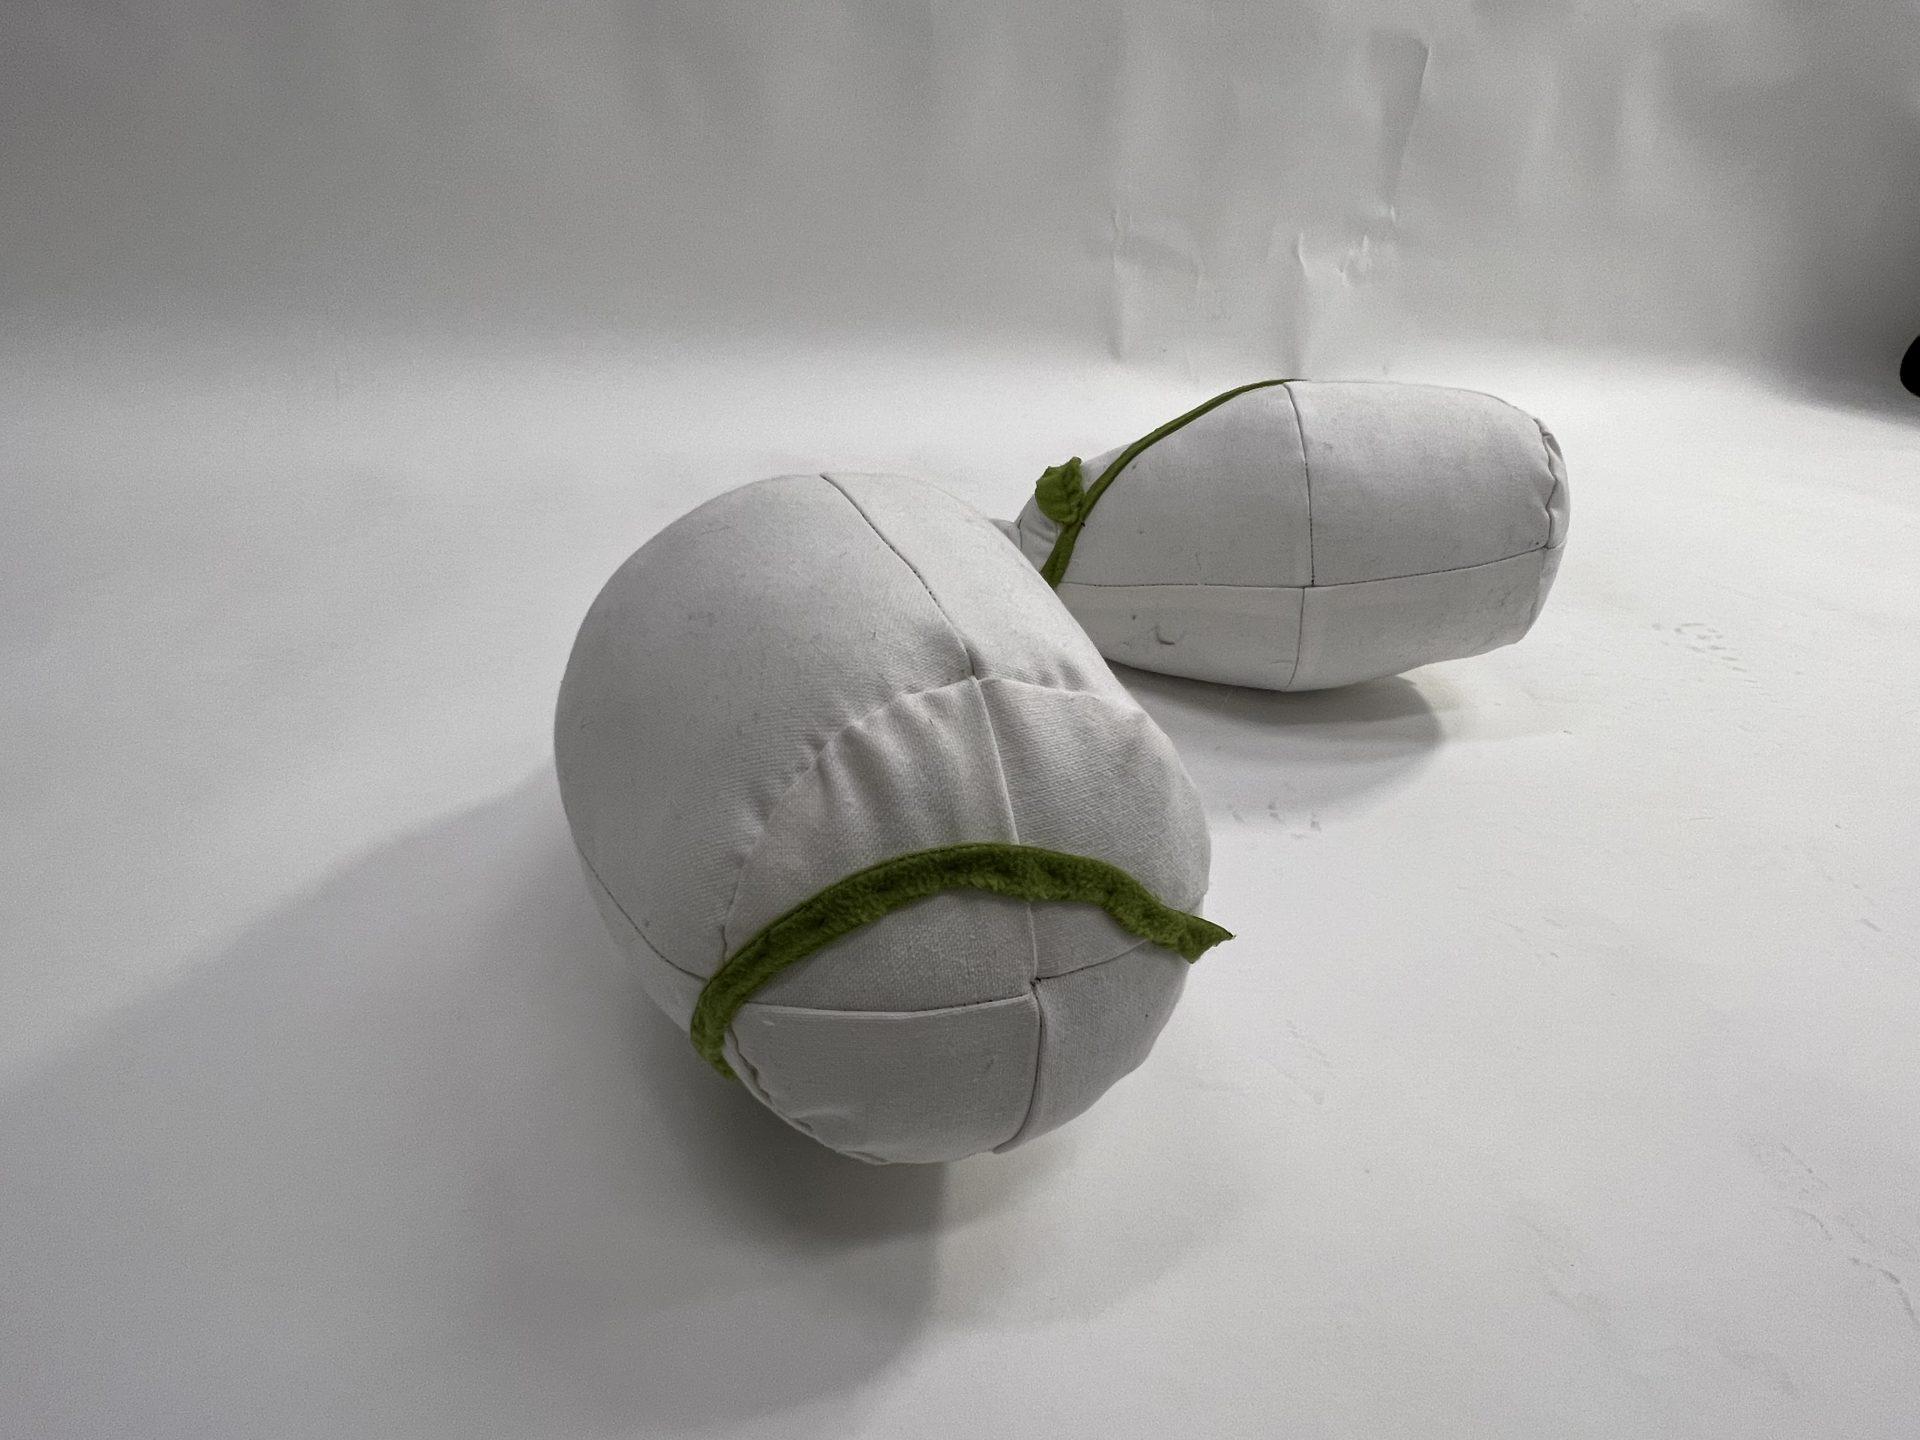
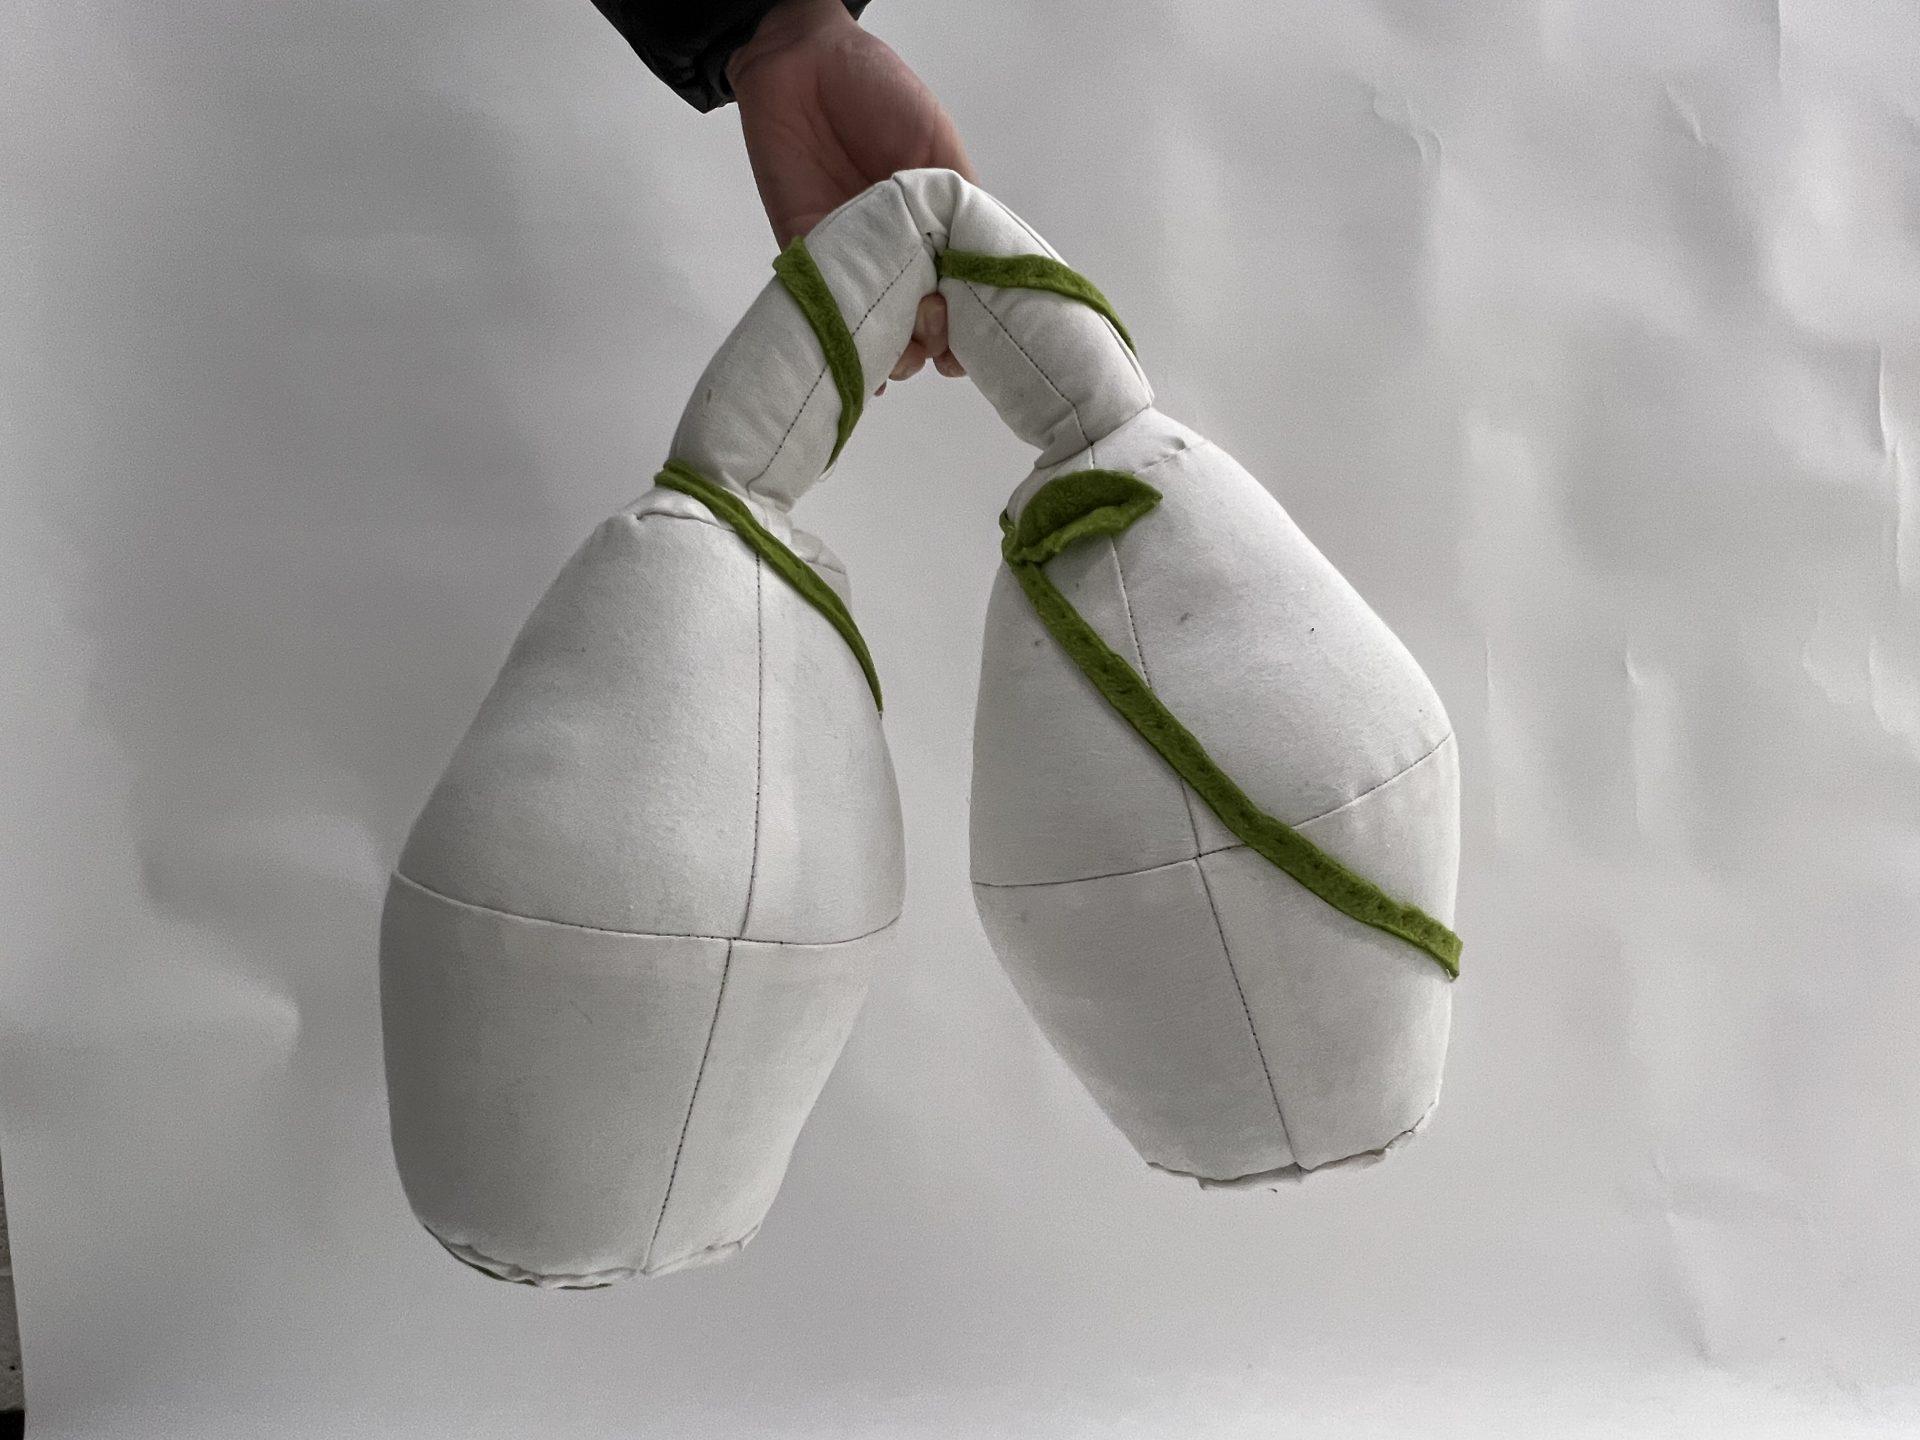
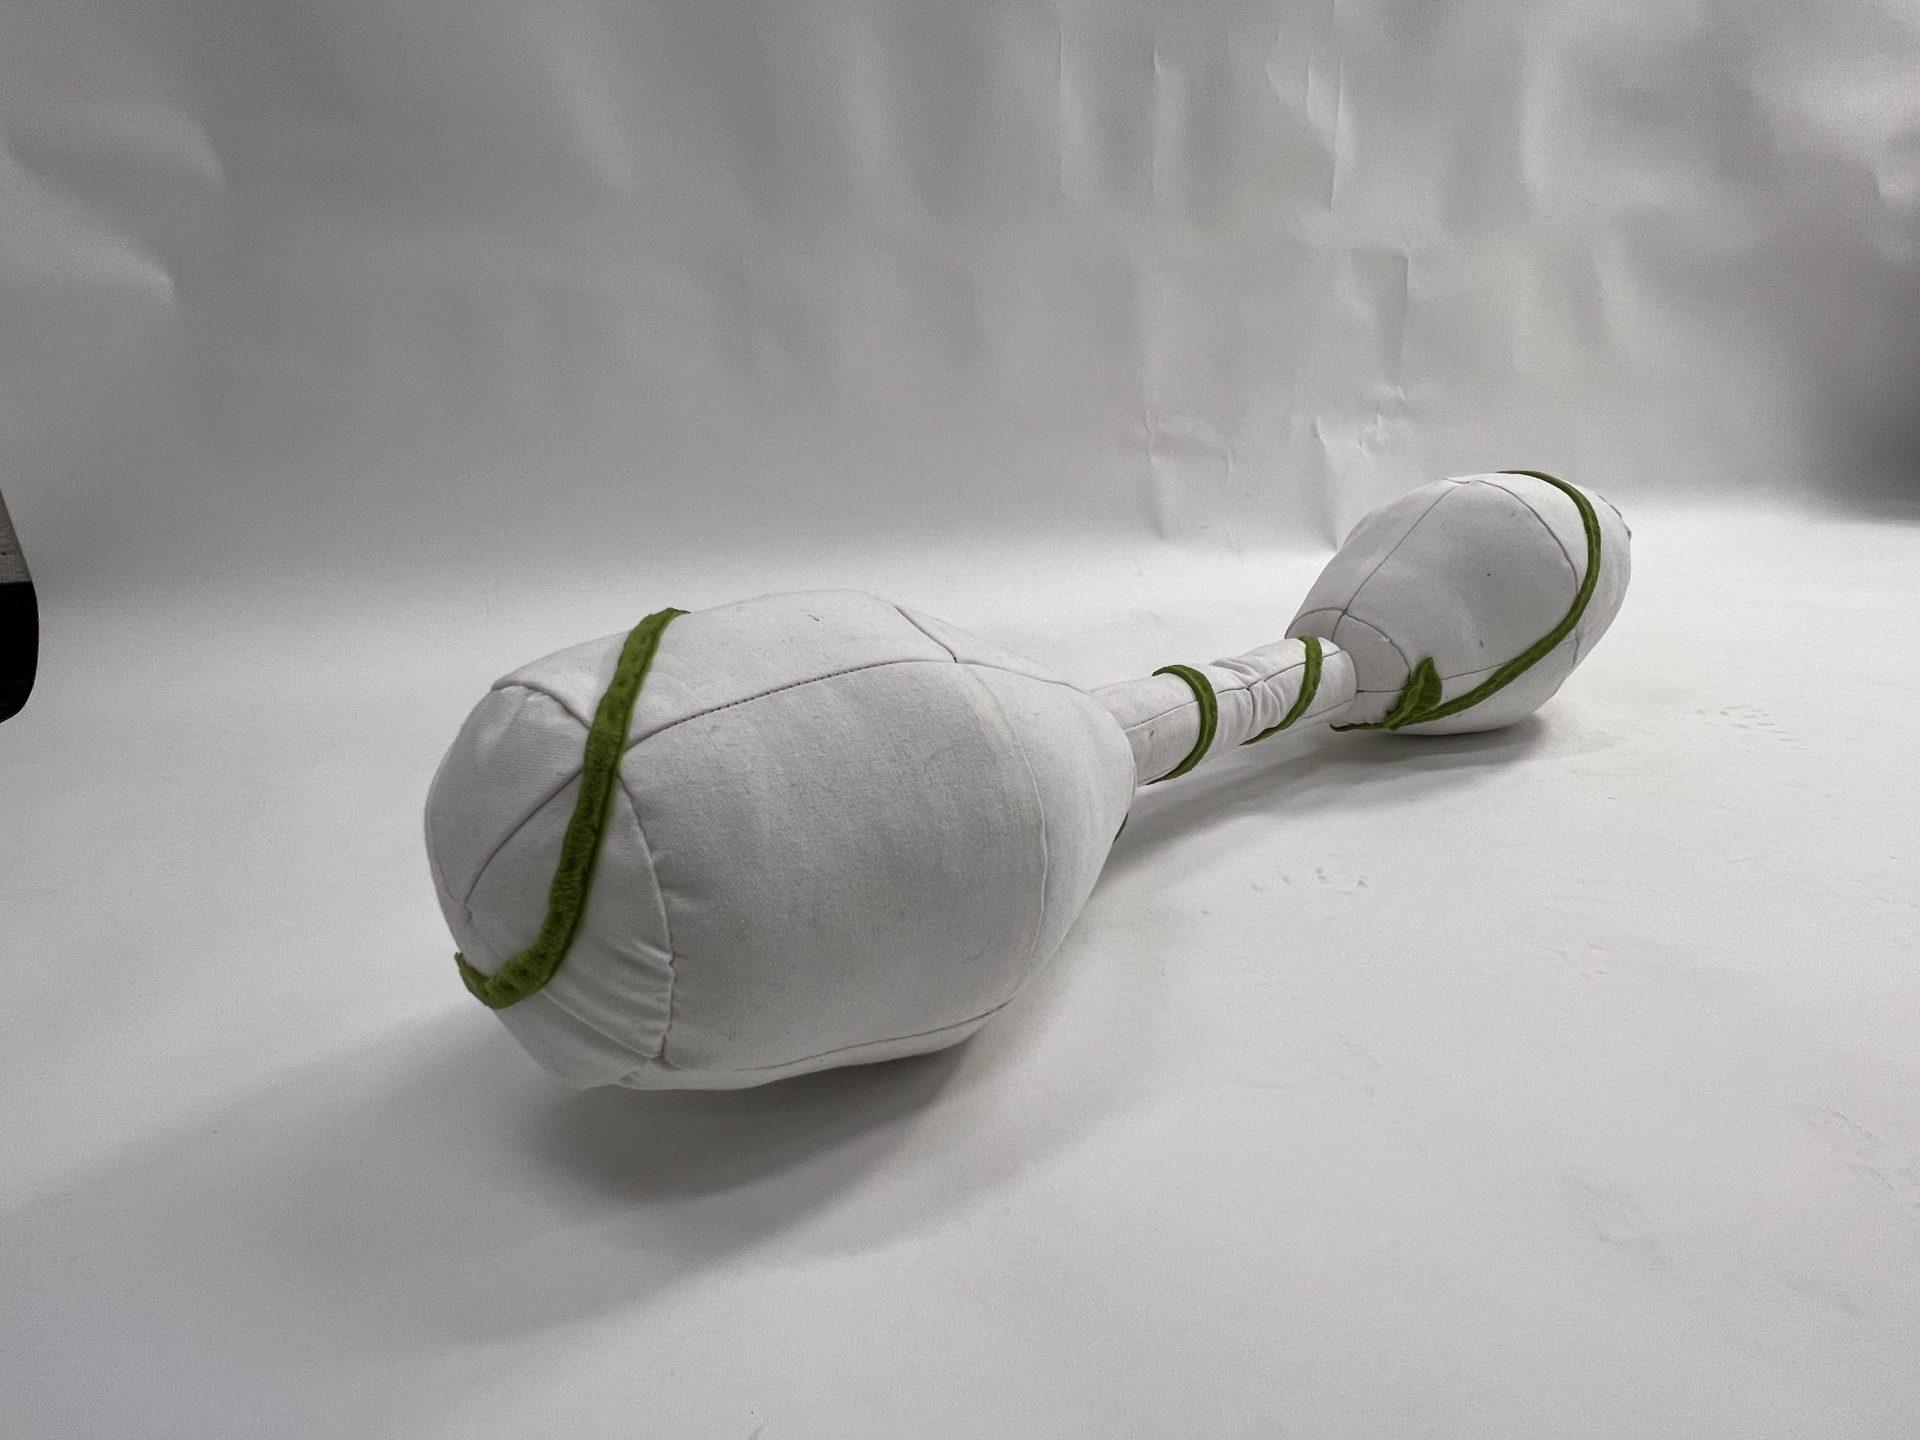
My final piece was designed in Rhino and then cut out on canvas fabric. I wanted to use canvas because I want the dumbbell to be really heavy and sturdy. I also wanted the laser cutting to not go through the fabric. However, I still had a lot of trouble when laser cutting. The first time, my sew and cut lines were flipped and so I decided to pause the cutting and use the rest as scrap. The second time, the sew line was cut too deep making it difficult to sew. I decided to just hand cut out from the remaining of my first laser cut attempt and find the best least deeply cut pieces for the parts that I couldn’t save (from the first attempt). Because a lot of my pieces were circular, I both machines sew and hand sew. I started with the center long piece then the two sides and then hand sewn the two sides to the centerpiece. I found that matching the pieces together when sewing is the most challenging part. After making the dumbbell, I added vines around the piece.

Rhino Link:

https://drive.google.com/drive/folders/1pa0UDe5iHNbqTY36yva-izUACPenhJAX?usp=sharing

Overall, I had a fun time making these objects. I learned a lot about combining different shapes, inflating objects, and working with different fabrics.

Jules Yang – Push/Pull Part 1

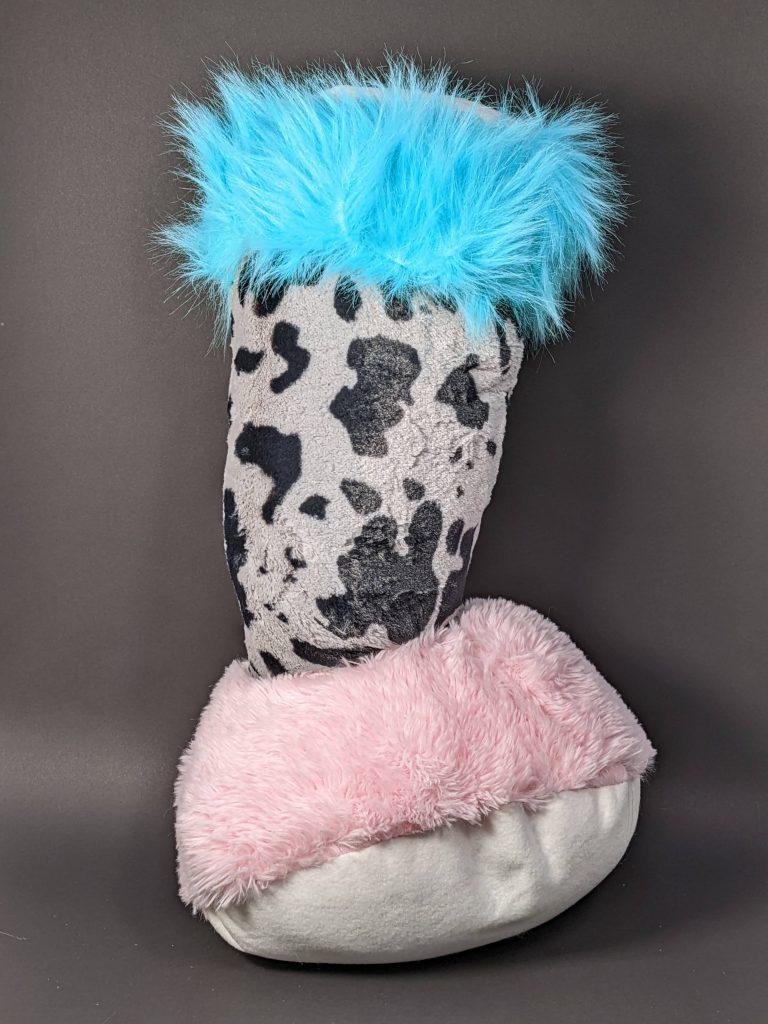
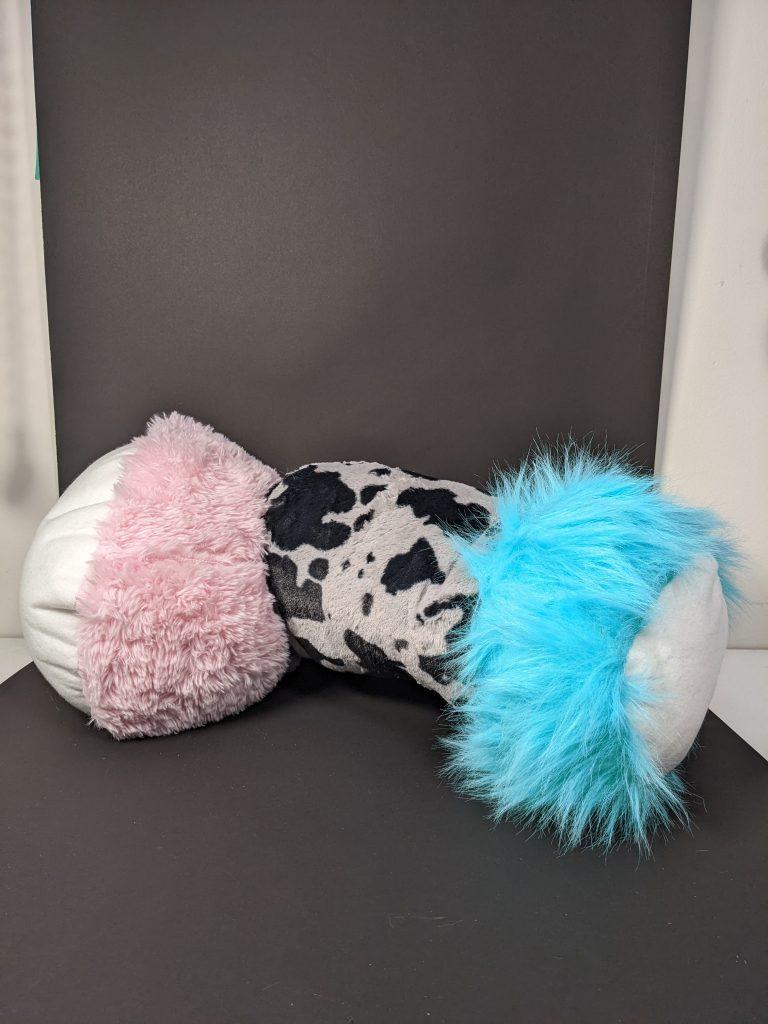
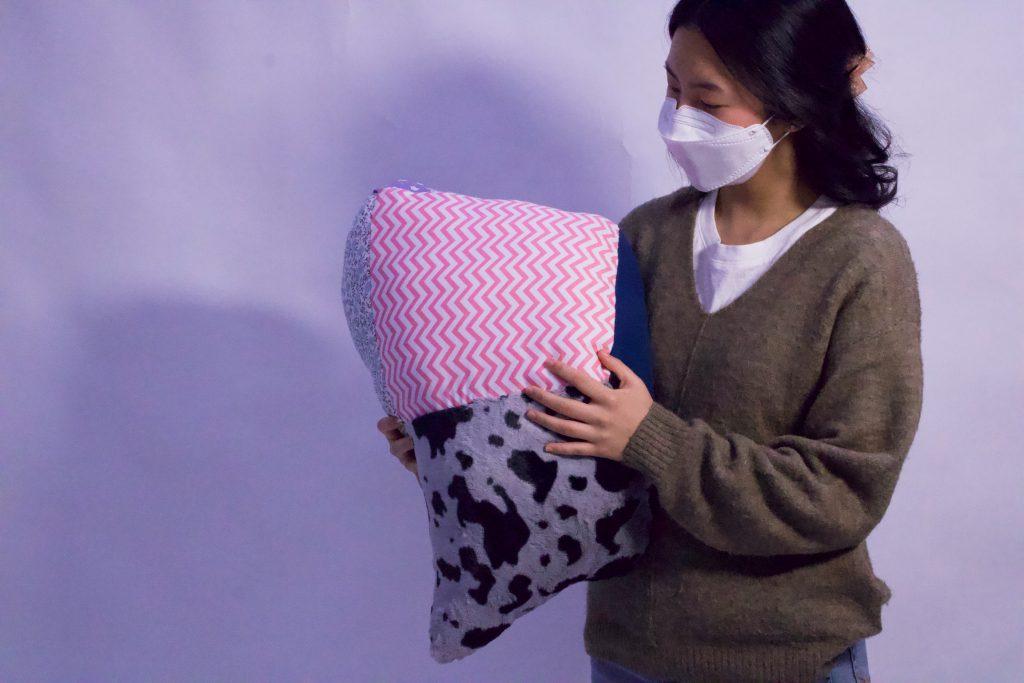
My first inflatable was a combination of a cylinder for the cow print middle and modified cones for the ends. I cut out the tops of the cones to connect it to the cylinder and I cut out circles to cap the ends of the cones. I also utilized some pleating to get a kind of rippled effect on the cap of the white cylinder so that it would bulge outwards. This form was an interesting first exploration for me because I had to sew along many tricky curves. I really wanted to pick some garish, almost clashing type of fabrics to go together which is why I selected these very fluffy fabrics. However, they are balanced on either side by the white caps. I noticed the fluffy fabrics were very interesting to work with because they made pinning quite difficult at times and it was oftentimes tough to squeeze through the sewing machine especially with the pleats.

My next inflatable was my laser cut piece. I planned to make a funky looking sofa that I first designed out on Rhino. The piece is made up of ellipsoids of different dimensions put together. At first, I heavily warped each of the ellipsoids but scaled back on doing that because I realized it would be very difficult to split into pieces. Having no prior experience with Rhino and CAD, developing the pattern was a very difficult and frustrating process for me, but I eventually got the hang of it and really enjoyed the ease of the laser cutting and putting together the final result. I cut the same pattern onto two fabric pieces. I used kind of similar, yet also clashing colors to give it a funky look because I knew that when I put it together, I wanted it to have this checkerboard effect that highlighted where the Rhino cuts were. This piece required a lot of hand sewing which I enjoyed a lot, but it was also extremely tedious and was difficult because of the amount of tension I had to apply to really pull the back of the chair upright. One of the slight mistakes I realized I made was overstuffing the seat and back which made it kind of impossible to make it fully upright, but I enjoyed the full nature of the result regardless.

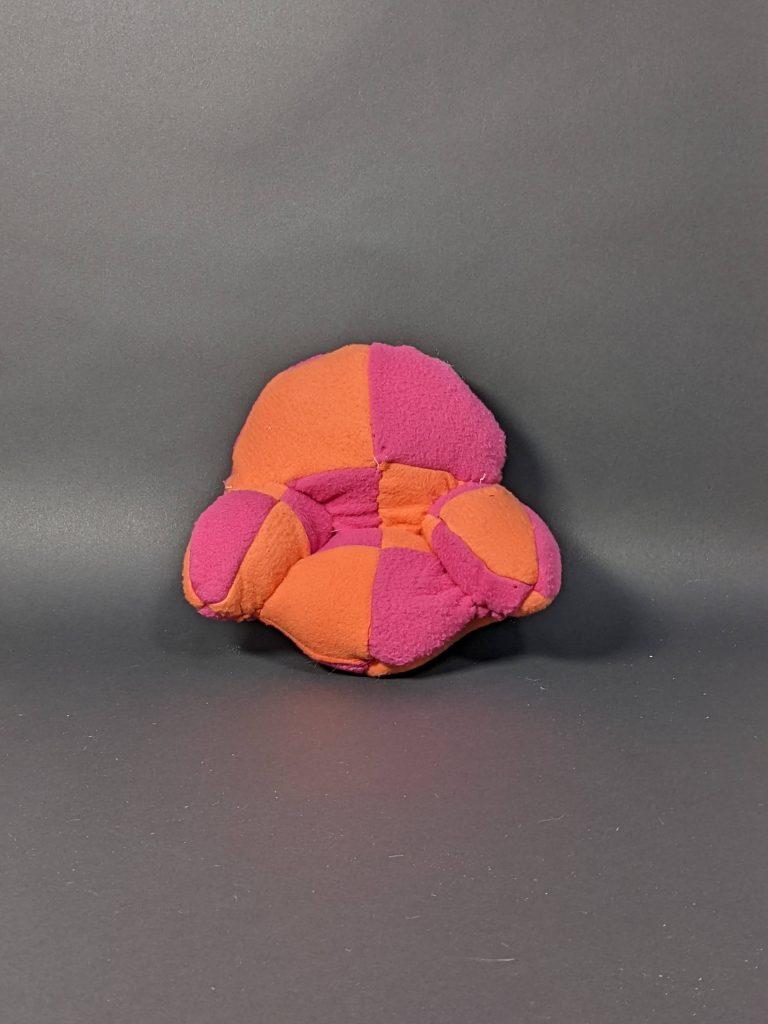
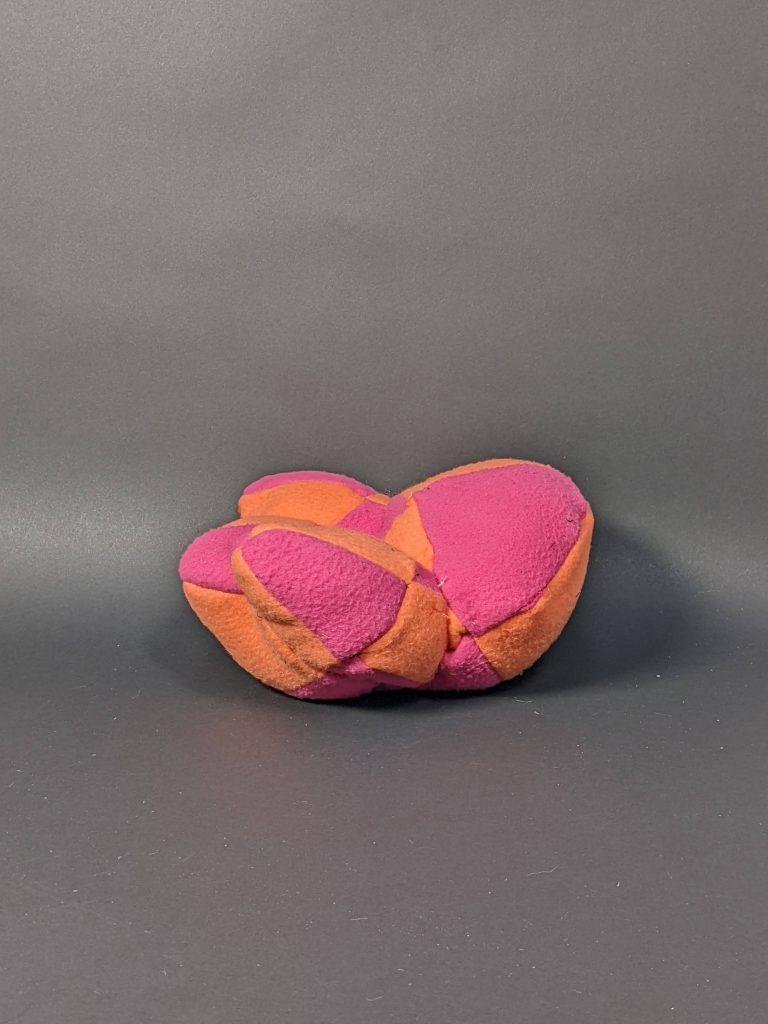
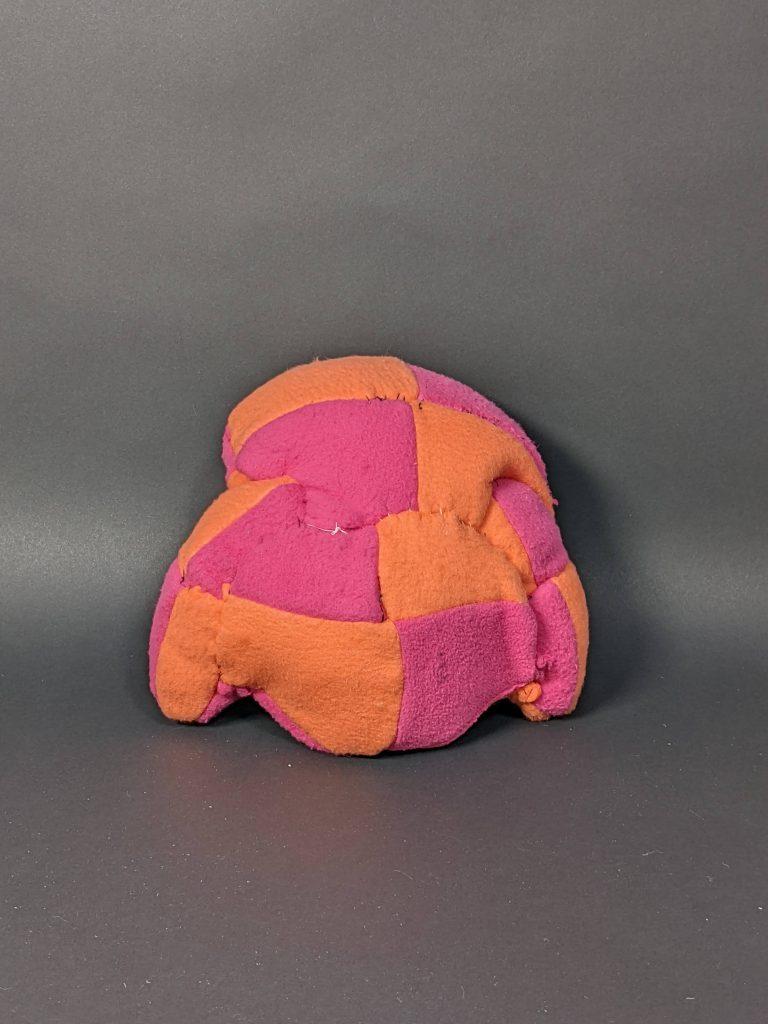
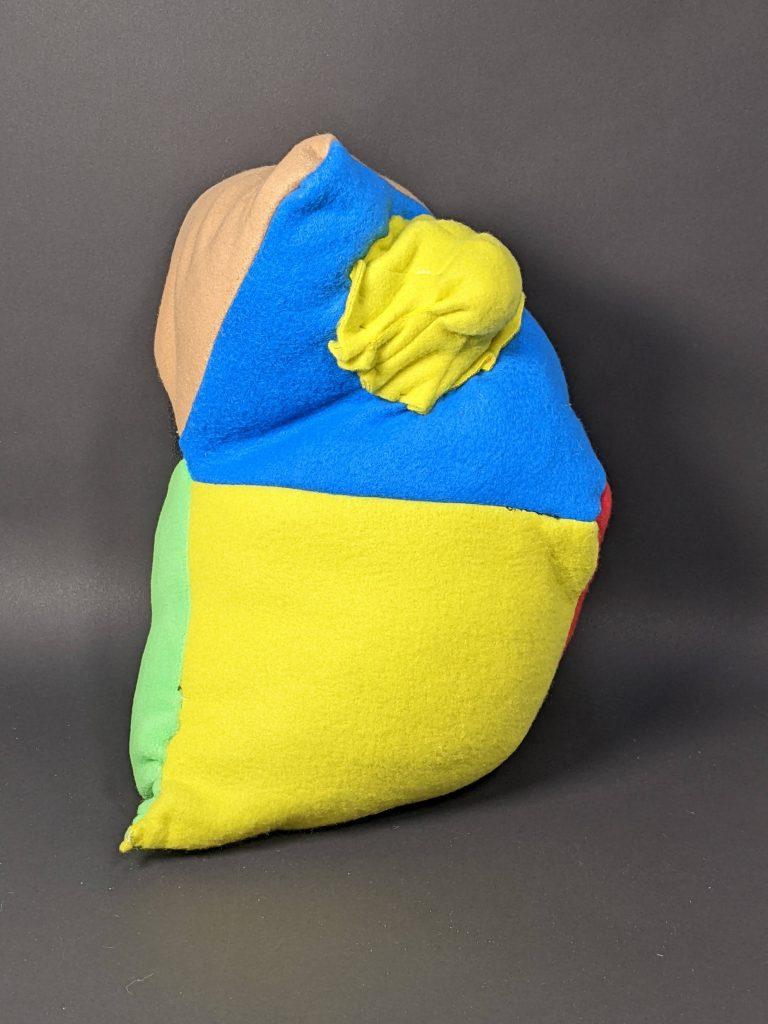
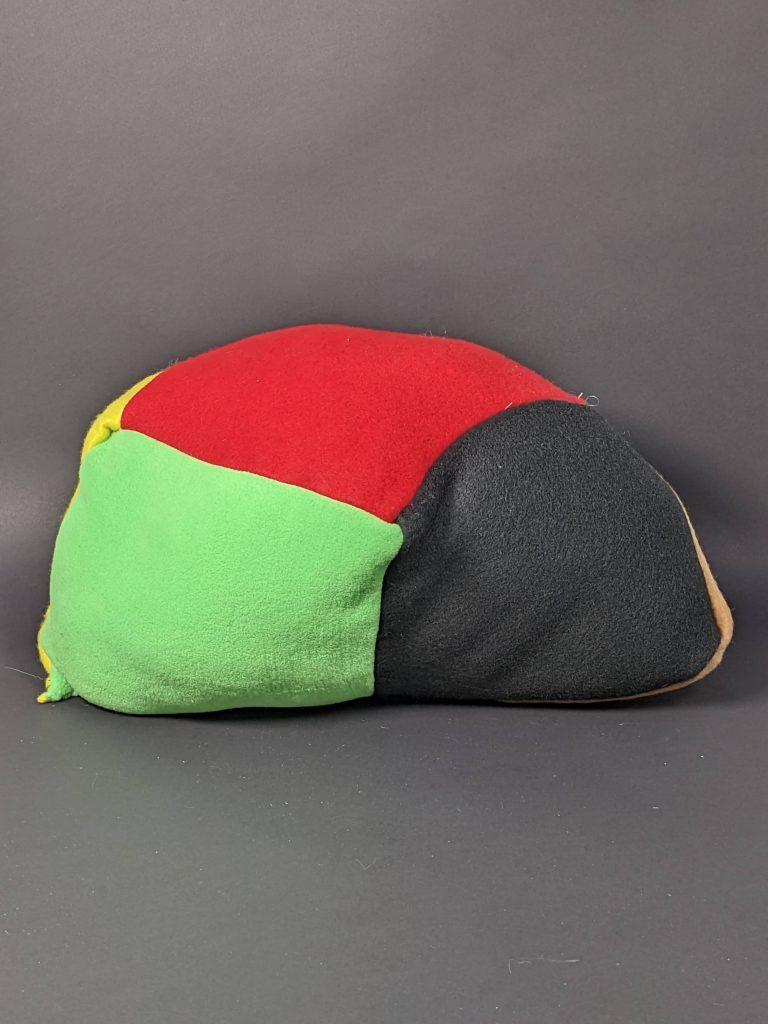
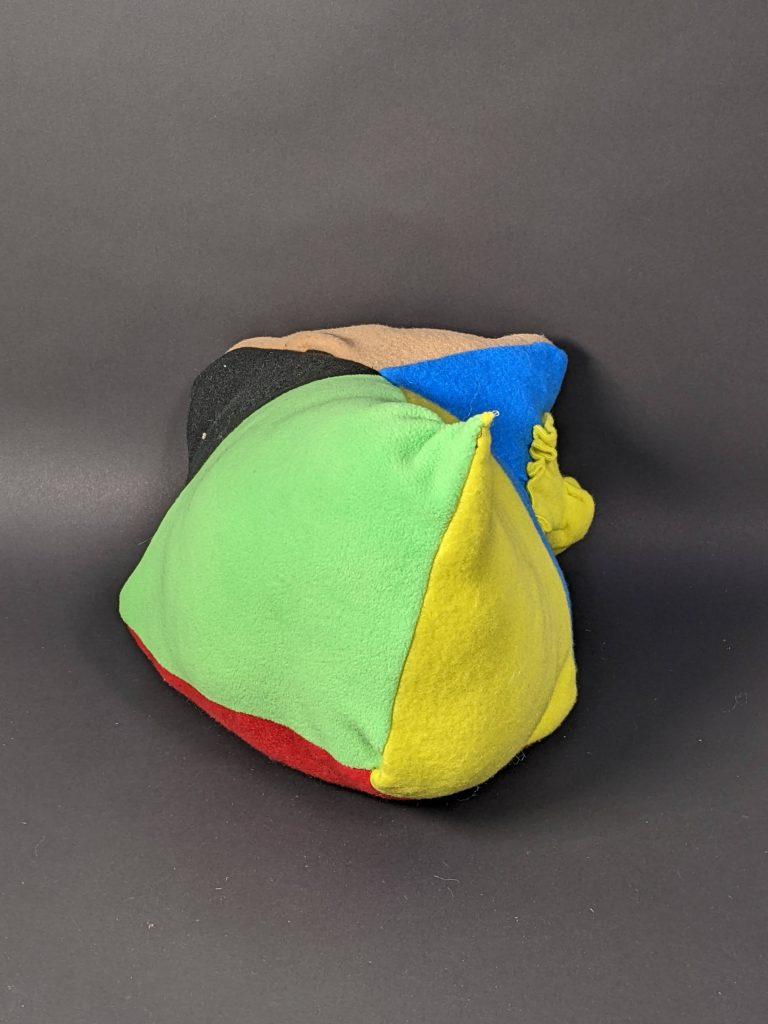
My last inflatable I wanted to play with primary colors and warping a more normal form like a cube. I started off with pinning and sewing together squares in a sort of haphazard order to create this new shape. Additionally, I used the technique shown in class with the circle that has slits cut in it in an attempt to create this shuttlecock shape that I sewed in the middle of one of the squares. The end result kind of reminded me of a seashell, arthropod ocean creature so I thought that it was kind of neat to have this little barnacle stuck to the side of it. Ultimately, the barnacle creature didn’t come out of as neat as I would have liked it to be so I left it at one instead of adding more. In this inflatable, I learned about how to join corners together as it was definitely a learning process for me to understand how to get the corners of this form crisp and some of them were slightly loose and I would have to go back and resew it closed. My friend also told me that he thought the form resembled the Pokemon Metapod which I’ve included a photo of below. 🙂

Push/Pull Part 1 – Heeyun

For my three push/pull objects, I wanted the common thread to be interactivity. I wanted the forms of the objects to be inviting to touch and explore the different possible ways to play and interact with them.

Object 1: Hand-warming Cube

Visual Portfolio, Posts & Image Gallery for WordPress

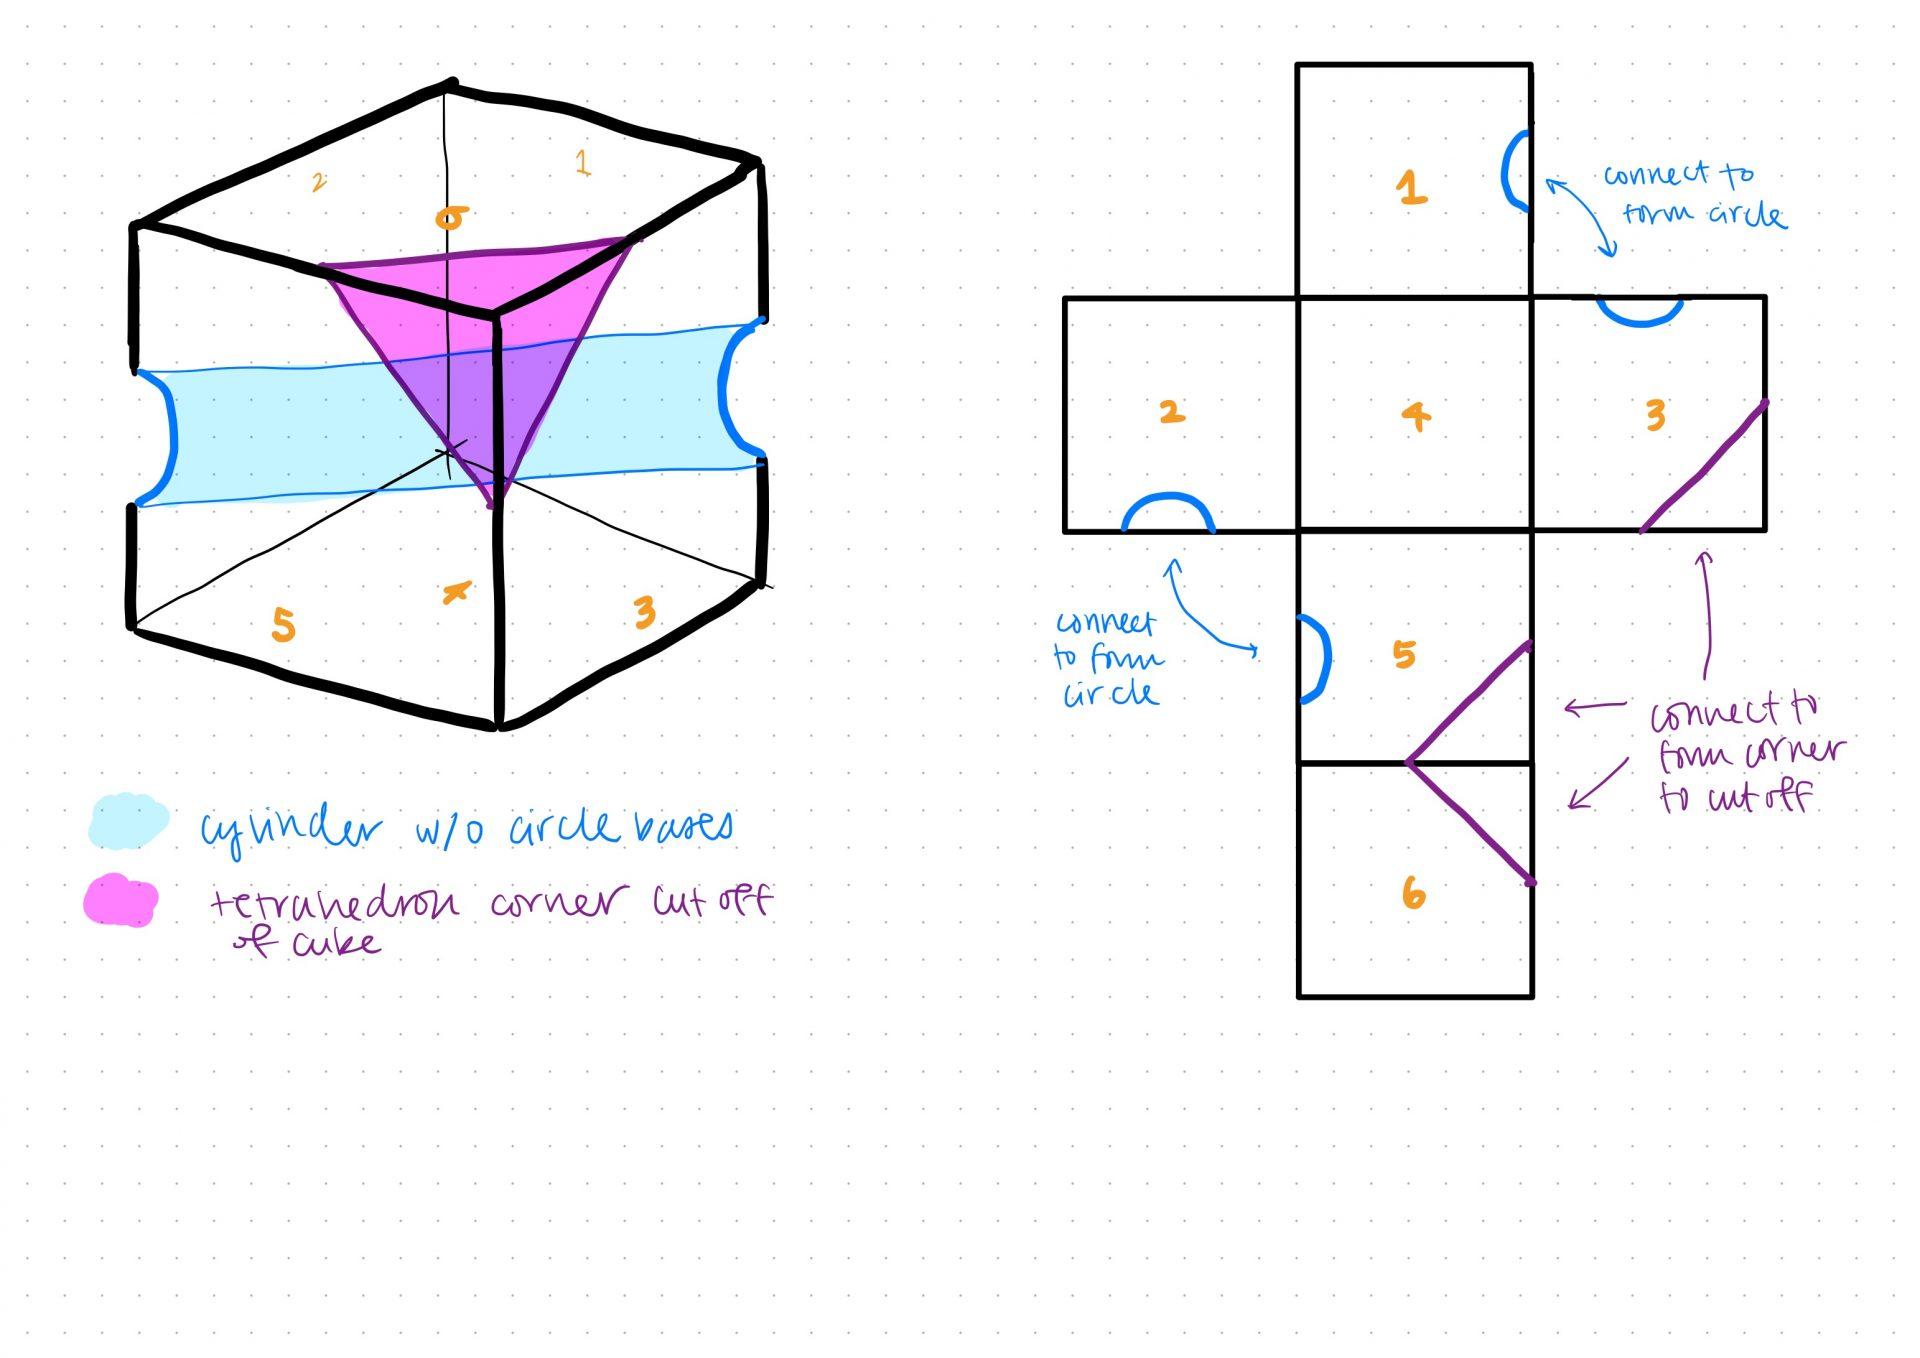
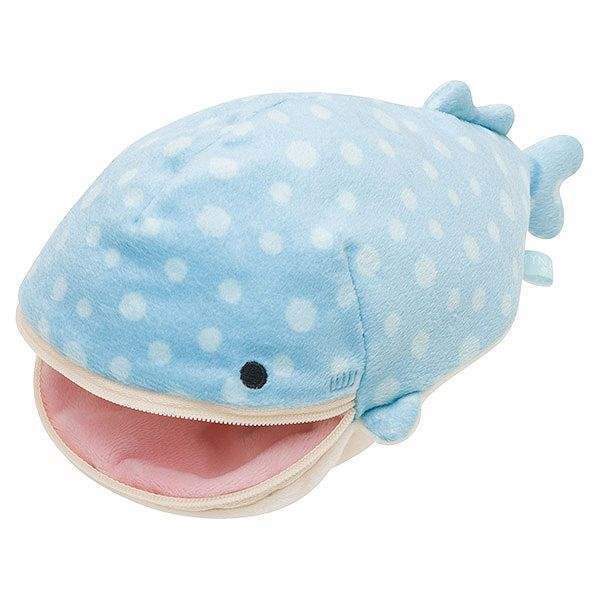
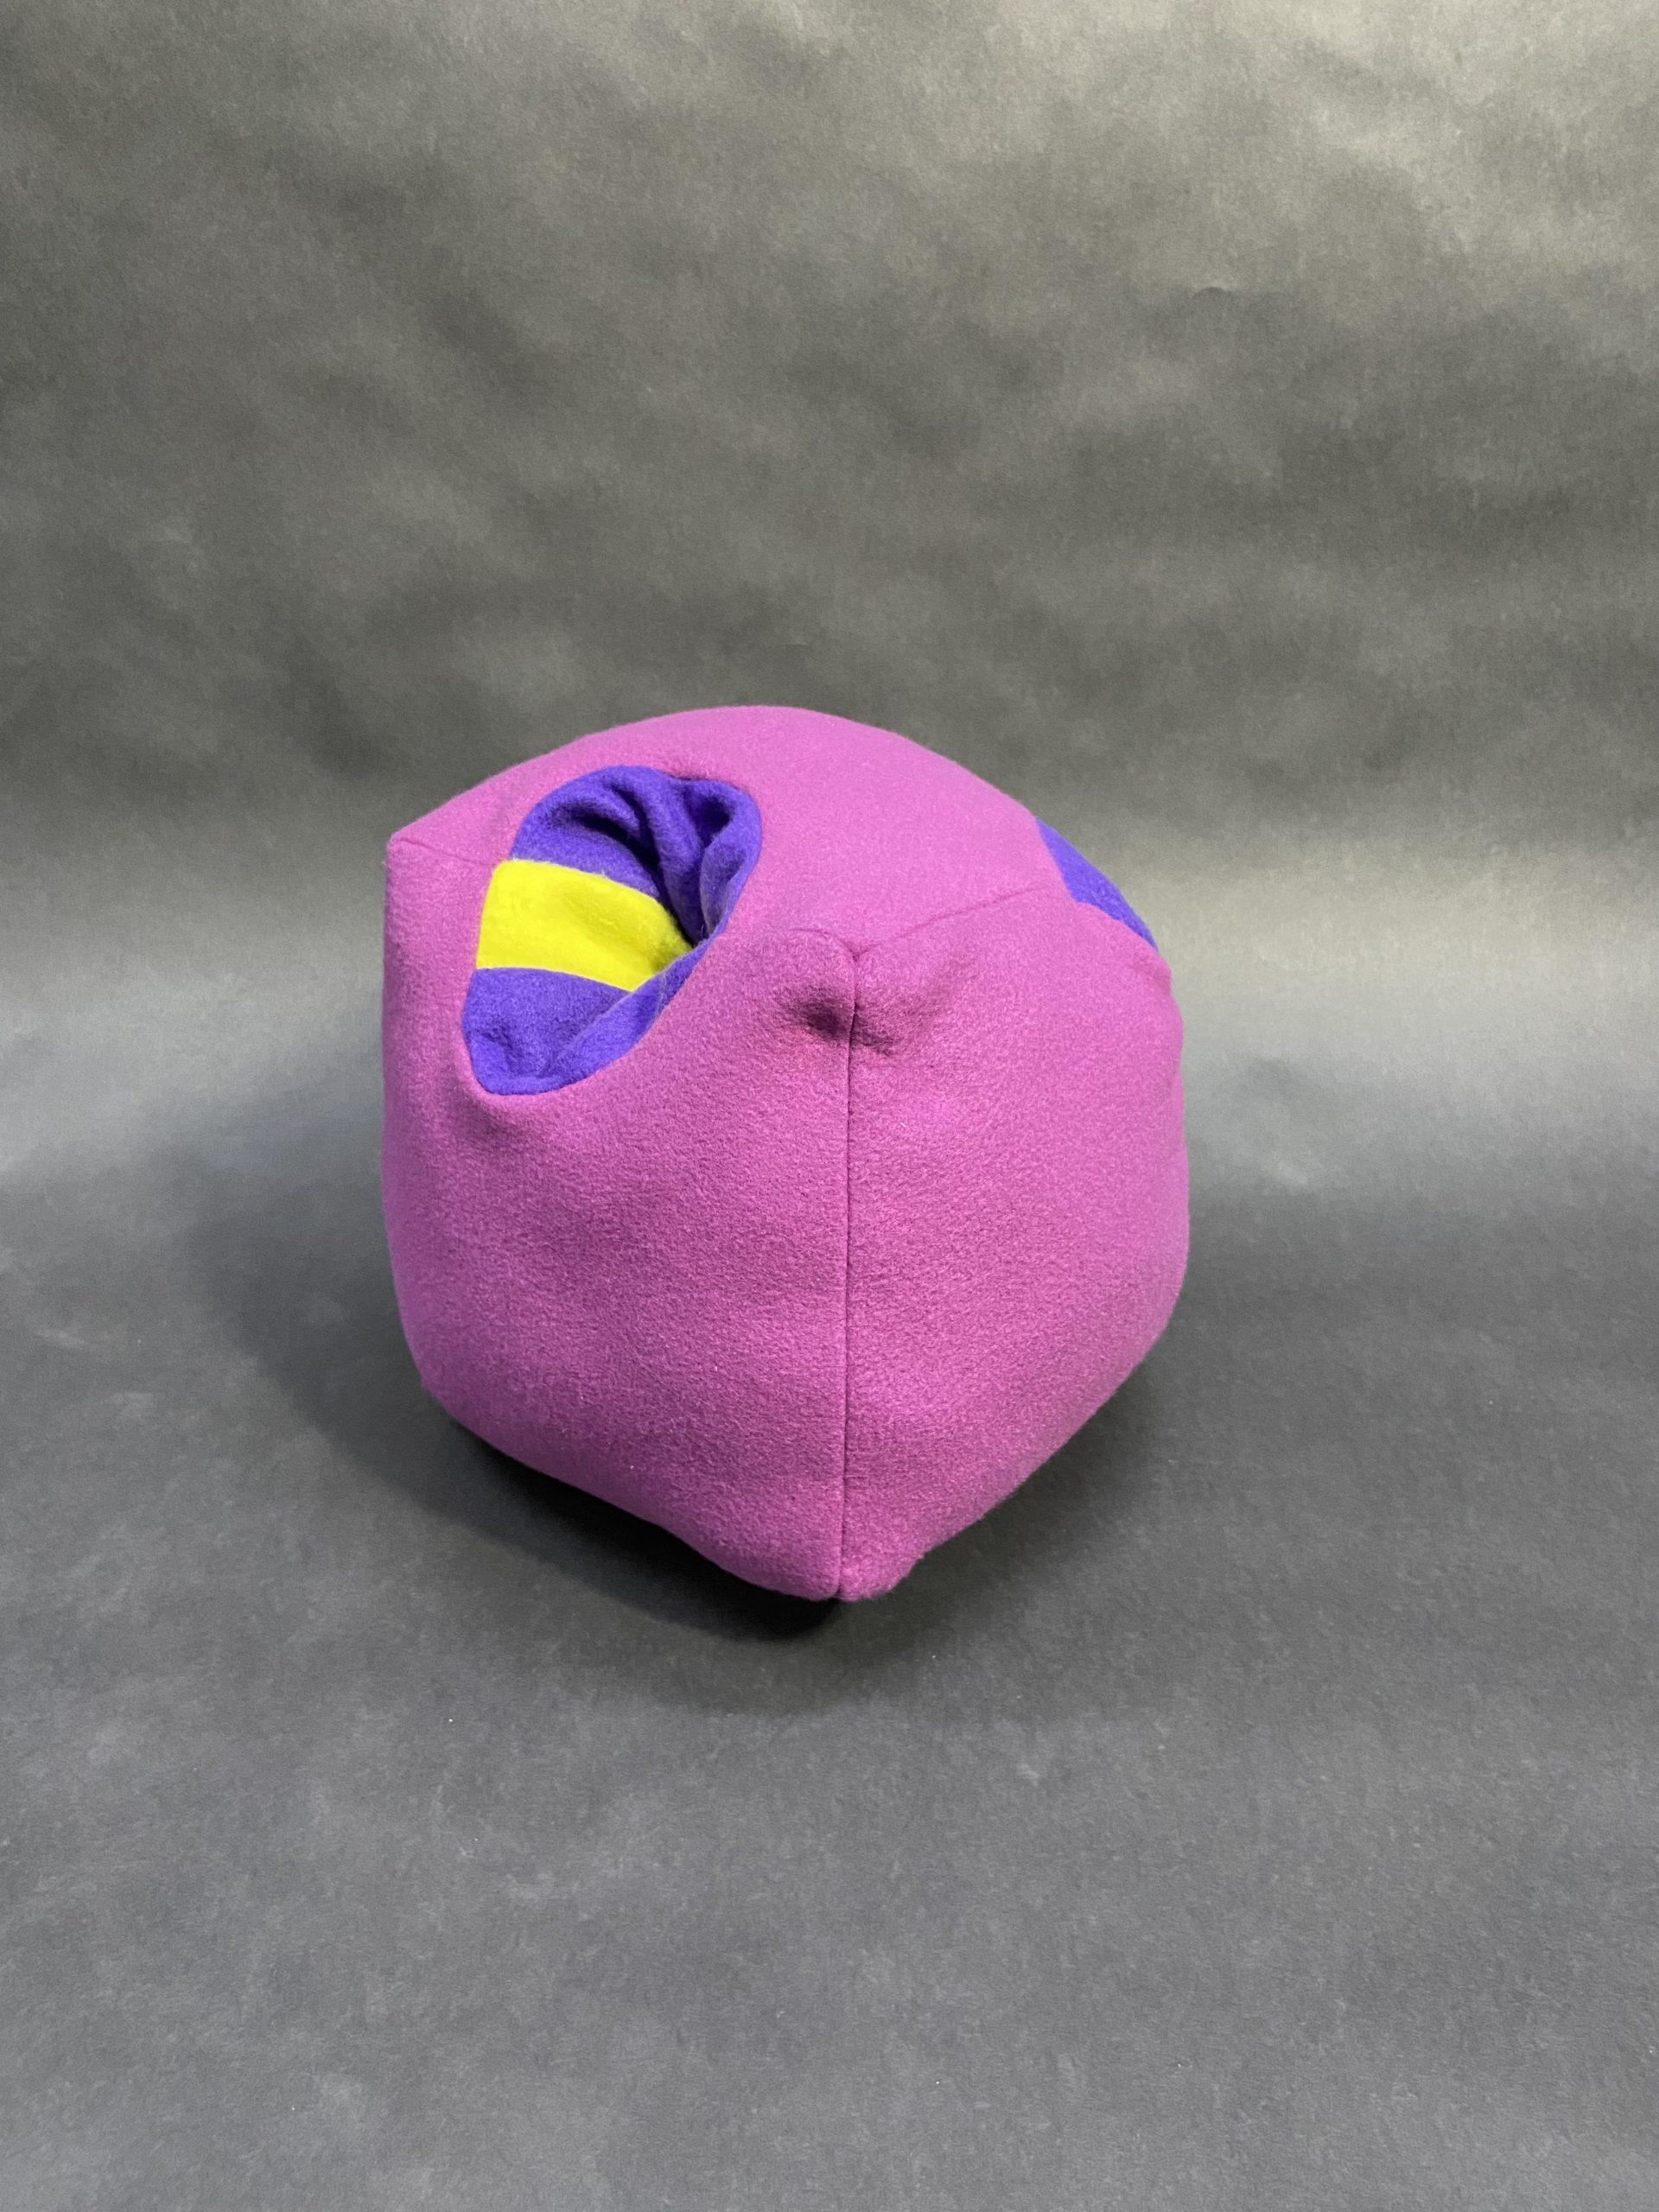
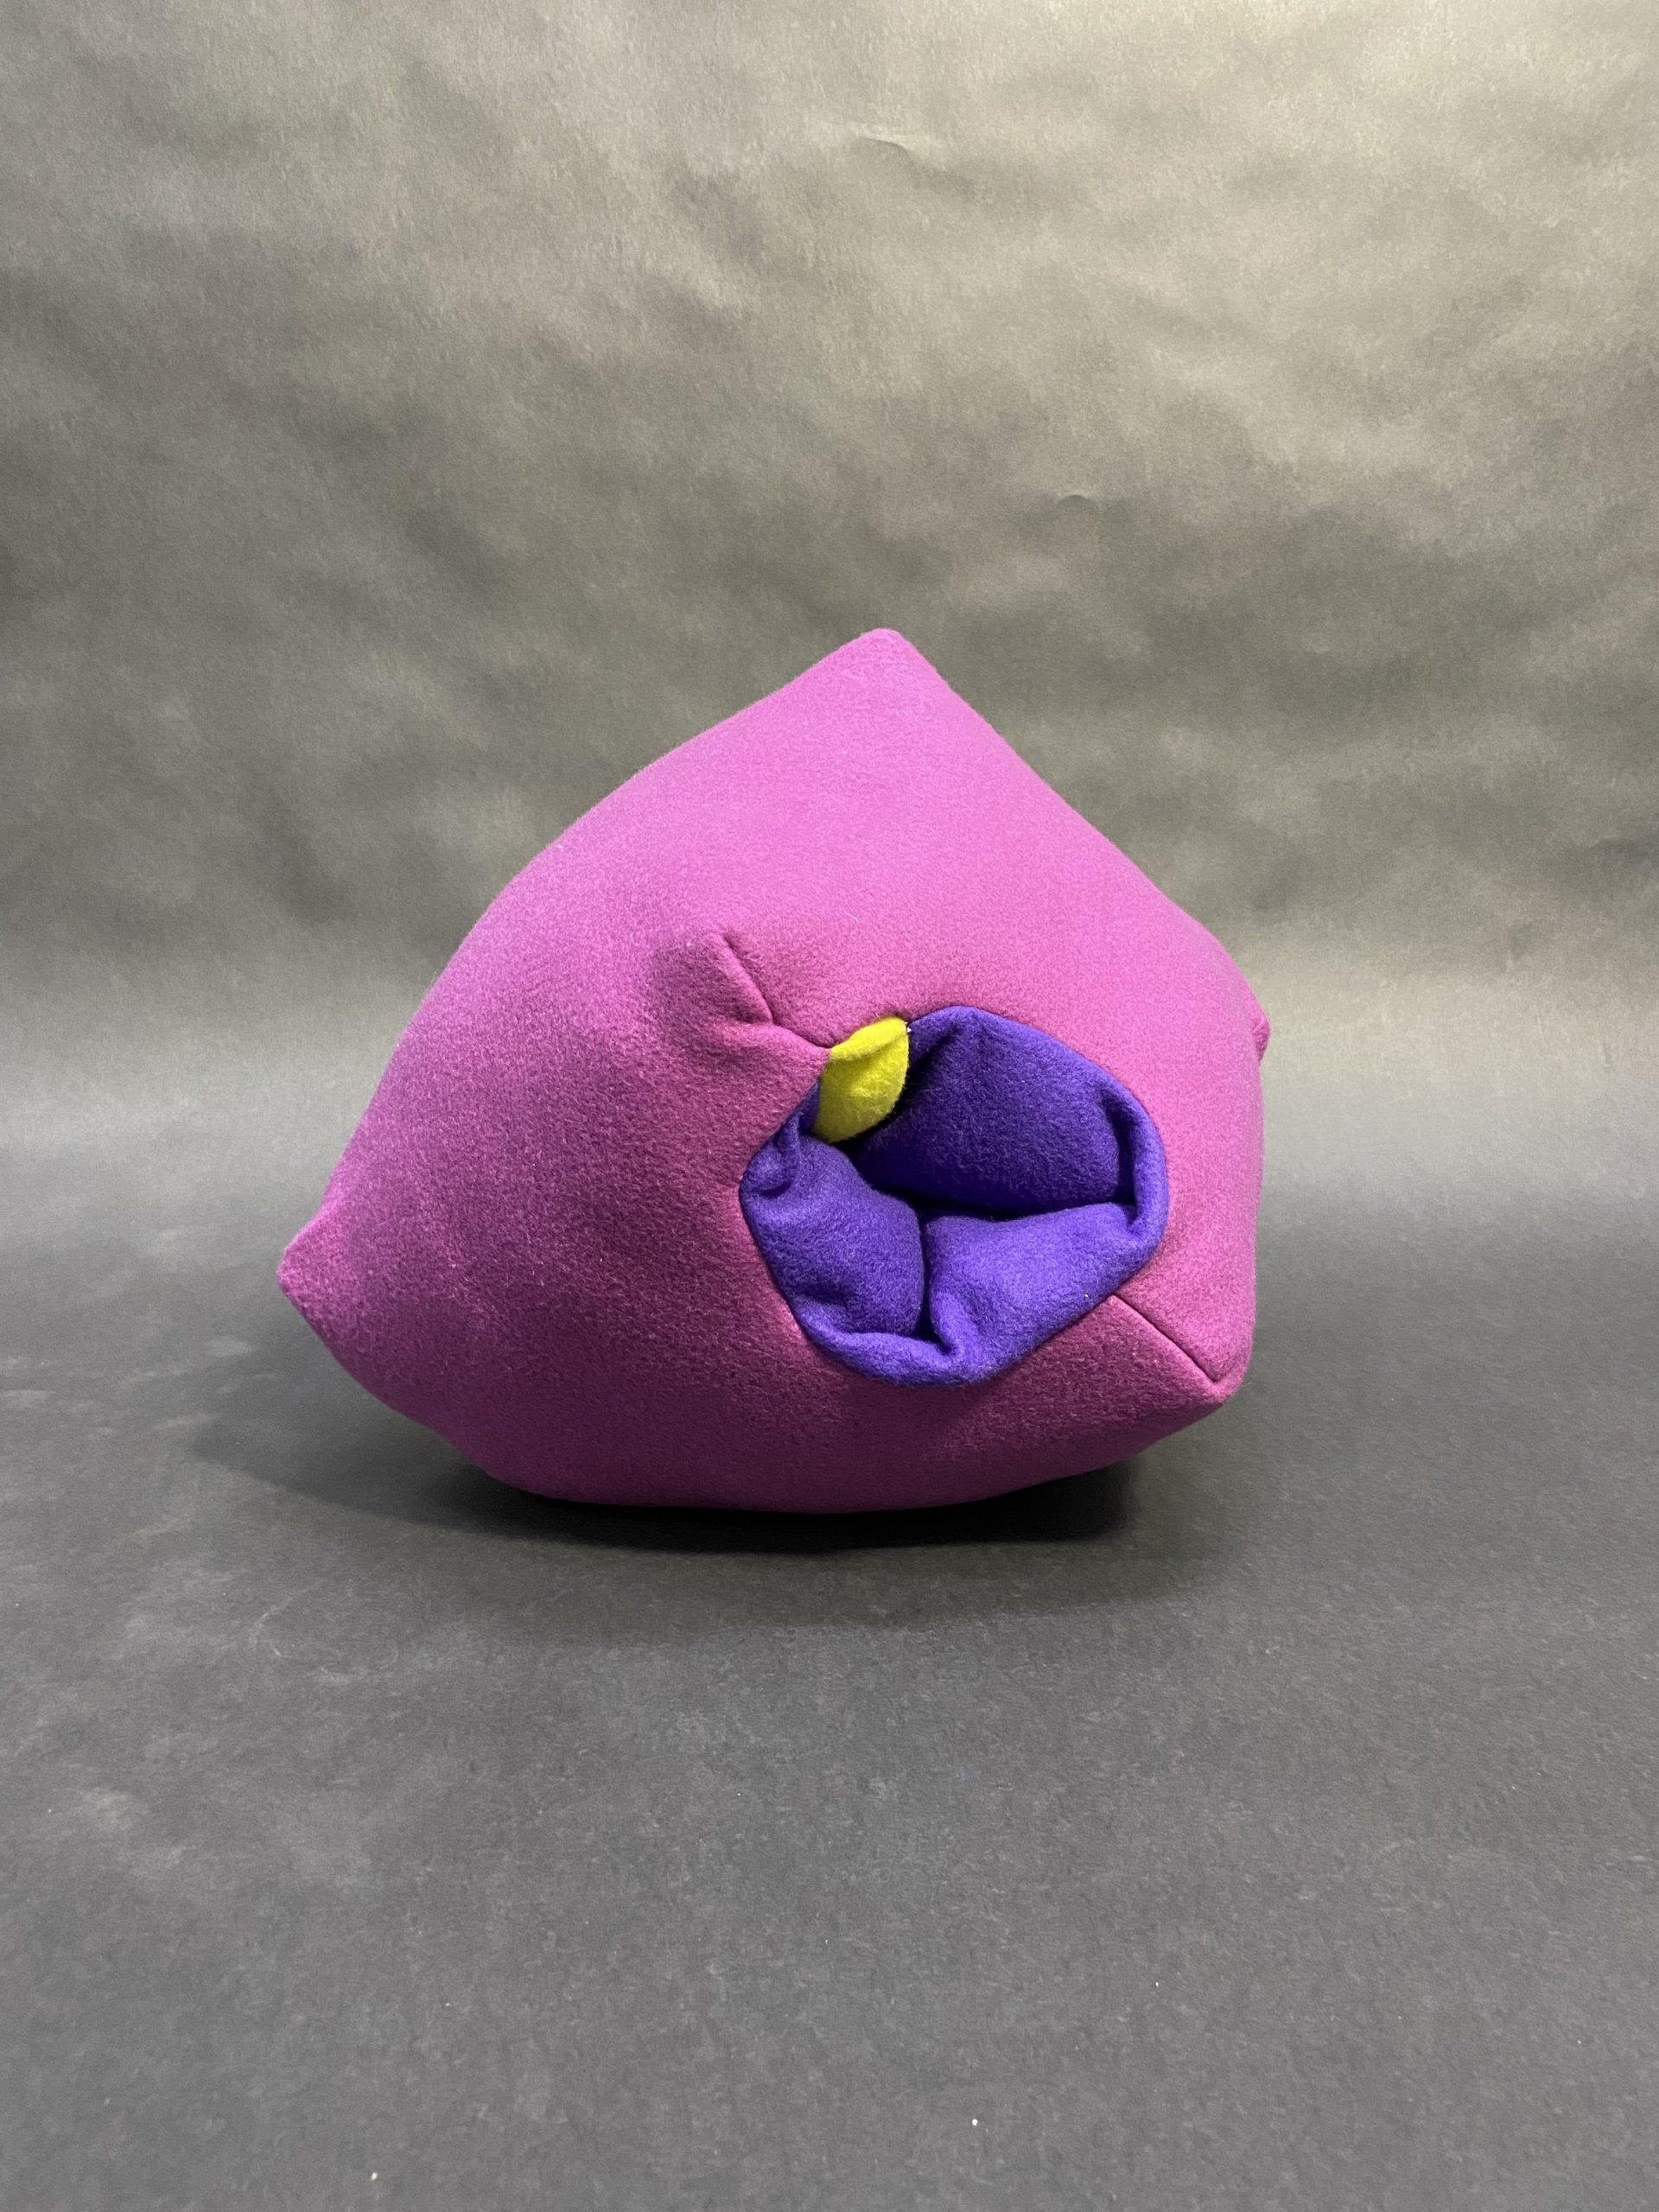
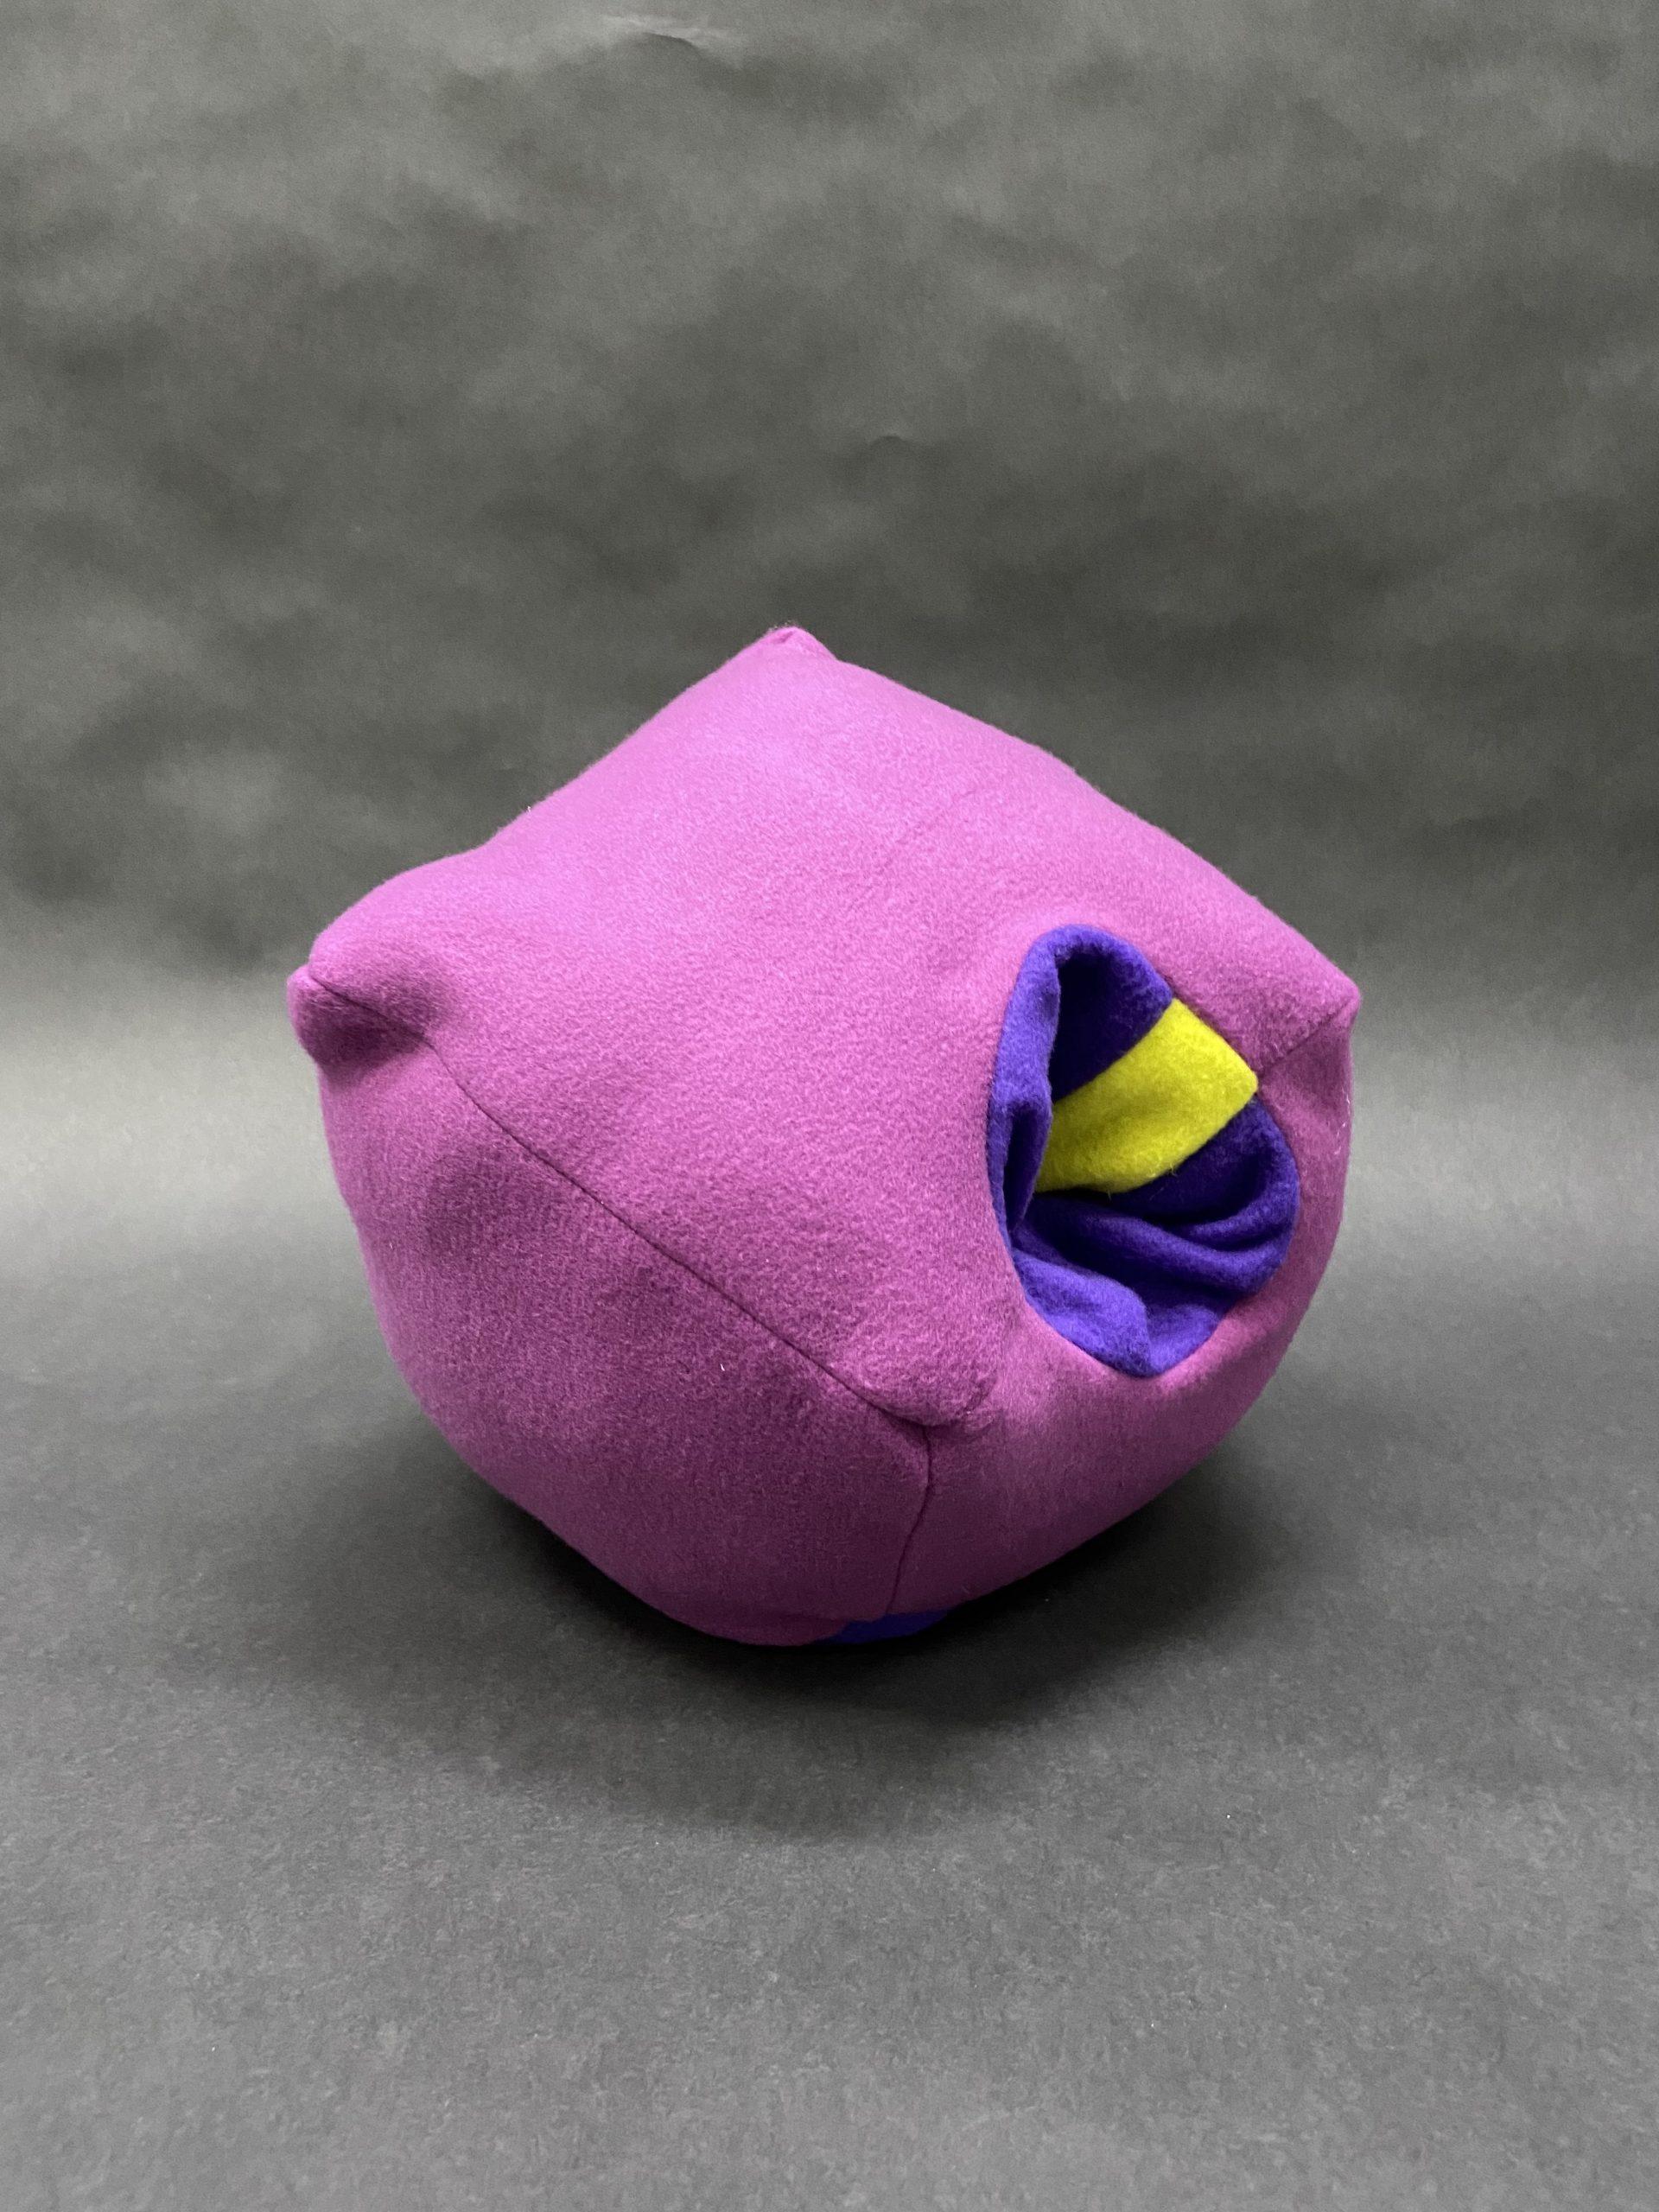
The first object I made was the cube with a truncated corner and cylinder-shaped hole going through it. This was my first exploration of taking a basic form, like a cube, and manipulating it. One of my friends has a whale plush with a hole in its mouth that allows one to put one’s hand in it. I have very cold hands, so having my hand get engulfed by the soft, warm plush made me want to create something similar for one of my push/pull objects. I decided to create a “hole” going through the entire cube so that one could stuff both hands inside and comfortably sit with the object on one’s lap or on a table in front. I then also truncated one of the corners so as to indicate that that surface should be placed on the bottom as a stable, flat base. However, because it is a soft plush, there really isn’t much “flatness” to it. 

I noticed that because the template for the cube shape was a single piece of fabric folded and stitched together, rather than six different squares sewn together, the edges where the fabric was continuous were much rounder than the other edges, which were already quite round to begin with. This then distorted the shape of the truncated corner and made it look less like a triangular surface and more like a triangle with rounded edges. I also miscalculated the rectangle piece of fabric I needed to make the cylindrical hole and made it too short, so I added a bright green streak so as to highlight the “mistake” rather than trying to hide it by using another piece of dark purple fabric. Even though I had actually done some calculations to keep some symmetry and plan to make it very clean and as “machine-fabricated” as possible, I still made mistakes and encountered issues I did not think I’d face.

Object 2: Sprout-Flower-like Structure

Visual Portfolio, Posts & Image Gallery for WordPress

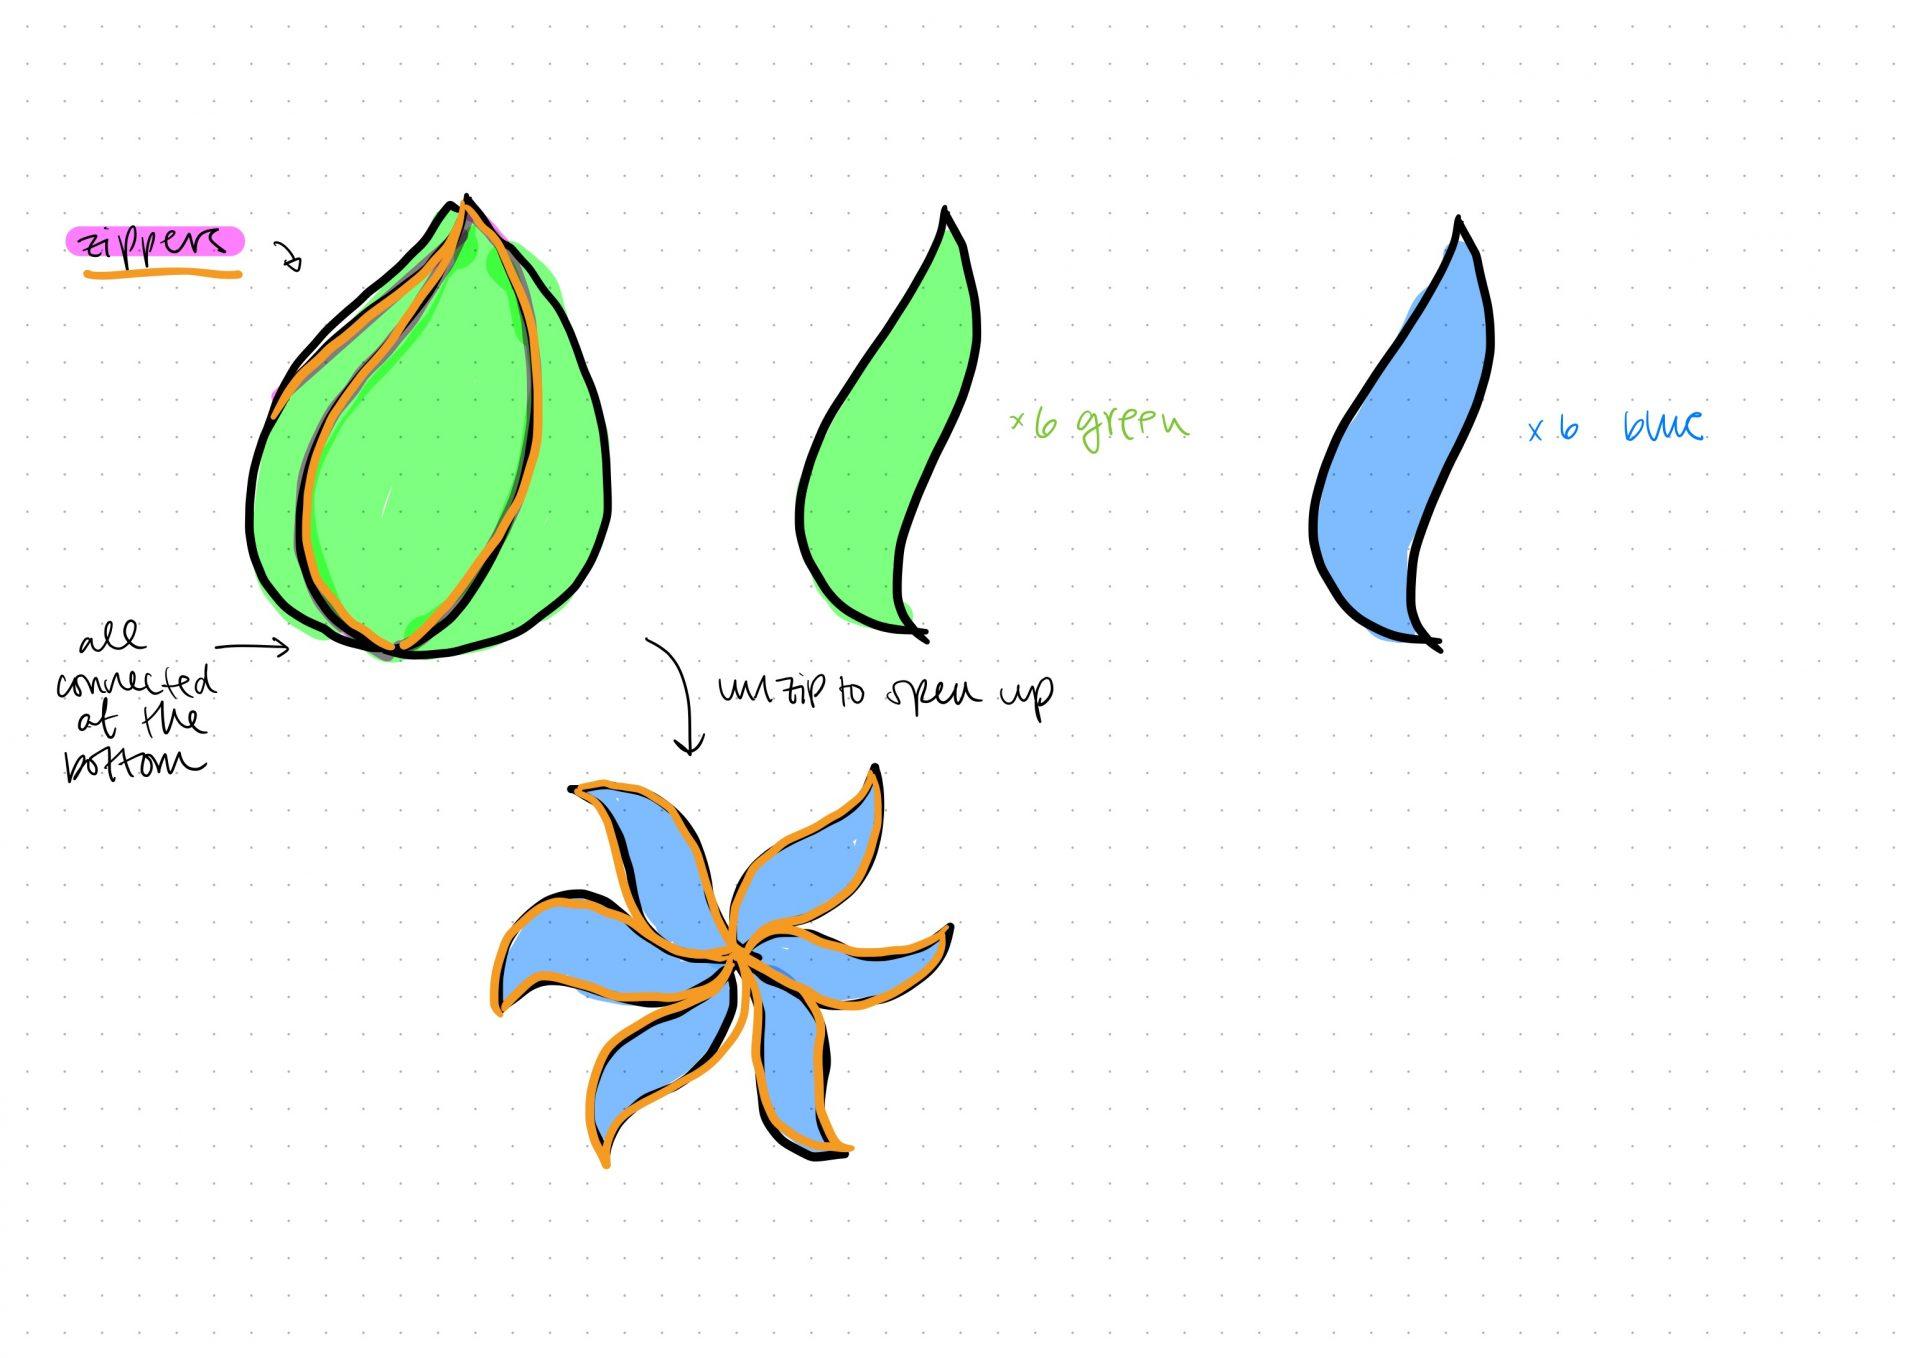
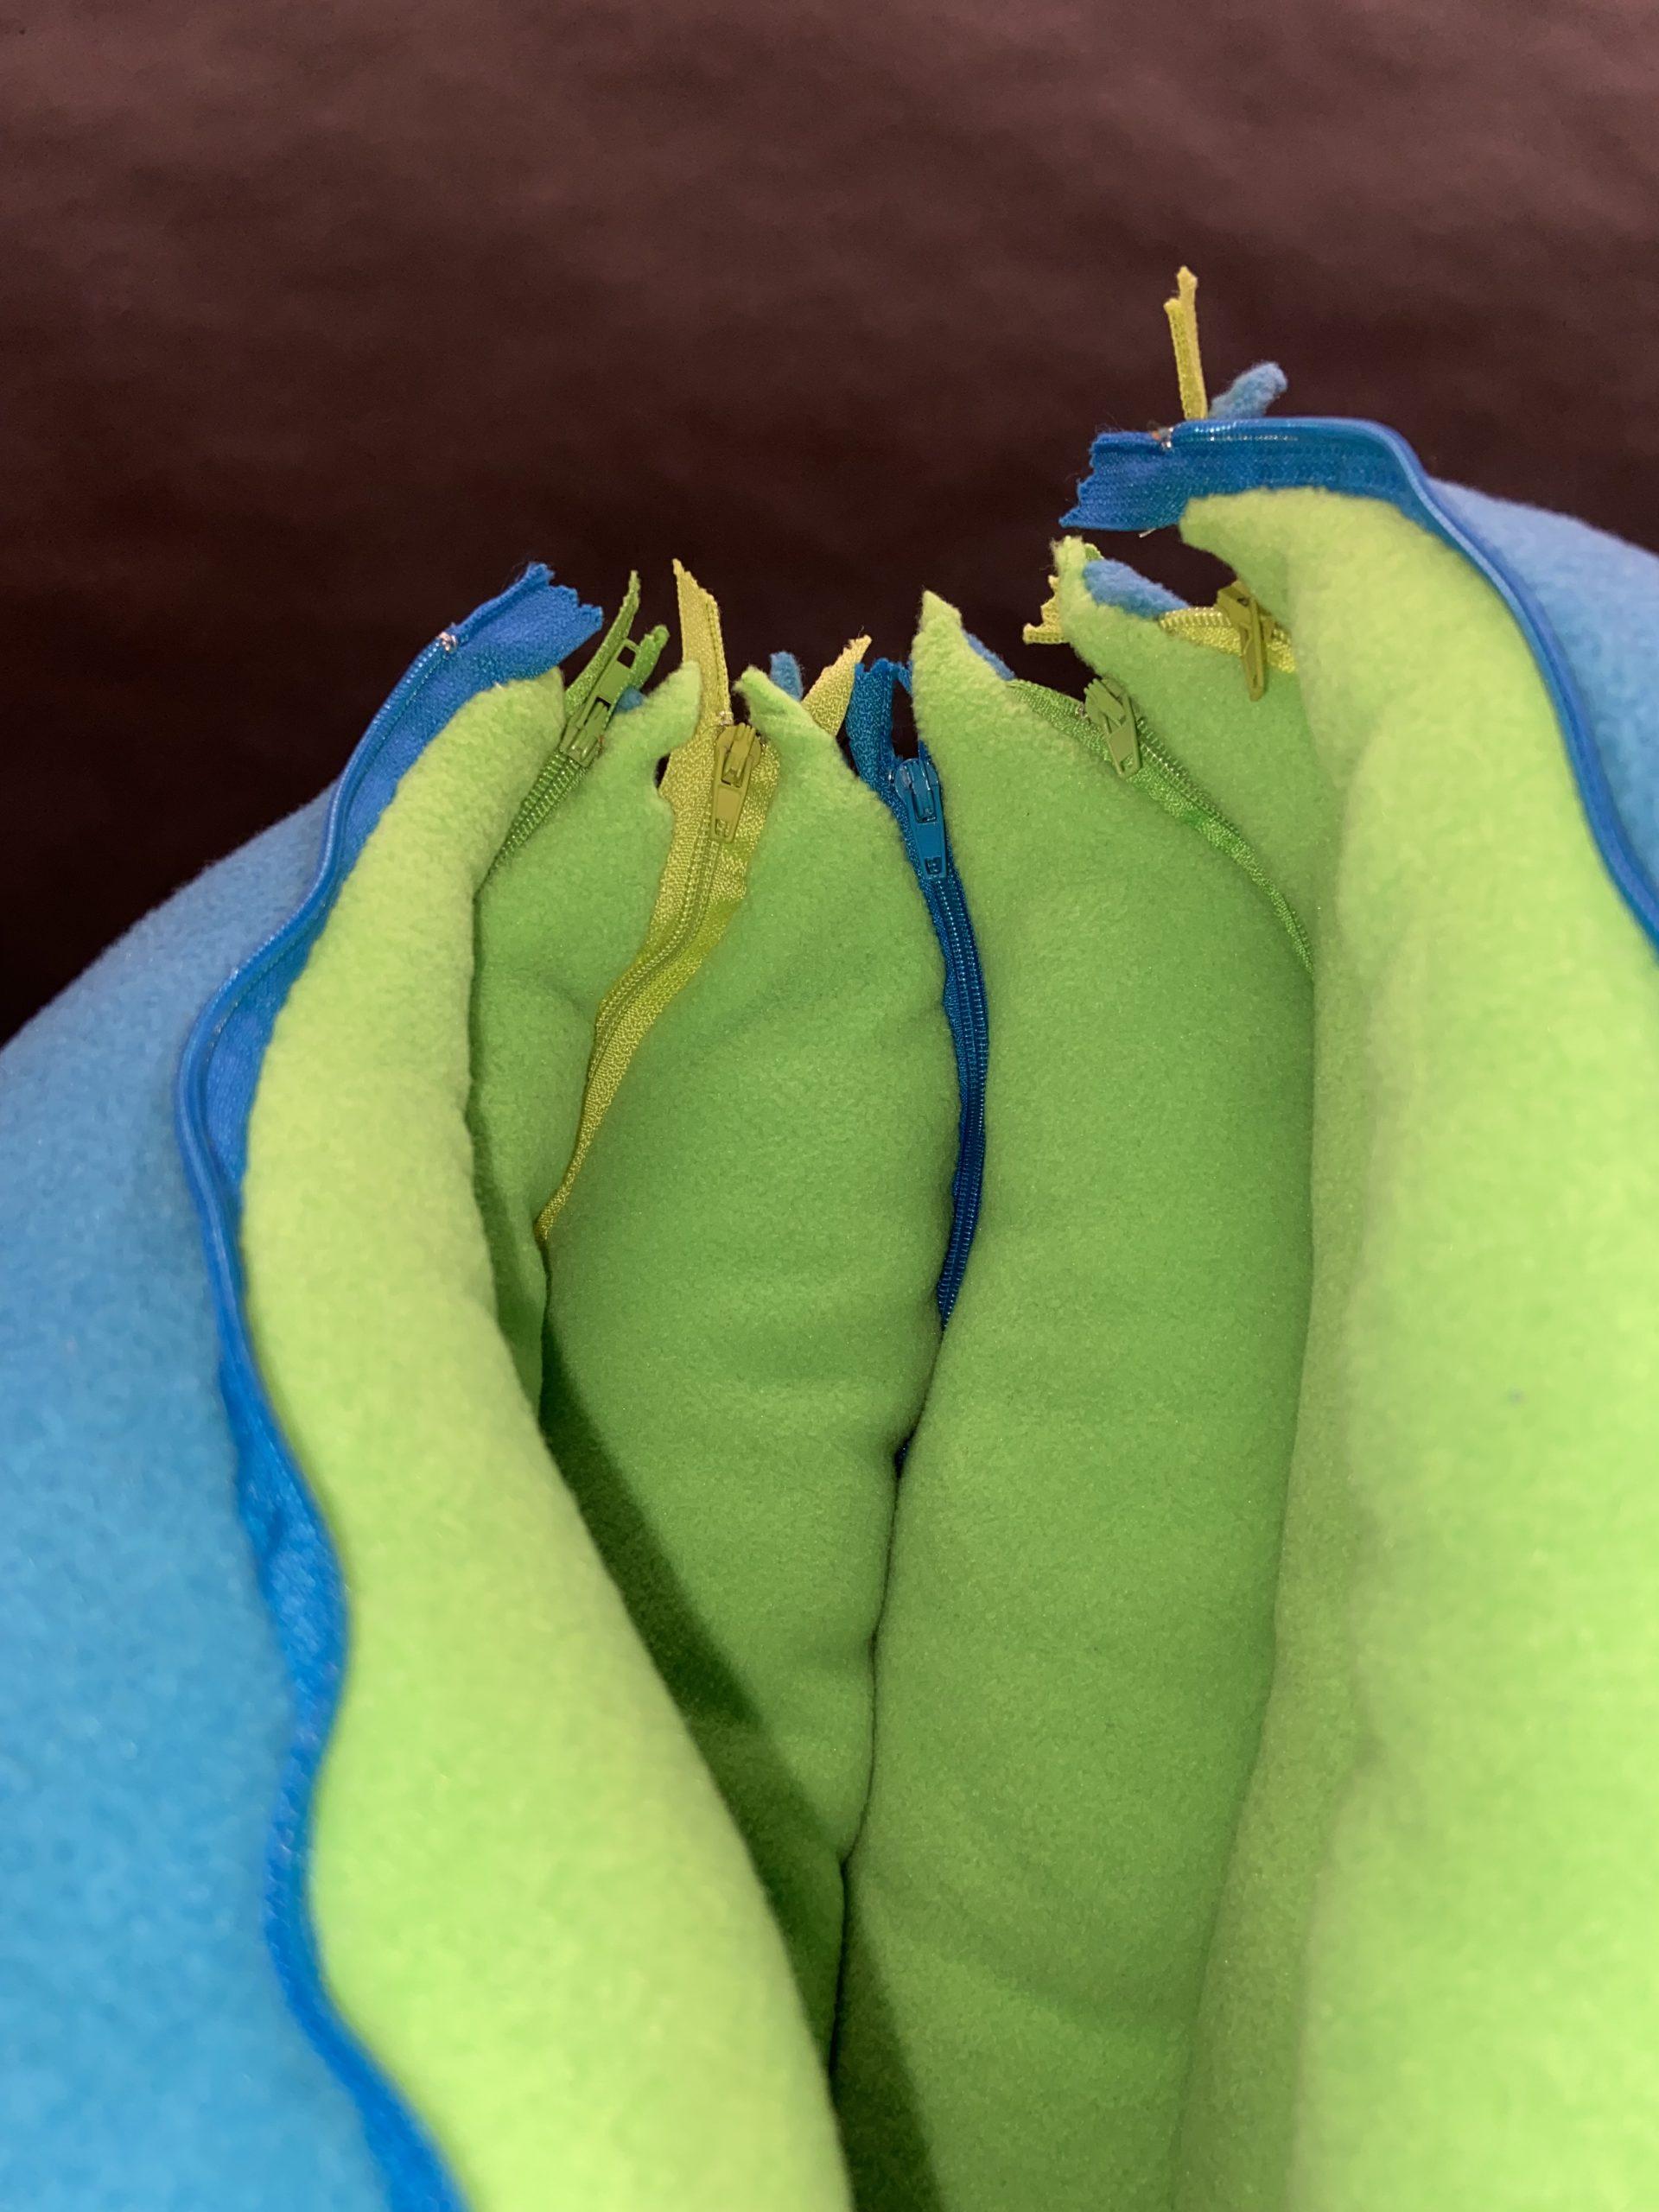
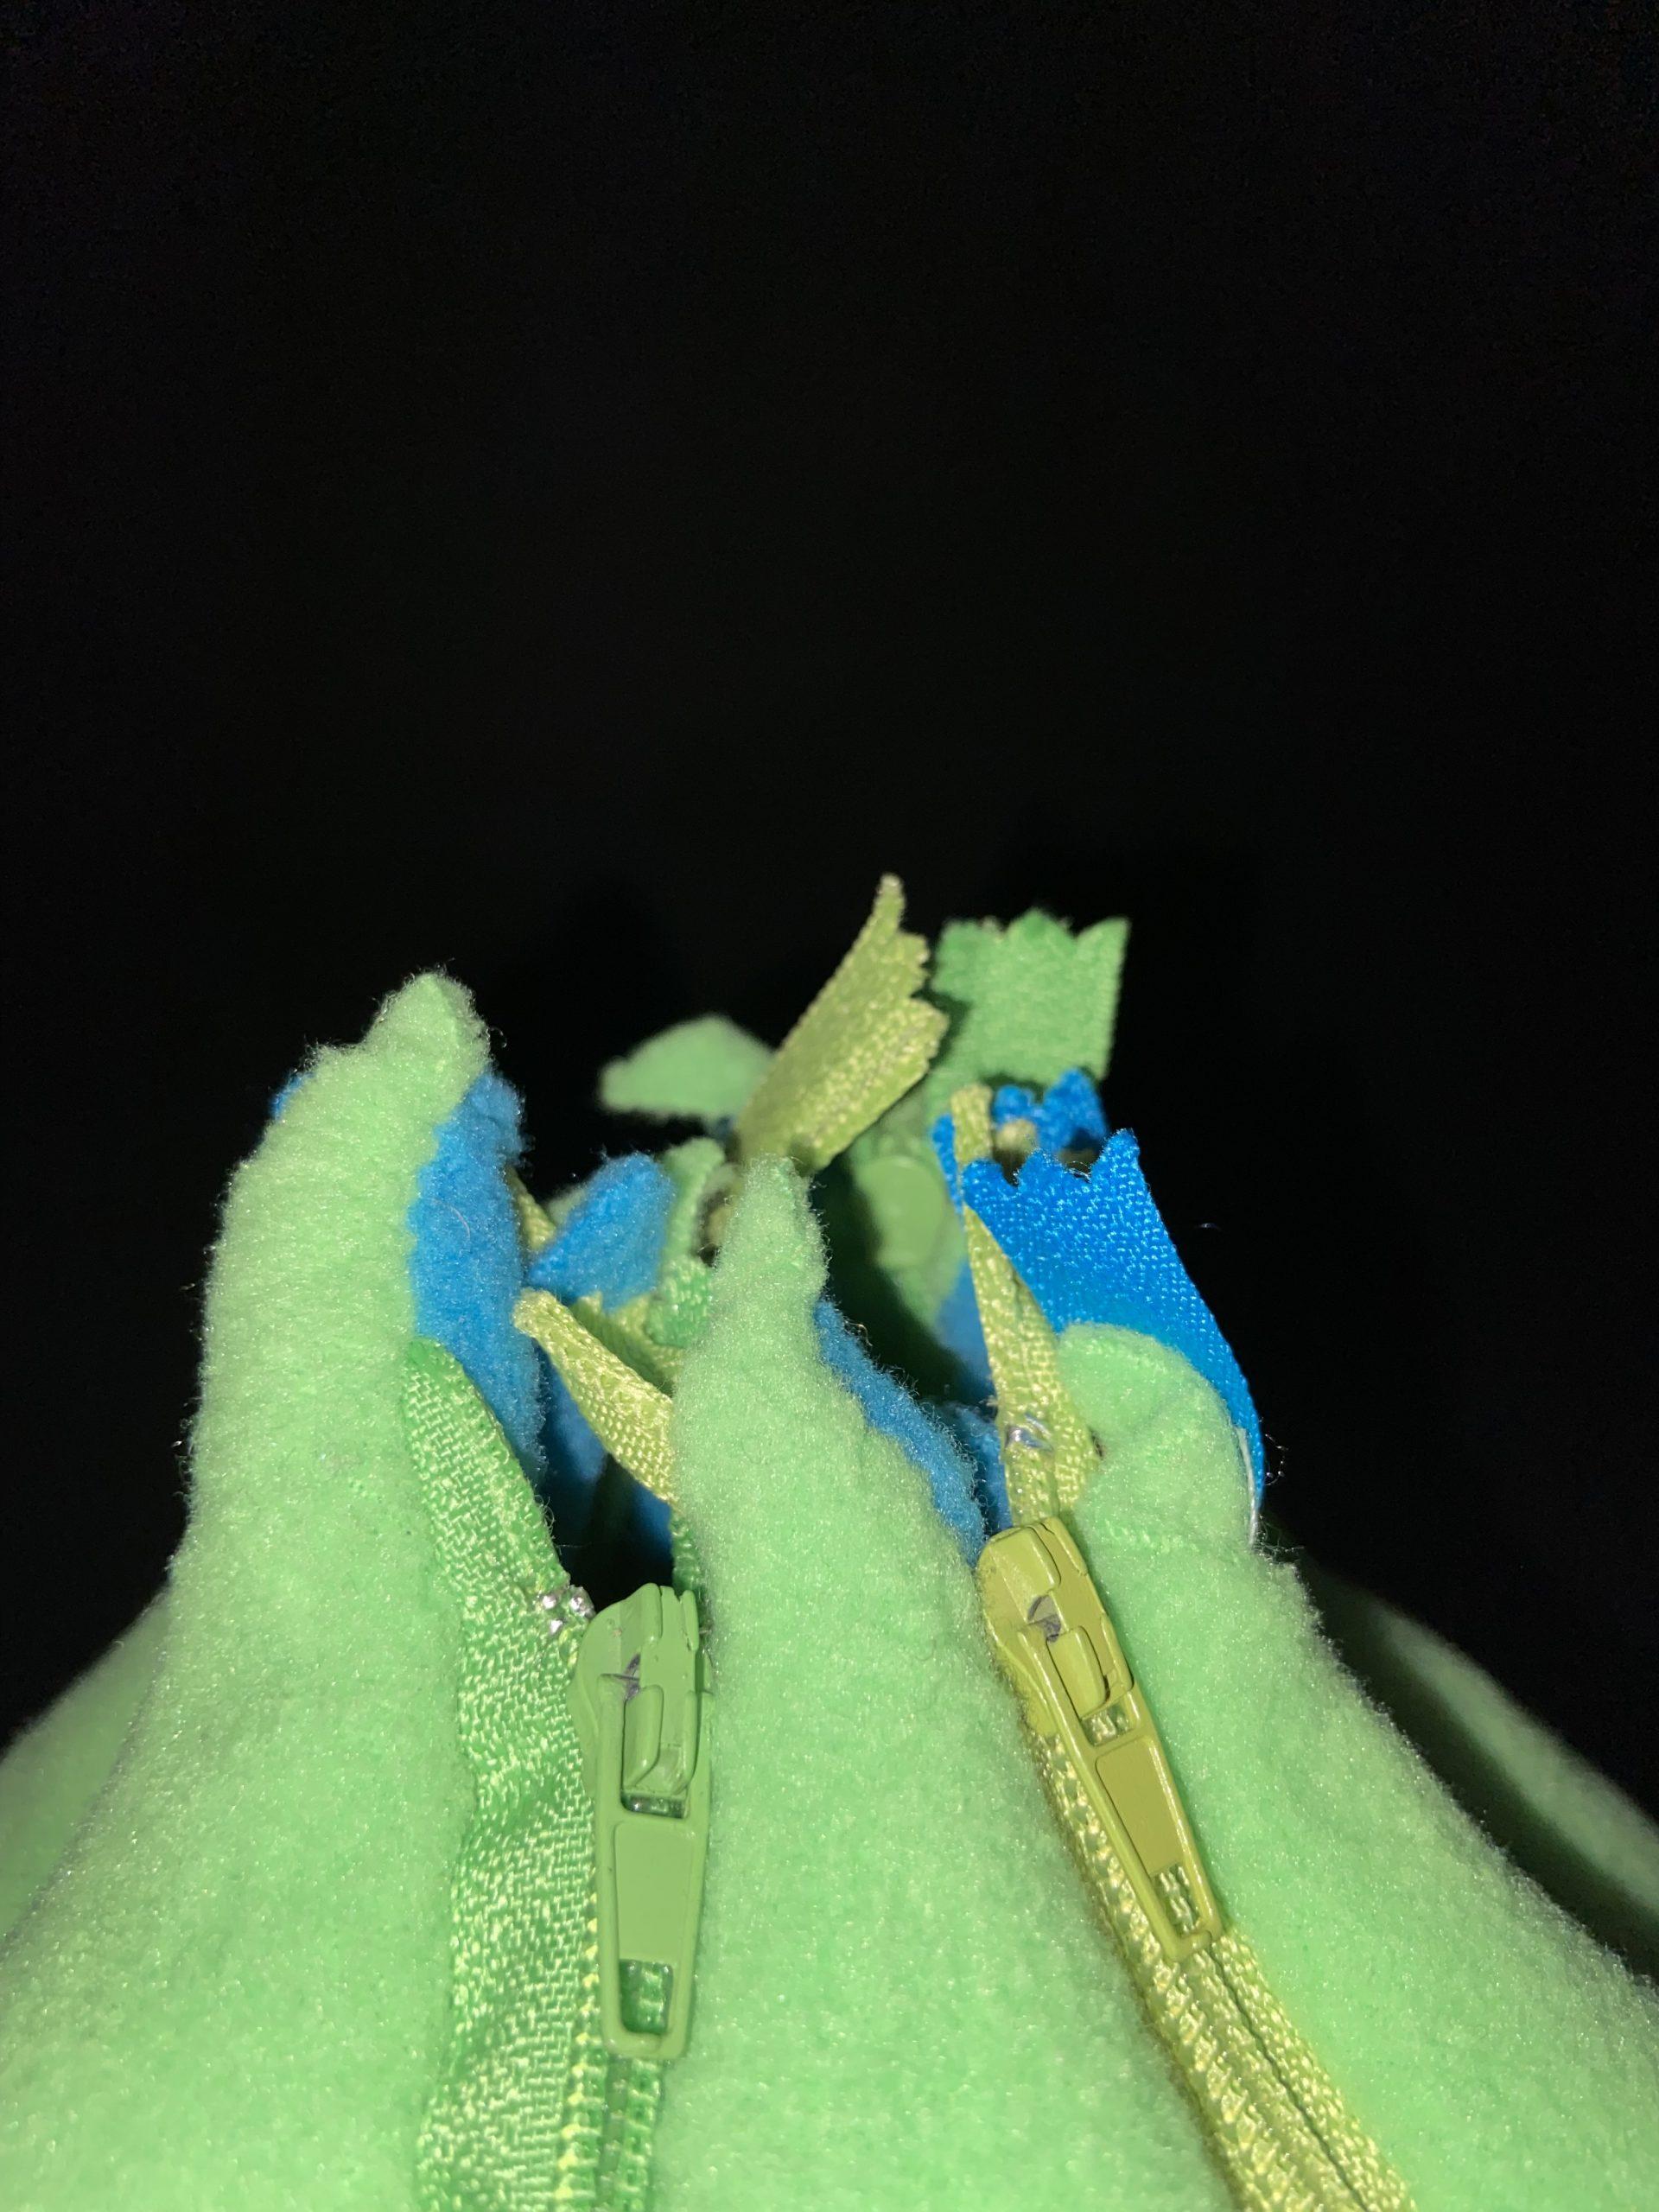
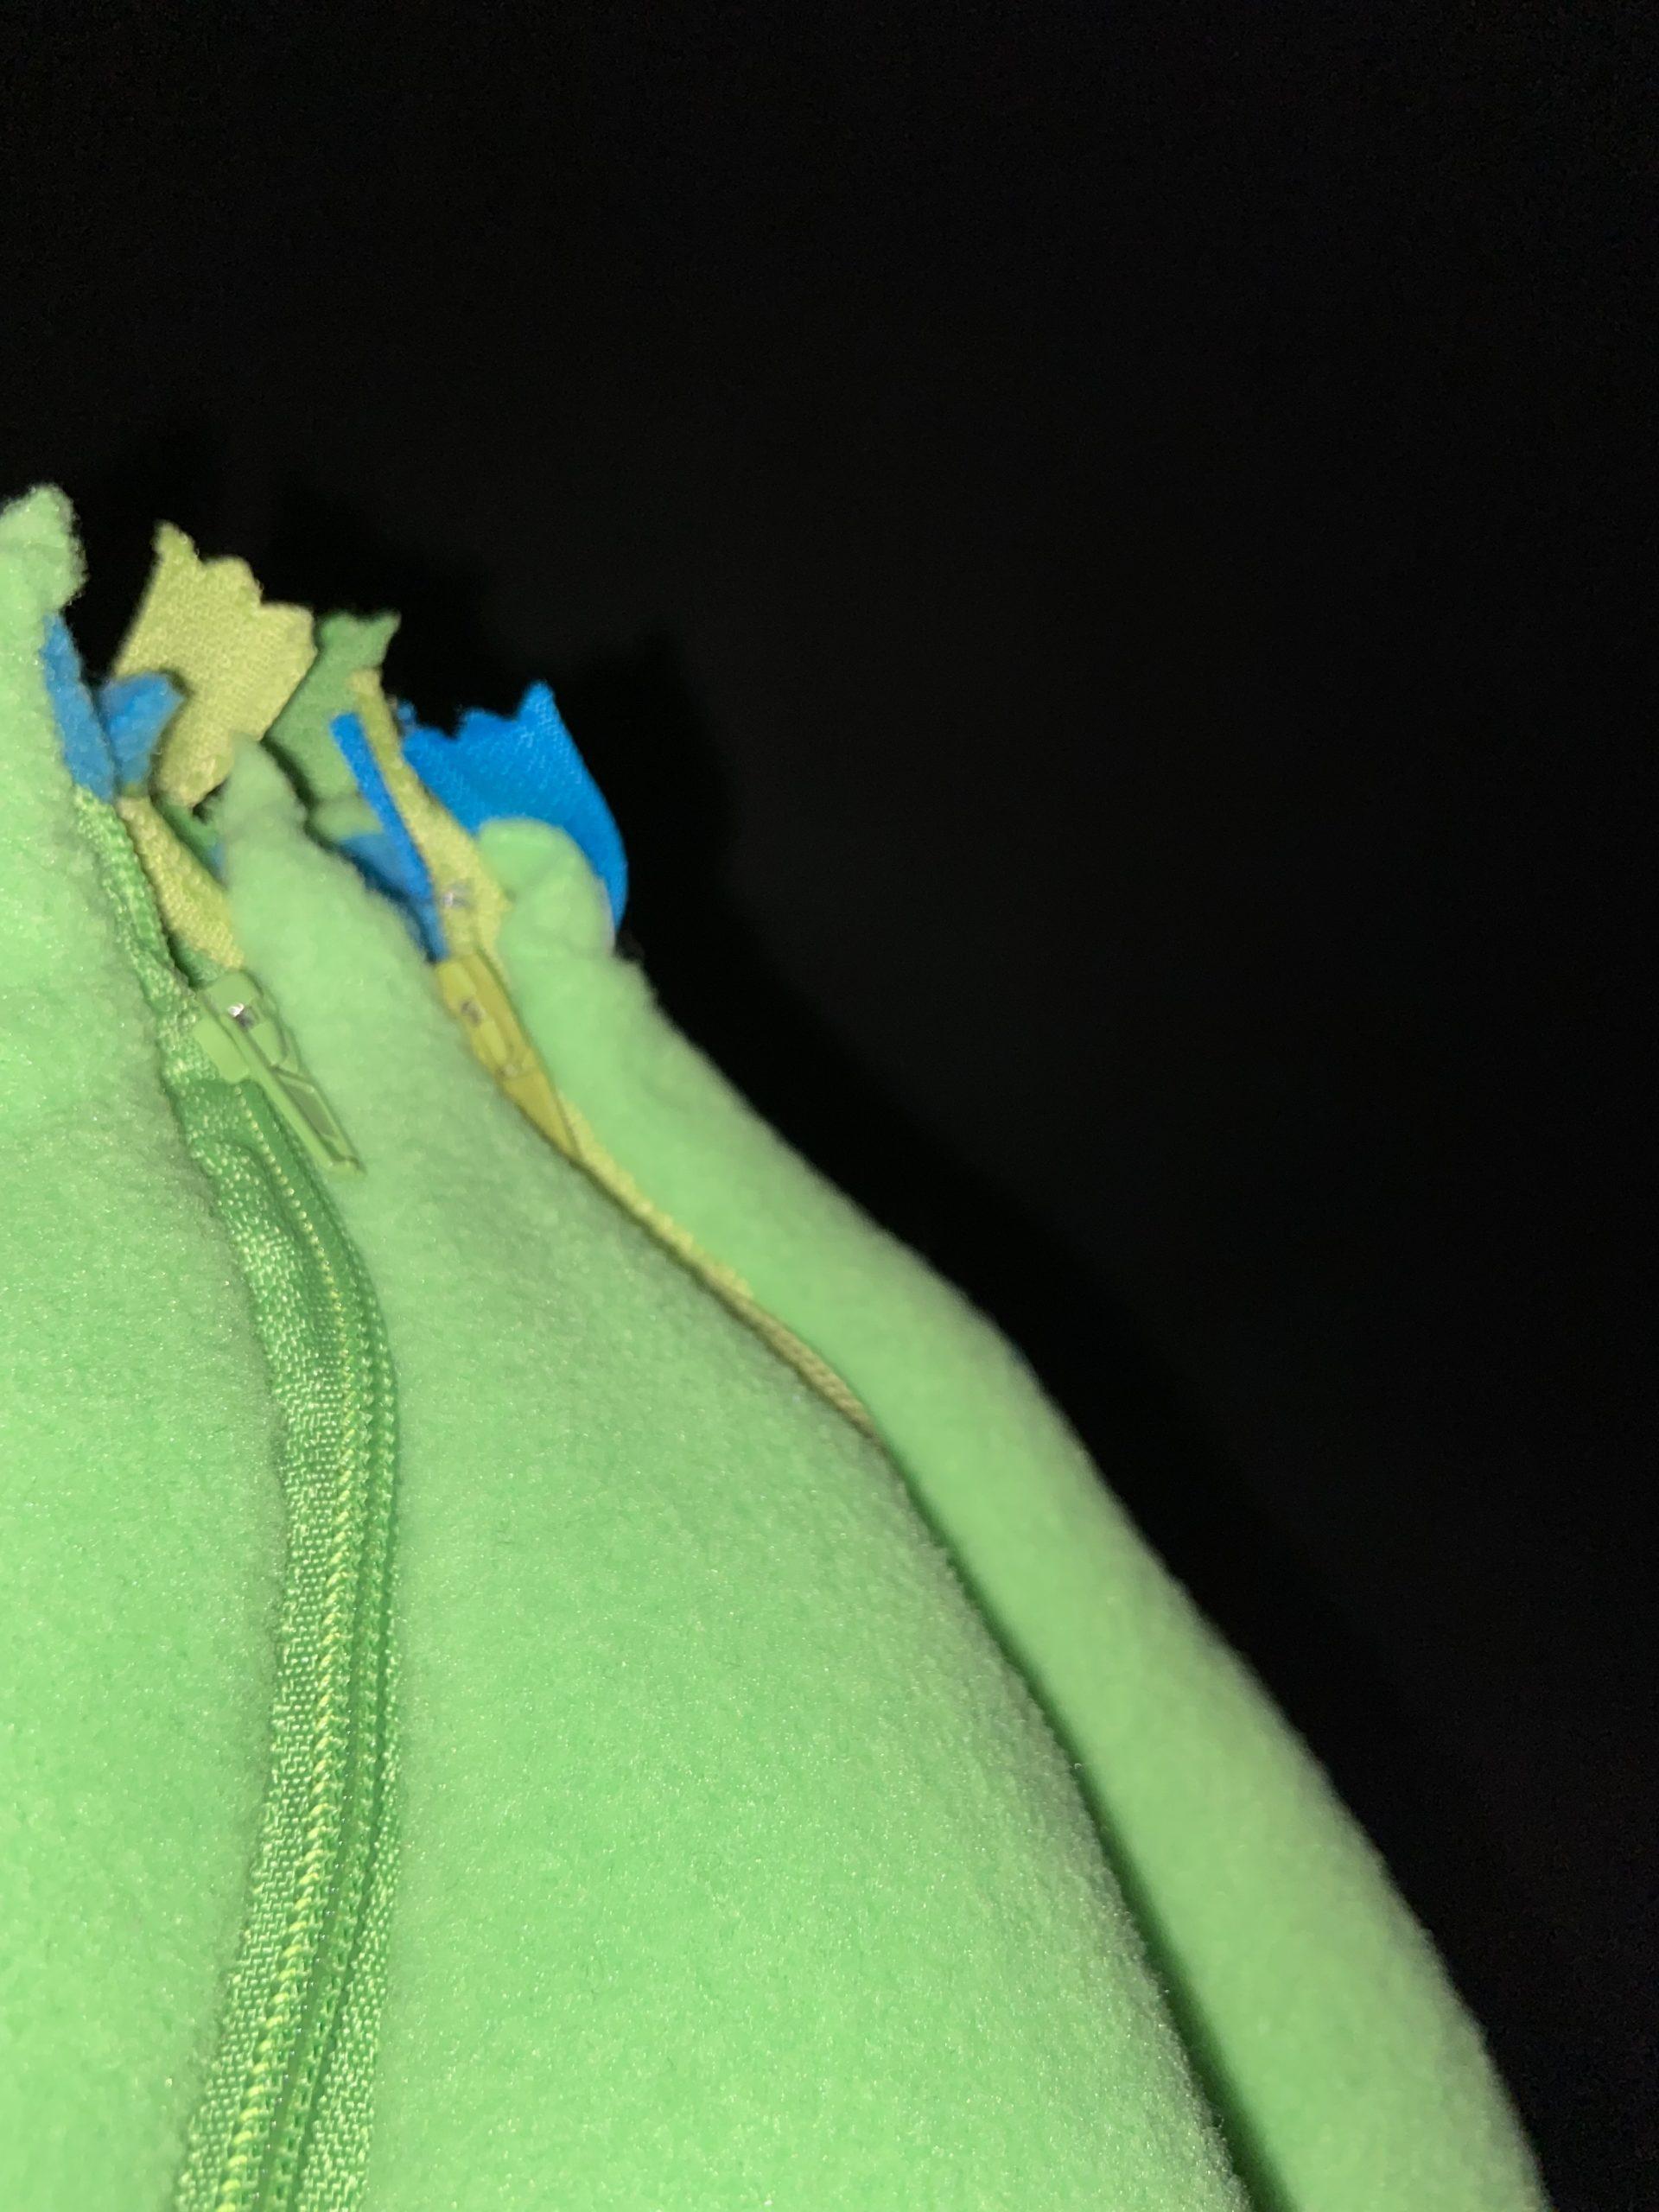
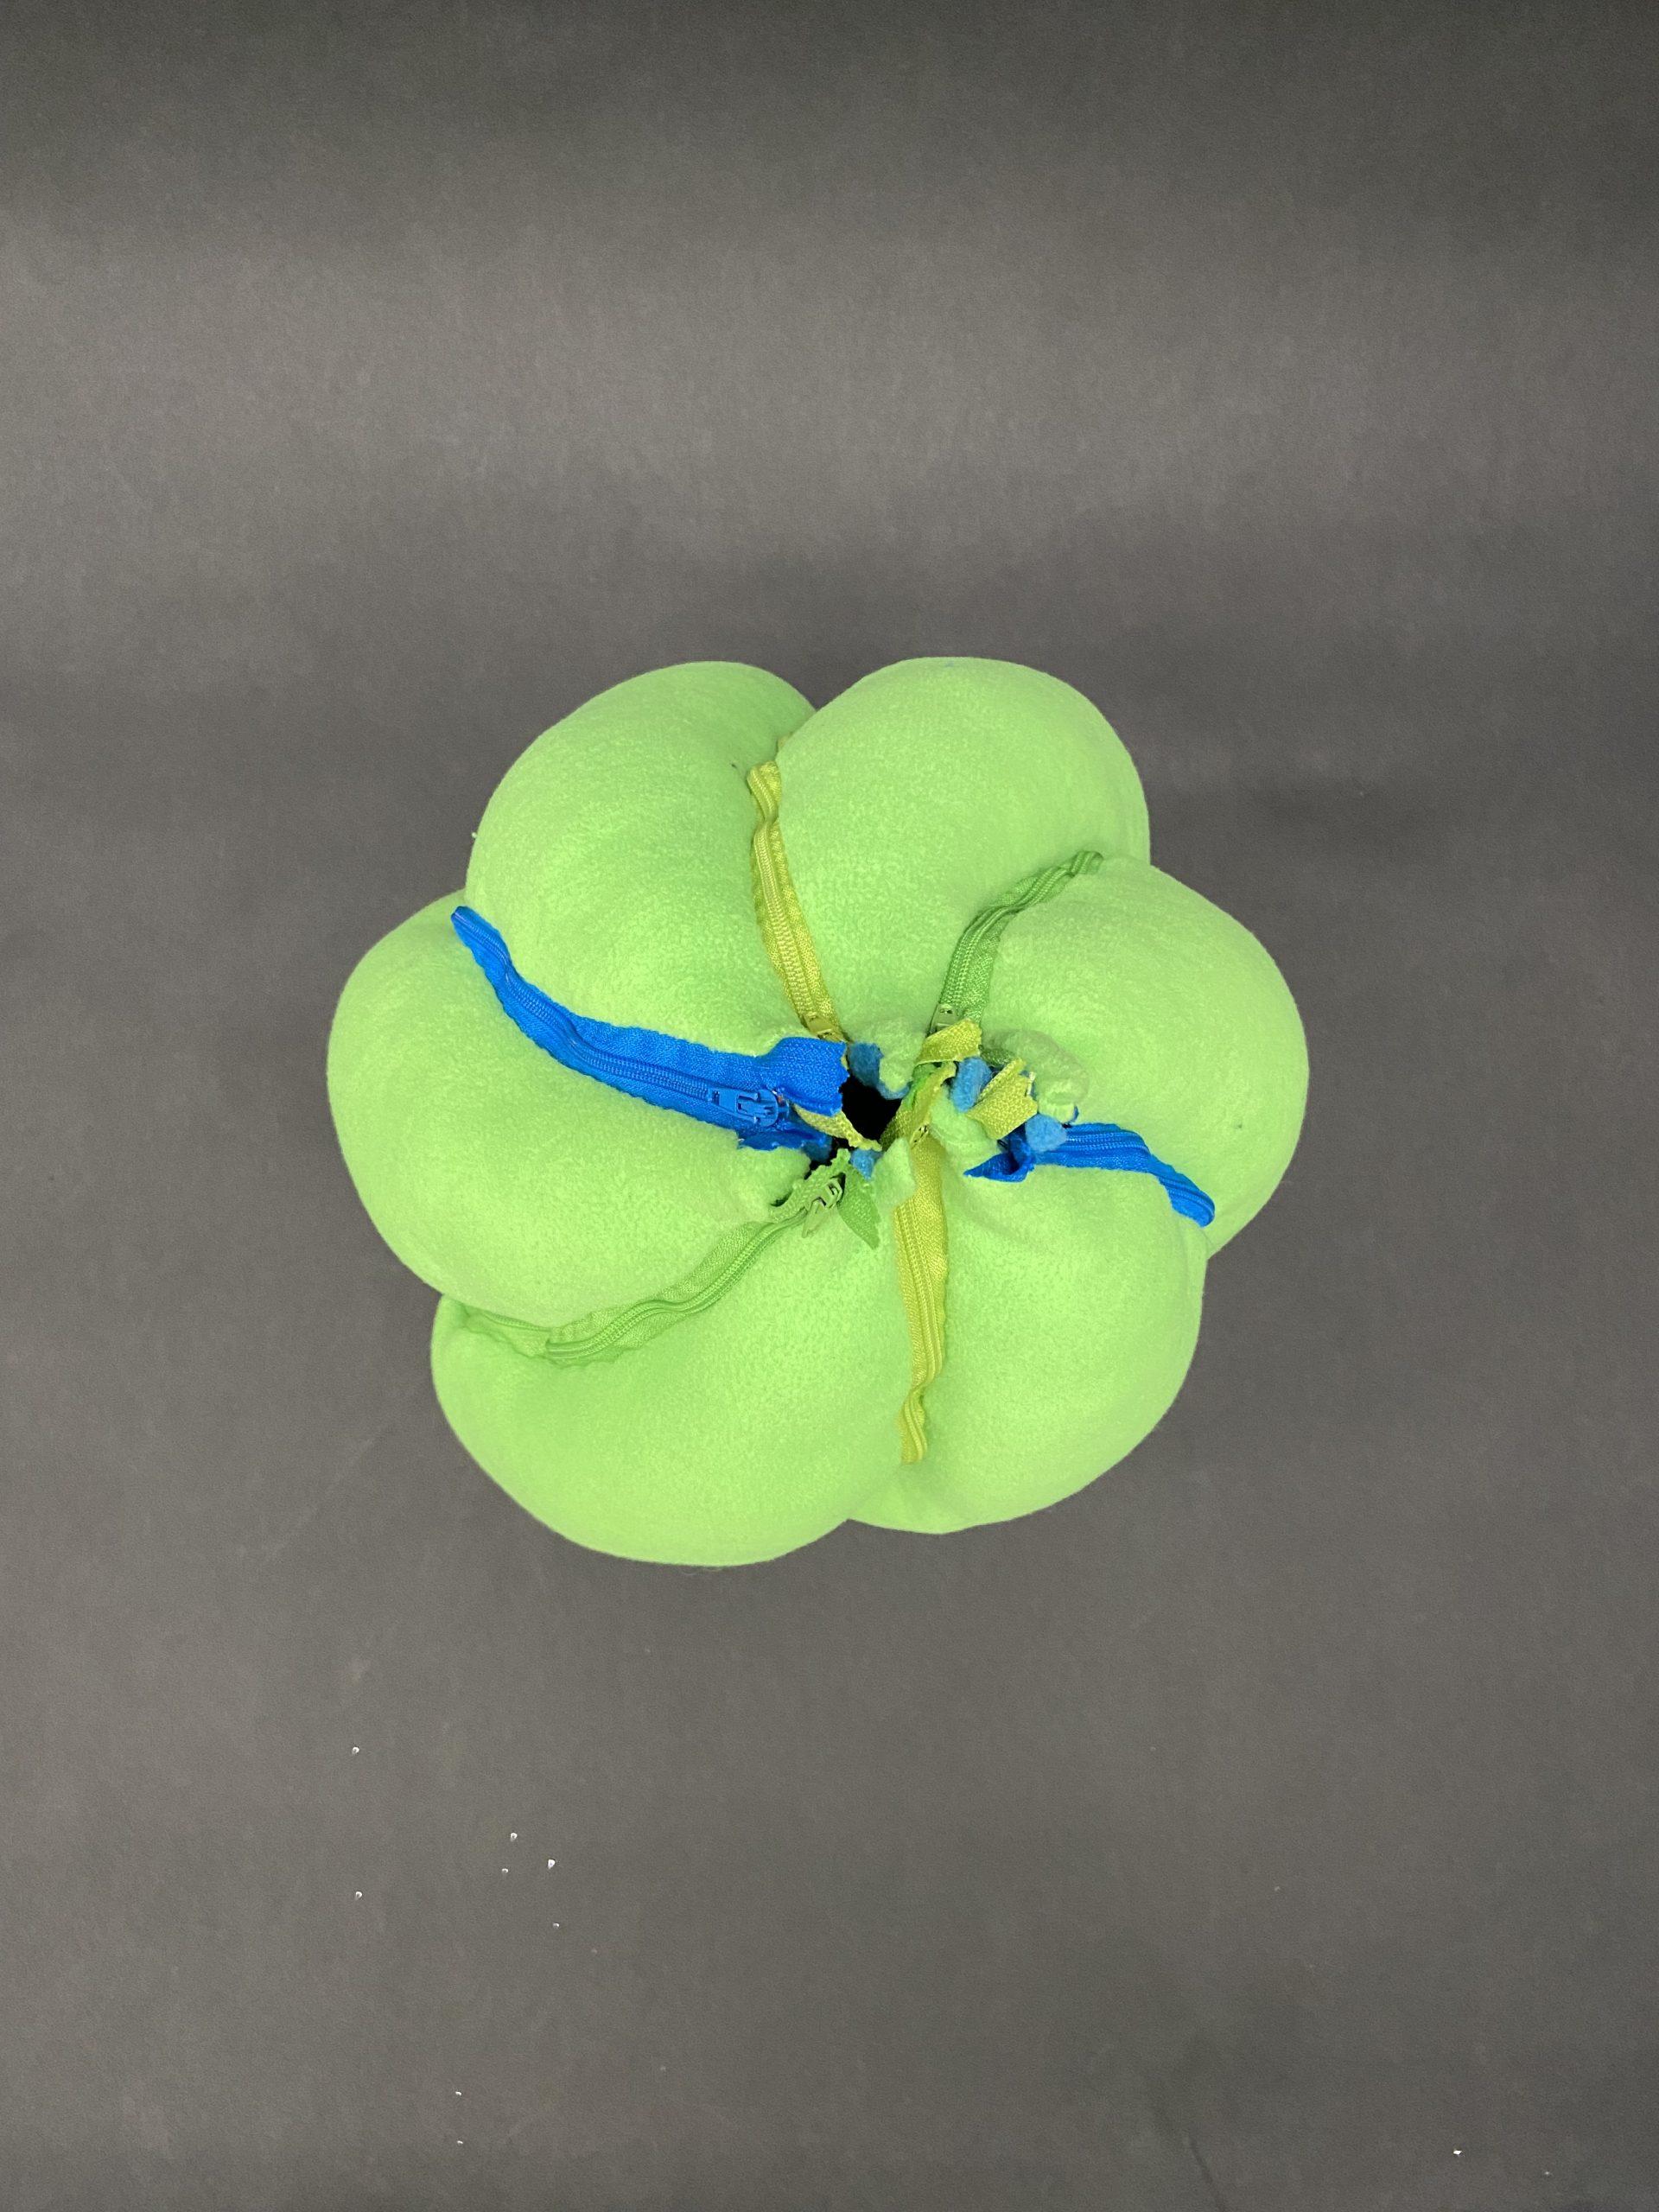
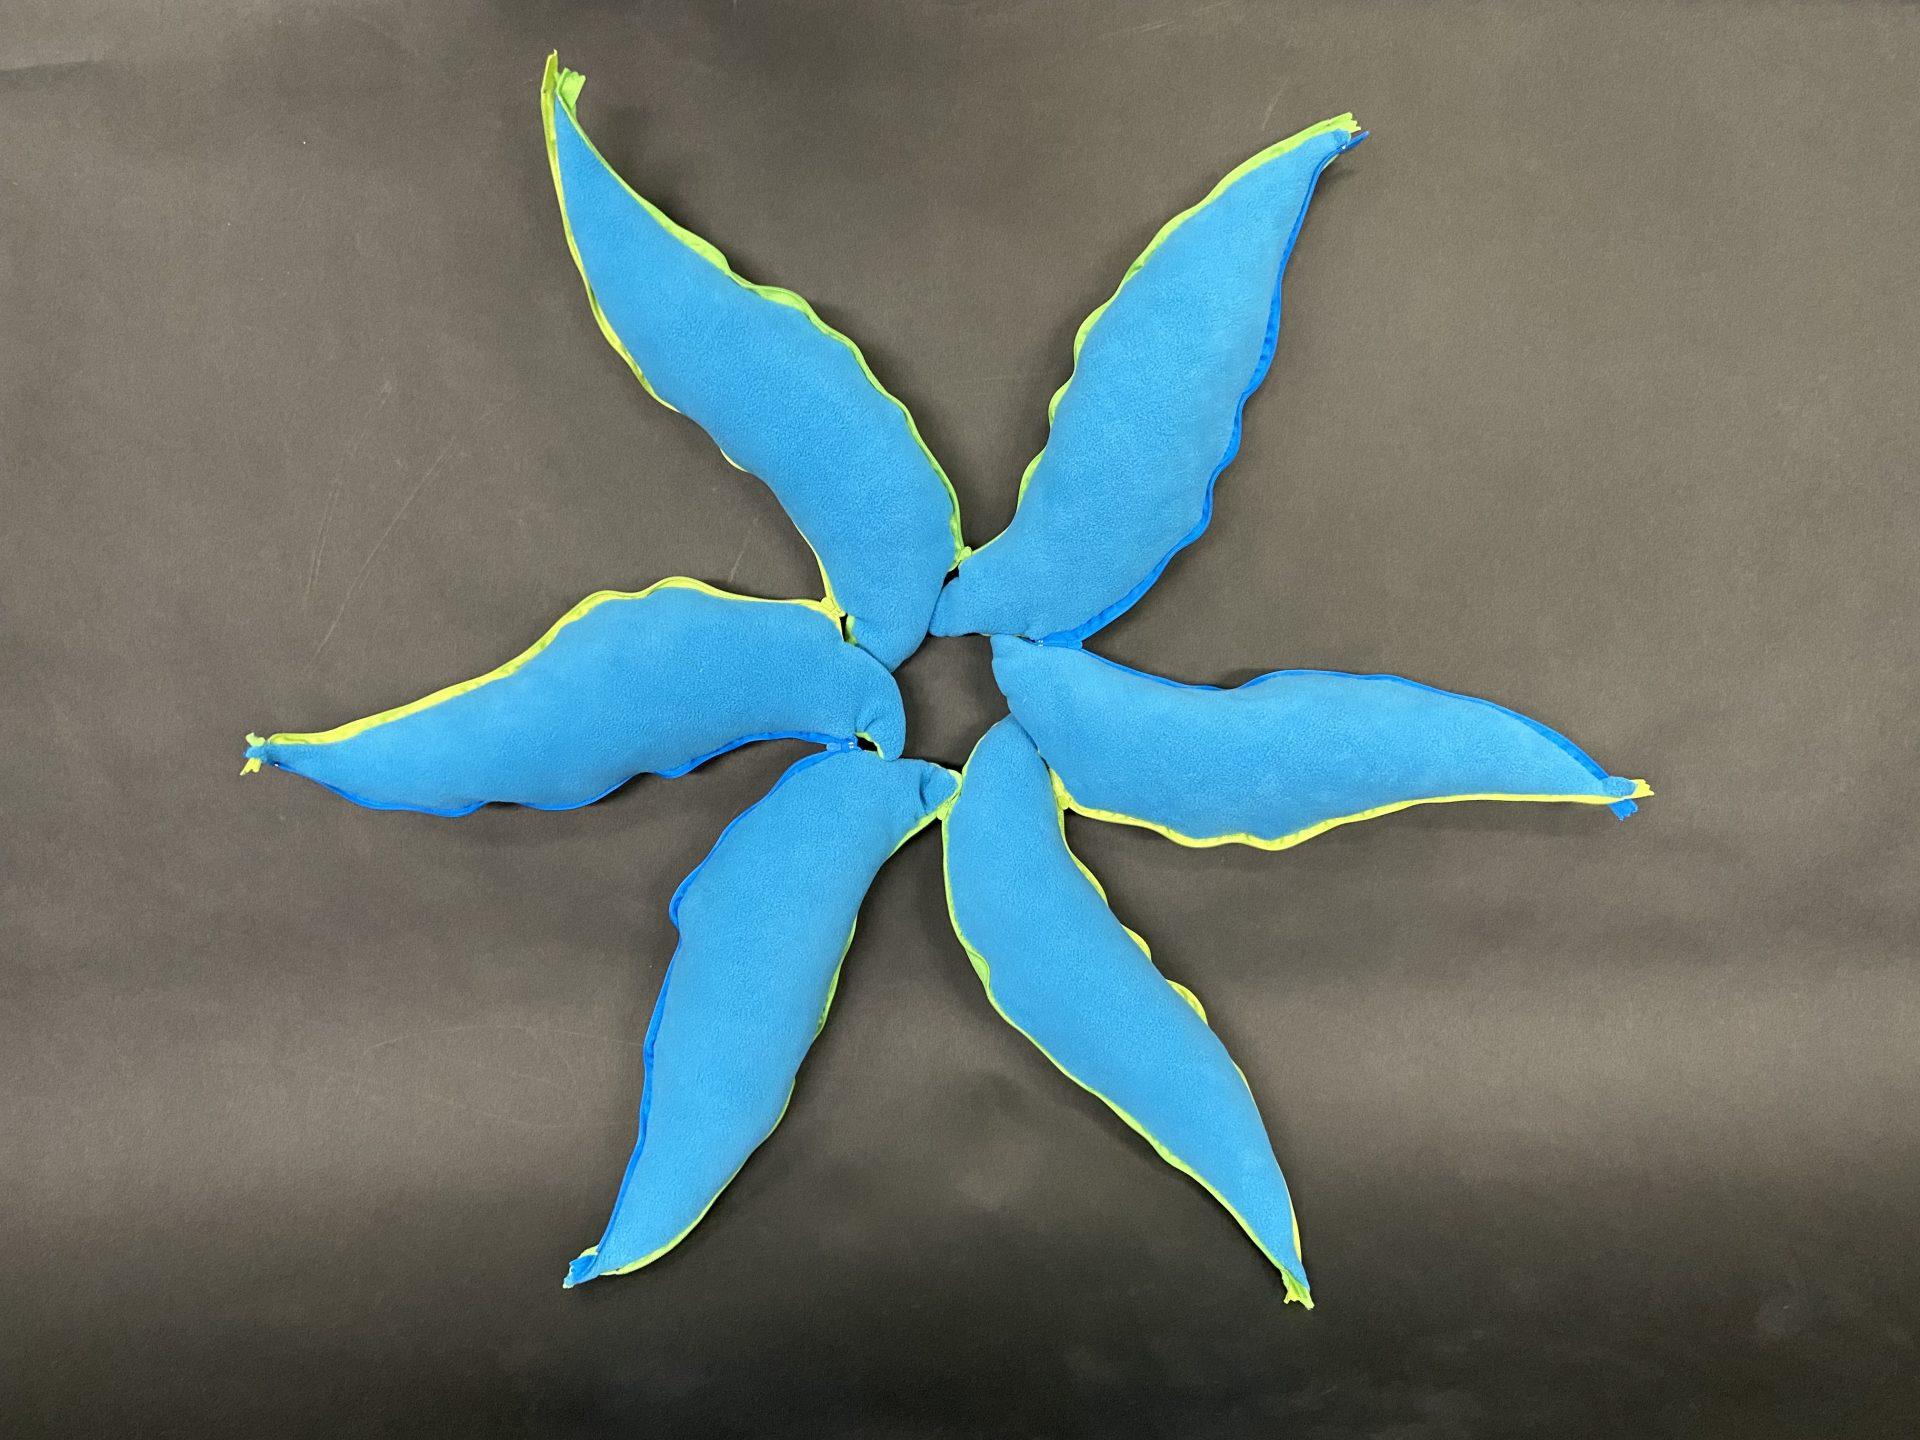
The second object I made was the reversible sprout-like structure. I took the basic beach ball template for making a sphere and elongated the ends and twisted the wedges so that the wedges would swirl around. In order to make it reversible, I first thought of just flipping the structure, but this would mean that I wouldn’t be able to stuff it too much with polyfil. This would then mean that the form wouldn’t hold upright very well, though I wanted my object to be able to hold more of its shape. As such, I thought of adding zippers and connecting each wedge with them. This meant I could stuff each wedge with even more polyfil and thus create a structure that would stand up better. I had never sewn with zippers, so I was very confused trying to visualize how to sew the pieces together so that the “good” sides of the fabrics would be out with the zipper sandwiched between them. Sewing these wedges after stuffing them was also very challenging and time consuming, since I had to connect three pieces together simultaneously with the seams tucked inside and with all the stuffed wedges attached together interfering with my hands while sewing. Because of the zippers and the reversibility of the object, I created an object with a much larger number of different forms that it can take.

Object 3: Cone with Many Cones

Visual Portfolio, Posts & Image Gallery for WordPress

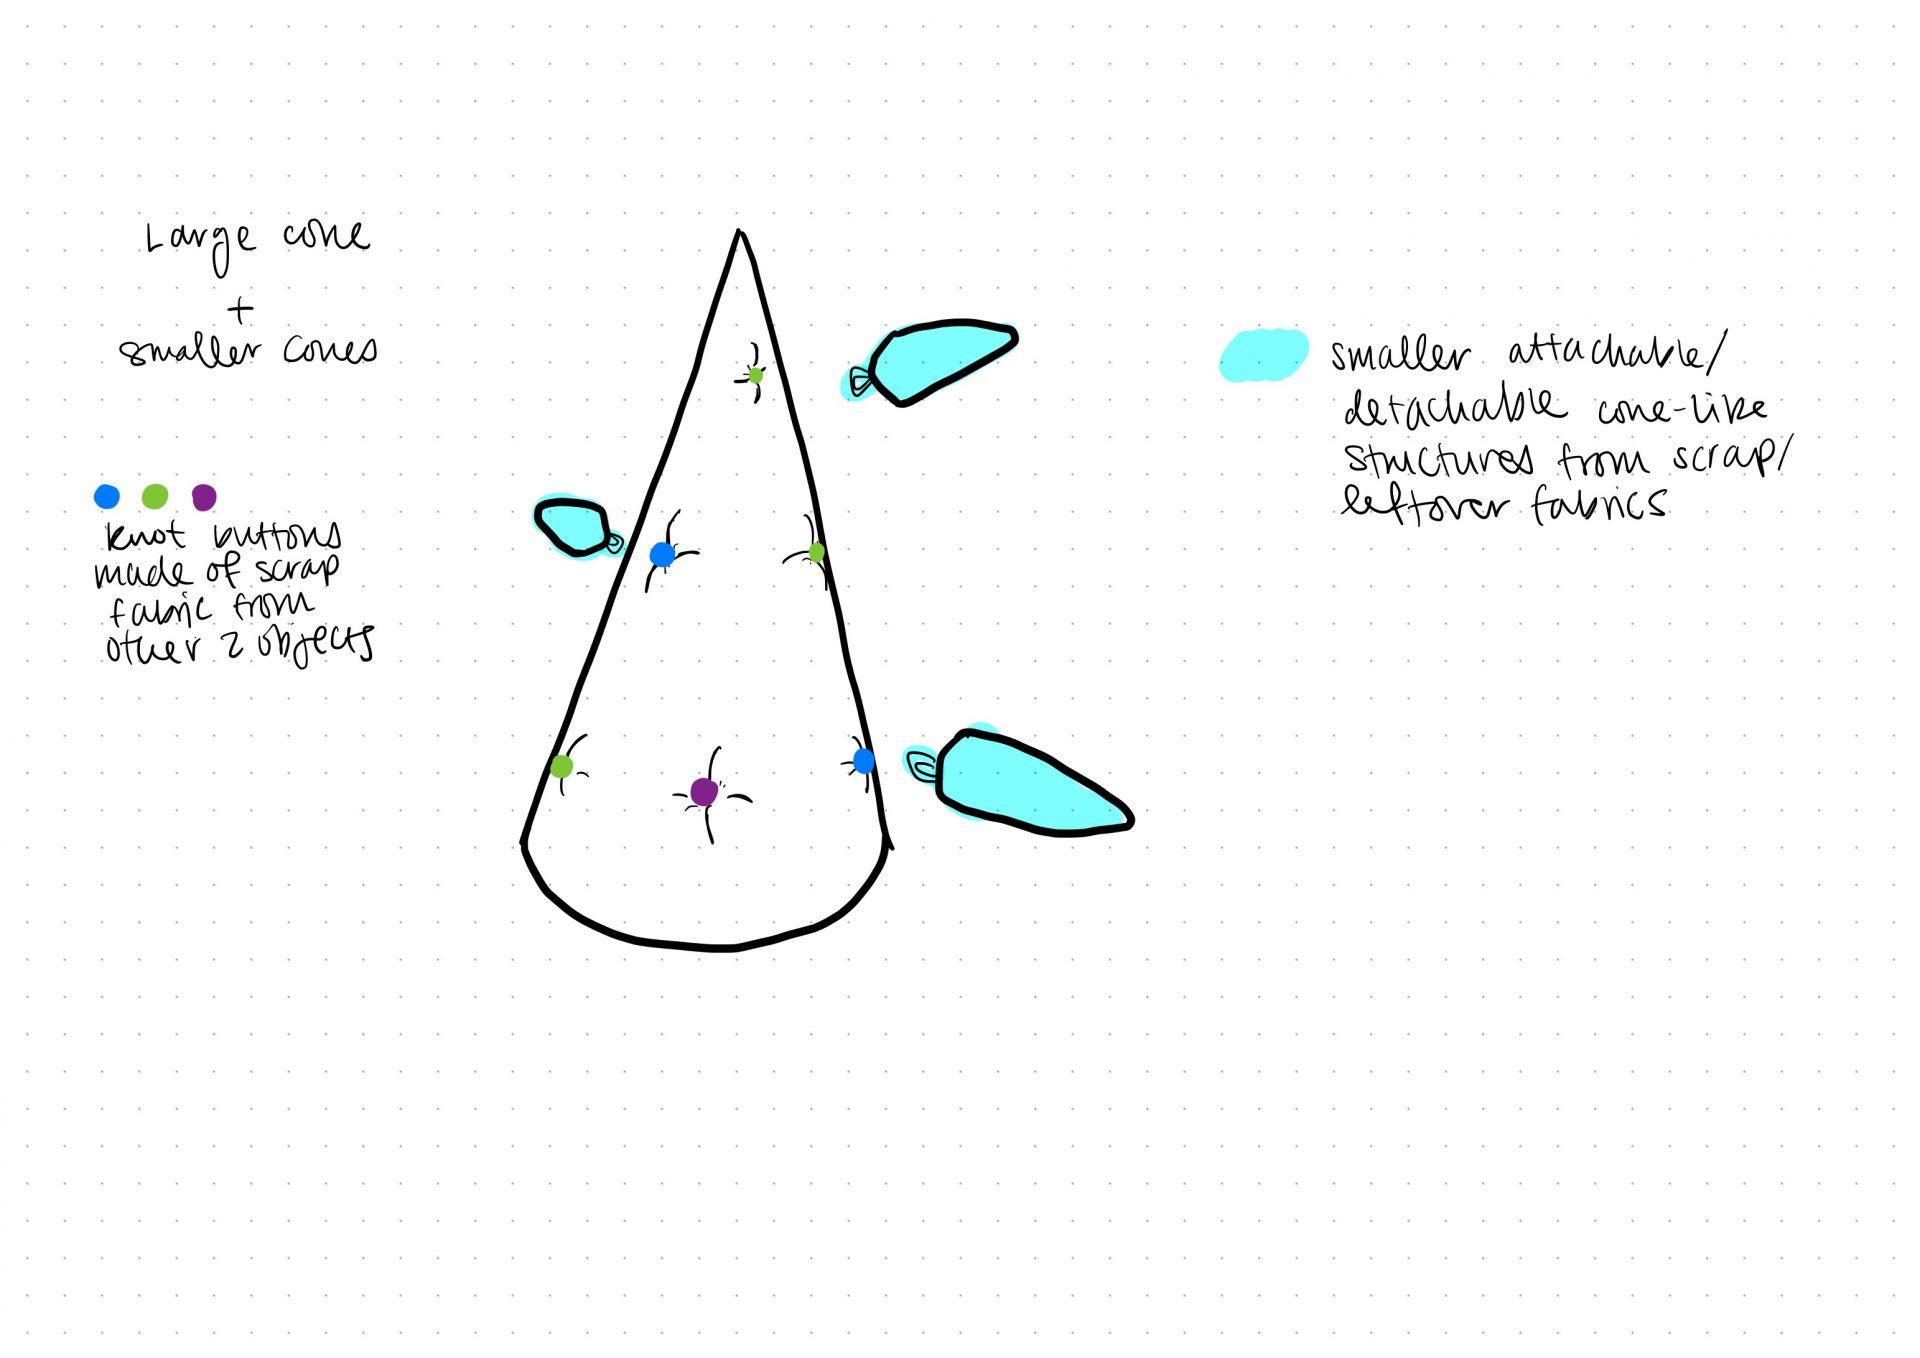
Finally, my third object was inspired by pinecones. I planned to make a large cone with buttons going through it, and then smaller cones covering the main body by being attached to it through the buttons. I used the remaining scraps and leftover fabrics from the first two objects to add the knot button details and the smaller cones. Although for the in-class critique, I was unable to prepare the smaller cones, I later made a few to fully realize what I had envisioned for this object. I really had to think about a way to make stable buttons from the scraps I collected, and even more challenging was thinking of how to pinch the structure with thread to add the buttons and cinch it. I eventually realized that I could just partially fill the structure with polyfil so that it wasn’t too thick and therefore impossible to accurately and comfortably get my needle through it. I was able to get the knot buttons through and place them where I wanted, but the smaller cones were not so successful. I didn’t make the straps that wrap around the buttons smaller enough so that the small cones wouldn’t dangle like Christmas tree ornaments; I wanted the small cones to attach as closely as possible to the main body. If I used velcro, for instance, I may have been able to achieve this, but the roughness of this material makes it less inviting (albeit very slightly) to touch and hug the cone.

Push/Pull Part 1 – Douglas Gearhart

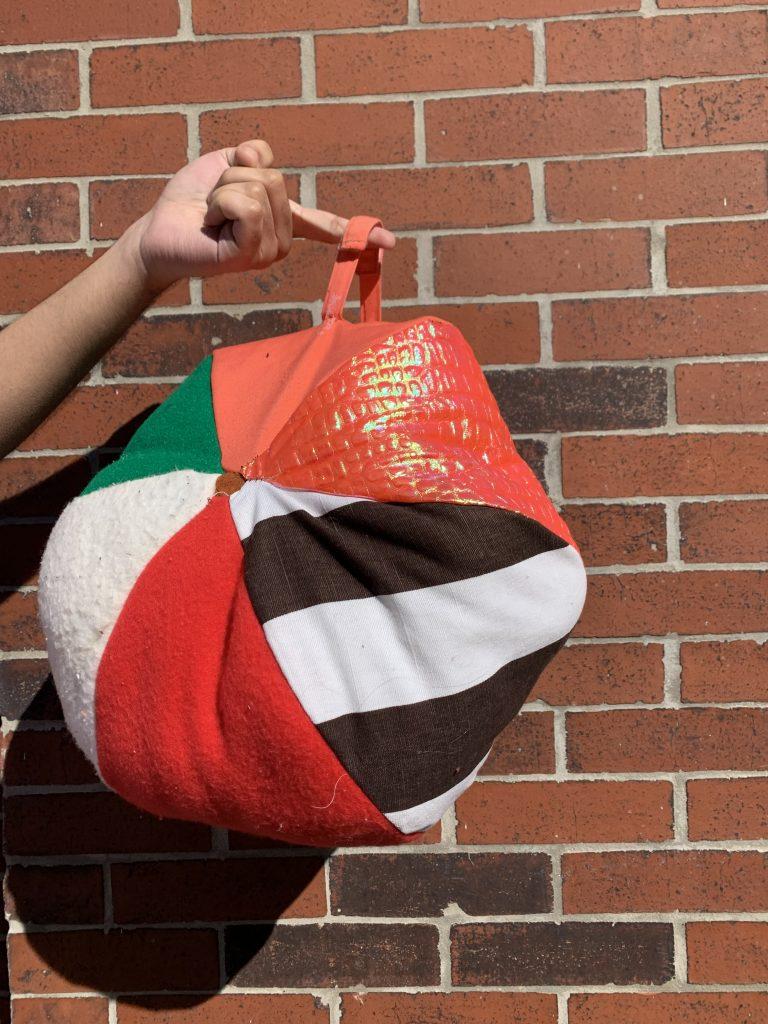
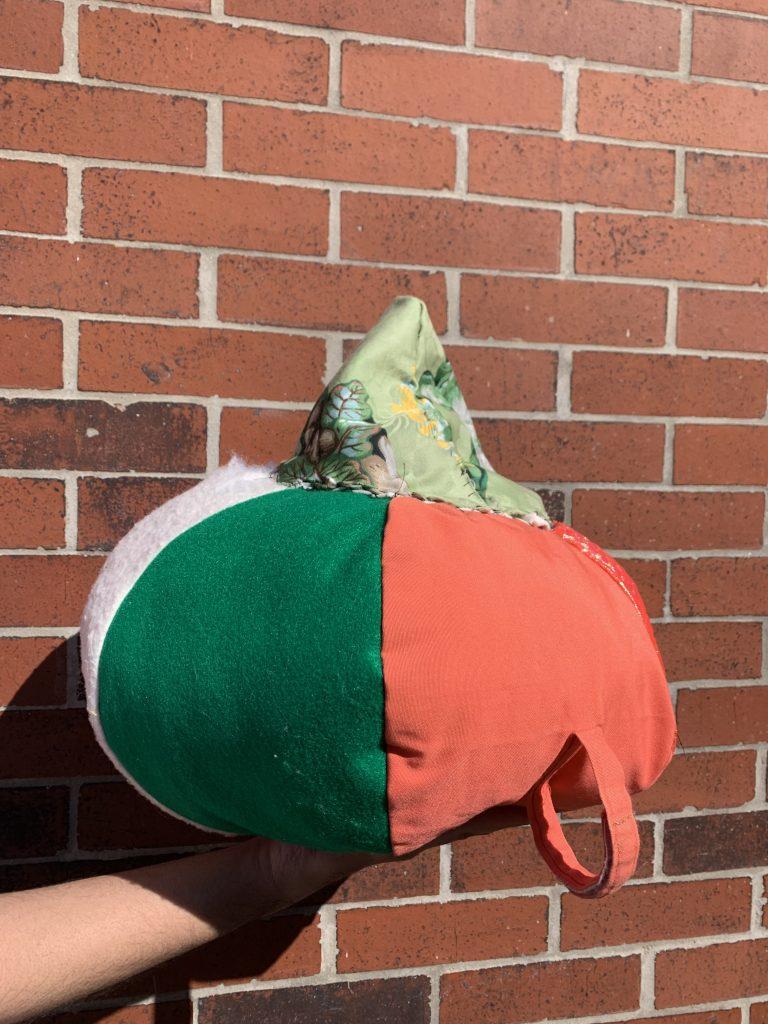
My first object was probably the most fundamental. I made my own beachball sphere pattern and used a unique material for each piece. This was a method that was effective in modifying the primary form of the sphere as each material had different properties of how they would respond to the stitching and filling. For example, the felt looks full and comfortable while the shiny pink fabric has almost become concaved and refuses to bulge with the polyfill. The white material was a poor decision in the end because it doesn’t hold up well to tension and has been ripping up like a cotton ball. The cone on the top was left unfilled for me to see how it would retain its shape, or to see the character it expresses with its freedom.

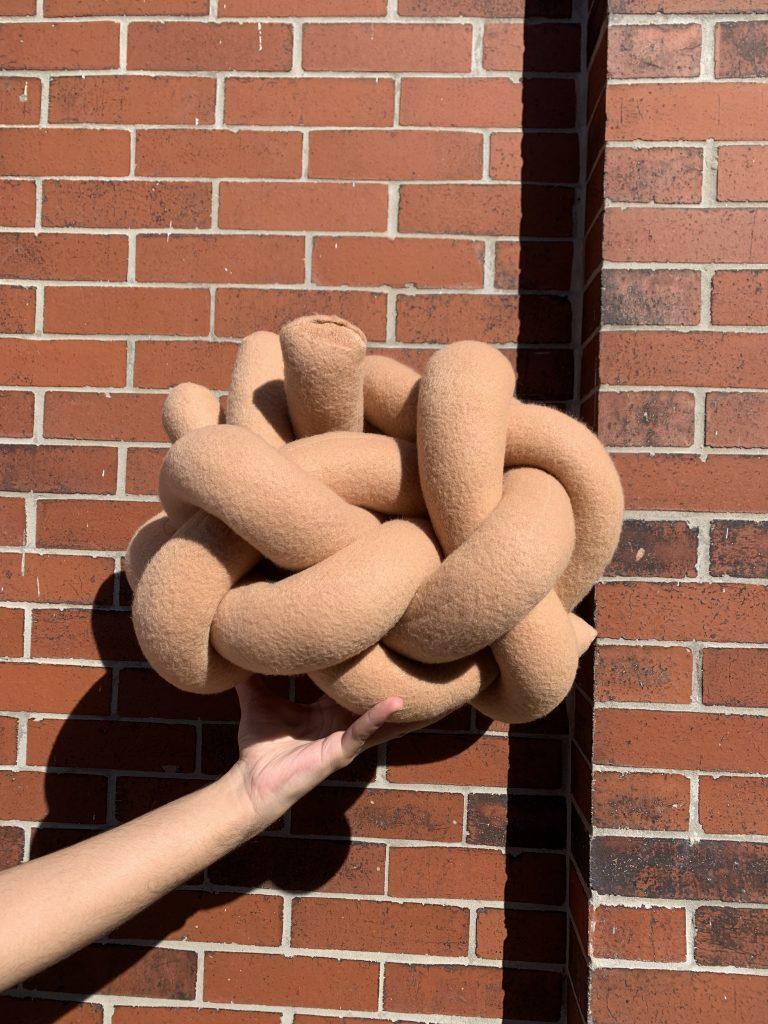
For my second inflatable, I took inspiration from other students who were showcasing ideas of handles or linking parts on their inflatables. This made me think how I can make an inflatable, and then use that inflatable as a building block material. In this case, I took a very long cylindrical shape and used it to twist and tie up the final form. Inspiration here came from pretzels and proteins in the human body. Challenges with this one were the tension that was created when using the cylinders to tie themselves, they are massive and quite the resistance to being braided. Also, stuffing an extremely long cylinder is difficult because felt cannot easily be pushed down to the bottom as you go, so I had to employ a technique where I only slowly turned the fabric inside out only enough so I could shove some polyfil down the barrel. This took about 15 increments of polyfil-ling per cylinder.
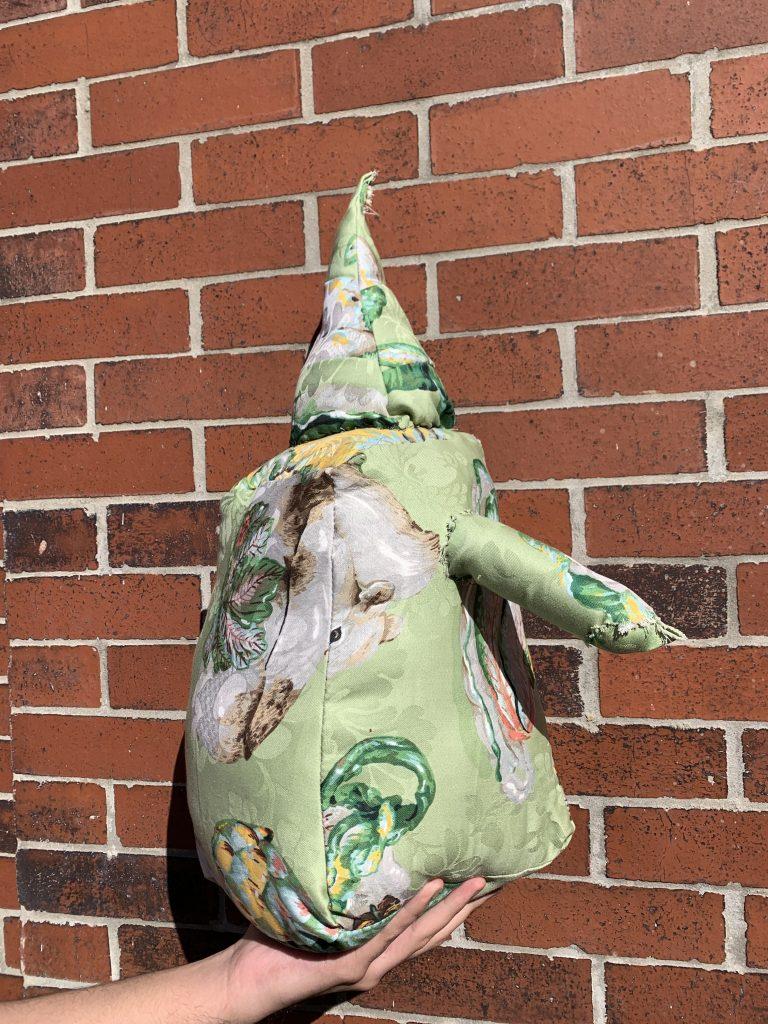
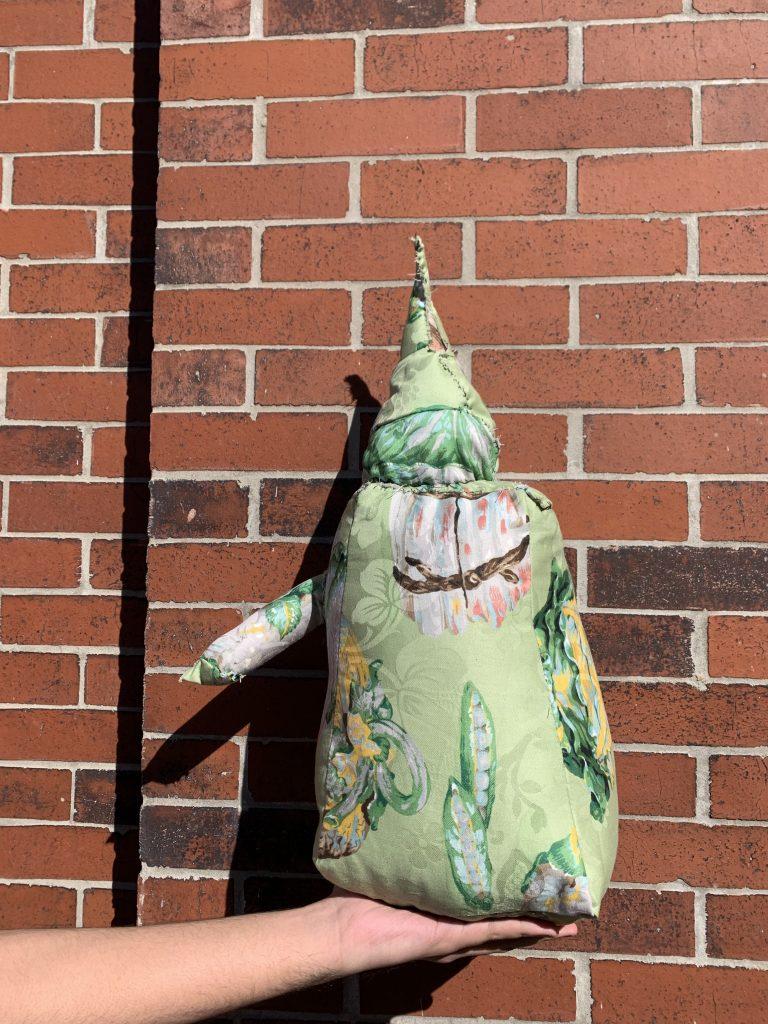
This inflatable was that which I designed in Rhino and laser cut. I decided to create a shape using three modifying primary forms to create a troll like body with a nose and hair. The trapezoidal pyramid body was the easiest to understand after the laser cutting as the edges were pretty square but I had difficulty with the cylindrical nose and the conical hair. The nose was a bit difficult only because of the small size and the need to do a circular stitch on such a small circumference. The hair was extremely difficult because I applied so many modifications on the angles of the cone that the pieces were small and connecting in very irregular ways to create a double twisted (or so it was intended) hairdo.  I enjoy the material I used for this inflatable because it agrees with the woodland create theme that is the troll.
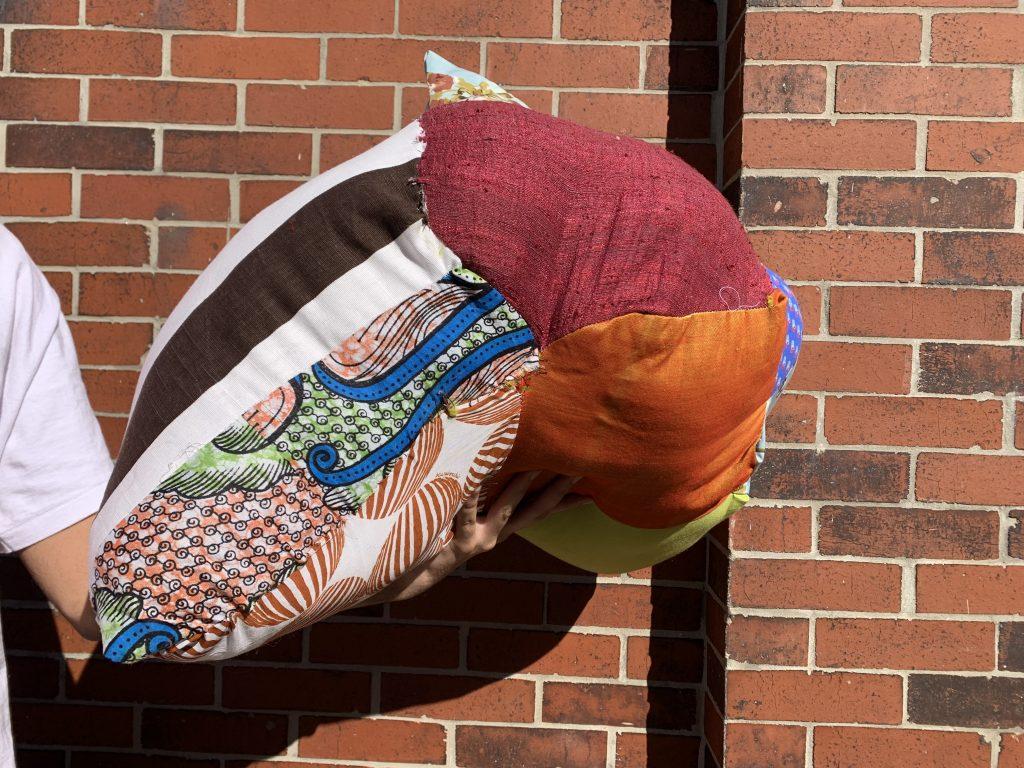
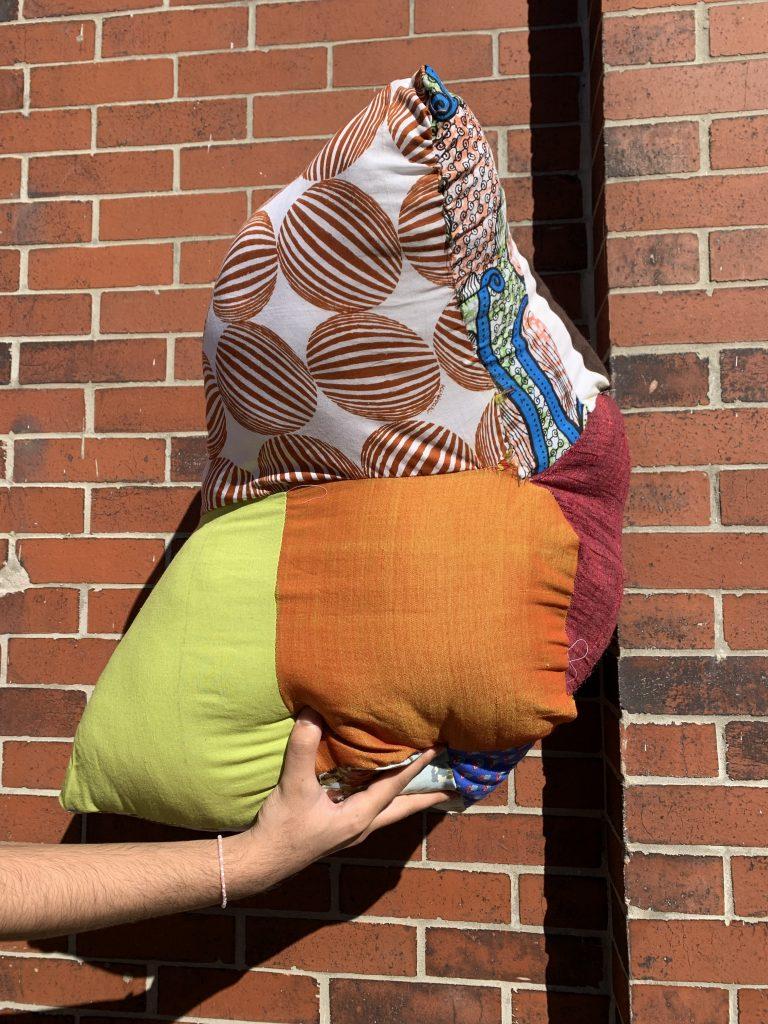
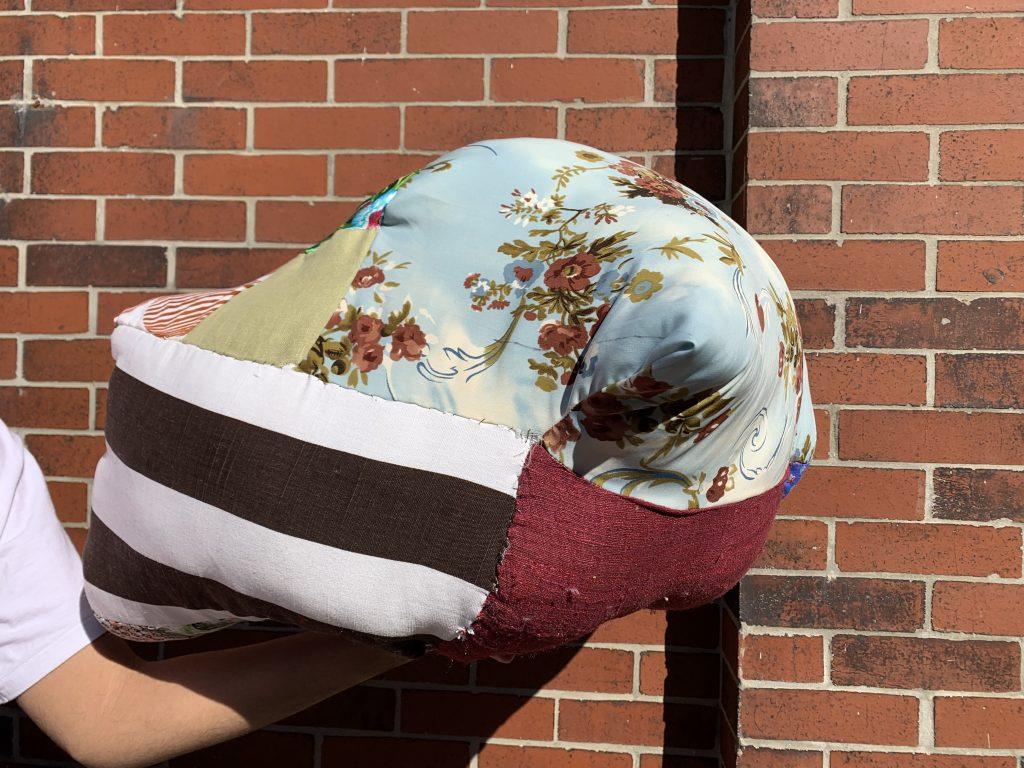
My last inflatable was very fun and I am currently using it as a pillow while writing this blog post. What began as my desire to create my own fabric for an inflatable by quilting together a jumble of scraps turned into this experimental piece. I decided what if I just sew all my fabrics together into a rough rectangular sewing pattern while additions and subtractions here and there. Then I took this pattern and started sewing edges together in an unexpected way. About halfway through the sewing, I took two strips of fabric that after sizing up the inflatable I realized would be much smaller than the final shapes breadth and sewed them to opposing inside walls. This is where the divot and bumpiness come from in this shape, the tension that is created by the inside sewn strands that inhibit the inflatable to be its ideal bursting full, rounded shape.
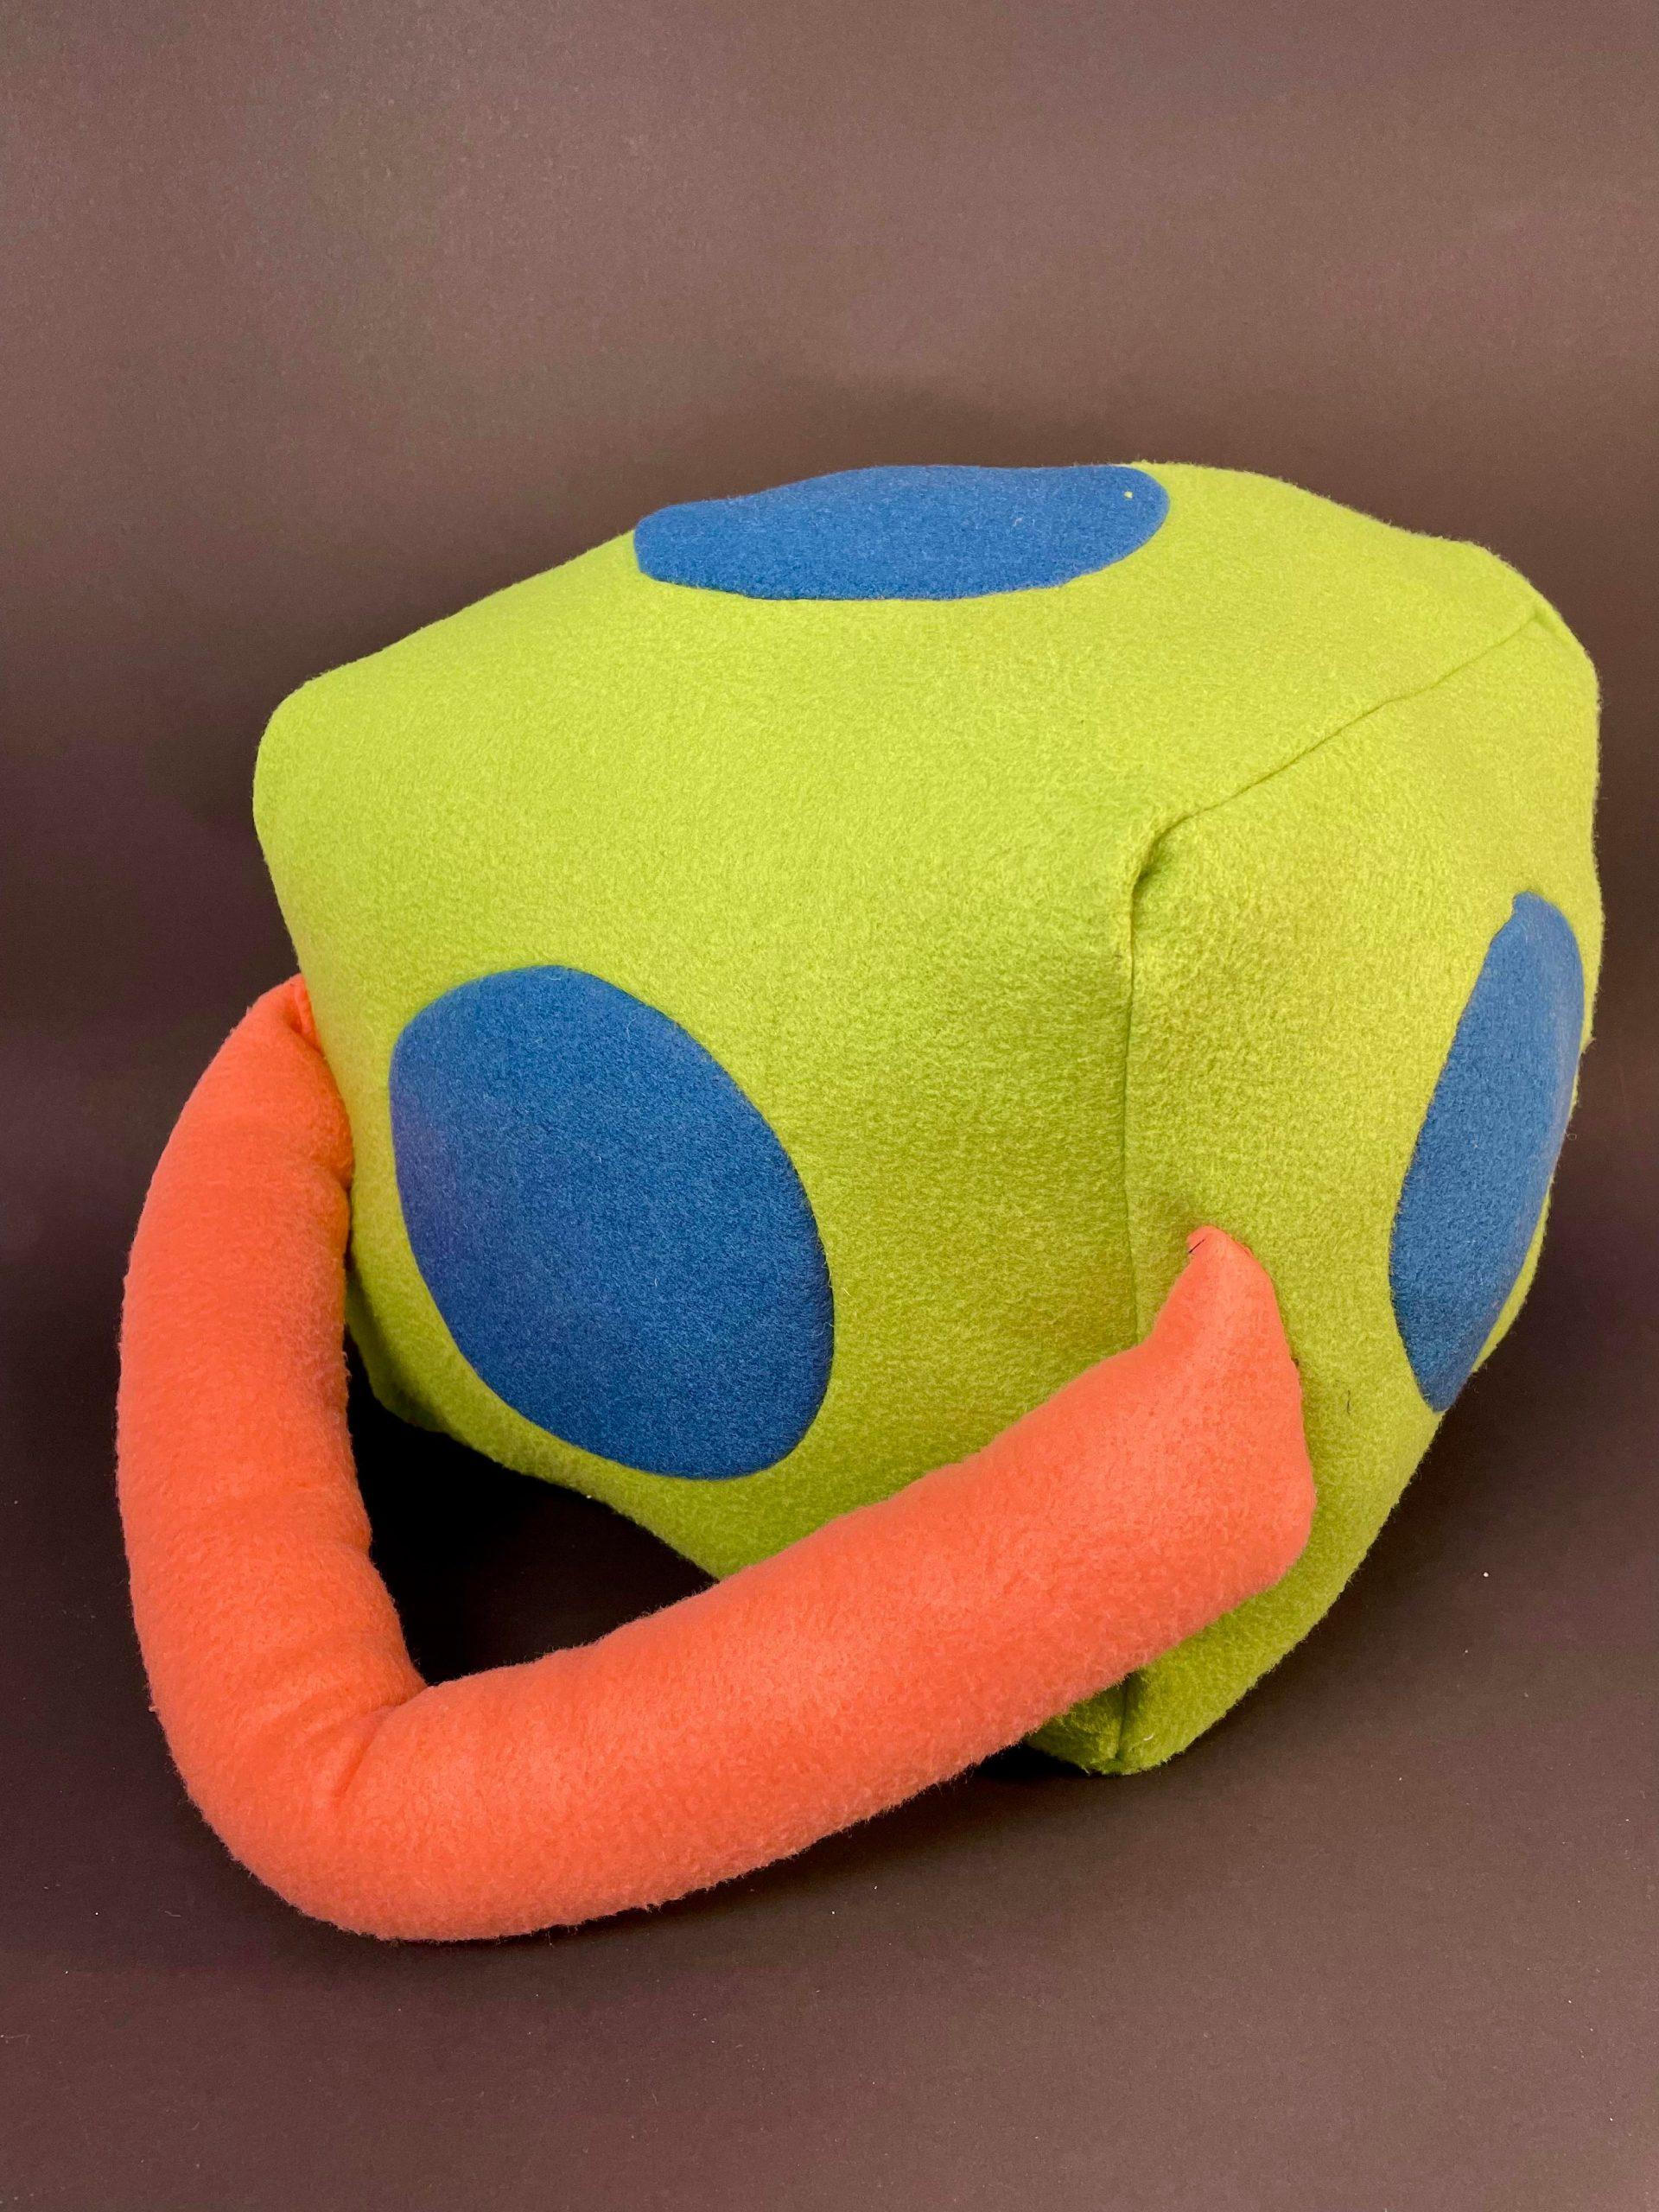
Push/Pull Part 1 – Sandy Huang

Visual Portfolio, Posts & Image Gallery for WordPress

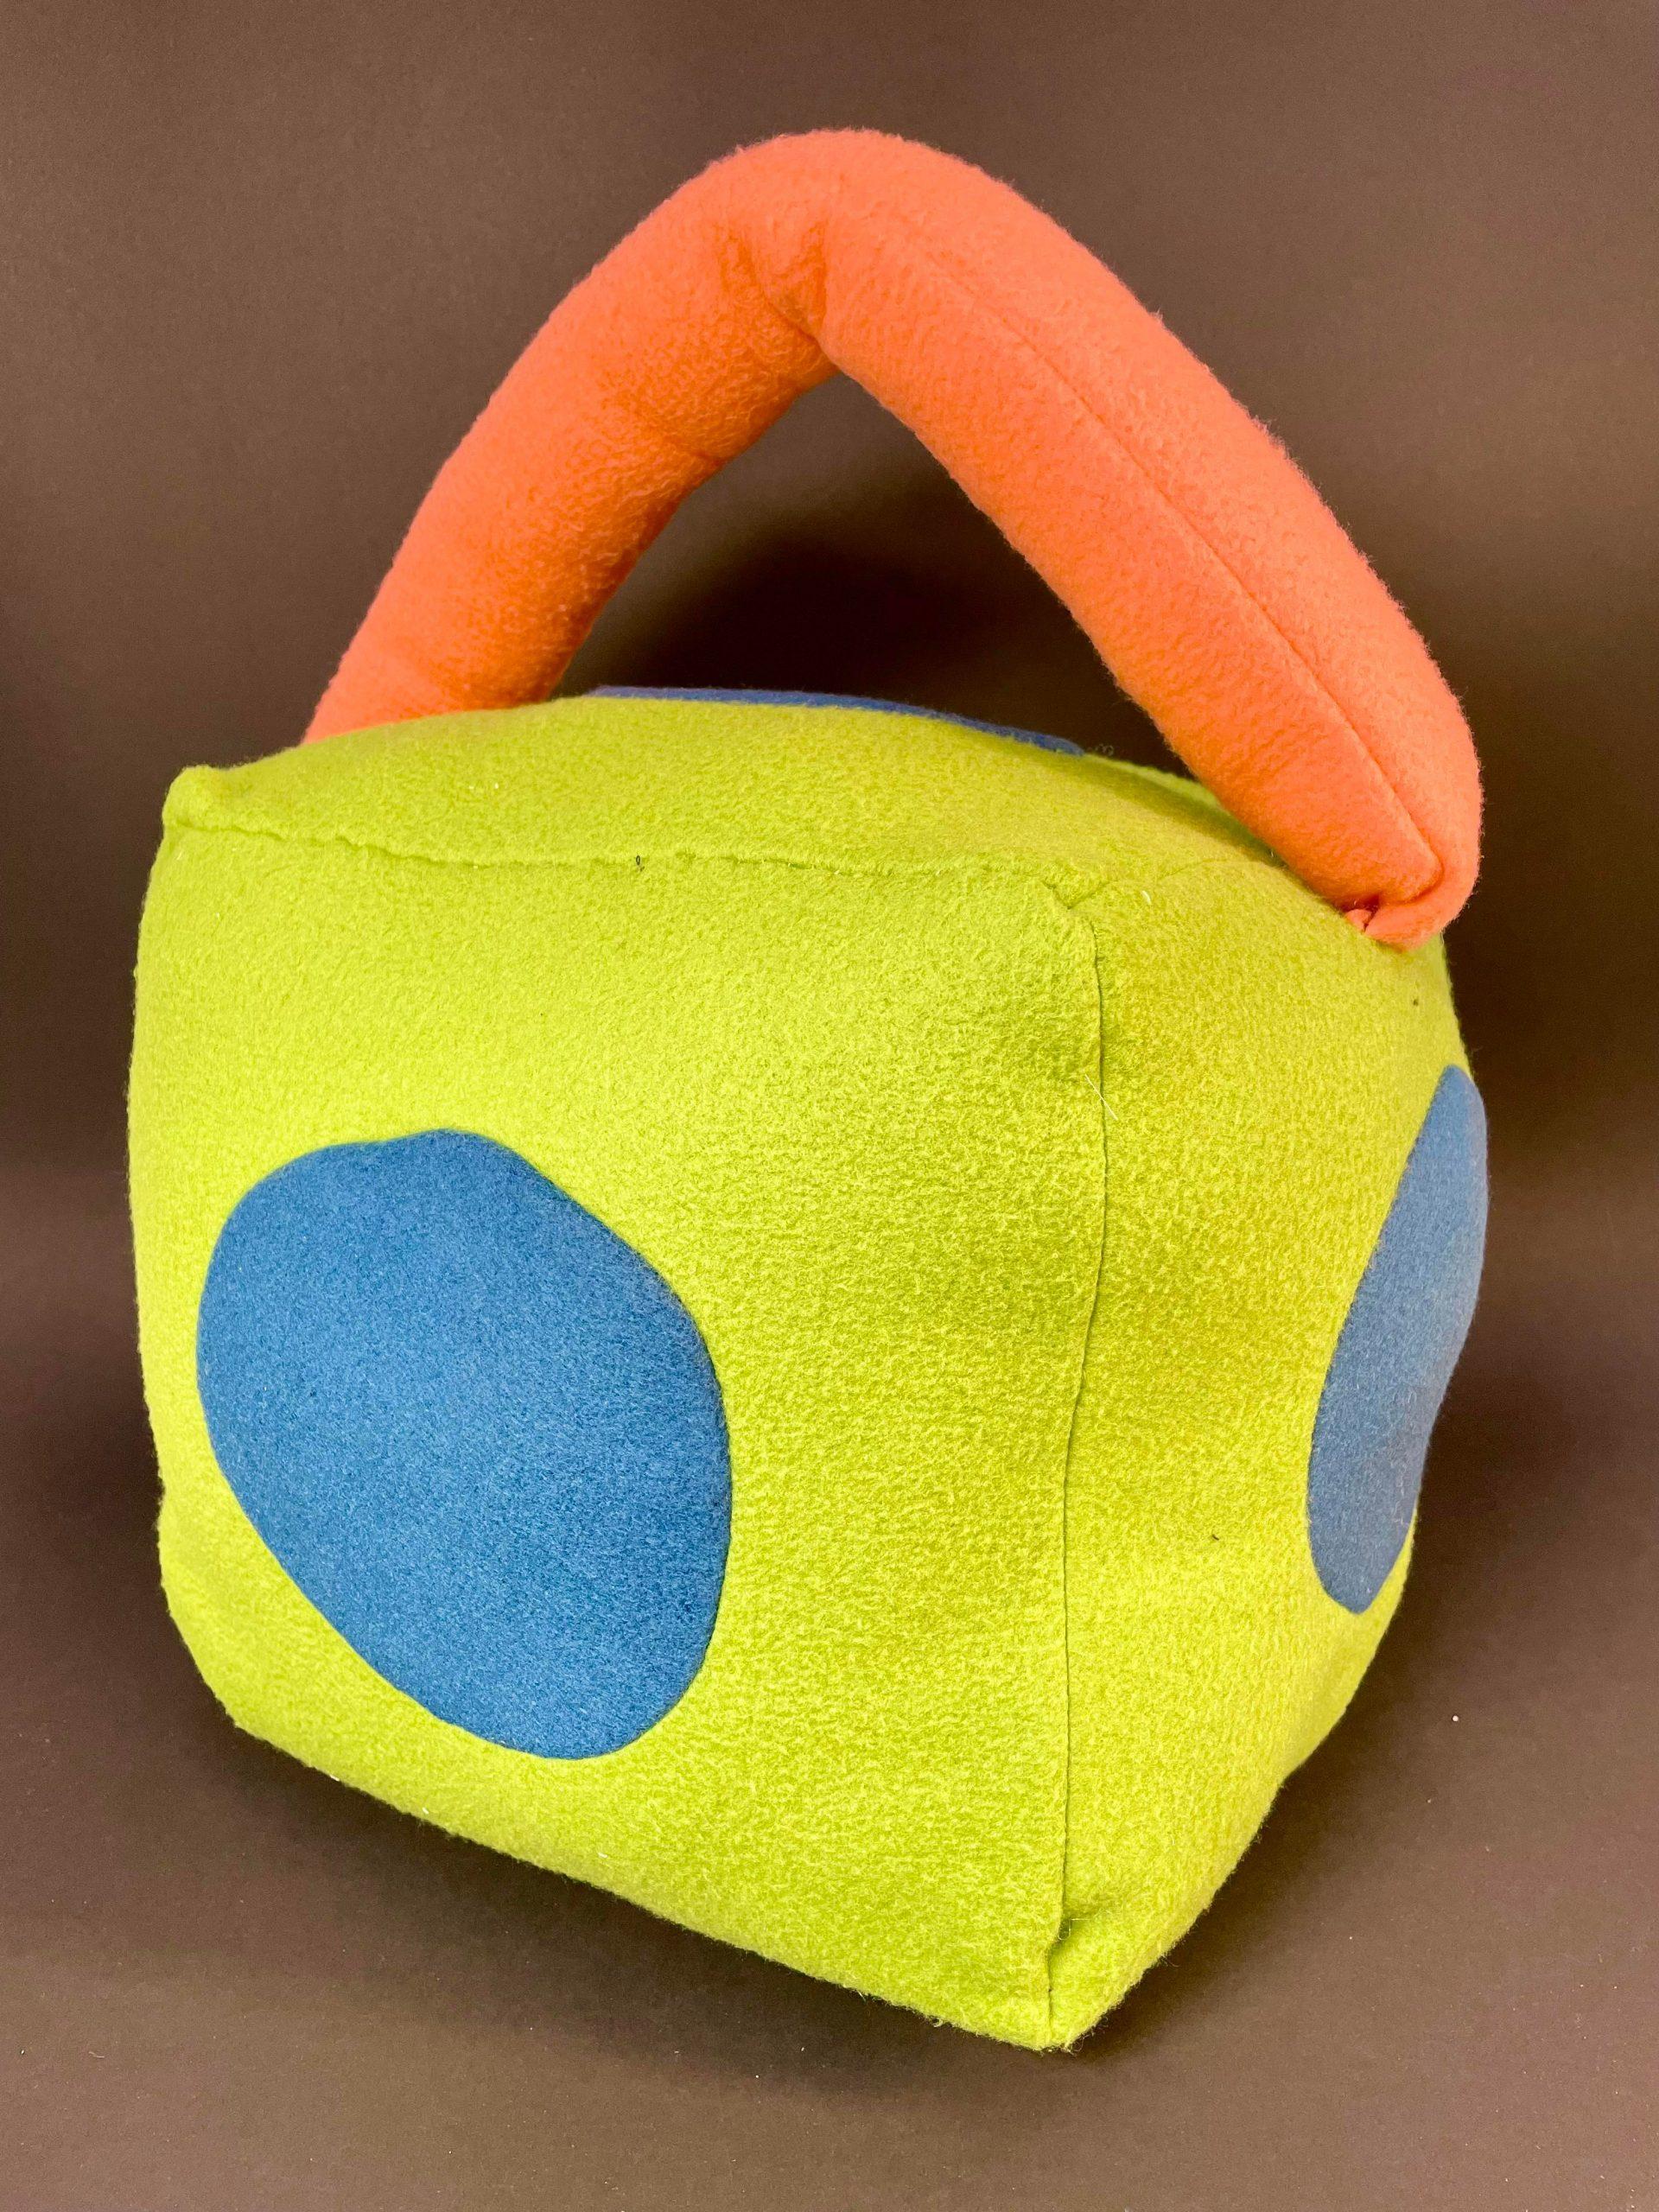
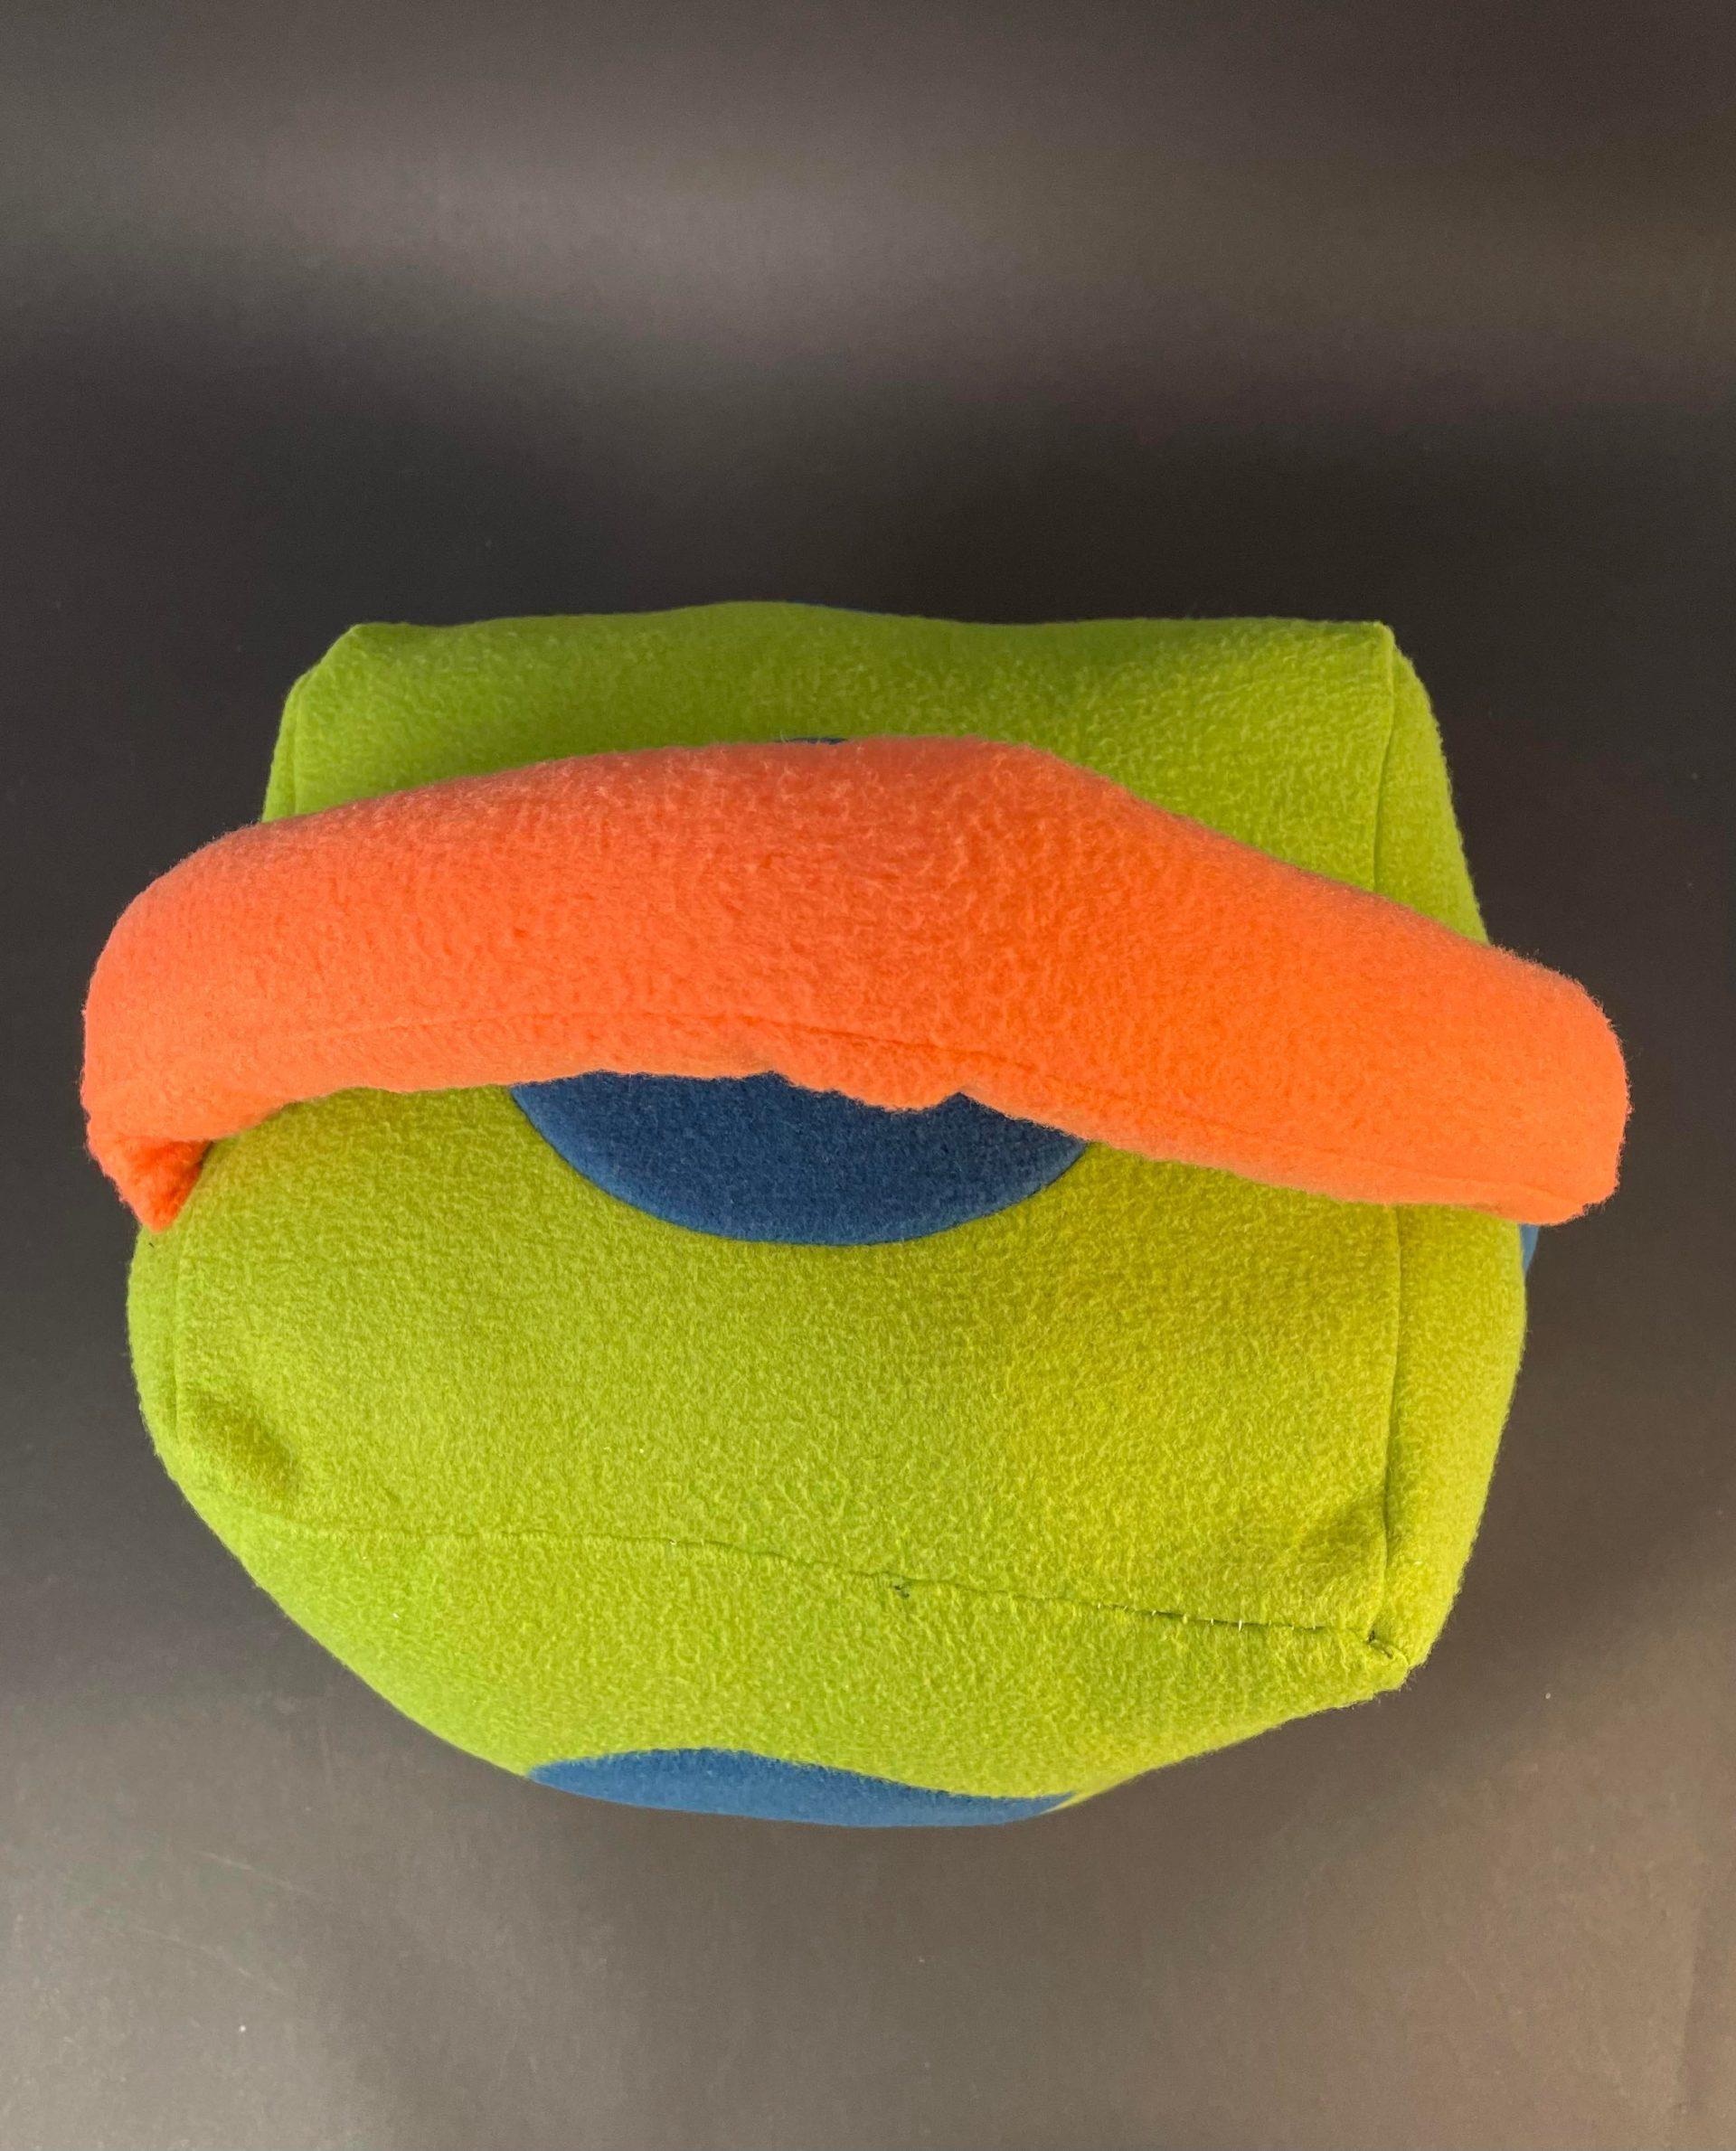
The first inflatable I made was a cube with a handle. I wanted to start out simple with the primary forms we’ve learned in class. Originally, I planned to have protruding semispheres pop out from every face of the cube, but I had cut the pieces too small, so they ended up fitting perfectly. This made my cube look like a quirky die with one dot on every face. When I was about to sew the object up, I realized that it may be a bit too empty as just a cube shape, so I added a cylindrical handle (without the circular top and bottom faces). This was a good decision because it made this object more interactable and you can hold it on your arms or carry it like a shoulder bag. In general, this first object was a test trial and the hardest part was holding the circular pieces together with a million pins when I was sewing them on the cube.

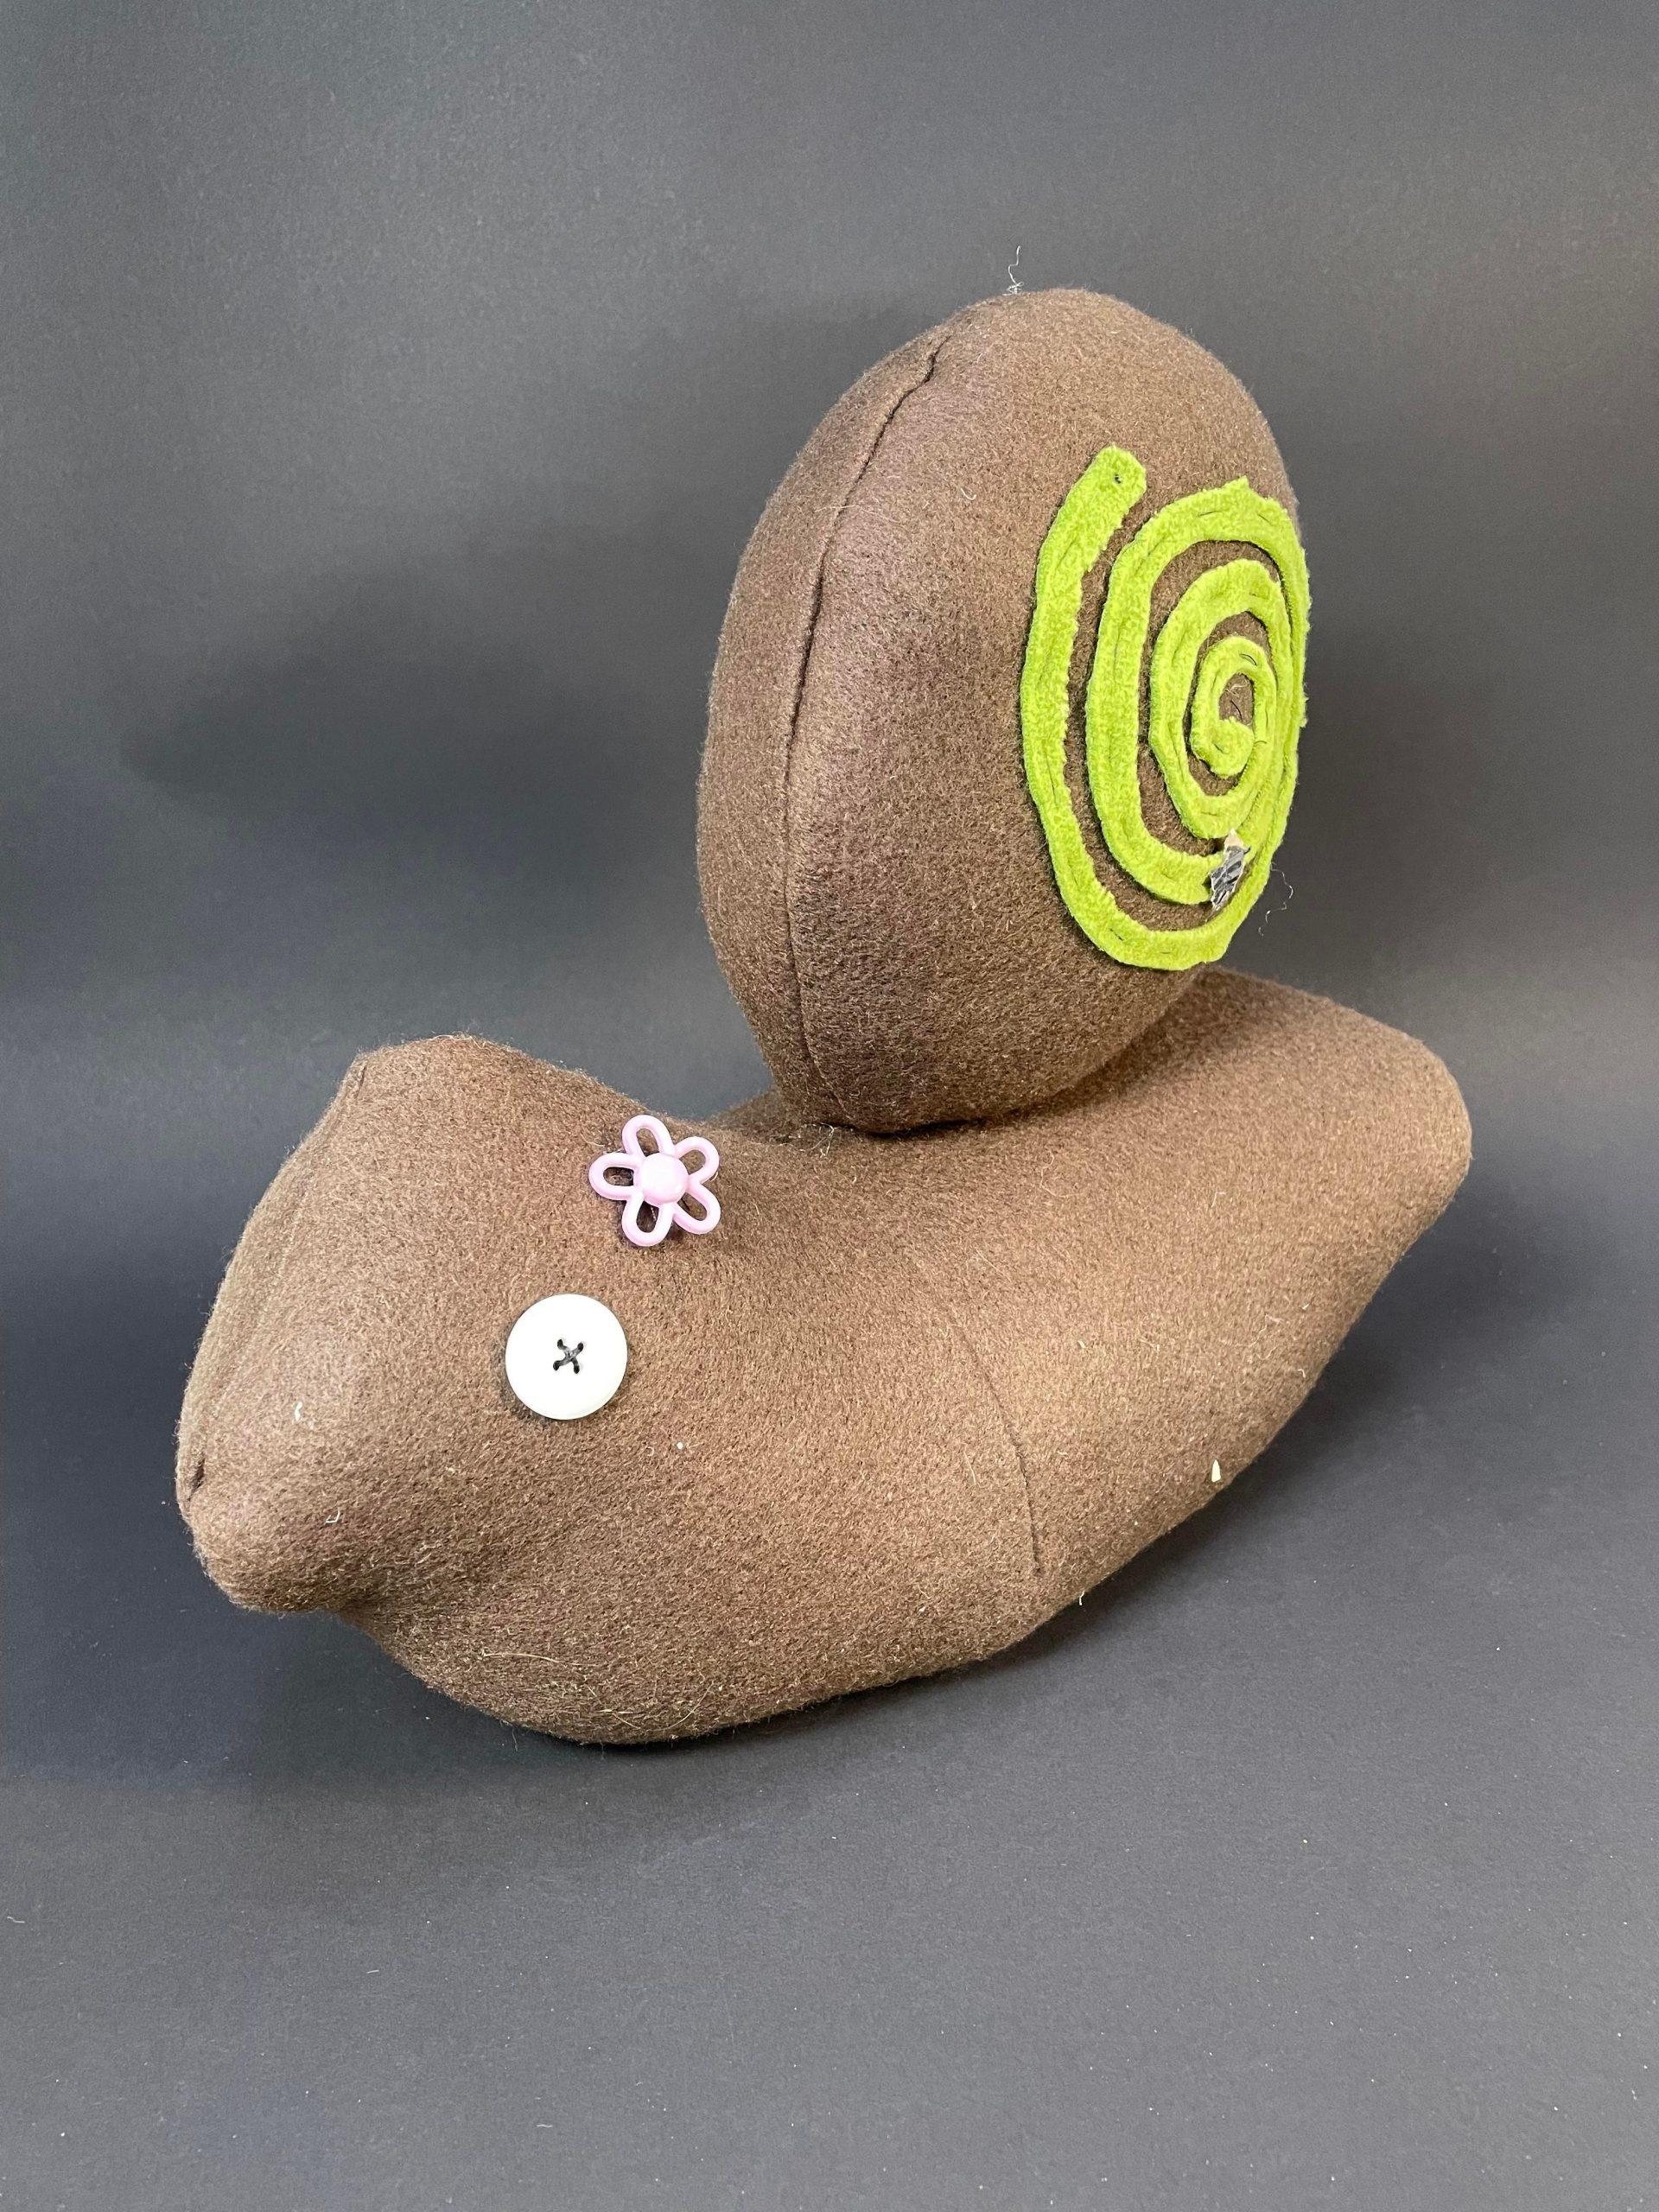
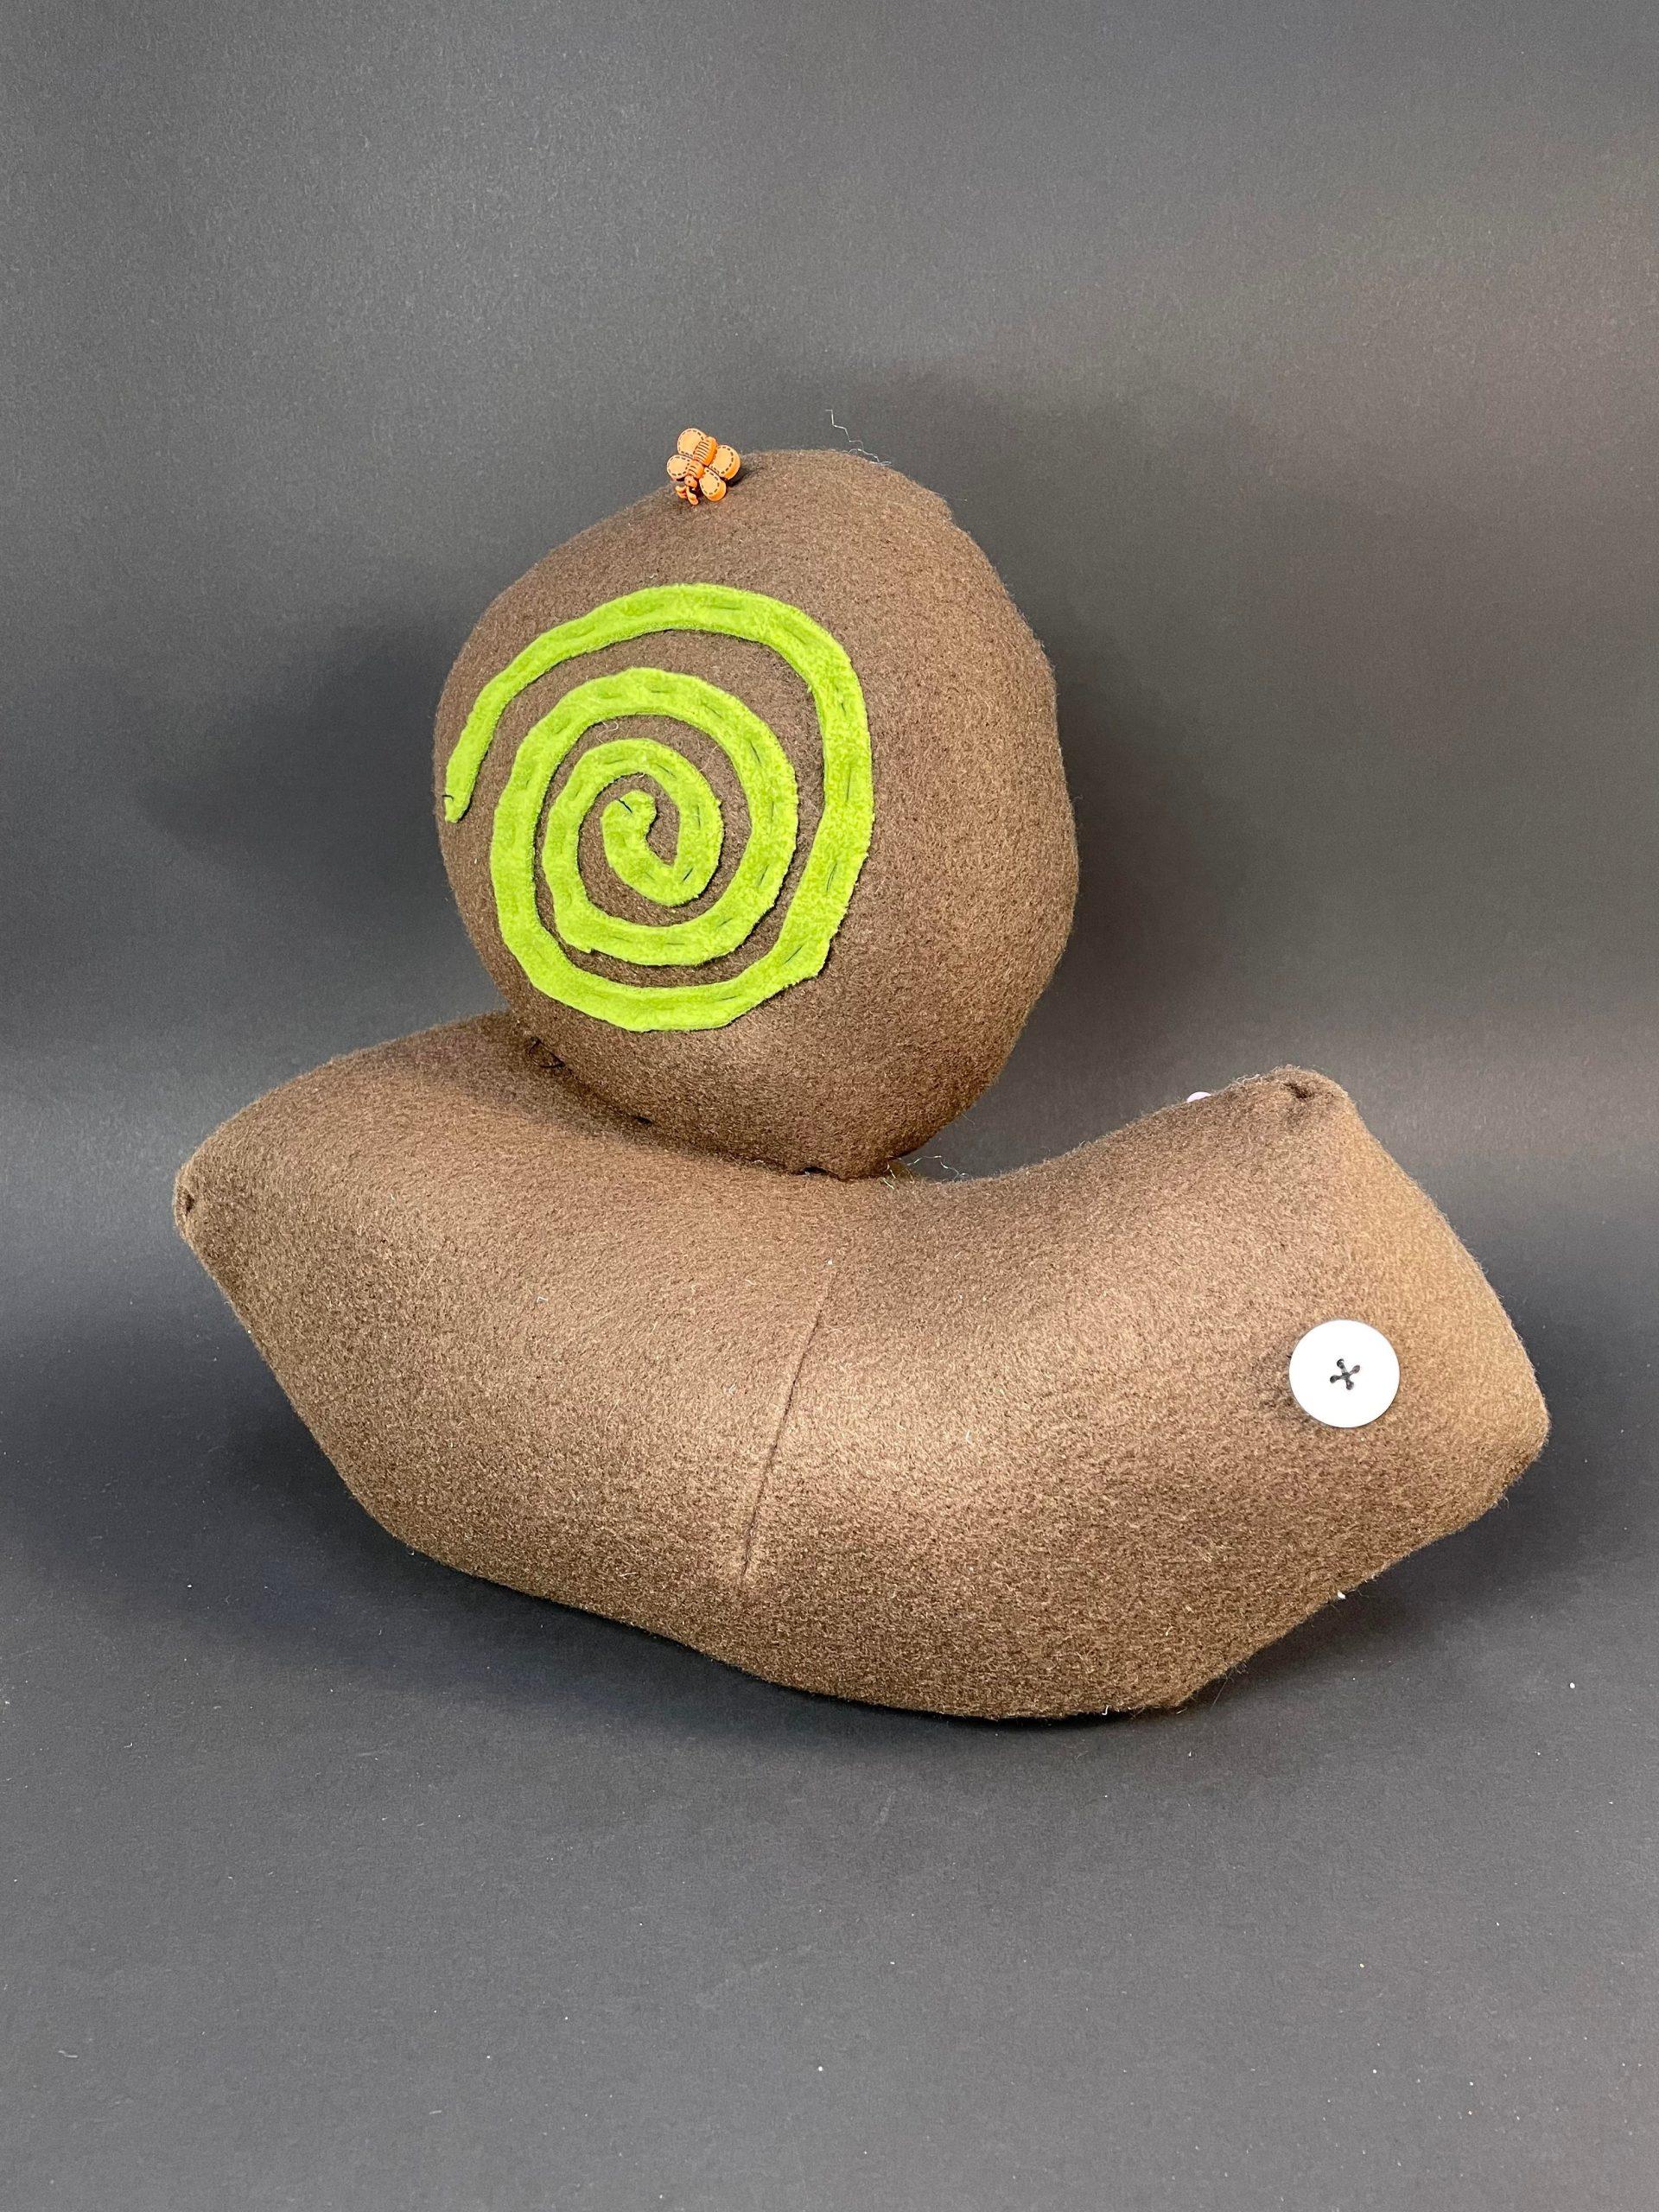
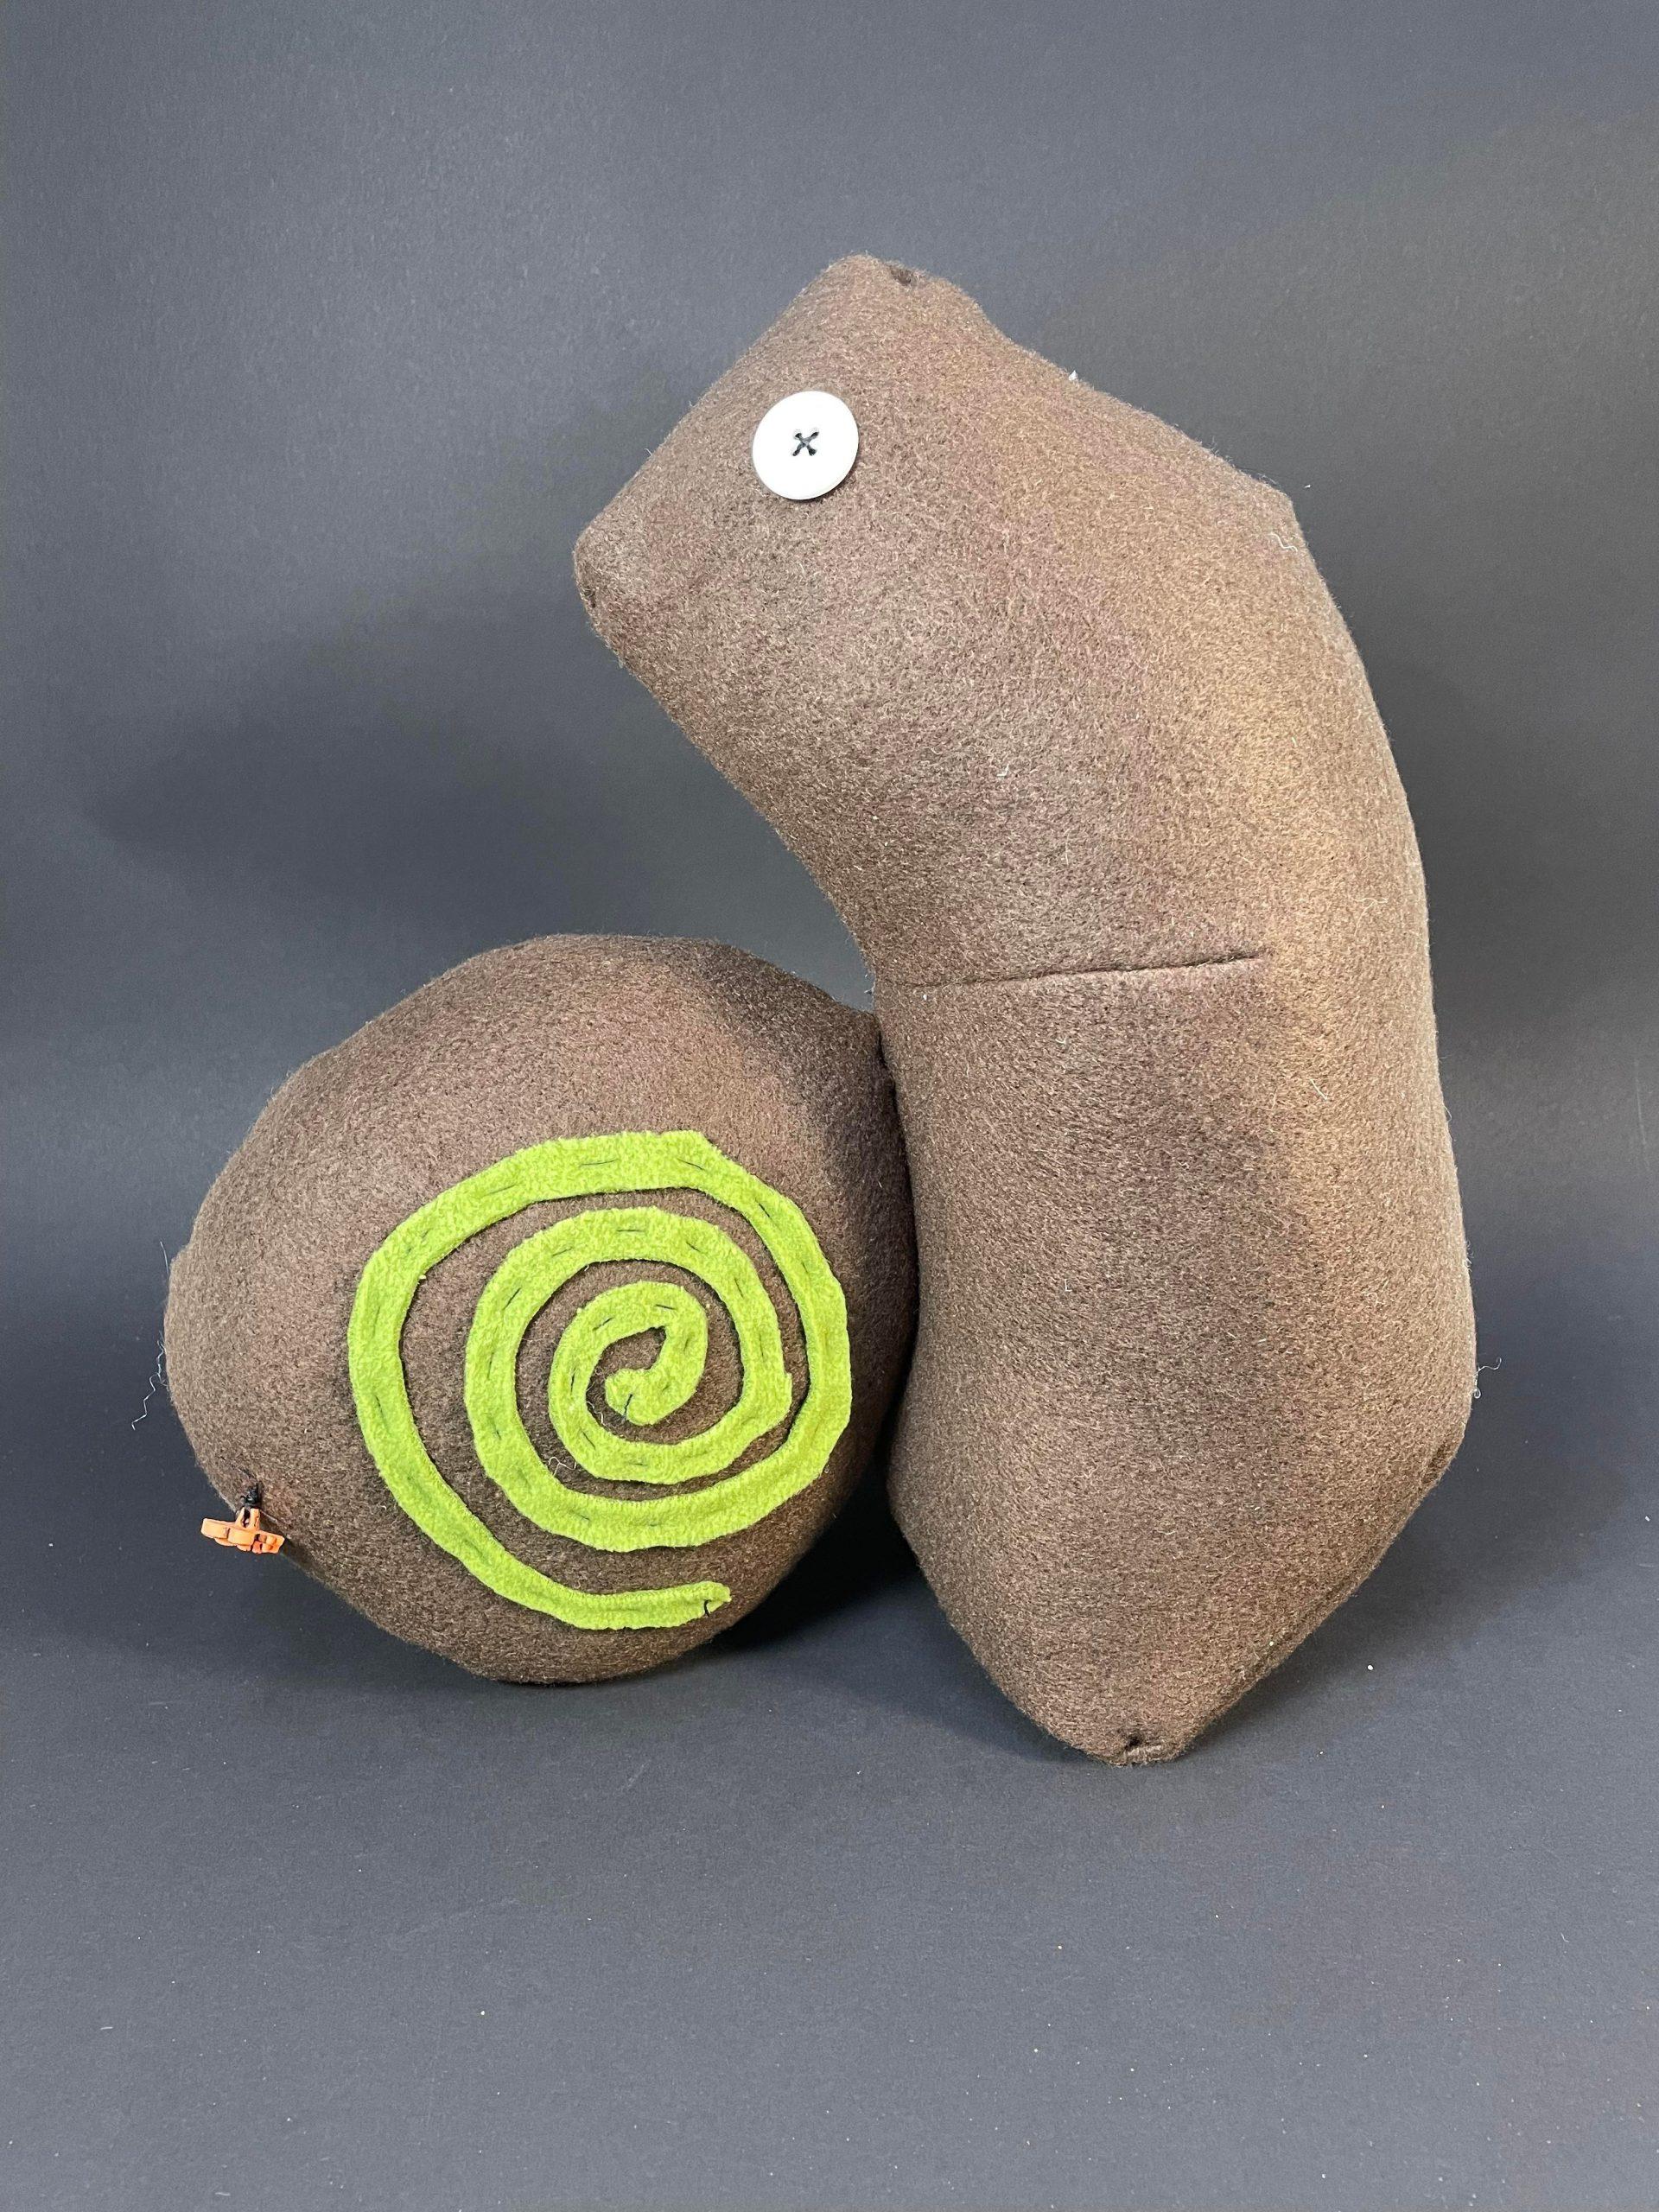
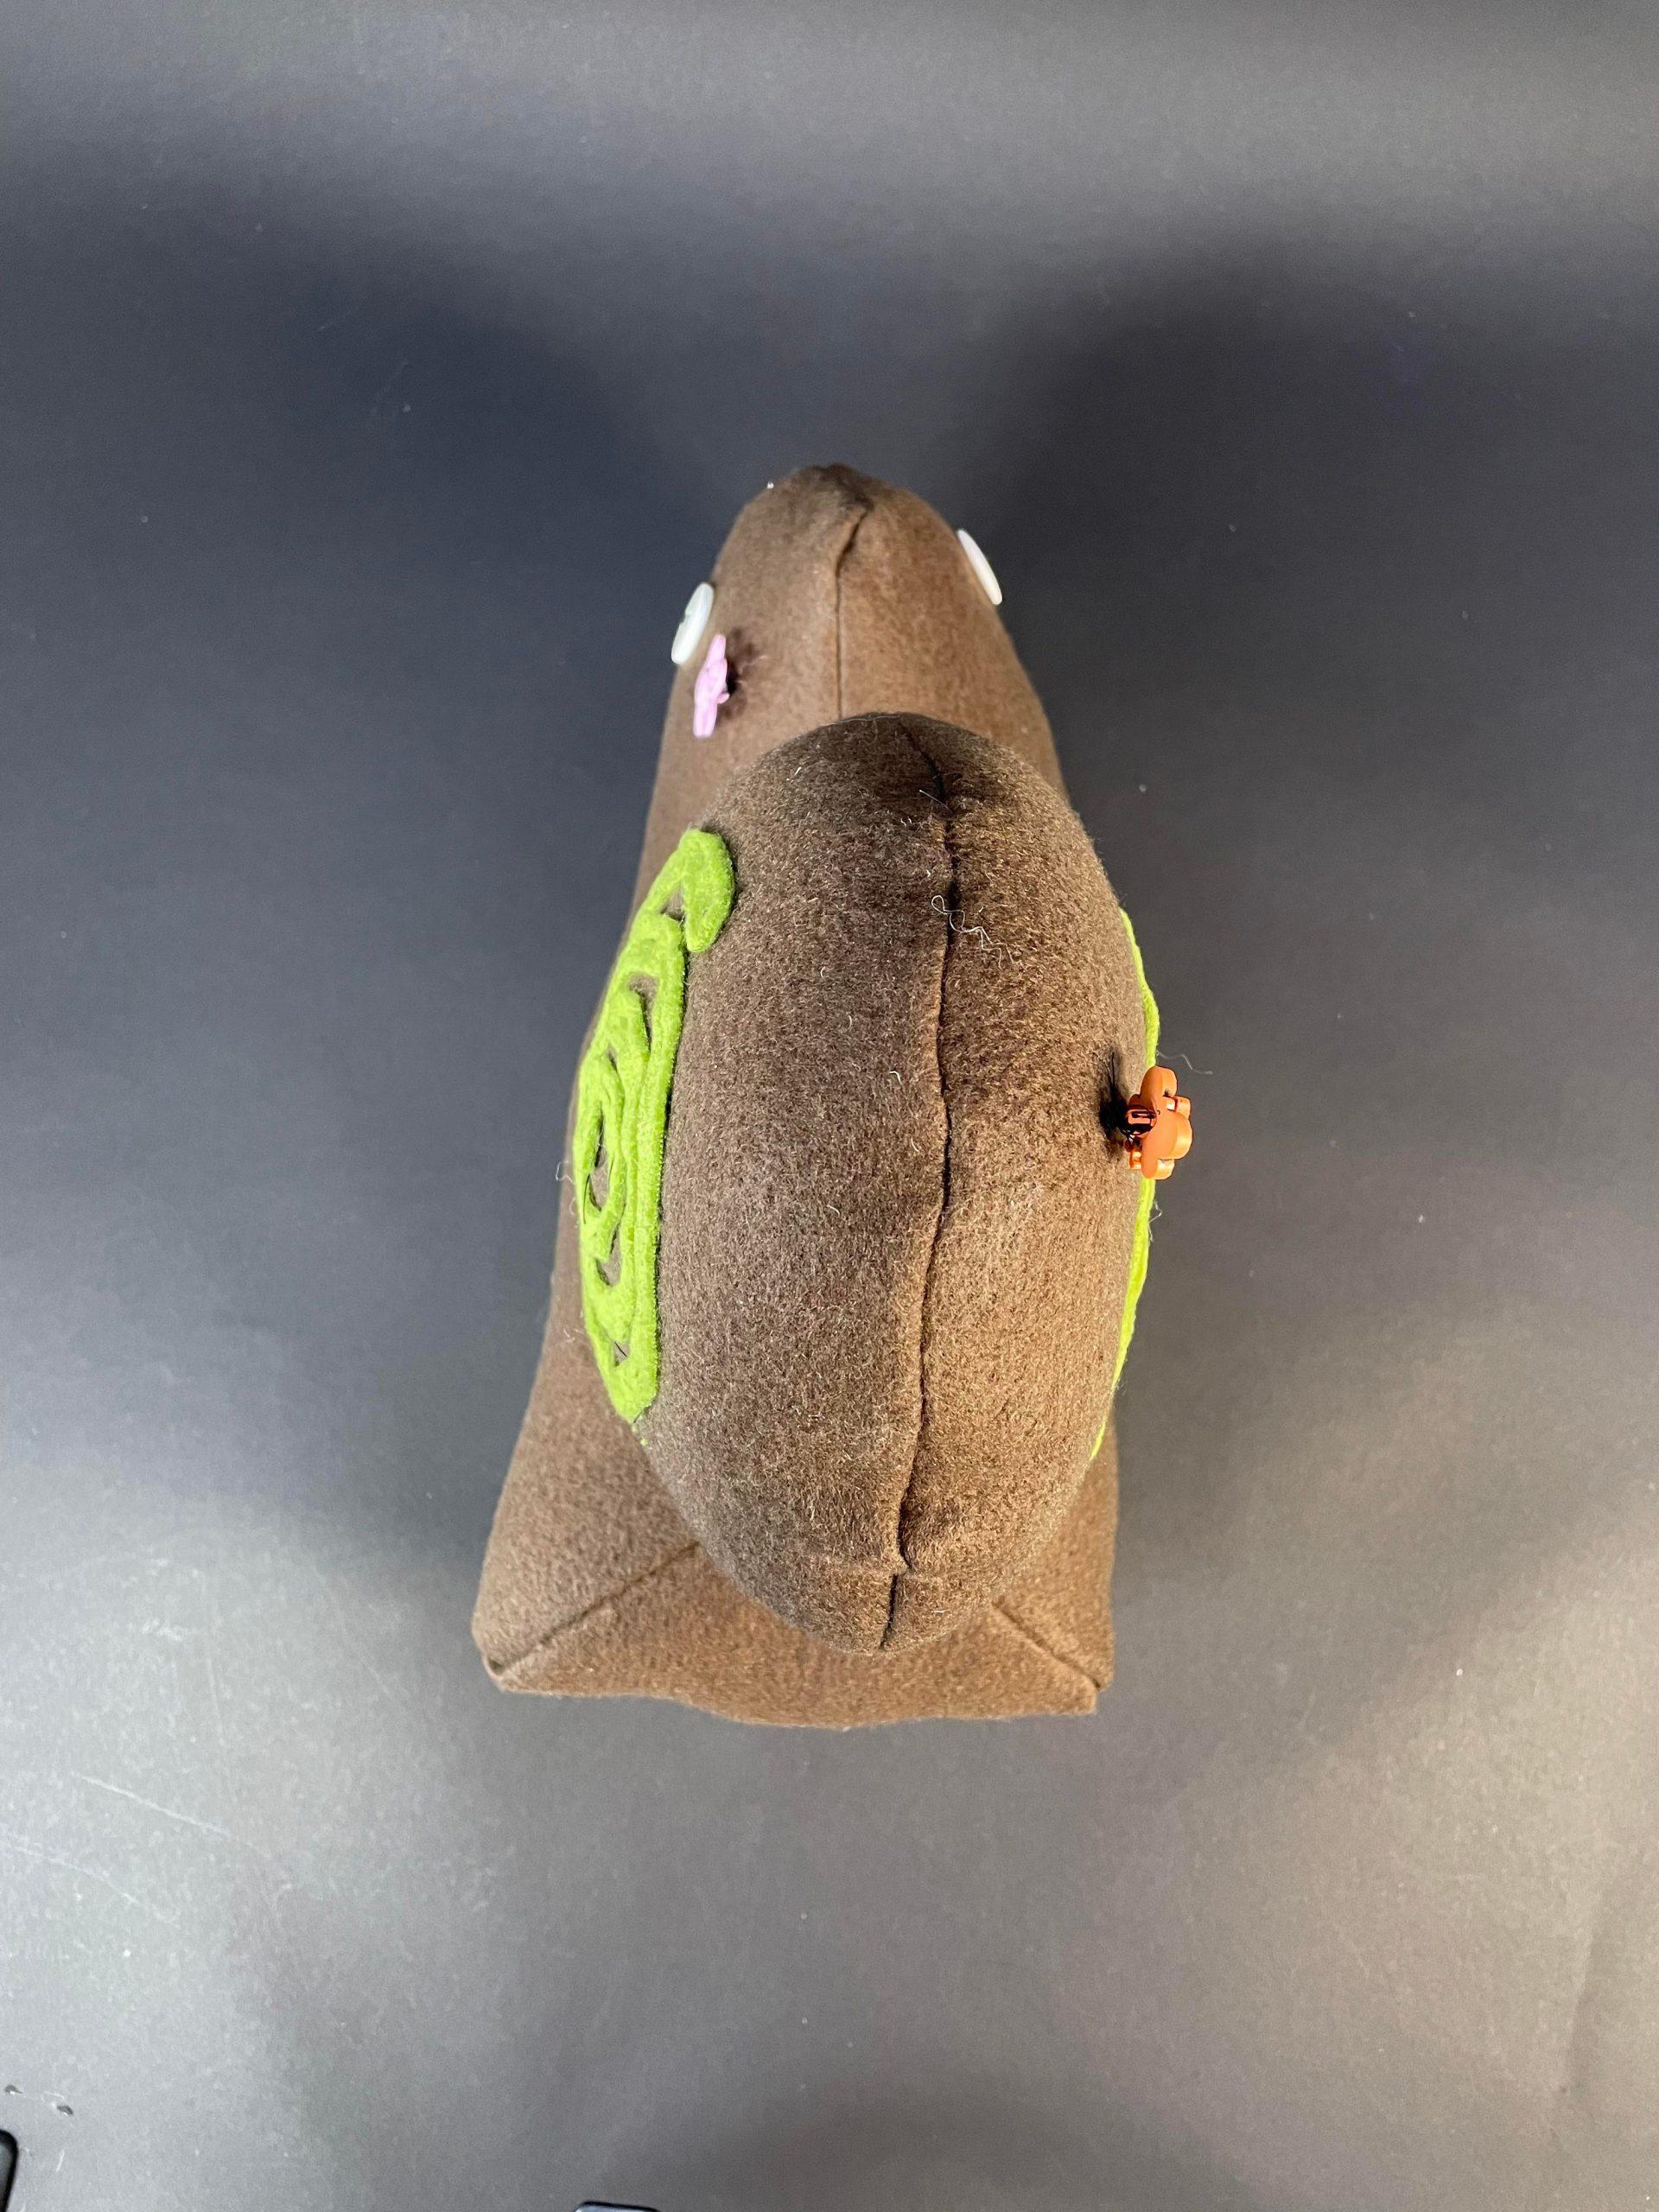
This snail-like object is the second one that I made. This is the most improvised piece out of the three that I created. At first glance, some people thought it was a squirrel, which I found interesting because I never intended it that way and I never saw it that way. I am content that it created “confusion” and made people curious about what the true form was. In the beginning, I wanted to use this brown fabric to make a teddy bear form. I had a pentagon sphere pattern and two circular cutouts prepared. However, when I was sewing the pentagon sphere pattern together, I wasn’t paying attention to which edges I was working on, so it ended up being a shape like a half-moon. For the two circular shapes, I sewed them together and it formed a flattened sphere. I realized that these two could come together to form the snail shape and that is exactly what I did. Afterward, I used some scrap fabric and buttons to decorate my object. The most difficult part of this object is sewing the two forms together because I hand-sewed that part and was trying to make it so that the object does not tip over.

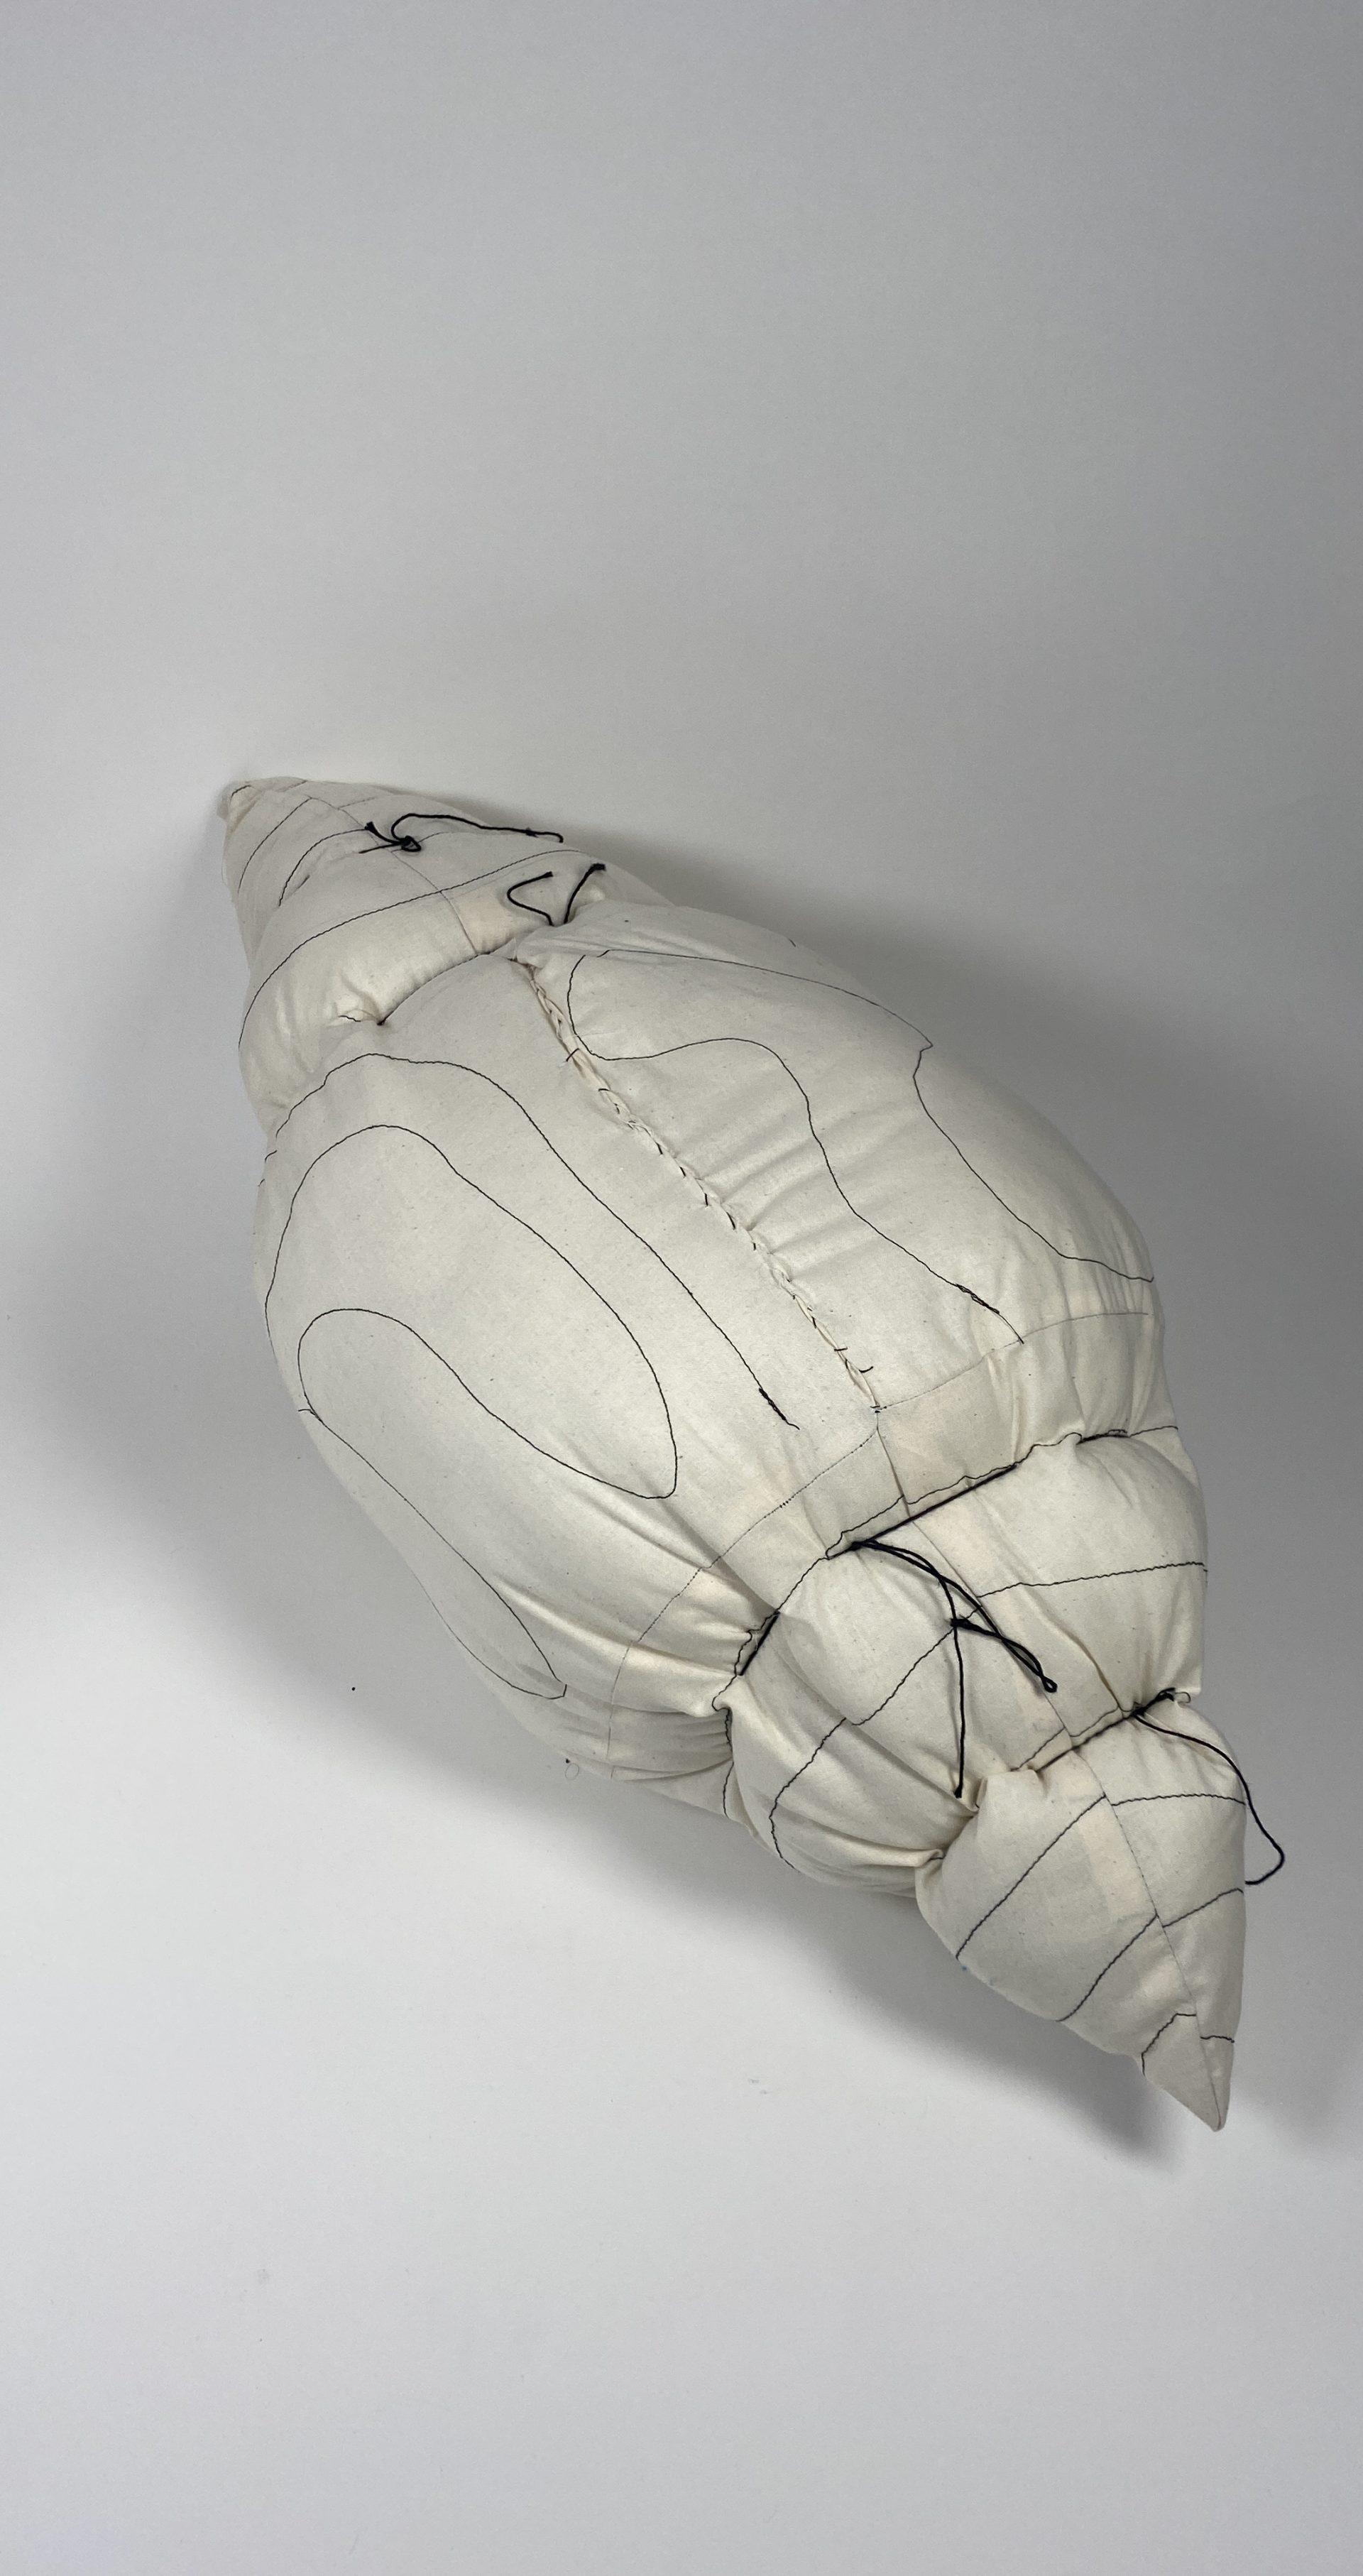
The last object was created through Rhino. I had a hard time with the software so I didn’t make something too complex. My idea was a seashell shape and I added heart-shaped embroidery on top of the final object to decorate it. The theme I had in mind was “a seashell delivering love.” It turned out that I was unable to make protruding circles in my first object but this one had that protruding feature. This object is fun to hold in my opinion and whenever I have it in my hands, I just want to throw it like a football. That is an unexpected effect that the form has. My object was pretty small so it was really difficult to sew it on the machine. I had to hand sew most/all of it. I found hand sewing a lot easier and more enjoyable because I could see the form come together slowly. And the satisfaction of hand sewing is just different from the sewing machine.

https://drive.google.com/drive/folders/1UbFceLnluVOHH-P4O5LeupZCL8M_76dz?usp=sharing

Push/Pull Part 1 – Asad Sheikh

I thoroughly enjoyed this assignment and had so much fun exploring basic forms and learning different sewing techniques!

Visual Portfolio, Posts & Image Gallery for WordPress

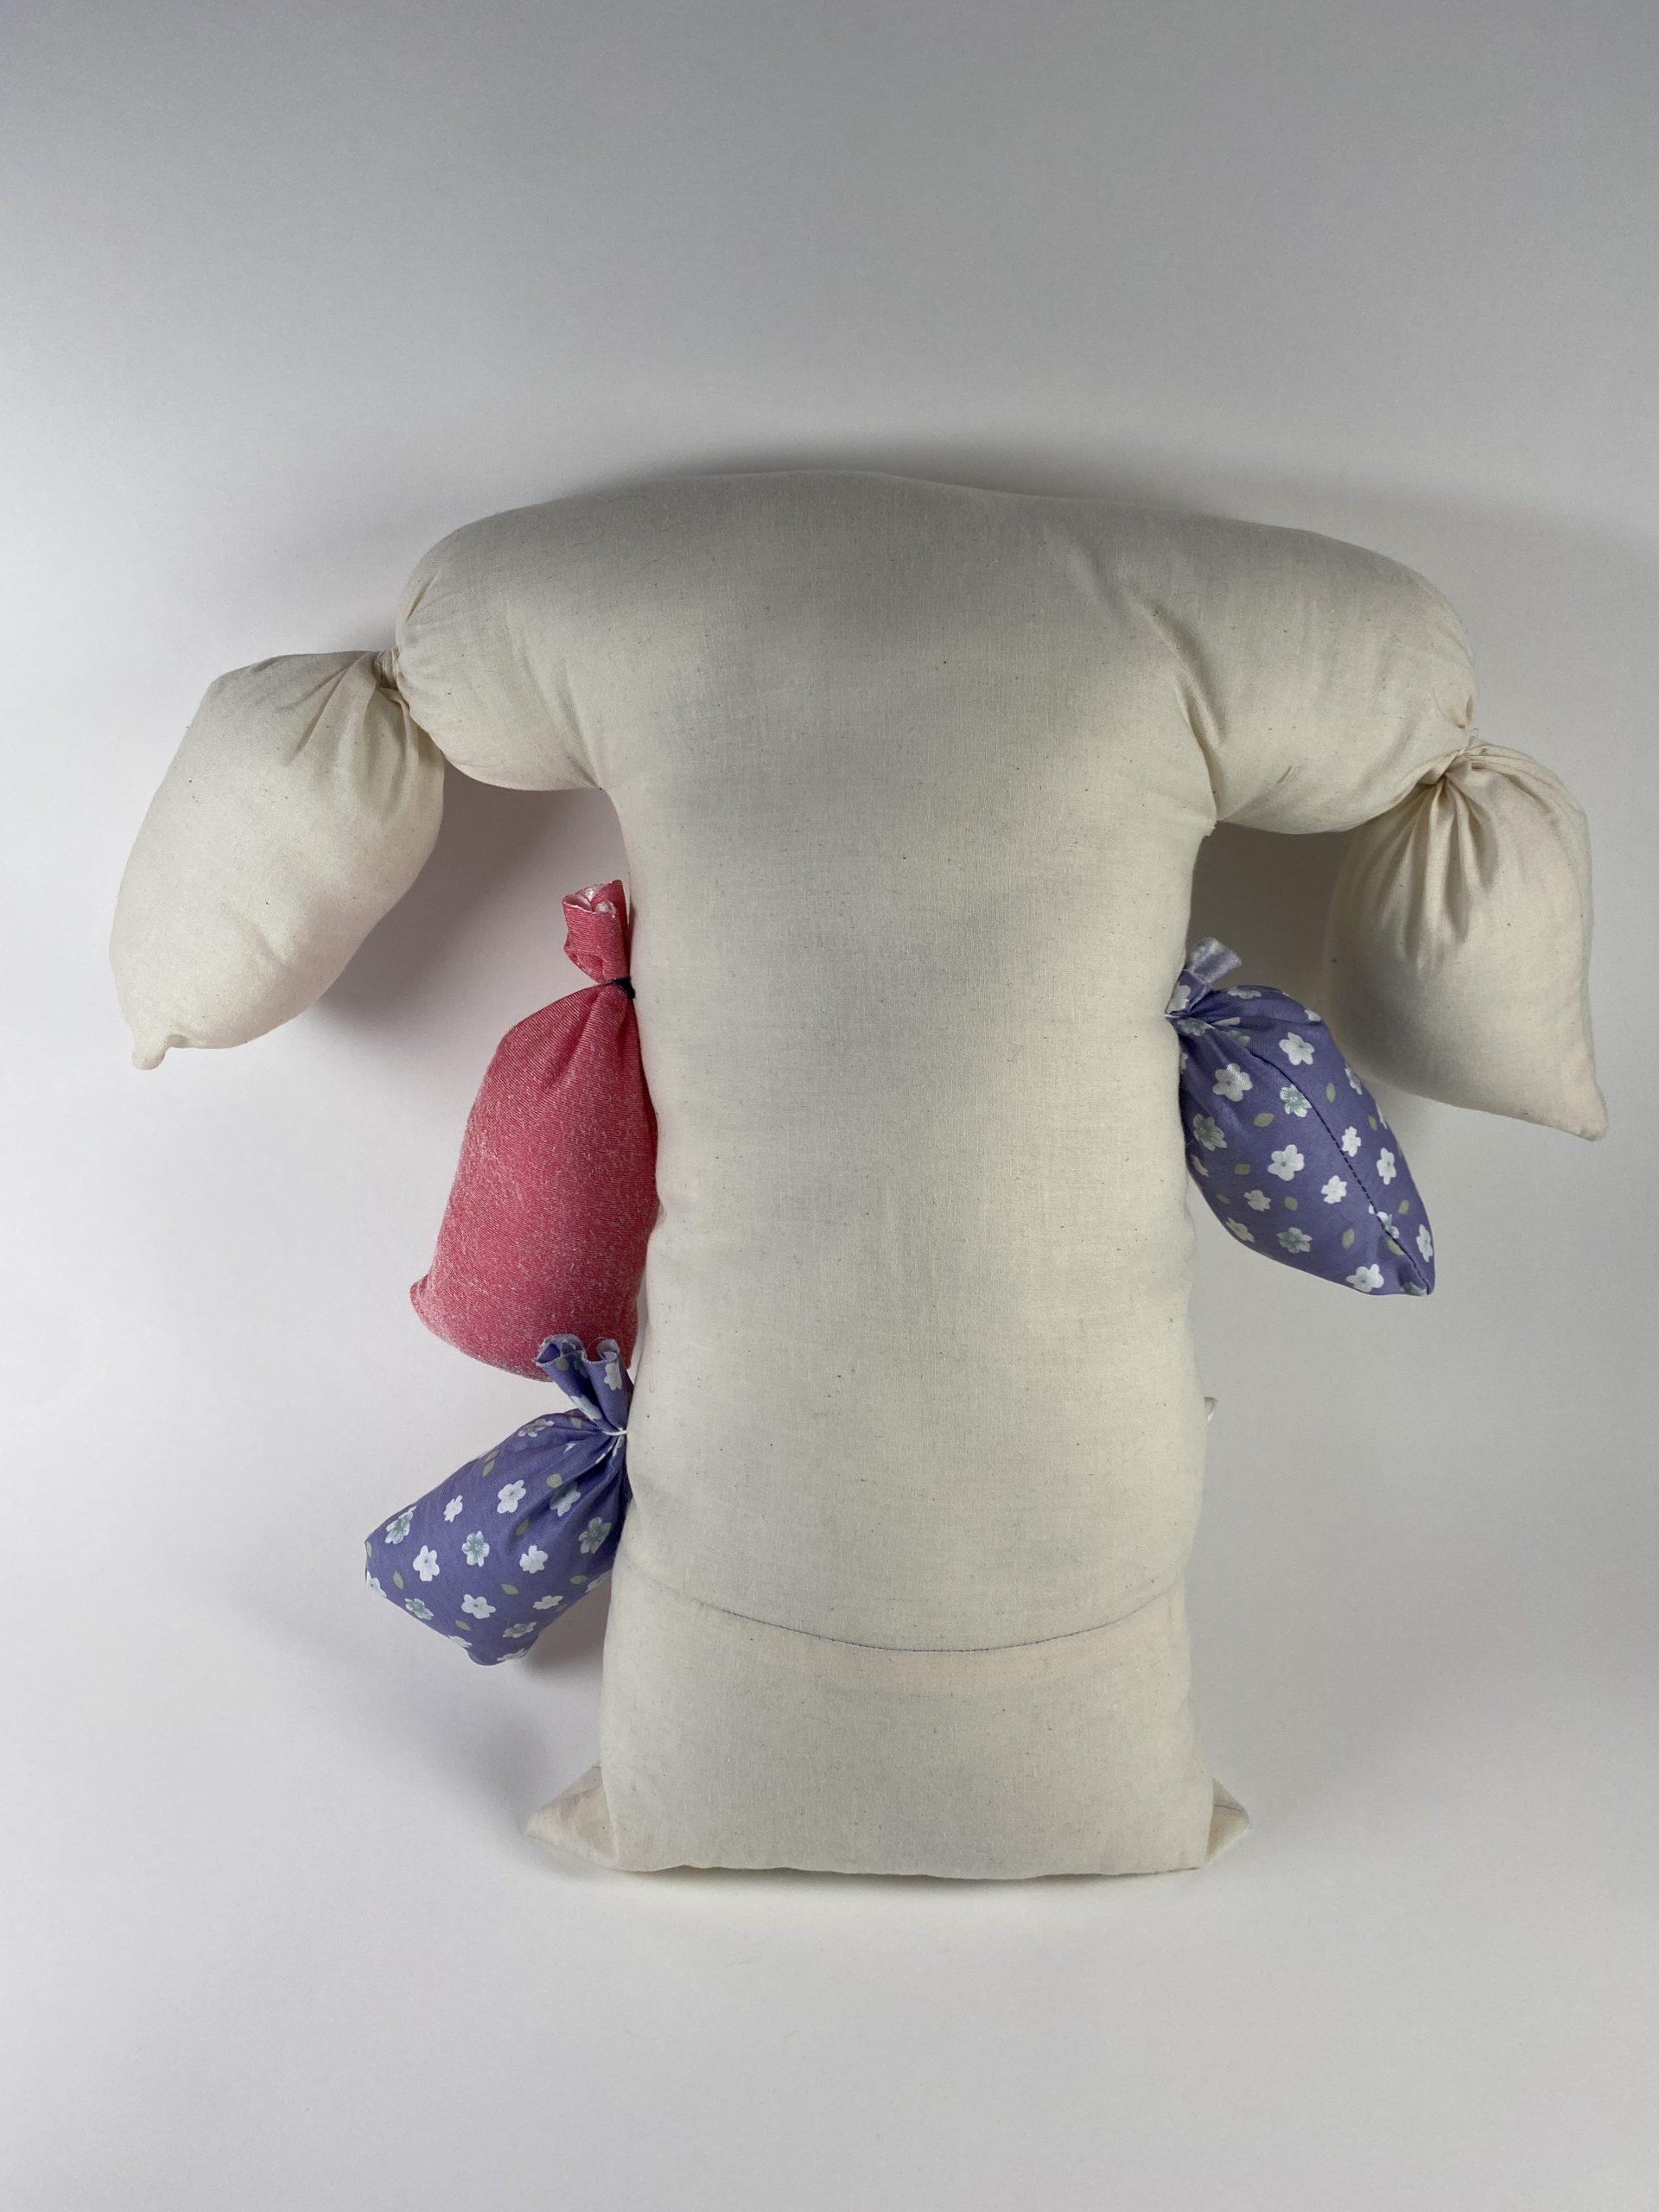
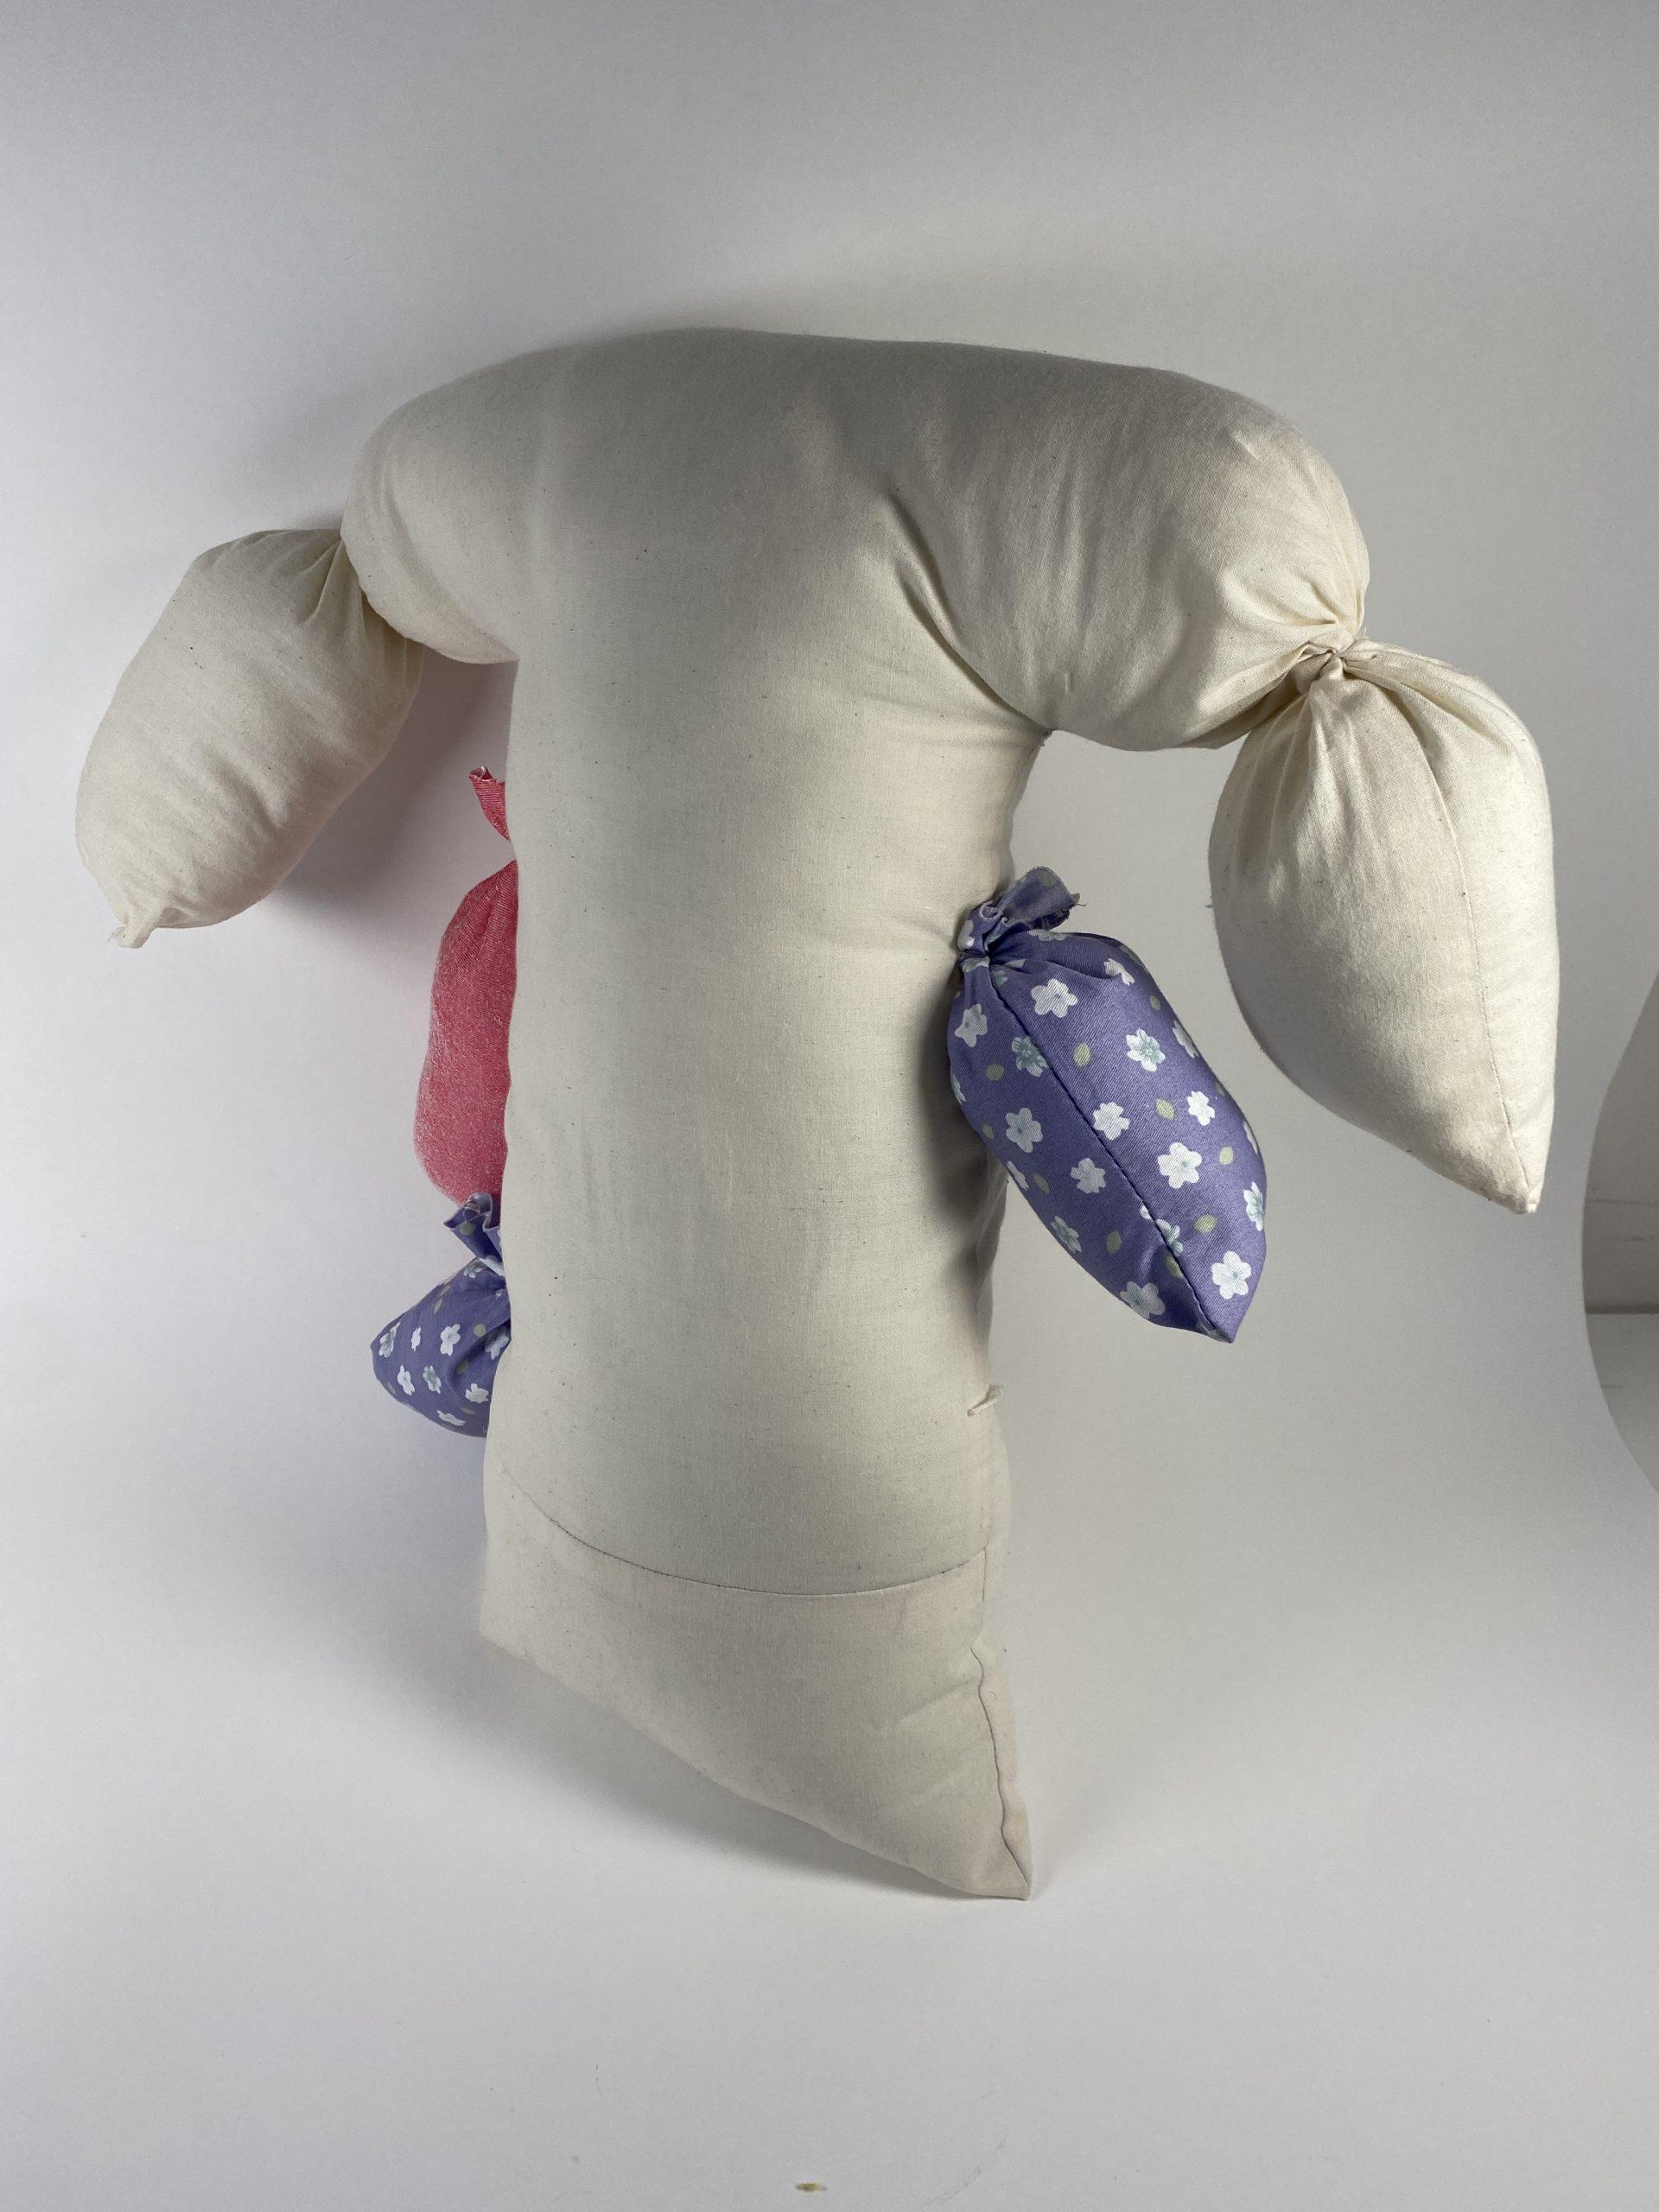
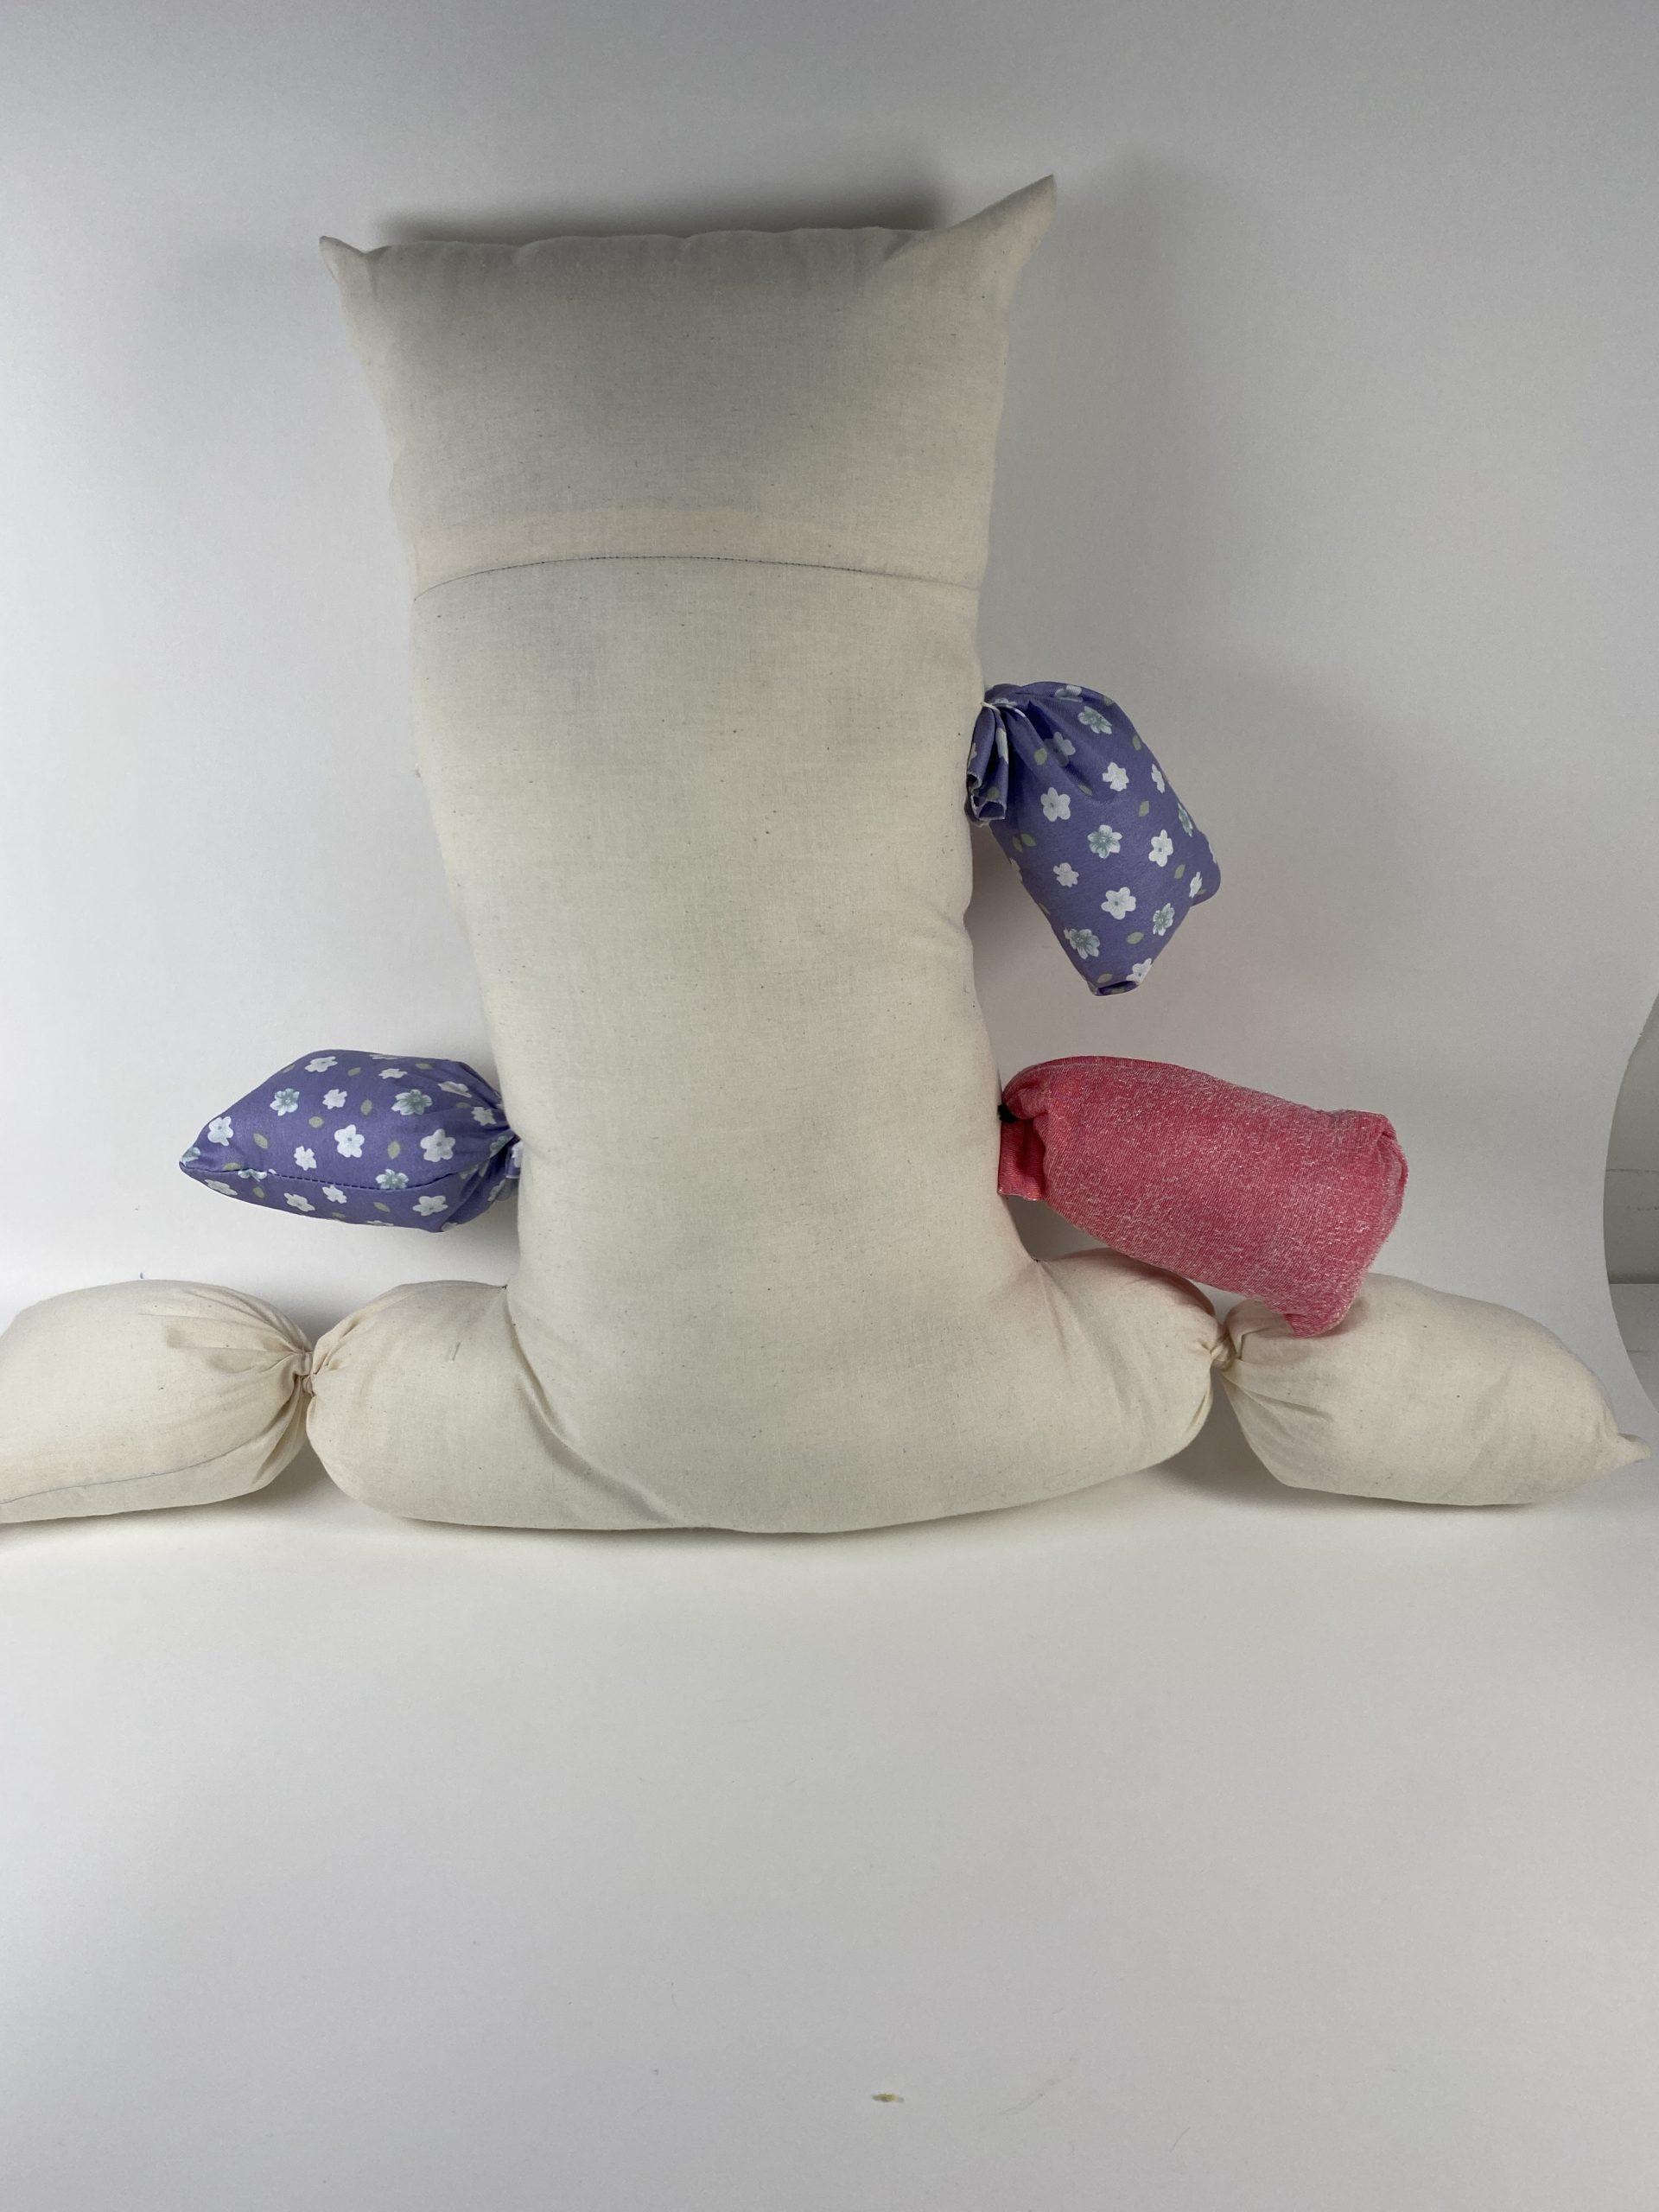
This was the first object that I made. I started by taking a cube pattern but folded it different and then sewed it together. As I was stuffing it, I thought to experiment with twisting the final form to create these pouches that look like dangly bits. I then added more pouches to the form by stitching rectangles and then tying off the top with string that I sewed through the stuffed main form. To me this kind of looks like a mushroom, or a tree with dangling fruits.

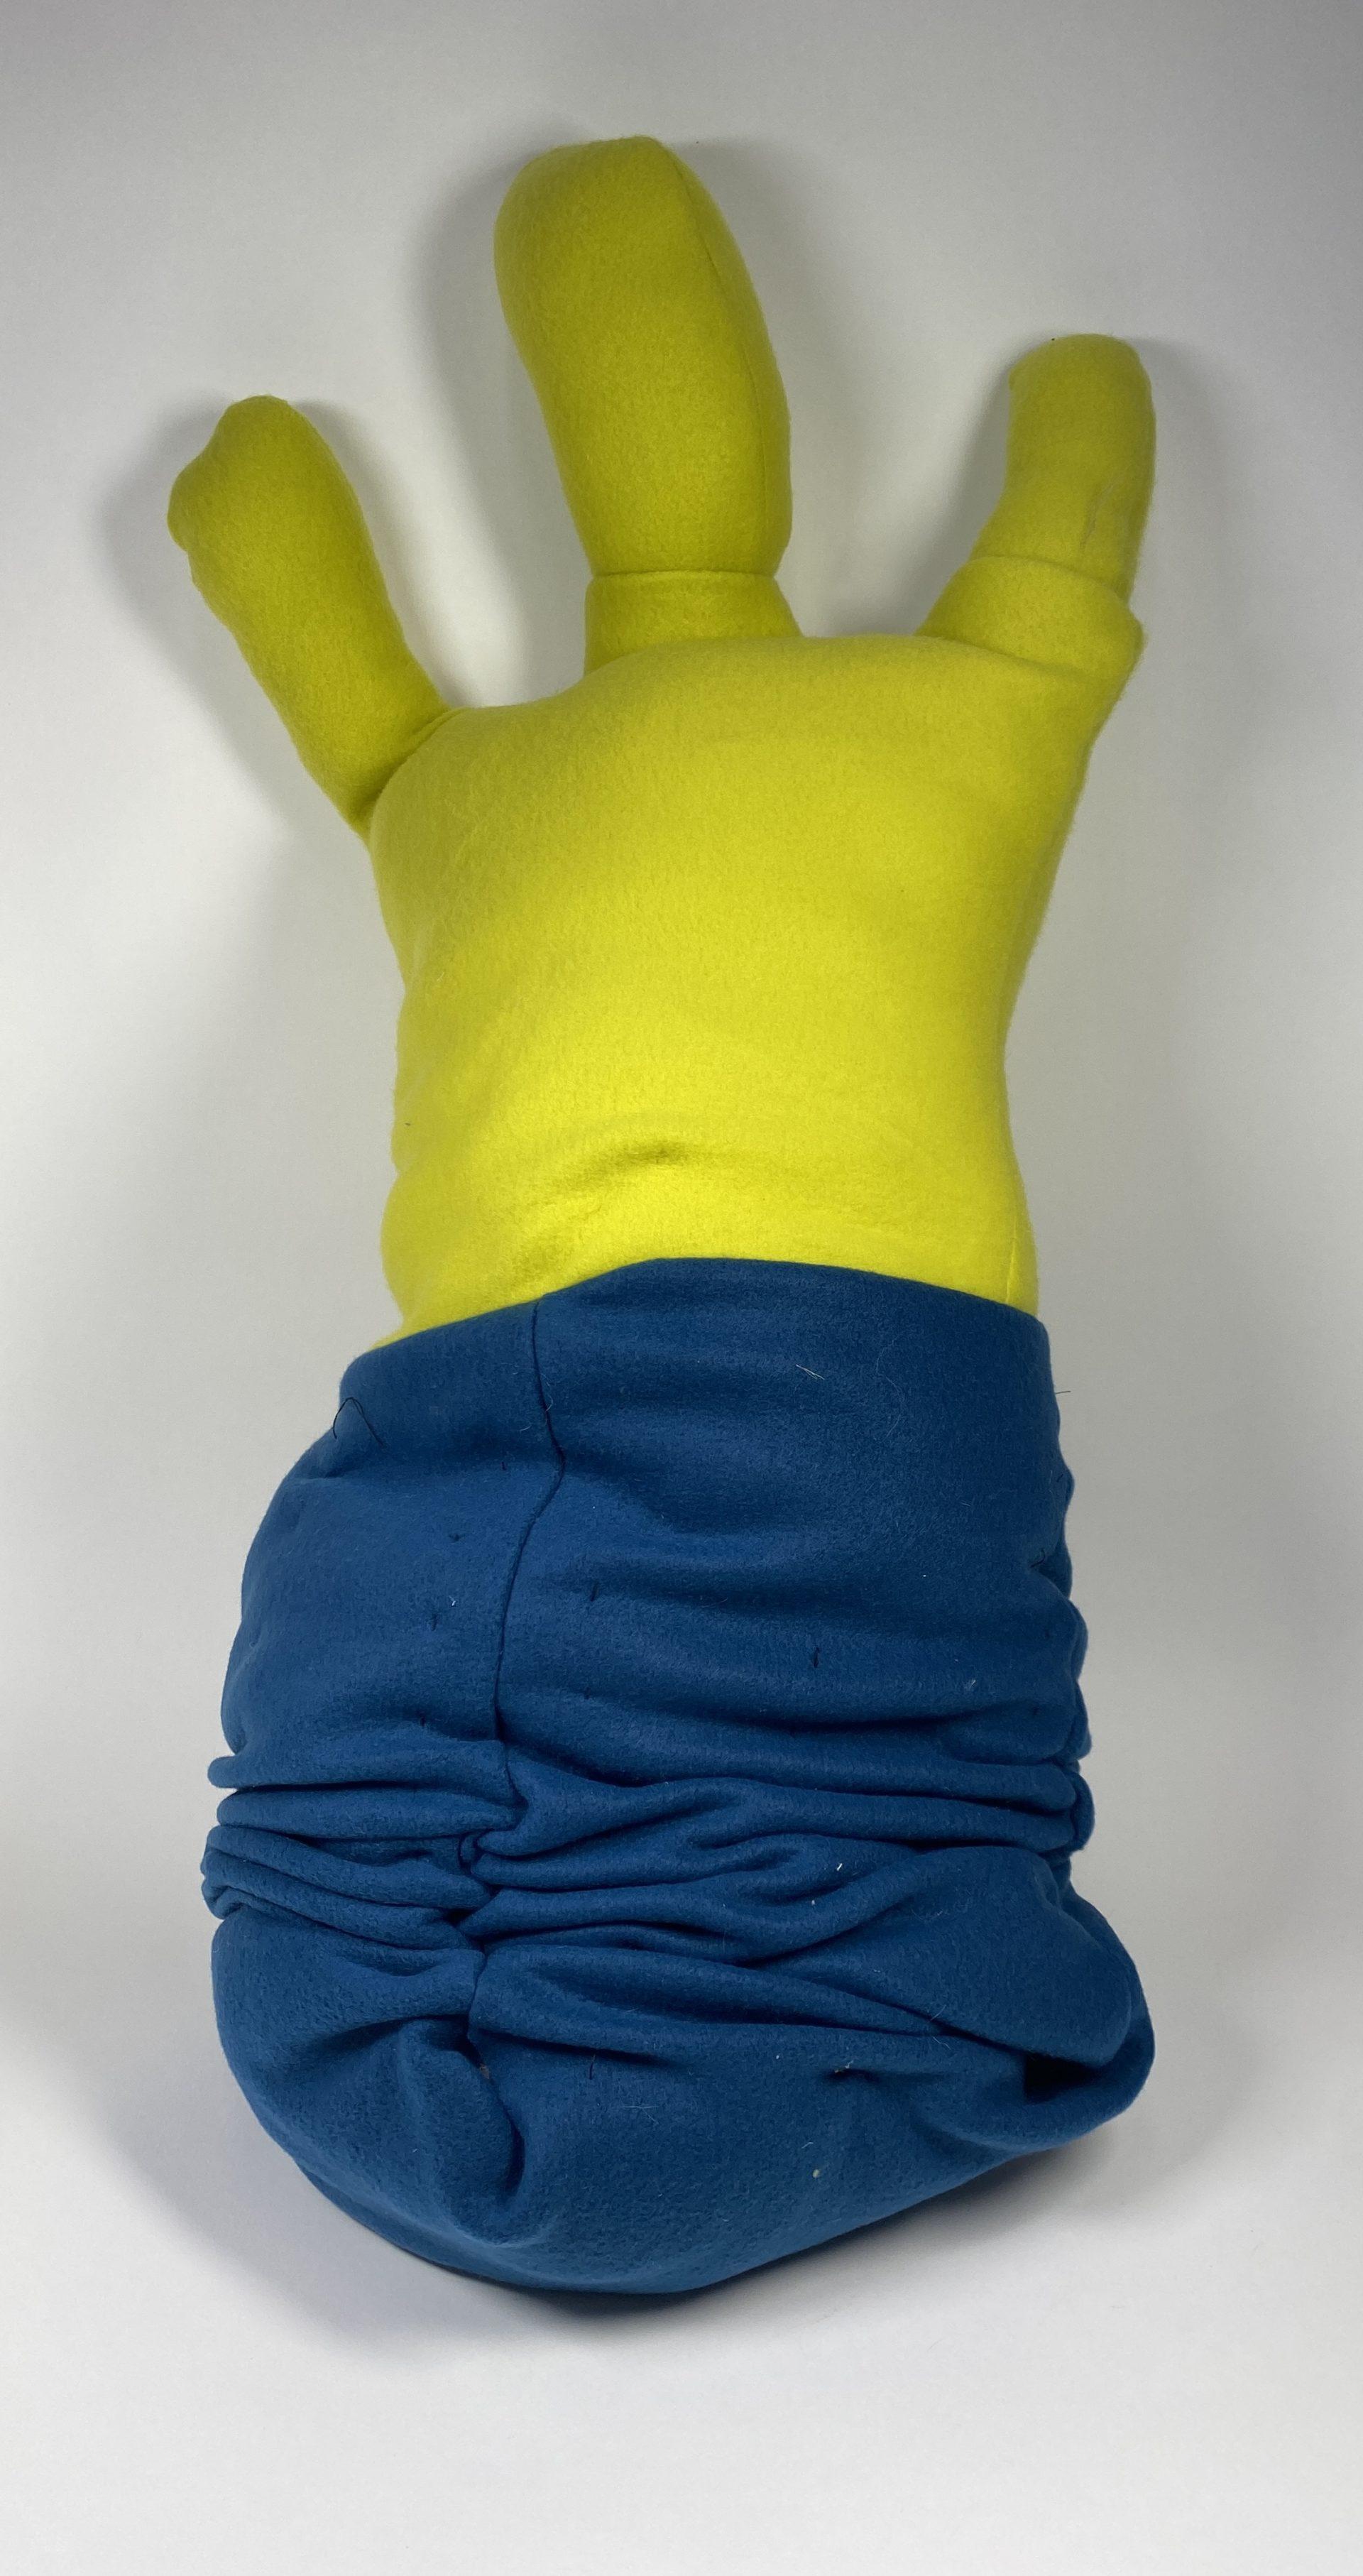
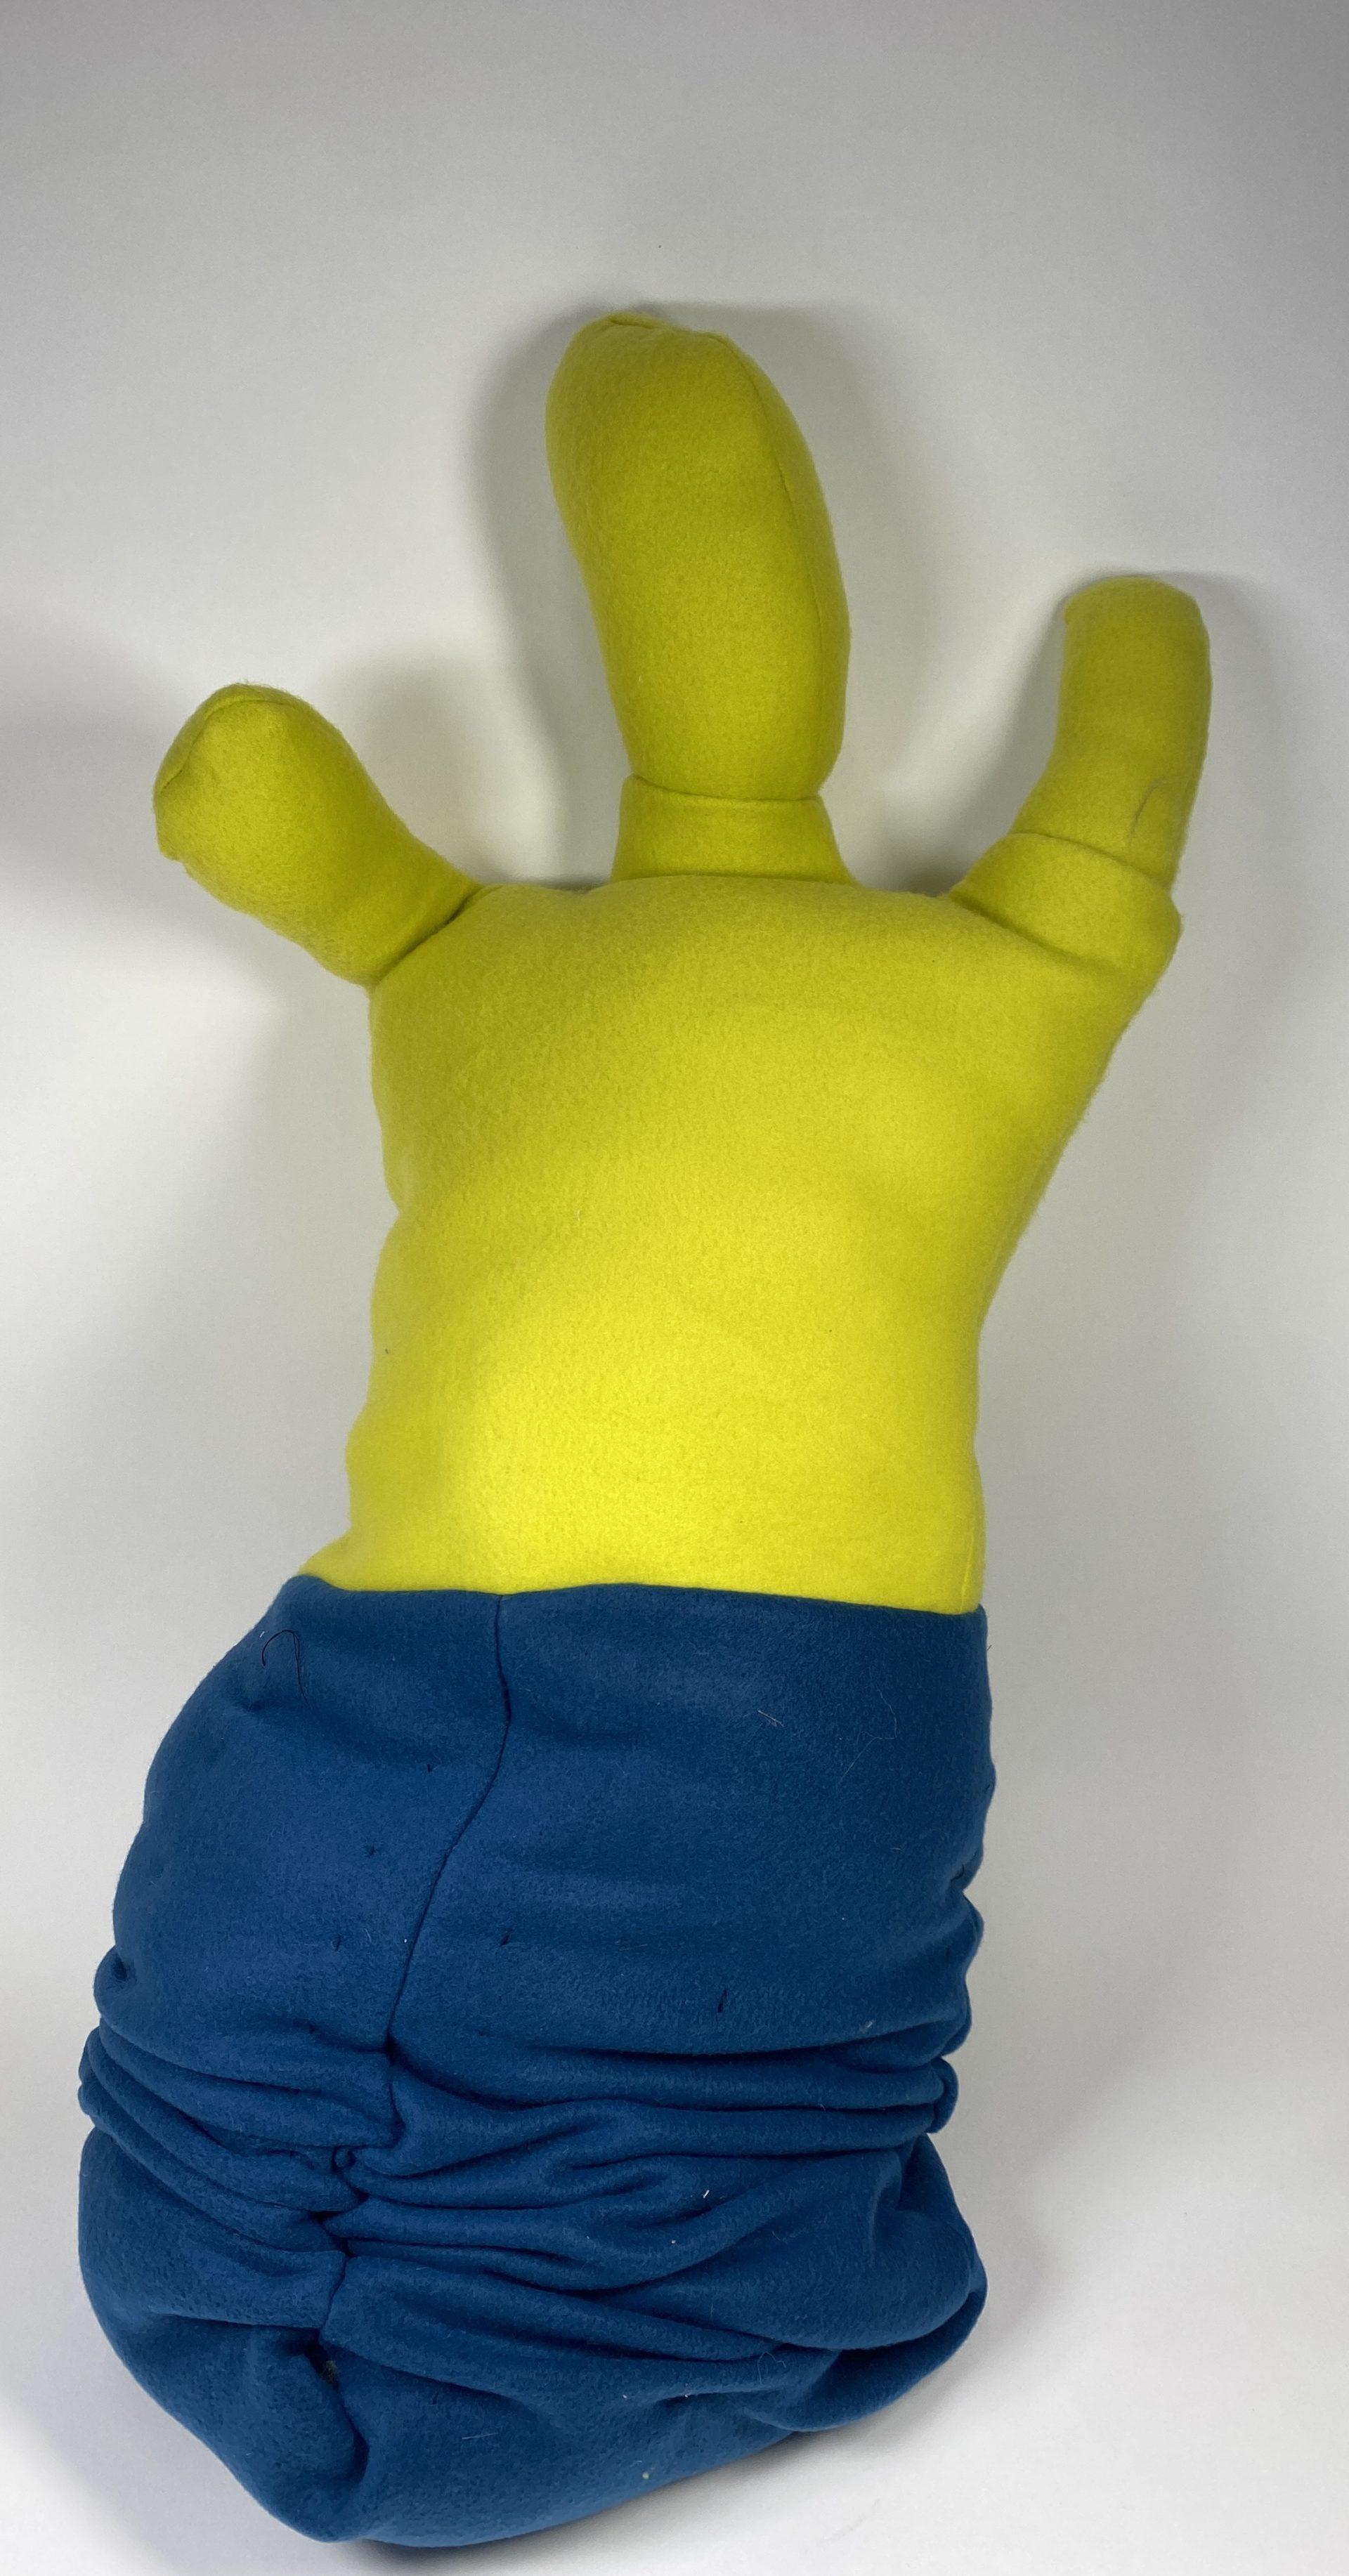
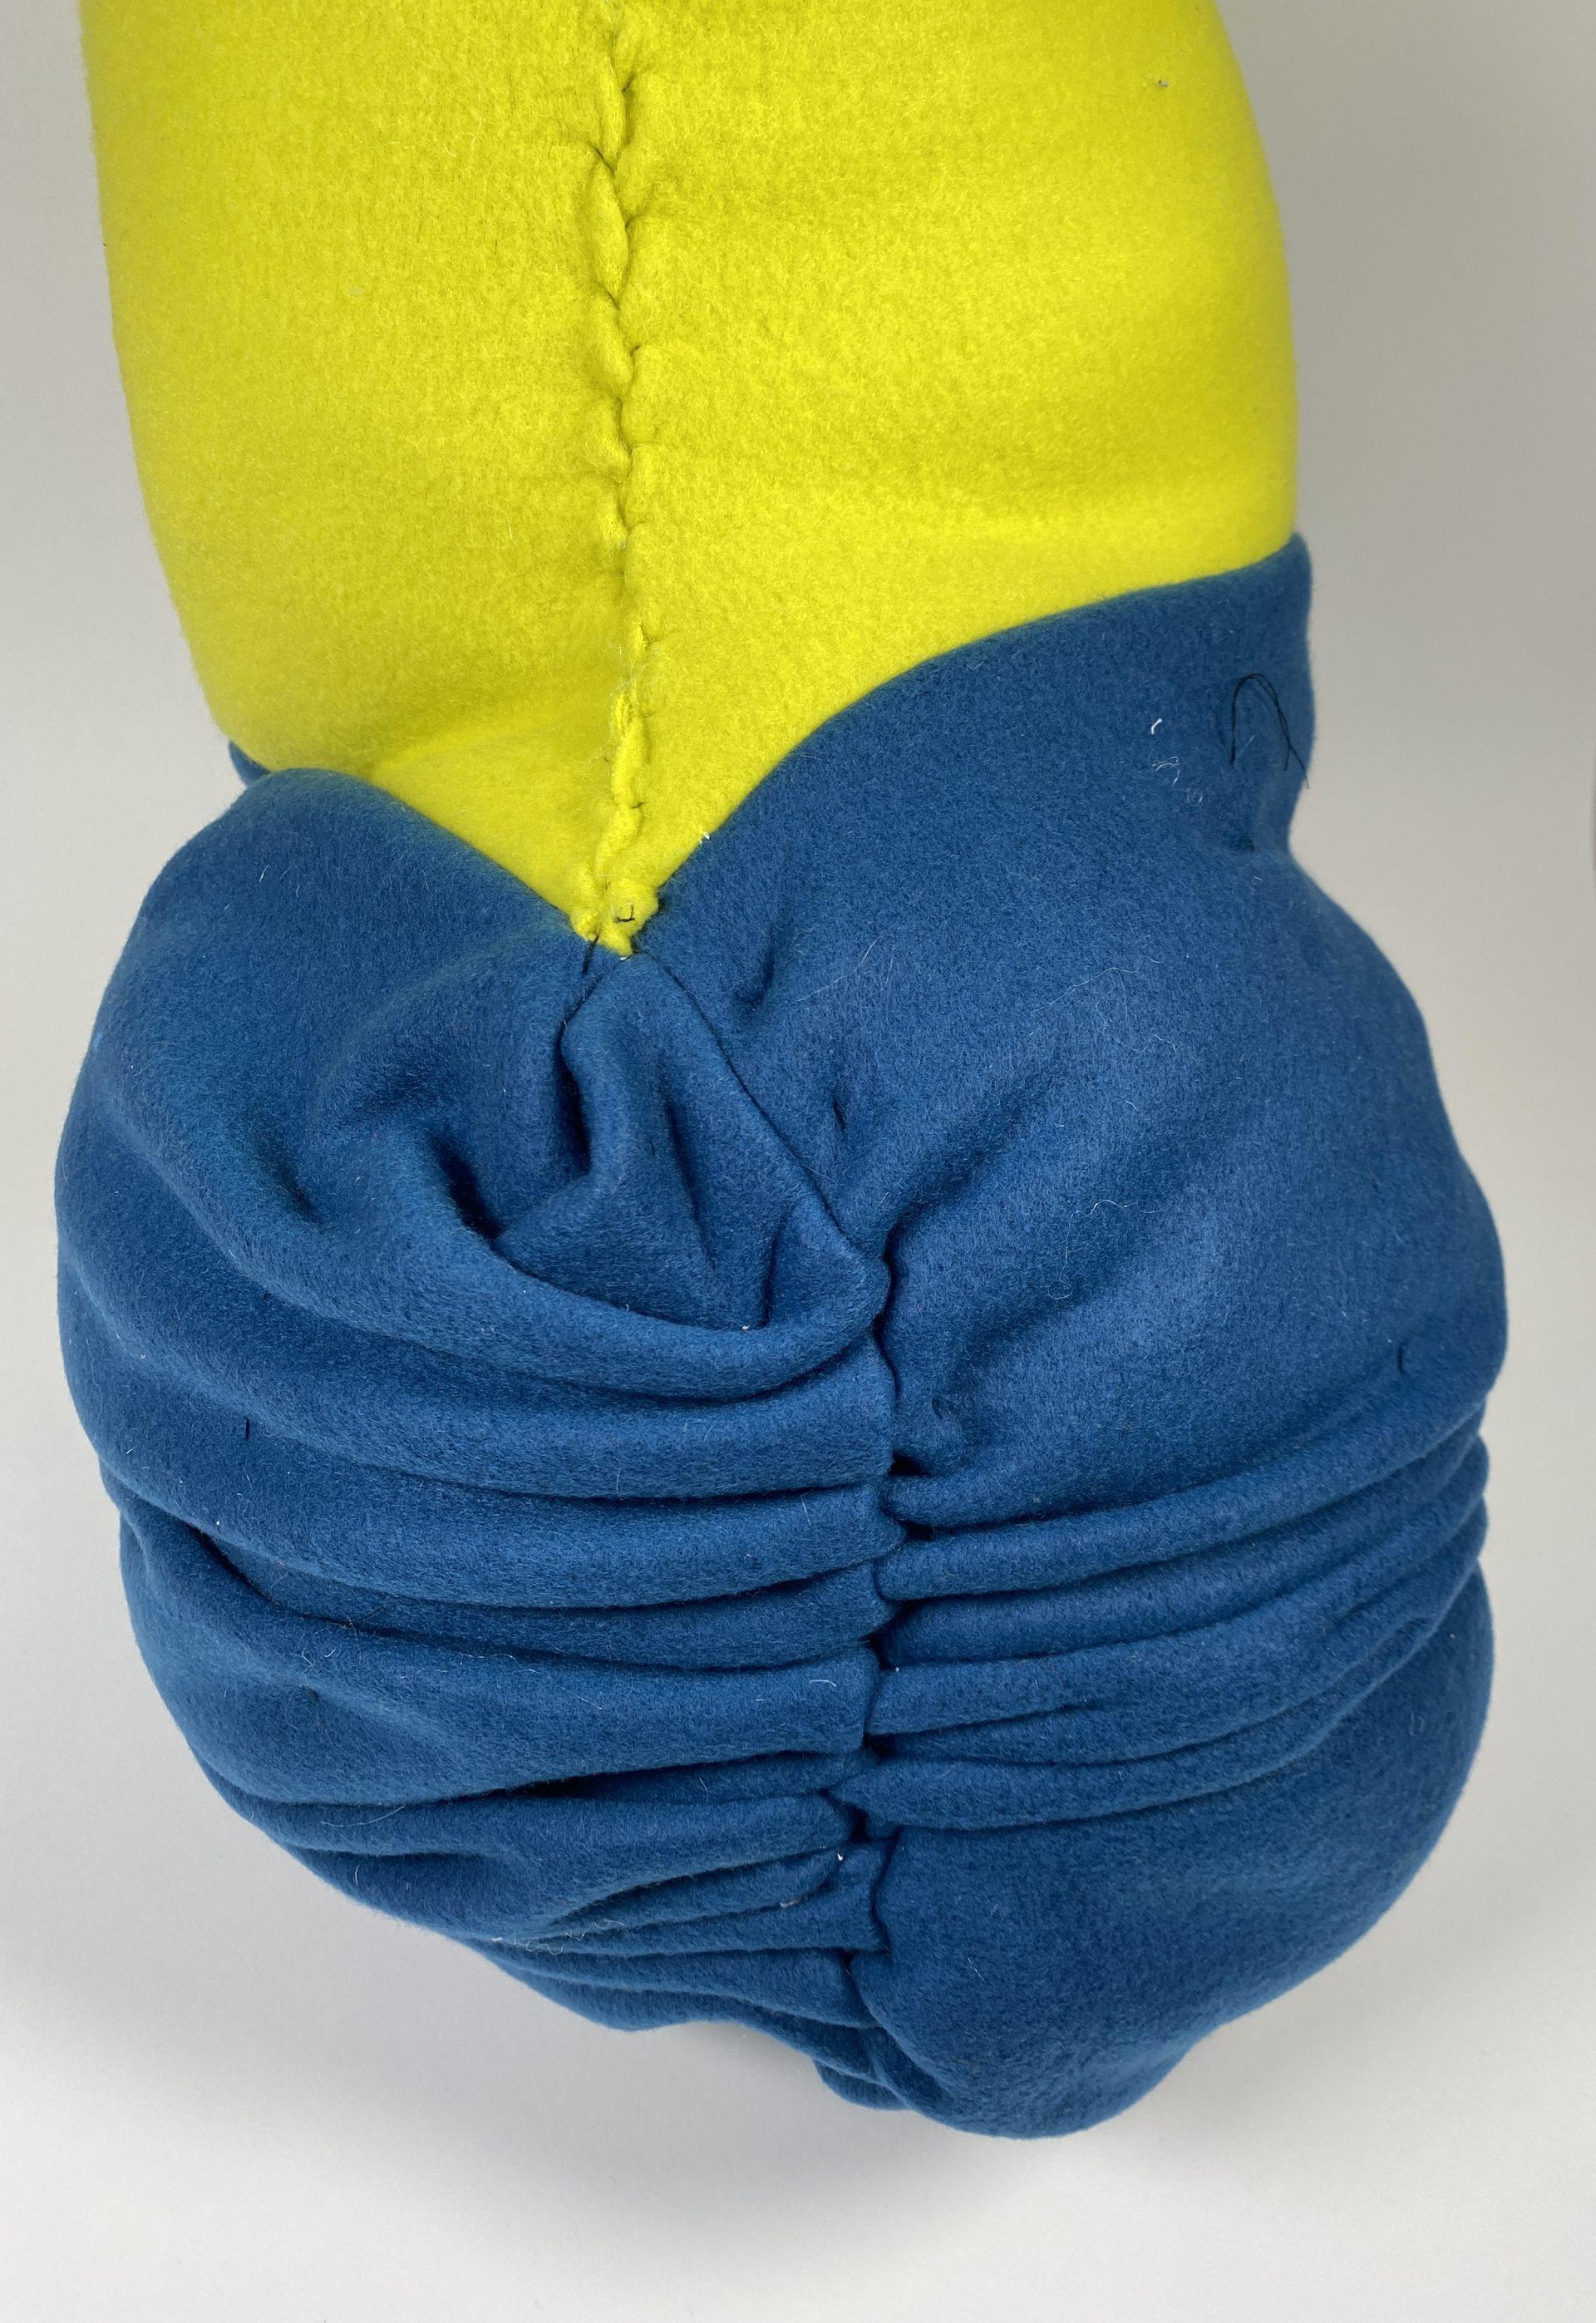
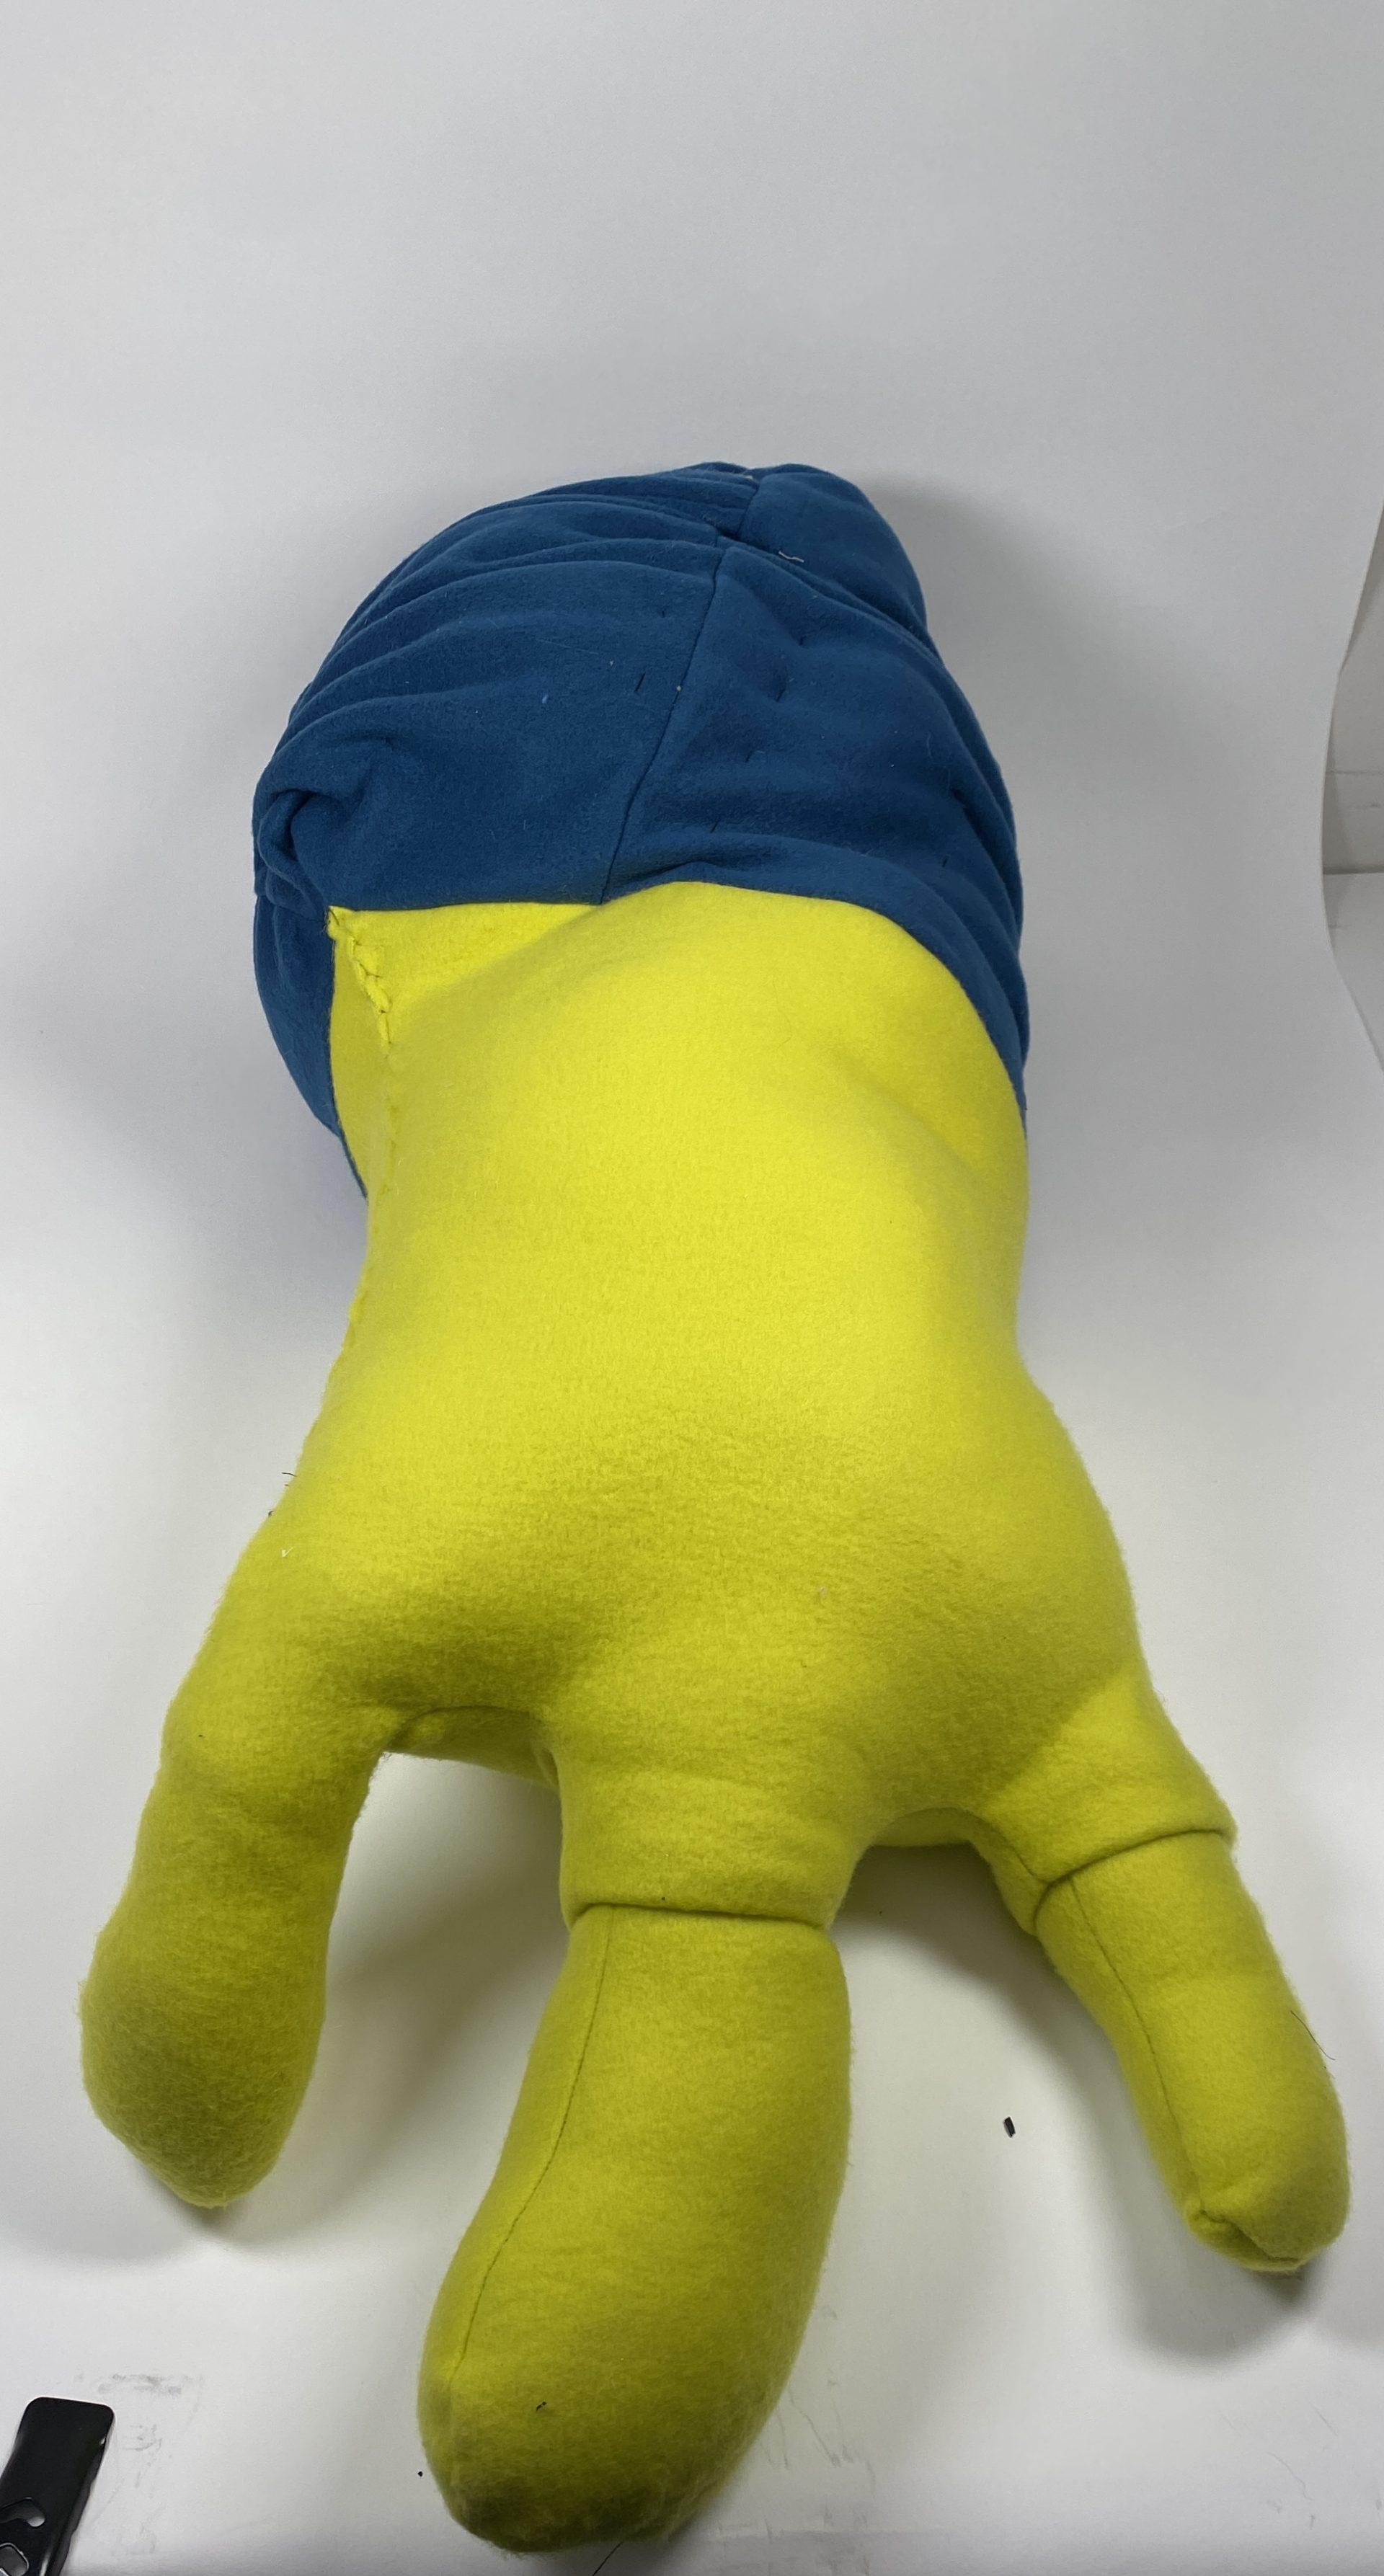
For the next form, I started by shirring a cube form that I slightly altered by making each of the slides double the length of the provided pattern; however, as I was putting it together, it seemed more like a pot so I decided to cut off the top and leave it open to add in a plant of sorts. I was going for a cactus kind of vibe as I created the top part of the form but it looks more like a person with their hands up. I really like how the shirring doesn’t completely shrink the blue fabric, almost implying that the form is growing and expanding.

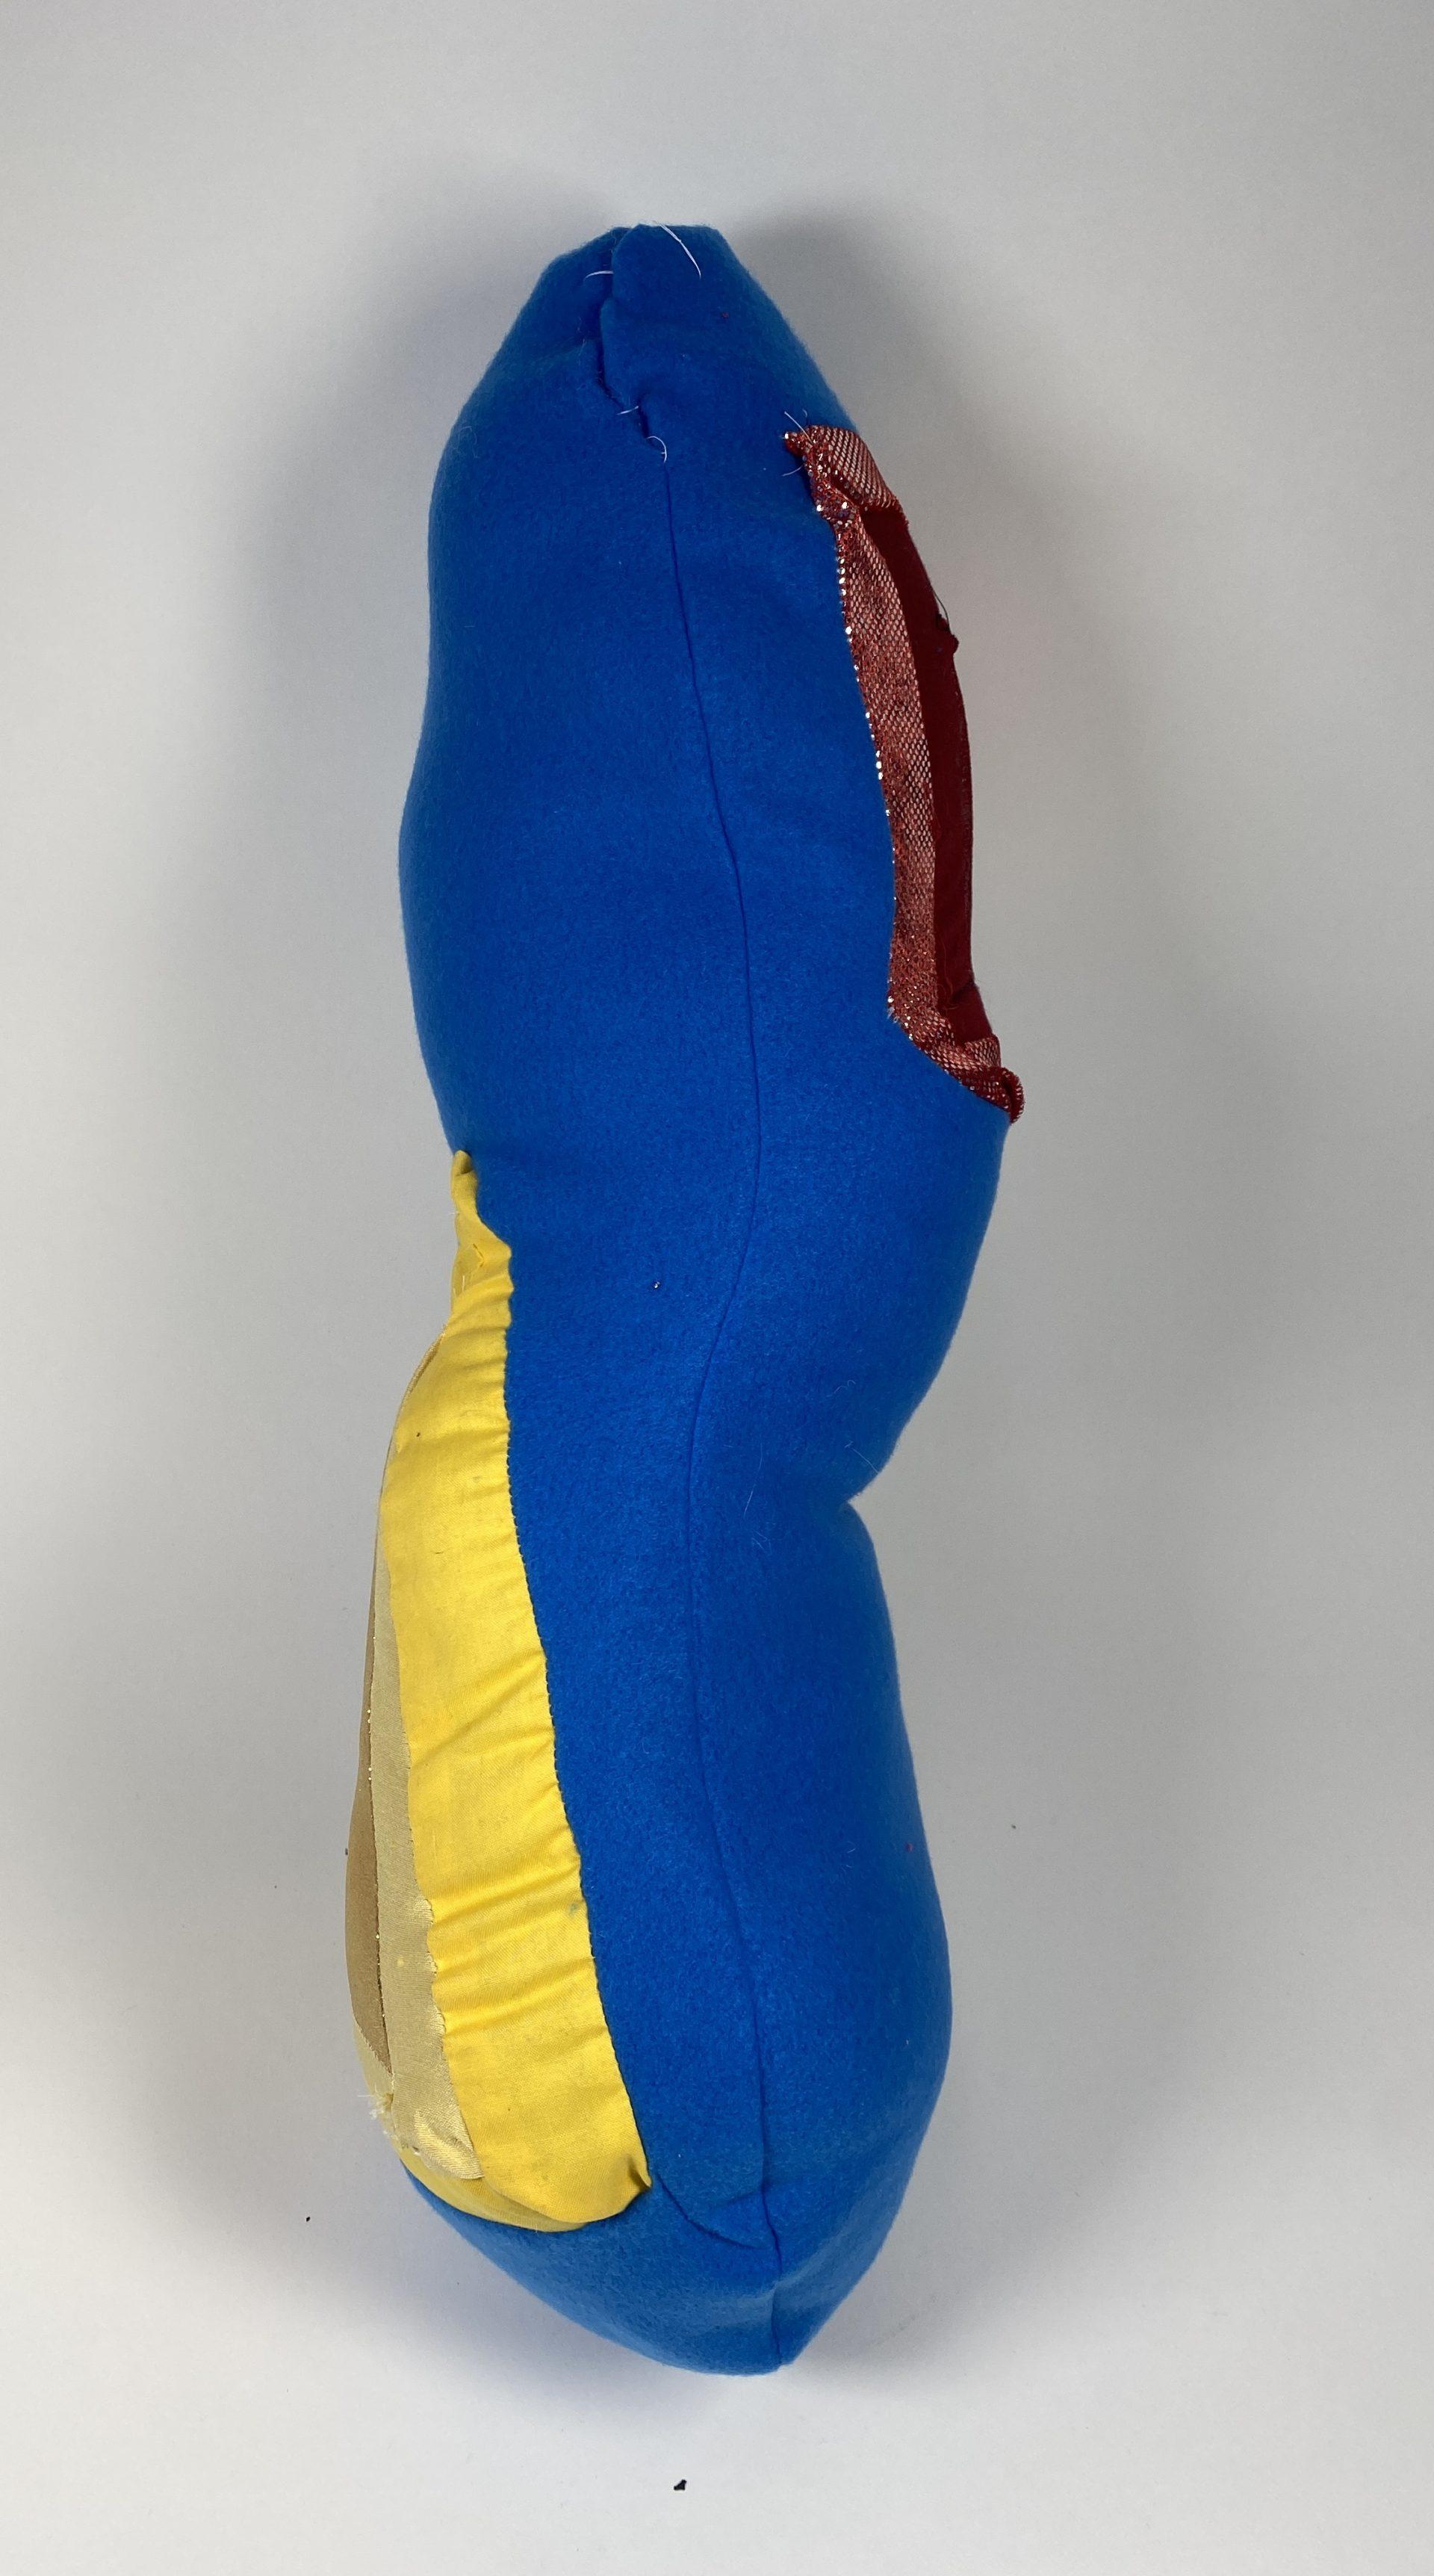
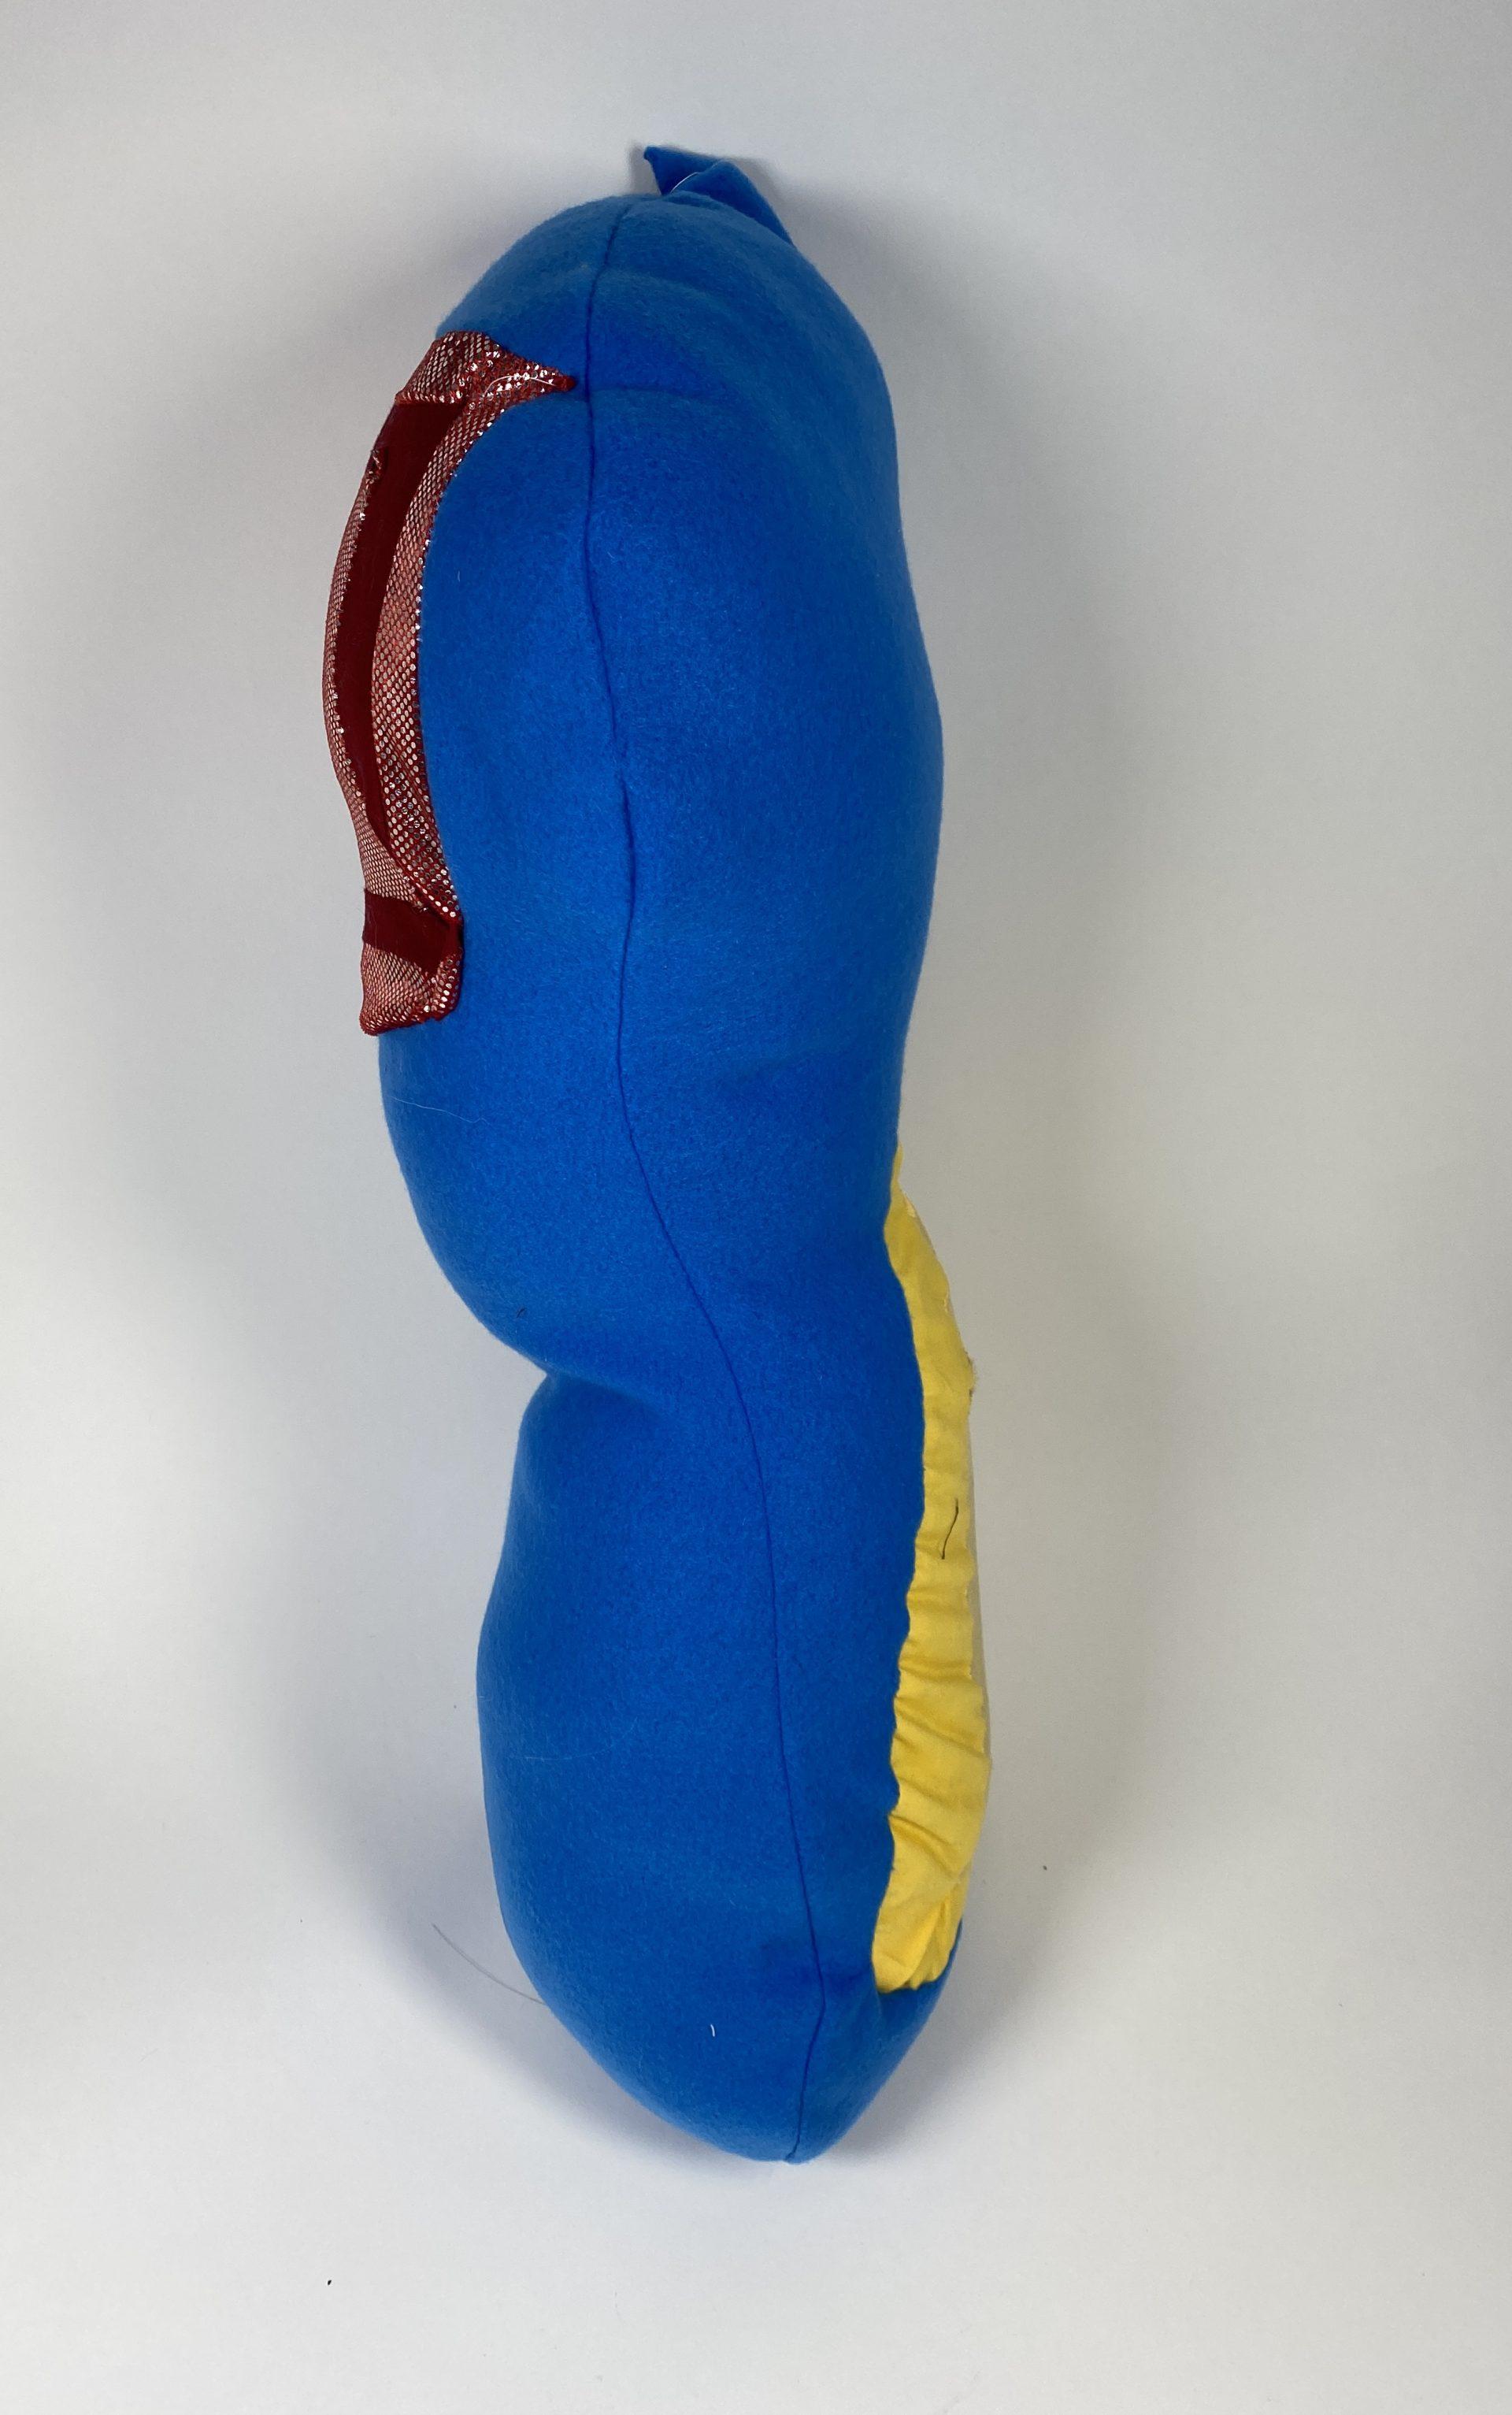
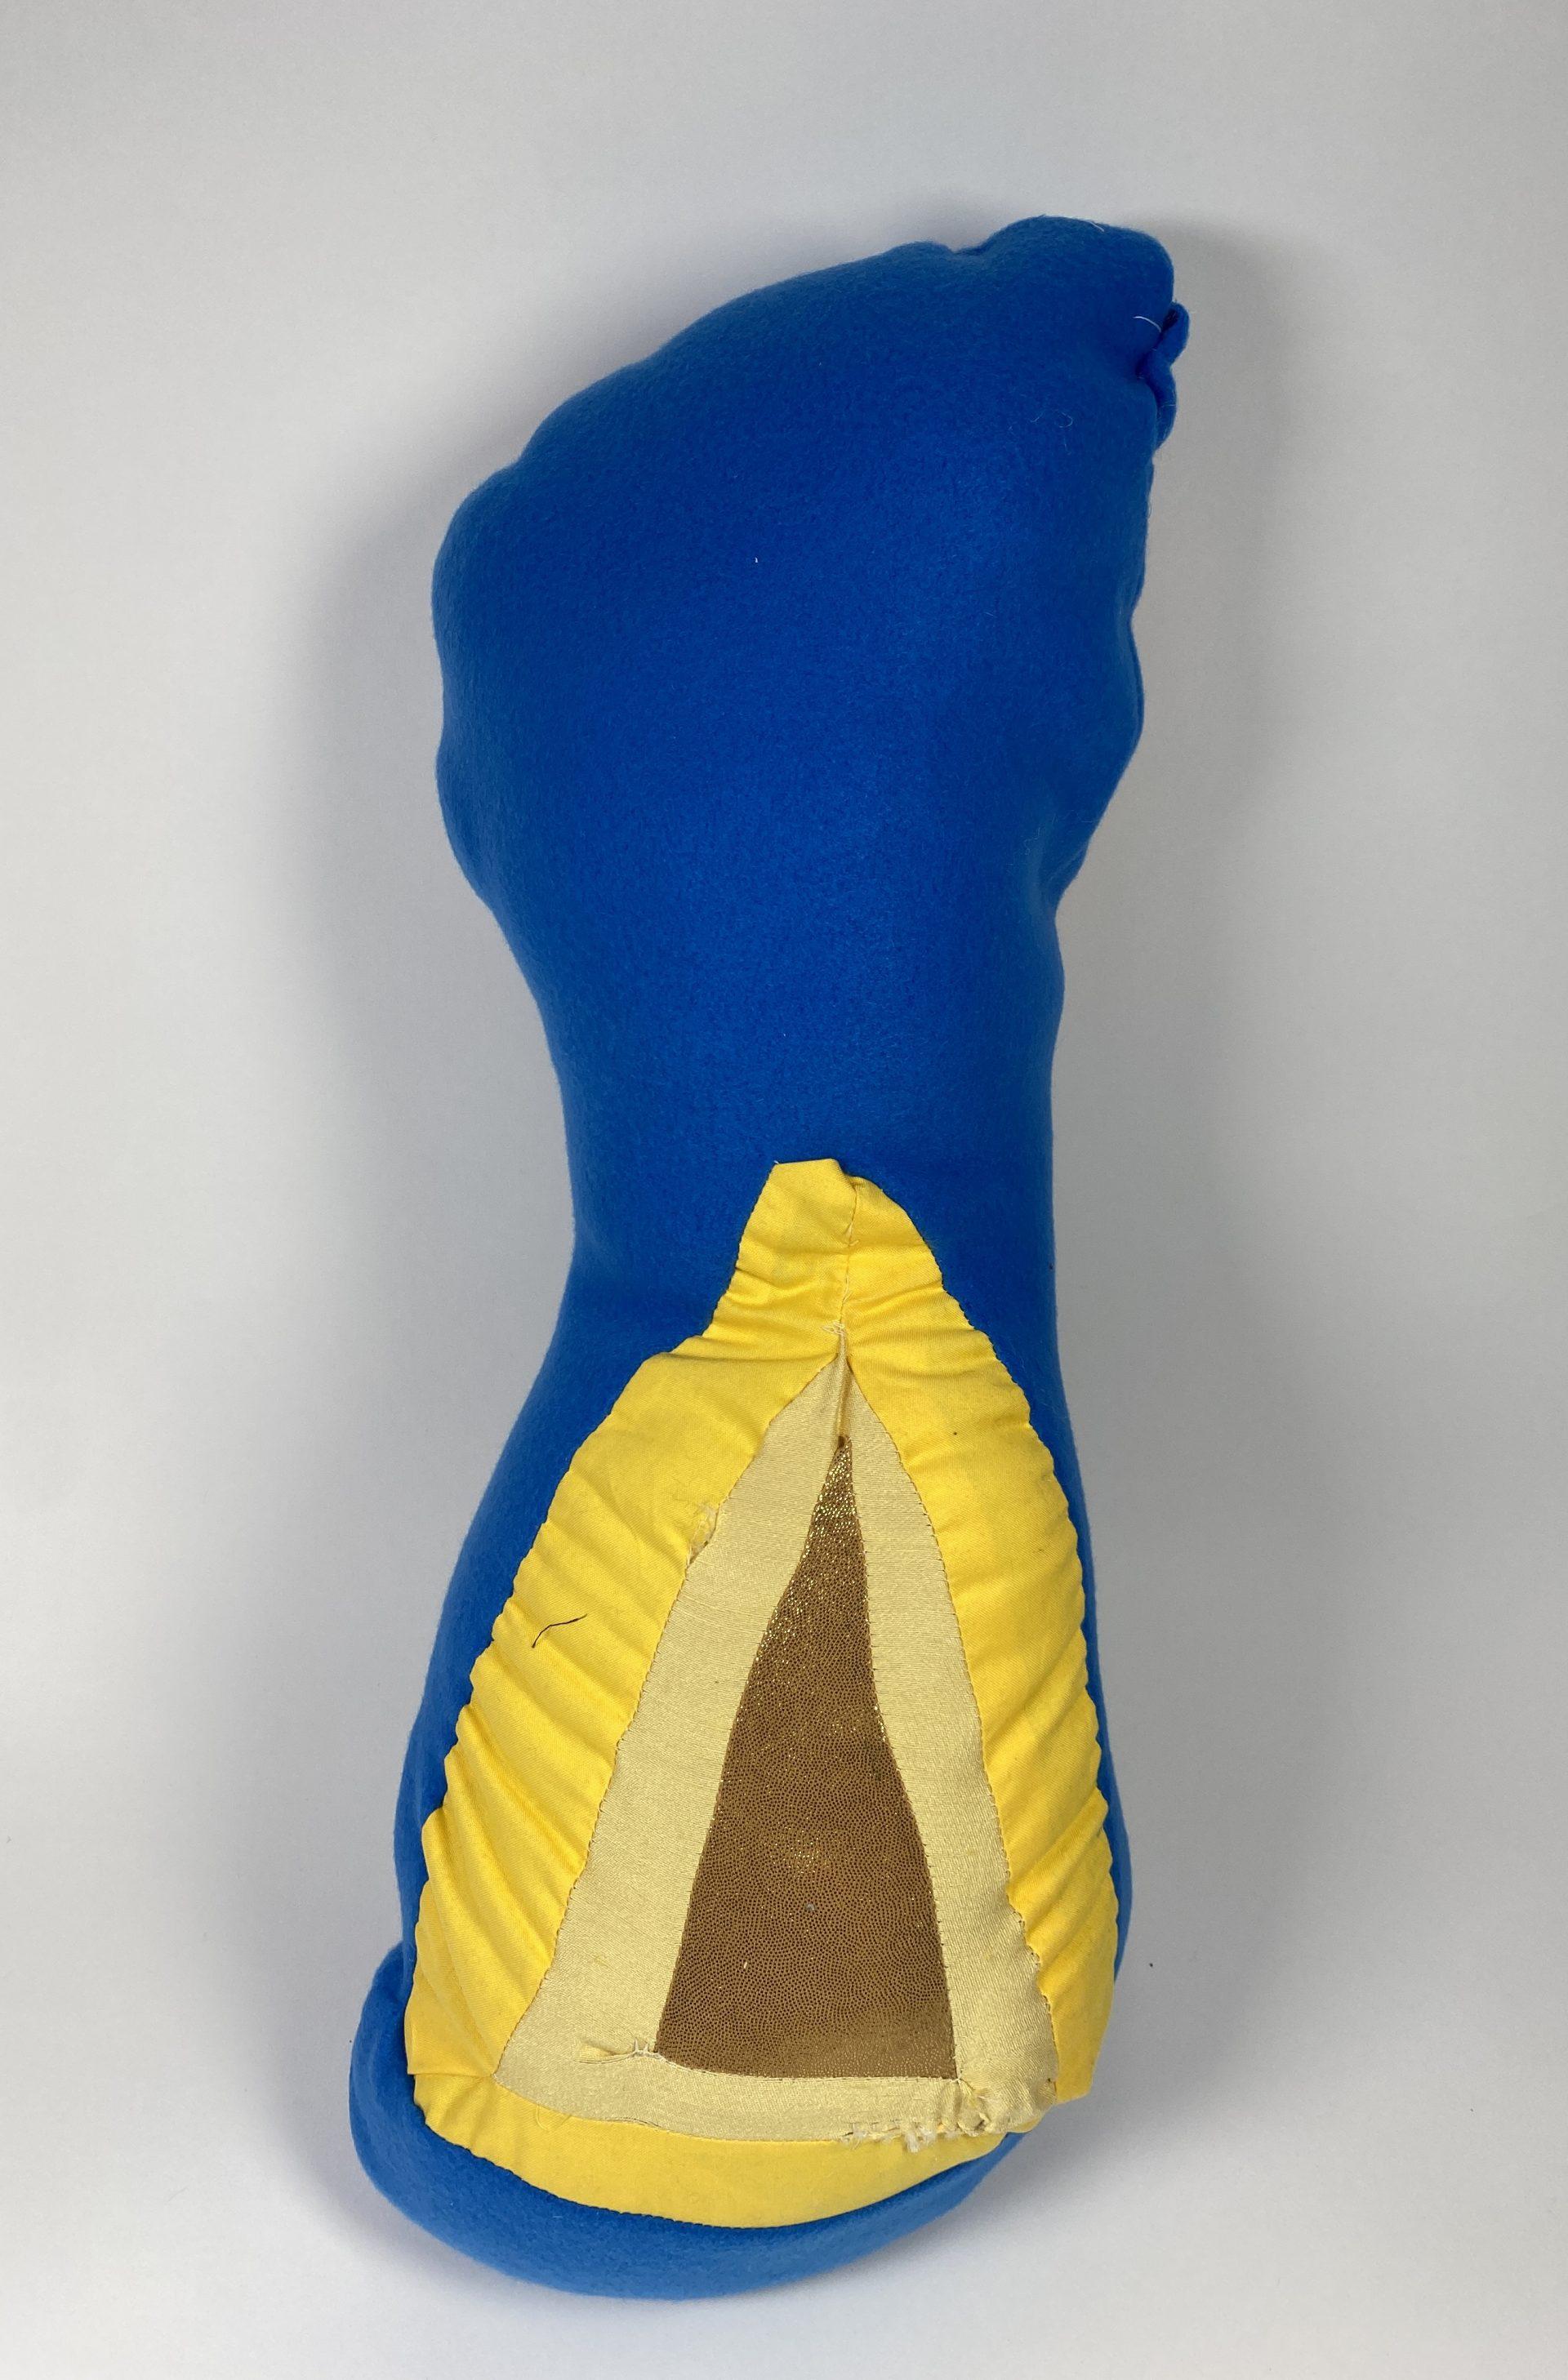
This form was inspired by the squalleye object that Olivia shared with me. I really liked the bulges and the use of color to create a visual effect so I tried to recreate it with this object. I don’t think it was too successful in terms of creating ridges on the object but I do really like the visual effect that is created by using the fabrics that I did. The yellow triangles seem to grow out at the viewer, while the red square appears to almost shrink into the object.

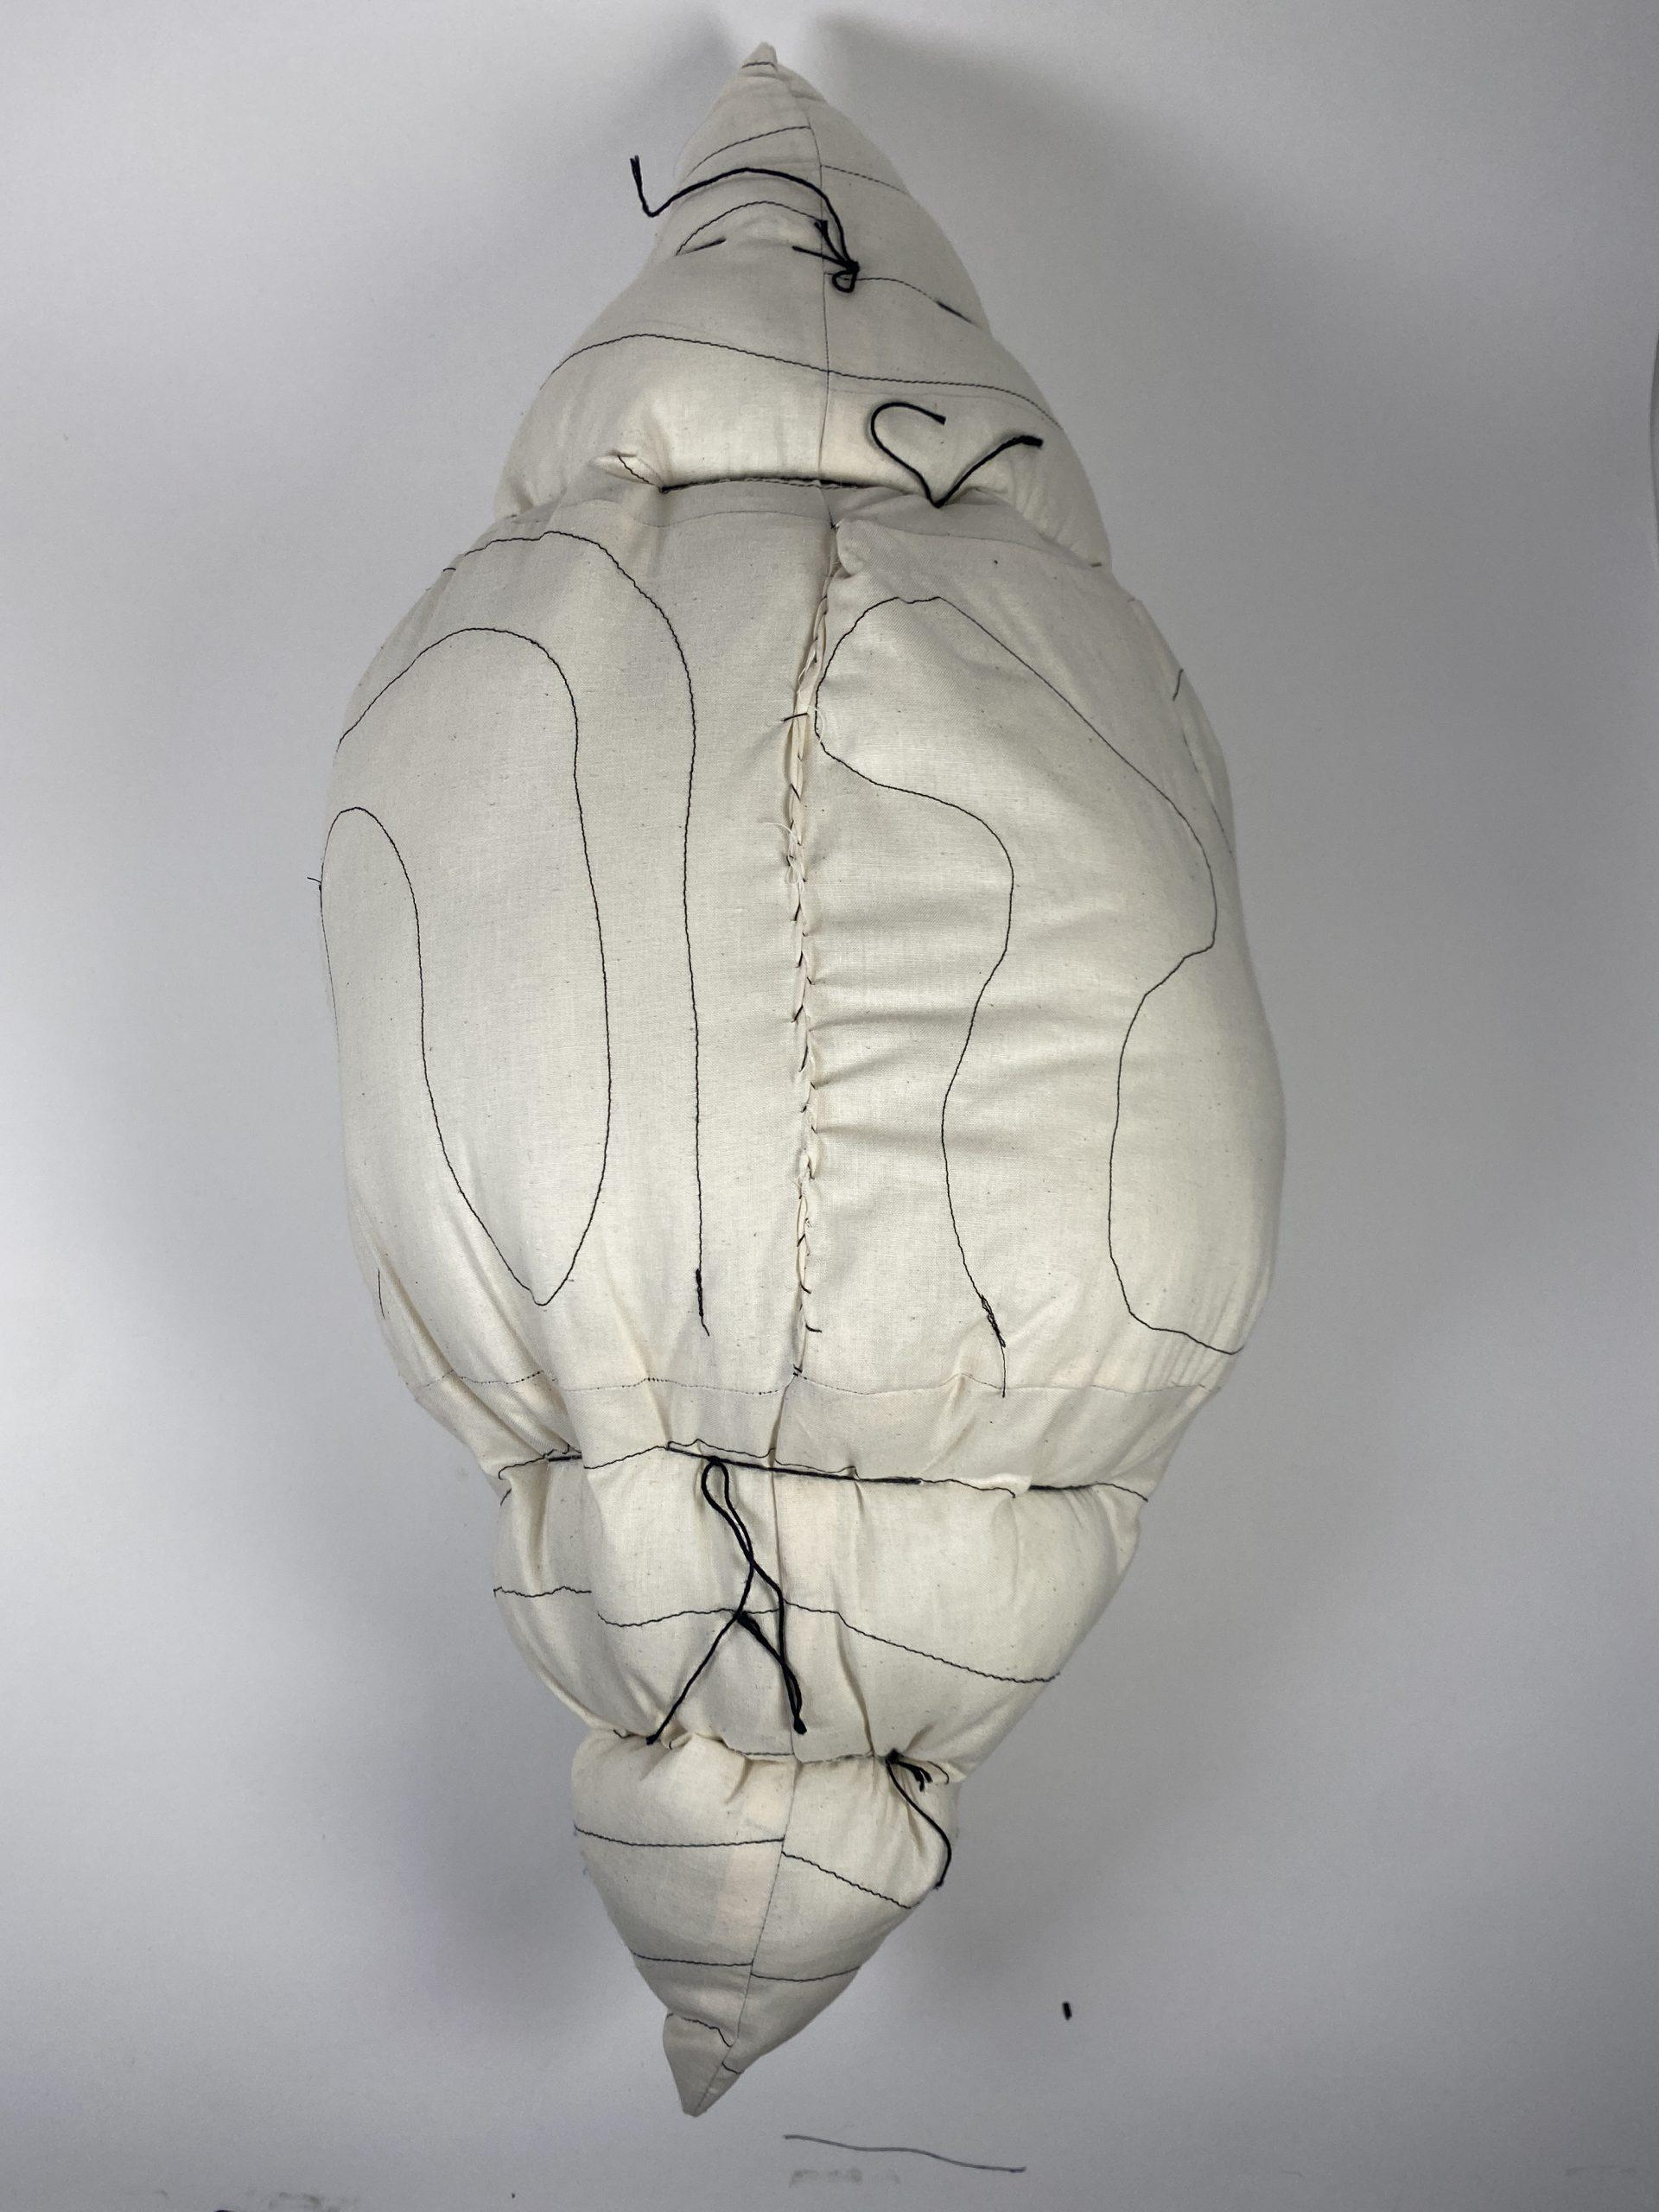
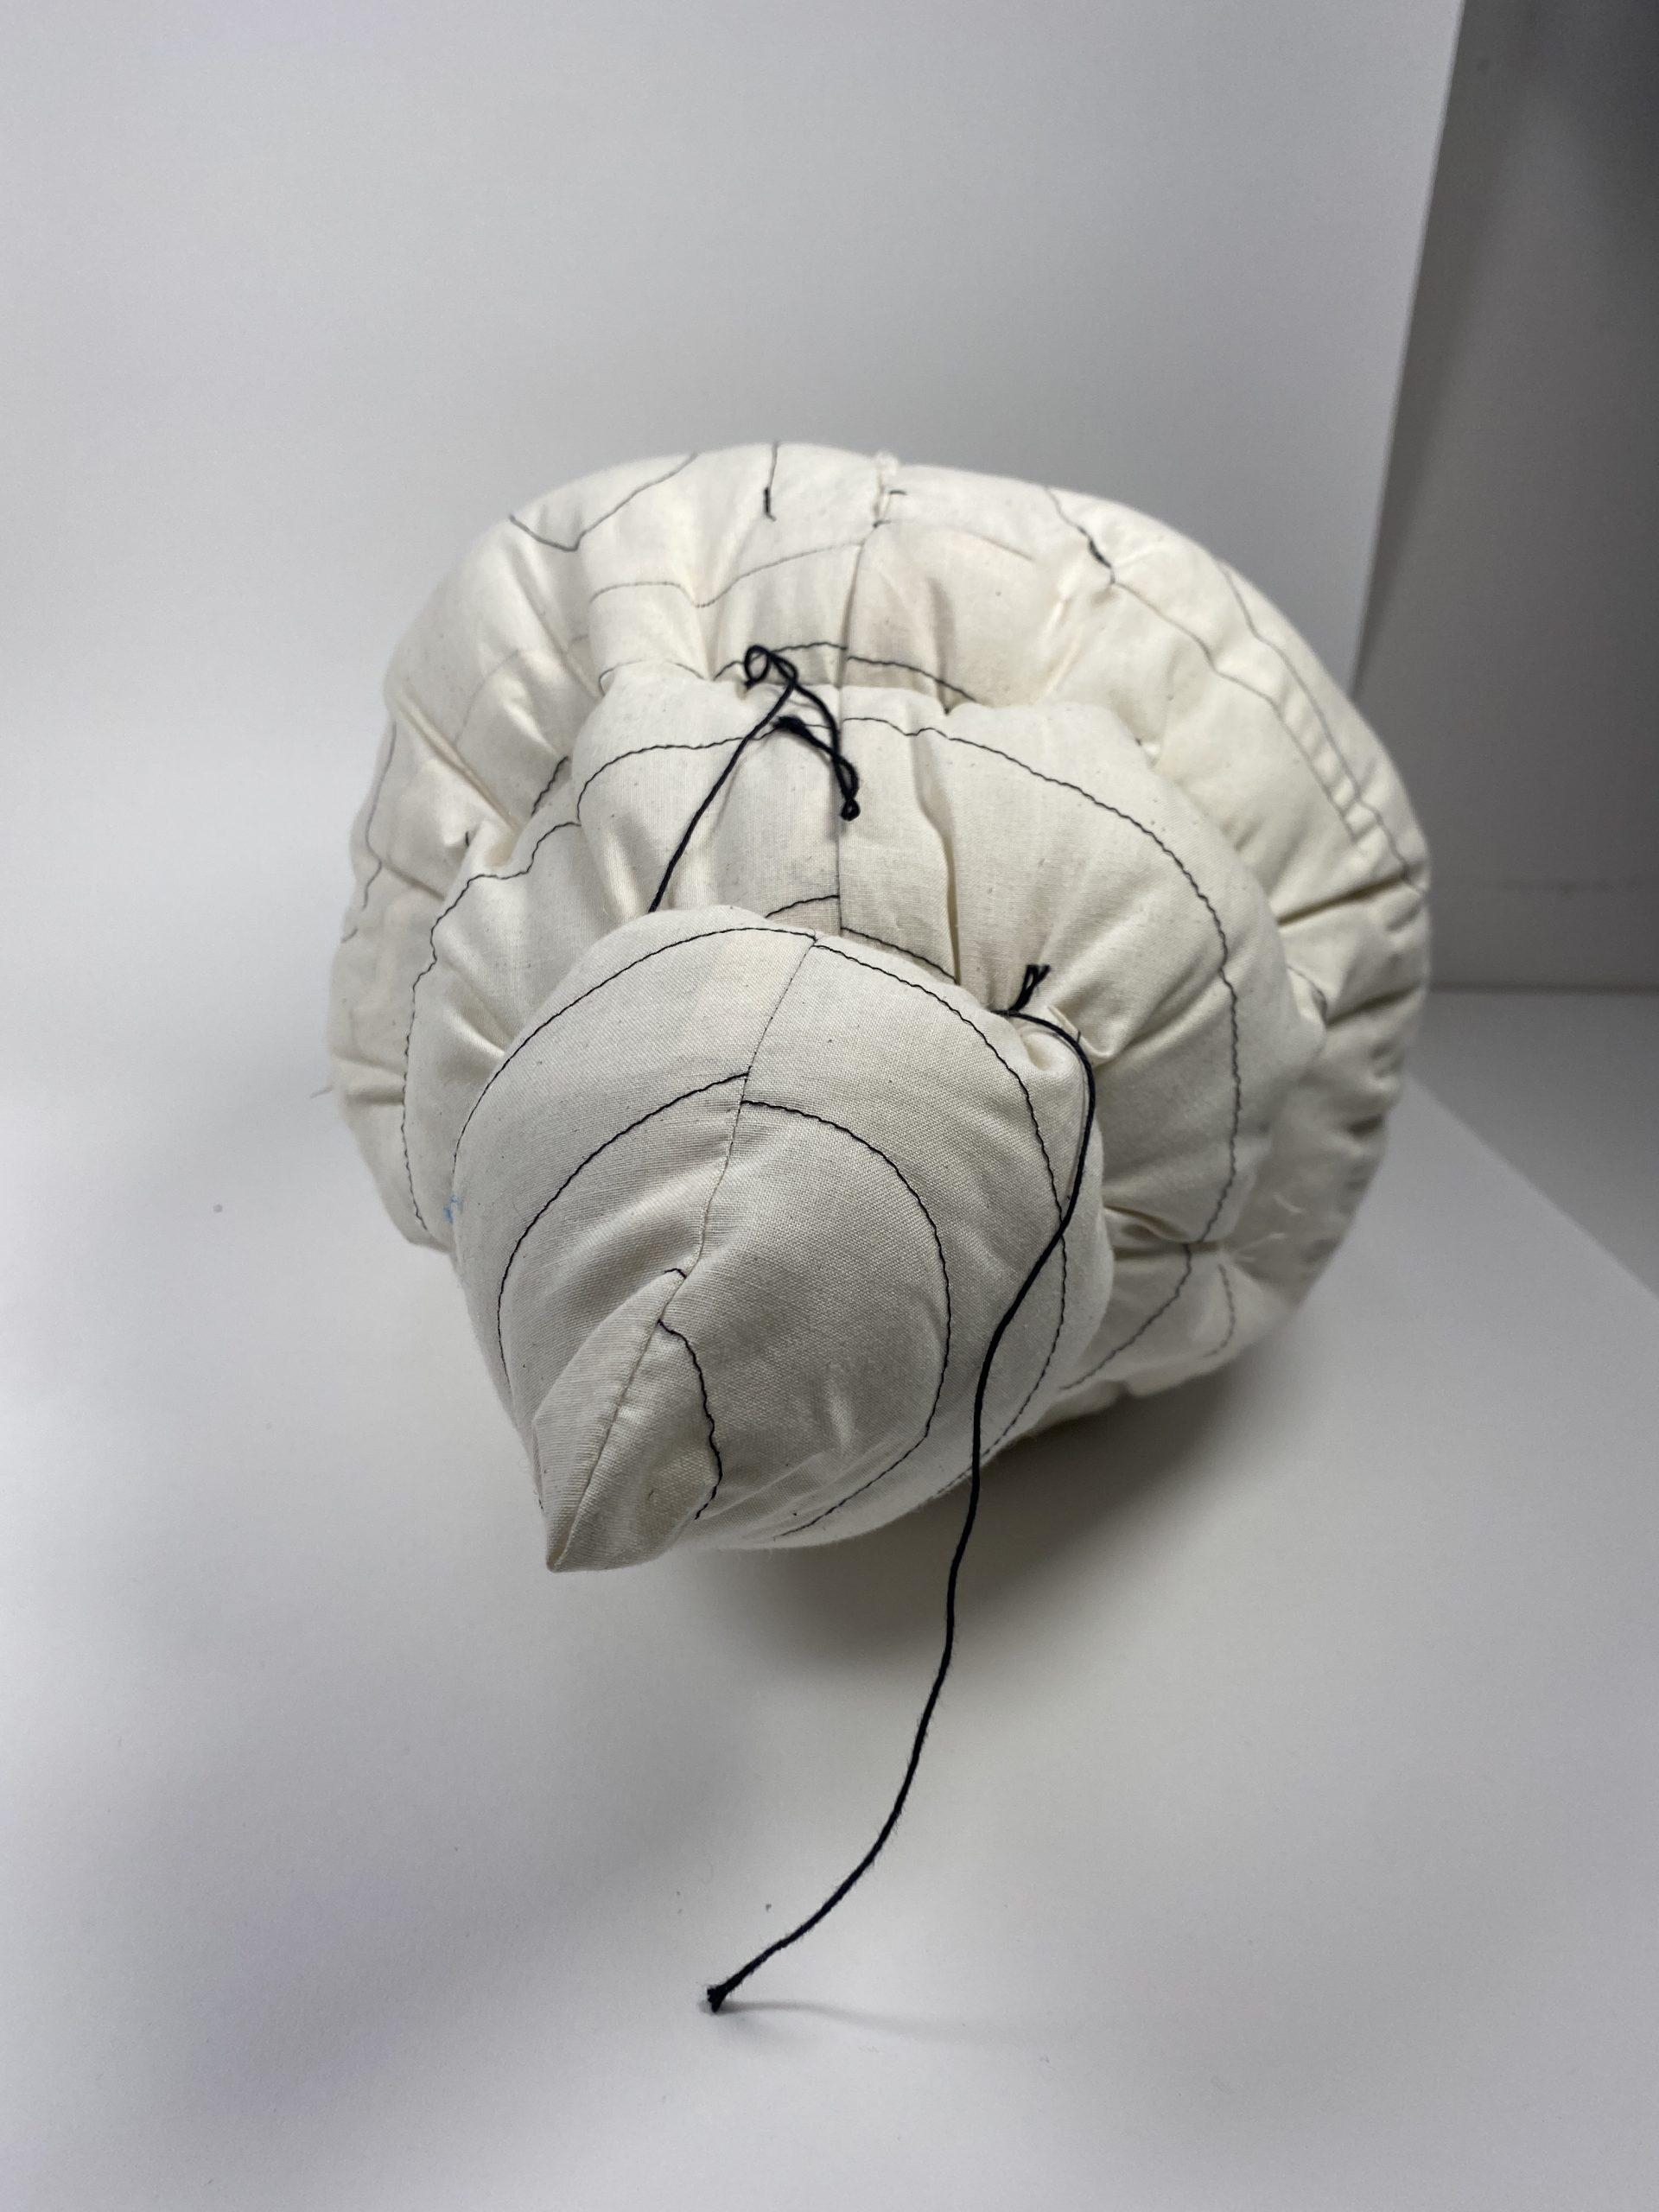
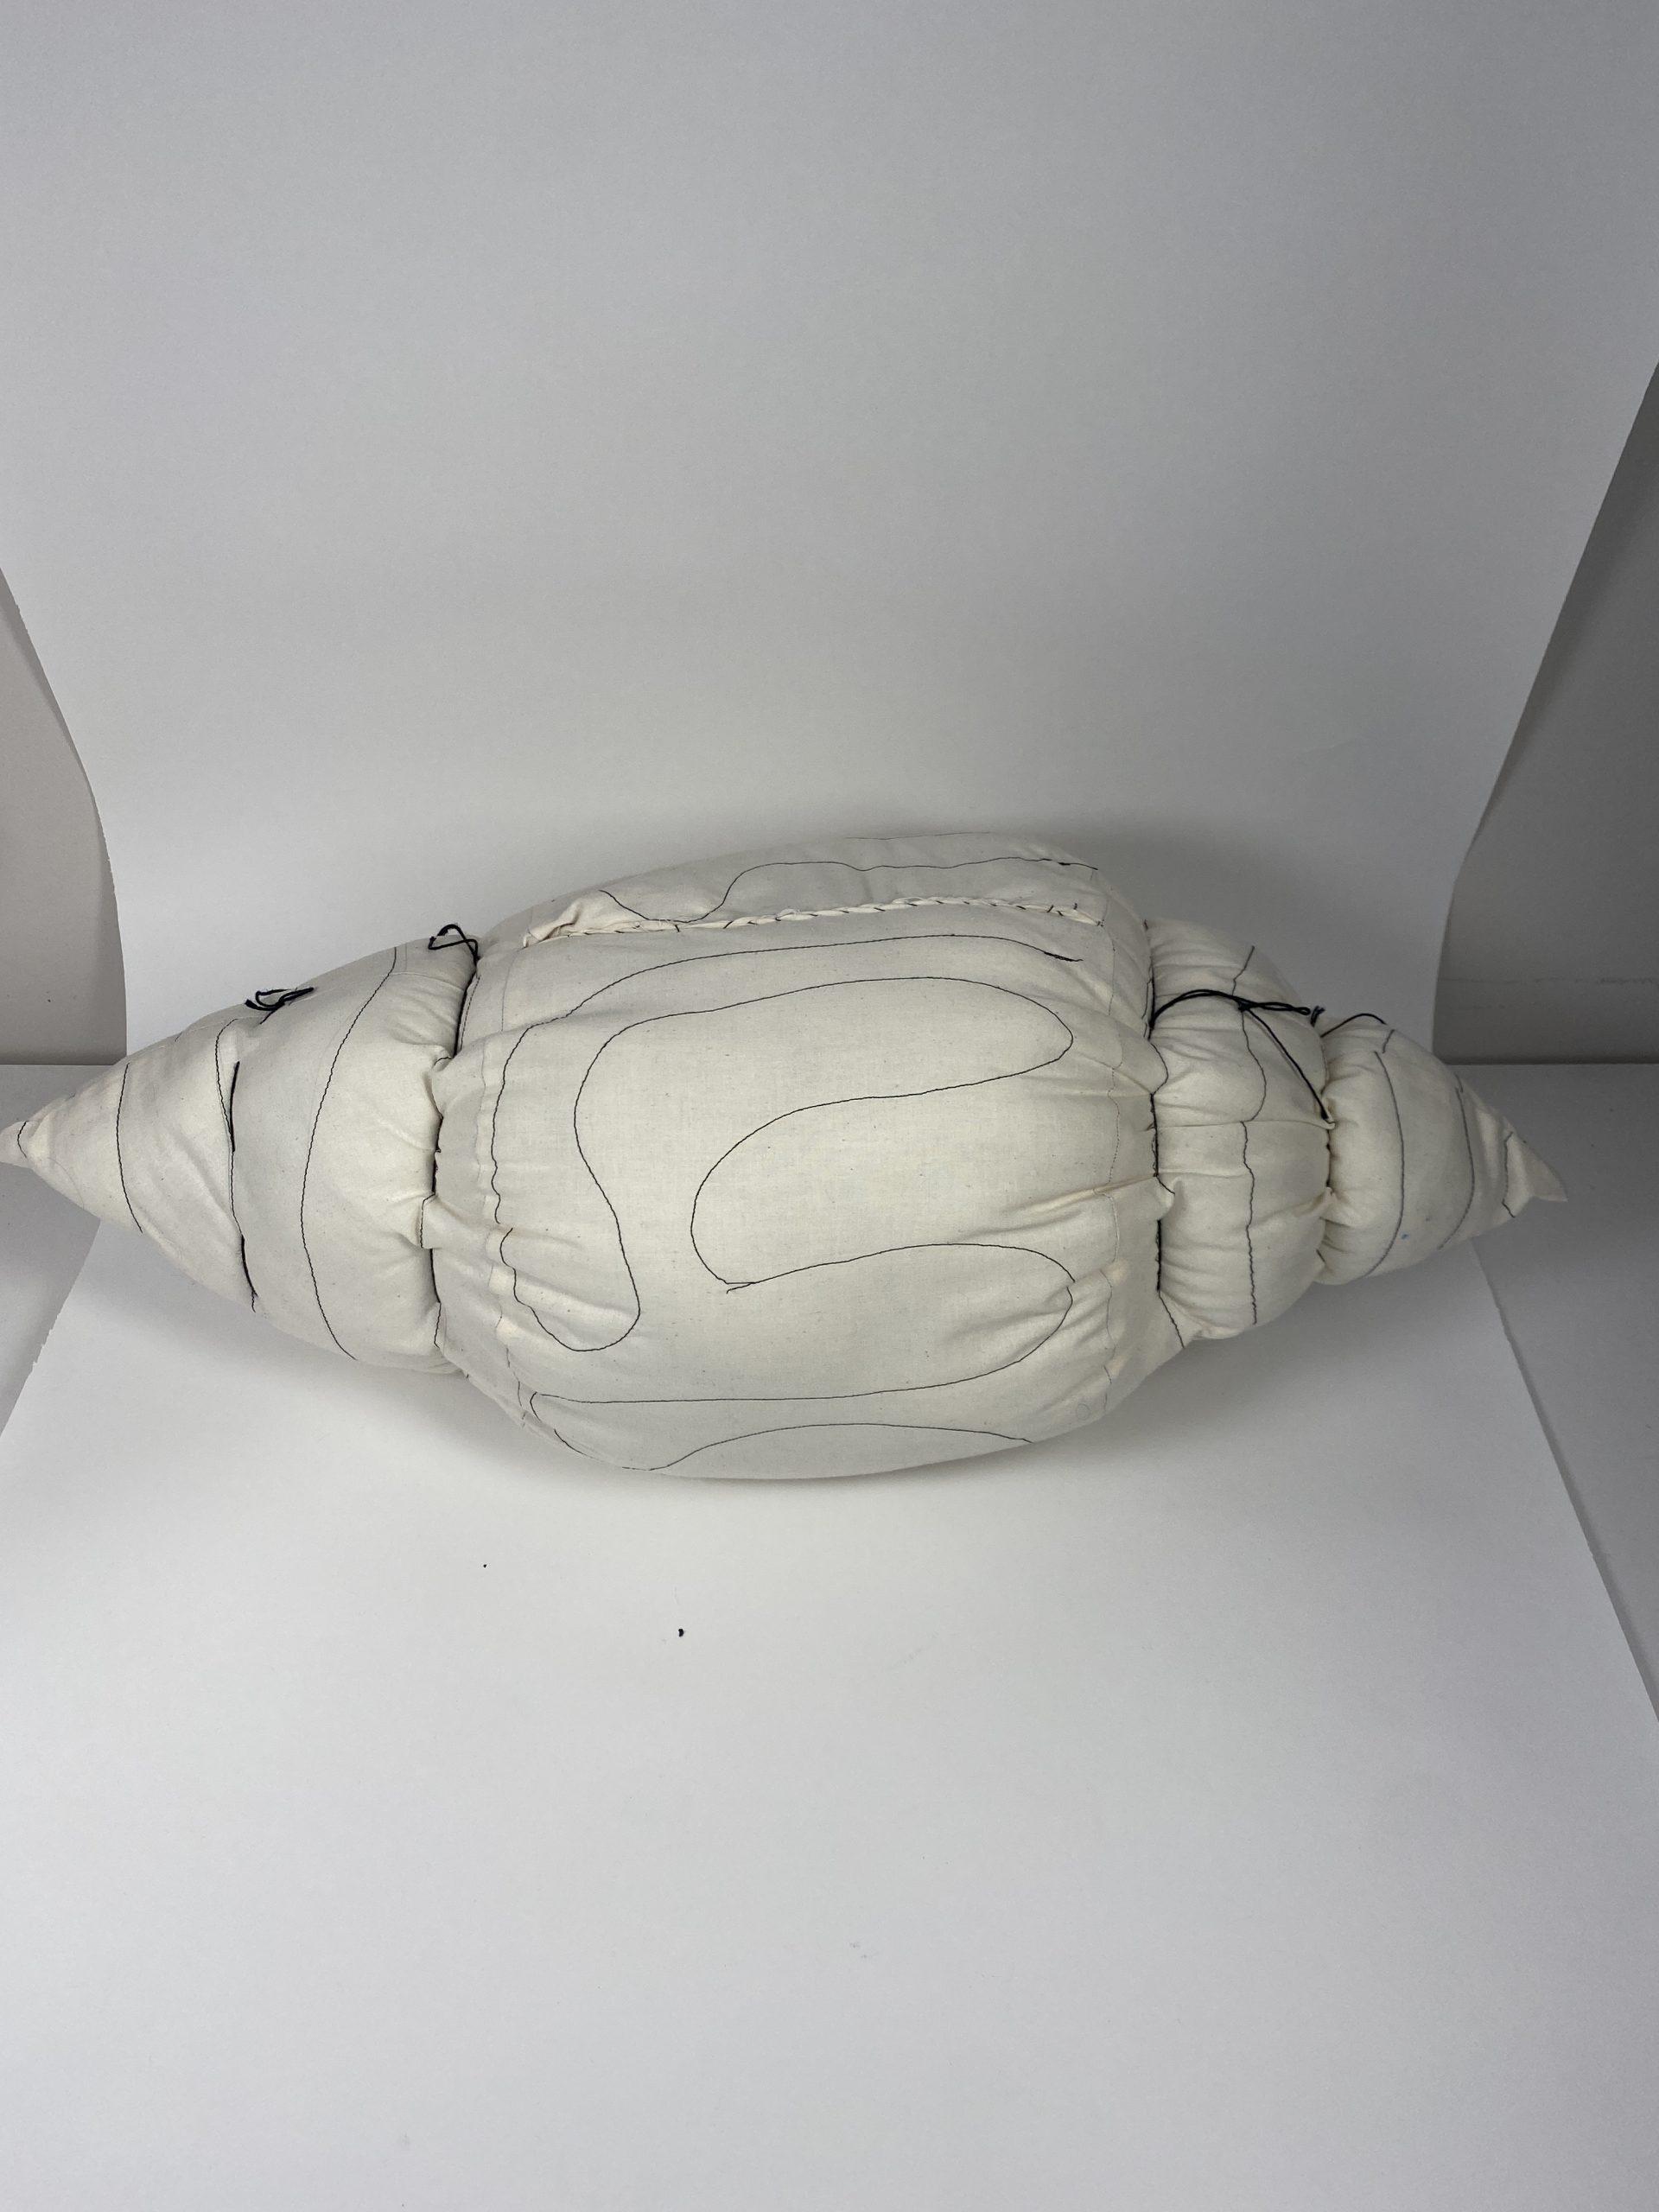
This one was probably my favorite form to make. I started by sewing 2 cones and then connecting them with the cylinder form without the spherical ends. Here I experimented with stitching on the outside of the fabric to create a visual effect – I stitched concentric circles on the cone pattern and free stitched a curvy pattern on the cylinder. After assembling the form, I then sewed in thread into the cones and tied it off using a taut line knot from my Boy Scout days so that you can adjust how tight it is.

In all, this assignment was super fun and I can’t wait for the next part!