We began this project by deciding on the inflatable we want to develop further. Like the others, we had a total of eight options to choose from. The eight options included seven hand-drawn inflatables and one rhino-based inflatable. After reviewing the structure and process of the eight inflatables, we figured that landing on the rhino-based inflatable would help a lot with precision when trying to create an enormous inflatable that none of us had made before. Although the primary reason for choosing the rhino inflatable was for precision, the shape of the inflatable was very interesting.
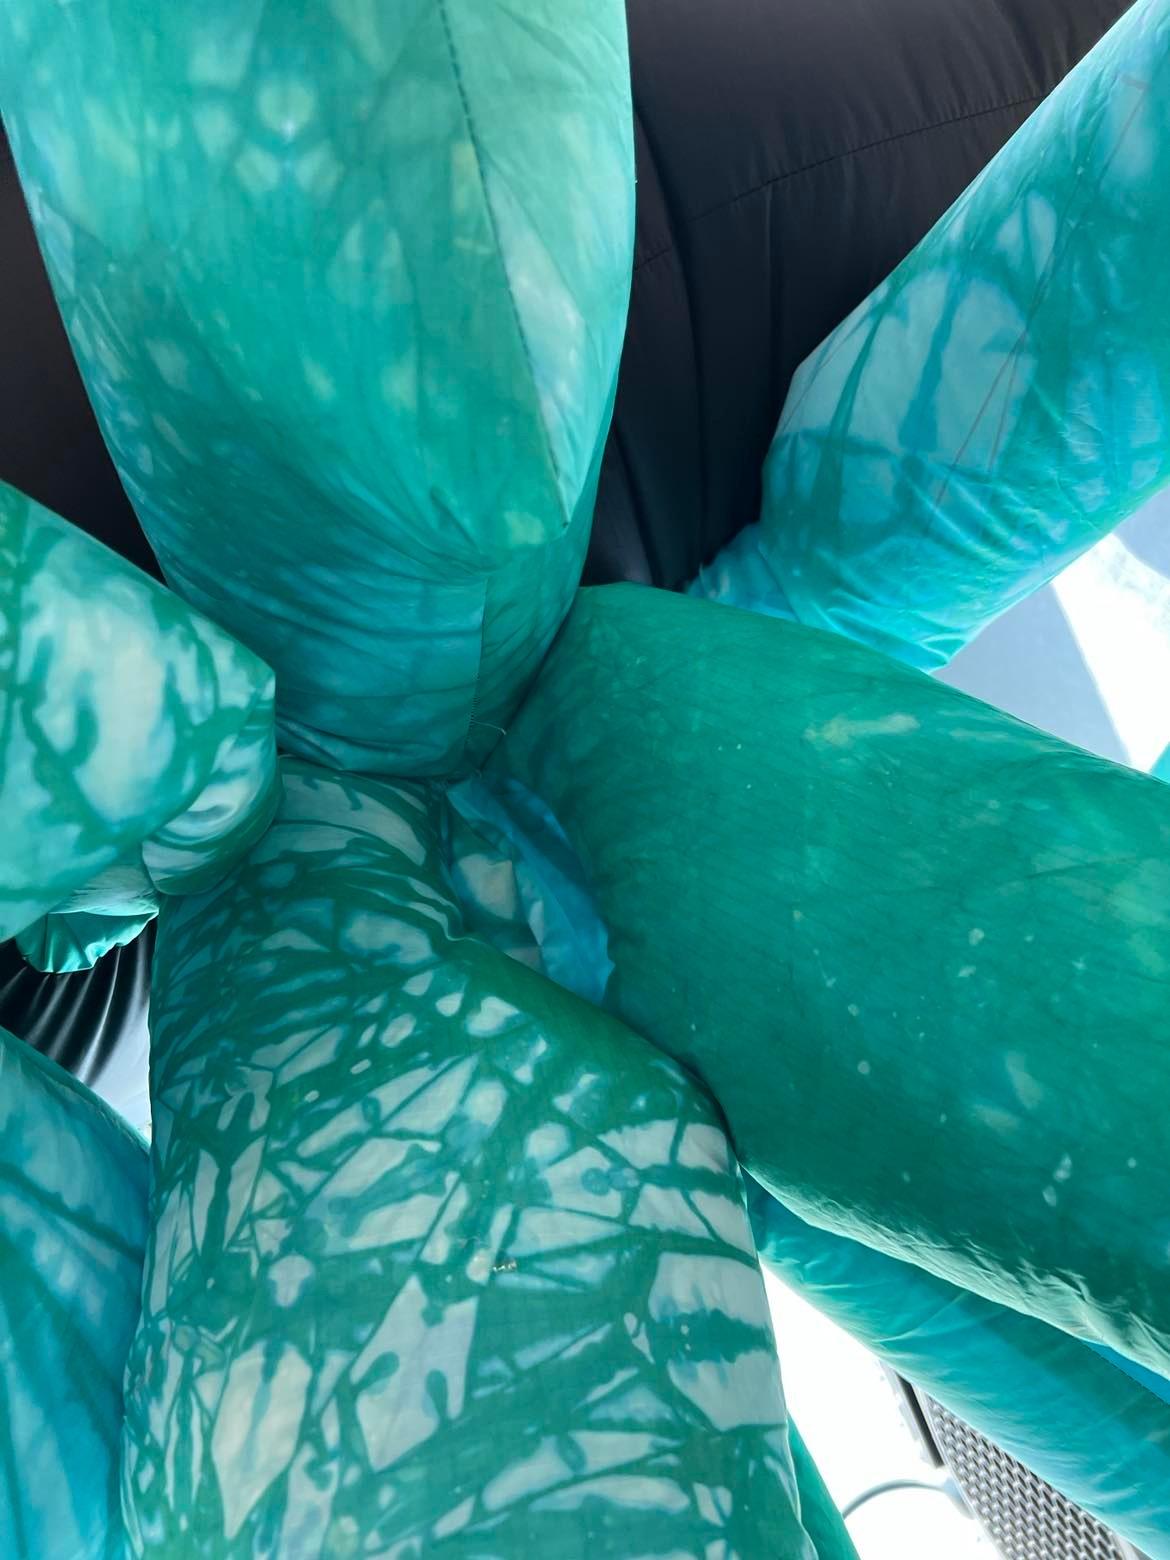
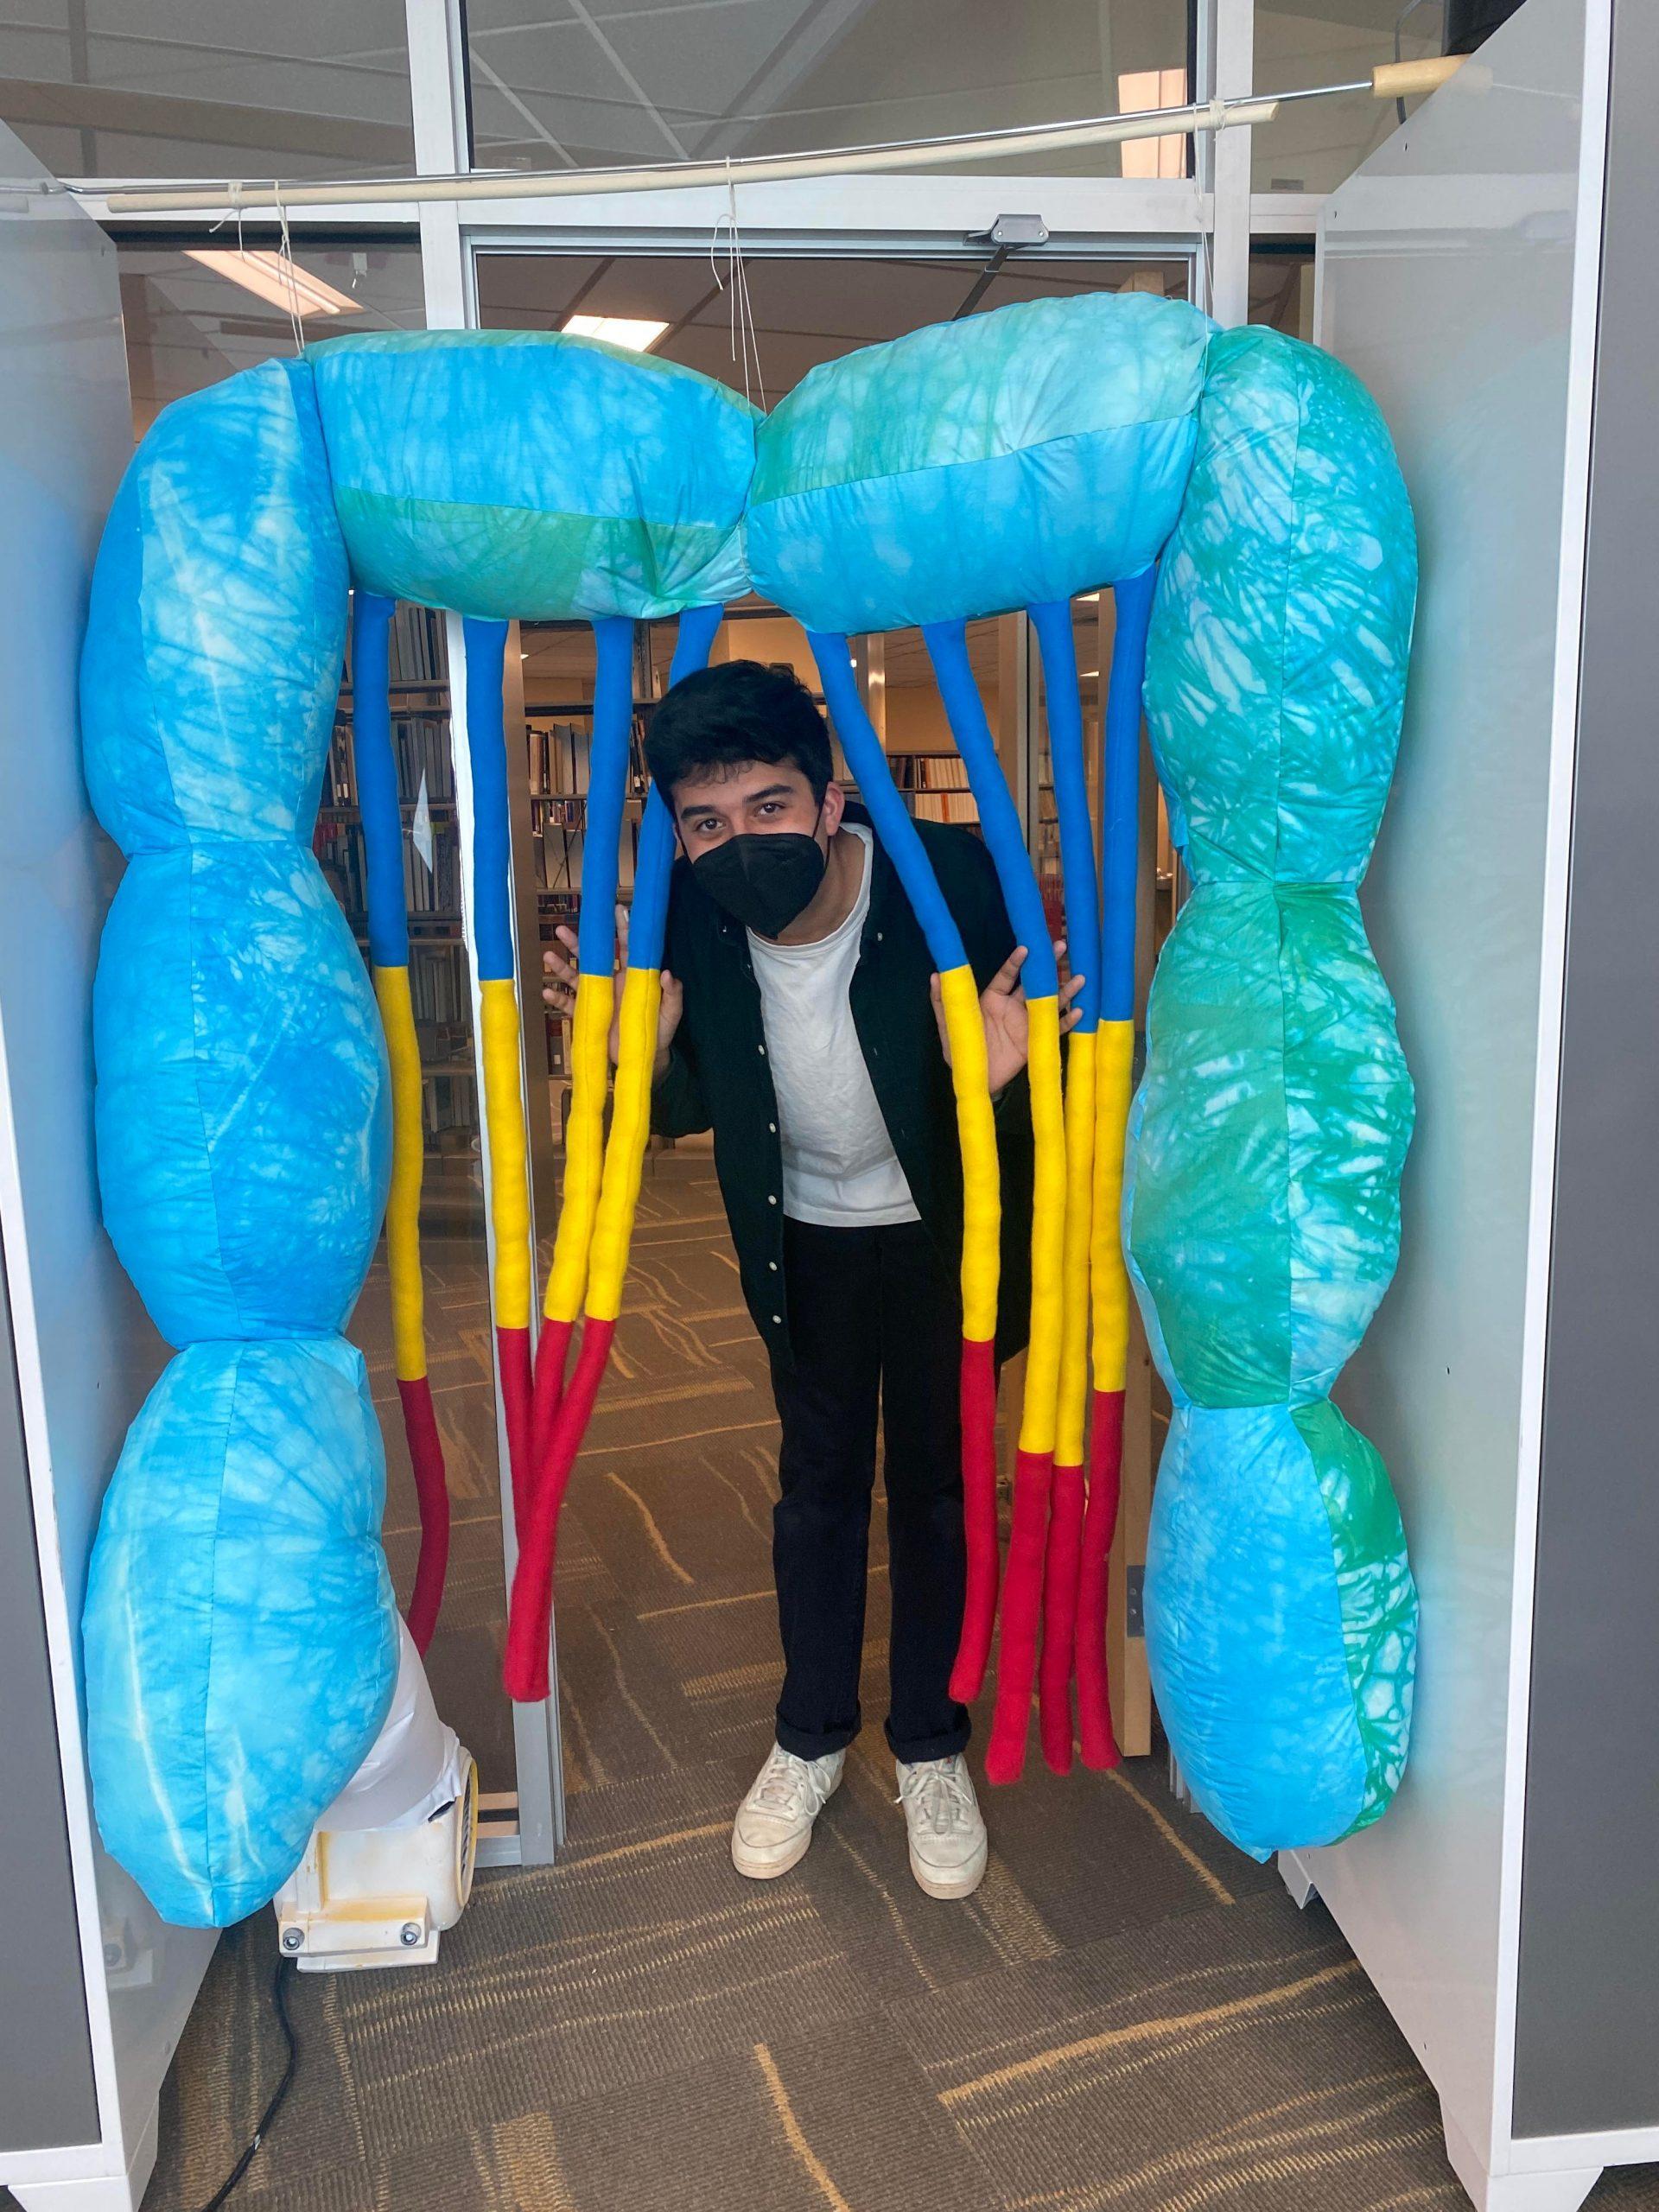
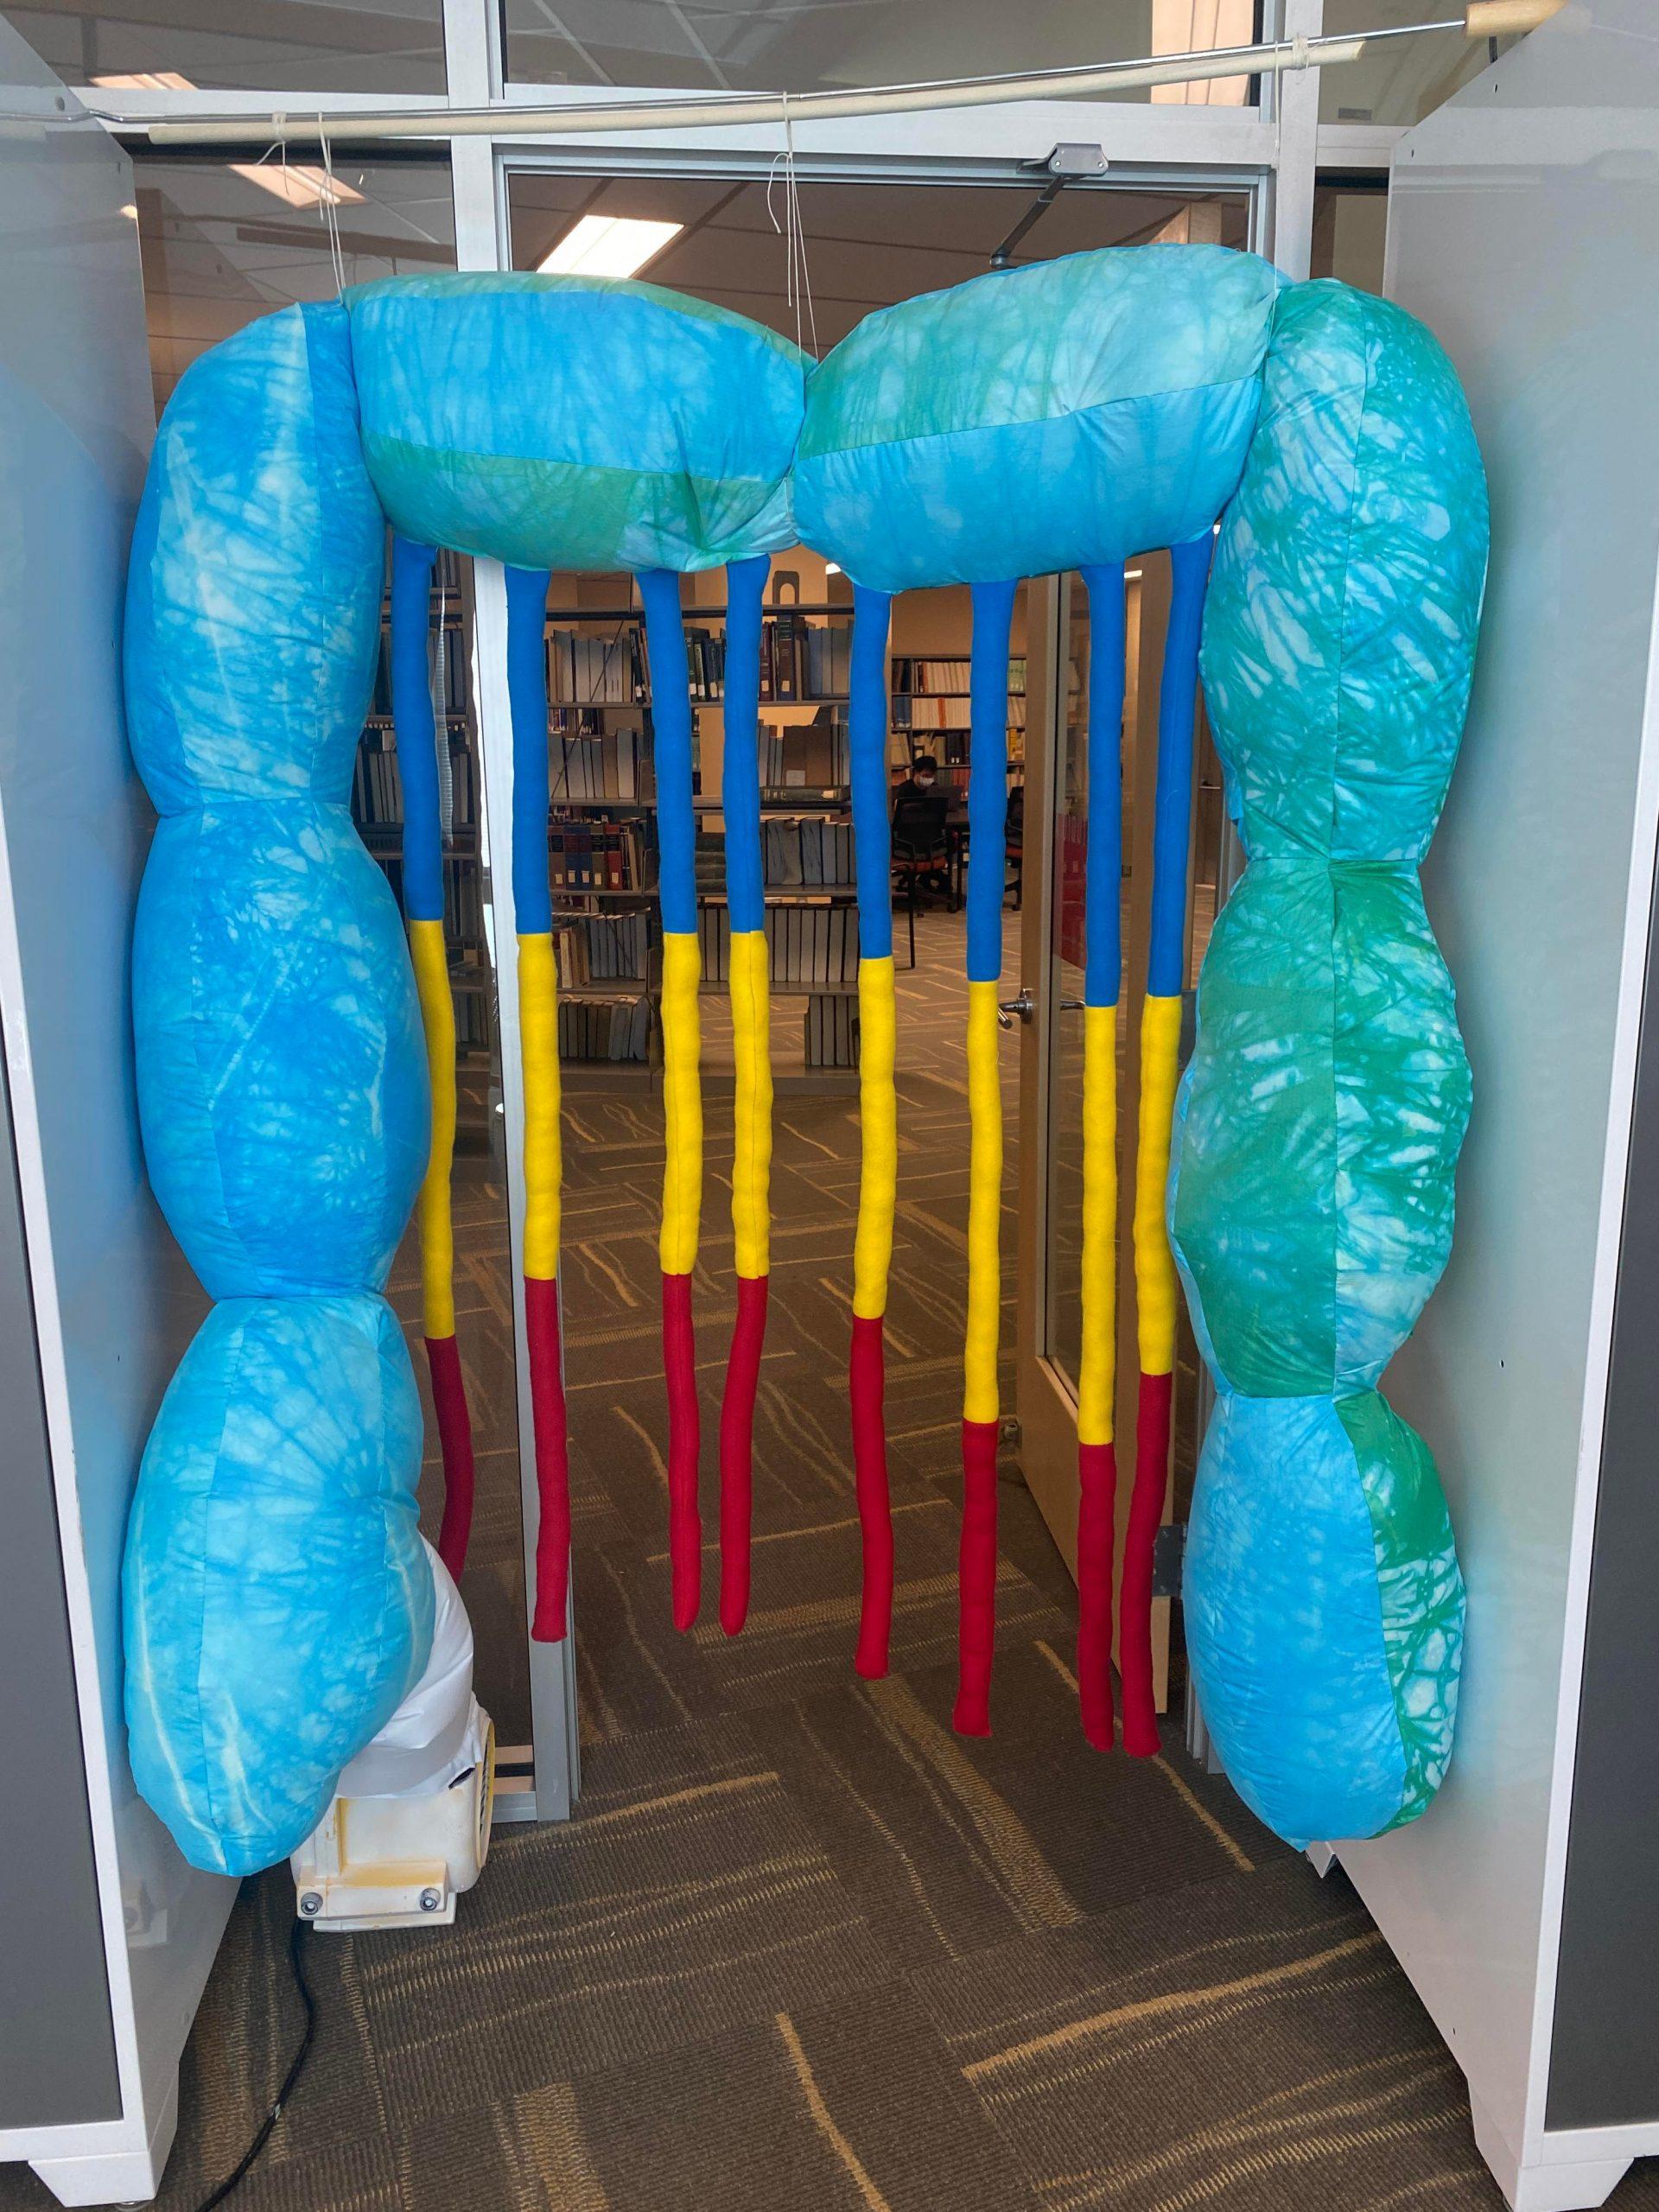
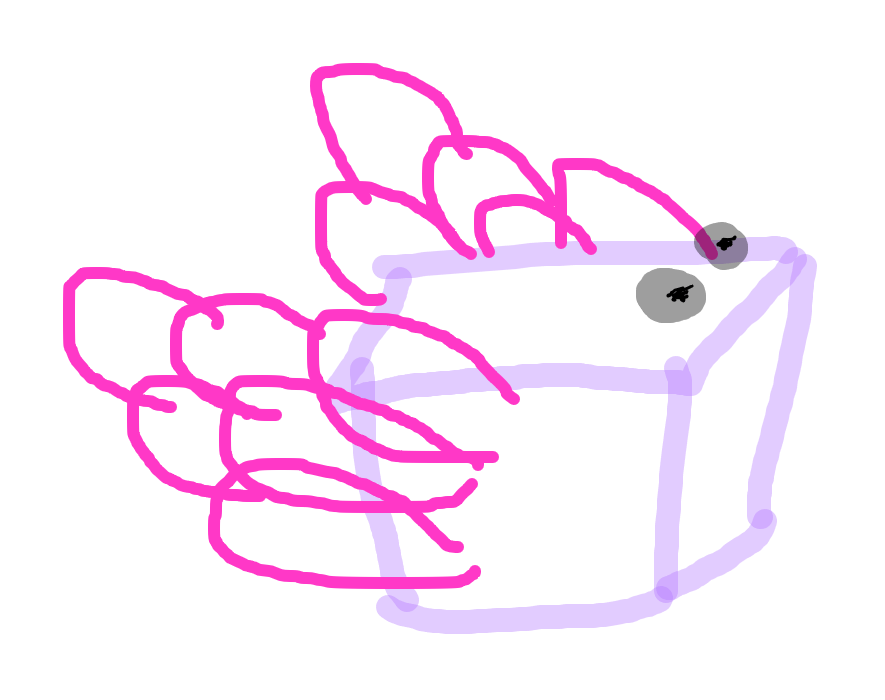
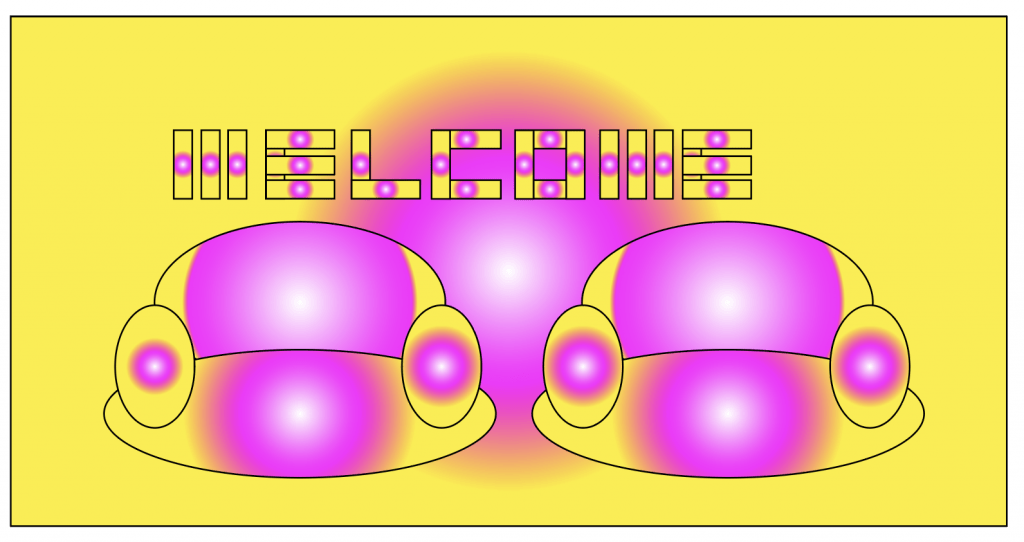
The couch was made out of four ellipsoids connected to one another. Each ellipsoid consisted of four symmetric fragments. Furthermore, what had made the symmetric pattern stand out was the bold binary color patchwork. The color patchwork required a lot more work than just assigning random colors to segments. We had to fully understand the structure in order to figure out how the colors intersect with one another.
Before cutting out the pattern, we had to decide the color scheme of the inflatable. The options were rather limiting with a simplistic palette of white,
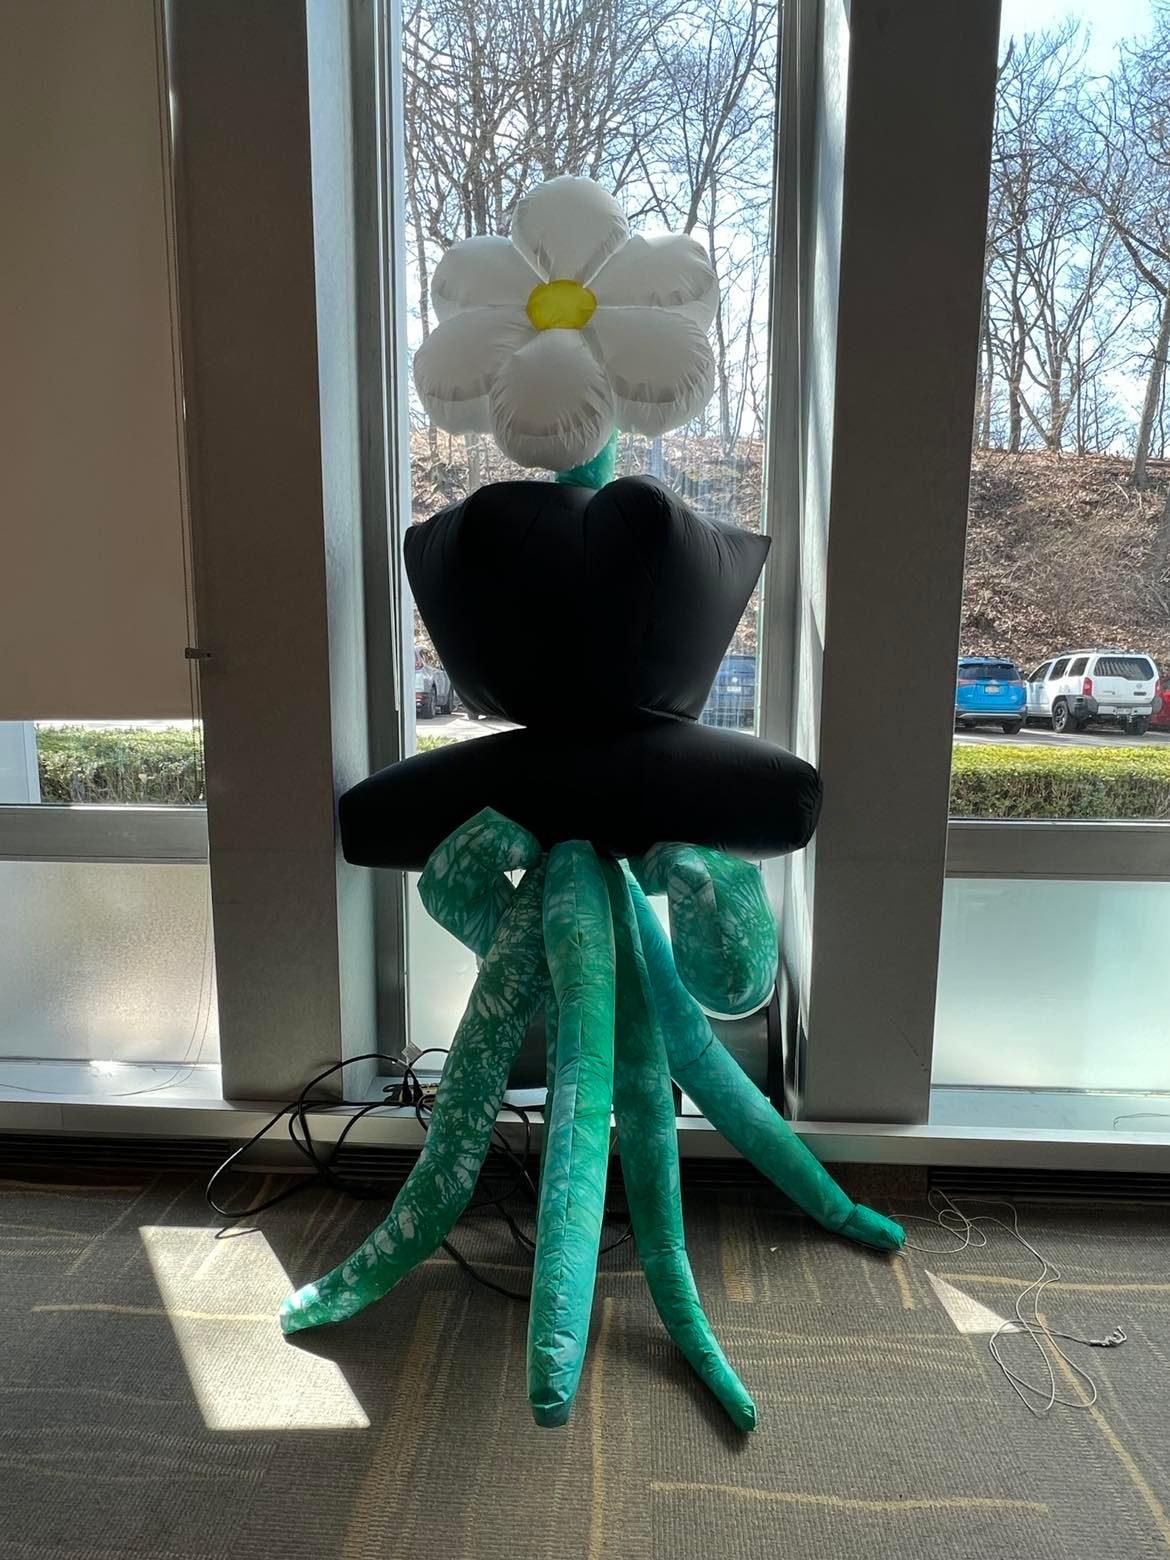
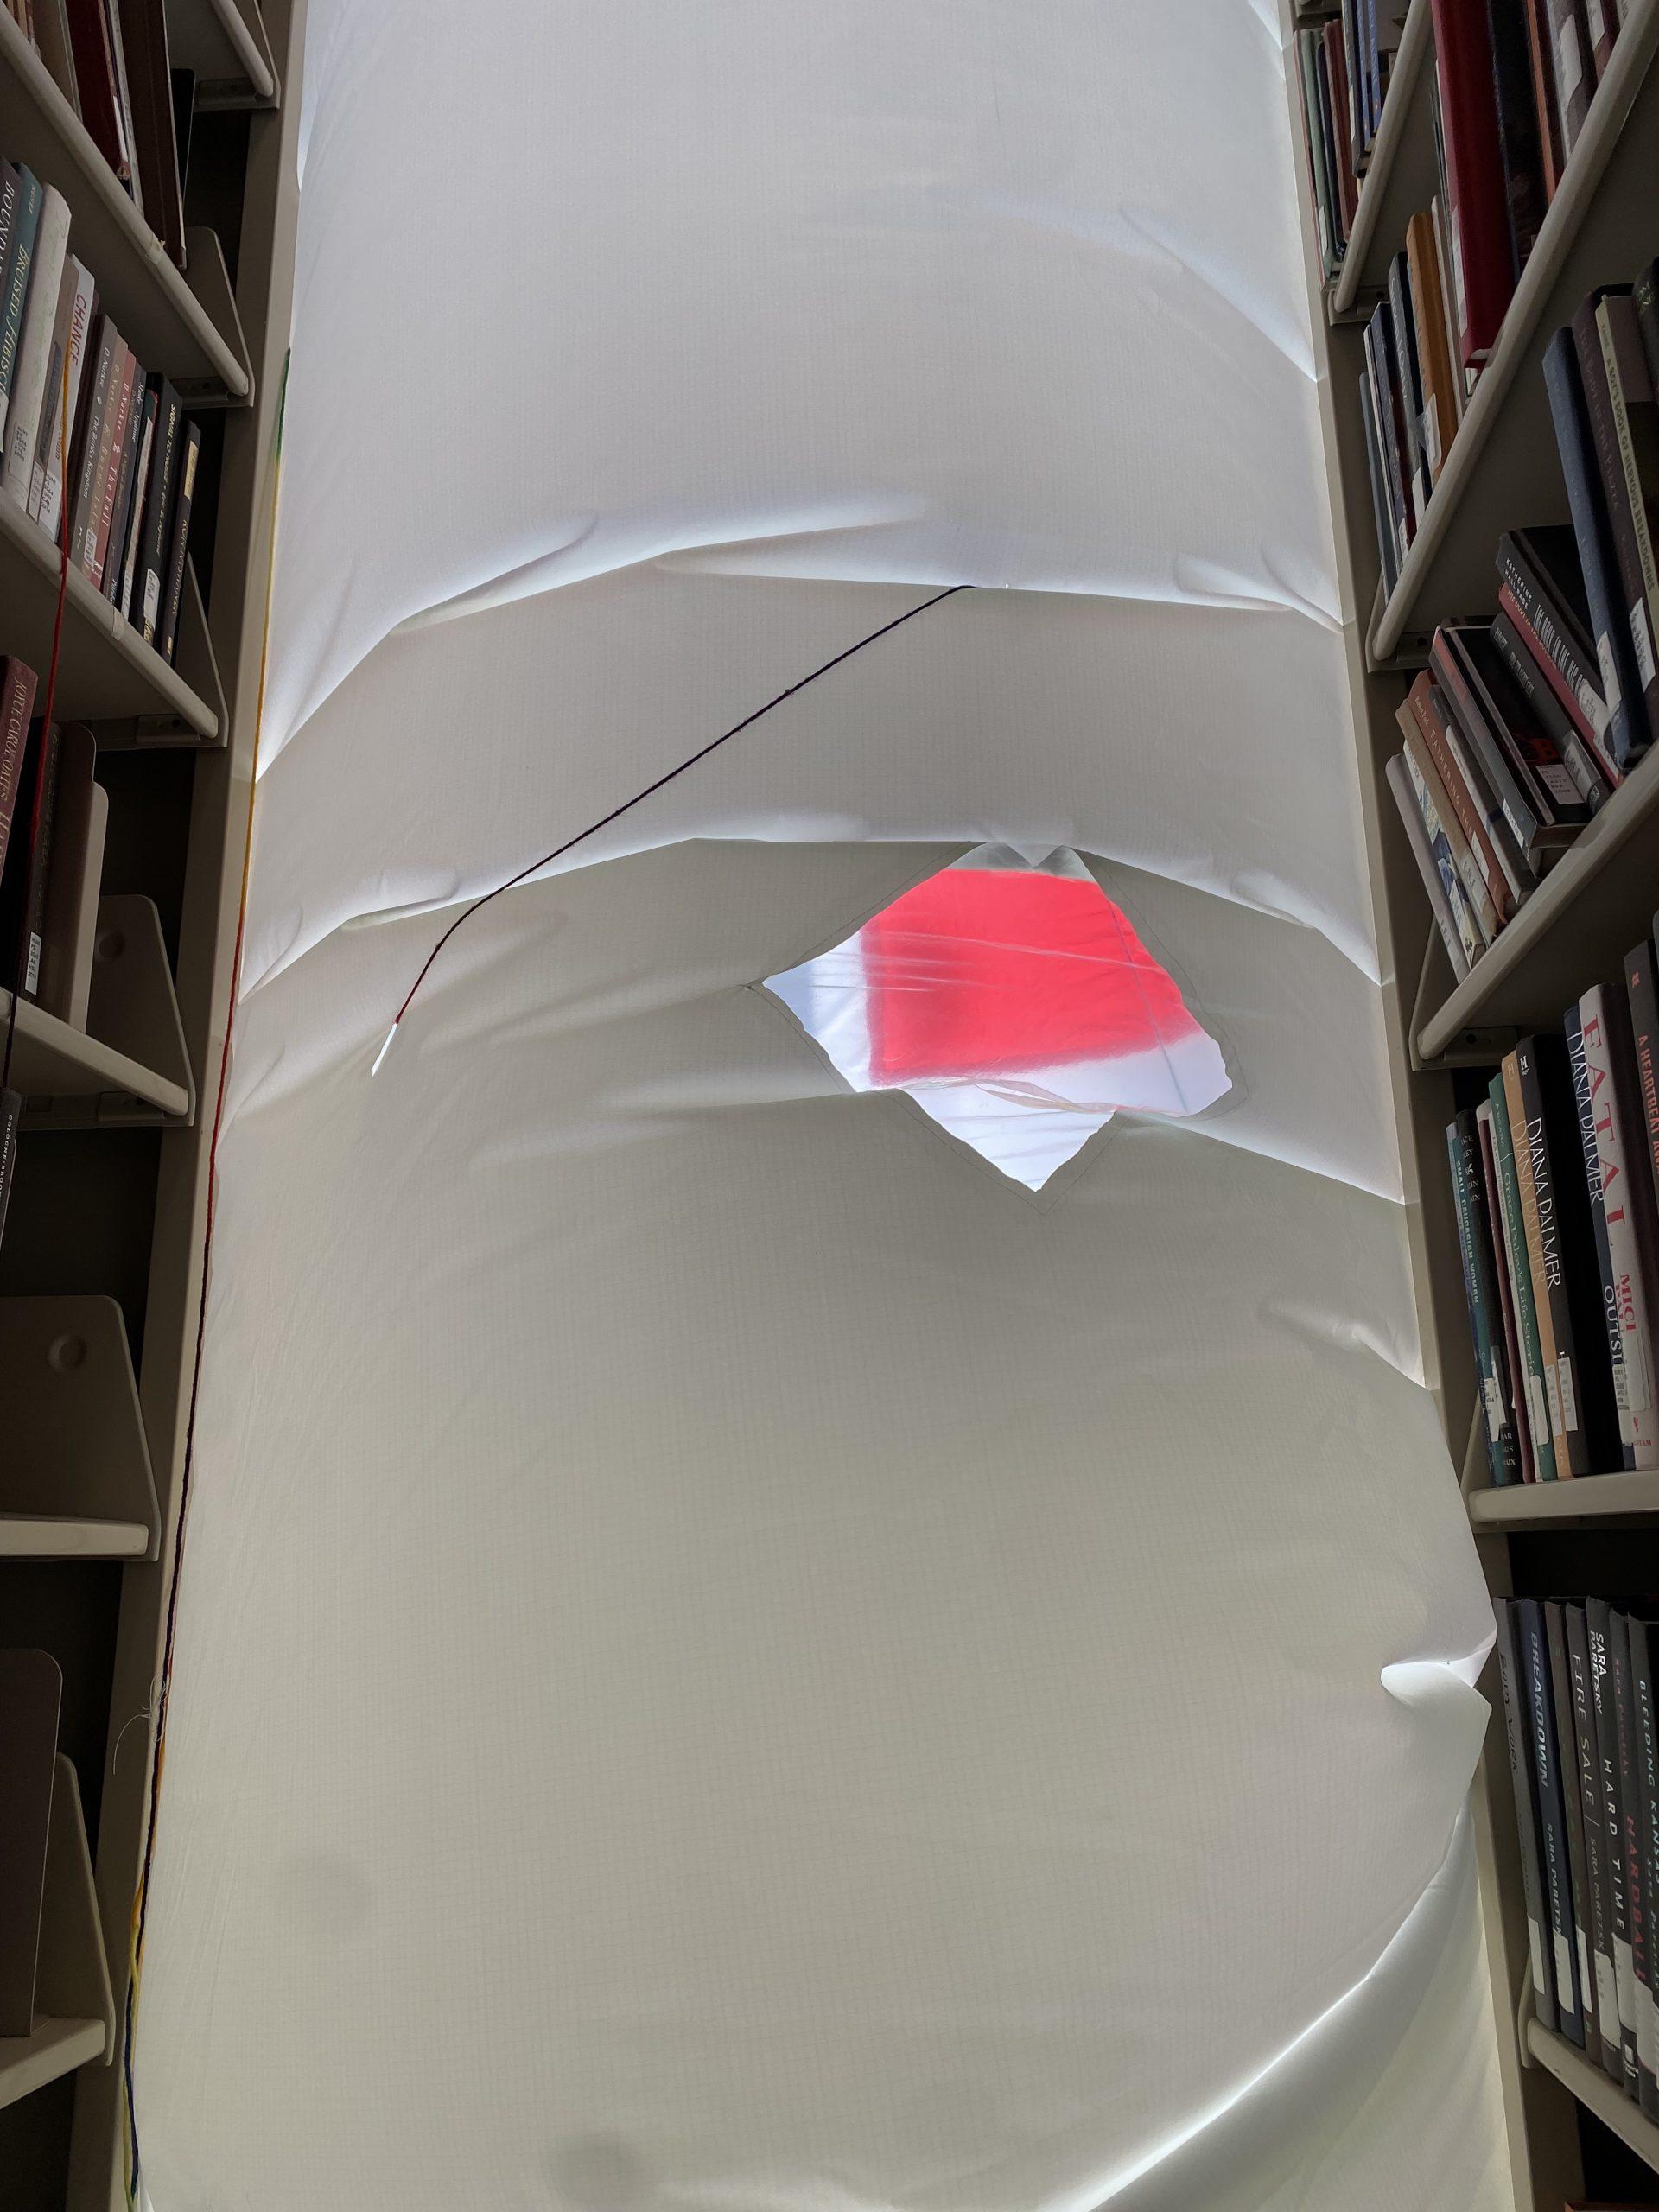
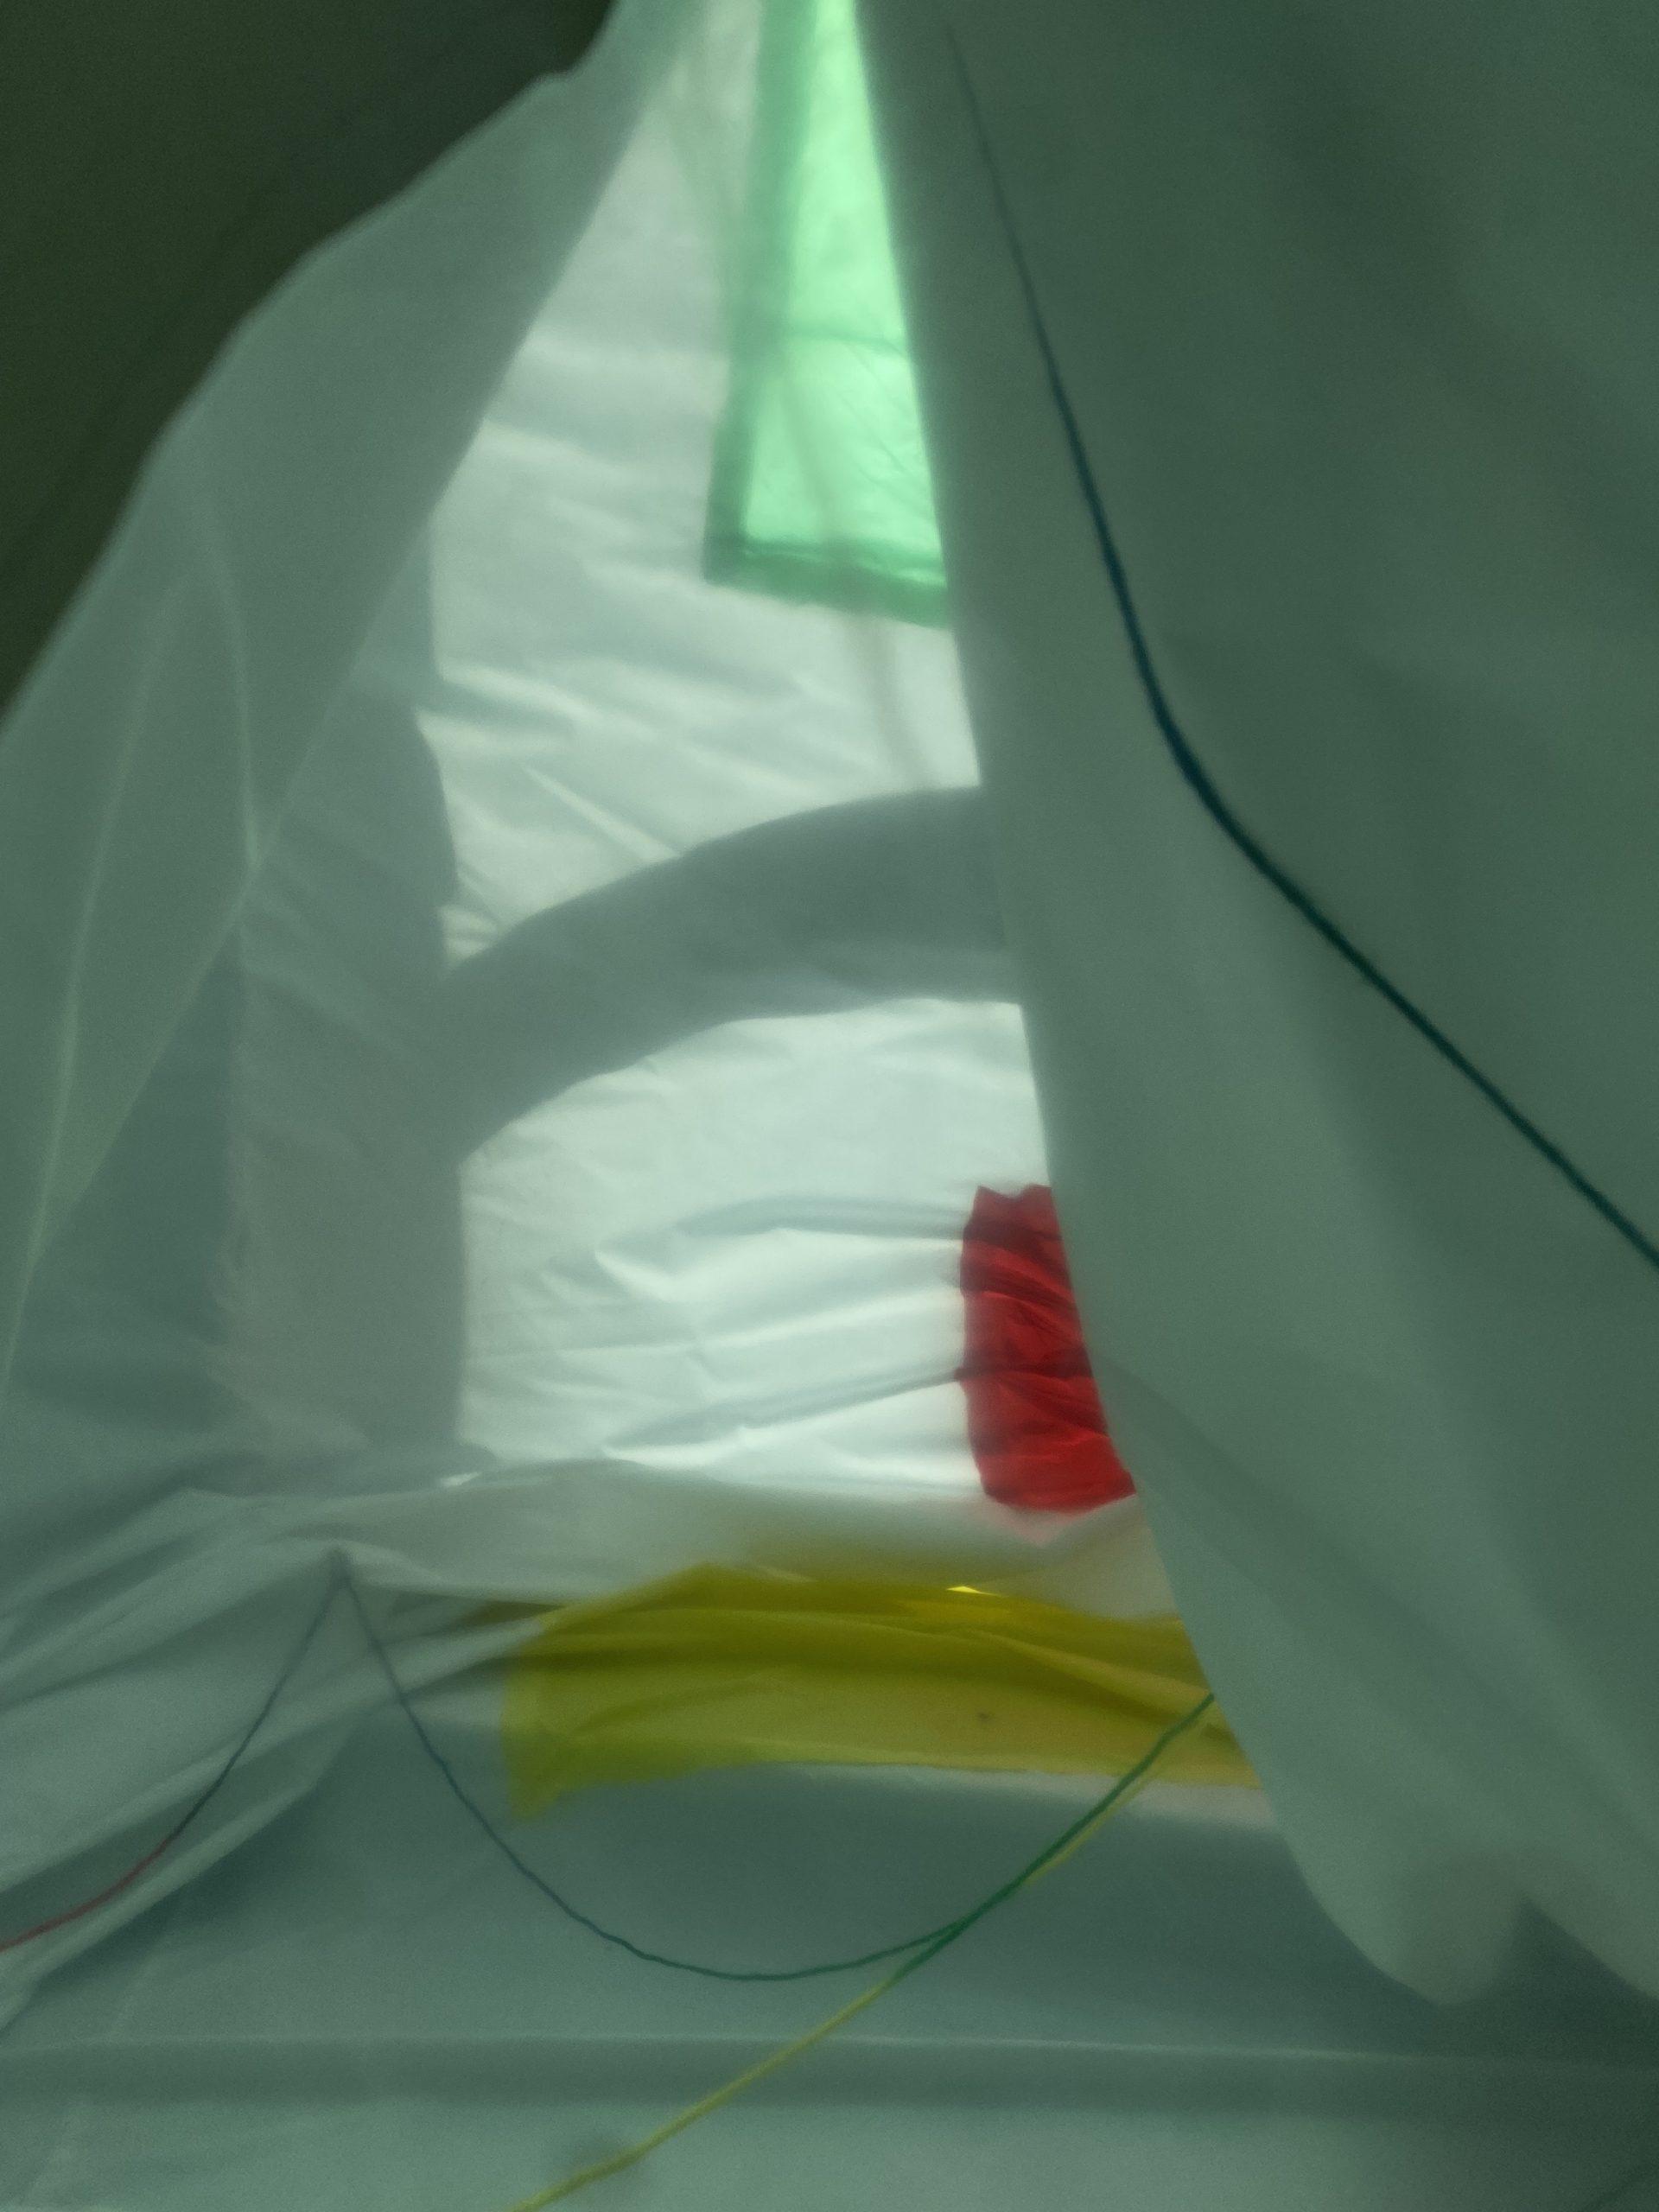
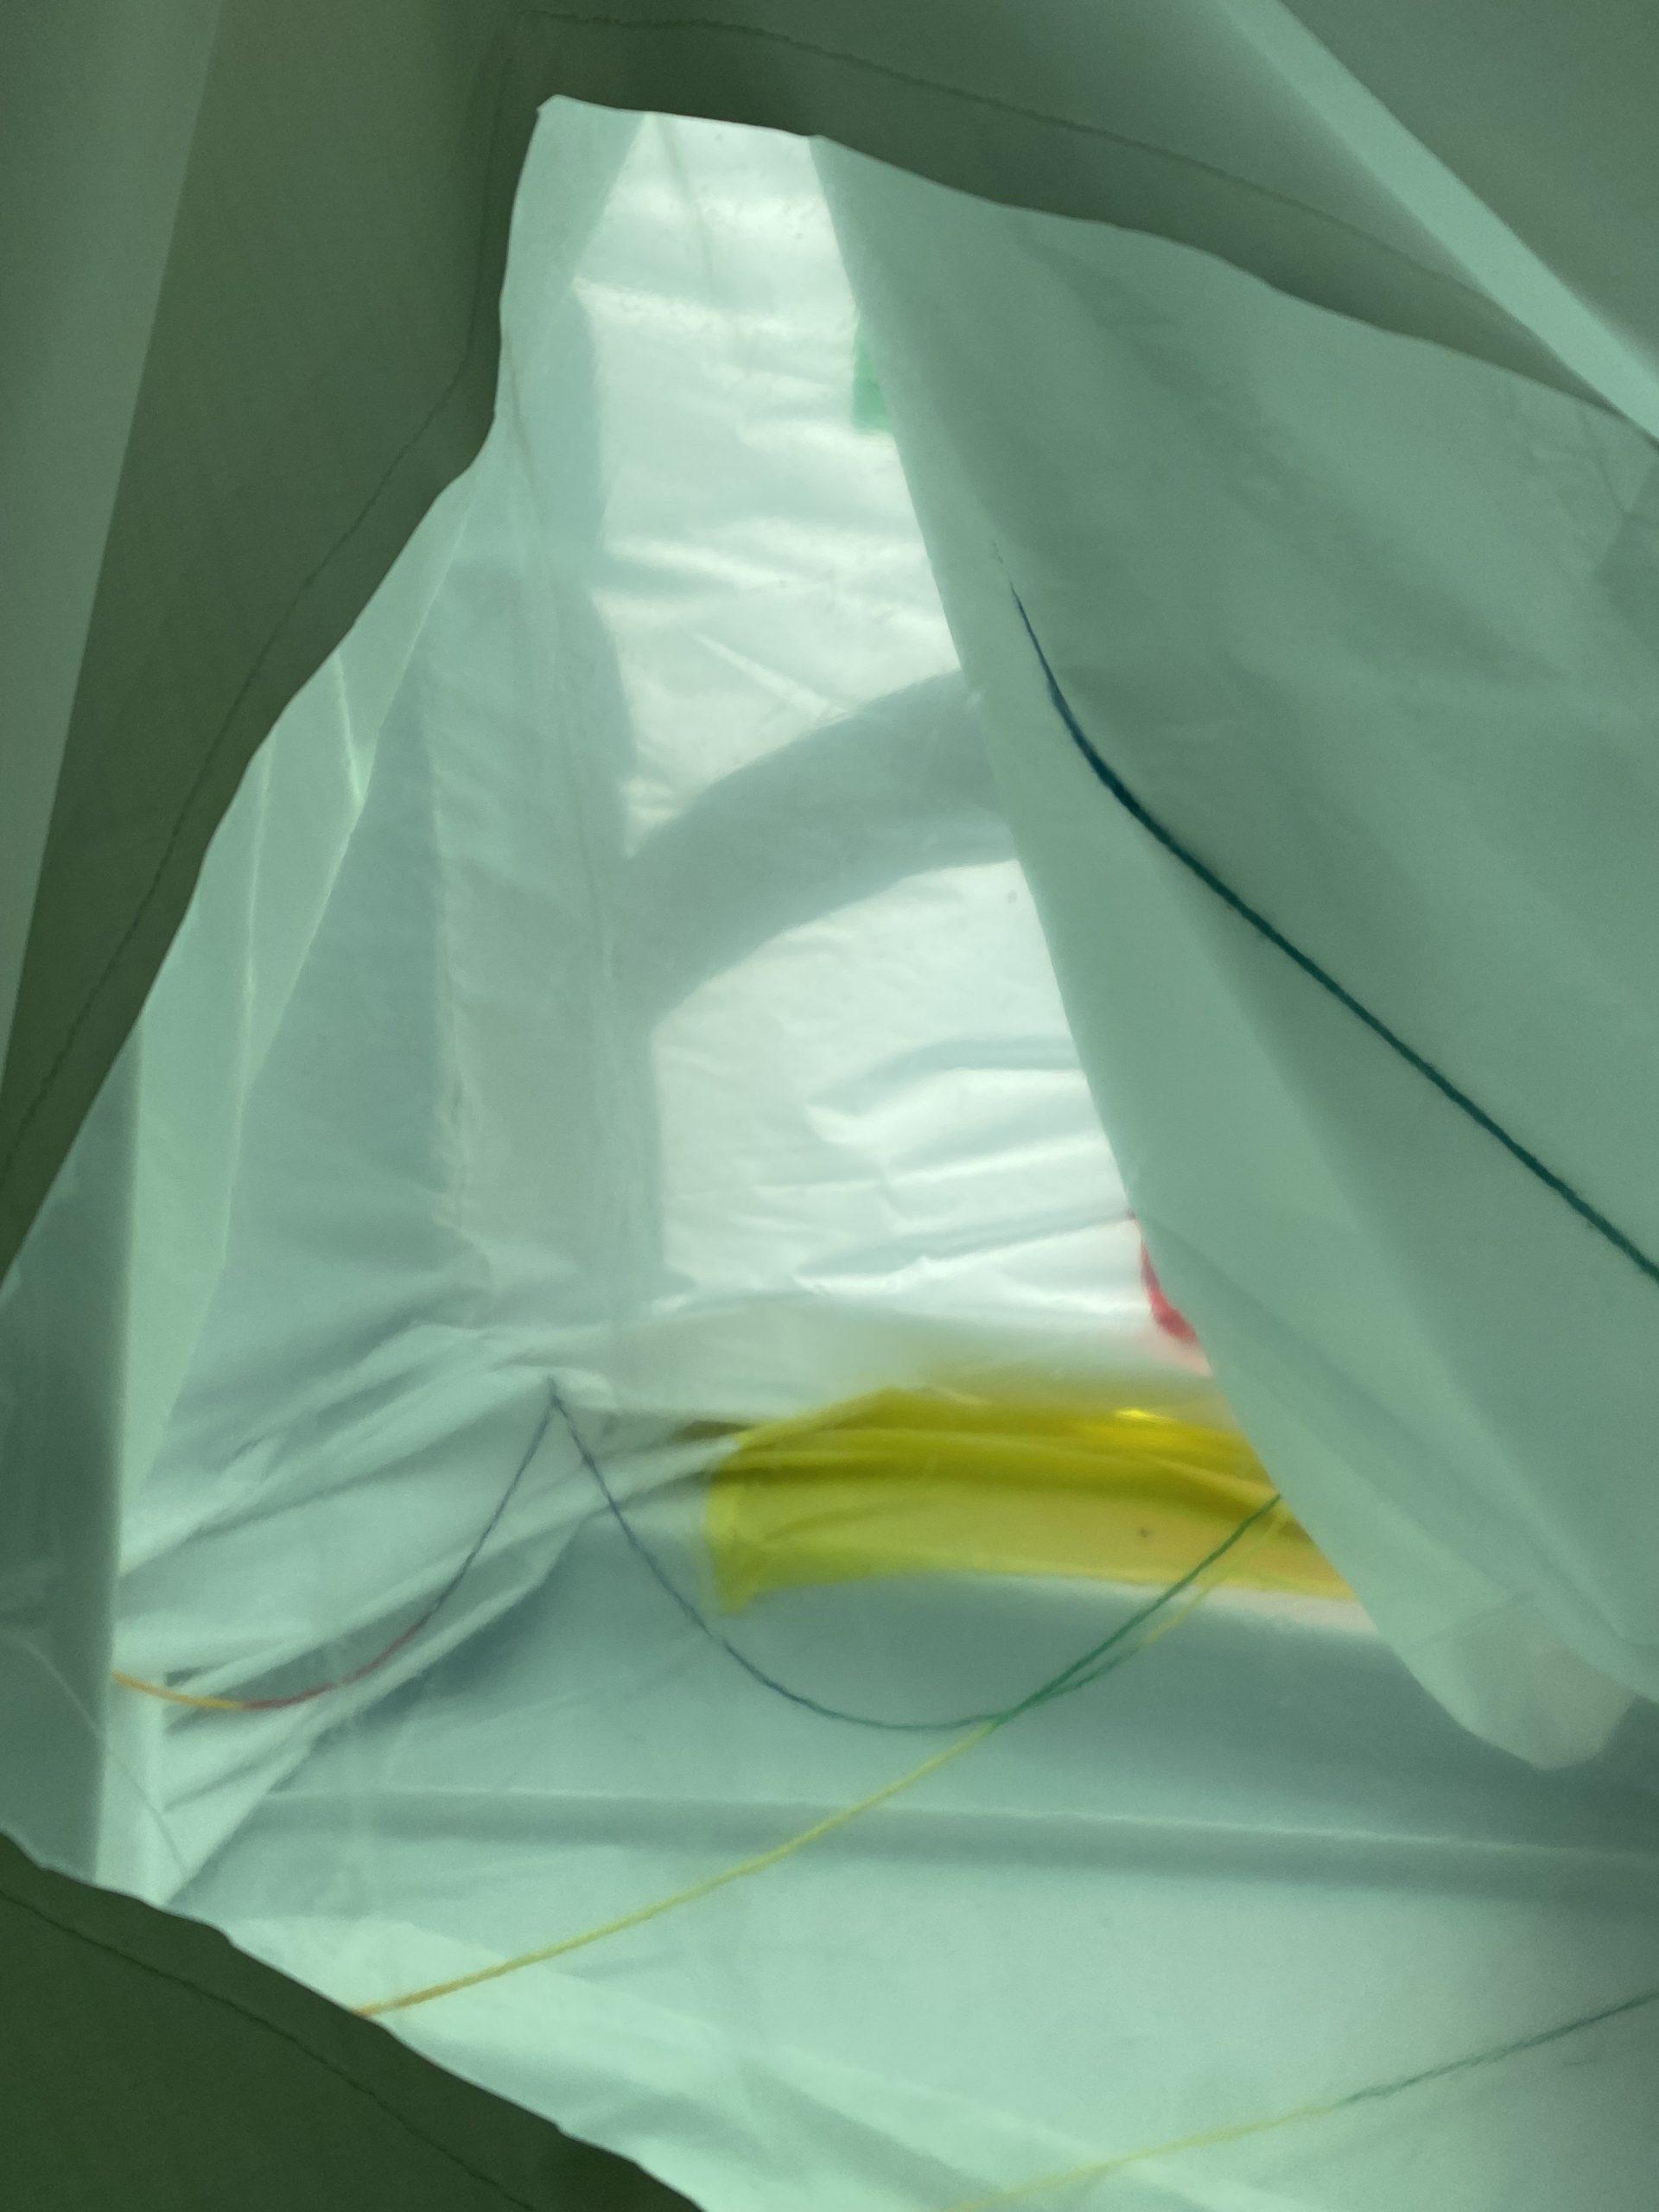
Before cutting out the pattern, we had to decide the color scheme of the inflatable. The options were rather limited, with a simplistic palette of white, yellow, red, dyed green, and black. We tried out several mix match color choices; however, we landed on the black and white checkerboard match. It would give a special boldness to the inflatable.
We had initially planned to use the projector. However, considering the simple segment shapes of the pattern, we decided to do a precise drawing of the pattern by using our own skills of measuring and enlarging the original pattern. It took a while but was successful.
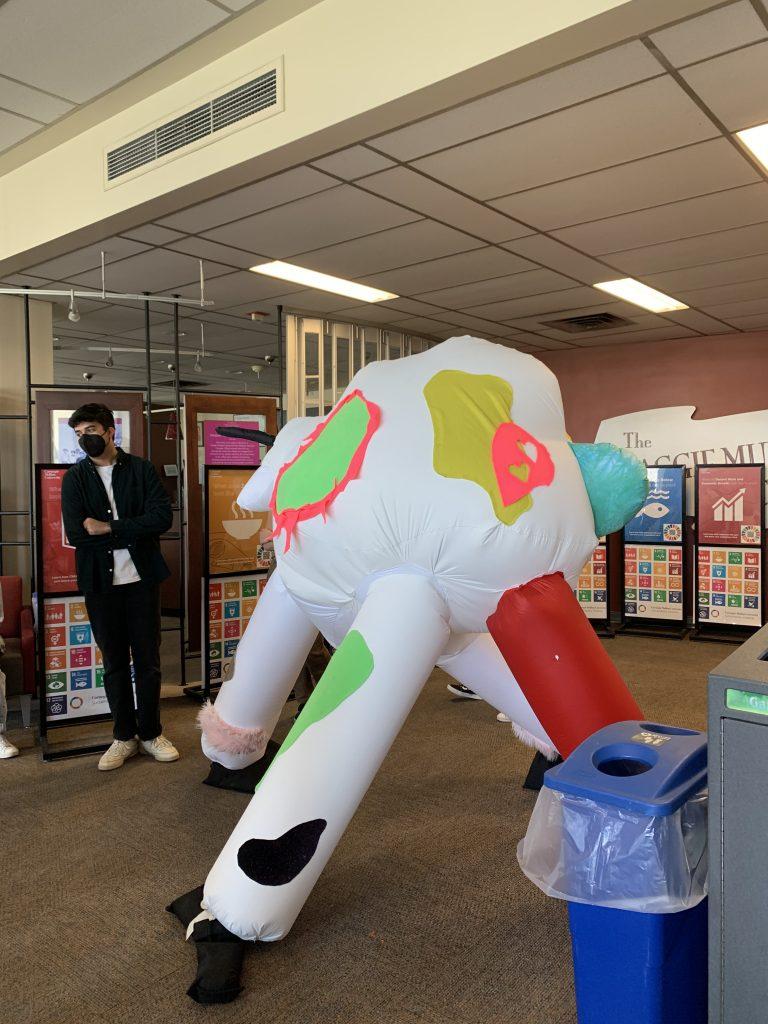
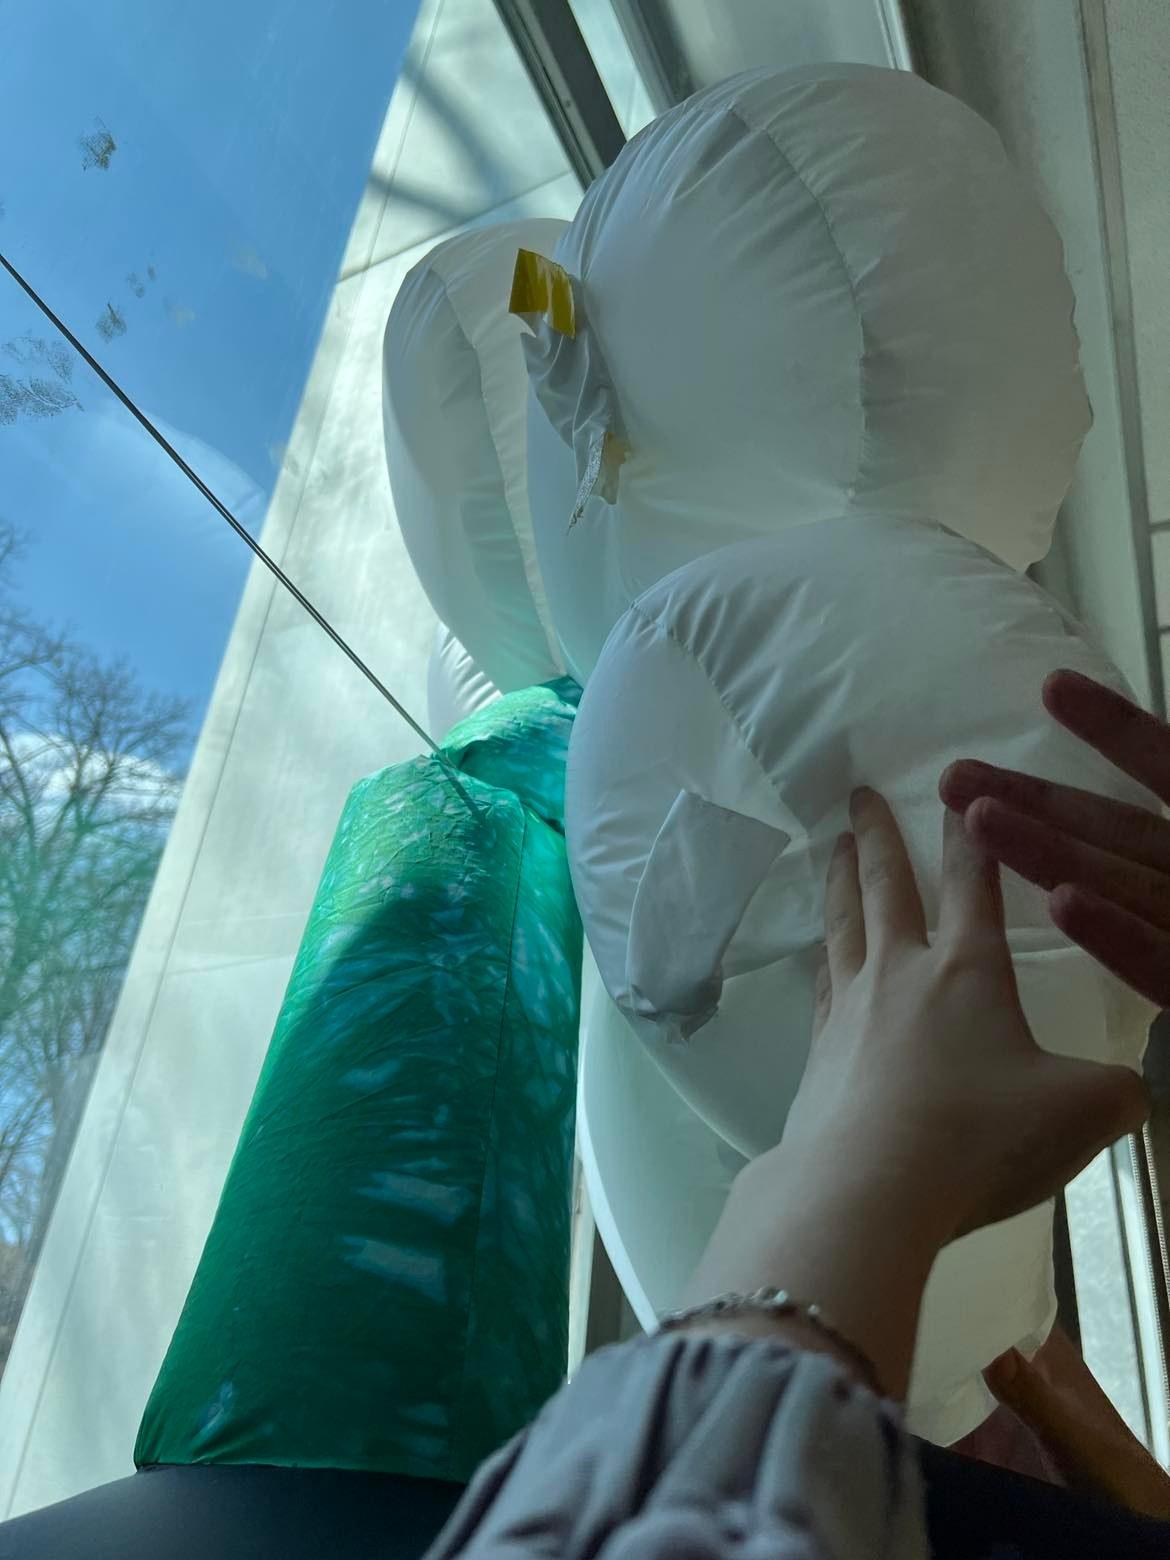
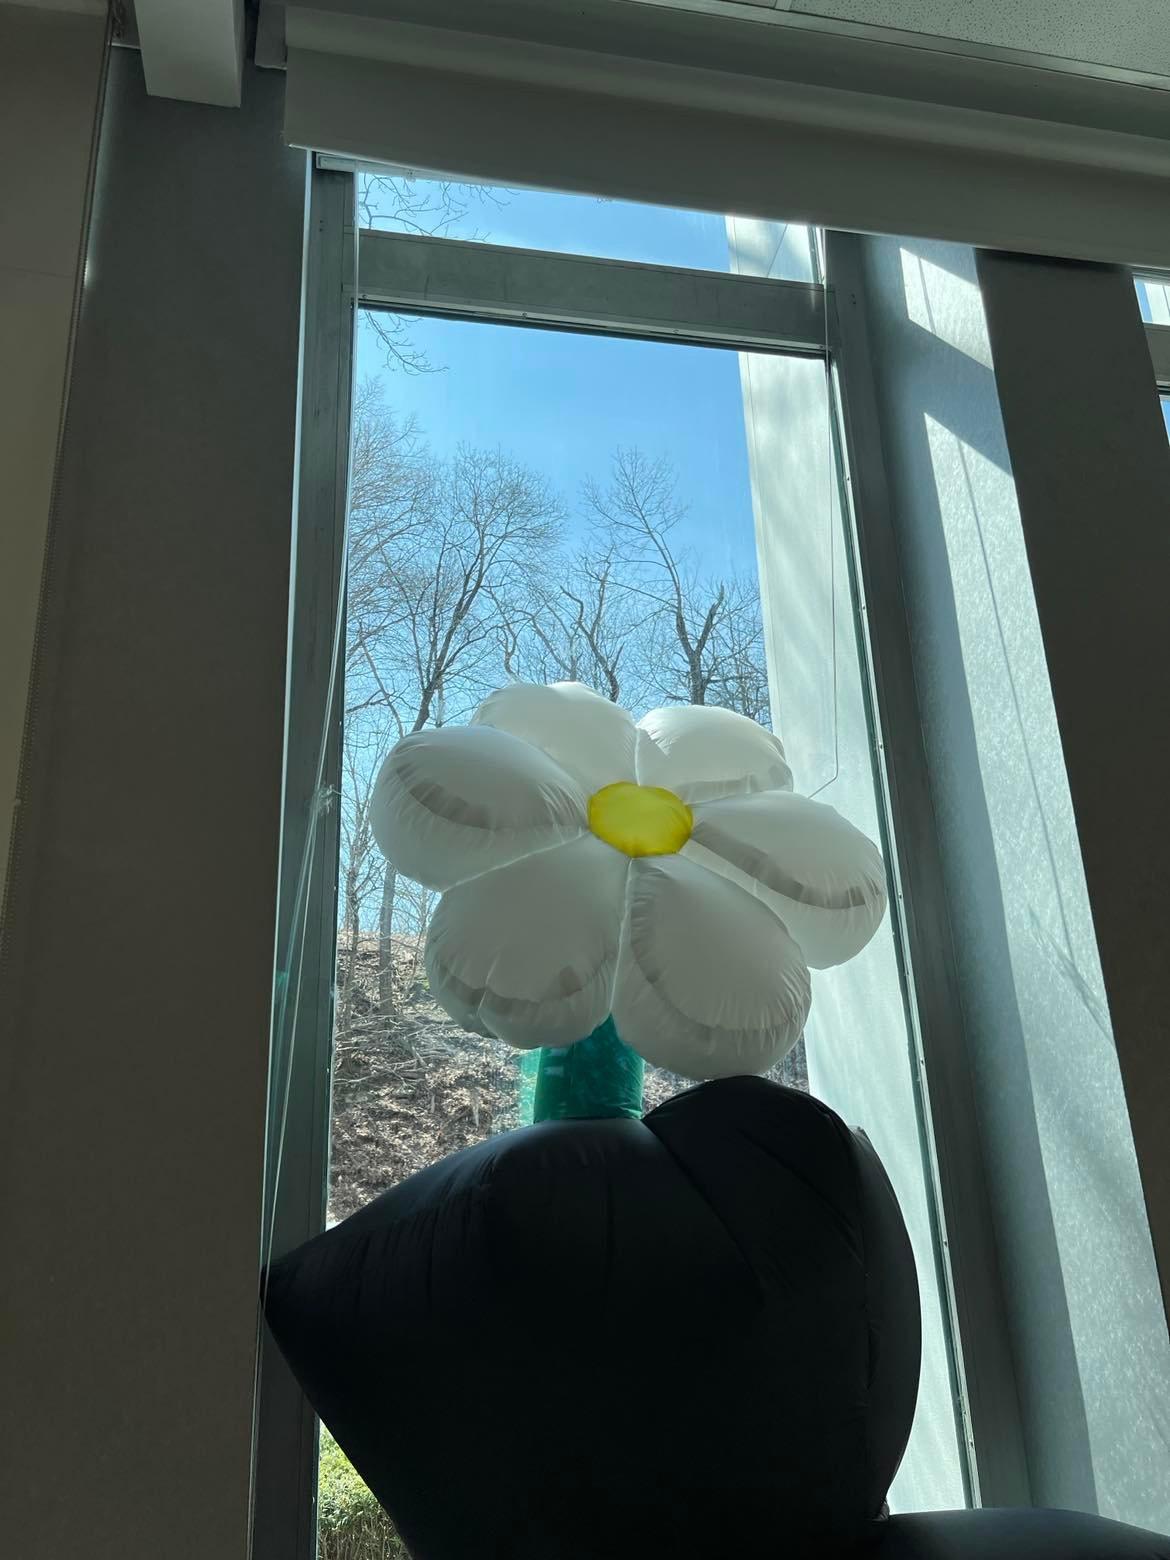
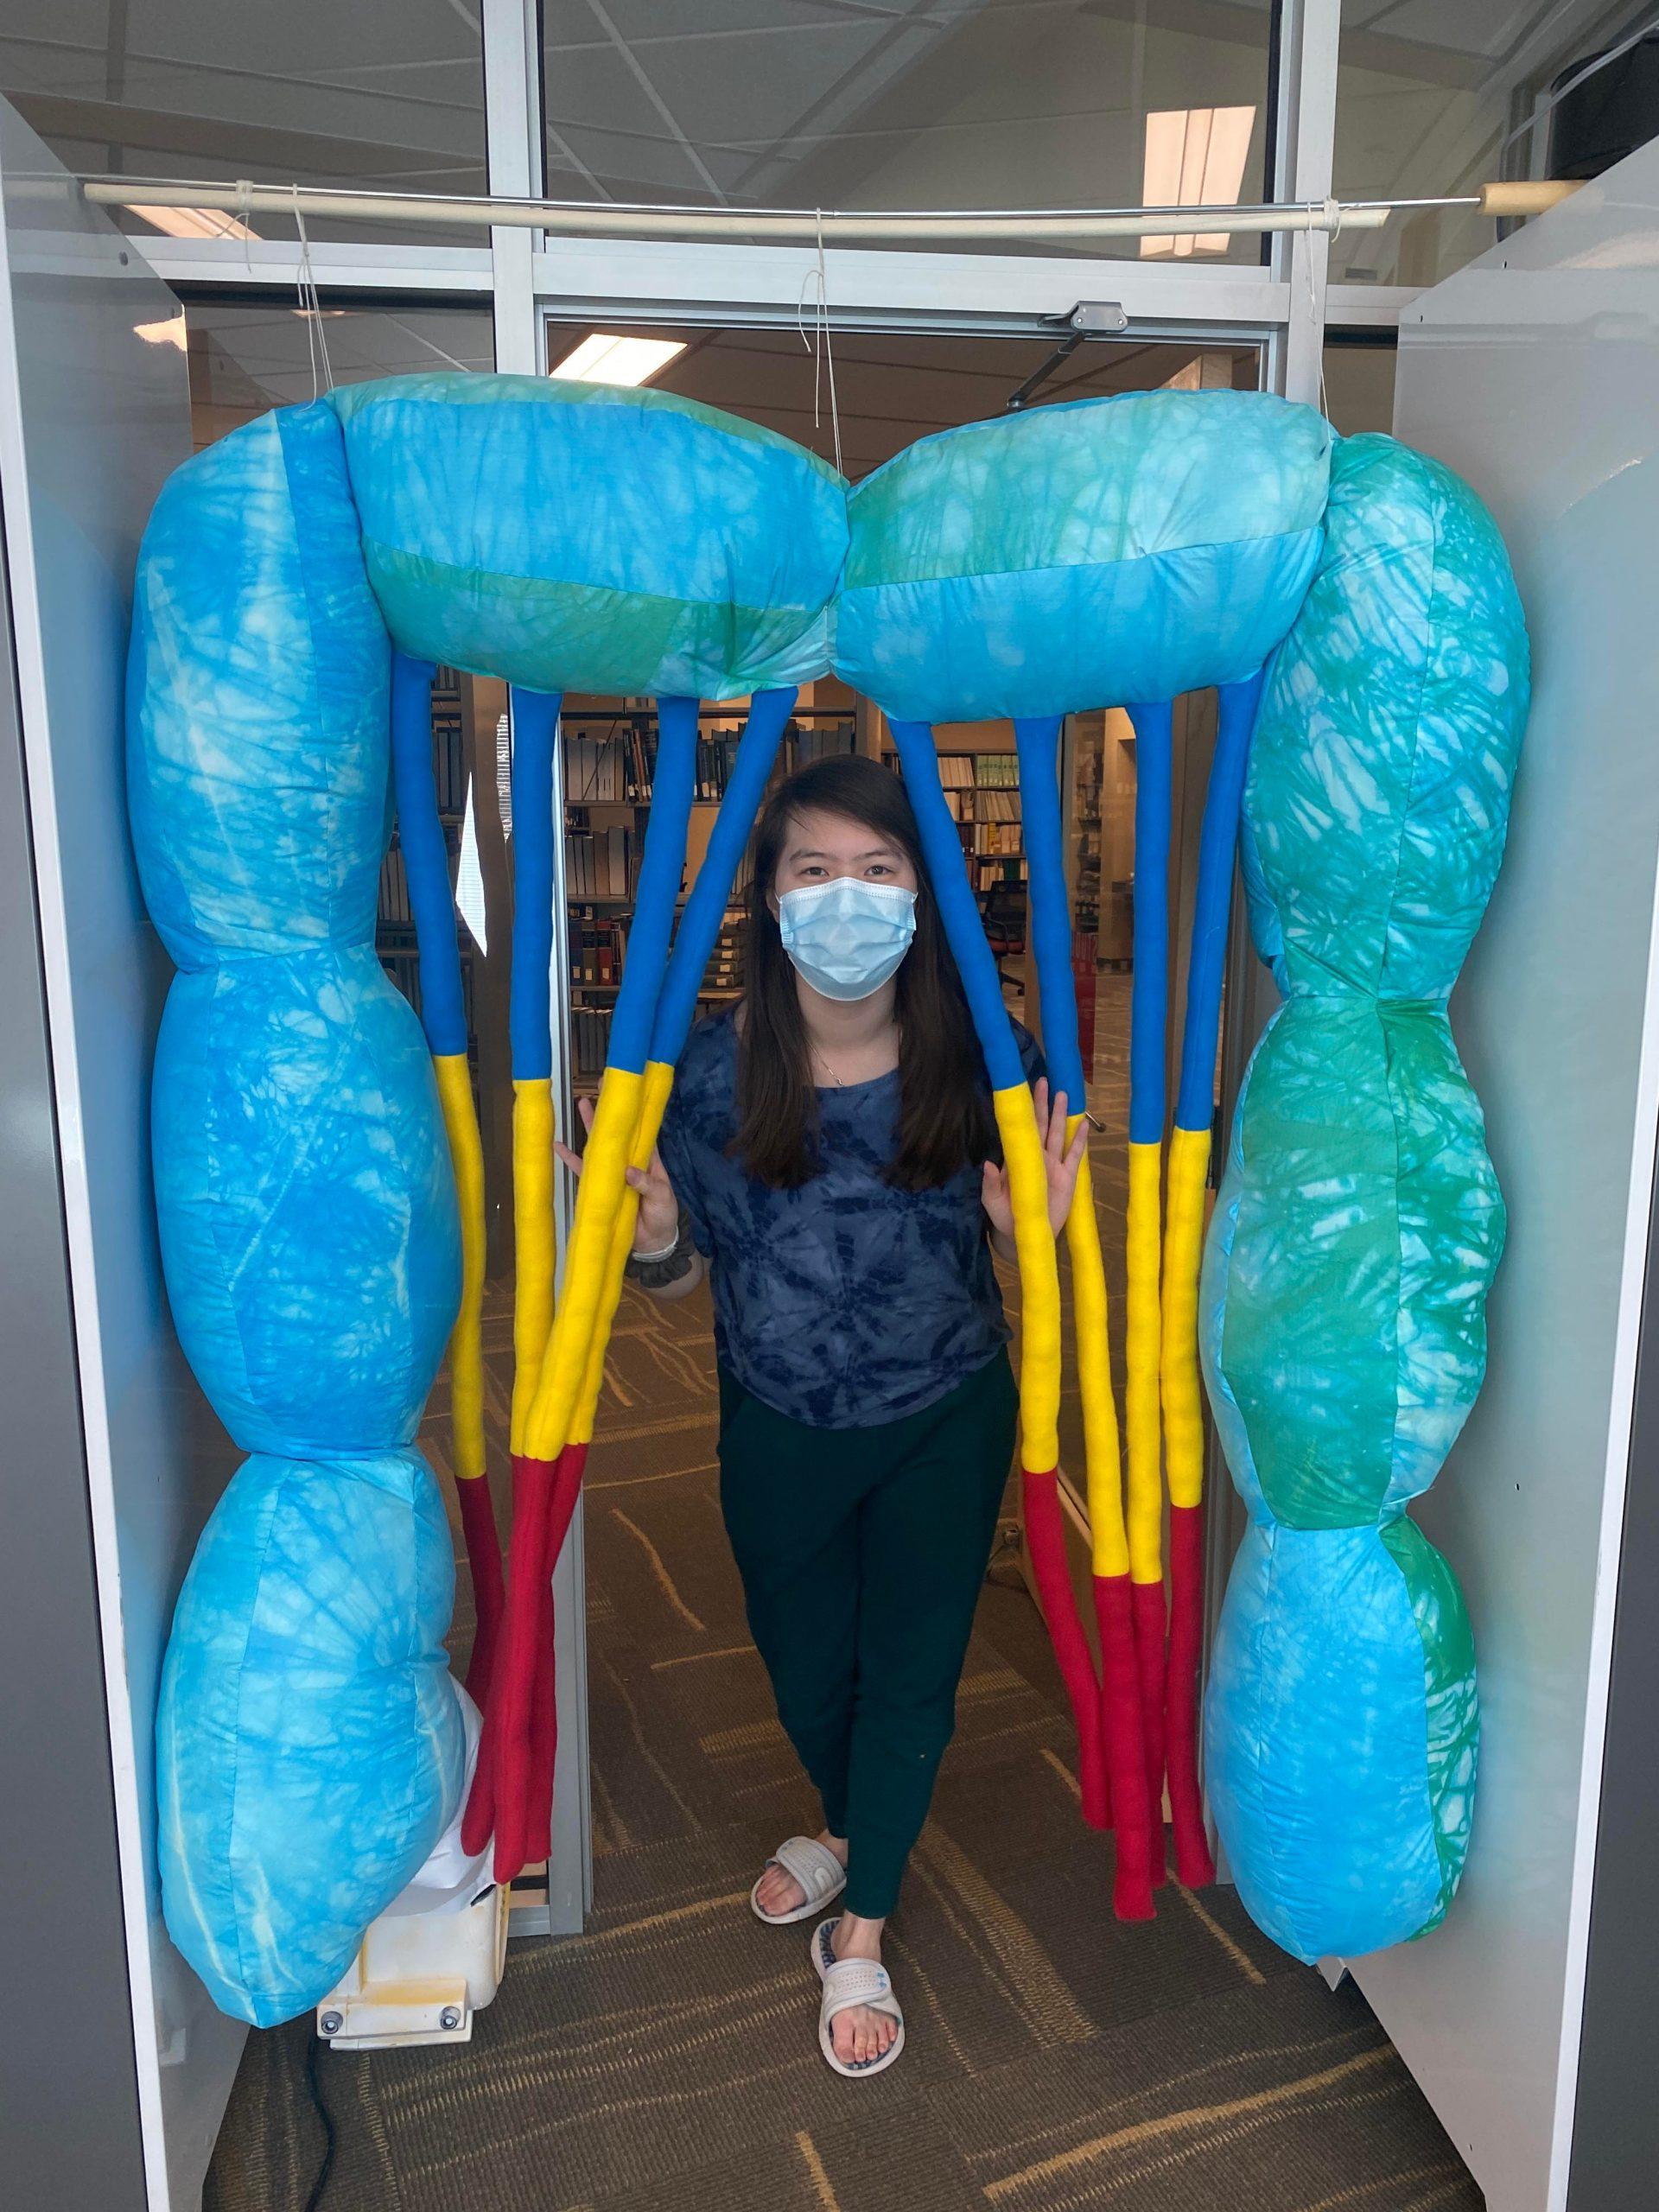
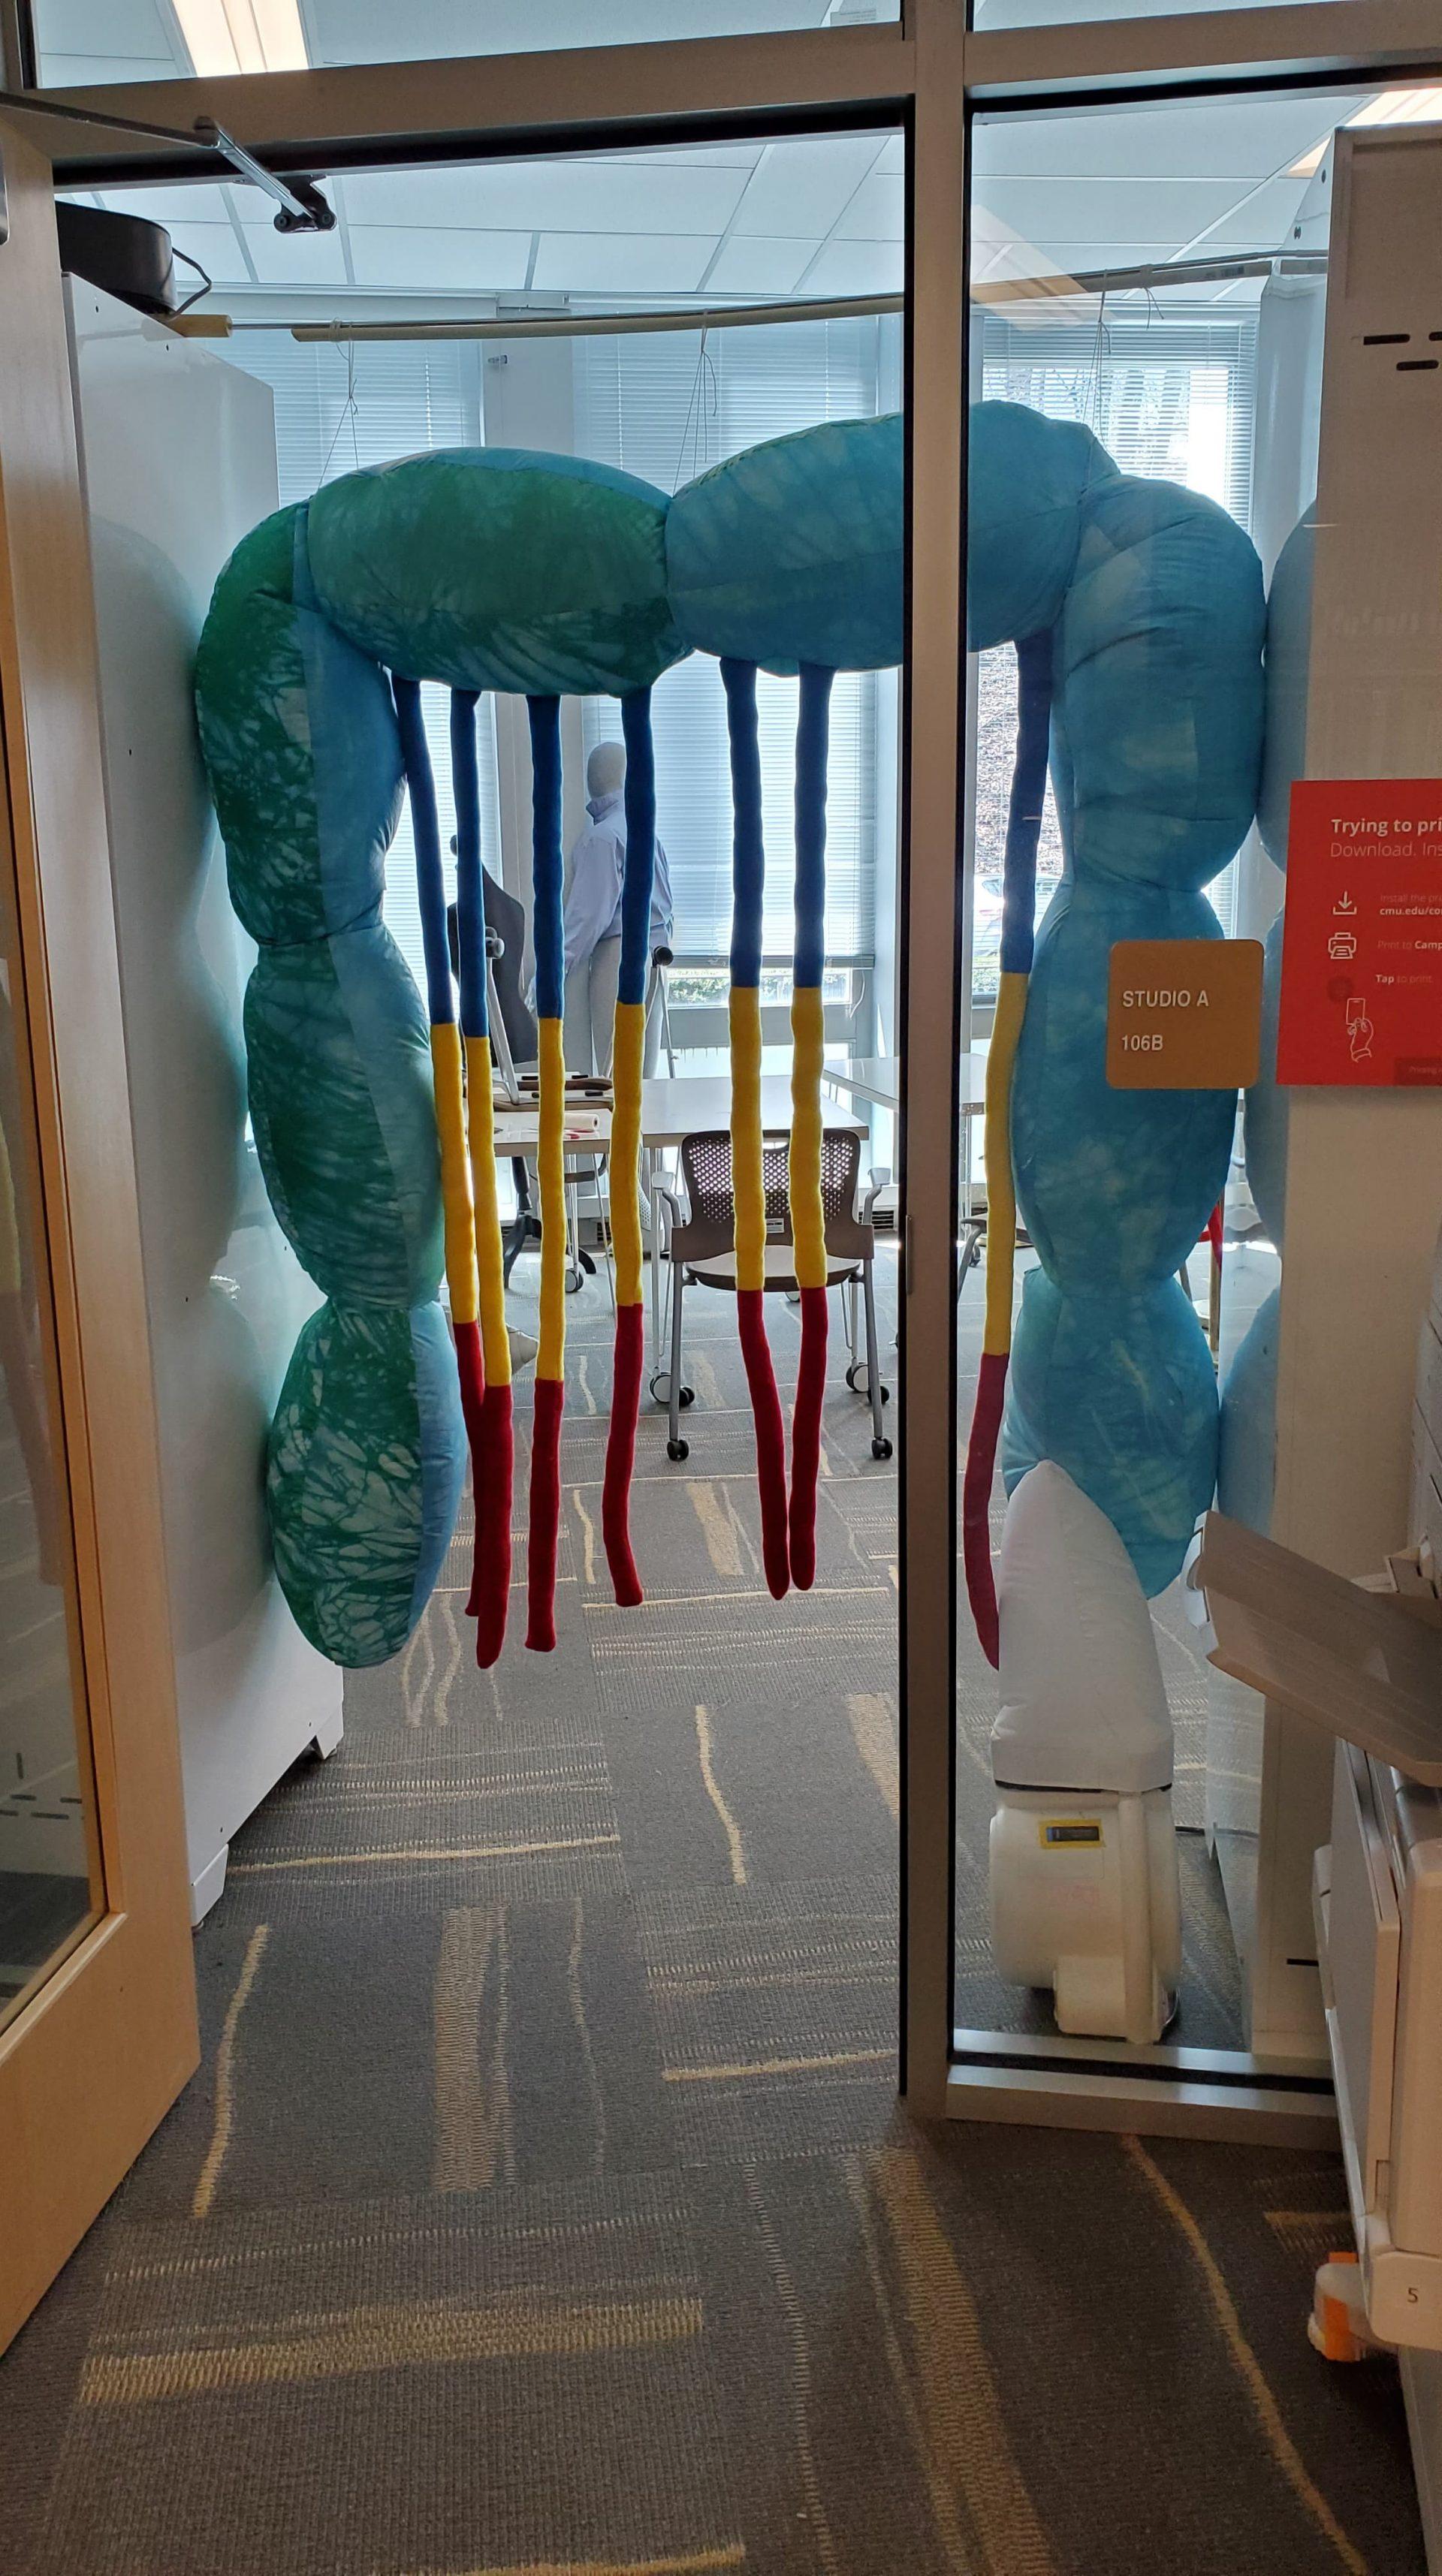
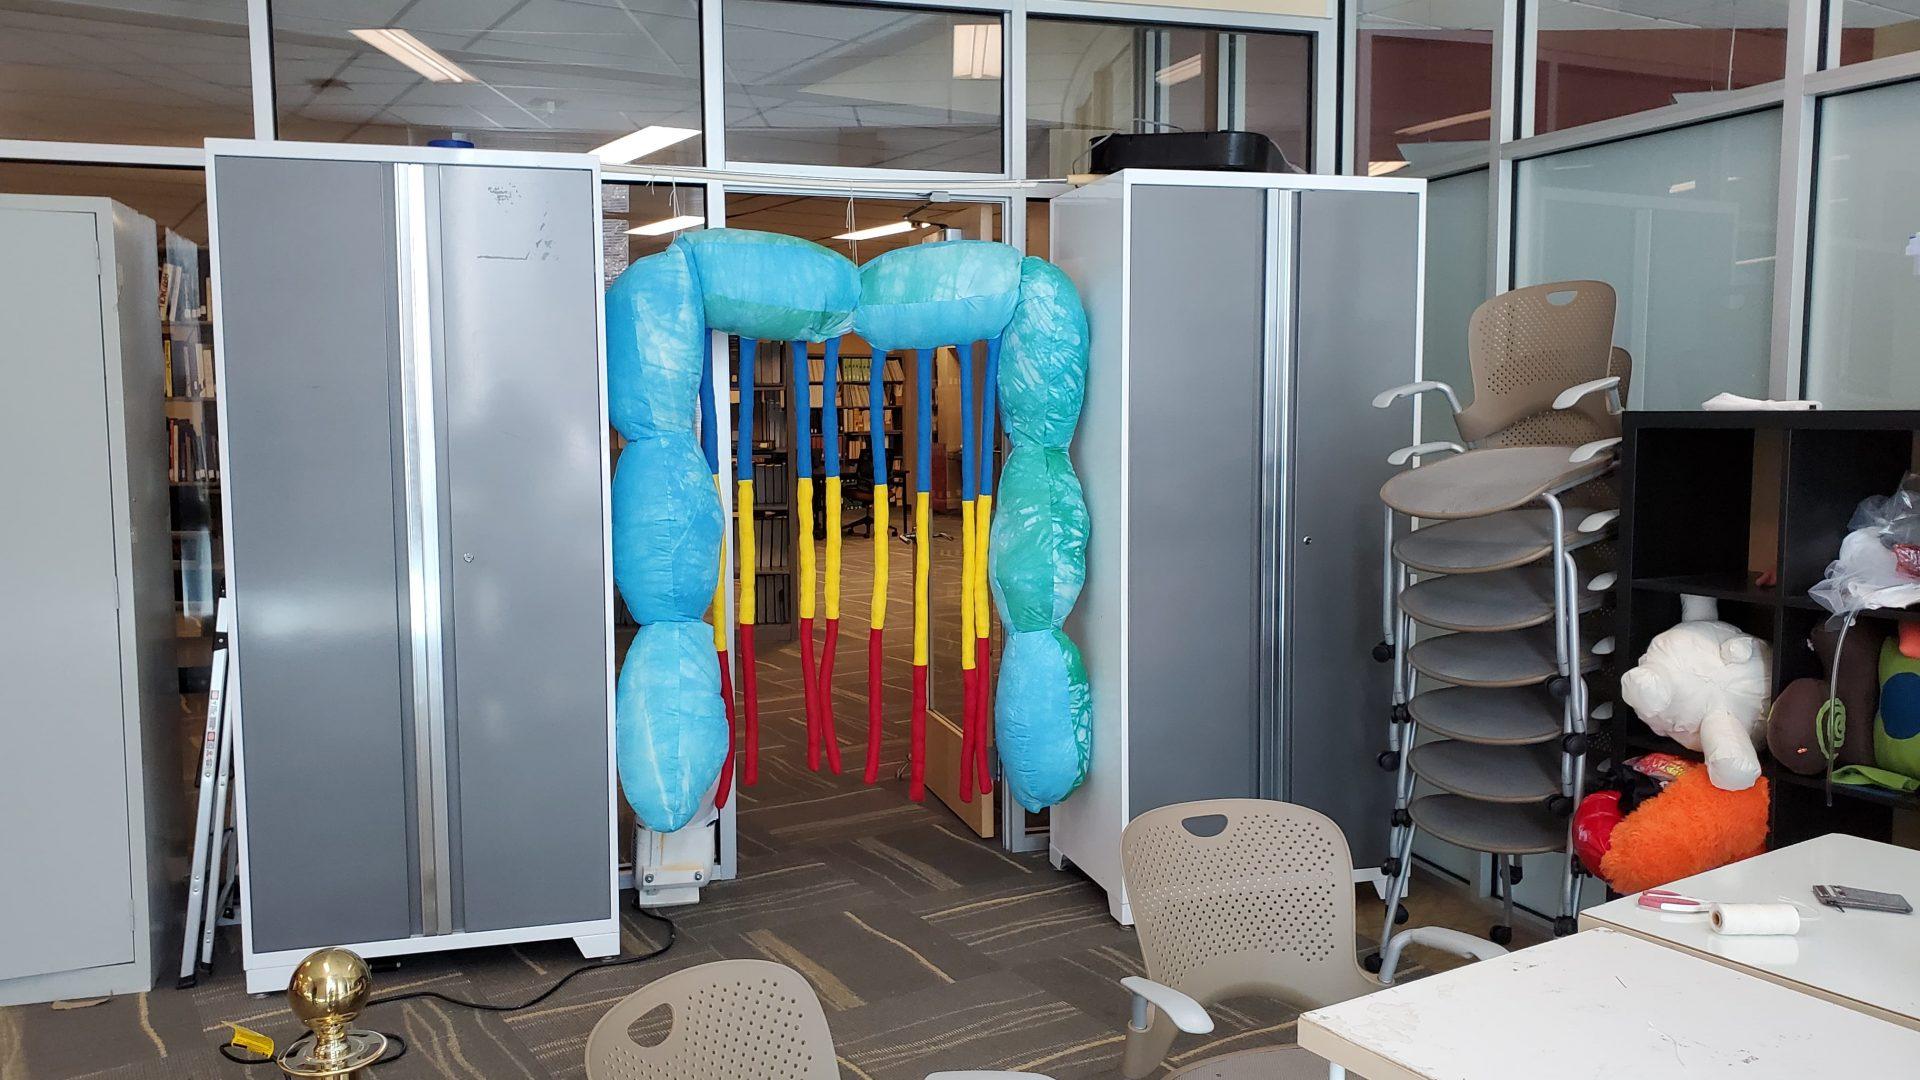
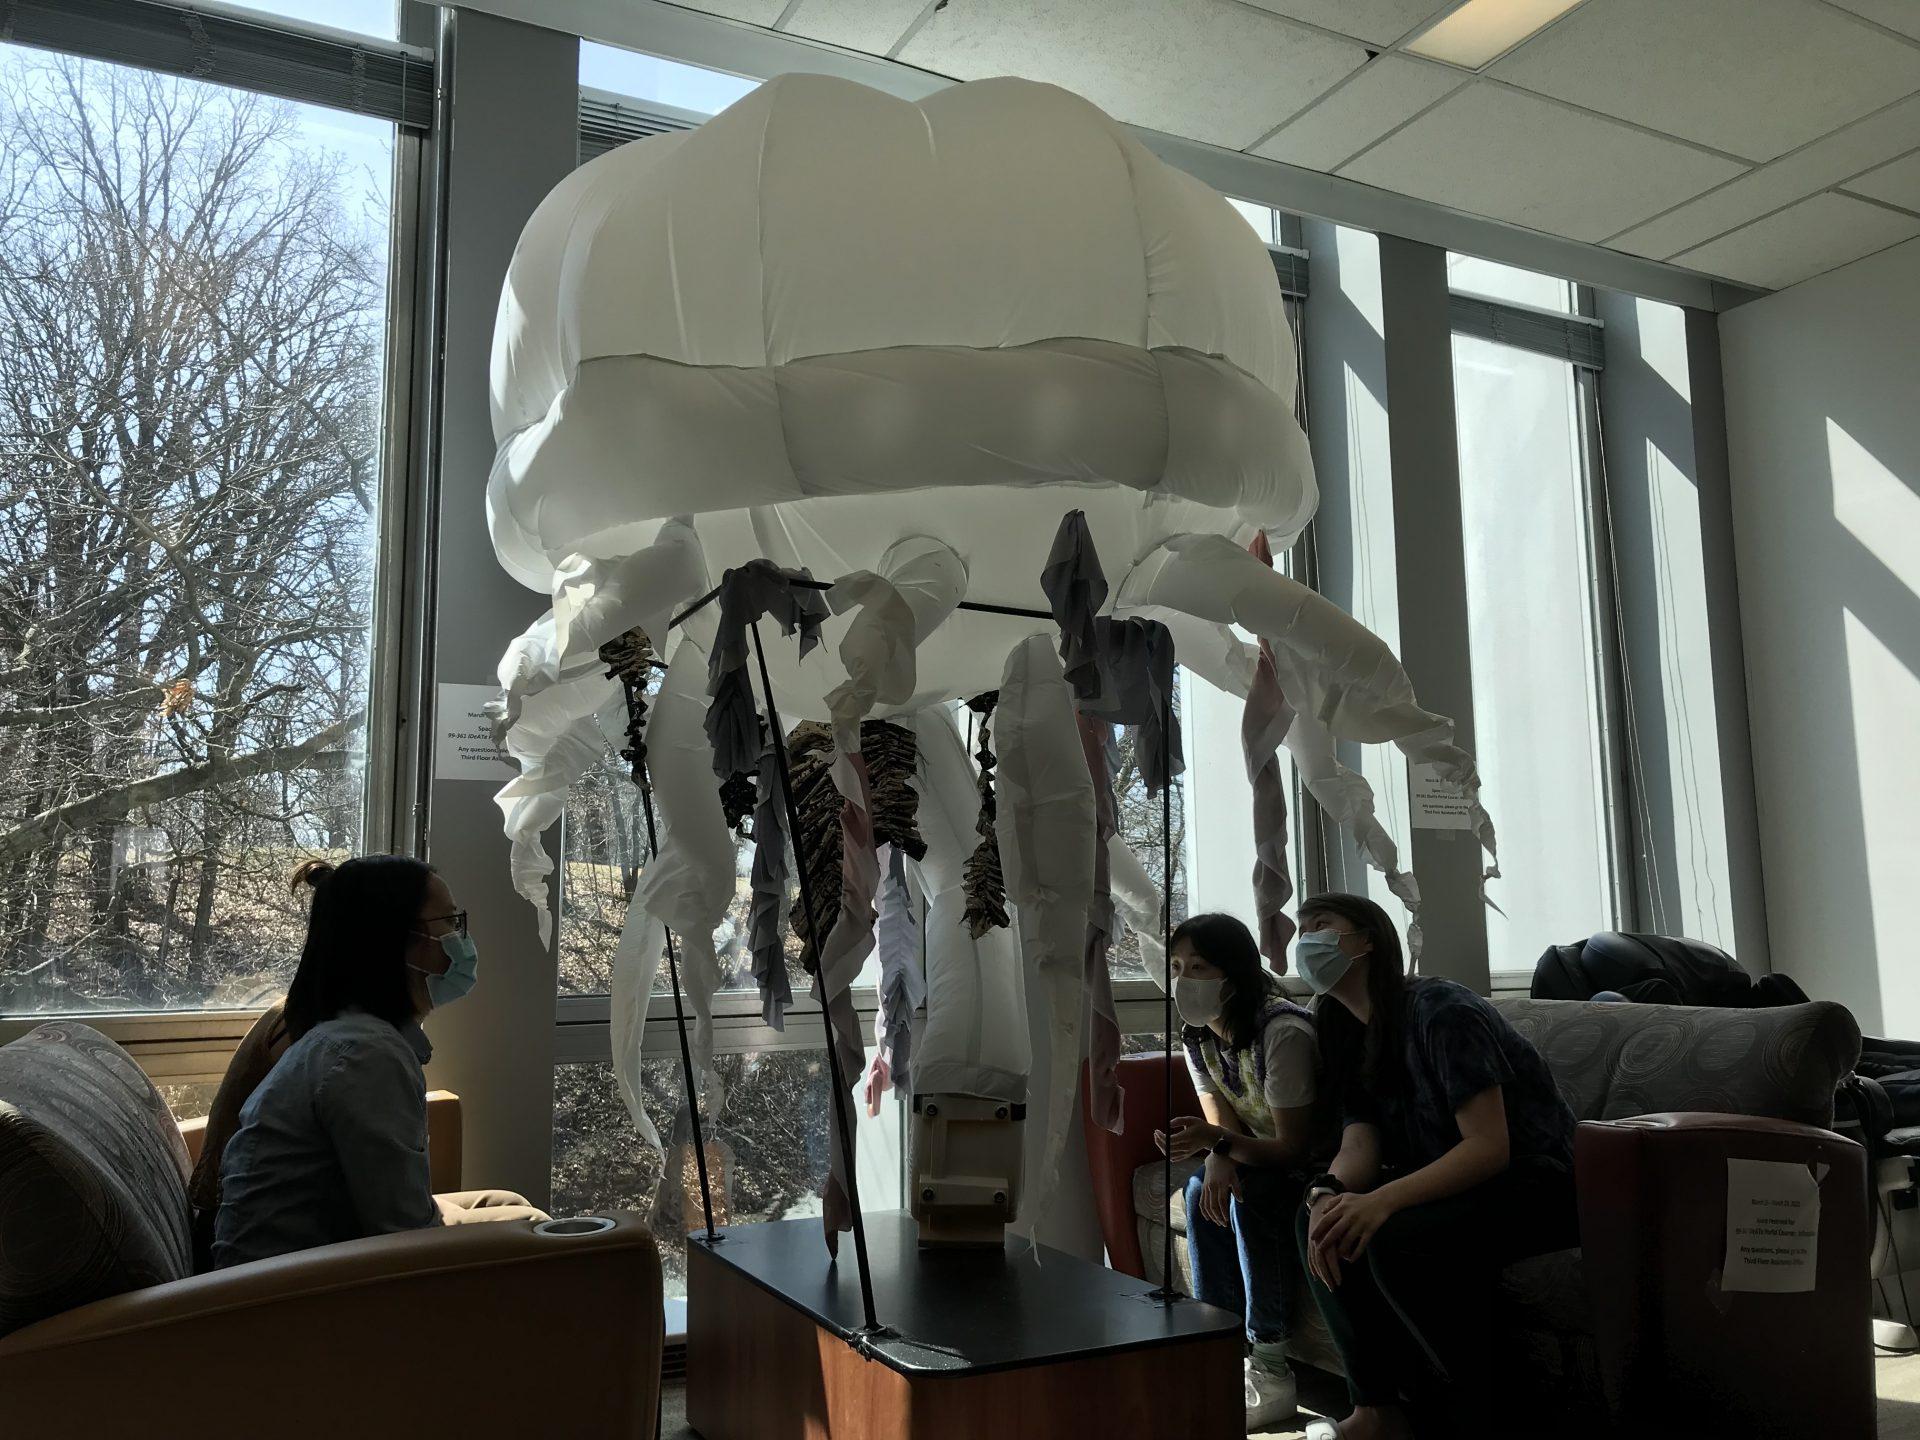
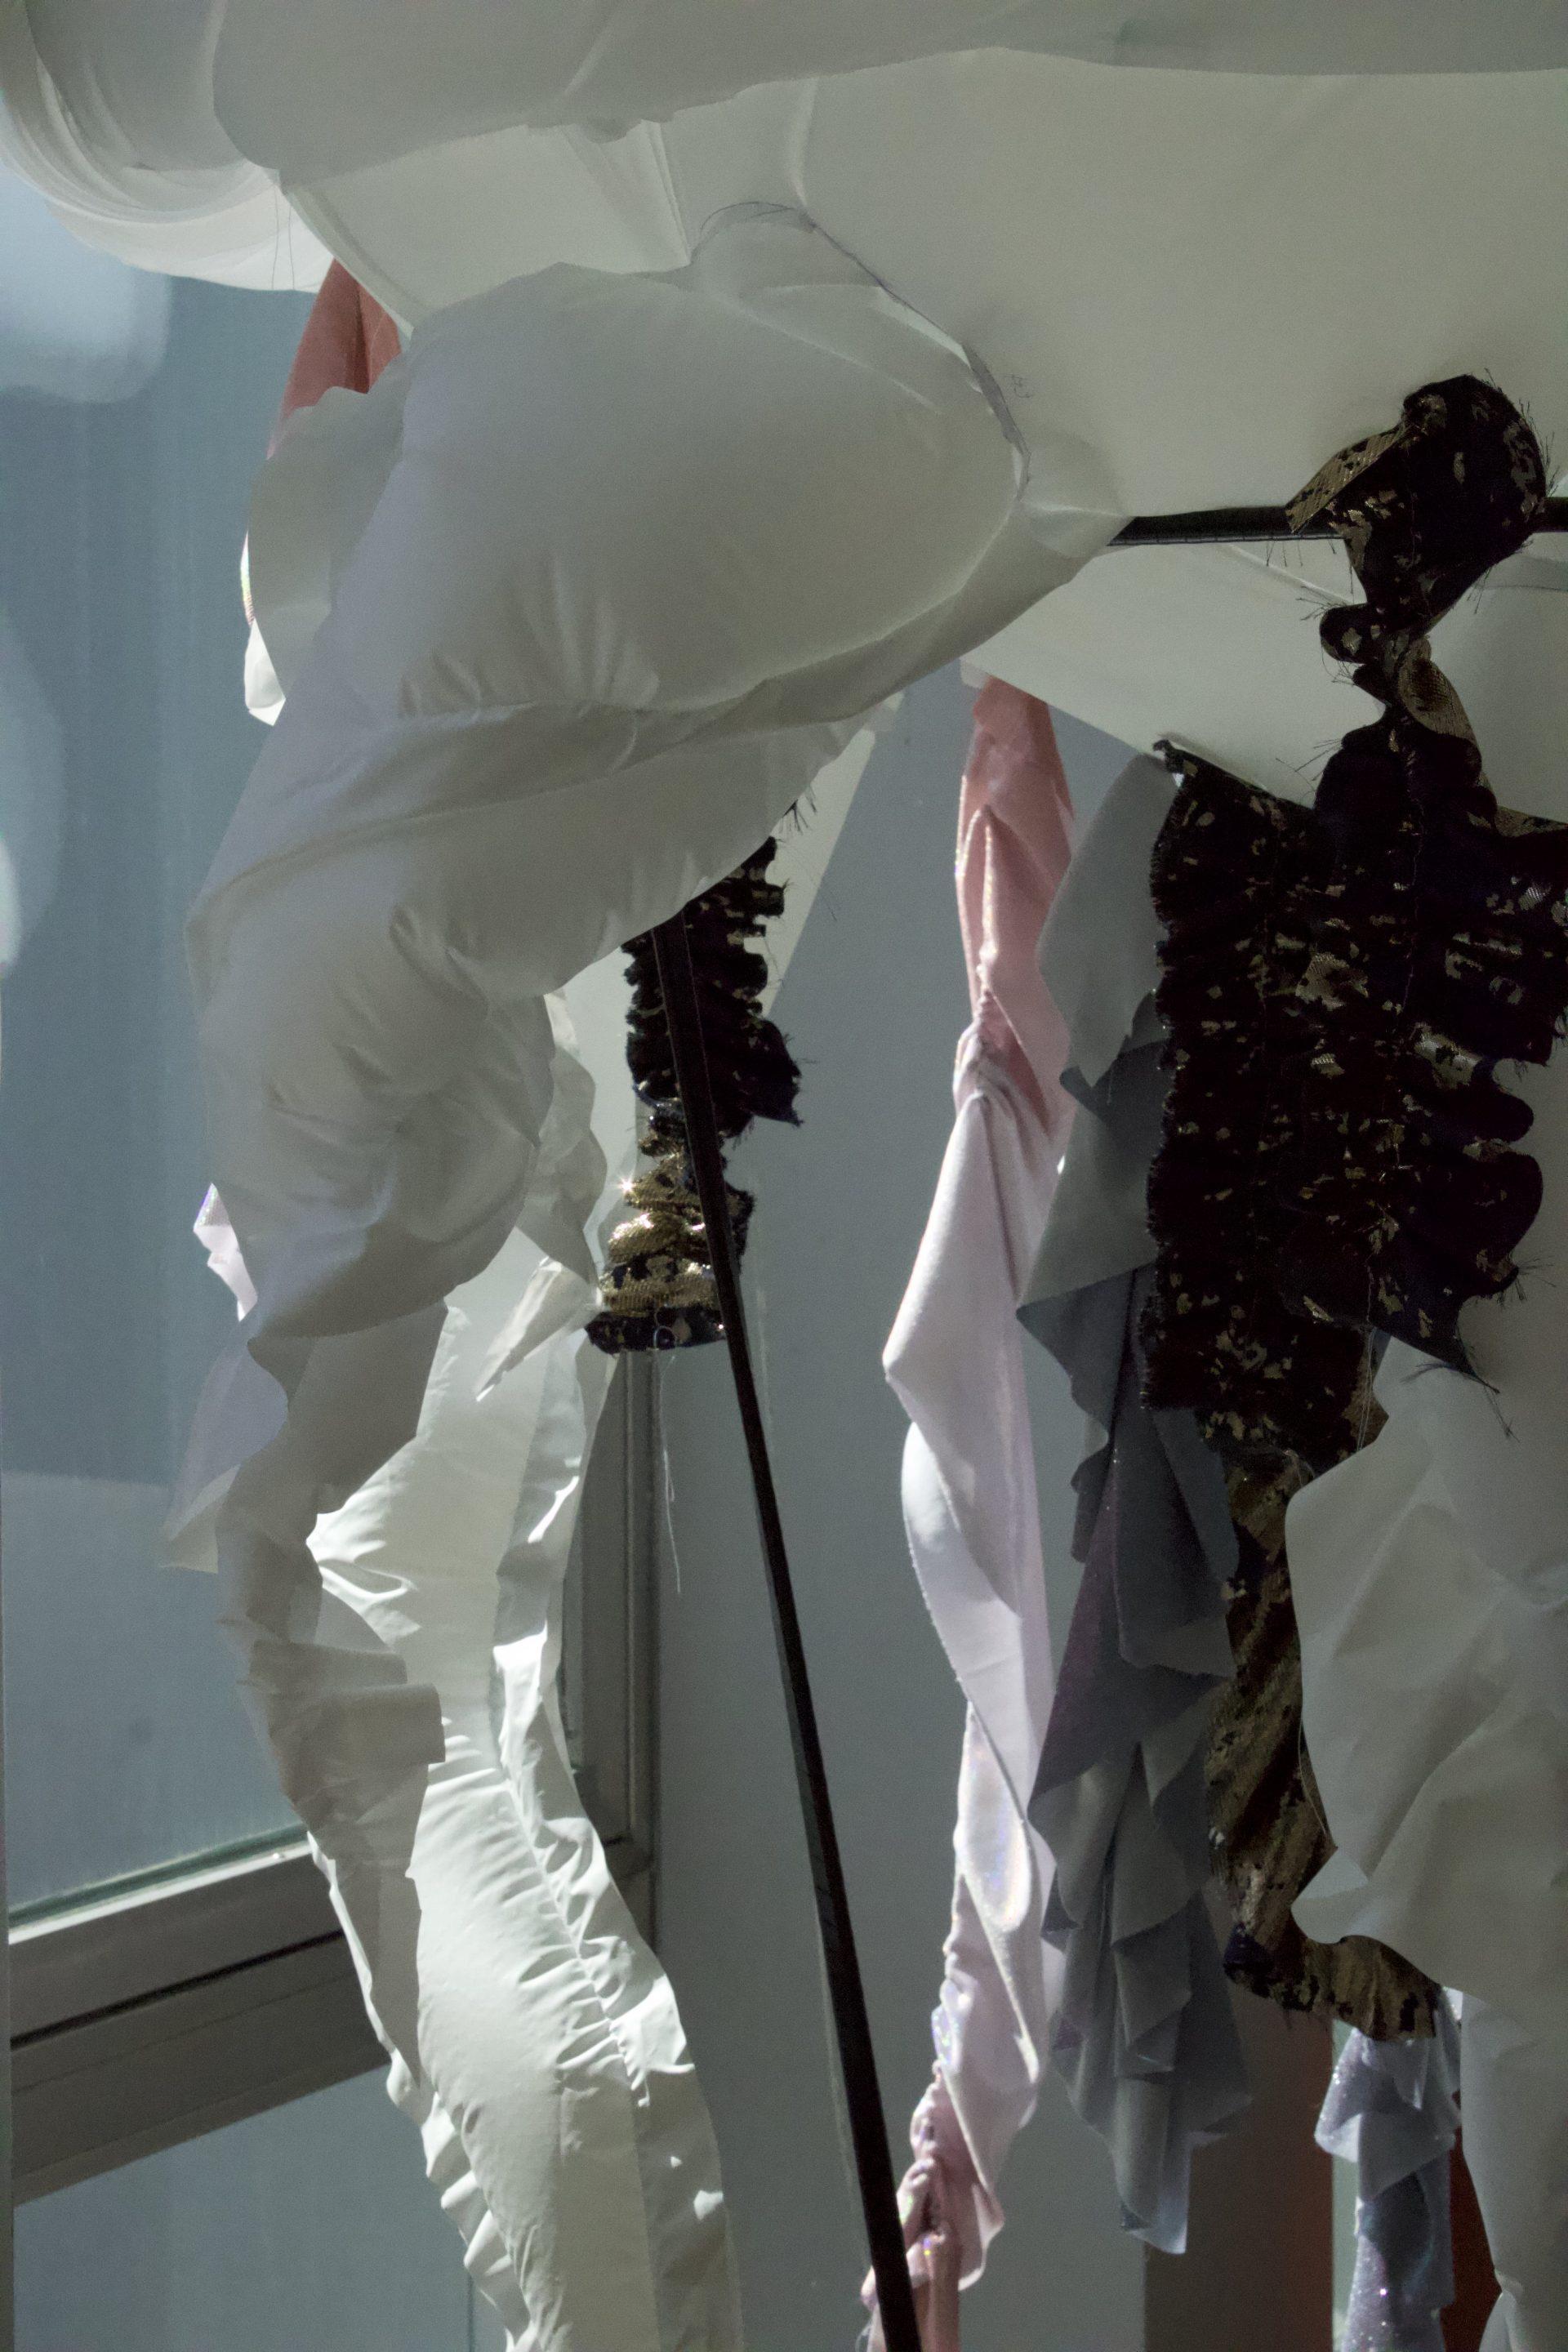
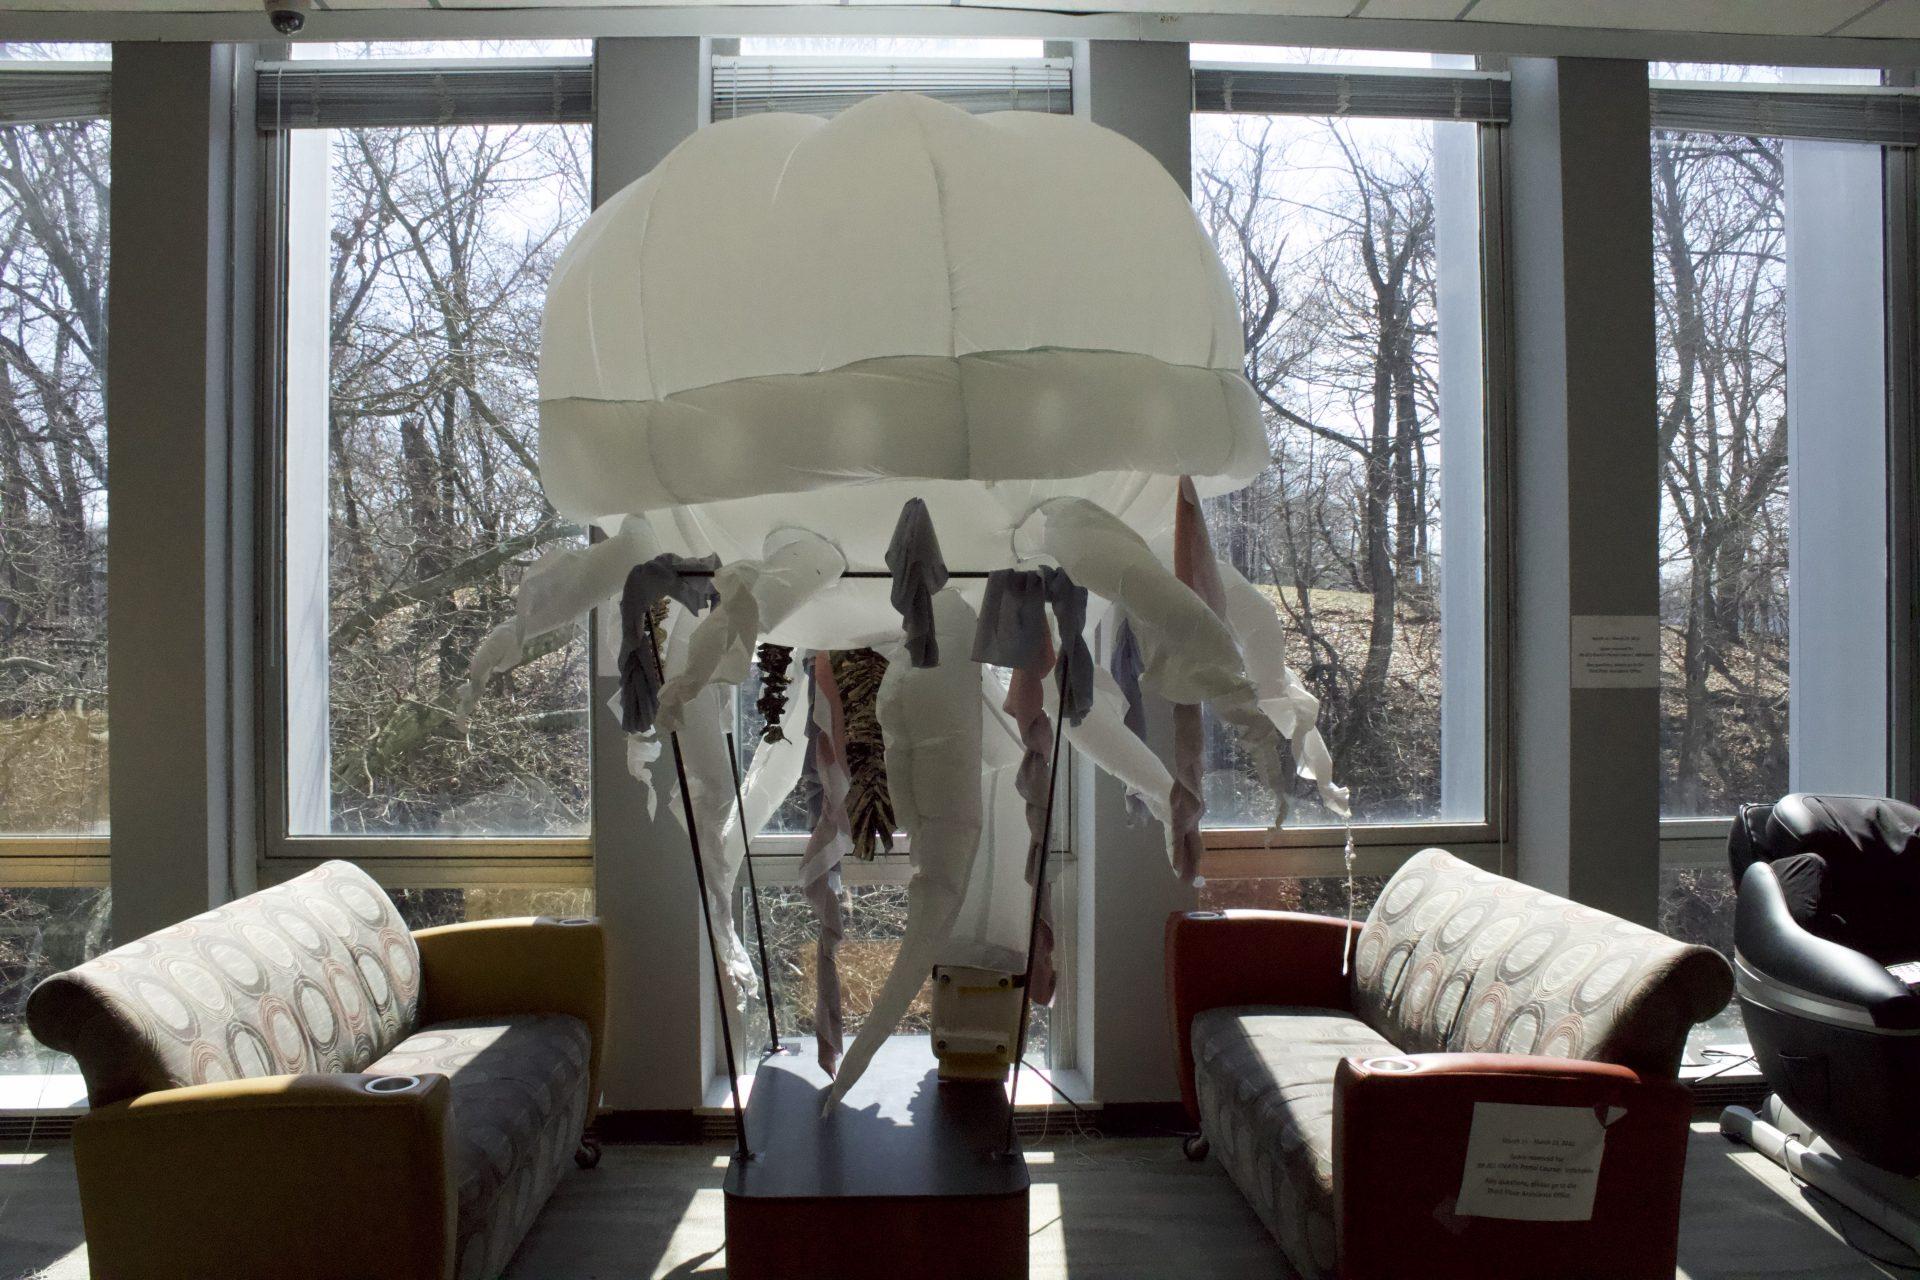
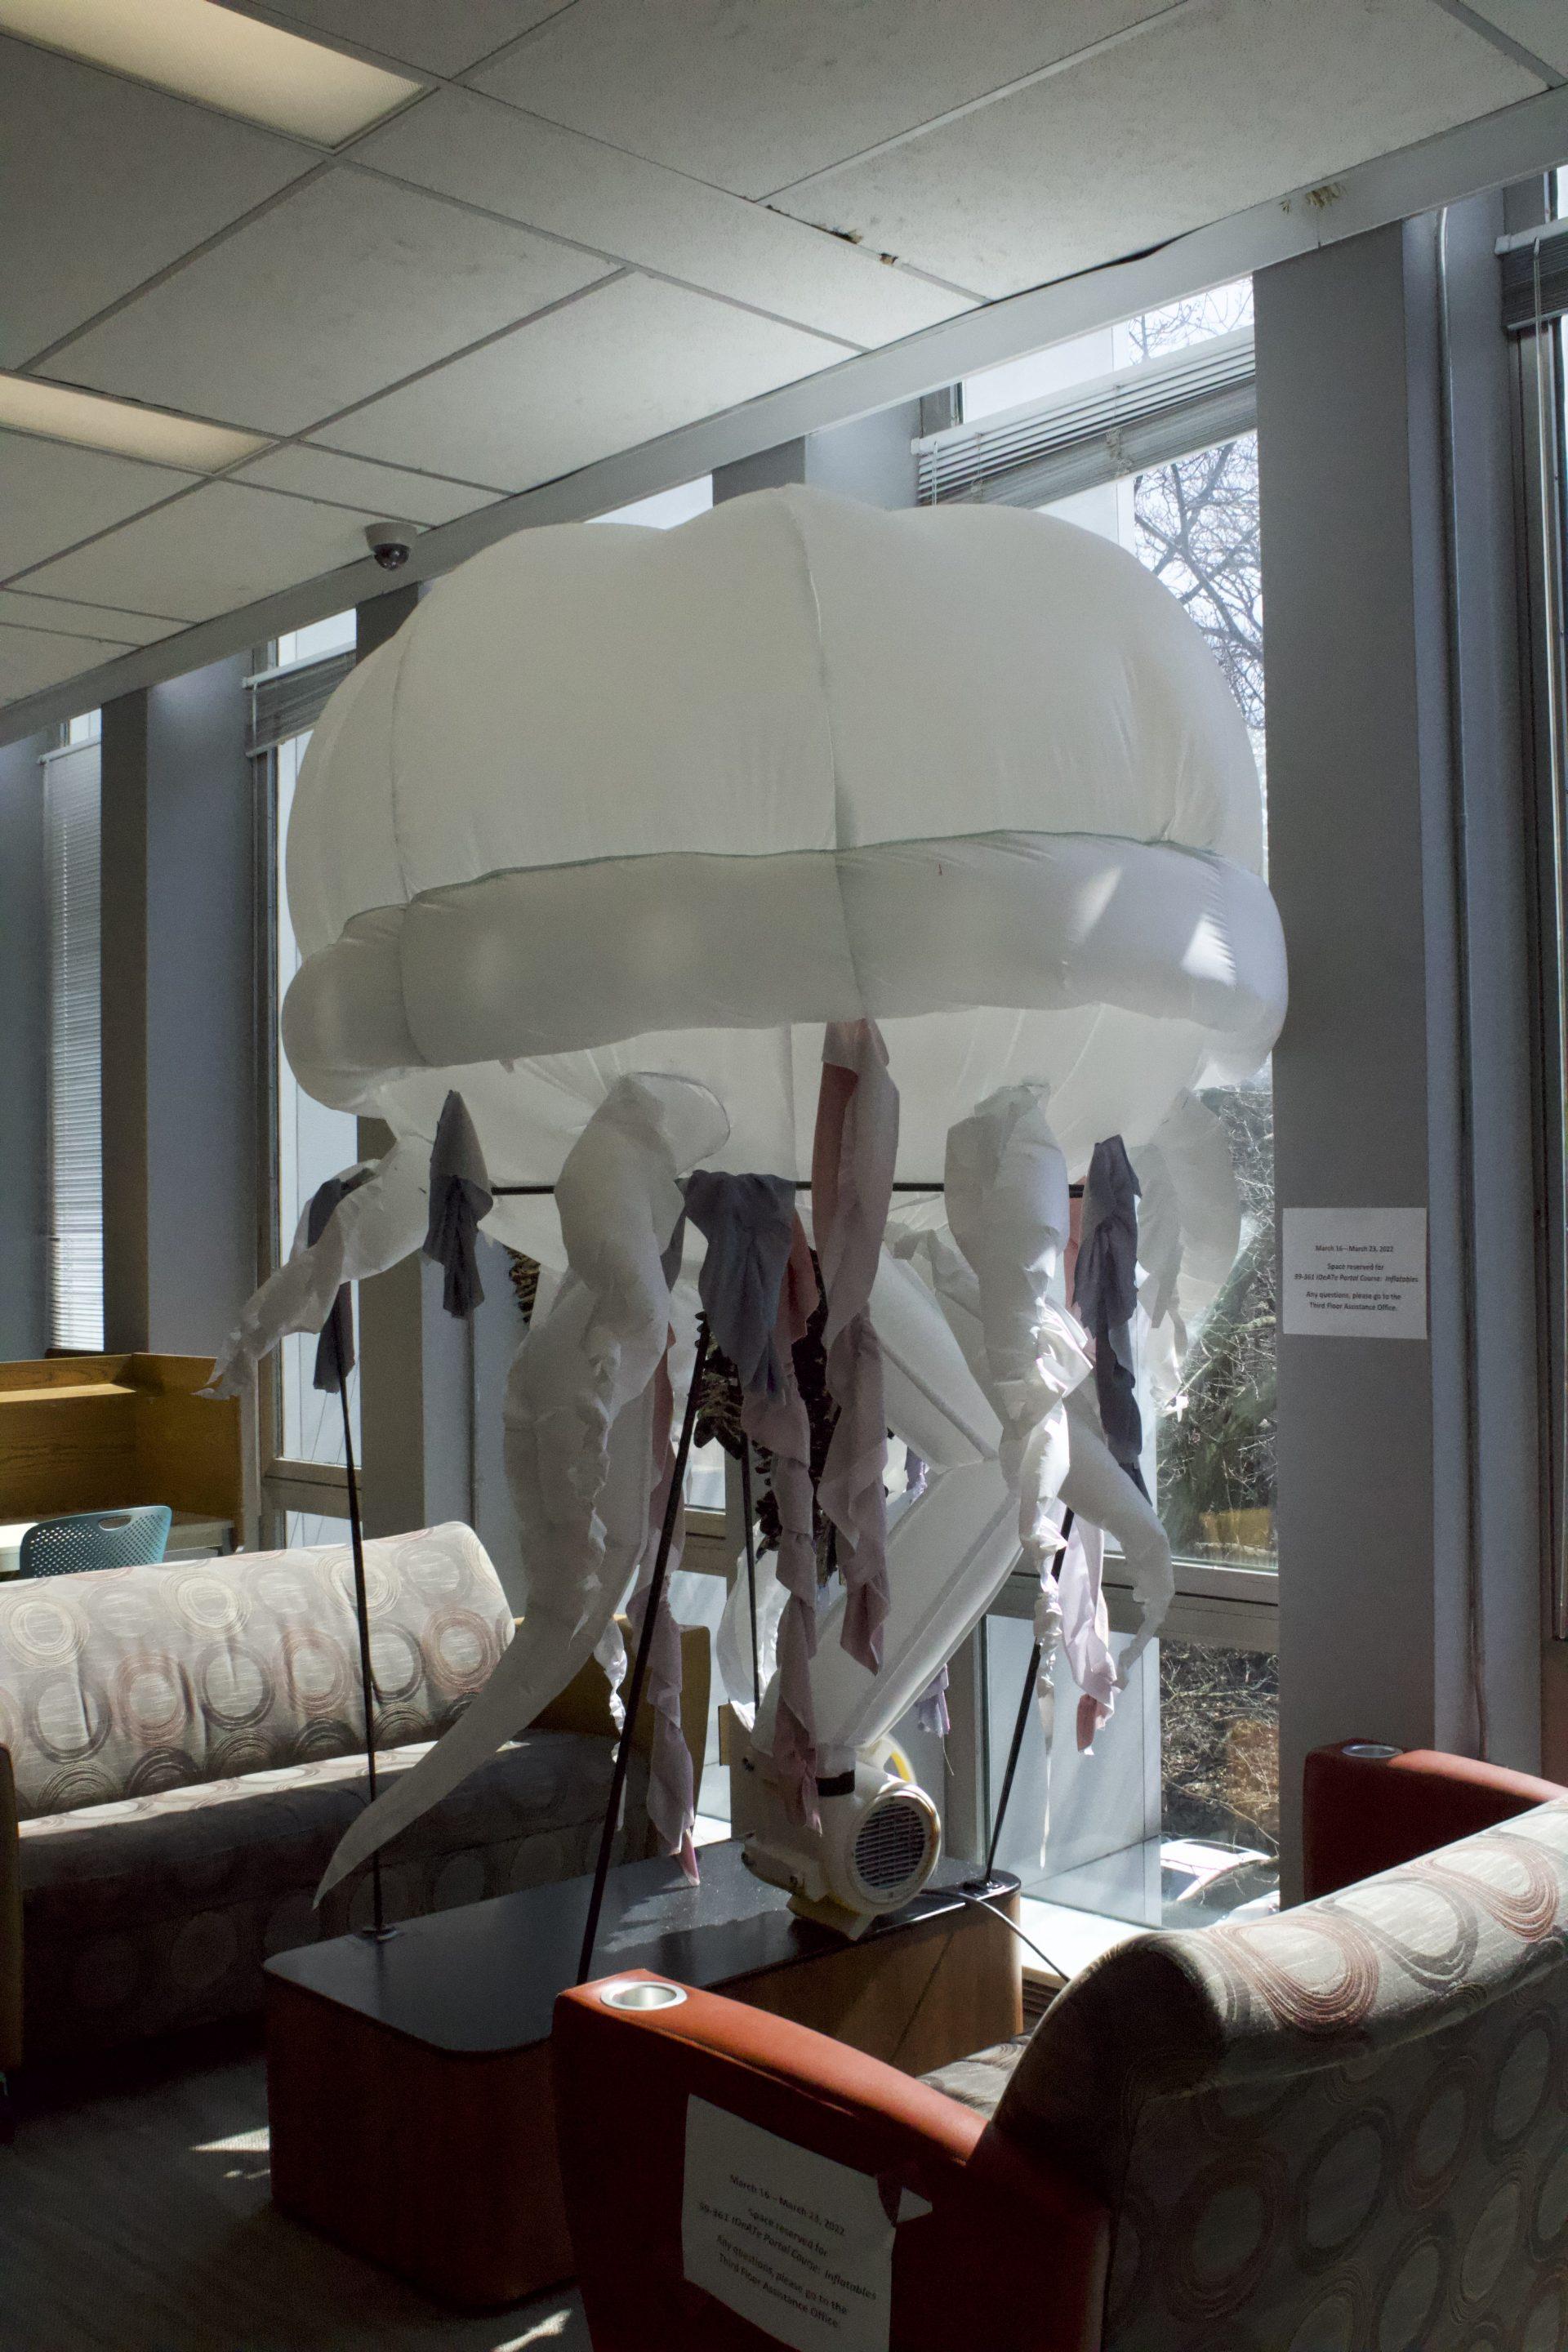
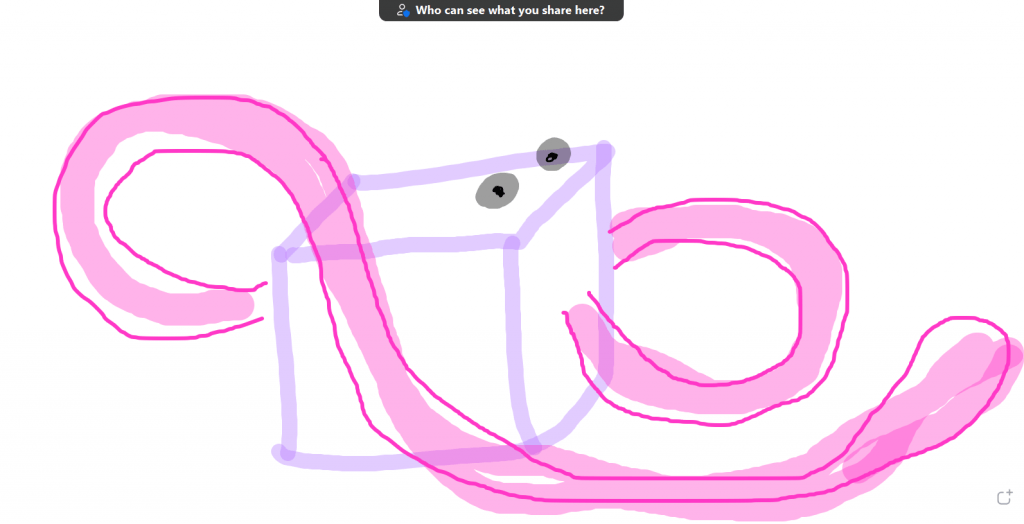
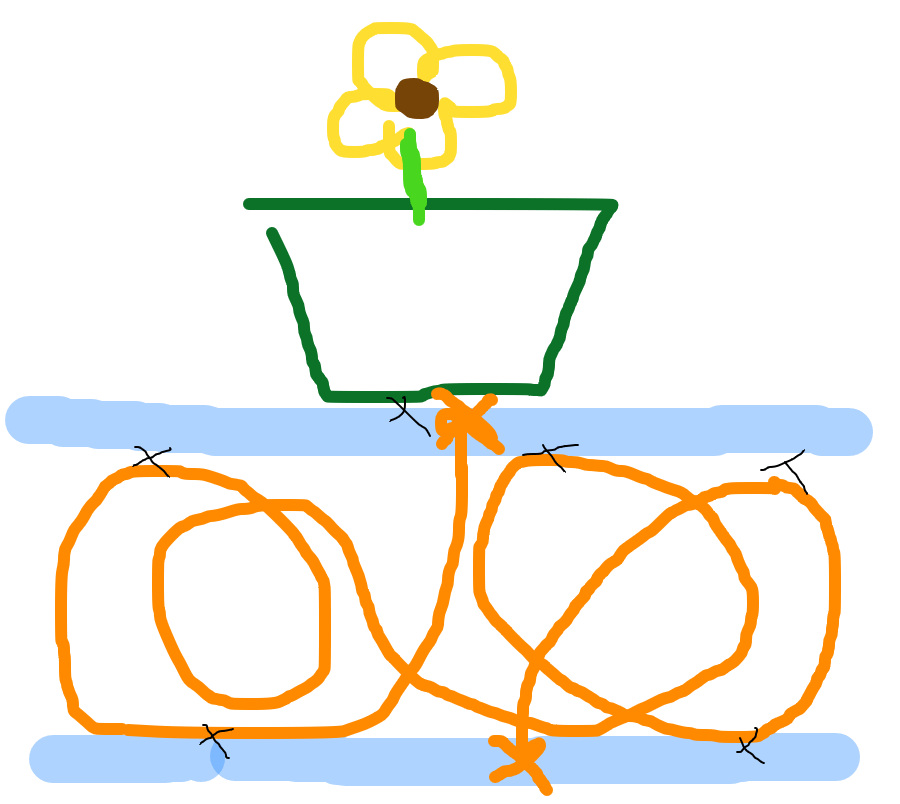
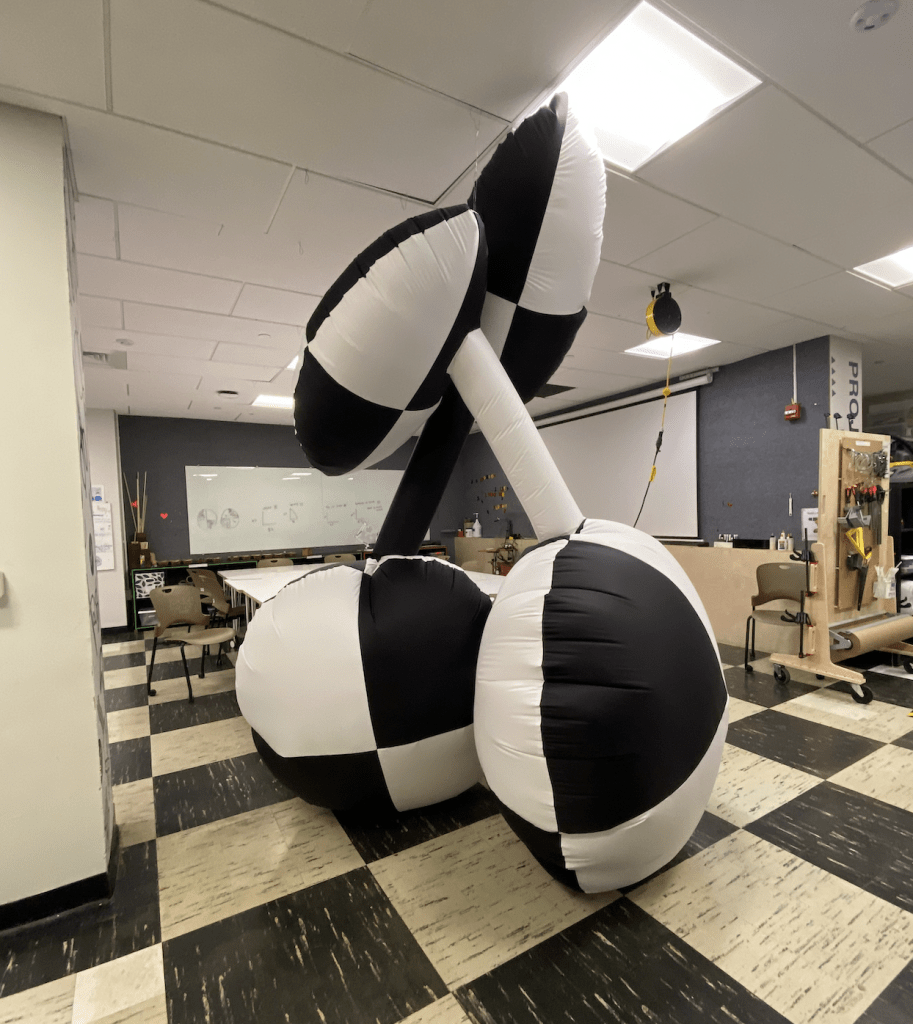
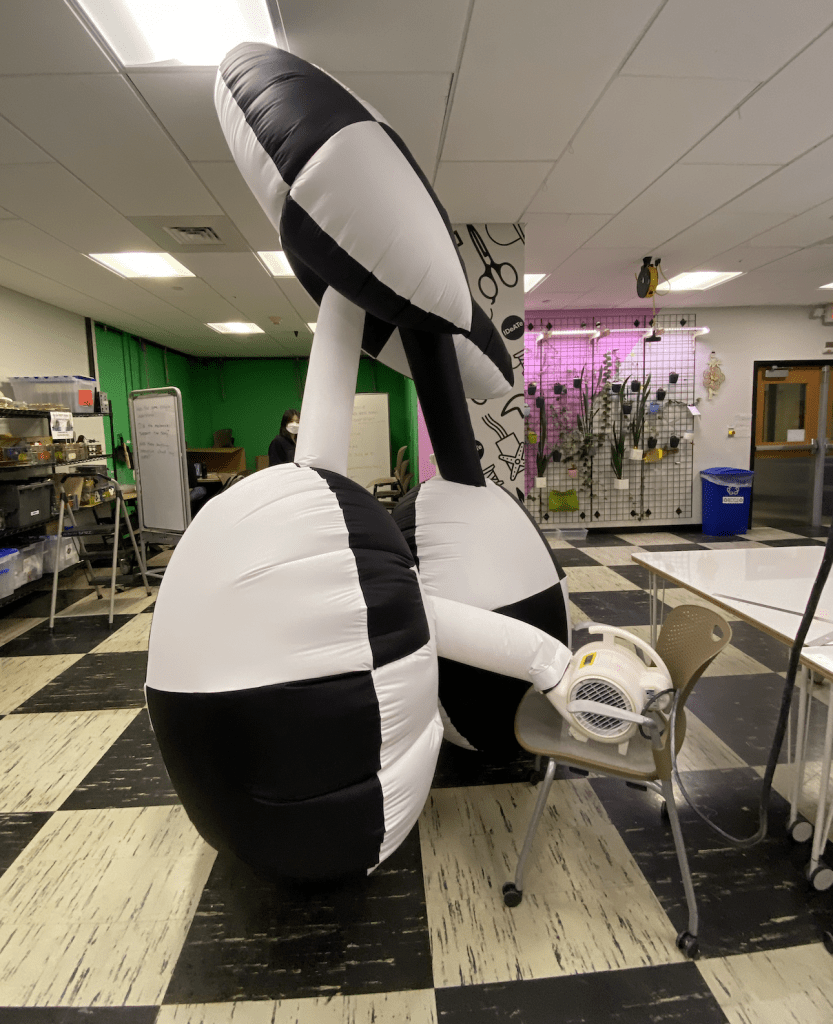
After we sewed together the four main ellipsoids of our inflatable, we sparked with a new idea of morphing Jules’ couch into a different form that could also After we sewed together the four main ellipsoids of our inflatable, we sparked with a new idea of morphing Jules’ couch into a different form that could also implement Heejin’s cherry motif in her previous assignment. The four-component of the couch could be easily rearranged to resemble a cherry. From that point, we planned out how to successfully make the change. We created two tubes that would connect the two large ellipsoids(the cherry) and the two small ellipsoids(the leaf).
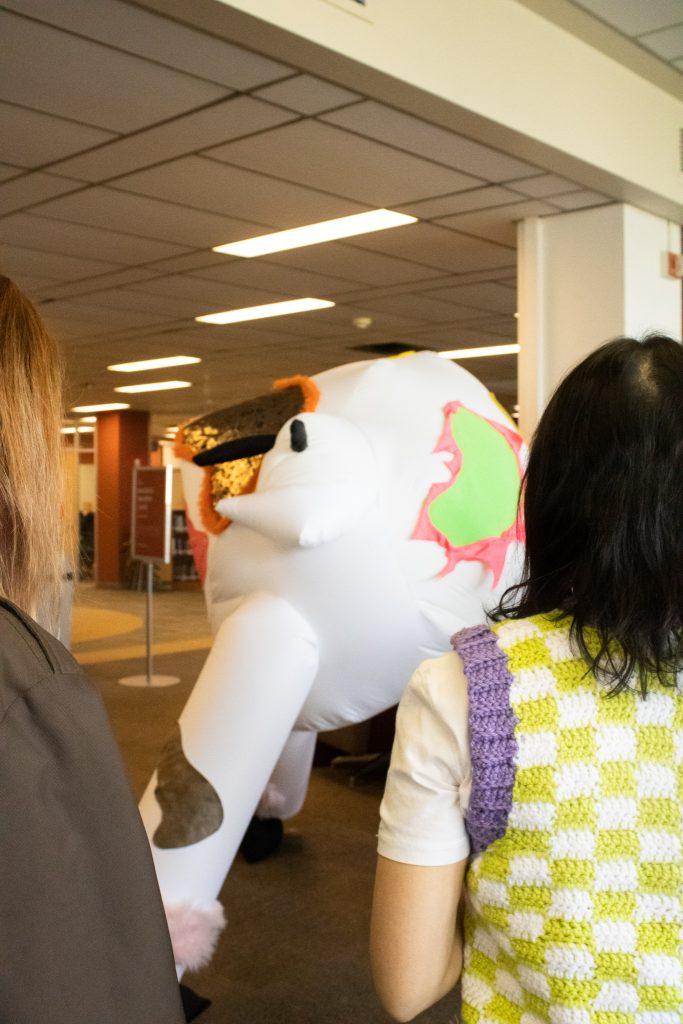
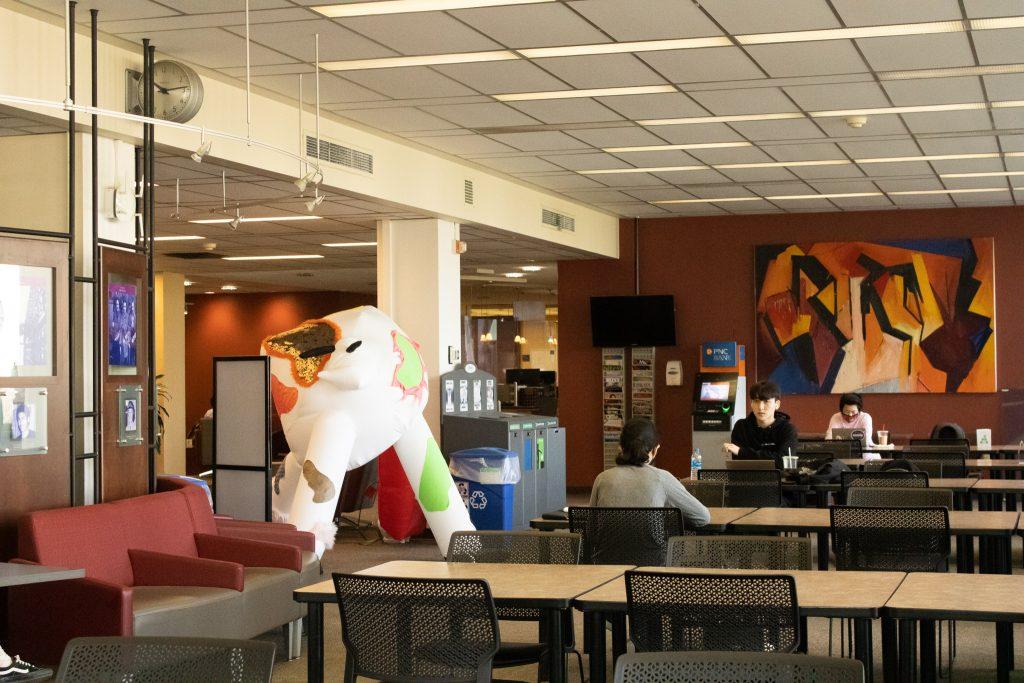
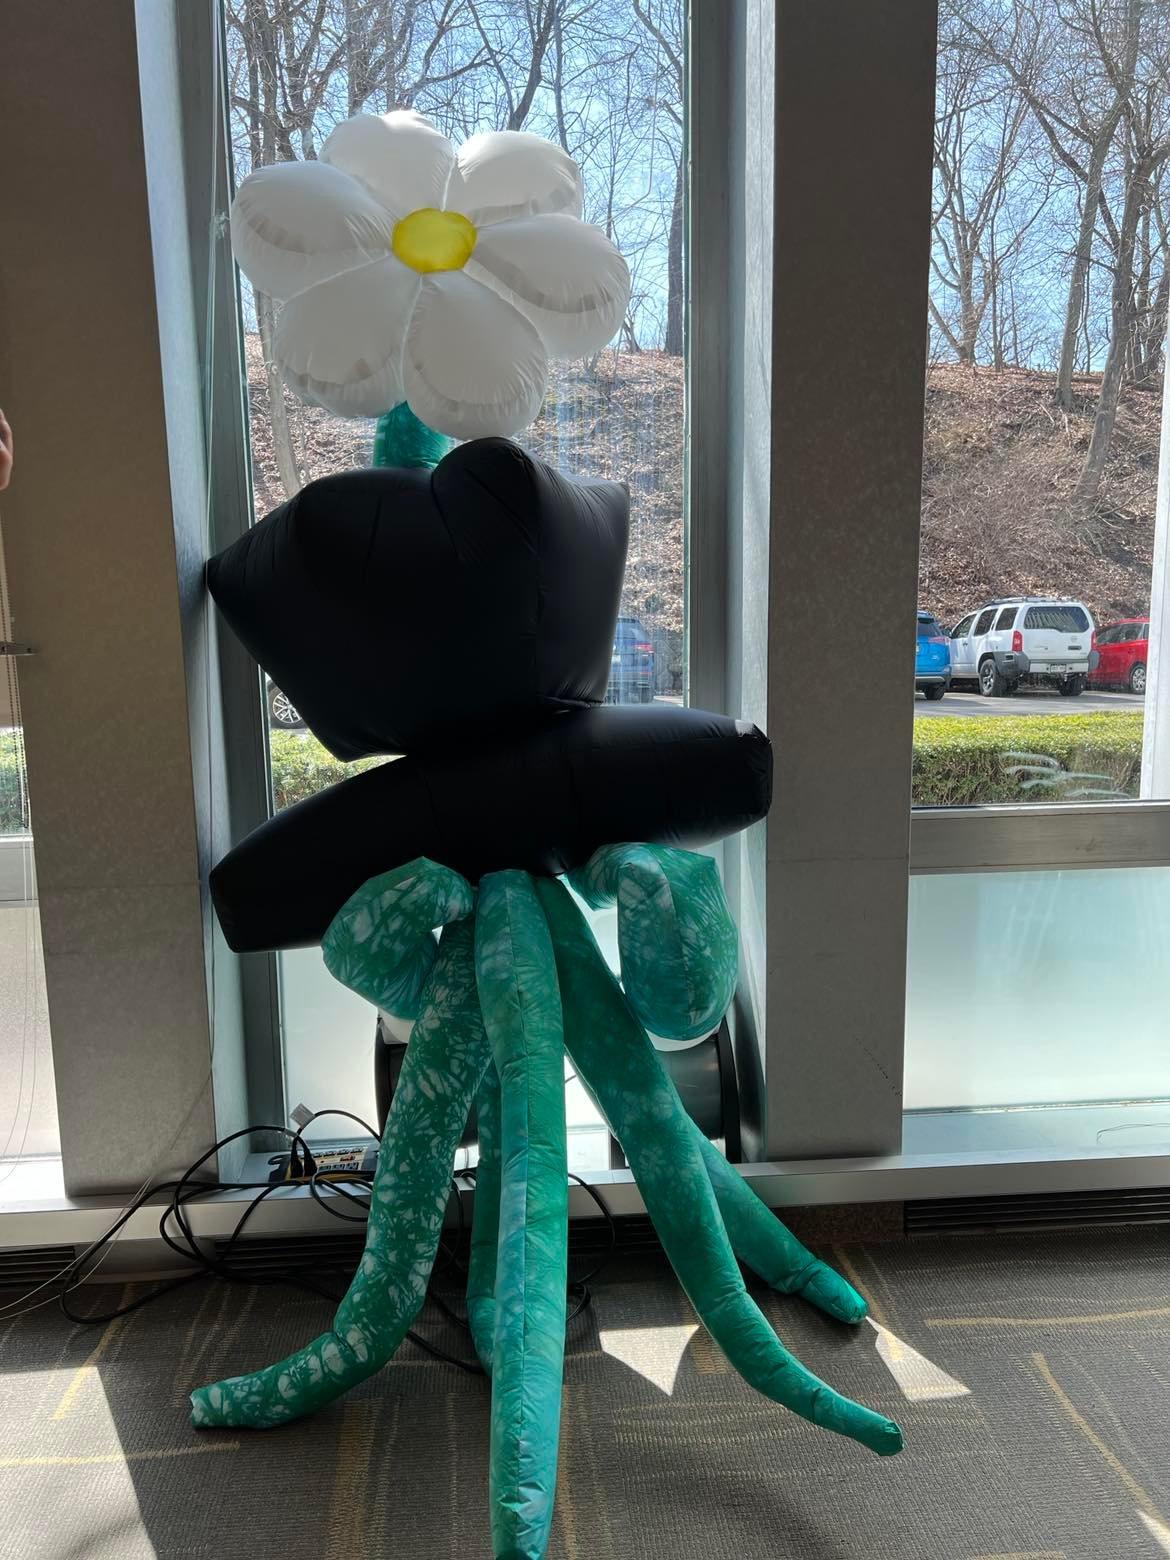
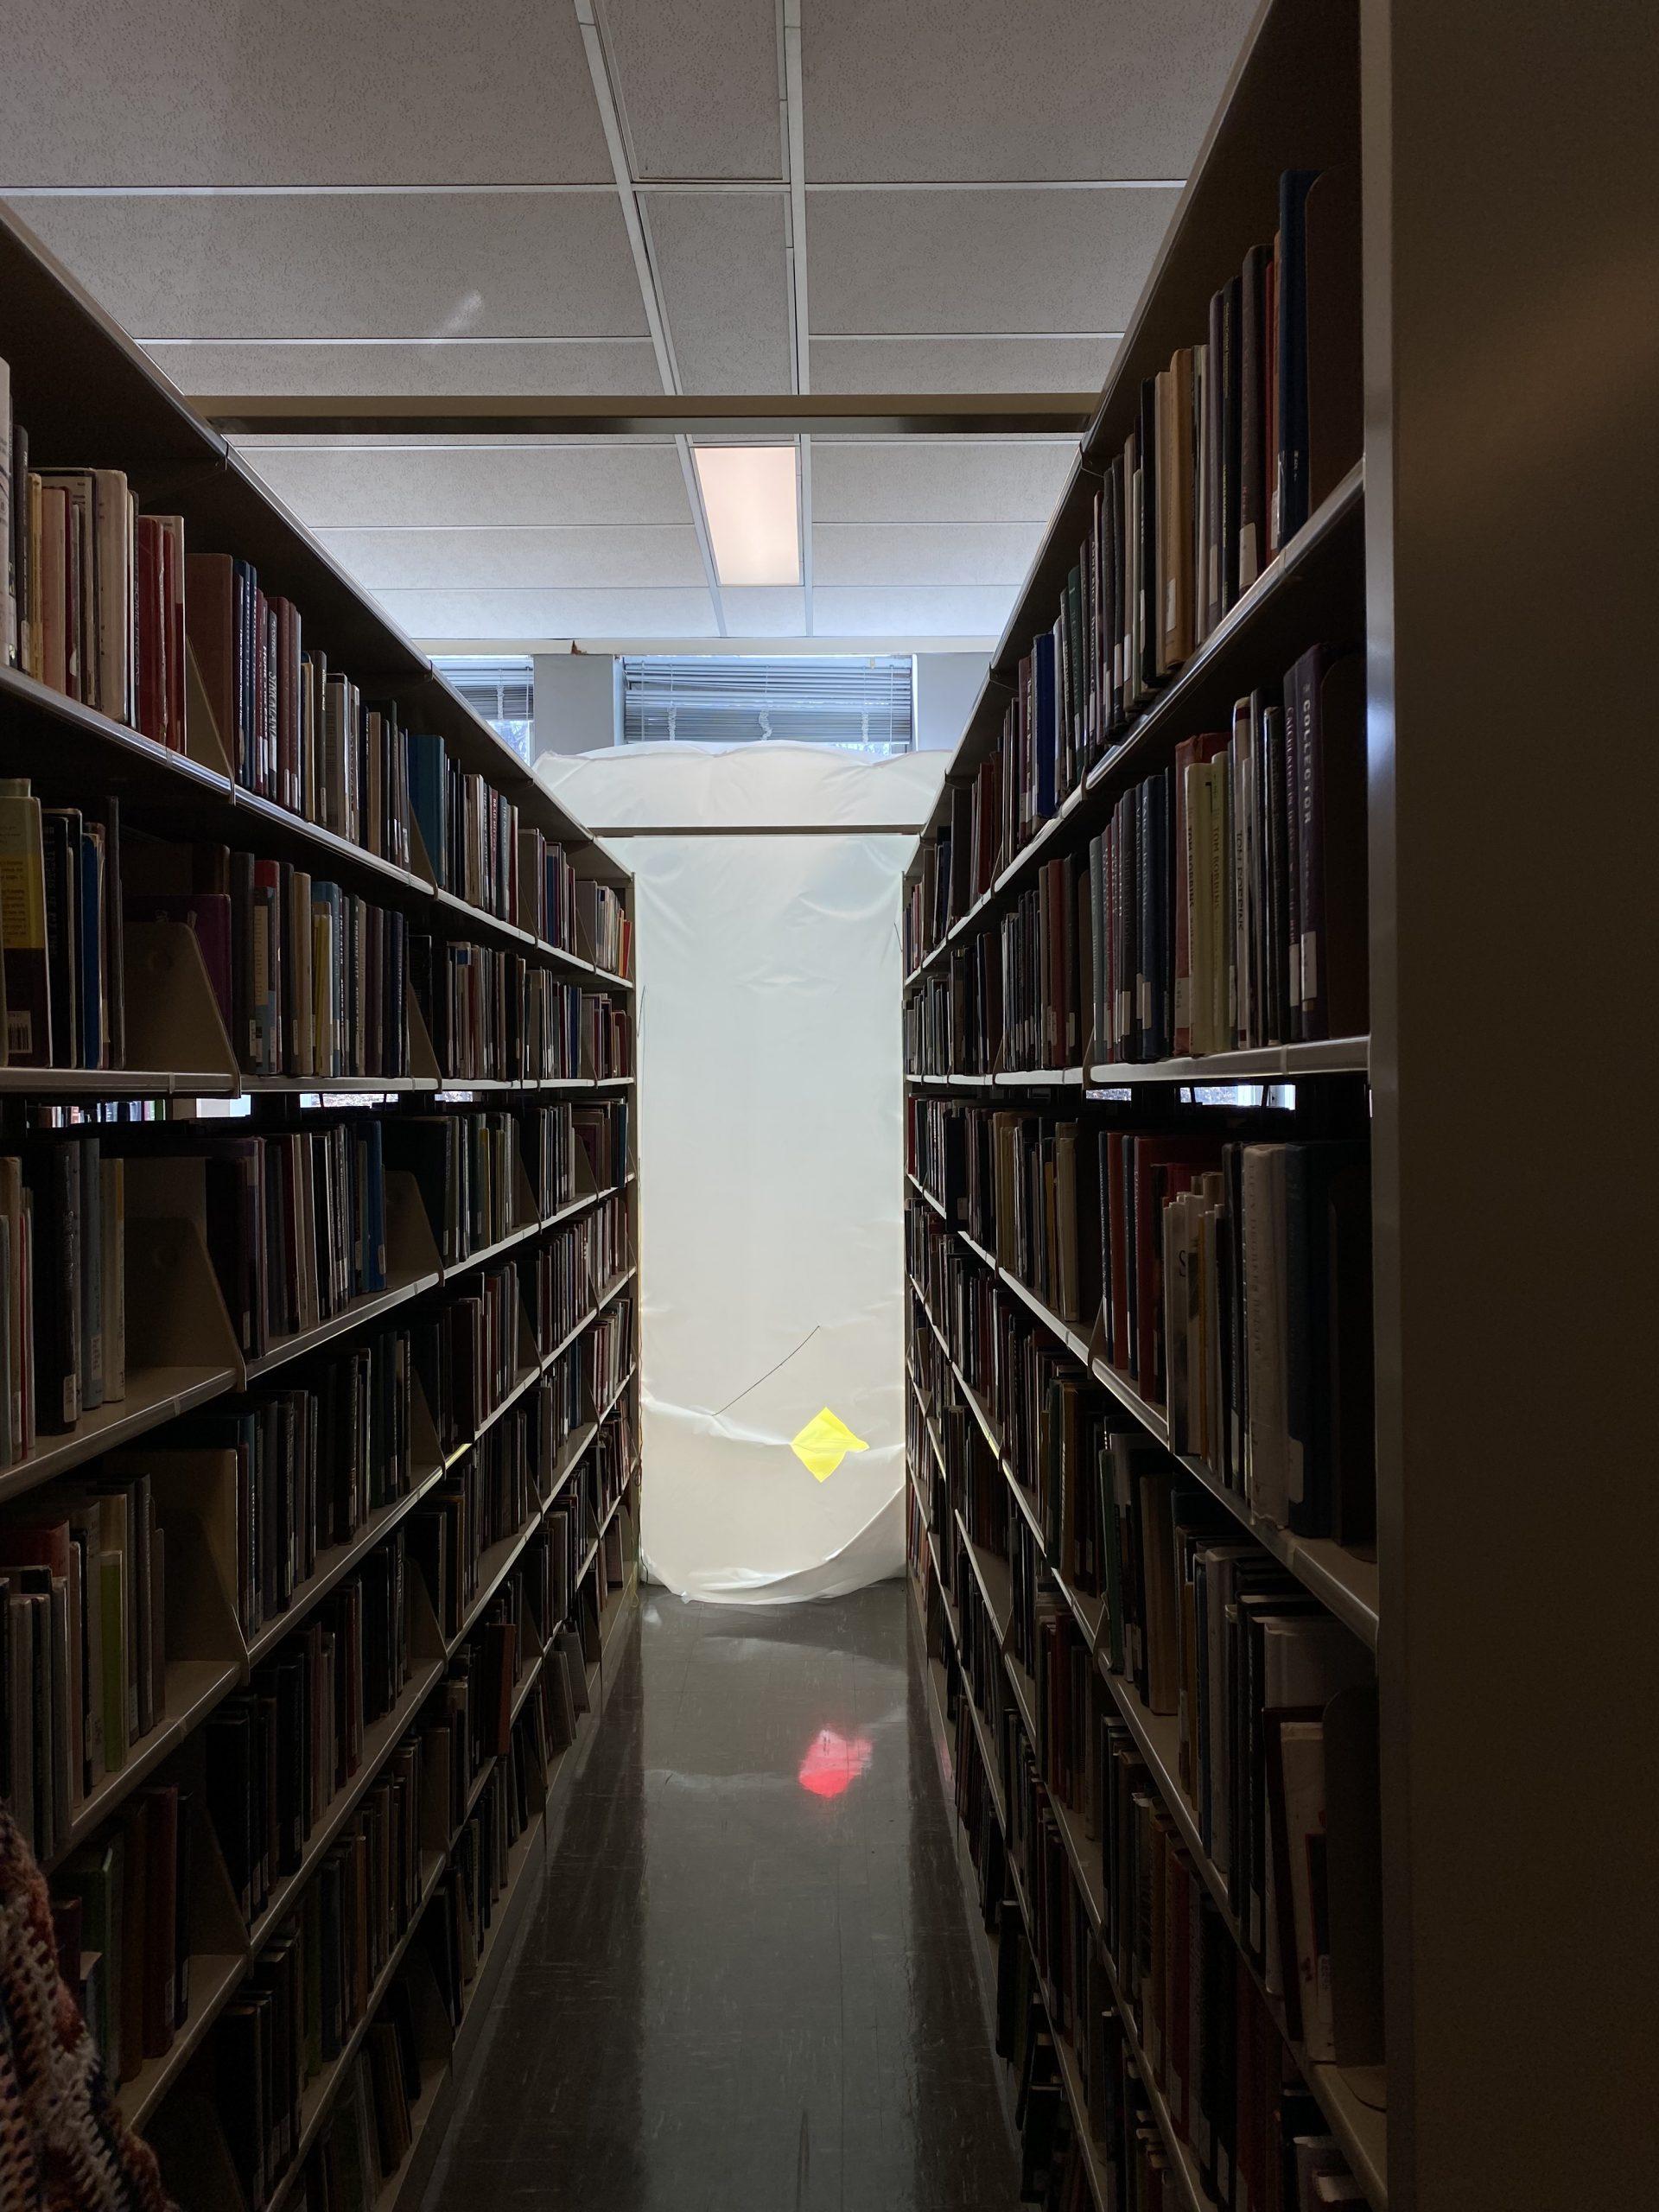
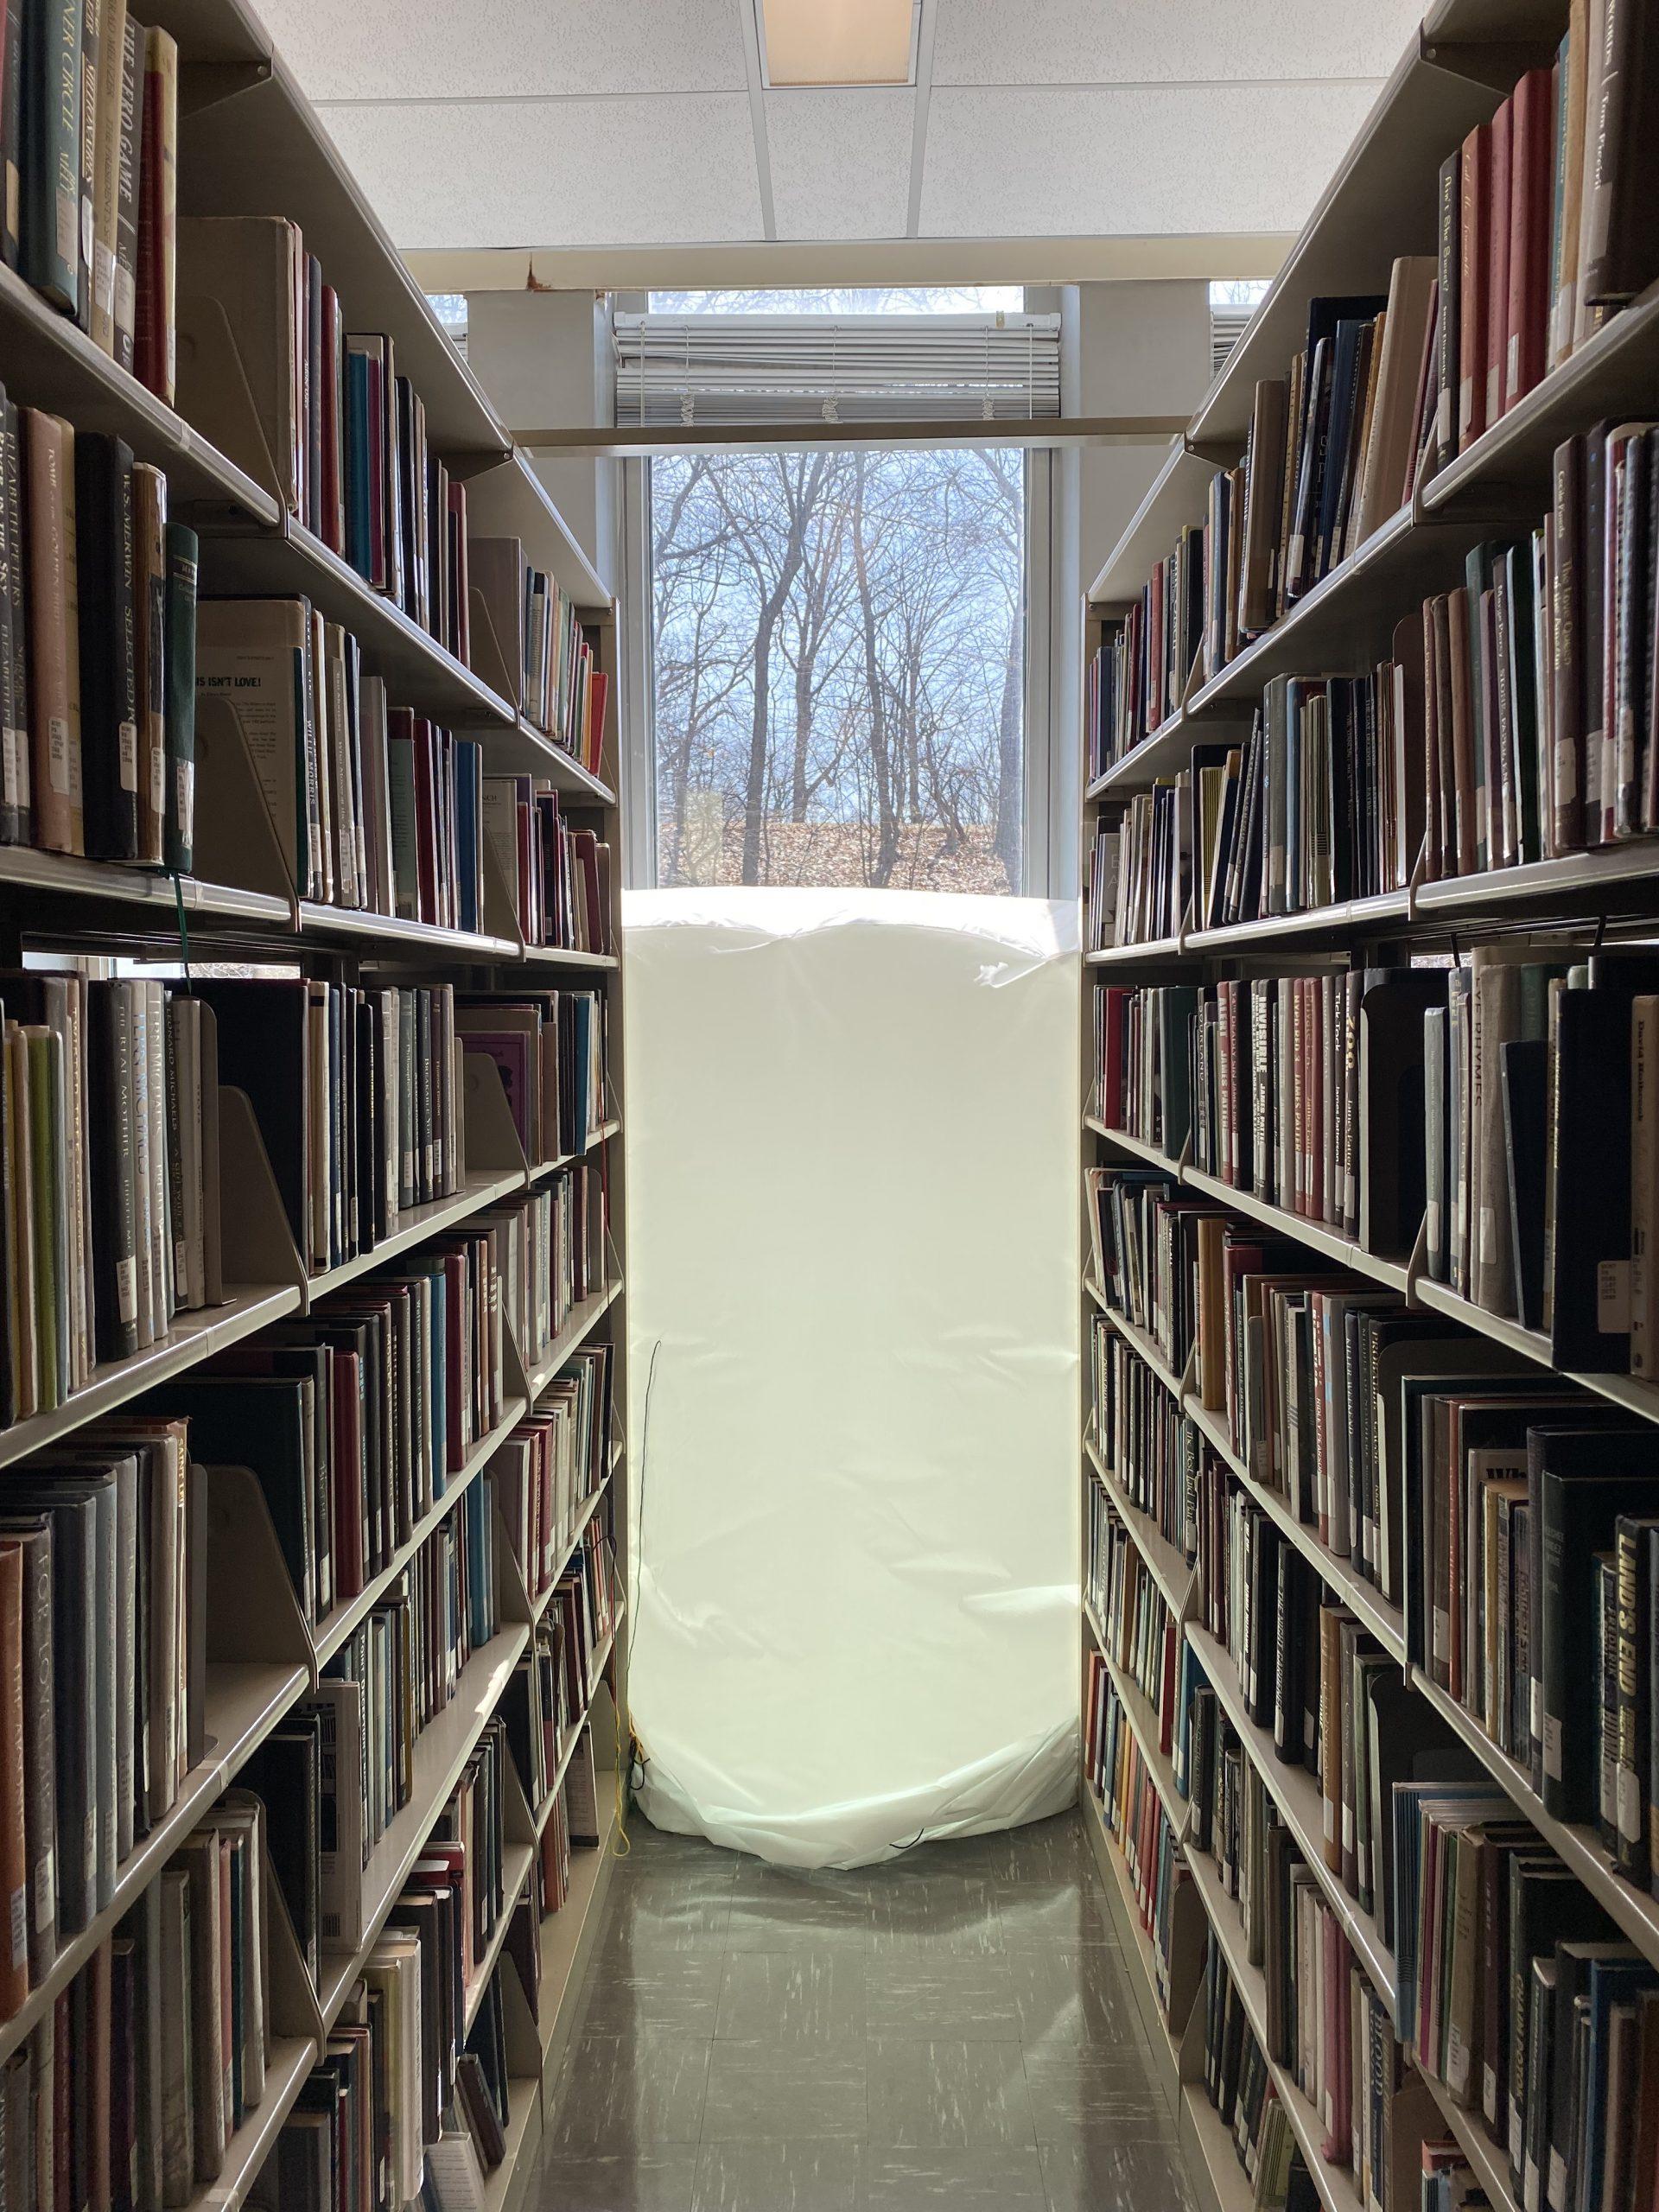
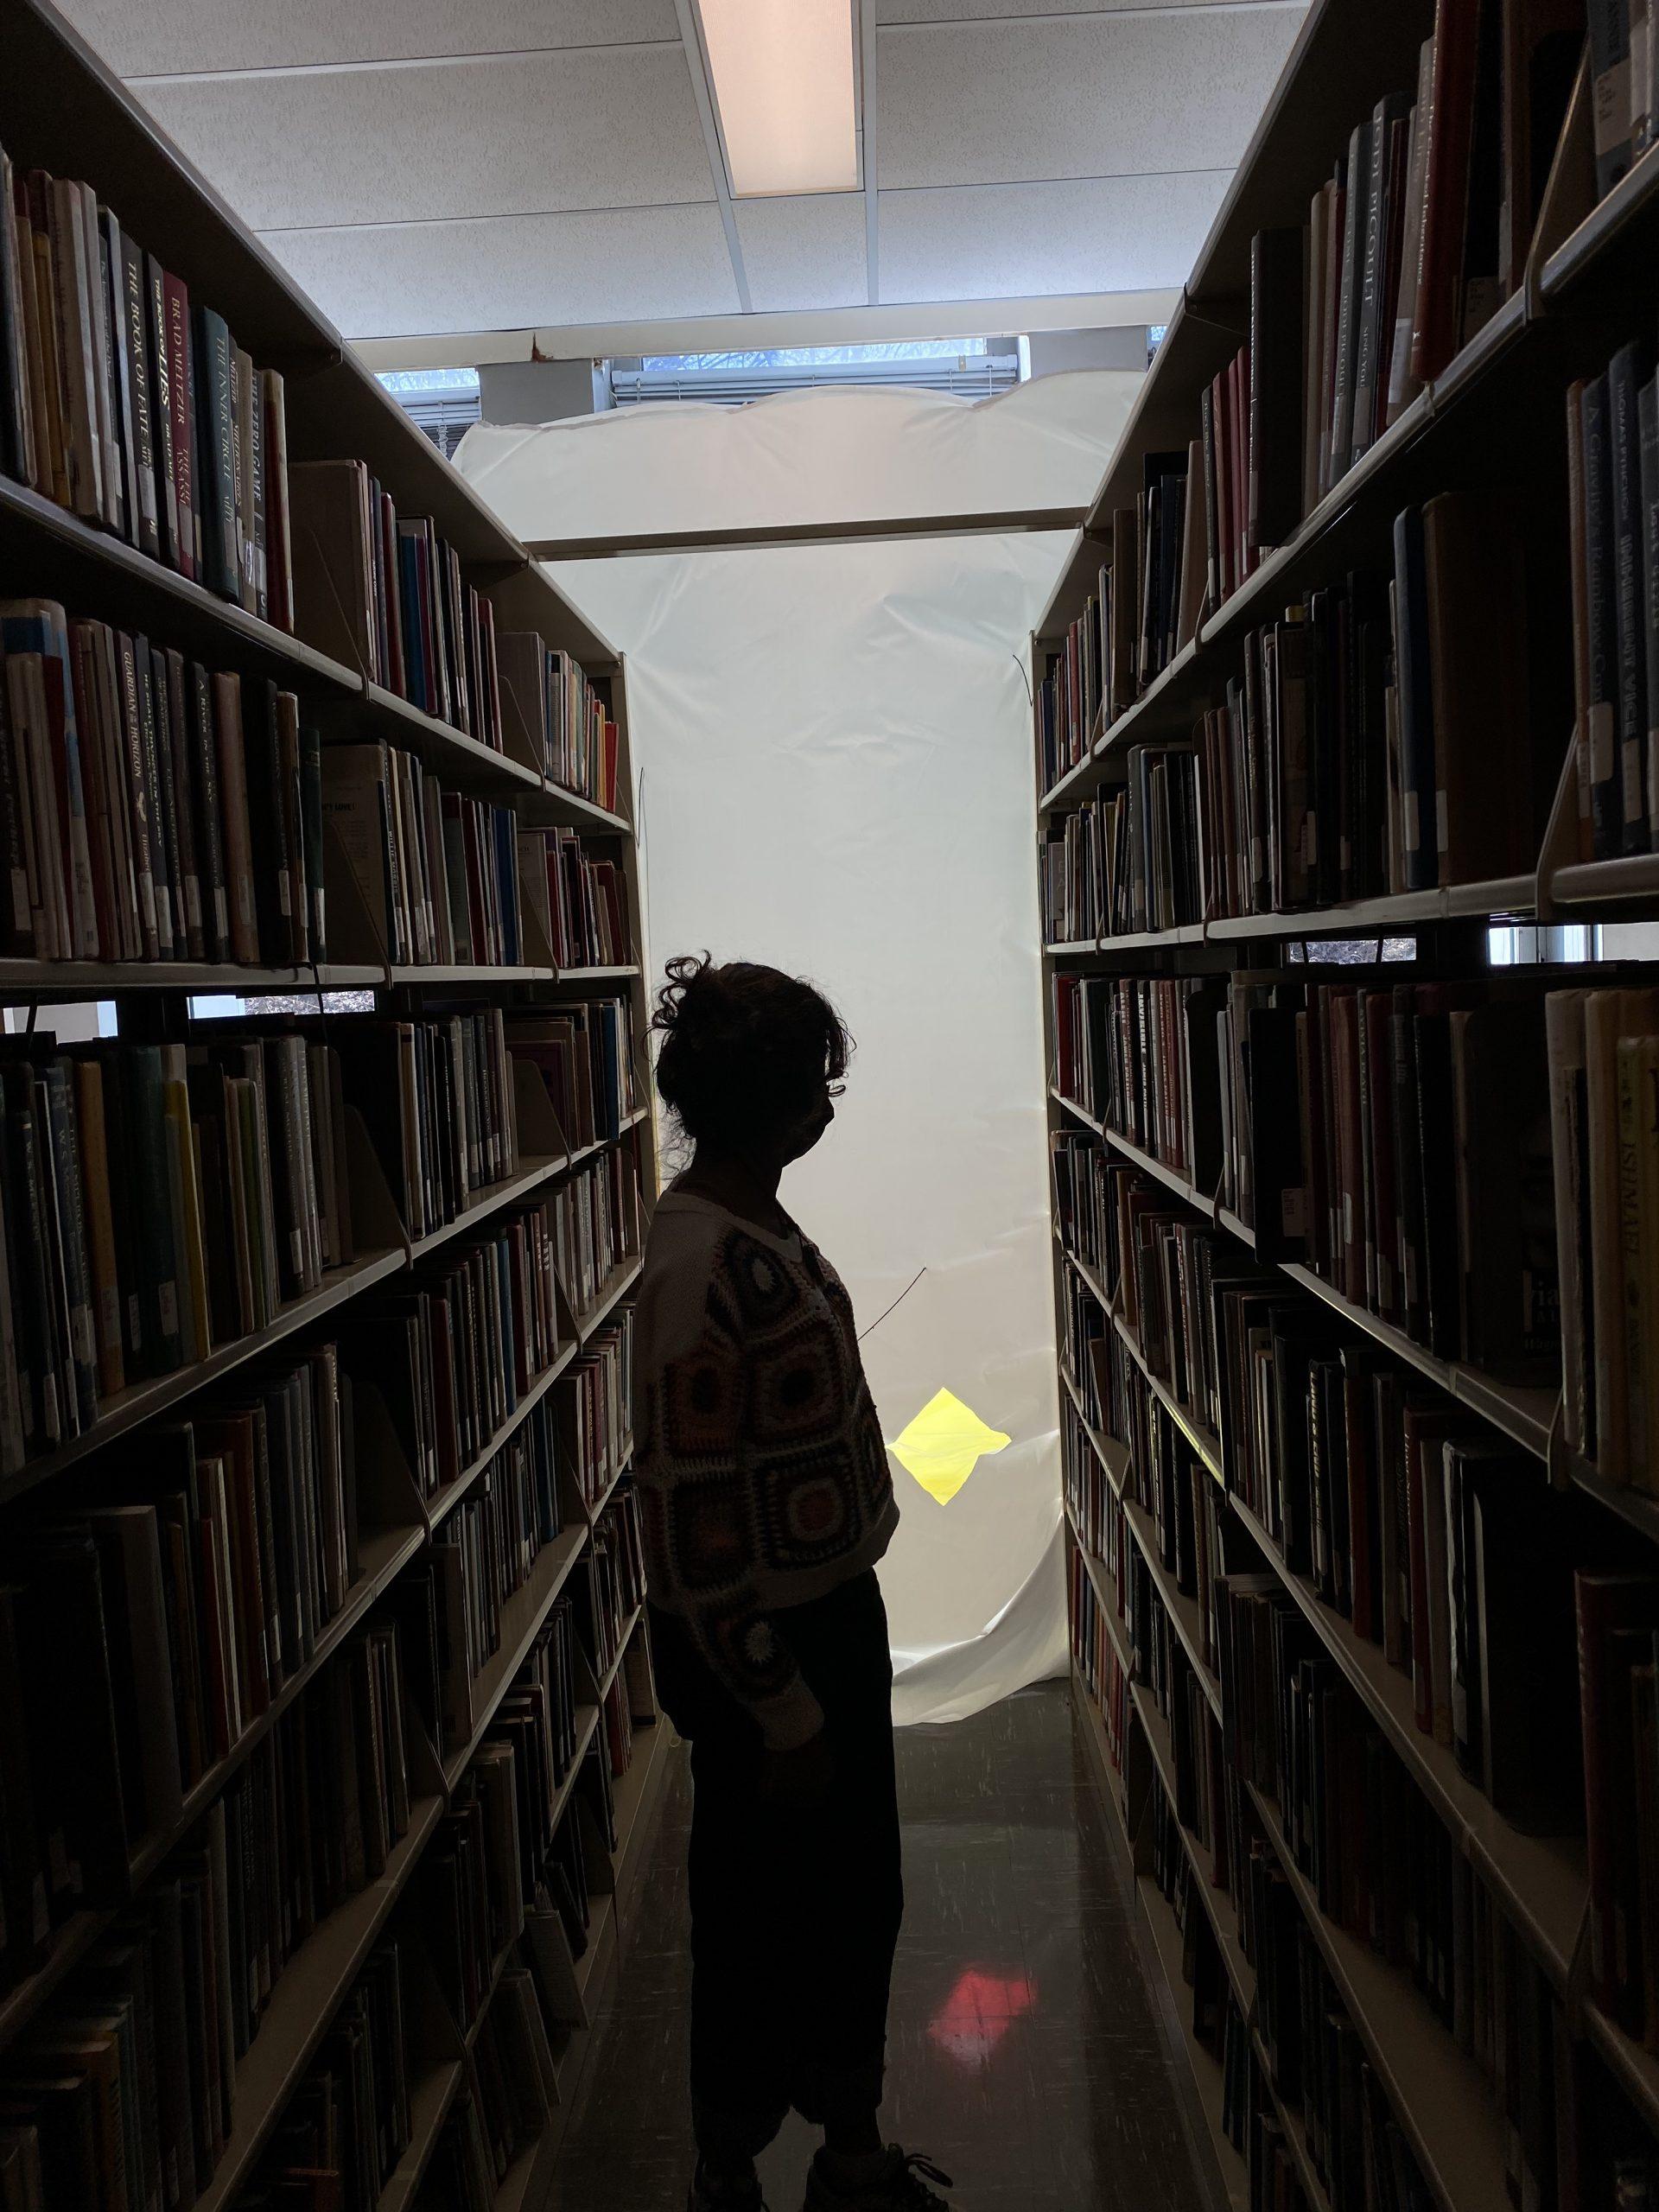
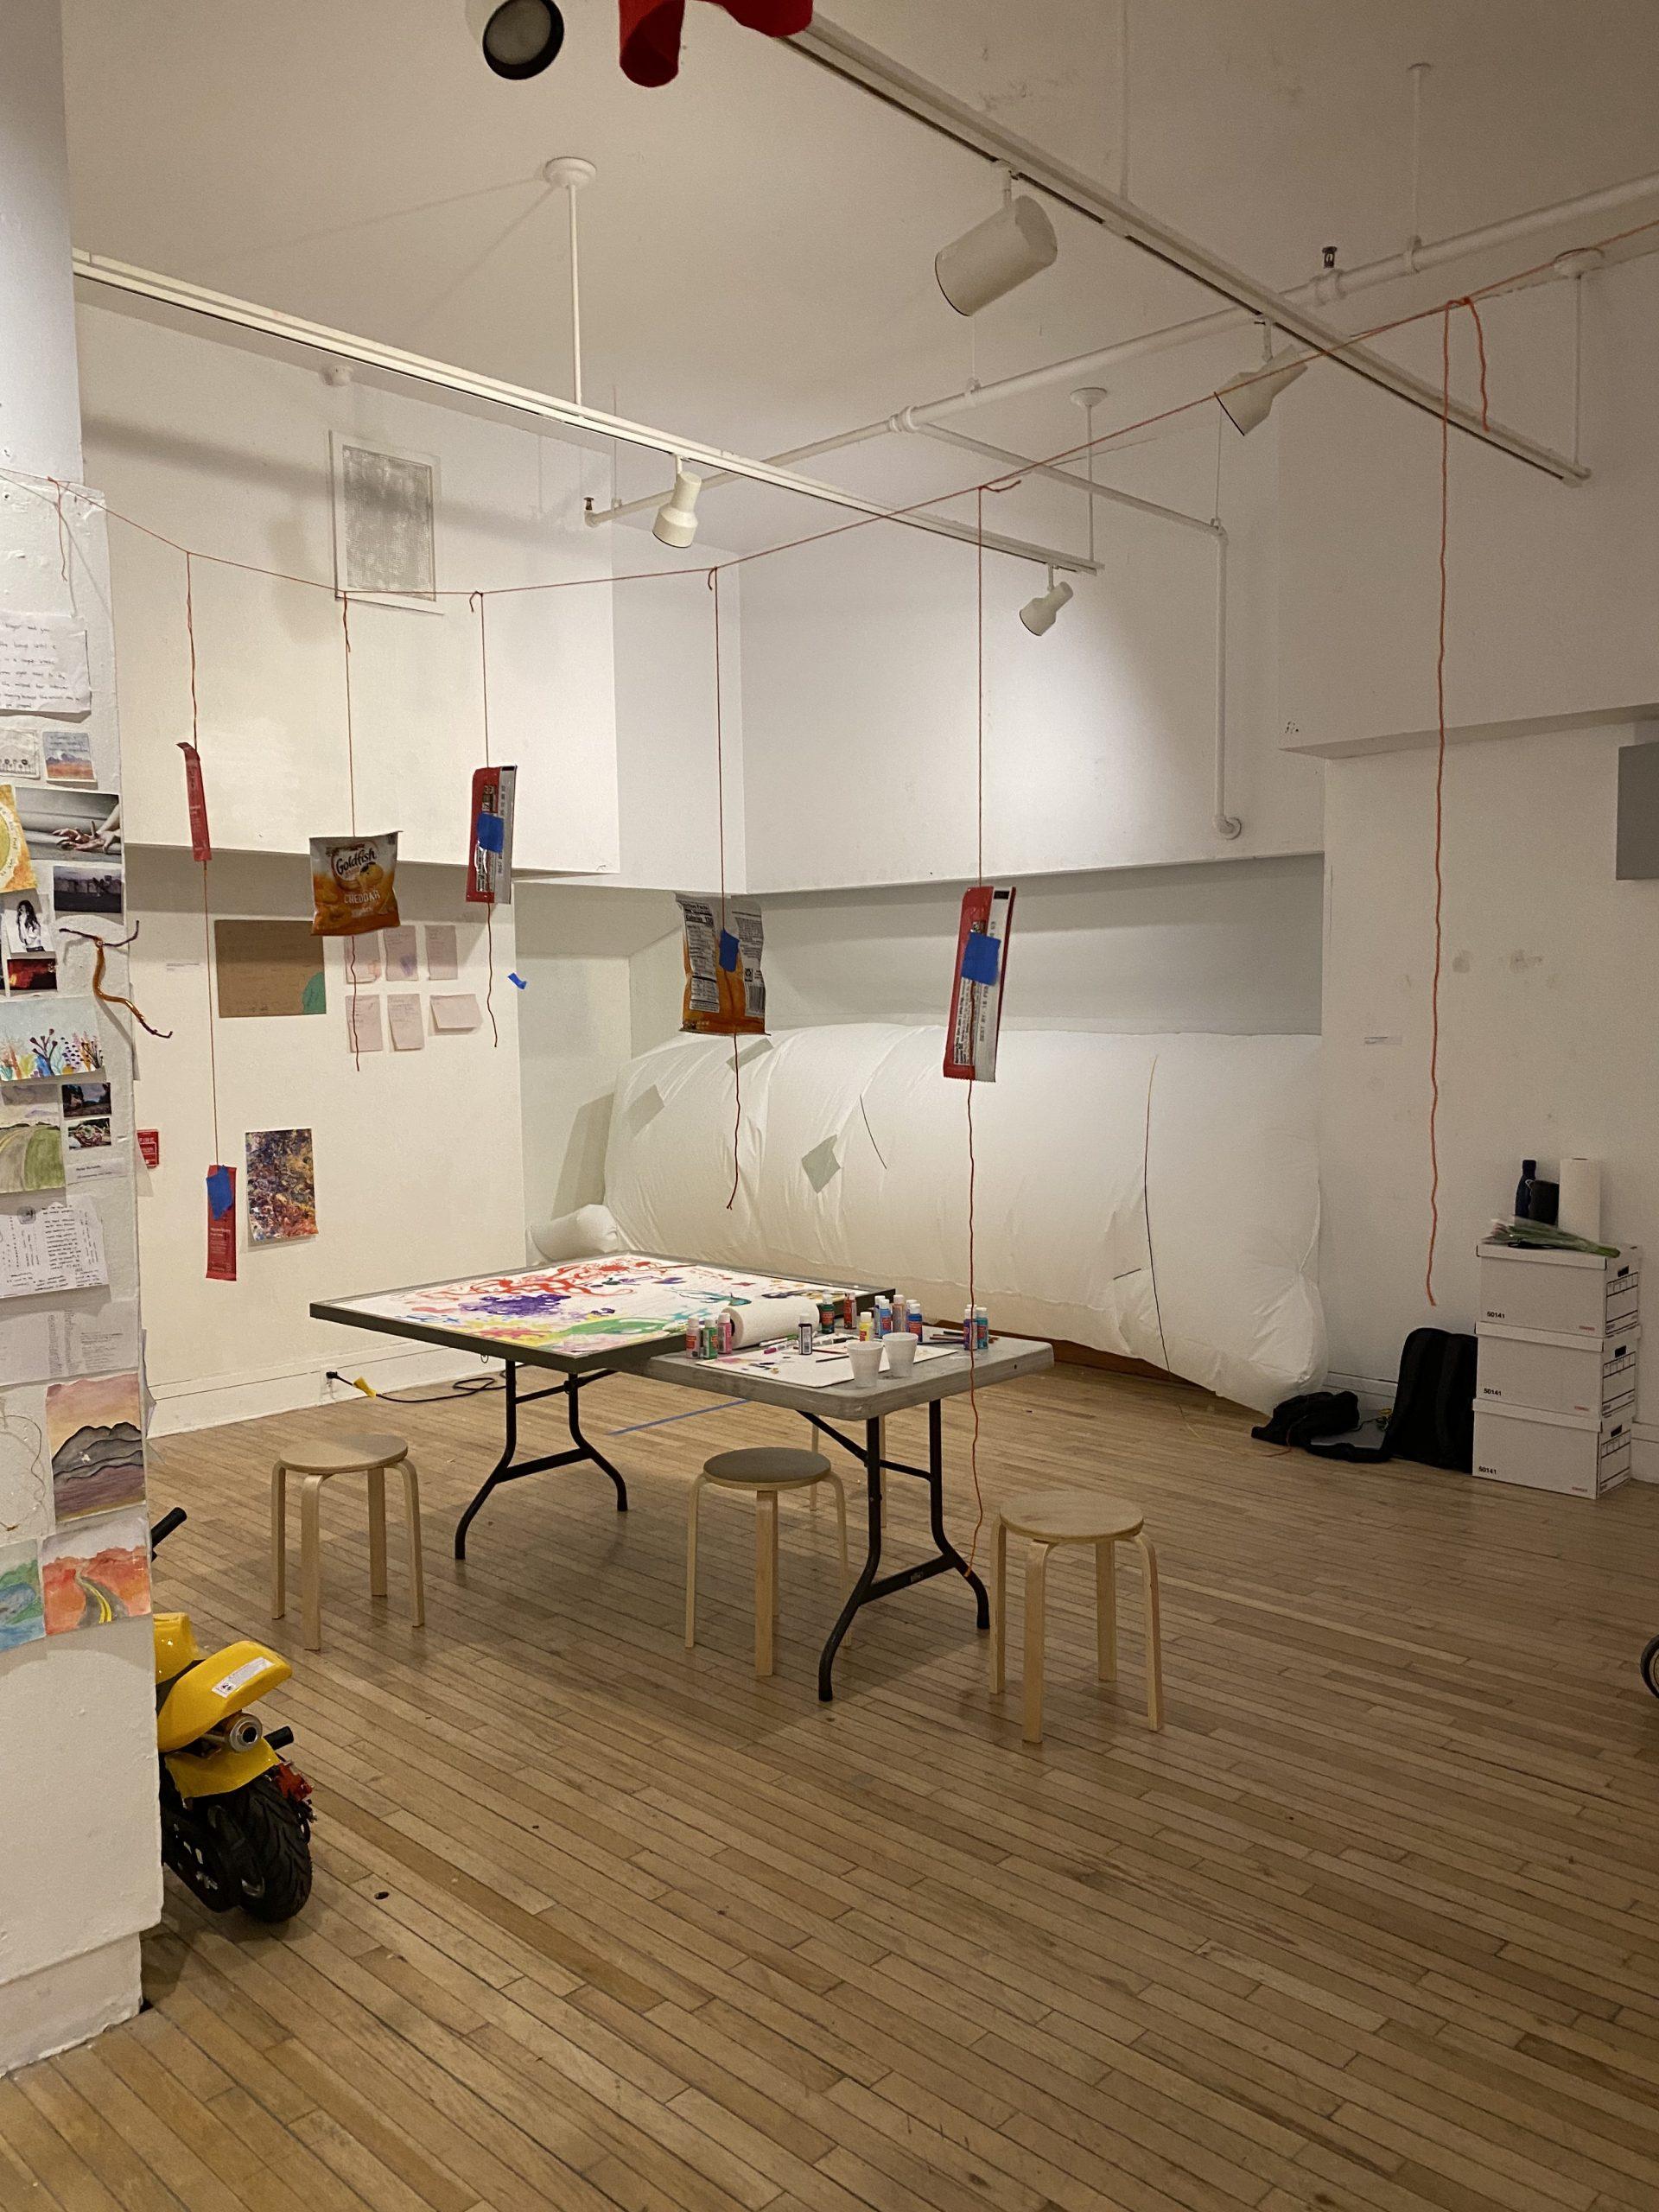
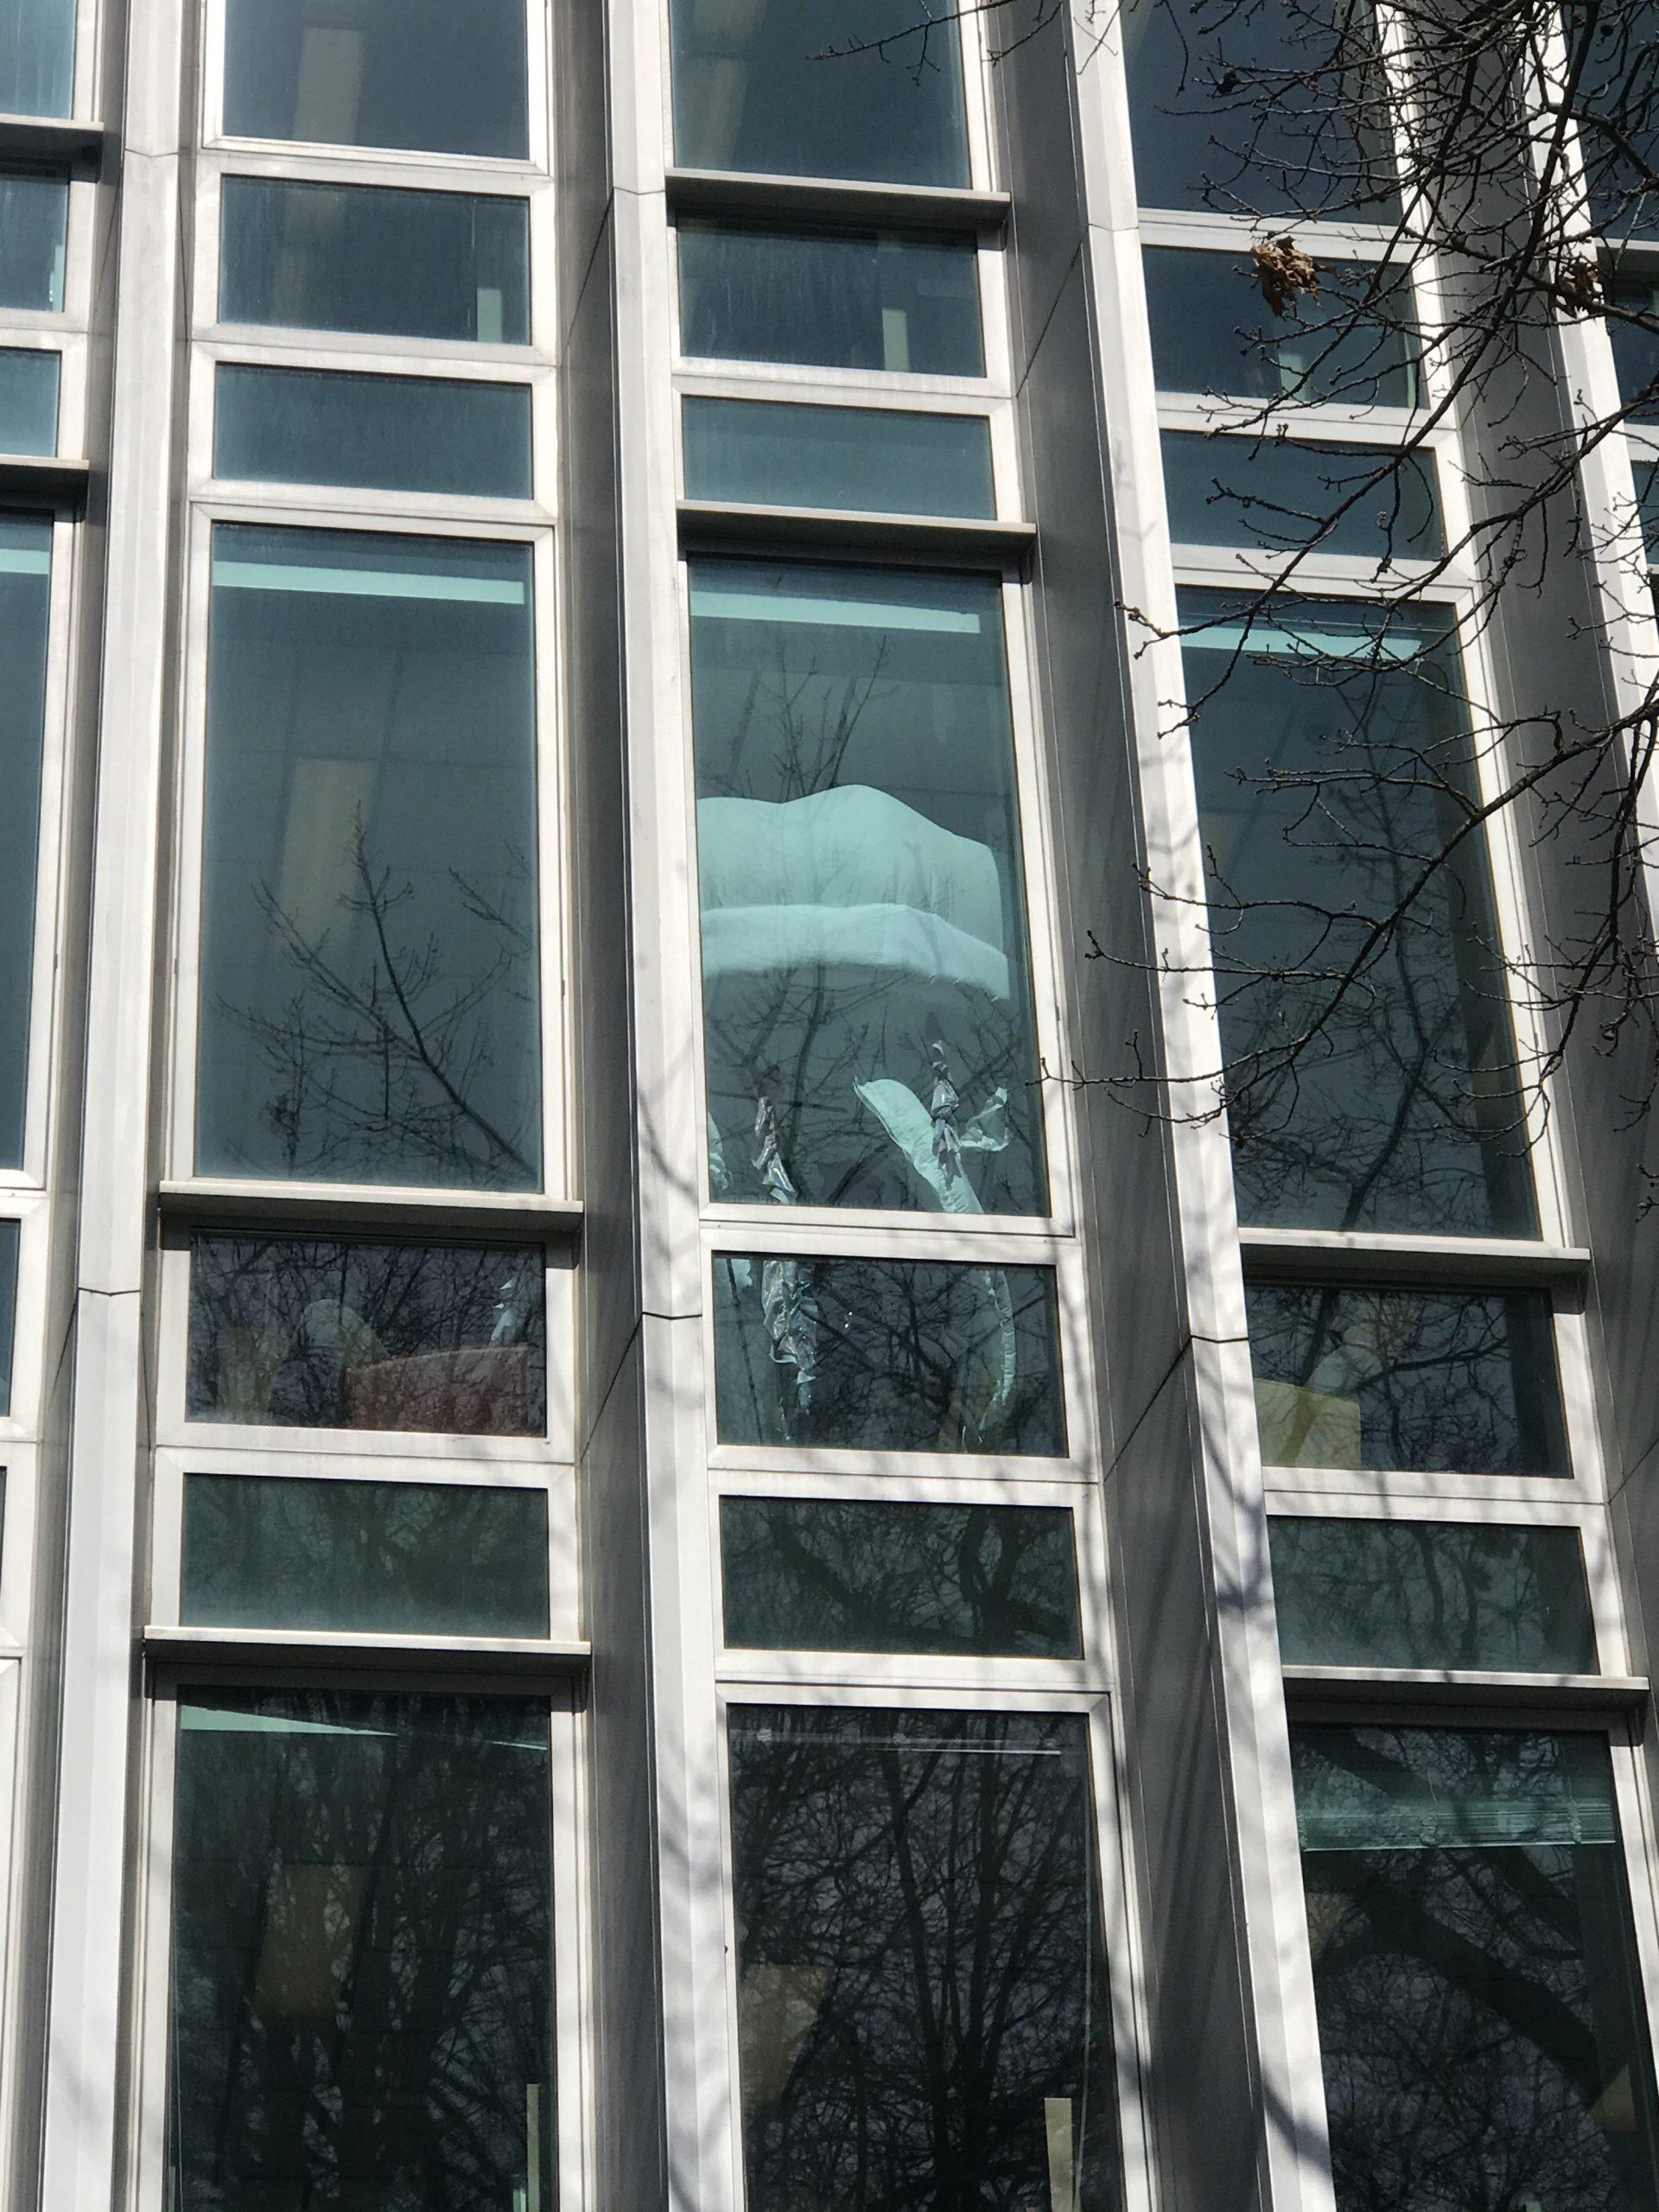
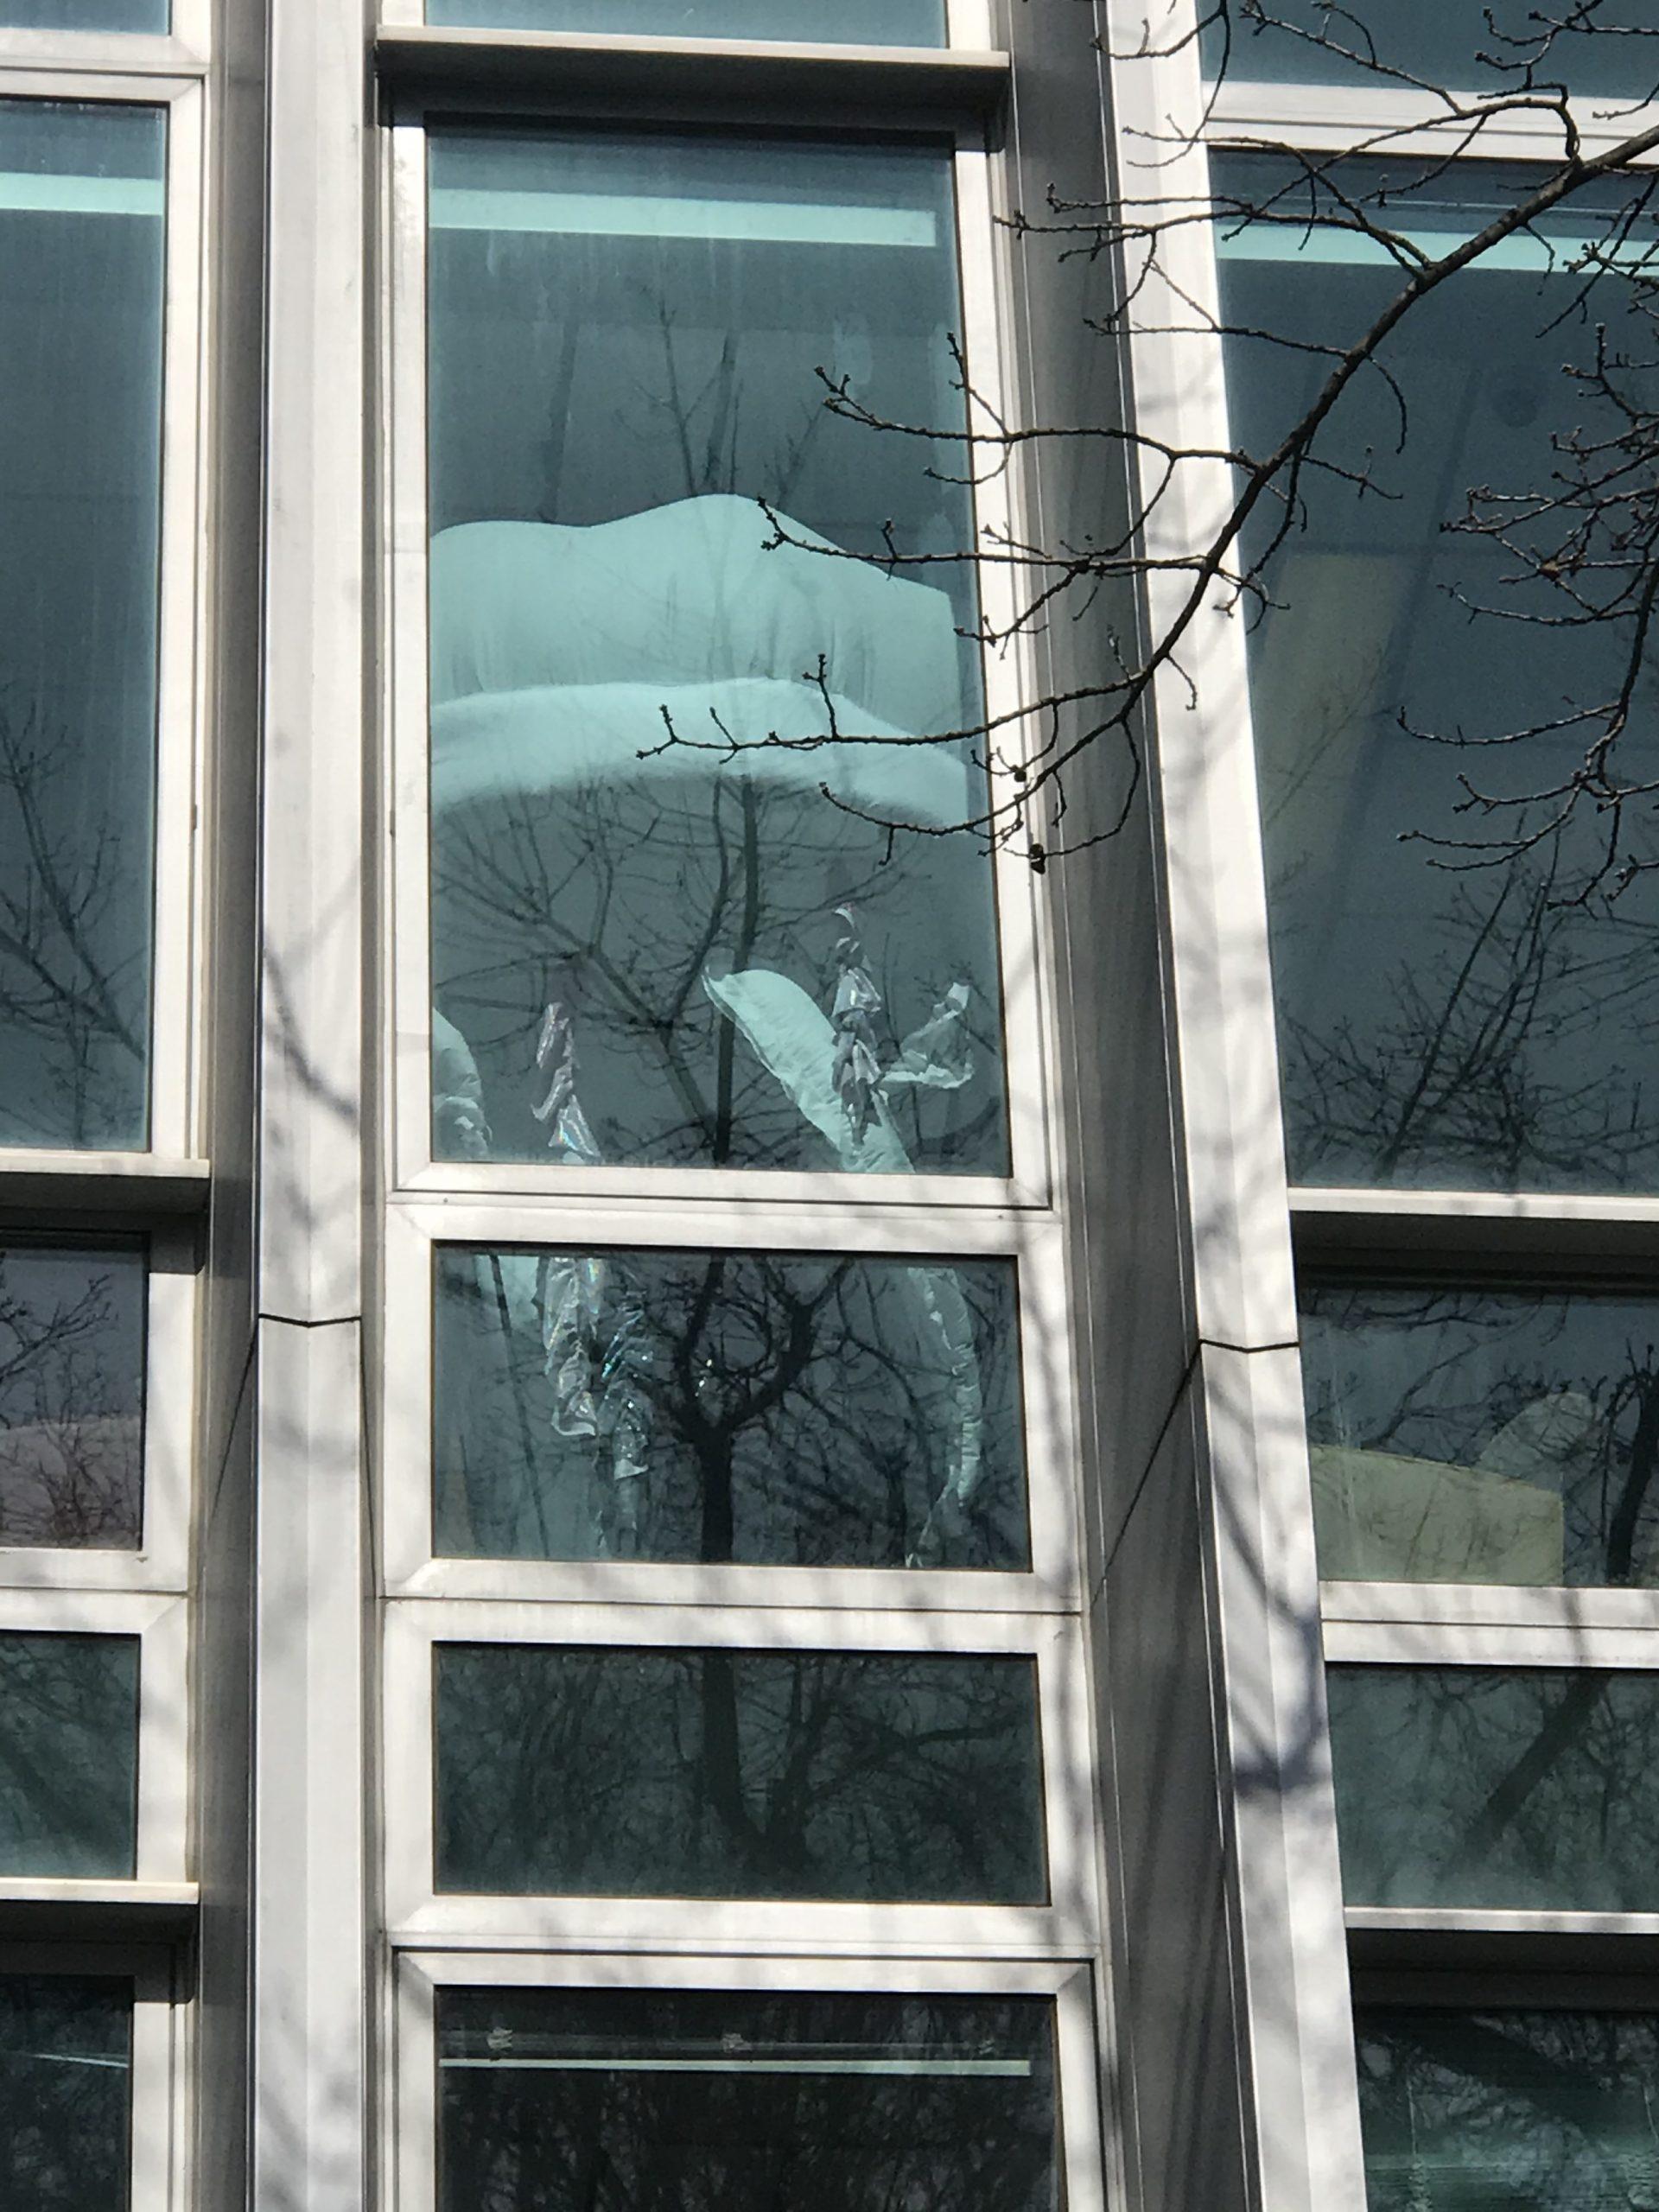
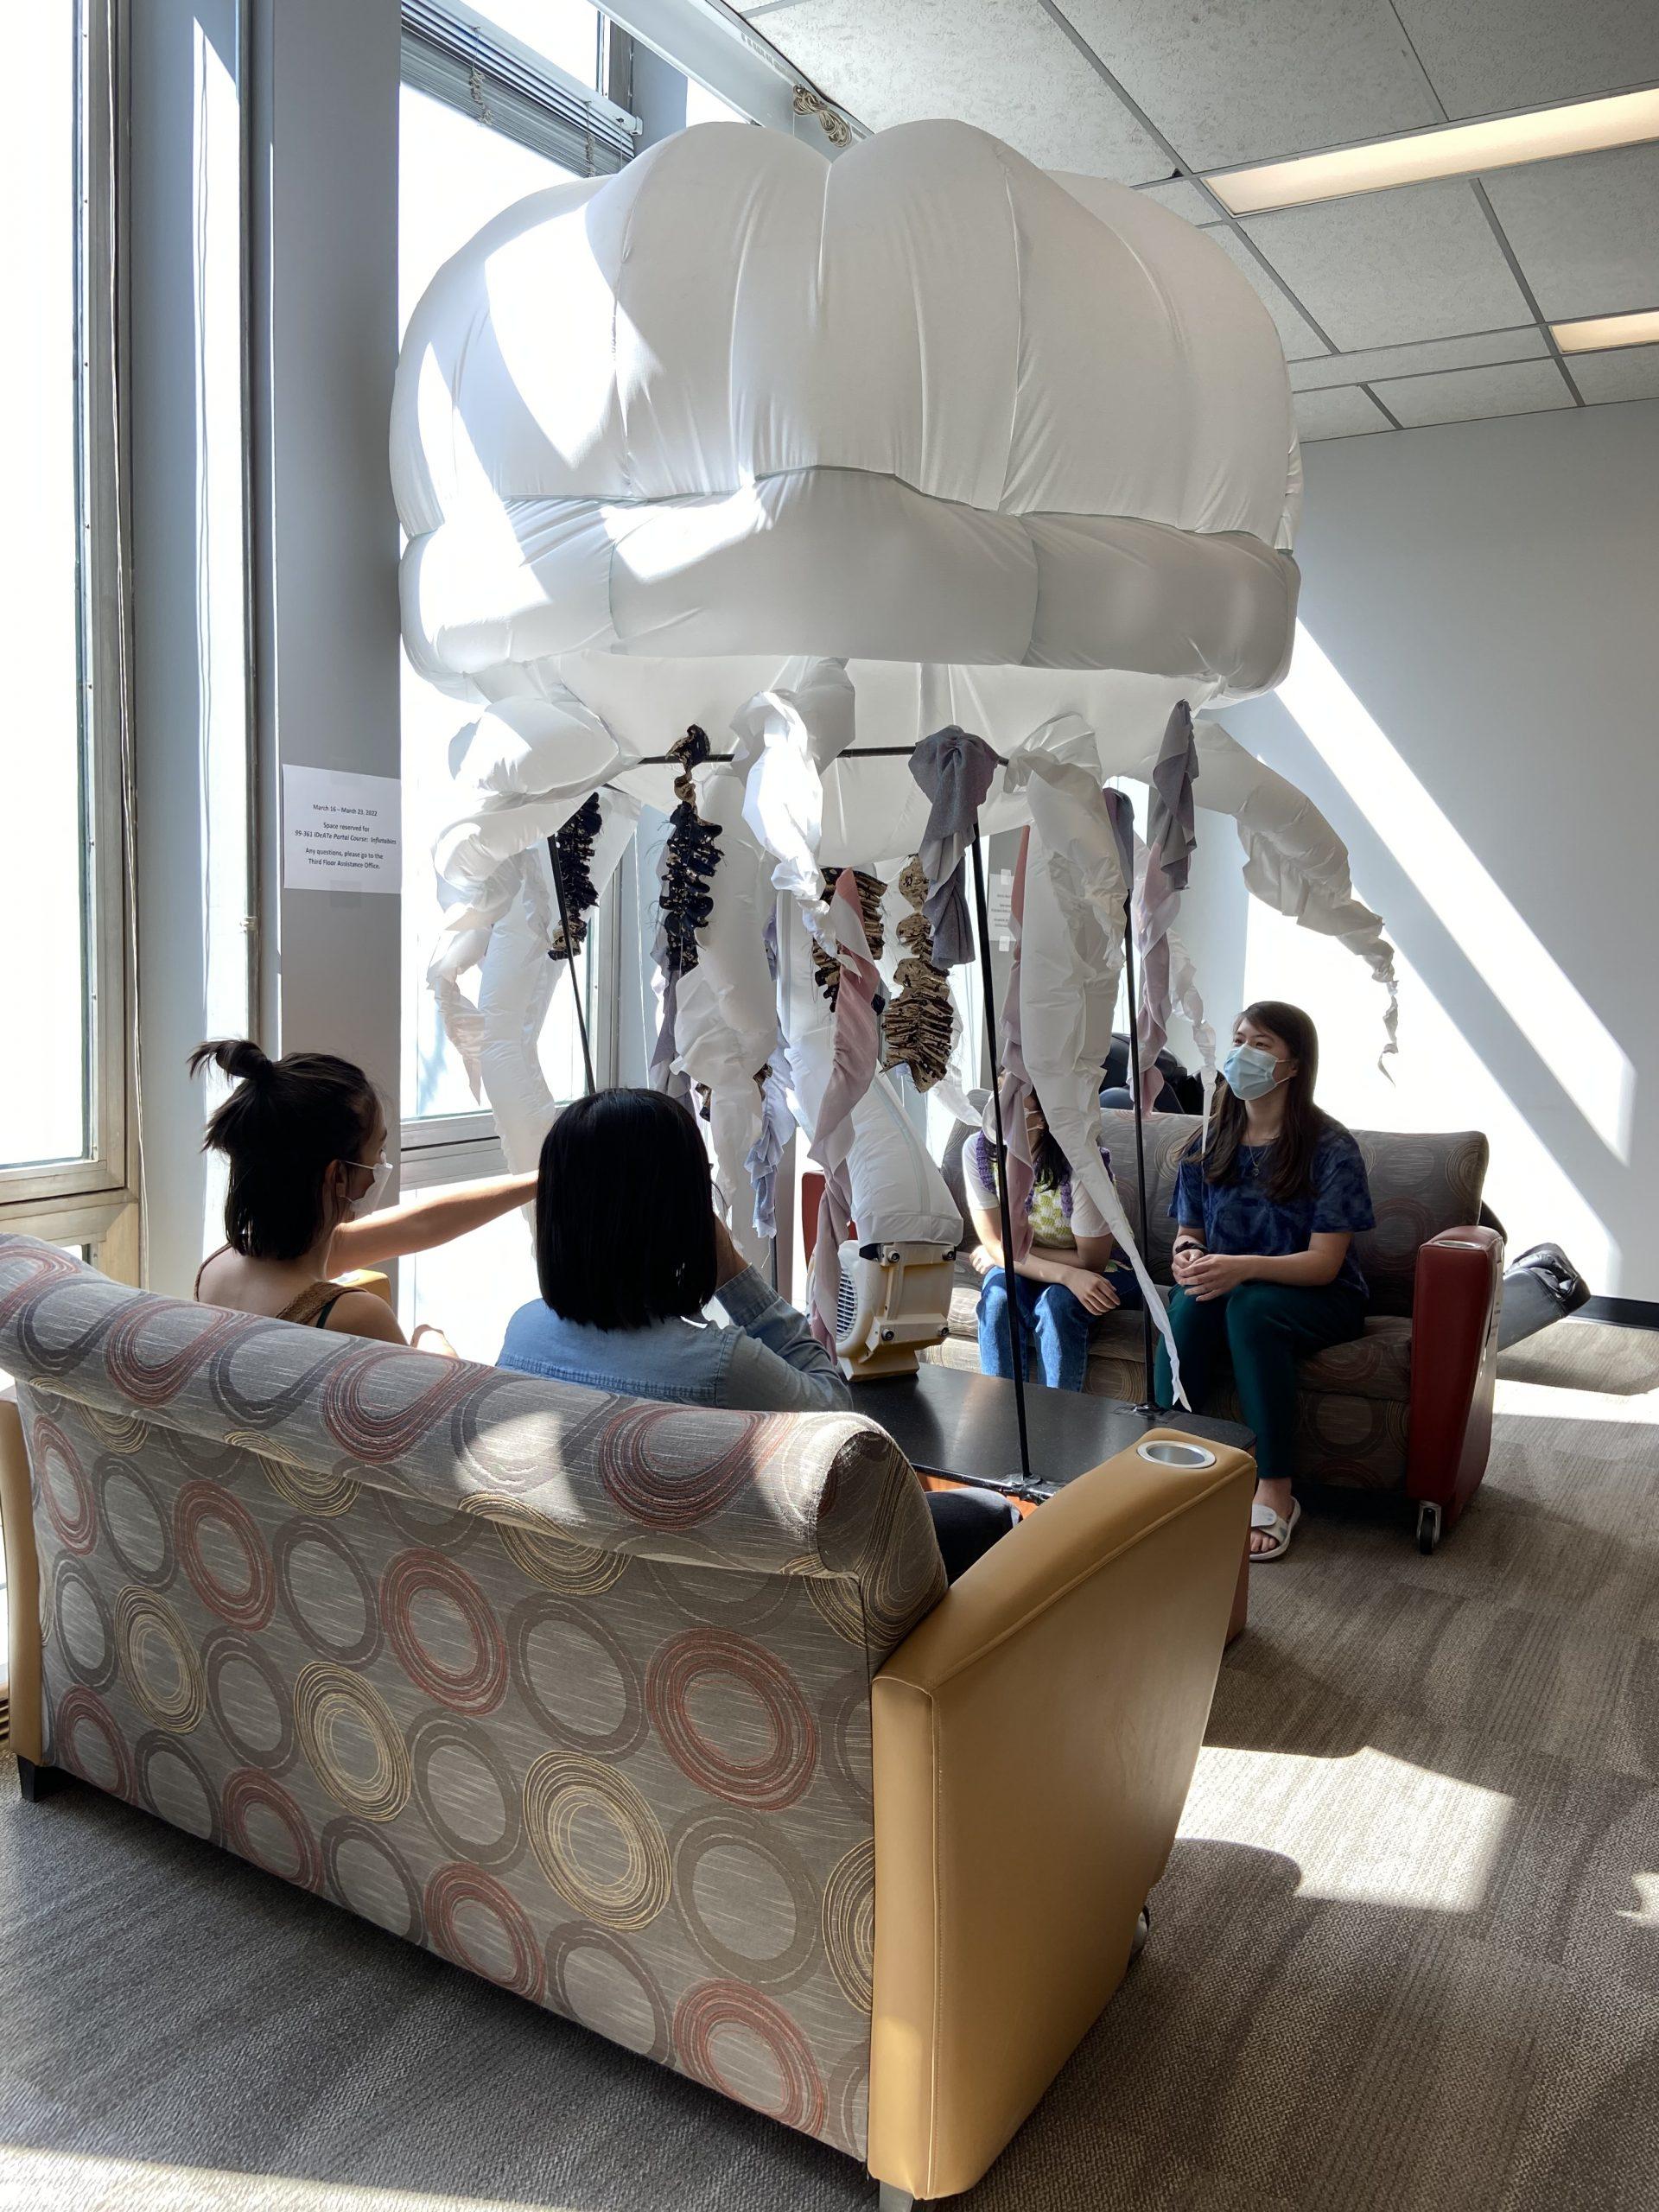
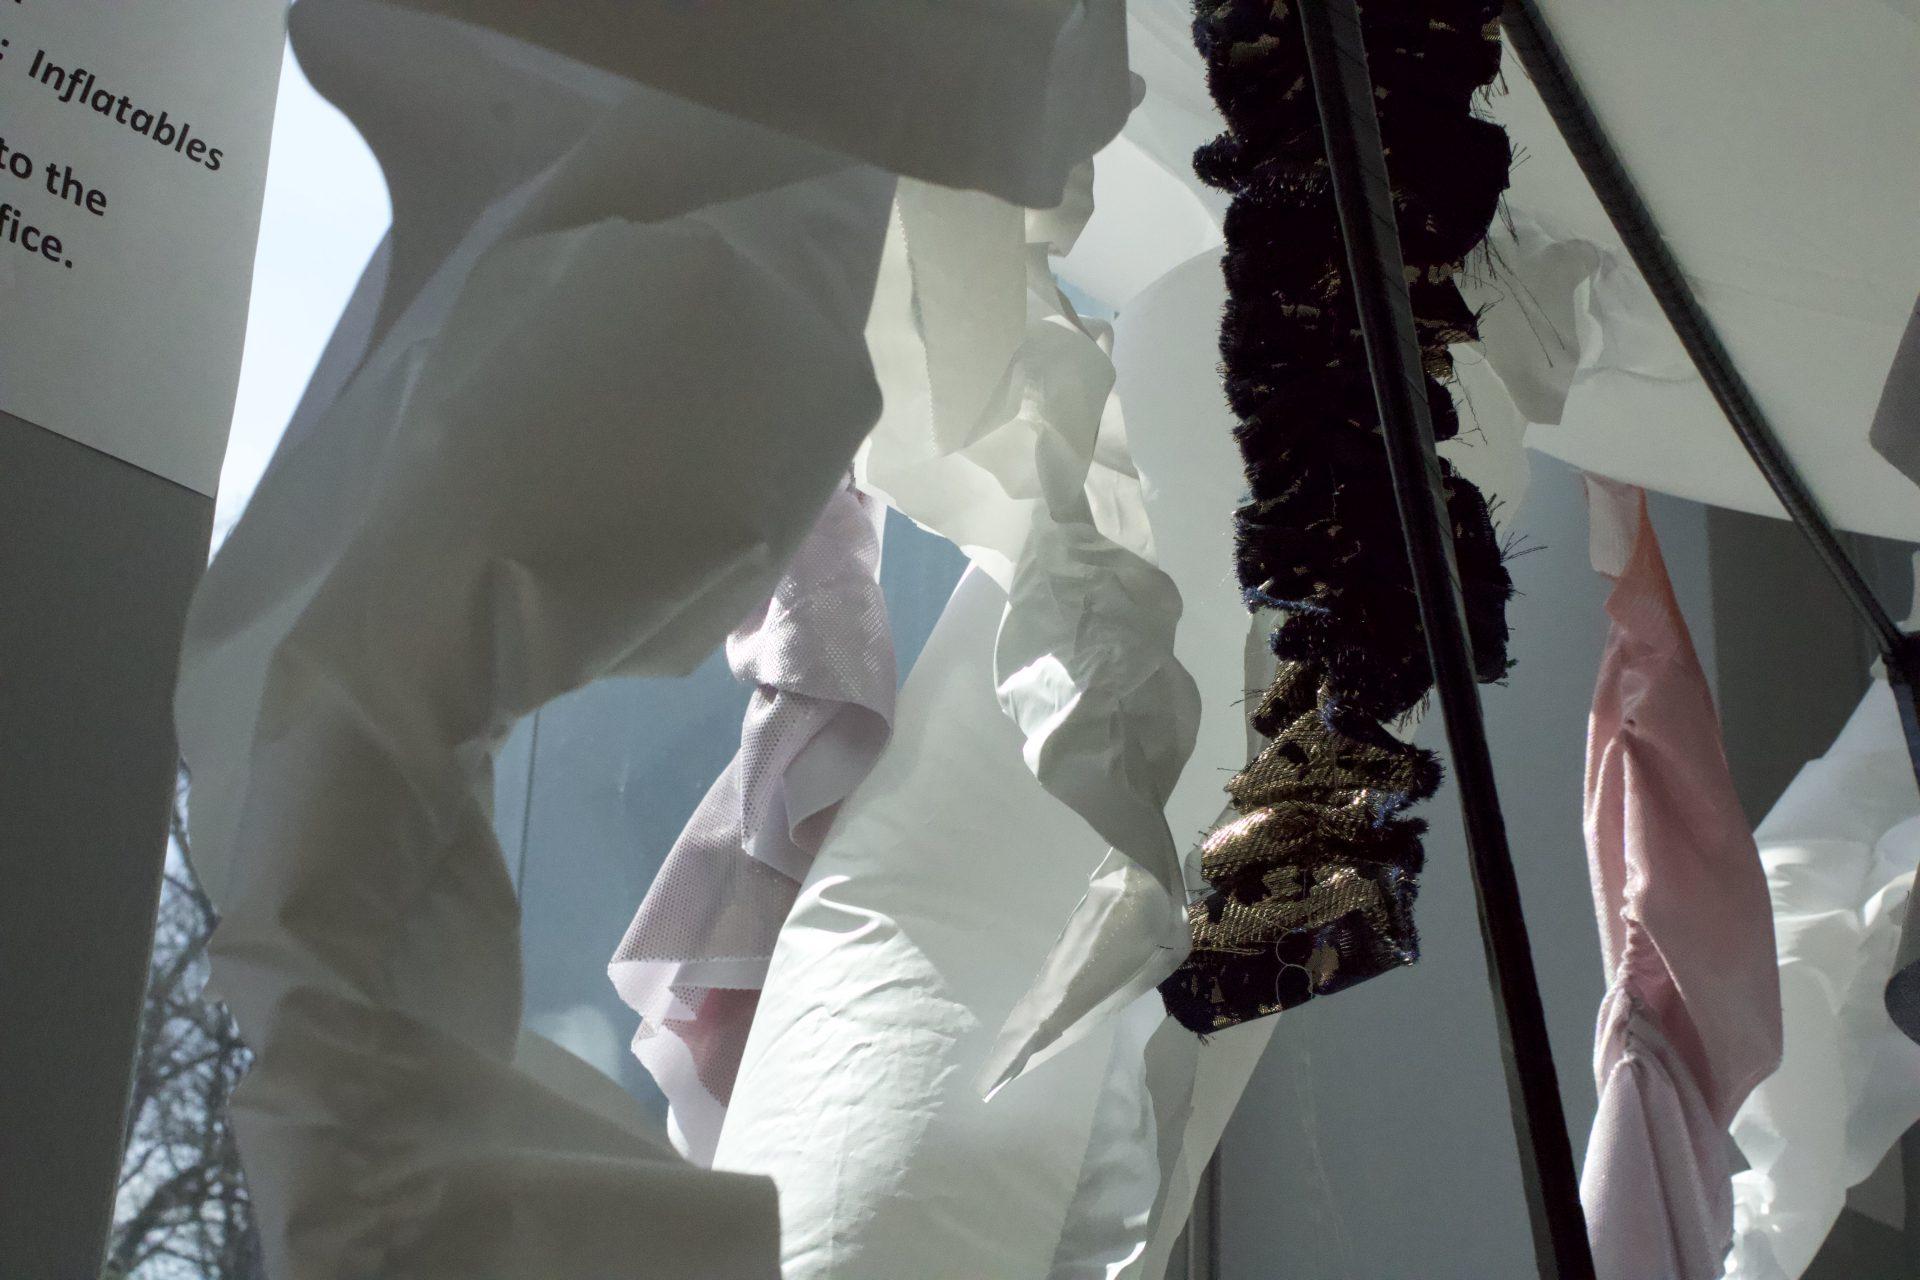
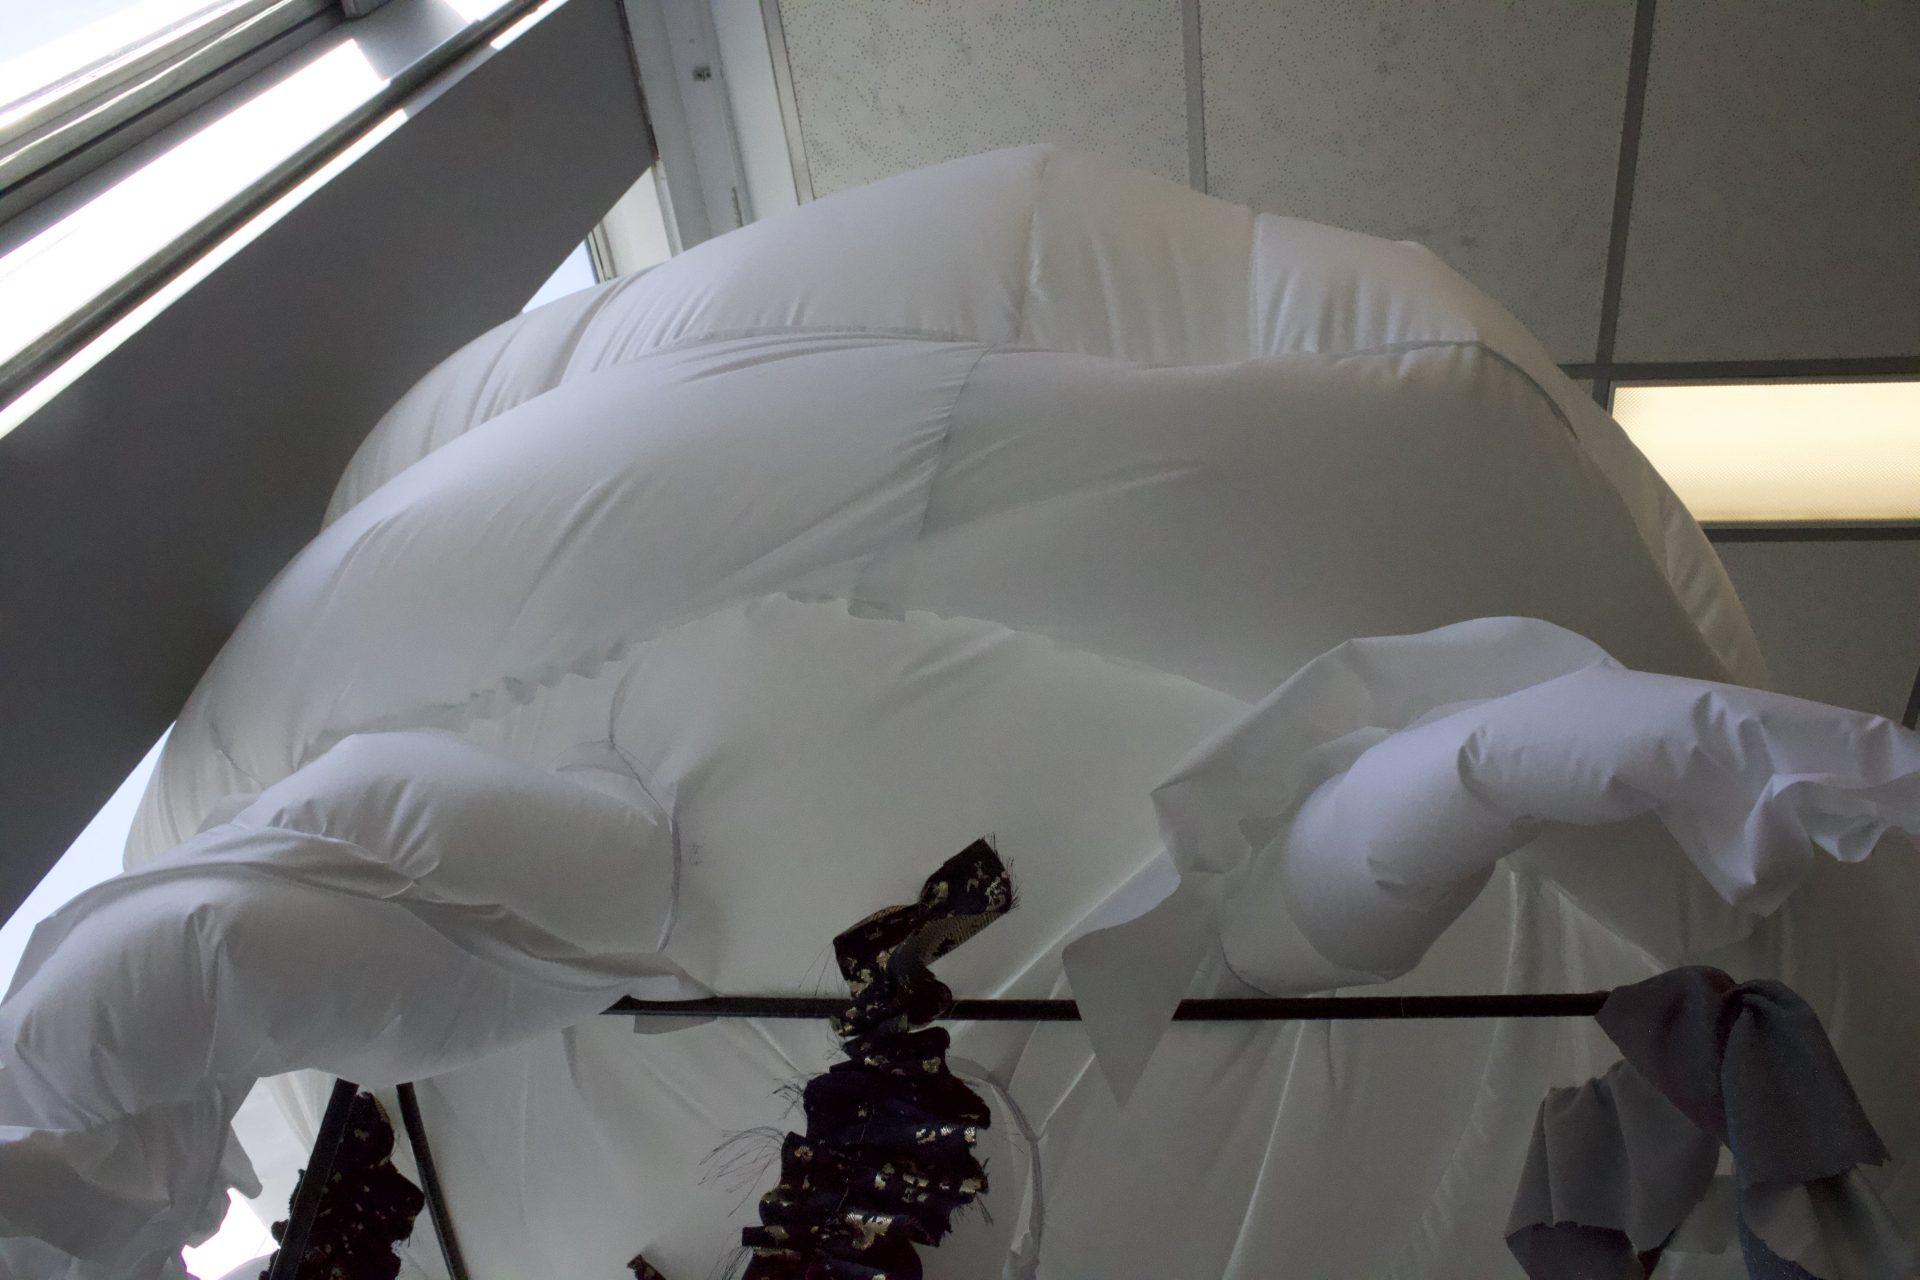
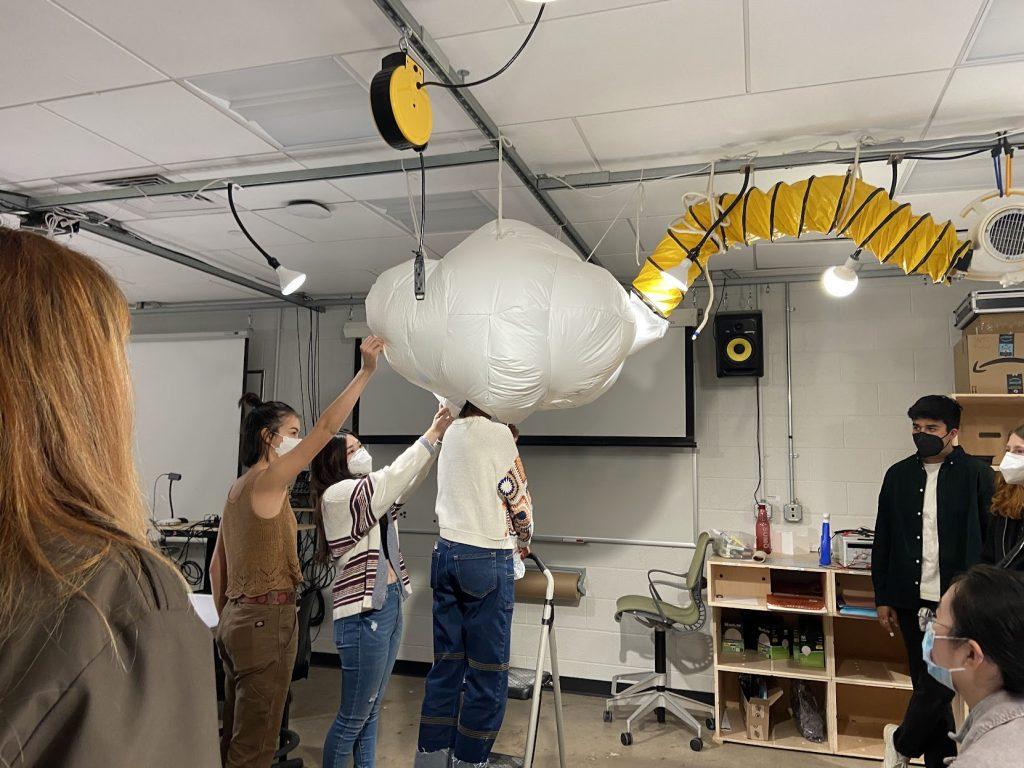
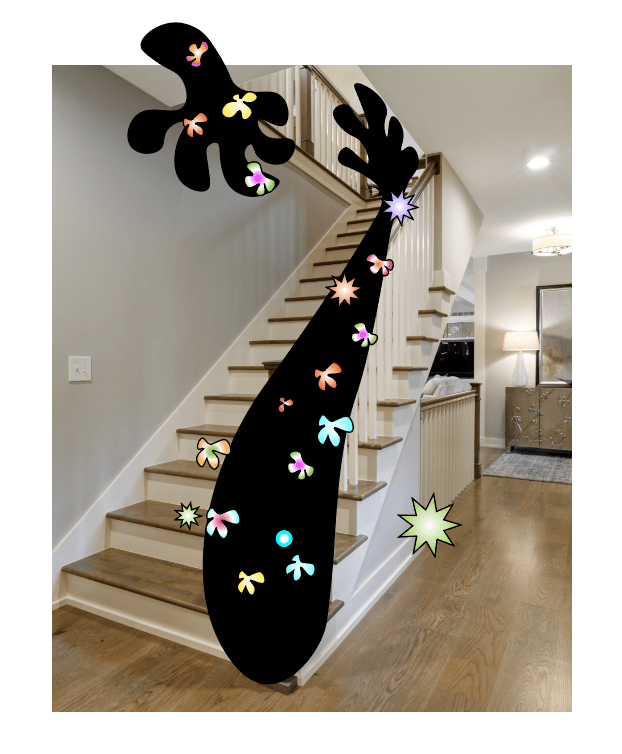
When we first inflated our final piece, we were surprised by the scale and the effect it had in transforming the feeling of the entire space where it was installed. At the same time, we were surprised by how difficult it was to install the inflatable the way we wanted. We had to hand the leaf part to the ceiling. However, due to its large size and limiting options to hand onto, it was very difficult to install the inflatable in just the right place, facing just the right angle. Eventually, we figured out the best spot and presented it to the class.
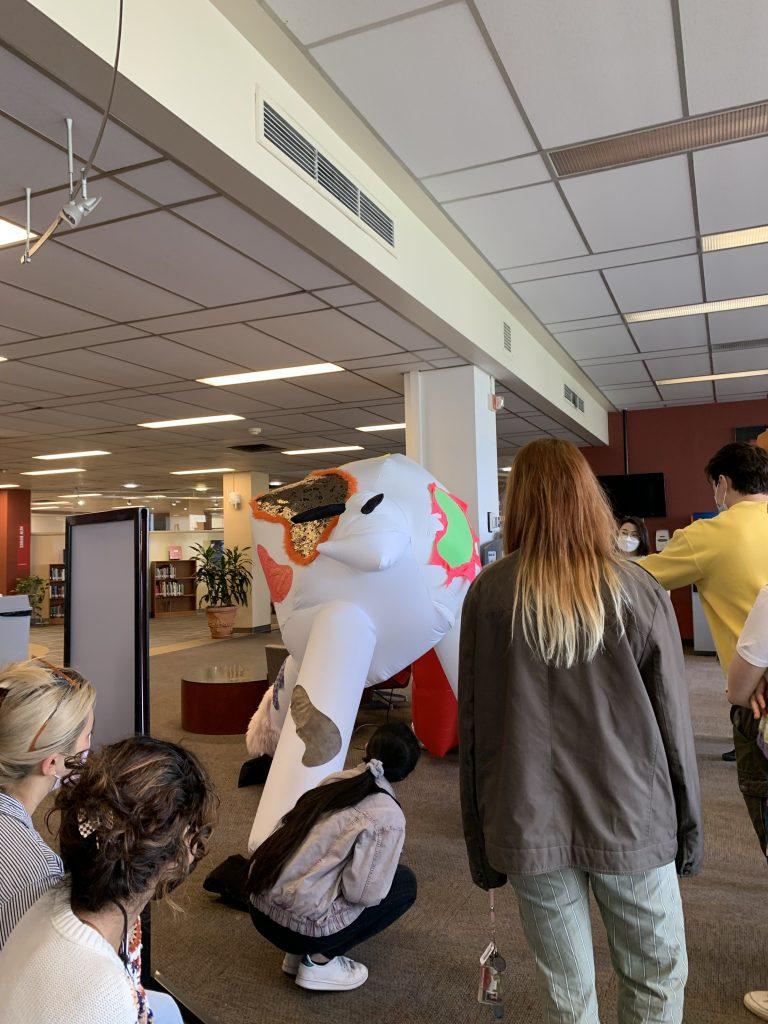
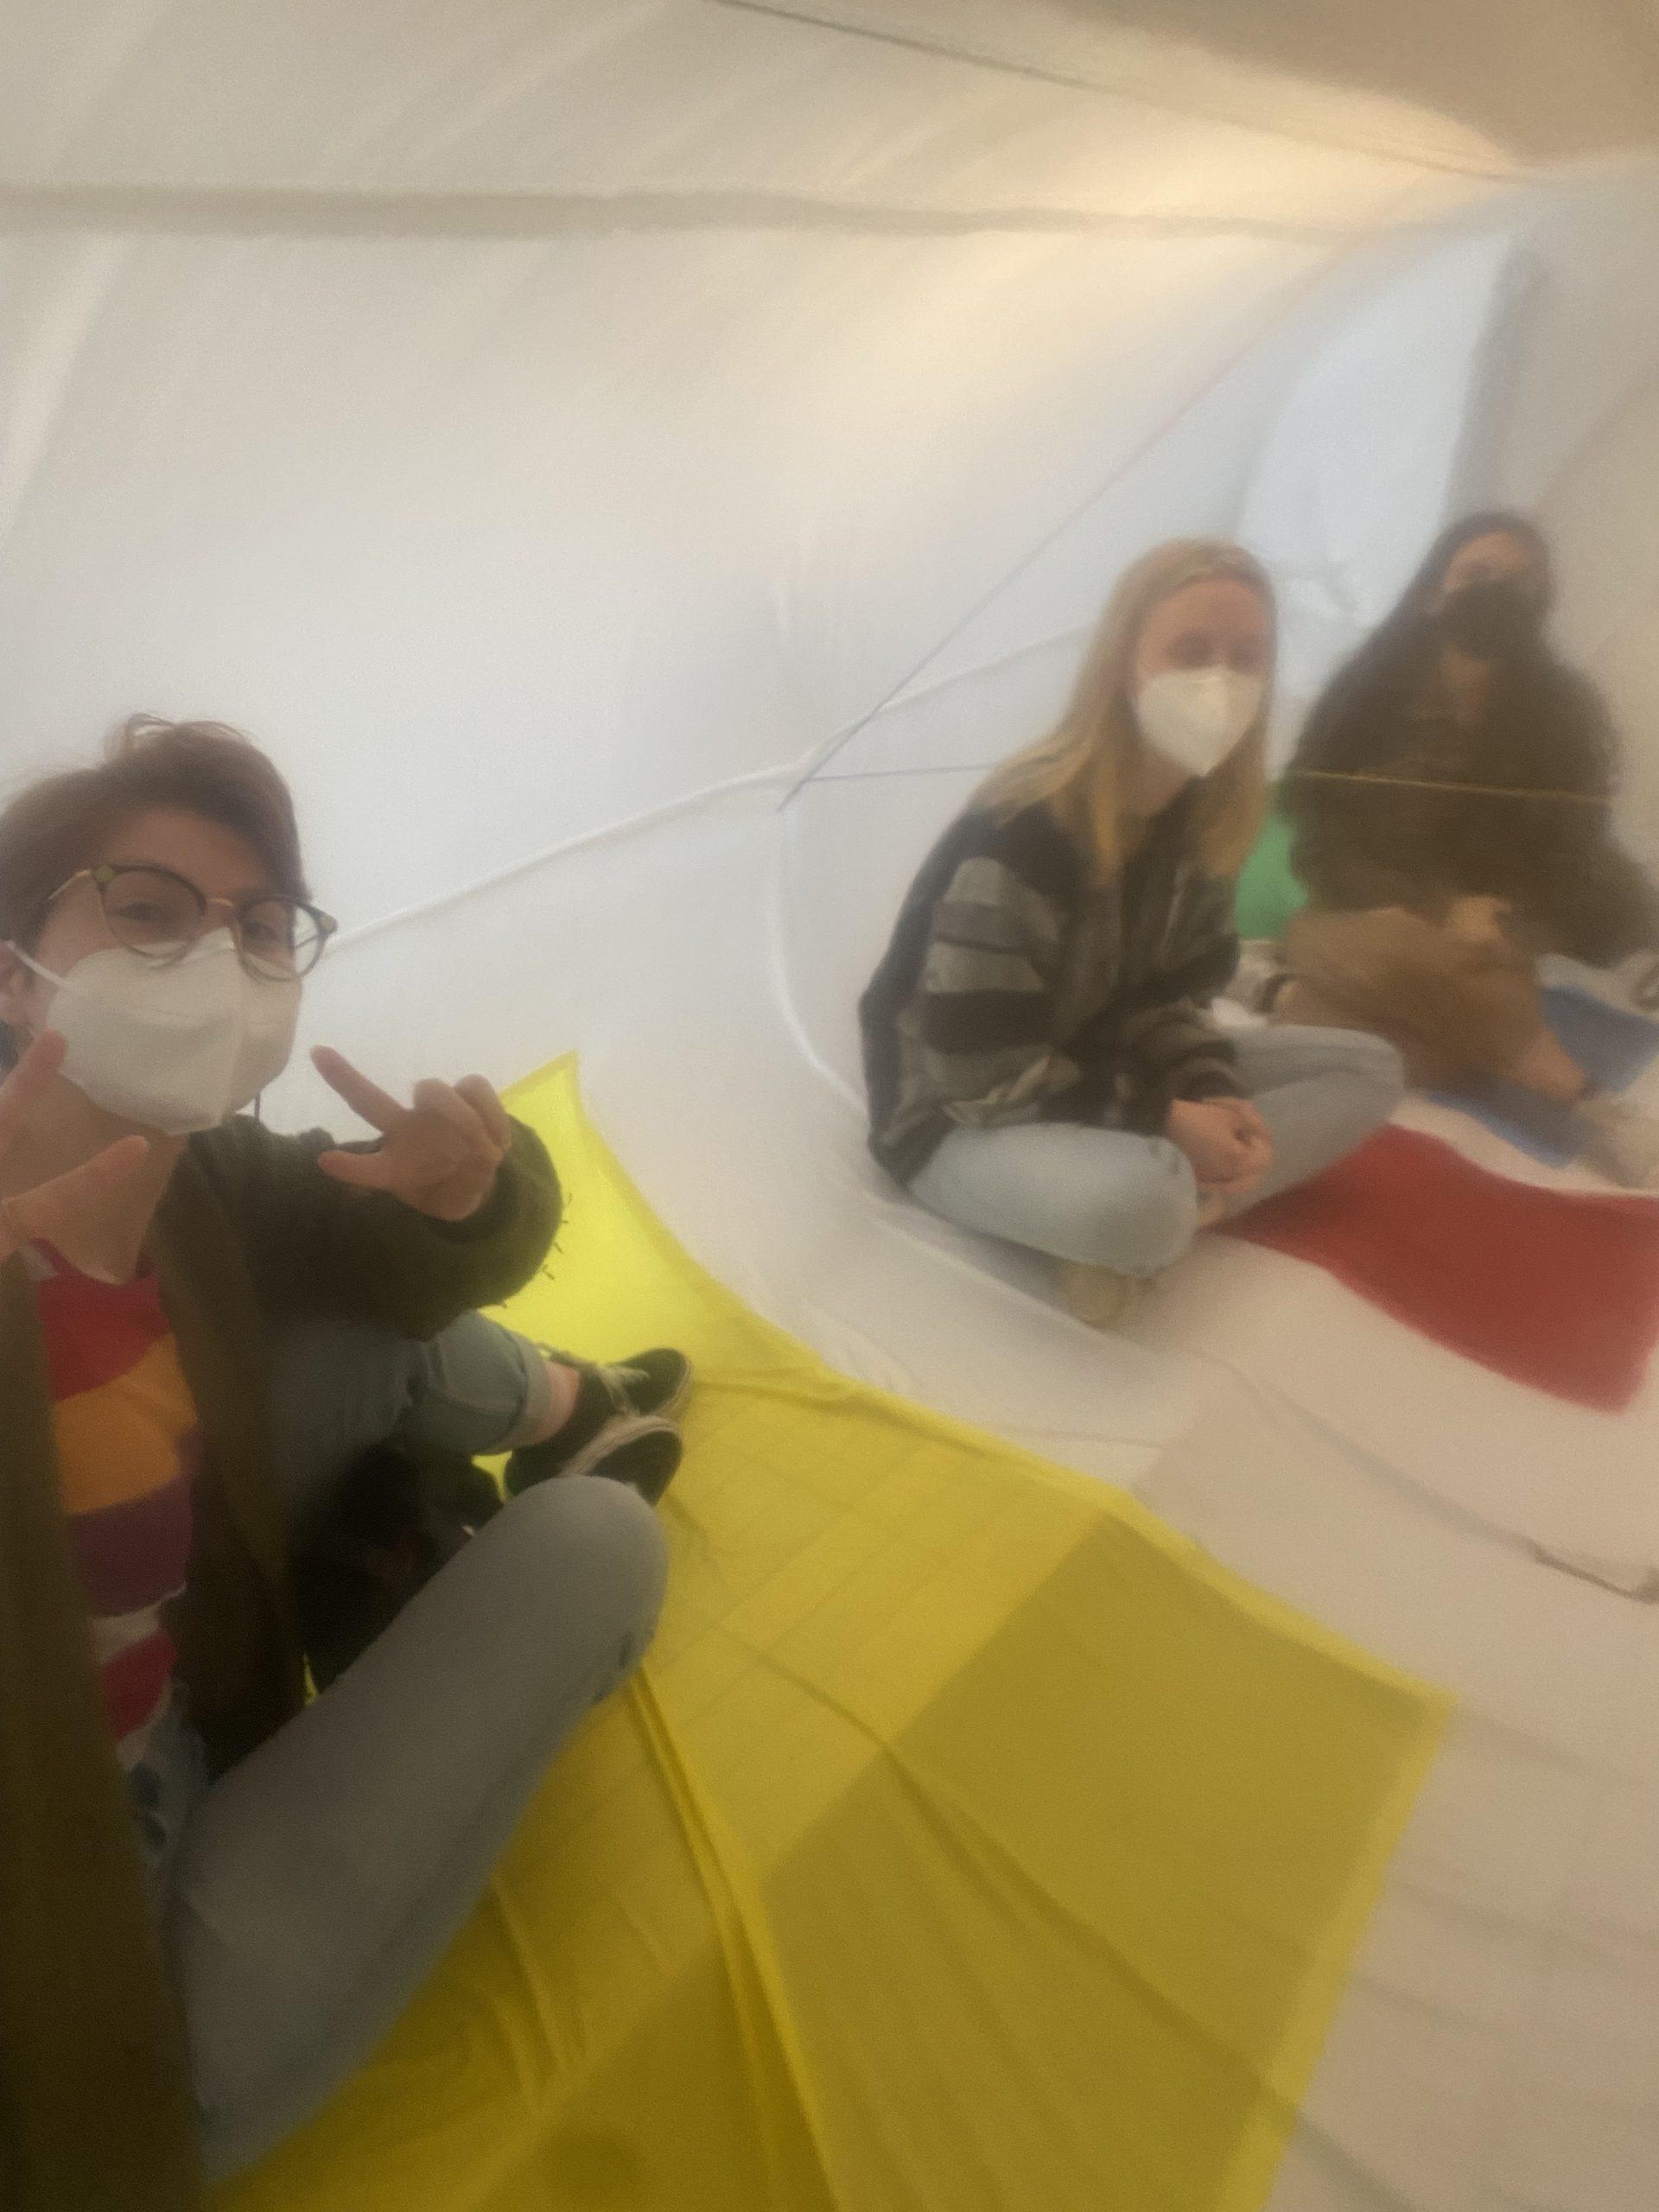
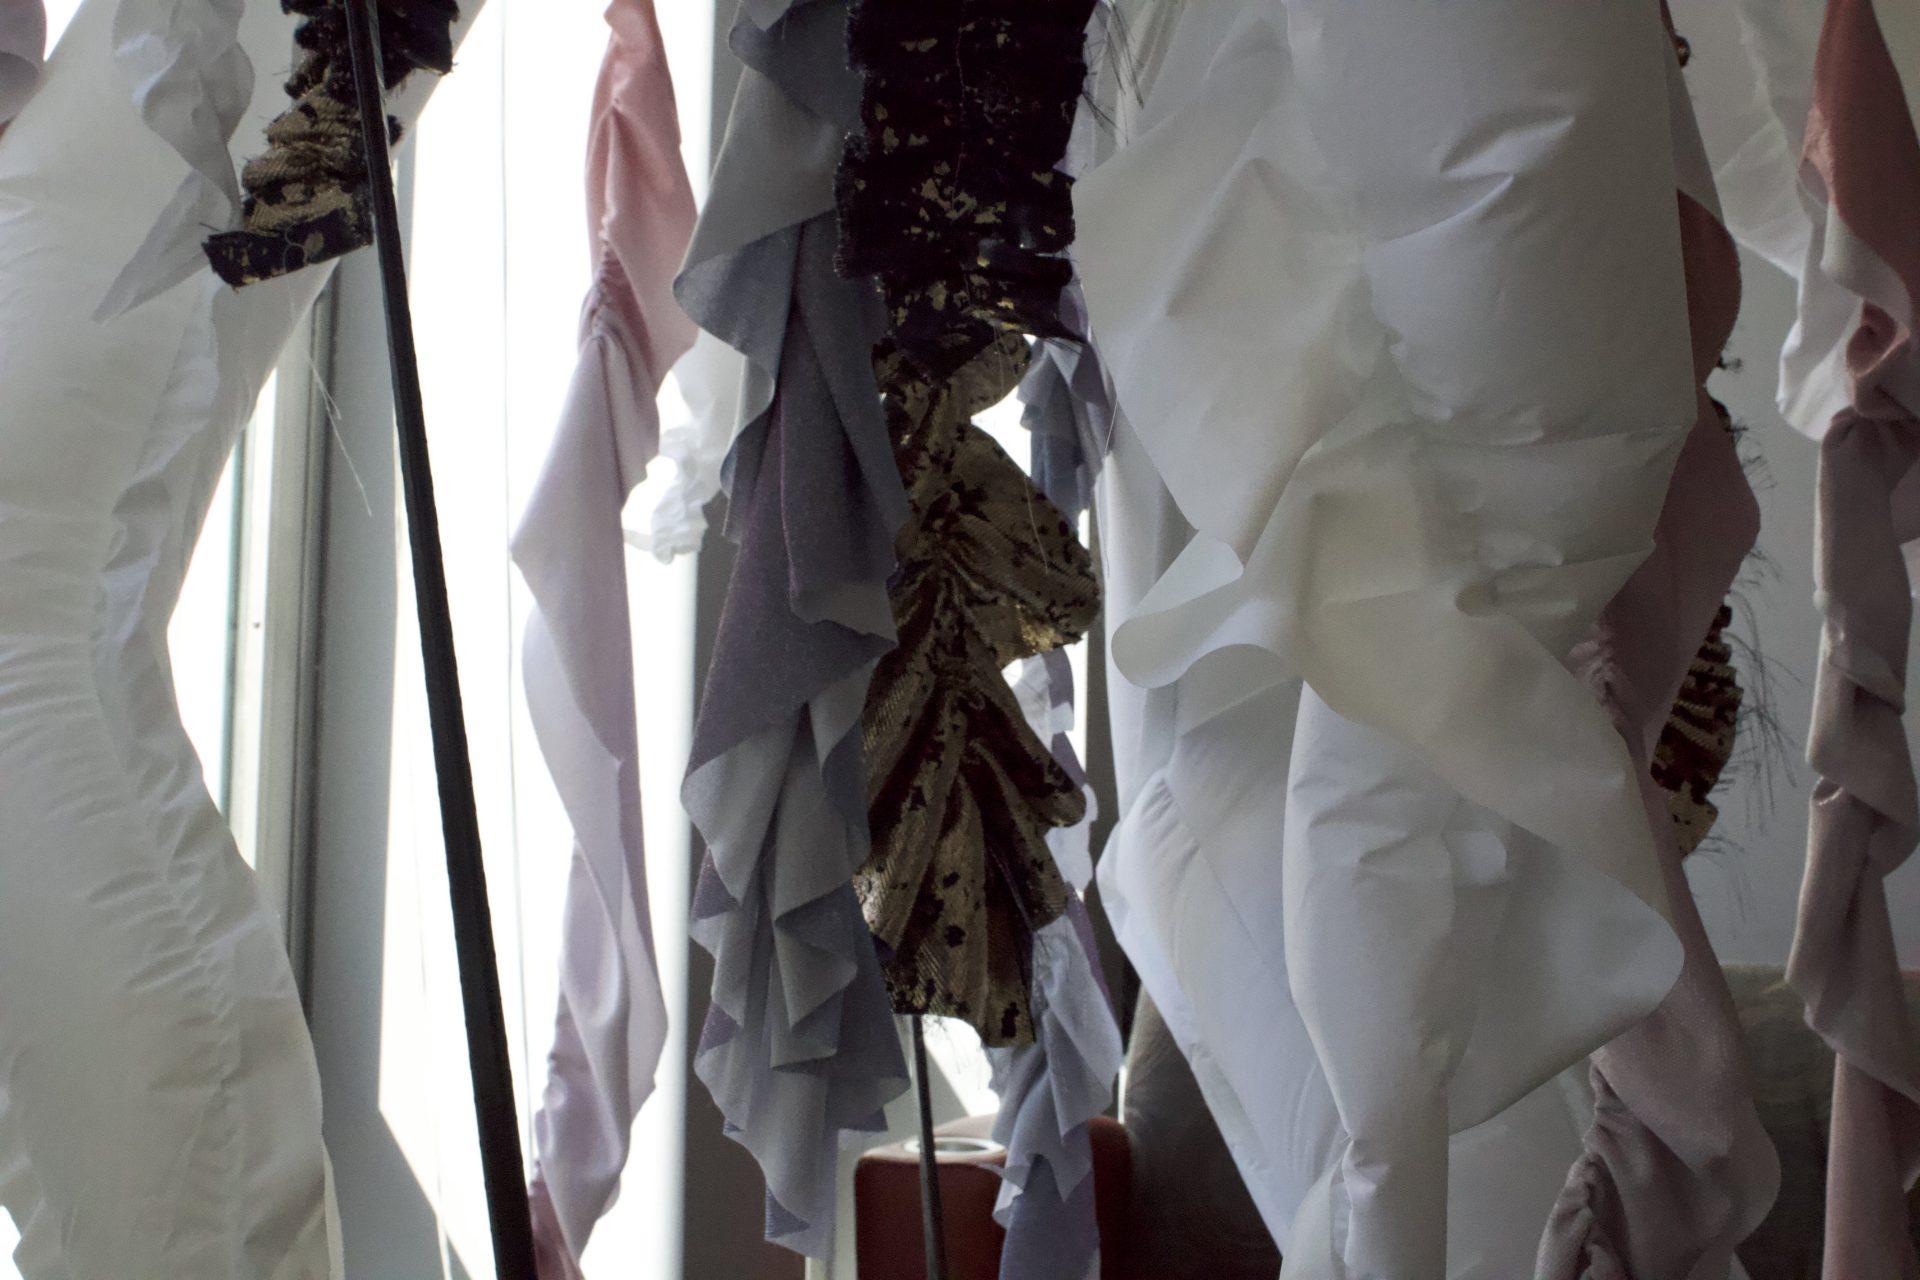
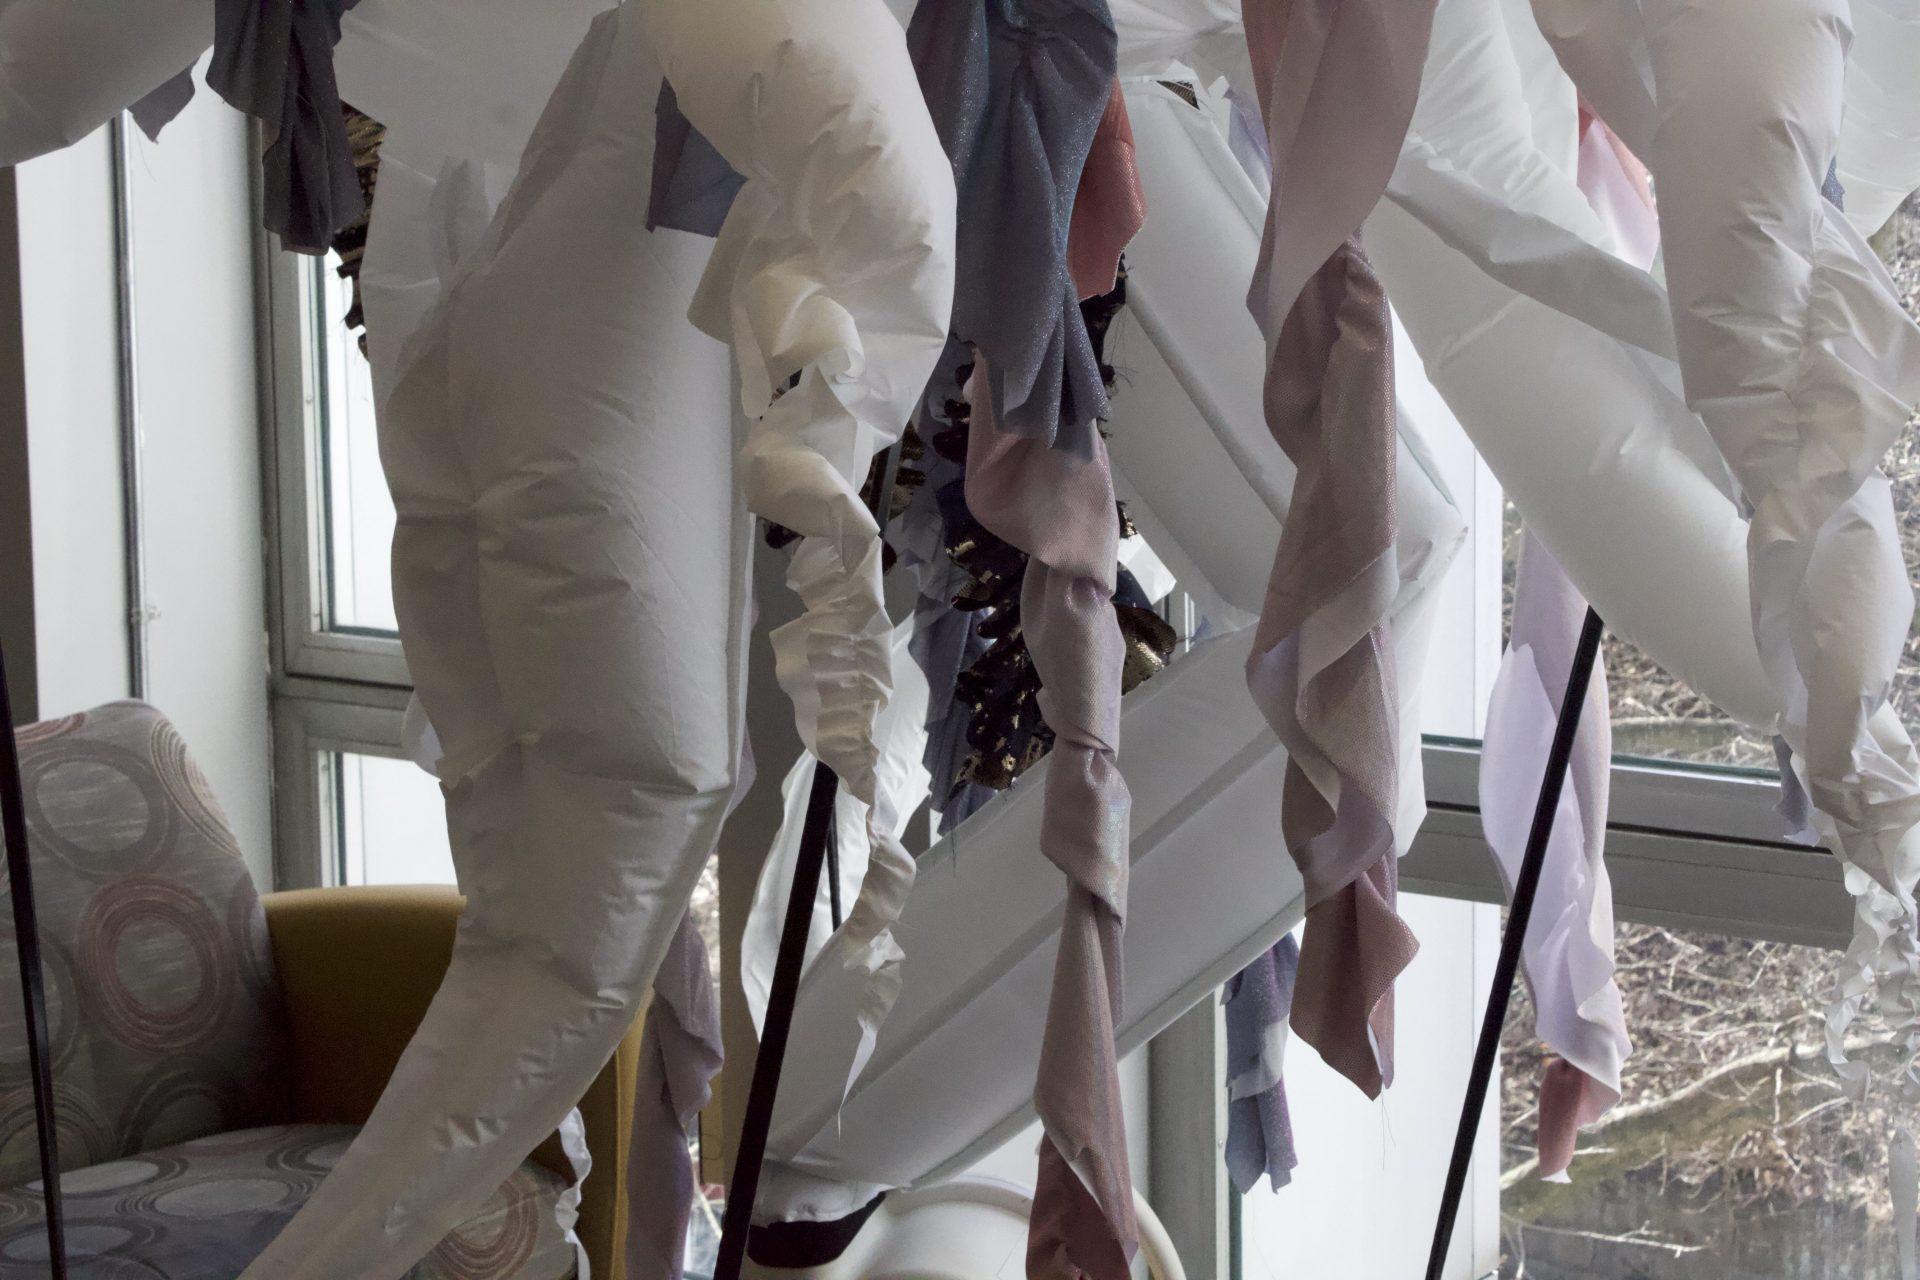
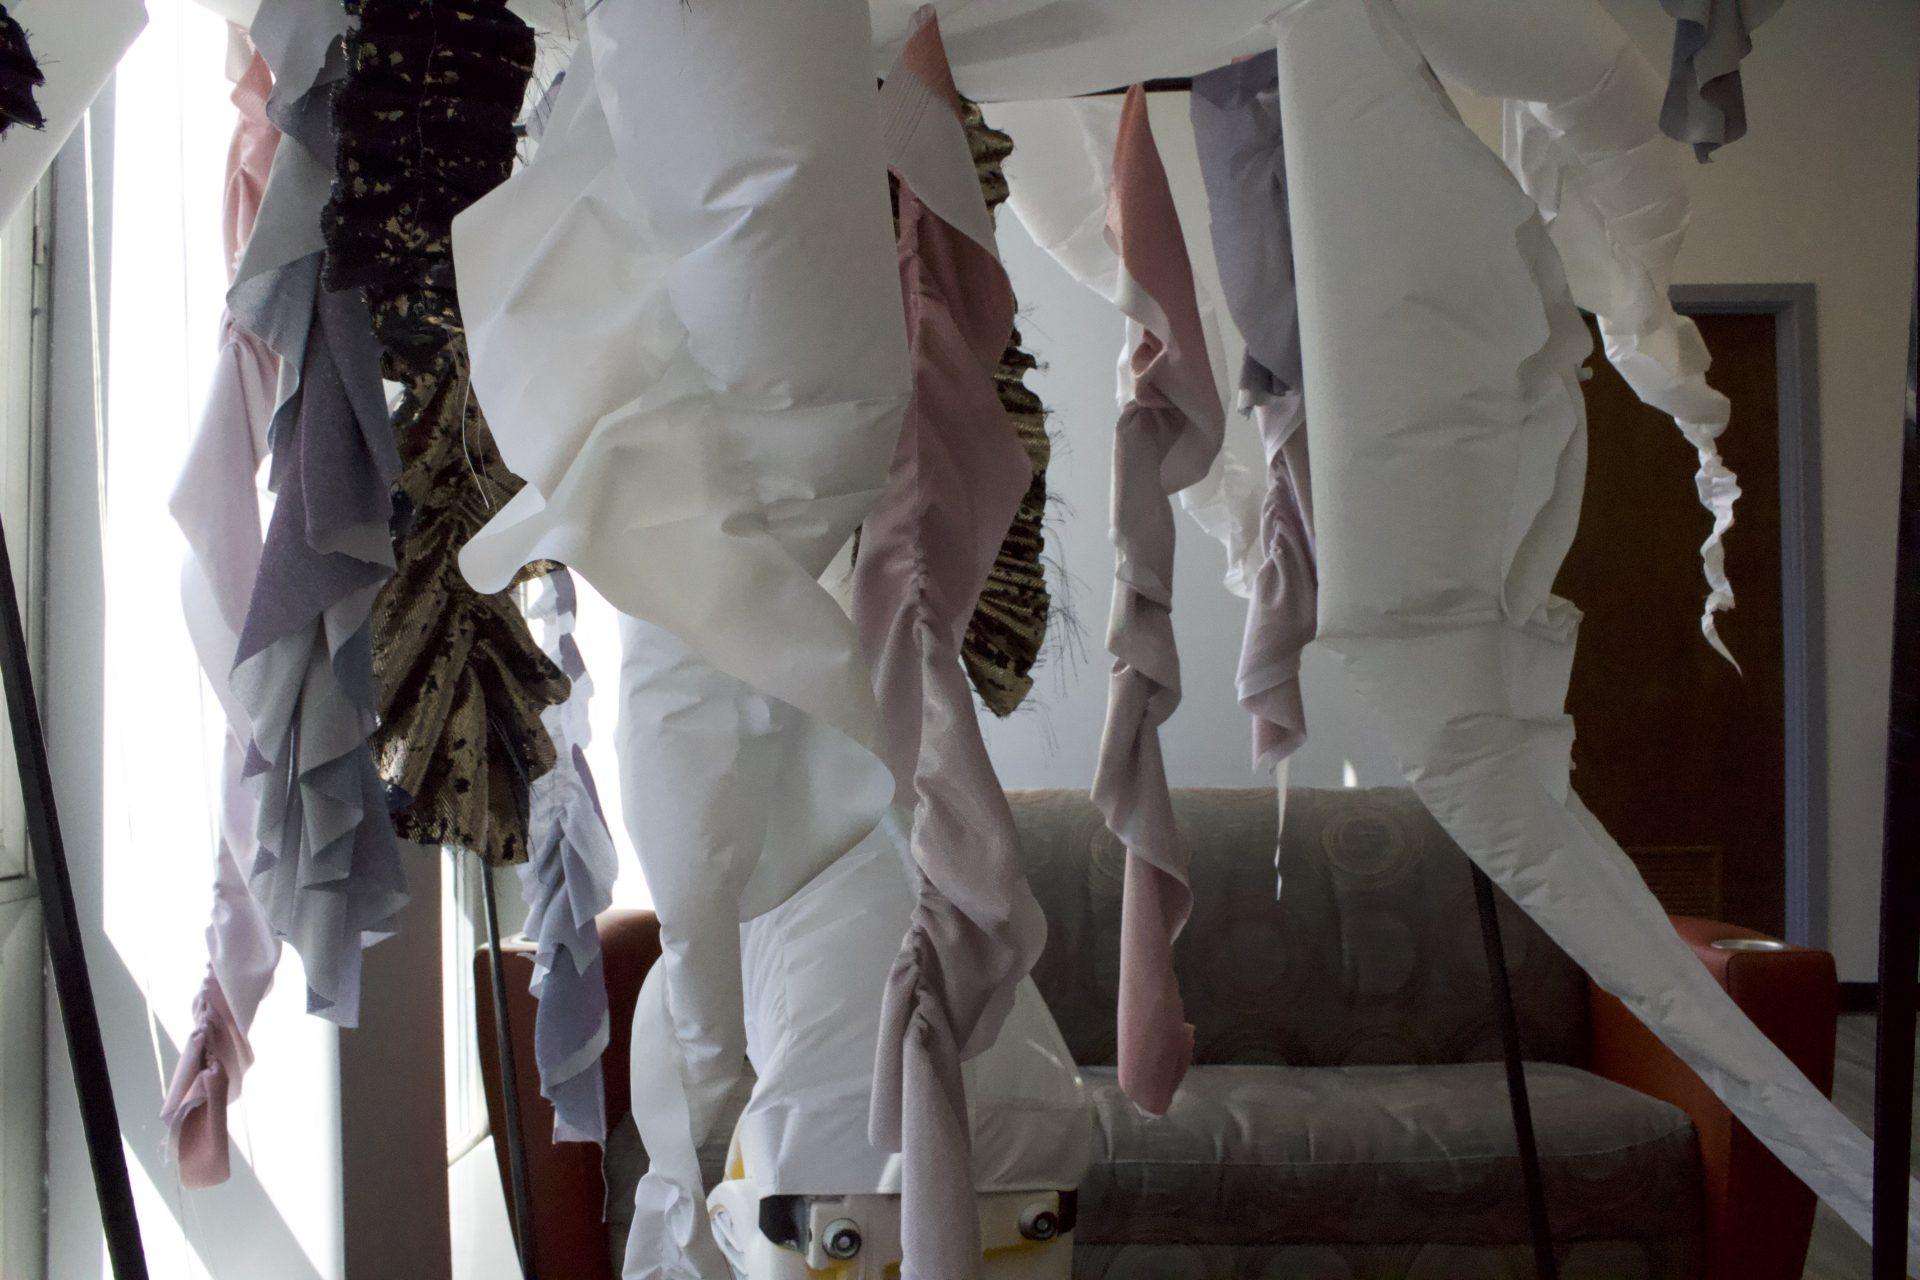
The critique was helpful to reflect on our project and learn how things can improve in the future. We were very happy to see how people were interested in the form and color choice of our inflatable. Some people interacted with the inflatable by touching the floppy leaves. Furthermore, it was interesting to know how people interpret the cherry structure. Some understood it as an undefined structure, some had their own interpretations (music note), and some viewed it as a cherry. Although we were satisfied with the varied responses since we also enjoyed the mysteriousness of our structure while making it, we also learned that there have to be more defining qualities of a certain object if we intend to create the object. For instance, if we want the audience to view our structure as a cherry at first glance, we might use a different color scheme of red and green instead of black and white.