We will need a large amount of white ripstop nylon. We will need dye (in various colors). We will need to use a laser cutter. We will potentially want a carpet or carpet-like fabric for inside the dome (10 ft diameter).
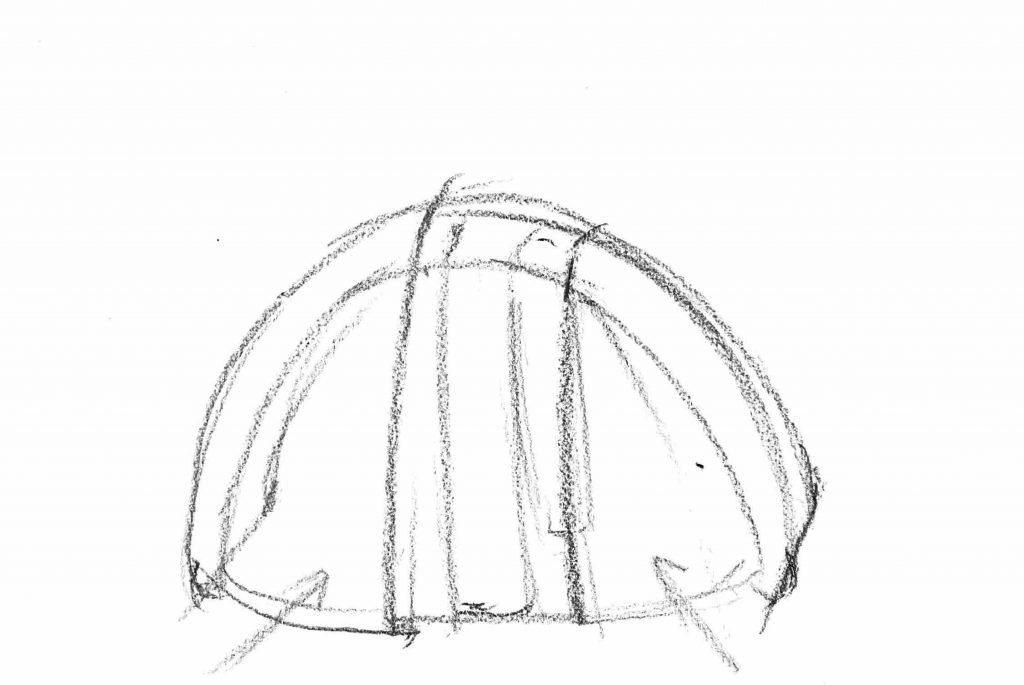
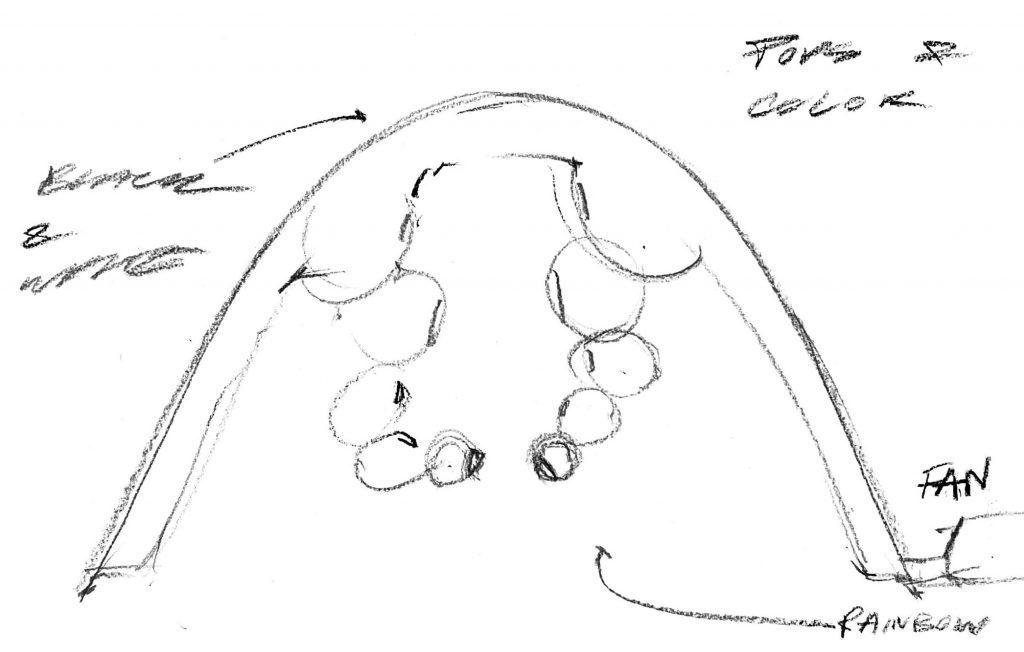
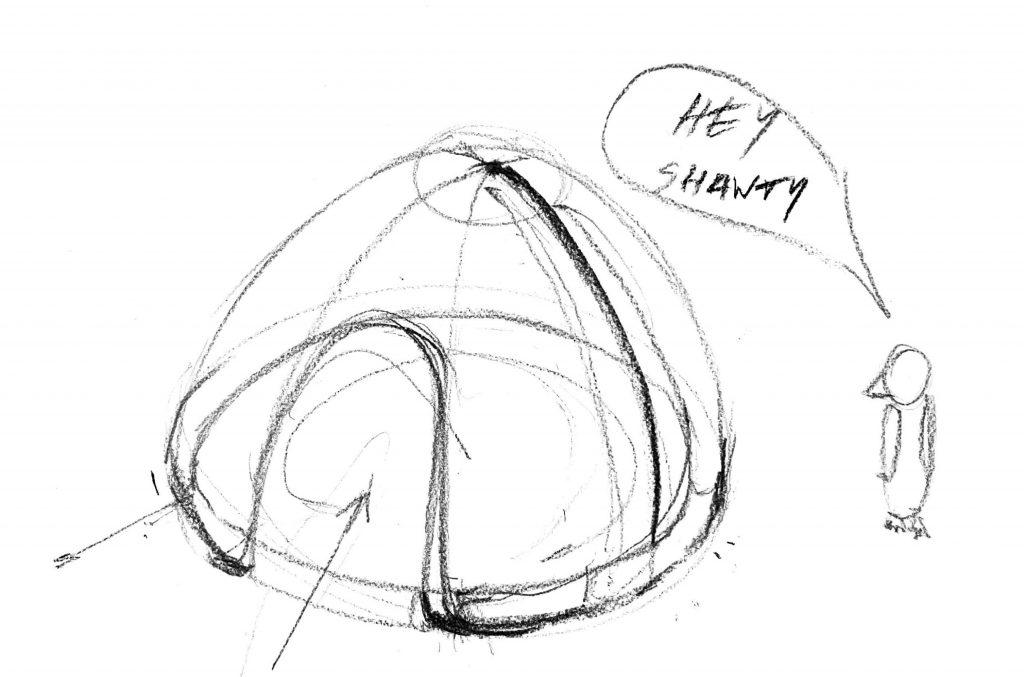
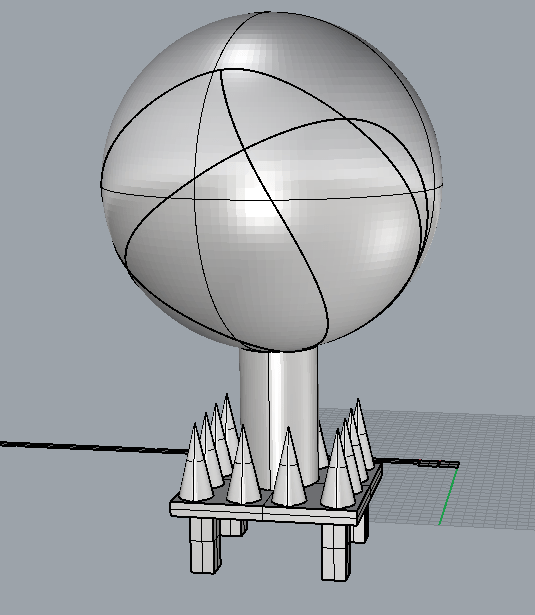
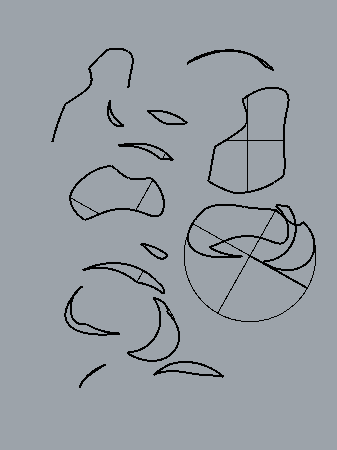
The most challenging part of our idea would be conceptualizing how to construct the dome. We definitely will need to ask what would be the best way to approach it since we are not positive if our idea would actually be functional and blow up/stand the way we want it to. Our initial thought for how to approach the dome is to make two half sphere shaped layers (with the inside one being slightly smaller and outside one being larger, so there’s a gap for air to fill in between).

4/3 Update:
- \Make a timeline with bench marks of what you need to accomplish by when.
- Include: patterns, dyeing, prototypes, cutting, sewing, testing, finishing, and anything else you will be doing in the process.
4/3 Finish Timeline & Calculate Materials
4/5 – Complete patterns and prototype of difficult element
4/10 – finish laser cutting
4/12 – finish dyeing
4/21 – tentacles done
4/24 – aim to be roughly done
4/26 – rehearsal (?)
April 29th – Exhibit
- Calculate the materials & tools you need:
- how many yards of White or Black ripstop you expect to need
- what colors of dye you need
- how many fans you think your project will need
Dome – 314.16ft^2
Tentacles – 19.63 ft^2 (7 with these surface areas; 2.5ft diameter) + 7.07 ft^2 (7 of these; 1.5 ft diameter) + 3.14 ft^2 (7 of these; 1 ft diameter) + 0.79 ft^2 (7 of these; 0.5 ft diameter) = 214.41 ft^2
Total = 528.57 ft^2 => if the fabric has a width of 3.75 ft (45 inches) then the length of fabric we would need would be 140.95 ft or approximately 47 yards of fabric
We assume that majority of the fabric would be white ripstop nylon (probably
Red, Orange, Yellow, Green, Blue, Purple, Pink
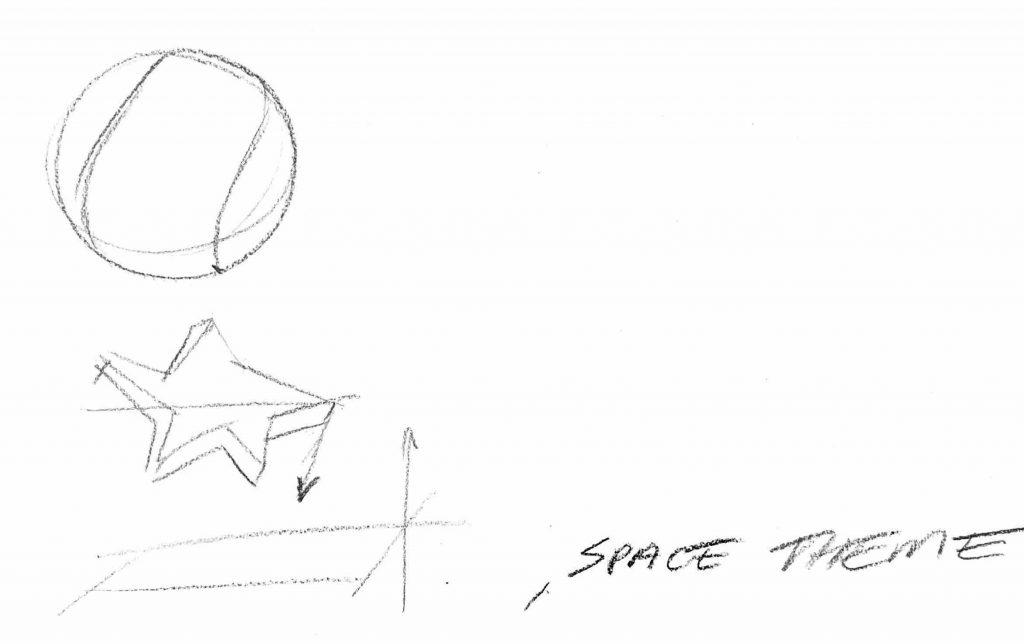
Projector on the ceiling (?) onto the outside – stars (?)
We will only need one fan.
]]>
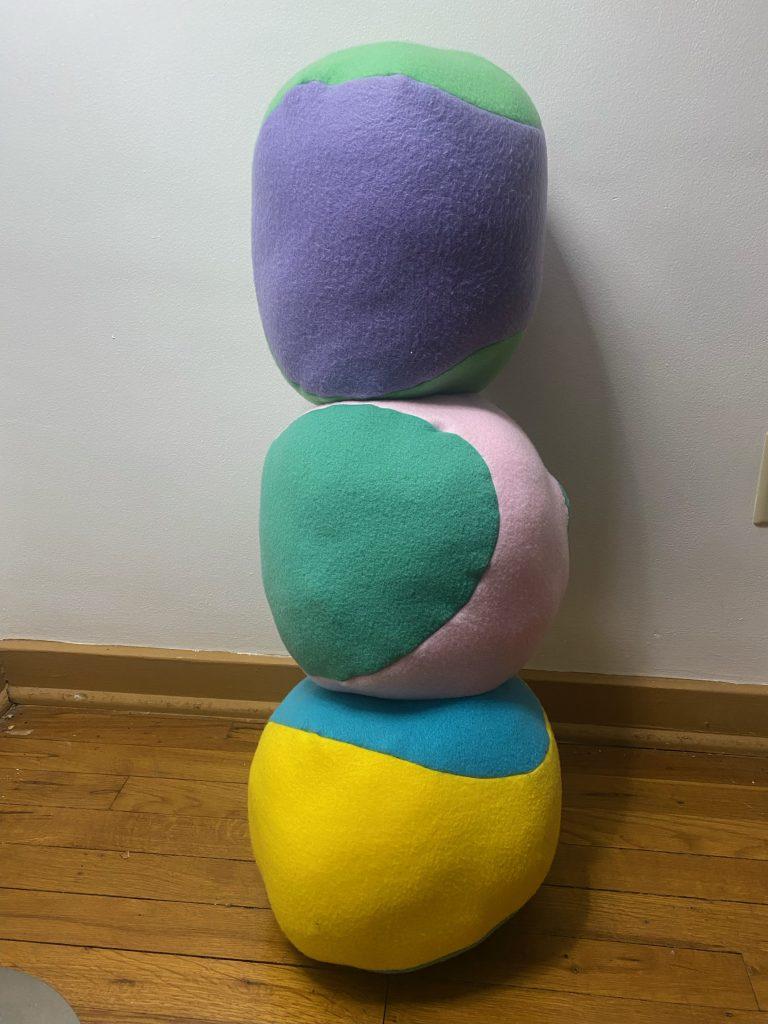
My second inflatable I wanted to play around with connecting shapes together, so I made three intersecting spheres. This one was really hard for me to think through, and I needed to meet with Olivia to talk it through. I made it by sewing together the green, pink, and turquoise pieces together and then adding on the other halves of the spheres. I used 6 different colors both to make it easier on myself to visualize how it will go together and because I like the playfulness of the multicolored patterns.
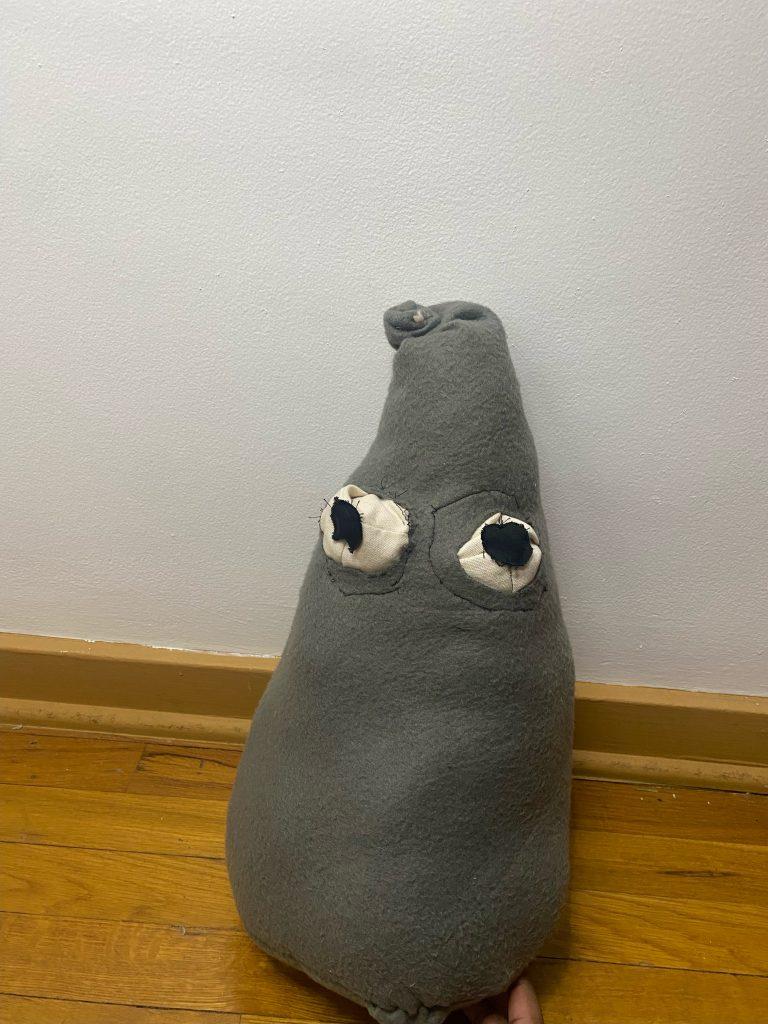
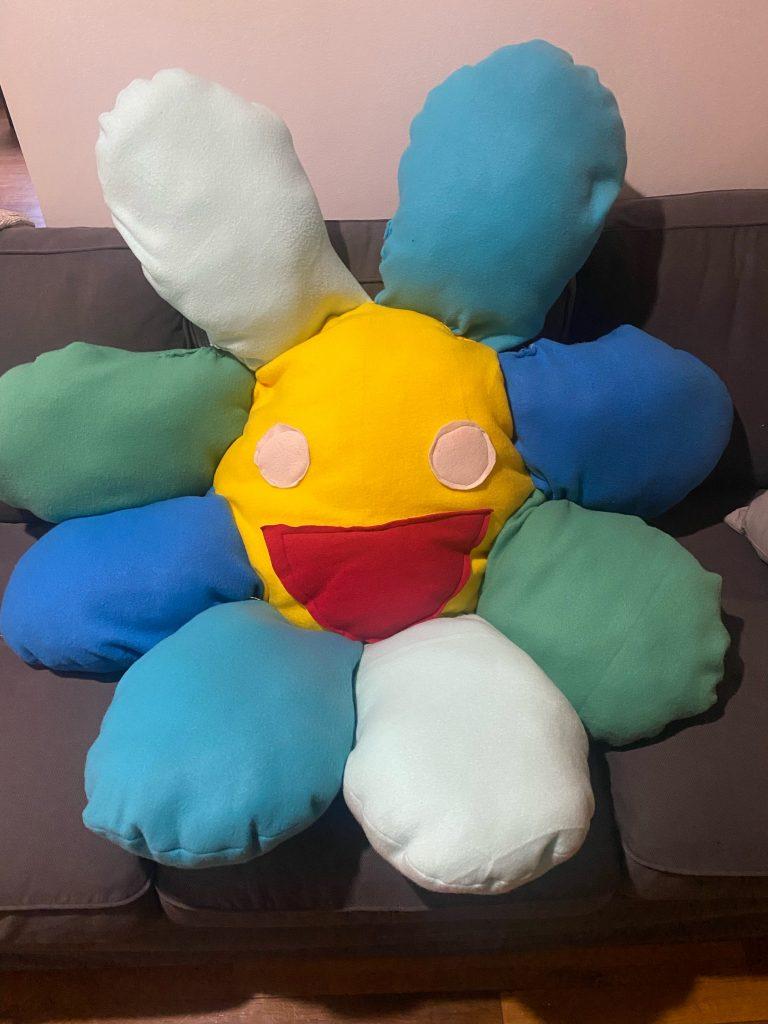
For my third inflatable, I wanted to make the Murakami flower design because I really like the pattern, and I think it’s really simplistic but cool. This one also took me a while to think through and a lot of playing around by pinning the pieces together and then reversing them until I figured out how it would work. There was no pattern for the petals, so I had to make my own pattern, and I used the cone pattern for the two yellow circles that make the middle of the flower. I didn’t intend for the inflatable to turn out so large, but I do like the surprising and comical nature of the size. The face is a little bit scarier than I intended, but the sewing of the eye circles went a lot better in this version.

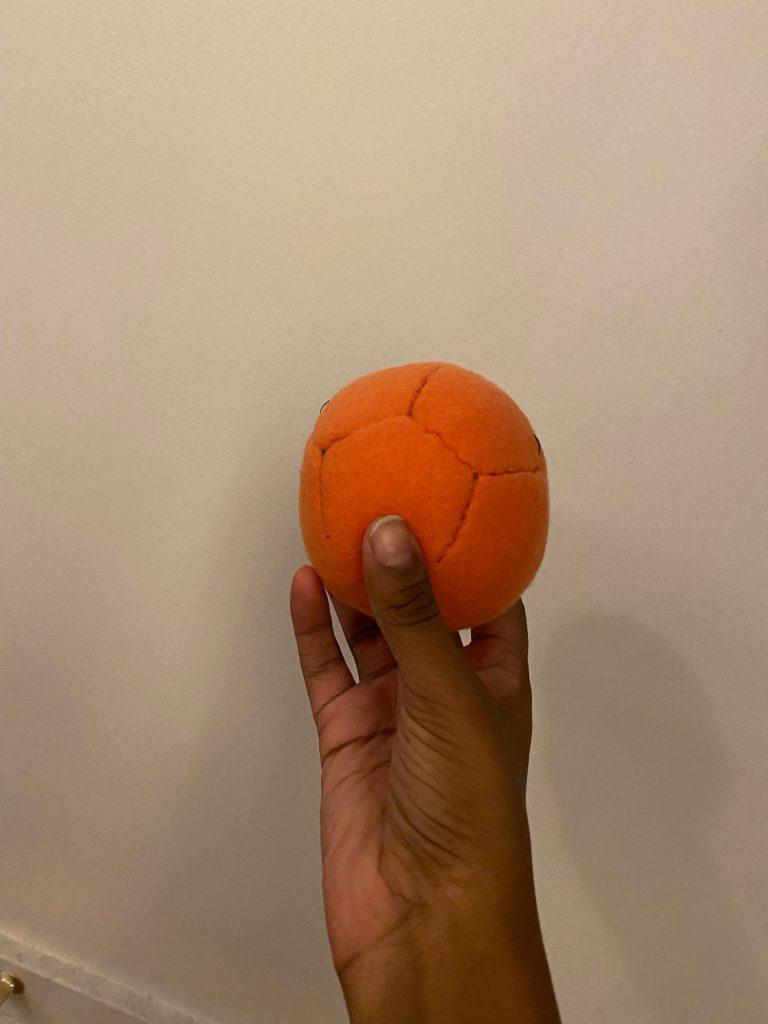
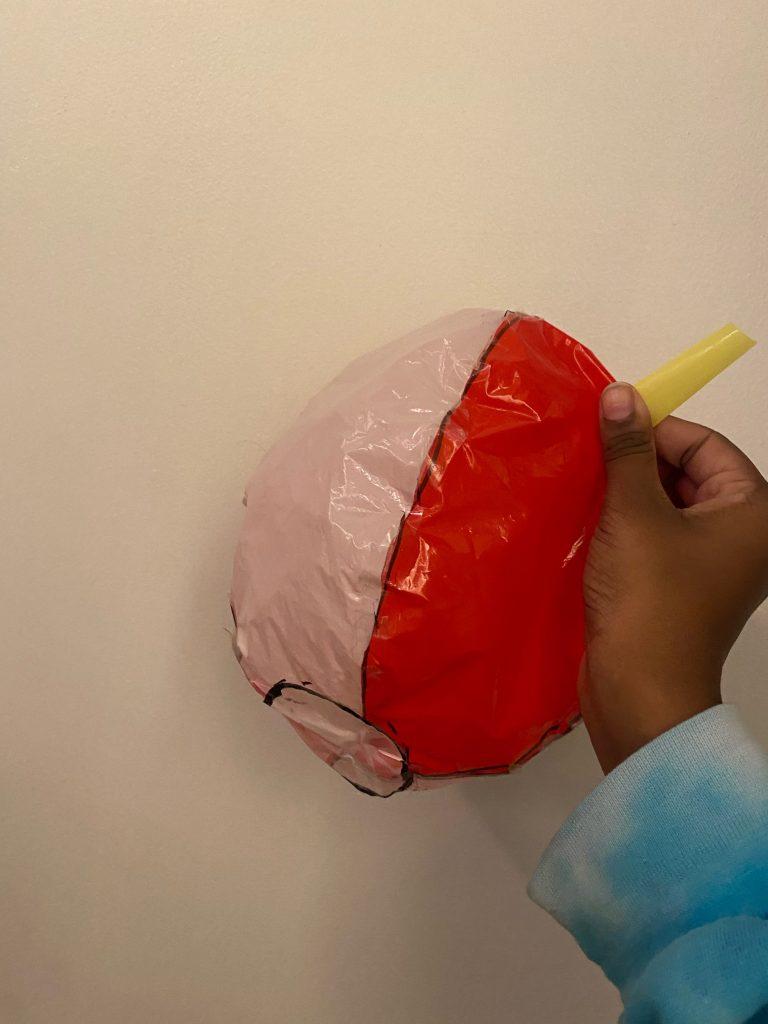
For my second inflatable, I did more research into what a beach ball is made up of. I saw that the pieces were flower petal shaped and connected to each other and then had circles at the top and bottom. I wanted to put the straw in one of the circles to have it better mimic an actual beach ball, but that was too hard, so I put it in the middle. I only used double-sided tape for this inflatable, but I sealed it up on accident before I could turn it inside out, so now the outside of it is sticky, which makes it harder to inflate. This inflatable took a long time to seal together because it had curved sides all over, and it was also hard to seal completely because there were a lot of gaps and holes. It is also the one that is the hardest to inflate fully. I am very excited that it turned out looking like a beach ball!
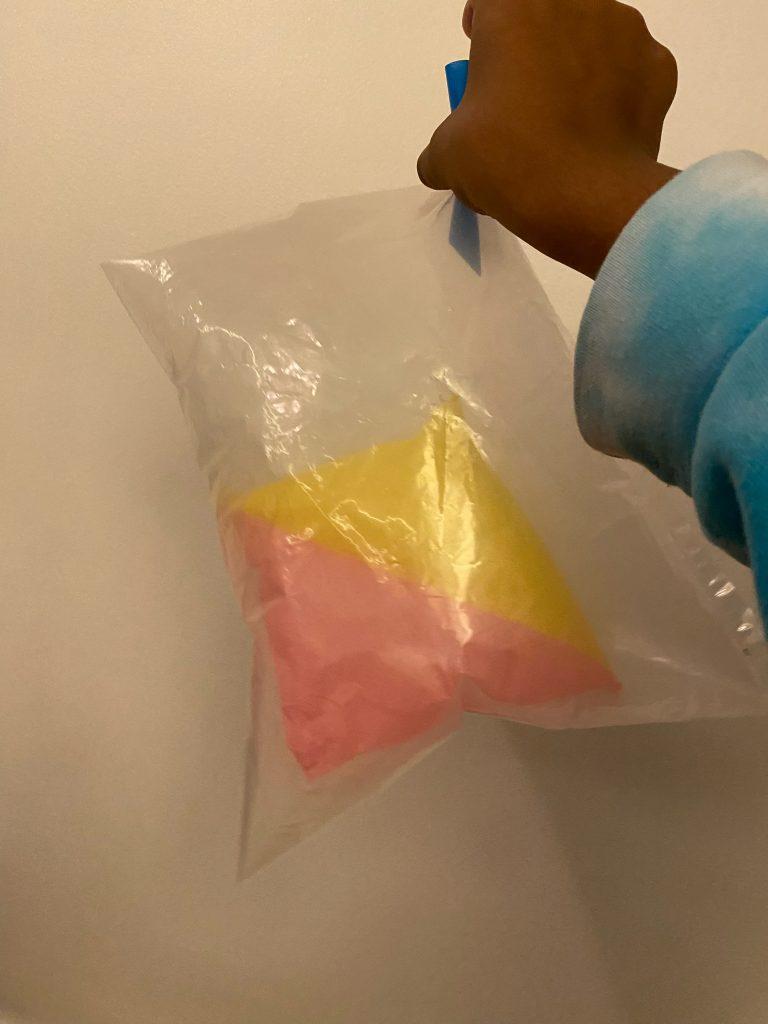
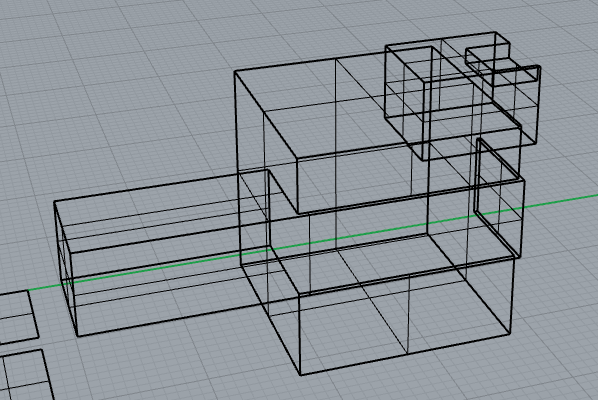
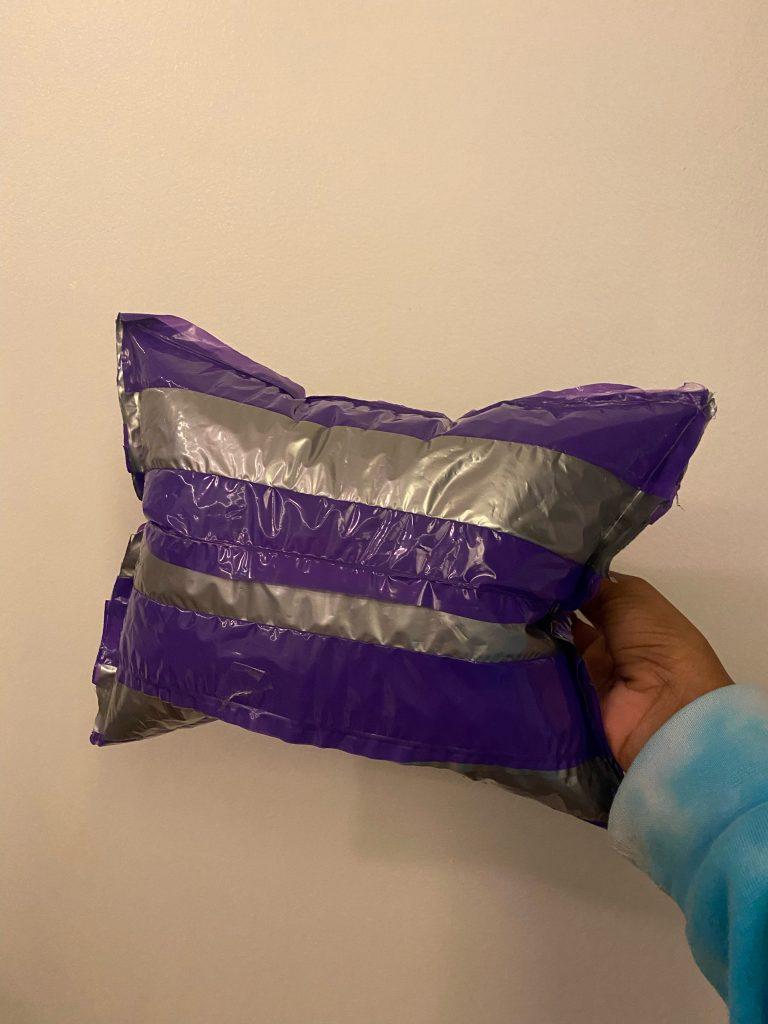
For my final inflatable, I knew I wanted to use the heat sealer again after spending so long taping. I was also curious about the idea of an inflatable within an inflatable. My original plan was to take 4 corners of bags and heat seal them together and put that inside of an inflatable, but I could only figure out how to put two corners together, so that is what I did. I snipped a hole in one side of the square and blew up the triangles (they are together and the air is shared between them, even though they look like they are separated) and then heat sealed over that hole, so the triangles are always inflated. Then, I put the triangles inside of a clear bag and heat sealed that, with the straw inside so it can be inflated and deflated. I like this one a lot, and I definitely want to explore inflatables within inflatables again in the future. Using the clear bag and seeing the steam inside when I orally inflate the bag was unexpected, and reminded me how cool it is the we are using our mouths to inflate pieces of plastic!