Tutorial: How to Solder Properly
|
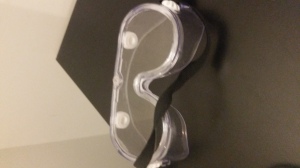
Introduction In Intro to Physical Computing, many projects require a skill of soldering. For those who don’t know, soldering is the practice of conjoining two metal materials together by the melting of a third material (solder) that melts and bridges the two metals together. Soldering is used in almost every project in the class. Examples of where soldering is applicable to this class is the joining of wires on a circuit board, of wires to a module, or wires to other wires, to name a few. However, this class having no prerequisites, it is not guaranteed that everyone knows how to solder, or solder properly. This tutorial is to show a beginner how to via soldering two wires together. Materials The first thing is to make sure you have all the materials needed to solder. This includes: Safety Goggles:
Soldering Iron:
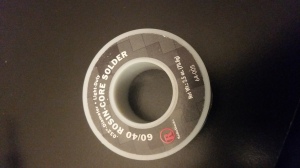
60/40 Rosin Core Solder Spool:
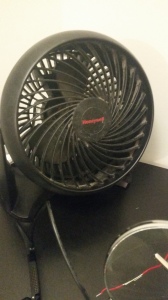
Fan:
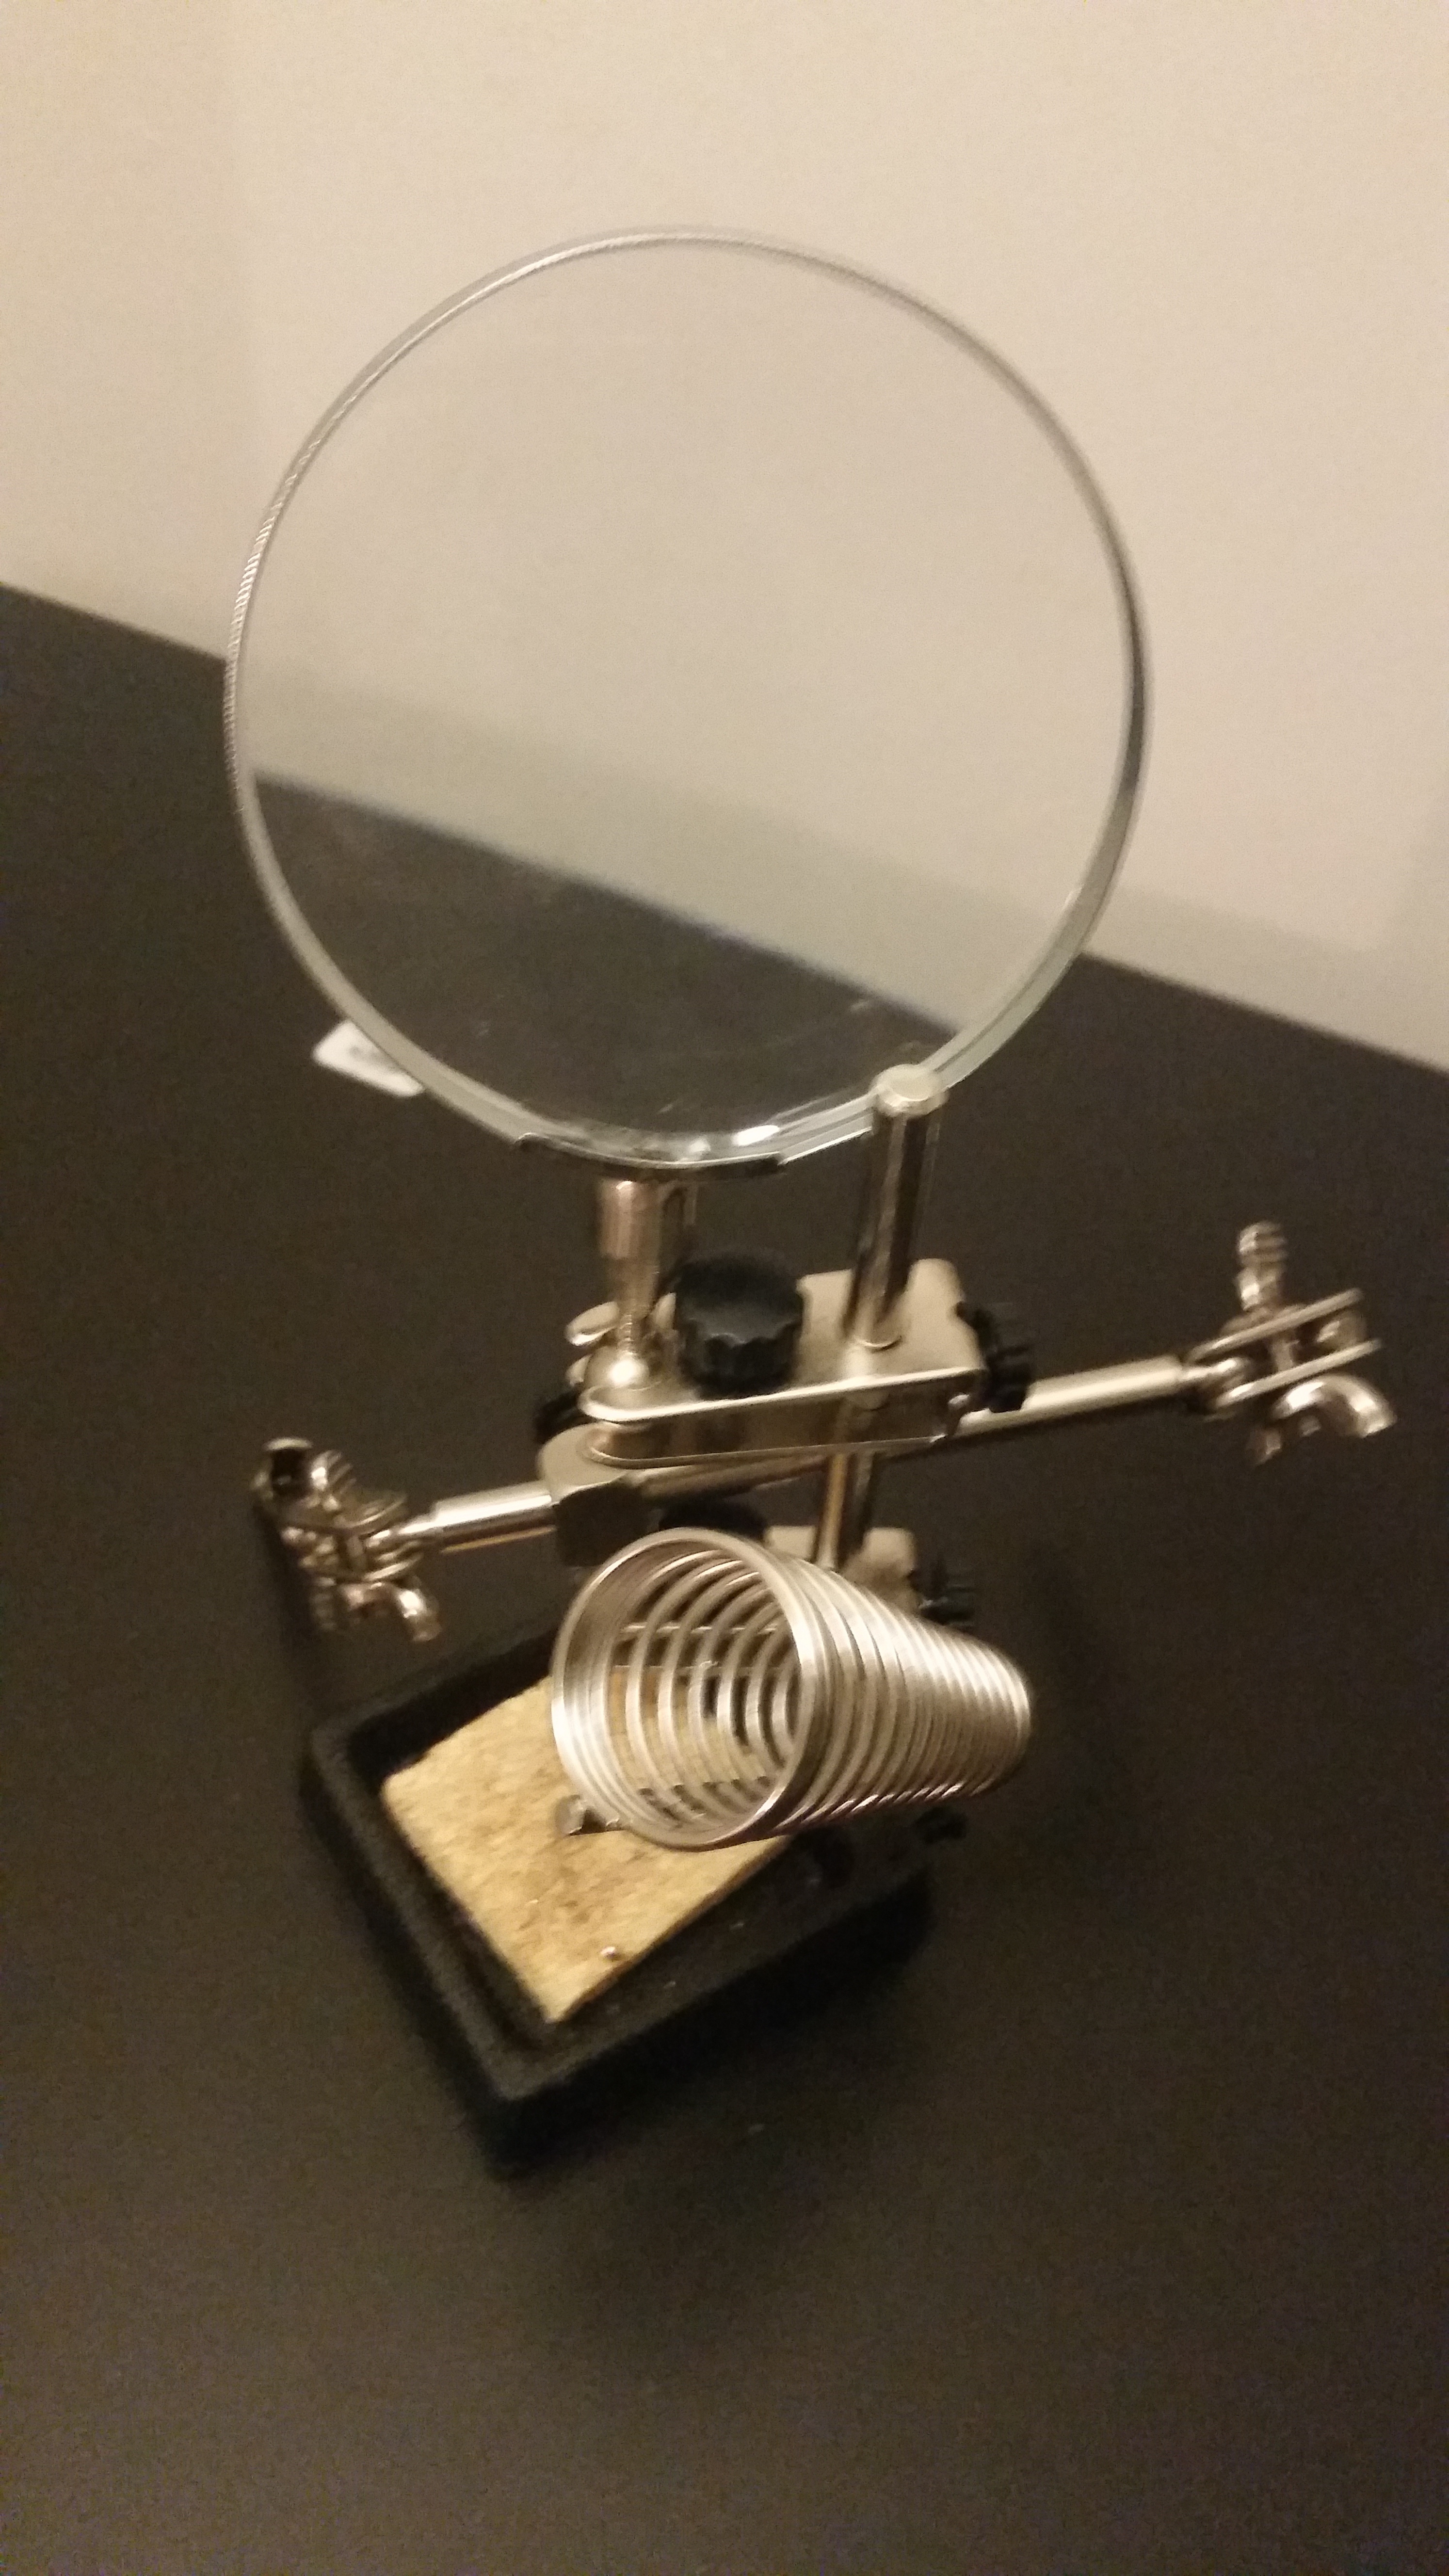
Third Hand Soldering Stand with Magnifying Glass & Sponge:
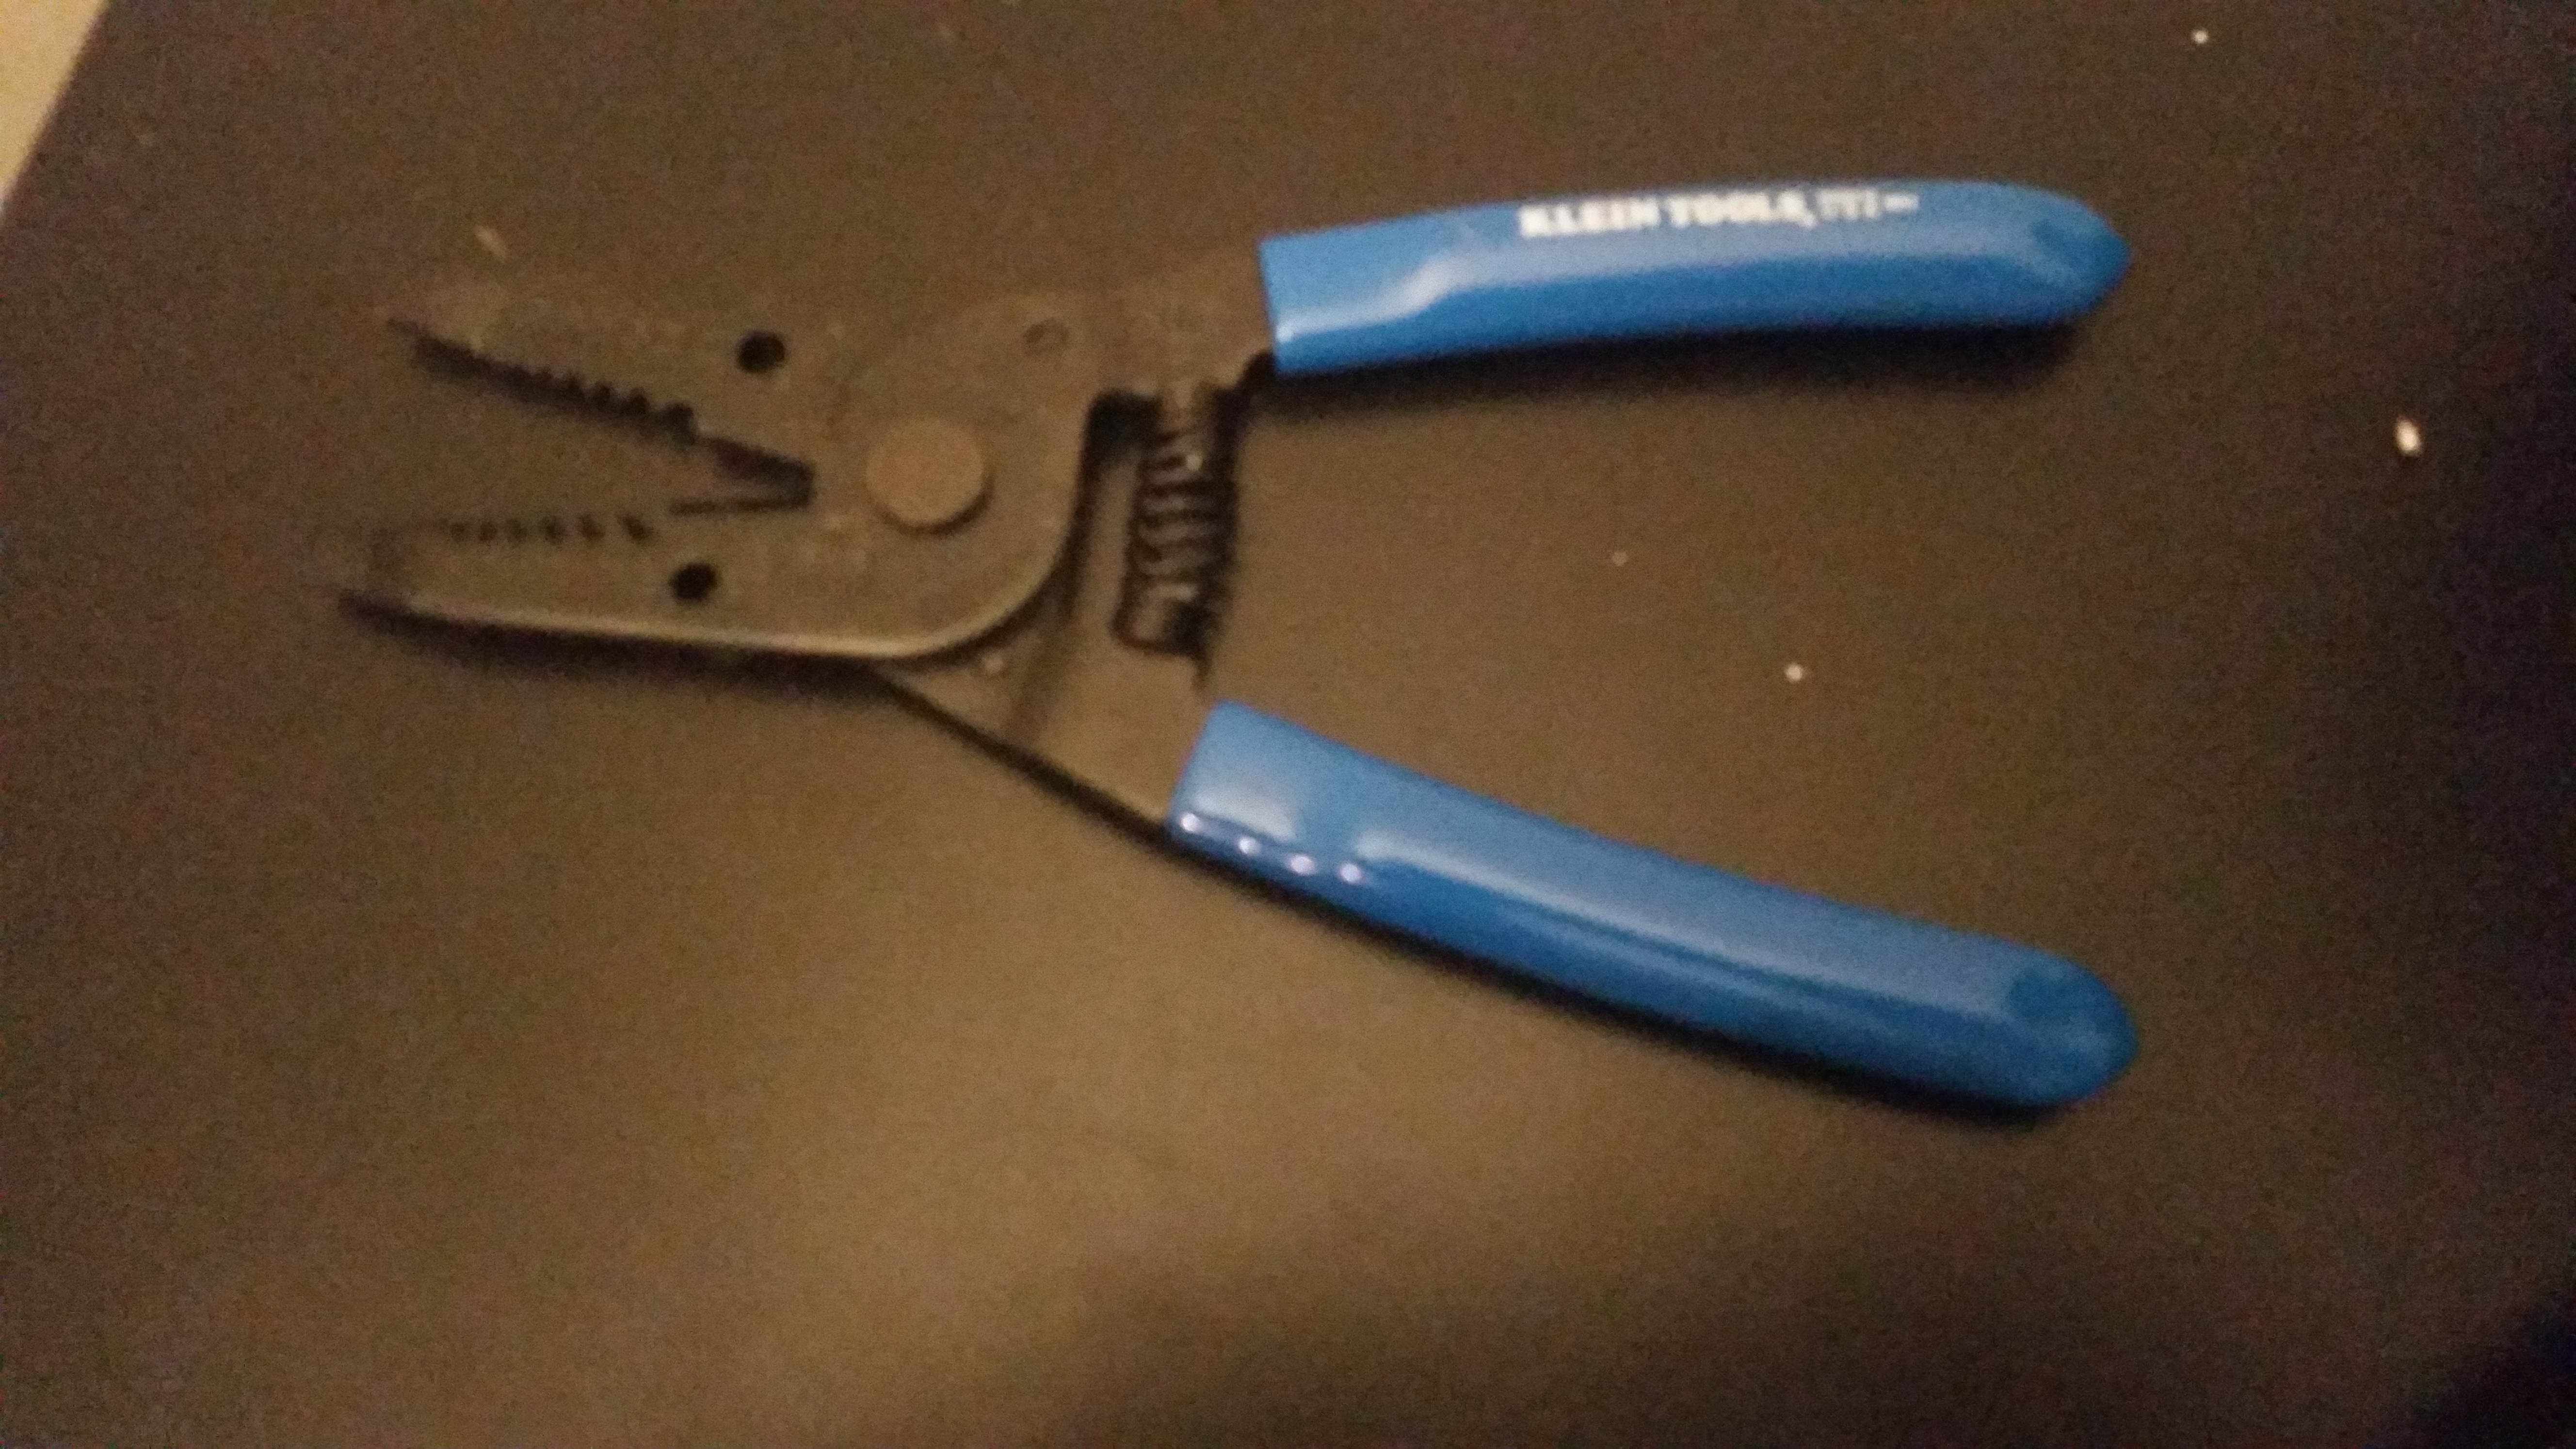
Wire Stripper:
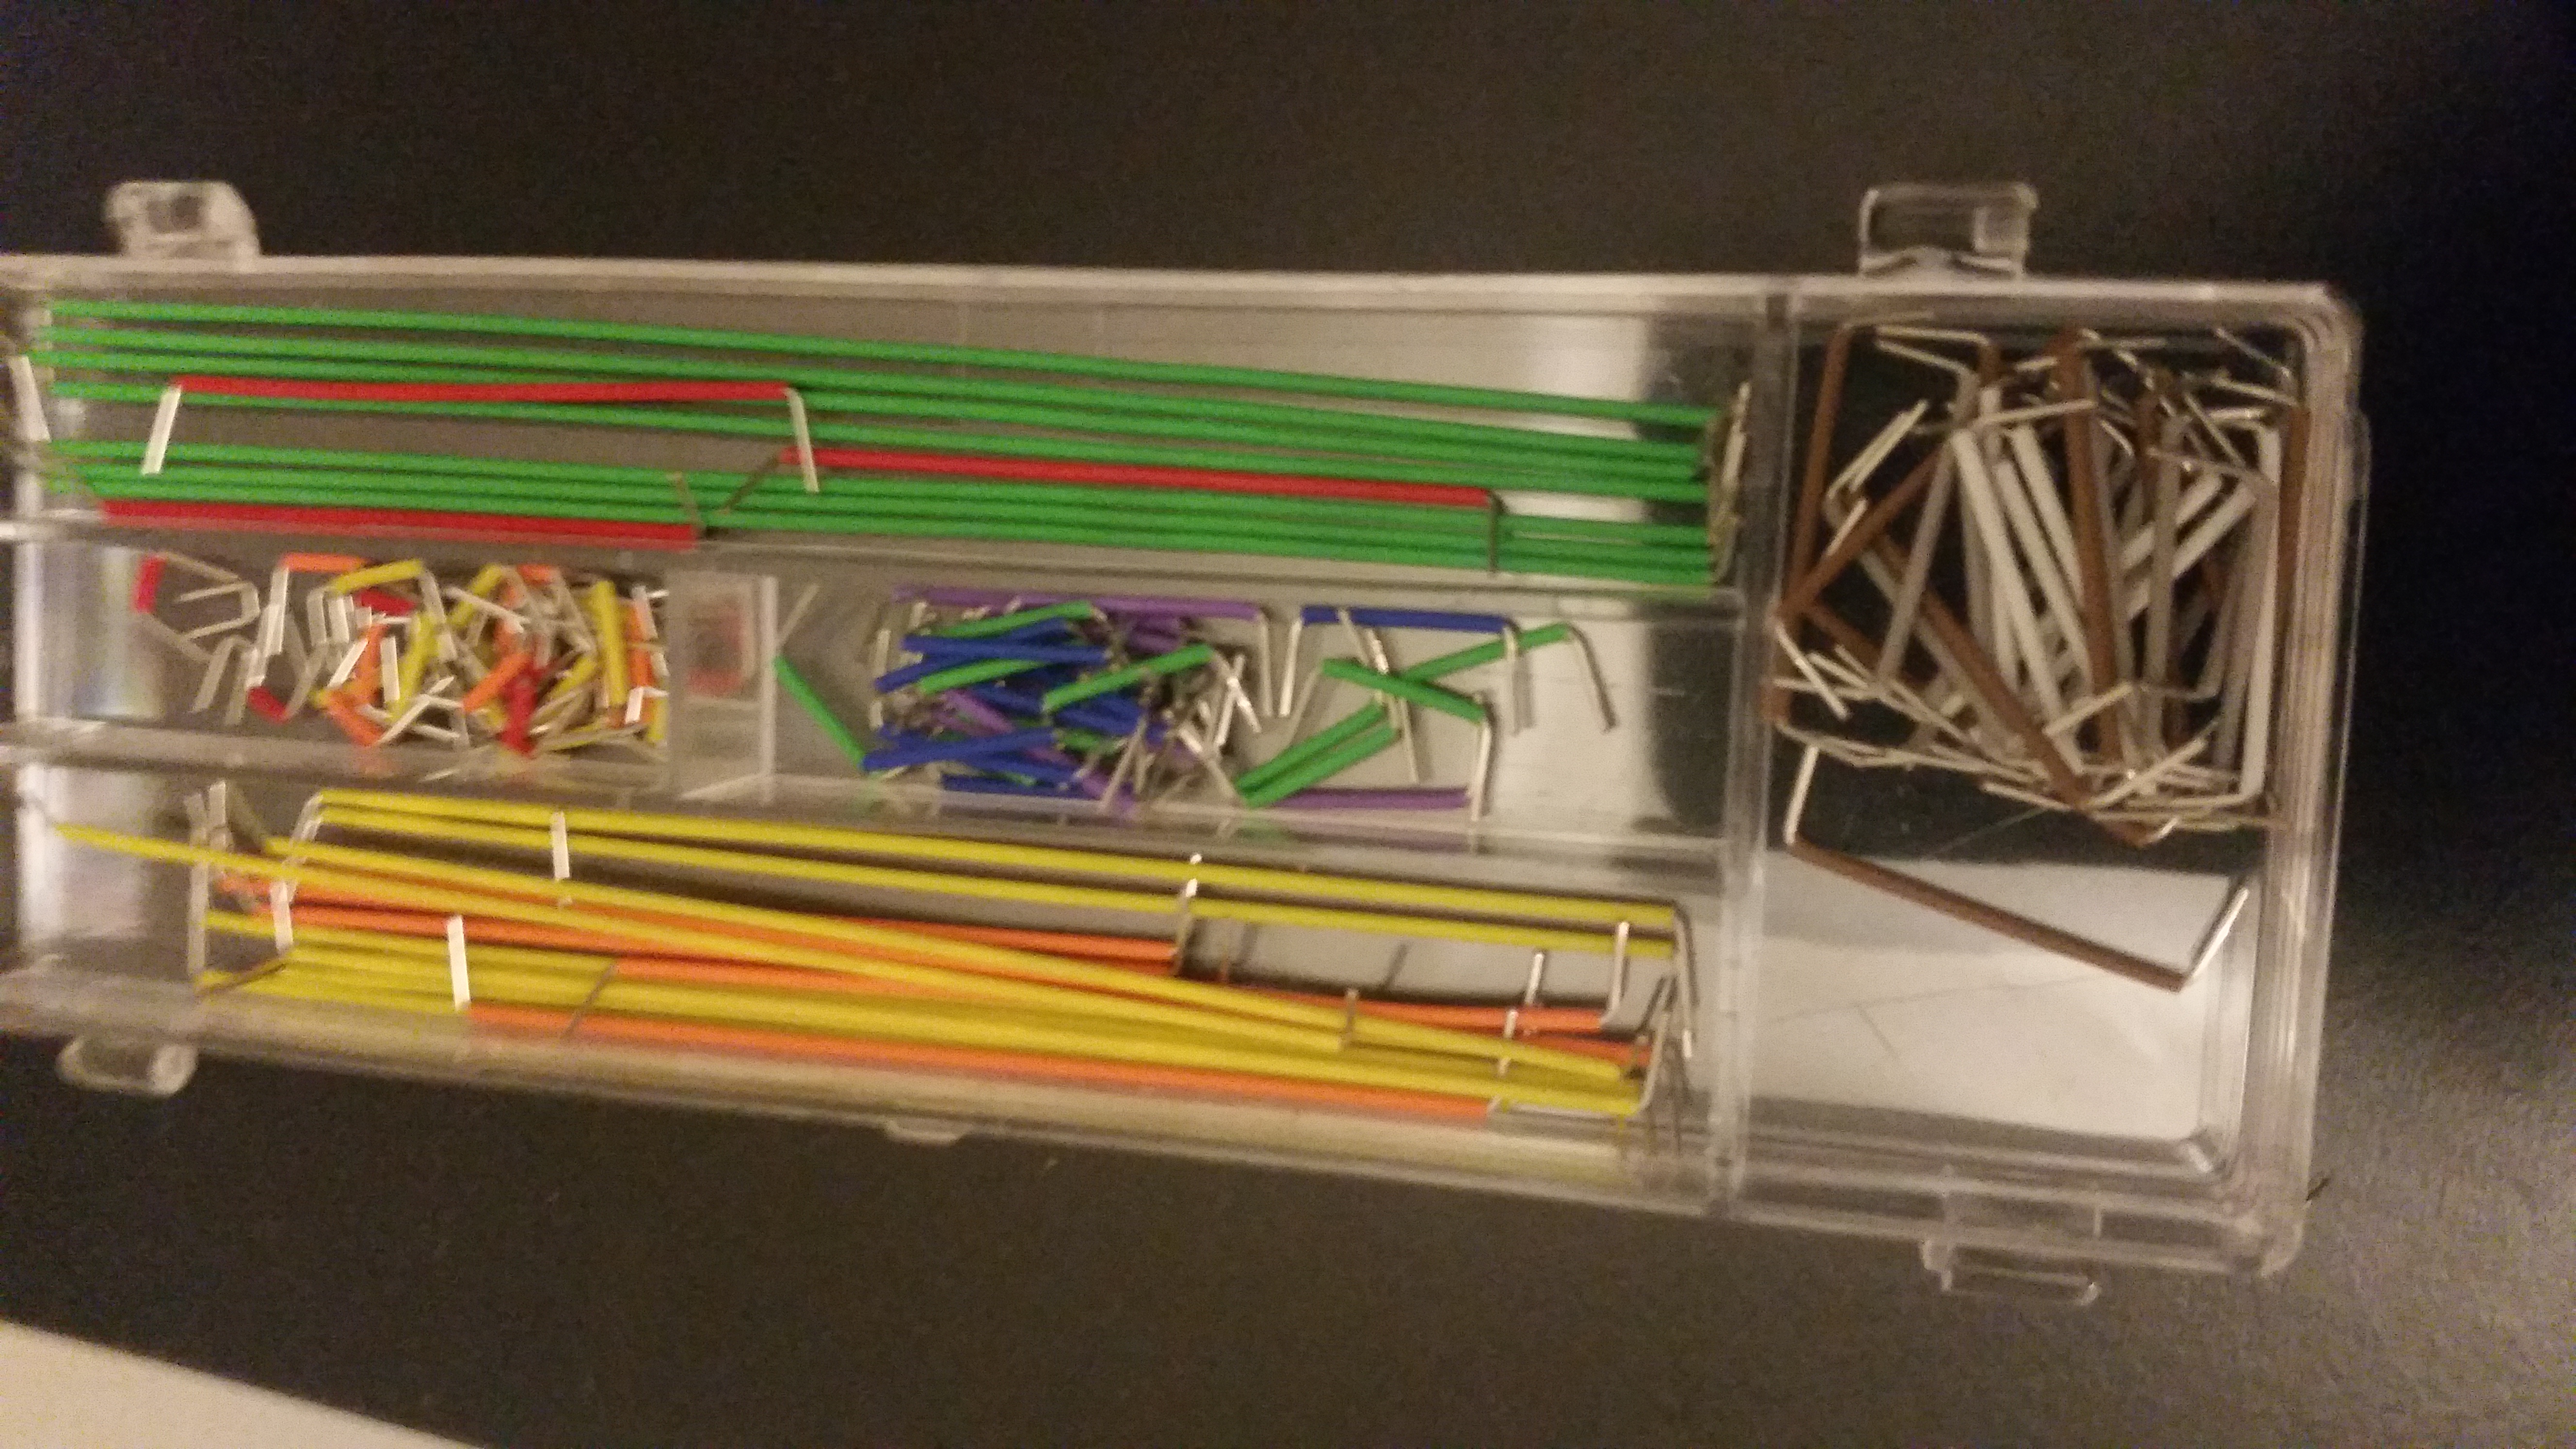
Wires:
Safety goggles are important as soldering involves melting metals at a high temperature, so it is imperative to protect your eyes when in the process of soldering. Solder comes in various shapes, lengths, and sizes, for many different applications. It is very important that the solder you are using Rosin Core Solder as it has rosin flux which is used to help the metals from oxidizing, which tends to happen at high temperatures. With oxidation, it is almost impossible for you to be able to solder properly. It is also ideal to use 60/40 solder, which is used commonly in applications that are used in Physical Computing such as soldering electronics. The one I am using is Rosin Core Solder from Radioshack® There are many versions of soldering irons out there that have different Power requirements for different applications. The soldering iron tool from Weller®, is a 25 Watt single temperature soldering iron that heats up to 750 degrees Fahrenheit. This is the typical power needed for a soldering iron to melt solder that is used for applications such as electronics and circuitry work. Although it only heats to a single temperature, it is effective in melting the Rosin Core Solder. Offered in class is the Hakko® FX888d soldering station, that gives the user a wider range of temperatures, allowing the user to heat up the soldering iron up to almost 900 degrees, although it isn’t recommended to.
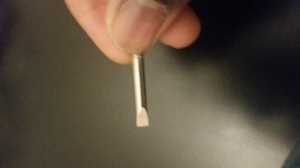
The third hand station can be very useful when Soldering. It can hold the soldering iron as well as up to two metal parts (be it wires or circuit boards) through its two alligator clips. (Note: be careful if using the alligator clips to hold a circuit board, as it is possible to damage the board doing so). The sponge at the bottom is necessary to clean off the soldering iron after soldering so it can be used again. The magnifying glass, is also important so one can have a close up view when soldering for better accuracy. I got mine also from Radioshack® Some stations, such as the Hakko used in Physical Computing, have flux installed into the station as well, this way after soldering, the user can simply rub the soldering iron tip into the flux so it can be used again with less fear of the tip oxidizing. It is also recommended to have either a Fume Extractor (provided in Physical Computing) or a fan when soldering. The fumes made from the melting of solder can be very dangerous if inhaled for extended periods of time. Soldering Tip(s): Almost all soldering irons have removable tips so that the user can use which soldering tip that bets suits them. I personally use the round cone tip when soldering, however, especially for beginners, it is heavily recommended to use a flat head tip for soldering. It gives the user more surface area on the soldering iron, when soldering.
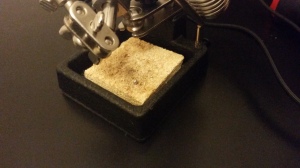
Setting Up: It is important to remember to wet the sponge on the soldering base, although it’s easy to remember, it is also easy to forget to wet the sponge, as placing the soldering iron on a dry sponge will cause the sponge to burn and shorten its lifespan. No:
Yes!:
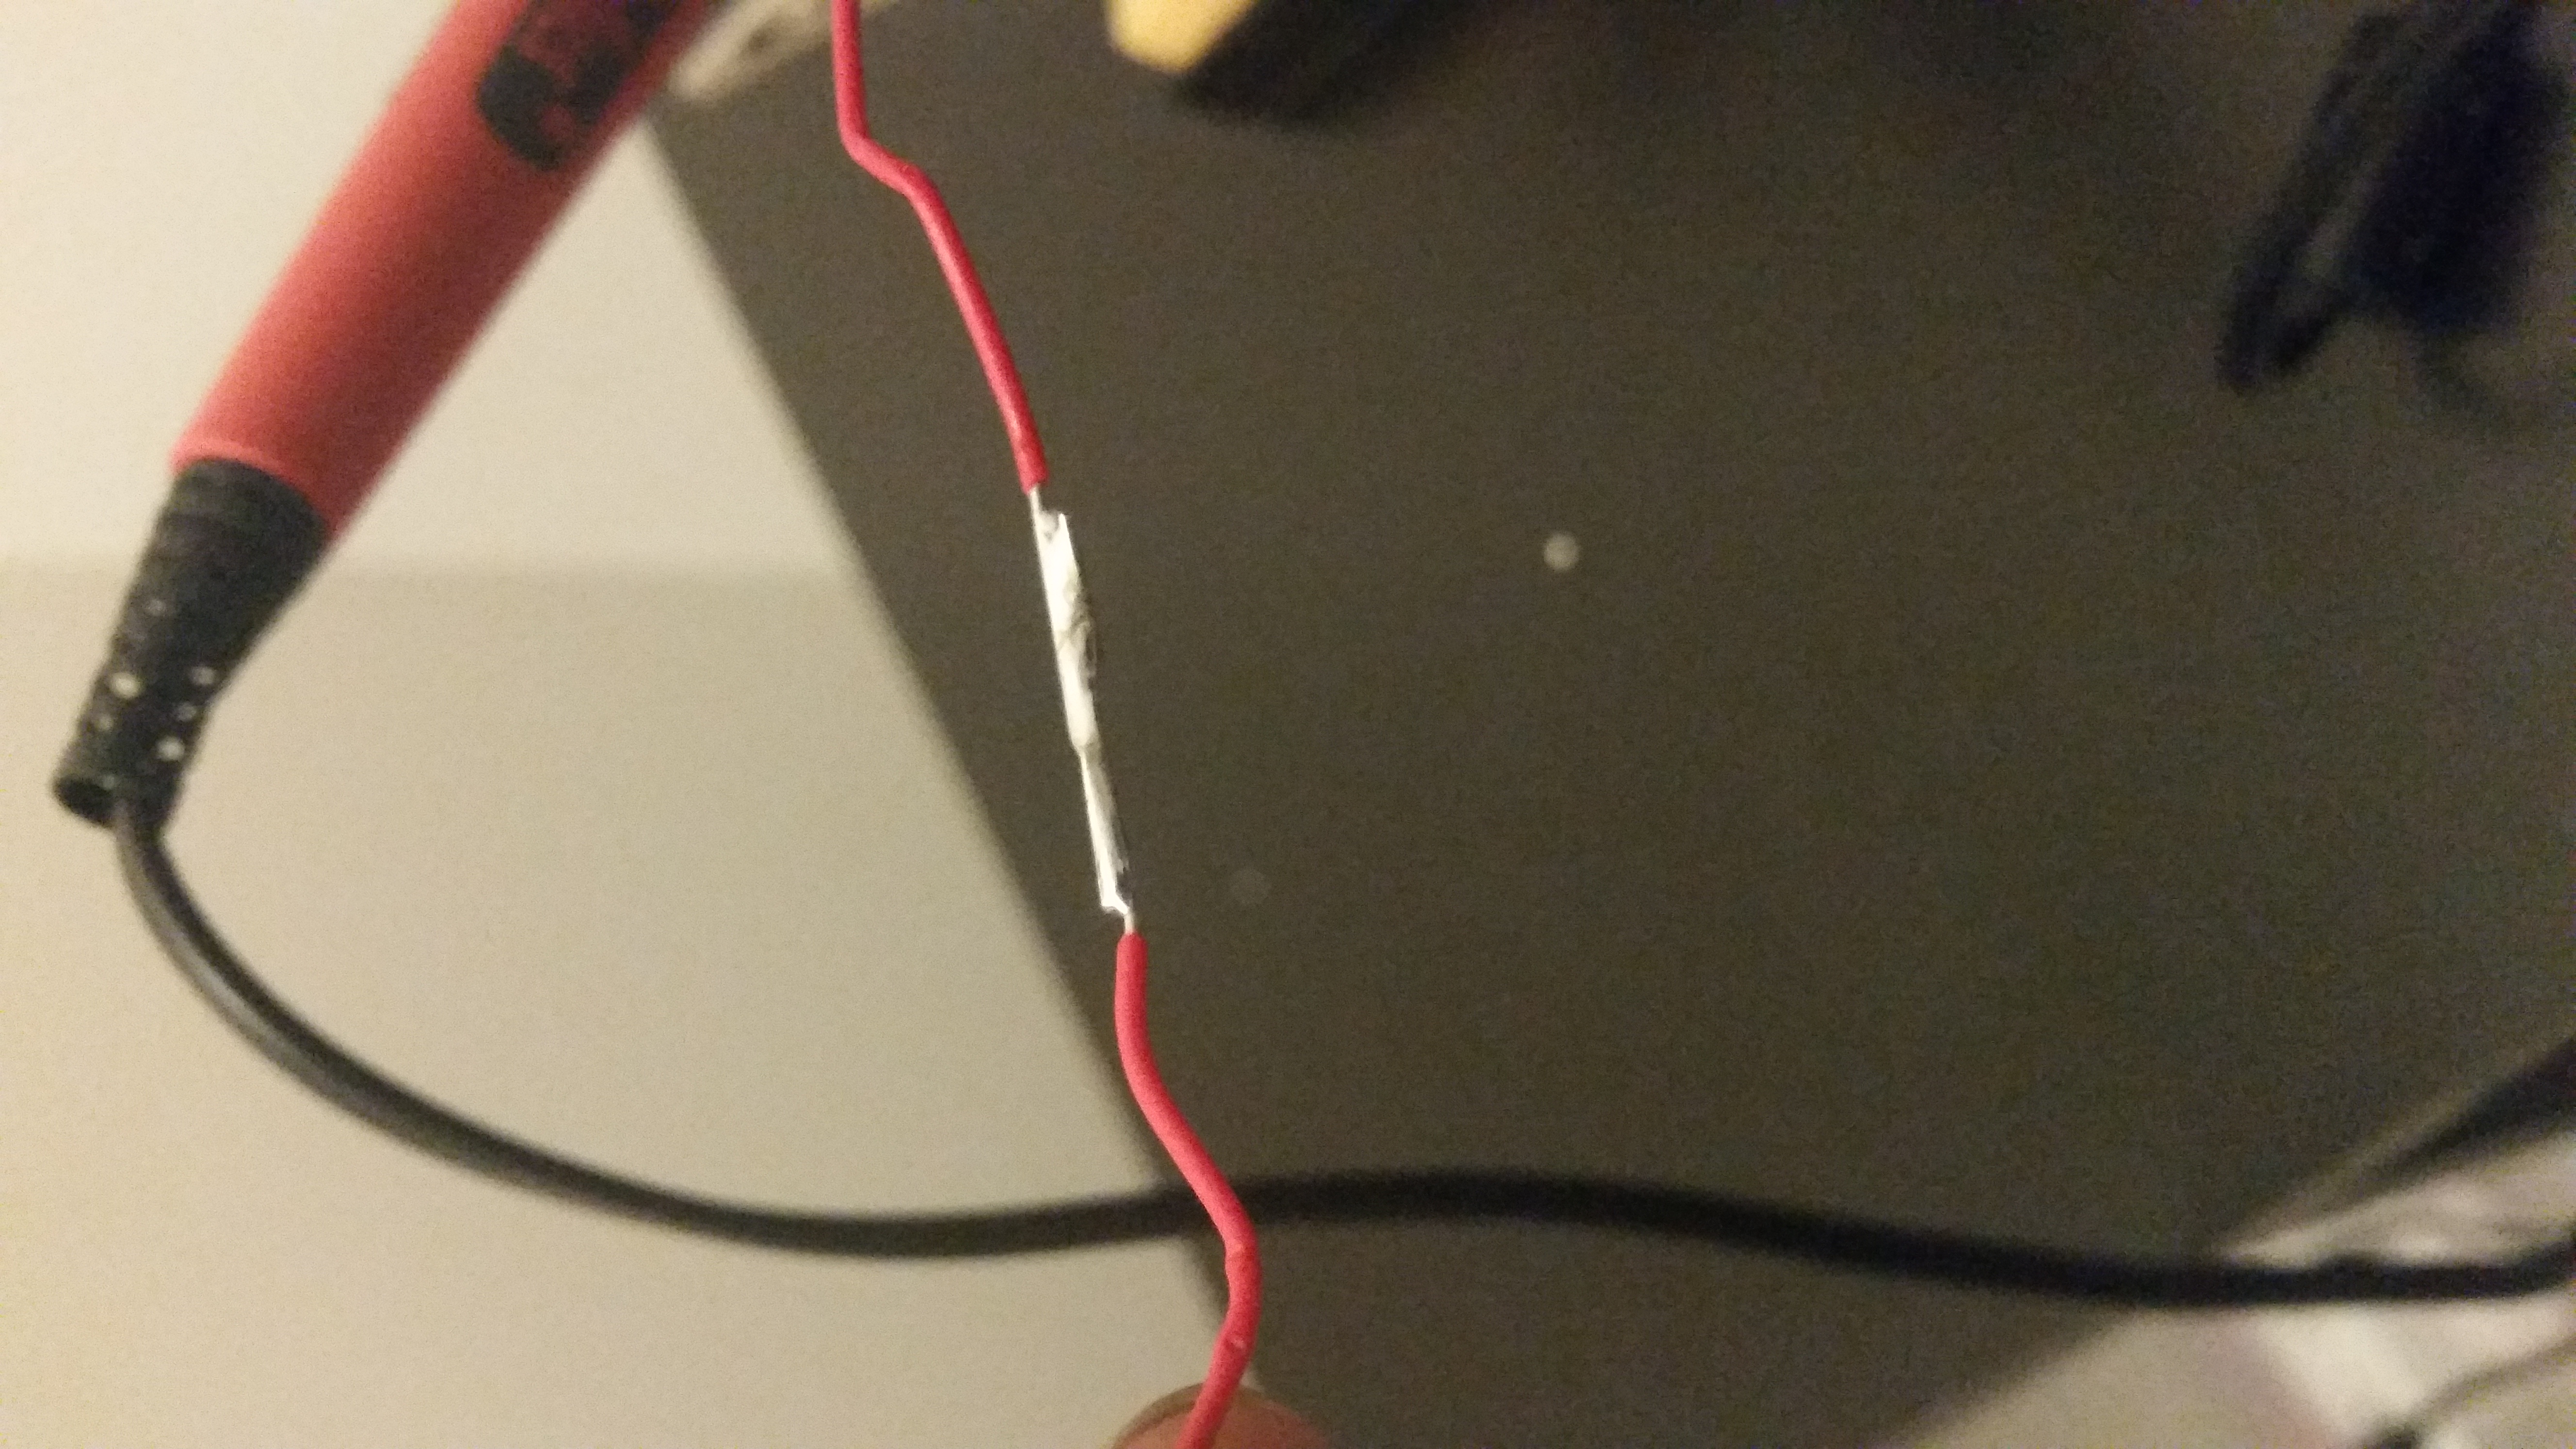
The next step is to take the two wires we want to solder together, and strip them using a wire stripper. This will give us more space to put solder on the wire, thus creating a larger bond between the two wires Now simply place the wires into the two alligator clips of the third hand stand, one wire to each alligator clip. Then adjust the third hand stand such that the wires are touching each other. Before soldering, an important step is the process called tinning. Contrary to the name, the only time solder is actually placed on the soldering iron, is this step. In the process of tinning, you want to turn on your soldering iron, in this case plug it in, and wait 60 seconds for it to reach the target temperature. Then, you want to take some solder from your spool of solder, and gently rub the solder onto the soldering iron, but only enough to cover the tip, you do not want globs of solder to form onto the soldering iron. The process of tinning is to reduce the chance of oxidation when soldering as well as to help make the soldering process quicker. Then, once this is done, Place the soldering iron below the exposed section of the wires and the solder above. This will create a heat bridge in which from the soldering iron heating up the wires, the wires will then cause the solder to melt on them. Then move both the soldering iron and solder slowly from left to right to completely cover the exposed section in solder. Use the magnifying glass as help if necessary for a closeup view. It should go as seen in the video below: If done correctly, the result will look like this:
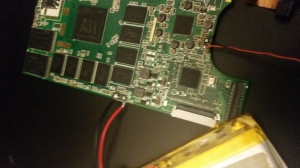
As an added bonus, I also added how to solder on a circuit board. This circuit board being the Personal Portable Server Prototype of my Father and I’s startup, Toyz Electronics. This video is a demonstration of me (re)soldering the battery onto the board using the steps above. (for more information on the Personal Portable Server: https://www.youtube.com/watch?v=hbpiUyZQ3nM or go to tngl.biz) Final Product:
Thank you: |