4.3.5. Exercise: Servo Sweep
4.3.5.1. Objective
Control a hobby servomotor module.
Hobby servos are feedback-controlled motors which move an output shaft to a specified position. Internally they use a potentiometer to measure the actual position. The internal circuit compares the actual and commanded position and generates positive and negative motor current pulses to operate a tiny gearmotor. They are a very convenient modular way to create controlled physical motion.
The commanded position is specified using a specific format of PWM in which pulses with duration approximately 1-2 ms repeat at approximately 50 Hz. The different pulse widths correspond to different positions. Note that this a significantly different waveform than the motor PWM, since the duty cycle is always very low, i.e., the pulse on-time is always much shorter than the cycle time.

4.3.5.2. Steps and observations
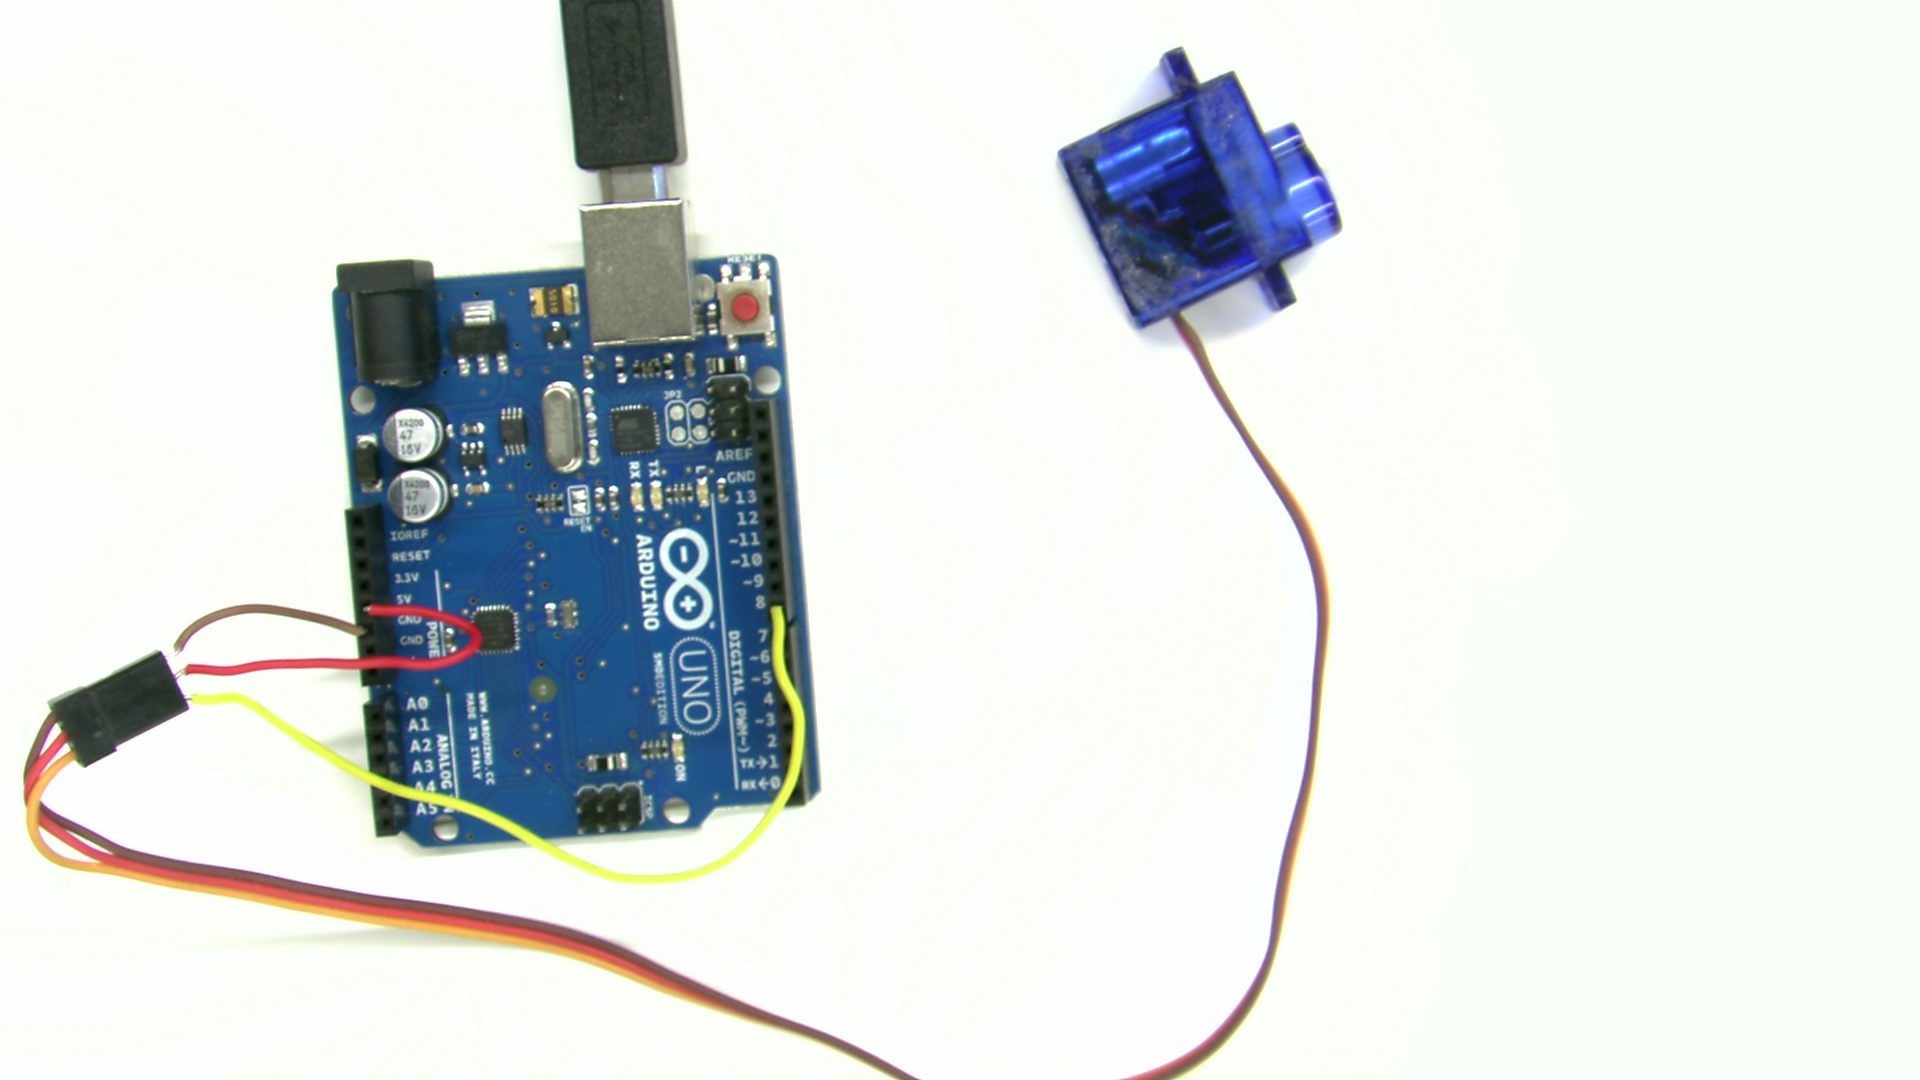
- Wire up a servo to the Arduino. It is easiest just to use jumper wires directly from the servo connector to the Arduino heades.
- Load and run the ServoSweep sketch. This examples uses the Servo library included with the Arduino IDE.
- Observe the different demonstrations of servo motion.
- Observe the PWM command signal on the oscilloscope.
- Try varying the parameters controlling the motion limits and speeds.
- Determine the maximum speed possible.
4.3.5.3. Comments
Note that trajectories and speed control are only possible by issuing position commands at intervals.
As a challenge, rewrite the program to avoid delay() and operate two
servos simultanously on different trajectories. This will be taken up in
more detail in an upcoming exercise.
4.3.5.4. Suggested Layout
4.3.5.5. Arduino Code
- Documentation: ServoSweep Arduino Sketch
- Sketch Folder: ServoSweep
4.3.5.6. Other Files
- EAGLE file:
servo-sweep.sch