We spent the weekend working with materials in the lab and making a complete CAD model of our project so we can make sure everything we want to include will fit, as well as preparing us to laser cut our acrylic.
Fans
For our physical project, we worked with the PC fans available in the lab – we wired them up using MOSFETs to an Arduino and controlled them with PWM output pins.
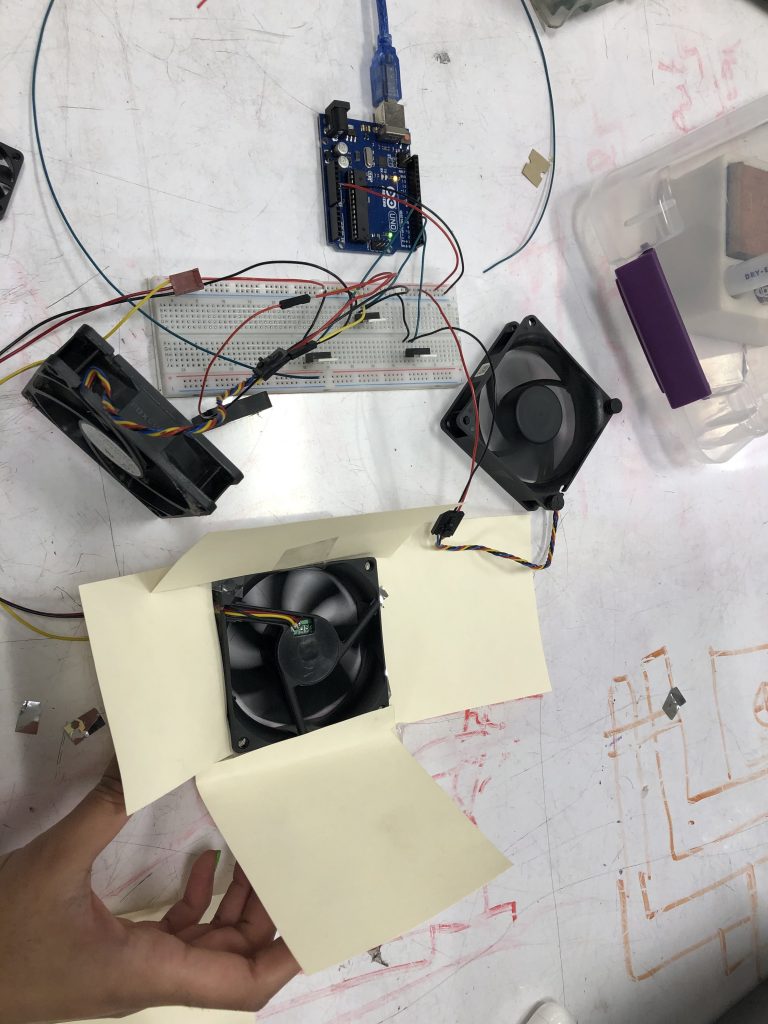
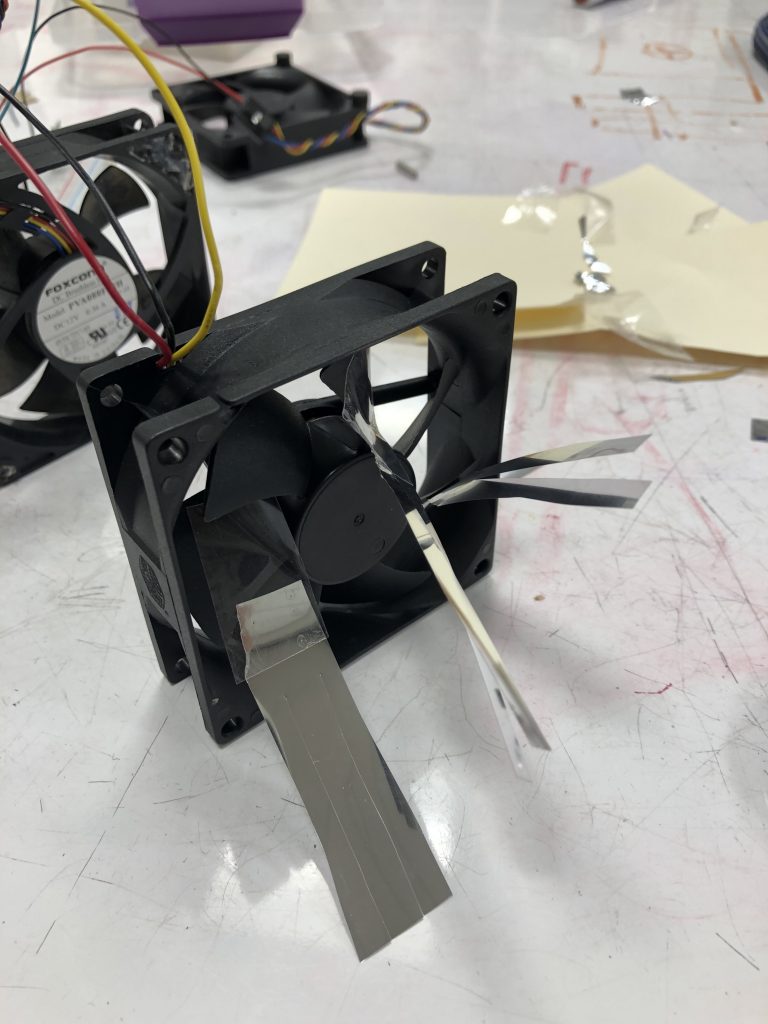
All of the fans worked – the large and tiny ones. However, when we cut up the mylar as homemade confetti and threw them over the fans, it seemed our original project idea was not going to work. We changed the orientation of the fans, with some pointed sideways and some pointed up, but the confetti kept flying away from the fans or into them – in both cases, the motion stopped. We even tried to make some type of cone around the fans to make gravity do some of the work to keep the confetti in – didn’t work too well.
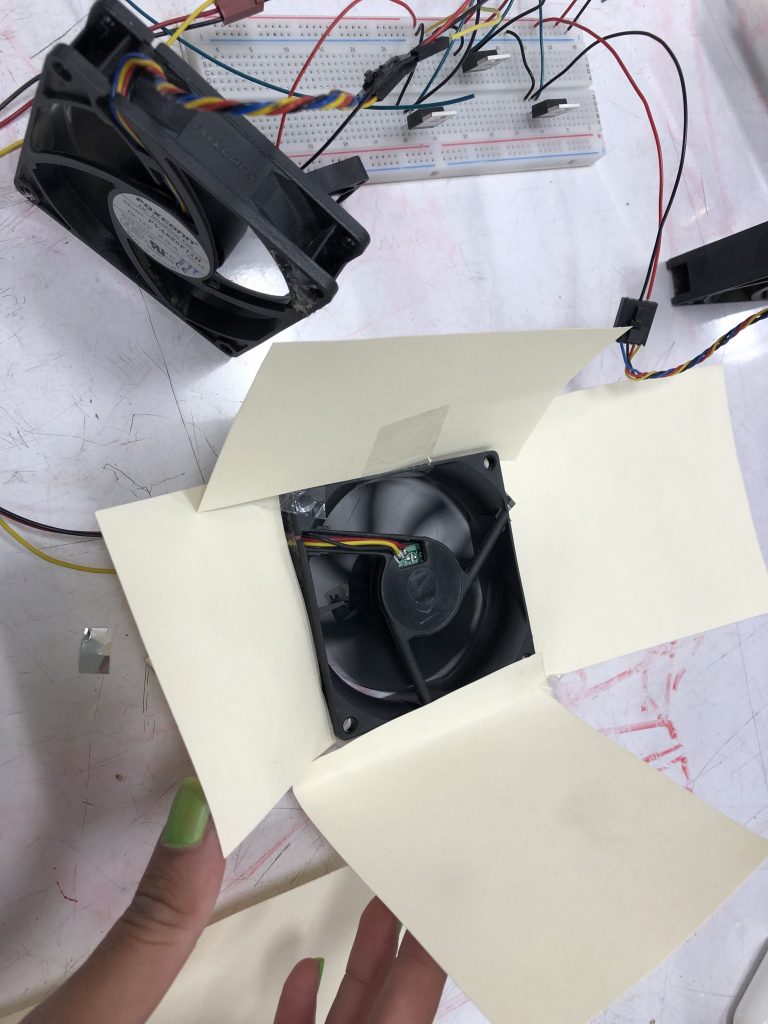
So we decided that we could try a different idea: attaching a “fringe” of the mylar material to the fan and seeing if that created a desired kinetic effect. The issue here was that the fan was barely powerful enough to lift the material to any significant height.
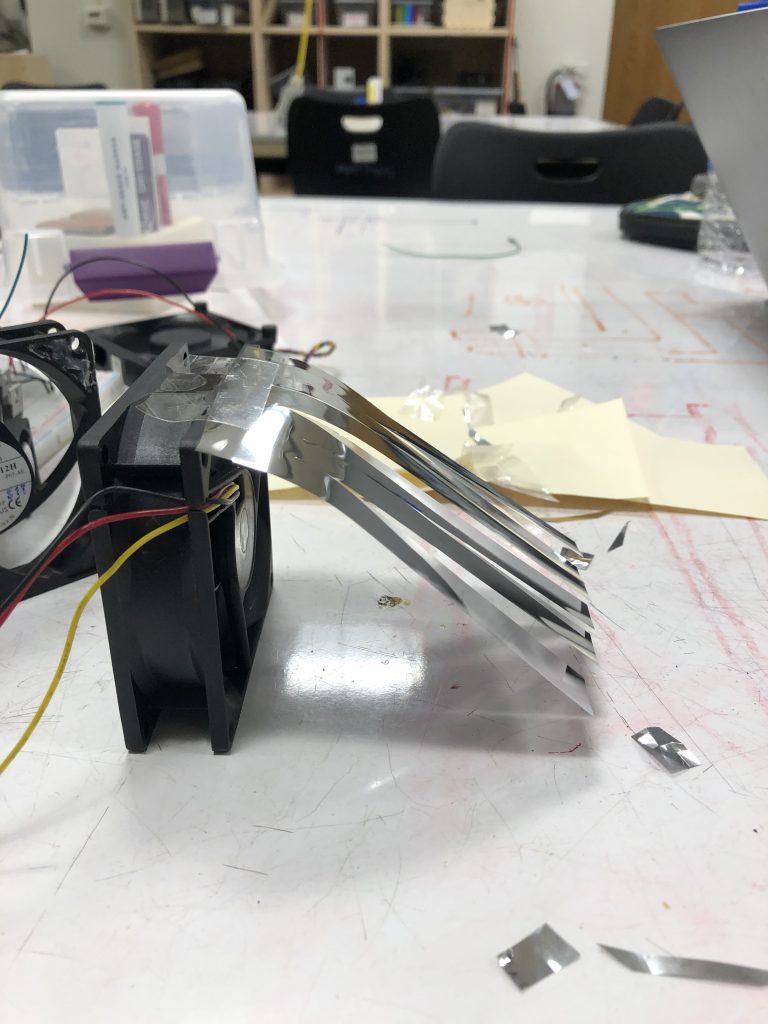
Our last try was to attach the mylar directly to the blades of the fans: this looked pretty cool and our next step is going to be to vary the speeds of the fans to see how we can create dynamic effects with this orientation.
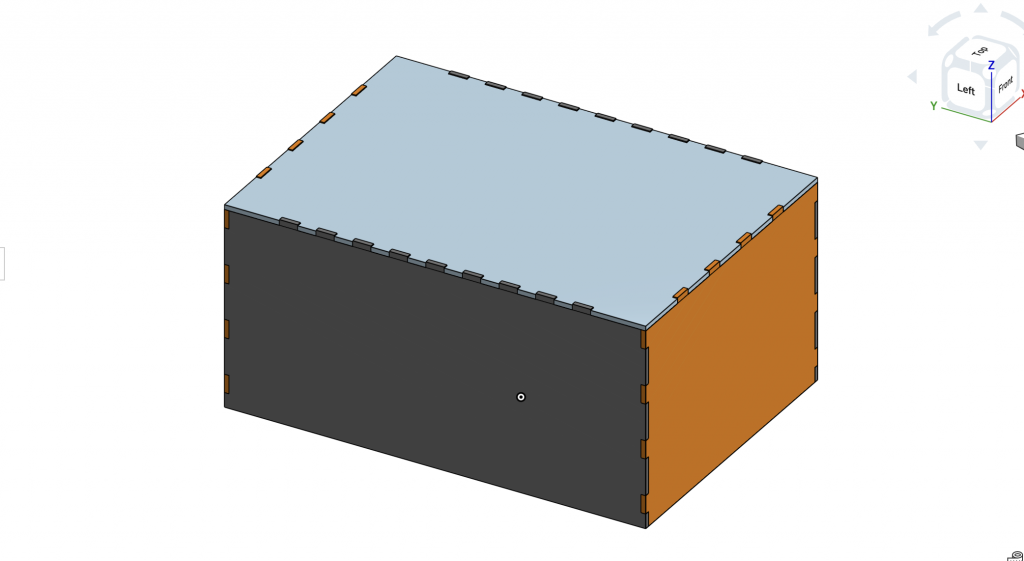
CAD
We first modeled our suitcase to envision how we can fit all our components inside the suitcase and accordingly dimension the parts we need to fabricate.
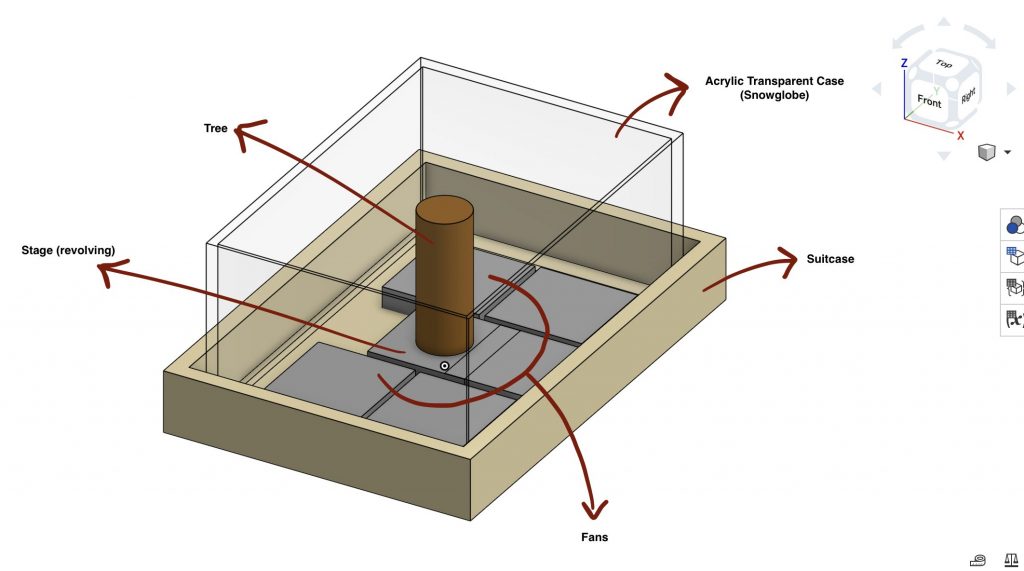
Then we went ahead and modeled our transparent acrylic case. We created 4 plates that could be fitted together as a box, making laser cutting easy and fast. We will make revisions to this based on how our first prototype turns out.