Elizabeth Lister, Jonathan Liang, Michael Stesney, Ruohai Ge
System objectives
Although we initially intended to explore armatures, we narrowed the focus of our system to exploring the creation of molds with material that could be fabricated or marked by a robot. Clay was chosen for its utility, allowing us to experiment with expressive objects and textures. Our goal was to play with the sculptural properties of the clay and see the level of detail and precision the plaster can pick up from the clay negative.
Design process
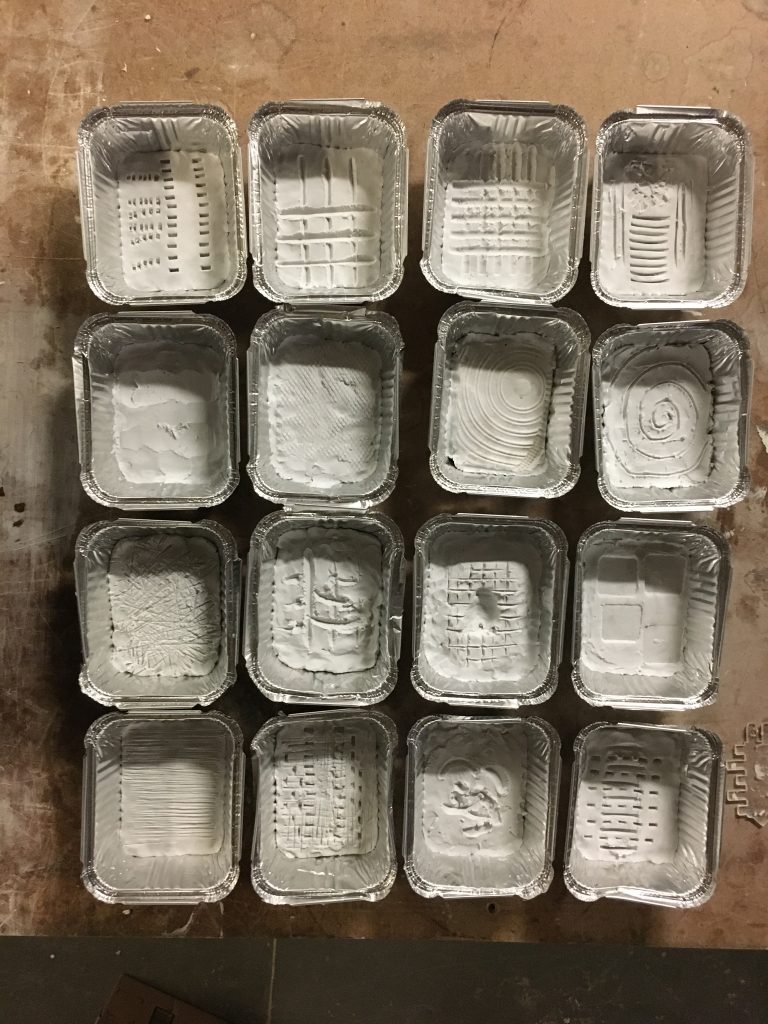
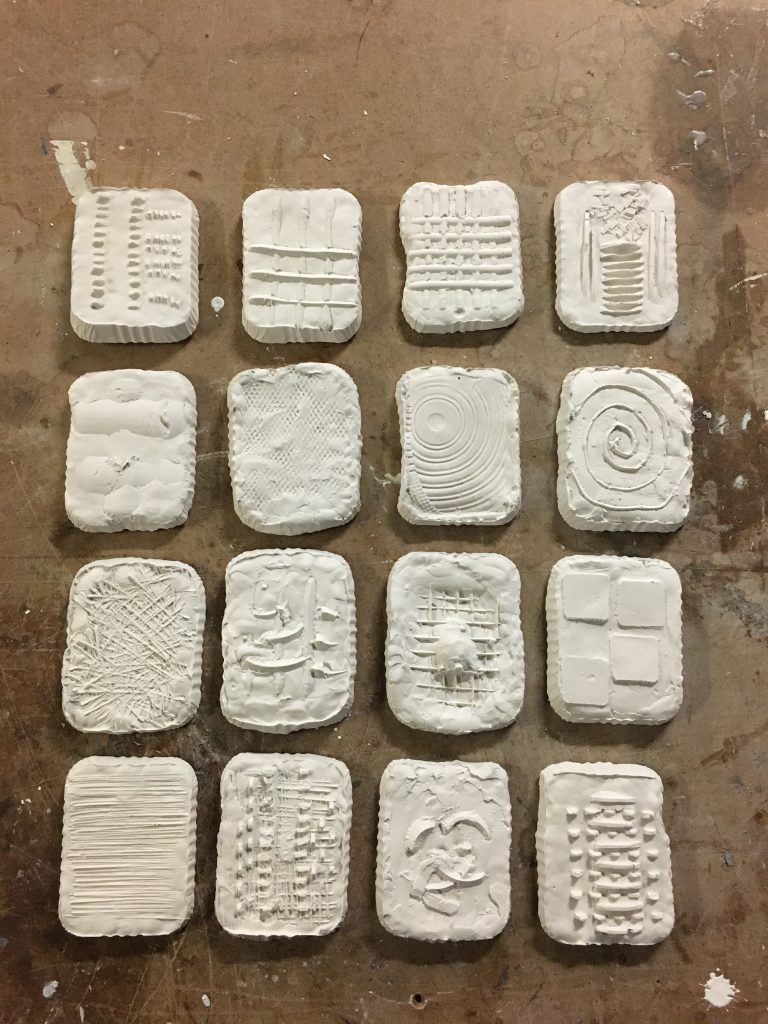
16 small-scale clay prototypes
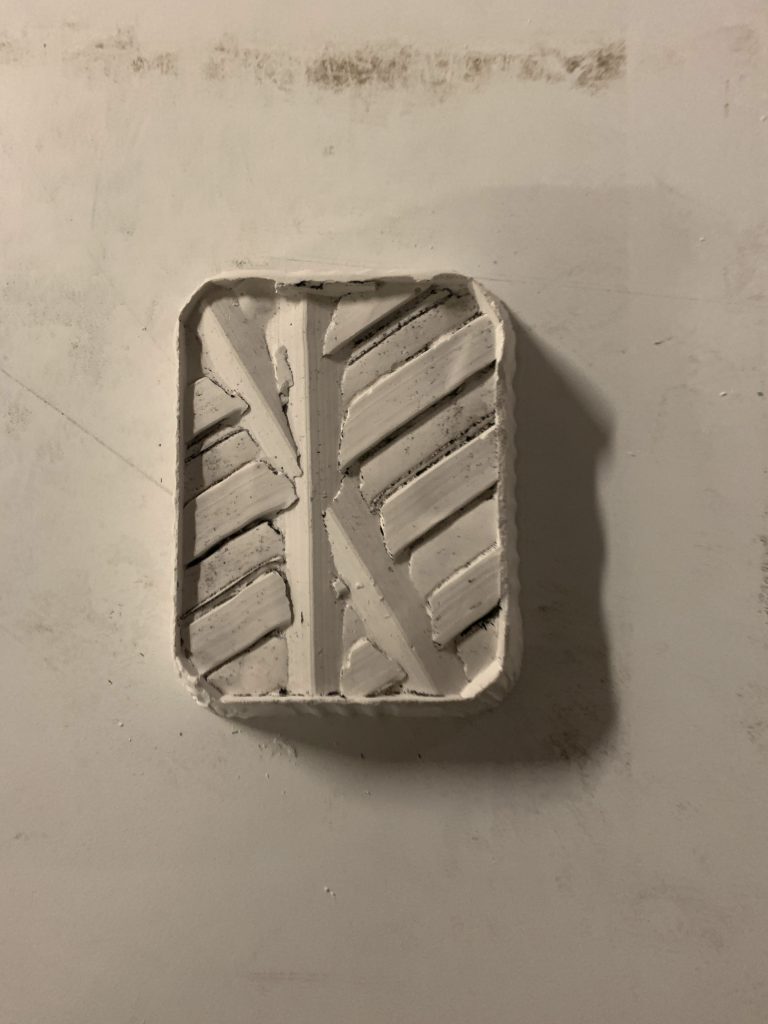
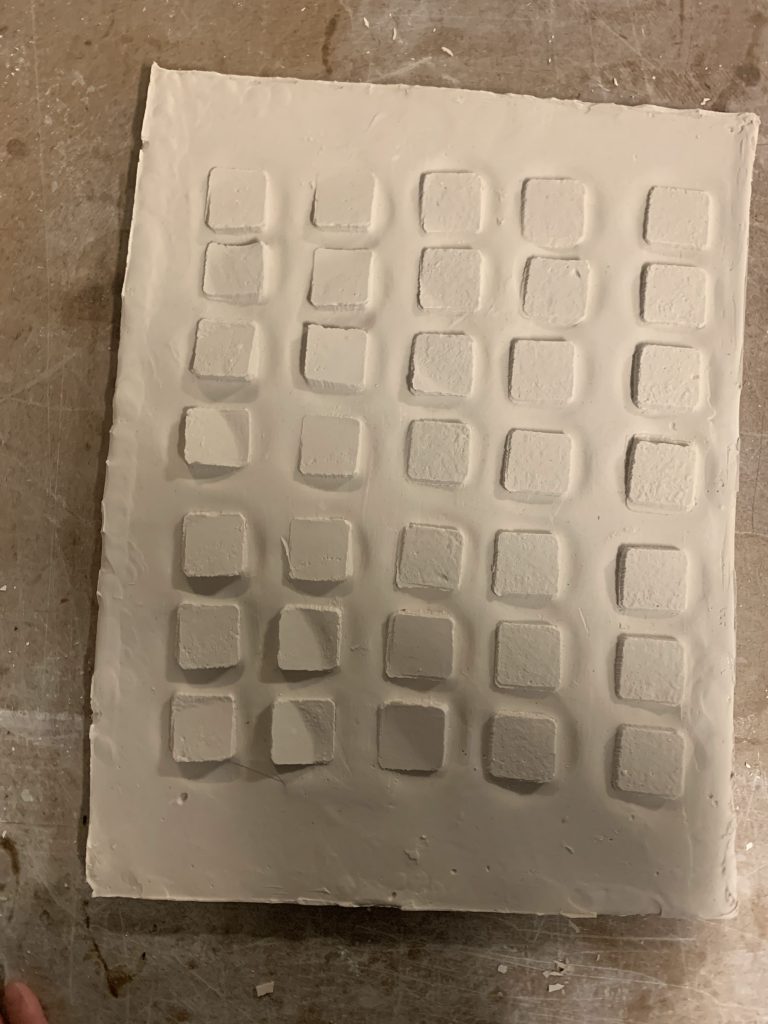
We used small trays as the mold bases and hand-made or found tools such as stamps, a shoe, a scraper, and laser-cut tools to carve different patterns on clay to see their effects and estimate possible creative avenues.
Carve different patterns
Pour Plaster
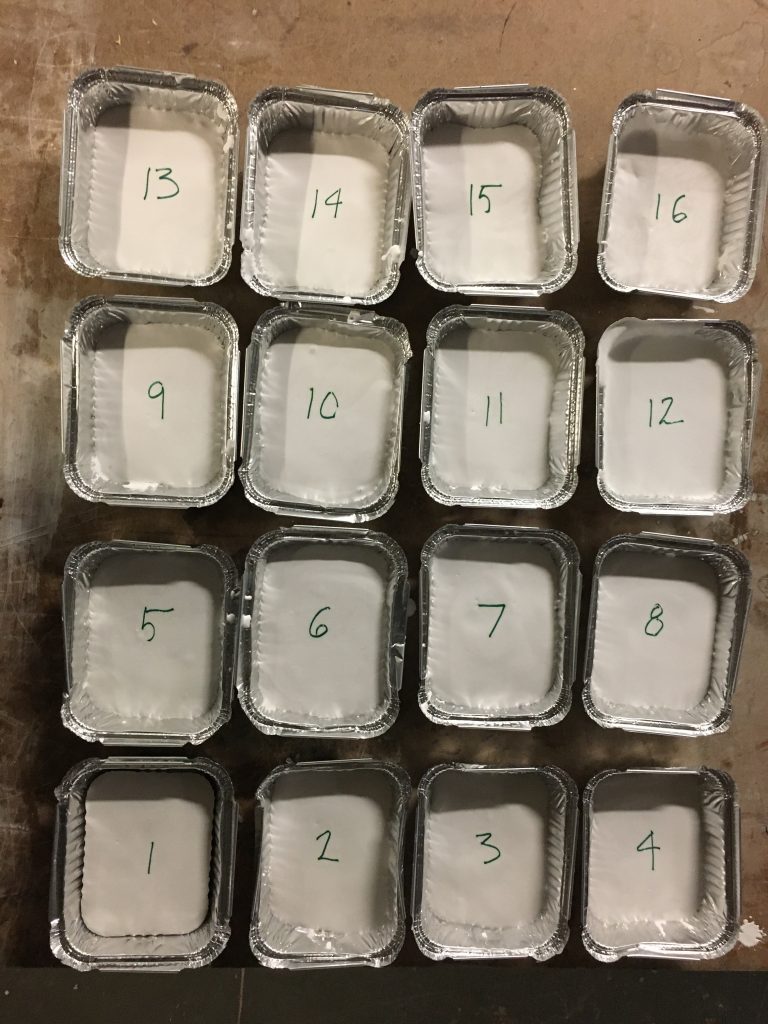
Examining Results
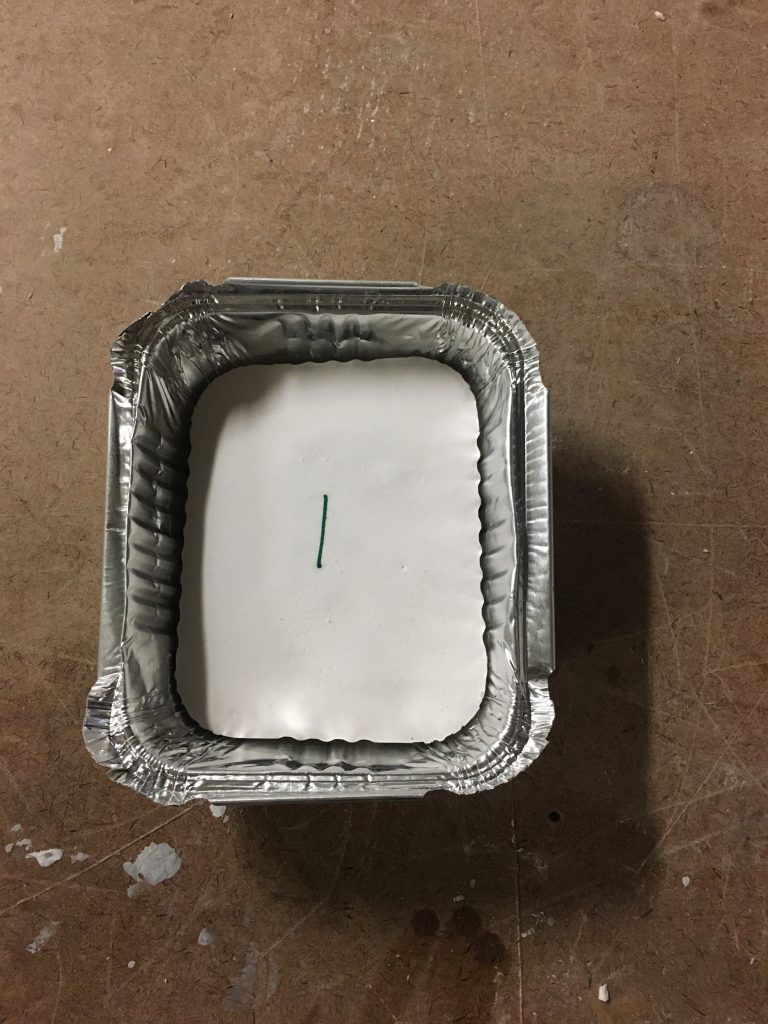
Solid plaster 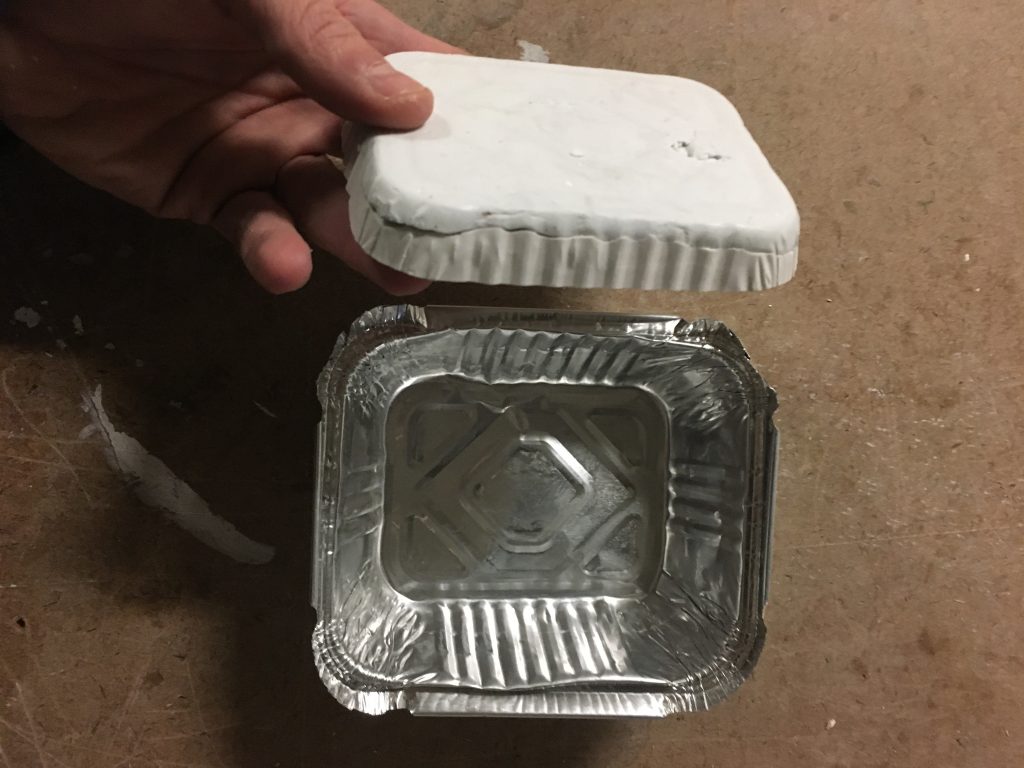
Get it out of the tray 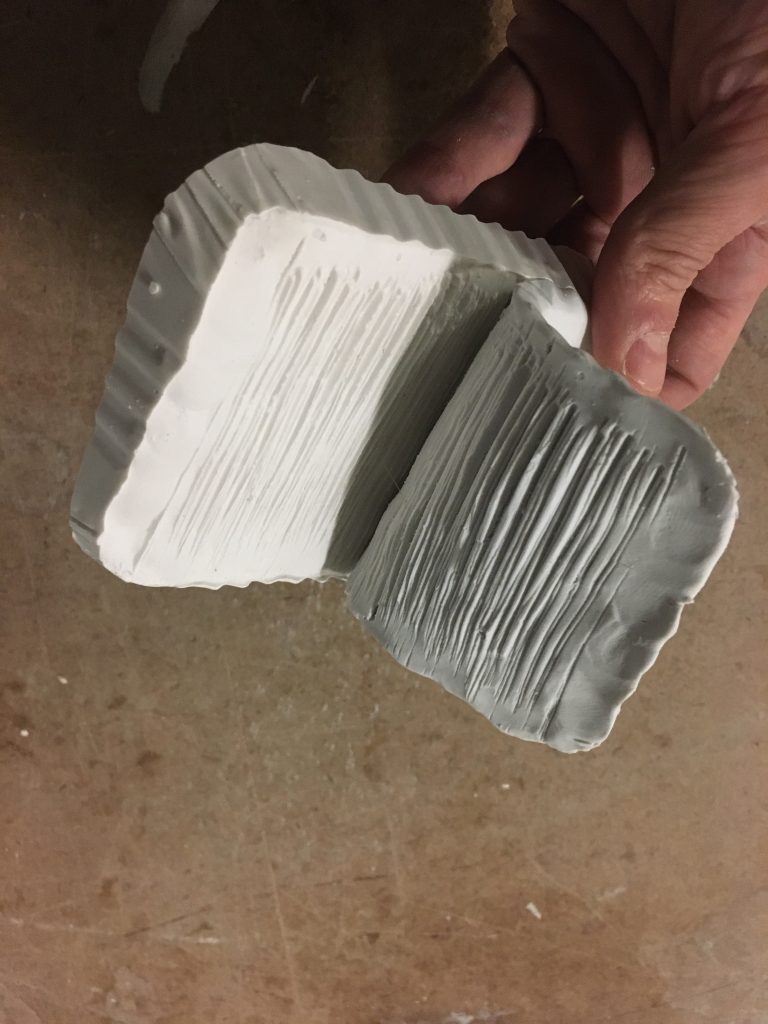
Peel clay off

Actual tile-scale prototype
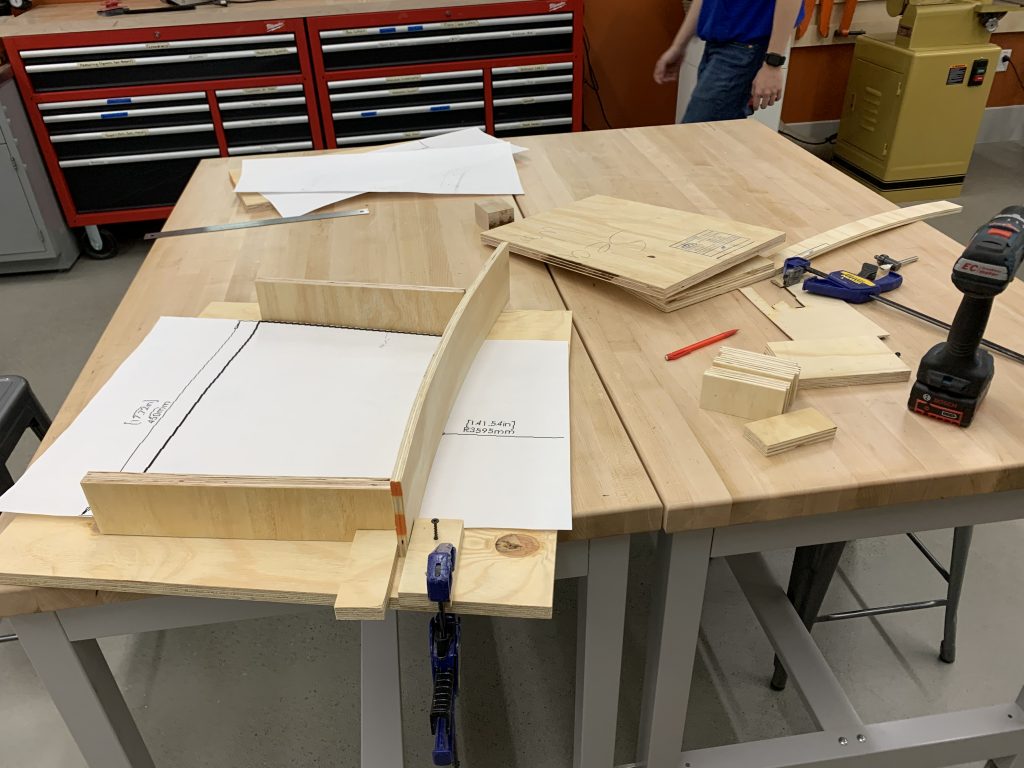
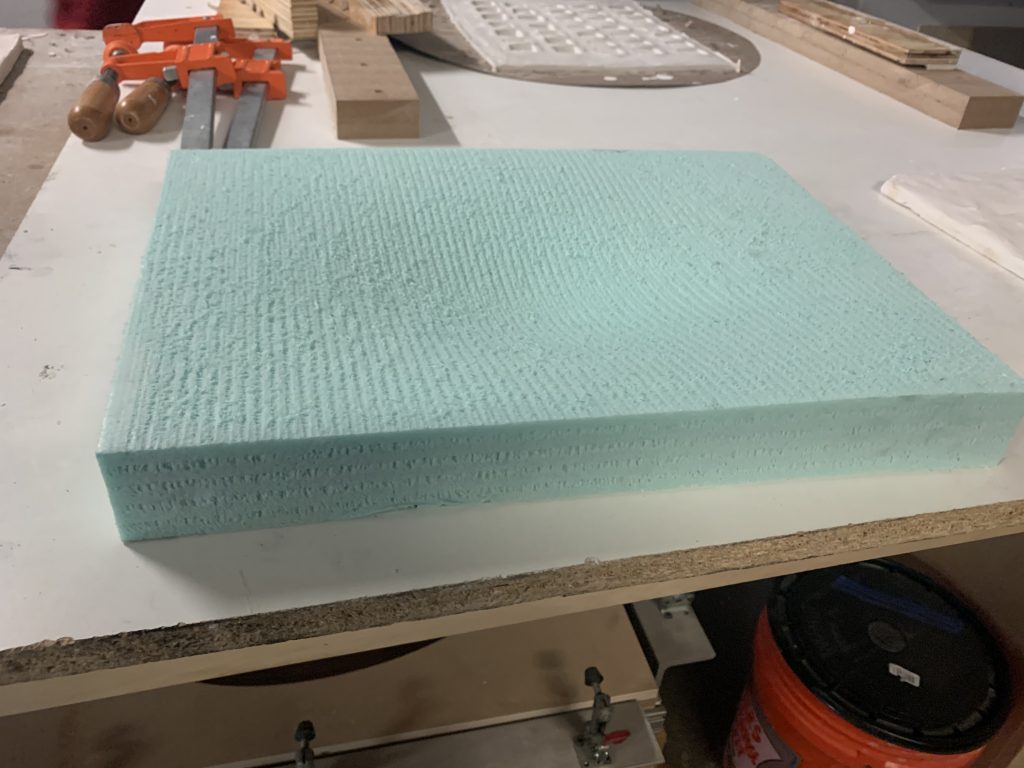
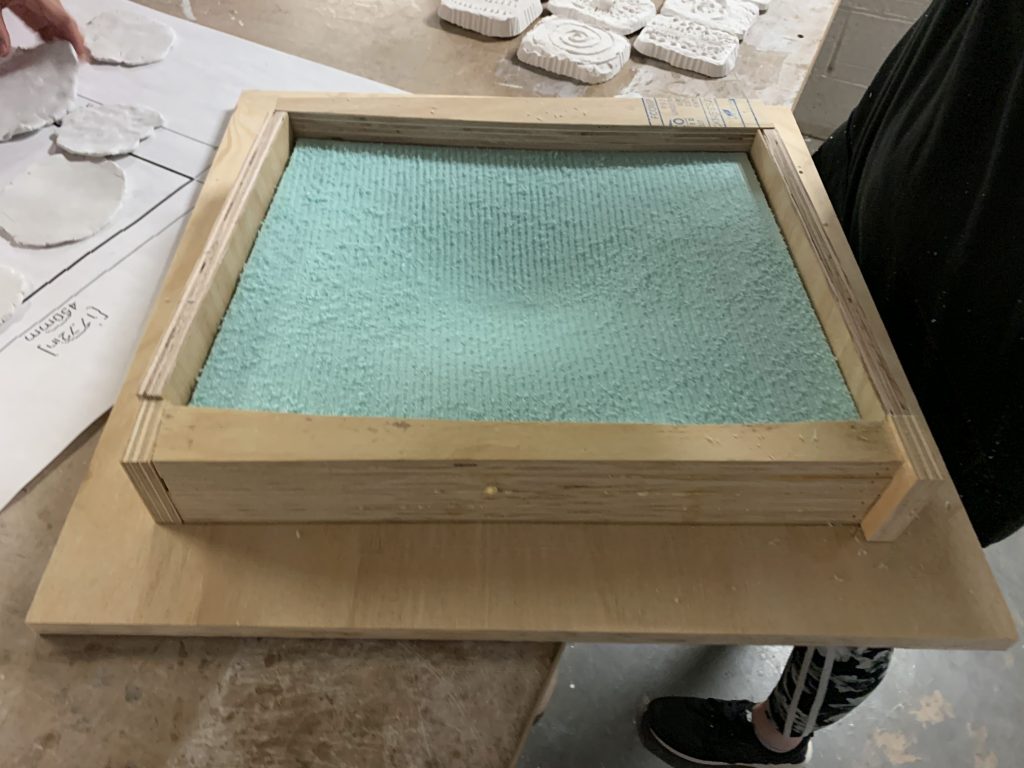
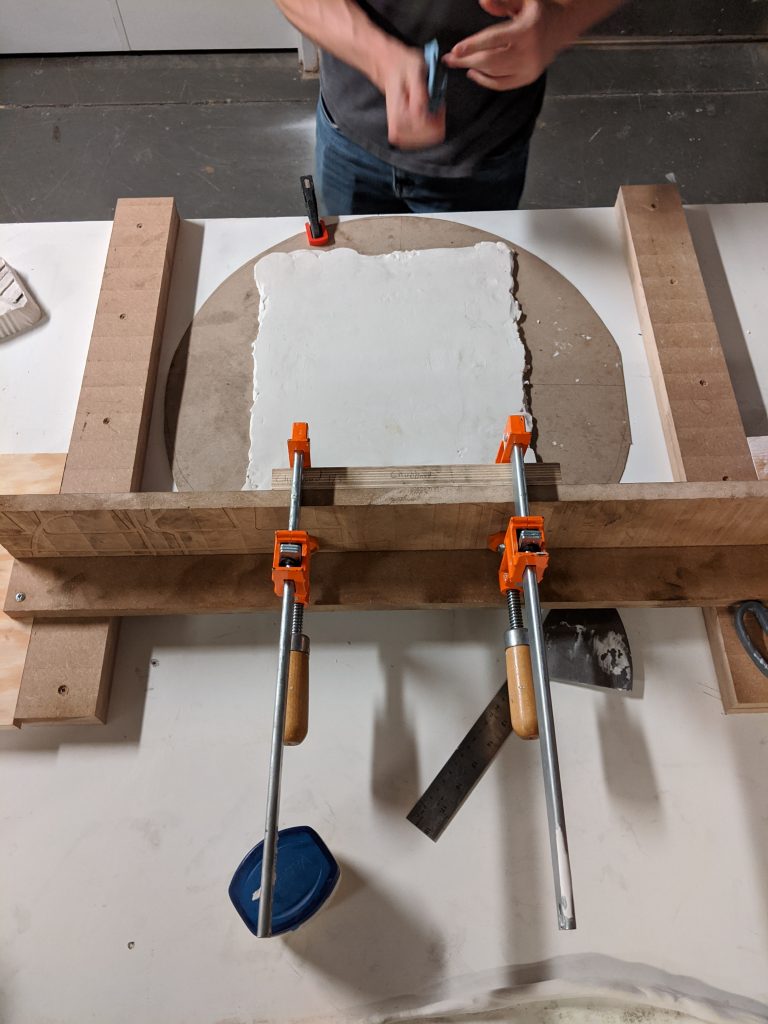
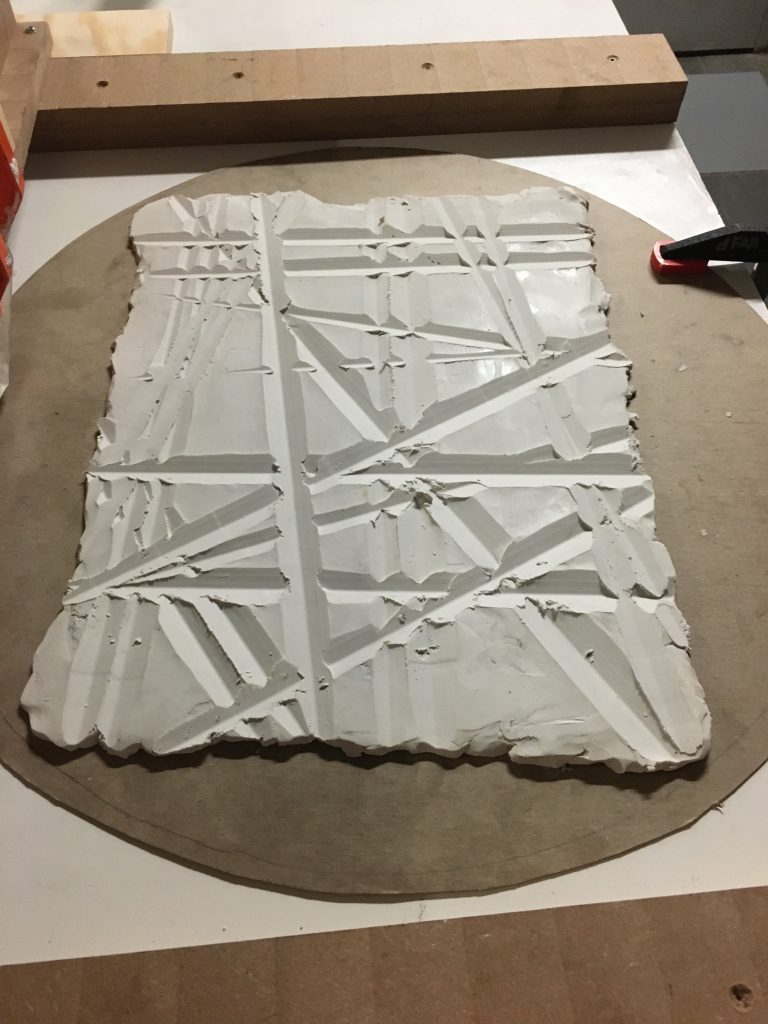
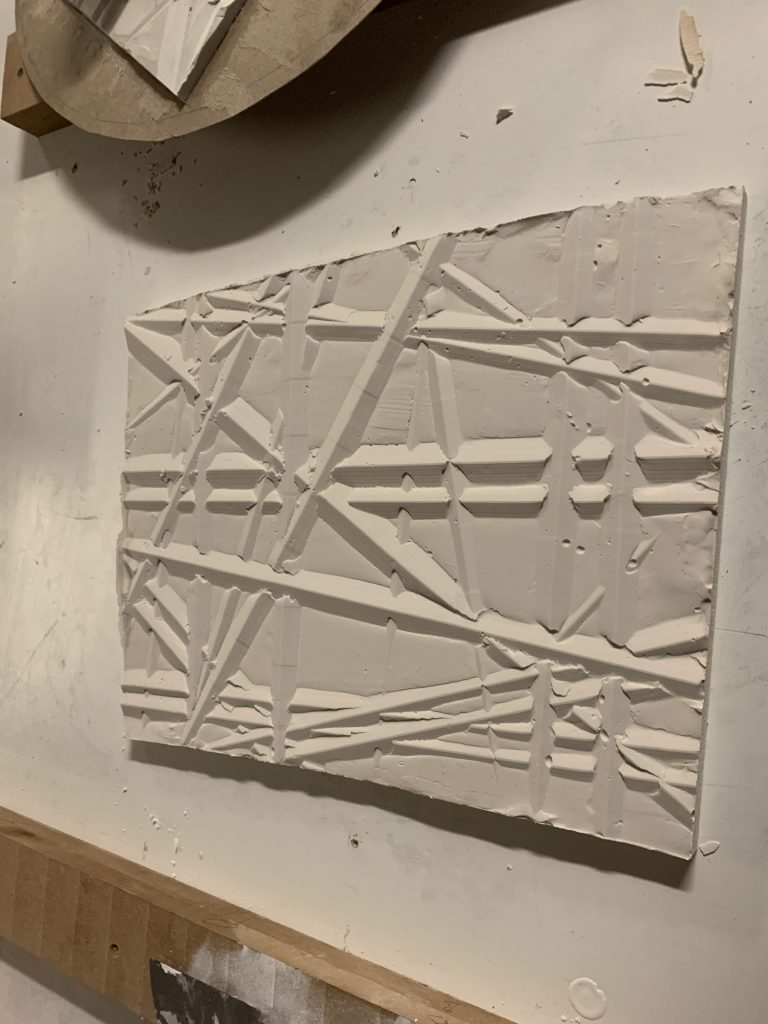
Although all of the tests were successful, some captured too much clay and some were less visually interesting. We chose four that we felt had design potential and also potential to be translated to a robotic technique. We also made a full-size wood mold, CNC-cut 3D foam pattern, and a sketched clay surface to better understand the challenges of a large tile and explore the 3D mold idea.
Wood mold and a 3D pattern in the foam
Sketched clay surface
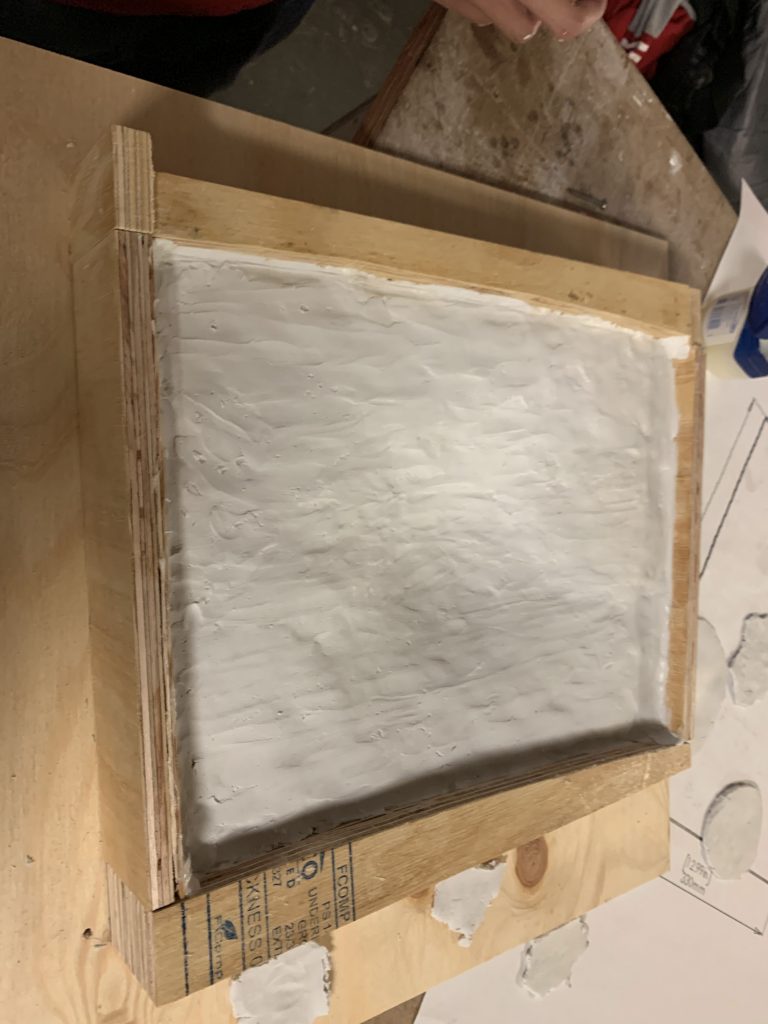
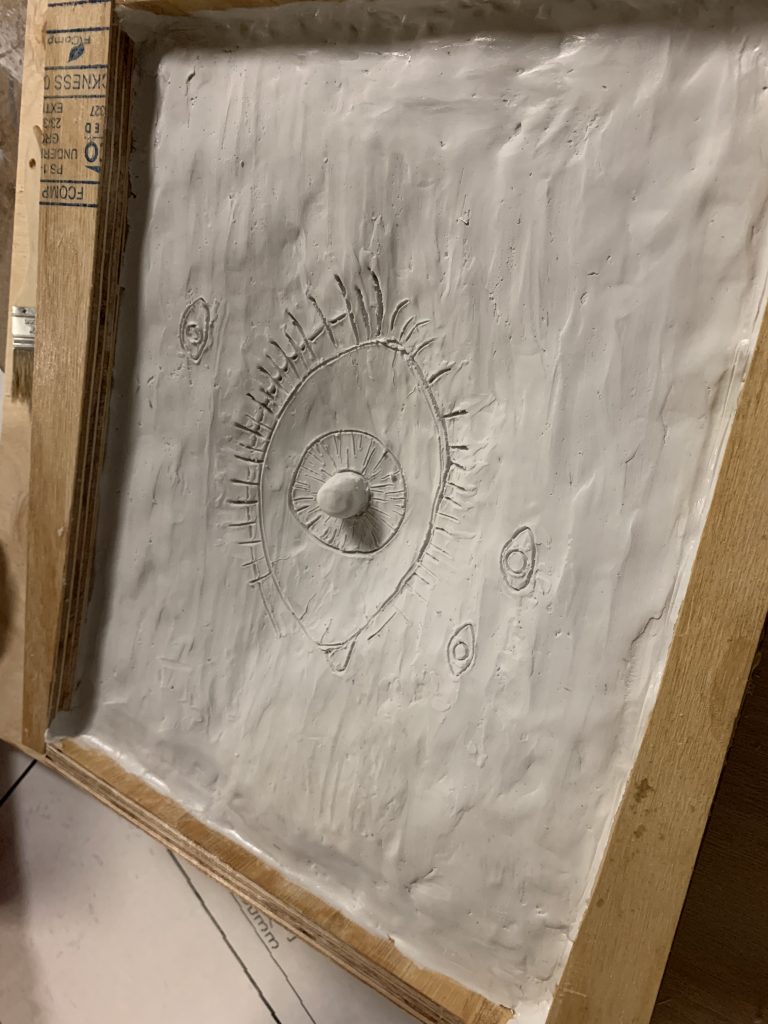
Flattening and smoothing the clay at this scale proved challenging. This was an important lesson in understanding how the techniques must change from small mock-up to full-size tile.
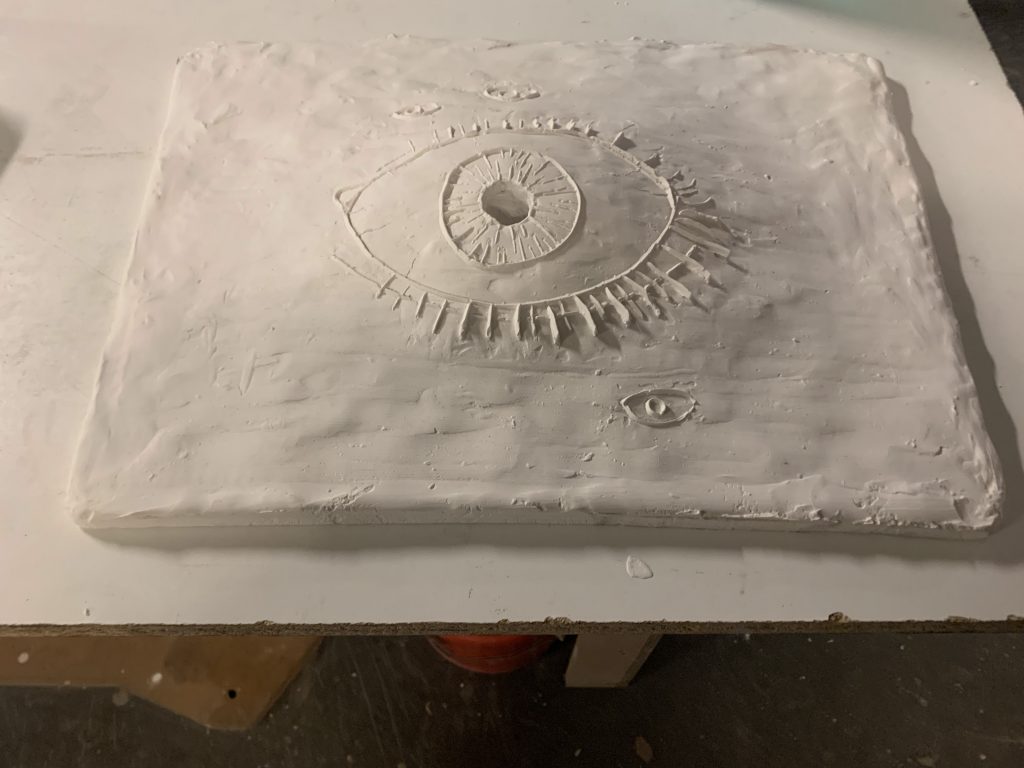
Result
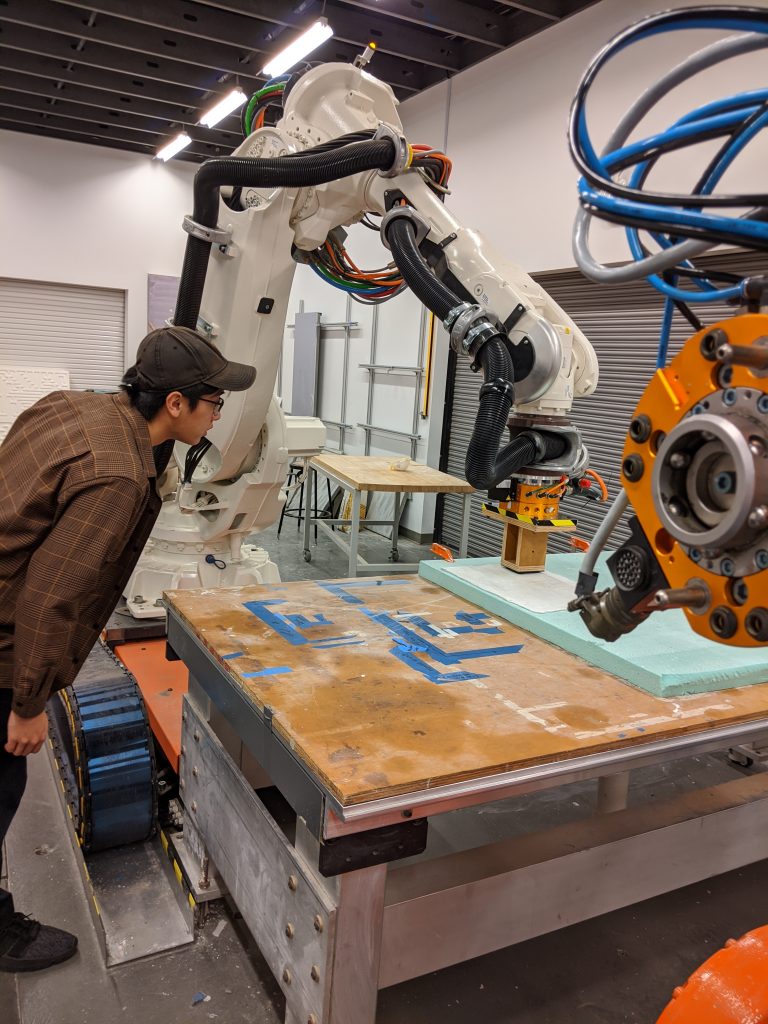
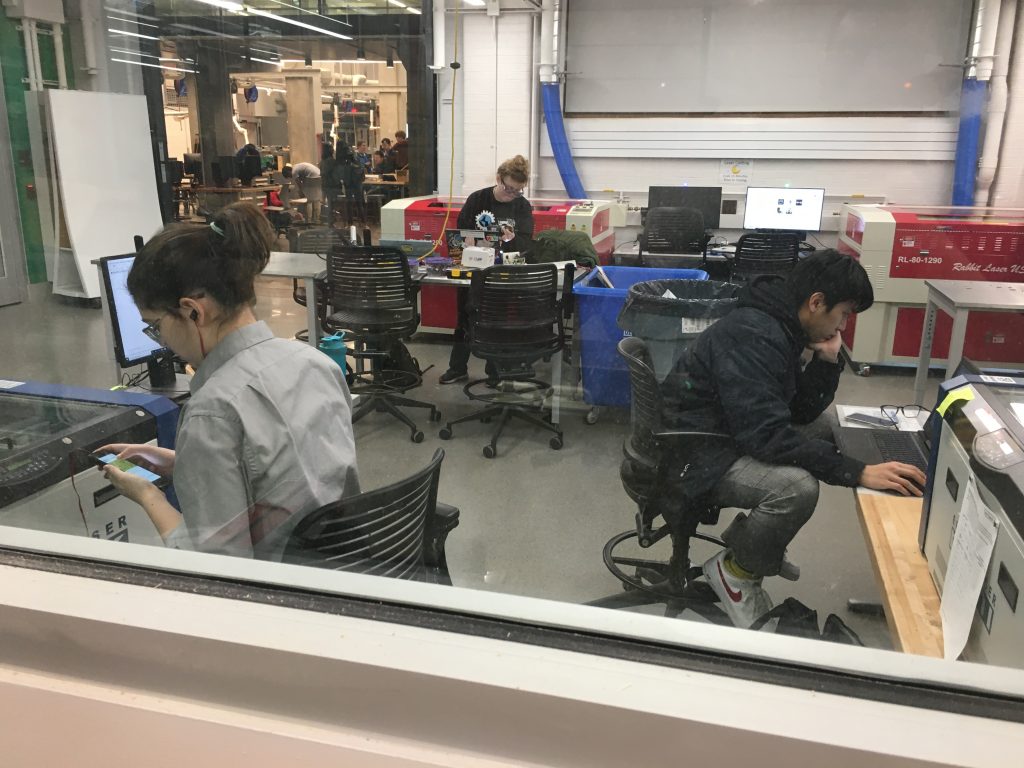
Robot Testing
Next we explored using the robot to mark the clay using the carving and stamping movements we discovered through making the small mock-ups.
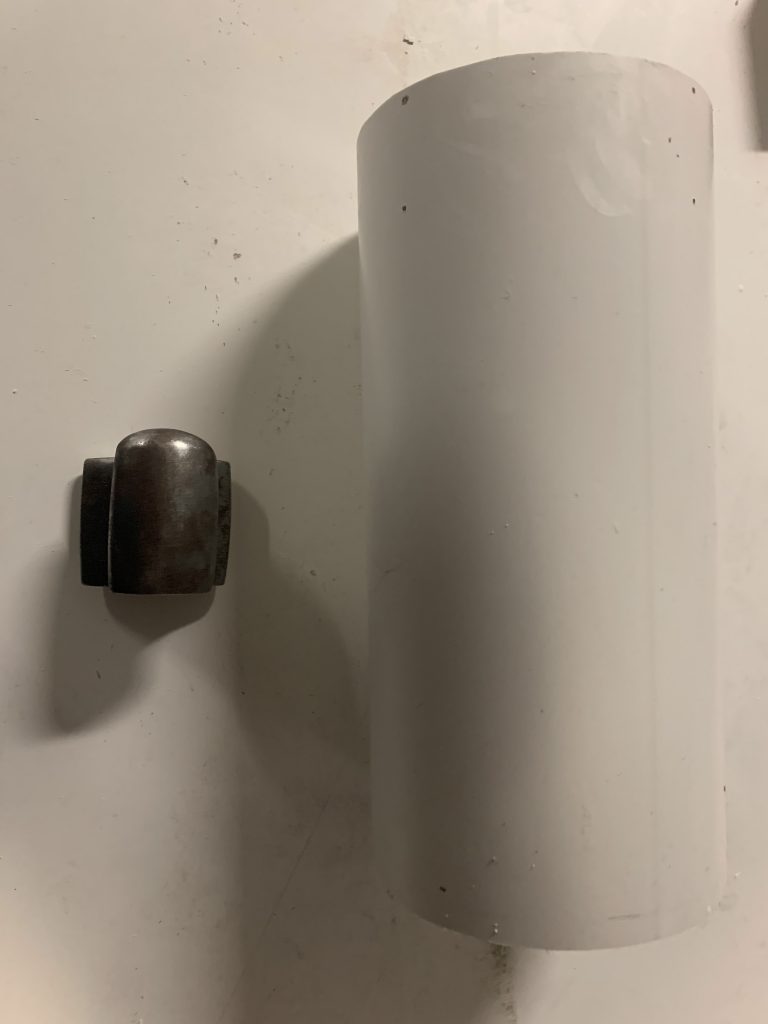
Stamps and carving tools
Stamp 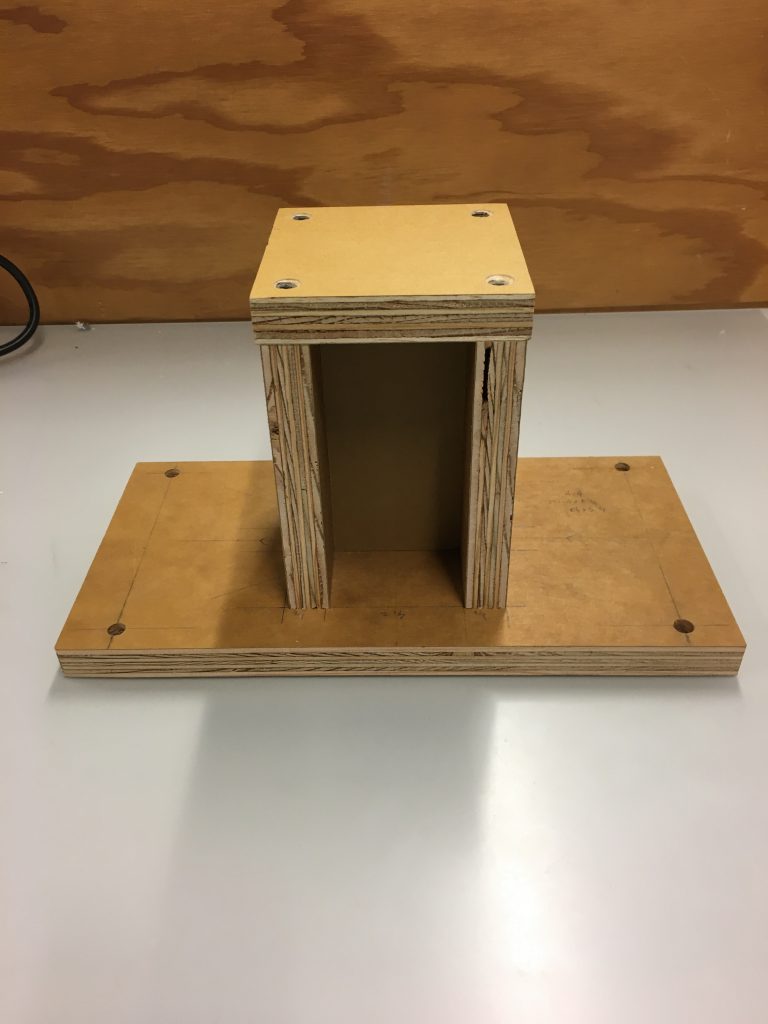
Stamp holder 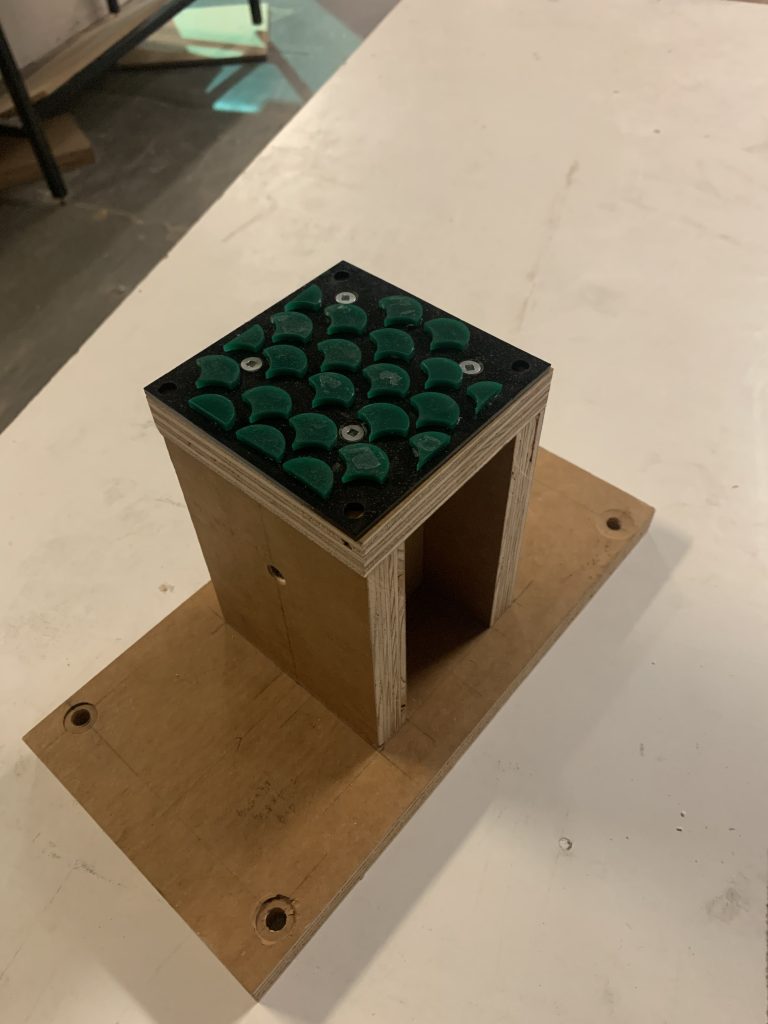
Combined
Robot Stamping and Carving
Result

Carved 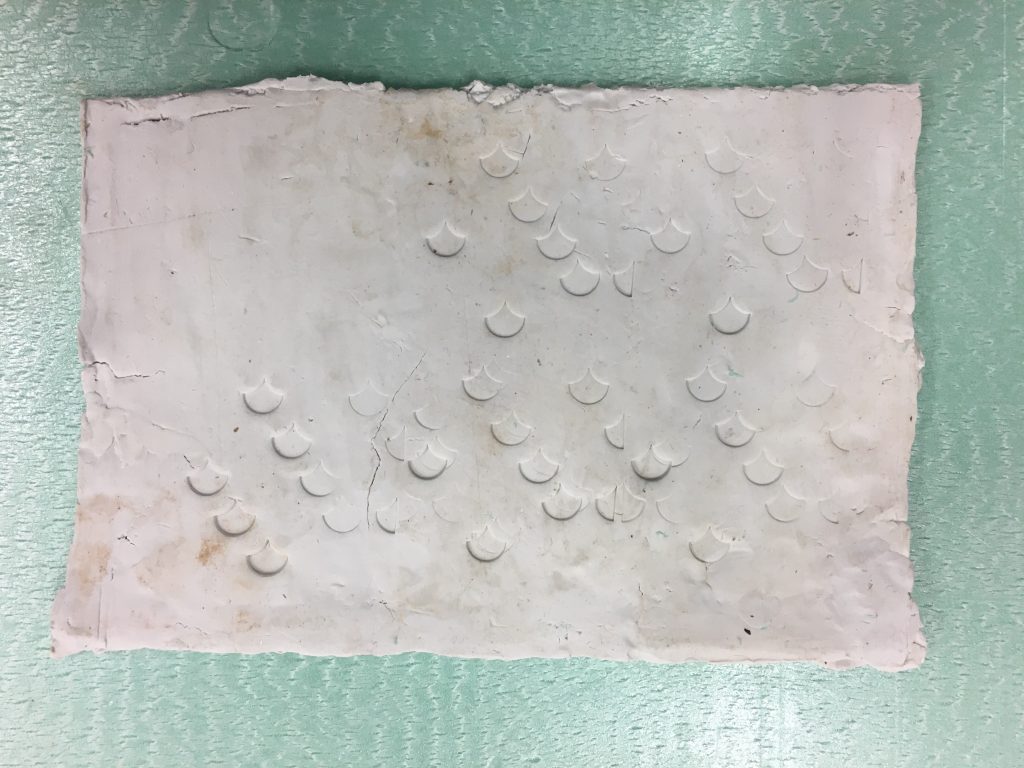
Stamped
Mimic robot
The robot tests proved to be promising. However, we don’t have enough time and expertise to use the robot with this project. Therefore, we built a manual tool that allowed us to mimic the carving and stamping actions of the robot. Before creating a new clay mold we explored carving patterns in Rhino.
Use Rhino to simulate the clay surface
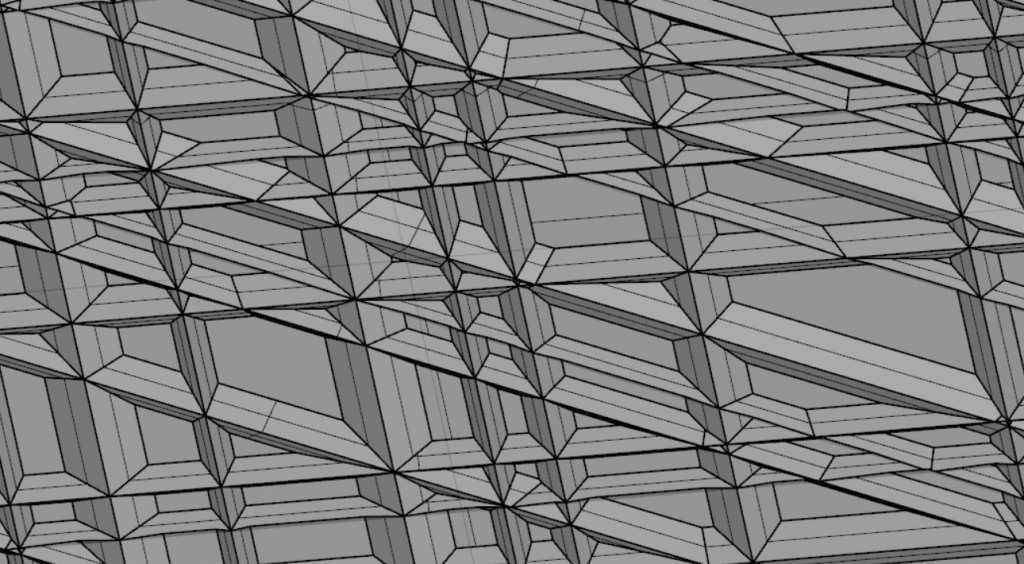
Pattern 1 detail 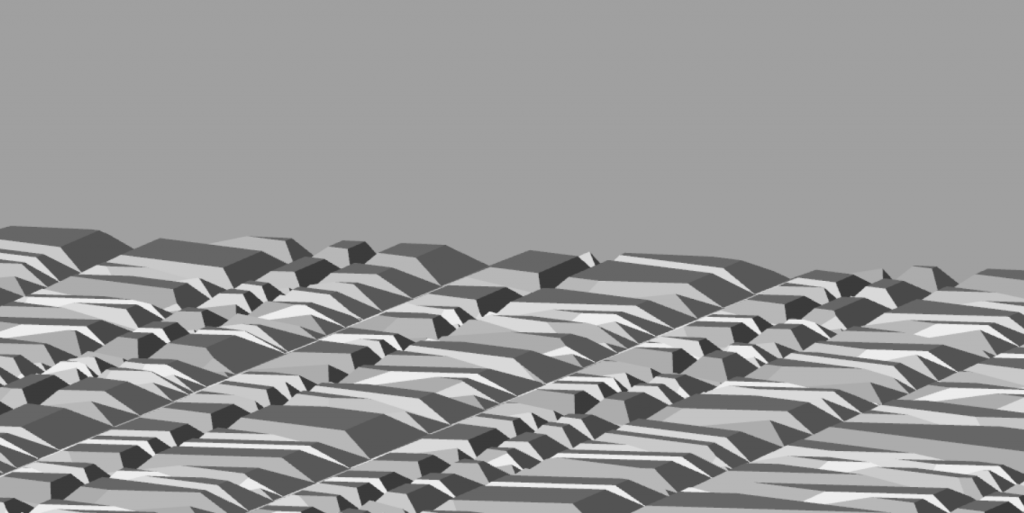
Pattern 1 rendered detail 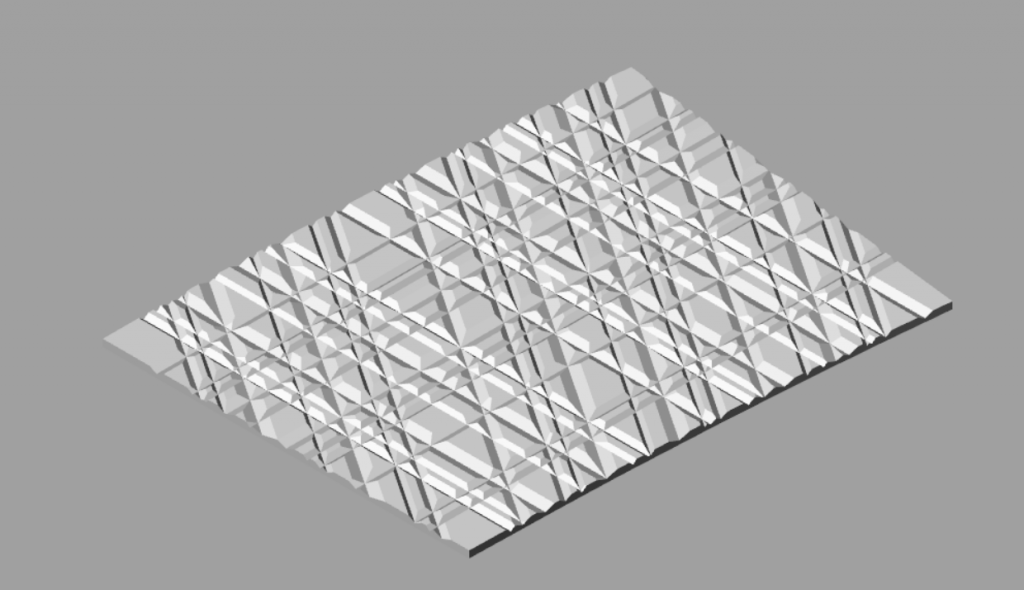
Pattern 1 rendered 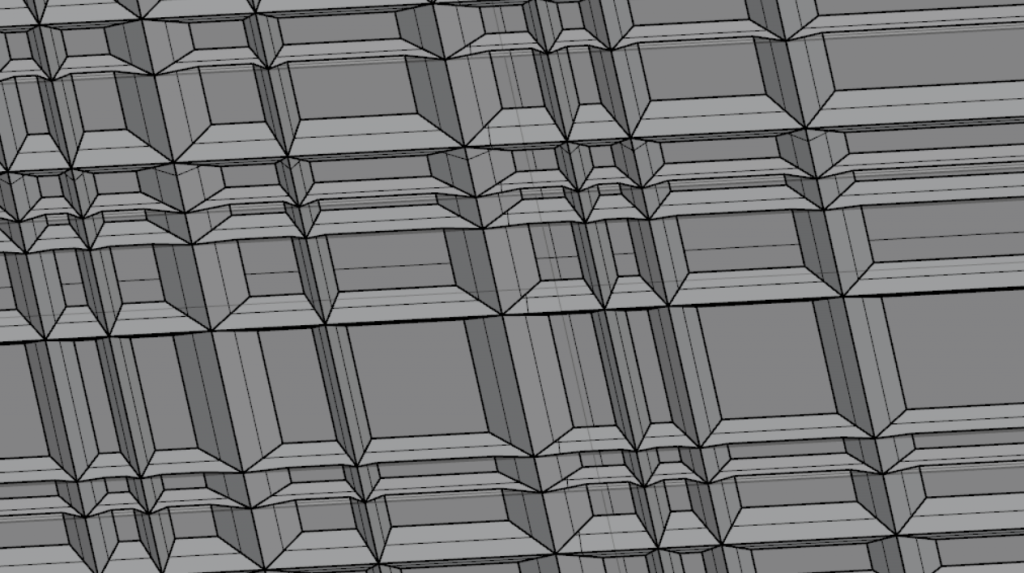
Pattern 2 detail 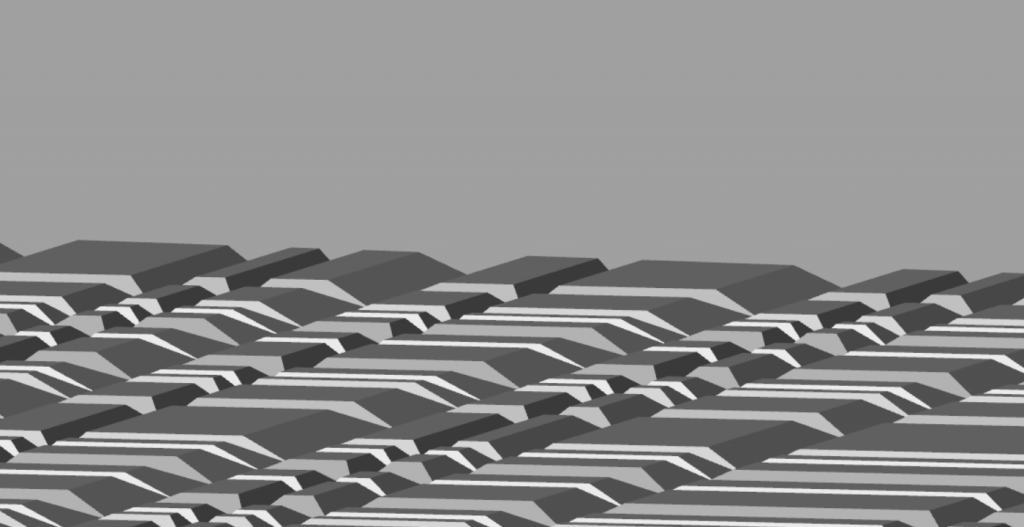
Pattern 2 rendered detail 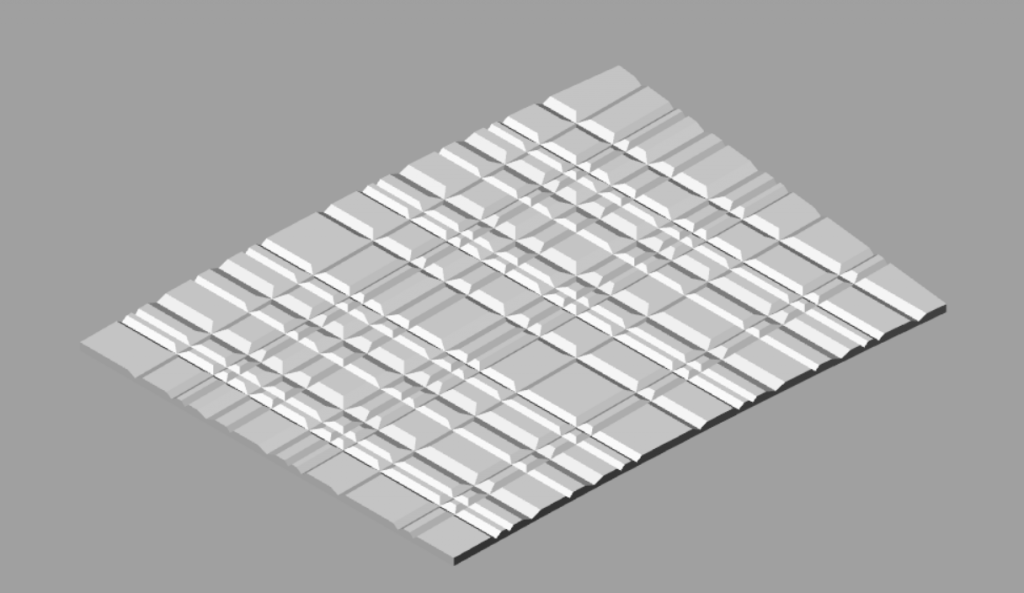
Pattern 2 rendered 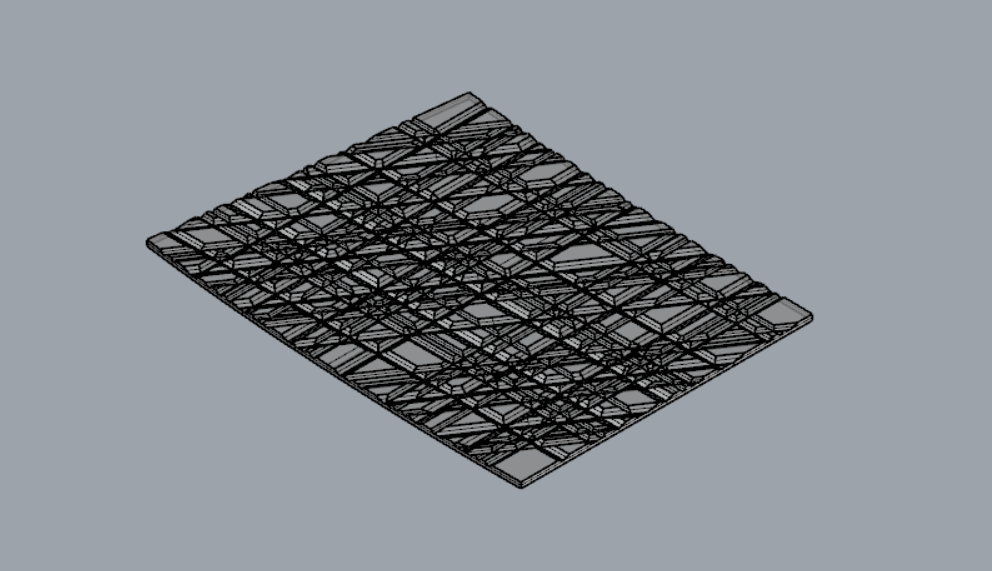
Pattern 1 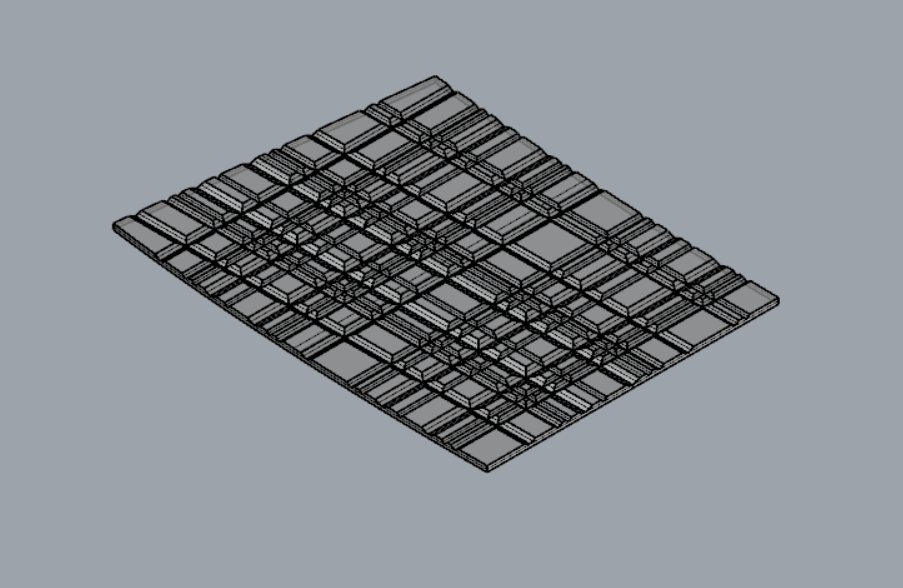
Pattern 2
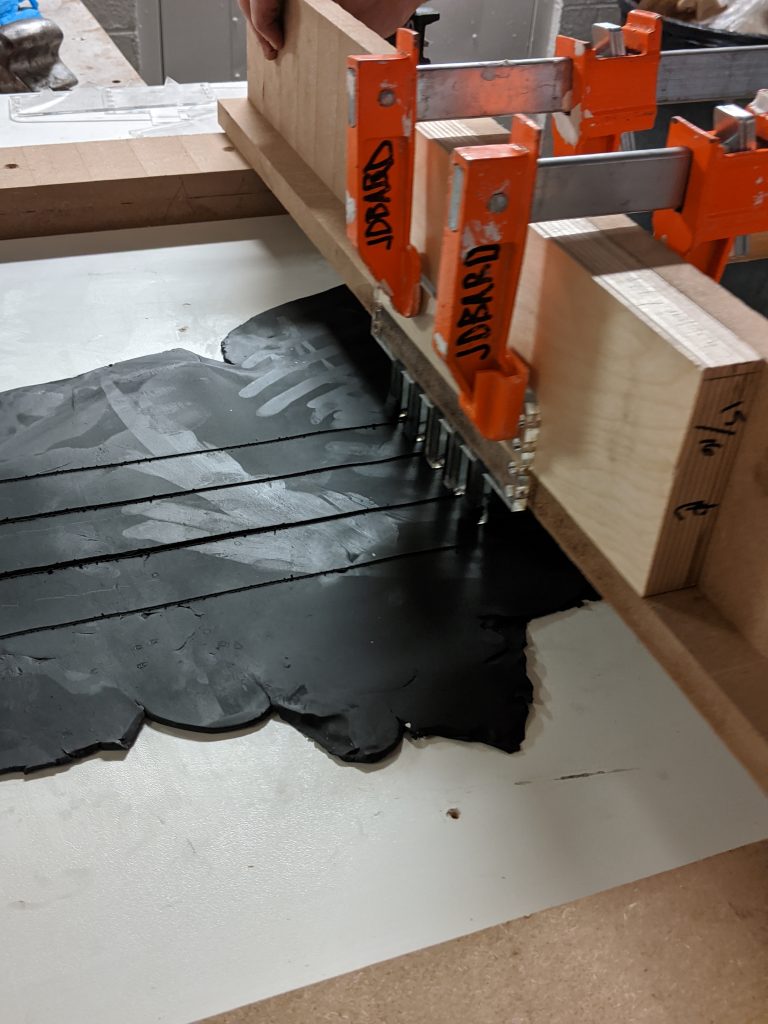
Making the manual carving tool
laser cut profiles 
make the wood-base 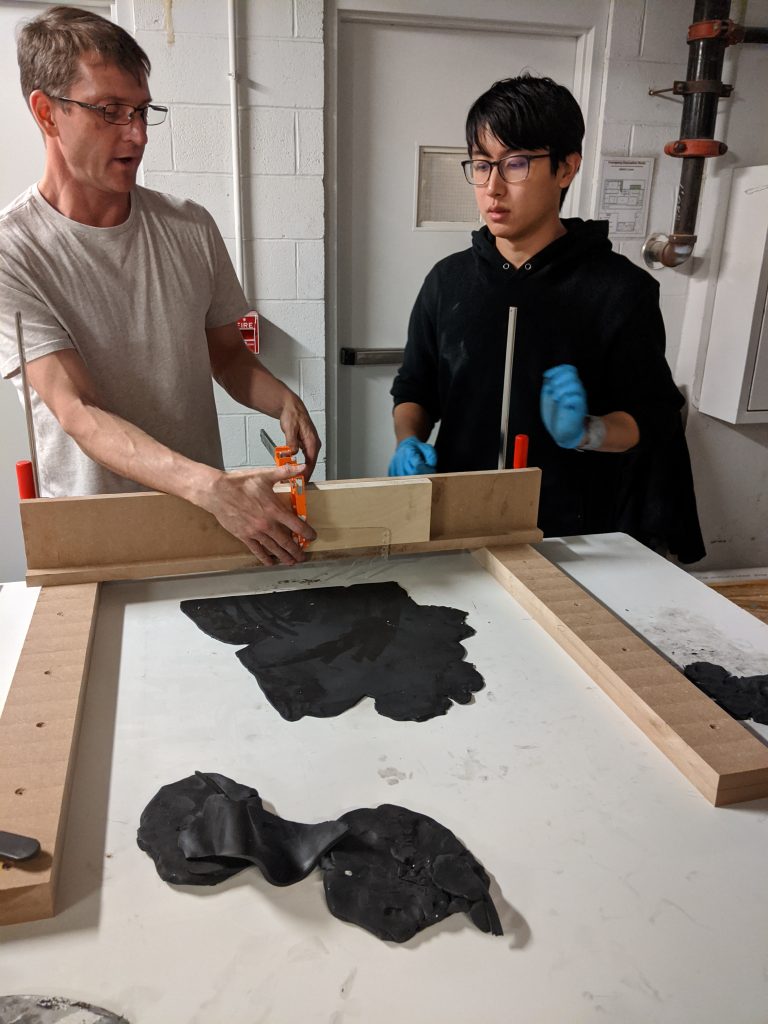
assembling the whole structure
Smoothing the clay with better tools
Smoothing tools 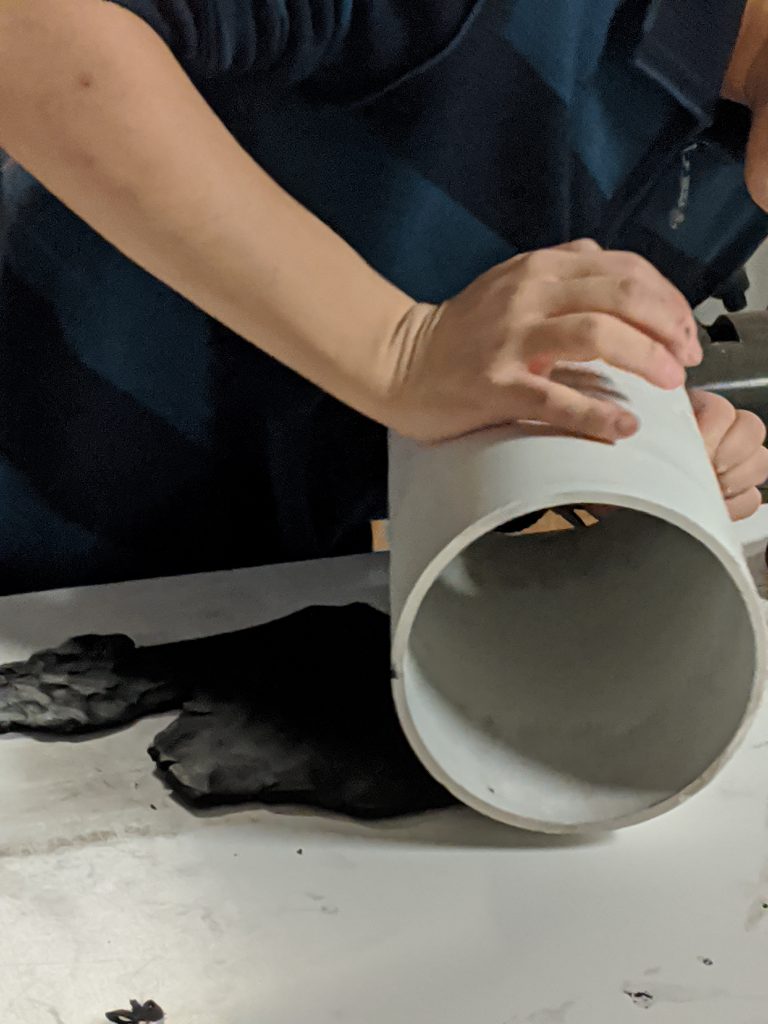
Clay smoothing
Gouge the clay with the running mold
Small-scale prototype
One more small mock-up
Before moving to another full size tile we tested our tool with several different carving profiles and made one additional small scale mock-up.
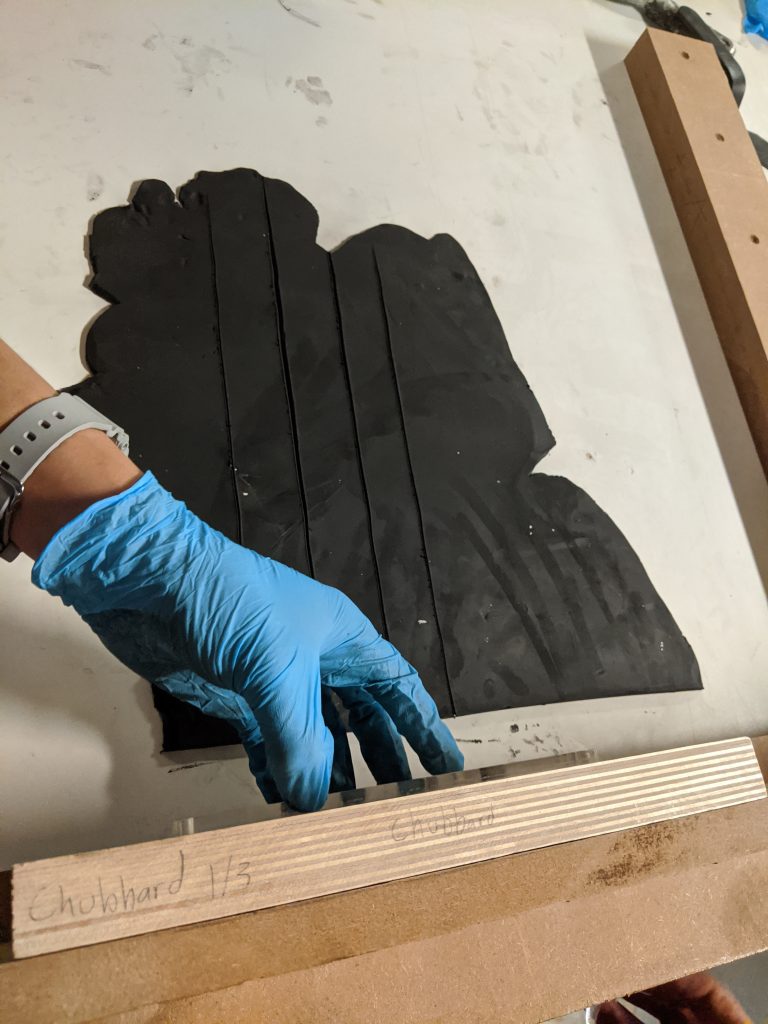
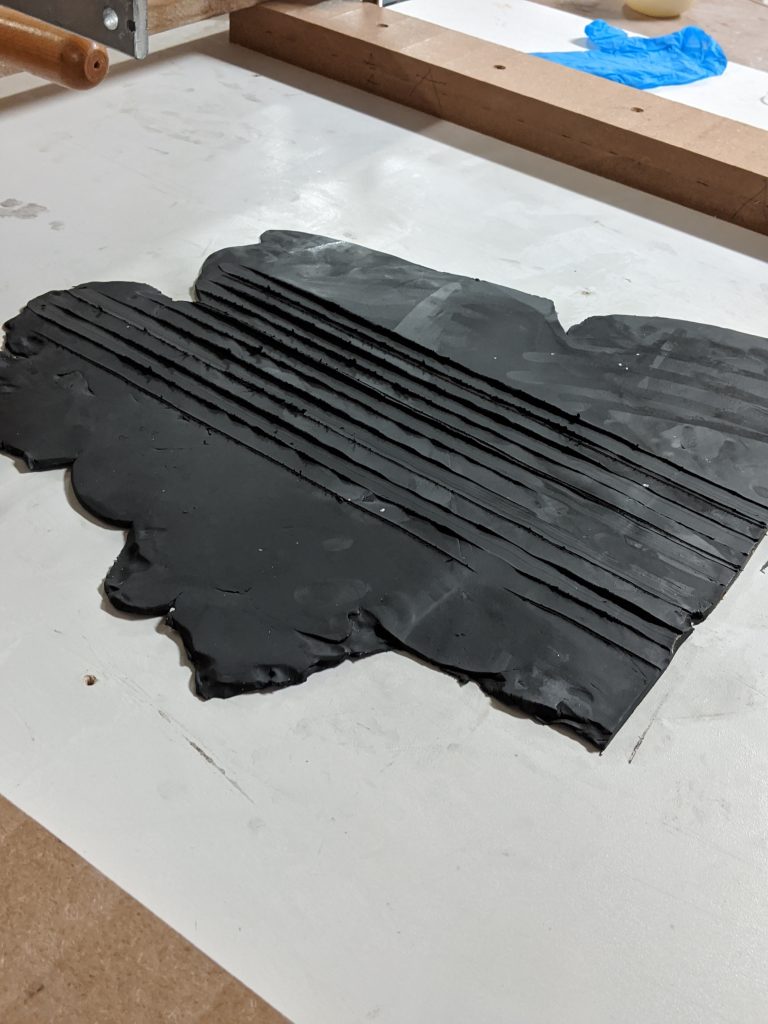
Fabrication process
We found the small mock-up to be successful but the black clay left too much black residue on the plaster. We switched back to white clay for the final tiles. For the final tiles we chose to use a different fabrication technique on each tile. We used the running mold to sketch on the clay surface of the first tile and used a stamp to create patterns on the second tile.
First tile
Use a running mold to sketch the clay surface
Sketched result and poured plaster
Sketched clay surface 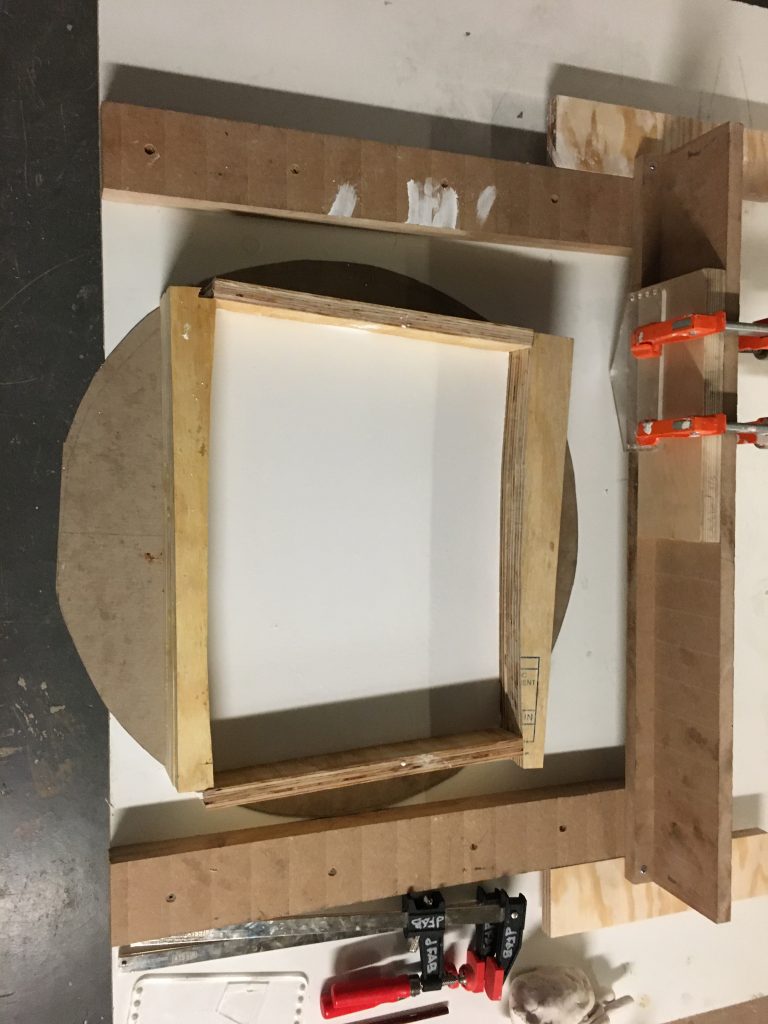
Plaster poured into the mold
Peel the plaster off
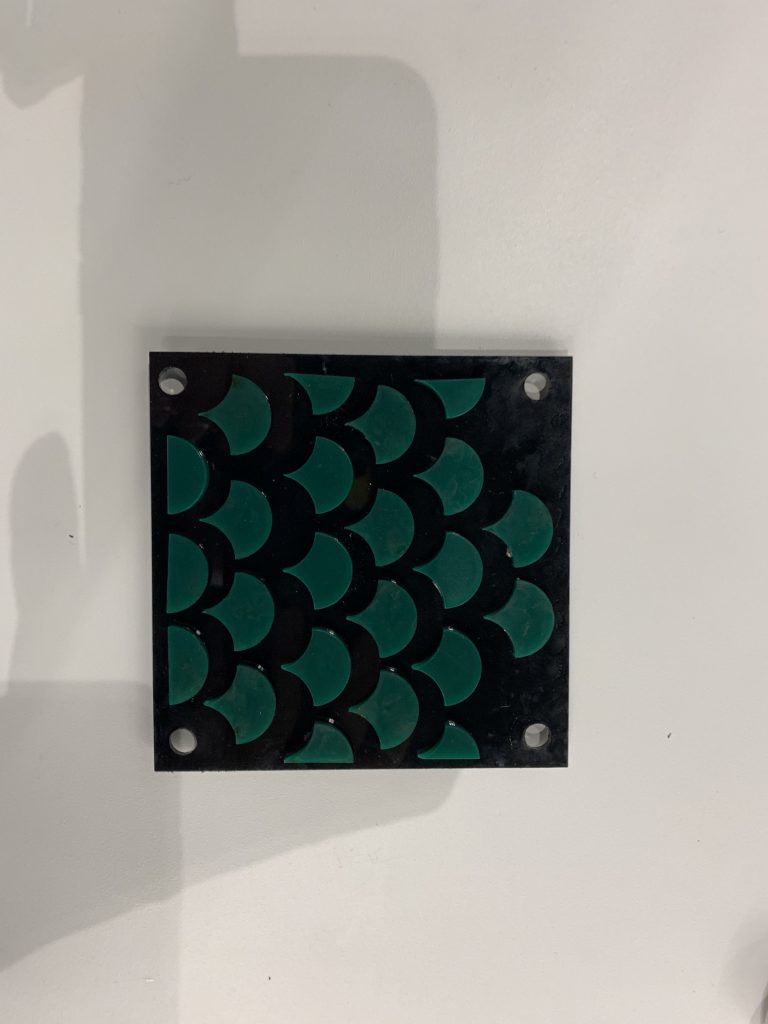
Second tile
Stamping tools
Stamping process and stamped result

We tilted the angle of the stamping for some parts to make a better artistic effect. The pouring plaster and peeling clay off parts are pretty similar to those of tile 1.
Result
We think the explorations of our design system were fruitful and have laid the groundwork for further explorations. The most obvious next step would be to use the actual robot to carve and stamp the substrate, along with explorations into digitally created marking paths and stamping patterns. Since large sheets of clay are time consuming and challenging to make, we should at least consider another substrate material. Finally, exploring faceted or curved sculptural shapes for connection with an armature could lead to interesting challenges and forms.