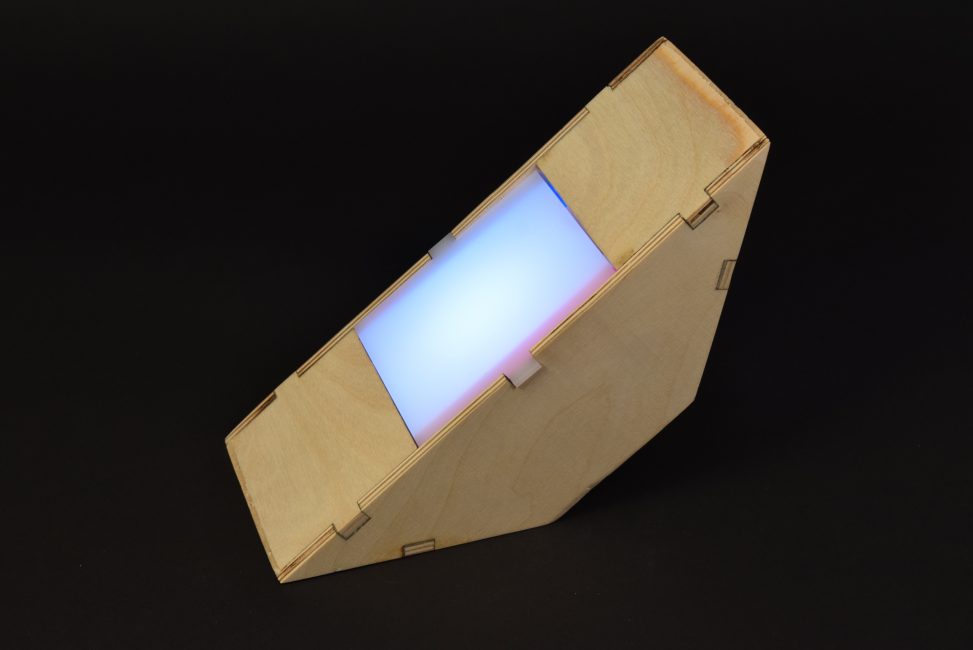
The Night Night Light is a responsive nightlight that radiates when tilted off of its typical axis.
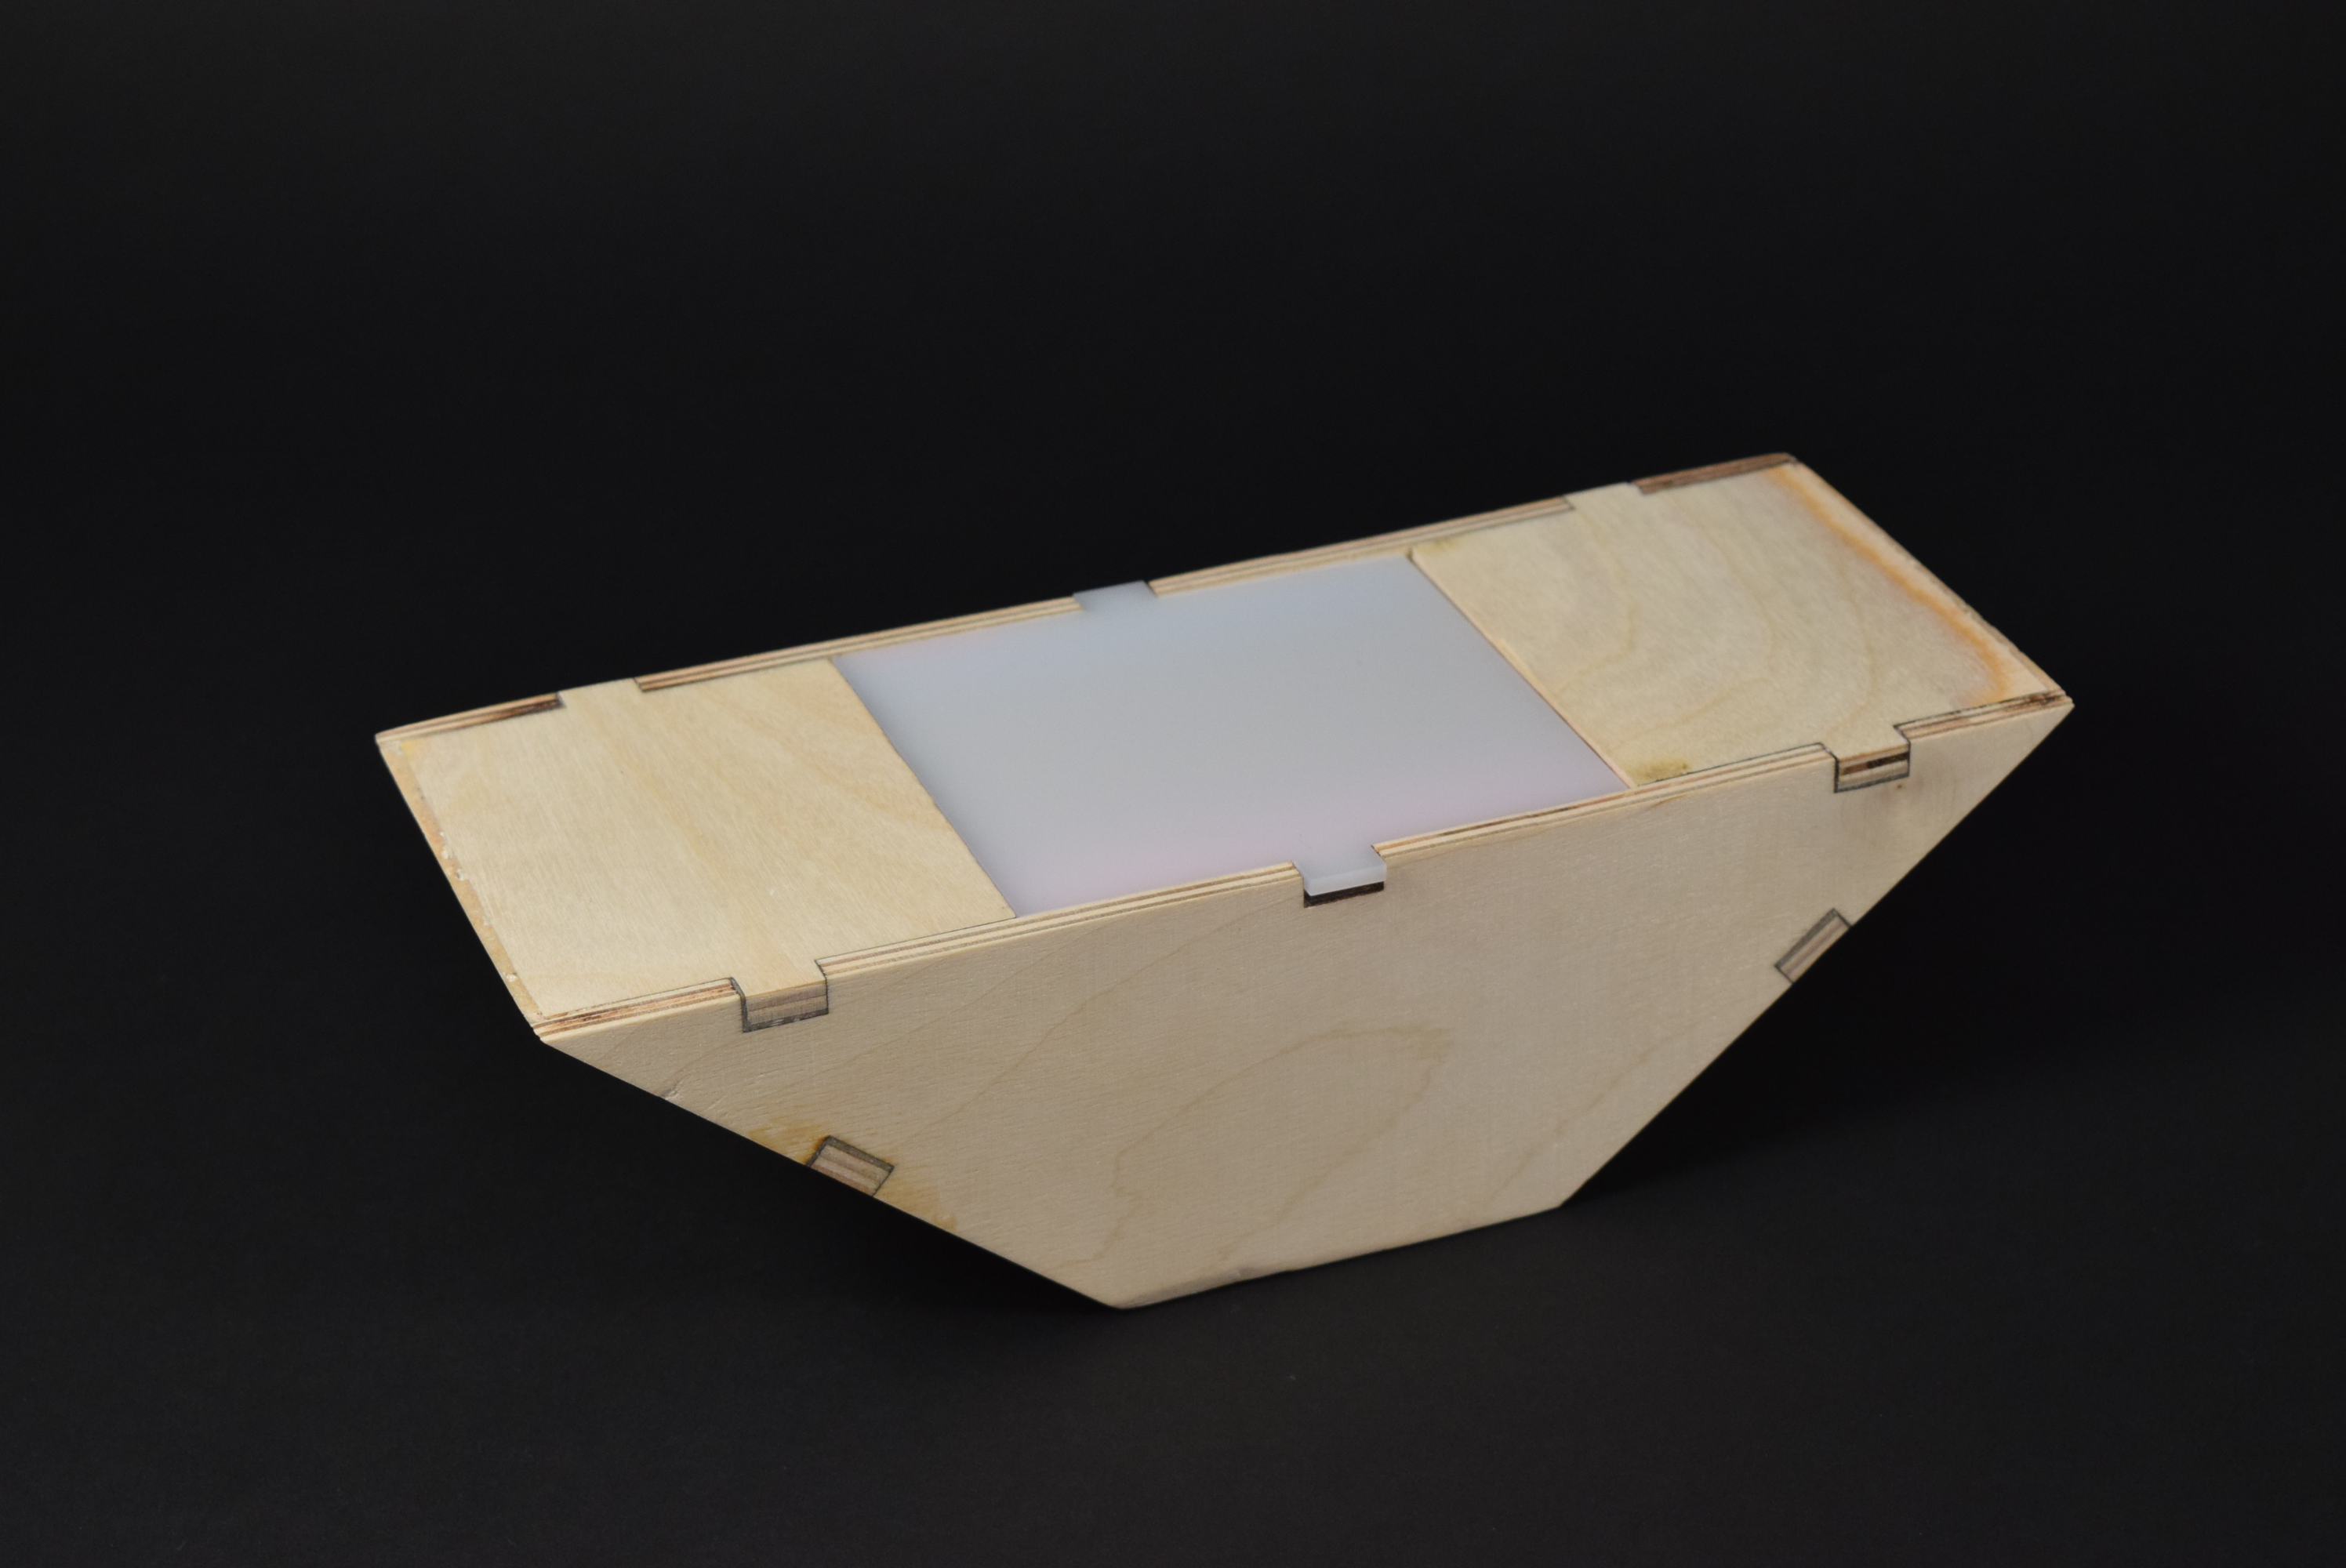
The Night Night Light sitting on it’s typical axis does not illuminate.
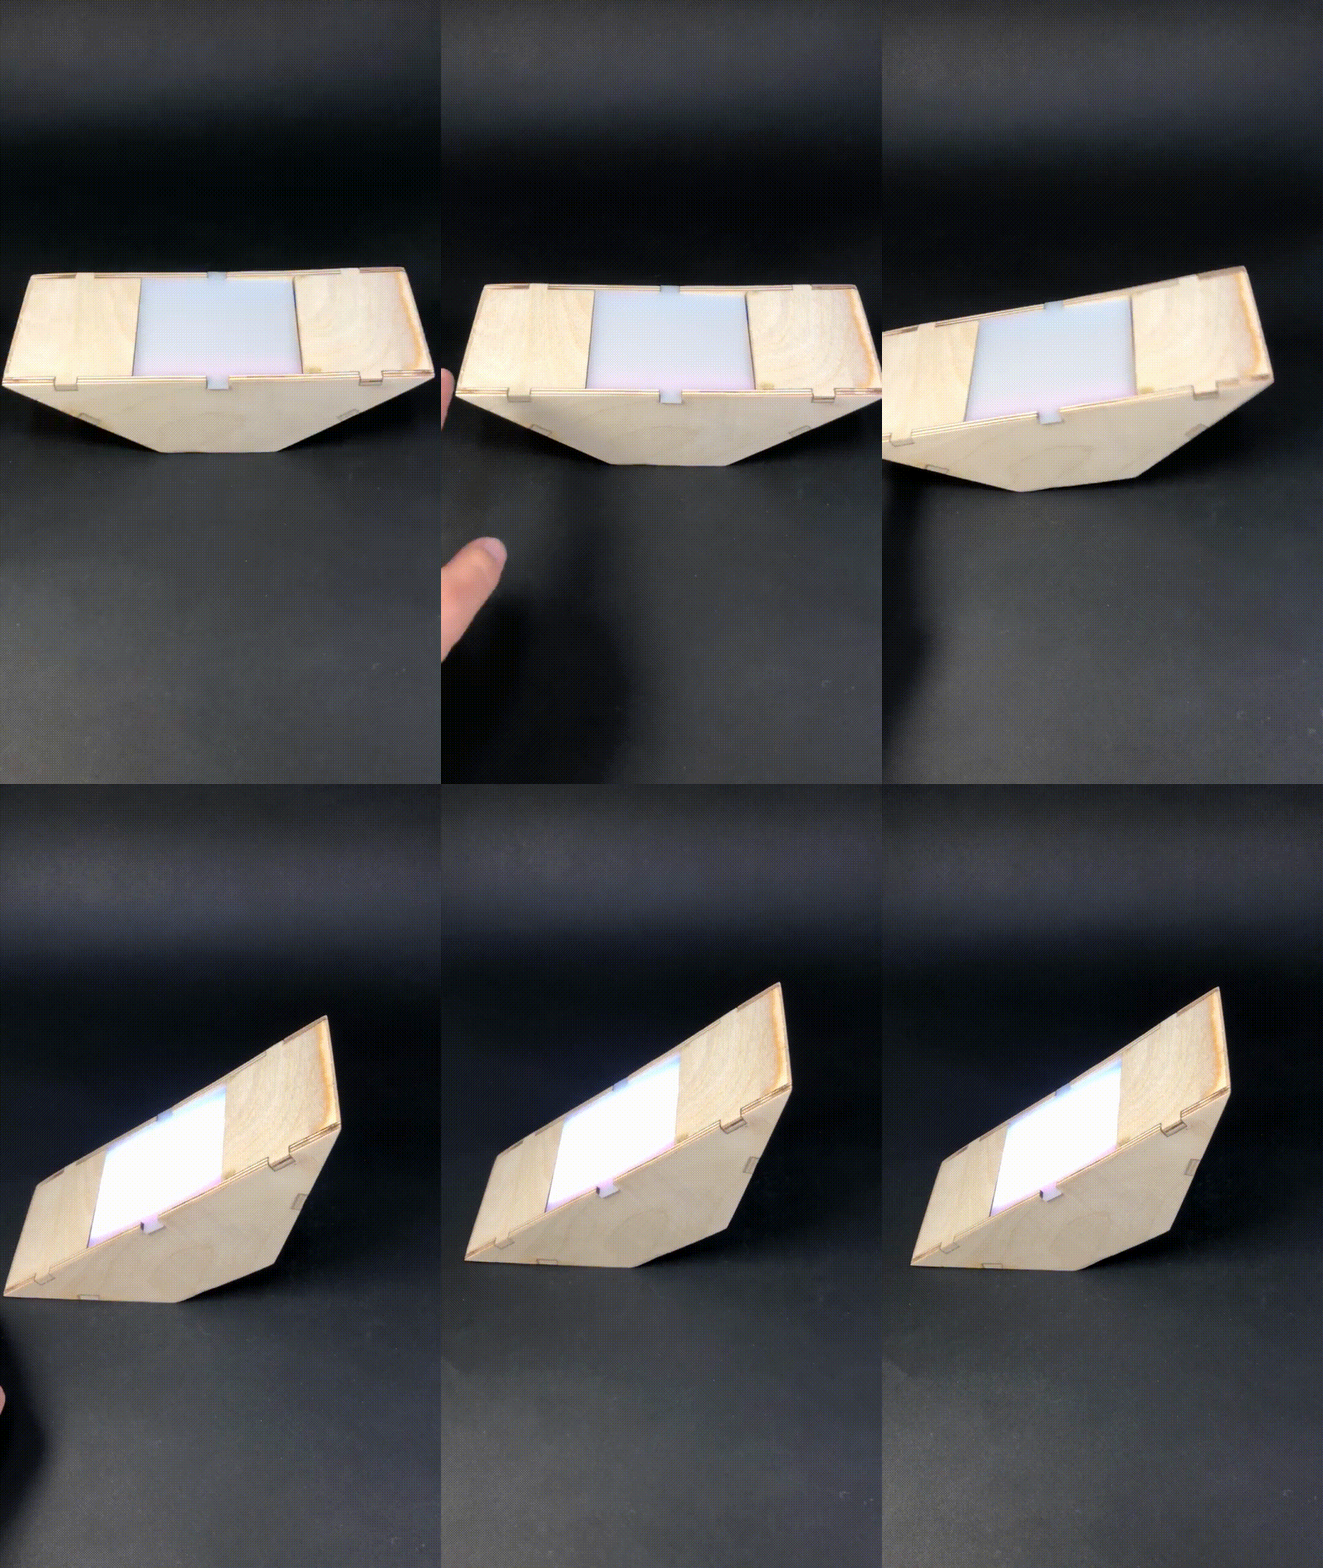

When tilted, the Night Night Light illuminates.
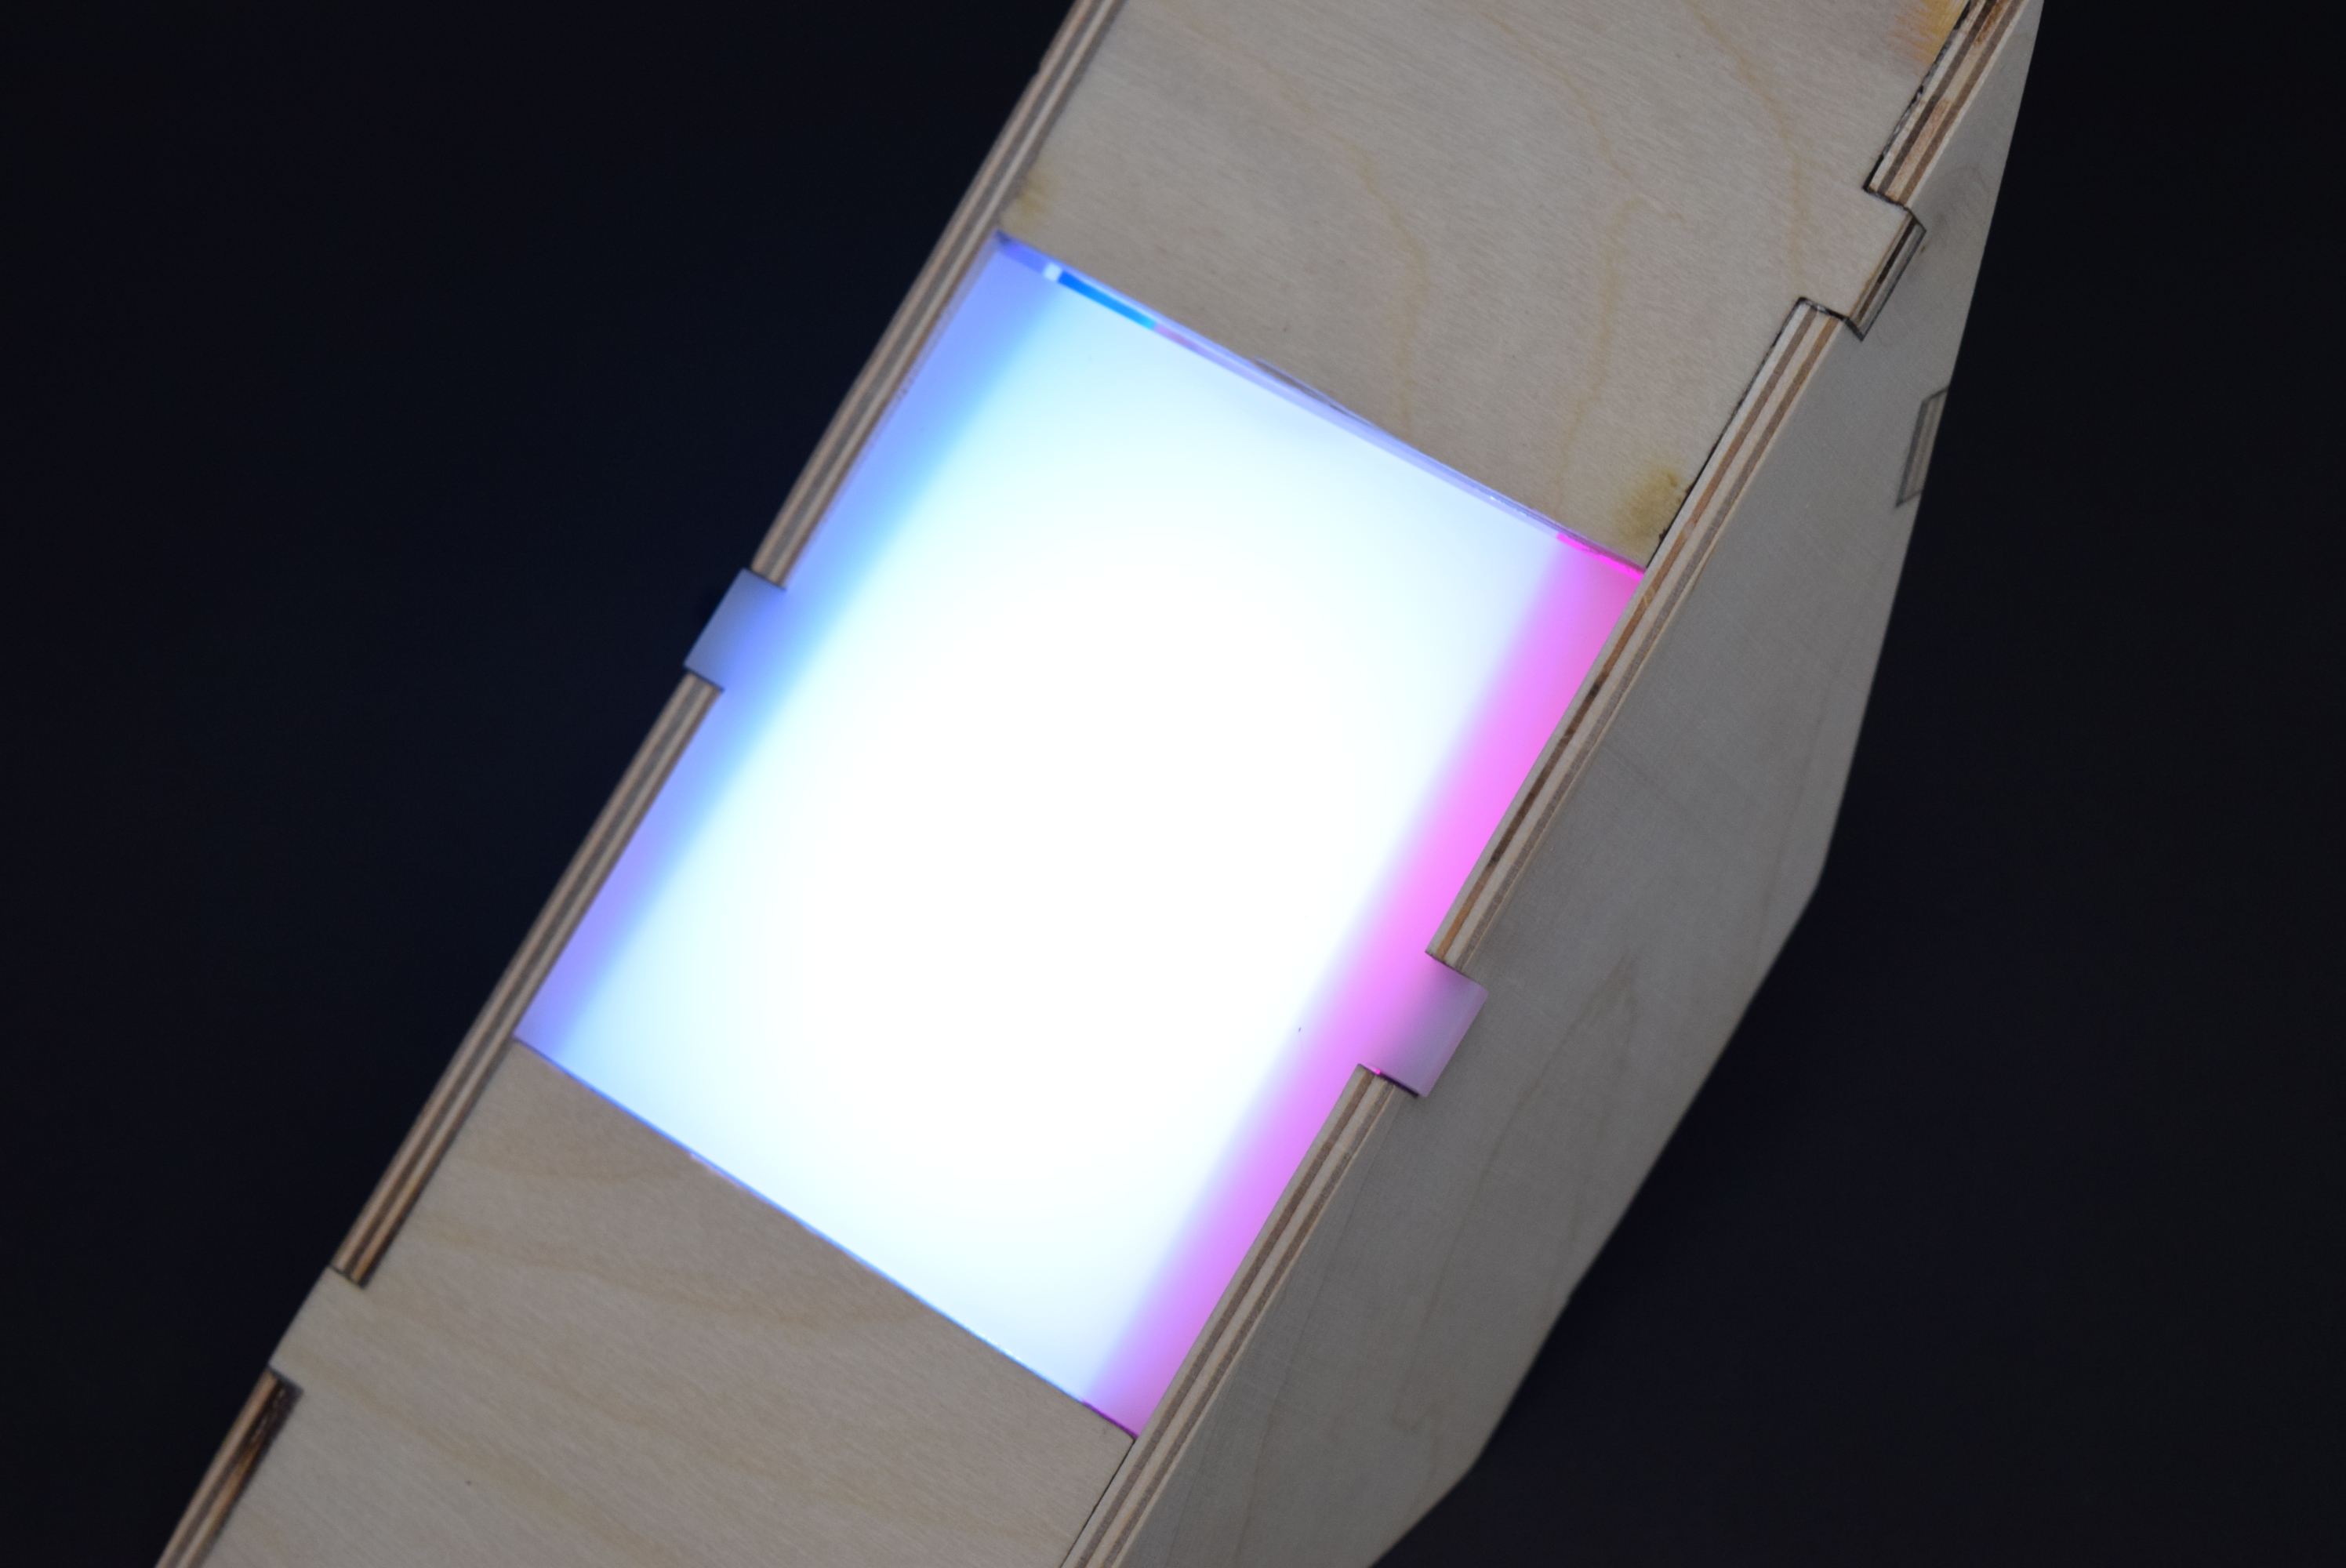
A close-up look at a radiant Night Night Light.
Process
The first major step I took in my process was to fabricate a prototype out of cardboard. This definitely paid off in giving me insight into size, shape, and interaction of my final project. Using cardboard was a cheap and efficient way to get a great feel for how people interacted with the project, as well as a reliable measurement for how I wanted my finished product to feel.
I am very proud of how the physical embodiment of my design finished. I think that after poorly executing the design, thus back-loading my fabrication process, I dug myself out of my own grave.

Using cardboard, I was able to prototype the light into a trapezoidal shape. I found the rotary cutter, which made this process much easier.
Fabricating a prototype out of cardboard gave me a platform to experiment with weighting the trapezoid, as well as test my code. For my code, I had to implement a debouncing algorithm that averaged the accelerometer over ten samples, thus smoothing any improper readings. In addition, this informed me that my final project would have to be wider to properly house the Arduino and other components.
Technically, I could have challenged myself more. I wish I had added a multi-color feature that could’ve cycled through a set list of colors. This could have flushed out my design more, and added another technical challenge. Additionally, this feature would provide more uses for the light in a commercial market.

After stapling and taping the trapezoid into shape, the prototype gave me a solid understanding of what a properly fabricated box should entail.
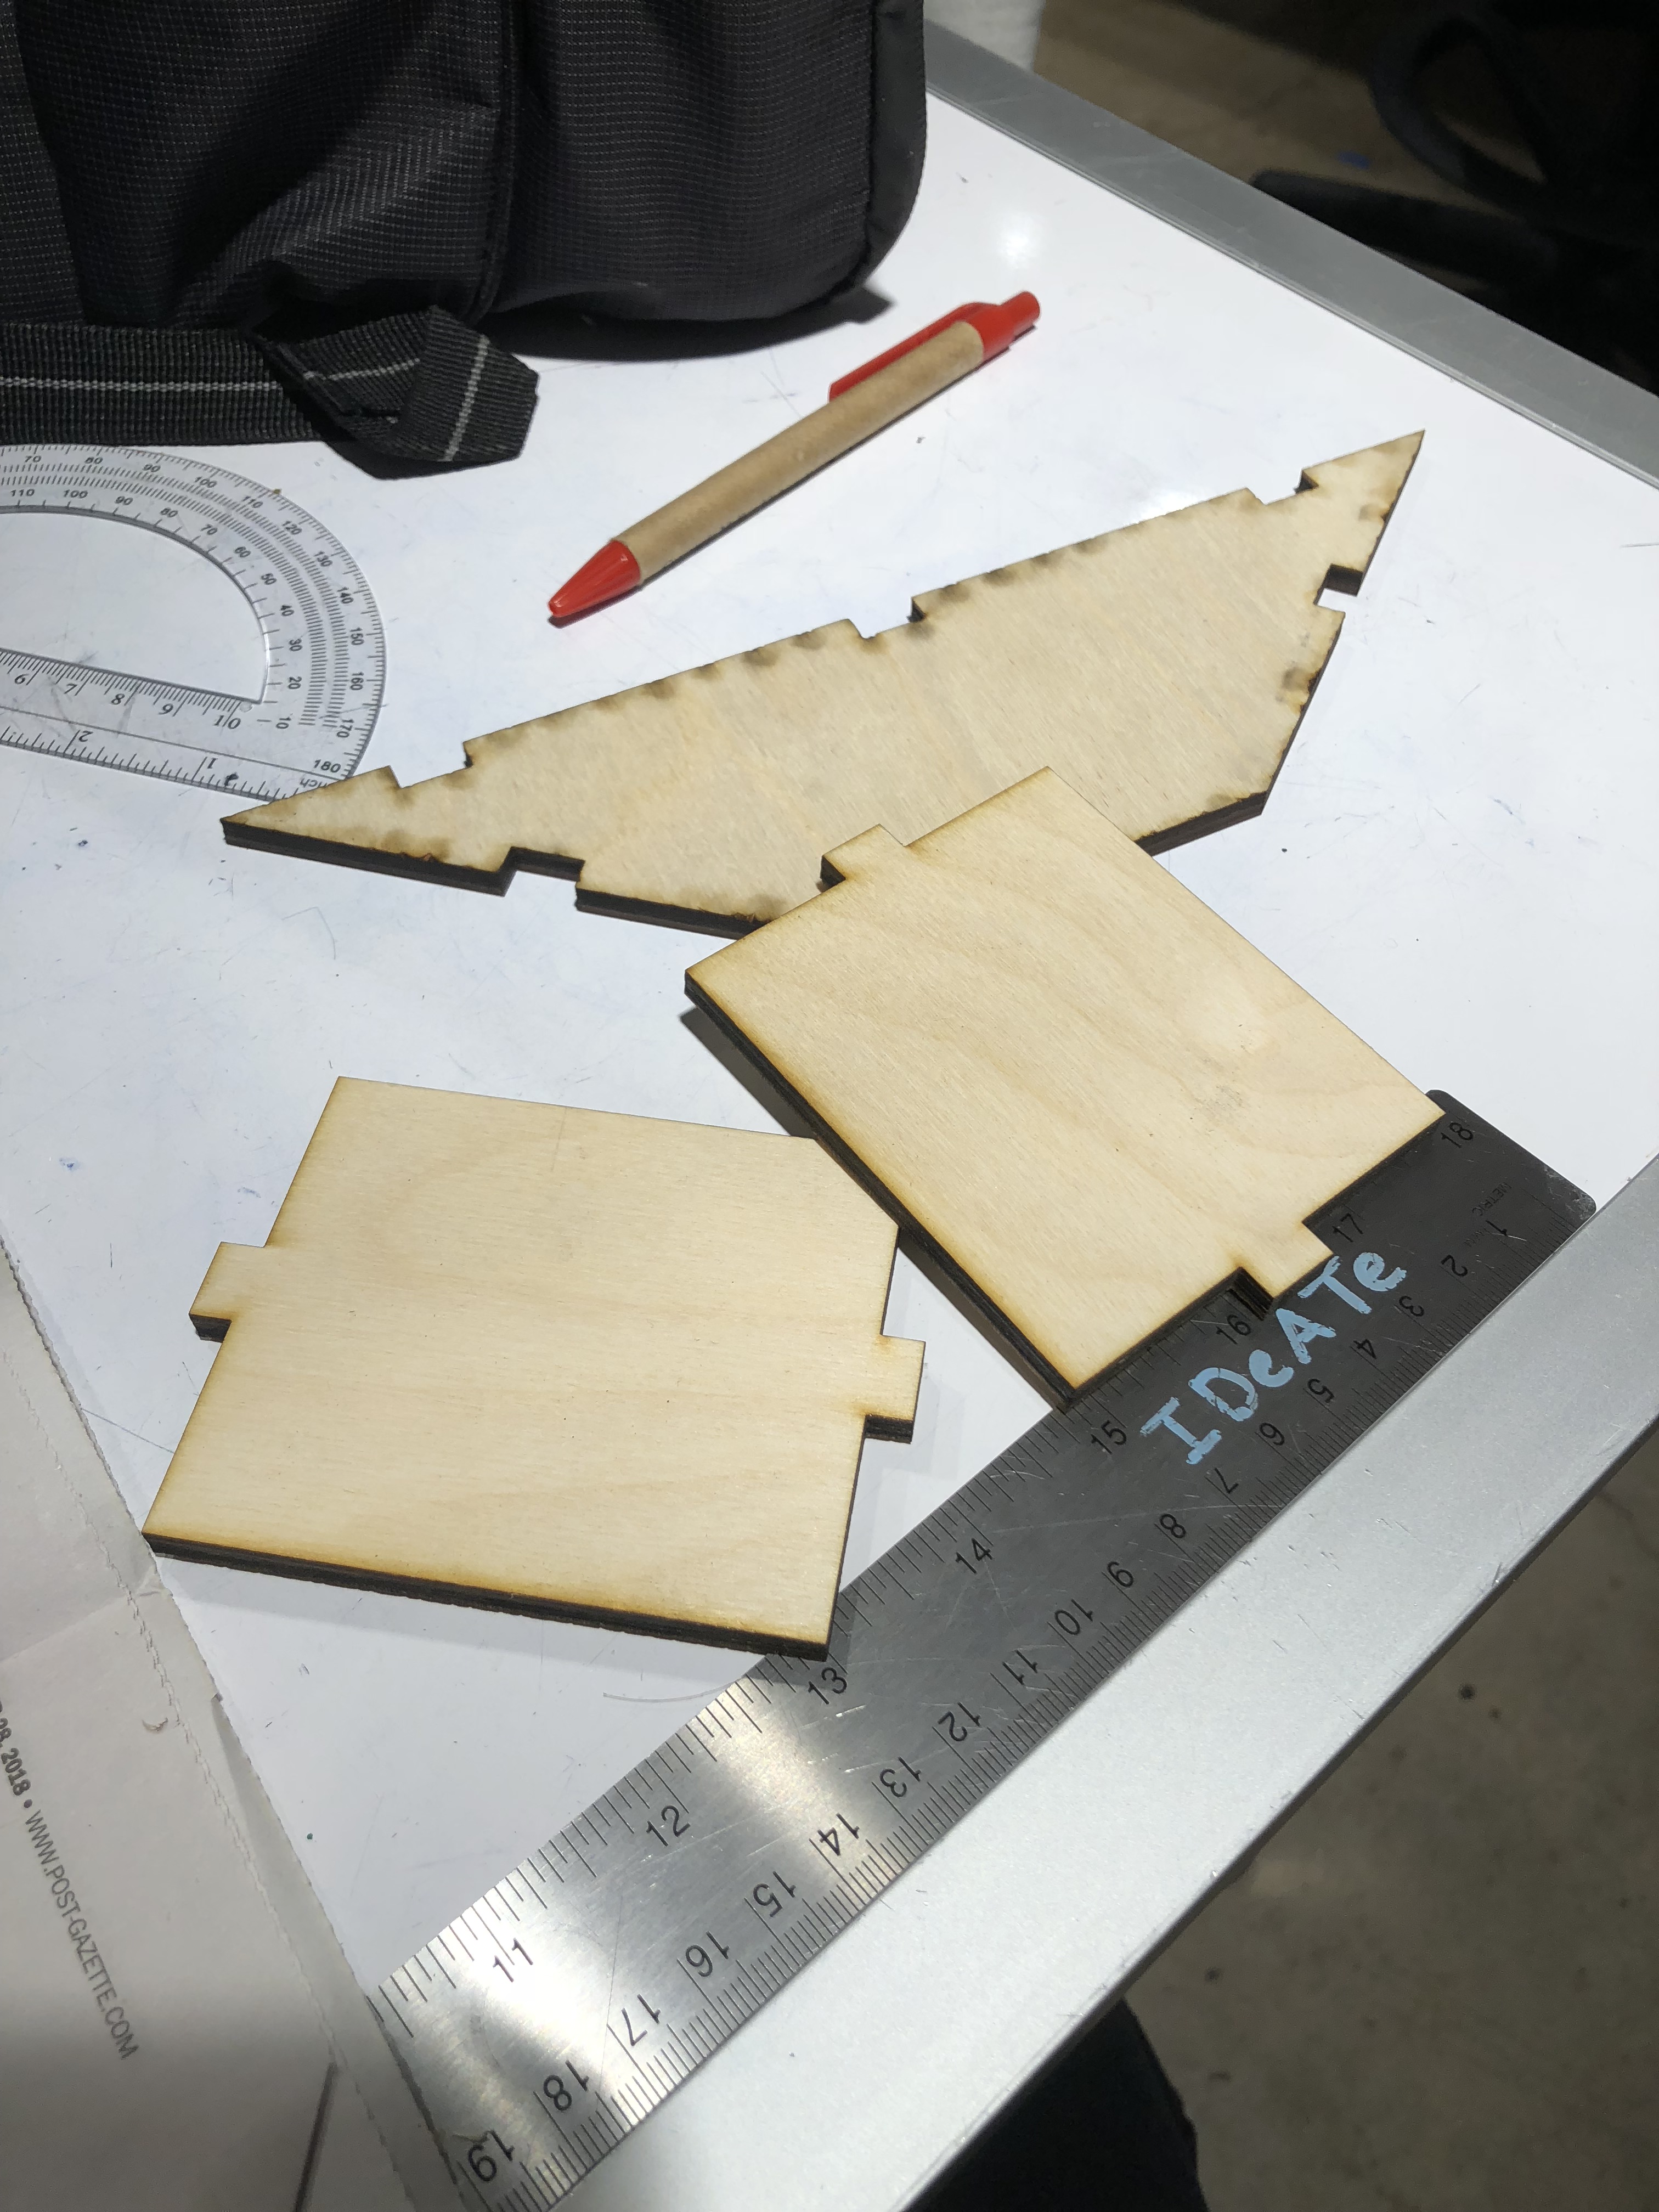
After drafting the trapezoid in AutoCAD, I attended the open fabrication hours to laser-cut the sides of my housing.
During my final fabrication, I used the below vises to hold the trapezoid together while letting the epoxy set. This seemed like a great idea at the time, but in the long run, created time-sucking issues because these vises promoted ill-formed joints. This resulted in me using a belt-sander to finish the joints and edges. Using the belt sander was a great idea, as it allowed me to smooth all of the ugly joins and epoxy that had seeped out, but also sand down the burn marks from the laser cutter. After using the belt sander, I went back with an orbital sander, and regular sandpaper to finish some of the edges, and really make the trapezoid stand out.

Using the clamps seemed like a great idea at the time, however, promoted ill-uniformed joints, which required sanding and finishing down the road.
While troubleshooting the weighting of the trapezoid, I was having issues with the shape staying tilted. To solve this, I devised a device that would have transferrable weighting. Thus, when the trapezoid is tilted, the weights shift to the down side, holding the trapezoid down. This weight-shifting ballast was a straw with it’s ends cramped, filled with steel bearings. These bearing were the perfect size, as they only fit one wide in the straw, and slide beautifully through the straw.
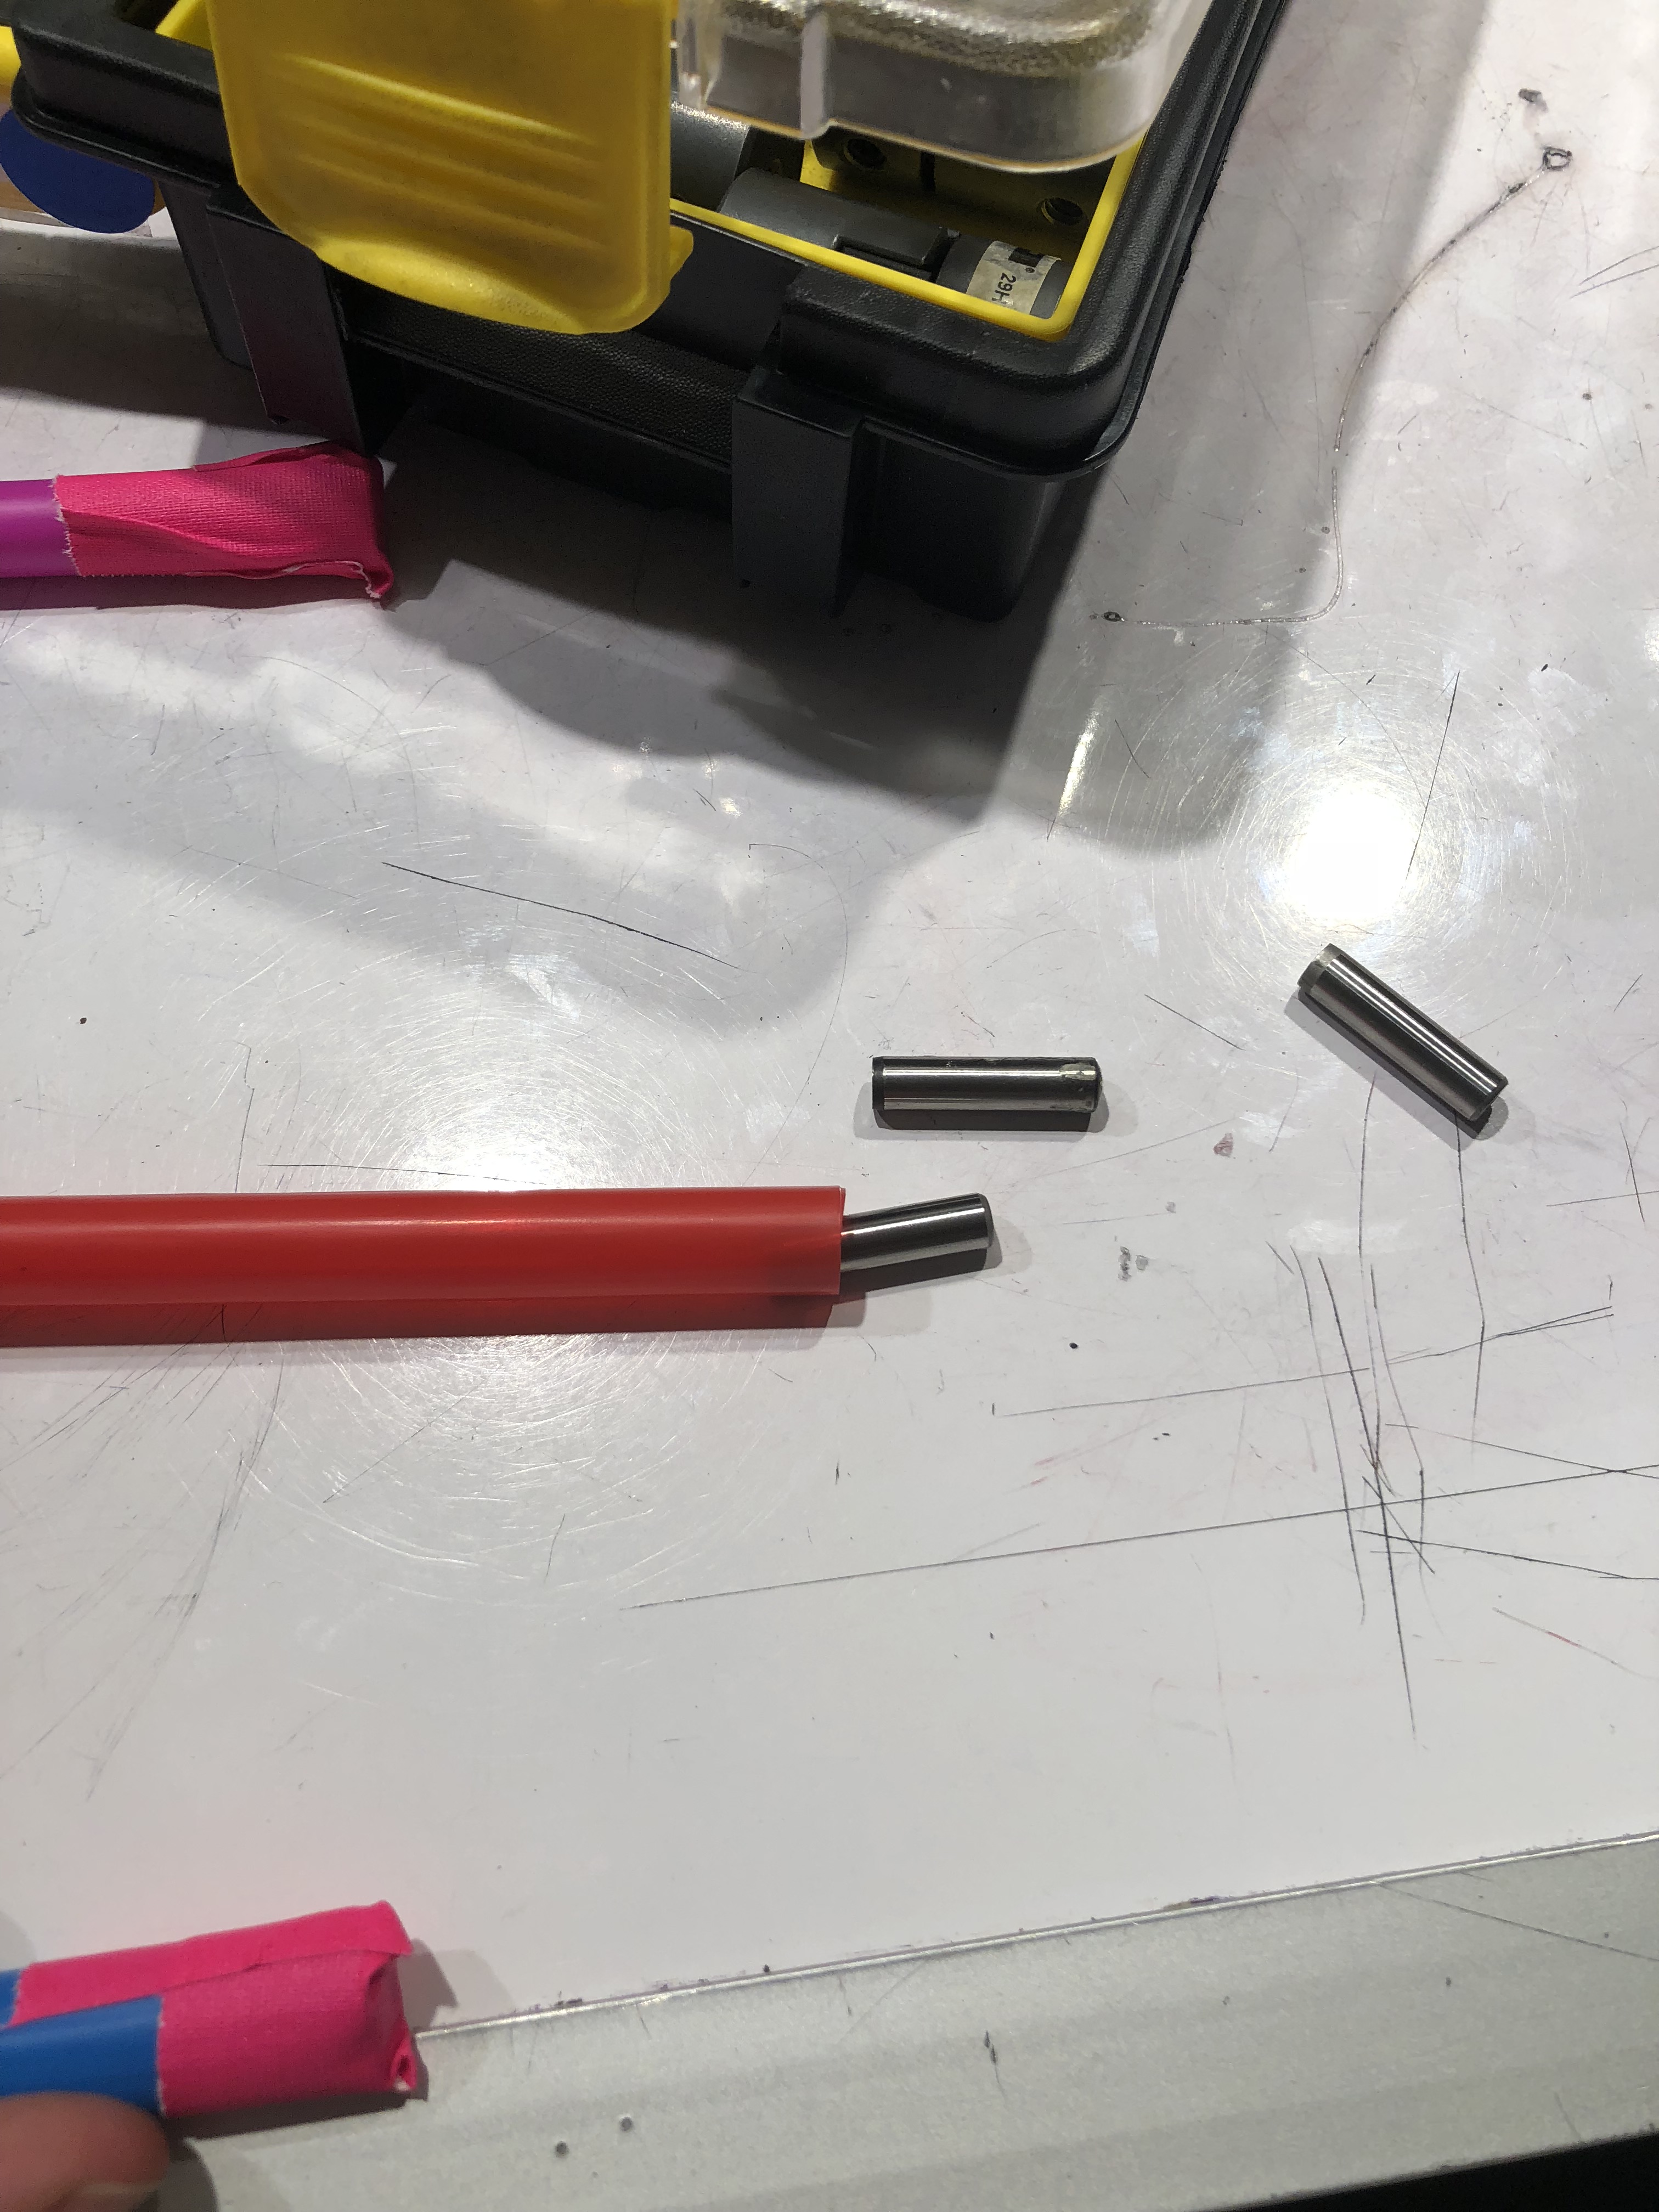
These straws allowed small weighted items to slide freely, depending on the tilt of the trapezoid. This permitted the weight to shift, and keep the trapezoid on it’s tilted side.
Discussion
While presenting my final project, I was lucky enough to receive written feedback from multiple classmates. Some of these critiques have sparked really interesting thoughts, while others have solidified my own self-critique.
“I would like to have more choices of the color.”
I think this is a great idea, and could’ve been easily integrated into the design. For example, I could have had a cycle of colors, that rotated with every tilt, therefore, with every tilt, you would have a new color out of a four-color set. A four-color set, would not only provide options for the user, but also promote interaction with the object, which in turn would make the object more integratabtle, and popular. Attracting people to interact with the light could deem really useful if a device like this were to go to market.
“I like the idea, although the light is not strong enough for me.”
Reflecting on my design, I wish had incorporated another light to provide more lumens. I love the LED strip I used, I just wish maybe I had added another one to provide more lumens, which could’ve resulted in additional uses for the light. As the light exists now, the light is truly only for ambience, while additional lumens could increase the Night Night Light‘s as practicality as a household accessory for reading, working, and more.
I am very proud of how the physical embodiment of my design finished. I think that after poorly executing the design, thus back-loading my fabrication process, I dug myself out of my own grave. Through belt-sanding and handheld sanding, I brought my fabrication to an acceptable level. To help fill the gaps and angles of the trapezoid I took sawdust from my sanding process, and mixed the sawdust into my epoxy. This allowed me to fill any gaps, that would in turn be sanded down, and match the wood color thanks to the sawdust in the epoxy.
Technically, I could have challenged myself more. I wish I had added a multi-color feature that could’ve cycled through a set list of colors. This could have flushed out my design more, and added another technical challenge. Additionally, this feature would provide more uses for the light in a commercial market. On one hand, I’m disappointed that I did not challenge myself more technically, however, the problem that I set out to solve, was fully solved by a robust product, that could fit well into an interior design. In conclusion, although not extremely technically advanced, I am very satisfied with how I solved the issue on hand.
Fabricating the trapezoid revealed itself as much more difficult than I had imagined. After my initial laser-cutting of the sides I realized that I had not accounted for the angles where the joints meet. This caused me to use a belt-sander to sand down the wood. In addition, during fabrication, I mis-clamped my project resulting in very ugly joints. To amend this, I used a belt sander, an orbital sander, and regular sandpaper to smooth the finish of the trapezoid.
I do not plan on making another iteration of this project, however, I do hope to be challenged again with the fabrication of my next project. If I were to make another iteration, I would design my laser-cut pieces more carefully, as well as incorporate more colors of lights. With both of these improvement, as well as mineral oil on the body of the trapezoid, I believe that I would have an end product that would be very approachable and attractive in a commercial market.
/*
 * Project 2 / Night Night Light
 * Joey Santillo (Jsantil1)
 *      This code processes the accelerometer data and determines whether a light should be on or off.
 *    One direction has a warm light, the other, a slightly cooler light. The accelerometer data is examined and averaged over
 *    ten samples to try and debounce false readings.
 *      The setup for the AdaFruit Pixel was provided by AdaFruit.
 *      No rights reserved.
 *      2018, October 22. Arduino Uno.
 */

#include <Adafruit_NeoPixel.h> // Copy & Pasted from NeoPixel help file.
#ifdef __AVR__
#include <avr/power.h>
#endif


int NUMPIXELS = 8;
int LIGHTPIN = 13;
int XCord = A0;

Adafruit_NeoPixel pixels = Adafruit_NeoPixel(NUMPIXELS, LIGHTPIN, NEO_GRB + NEO_KHZ800);

void setup() {
  // put your setup code here, to run once:
  Serial.begin(9600);
  pinMode(XCord, INPUT);
  pixels.begin();
  }

void loop() {
  // The below code is averaging accellerometer data over 10 samples as a debouncing method.
  int xVals = 0;
  for(int i=0; i<10; i++){
    xVals += analogRead(XCord);
  }
  float xVal = xVals / 10.0;
  Serial.print("xVal = ");
  Serial.println(xVal);


  // If the light is tilted one way, turn a light on.
  if (xVal <= 295) {
    for(int i=0; i<NUMPIXELS; i++){
        // pixels.Color takes RGB values, from 0,0,0 up to 255,255,255
        pixels.setPixelColor(i, pixels.Color(245, 240, 217)); // Determine LED color.

        pixels.show(); // This sends the updated pixel color to the hardware.
        }
    }

  // If the light is tilted the other way, a different tone.
    else if (xVal >= 350) {
      for(int i=0; i<NUMPIXELS; i++){
      // pixels.Color takes RGB values, from 0,0,0 up to 255,255,255
        pixels.setPixelColor(i, pixels.Color(201, 138, 30)); // Determine LED color.

        pixels.show(); // This sends the updated pixel color to the hardware.
        }
      }
    else {
      // Turn LED's off.
      for(int i=0; i<NUMPIXELS; i++){
        // pixels.Color takes RGB values, from 0,0,0 up to 255,255,255
        pixels.setPixelColor(i, pixels.Color(0, 0, 0)); // LED off values.

        pixels.show(); // This sends the updated pixel color to the hardware.
        }
      }
}
Leave a Reply
You must be logged in to post a comment.