
Introduction:
The product design process is iterative and fluid. Ideas must be created, tested, and, most importantly, the opinions of the person the device is being made for should be taken into account. On this note, we created a prototype that would show how our device would work, and met with Enrique. We wanted to see what his opinion of our direction was and how the device would work with him using it. You can read about our initial meeting with Enrique here: https://courses.ideate.cmu.edu/60-223/s2018/work/initial-meeting-documentation/
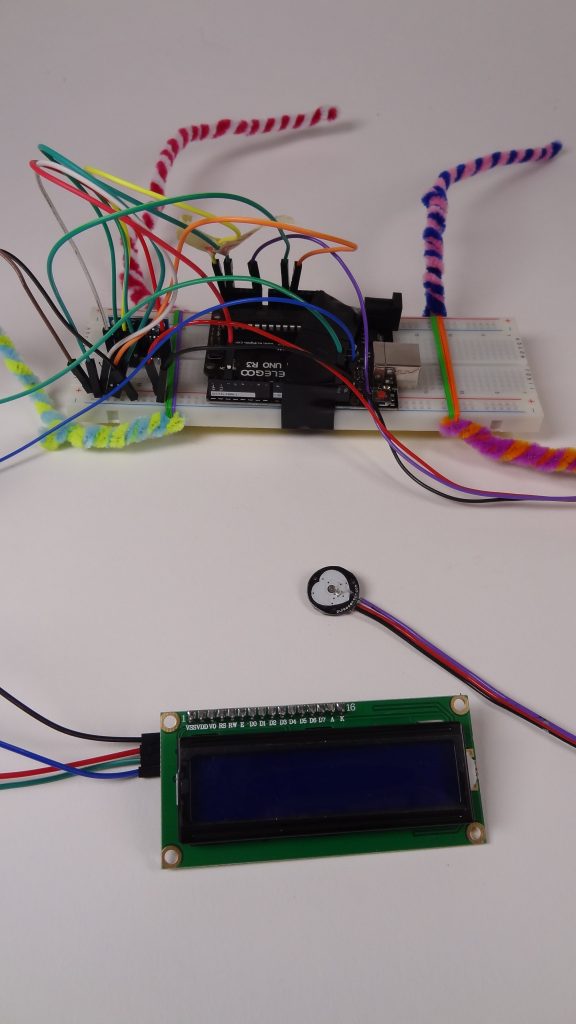
Behaves like prototype: Arduino with breadboard and pipe cleaners to attach to belt loops, pulse sensor, and LCD
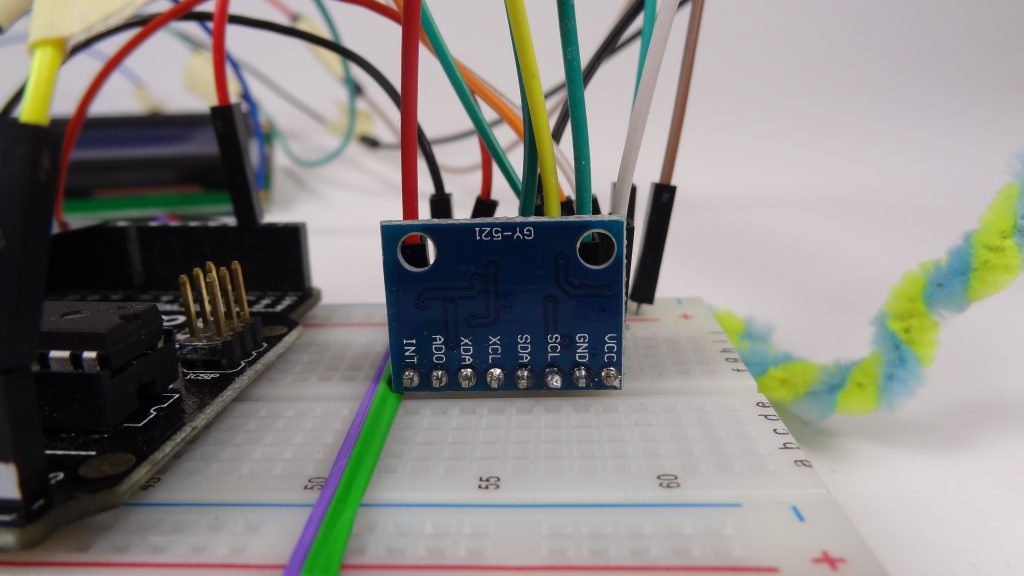
Close up of the accelerometer
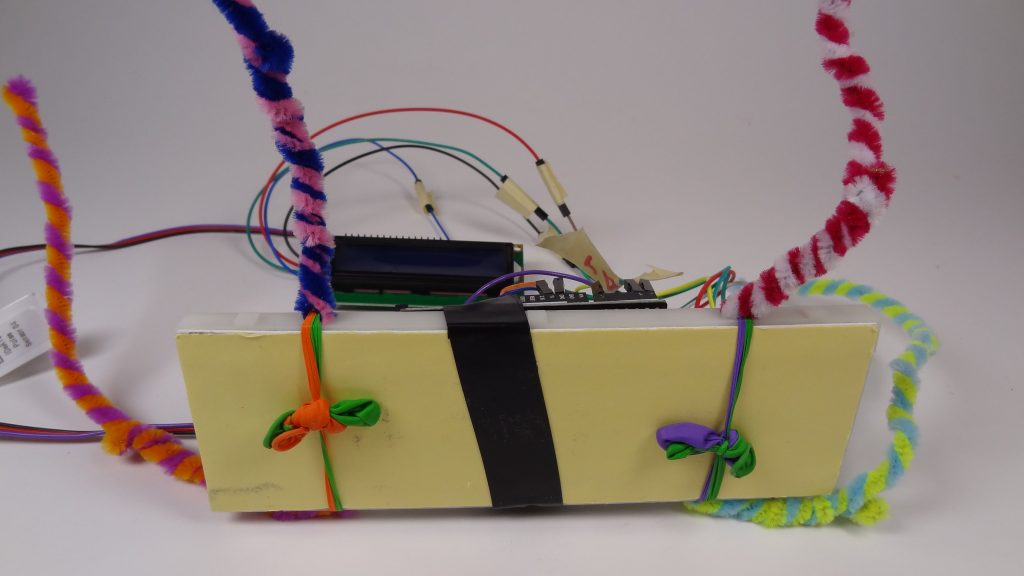
Pipe cleaners were attached to the bread board with water balloons
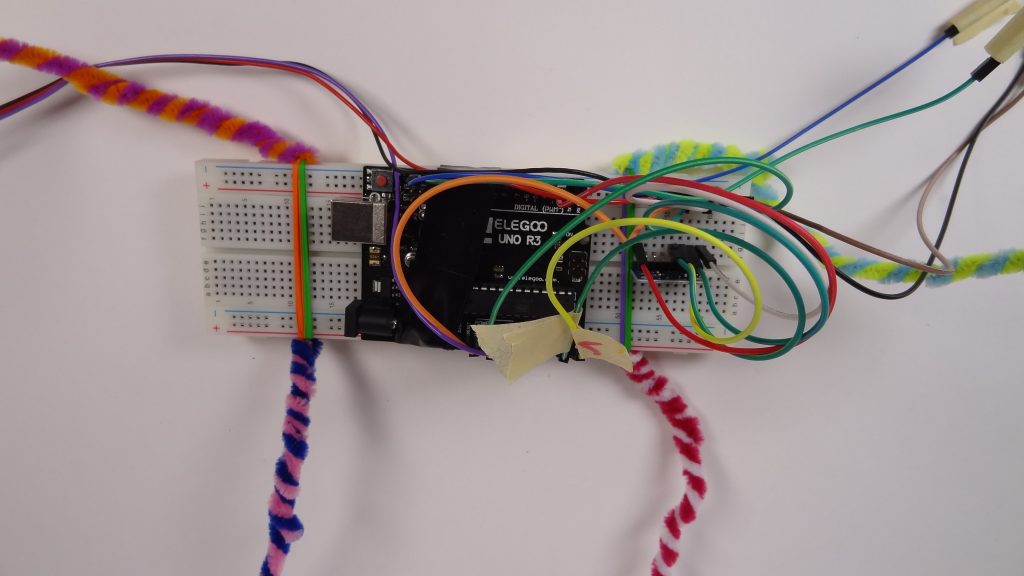
Setup showing the accelerometer and Arduino taped to the breadboard
Paragraph 2: What It Does
After talking with Enrique, we found that for him, and many older individuals, being motivated to exercise is very difficult. There are many reasons for this including, but not limited to, exercising not being particularly fun for them and not knowing what to do other than some basic motions like walking. We decided to tackle this issue. Our device will be a fitness planner and tracker. The prototype we presented during the mid-way meeting focused on the tracking aspect of the final device. It attached to the belt or pants pocket of the user and would track how many steps they took. It would display the number on a screen and would show a progress bar filling up as they got closer to the goal. The prototype also tracked the users heart rate using a common medical device called a pulse oximeter. This shines a light at a person’s skin to read their heart rate. The prototype displayed the user’s heart rate by blinking an LED along with the heart beat. The prototype was made to test how well the step tracker worked, how consistent the pulse reader was, and how comfortable it would be to wear on one’s hip.
Though not the final design, the prototype could be used by tying some pipe cleaners around the user’s belt or pocket and plugging the Arduino into a computer to power it. Once plugged in, the prototype will track steps and display everything automatically (the step goal was preset for the prototype, but the final device will have a step goal that the device chooses). The pulse oximeter could be used by pressing the pulse oximeter light (a round pad with a heart on it) against the users finger. This will automatically read the user’s pulse.
Brainstorming what we should incorporate into our device in terms of physical requirements translated into functional specs, and how our gizmo could provide motivation.
Testing out the 3 axis accelerometer with gyroscope
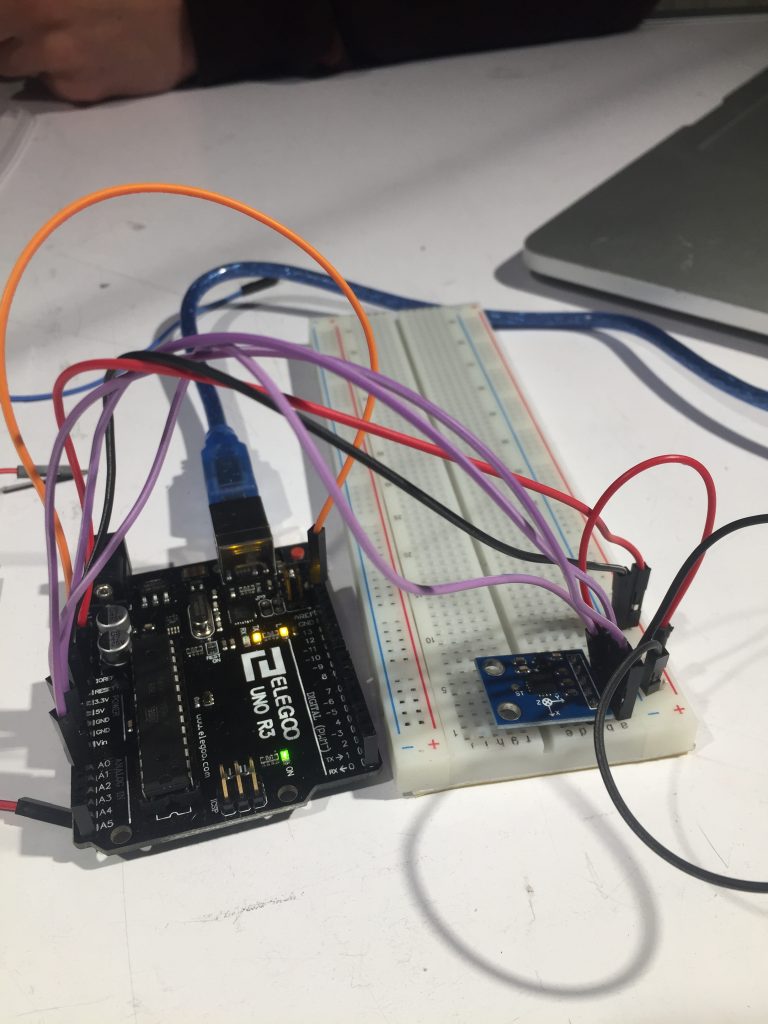
Testing out a 3 axis accelerometer (no gyroscope)
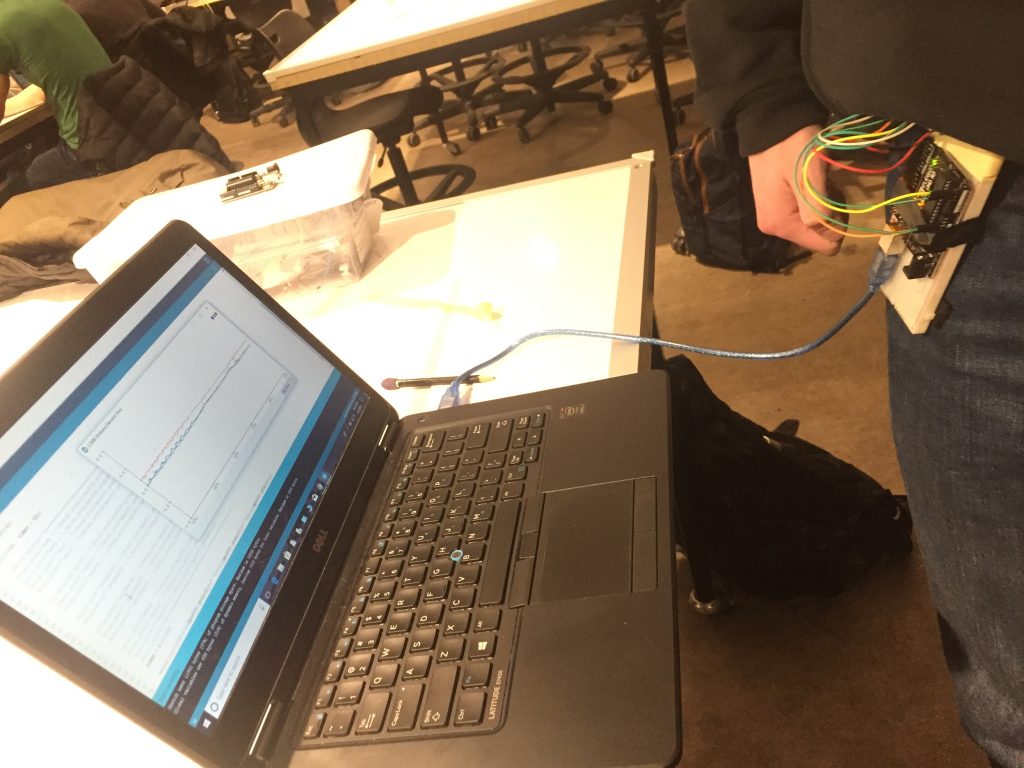
Testing the sensitivity of the 3 axis accelerometer with gyroscope on the hip. The breadboard was taped to Matt’s belt loop.
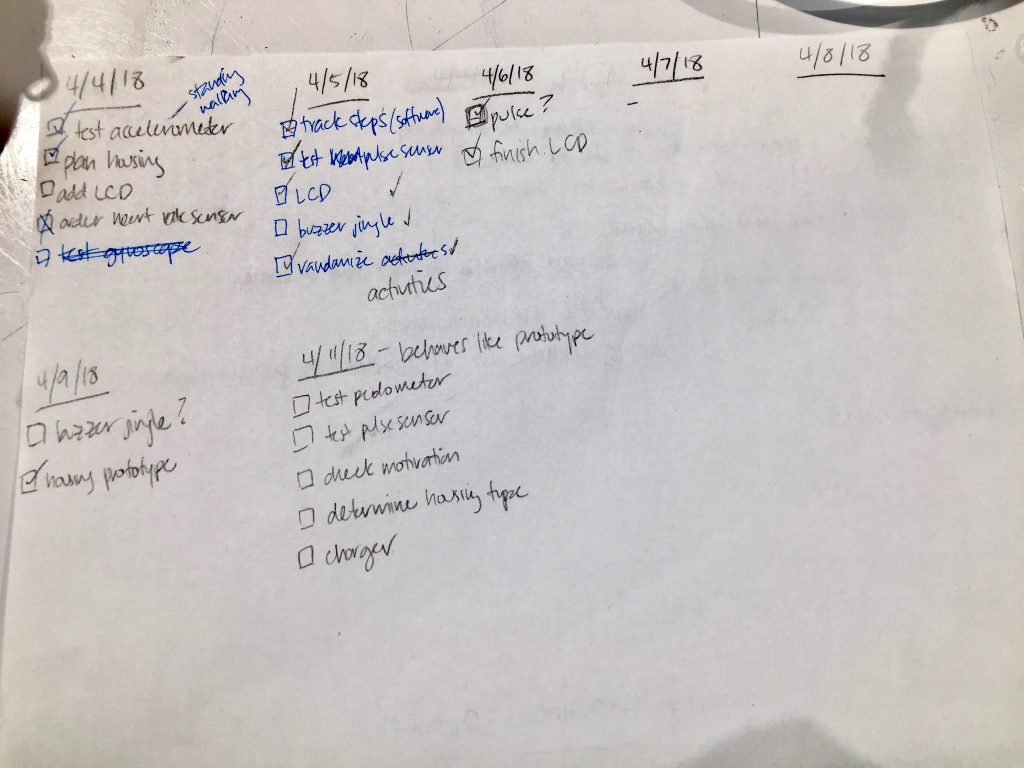
Checklist we used to keep track of tasks
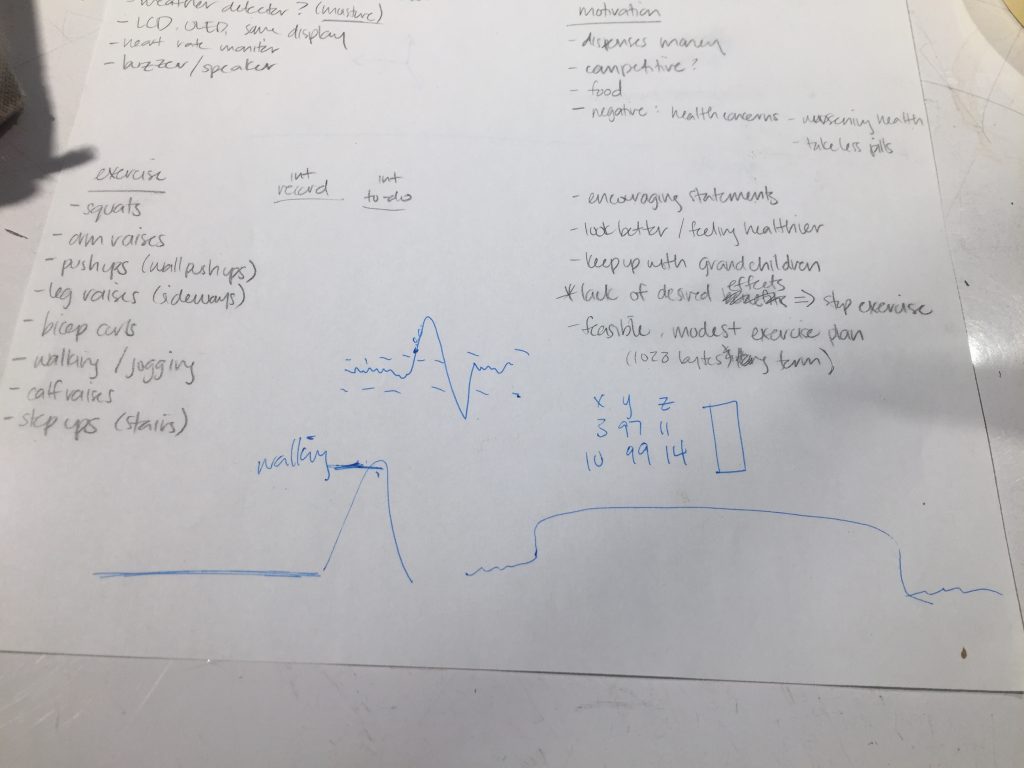
Picture of our notes when we were trying to figure out how to calibrate the accelerometer
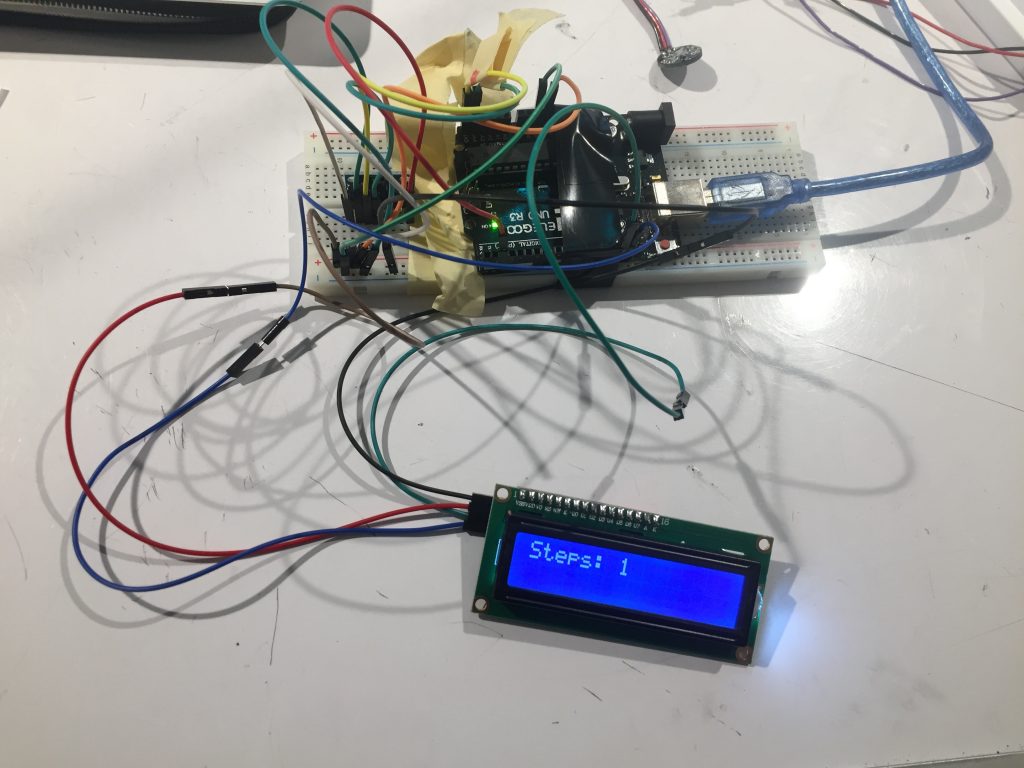
The prototype after adding an LCD to show the steps taken and a progress bar
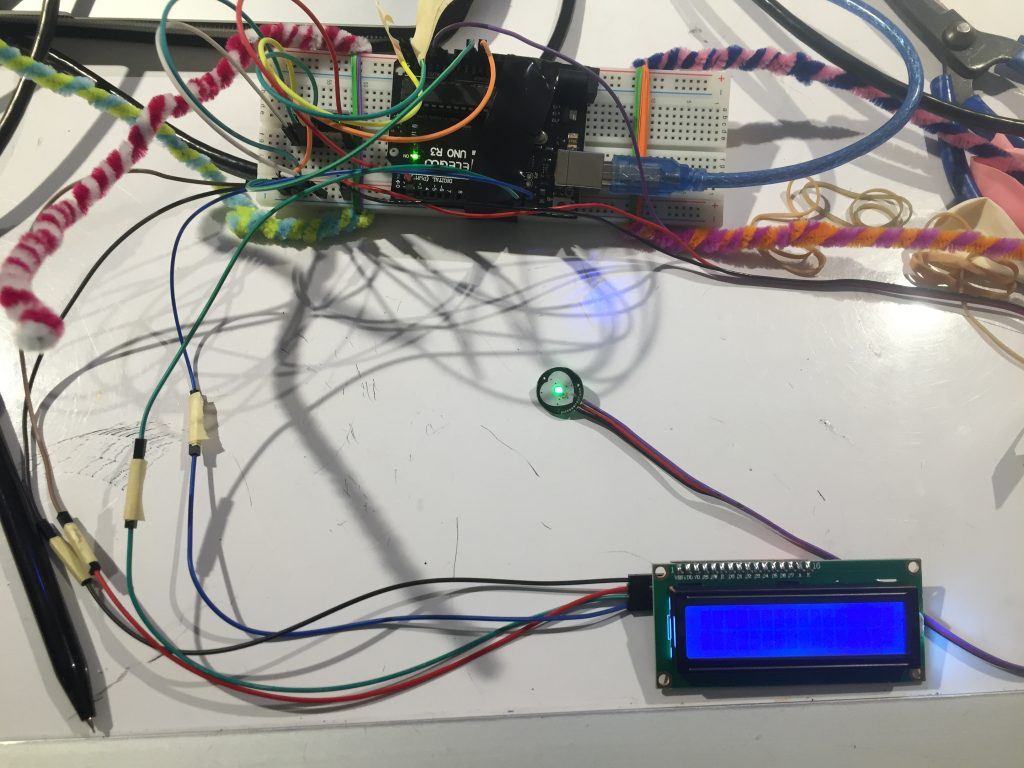
The prototype after adding the pulse sensor, which was very sensitive and may be taken out of the final gizmo
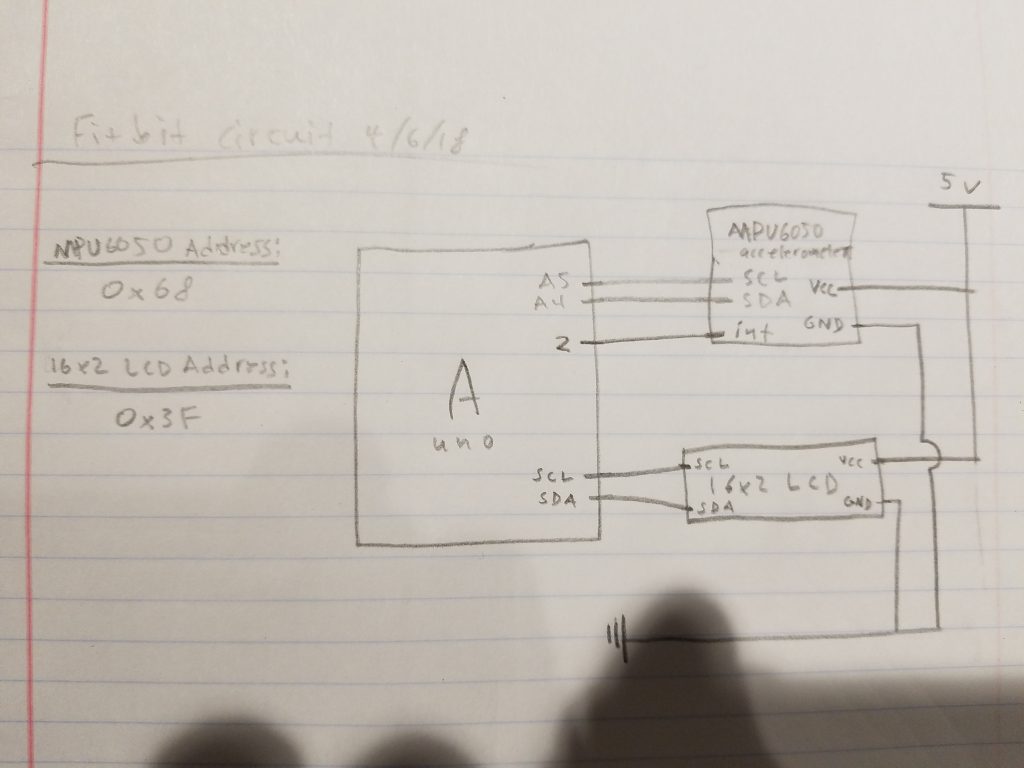
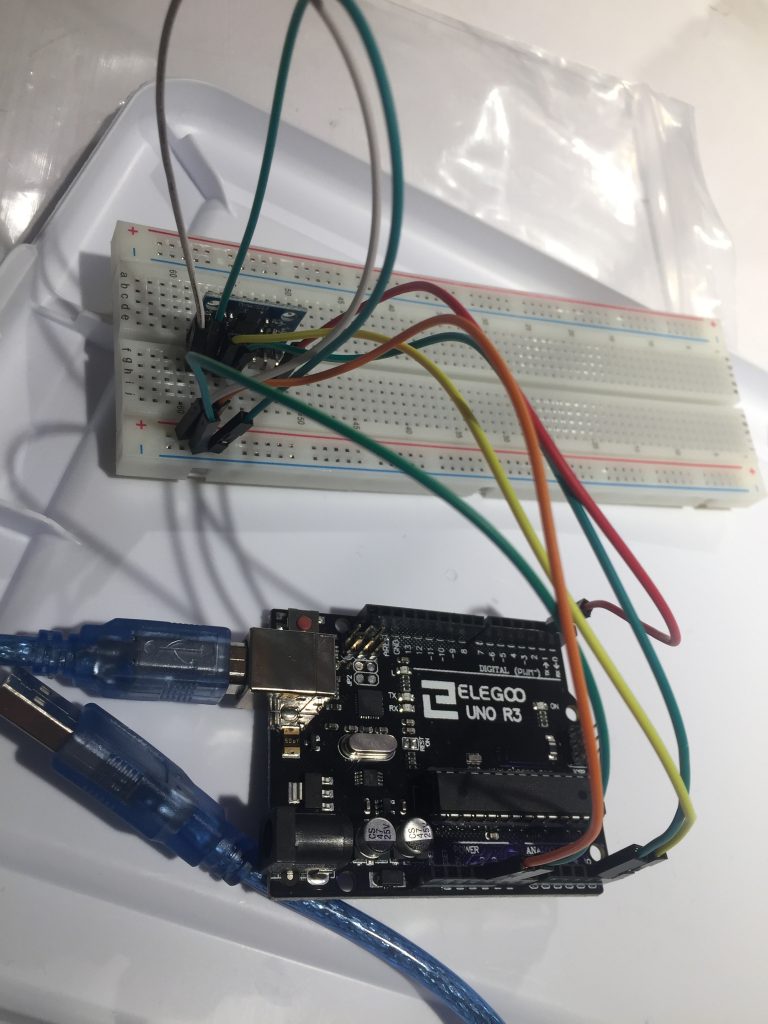
Circuit for the accelerometer and LCD
Major Challenges:
The largest challenge we faced was programming the accelerometer to count steps. Although much of the code was pulled from the documentation, deciding on threshold values to determine if a step has been taken was difficult and is something we still need to improve. Our process of deciding these values consisted of one person taking steps with the sensor and another adjusting the threshold values until the measured steps were in reasonable agreement with the actual steps. In order to get accurate measurements we needed to find steady state values to compare against. This code proved particularly difficult to iron out. The other major technical challenge we faced was communication between two arduinos. We found code online that was able to send the data we needed, but integrating it with our step counting and exercise deciding code is an ongoing challenge that we continue to work to solve. Although rudimentary, our pipe-cleaner attachment system was also a challenge to design. We wanted a slim and easy attachment method that could work on either the arm or belt for testing. The pipe cleaner design provides a simple solution, more than satisfactory for a prototype.
April 11th Crit:
During the crit on April 11th, it seemed like the audience was confused about what our final gizmo would look like because we had so many ideas for what it should look like and what it can do. This made us realize that we should streamline our goals and emphasize the motivational part of this gizmo. We were hoping to get some feedback from Enrique about whether he would be motivated by this because our goal is to encourage him to do a little exercise every day, no matter how trivial it seems. We didn’t get that feedback from him yet, but the audience didn’t have any problems with it so we’ll assume that random exercises are fun.
We also learned from the crit that although the docking station with another Arduino and display is a good idea in the future, it may be infeasible for the final build. The audience also asked if the gizmo would prompt Enrique randomly throughout the day to exercise, or if he would actively ask the gadget for an exercise to do. This made us think a little more about how to nudge him, and we ultimately decided that random prompts may be annoying and thus discourage him from turning the gadget on, especially if he’s busy and it tries to get him to exercise. If he starts by asking for an exercise and enjoys the exercise (along with a little “success” jingle), then he’ll actively use the gadget.
Leave a Reply
You must be logged in to post a comment.