Team Members: Willow, Chileshe, Ryan
In our project, the goal was to provide an assistive device for an elderly individual. Our project developed into a puzzle, once we realized the enthusiasm which Philip, the individual we were assigned to, seemed to show for quantitative puzzles in our initial meeting. This post will document how we constructed the prototype, with images showing crucial steps we took in our design process.
The Product
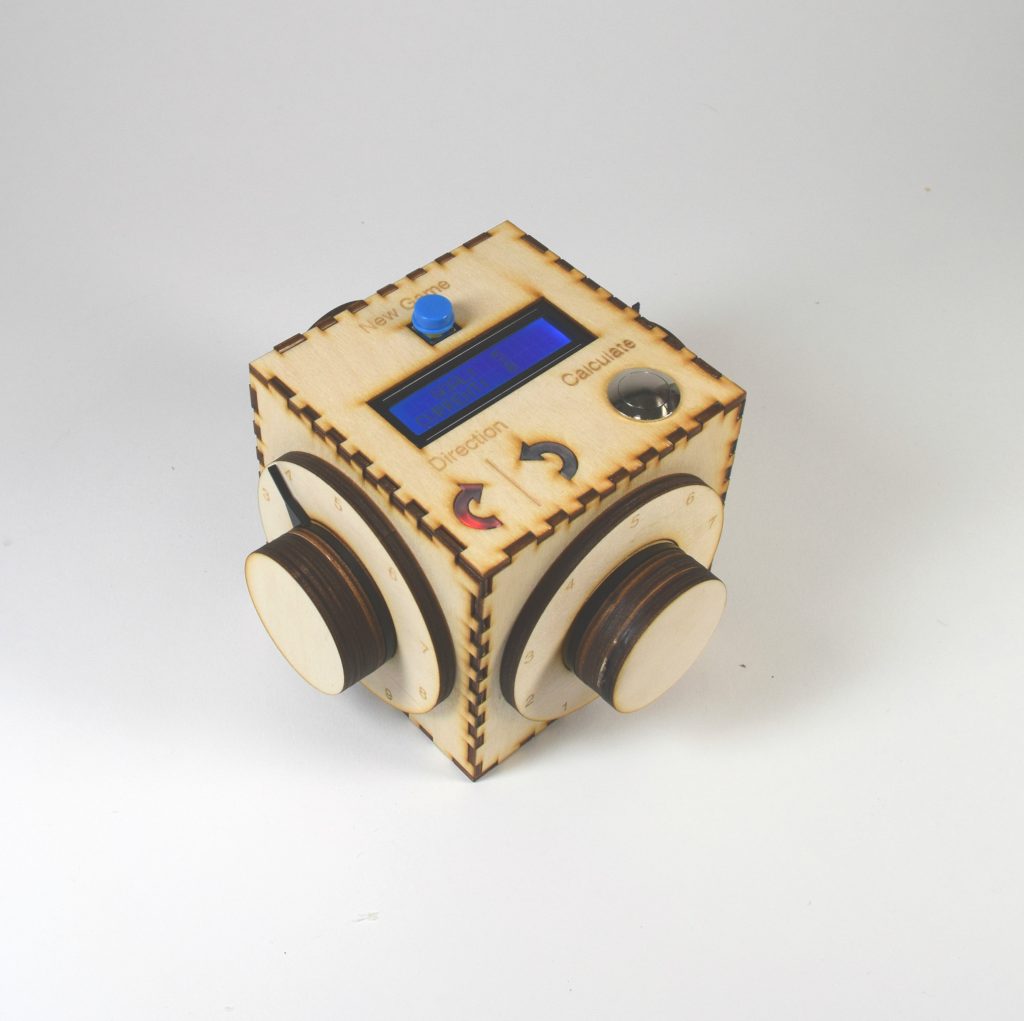
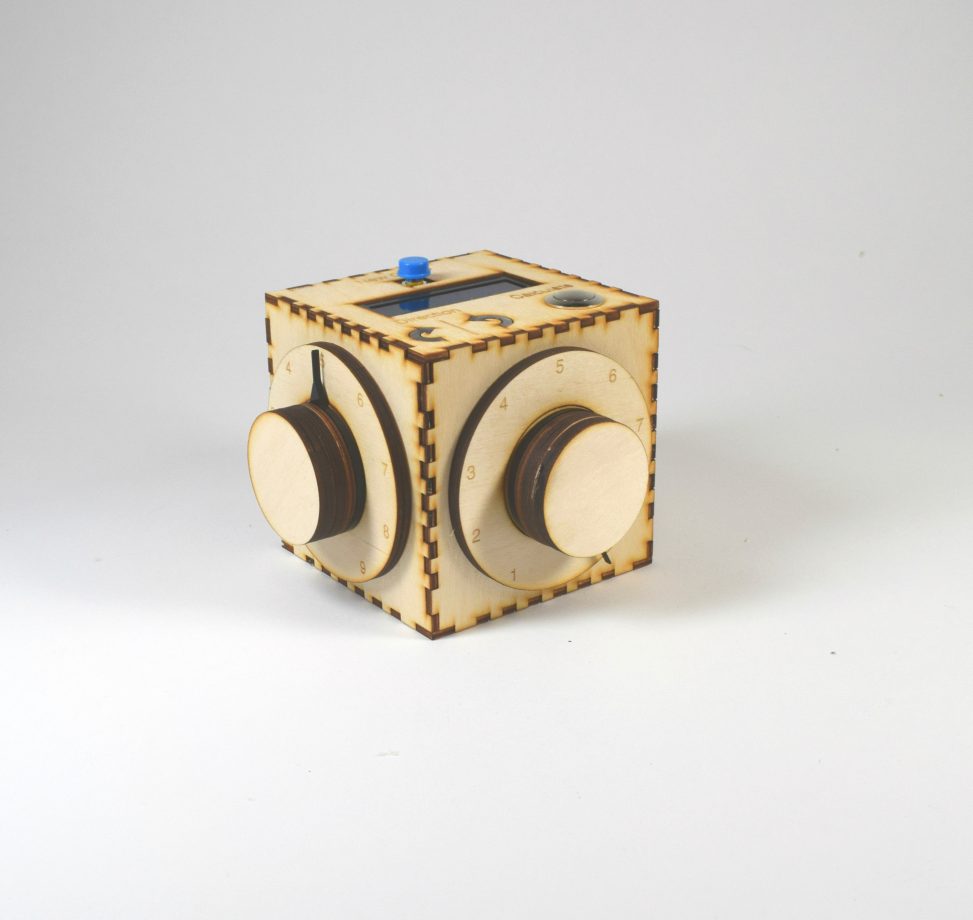
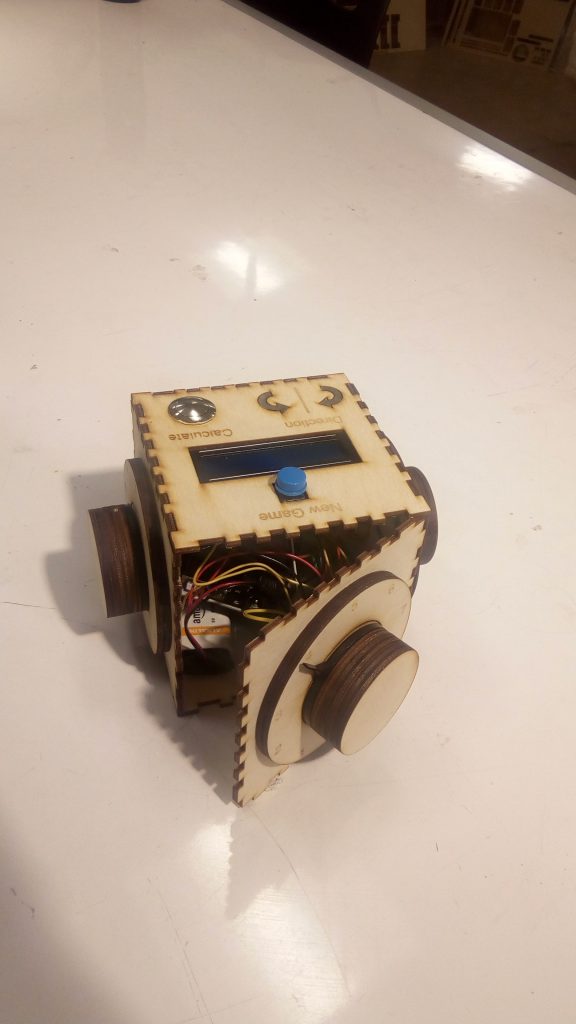
The device we created. The top shows arrows used to illustrate the direction of math operations to the user. The buttons are used to create new puzzles, or view associated values.
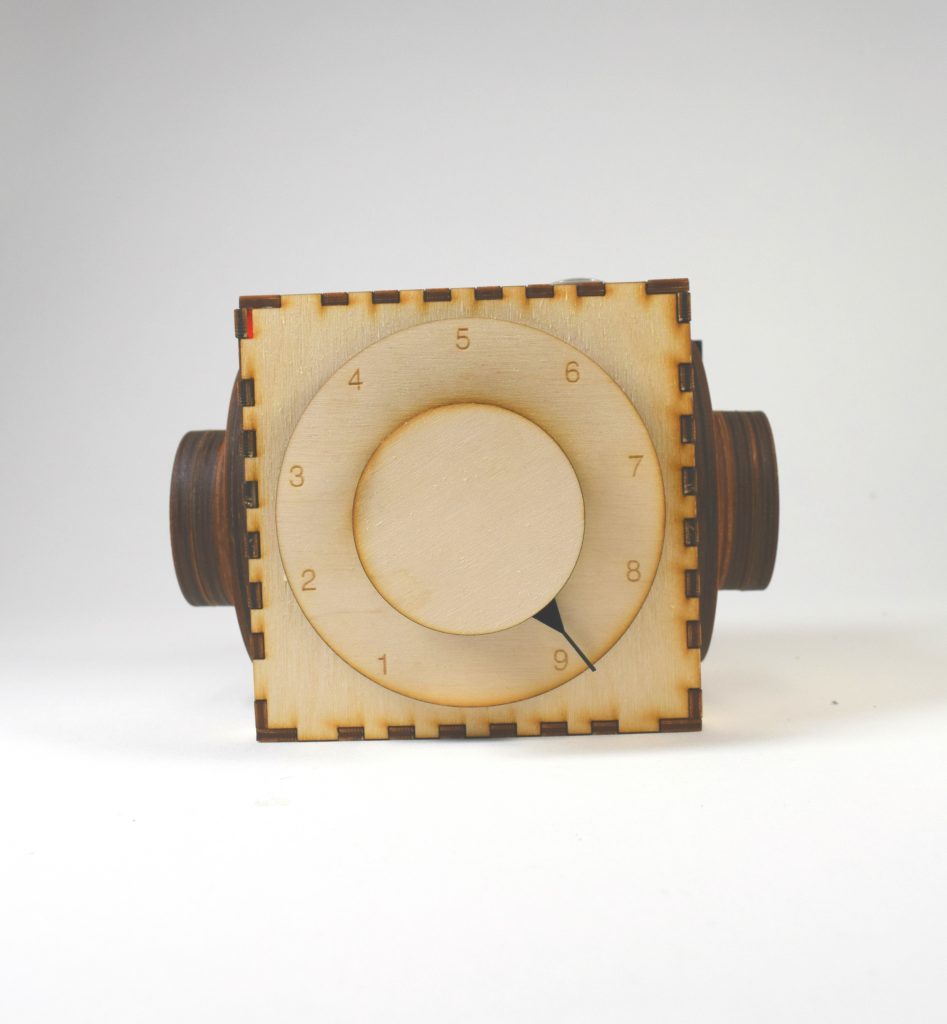
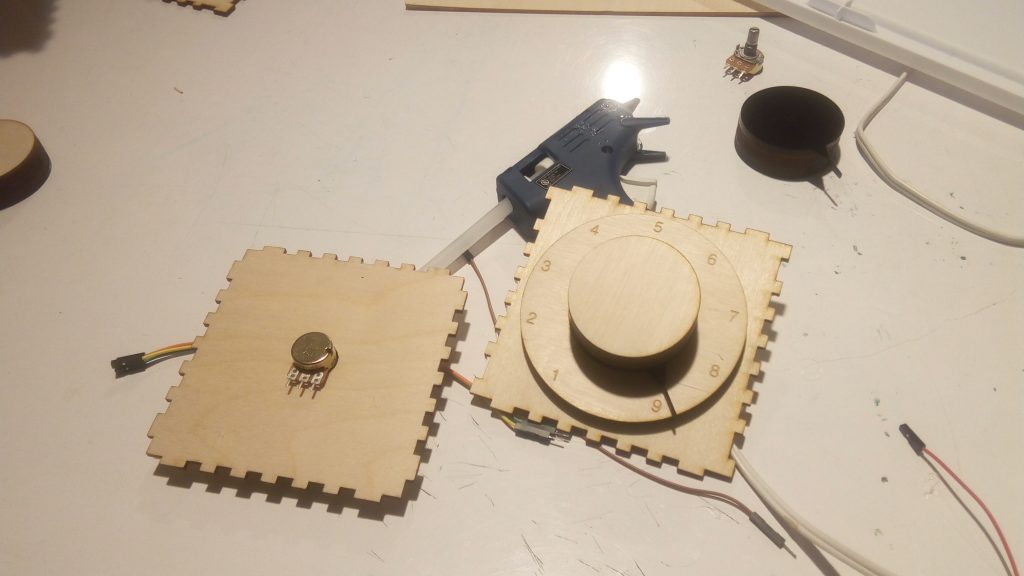
These dials make up the main component of interaction in our design. Each one serves as input for a number from 1-9.
On the top of the device, a screen indicates the current value of operations calculated from the of the four dials on each side of the device. The screen also indicates a number referred to as the “GOAL”. The operations needed to reach the goal are unknown to the user, and they must reason through changing the dial values, and viewing the current value, in order to reach it.
Our Process
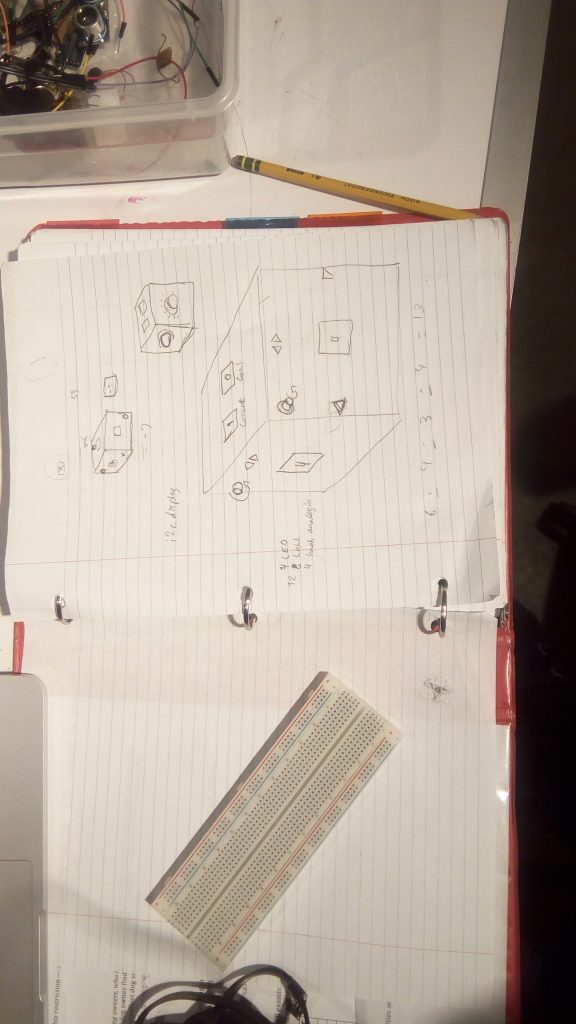
An initial sketch which was the main outline for our idea.
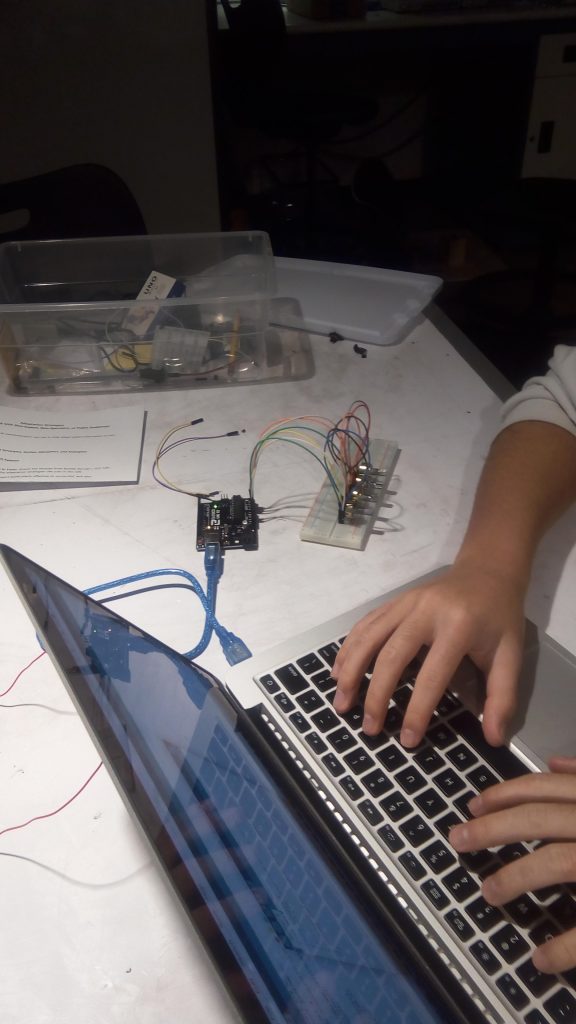
This image depicts Ryan experimenting with code on a simpler version of the wiring in the final prototype.
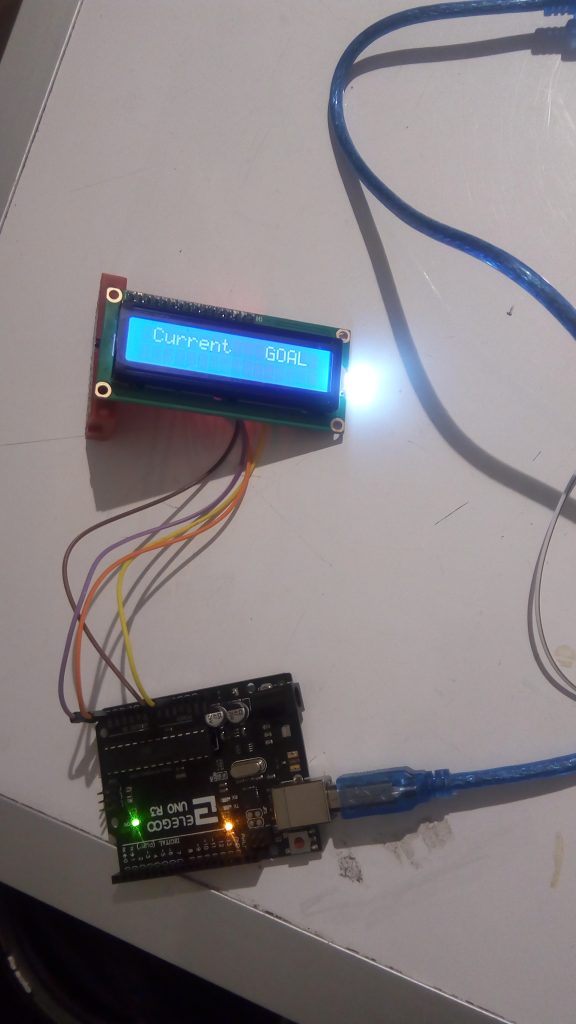
This image depicts Chileshe’s experimentation with a 16×2 lcd which would be used to indicate important aspects of the puzzle to players.
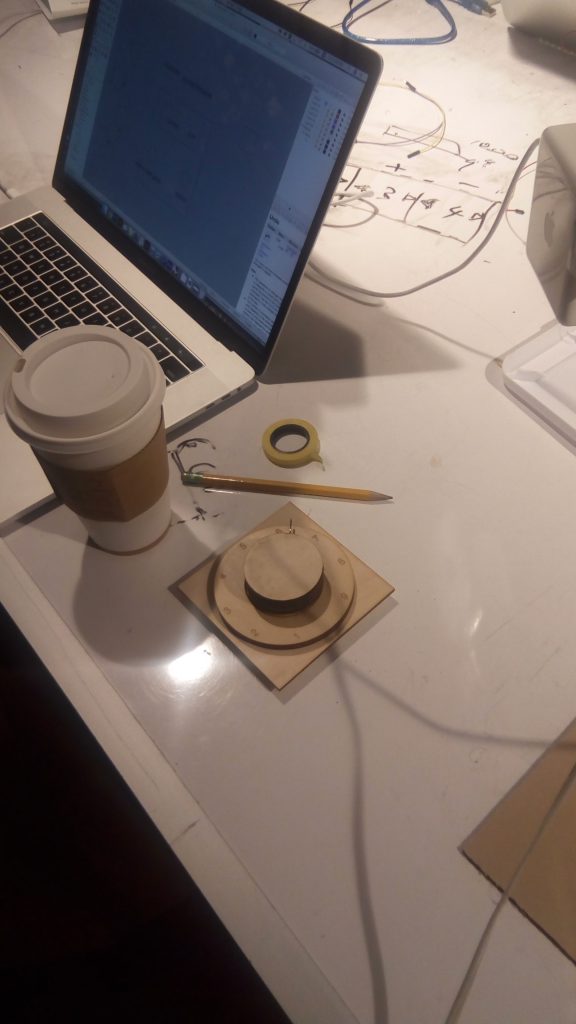
An experimental proof-of-concept dial; also shows Willow working on the design for the prototype’s body.
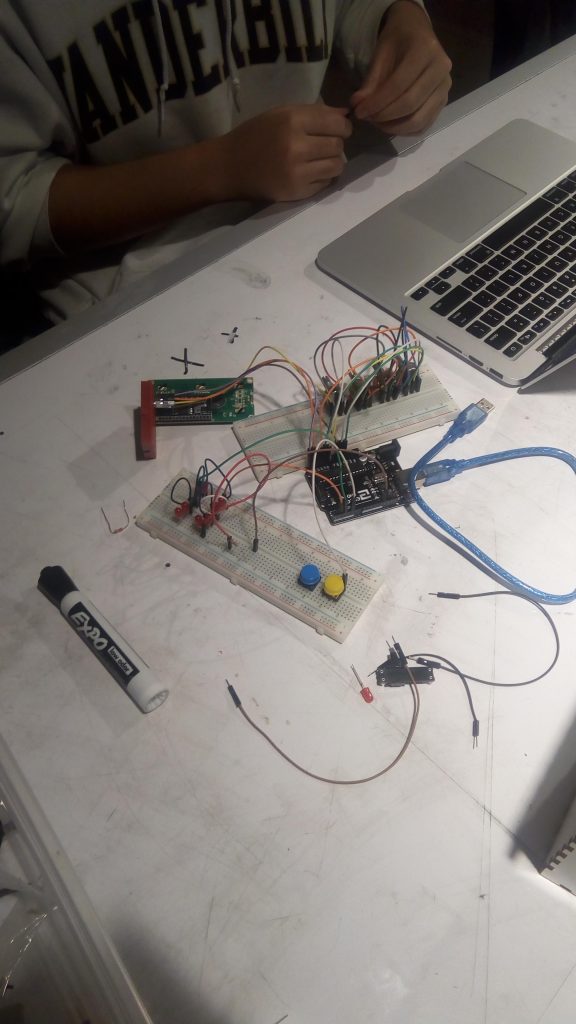
This image depicts a test of the wiring required for our project. It helped us to discover cumbersome aspects of our design.
The back and front of pieces which fit together to form the prototype.
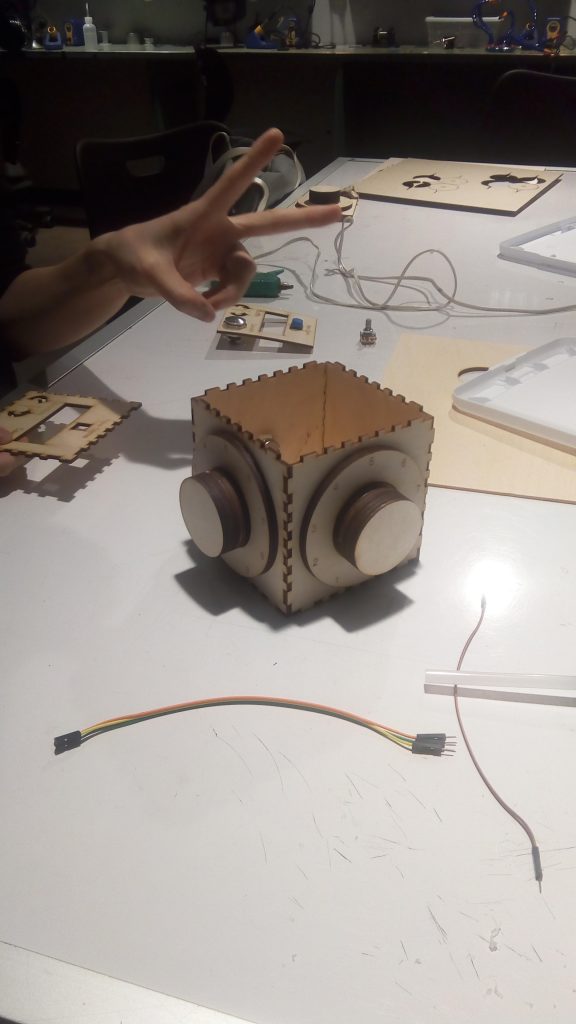
Each of the four sides united together. The edges are designed to fit together like a jigsaw puzzle.
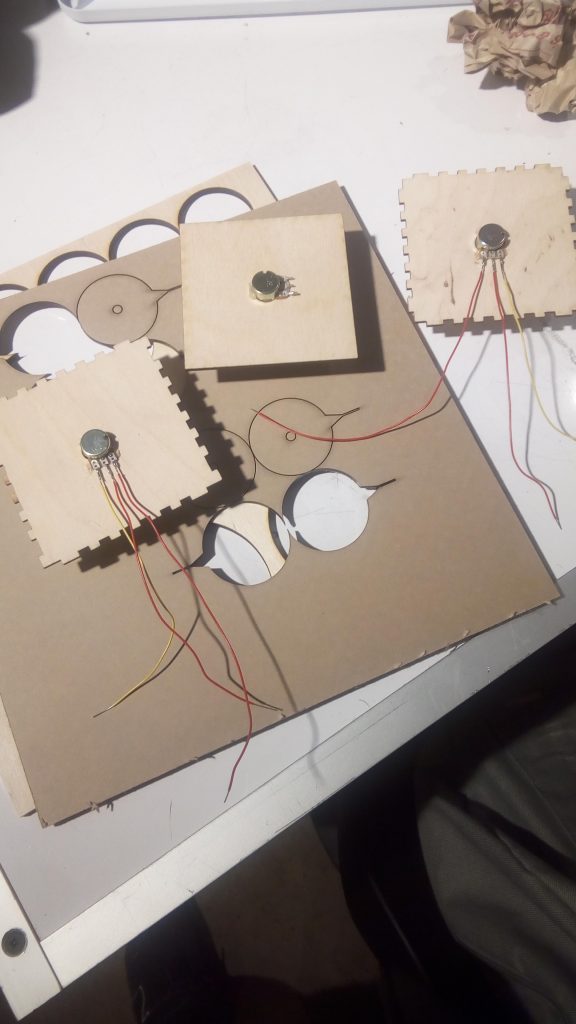
Wires soldered to the potentiometers, and a wooden piece with laser cut dials.
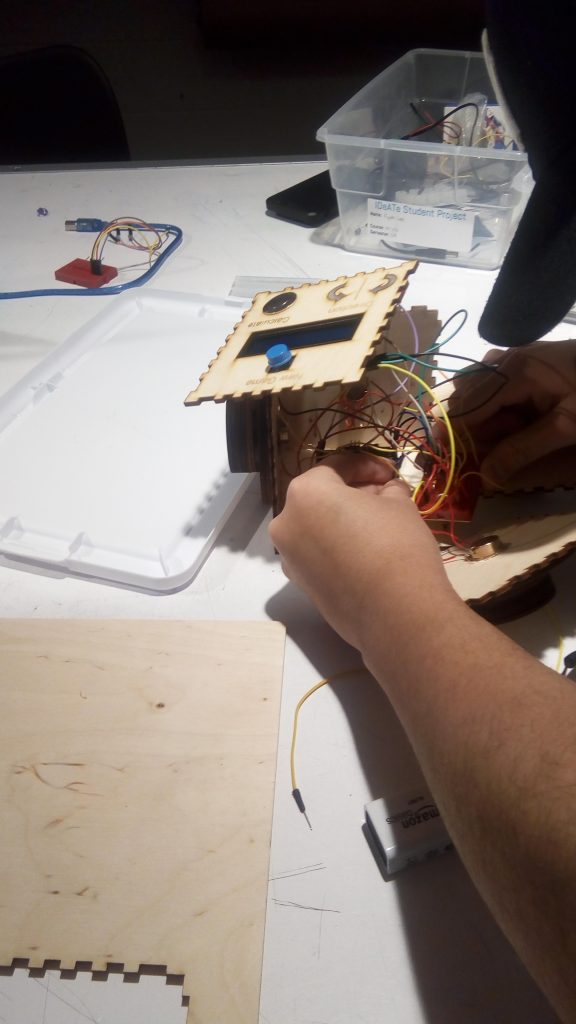
Ryan and Chileshe attempt to fit wiring into the prototype’s body.
The prototype coming together.
Difficulties
The difficulties in this project were rather mild. The prototyping process was initially dominated by discussion on how the user would produce input for the device. The initial sketch shows a screen on each side to depict a selected number, as well as buttons to increase or decrease the number. We realized that this was unnecessarily complicated, largely because of the excess wiring it would have required. We also realized that it was pointless, because a dial on each side would accomplish the same goal, while achieving visual simplicity, and much higher tactile engagement.
From that point on, everything else seemed to flow naturally. However, the coding became tricky when we realized that not only did we have to provide a numerical goal for a player to reach, but also that it would not be convenient for us to provide a goal that might not be solvable. So a function was created to come up with the solution for the puzzle’s operations before we provided it as a goal for the player.
Prototype Feedback: How we’ll move forward.
The crit was useful for discovering much finer details involved in using our device. For one, a loophole was discovered which might allow a clever user to dial through until they find a solution. In addition, we received feedback that the puzzle might initially be too difficult, so we are considering difficulty levels for our final design. Right now, the work that follows will mostly be on the internal logic of the device. During the crit, there was also constructive criticism from the design side. The puzzle box is supposed to be an assistive device for the use of an elderly individual, and he suggested increasing the contrast of the numbers on each face, to make them more legible. We will definitely be taking action on each aspect of the crit.
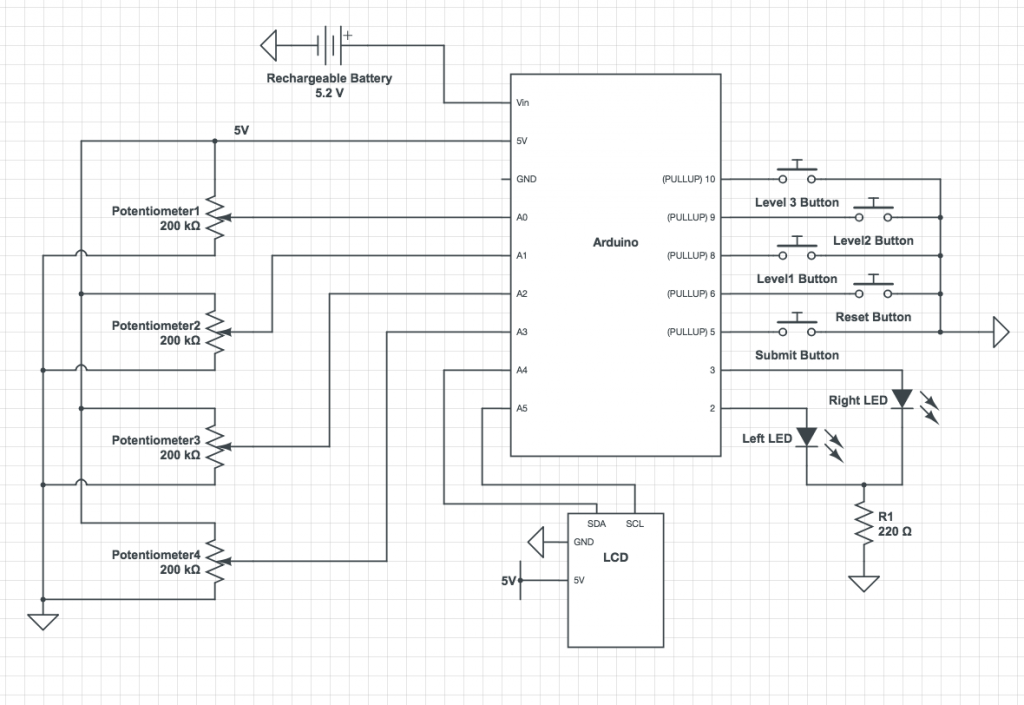
The Schematic
Leave a Reply
You must be logged in to post a comment.