by Mo Cambron
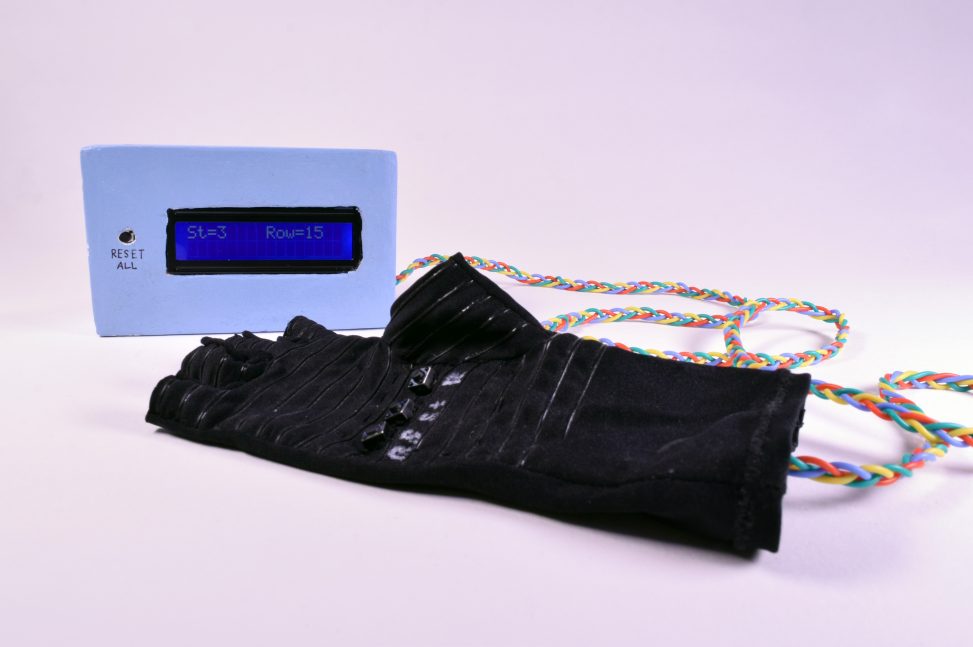
Count by Hand! is a stitch and row counter for knitting and crocheting.
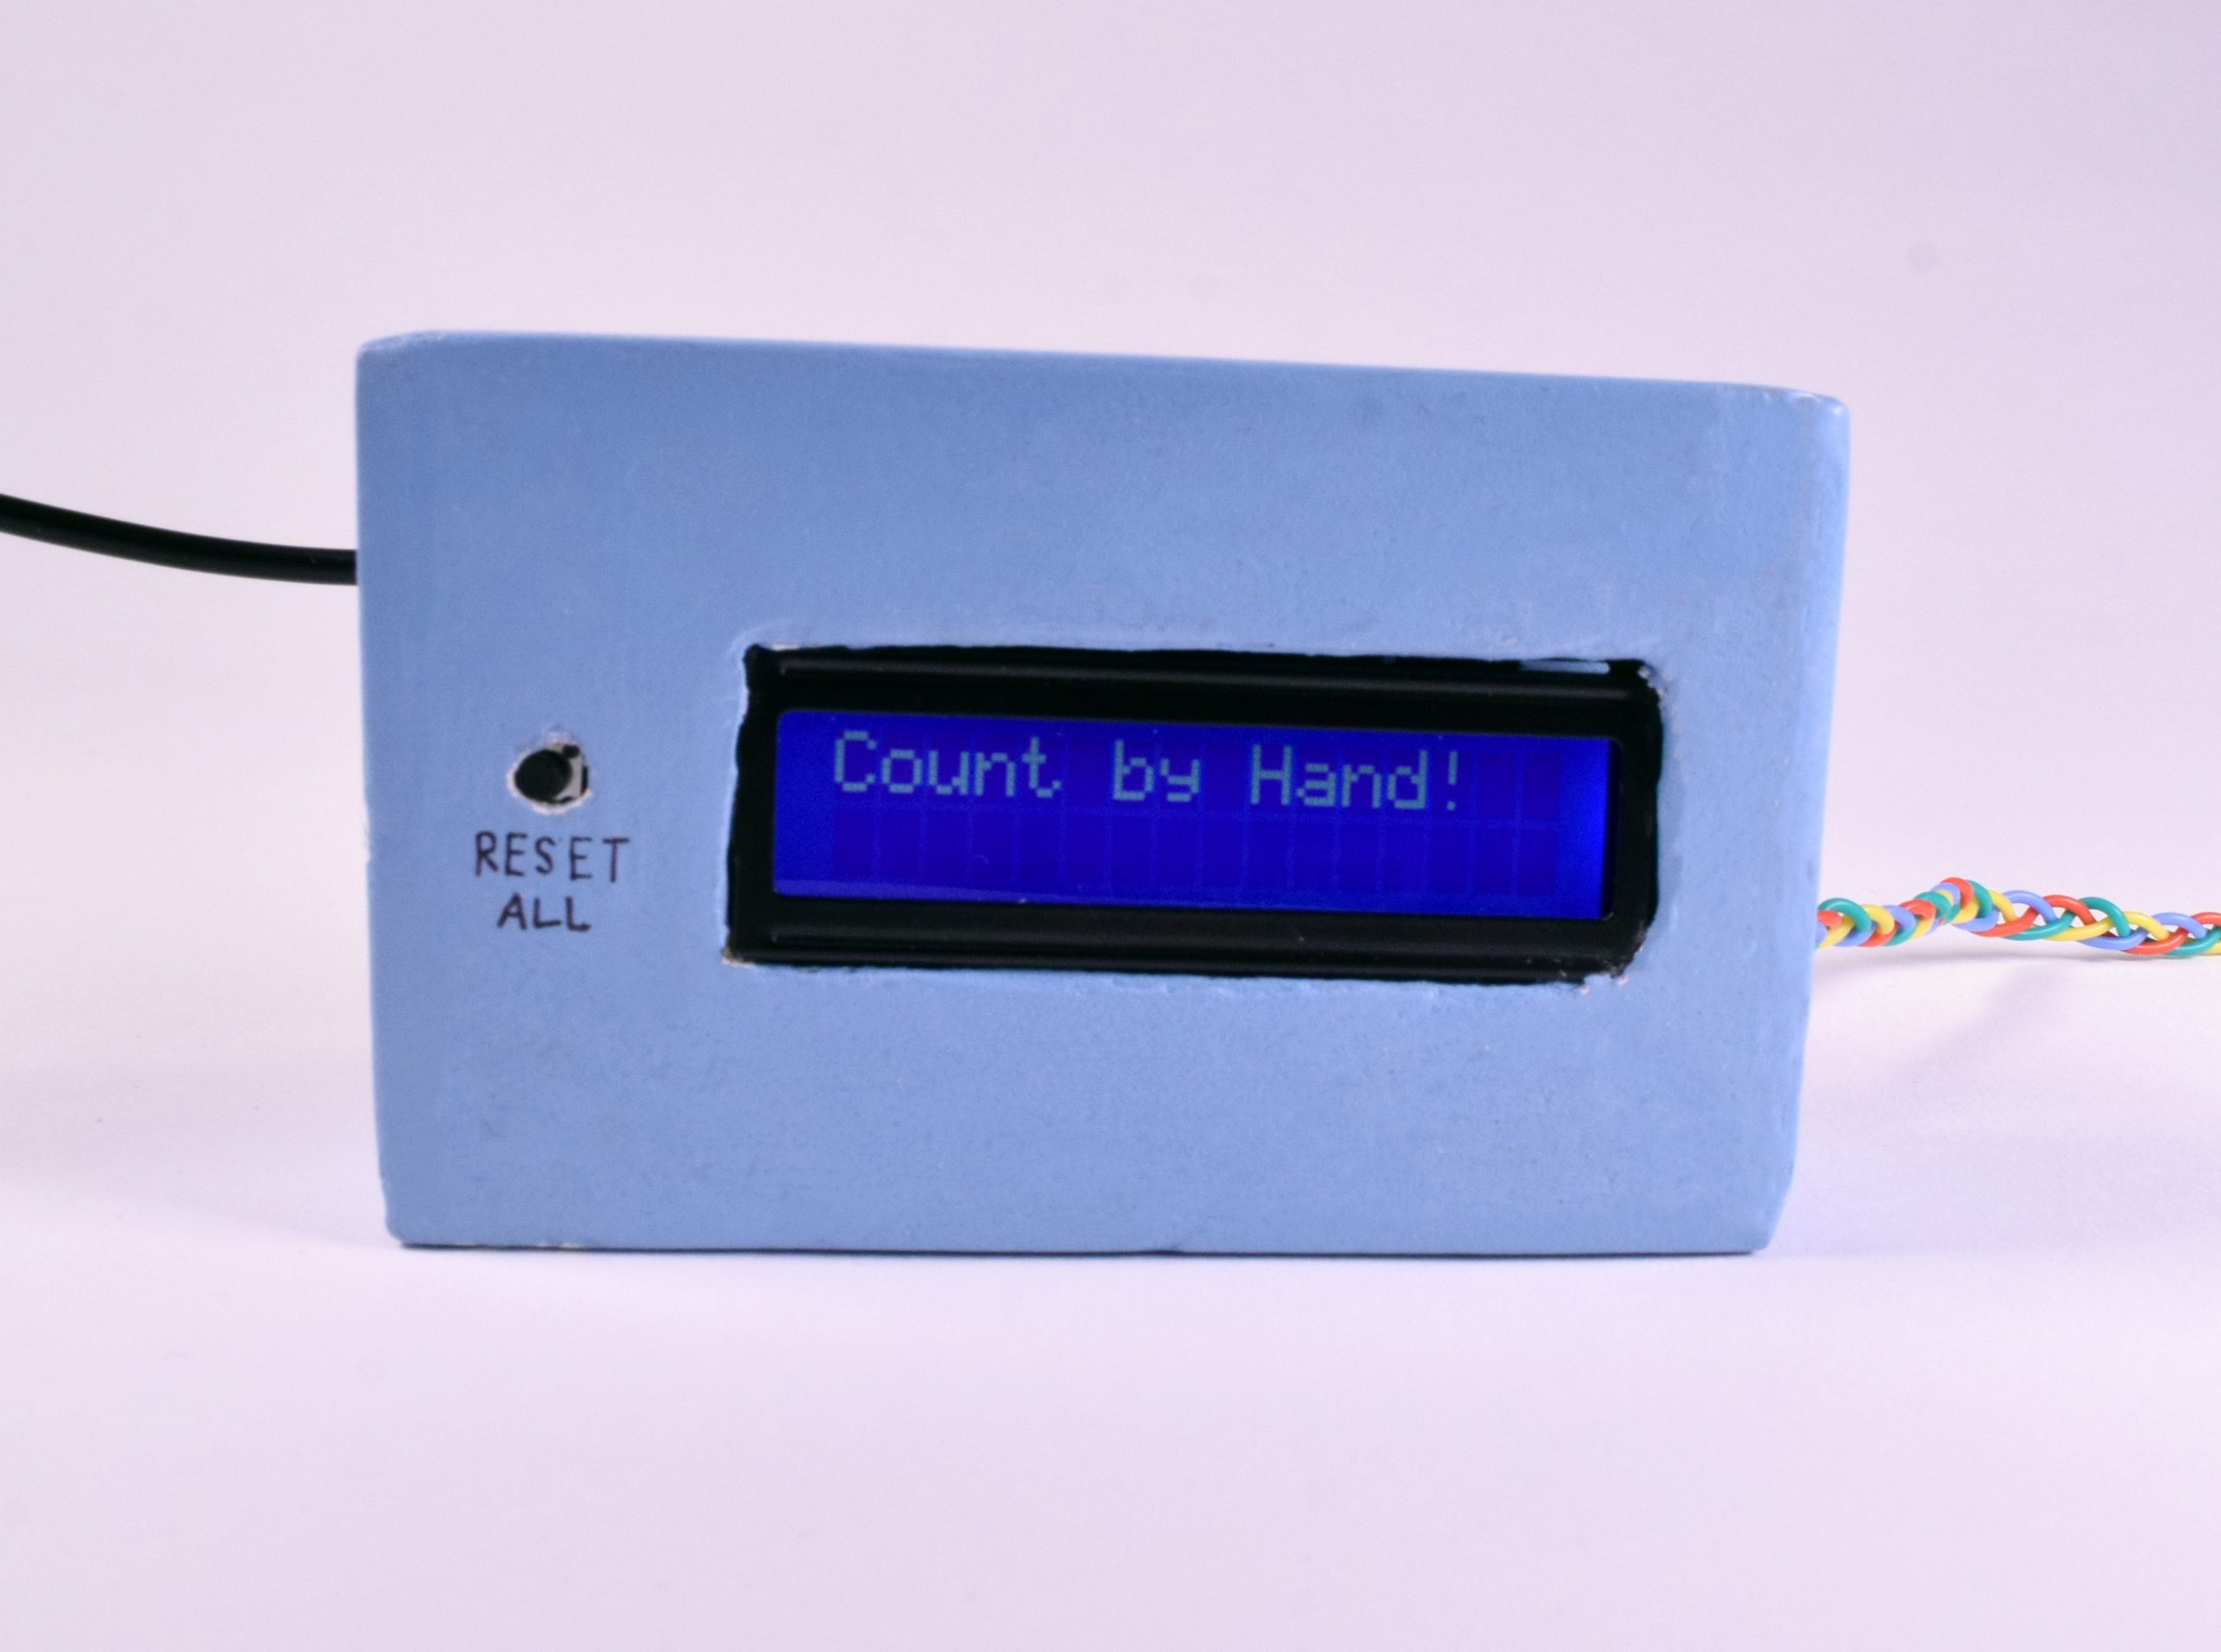
The Count by Hand! counter box. (approx. 4″ x 2.5″ x 1.75″)
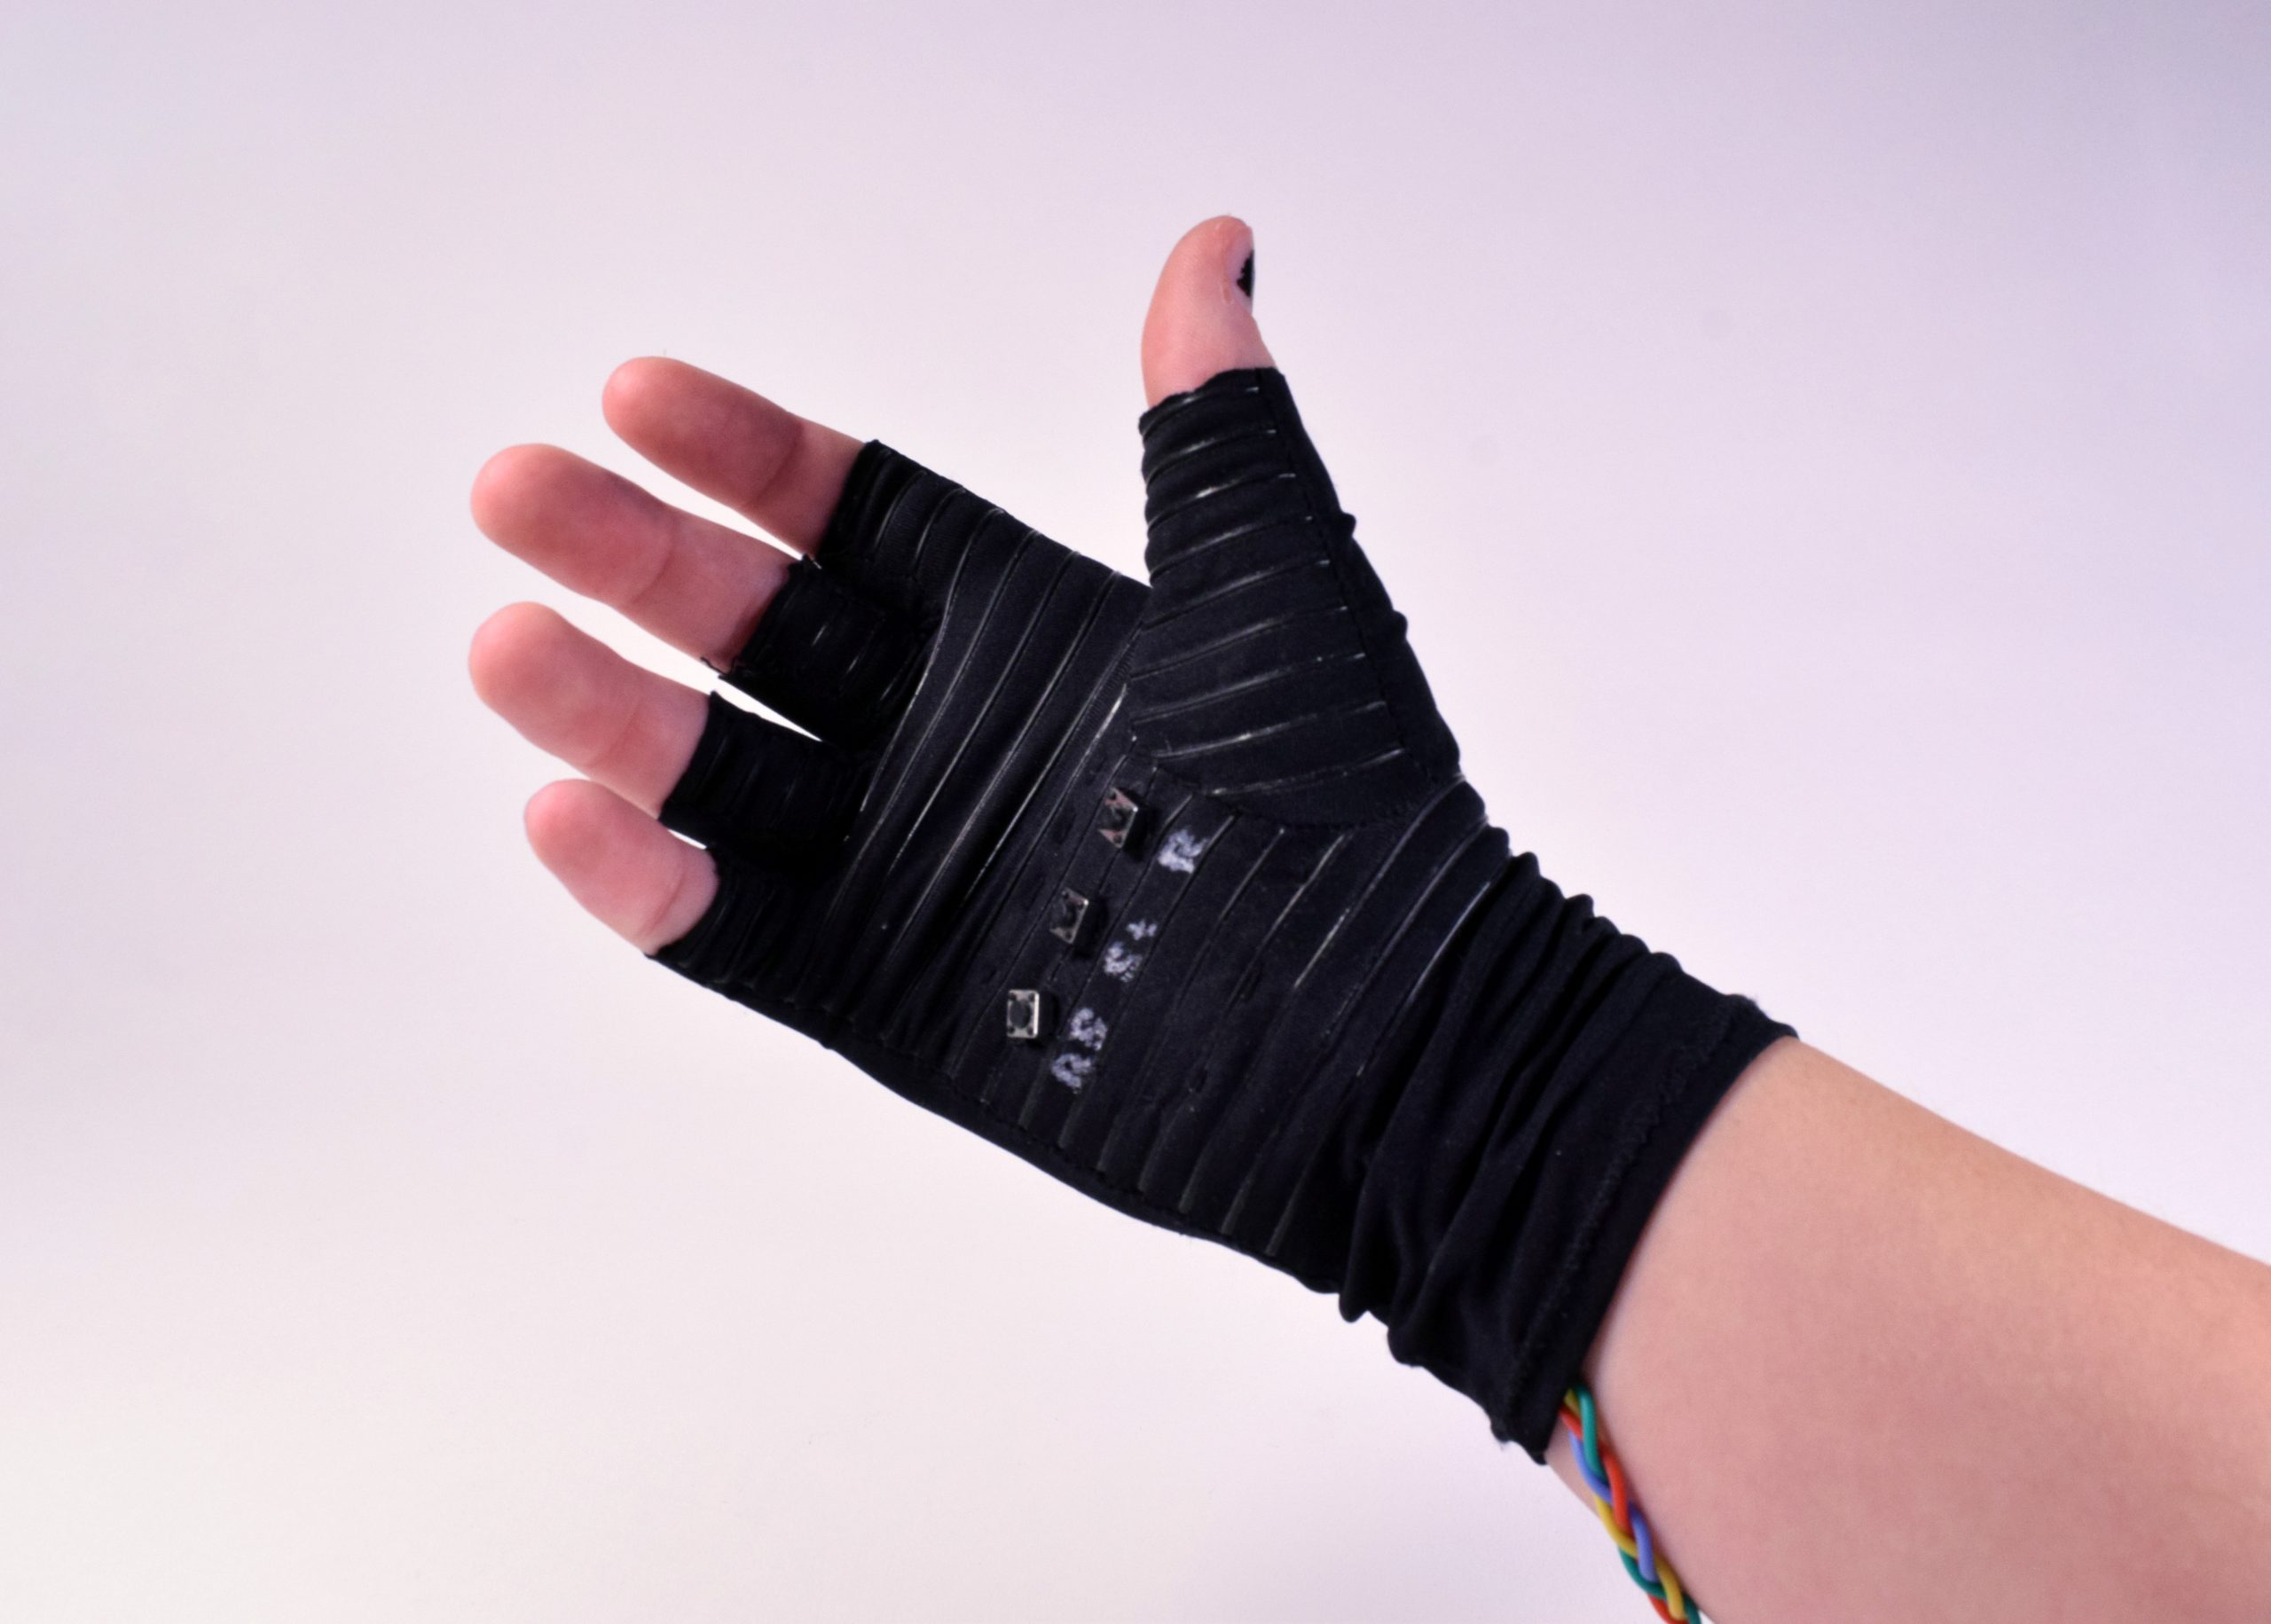
The glove with integrated buttons.
In action while knitting!
Process
In the beginning ideation phase, my initial idea was to have the counter be a part of a yarn bowl (a bowl that holds the yarn so it doesn’t roll around while you knit). When we talked with small groups about our idea, I talked with my group about how to make it easier to hit the buttons to add to the count. It was then that I decided to incorporate the buttons into a glove that would be right there on your hand.
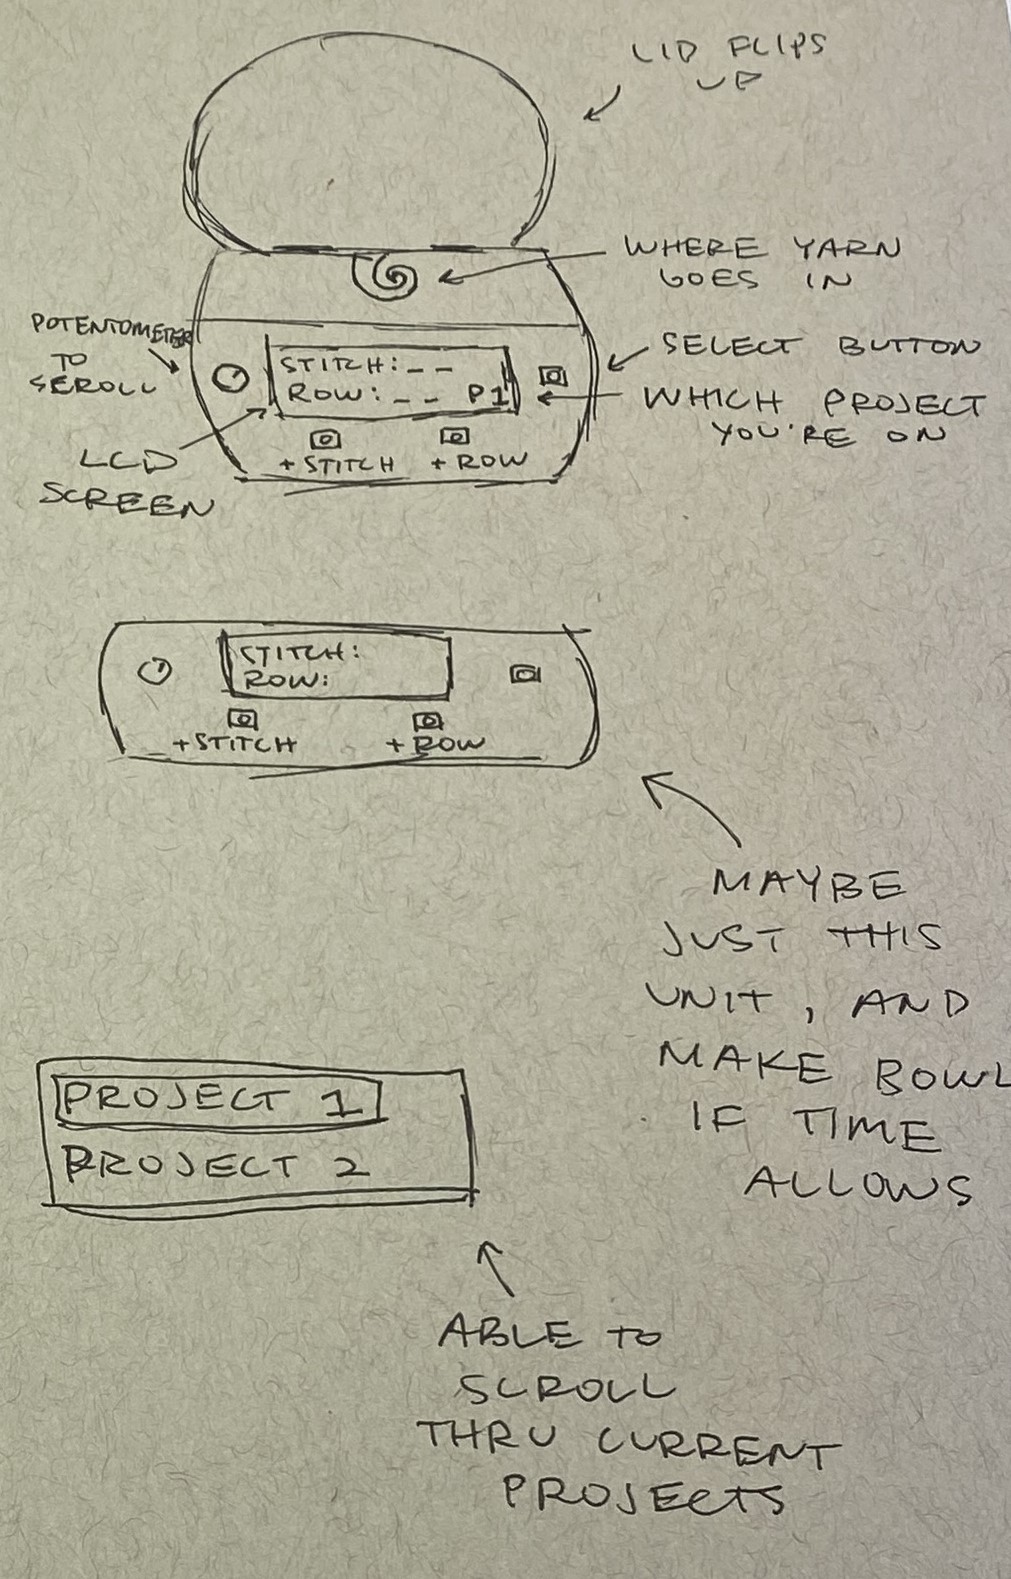
My initial sketch with the yarn bowl concept.
For the glove fabrication, I first soldered silicone coated wires to three tactile push buttons. Then I determined the placement of the buttons and cut very small holes in the glove. I mounted the buttons to a small piece of fabric stabilizer, then sewed the whole thing to the inside of the glove. The mechanics and wiring are all contained inside the stabilizer, so it is comfortable to the touch inside the glove.
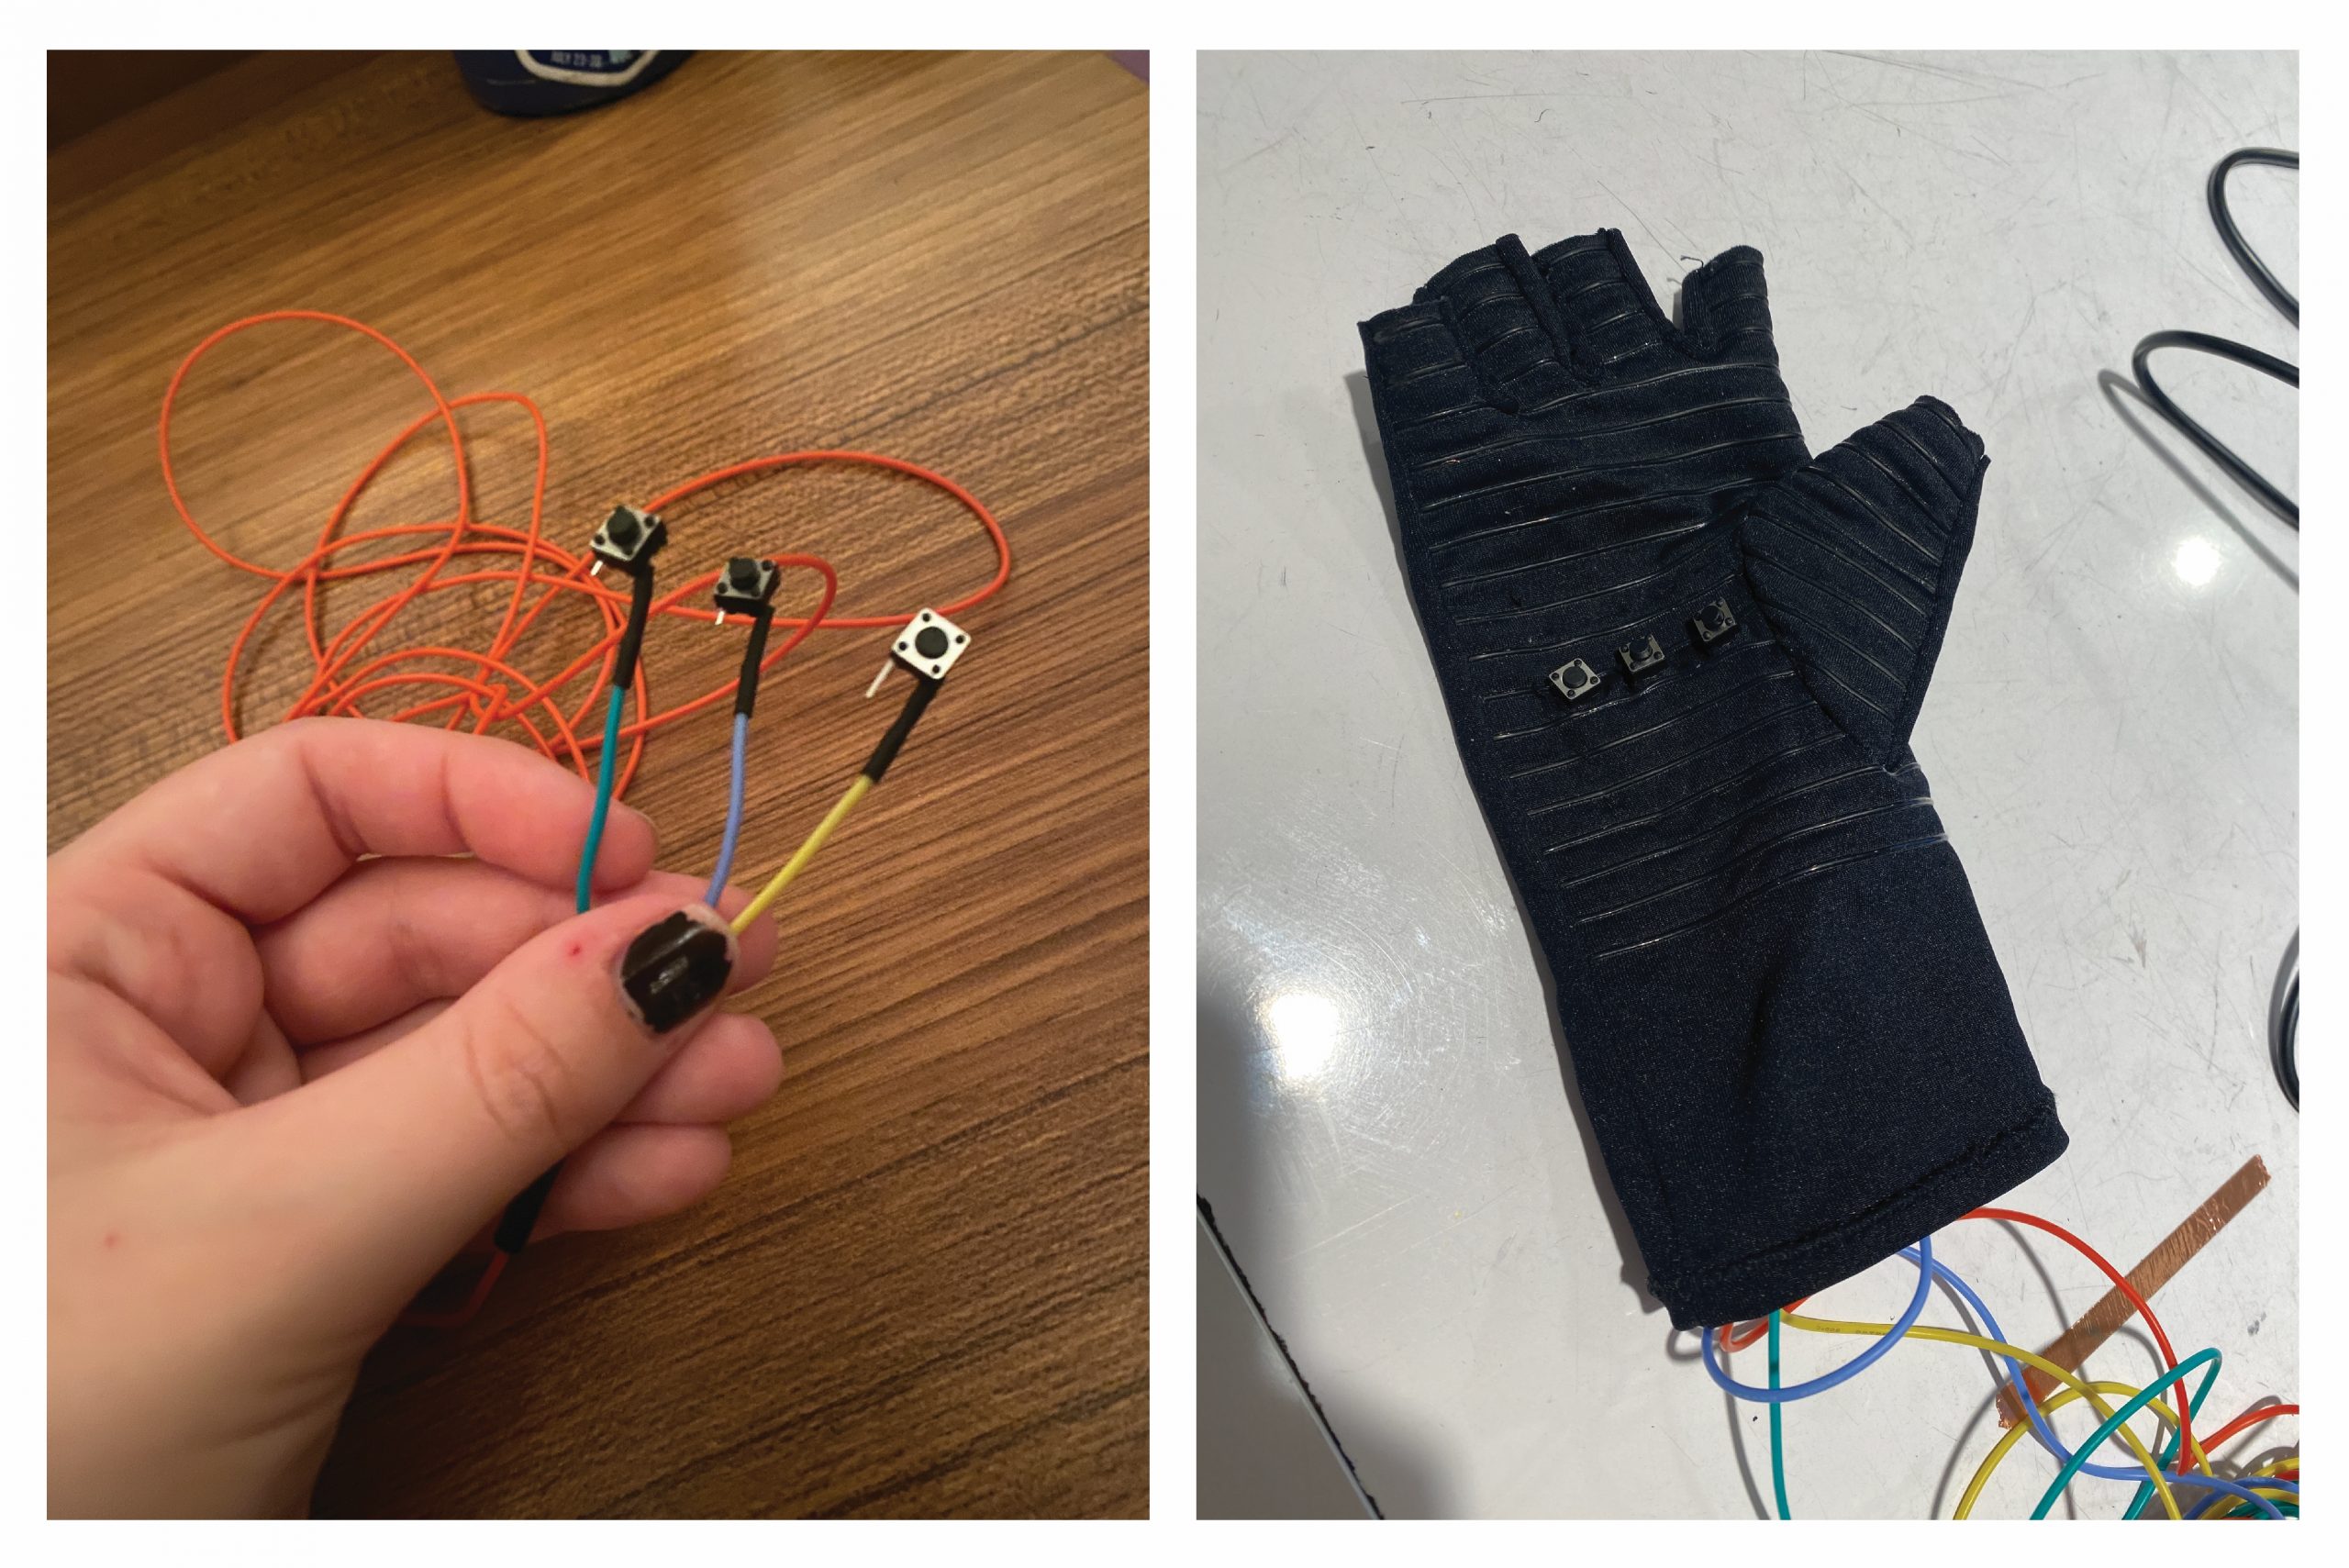
Glove fabrication!
I initially used a medium size breadboard just so I could figure out the connections for everything before making final decisions. I then realized that I wanted a smaller board so I could fit everything into a smaller container. This began the bread board saga. I first tried to switch everything over to a small breadboard. I then ran into issues with the power running the small one. I tried using a different small breadboard, but had the same results. I finally decided to just hack a medium breadboard in half with a saw in order to have a smaller overall size, but still be able to use the power rails on the board.
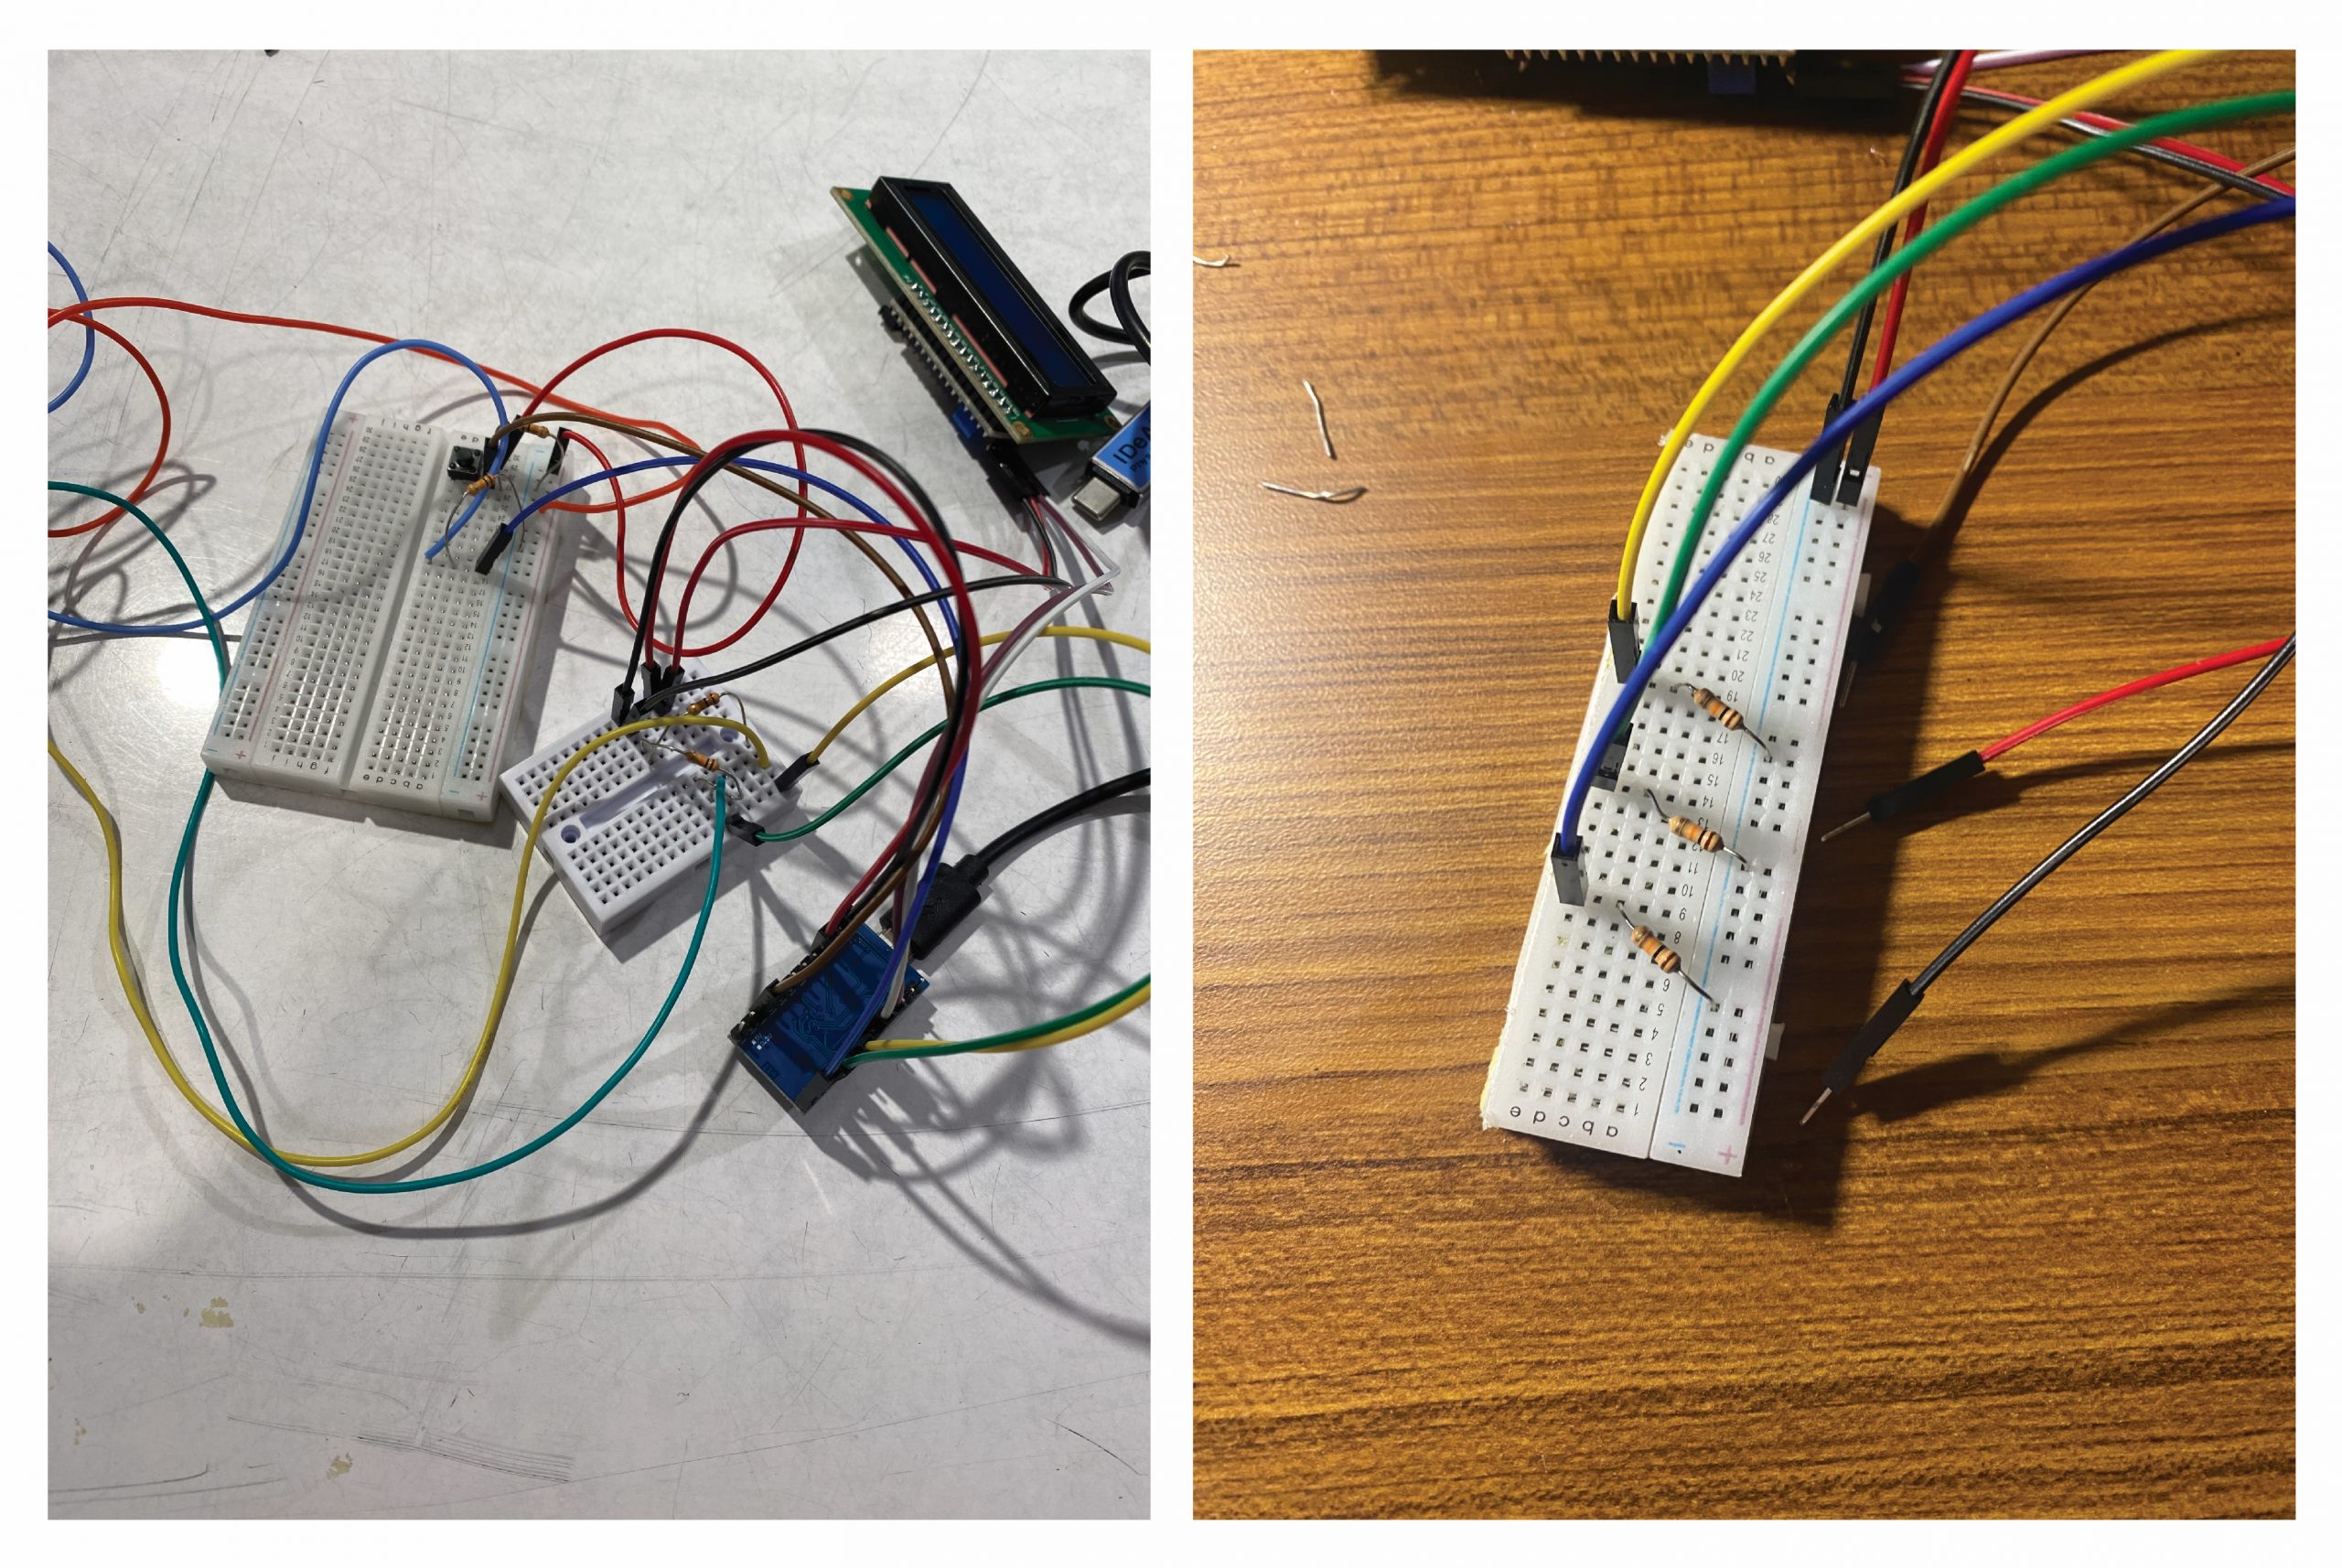
The breadboard saga!
I learned how to four strand braid to contain the wires from the glove to the box in a functional and beautiful way.
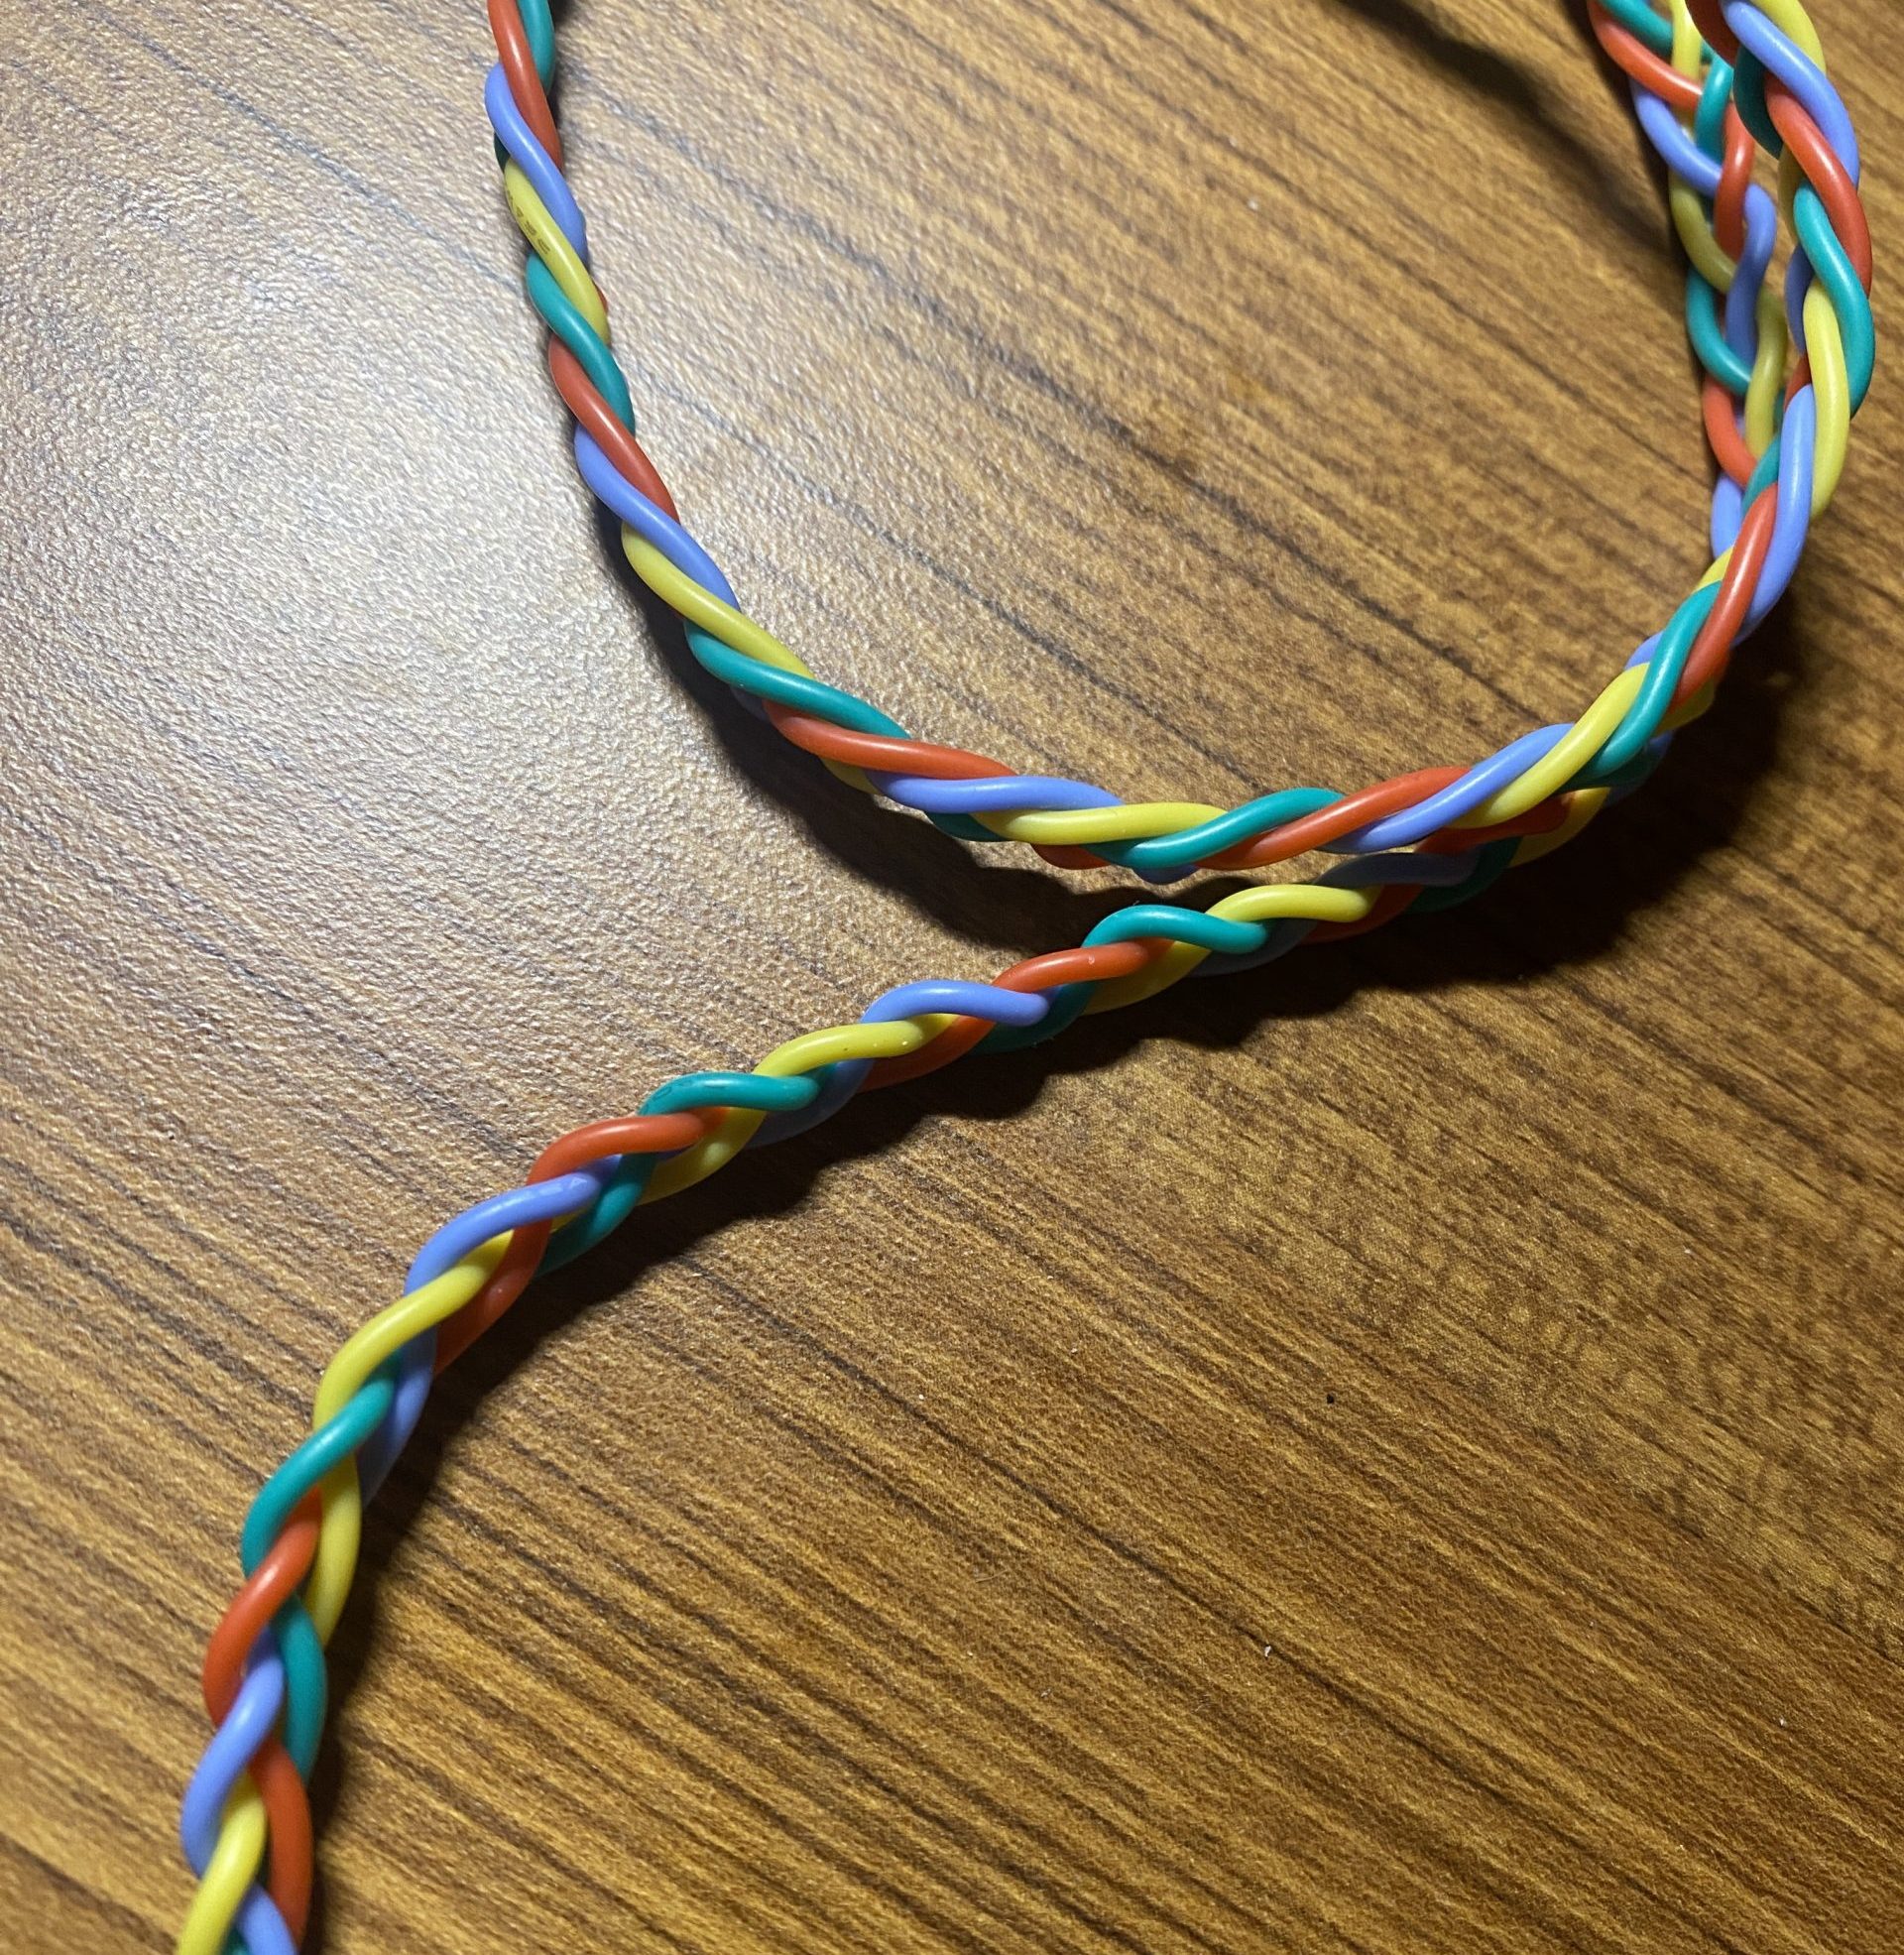
Four strand braid.
My friend trying to figure out how high the count could go – they gave up before they reached the max.
Discussion
I received some really helpful feedback from my peers in our final presentation. One person said that they “would like to see some user study info from [me] and other people to find the perfect button type and placement.” I totally agree with this – I would love to experiment more with the exact button placement on the glove for myself, as well as taking into account other fiber artists grips and styles of holding the tools. Finding a placement that could work well for a lot of different types of people would be a very exciting endeavor.
Another person asked if it was “possible for the buttons to activate without meaning to?” It’s pretty unlikely with the way the needles lay on my hand while I’m knitting, but it is certainly possible. I would love to add a function to undo or remove stitches without completely resetting the count in the future.
Overall, I’m pretty happy with how this project turned out. I’m very pleased with the electronic aspect of it – the functions that I was aiming for all turned out well. There are certainly more functions that I could add moving forward, but as far as the ones I included, they were very successful. The fabrication is definitely something that I would like to put more time and precision into in the future. I didn’t leave myself enough time for the fabrication, and so I rushed and cut corners a bit, then attempted to go back and fix those mistakes afterwards. I’d like to really take my time and be precise with my fabrication in the future.
I felt that I improved quite a bit on the electronics throughout this project. I’ve had very little experience in electronics and coding before this class, so I’ve definitely had a large learning curve. I liked the process of this project in that I had a problem to solve in my own life, and I had to figure out the specific functions that would solve it, rather than being assigned specific functions without much of a practical function like Project 1. It felt like there was more at stake here, and I enjoyed that. A fun little skill that I learned during this project was how to braid with four strands, which I used to braid the silicone wires that connected the glove to the counter.
If I were to take the project further, I would definitely focus on the fabrication more. I would like to streamline the design to be the most portable it could be, while still fitting all the components that it needs to. Additionally, I would like to add a function to adjust the count up and down to account for mistakes in addition to being able to reset the count totally.
Technical Information
Block diagram:

Schematic:

// Count by Hand: Keep track of your stitch and row counts!
// Mo Cambron

// Tactile push buttons sewed into a glove allow user to count the stitch
// and row count of a knitting/crochet project. 5V runs to three buttons,
// each button then runs back to Arduino Pro Micro. "St" adds to the stitch count.
// "Row" adds to the row count. "Res" resets the stitch count. Stitch and row count
// are displayed on an LCD screen. "Res" button next to LCD screen resets all counts.

// Pin mapping:
// - pin 5 = stitch reset button
// - pin 7 = stitch add button
// - pin 9 = row add button
// - pin 14 = total reset button


const int stRes = 5;
const int St = 7;
const int Row = 9;
const int Res = 14;

int stVal = 0;
int stPrev = 0;
int stCount = 1;
int stPress = 0;

int rowVal = 0;
int rowPrev = 0;
int rowCount = 1;
int rowPress = 0;

int stresVal=0;
int resVal=0;

const int stAddress = 0;
const int rowAddress = 5;


#include <Wire.h>
#include <LiquidCrystal_I2C.h>

#include <EEPROM.h>

LiquidCrystal_I2C screen(0x27, 16, 2);

void setup() {
  pinMode(stRes, INPUT);
  pinMode(St, INPUT);
  pinMode(Row, INPUT);

  Serial.begin(9600);

// LCD setup:
  screen.init();
  screen.backlight();
  screen.home();
  screen.print("Count by Hand!");
  delay(2000);
  screen.clear();

// Print "St=" and "Row=" on LCD
  screen.setCursor(0, 0);
  screen.print("St=");
  screen.setCursor(8, 0);
  screen.print("Row=");

// Get previous row and st counts for project
  EEPROM.get(stAddress,stPress);
  EEPROM.get(rowAddress,rowPress);
  stCount=stPress;
  rowCount=stPress;

// Print previous row and st counts onto LCD
  screen.setCursor(3, 0);
  screen.print(stPress);
  screen.setCursor(12, 0);
  screen.print(rowPress);
}

void loop() {

// St button read
  stPrev=stVal;
  stVal=digitalRead(St);
  if(stVal==HIGH && stPrev==LOW){
    stPress=stCount++;
    EEPROM.put(stAddress,stPress);
  }

// slight delay to account for bounce
  if(stVal==LOW && stPrev==HIGH){
    delay(20);
  }


// Row button read
  rowPrev=rowVal;
  rowVal=digitalRead(Row);
  if(rowVal==HIGH && rowPrev==LOW){
    rowPress=rowCount++;
    EEPROM.put(rowAddress,rowPress);
  }

// slight delay to account for bounce
  if(rowVal==LOW && rowPrev==HIGH){
    delay(20);
  }


// St reset button read
  stresVal=digitalRead(stRes);
  if(stresVal==HIGH){
    stPress=0;
    stVal=1;
    stCount=1;
    screen.setCursor(3,0);
    screen.print("    ");
  }

// Reset all
  resVal=digitalRead(Res);
  if(resVal==HIGH){
    stPress=0;
    stVal=1;
    stCount=1;
    rowPress=0;
    rowVal=1;
    rowCount=1;
    screen.setCursor(3,0);
    screen.print("    ");
    screen.setCursor(12,0);
    screen.print("    ");
  }

// Print current st count to LCD
  screen.setCursor(3,0);
  screen.print(stPress);

// Print current row count to LCD
  screen.setCursor(12,0);
  screen.print(rowPress);
}