Tutorial: Robotic Camera Control using the UR5 Robot Arm
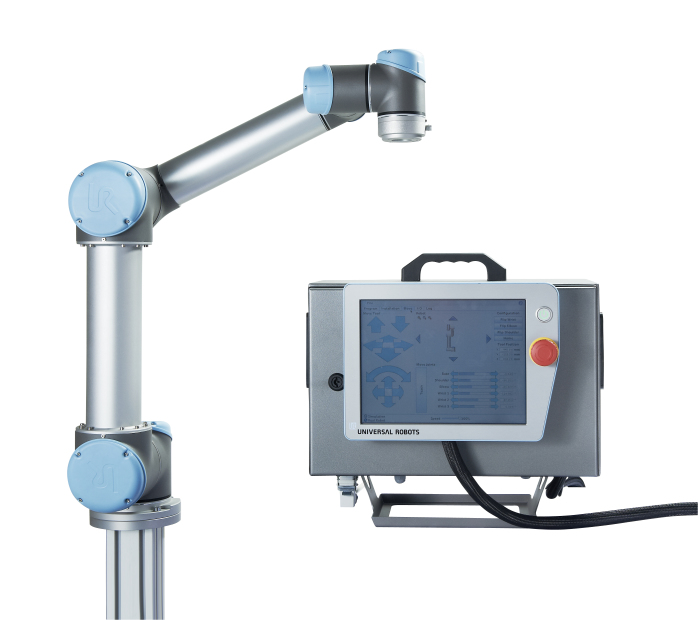
Universal Robots UR5 Robot Arm with controller.
This semester we will have the opportunity to use the UR5 robot arm situated in the Frank-Ratchye STUDIO for Creative Inquiry. This tutorial will introduce the robot to you as a highly capable means of flying a camera around a model-scale scene.
Contents
Objectives
After this exercise, you should be able to do the following:
- Program motions on a UR5 Robot using waypoint programming on the teach pendant.
- Remotely operate a Z Camera E1 Mini.
- Compose camera movement to convey narrative using a sequence of point-to-point moves and pauses.
- Light and shoot a model-scale scene using a moving camera.
Deliverable: a short video (e.g. under a minute) of a model-scale scene shot using robotic camera movement. The video should emphasize the visual choreography of the changing perspective. The video should be uploaded to Vimeo and embedded in a short blog post. Please assign all group members as authors on the post. This is due Monday at 8PM.
Preparation
- Please read the following prior to the first class meeting involving the robot arm:
- UR5 Robot Arm: User Guide
- Sections 13.1, 14.1, 14.2, and 14.6 of the UR5 User Manual
- Apart from class time, each group will be individually scheduling a robot session with an instructor at the STUDIO. We will be asking you in advance for schedule constraints to make this process unfold as smoothly as possible.
- Please prepare some small paper puppets, artifacts, or props to use as characters in a diorama scene. We will provide a dollhouse as a standard set.
- Please work out a simple narrative concept which can be rendered as a single-shot sequence of static images connected with continuous camera movements.
Process
For the two class sessions involving the robot, we will meet at the Frank-Ratchye STUDIO for Creative Inquiry in CFA 111. Please be respectful of the space; we are guests.
In class, your instructors will demonstrate basic operation of the robot and introduce fundamental robot concepts to the entire class. We will also cover basic use and installation of the camera.
In your individual group sessions, we will give each student a supervised opportunity to operate and program robot movements.
One student in each group should install the iOS Z Camera App or Android Z Camera App on their own device. This will be used to control the camera while it is on the robot.
The group will arrange and light their diorama.
The main sequence will be programmed as a series of MoveJ movement commands separated by Wait pause commands. Each MoveJ will specify a target waypoint. For the first draft, we recommend working as a team using Freedrive mode to preview and set the camera pause points.
There are several roles to perform this as a team:
- Teach pendant operator
- Remote camera operator
- Robot Freedrive puppeteer (hands-on)
After the rough sequence is working, each individual waypoint position can be fine-tuned, either with Freedrive or with the jogging controls on the pendant.
After the positions are tuned, the timing can be adjusted by modifying the Max Speed and Acceleration parameters for each MoveJ command.
Once the sequence is tuned, then the final video can be captured in one take.