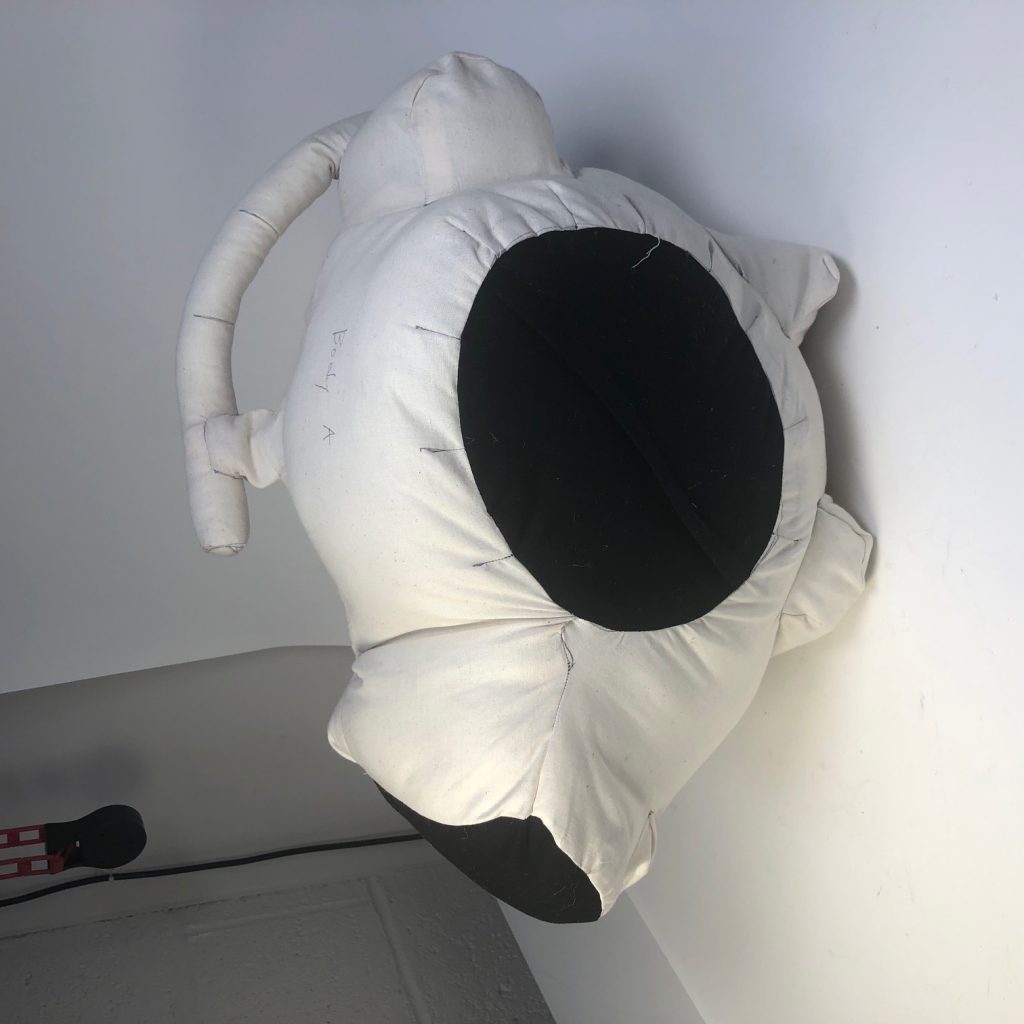
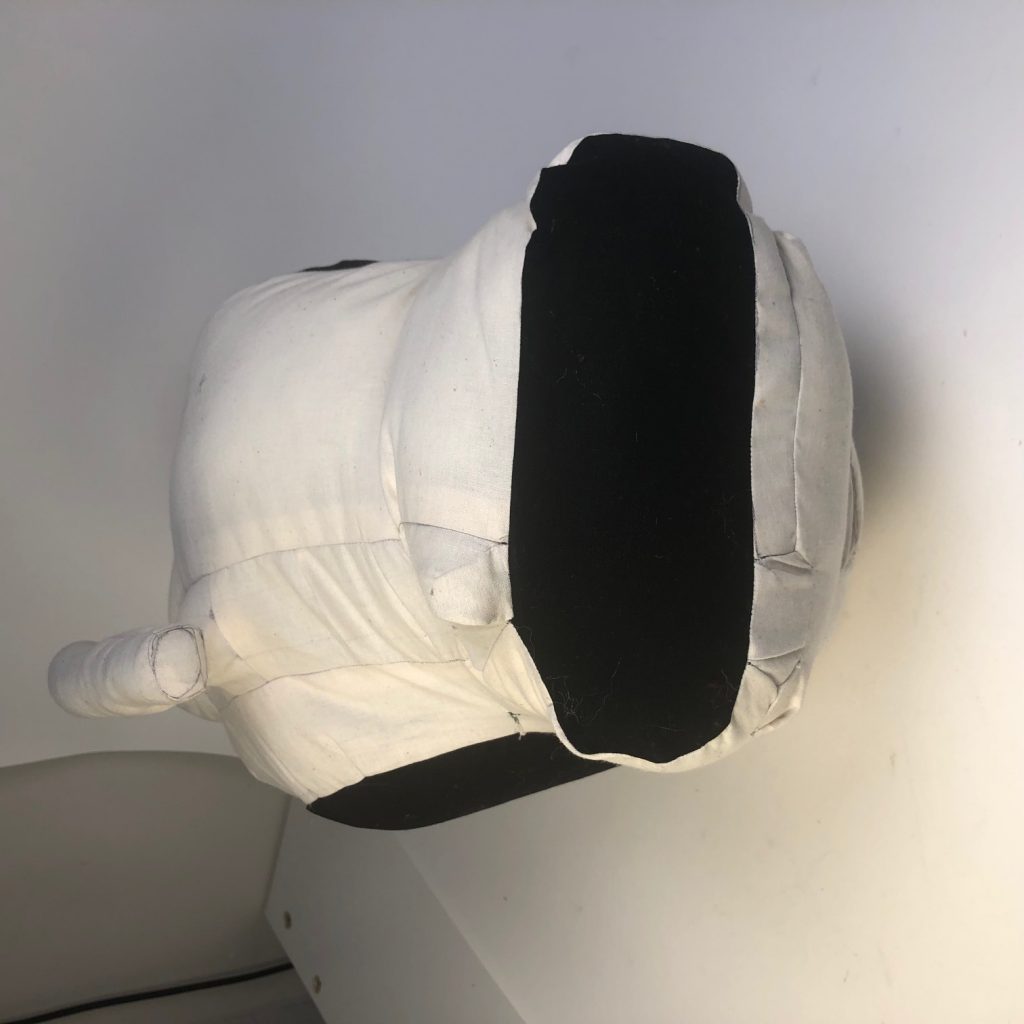
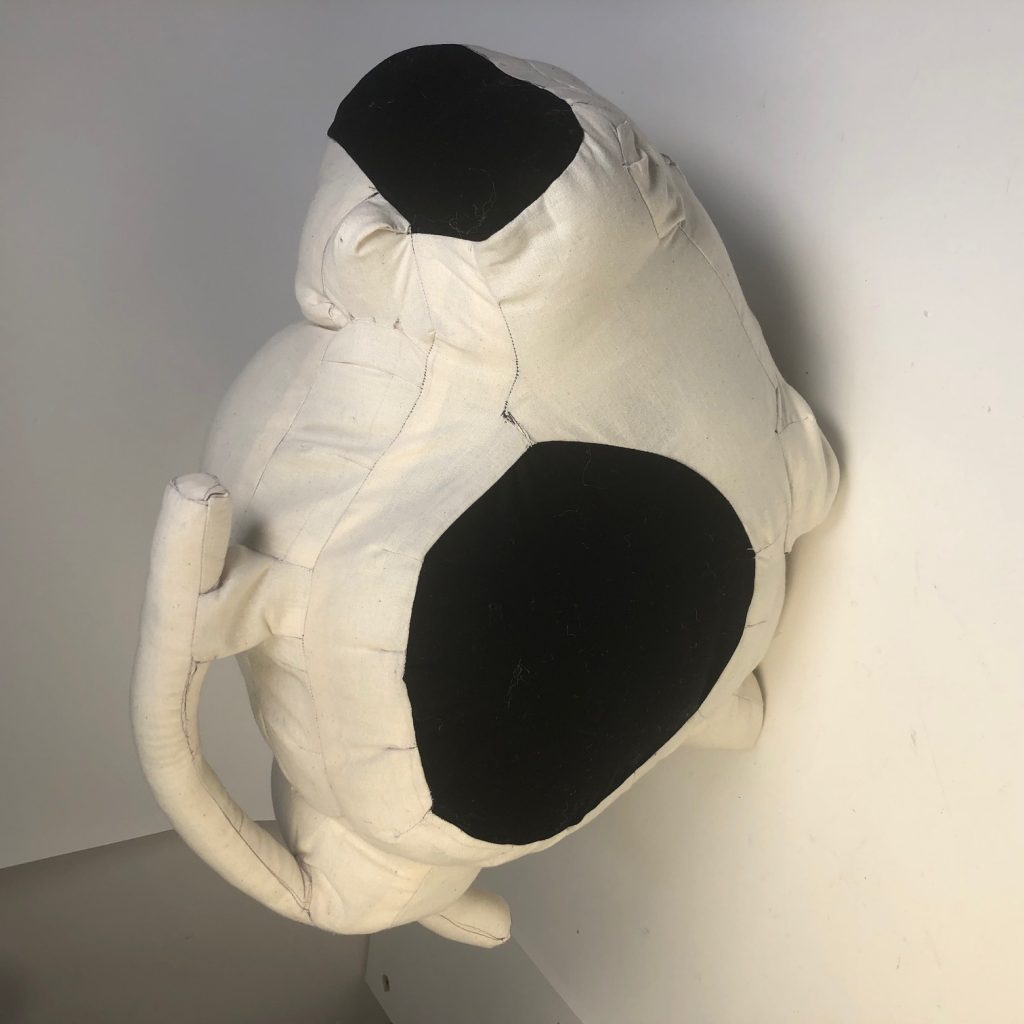
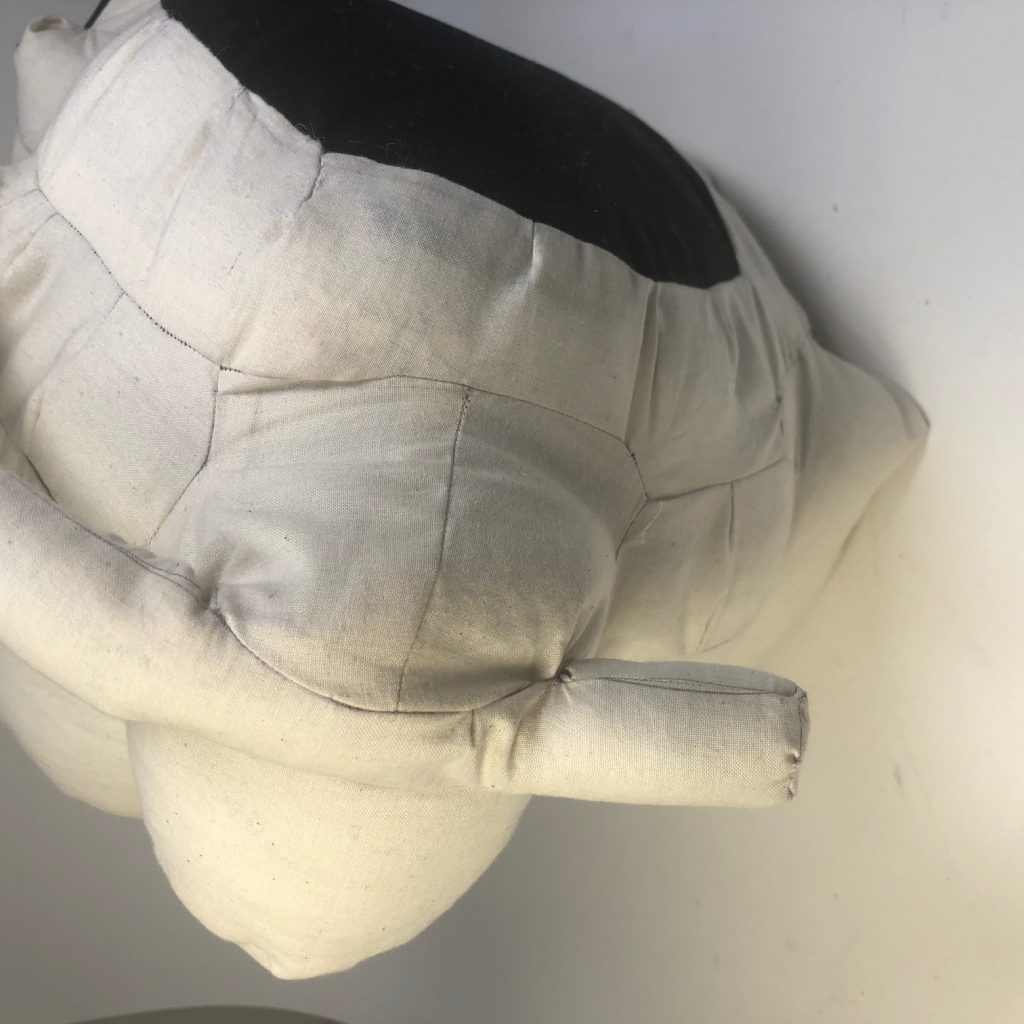
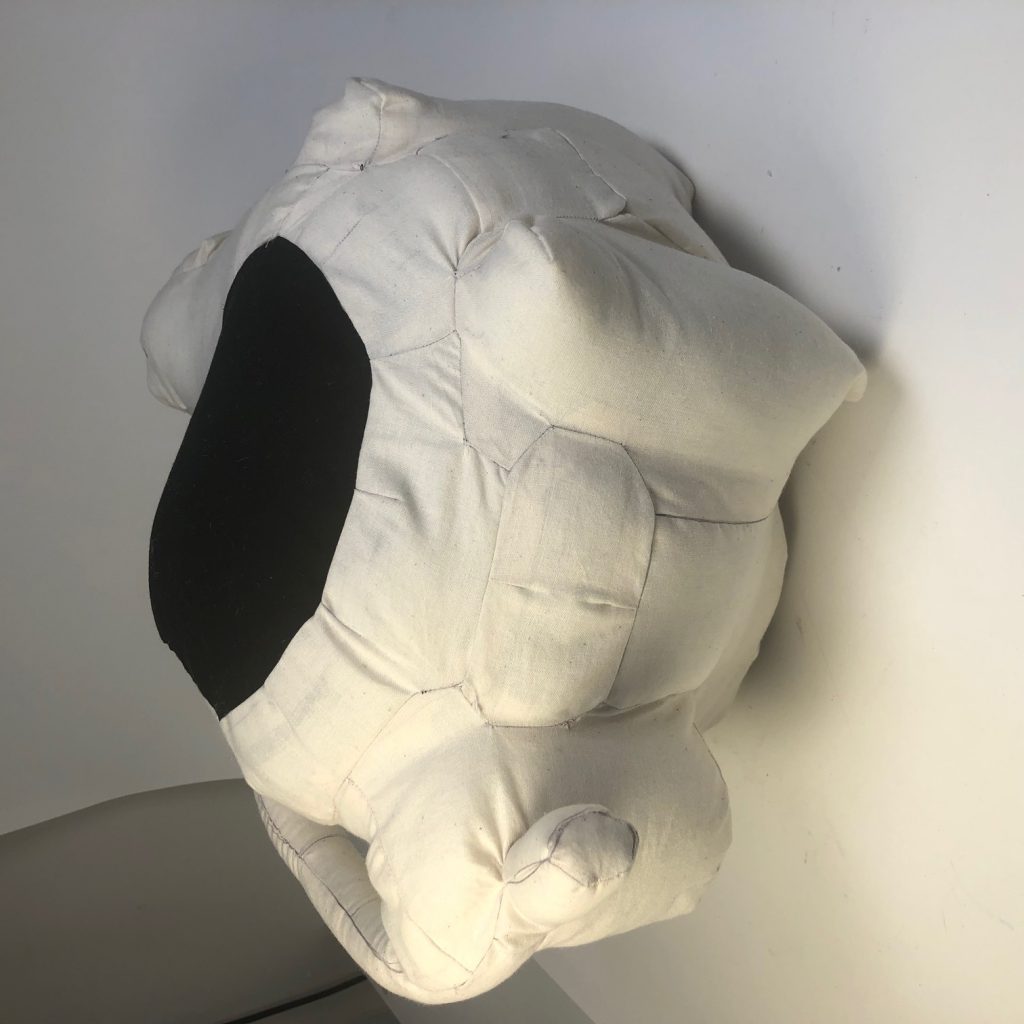
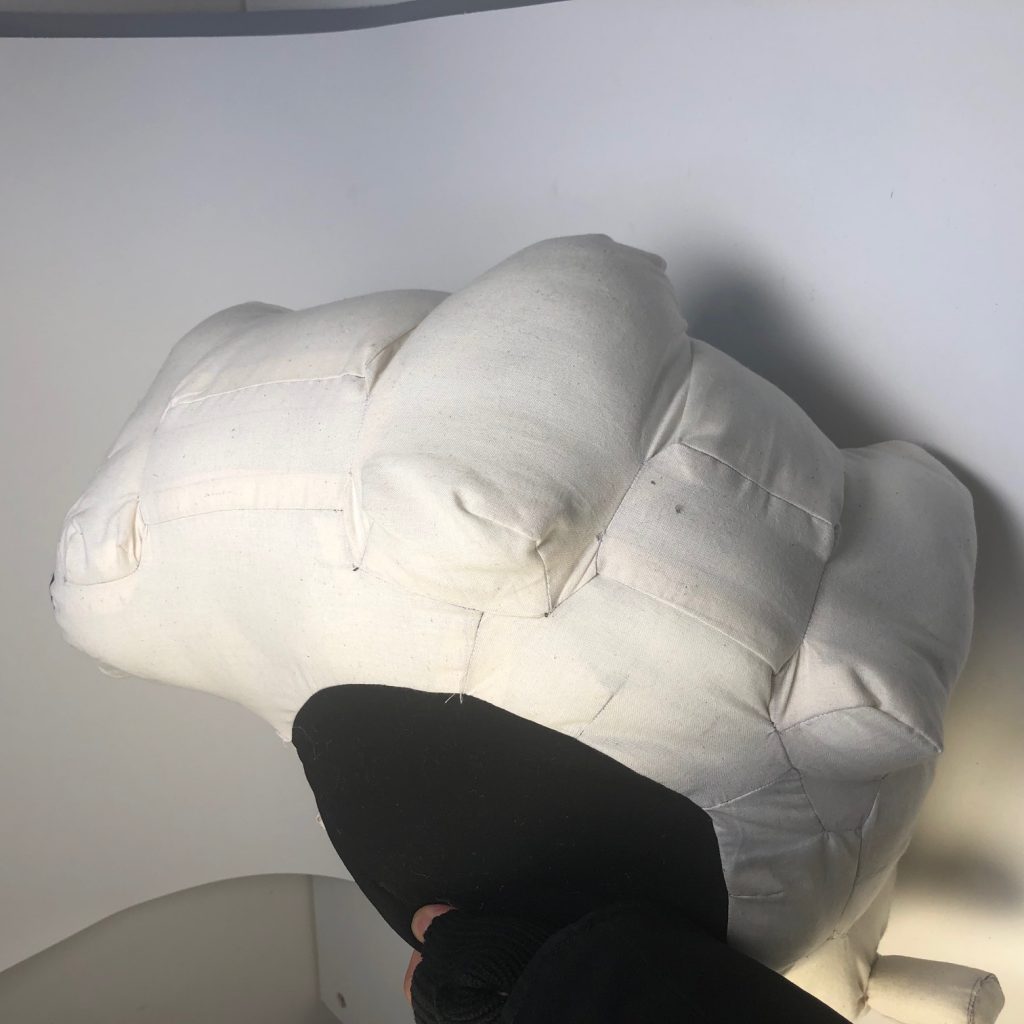
Doppelganger: Sue
Process, Discoveries, Successes, and Challenges
For this project, I worked with Joseph to cover the inflatable in tape. Due to the complexity of the object, I planned on keeping the pattern to scale. After covering the object in tape, deciding where to place the seams was a group effort and we were able to come up with a couple creative ways to keep the pieces large and have seams hidden.
We then cut the tape pattern from the blower and laid it out on paper. Thankfully, many of the pieces had nice measurements (such as 2”) which allowed me to use the clear grid ruler to redraw the patterns onto my fabric. The patterns were then cut and piecing together the object was all that was left.
I had to reference my photos of the blower many times, looking back and forth at the pattern pieces and the references to make sure the correct pieces were going together. Once or twice, I sewed incorrect sides to each other and had to seam-rip. Although I wasn’t sure how the handle was going to come together, it all worked out semi-magically!
Looking back on the doppelganger, I wish I had used a more fun fabric, instead of the beige one I chose. Another fabric that didn’t rip as easily might have also been beneficial in preventing some holes which popped up. Another challenge I ran into was stuffing the object. I found that I should have stuffed the corners with small pieces first, before filling the rest which large handfuls of stuffing.
Finally, there were many ridges which did not end up keeping its shape, which I did not consider. I learned during our critique that I could have added strips of fabric inside to keep the ridges together, like Joseph did with his blower.
This was overall a very challenging and exciting piece to build, and it is empowering to know I am now able to pattern many things I see around my house.
