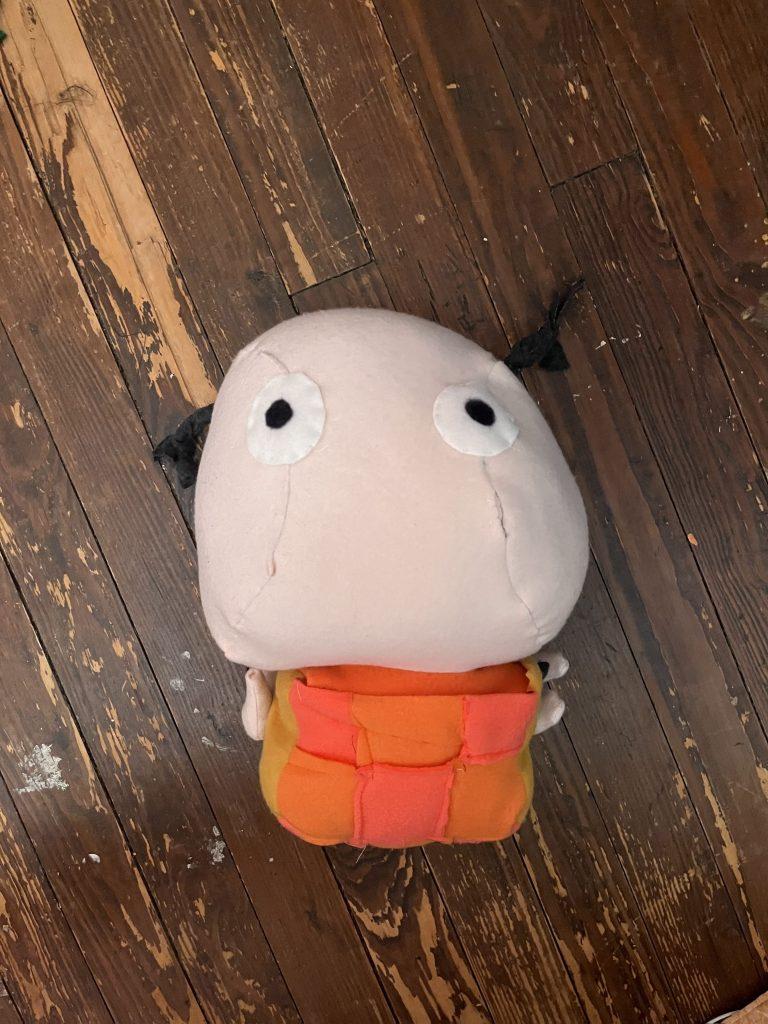
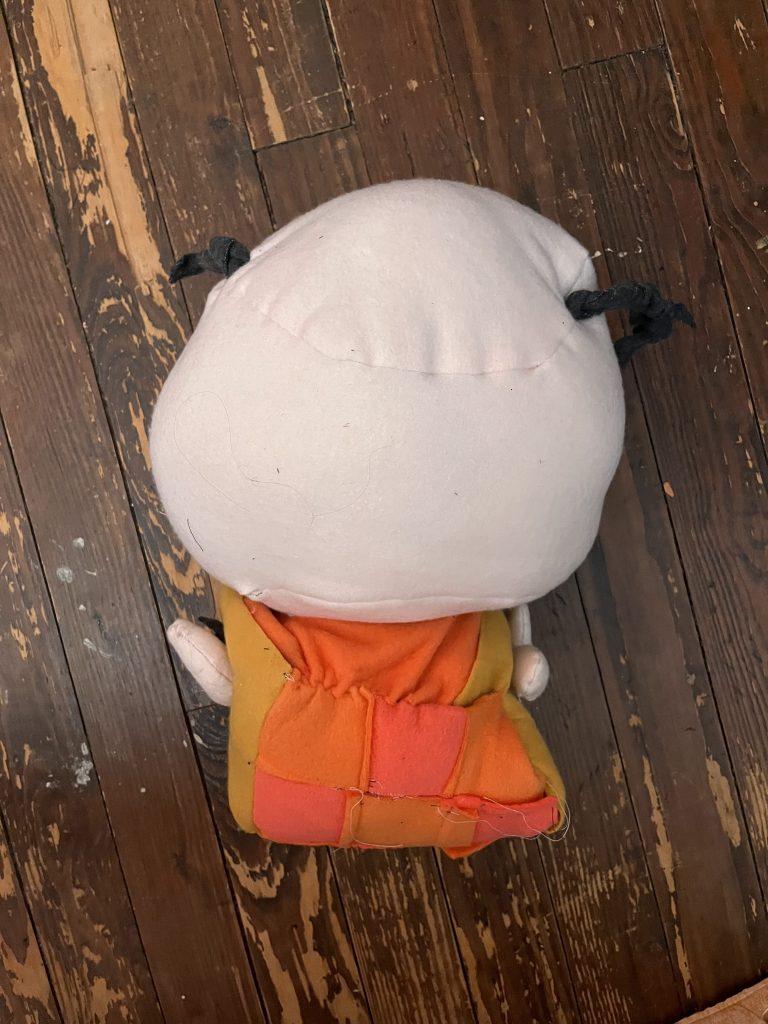
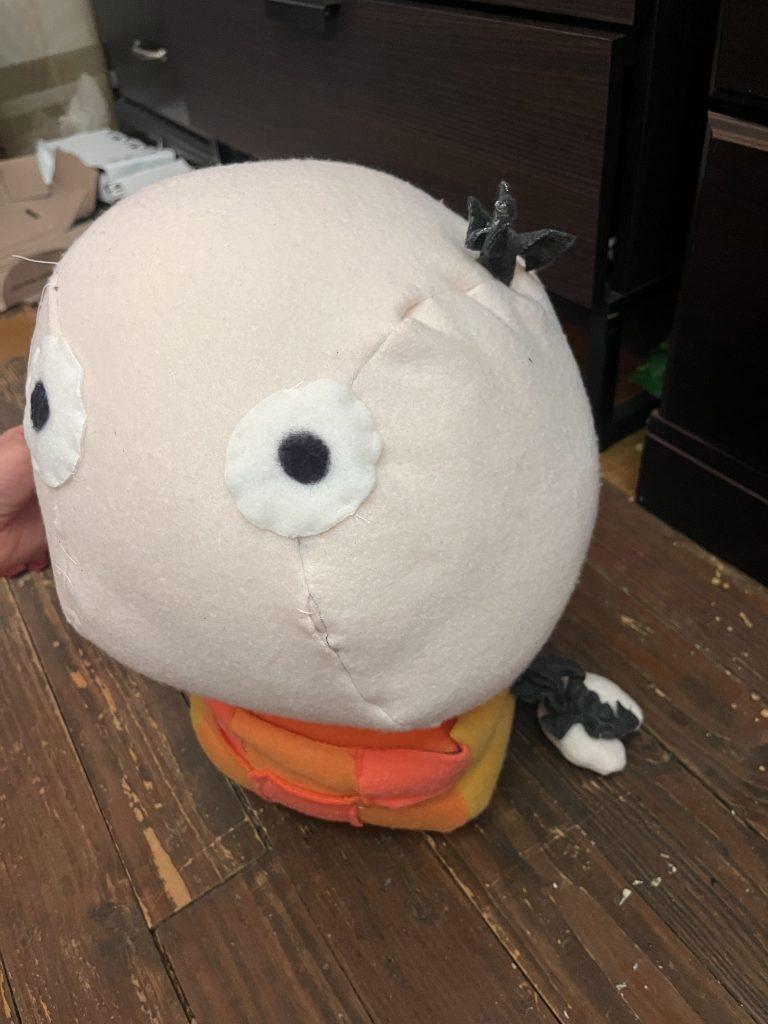
For my first object, I wanted to make a doll-like figure by combining a spherical and a rectangular shape. I first began making the patchwork body by laser cutting a bunch of little squares and sewing them to create the outline of the rectangular shape. Then, I combined one piece of the sphere with the body. There were a few holes in the patchwork rectangle and head, so I hand-sewed those. Since this was my first time sewing different primary forms together, I noticed that it was difficult visualizing how to sew the shapes together so the right side was only displayed before stuffing.
As an interactive feature of the stuffed doll, I added two baffles connecting the hair to the arms. In order to make the hair, I braided three pieces of fabric. When the hair is pulled, the arms cave inward. When the hand is pulled, the doll’s long arms are revealed and the hair looks like small little space buns.
Doll with space buns and long arms
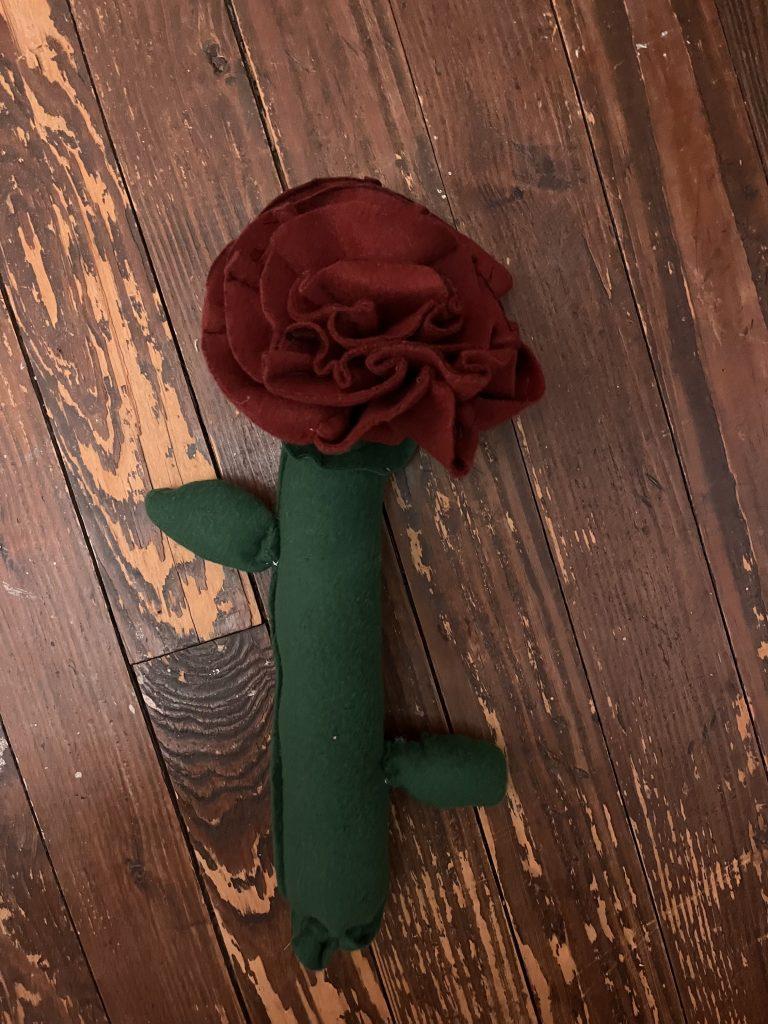
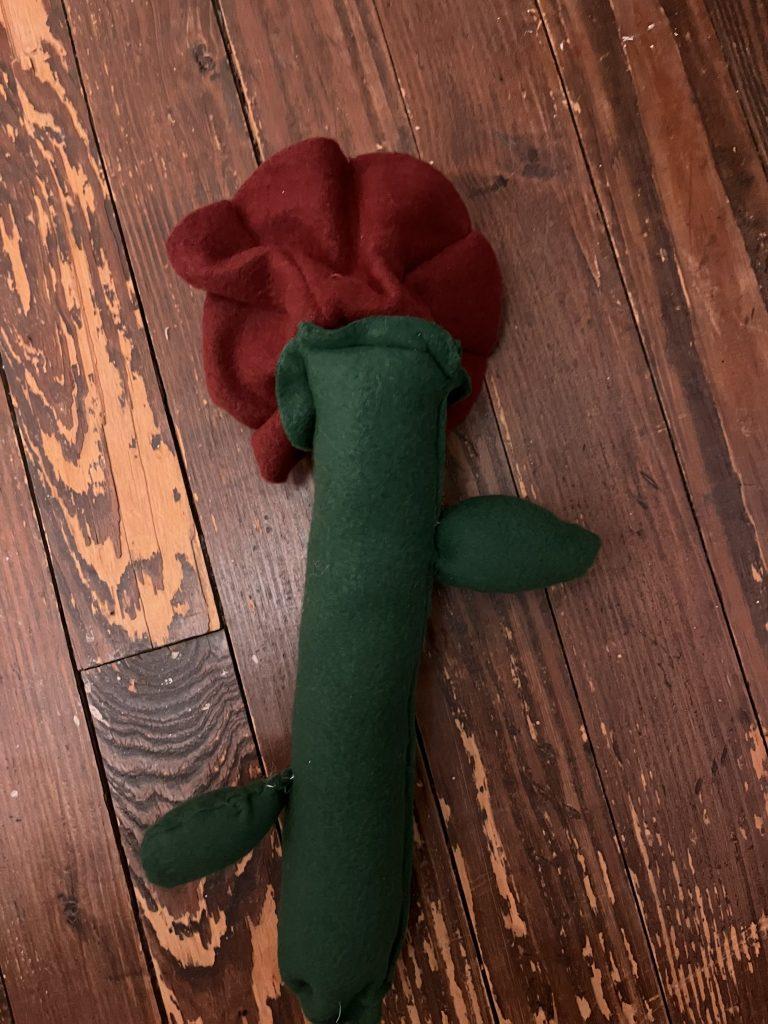
For my second object, I wanted to explore sewing techniques like darting. I made a flower stem by making a green cylinder and hand-sewed two stuffed leaves on it. Then, to make the flower I put around 4-8 darts on multiple pieces of fabric circles. I used 5 fabric circles total, with each getting smaller and smaller. To combine them, I hand sewed them all one-by-one in their centers. Making this piece was super cool because it showed me how different ways of sewing (in a way that’s not just attaching two pieces of fabric) can resemble fun patterns and objects.
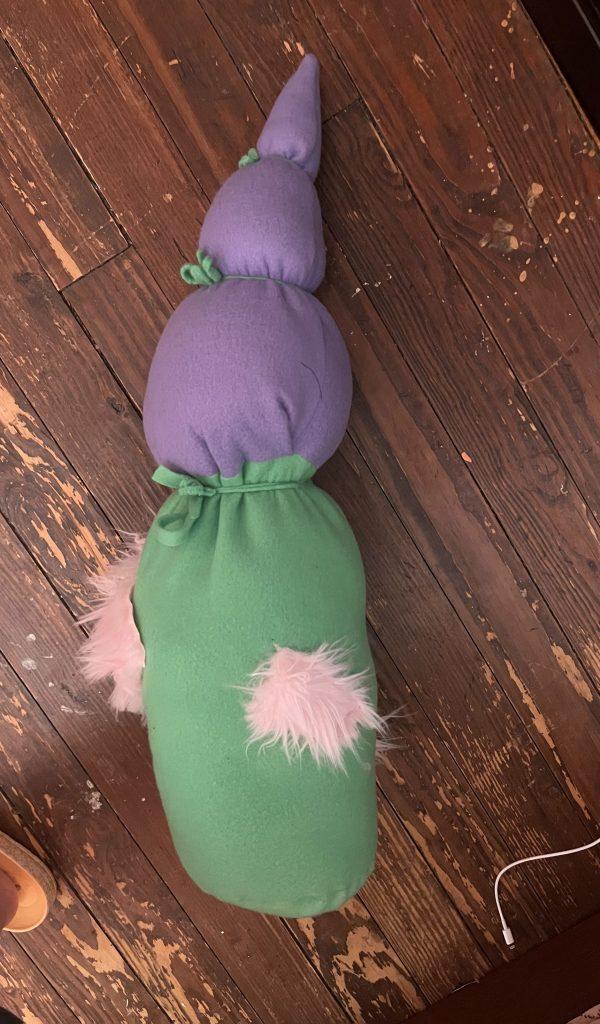
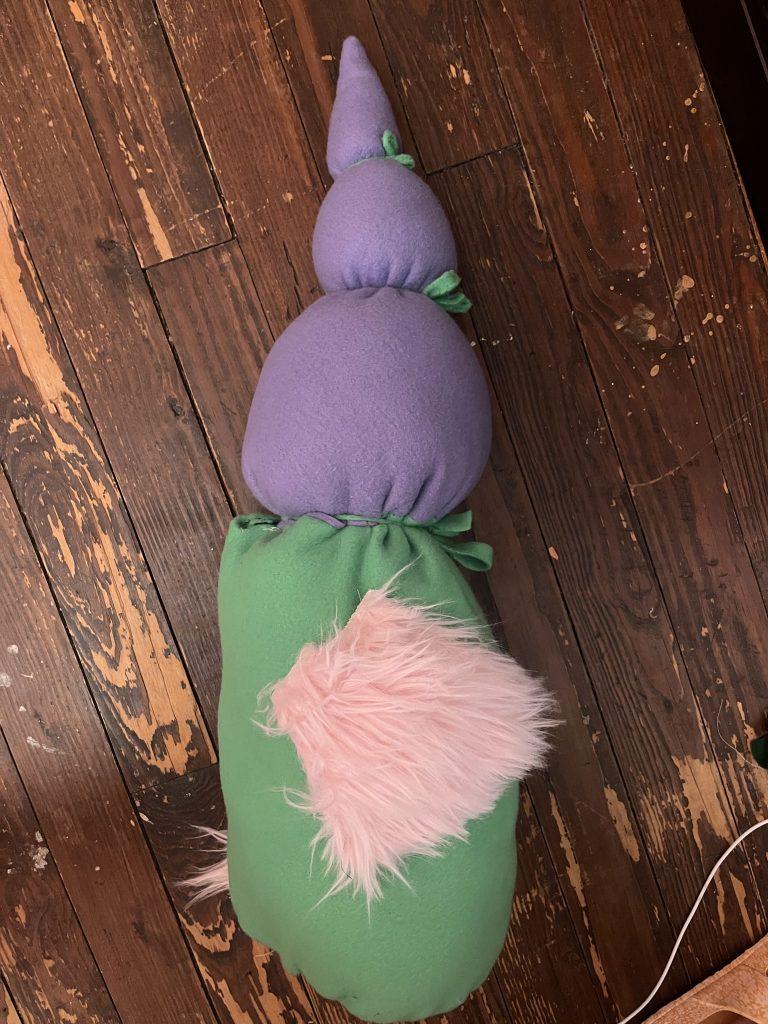
For my last item, I wanted to challenge myself by creating random primary forms and finding interesting ways to manipulate them. I had a cone and a cylinder, so I combined them to l first began by sewing them together. Next, I explored pushing the stuffing to look more rounded, so I added three fabric strips at different parts of the shape. Another thing I really wanted to experiment with was different types of fabric. The pink fur was a bit frustrating to work with because it kept getting caught in the sewing machine, but it was still a good learning experience. To me, this object resembles something from “The Lorax” 🙂
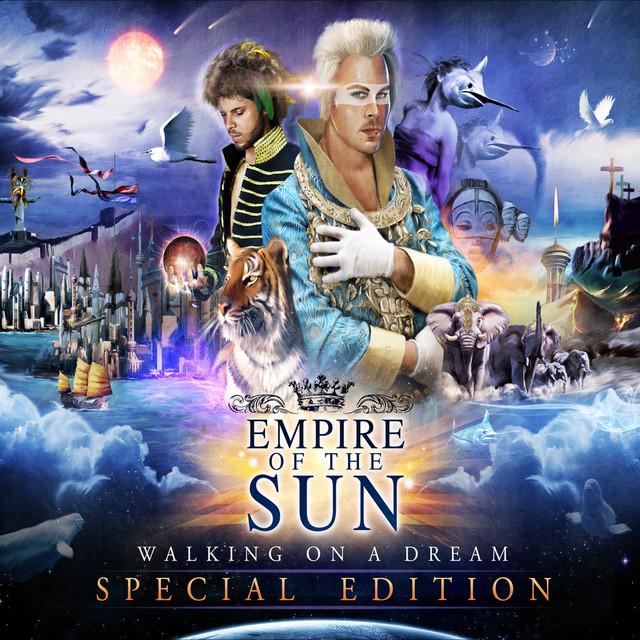
My music tower was inspired by one of my favorite albums/songs, Walking on a Dream by Empire of the Sun. Here’s an image of the album cover:
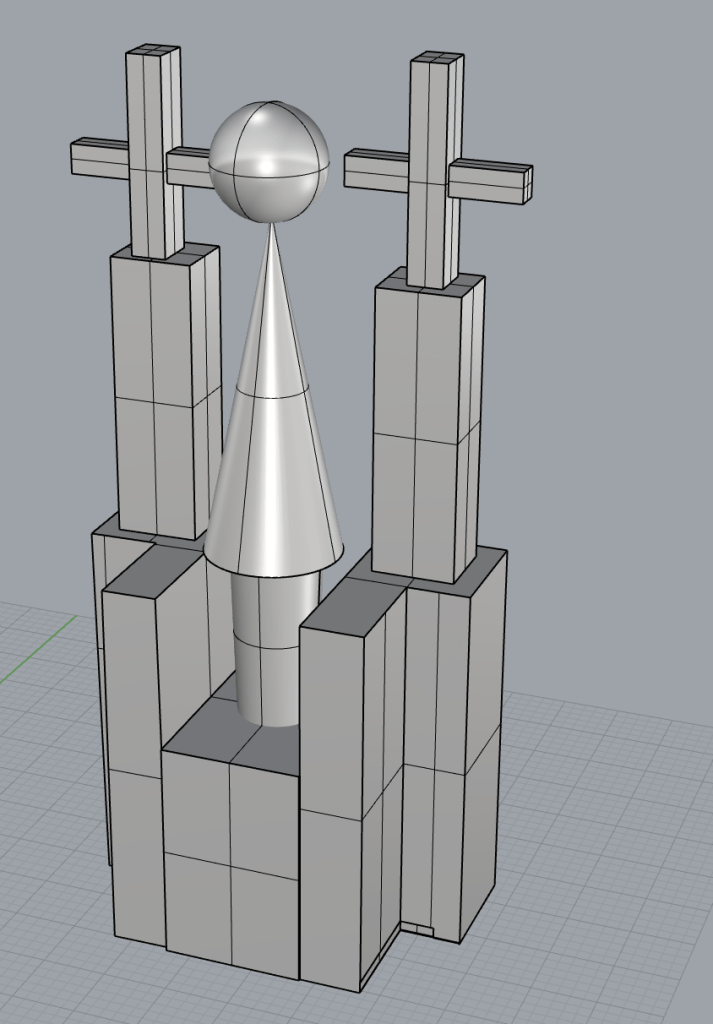
Drawing from the ethereal castle-like buildings in the image, I made my music tower tall with crosses at the top. In order to fit the playfulness of the scene, I also added a rounded shape with a ball at the top.
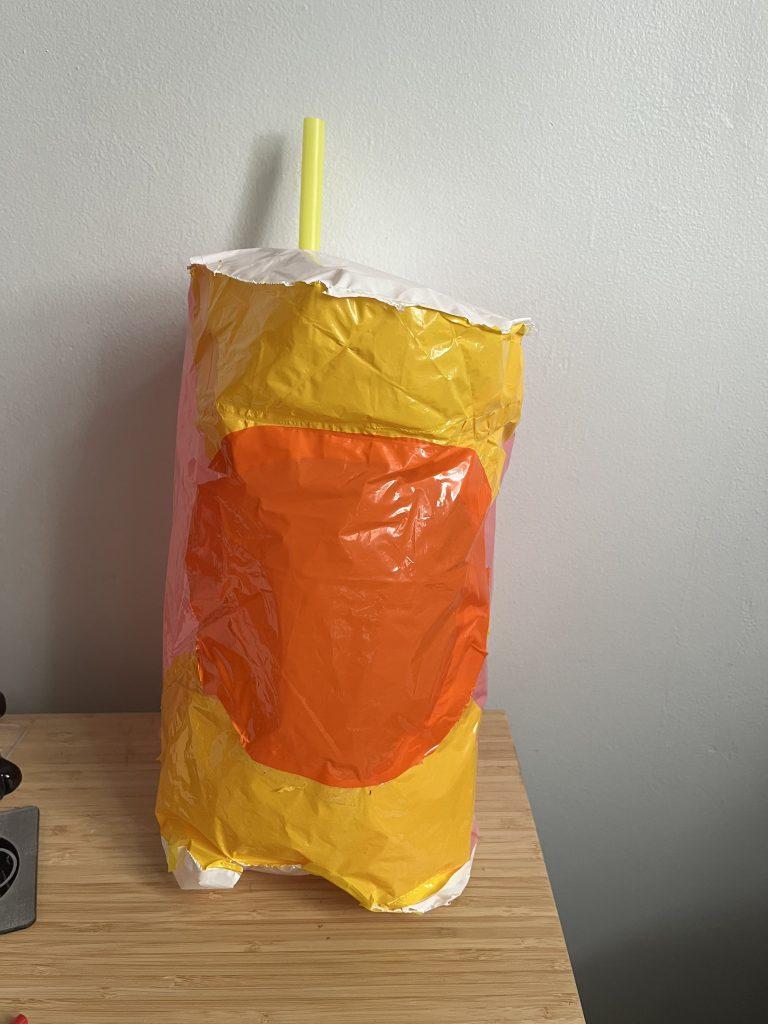
For my first inflatable, I wanted to explore cylinders and round shapes. I immediately noticed that using a rectangular heat press to seal round shapes meant sealing them at many different angles to cover the circumference. Other than working with round shapes, I also wanted to use bright colors like white and yellow to see if the light would pass through them.
When I placed this inflatable to get light from a nearby window, I saw that the light passed through the bright sections and almost the entire inflatable was illuminated. As shown in the video below, the light passing through the warm colored plastic also exposed all of the areas I taped and heat sealed.
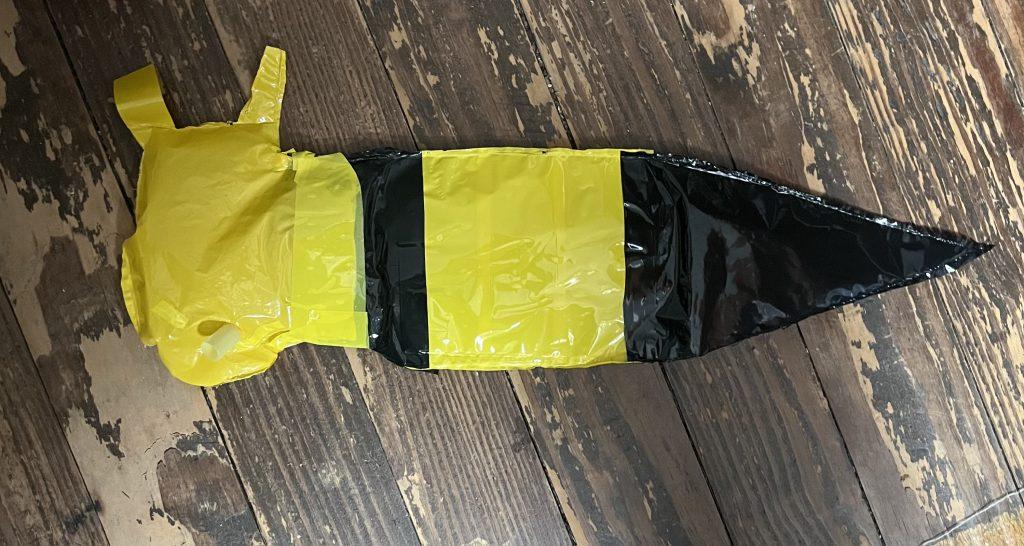
For my second inflatable, I wanted to make something that resembled something we see in everyday life. I also wanted to experiment with heat-sealing harsher edges and corners, as opposed to rounded shapes. Using yellow duct tape, I made the body and the neck of the bee, and heat-sealed it with strips of yellow and black plastic bags. I then went with the yellow duct tape to patch remaining holes.
Inflating the bee was evidence that inflatables aim to conform to spherical/round shapes. Even though the body of the bee was rectangular, the air in it made it swell up on the sides and resemble a cylinder. Also, I’m not sure if it was because the shape was narrow or because there were holes, but this inflatable deflated quicker than the others I made.
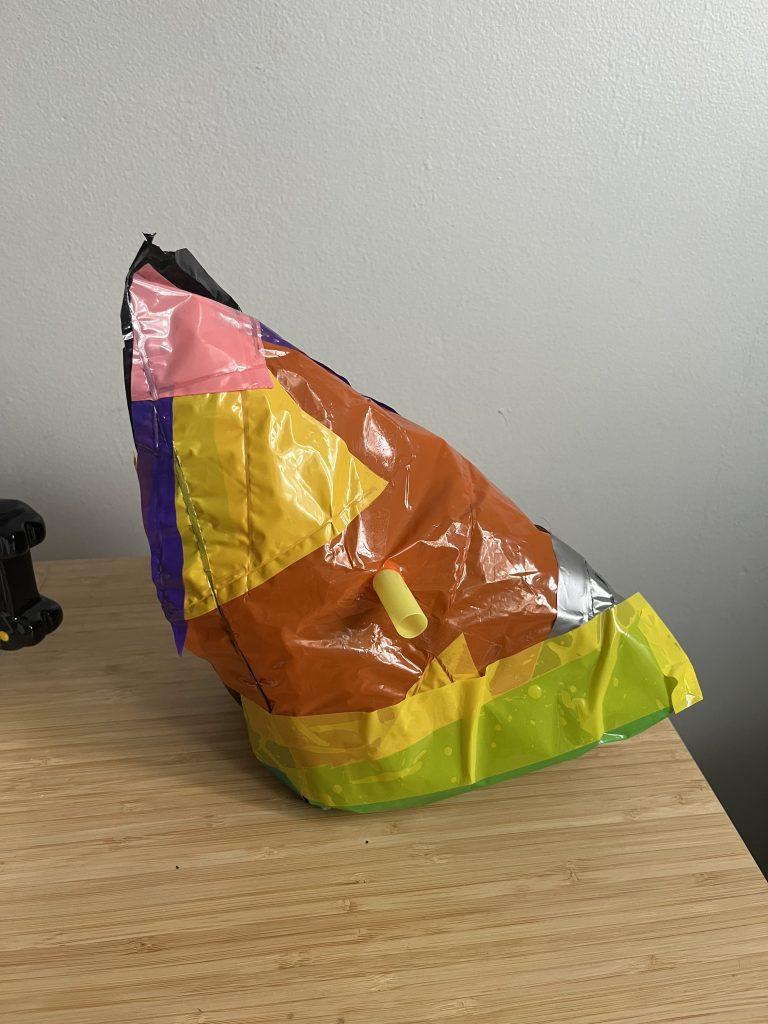
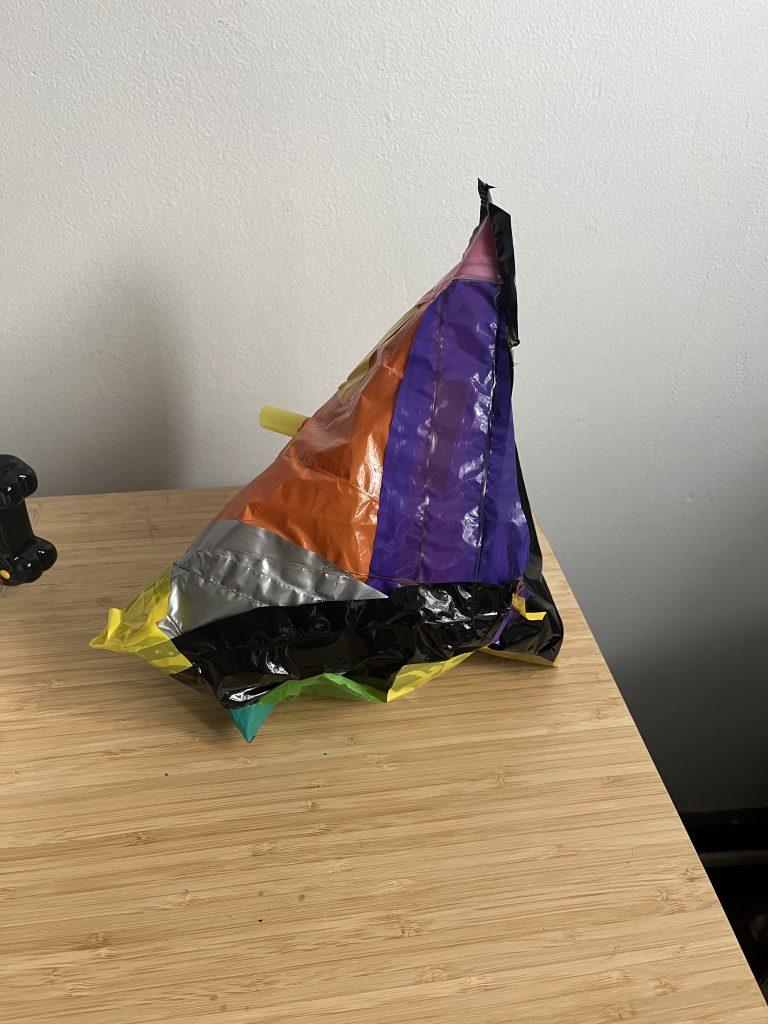
For my last inflatable, I wanted to explore random shapes using the scraps of the plastic bags I used for my other inflatables. My method was attaching random segments of the plastic bags together (some with heat seal and some with tape) and then trying to wrap it around to make it 3D. This was a lot harder than I thought it would be because a lot of the jagged shapes I cut did not properly attach to each other without gaping holes. I eventually pieced it together by overlapping pieces and using tape to cover holes.
I really liked how on the back of this inflatable, extra plastic remaining after heat sealing created a border-like outline around the inflatable. I also liked how it looked like a patchwork design because of all the different colors.
Overall, this assignment was a great way to use our creativity to explore different shapes of inflatables. I’m super excited to continue exploring and developing my skills!