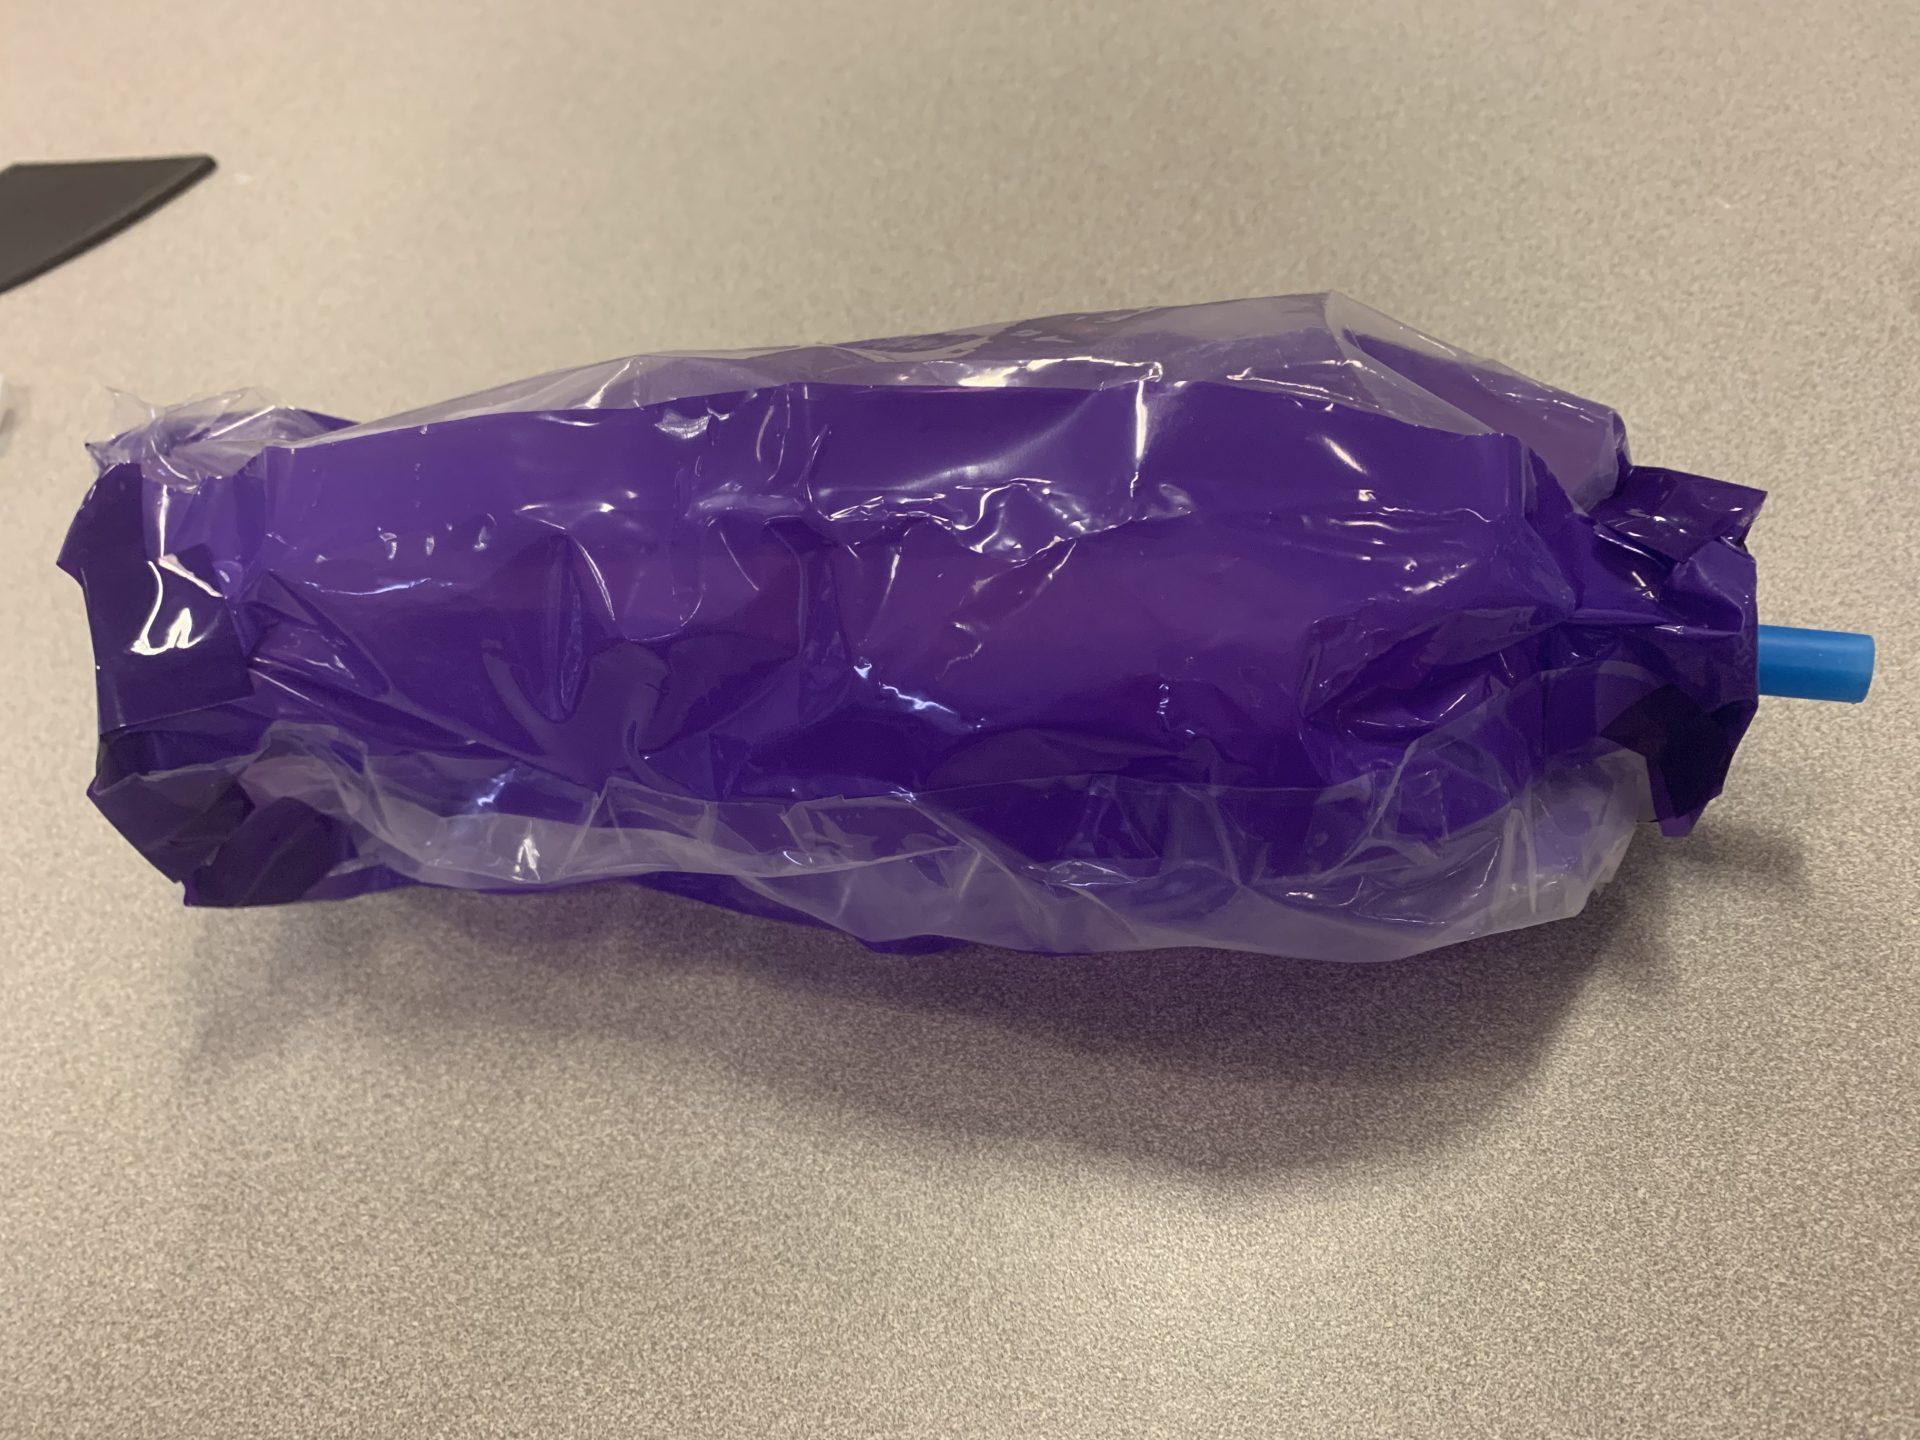
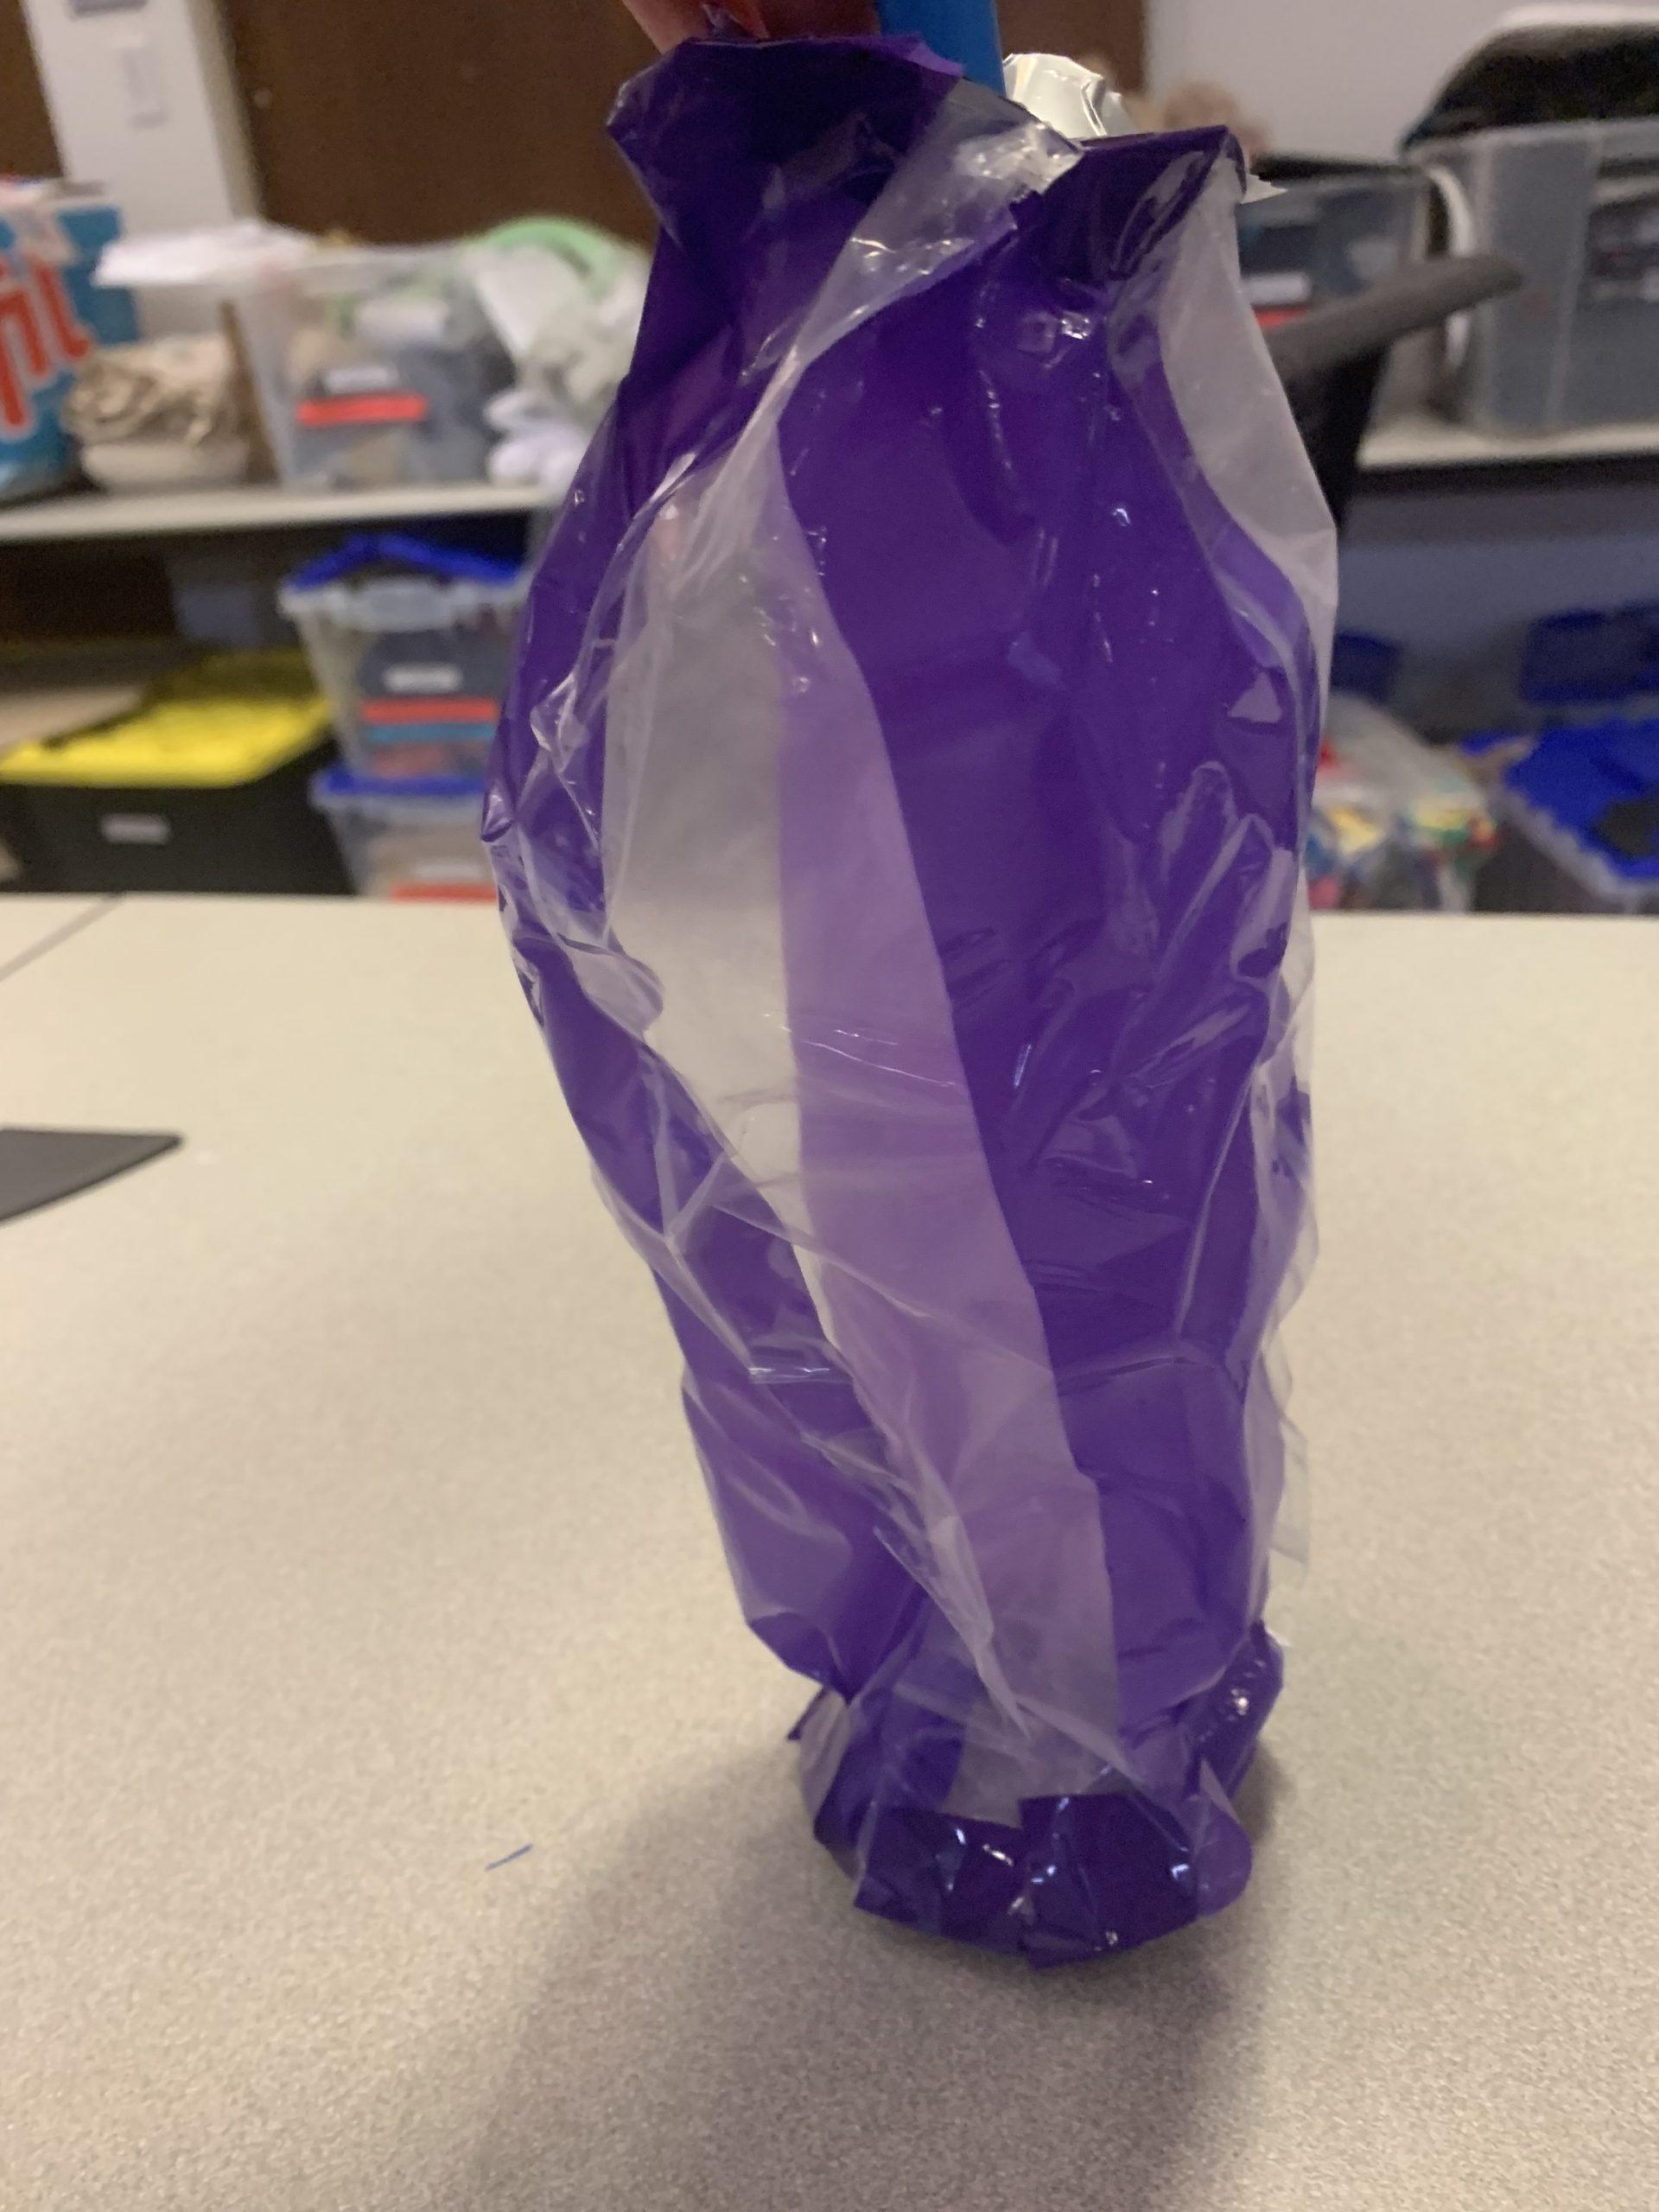
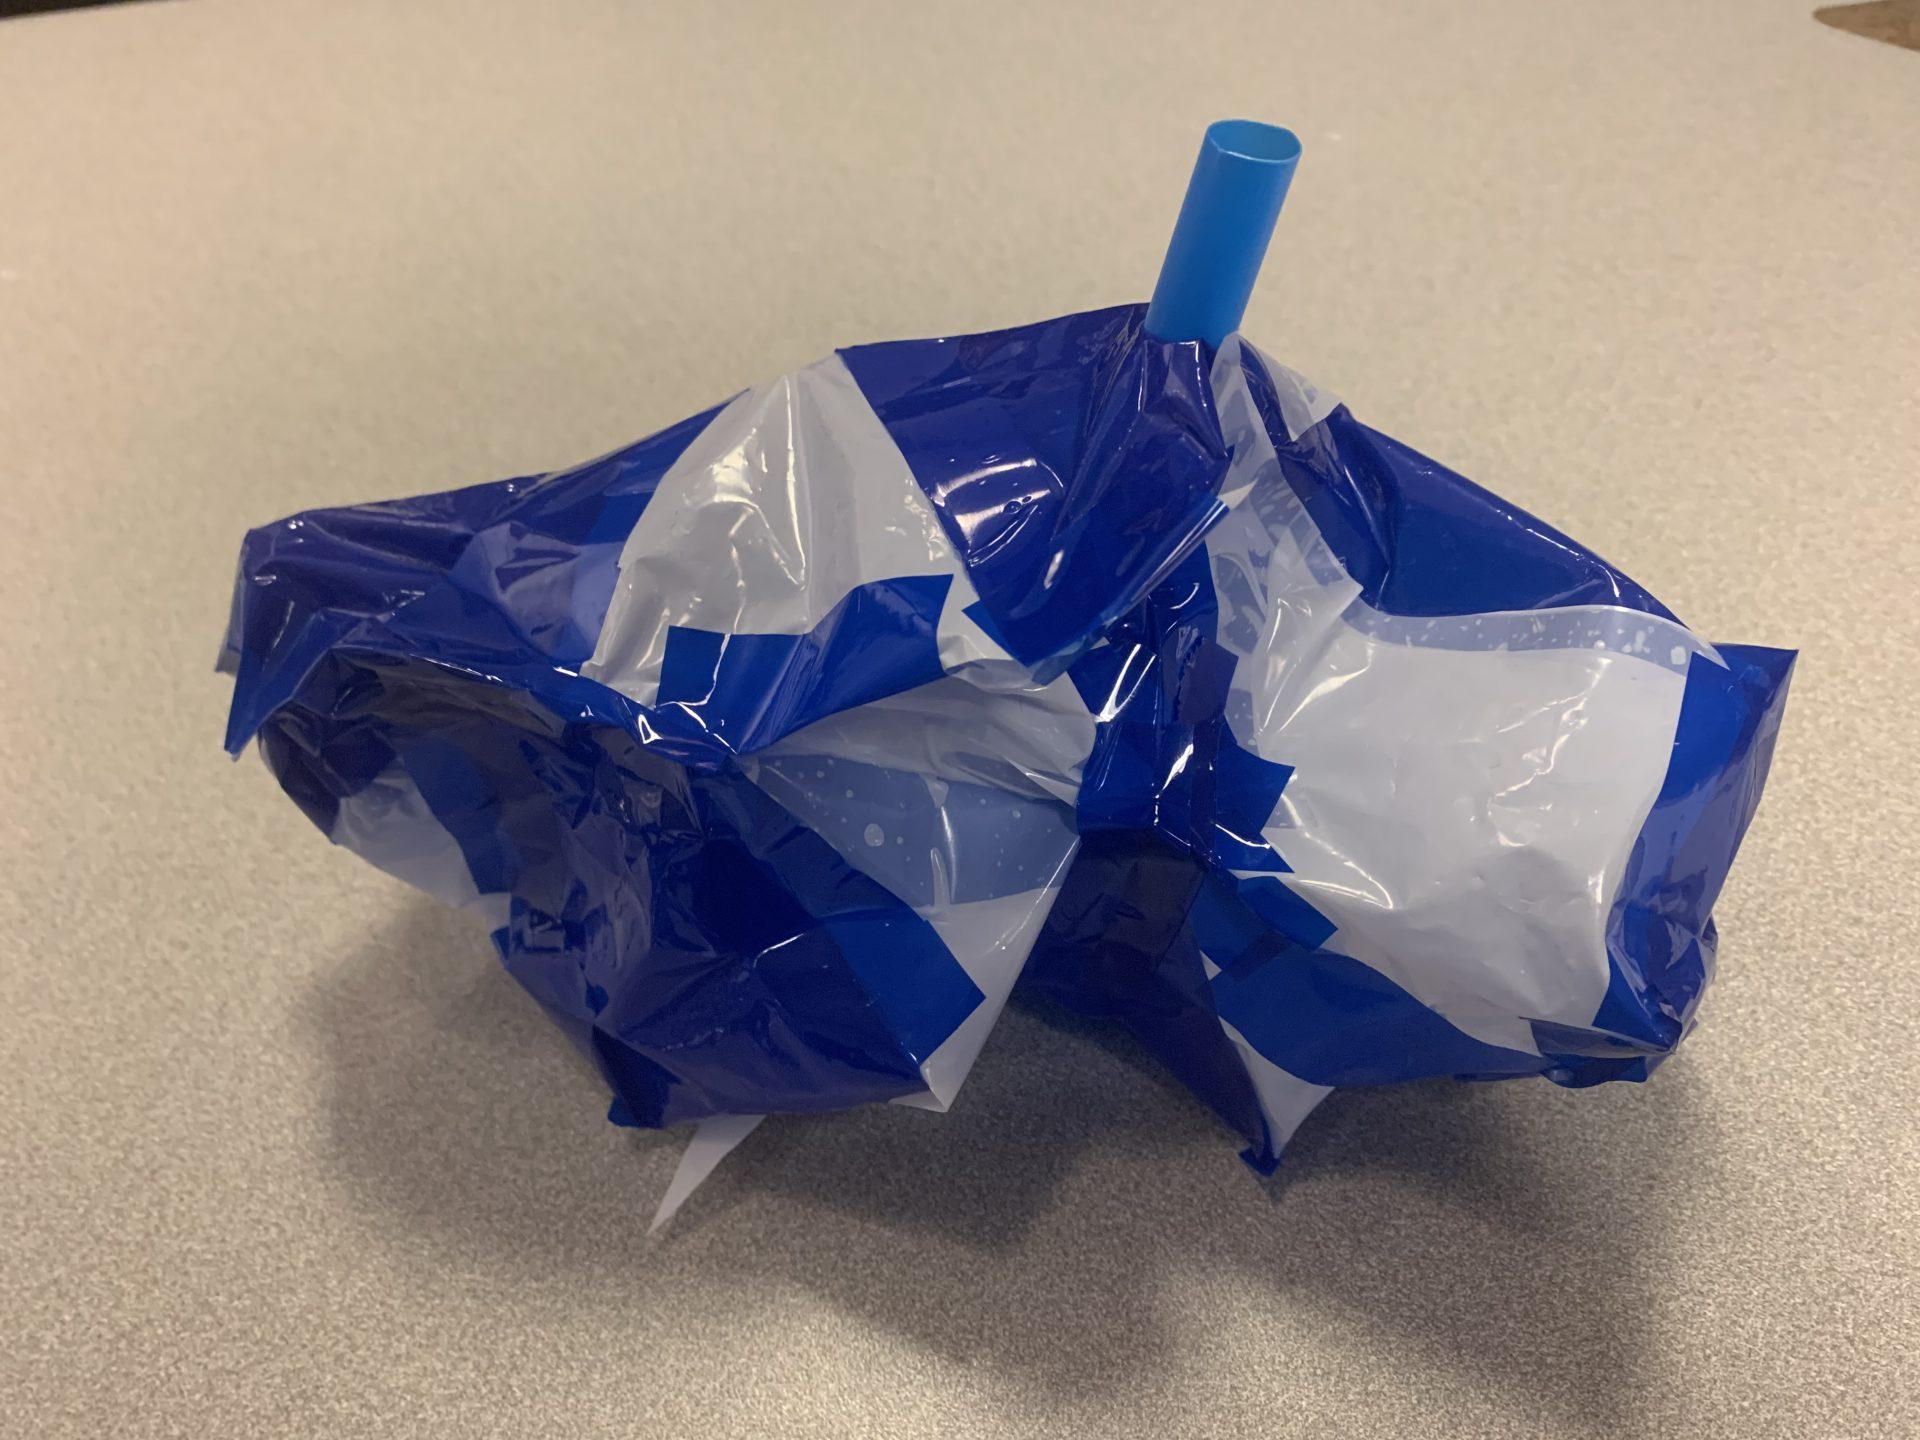
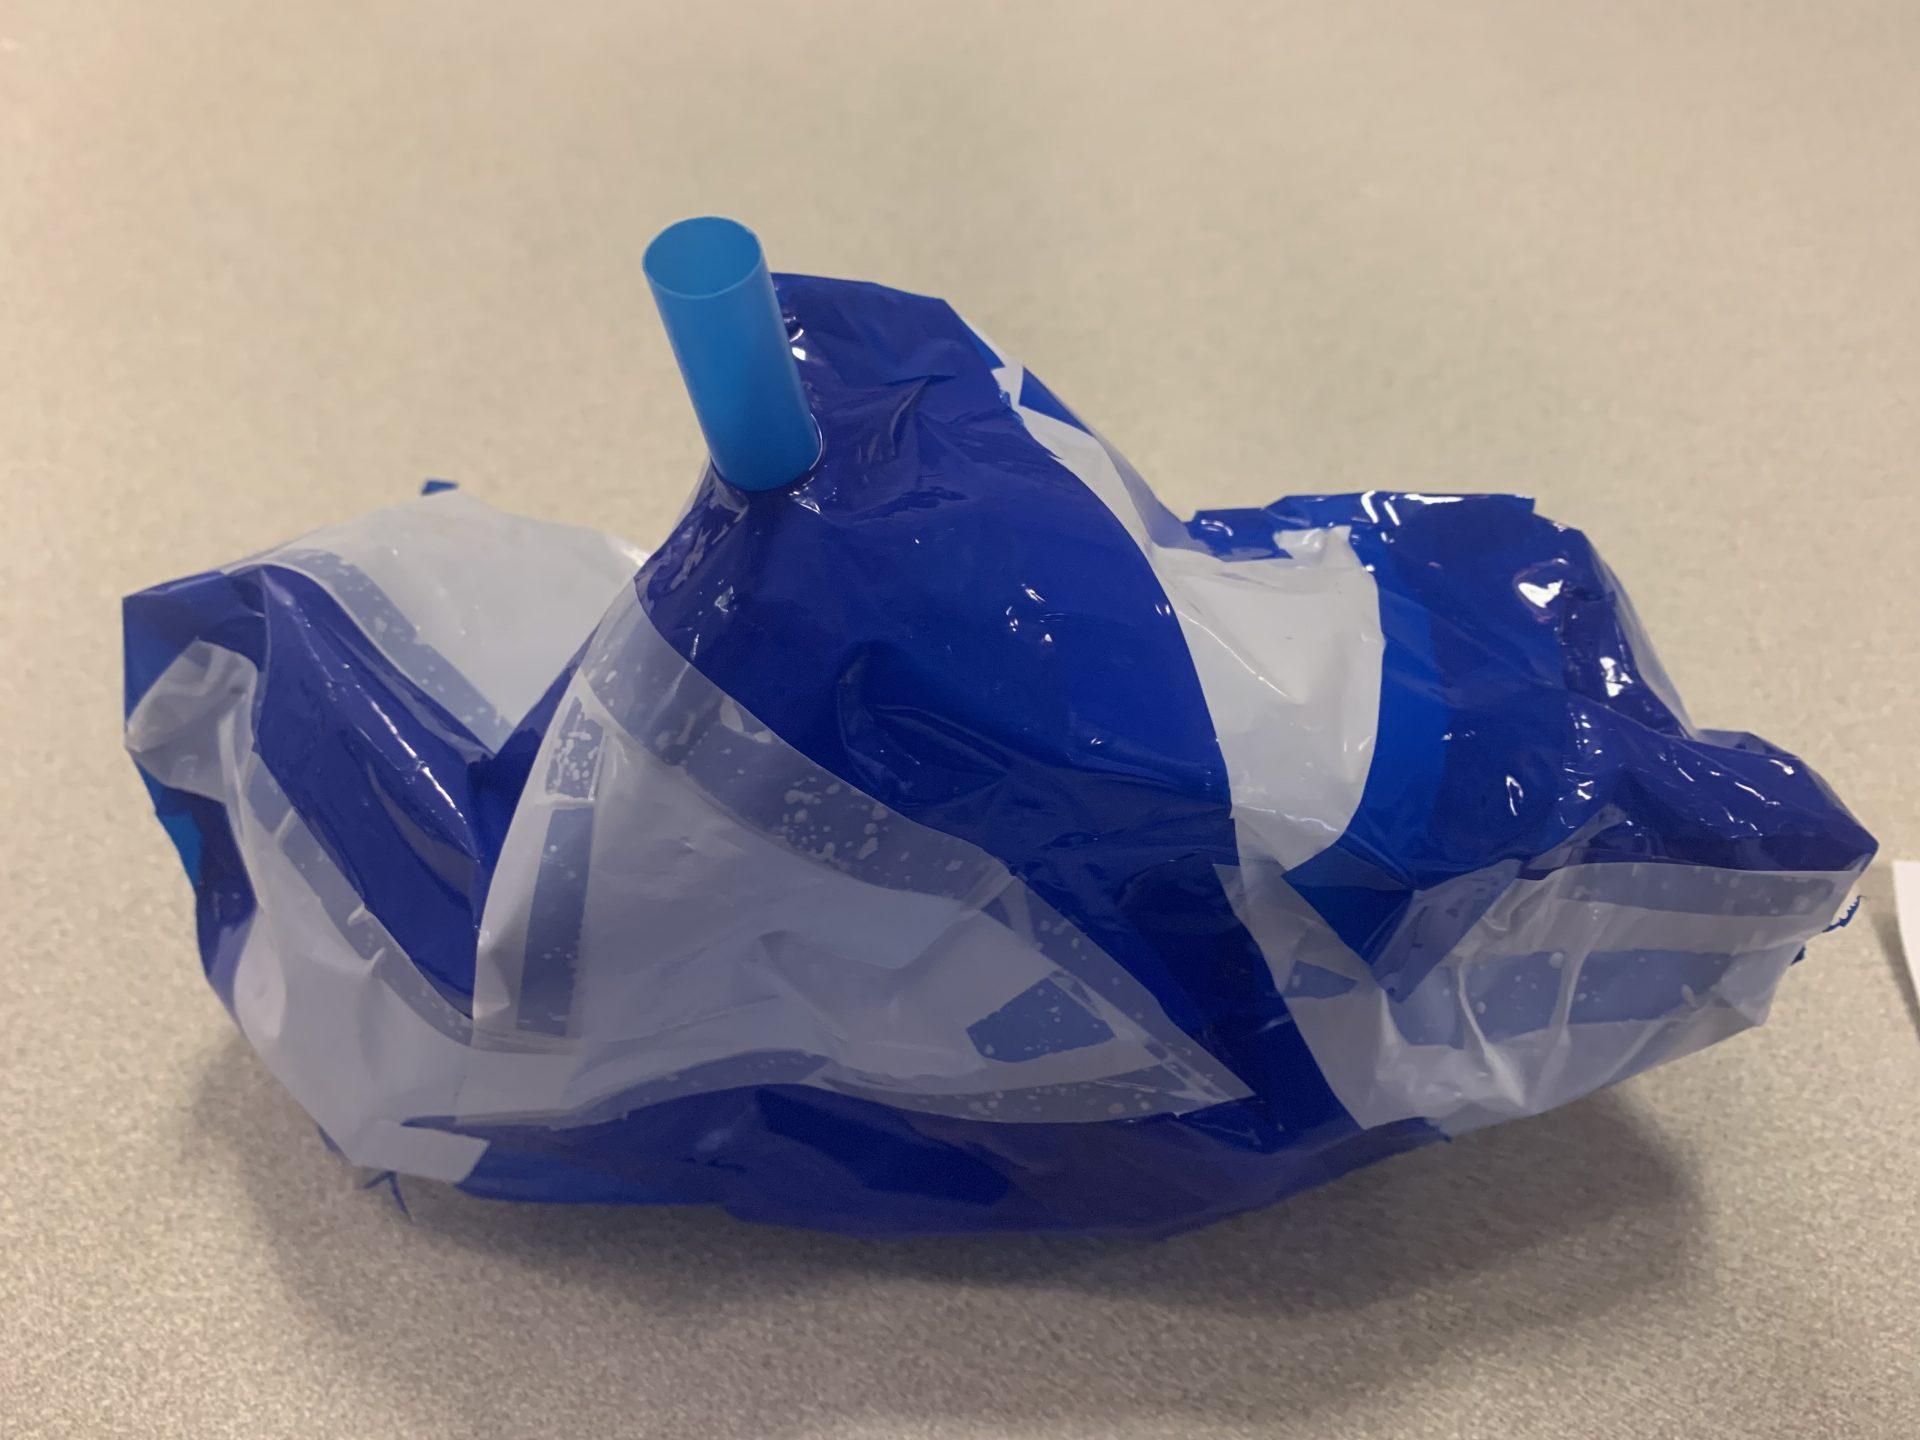
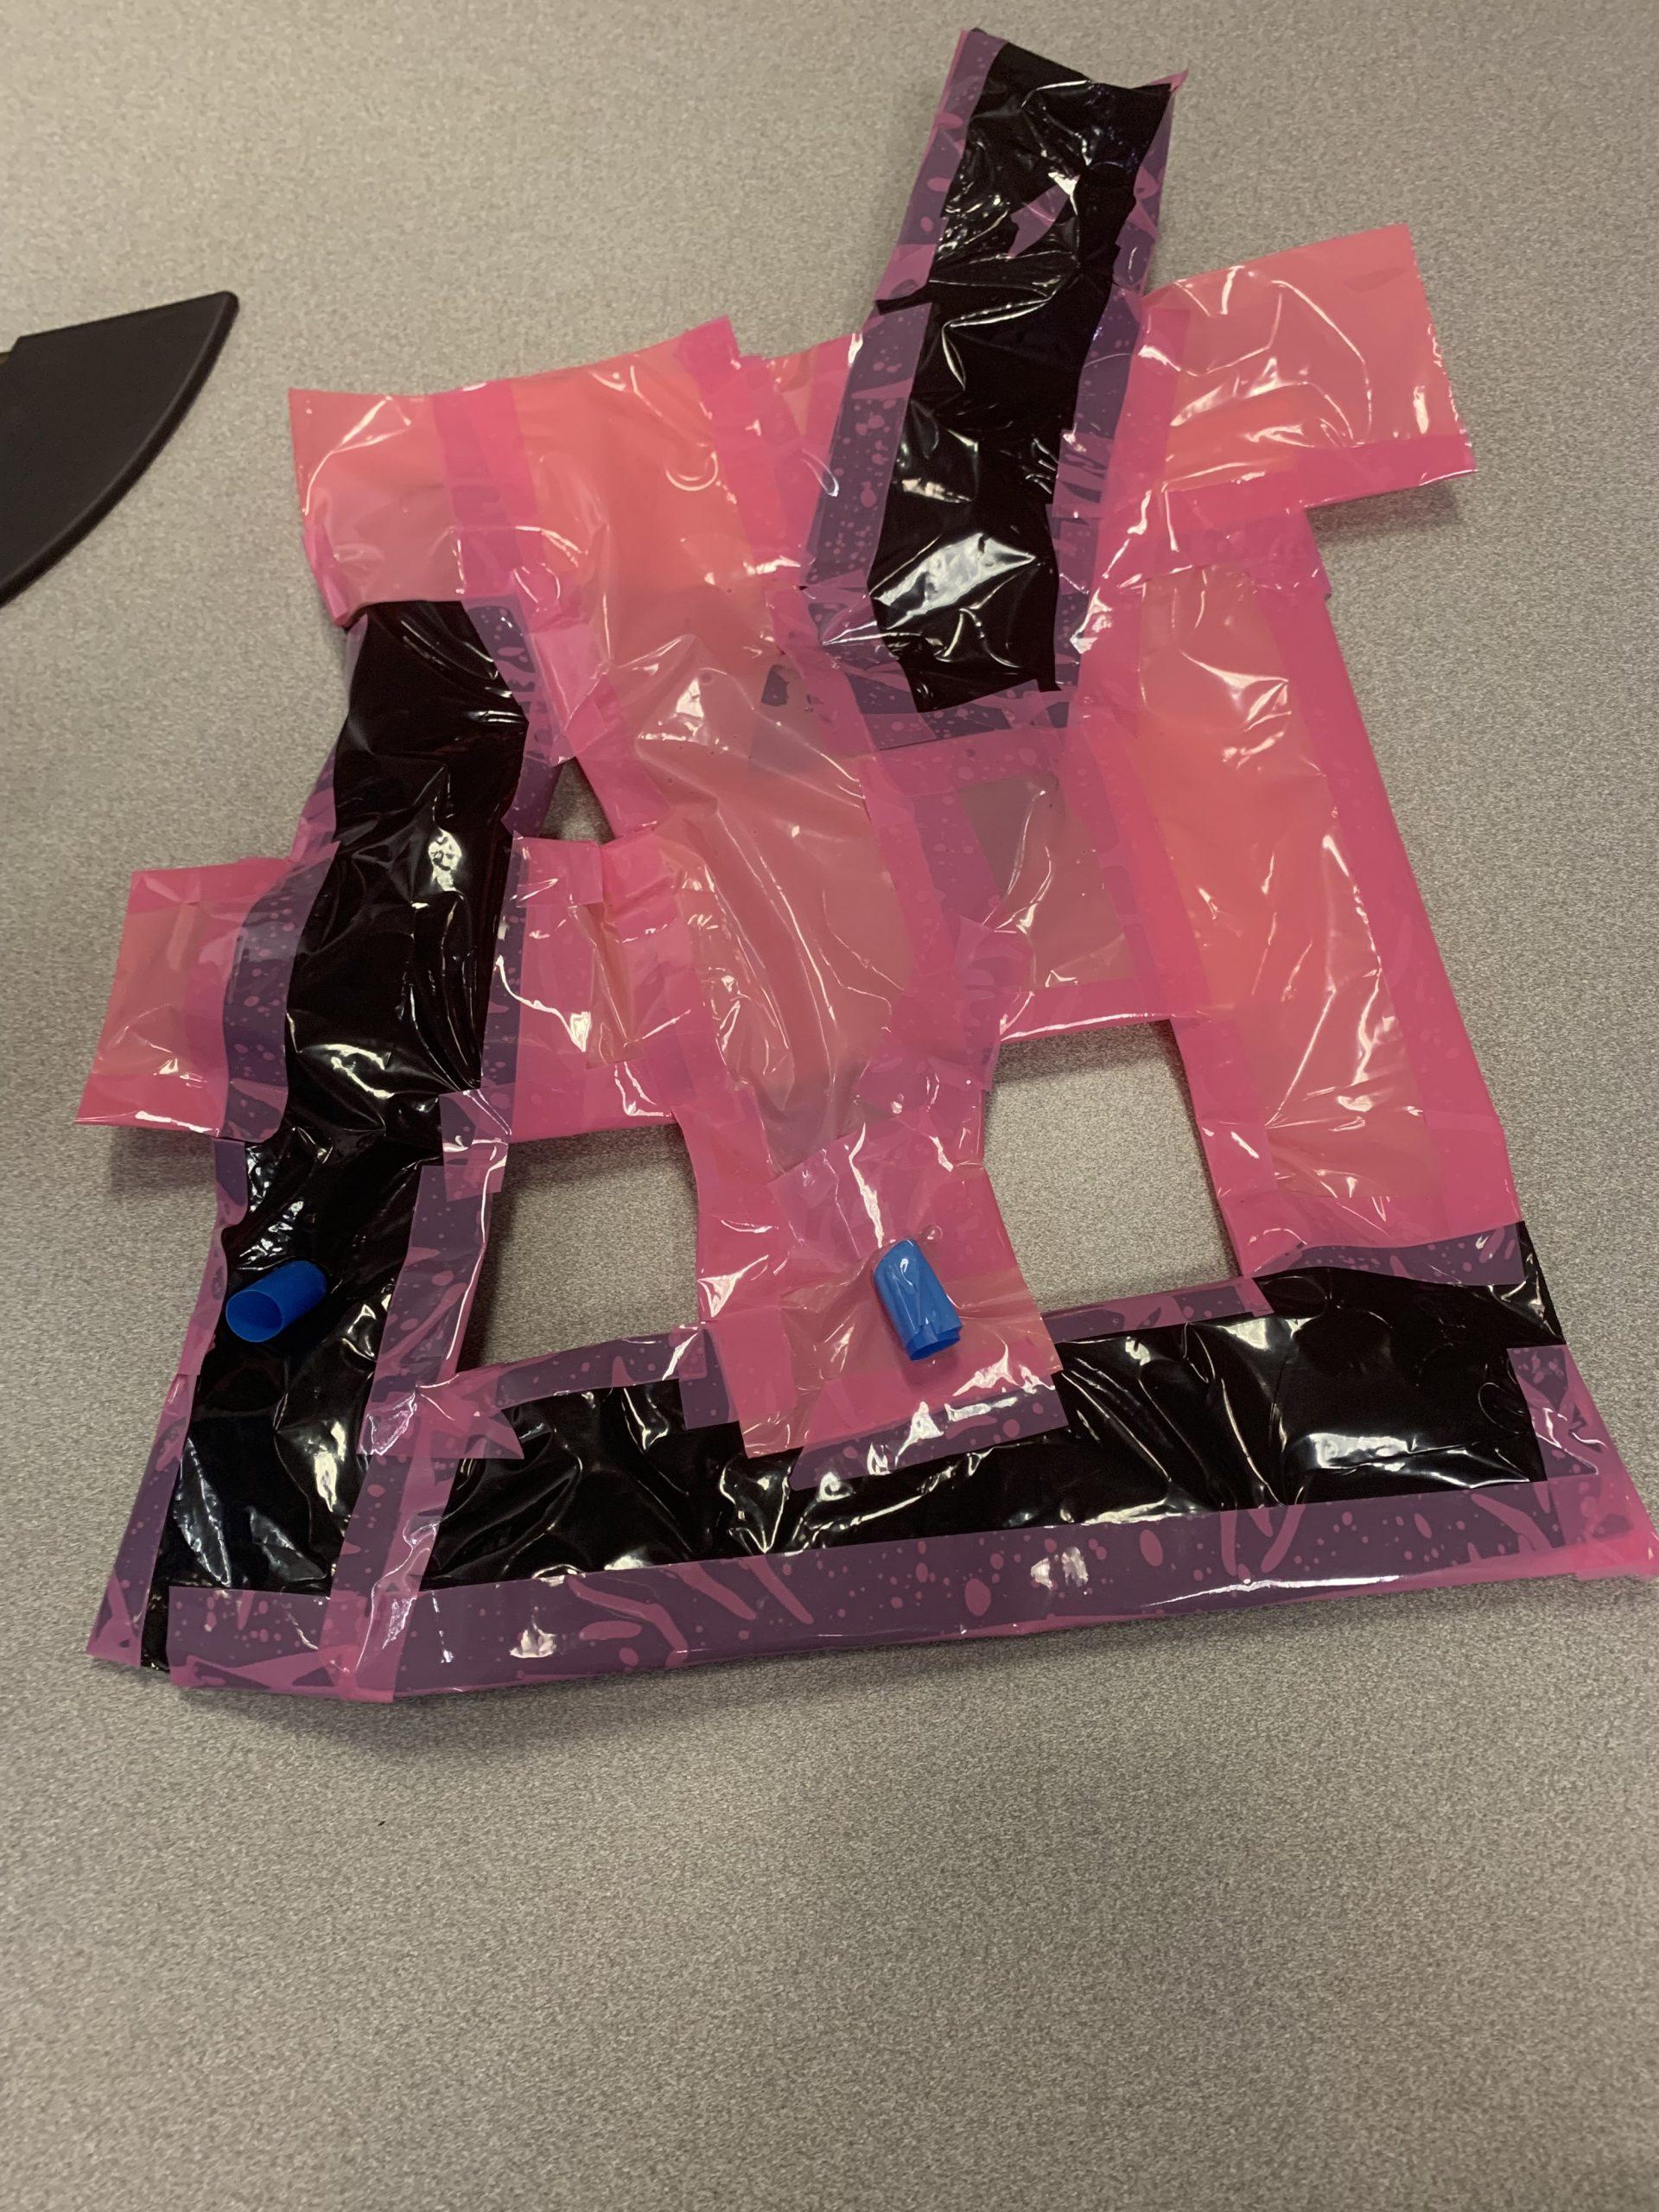
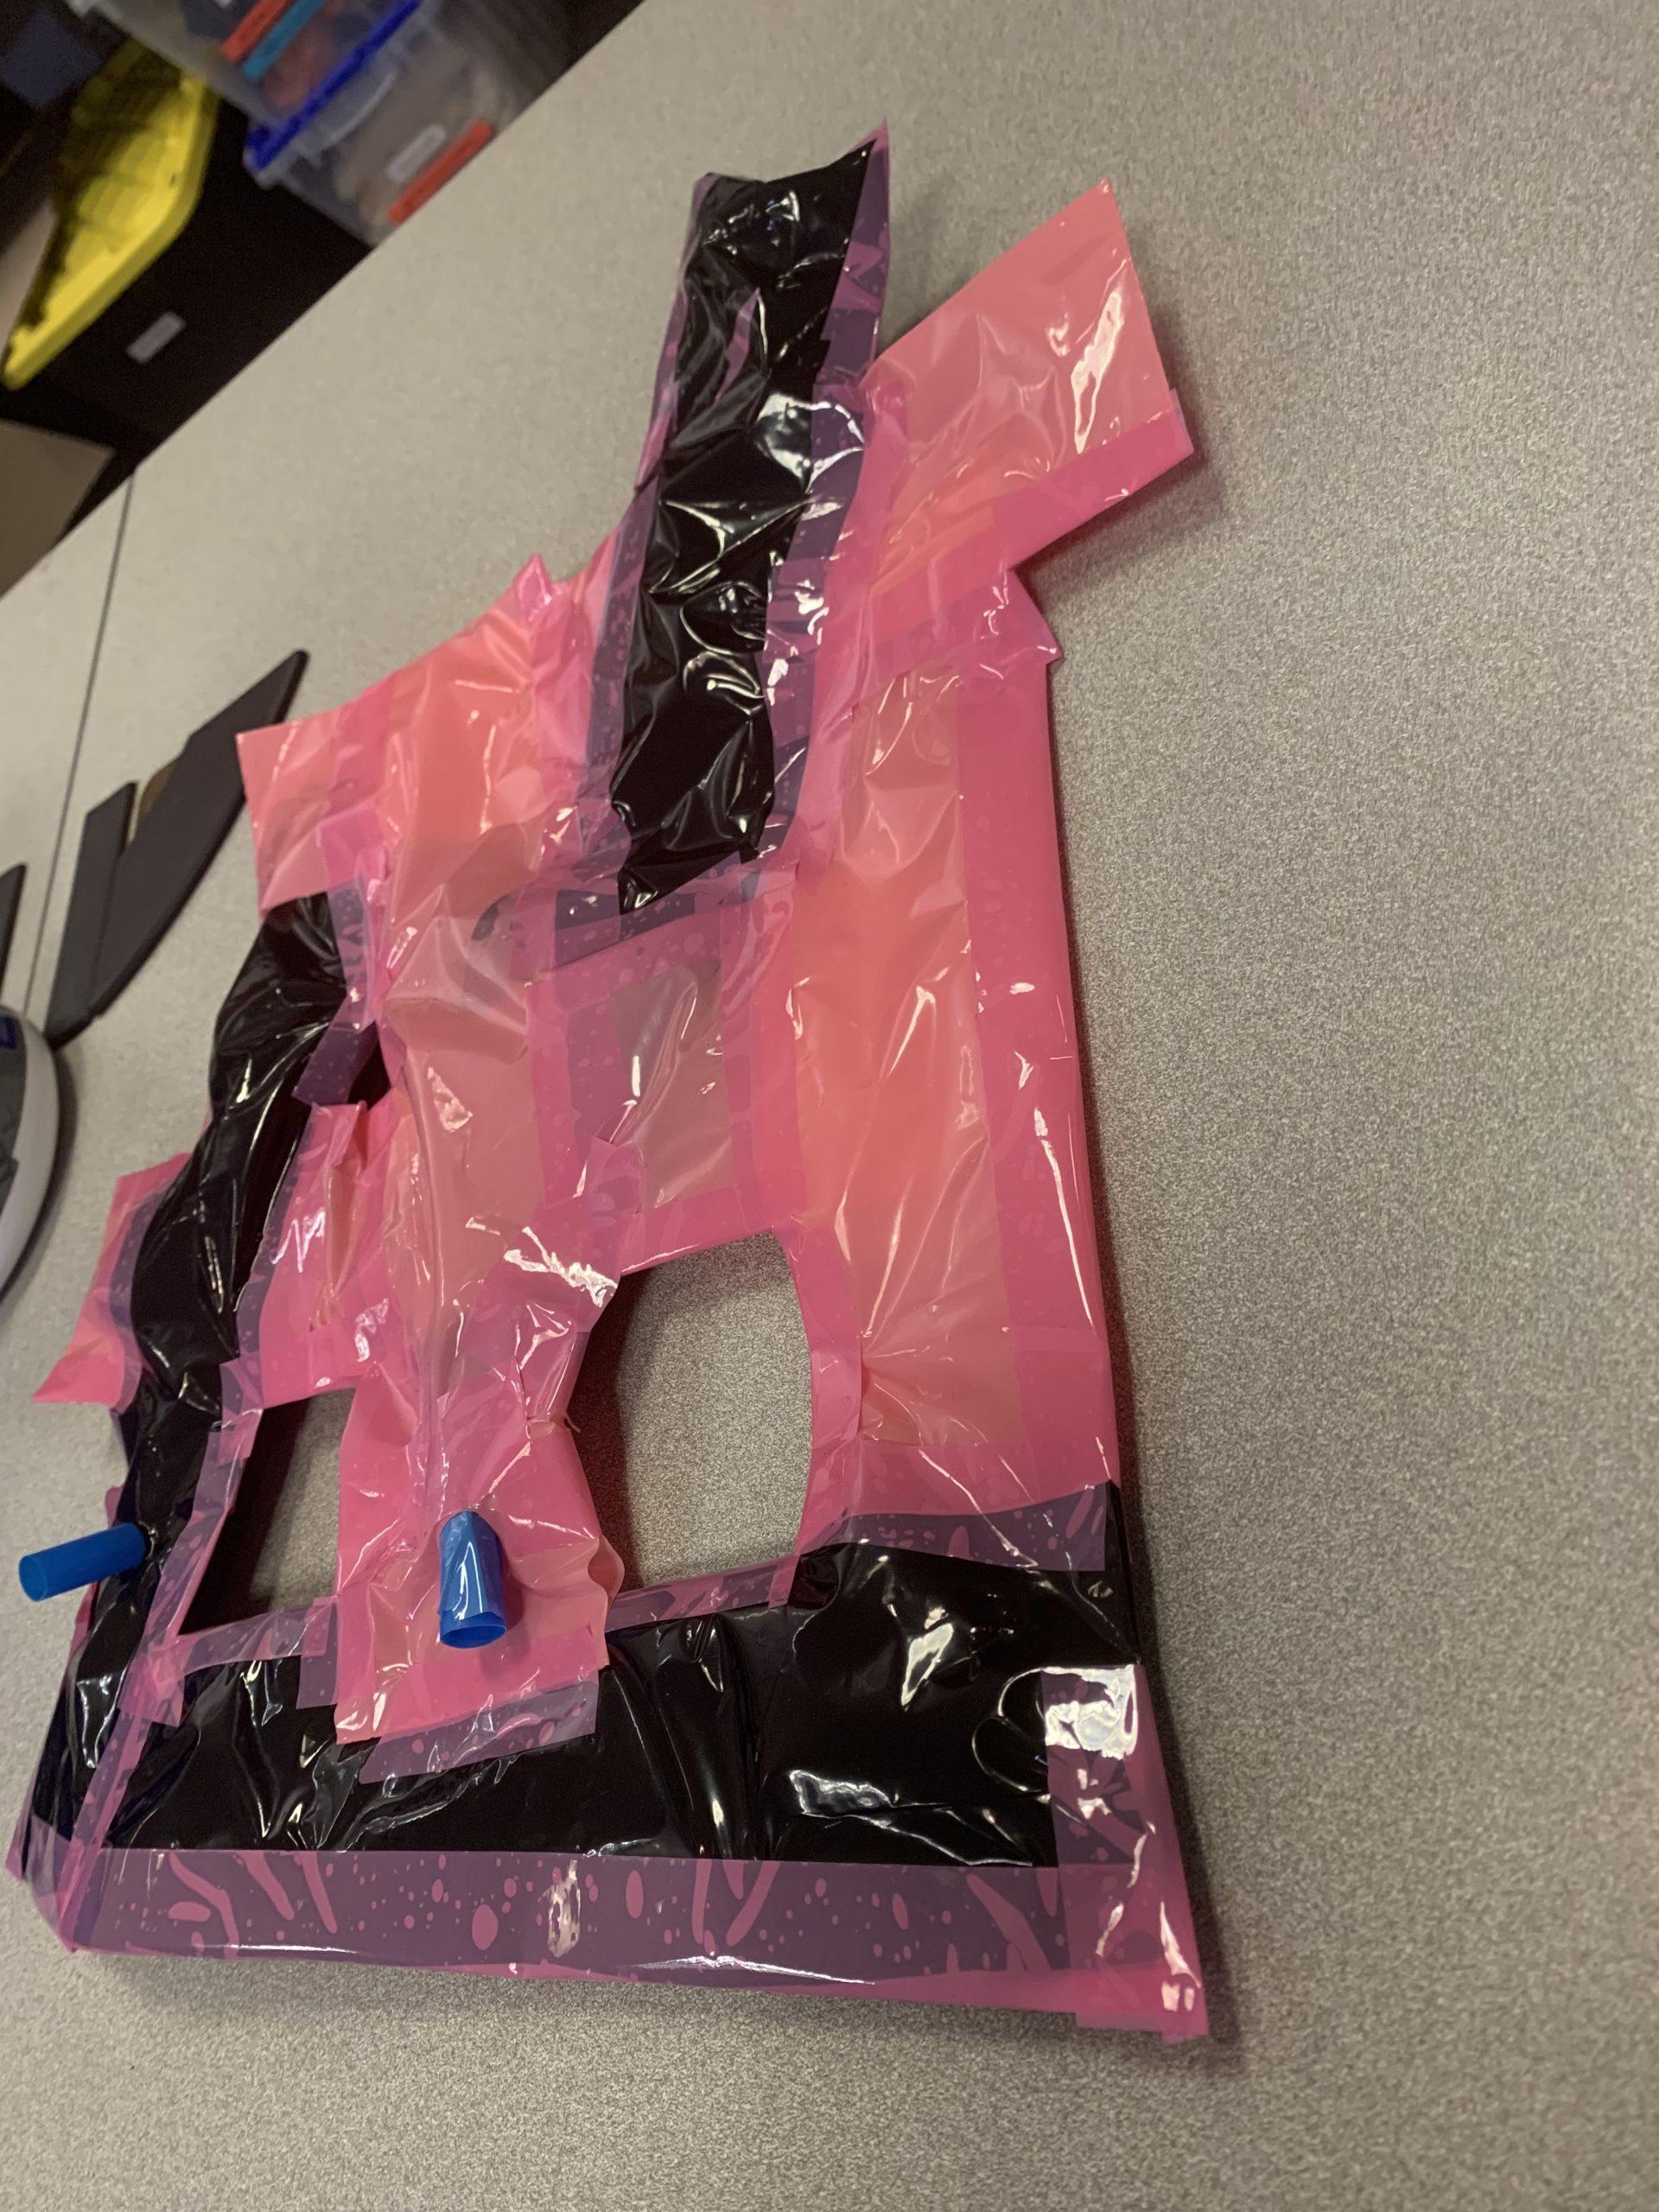
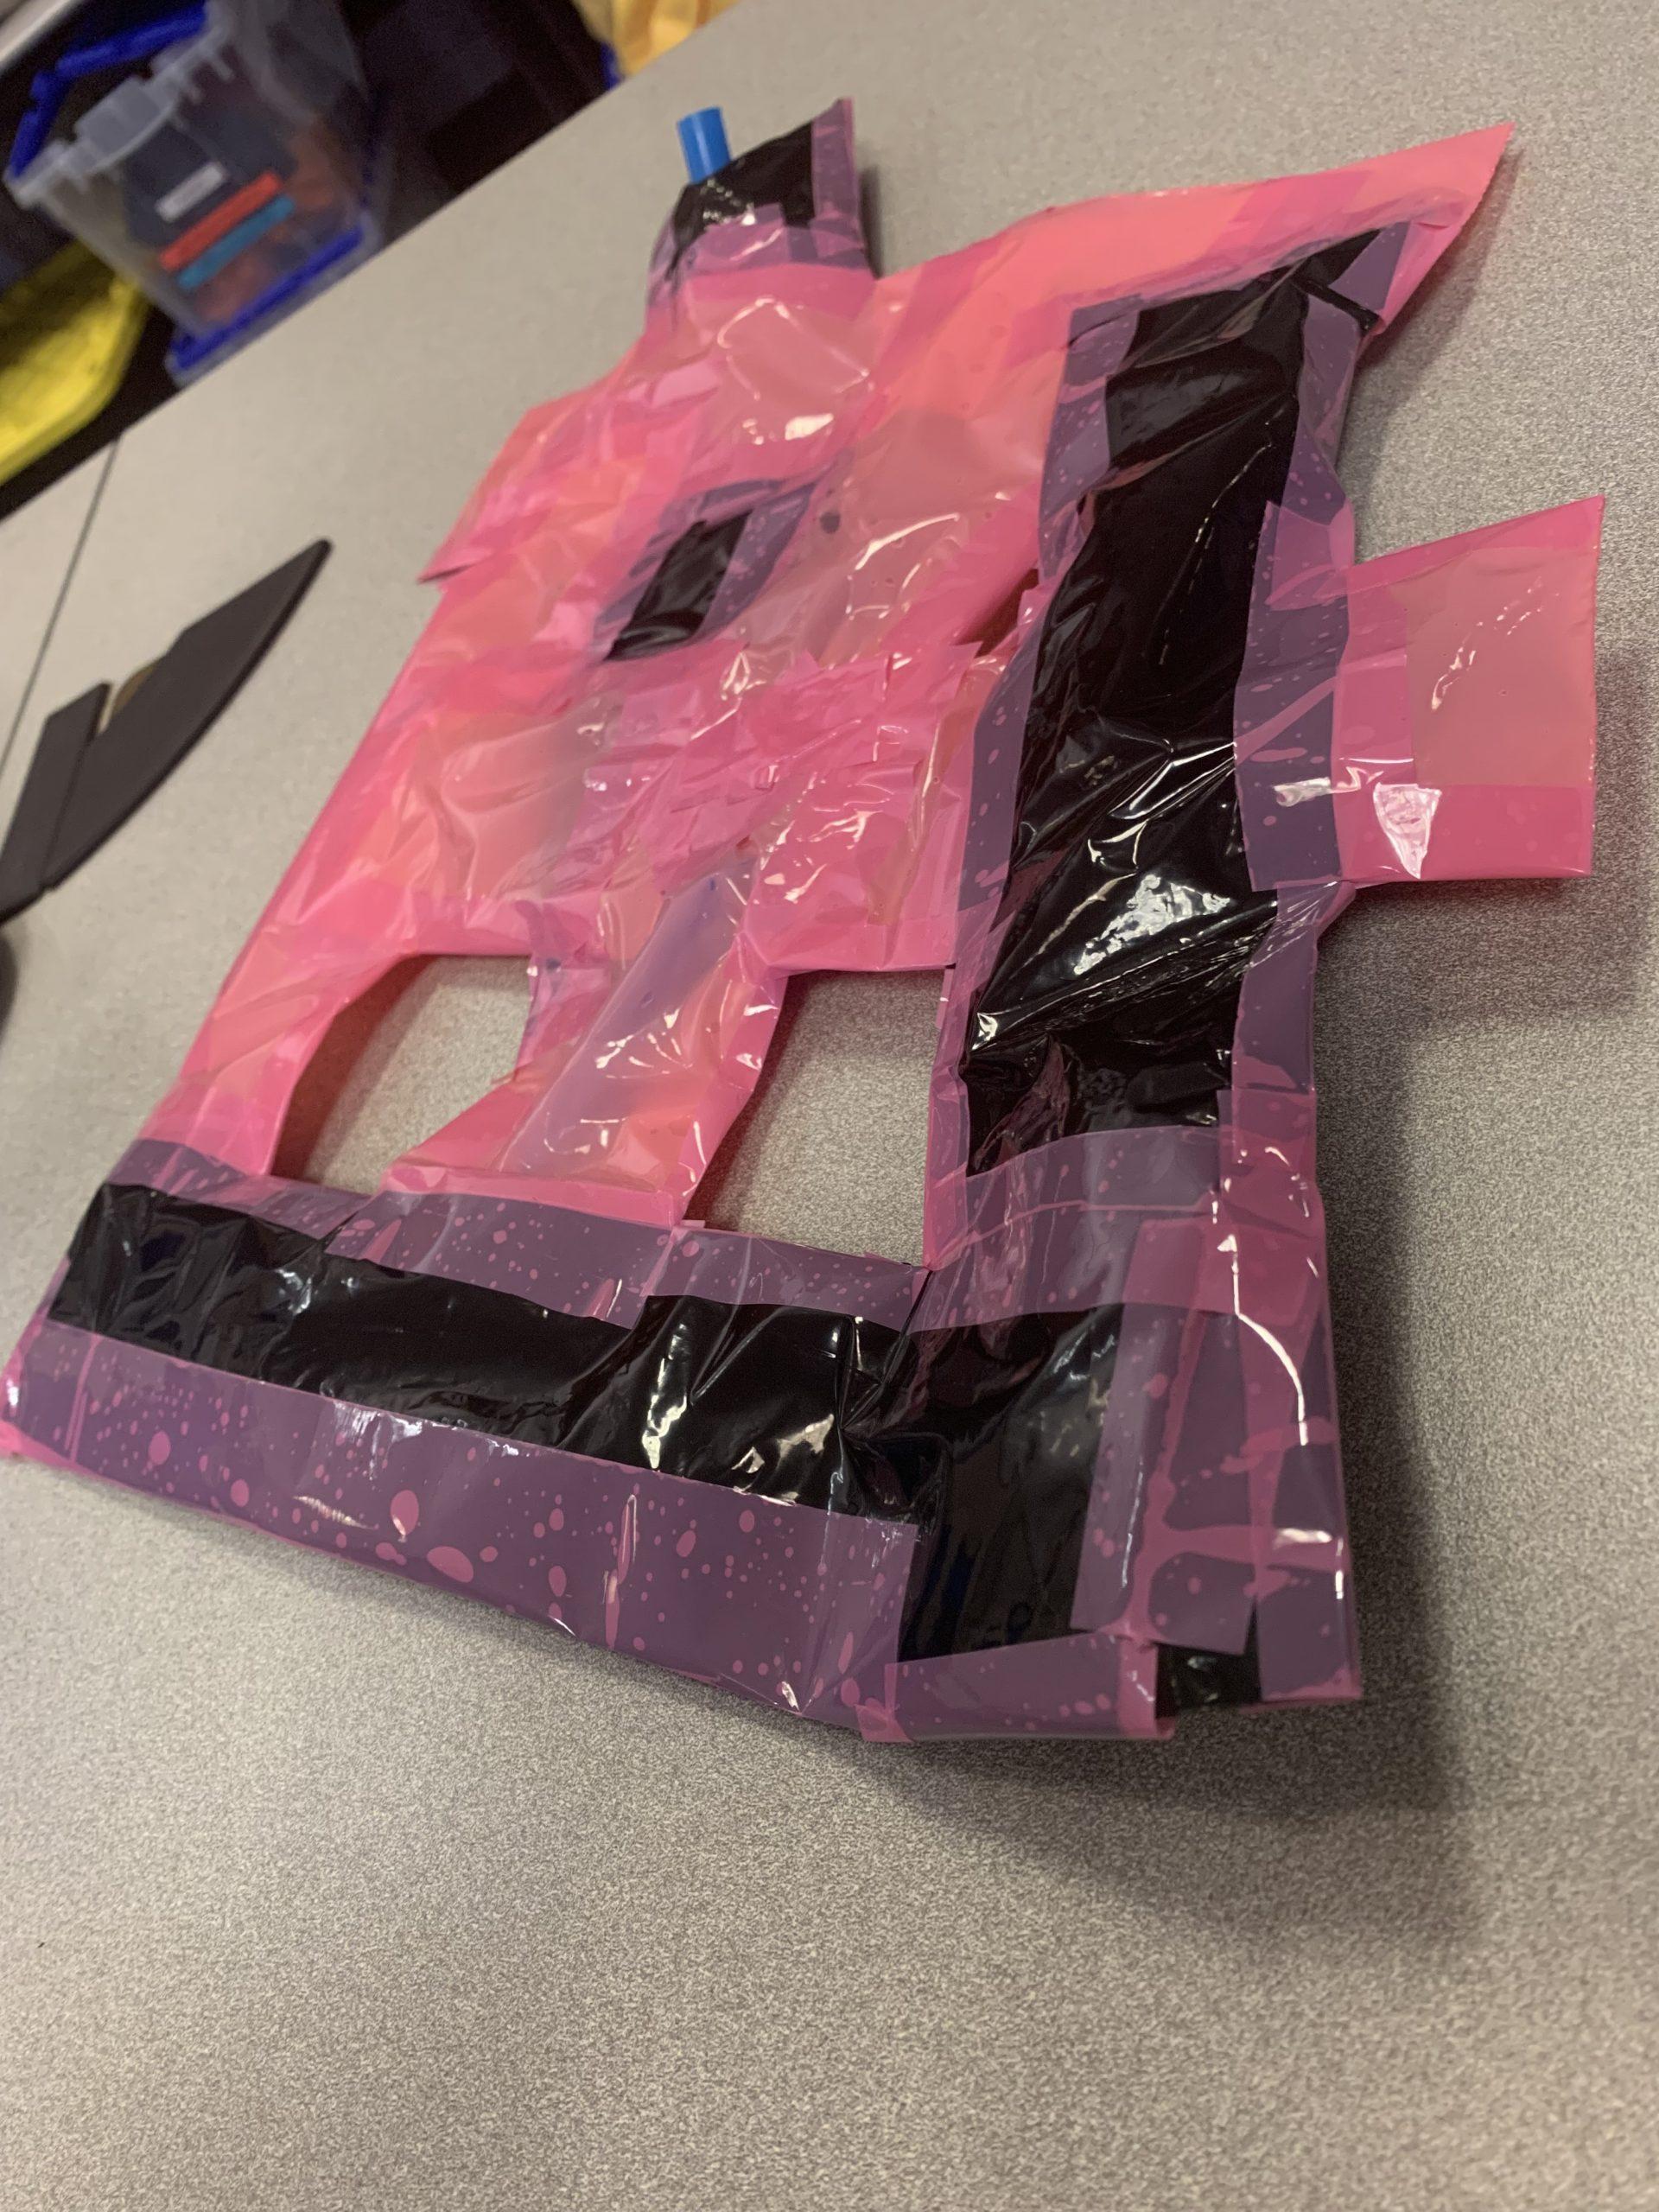
For this improvisation inflatables assignment, I approached each of my inflatables in a different way. I began with an idea in my mind for my first inflatable to see if I could achieve what I expected my inflatable to look like. For my second inflatable I picked one shape cut in different sizes and saw what I would end up with if I attached the pieces in a random pattern. For my third inflatable I decided to cut all my pieces to the same size and shape and see what would happen if I interlocked the pieces in a random way. For each of the inflatables, I decided to work with only two colors to see how the colors worked together when blown up.
Inflatable 1: Beach Ball?
For my first inflatable, I was inspired by a beach ball. I wanted to have a plan for the inflatable to see if my plan came to fruition once I attached all the pieces together. I had six rectangular strips plus two circular pieces to match all the beach balls I have seen. What I discovered is that my circular pieces were too small compared to the rectangular pieces so I ended up more with an ellipsoid than a sphere. I attached the rectangular pieces to the circular ones in a spoked pattern and discovered the difficulty with attaching the rectangular pieces together since they were not lined up end to end. Once everything was attached including the circular pieces at either end, I noticed that my inflatable wouldn’t inflate. Due to the different shapes, the attachment wasn’t perfect and I ended up with small gaps that made it so the inflatable wouldn’t blow up. After some patchwork, it ended up working. I learned to embrace the unknown of the inflatables. While I expected to have a beach ball shape at the end, I’m glad I ended up with an ellipsoid because it embodies the element of surprise that sometimes occurs when an inflatable goes from flat to being blown up.
Inflatable 2: Triangles
For my second inflatable, I decided to create different sized triangles and attach them together. I started by attaching them flat on the table, and then moved to picking random pieces across from one another to attach together. I never knew where the shape of the object was going and entirely trusted the process on this one. The biggest challenge was after I started making the object three-dimensional, it was hard to avoid gaps when trying to close the inflatable. Once I moved past this obstacle, I was surprised to see an inflatable that somewhat resembles a boat. When the inflatable was flat, I would have never guessed it would end up boat shaped. I believe this is the true beauty of inflatables, they can surprise you at every stage of the process.
Inflatable 3: Weaving
For my final inflatable, I cut multiple same sized rectangular strips. My idea here was to weave the rectangular stips through one another to see how it would affect the entirety of the inflatable. My hypothesis was the inflatable would blow up in multiple sections instead of all at once. The first challenge I hit in this was ensuring the inside of the inflatable was open between sections so the entirety of it could be blown up. On the contrary, I also had to locate every small spot on the outside to make sure there were no holes to let air escape. The next challenge was actually blowing up the inflatable. To get the entire thing to inflate would use a lot more air than my human lungs could provide. To mitigate this, I added multiple straws and blew up the inflatable from multiple different sides. In the end, I watched as a straw in one section ended up also blowing up other sections. Until it actually was blown up, I was unsure if this weaving pattern would actually work or if I would accidentally be blocking off areas from being blown up.
Overall, I feel each of these inflatables showcased my creativity in different ways. I was able to explore different techniques to create three distinctly different and unique inflatables.
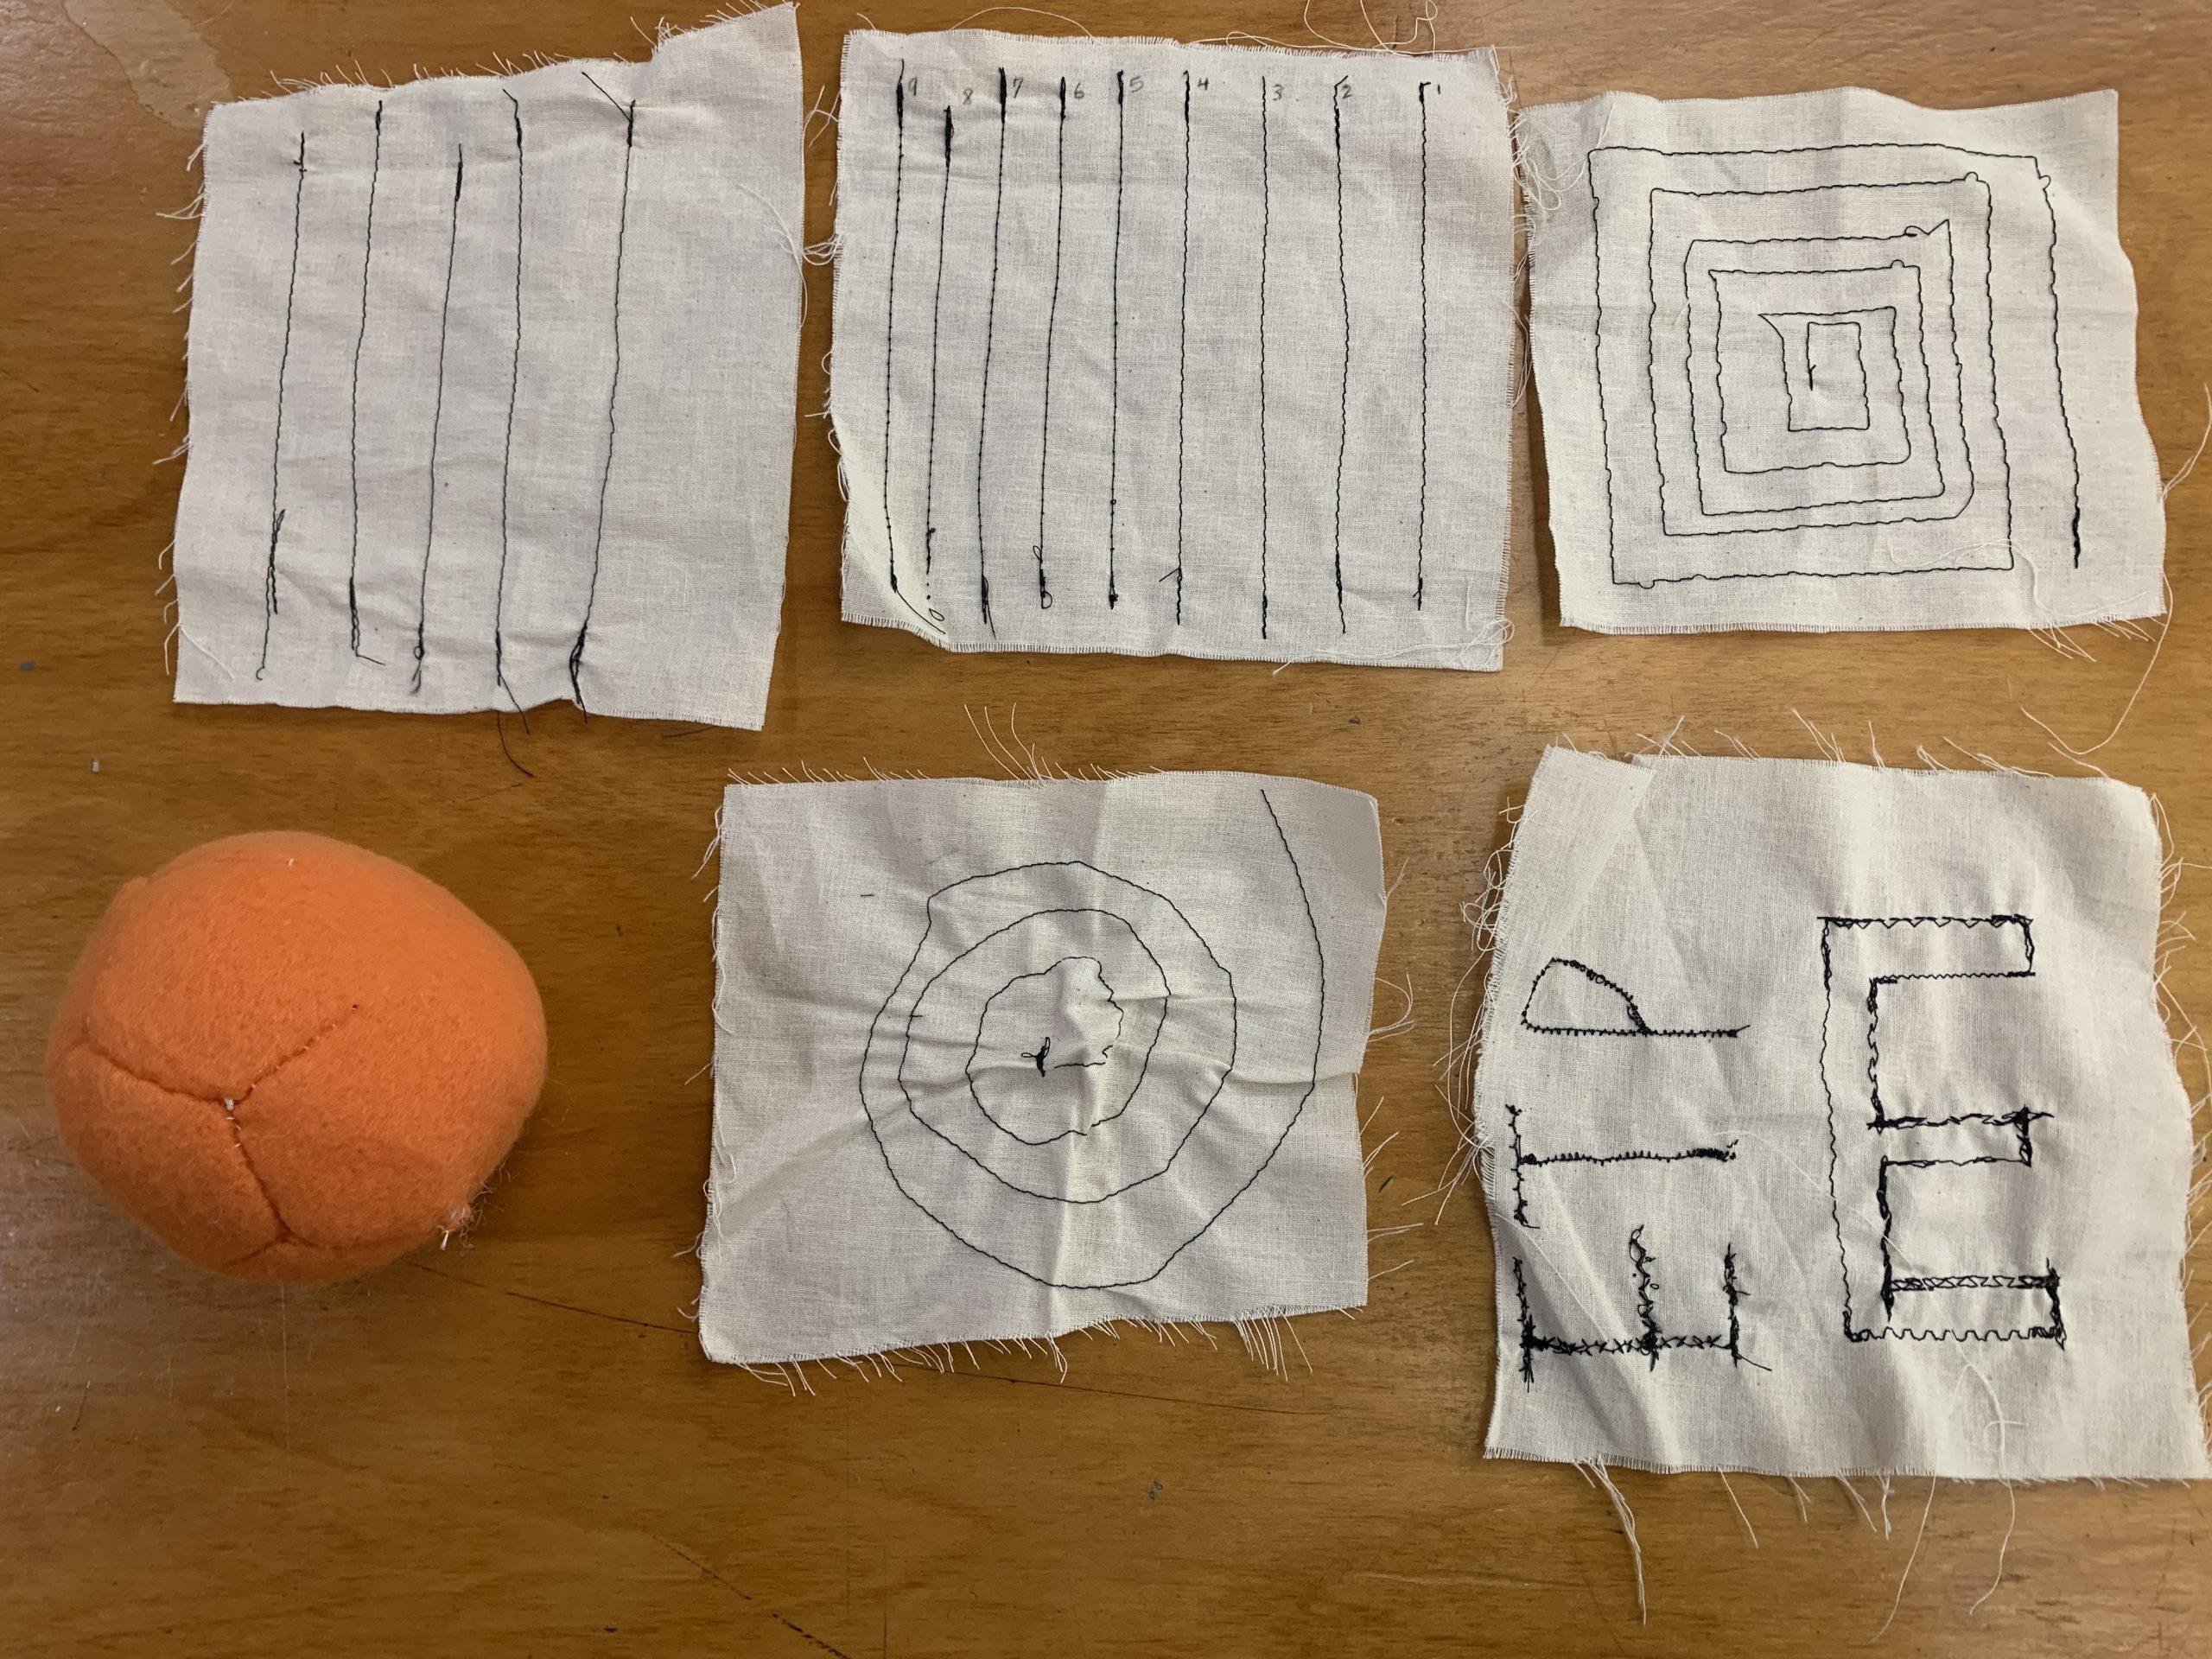
Sewing Samples:
