Skip to content
Timeline
April 3:
- Rhino model / Hand-drawn design
- Prototype
April 5:
- Completed unrolled patterns
- Finish testing to make sure inner wall tension plan works
April 10:
- Delegate tube sewers + main frame sewers
- Pieces cut
- Start dyeing
April 12:
- Individual pieces sewn
- Noodle arms
- Main cube structure
- Dyeing finished
April 17:
- Sew pieces together (as much as possible)
- Sew together the majority of the arms to the main structure
April 19:
- ¾ Sewn together
- Sew together all the noodle arms to the main structure
April 24:
- Sew entire inflatable together
April 26:
Materials & Tools needed:
Materials
- Ripstop ½ ft of separation between walls
- 376 ft^2 of ripstop for the outside layer
- 50 ft^2 for connecting inside to outside walls
- 300 ft^2 of ripstop for inside layer
- 100 ft^2 of ripstop for roof
- 81 ft^2 of ripstop for ceiling
- 9.5 ft^2 outside layer + ~9 ft^2 inside layer (x6 noodle arms)
- 3 ft^2 for outside hand layer + ~2.5 ft^2 for inside hand layer (x6 noodle arms)
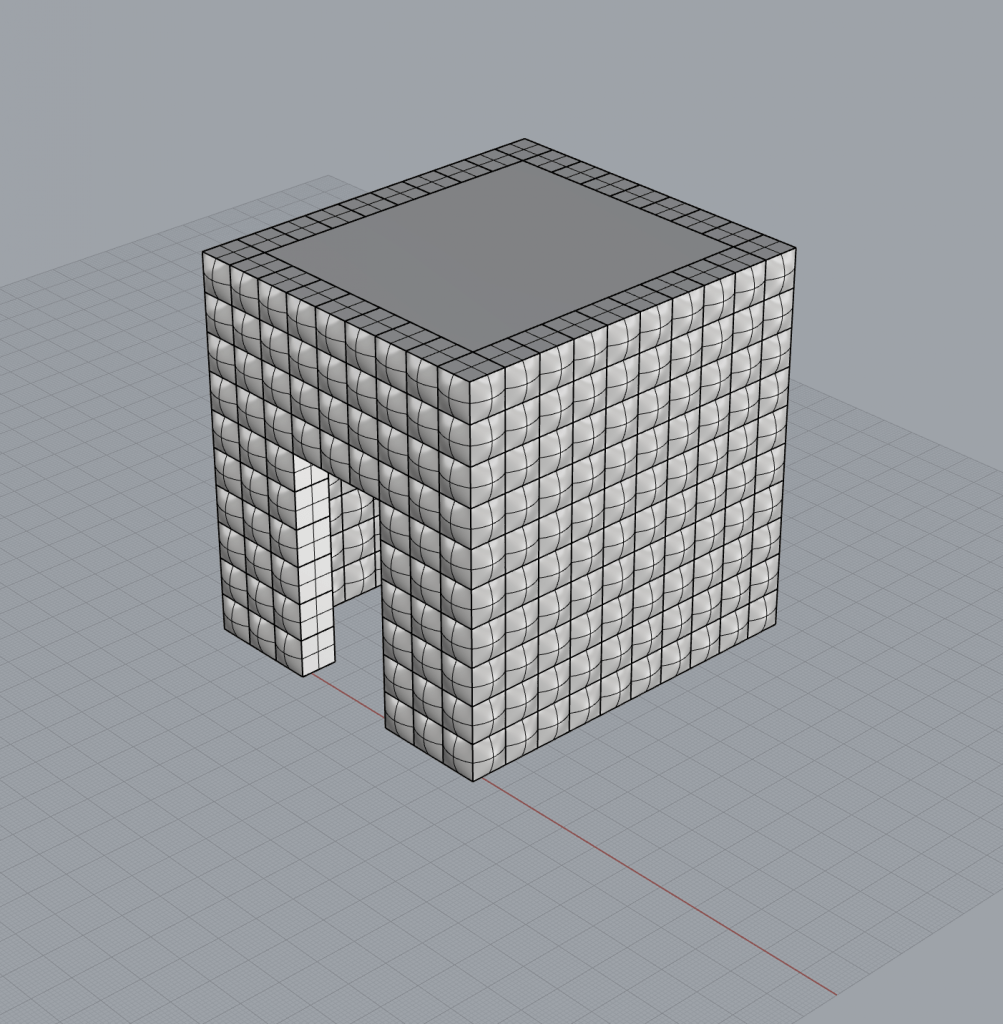
 Main structure design – angle 1
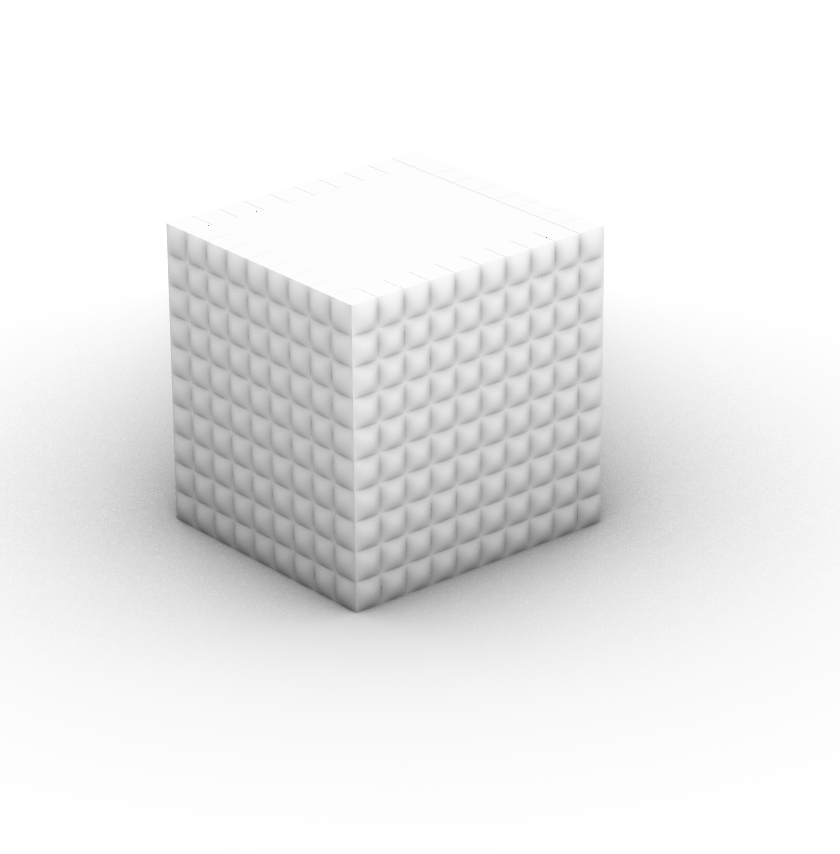
 Main structure design – angle 2
Scroll Up


