January 15, week 1

Measuring Day
1. quiz 1
2. Why take notes while watching videos?
3. Students divide into groups and exchange contact information. Natalya distributes soft measure, thin masking tape, elastic.
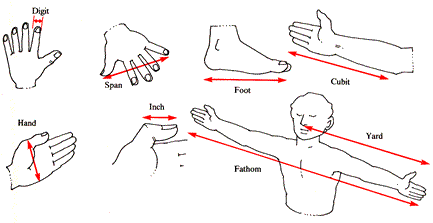
4. Where is our waist? Where is the scapula and clavicle (collarbone)?

https://www.youtube.com/watch?v=7Dp9NqHEVQU&ab_channel=SamWebste

https://www.merckmanuals.com/home/multimedia/video/shoulder-joint
watch video in this link
5. Posture and preparing for measuring with elastic and tape.
6. Fifteen measurements from the video + 2 additional measurements (depth of cross front, depth of cross back) are demonstrated on Kat.
Note that in the video the cross front and cross back is not measured in relationship to other markers (ex. waist, dip between collarbones). When drafting the moulage, Suzy will be placing these lines with the depth identified when measuring the body form as 1/4 of back length. It will be handy to have these measurements on hand to see how that compares to her drafting method.
7. Fractions Calculators and calculations sheet. Note the minimum back dart width identified in the FAQ section of the handout; this supersedes what is said in the video.
8. Setting up for the drafting of Moulage. Which paper to use? Which tools? Chapter: Calculating & Setting Up the Moulage (24:51 mins)
Homework for January 22
Attention: Sewing Lab/A4 Far will be occupied with Soft Fabrication Micro students on Saturday January 18 11am-3:30pm and January 25 10am-3:30pm. A4 Near will be available. Students can check out a sewing machine from Lending.
1.Everyone drafts front and back moulage using S. Furrer’s video chapters Drafting the Front Moulage (44:38 mins) and Drafting the Back Moulage (40:48 mins). The drafting will take much longer than the time stamps indicated in the videos. Plan on spending a significant amount of time on these drafts. Front Moulage should be done in one sitting. Back Moulage can be done at a different time. It is essential that you pay attention to instructions and work precisely.
2. All students (beginner or not) must complete the following samples and pin images of completed samples to their section on our class Pinterest Board. If you have taken a class with me before, your goal is to perfect the control of the sewing machine and challenge yourself with these samples by sewing more densely on the spiral and square labyrinth samples. Everyone should choose 5 types of stitches to the letter sample; read about the chosen stitches in detail in the Manual. Write the names of the stitches you sampled on the sample.
Sewing Machine Samples: Follow Along (tension setting sample, spiral, square labyrinth, letter)
How to Use a Seam Ripper
Reverse, Backstitch, Back Tack
Let’s Review Sewing Tension
How to Avoid Bird Nests At the Start?
How to Avoid Bird Nests Midway Through Stitching?