Our Catch Machine!
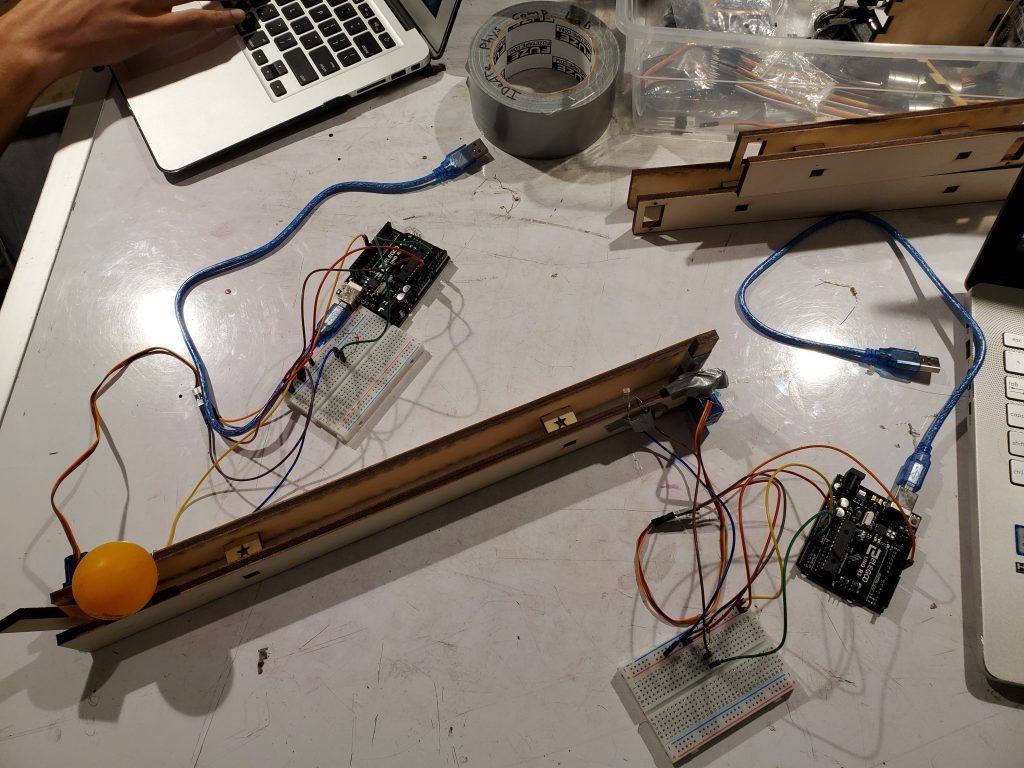
We decided to make a catch machine from our knowledge of the Demo 2 project. We started by using the Servos and a Ball and a Track. The track is kept relatively simple to make sure the Servos have enough power to catch and push back the ball.
int servoPin = 9;
int sensorPin = A0;

void setup() {
  // put your setup code here, to run once:
  Serial.begin(9600);
  pinMode(servoPin, OUTPUT);
  pinMode(sensorPin, INPUT);
  analogWrite(servoPin, 90);

}

void loop() {
  // put your main code here, to run repeatedly:
  Serial.println(analogRead(sensorPin));
  delay(5);
  if (analogRead(sensorPin) < 775) {
    delay(1000);
    analogWrite(servoPin, 90);
    delay(500);
    analogWrite(servoPin, -90);
    }

  else {
    }
}
This is the code that we used to allow the photo-resistors to work in harmony.

int servoPin = 9;
int sensorPin = A0;

void setup() {
  // put your setup code here, to run once:
  Serial.begin(9600);
  pinMode(servoPin, OUTPUT);
  pinMode(sensorPin, INPUT);
  analogWrite(servoPin, 90);

}

void loop() {
  // put your main code here, to run repeatedly:
  Serial.println(analogRead(sensorPin));
  delay(5);
  if (analogRead(sensorPin) < 500) {
    delay(1000);
    analogWrite(servoPin, 90);
    delay(500);
    analogWrite(servoPin, -90);
    delay(1000);
    analogWrite(servoPin, -130);
    delay(500);
    analogWrite(servoPin, -90);
    }

  else {
    }
This is the updated code after the feedback to get a wave from the previous thrower.
Leave a Reply
You must be logged in to post a comment.