Day 1: (Mon Aug 29, Week 1) Welcome!
Please bookmark this site: https://courses.ideate.cmu.edu/16-223
Agenda
Welcome!
What is IDeATe?
What is Physical Computing? What is a kinetic system?
Project focus: marble machines
Unspoken prerequisites.
16-223 is a good portal for the IDeATe Physical Computing Minor
Administrative
Pandemic concerns.
Enrollment and waitlist.
Course site: https://courses.ideate.cmu.edu/16-223
Daily log pages (like this one): Daily Agenda Logbook
Laser cutter qualification: see IDeATe Laser Cutter Policies
Attendance and tardiness policies.
Physical Computing Lab
Card access
Physical Computing Lab use and abuse
We are sharing the room with six other classes (see IDeATe PhysComp Lab Calendar)
Office hours: TBD. Please answer my CKS F22 Office Hours poll.
Name tags and photos.
In-class
Mutual introductions, In-Class Exercise: Interview Game.
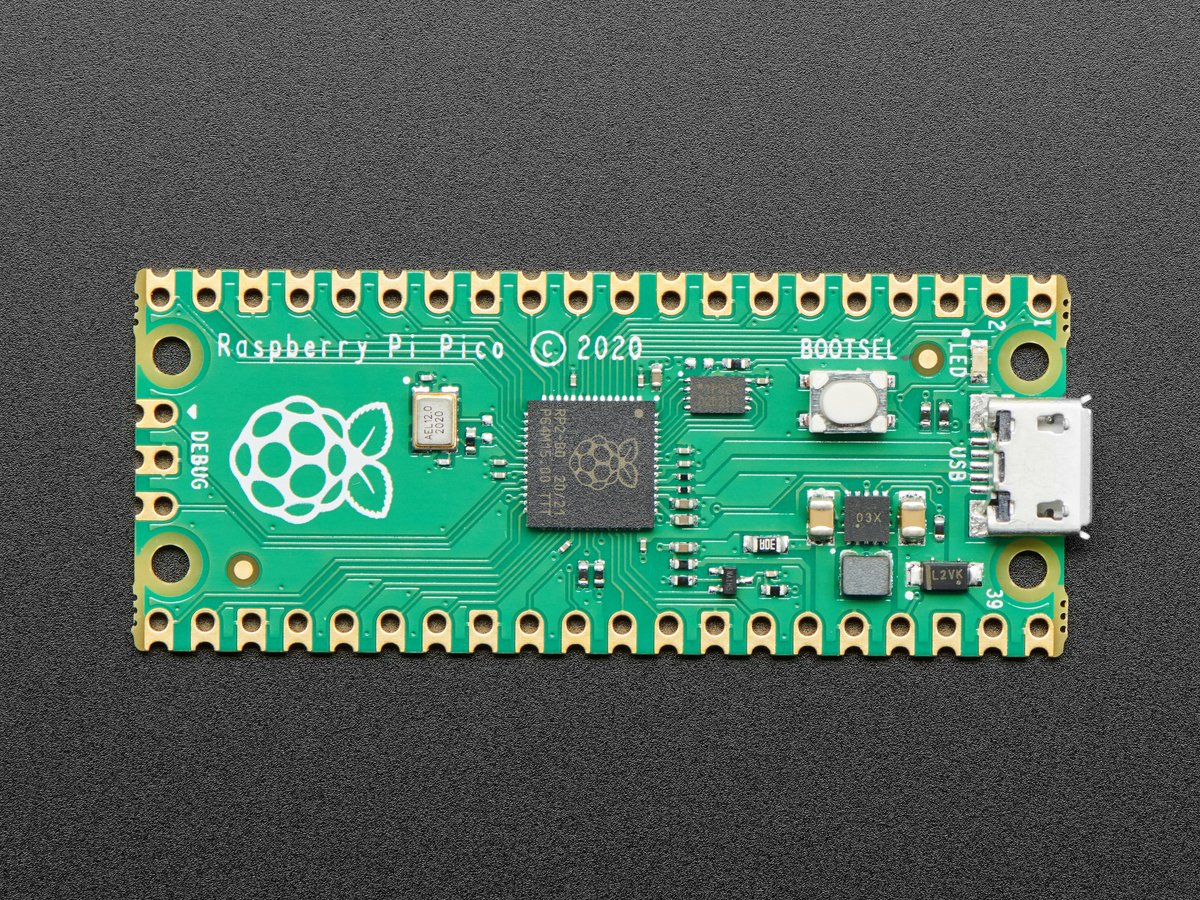
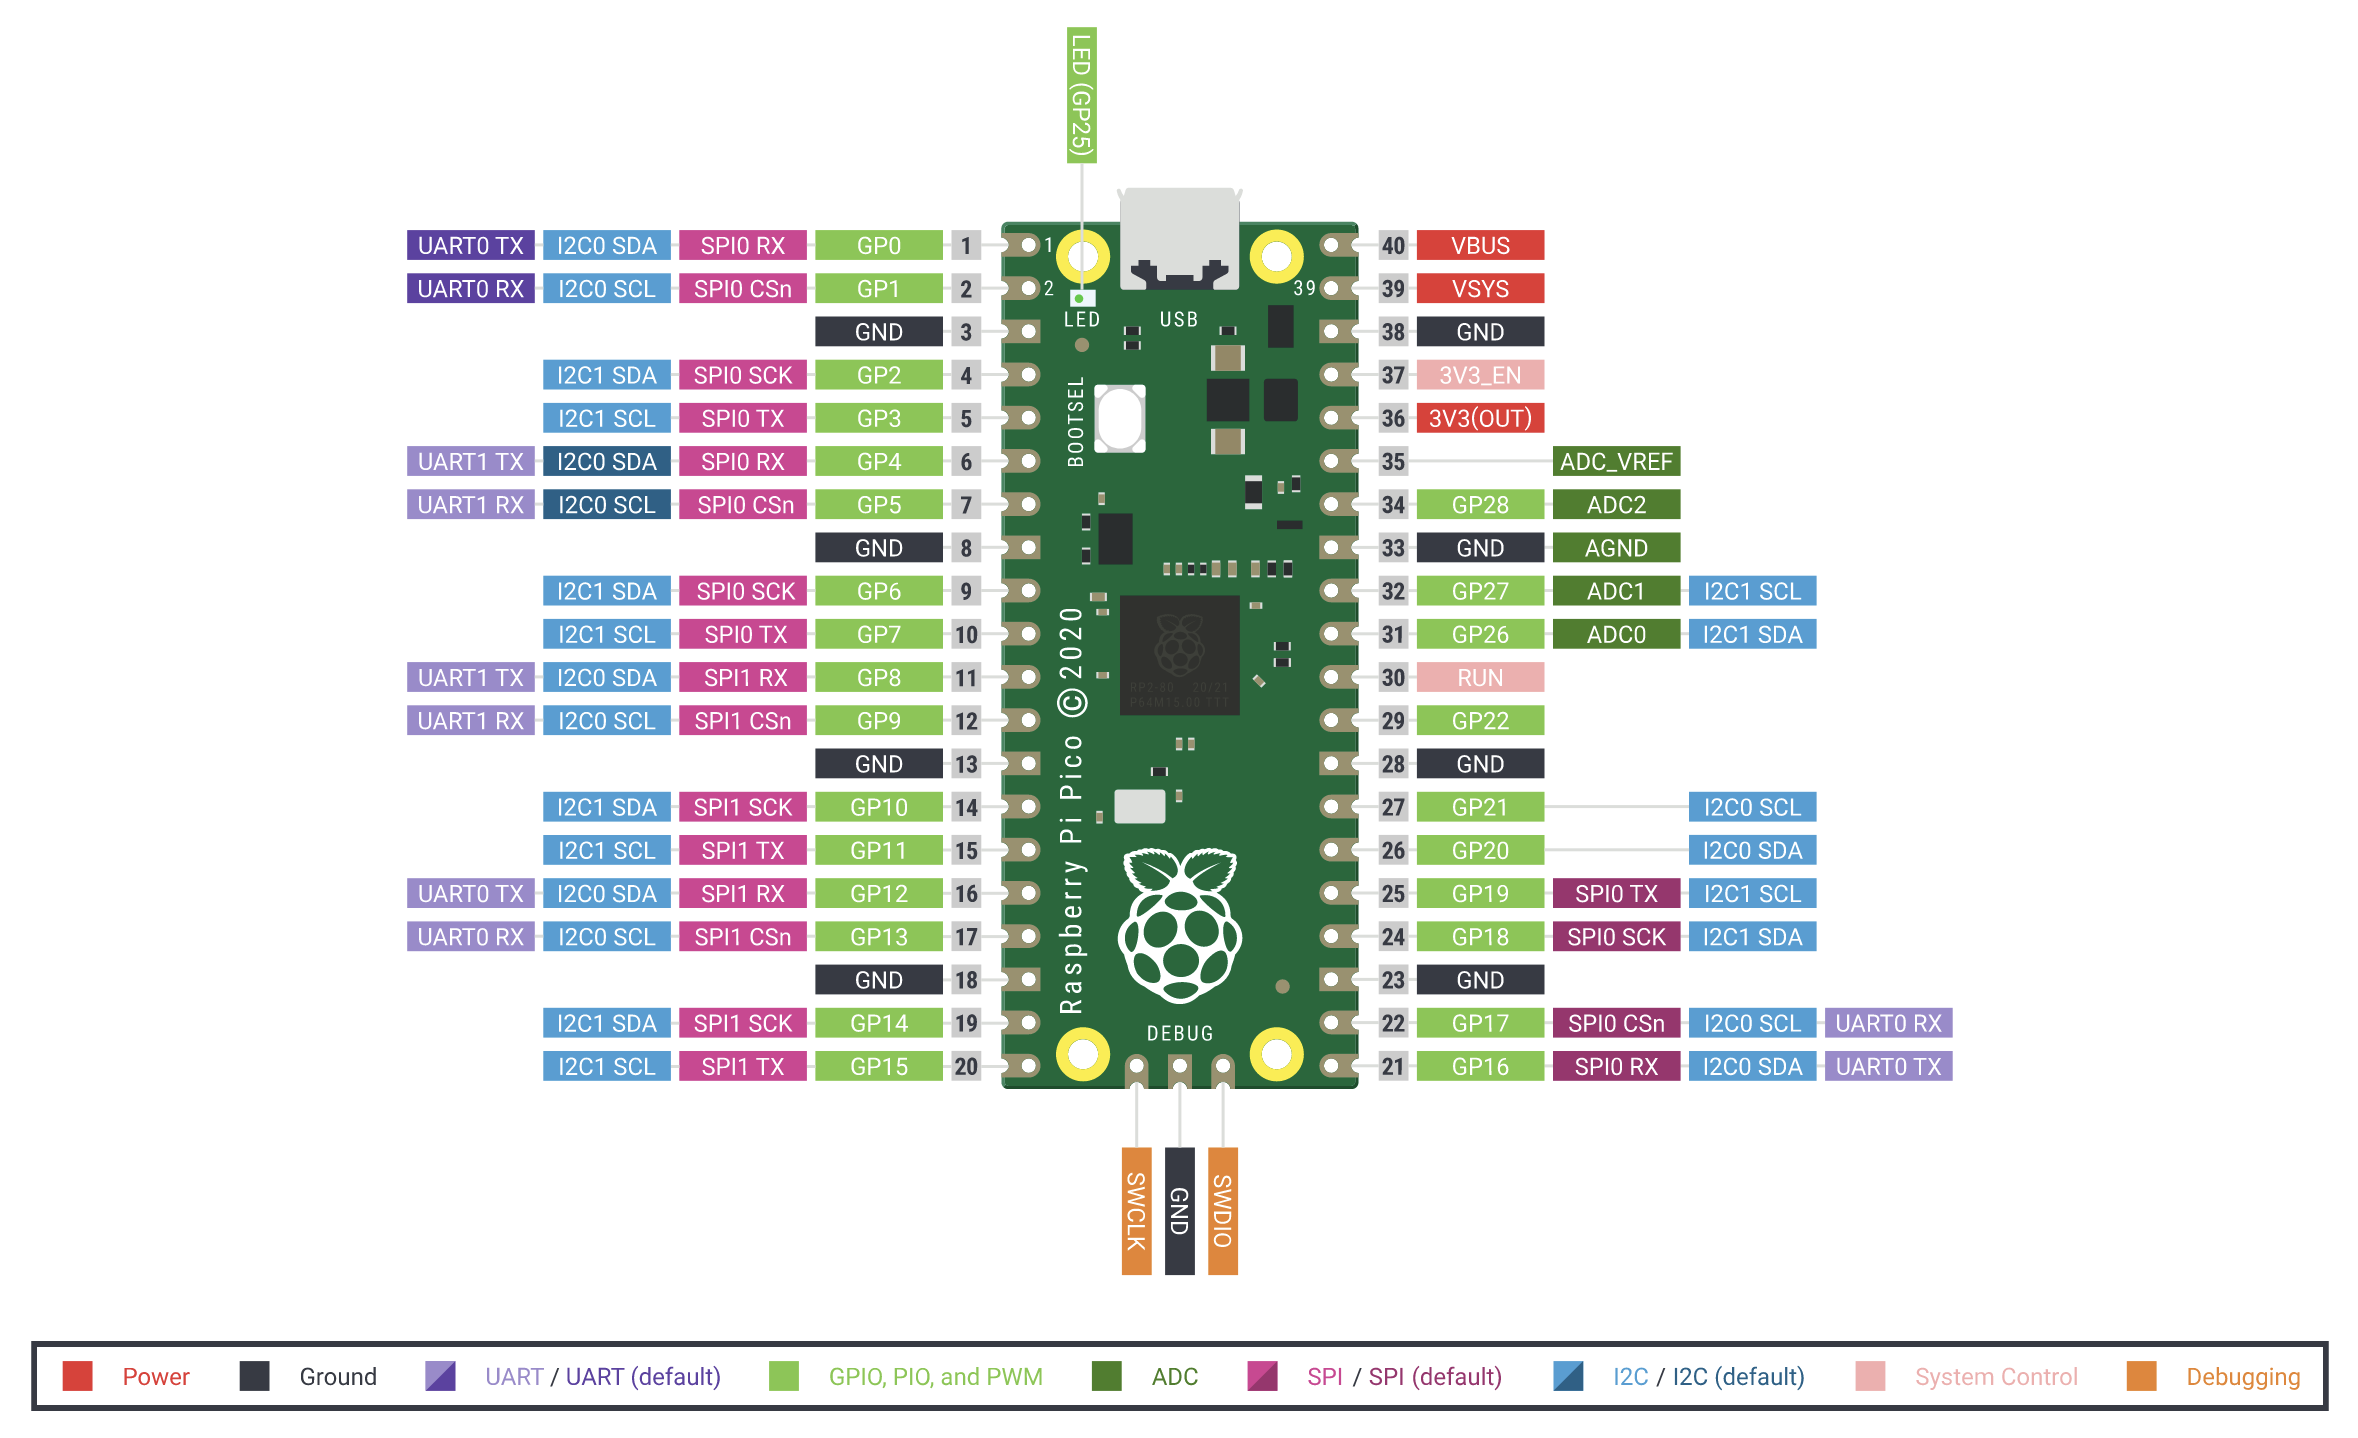
Brief introduction to the Raspberry Pi Pico and CircuitPython.
Each person pick up a Pico and a USB cable.
Installing the Mu Python Editor.
Crash course in CircuitPython basics.
Please return the Pico and cable if you don’t expect to be continuing in the course.
Introduce short programming assignment.
New Assignments
Please write a variation of the pico_blink.py program (below) to produce a rhythmic pattern of your choice to be demonstrated at the start of the next class.
Please complete the CKS Fall 2022 Skill Survey if you haven’t already. This should just take a few minutes.
Please fill out the CKS F22 Office Hours poll if you haven’t already.
Please complete laser-cutter training as soon as possible if you have not already done so. Note that we will soon have assignments requiring access, and you are responsible for ensuring your qualification. There are three parts:
asynchronous online course: BioRAFT Laser Cutter Safety
scheduled online course: BioRAFT Fire Extinguisher Training
asynchronous video training: IDeATe Laser Training Part 1, IDeATe Laser Training Part 2
For more details: IDeATe Laser Cutter Policies, IDeATe Laser Cutter Overview
Figures


Lecture code samples
 1# pico_blink.py
 2
 3# Raspberry Pi Pico - Blink demo
 4
 5# Blink the onboard LED and print messages to the serial console.
 6
 7import board
 8import time
 9from digitalio import DigitalInOut, Direction, Pull
10
11#---------------------------------------------------------------
12# Set up the hardware: script equivalent to Arduino setup()
13# Set up built-in green LED
14led = DigitalInOut(board.LED)  # GP25
15led.direction = Direction.OUTPUT
16
17#---------------------------------------------------------------
18# Run the main loop: script equivalent to Arduino loop()
19
20while True:
21    led.value = True
22    print("On")
23    time.sleep(1.0)
24
25    led.value = False
26    print("Off")
27    time.sleep(1.0)