Fabric Sensor: Soft Sensor
|
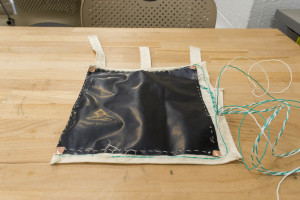
(link to our past documentation of this project) (code for this project can be found here) We designed a fabric sensor intended for the user to take one-word notes and send said notes as reminders to themselves. Our primary purpose in creating this sensor was to write reminders on a device without the rigidity found in most devices offering the same service. What our project actually ended up being was an exploration in soft wearables and sensing. We also discovered several key aspects of creating soft touch pads. Most importantly is the overall construction. To sense position, we used three layers of material:
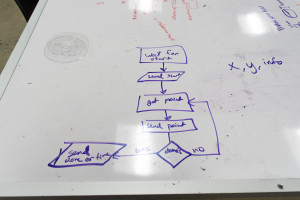
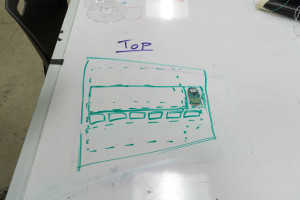
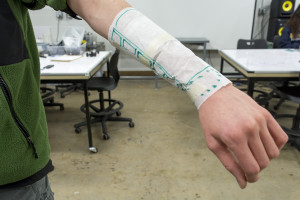
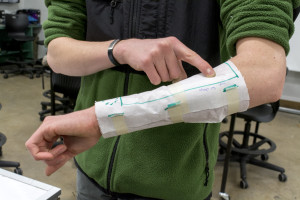
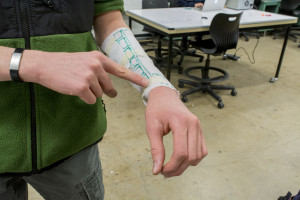
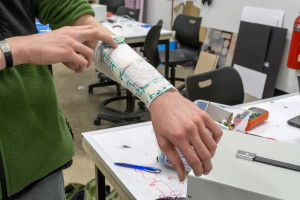
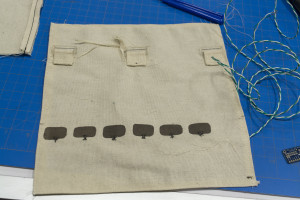
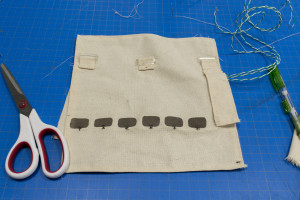
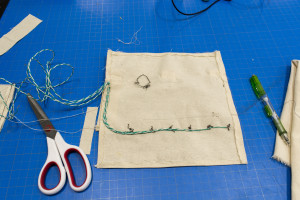
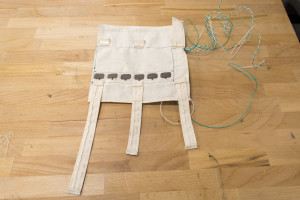
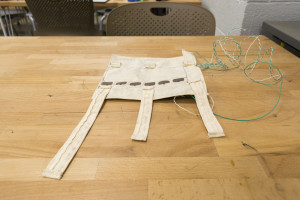
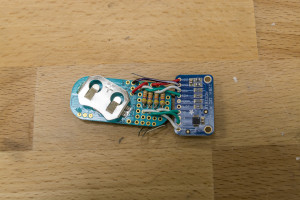
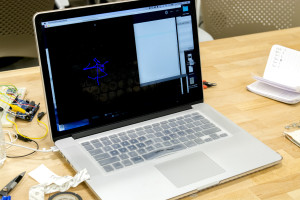
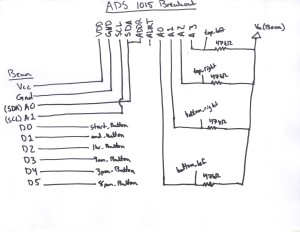
By pressing on the fabric, a connection is made between the conductive fabric and a point on the velostat. The resistance from each measurement point to the point of contact is then measured with an ADC. We experimented with several conductive fabrics, spacing meshes, and connection orientations. Our process can be found in our previous documentation (linked above). Also, the xy data from the sensor needs to be linearized. The linearization method depends on the orientation of the connections, but for our final prototype we linearized using the catenery curve (http://forum.arduino.cc/index.php?topic=184285.0). plan for information flow with the sensor hypothetical layout of the sensor rudimentary visual prototype visual prototype in use visual prototype in use visual prototype in use sewing conductive fabric to make the buttons sewing wires attached to conductive fabric buttons sewing the arm straps on and defining the sensing area inner velostat hand-sewn (because we were afraid that the sewing machine would rip through the velostat given its thickness), wires at four corners with copper tape on ends, light blue bean, with wires soldered to it to connect it to the ADS 1015 Breakout to give us four analog breakout pins instead of two, which are how many are available on the light blue bean testing the sensor with visual output in Processing
circuit diagram of our ADS 1015 Breakout to light blue bean YouTube / Rachel N – via Iframely getting the light blue bean’s accelerometer data YouTube / Rachel N – via Iframely testing in progress
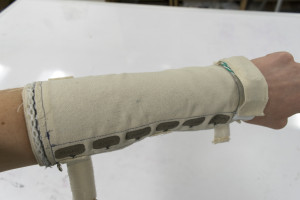
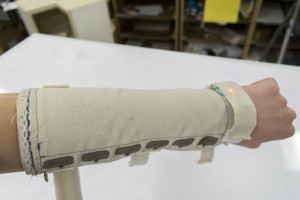
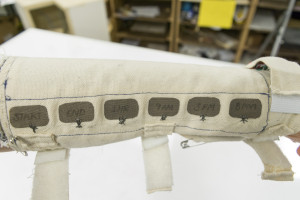
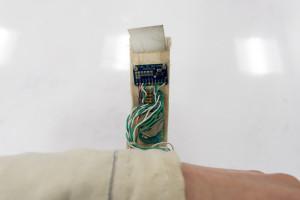
Final project: in off mode; no LED on on, as indicated by red LED. ready to write. simple controls to decide when we start, end, and give ourselves reminders light blue bean circuitry and wires hidden under fabric flap! YouTube / Rachel N – via Iframely |

