What We’ve Made?
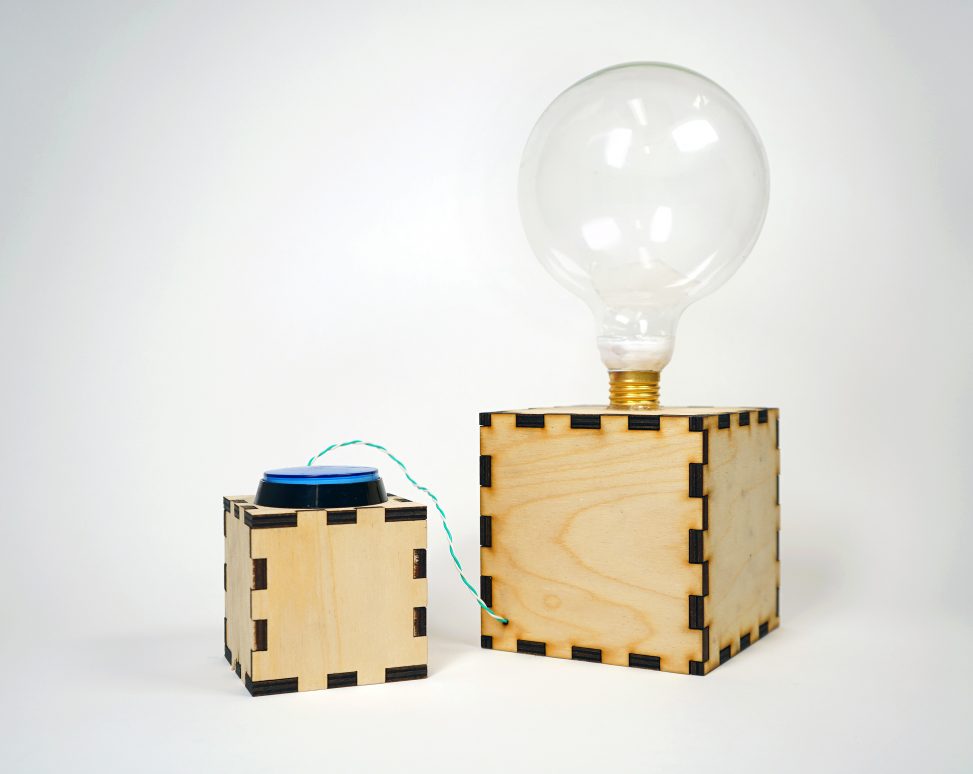
We created a device that turns a light bulb into a bead confetti globe 🙂
When you push the button that is attached to the light bulb box, instead of expecting for the bulb to be lighten up, you will see many colorful beads bouncing around inside of the light bulb. What a surprise!
How Does it Work?
Essentially we opened and cleaned a real light bulb, and placed it onto a wooden box. A giant push button is connected to an Arduino board inside of the box, which is then connected to a motor and a potentiometer (for controlling the motor speed).
The motor is screwed to a wooden plate, and is placed right below the light bulb. A washer is bended into a hyperbolic shape and hooked onto the motor to serve as a “blender blade”. The “blade” part of the motor is located inside of the metal neck part of the light bulb.
When press the button once, the Arduino will controll the motor to spin. The attached washer will hit the beads inside of the light bulb, causing them to bounce around. When press it once more, the motor will stop.
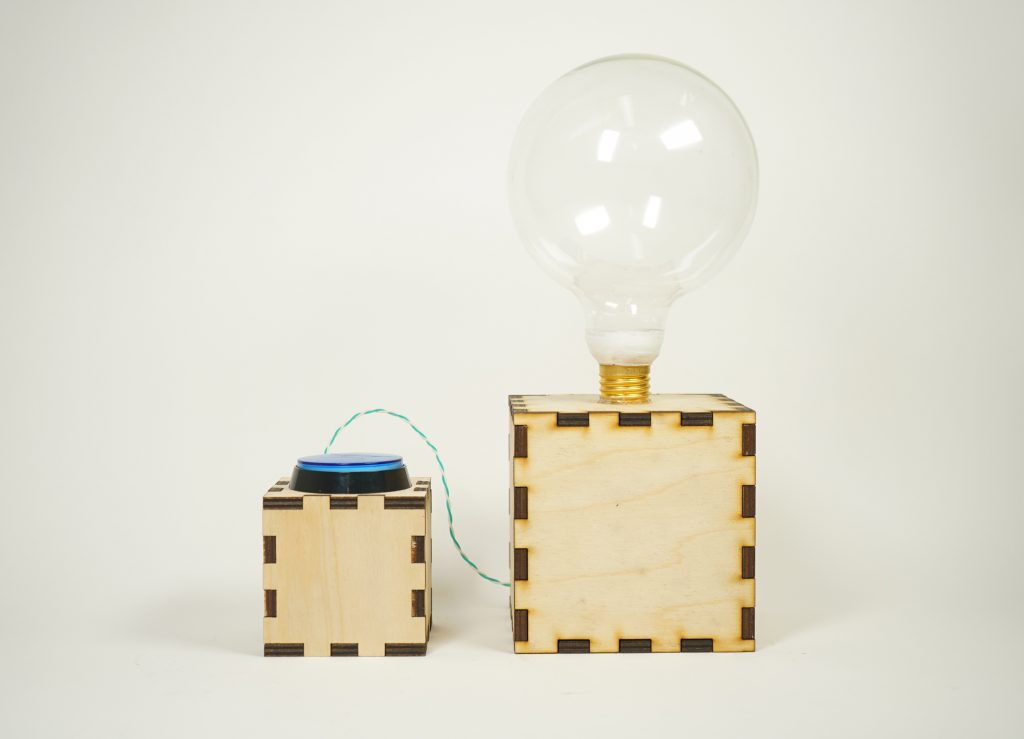
Hardware Exterior
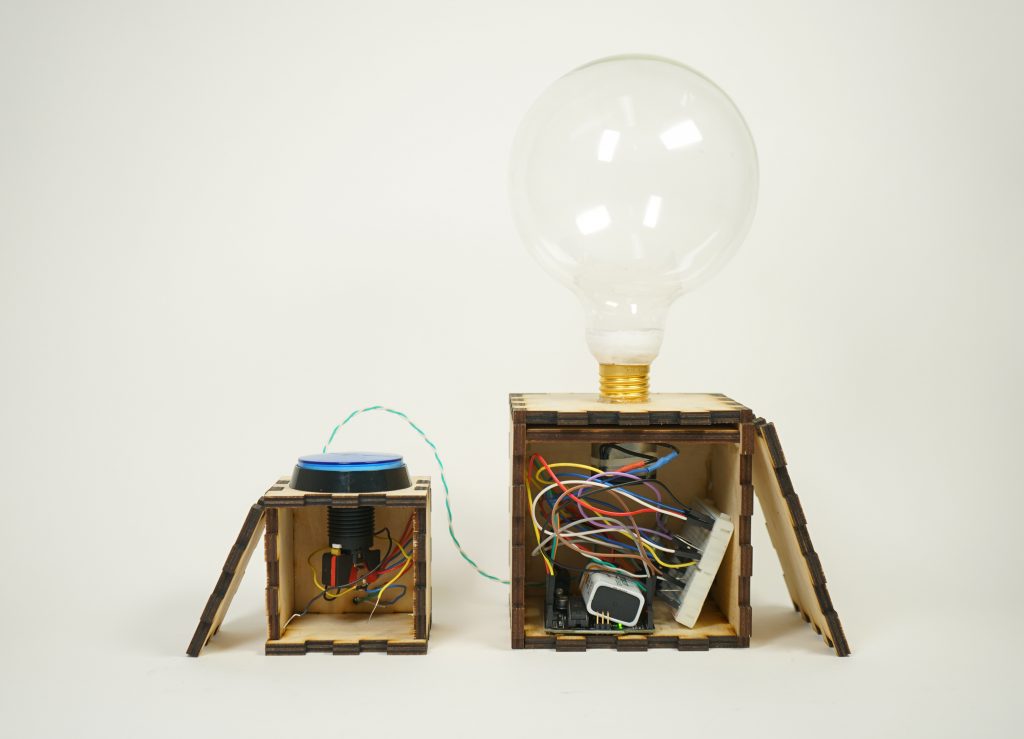
Hardware Interior
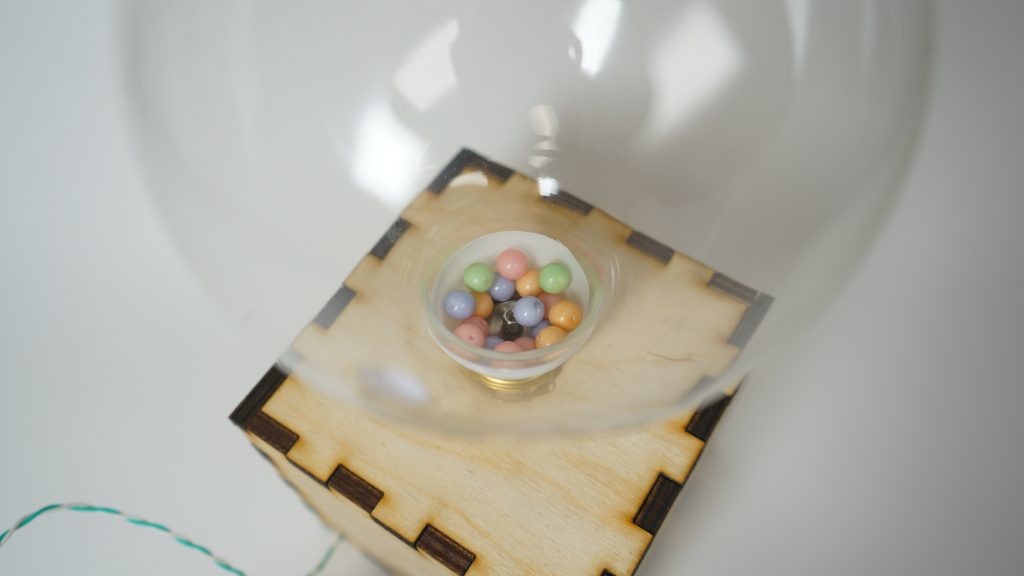
Hardware Detail
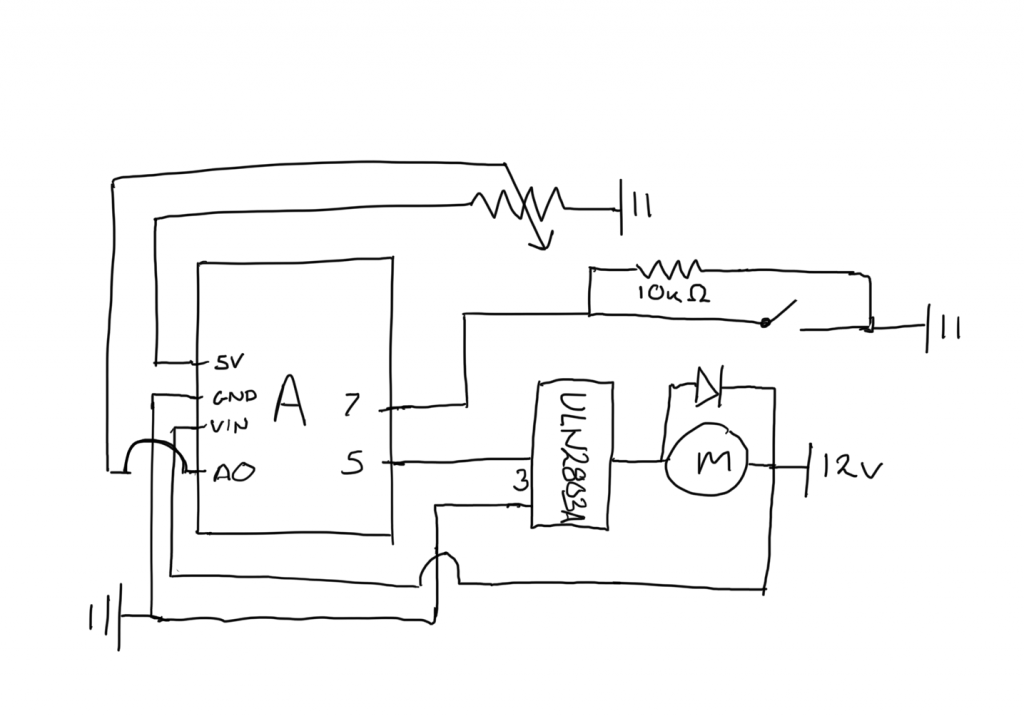
Electronics Wiring Diagram
The Arduino code for controlling the button to the motor is shown below:
int buttonPin = 7;
int potPin = A0;
int potVal = 0;
int motorOne = 5;
int buttonPushCounter = 0; // counter for the number of button presses
int buttonState = 0; // current state of the button
int lastButtonState = 0;


void setup() {
 pinMode(buttonPin, INPUT);
 pinMode(potPin, INPUT);
 pinMode(motorOne, OUTPUT);
 Serial.begin(9600);

}

void loop() {
 potVal = analogRead(potPin);

Serial.print(" potentiometer value: ");
 Serial.print(potVal);

 buttonState = digitalRead(buttonPin);
 if (buttonState != lastButtonState) {
 // if the state has changed, increment the counte
if (buttonState == HIGH) {
buttonPushCounter++;
 }
 lastButtonState = buttonState;
 }


if (buttonPushCounter % 2 == 0) {
 int fanSpeed = map (potVal, 0, 1023, 0, 255);
 analogWrite(motorOne, fanSpeed);
 Serial.print(" button state: ");
 Serial.print(buttonState);
 Serial.print("; fan speed: ");
 Serial.println(fanSpeed);

 }
 else{
 int fanSpeed = 0;
 analogWrite(motorOne, fanSpeed);
 Serial.print(" button state: ");
 Serial.print(buttonState);
 Serial.print("; fan speed: ");
 Serial.println(fanSpeed);
 }

Serial.print(" button counter: ");
 Serial.print(buttonPushCounter);

 delay(50);

}
The code can also be found via the link below:
https://github.com/willowhong/Light-Bulb-Surprise/blob/master/button_to_motor.ino
What Is the Process?
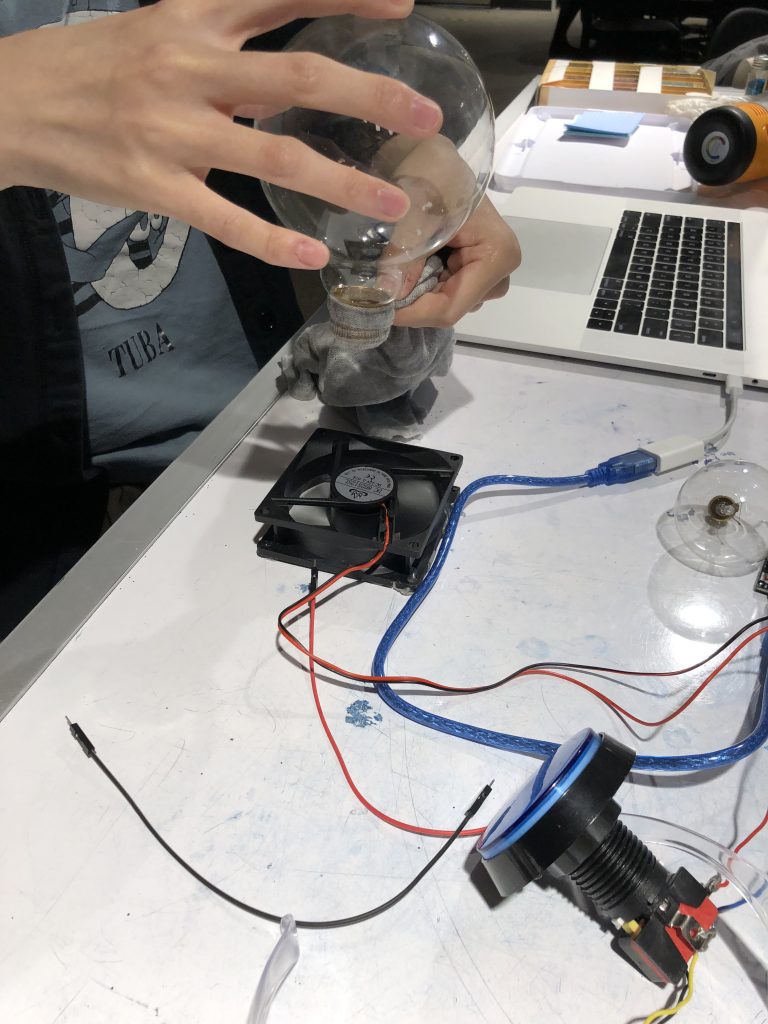
1. Our initial idea was to use cooling fan to blow air into the light bulb and make a snow globe. However, we found that this is not possible due to built up air pressure.
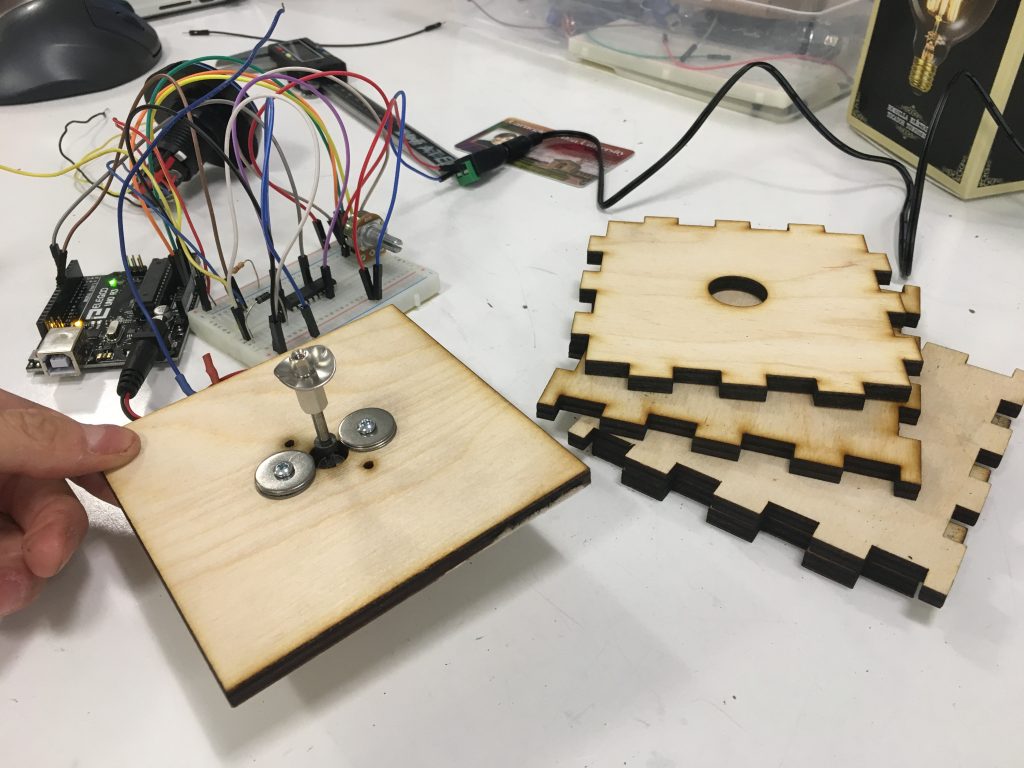
2. We decided to explore with motor to achieve similar effect.
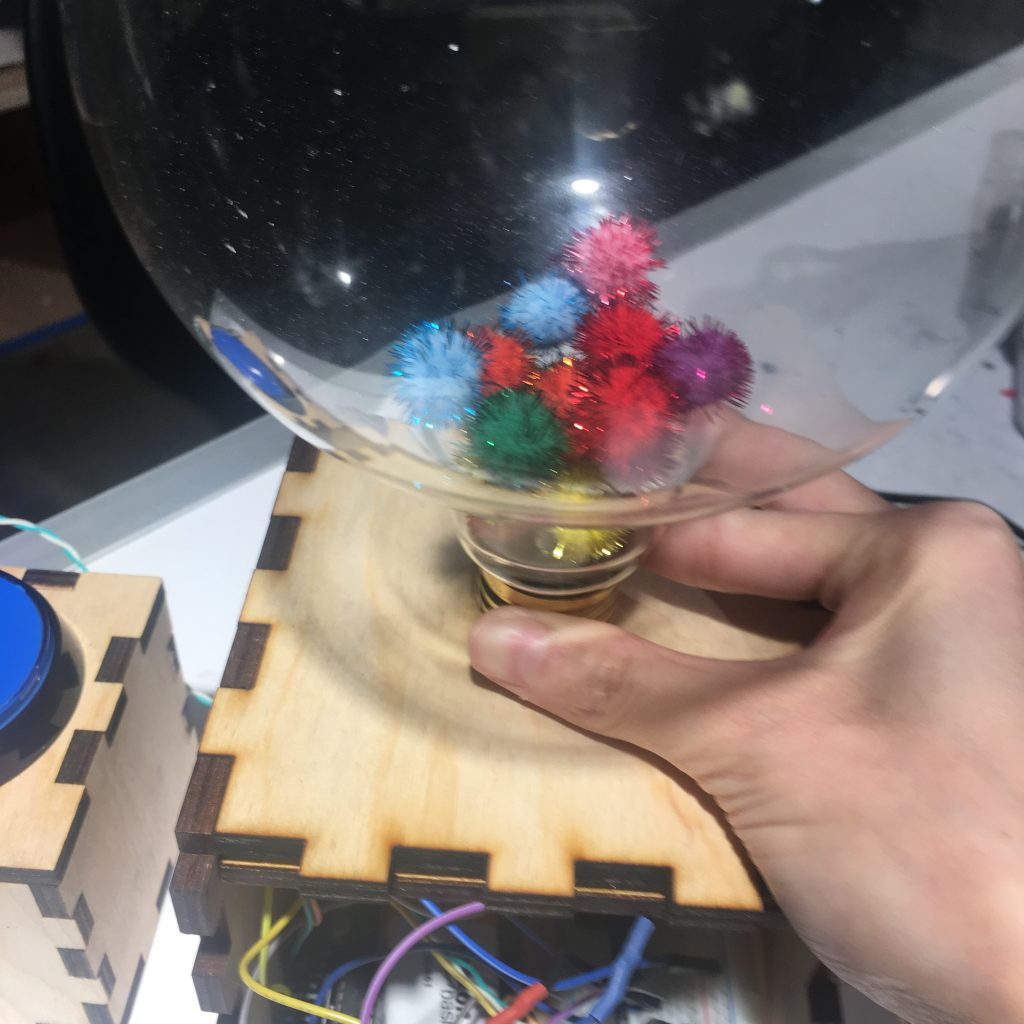
3. We tried a variety of materials for putting inside of the light bulb, including glitters, paper scraps, pom pom balls, plastic beads, etc.
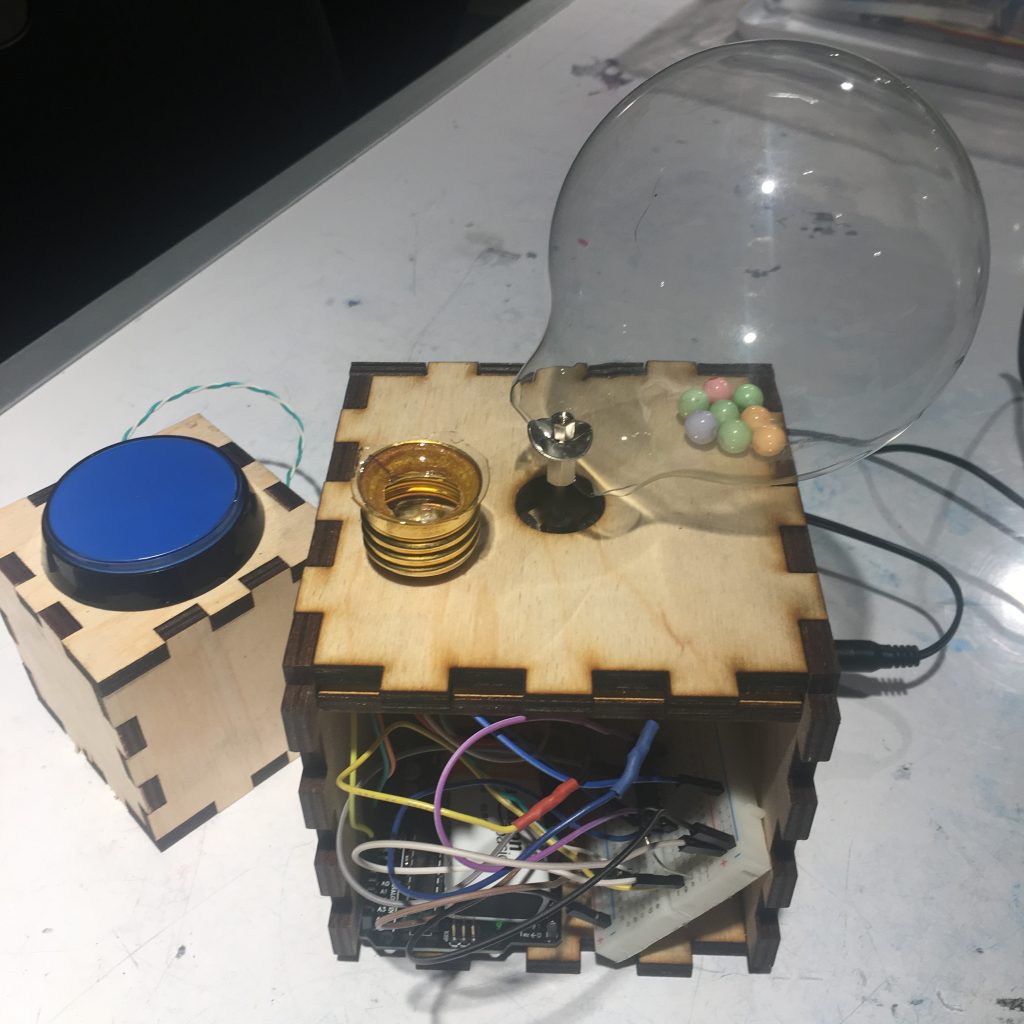
4. We broke one light bulb due to loose joints between the washer and the motor.
REFLECTION
Throughout our design process we made a number of changes. The majority of these changes were motivated by physical limitations. In our original designs we had planned to use a computer fan to blow glitter into a light bulb. Through testing we quickly discovered that the available fans lacked the power to scatter the glitter. When we initially decided on this idea we hadn’t considered the limitations of the in detail. We had to change direction mid build, moving to the bent washer design, and testing a number of different “confettis”. This process was the most challenging part of the build. The electronic side of the project was comparatively simple.
We used a potentiometer and button to control a dc motor. This was a good introduction to Arduino, but there is a lot of room for growth. If we were to take this project to the next level, we could have used more sensors and inputs to make the product more reactive to its environment. For example, There could have been LEDs in the bulb that light up when the room was dark. That being said we are satisfied with the bulbs current function and aesthetic.
Leave a Reply
You must be logged in to post a comment.