The goal of our final project was to incorporate all of the electrical, mechanical, and design skills we have been developing throughout the semester to create an assistive device for an older person. The assistive device was meant to address a problem in our older person’s life. However, after talking with Rosemarie (our older friend) for several hours, we realized that she was enjoying life to the fullest and did not really find anything to be too problematic. As a result, our group, Team Renfrew, decided to create a device that would incorporate two of Rosemarie’s greatest fascinations: cooking and interactive art. We call our device: A Natural Meal Adaptation. This device simulates an LED light representation of a meal that Rosemarie is going to prepare, so she can set the mood while cooking. She can also refer to meals she has made before and be reminded of the beautiful light pattern that was displayed, and whether her husband Joe enjoyed that specific meal. Continue reading this post to learn more about our device, how it works, and our entire design process along the way.
Read more about the early stages of our process here:
Initial Meeting with Rosemarie/Ideation: https://courses.ideate.cmu.edu/60-223/s2018/work/meeting-documentation_1/
Our First Iteration: https://courses.ideate.cmu.edu/60-223/s2018/work/process-documentation_team-renfrew/
What We Built

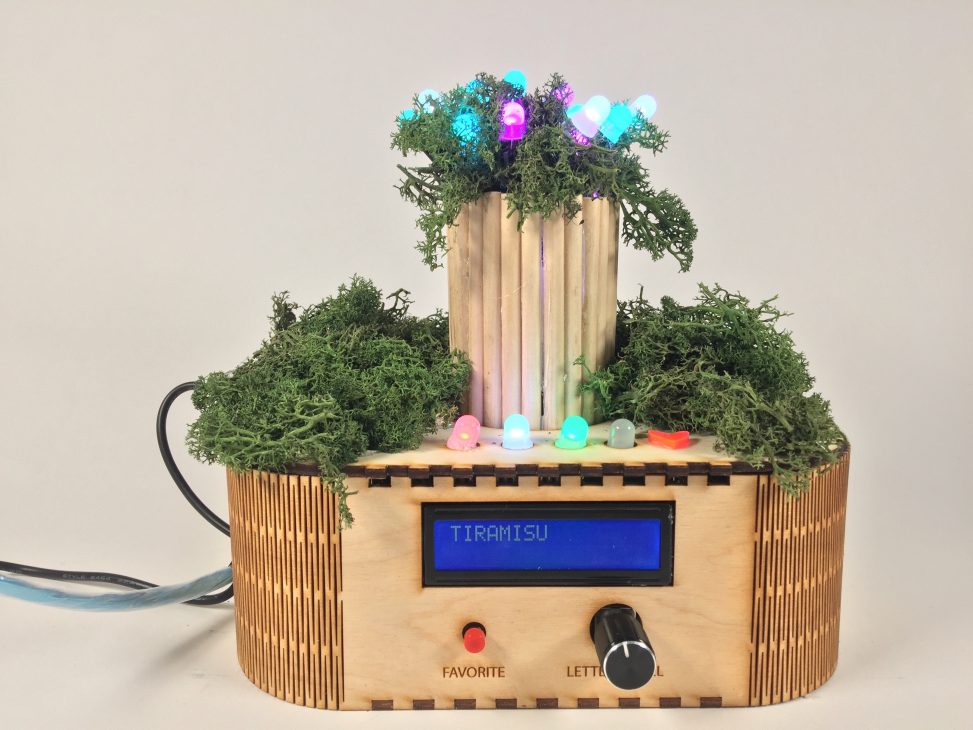
Light display of Tiramisu. How yummy!

Base display and accompanying controller turned off
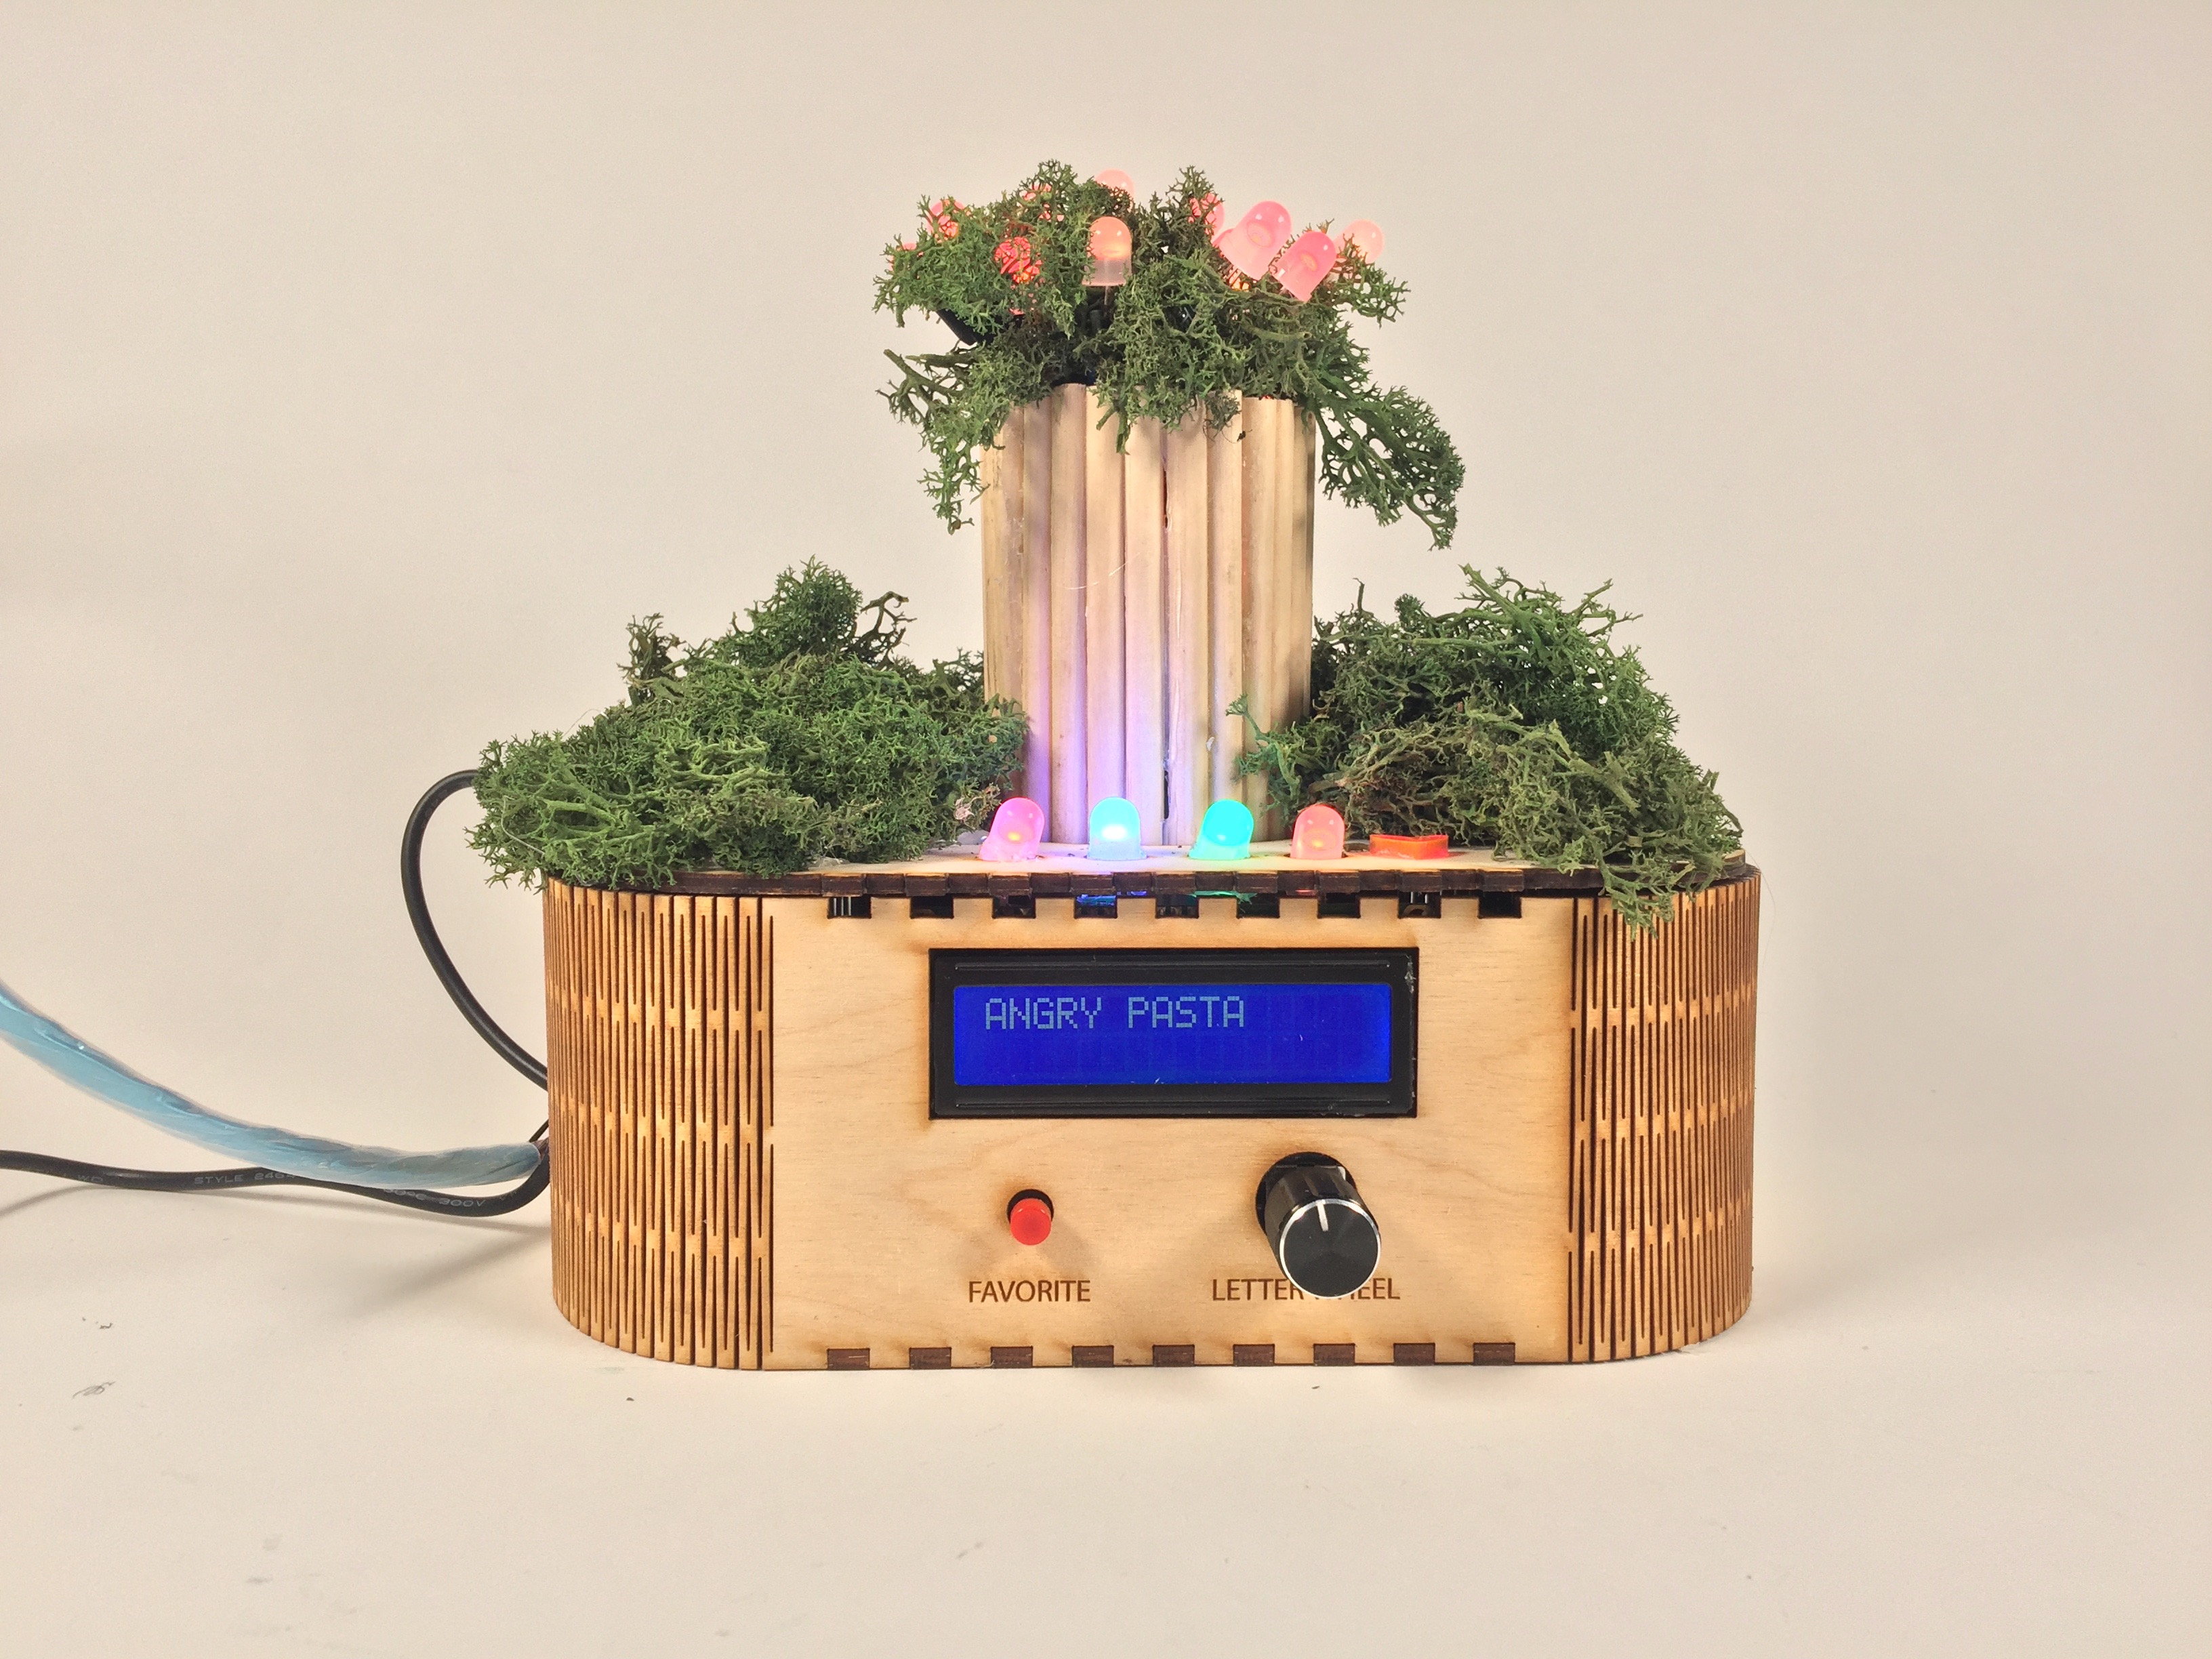
Light display of Angry Pasta. I wonder what makes the pasta angry.
Our project begins by asking Rosemarie a few questions about the dish she is about to prepare. Based on her answers to those questions, a distinctive light pattern gets uploaded to our tree and base display. Once she is done viewing the light pattern display, she may save the name of the dish and the light pattern associated with it for future reference. When she is looking back at old displays, she may even press the Favorite button, to remind her that the dish was a crowd-pleaser (or a Joe-pleaser).

Close-up of the Favorite button on the base display. Let the chef know you were a fan of the dish with this button!

Close-up of the Flag LEDs. The Italian flag colors have never looked so good.

Close-up of the natural aesthetic of our project. Check out those living hinges!
This is how we envisioned Rosemarie using this project:
Rosemarie begins preparing for her evening by deciding which vegan dish she is going to make. She decides that tonight she is going to make Garlic Pasta with Roasted Cajun Cauliflower. She turns on her A Natural Meal Adaptation and flips the Mode switch on the controller to Record mode. She starts by answering a few questions on the LCD screen about her dish. She answers each question by either pressing the Yes button or the No button. (What cuisine? – ITALIAN!, Hot or cold? – HOT!, What flavor? – SAVORY!, Heavy or light? – HEAVY!) To her amazement, the lights on the display begin to flash according to her inputs. While she cooks and serves her dish, the lights continue to dance around the tree and shine on the base display. After she’s done enjoying the meal with her husband, she flips the Mode switch on the controller to Display mode and saves a name for the dish using the Letter Wheel. (G-A-R-L-I-C P-A-S-T-A) She uses the Previous and Next buttons on the controller to view dishes she has made in the past, hoping to get inspiration for what she might cook tomorrow. She flips back to her GARLIC PASTA dish and reflects for a moment. Joe presses the Favorite button on the base, indicating that tonight’s meal was a success. A new light on the base begins to shine red, and Rosemarie is satisfied with the events of the night. She unplugs her A Natural Meal Adaptation and puts it away, sure of the fact that it will remember the dishes she has saved next time she starts it back up again.
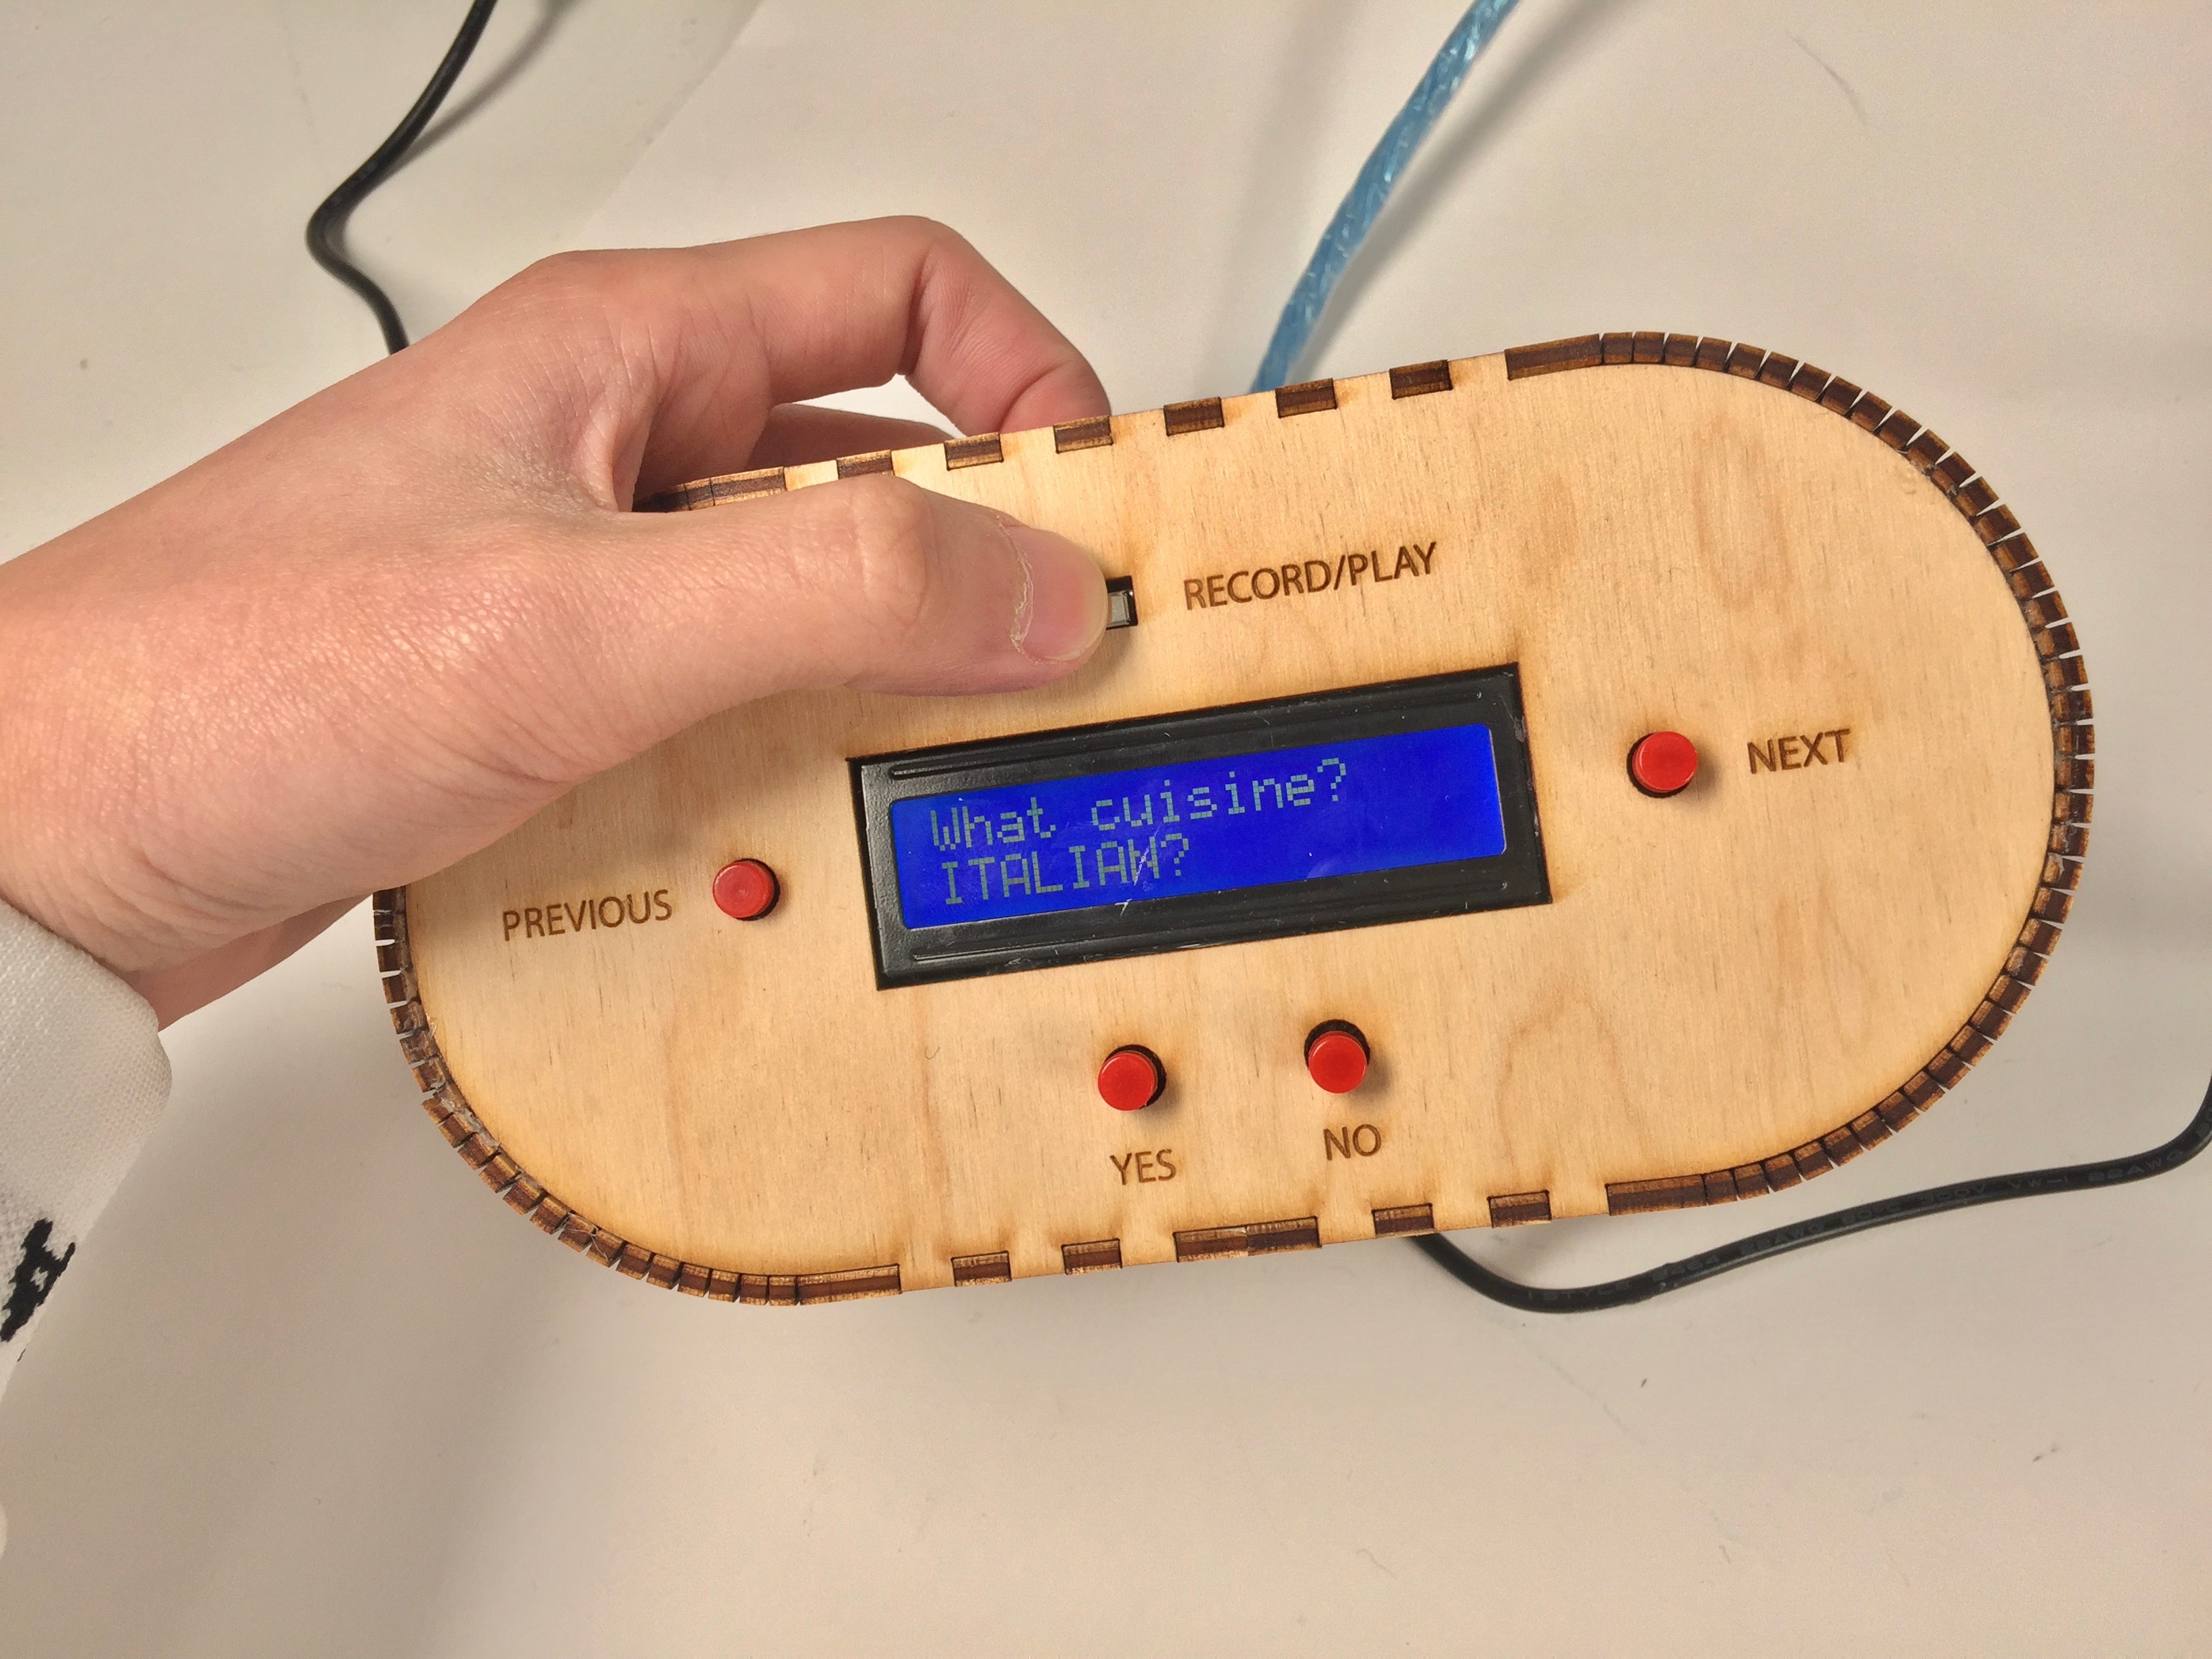
A user switching the mode of the device from Display to Record

A user pressing the favorite button causing the Favorite LED to light up red. It must’ve been a tasty dish!
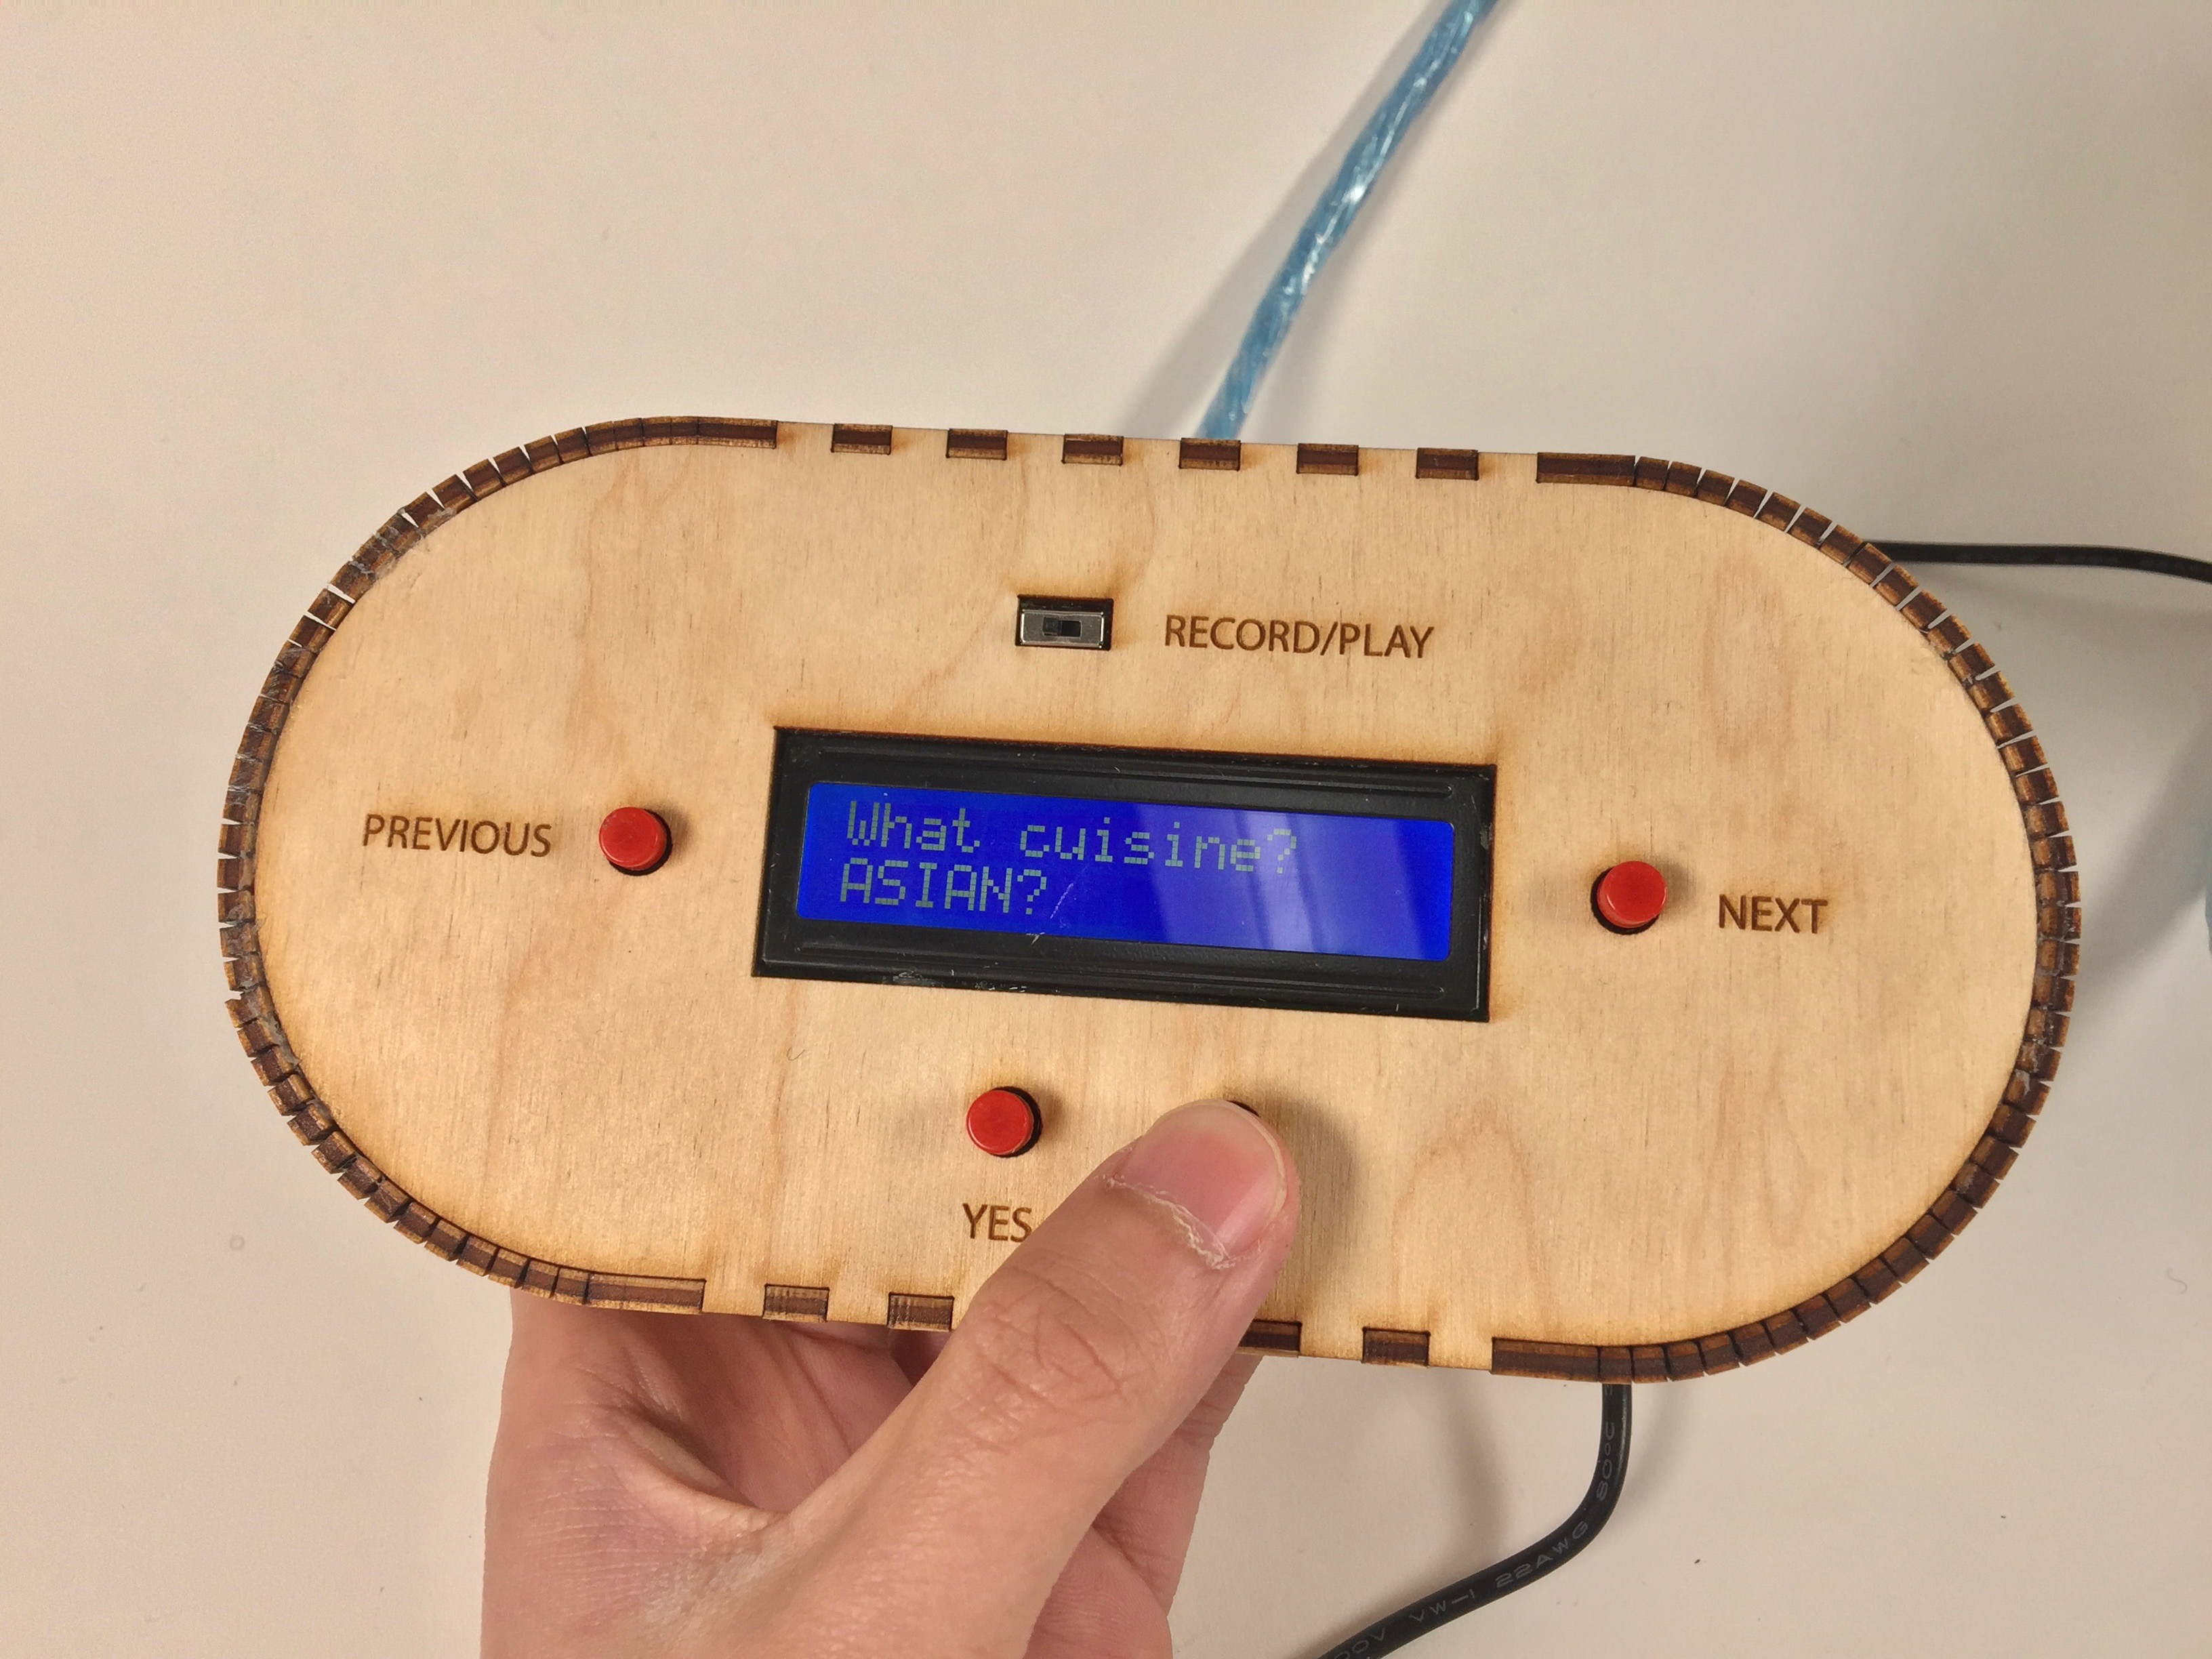
A user pressing the No button prompting for a different choice. Some Asian food sounds good right now.
How We Got Here
After we had fully realized our final iteration of the project, it was amazing to look back at how far we had come. This latest iteration was almost unrecognizable from what we had presented during our prototype presentation. Many of the revisions we decided to make for our project came from direct feedback that Rosemarie provided us. One of the first revisions we decided to make to our original idea was to change the form. Rosemarie thought that the 3×3 grid of RGB LED modules was nice, but after some brainstorming, we decided that she’d enjoy a more natural display like a tree much more. A tree display would mesh well with the other plants currently in her apartment. Since we changed the form to that of a tree, it also made sense to use different LEDs, so we decided to use RGB LED pixel strands so we could fit more smaller lights onto our display, while also being able to keep the circuitry fairly hidden.

Monica testing out our new LEDs
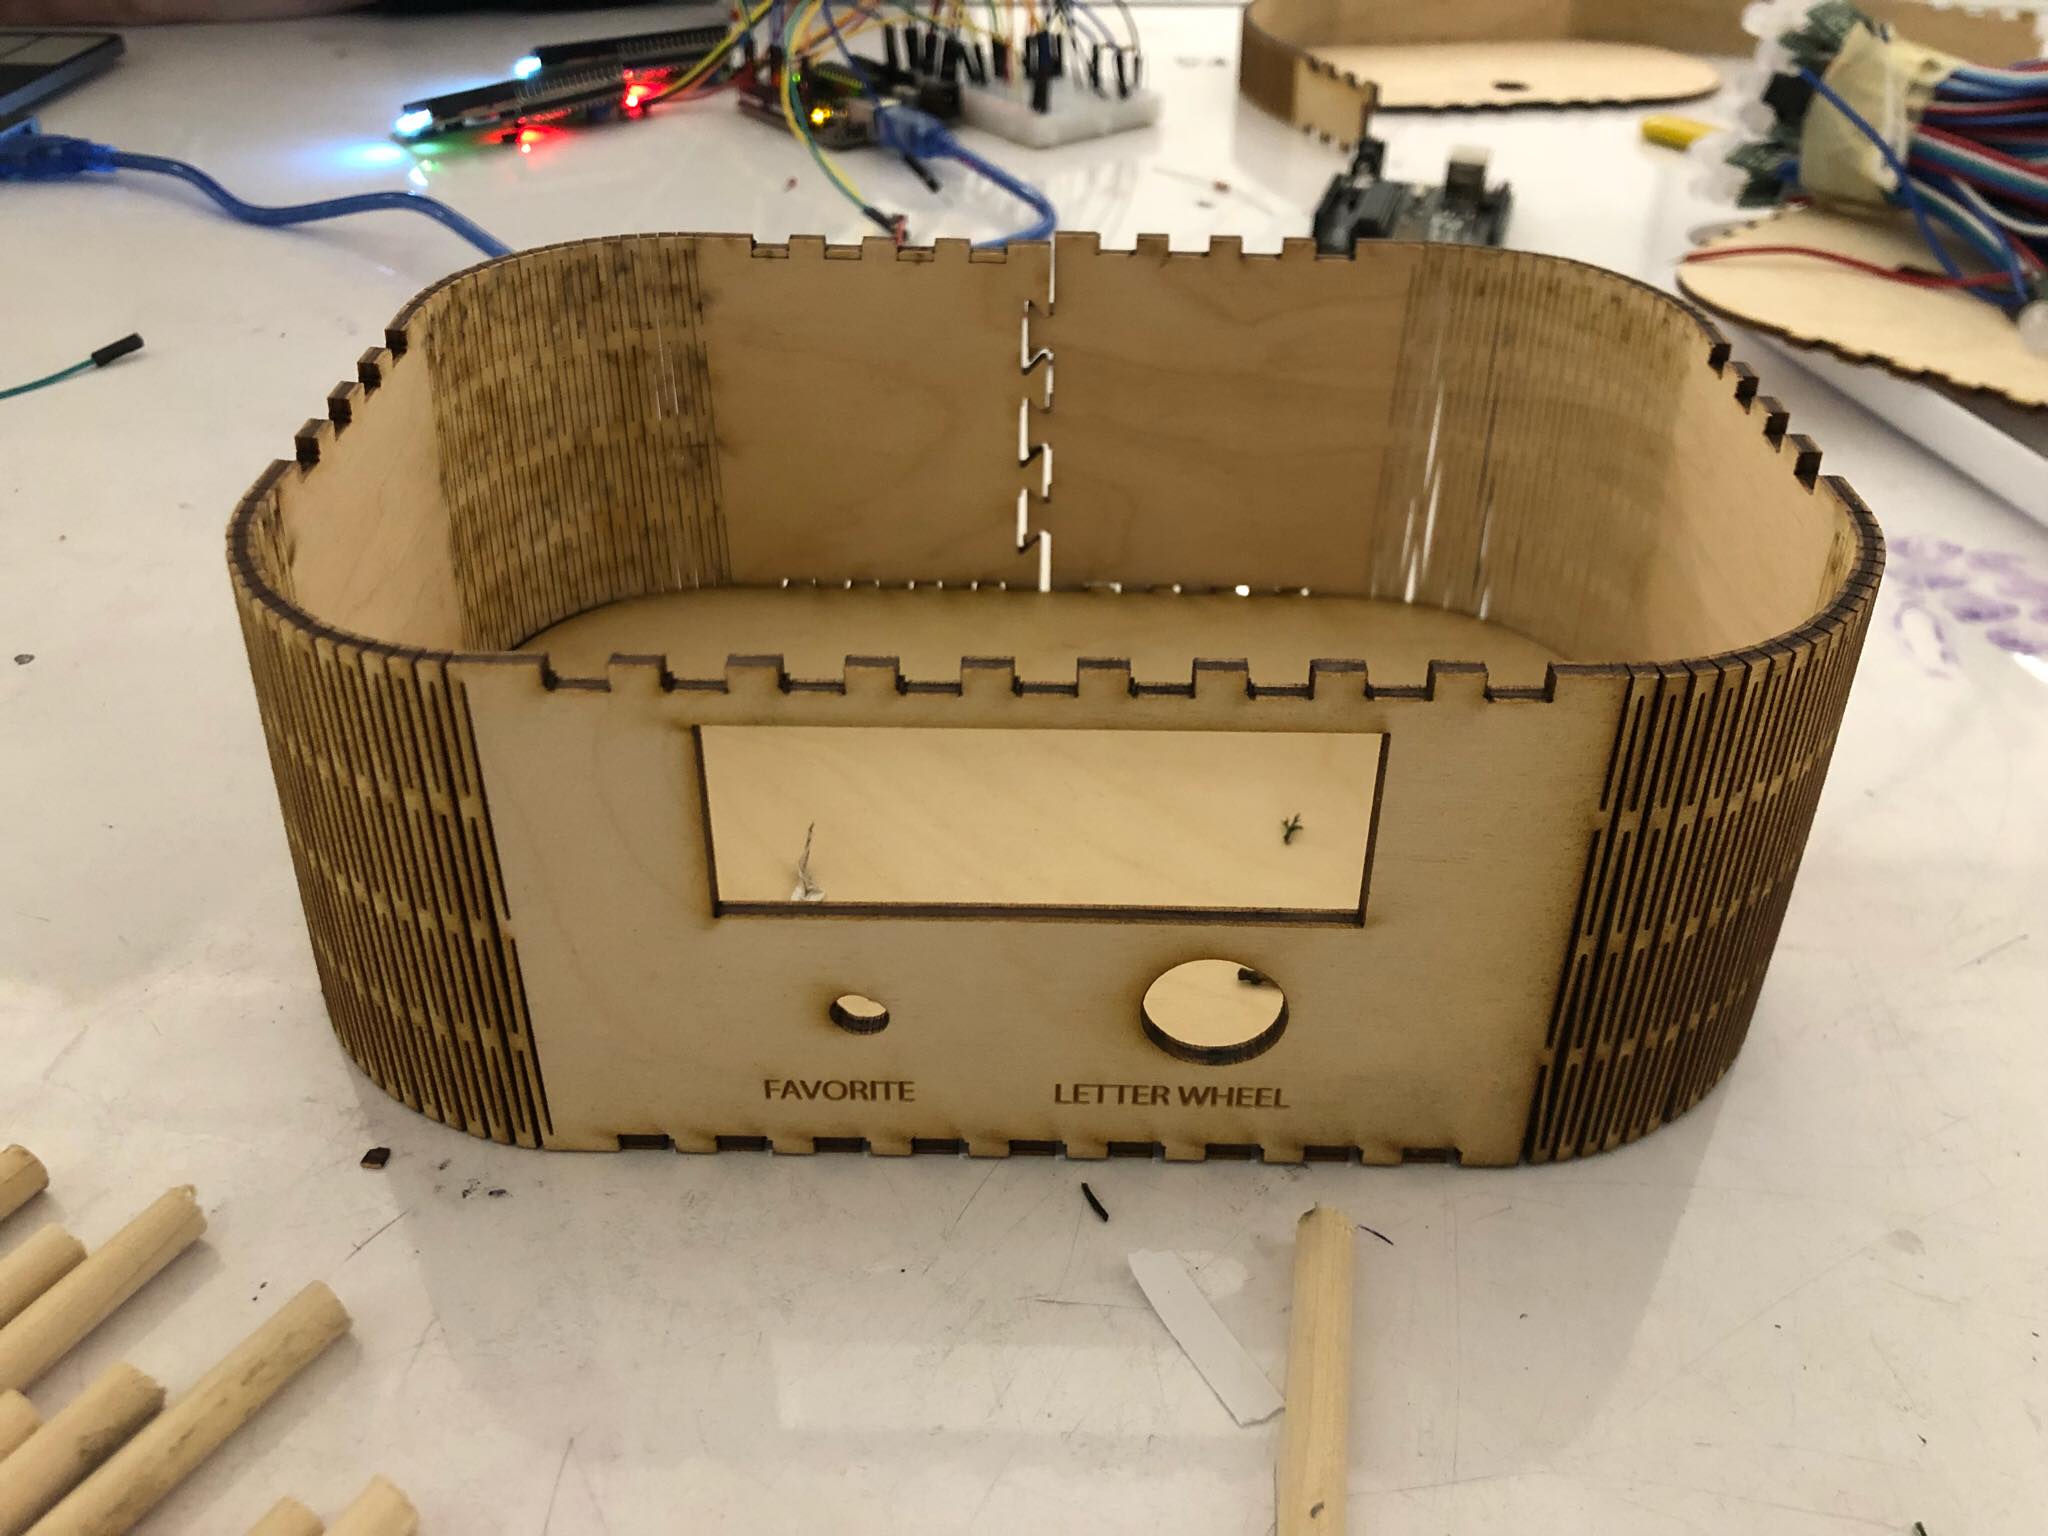
Early skeleton of our new natural form
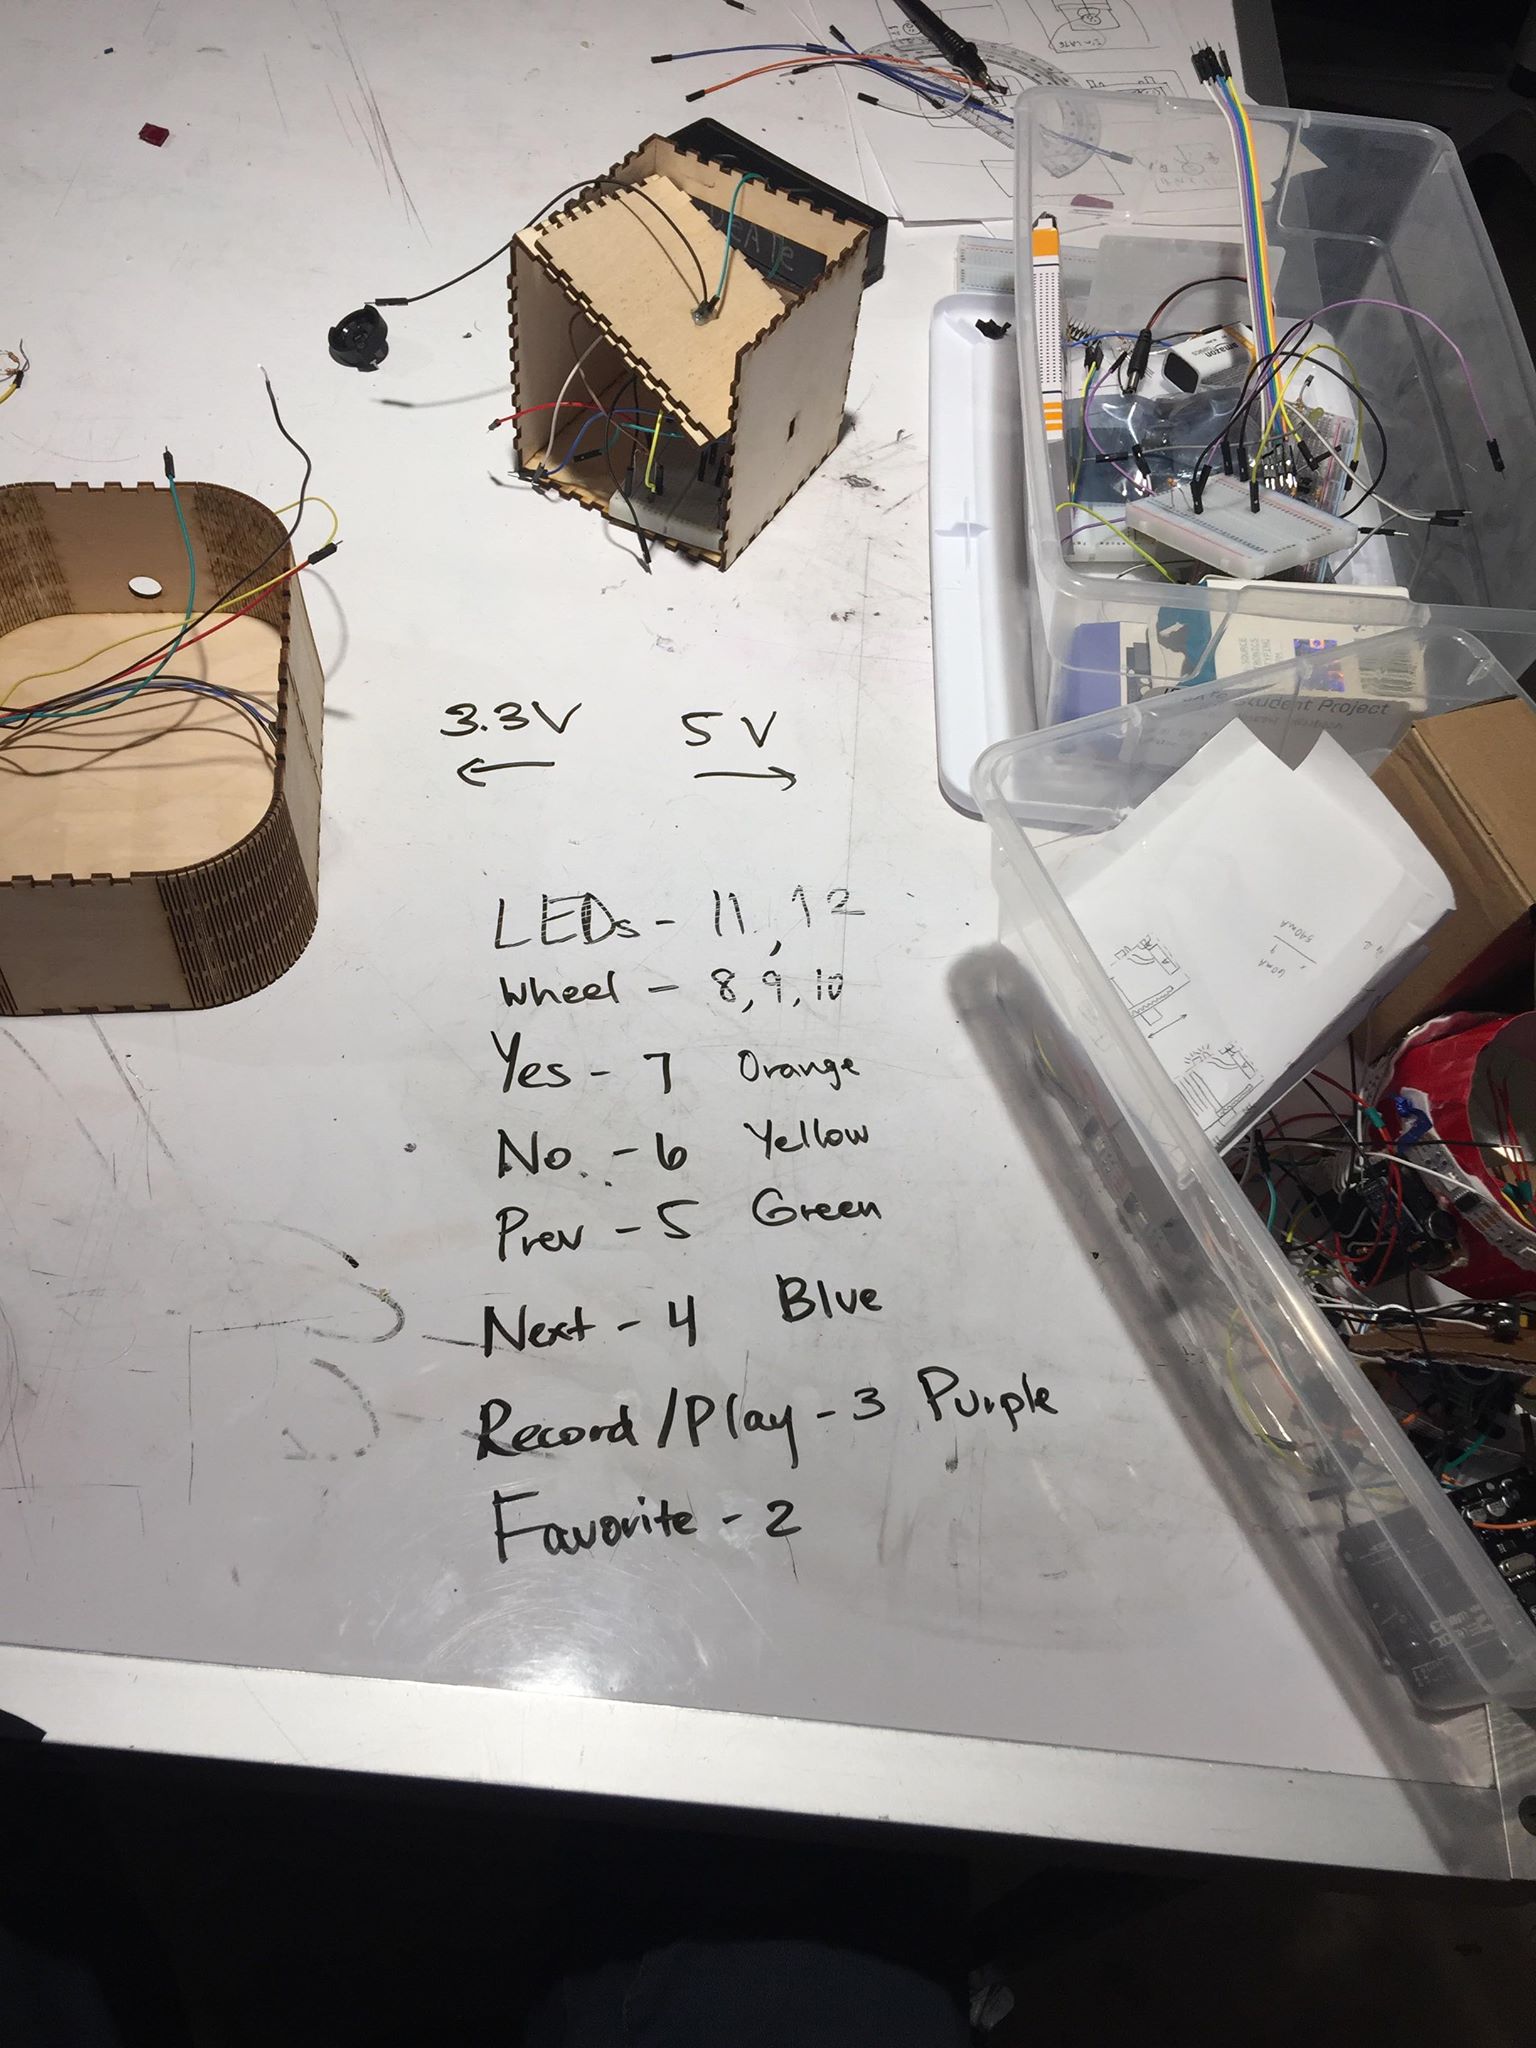
Planning out our pin assignments so we don’t forget them later
Another inspiring idea Rosemarie had for us, was to implement some kind of indication of whether or not her husband, Joe, liked the dish she made. We thought that this was an excellent idea because it added to the interactive experience of the device, and would be a useful reminder to Rosemarie of which dishes were most successful. Our first thought was to have a heart button that served as a button and an LED that would light up when pushed, however, we realized that finding a specific electronic part that would meet our desired expectations would be difficult. Thus, we decided to pivot our idea and separate a Favorite button and a Favorite LED. If Joe (or anyone really) liked a dish, he would press the Favorite button while the dish was being displayed in Display mode. This would cause a Favorite LED to flash red (the color of love), and each time that dish was being displayed, the Favorite LED would always be lit. It took us some time to decide when in our code it would be best to check for the Favorite button to be pressed, and we decided that the most appropriate place would be in Display mode, while old dishes were being displayed. It made the most logical sense to check for this input here, while also being an easy place to incorporate functionality in the software.

Favorite LED shining red indicating the meal was a success!
The most challenging revision we needed to make for our final project was adding the functionality of a Display mode. Up until our prototype iteration, we had only enabled a user to give inputs to the device to display a light pattern, however, we had no mechanism for remembering old light patterns and the dishes associated with them. Since we were all new to the Arduino’s EEPROM memory management, we found it difficult to debug areas of our code that utilized this memory. Additionally, we kept encountering a problem where it appeared that our code would enter an infinite loop causing our LCD displays to flash on and off, through no provocation from the user.
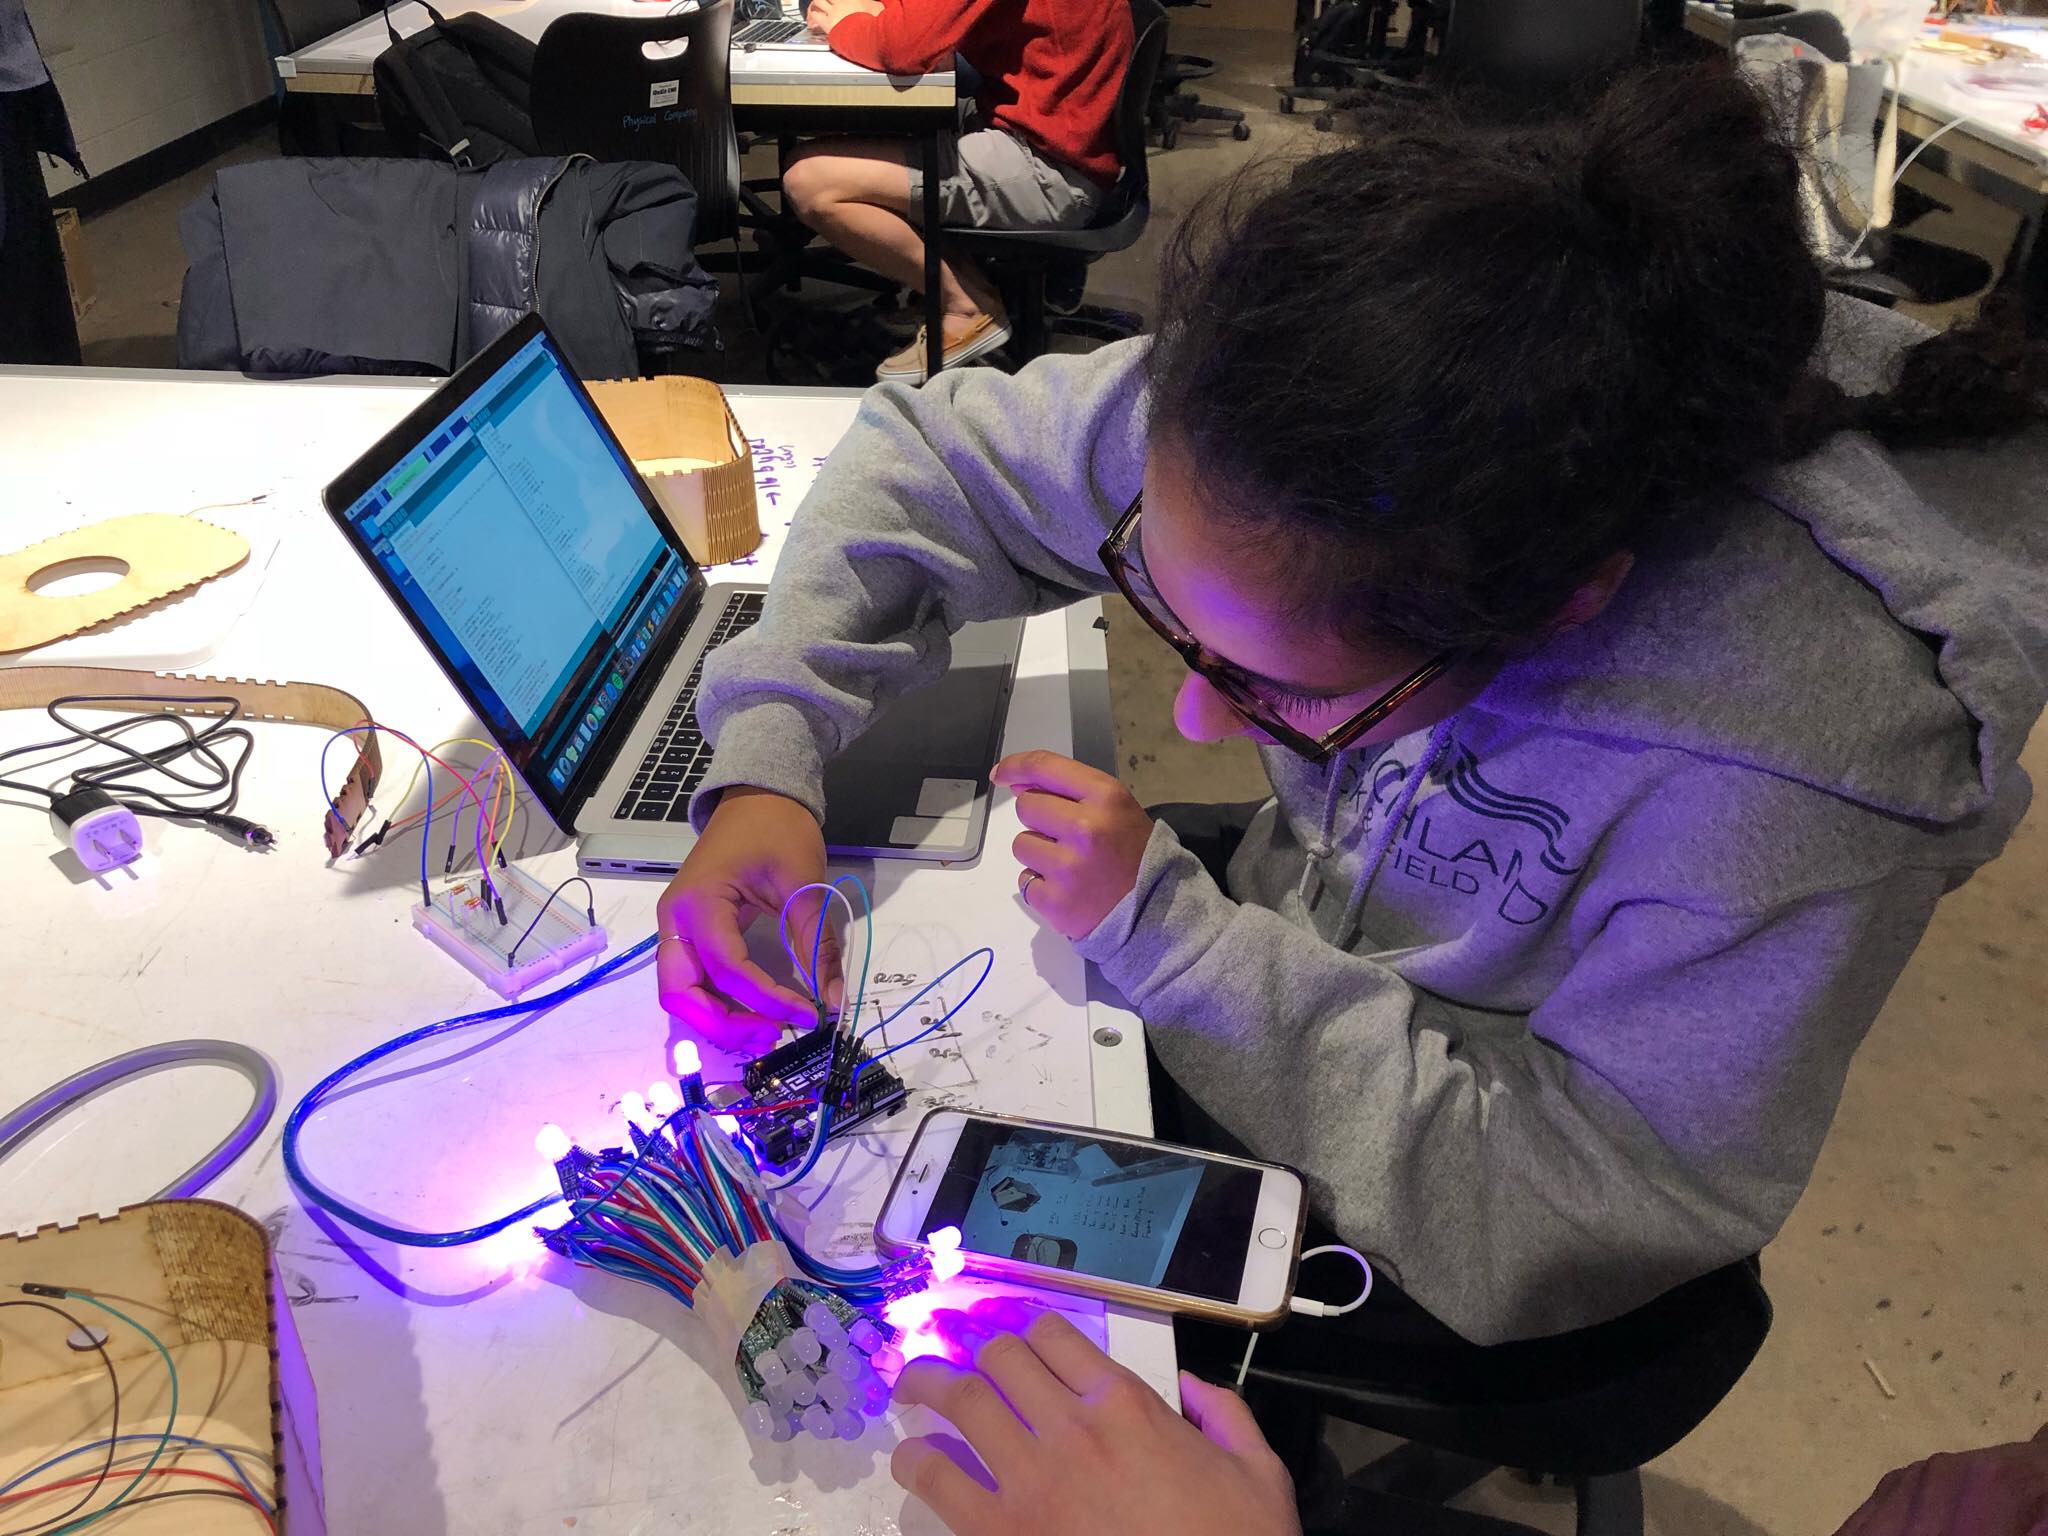
Arushi tirelessly debugging the code
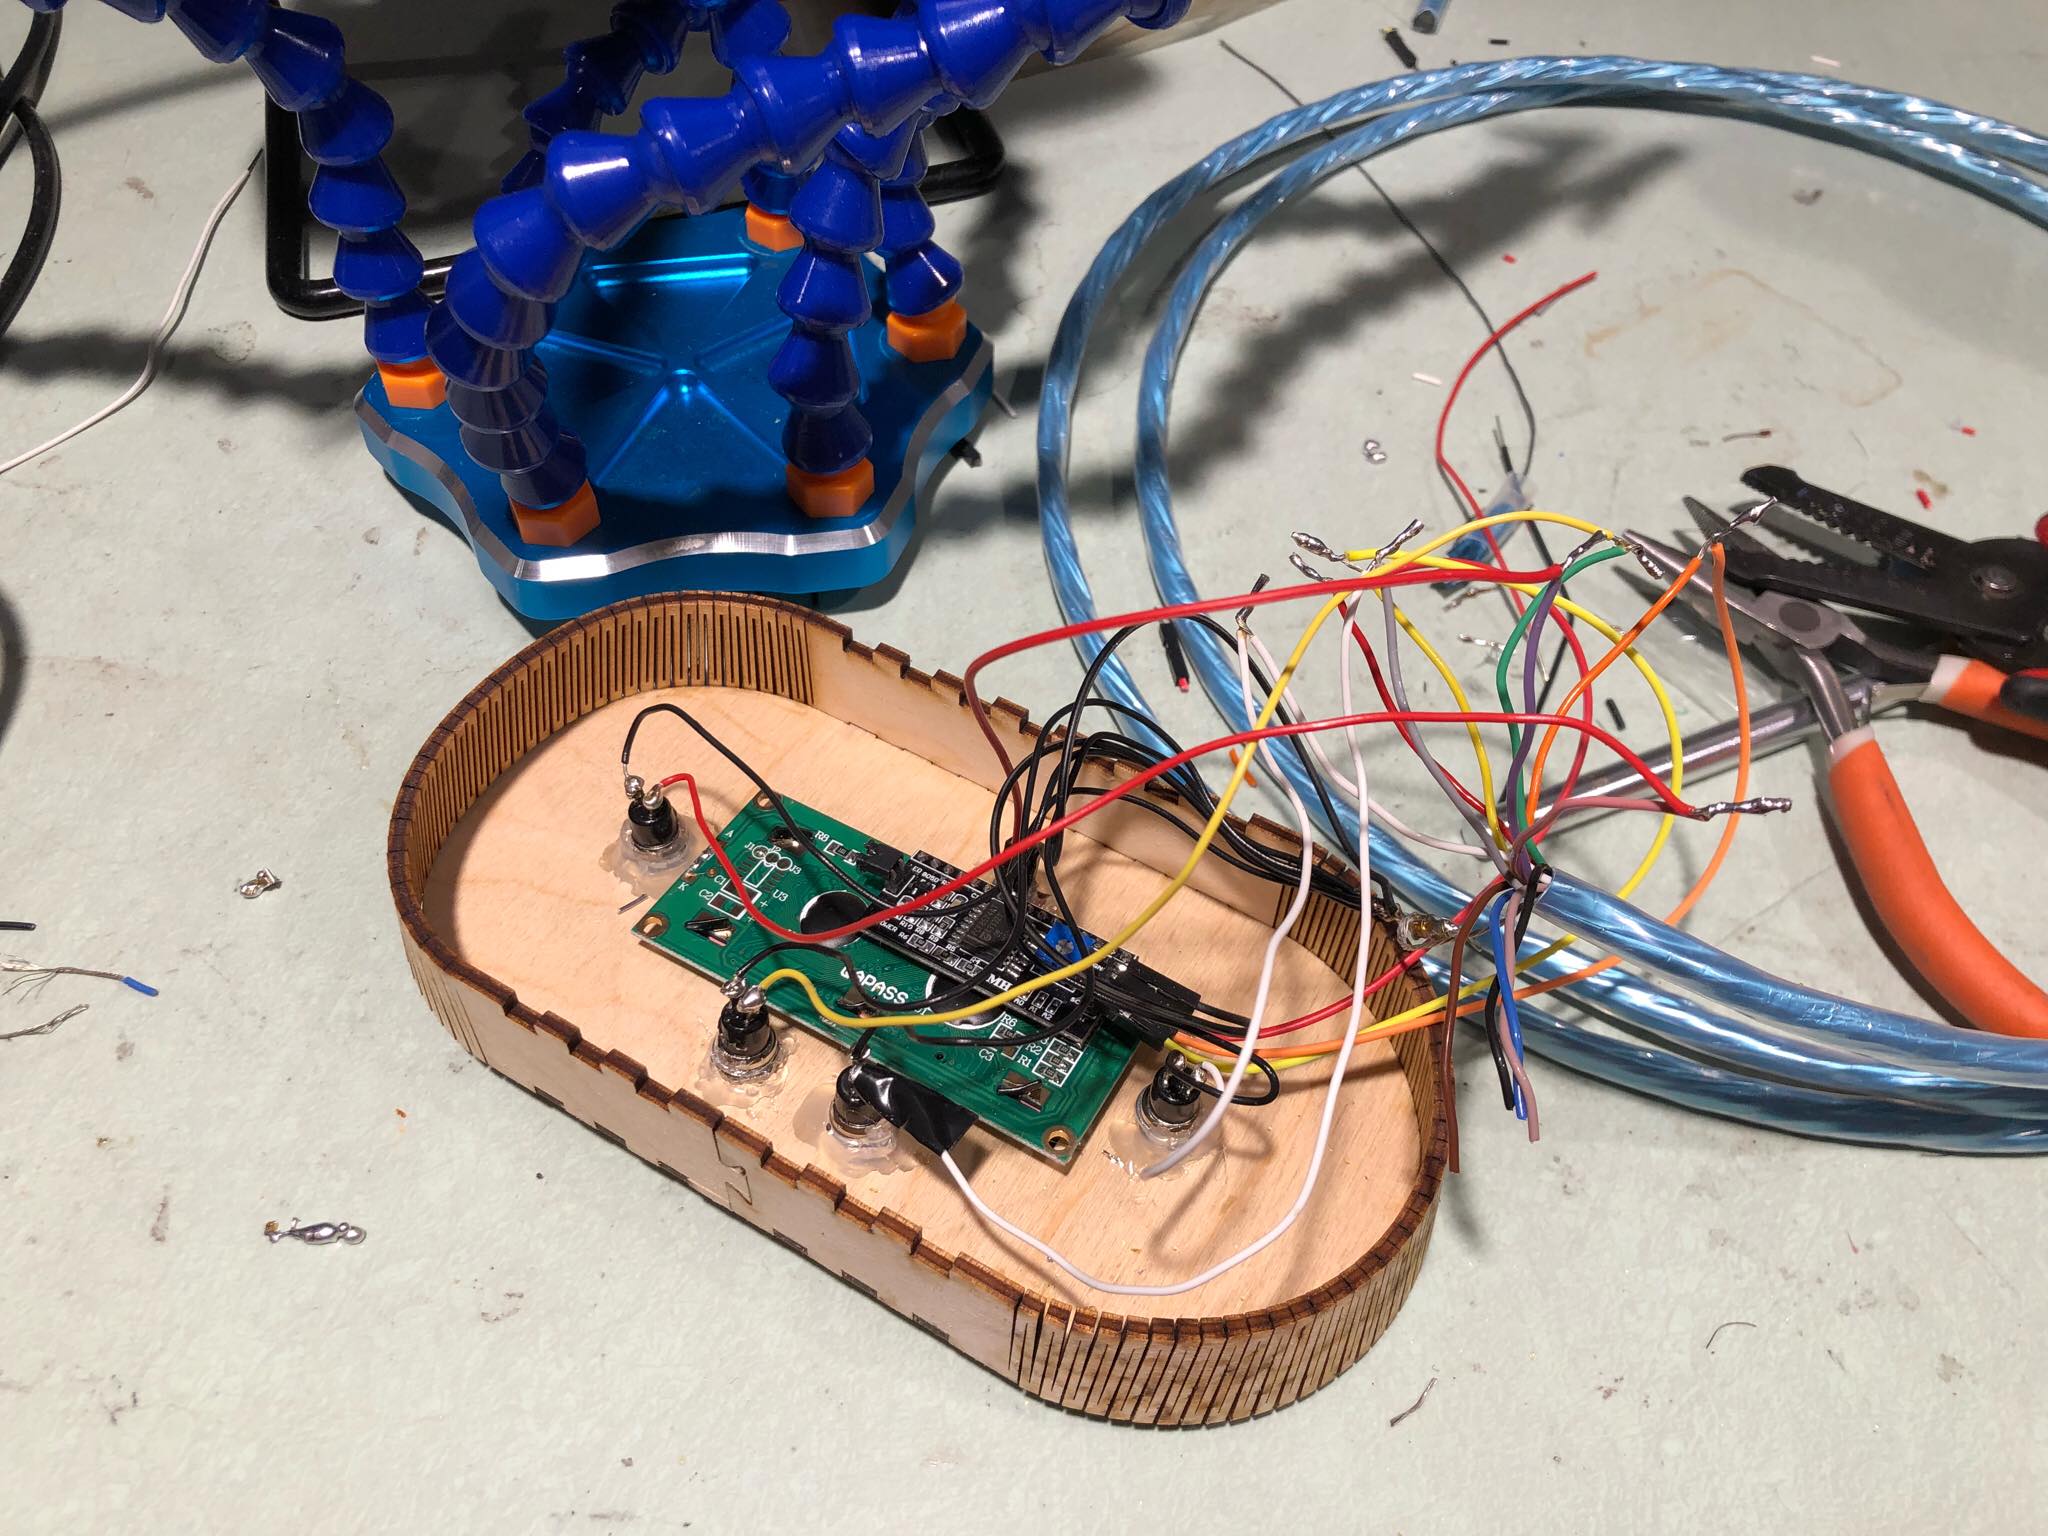
Disassembling the controller to figure out what is going on with our LCD displays
Initially, we were able to stick to our final build plan as we individually constructed modular pieces of our code, hardware, and display. However, as we got closer to our final critique, it became difficult to stick to the plan. The night before the critique, we had all the code assembled and the form constructed, but we had yet to debug. The issues mentioned in the previous paragraph were our biggest challenges, but we knew that having a faulty device was not an option. We couldn’t let Rosemarie down, and through sheer determination, hours of mindlessly reading through code, and a few snack breaks, we were able to create a working final product.
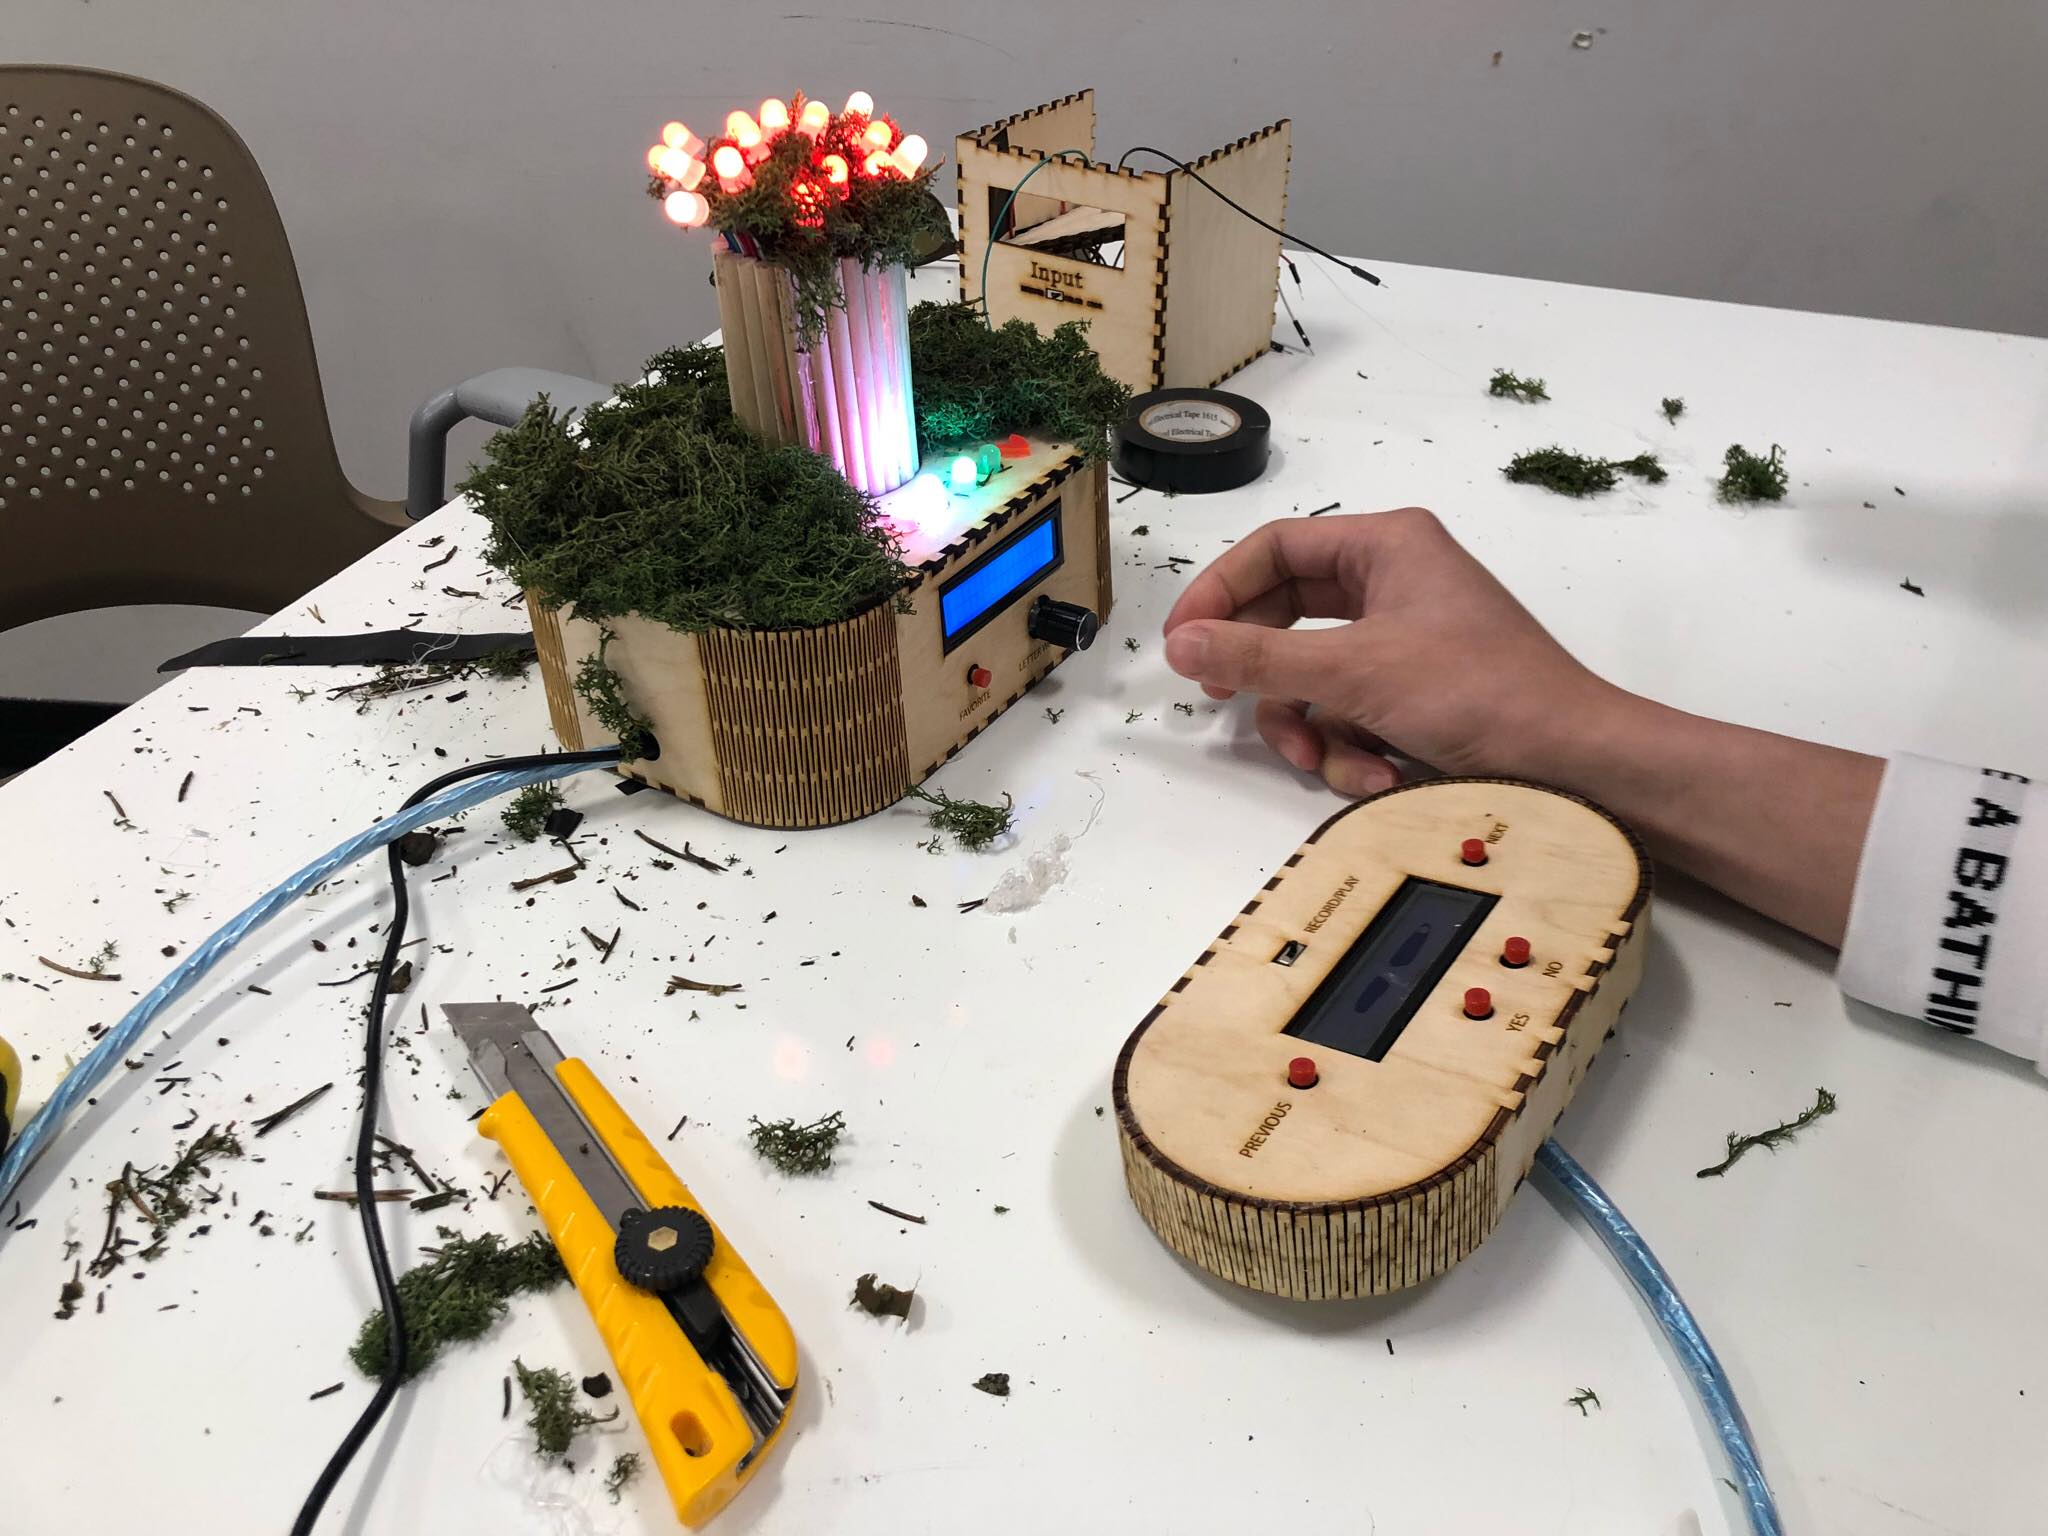
All the pieces coming together
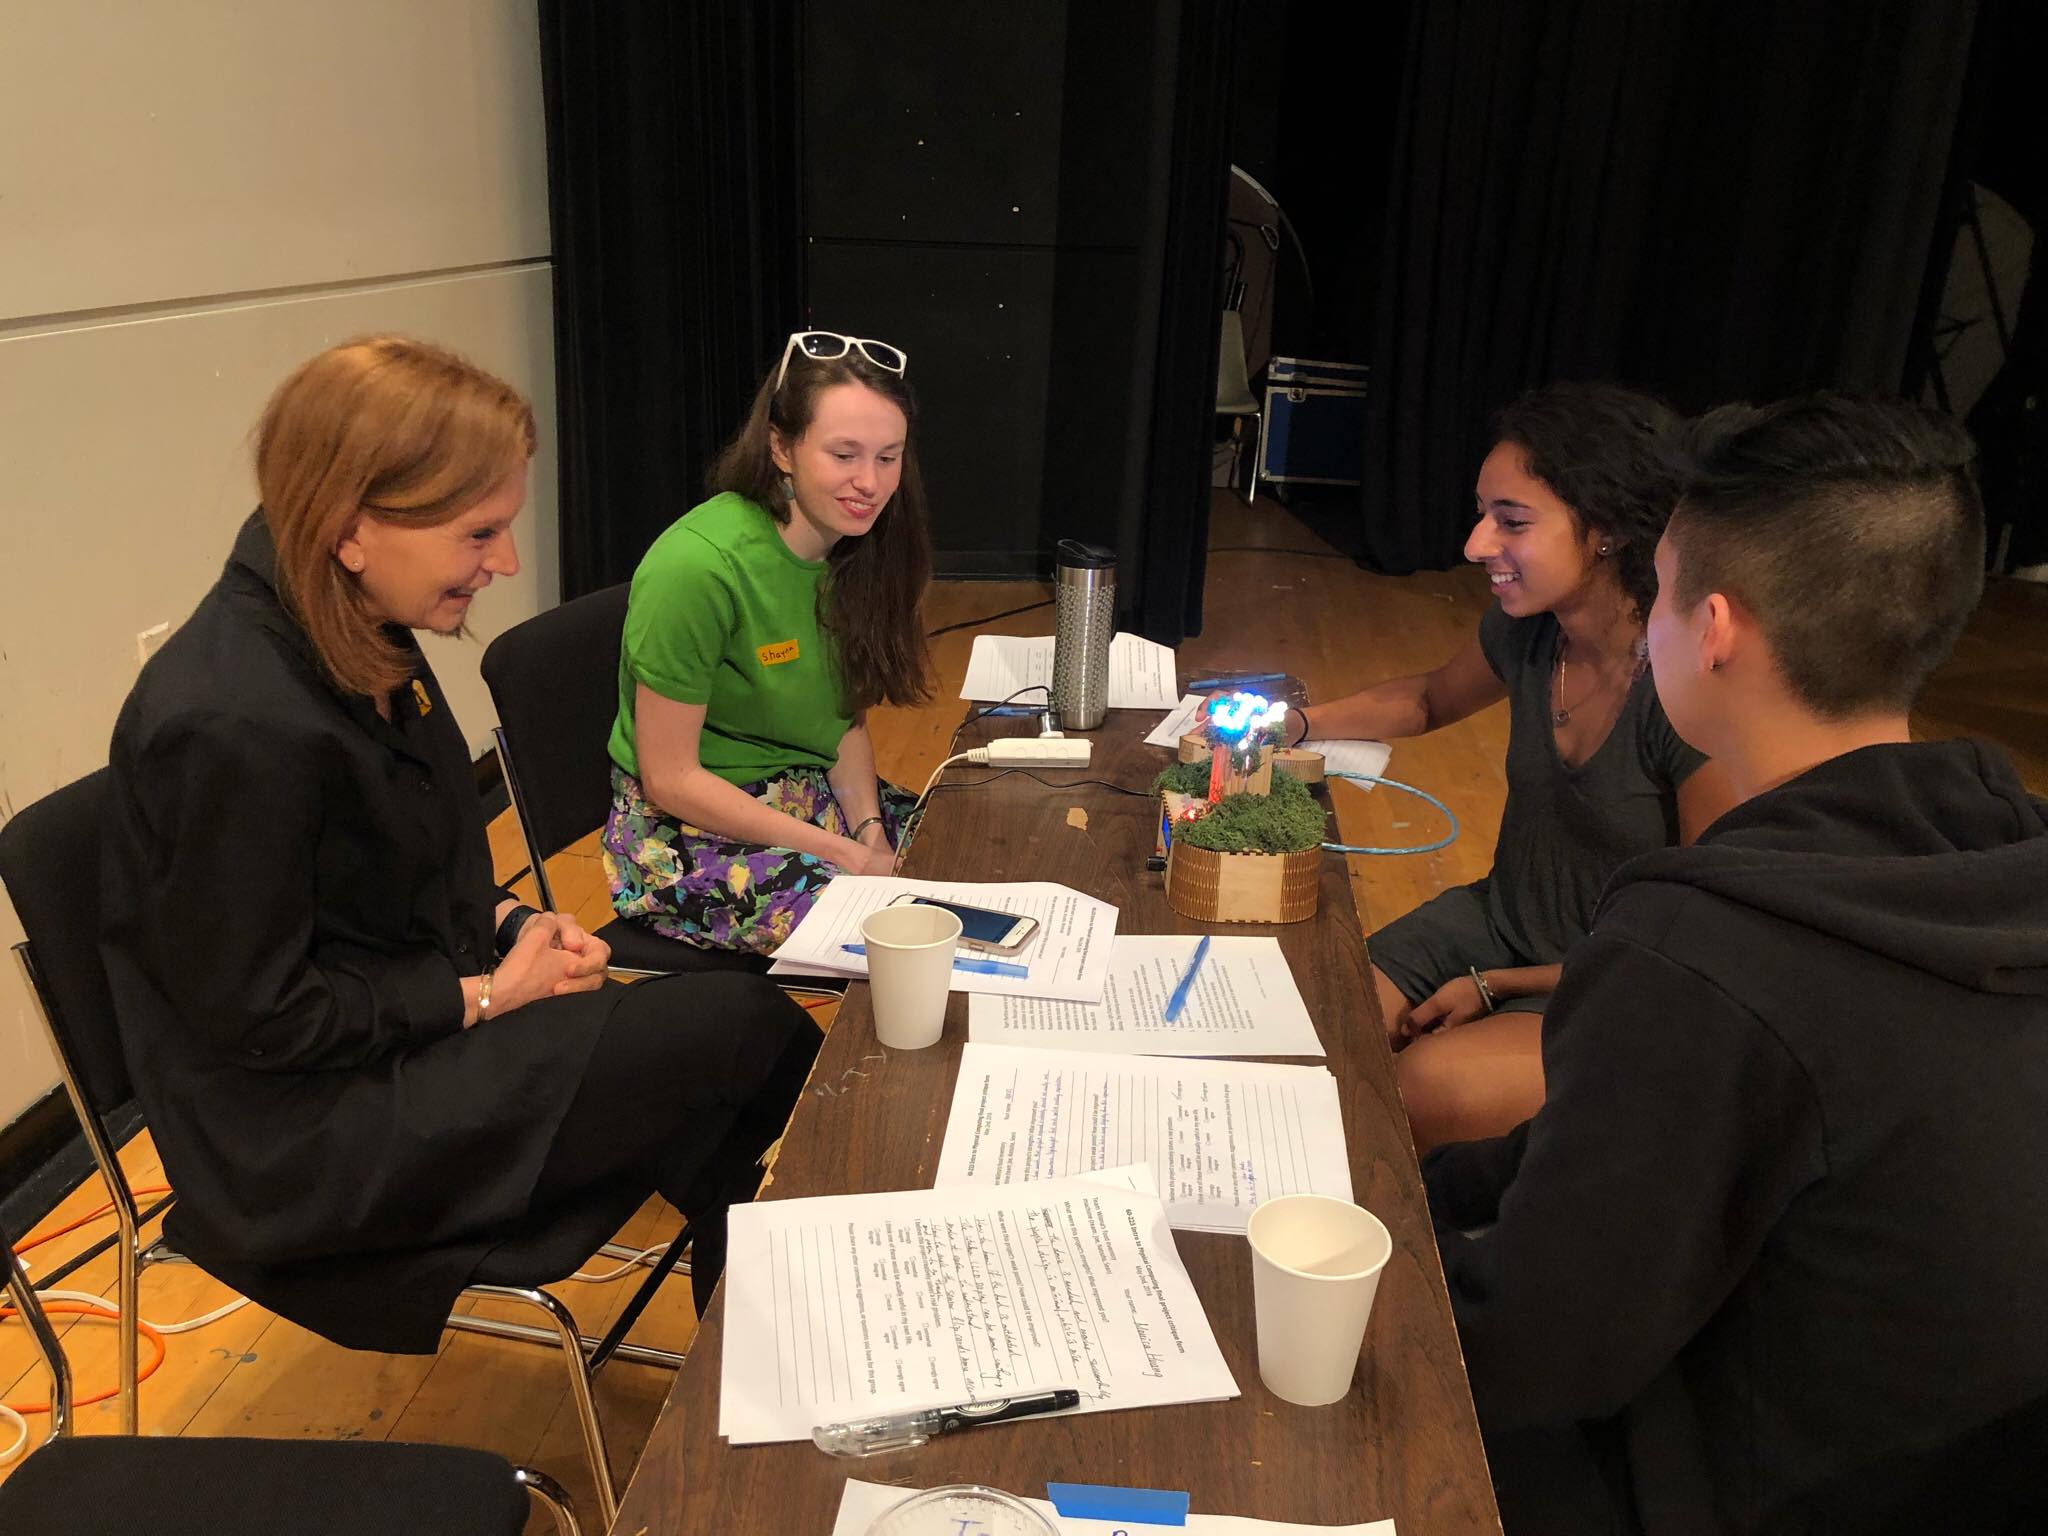
Rosemarie enjoying her new A Natural Meal Adaptation
Conclusions and Lessons Learned
One piece of recurring feedback we got for our final project, was that separating user inputs to the base display and the controller made the project less user friendly. This was actually a design choice that we thought a lot about. We eventually went with putting our Letter Wheel and Favorite Button on the base display, and keeping the other inputs (Yes, No, Previous, Next, and Mode switch) on the controller, so that the controller wouldn’t be cluttered with buttons. For a future iteration of the project, we might explore the possibility of reducing the amount of inputs entirely, or providing multiple functionalities for certain inputs.
Another piece of feedback we got was to increase the ease of typing a dish name. An obvious solution would be to add a keyboard, but we actually did look into this and had a hard time finding a keyboard that was compatible with the Arduino and did not take up too much real estate on our display or controller. This is why we decided to use a Letter Wheel, because it was a quicker way of typing in a word, instead of using an arcade style method where we have the user click No repeatedly as the first letter changes until the correct letter is shown, and repeating until the entire word is formed. For a future iteration of the project, we may try to do more research to find a keyboard or a similar means of entering a dish name more easily.
One more thing that we might try to address in a future iteration of this project, would be to use different sensors so we could gather data about a dish without requiring the user to answer a bunch of questions. This was our initial hope for the project when it was conceived, however, we ran into a lot of obstacles of getting reliable data from sensors (temperature, sound) that would help distinguish different meals.
When you are surrounded by people that are very similar to you all the time, you end up losing some creative ideas that could’ve been formed if you had spoken to someone very different from you. This is why we had such a great time working with Rosemarie, because she lives her life very different from that of a college student. It was refreshing to hear her perspectives on life, be able to brainstorm ideas for our project, and discuss ways we could take our project to the next level. A Natural Meal Adaptation was designed with Rosemarie’s needs in mind and being able to see the delight in her eyes as she interacted with our project felt extremely fulfilling. Hopefully, you can take some time out of your day to talk with someone different from you, because in the end you might just create something great!
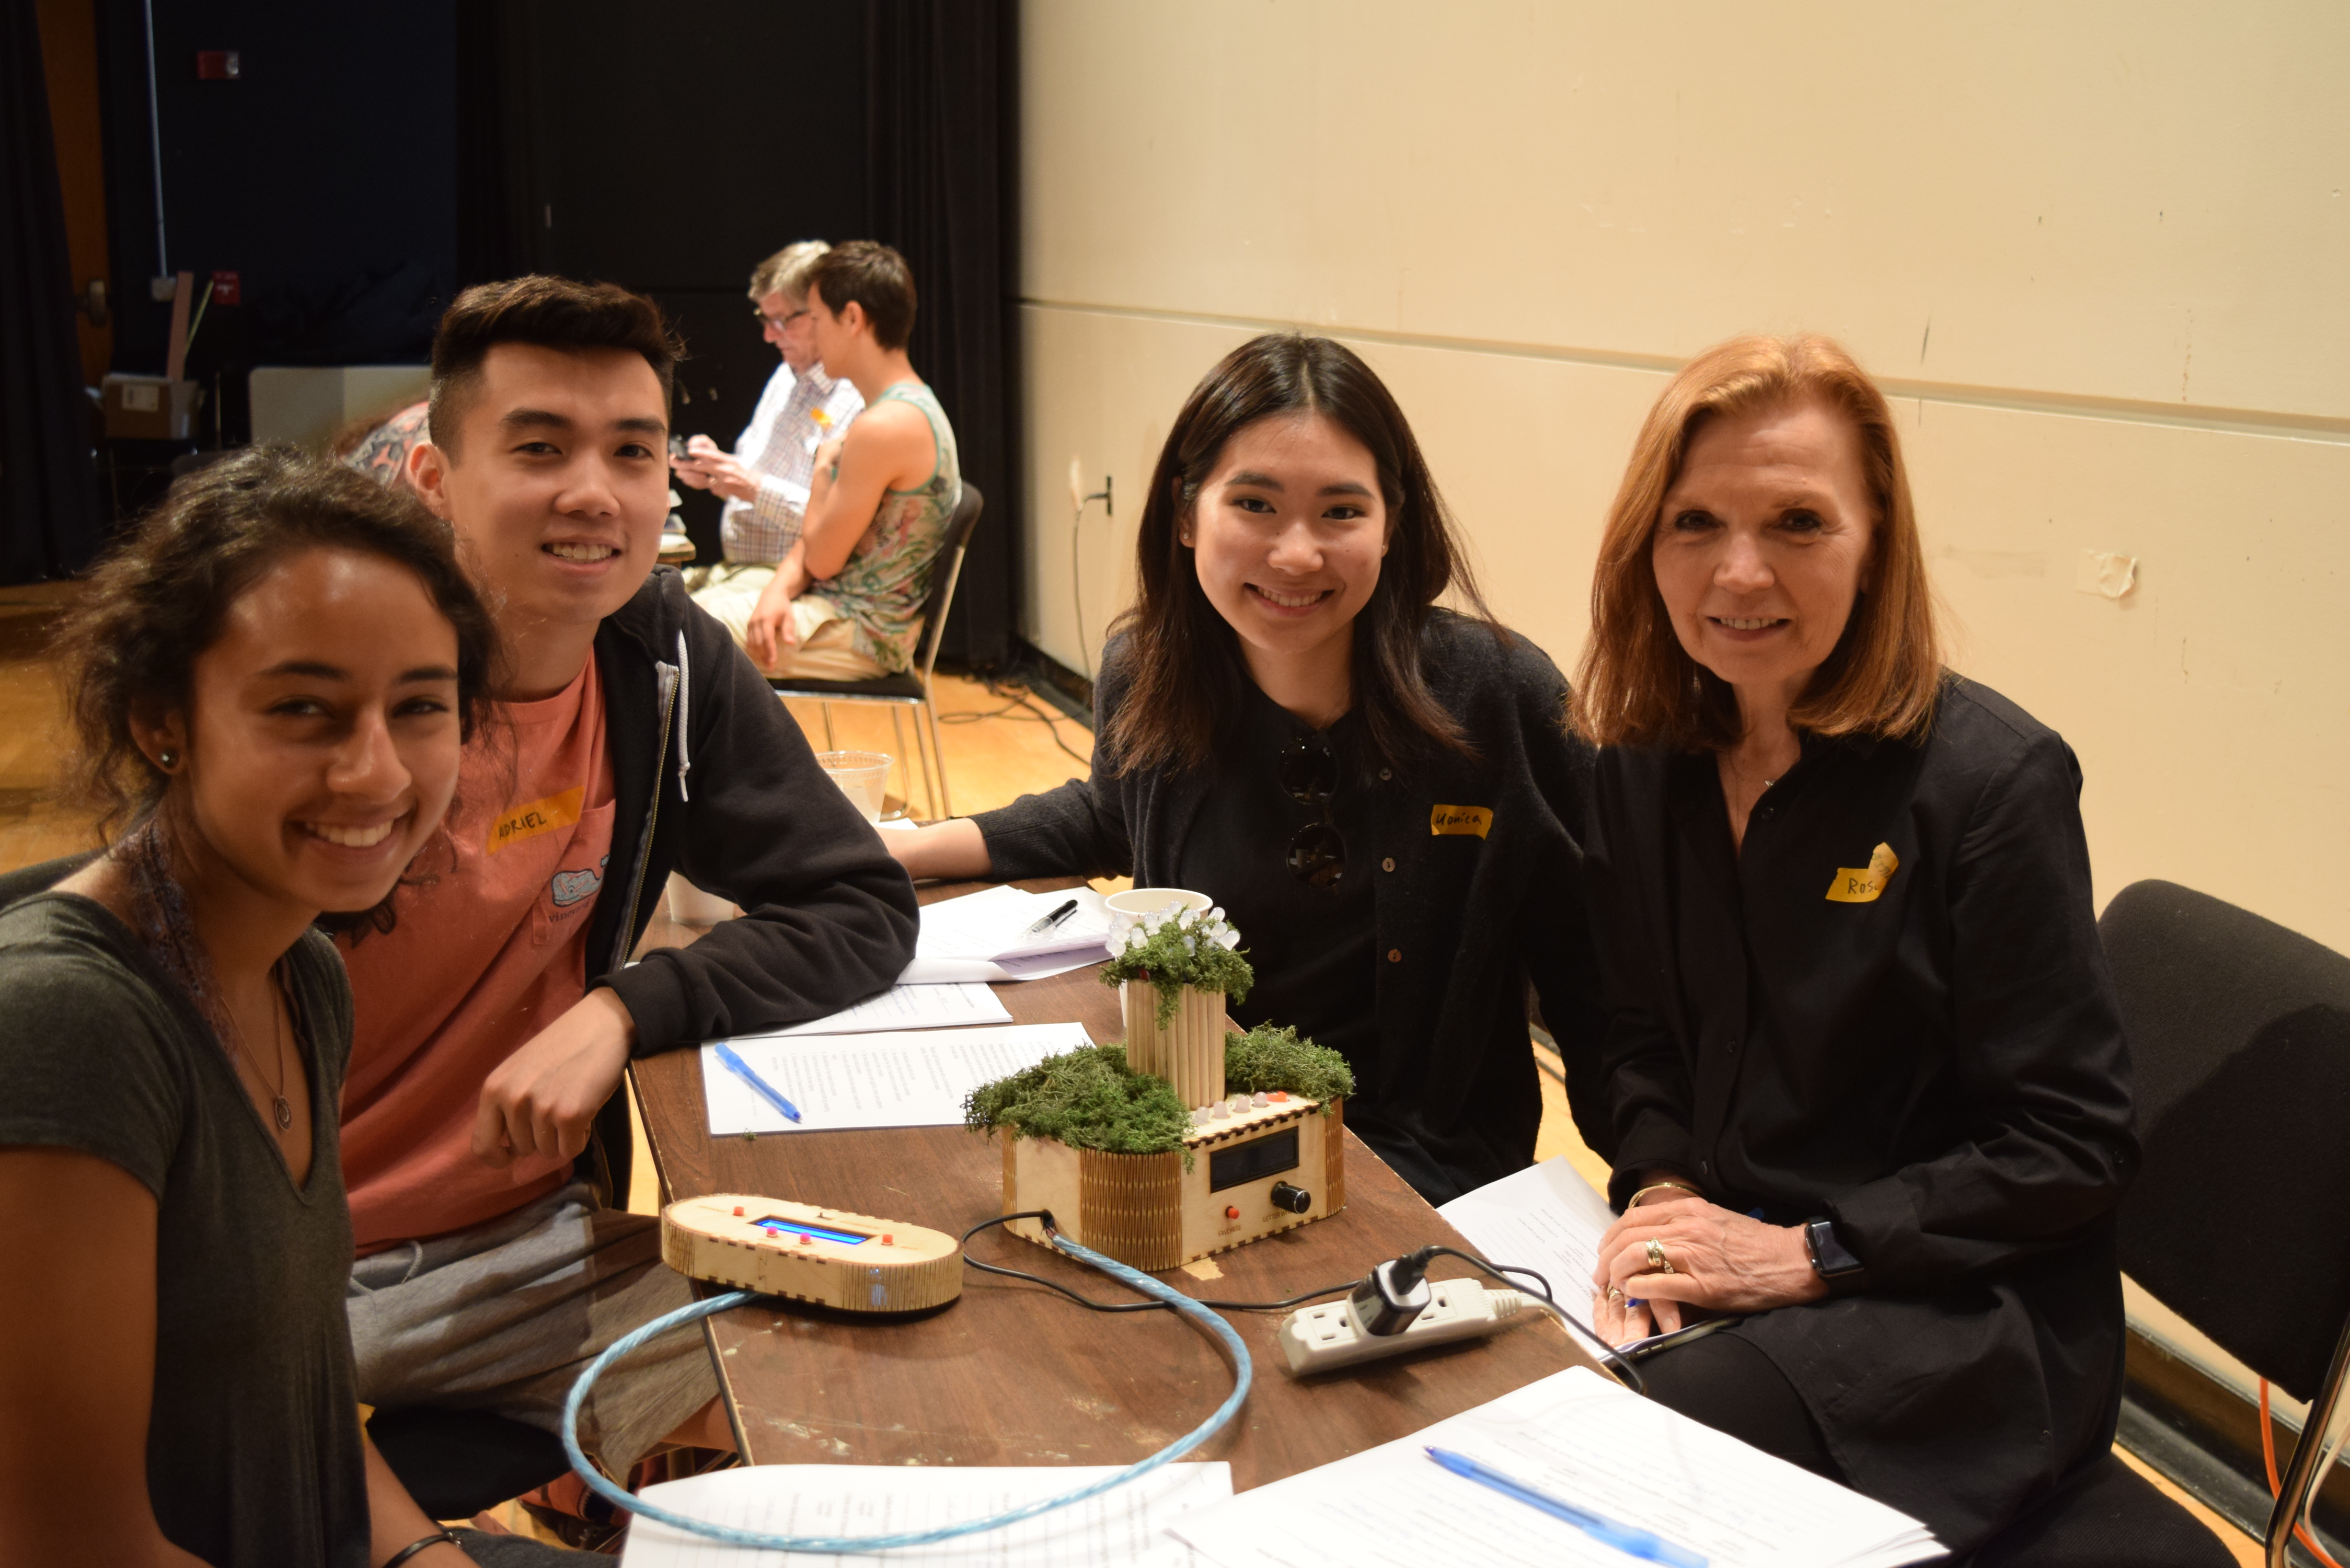
Team Renfrew (Arushi, Adriel, and Monica) and their number one inspiration, Rosemarie
Schematic:
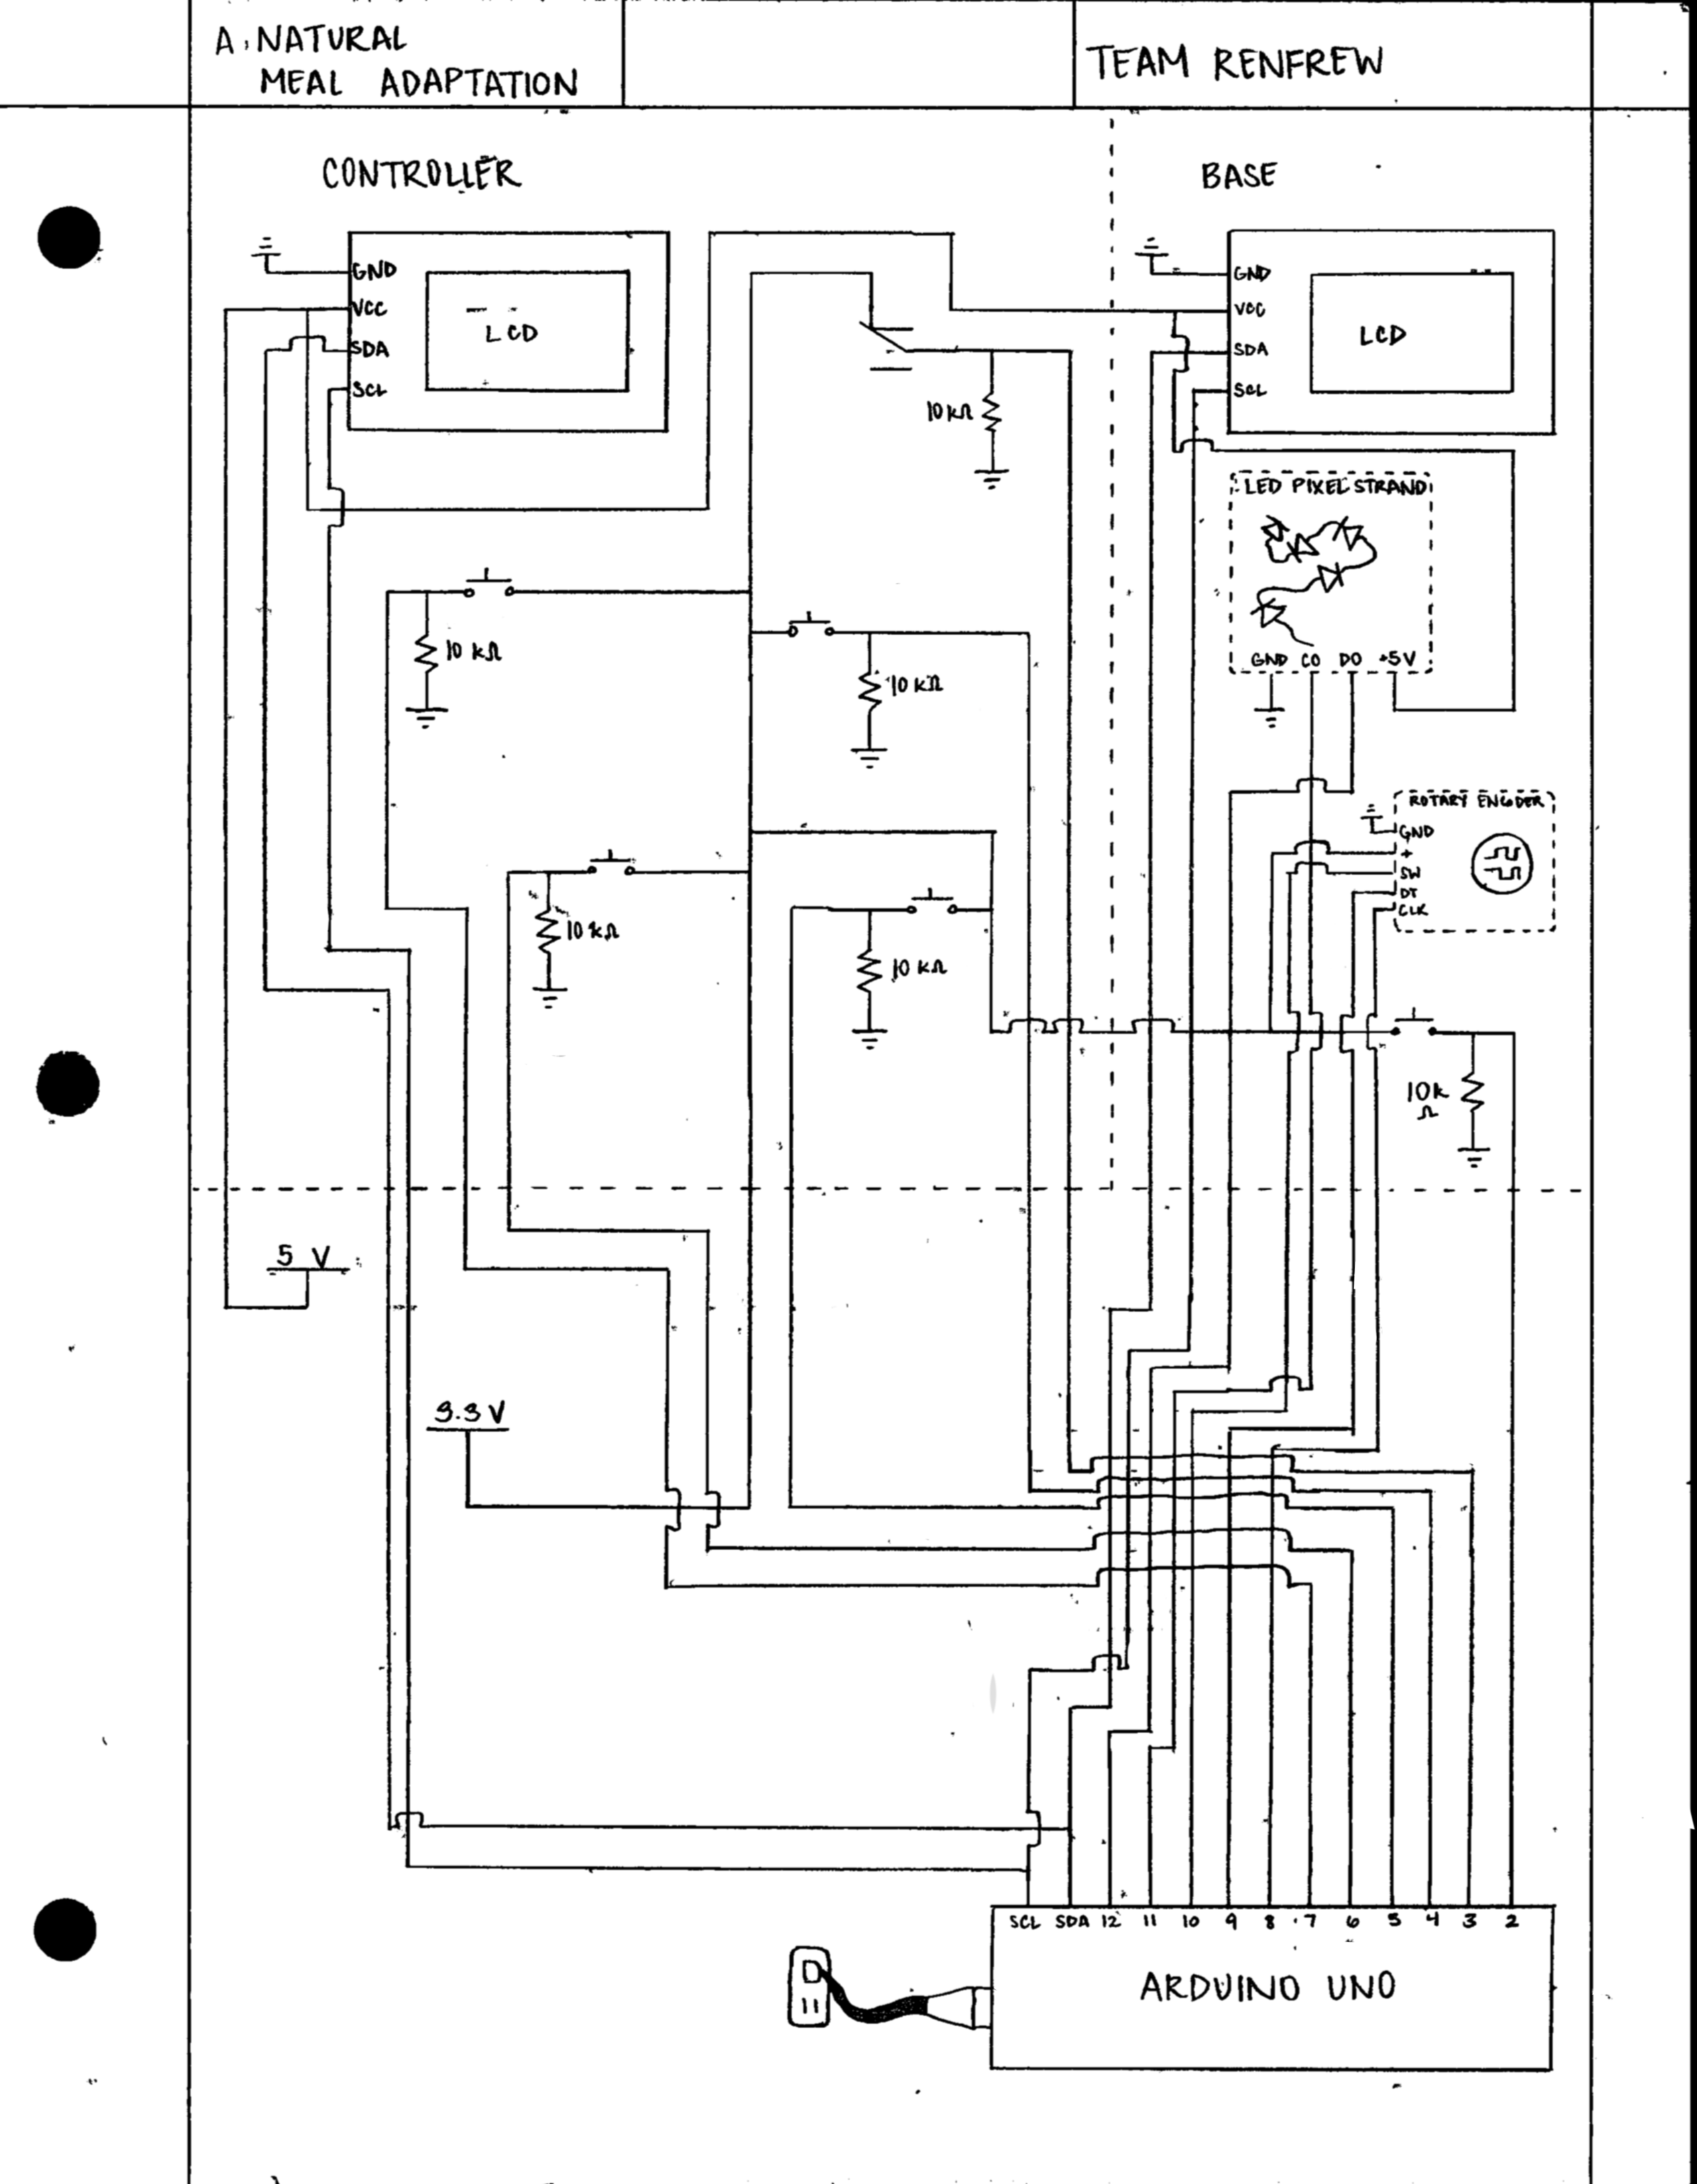
Link to code and laser cutting files: https://github.com/arushibandi/60-223/tree/master/final_proj_code
Leave a Reply
You must be logged in to post a comment.