
Apply Pressure
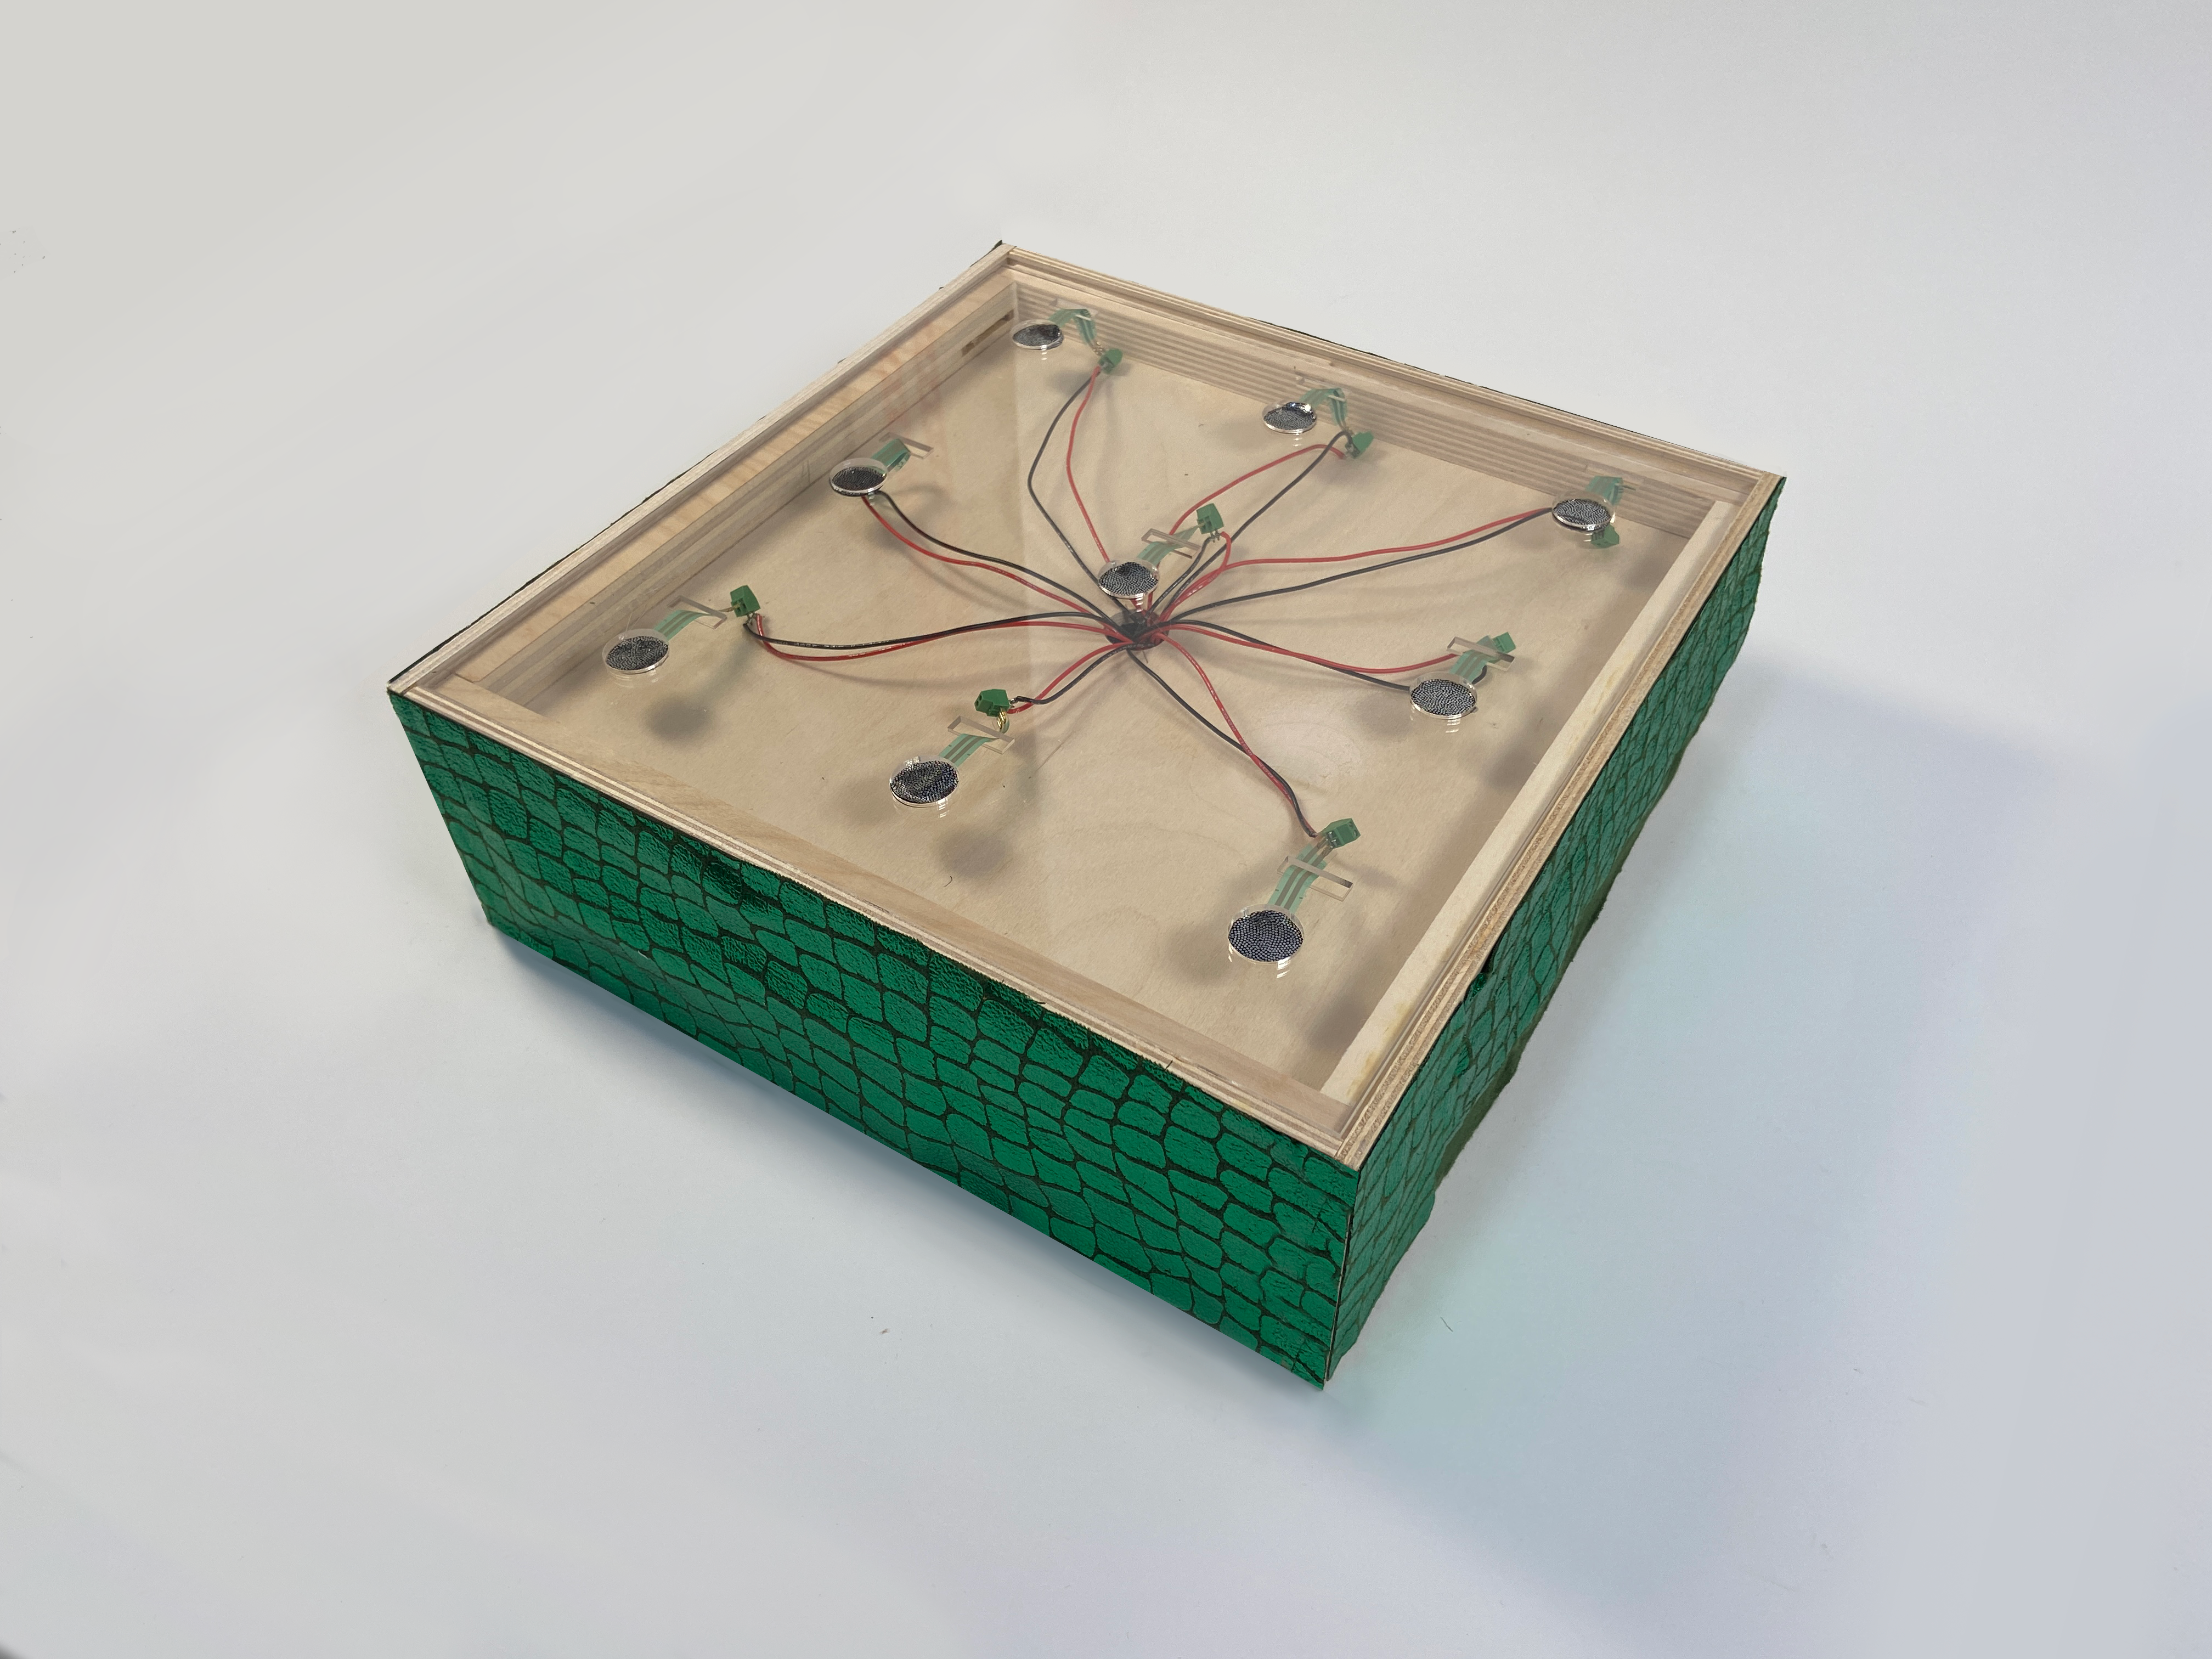
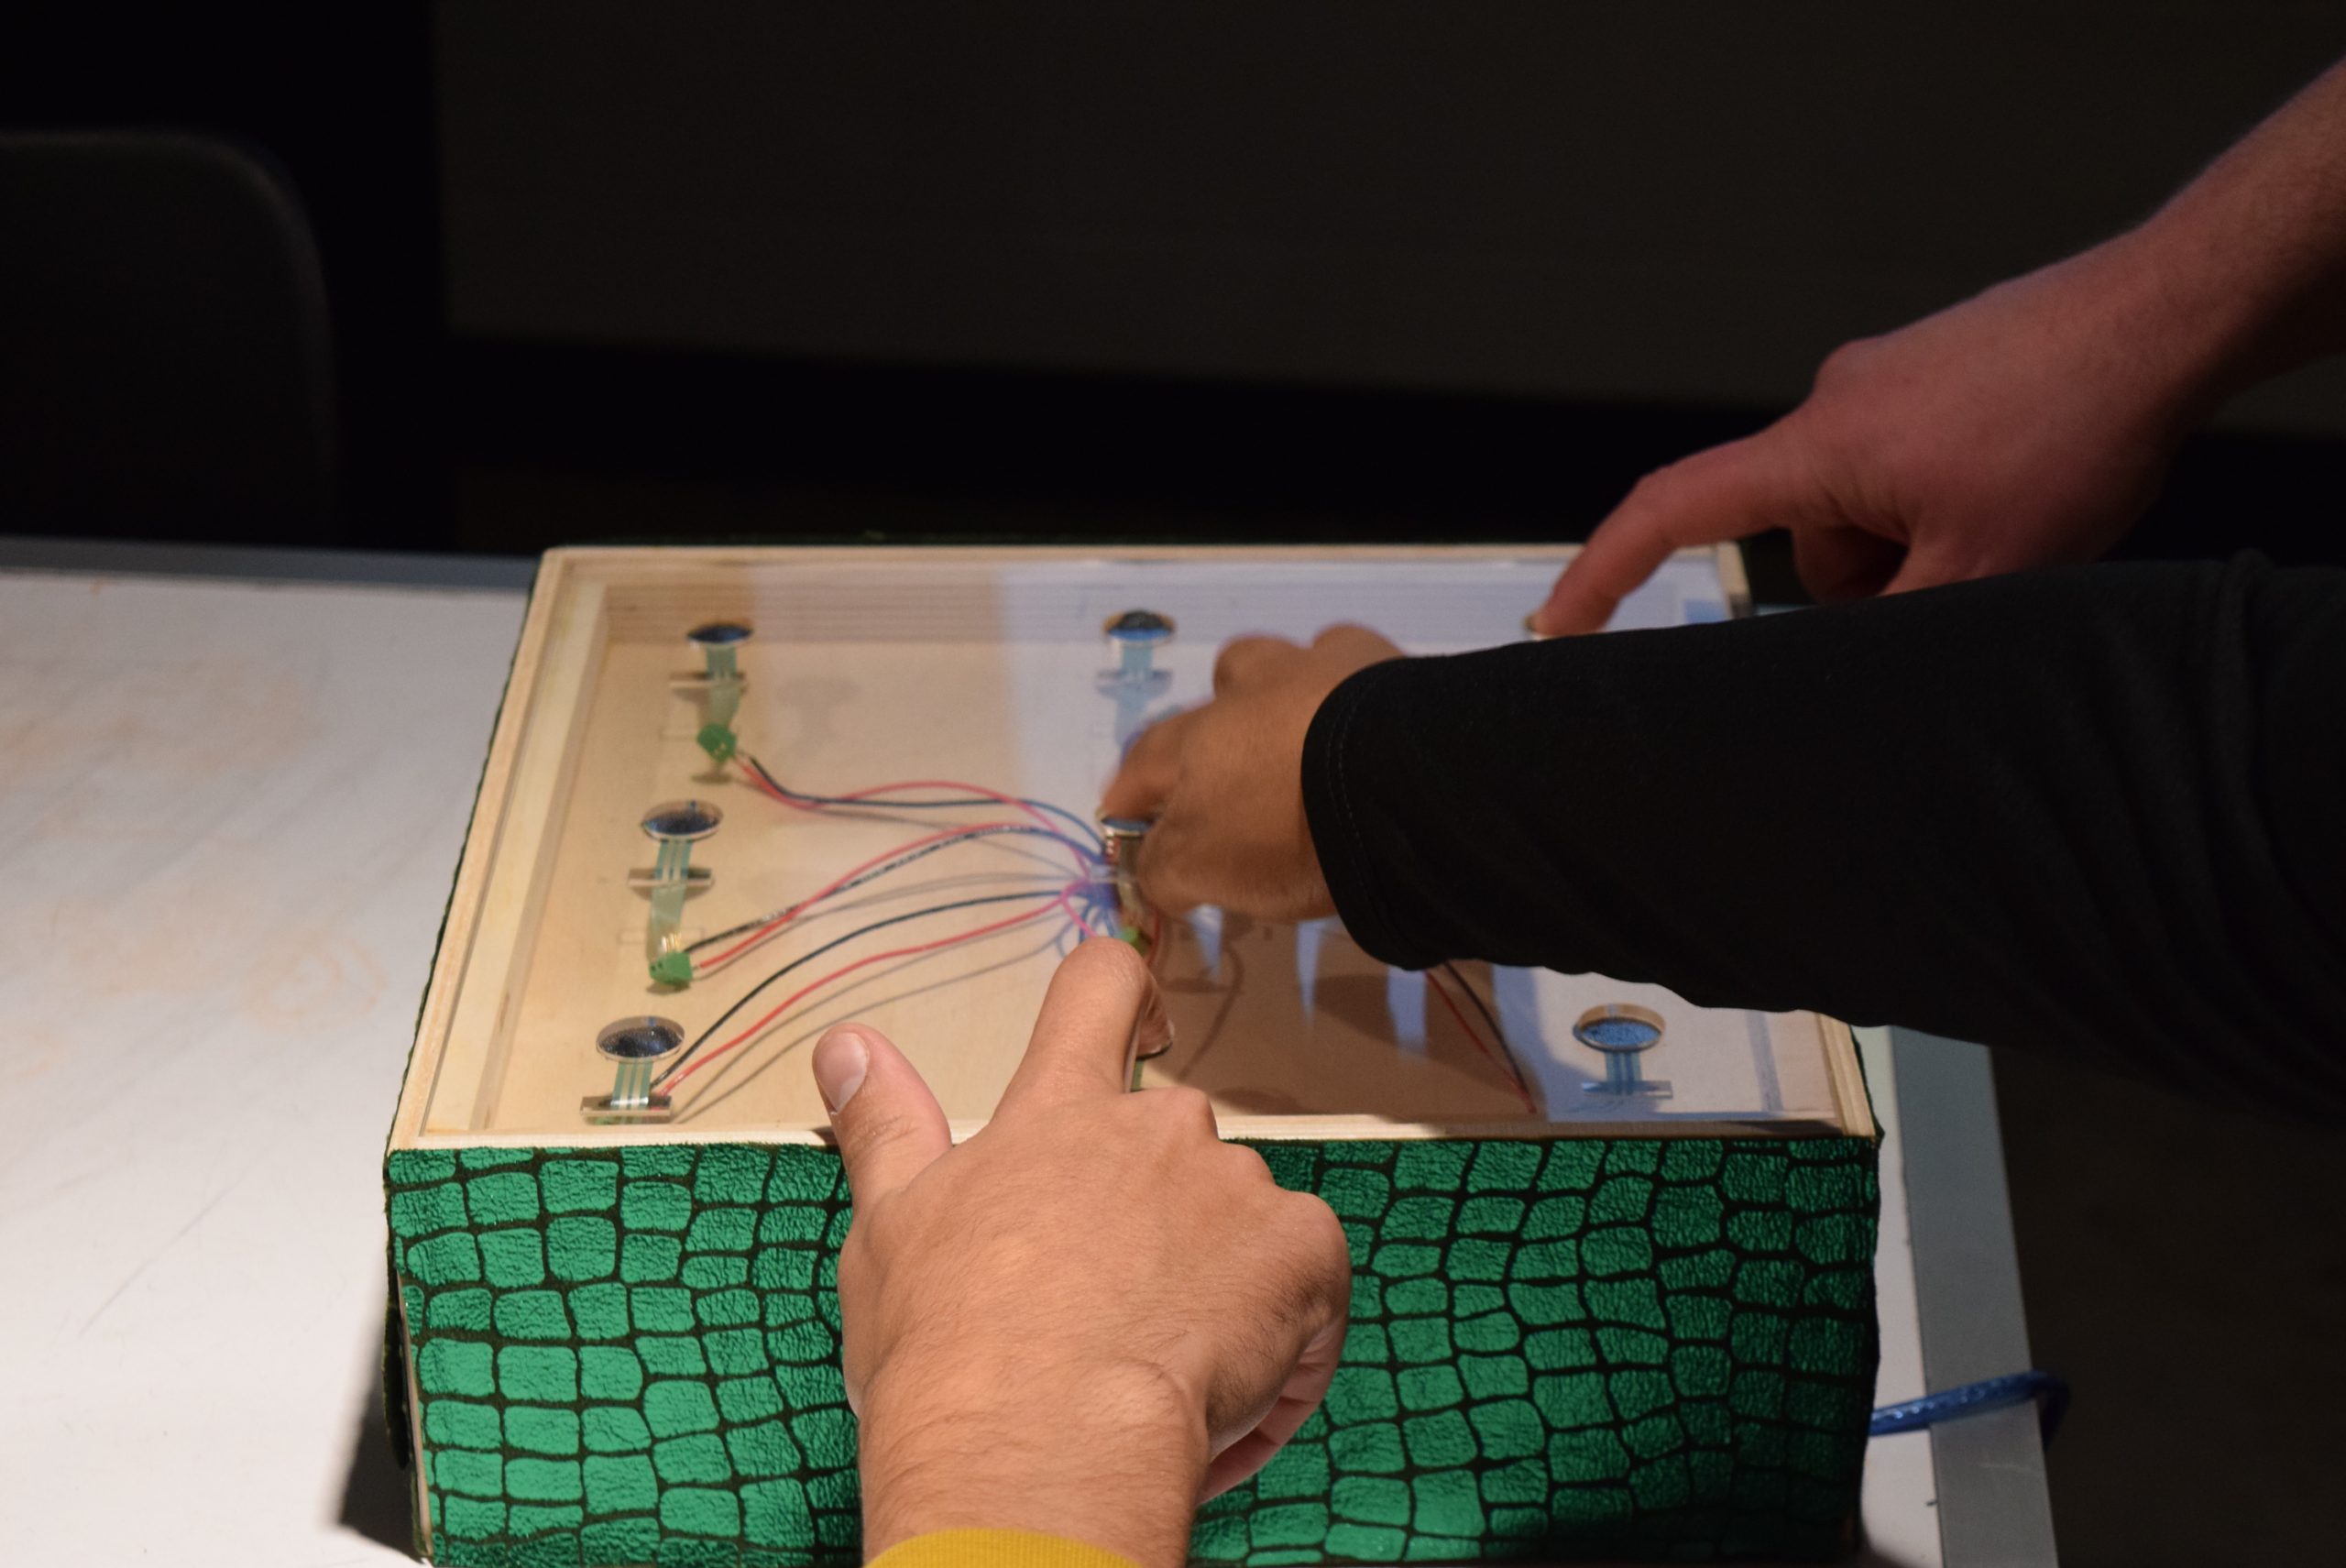
Final Design of the Touch Pad
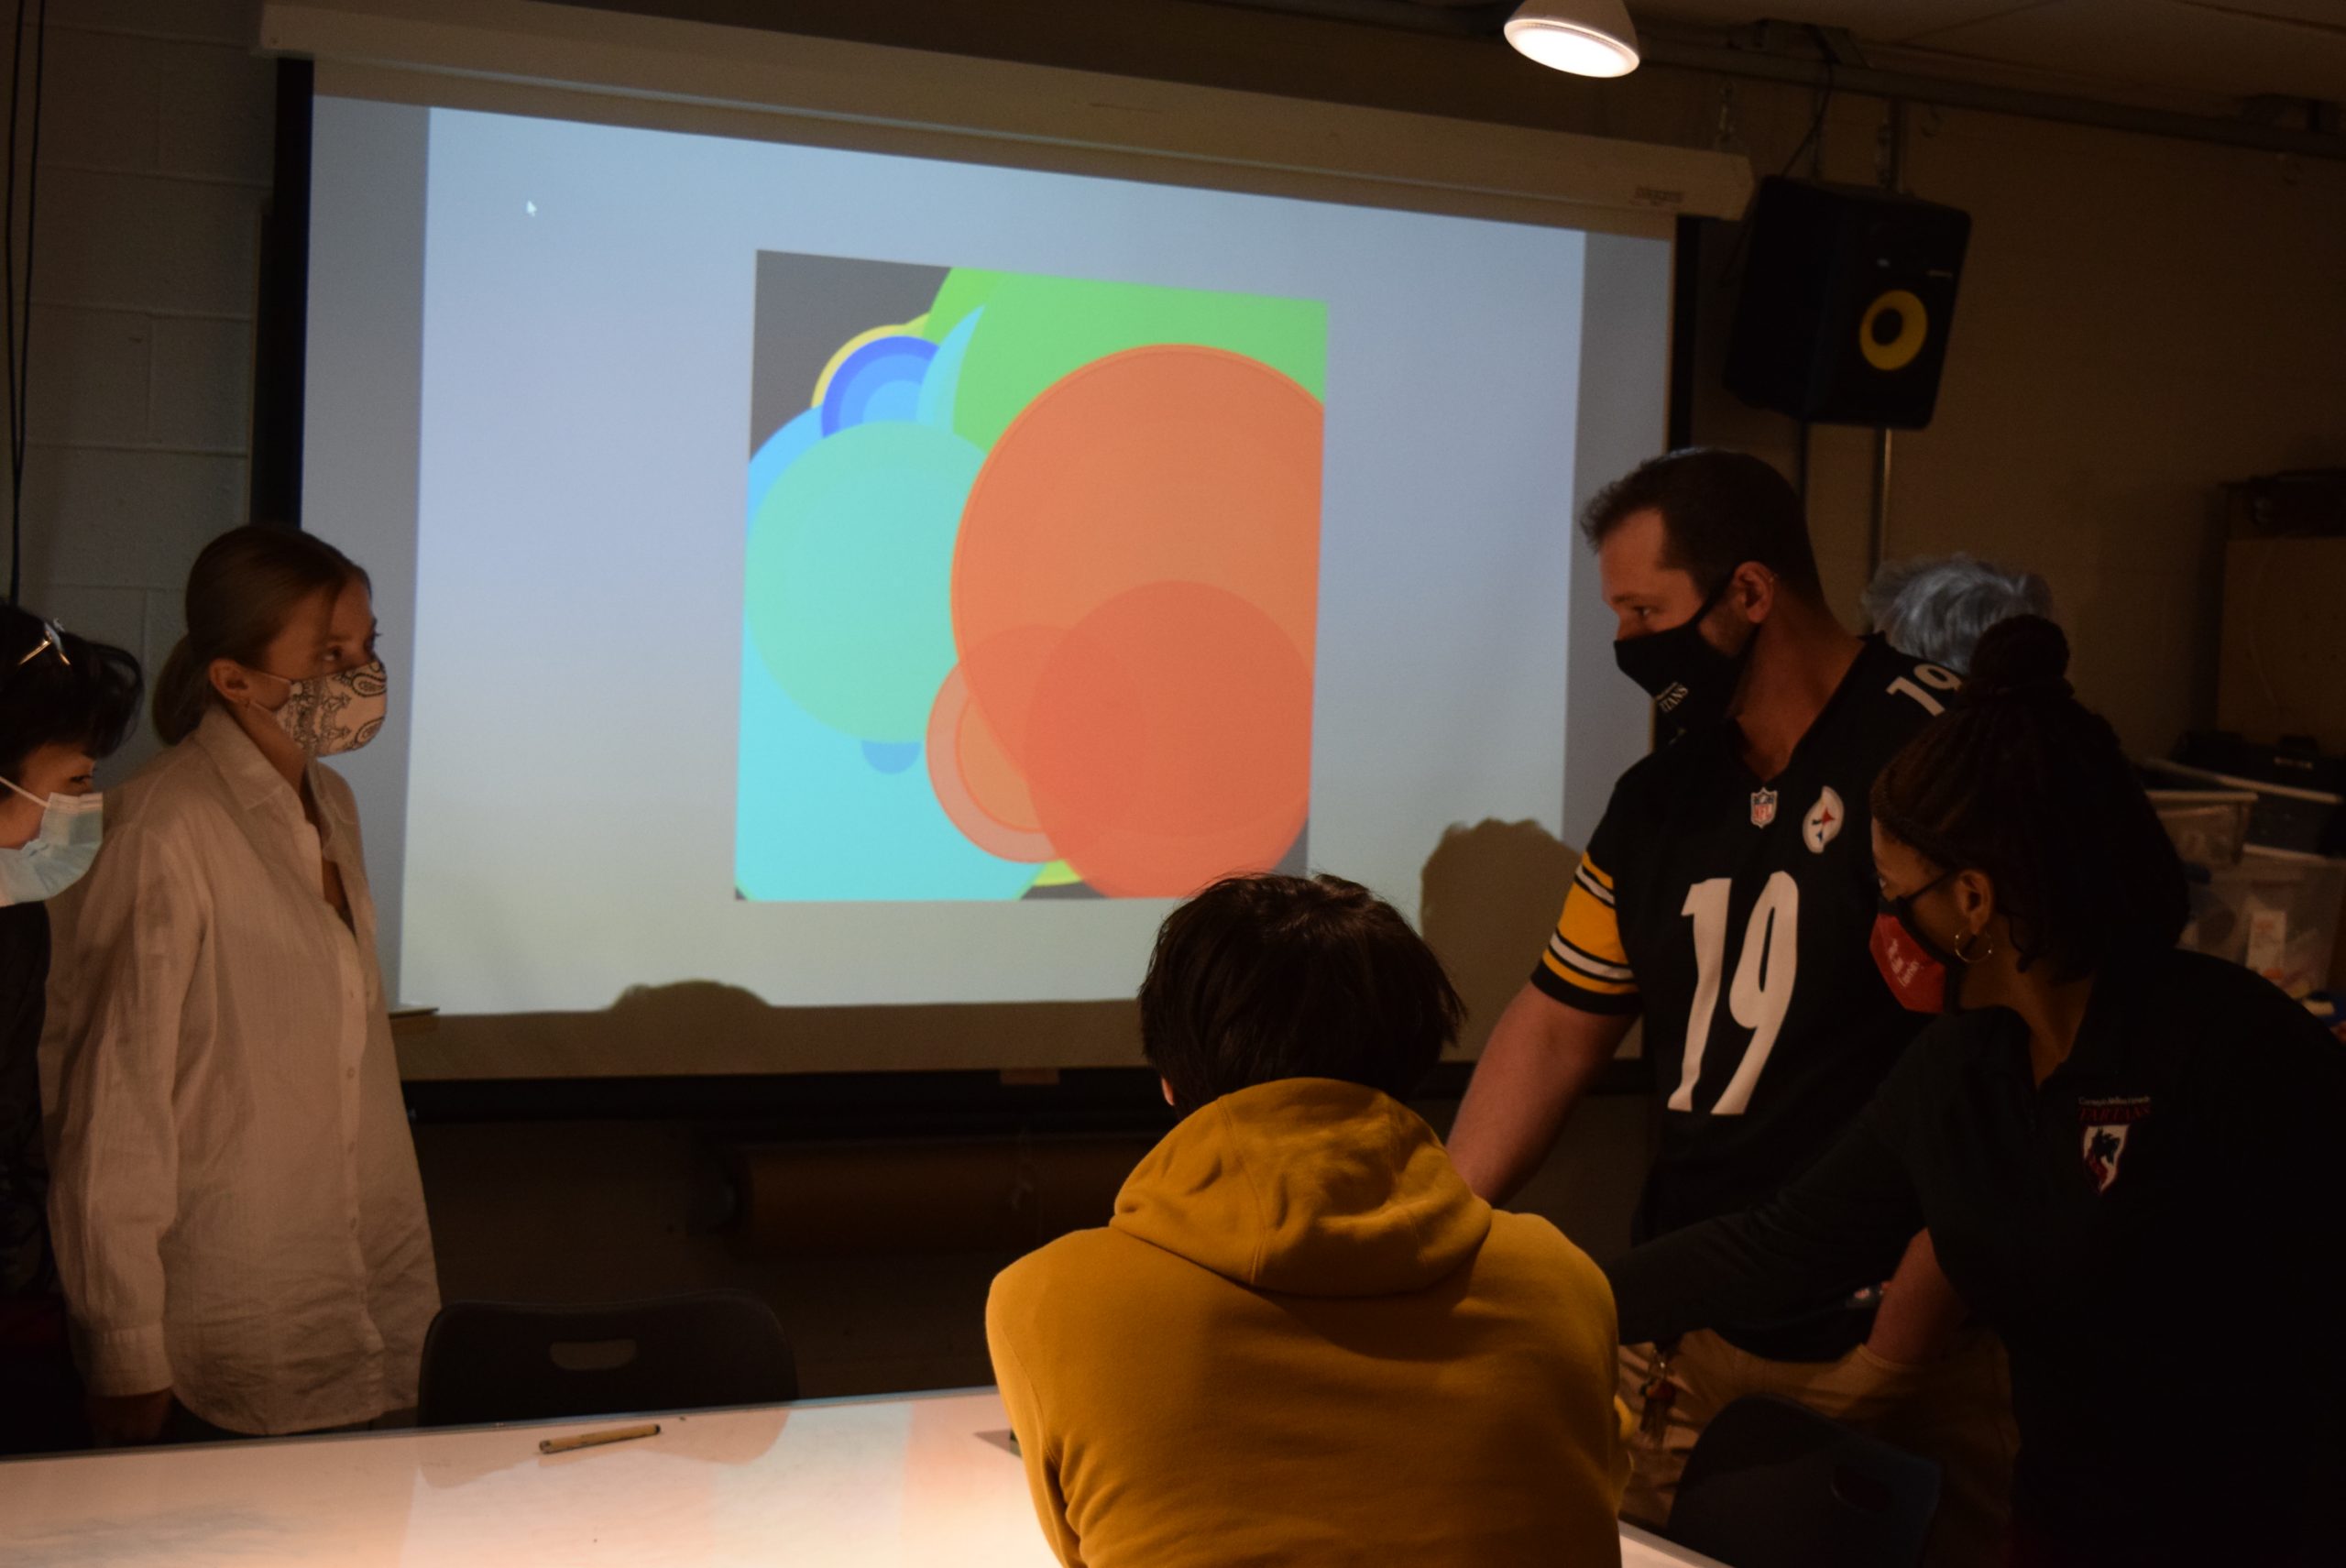
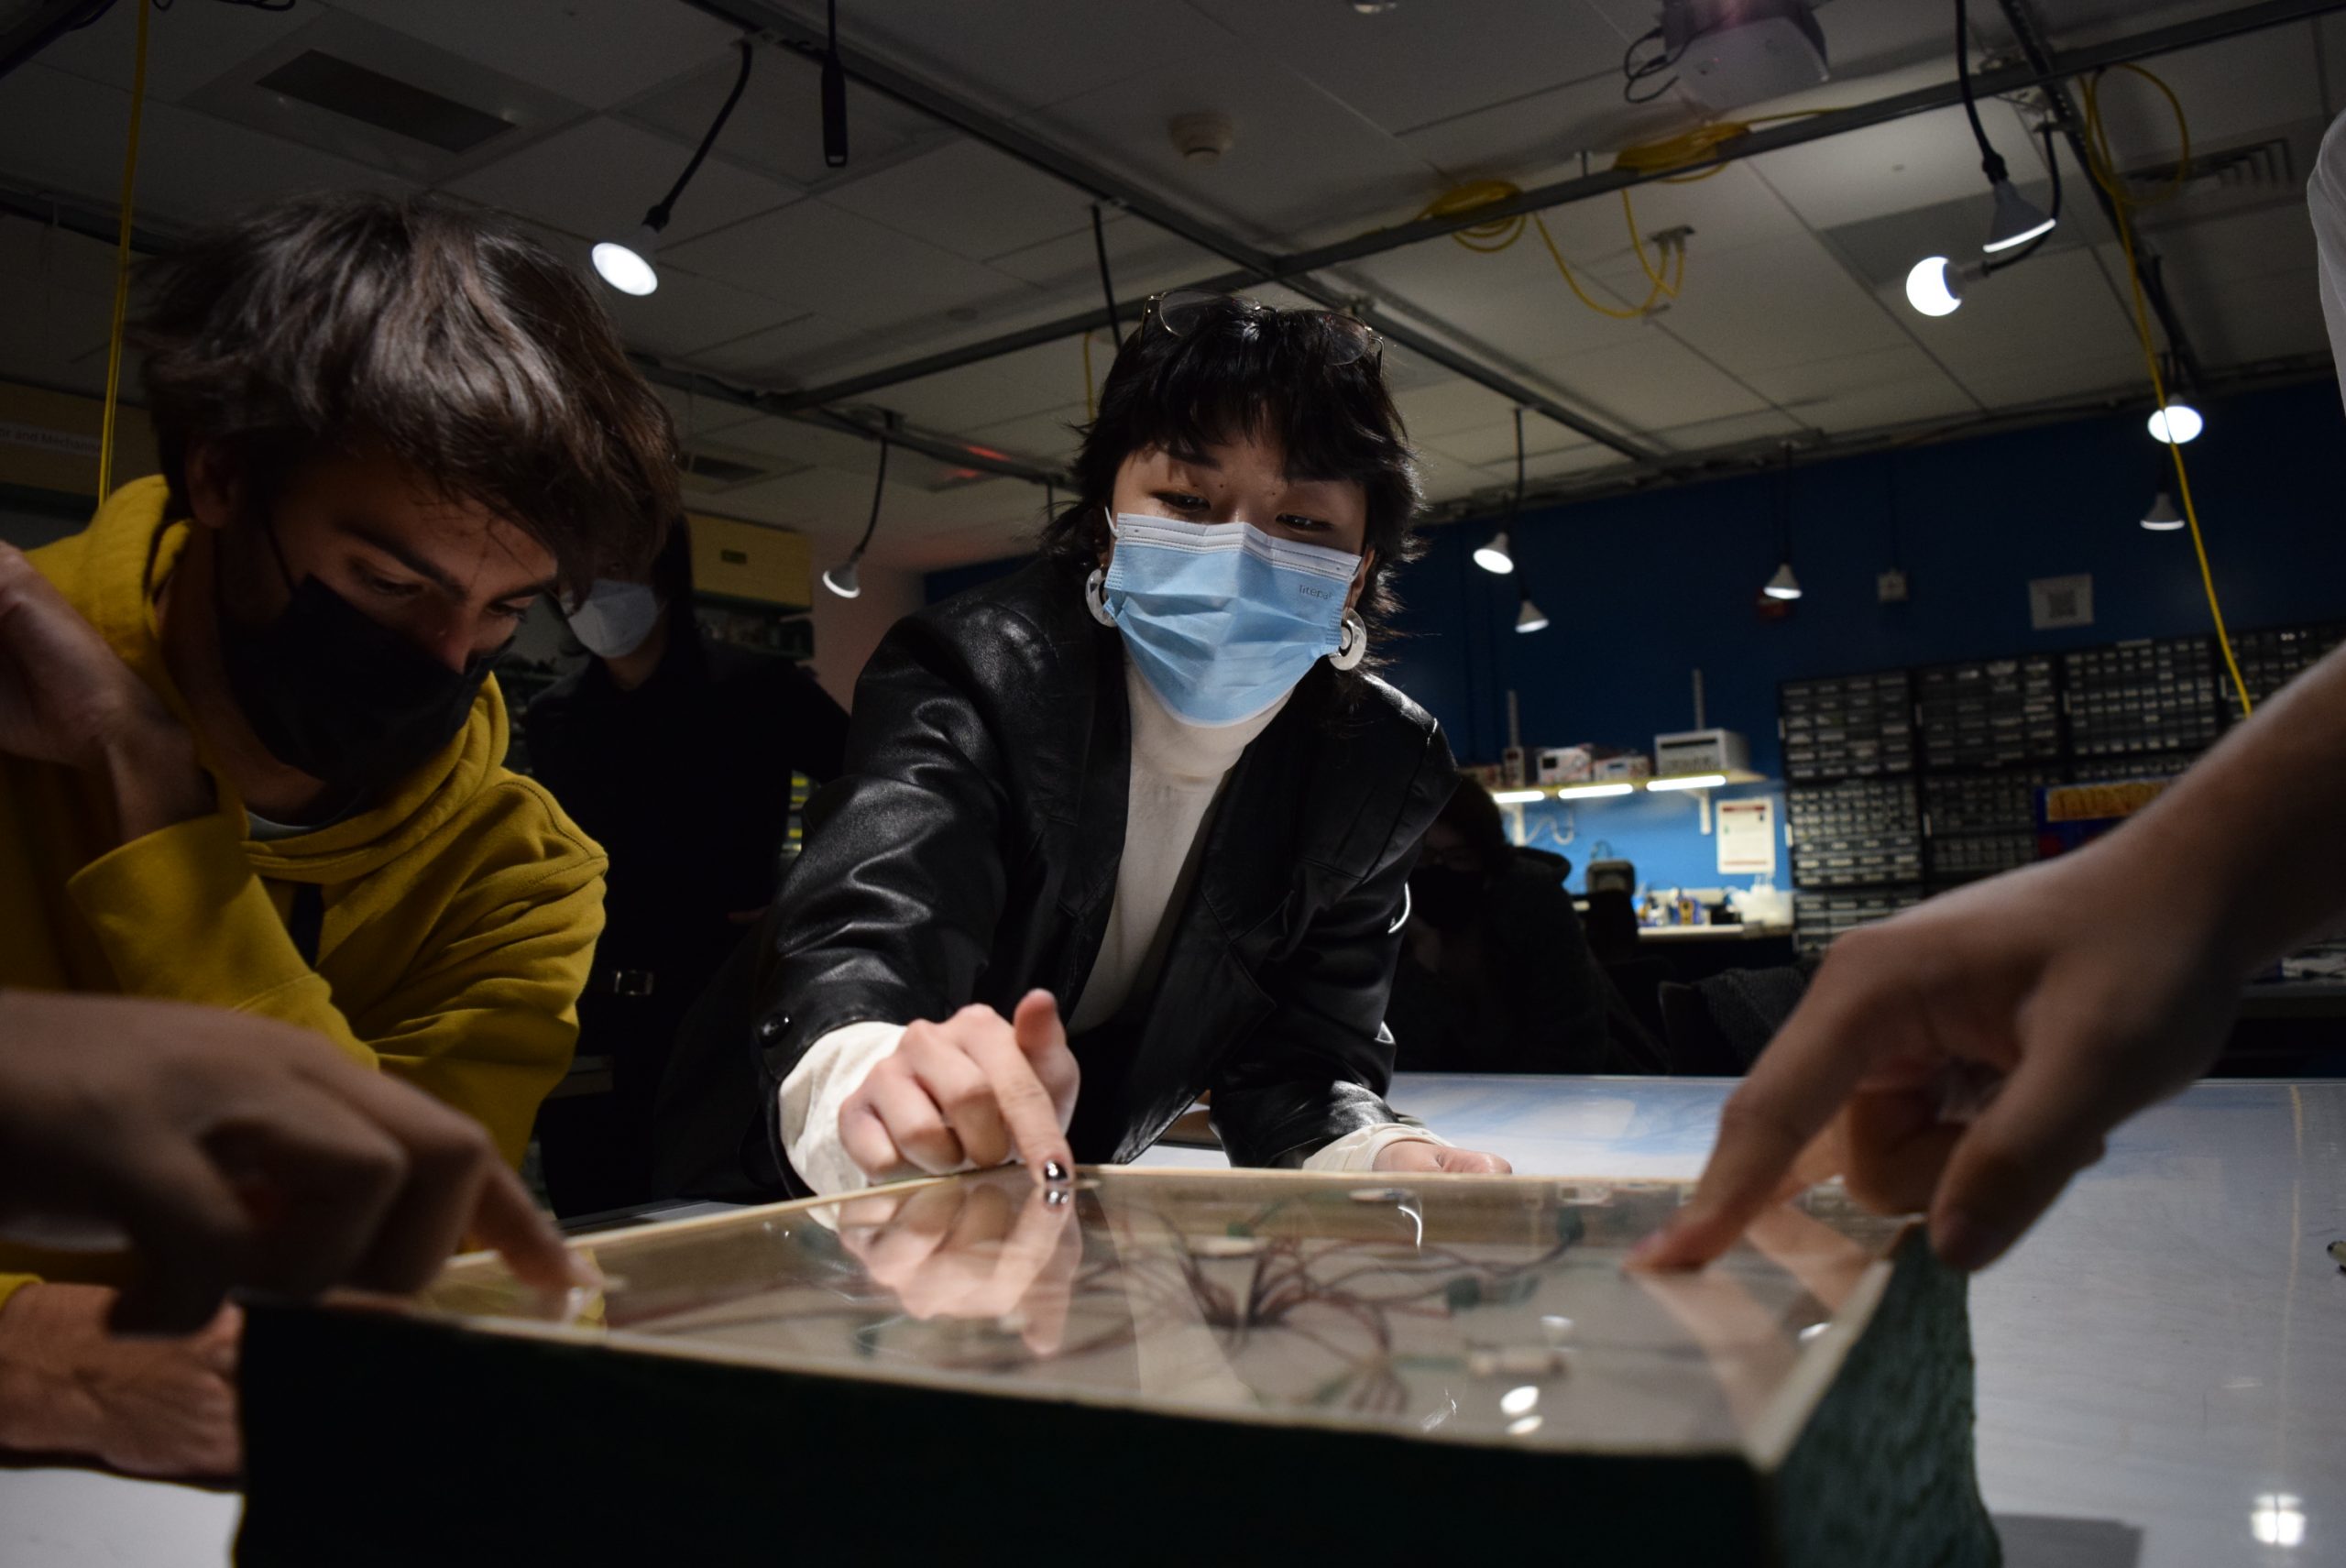
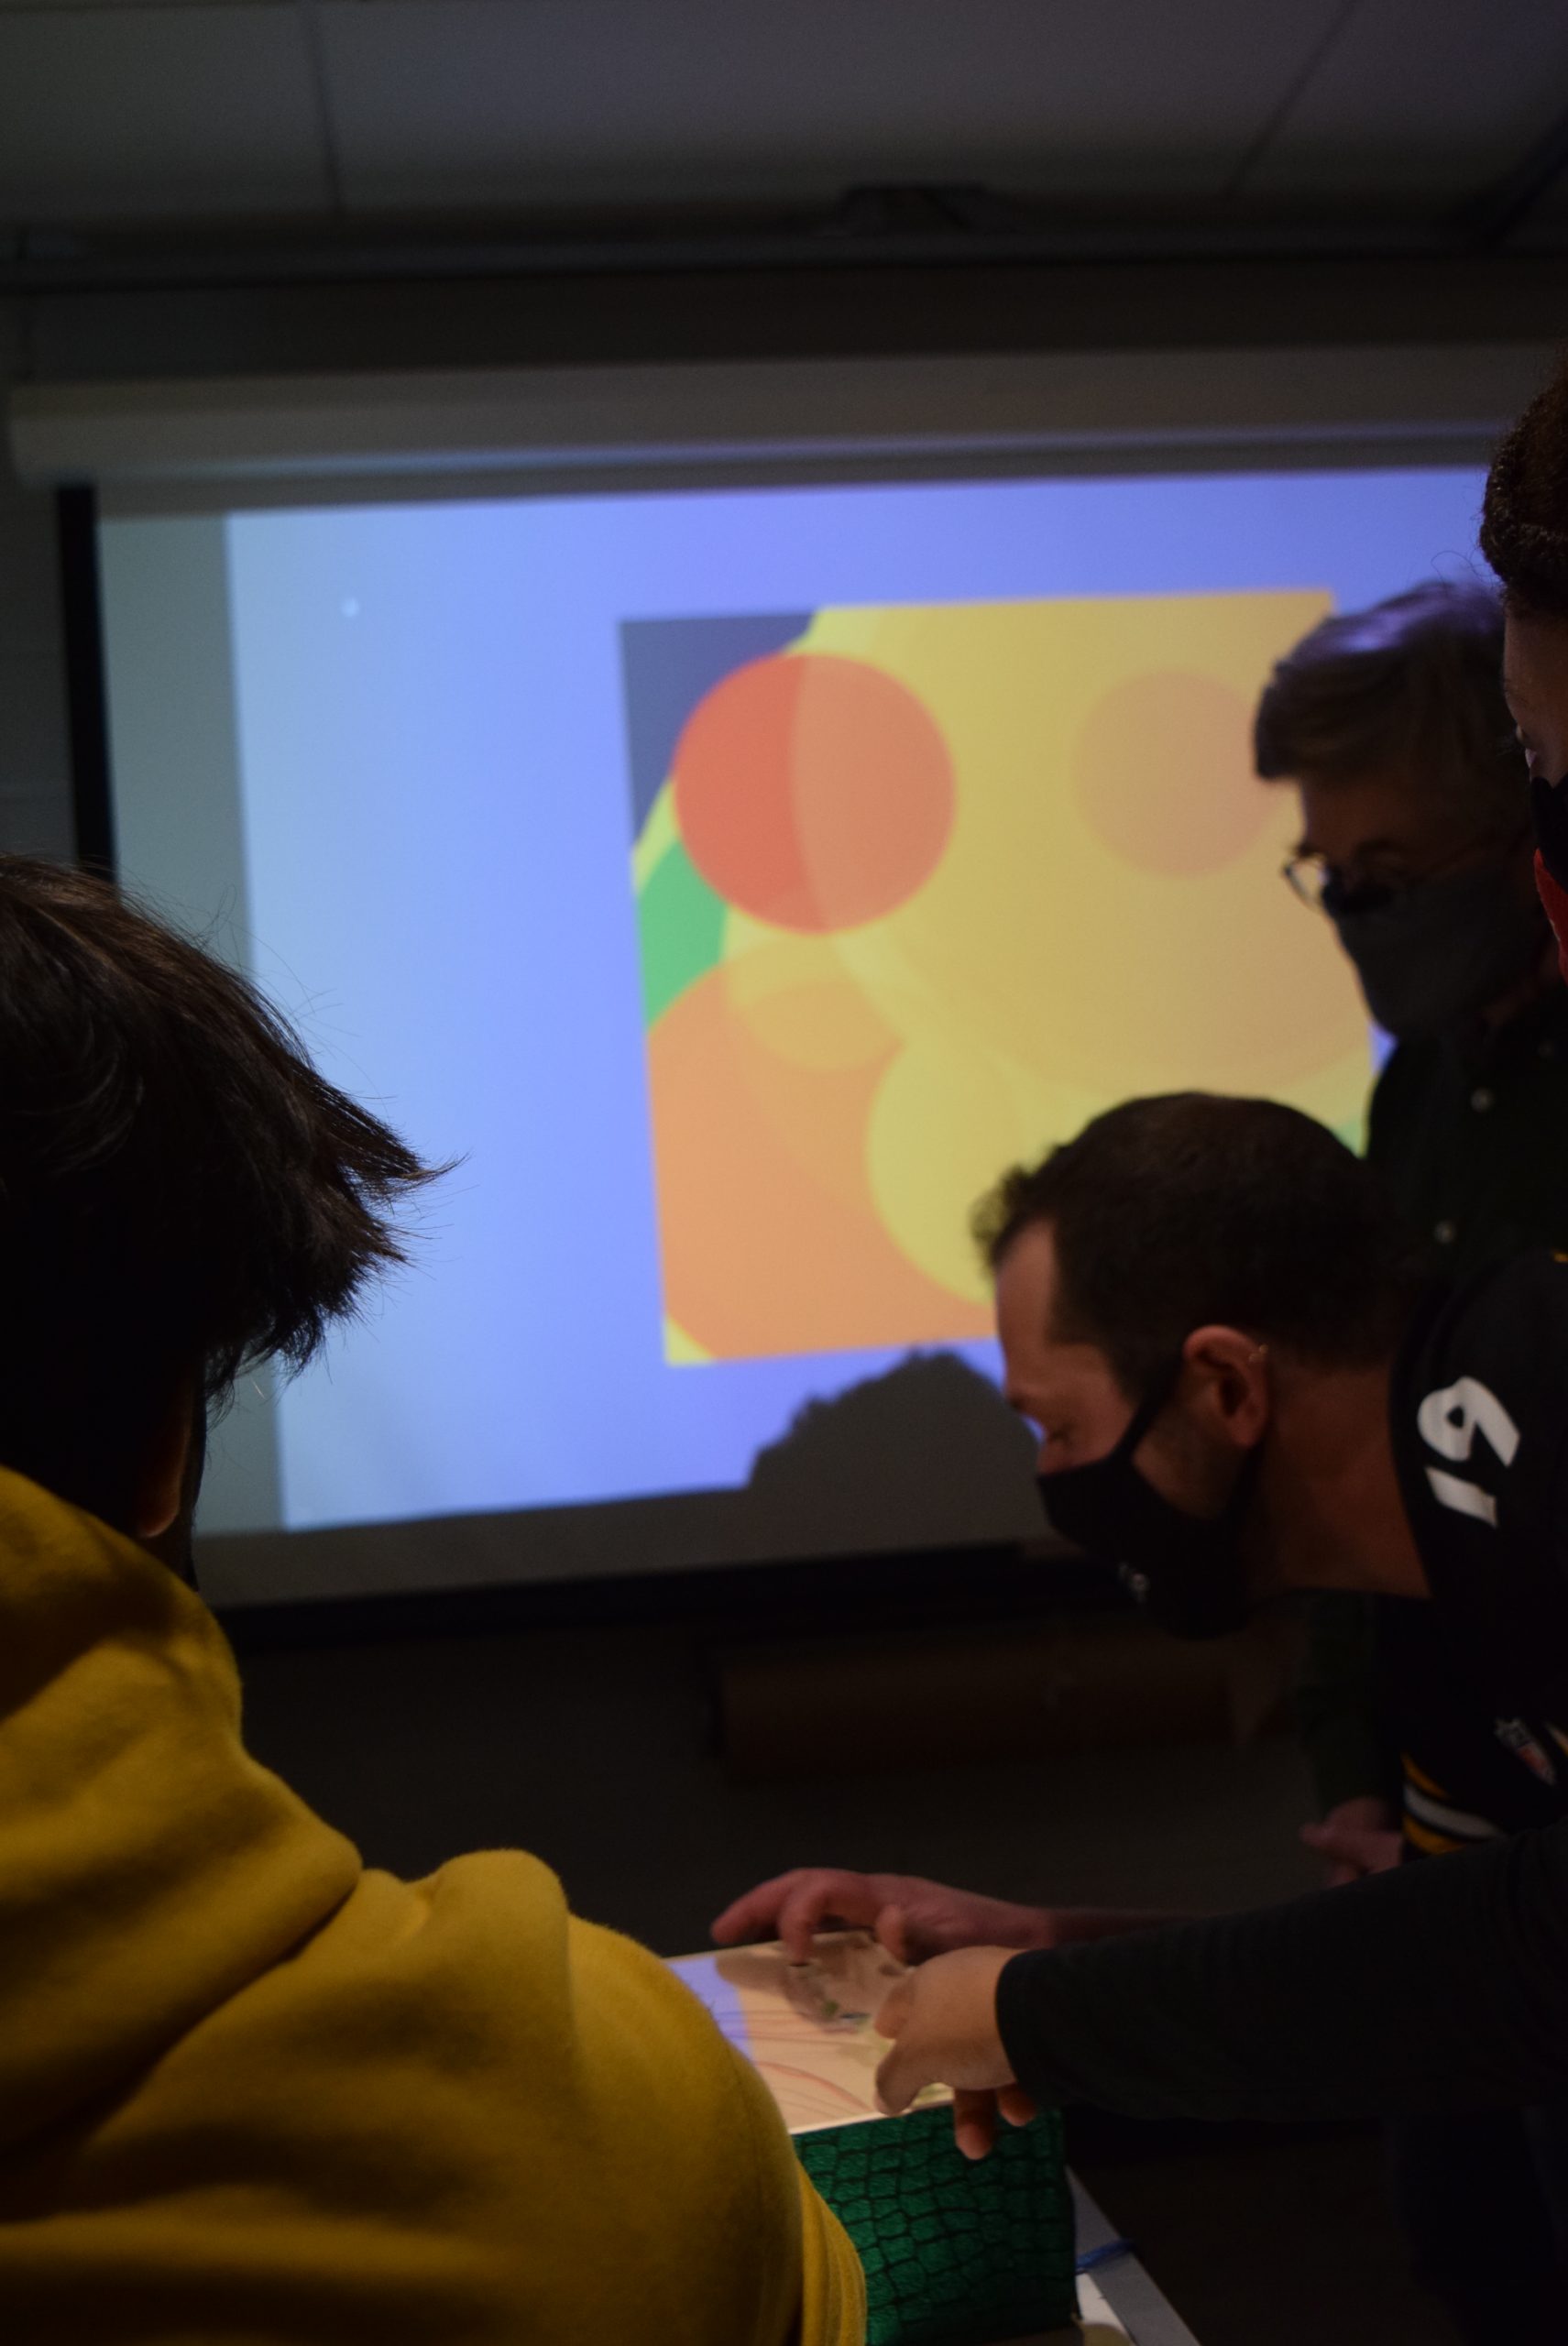
Video Demonstration
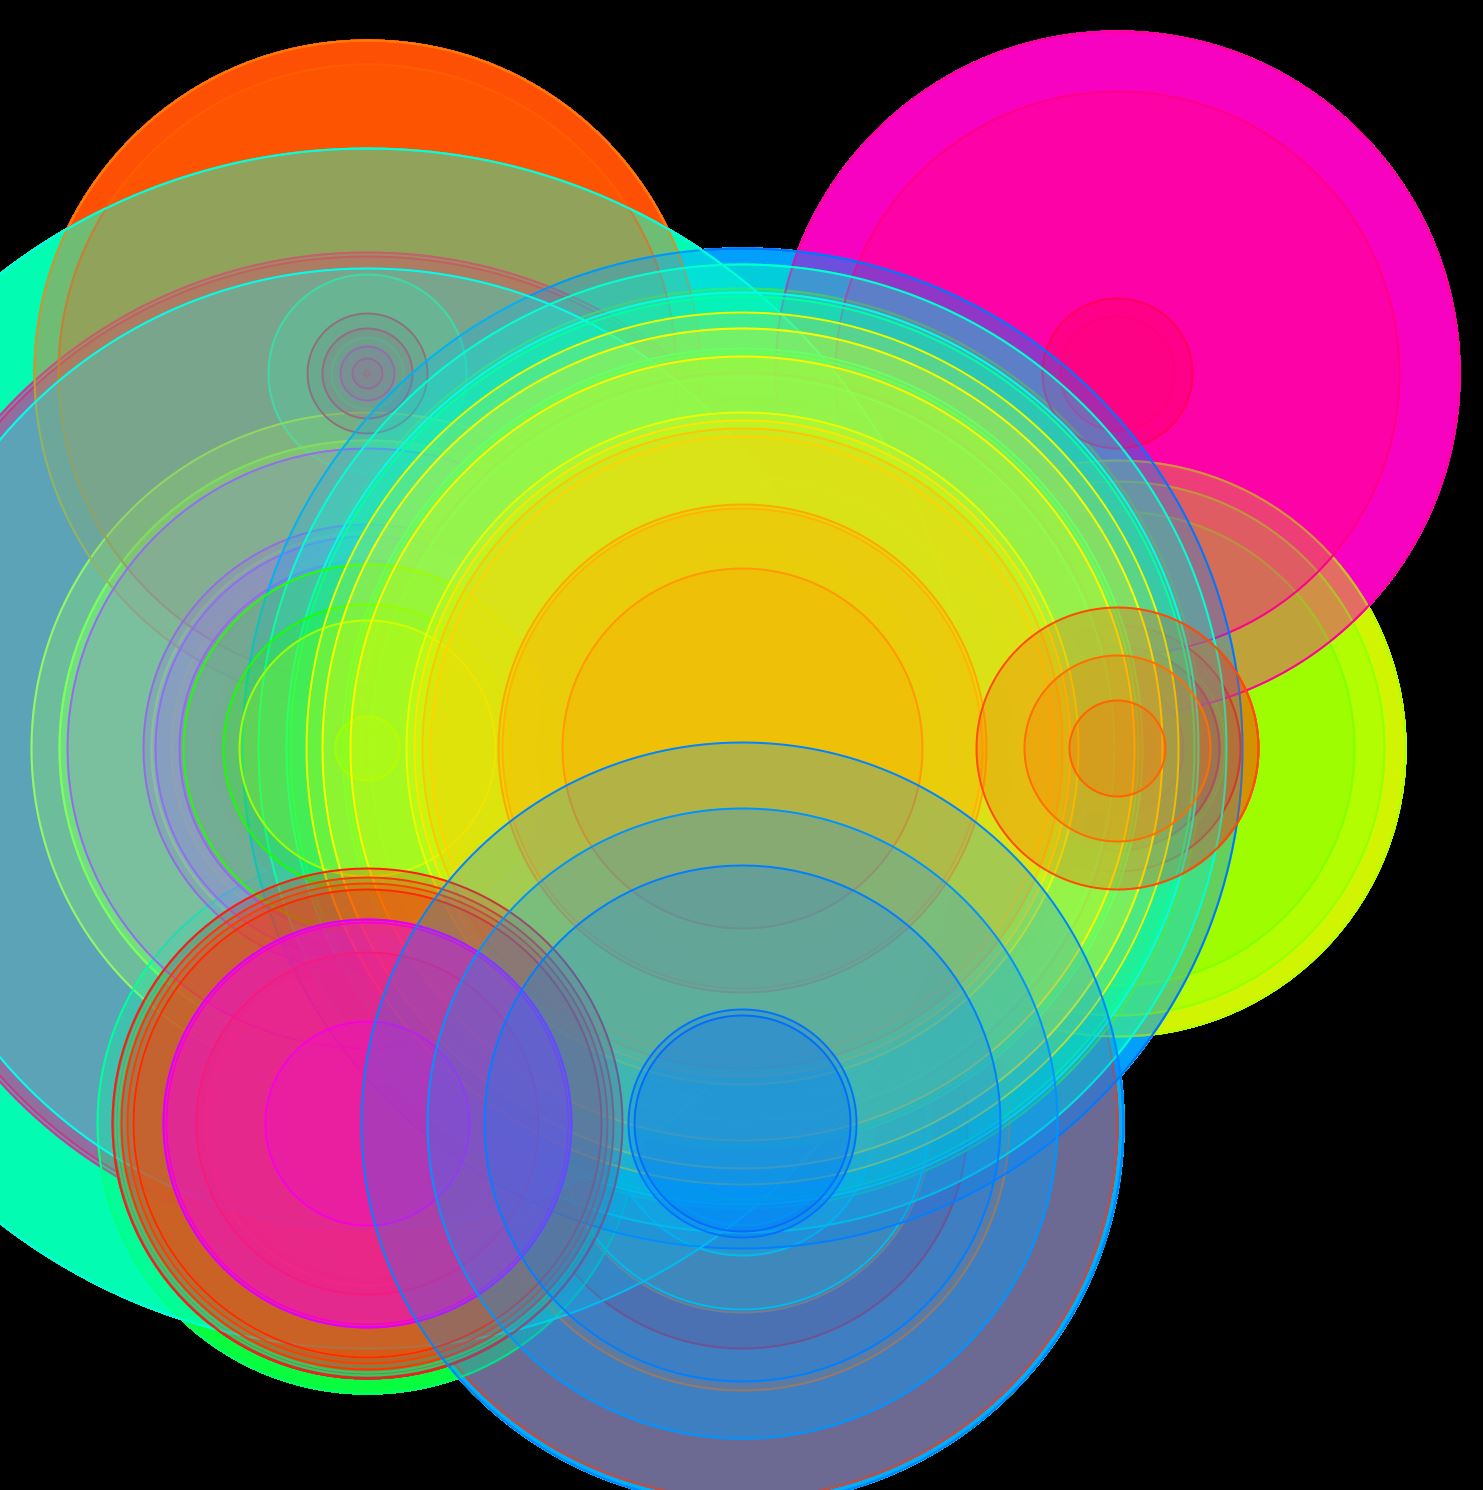
Examples of the Visuals

Narrative description
Apply pressure is an installation that produces visuals and sounds. The physical part of the project is a wooden box, covered in shiny green fabric, with nine force sensors on it that act as buttons. When each button is pressed, colored circles are projected onto a screen and a sound is produced. As the buttons are pressed harder, the nine circles which are projected in a grid on the screen get larger and the sound plays louder.
Progress Images
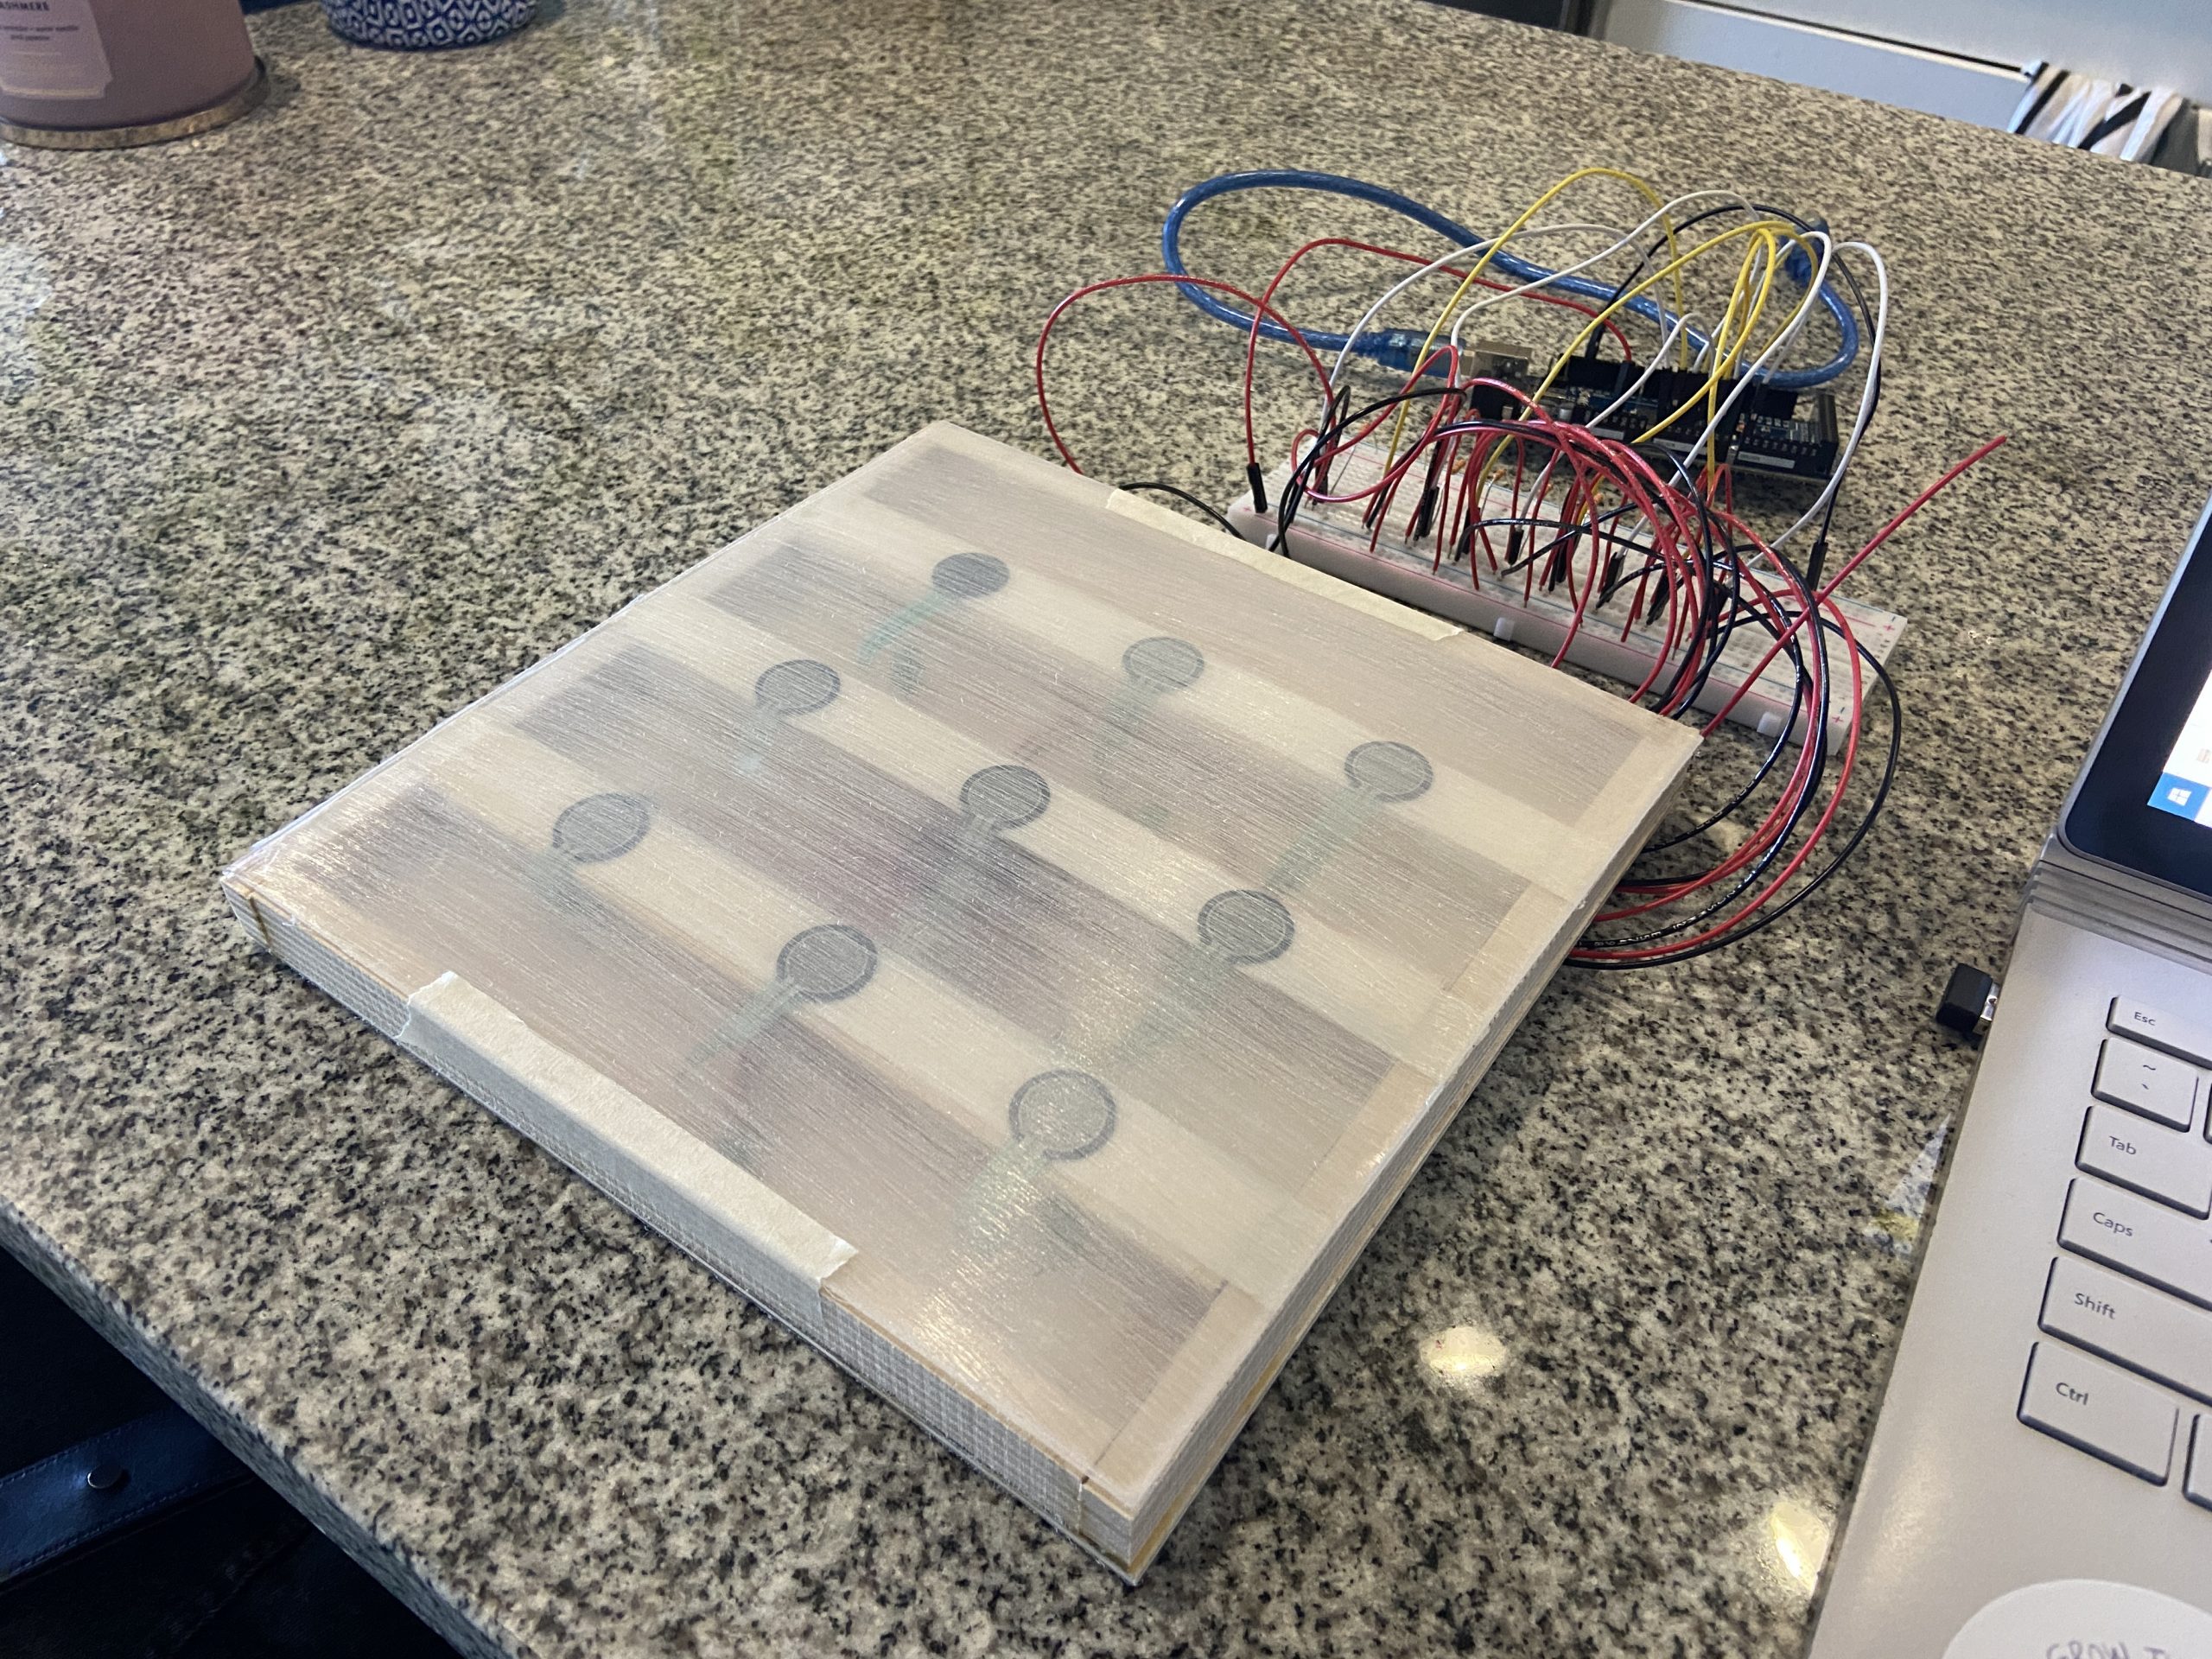
This photo shows my first prototype where I struggled to find a rigid material to cover the sensors with. The pressure was not transferring to the sensors even through the thinnest sheet material so I decided to just cover the exposed part of the sensors with fabric in the final design. The fabric I chose did not interfere with the touch sensitivity of the resistors.
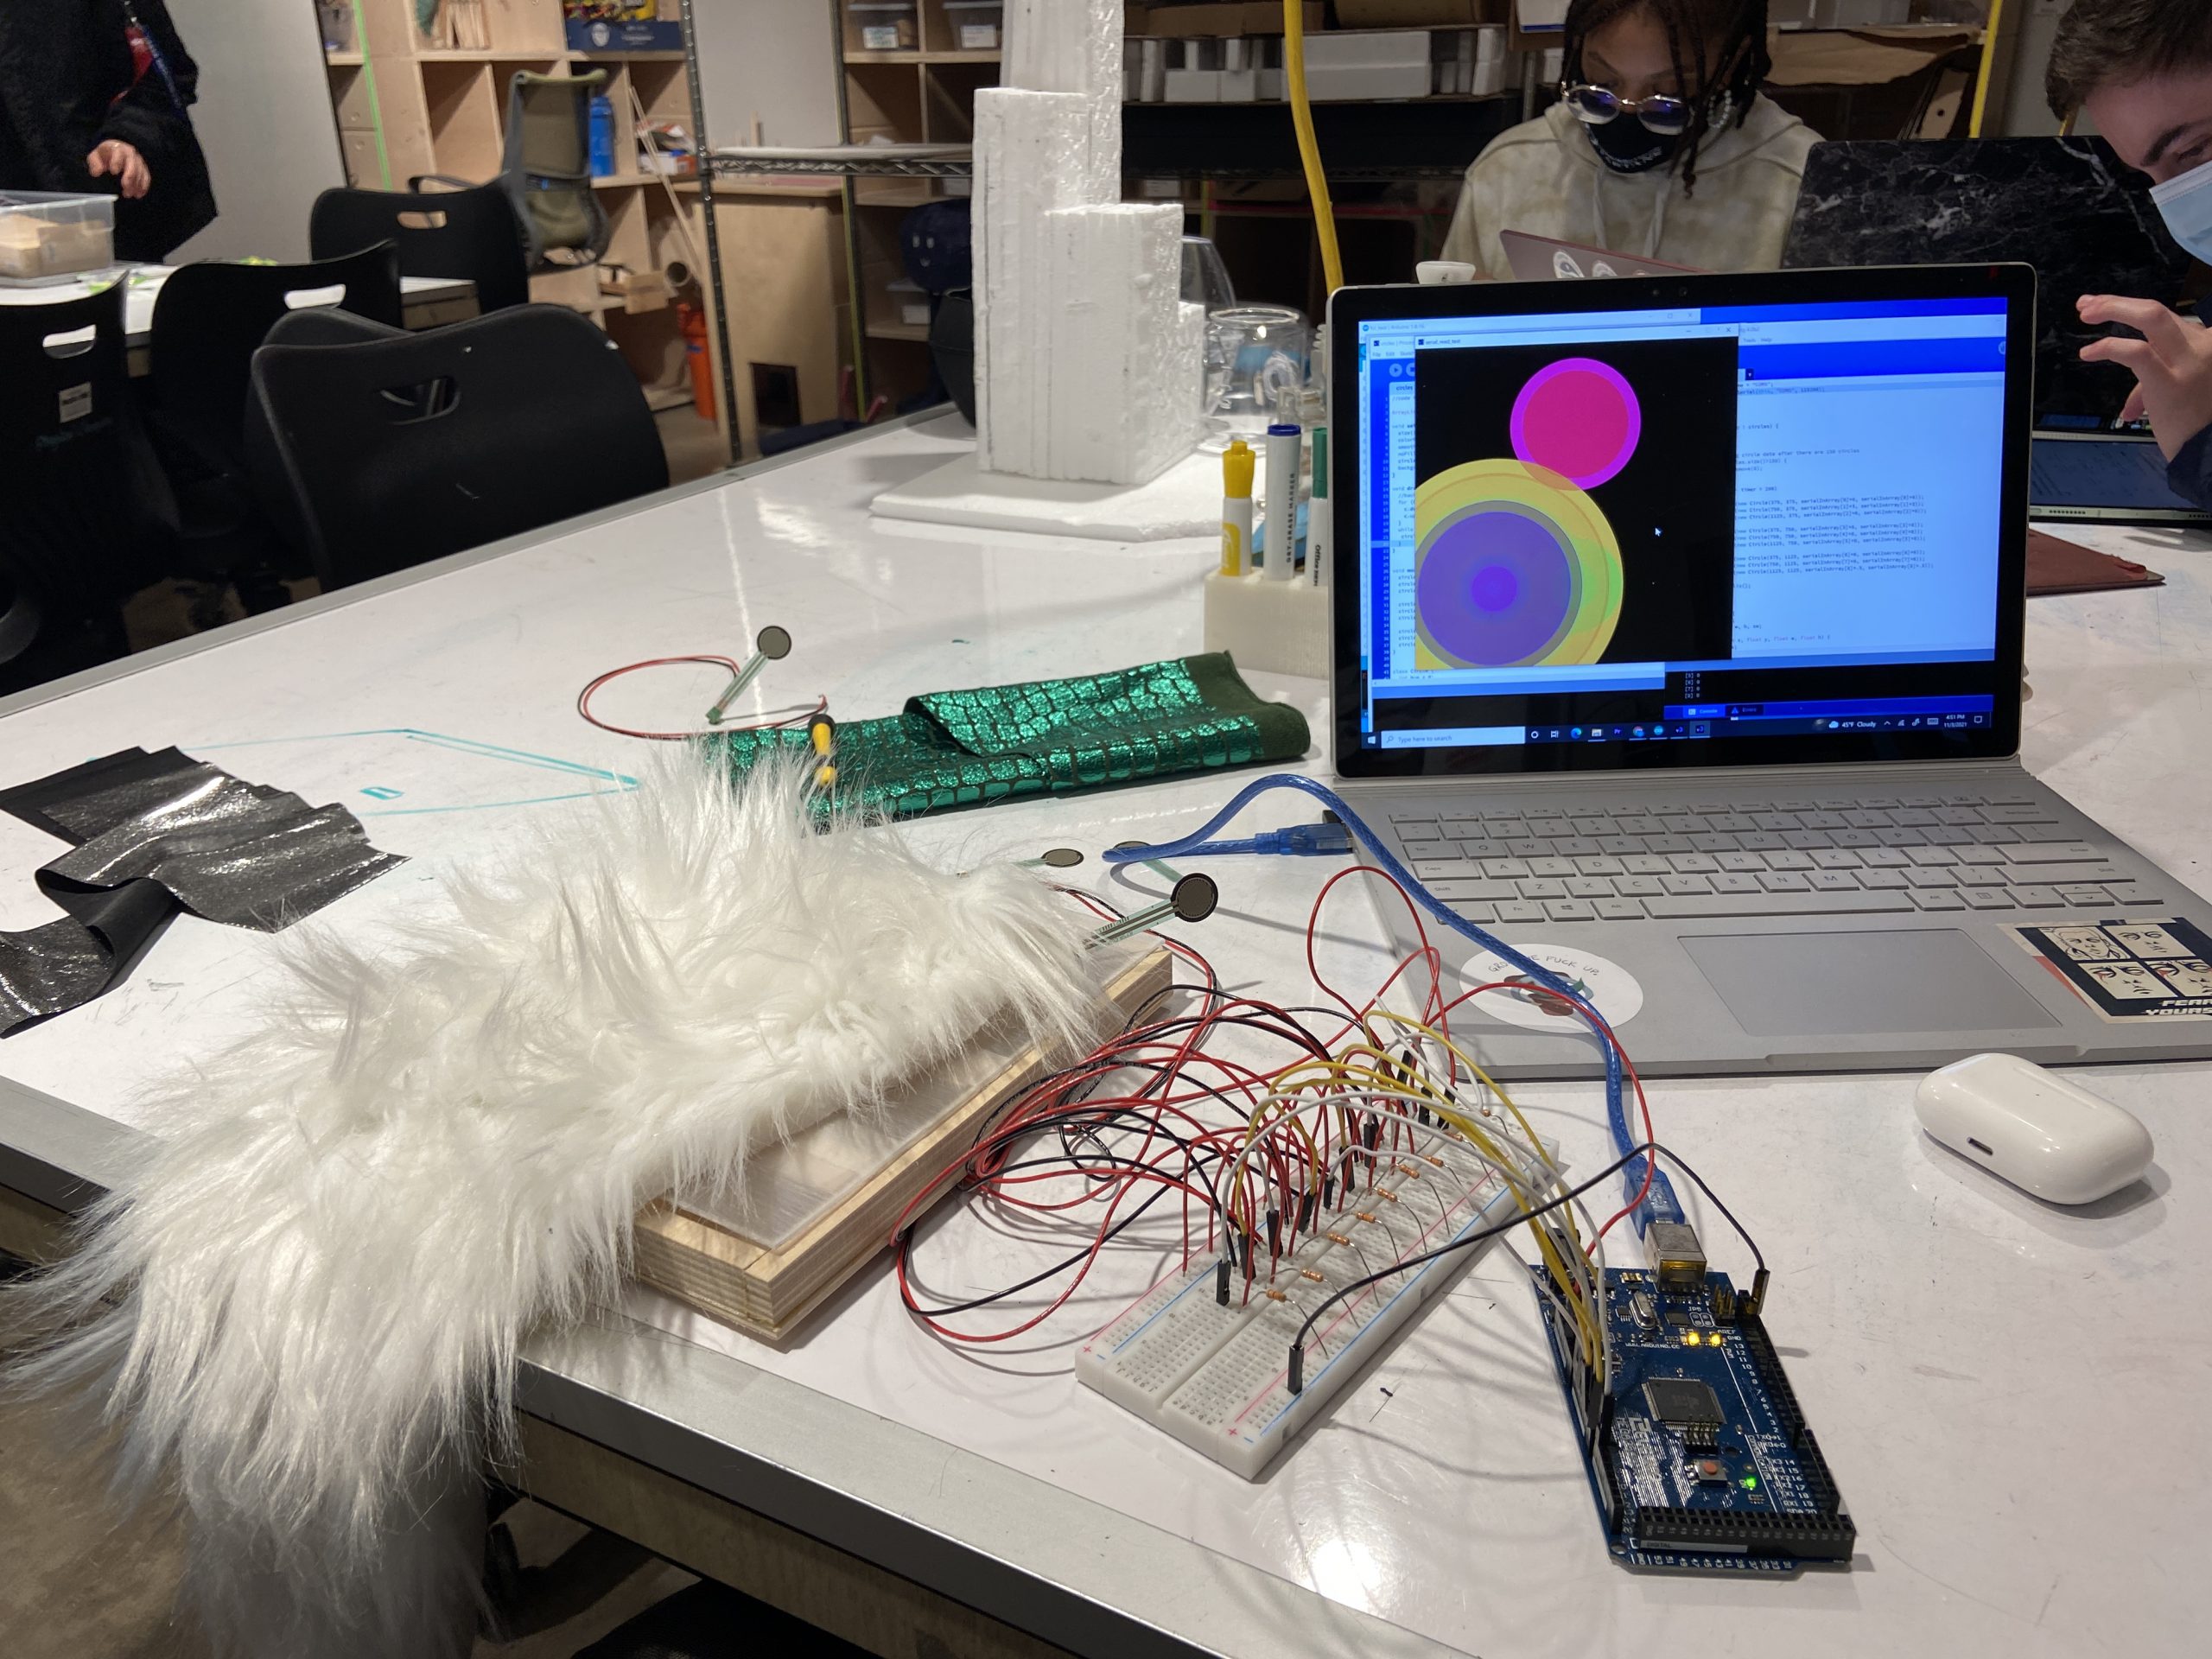
This photo was taken the day I finally got the serial connection to work between processing and the arduino. I was starting to get the visuals I wanted and experimenting with different fabrics to put over top of the touch pad.
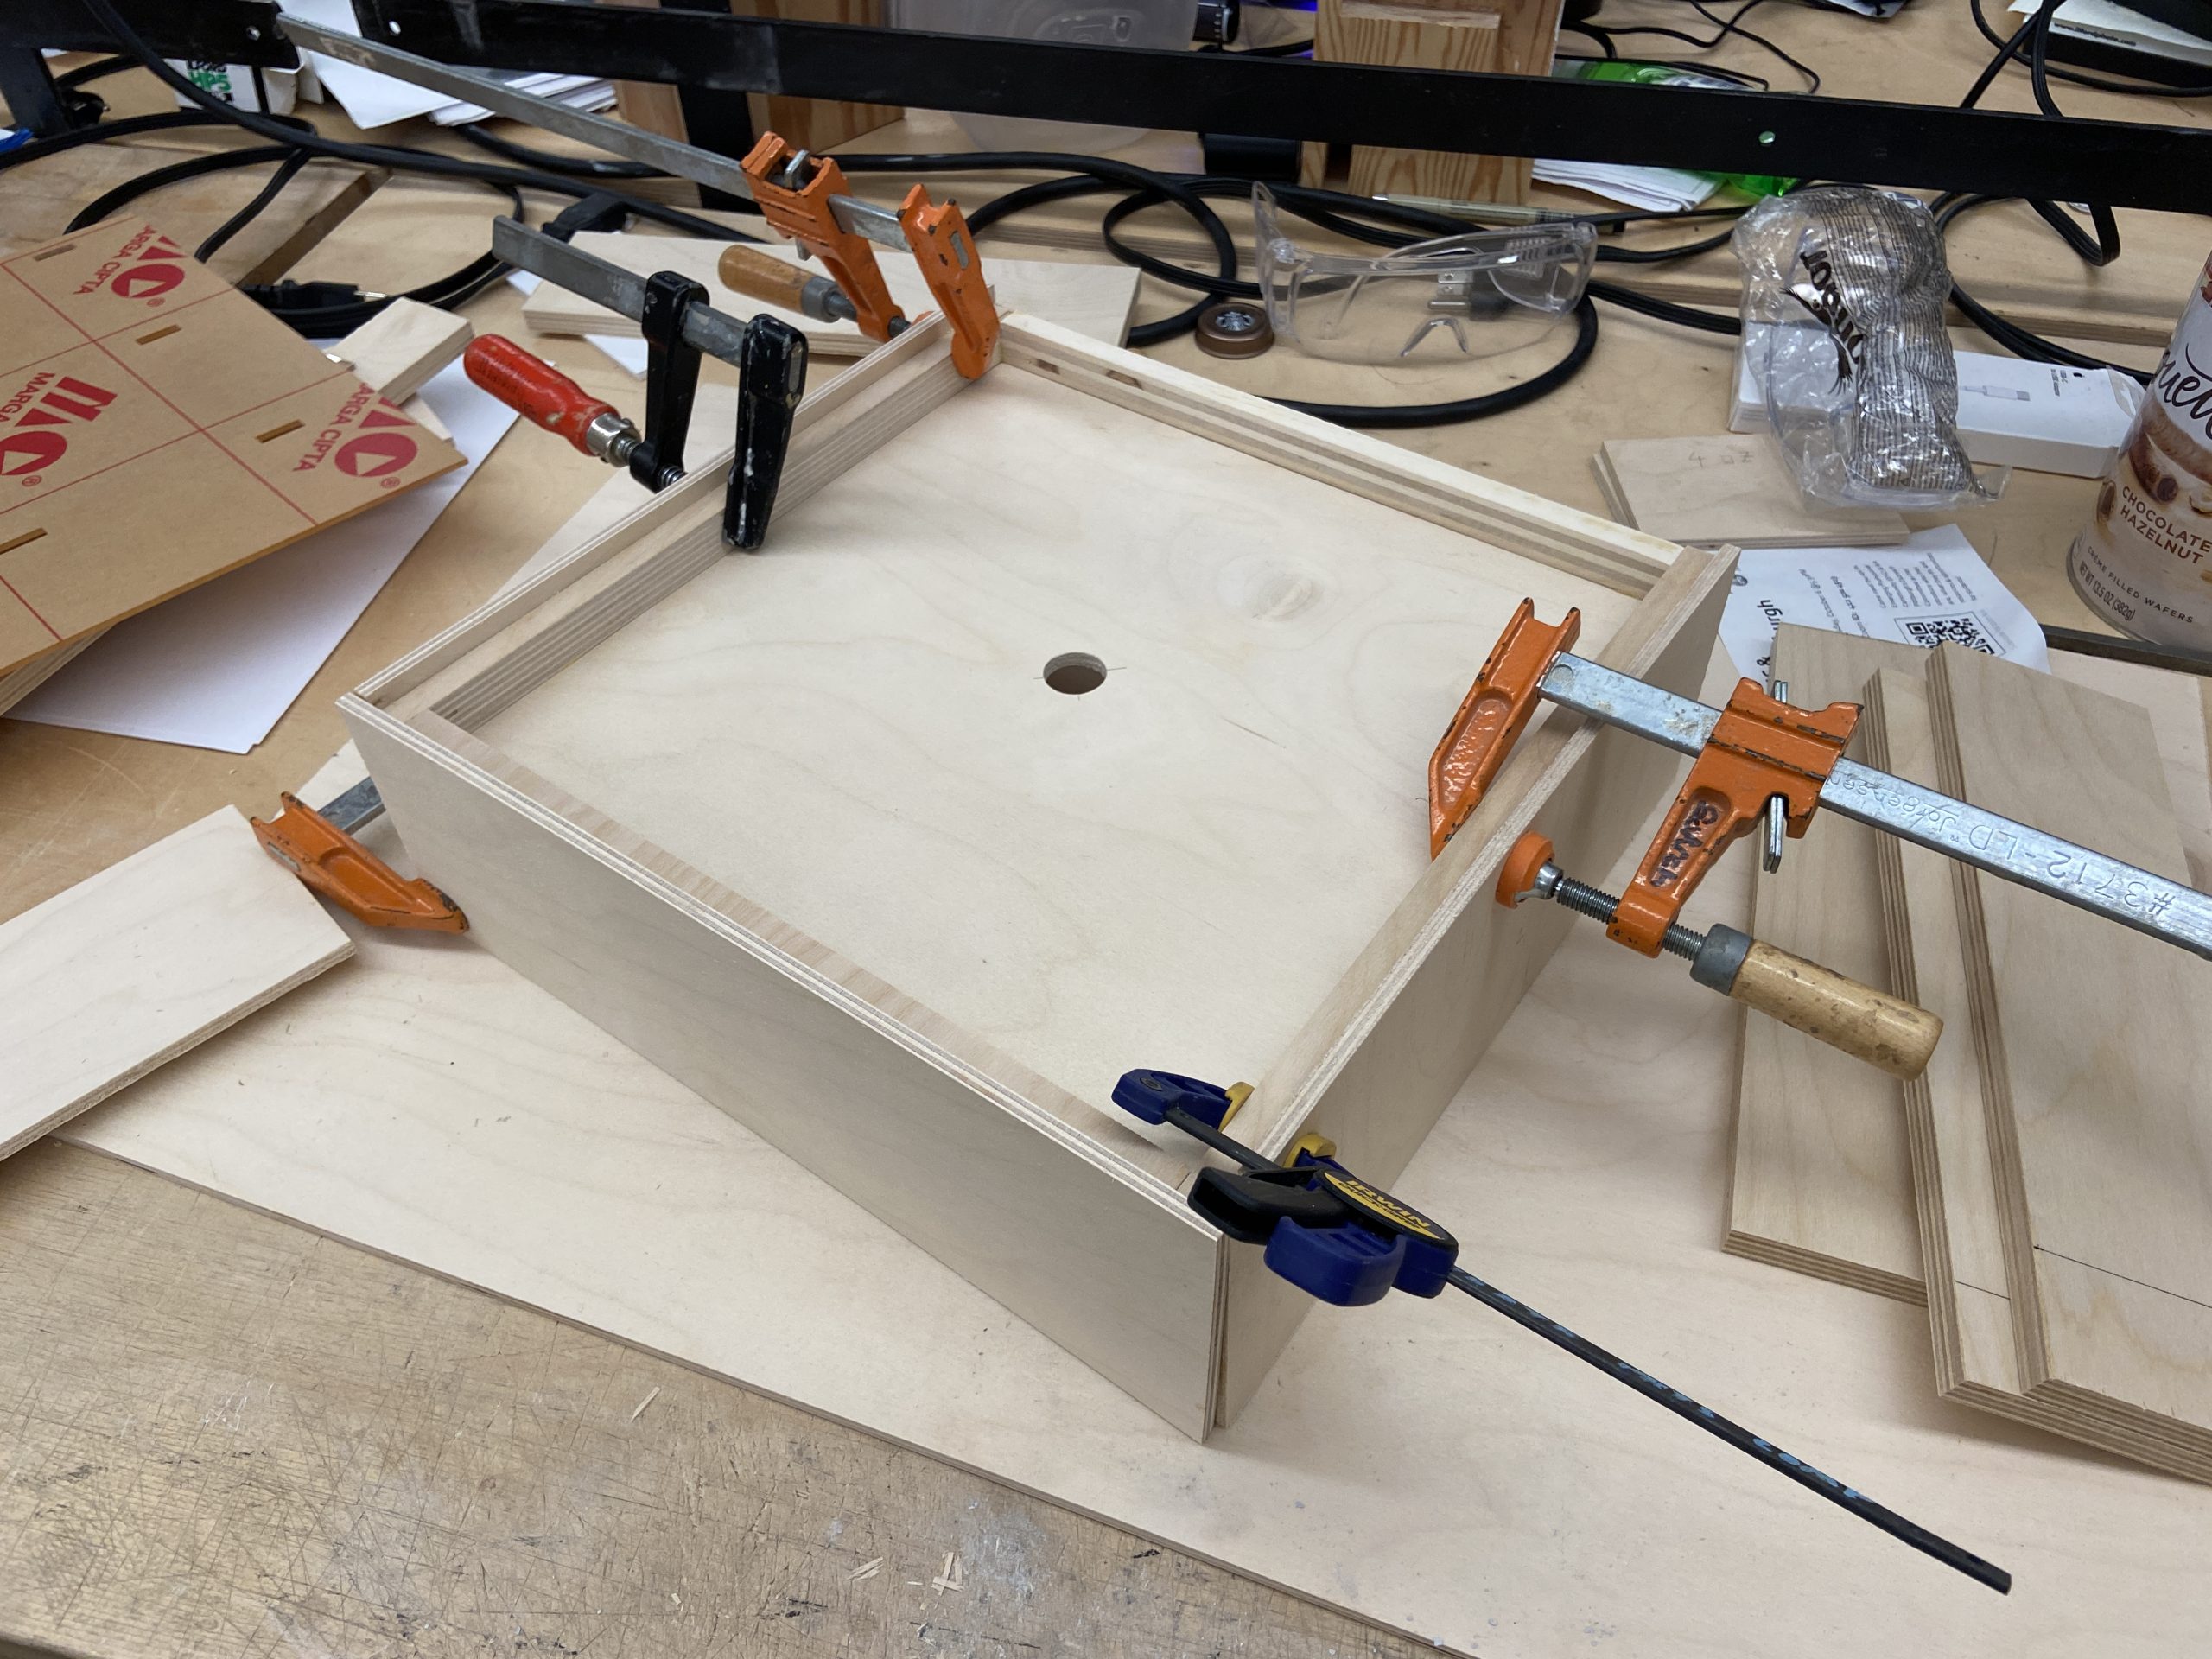
This photo shows me building the final box that would house the touchpad on the top and the breadboard and arduino underneath. I made the final design about twice the size of the prototype so that it was large enough for multiple people to interact with it at once. The hole at the center of the box was where all of the wires from the resistors in the touchpad would come together.
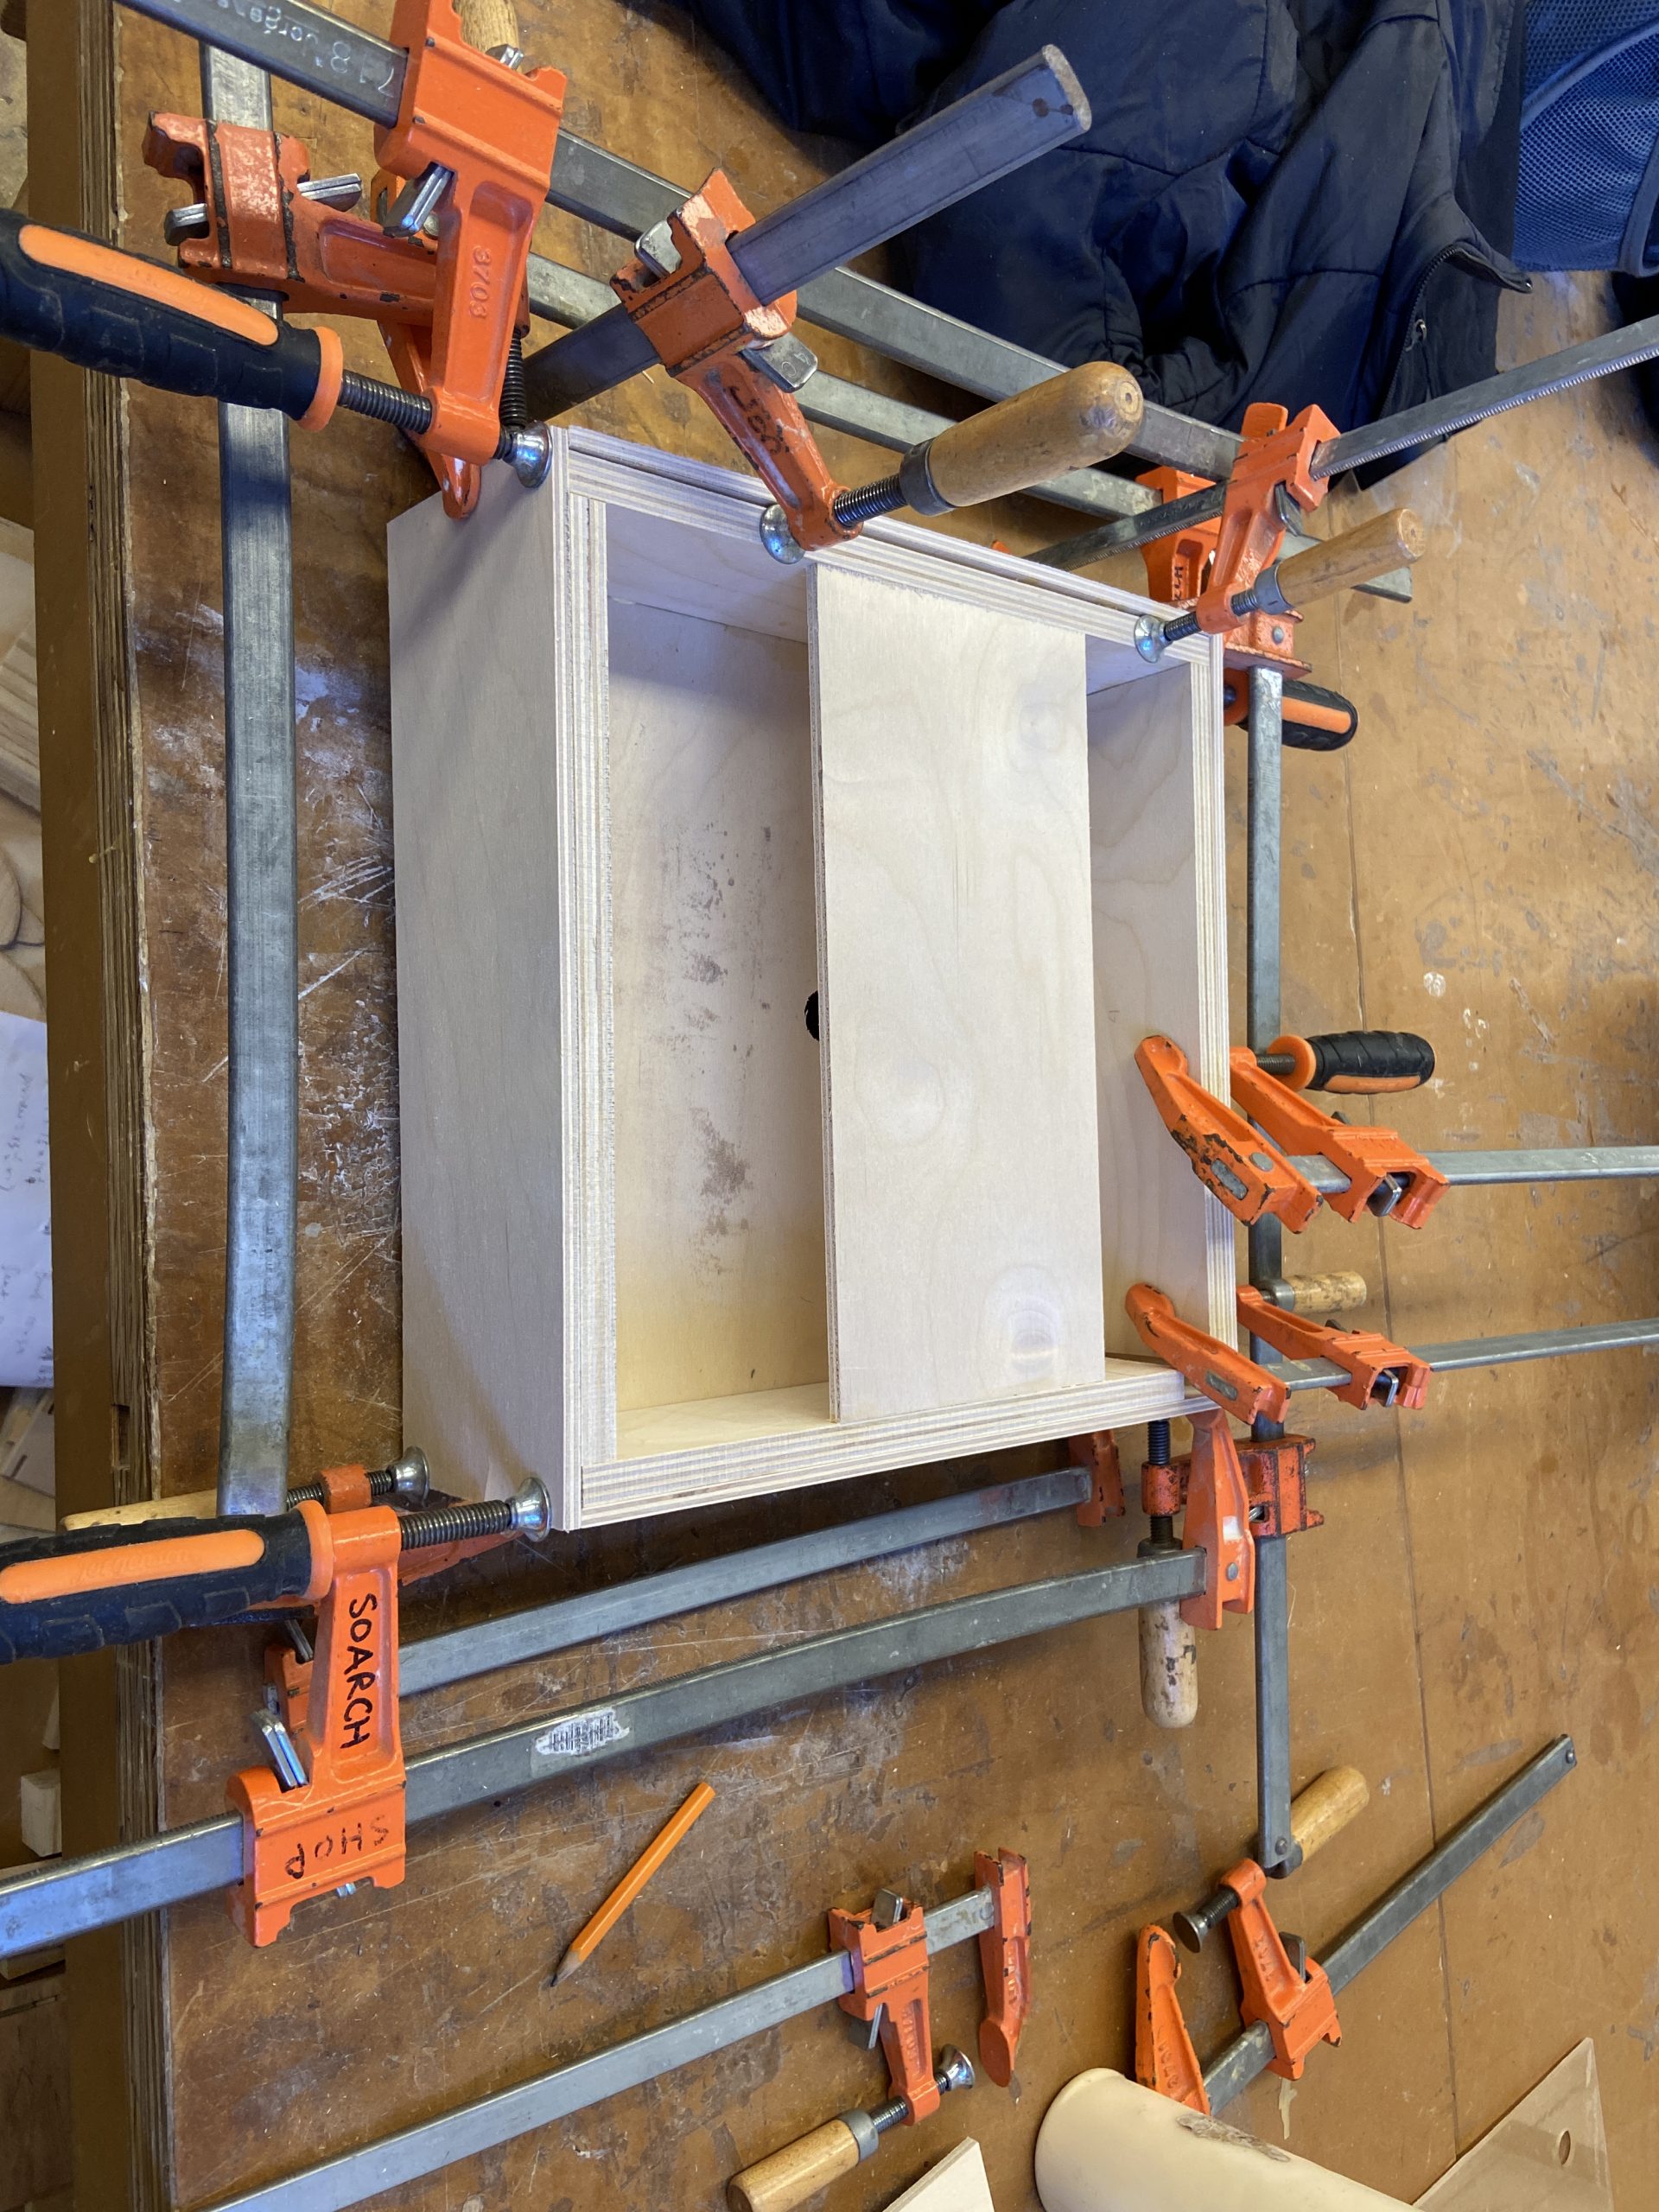
This photo shows the bottom side of the box where the majority of the electronics would be housed on the wooden piece that bridges the length of the box. This was so that the box was mobile while the electronics were in place but I could still easily access them.
Process Reflection
This project was my first time using Processing which I used to create the audio-visual aspects of the project. Figuring out how to write code to produce the kind of parametric visuals I wanted was not intuitive for me since I am used to designing in a a more visual programming language like Grasshopper. However, after many experimentations and learning through looking at examples I was able to get the visuals to a point where I was happy. I needed some help working through a few bugs with the serial connection to the arduino but once that was set up, adding in the sound component was pretty simple. I feel more comfortable using processing now and definitely want to use it to design visuals for my personal website.
Another challenge I had was deciding how to stabilize the sensors in a way that didn’t limit their sensitivity as seen in the process images above. Designing the box wound up being a bit difficult but I figured out I could use two layers of acrylic with misaligned grids of holes to essentially sandwich the sensors and keep them in place. One of the most fun parts of this project was sifting through online music samples and choosing the audio components. I put a lot of thought into how the audios sounded together if multiple people were going to be playing with the buttons at the same time.
If I wanted to push the project in a different direction I could have created a different kind of tactile experience instead of the large touchpad embedded into the box. We had previously talked about possibly building nine separate remotes so that the visuals could be collectively produced by people sitting away from one another. This would have created a more experimental nature in the way the project is experienced since it wouldn’t be as obvious which sensor controlled which part of the visuals and audio. In this case the users would have to figure out who controlled what which could have been fun even though I did enjoy the close collaboration that this project required. Overall I am happy with the way this project came out and it seemed like people were excited about interacting with it during the review.
Code submission
Arduino Code:
//Apply Pressure
//By Olivia Werner
//This code reads analog input data from nine force sensitive
//resistors and maps the values to be in a range of 0 - 255

const int FCR0 = A0; //defining analog sensors
const int FCR1 = A1;
const int FCR2 = A2;
const int FCR3 = A3;
const int FCR4 = A4;
const int FCR5 = A5;
const int FCR6 = A6;
const int FCR7 = A7;
const int FCR8 = A8;

void setup() {
  // put your setup code here, to run once:
  pinMode(FCR0, INPUT);
  pinMode(FCR1, INPUT);
  pinMode(FCR2, INPUT);
  pinMode(FCR3, INPUT);
  pinMode(FCR4, INPUT);
  pinMode(FCR5, INPUT);
  pinMode(FCR6, INPUT);
  pinMode(FCR7, INPUT);
  pinMode(FCR8, INPUT);
  Serial.begin(115200);
}

void loop() {
  // put your main code here, to run repeatedly:
  //if we get a valid byte, read analog ins:
  //if (Serial.available() > 0) {
  // get incoming byte:
  //inByte = Serial.read();

  //read the value of the resistance and store it
  int forceVal0 = analogRead(FCR0);
  //map value to 255
  forceVal0 = map(forceVal0, 0, 1023, 0, 255);
  Serial.print(forceVal0);
  Serial.print(",");
  delay(10);

  int forceVal1 = analogRead(FCR1);
  //map value to 255
  forceVal1 = map(forceVal1, 0, 1023, 0, 255);
  Serial.print(forceVal1);
  Serial.print(",");
  delay(10);

  int forceVal2 = analogRead(FCR2);
  //map value to 255
  forceVal2 = map(forceVal2, 0, 1023, 0, 255);
  Serial.print(forceVal2);
  Serial.print(",");
  delay(10);

  int forceVal3 = analogRead(FCR3);
  //map value to 255
  forceVal3 = map(forceVal3, 0, 1023, 0, 255);
  Serial.print(forceVal3);
  Serial.print(",");
  delay(10);

  int forceVal4 = analogRead(FCR4);
  //map value to 255
  forceVal4 = map(forceVal4, 0, 1023, 0, 255);
  Serial.print(forceVal4);
  Serial.print(",");
  delay(10);

  int forceVal5 = analogRead(FCR5);
  //map value to 255
  forceVal5 = map(forceVal5, 0, 1023, 0, 255);
  Serial.print(forceVal5);
  Serial.print(",");
  delay(10);

  int forceVal6 = analogRead(FCR6);
  //map value to 255
  forceVal6 = map(forceVal6, 0, 1023, 0, 255);
  Serial.print(forceVal6);
  Serial.print(",");
  delay(10);

  int forceVal7 = analogRead(FCR7);
  //map value to 255
  forceVal7 = map(forceVal7, 0, 1023, 0, 255);
  Serial.print(forceVal7);
  Serial.print(",");
  delay(10);

  int forceVal8 = analogRead(FCR8);
  //map value to 255
  forceVal8 = map(forceVal8, 0, 1023, 0, 255);
  Serial.print(forceVal8);
  Serial.print(",");

  Serial.println("0"); //FAKE VALUE TO DEBUG

  delay(10);
}
Processing Code:
//Apply Pressure
//By Olivia Werner
//This code reads serial data from nine force sensitive resistors connected to an arduino mega
//Nine circles are drawn with their size being constantly updated depending on the amount of pressure on the
//force sensitive resistors. The hue of the circles updates randomly creating a gradient. The code also
//plays nine sound files depending on which sensor is being pressed with the volumes controlled by the analog values.


import processing.serial.*;
import cc.arduino.*;
import org.firmata.*;
import processing.sound.*;

SoundFile[] file;
// Define the number of samples
int numSounds = 10;

Arduino arduino;

int timer;

Serial myPort; //create an object
String val; //data recieved from the serial port

int[] serialInArray = new int[10]; // Where we'll put what we receive
int serialCount = 0;     // A count of how many bytes we receive
String inString;

ArrayList<Circle> circles; //make an array of circles

void setup() {

  size(1500, 1500);
  colorMode(HSB, 100);
  smooth();
  noFill();
  ellipseMode(CENTER);

  // Create an array of empty soundfiles
  file = new SoundFile[numSounds];

  // Load 9 soundfiles from a folder in a for loop. By naming the files 0., 1., 2., n.aif it is easy to iterate
  // through the folder and load all files in one line of code.
  for (int i = 0; i < numSounds; i++) {
    file[i] = new SoundFile(this, (i+1) + ".aif");
  }

  //create an array of circles
  circles = new ArrayList<Circle>();

  // set the background color with the color values:
  background(serialInArray[7], serialInArray[6], serialInArray[3]);

  // Open whatever port is the one you're using.
  String portName = "COM5";
  myPort = new Serial(this, "COM5", 115200);
}

void draw() {

  for (Circle  c : circles) {
    c.draw();
    c.update();
  }
  //stop storing circle data after there are 150 circles
  while (circles.size()>150) {
  circles.remove(0);
  }

  if (millis() - timer > 200)
  {
    //draw nine circles
    circles.add(new Circle(375, 375, serialInArray[0]*3, serialInArray[0]*3));
    circles.add(new Circle(750, 375, serialInArray[1]*4, serialInArray[1]*4));
    circles.add(new Circle(1125, 375, serialInArray[2]*8, serialInArray[2]*8));

    circles.add(new Circle(375, 750, serialInArray[3]*5, serialInArray[3]*5));
    circles.add(new Circle(750, 750, serialInArray[4]*8, serialInArray[4]*8));
    circles.add(new Circle(1125, 750, serialInArray[5]*6, serialInArray[5]*6));

    circles.add(new Circle(375, 1125, serialInArray[6]*6, serialInArray[6]*6));
    circles.add(new Circle(750, 1125, serialInArray[7]*3, serialInArray[7]*3));
    circles.add(new Circle(1125, 1125, serialInArray[8]*4, serialInArray[8]*4));

    timer = millis();
  }

  //play sounds
  for (int i = 0; i< numSounds-1; i++) {
    if (!file[i].isPlaying() && serialInArray[i] >0) {
      float volumeLevel = map(serialInArray[i], 0, 255, 0, 1.0); //volume
      file[i].play(1, volumeLevel);
    }
  }
}

class Circle {
  int hue = 0;
  float x, y, w, h, sw;

  Circle(float x, float y, float w, float h) {
    this.x = x;
    this.y = y;
    this.w = w;
    this.h = h;
    sw = random(2, 2);
  };

//defining properties of the circles
  void draw() {
    strokeWeight(sw);
    stroke(hue, 100, 100, 100);
    fill(hue, 100, 100, 25);
    ellipse(x, y, w, h);
  }

//update gradient
  void update() {
    hue++;
    if (hue == 100) {
      hue = 0;
    }
  }
}

void serialEvent(Serial p) {
  inString = p.readStringUntil('\n');

  if (inString != null) {
    //println(inString);

    serialInArray = int(split(inString, ','));
    printArray(serialInArray);
  }
}