1. SAFETY: Make note of the nearest fire extinguisher.
2. POWER-ON: The Rabbit Laser’s rotary Power Switch (w/ key) should be switched to ON position. Leave this switch in the ON Position unless notified otherwise. If the Equipment Control Panel does not light-up, ensure the red Emergency Stop button is not activated. Twist the E-Stop to make sure it’s released.
3. HOME: Find and press the X-Y 0 Button. The lens assembly will travel to the top-right corner of the Laser bed.
4. PREP: During the HOME procedure, prepare your file in LaserCut. Download the file to the Laser Equipment.
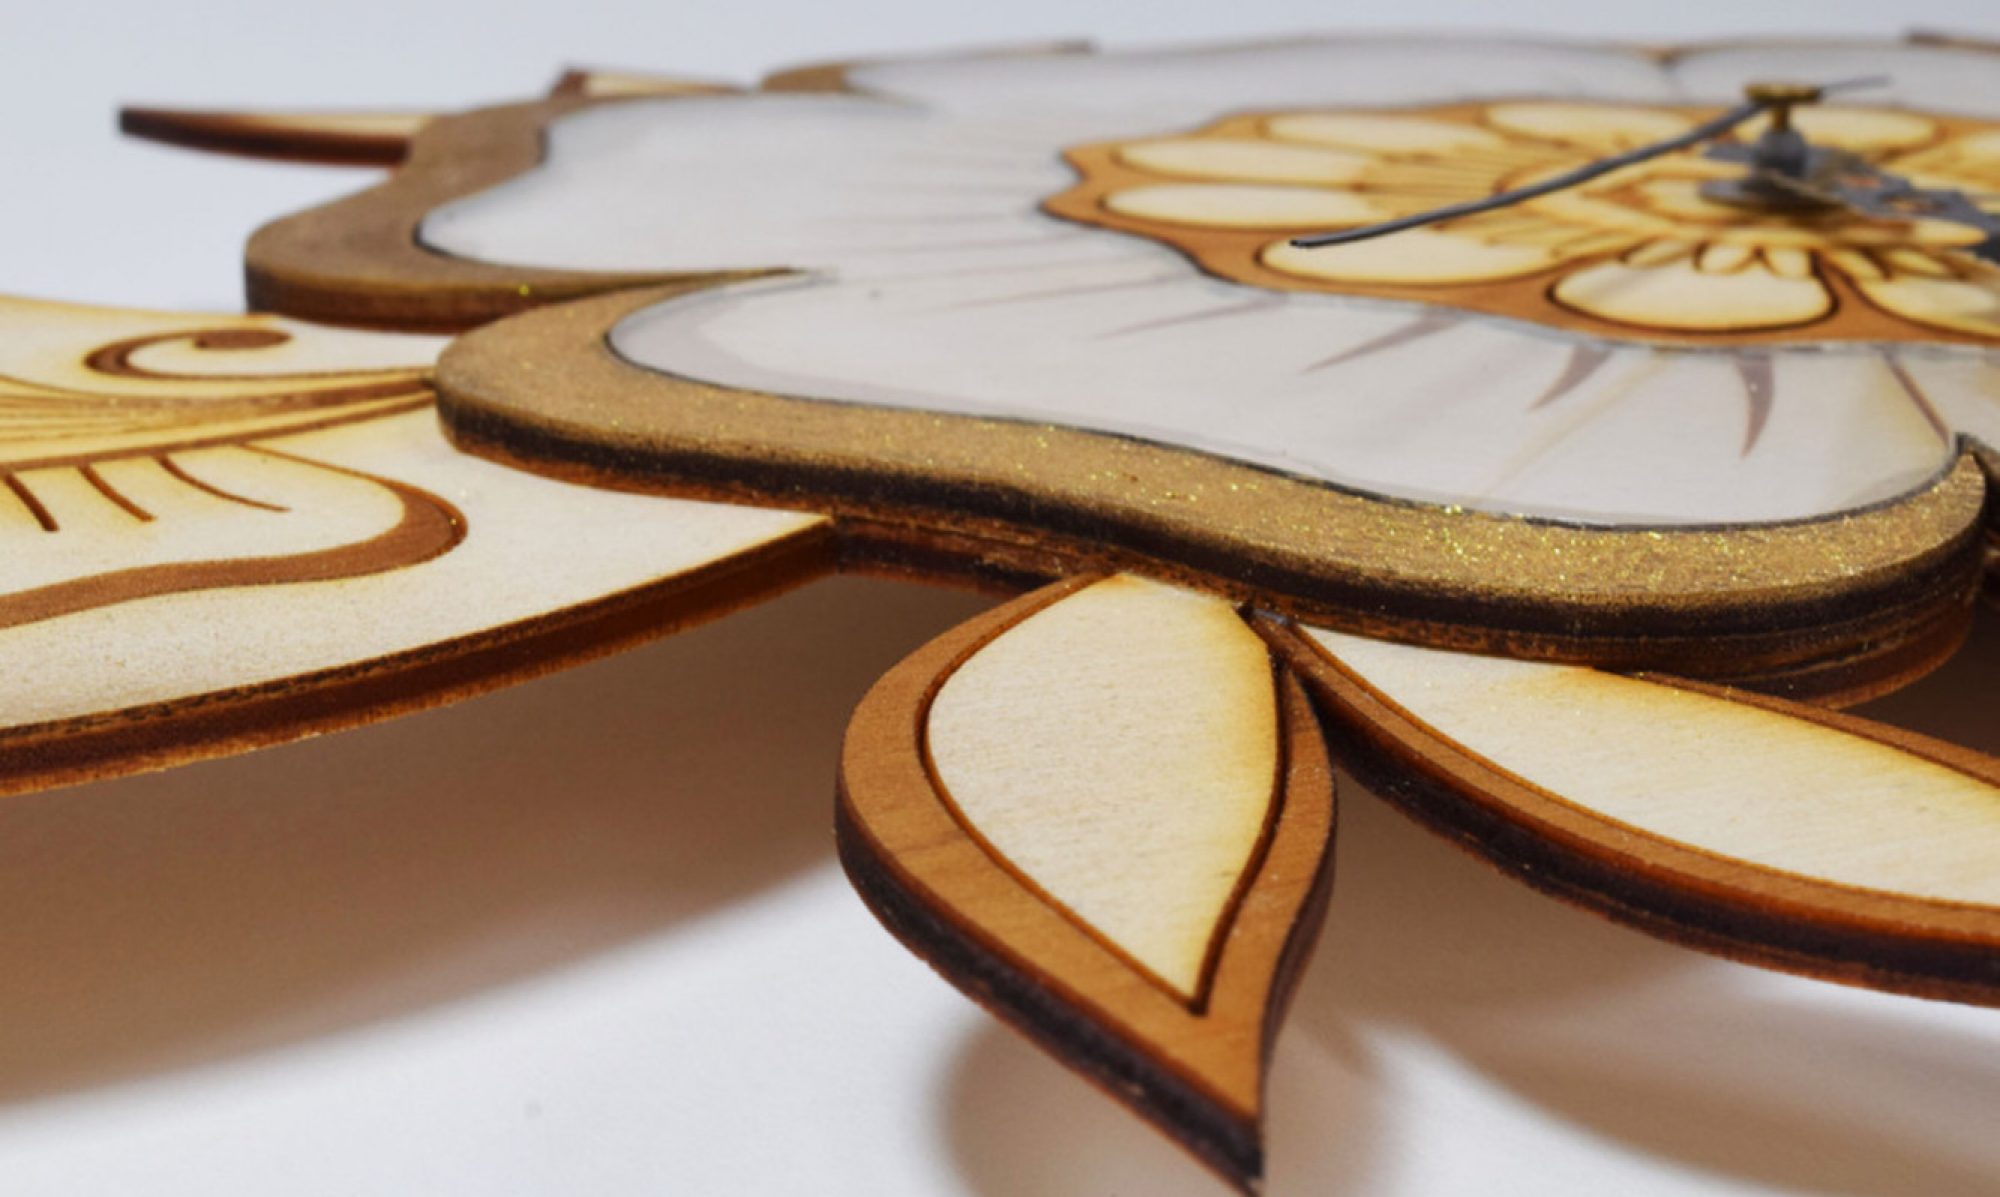
5. MATERIAL PREPARATION: If necessary, remove protective layer from the top-side. If your material has a minimal ‘bow’ or ‘warp’, use Painters or Masking Tape to secure it to the Table as best as possible. *As indicated in Policy, do not attempt to laser excessively warped, non-planar materials.
6. MATERIAL PLACEMENT: Open the lid, make sure to minimize heavy collisions with the Laser Lens Assembly, and Vector Table. Place your material on the table. Make sure your Material is square with the table. *Recommendation: Laser power diminishes toward the front and right side of the table. Laser power is more reliable toward the rear and left side of the table.
7. MOVE XY: PRESS and HOLD the X & Y arrow keys to guide the Laser Lens assembly to ANY location above your material. IF the arrow keys do not work, find and press the ESC key, and retry.
8. MOVE Z-AXIS: From the Equipment Control Panel, lower the Vector Table by pressing and holding the ‘Z-Down‘ Arrow Button, located immediately above the ‘Z-0‘ Button.
9. SET Z-HEIGHT: Find and select the ‘Z0‘ button from the Control Panel. The equipment will adjust the table to the correct Z-Height after touching the top of your material.
10. TEST: Press the TEST button to have the laser outline the area it will cut. If the lens assembly travels off your material, adjust your home position with the X & Y arrow buttons (or just move and re-square the material by hand) and TEST again.
11. SWITCHES: Make sure all (3) Push Buttons, along the top of the Control Panel, are depressed.
3.1 The red ‘Lighting’ Button controls internal Equipment Light.
3.2 The green ‘Laser Power’ Button controls power to the Laser Tube.
3.3 The green ‘Socket Switch’ button controls power to the Water Chiller, Air Pump, Filtration System and Fan Booster.
12. START: Close the lid slowly. Find and Press the green ‘Start‘ Button, to begin your Job.
X. PAUSE: Press the green ‘Start‘ Button to Pause your Job. Make sure the lid is closed, and press the green ‘Start‘ Button again, to resume your Job.
X. STOP: Press the red ‘Stop‘ Button to Abort the Job entirely. The Laser Lens assembly will return to its original starting location.
X. EMERGENCY STOP: Find the red ‘Emergency Stop‘ Button, and press it DOWNWARD. Complete any necessary Emergency Procedures required.
13. COMPLETION: When the equipment beeps, your file is complete. Leave the Equipment Lid closed for 15 seconds to allow proper extraction of hazardous fumes. Before removing your material, make sure your parts have been cut through completely. Remove your parts and pieces. Vacuum small debris from the table and Equipment. Place un-usable scrap in the TRASH; place usable scraps in scrap storage.
14. POWER-OFF: Turn OFF the (3) Push Buttons located above the Control Panel. Leave the Rotary Power Switch (w/ key) in the ON position.