Improvisation Inflatables
For me, this assignment consisted of a lot of experimentation with the material and playing around with the plastics and tape with varying levels of success (for this case, I defined personal success as “Did I make an inflatable that inflates?” or conversely “How many holes did I have patch up”). Nevertheless, since I have never made an inflatable before, I feel like I learned a lot about taping techniques and what shapes do and don’t work nicely together.
INFLATABLE 1

dis-inflated form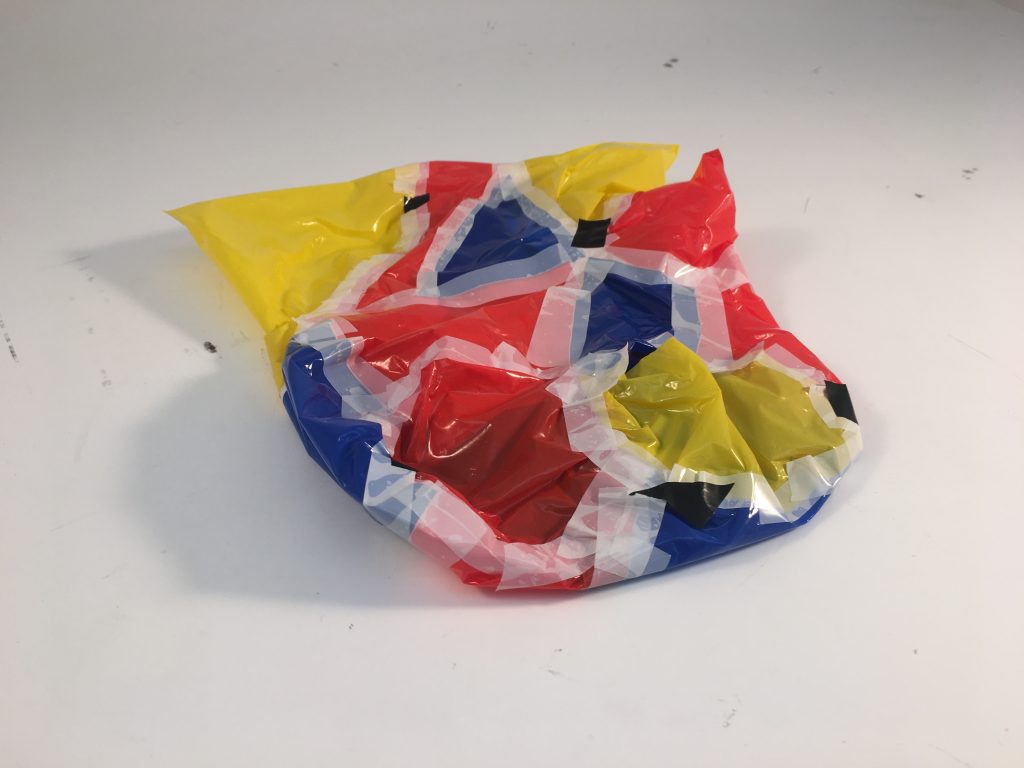
dis-inflated form
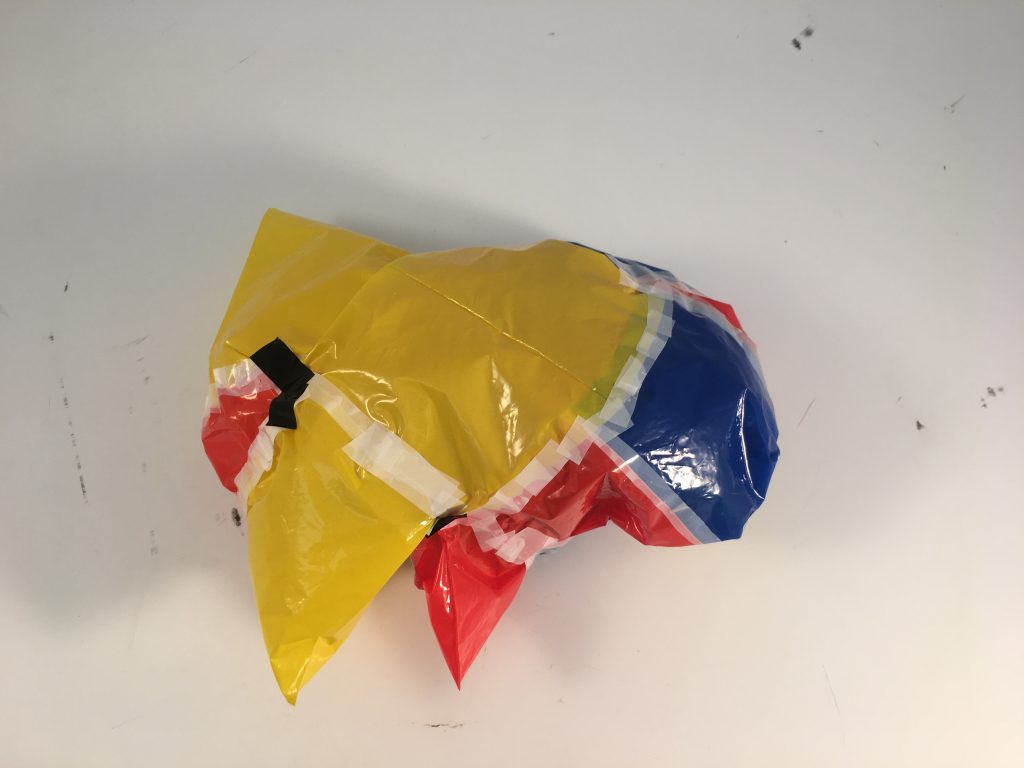


My first inflatable was made by cutting small shapes out of the bags and then trying to cobble them together to make some type of abstract form. I thought that the edges of the bags made interesting spike shapes and so I began to tape those into the form, giving me practice in taping curves edges to flat edges (although it proved to be fairly difficult for me to do, resulting in a few holes which I had to patch up). This was a learning piece for me to get my bearings with the material, so it may not have been the most successful, I did enjoy the process. Another plus was playing around with the very child-like color palette I chose.
INFLATABLE 2
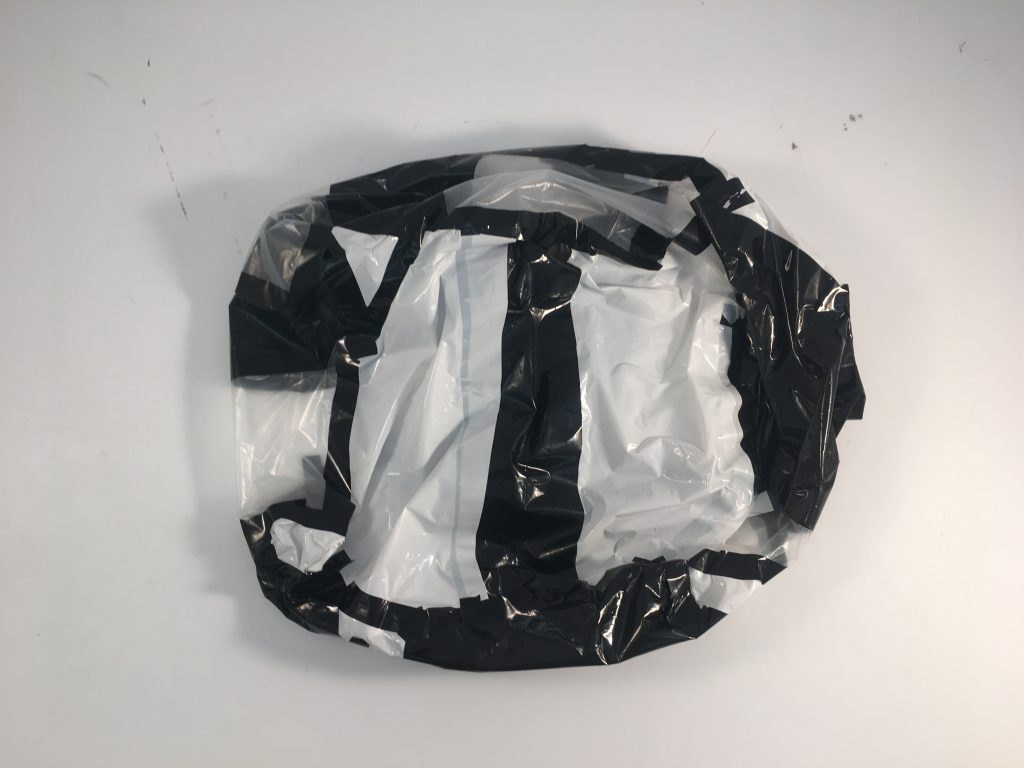
dis-inflated form
dis-inflated form

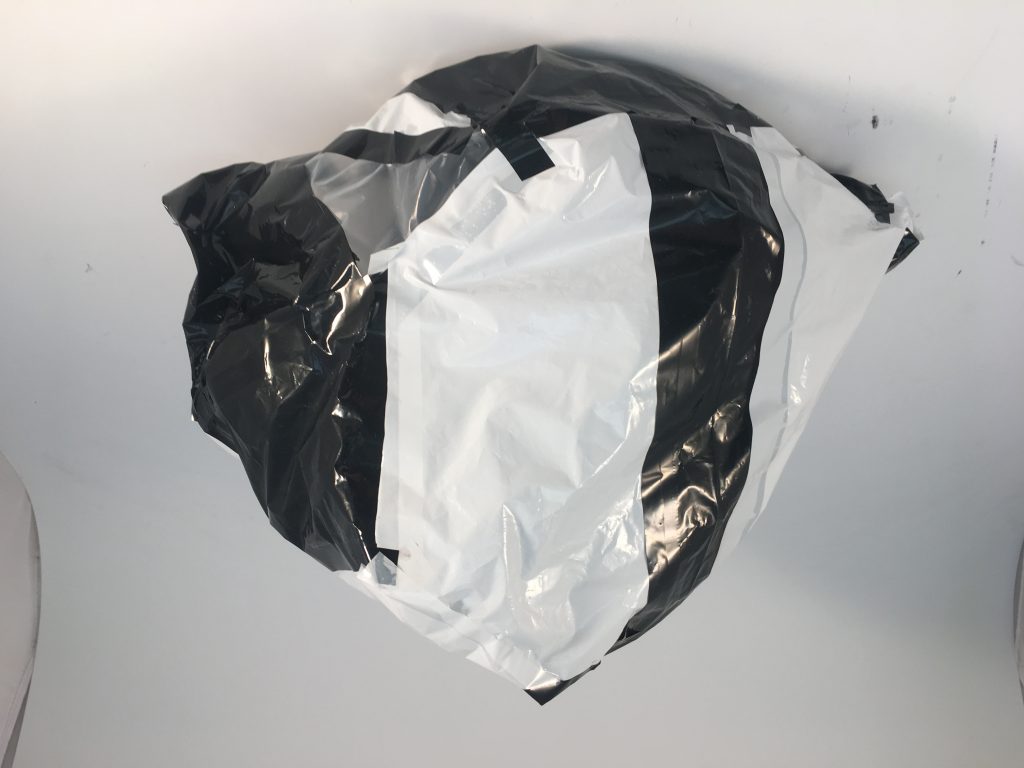
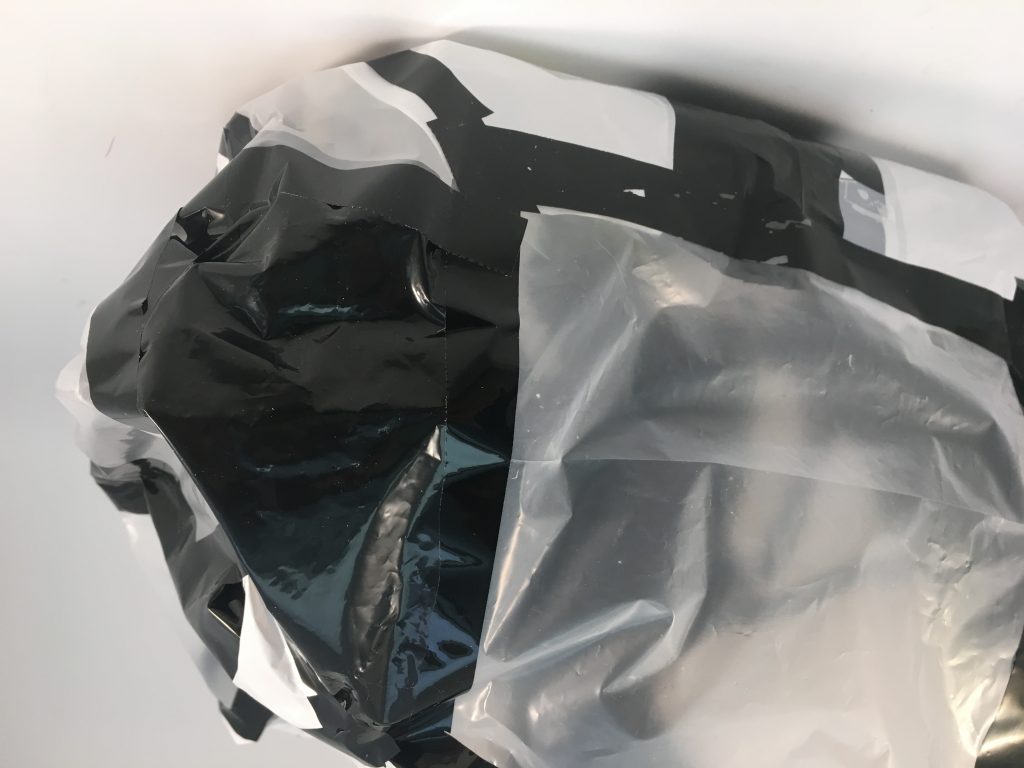
This inflatable was made after our second class, and so I was excited to work with larger forms. I began by cutting out two white octagons and then cut those in half and adding a black stripe in the center of each to make the form more irregular. Then I tilted the octagons slightly and connected the mismatched edges by using different geometric shapes. I also wanted to play around with the clear material to see the interior a bit (which I thought was one of the best parts of making the giant inflatables during class-time).
INFLATABLE 3

dis-inflated form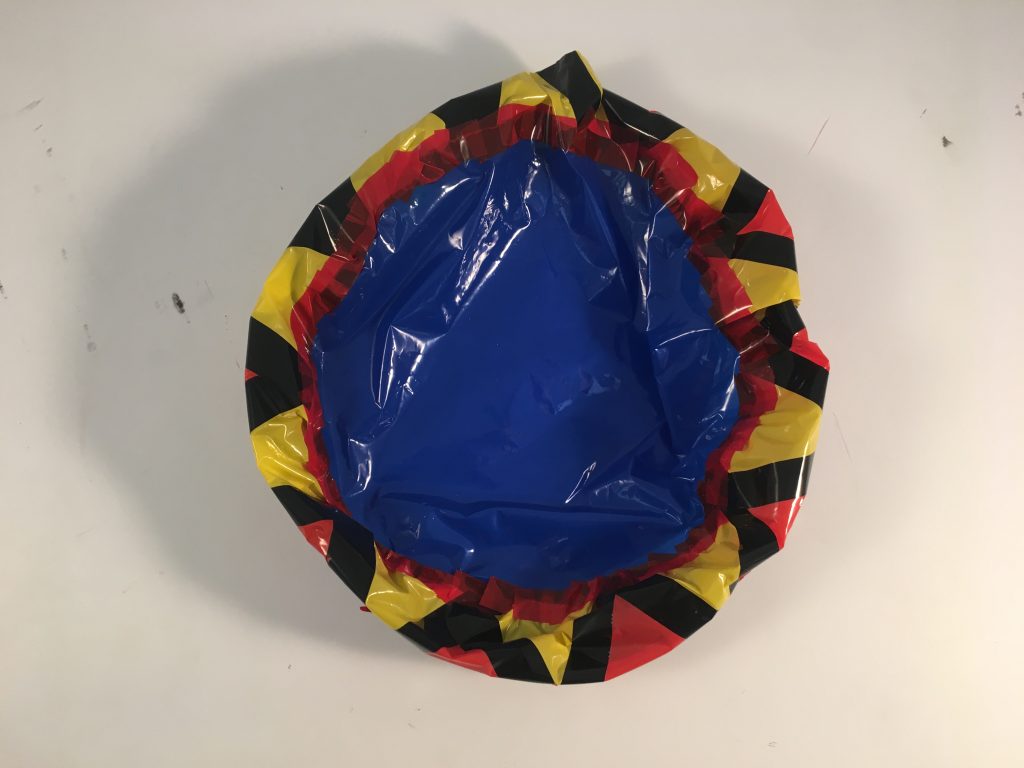
dis-inflated form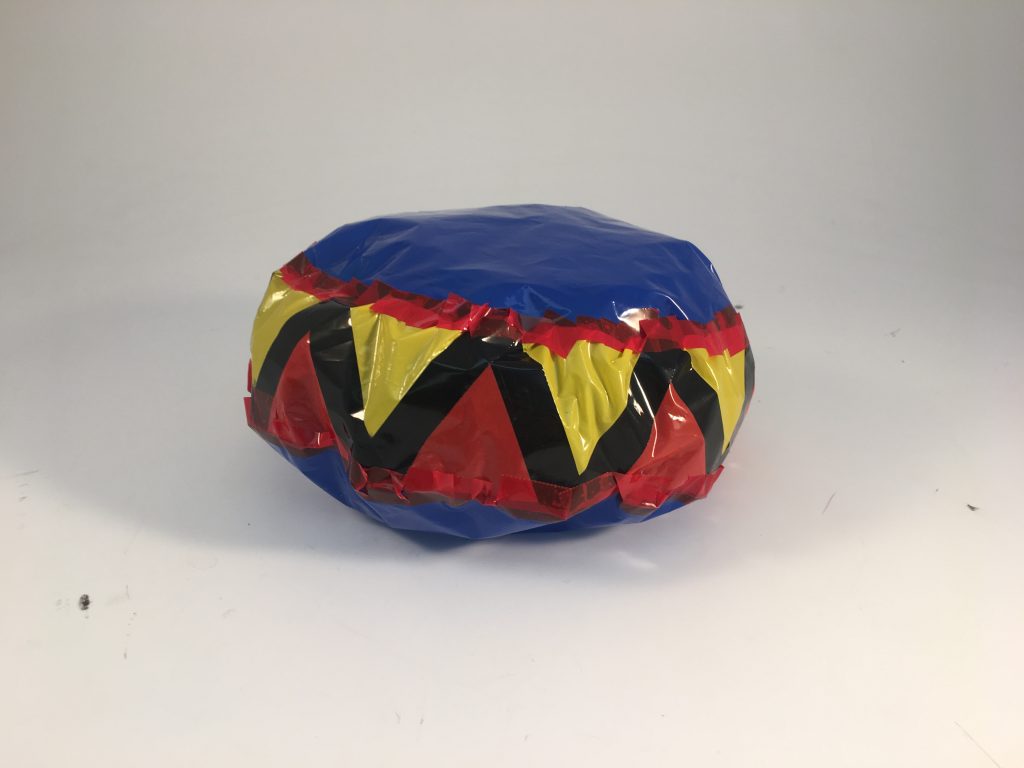

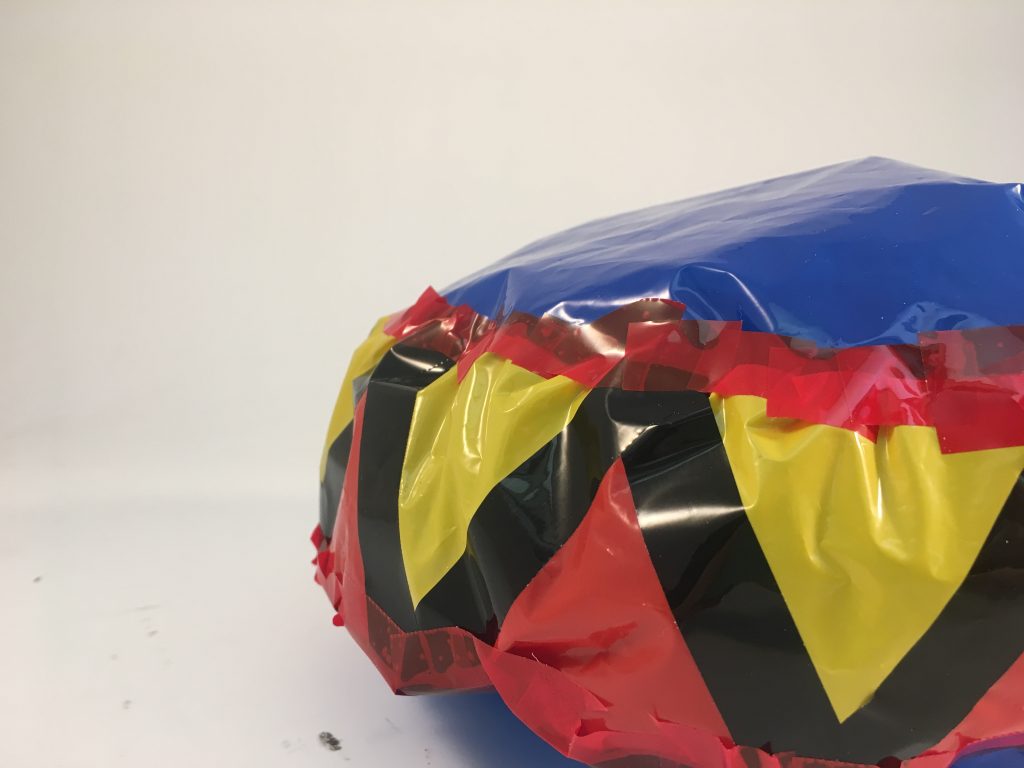
I wanted to make a more thought out and curved form for my next inflatable, as my prior one consisted of only straight line seams. So I started by cutting out two circles and a bunch of equilateral triangles. Then, I used black tape to create a graphic pattern with the triangles and attached those to the circles. I wish I had made the triangles taller so the overall form would’ve been bigger, but I’m happy with the outcome overall. I feel like this is one of my cleanest inflatables in that the tape remains fairly consistent throughout and the shapes are clearly distinguishable.
INFLATABLE 4

dis-inflated form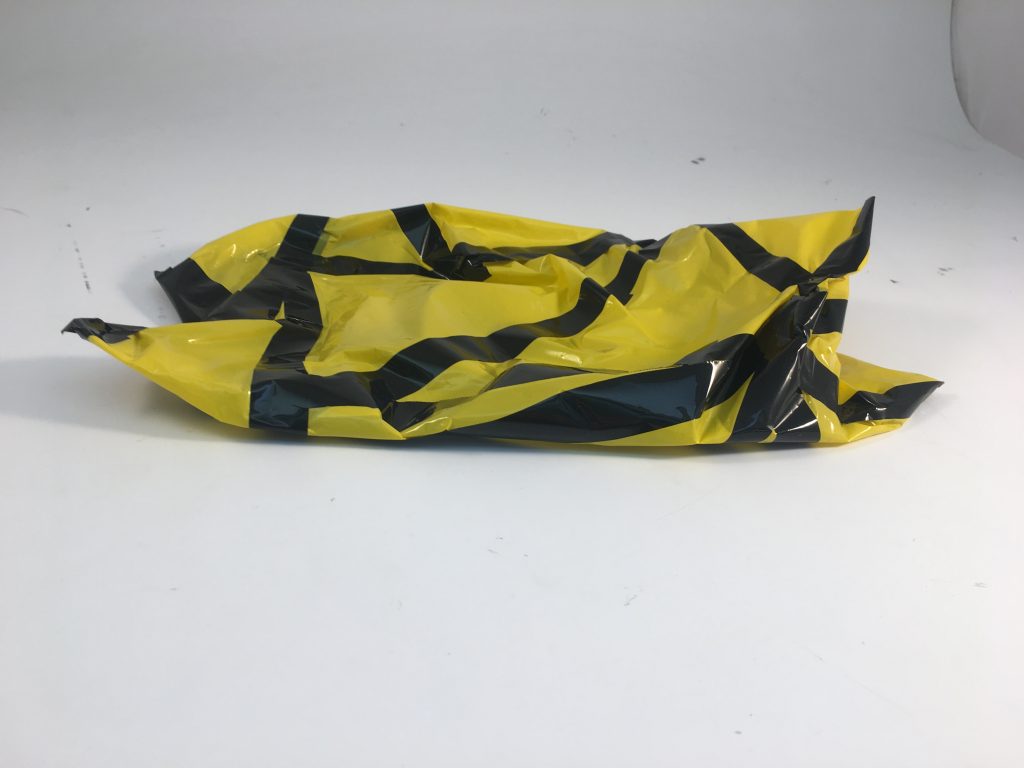
dis-inflated form
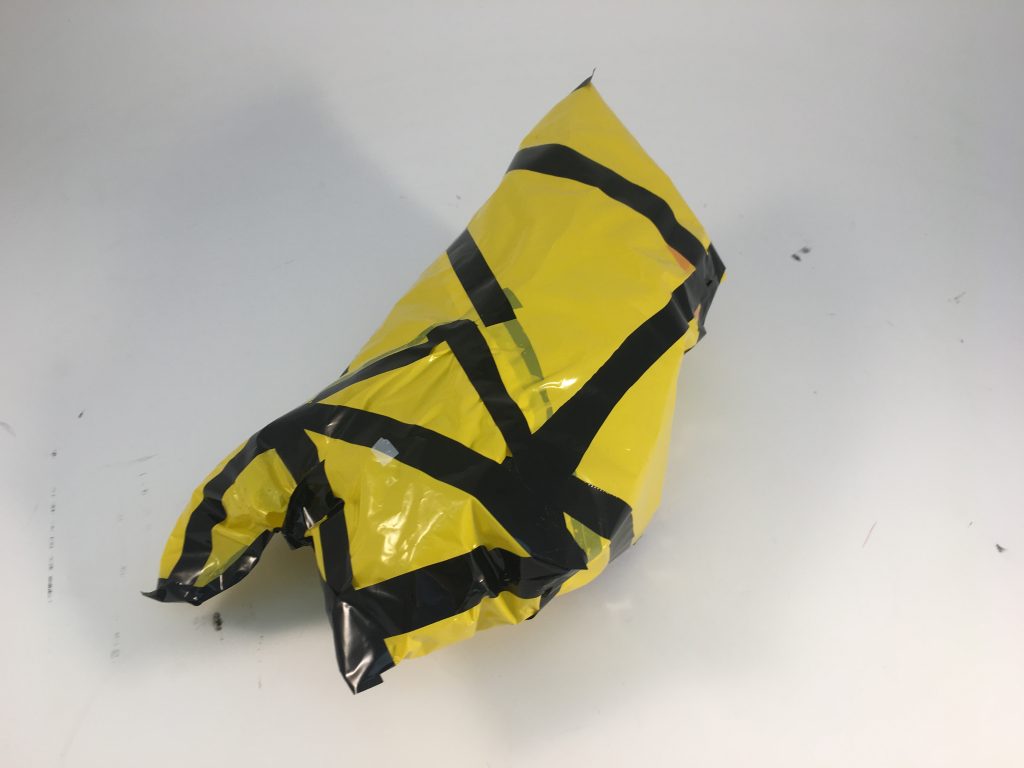
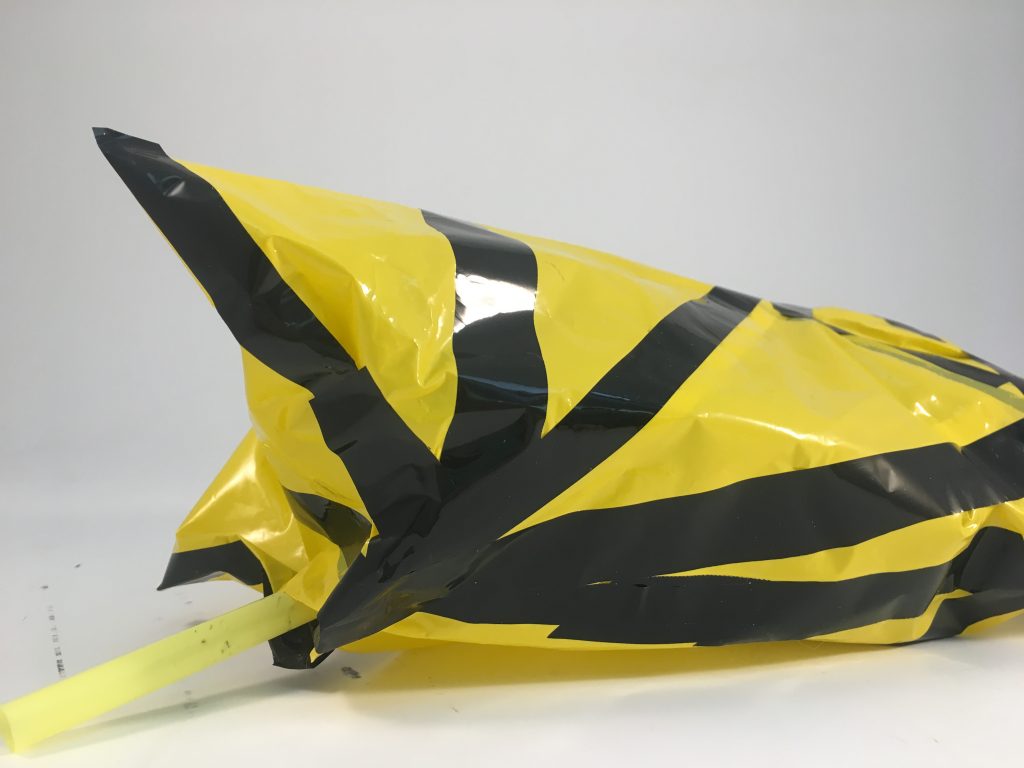


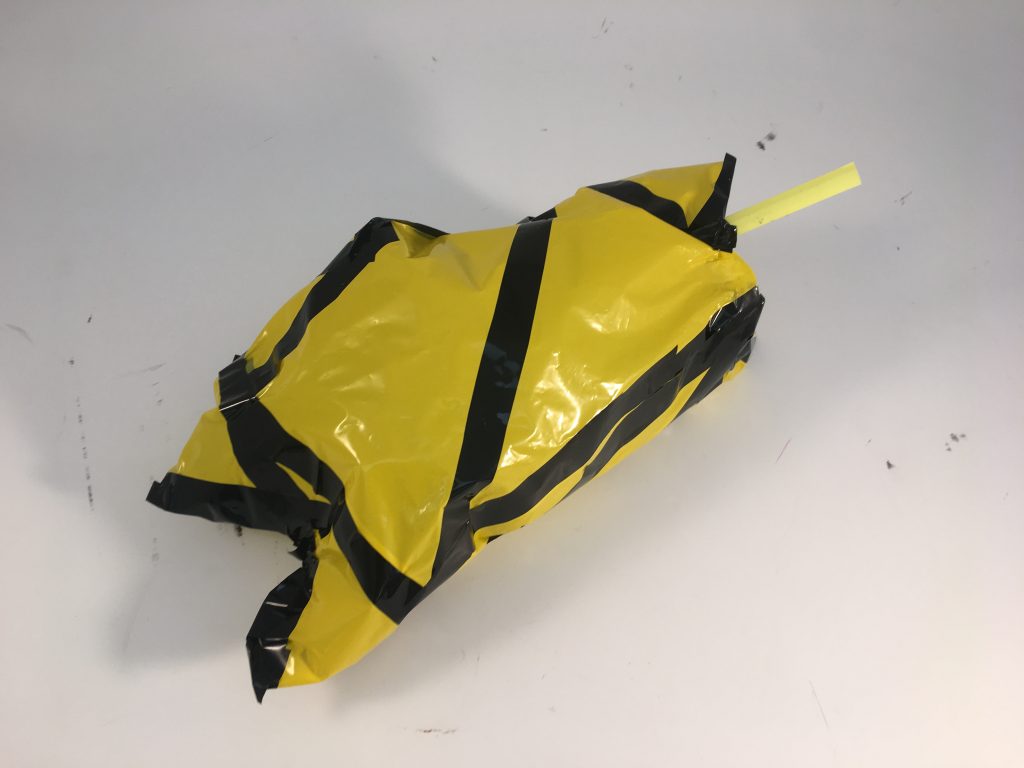
This inflatable returned back to the chaotic way that I made my first by having no clear final form in mind, opting to tape shapes together until I felt like I achieved some interesting and abstract shapes. However, for this one, I wanted to use this method but only use different types of triangles so that I could explore the visual pattern that the tape would create by only using one kind of shape. I think that this one is interesting to look at, primarily due to the highly contrasting colors that say “watch out!”. If I could do this one again, I think I would use larger triangles to make a more prominent form.
INFLATABLE 5
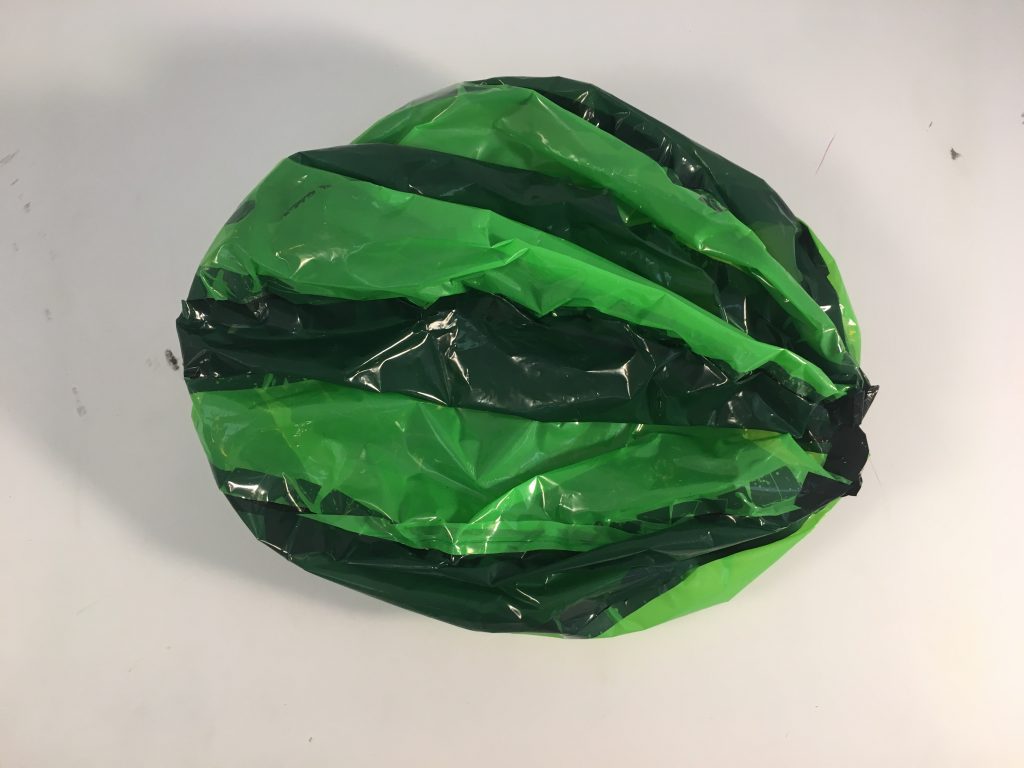
dis-inflated form 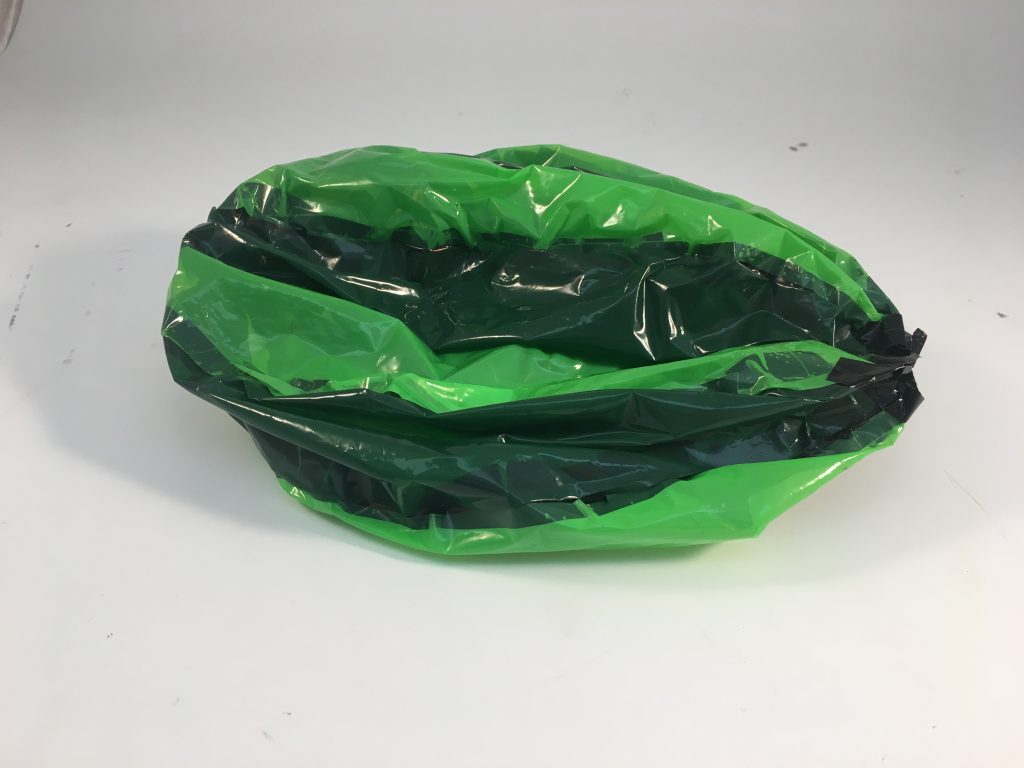
dis-inflated form 
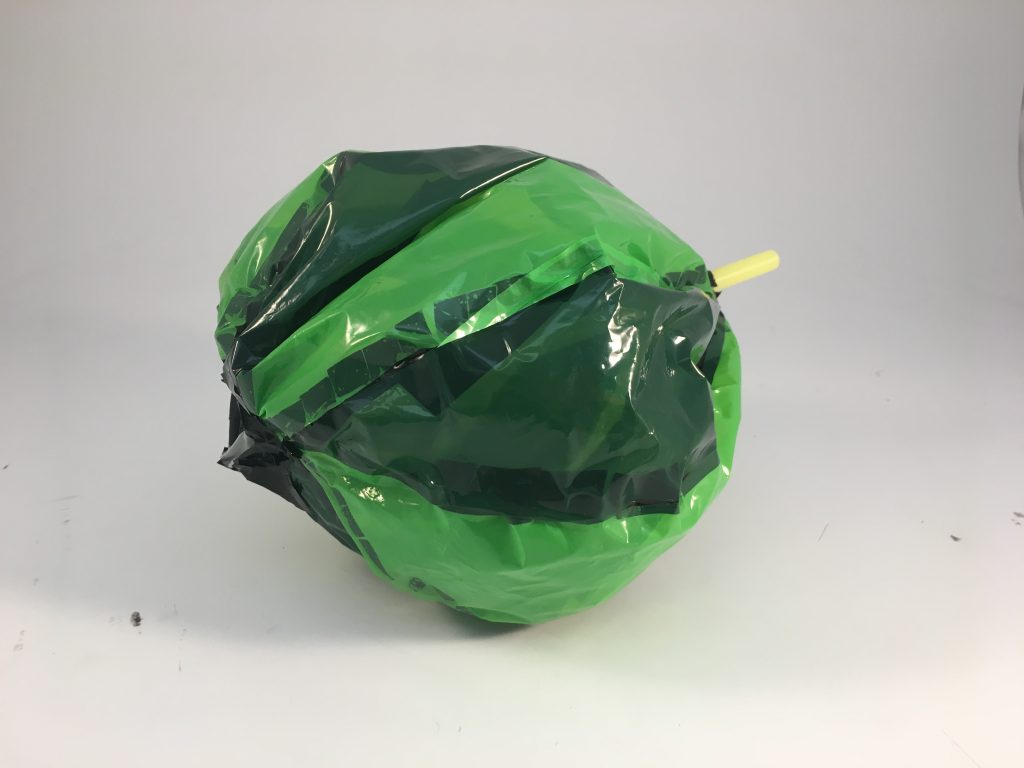
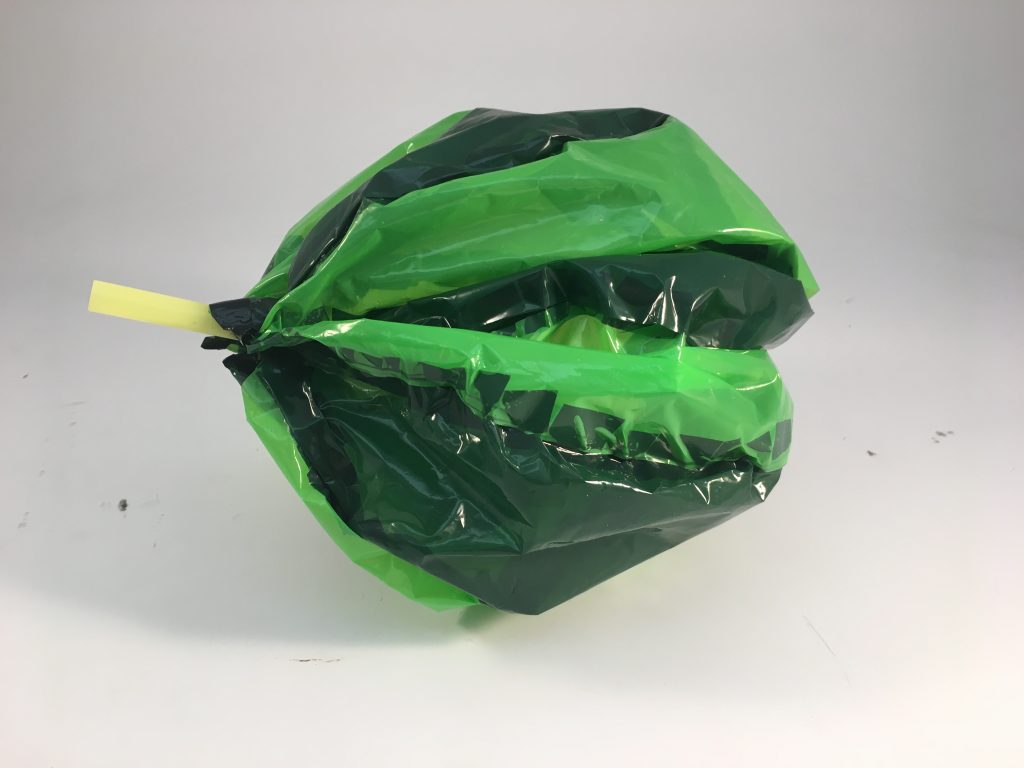

The last inflatable I made is highly reminiscent of a watermelon, both due to its color palette and shape. However, this wasn’t my exact intention when I began to create this form; I wanted to see how scalloped shapes would fit together while also testing out a different taping technique (I wanted to make pinched seams by taping the pieces together and then flipping the form inside out). This one in particular had some inflation issues due to the fact that the way I taped it prevented me from being able to clearly see any holes, but, once I overcame these problems I feel like the form came out nicely. It was interesting to see how the plastic would puff out around the seams due to the taping technique and I want to keep playing around with this style in the future.