Push and Pull I – Dani Delgado
This project, overall, was a lot of fun and a good learning experience in manipulating patterns – something which I don’t have a lot of experience with. Although I have been sewing for a while, I haven’t made / manipulated patterns until recently and so being able to explore and reinforce those skills was very helpful for me. Through this project I was also able explore the sewn form in a very whimsical way, which was a great relief from the more structured work I have been doing.
I feel like I approached each of these forms with some kind of plan in mind, but as I made them, these plans began to shift as new ideas popped into my head. This sort of process is fun to follow, but I think I’ll have to work on planning better in the future so I can work with other people to achieve our desired end goal.
Form 1 – Darted Cylinder
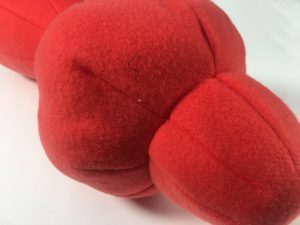
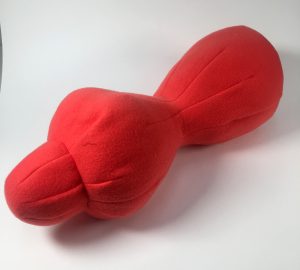
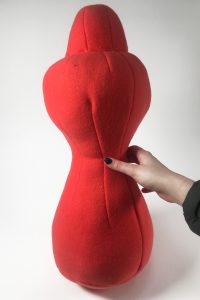
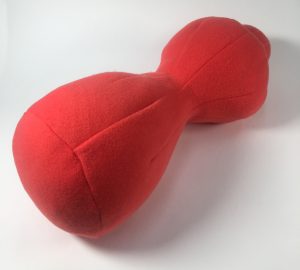
I started this form with a basic cylinder pattern and began to evenly dart it to see how taking in the center of the cylinder would effect the overall form – Would the ends appear wider? Would it shrink in height? Would the edge be pulled closer together? From there, I remembered how circles could be manipulated through darts to make a cup of sorts and decided to apply this to one of the end circles. Once I did that I realized that I would also have to dart the actual cylinder again to make the edge match, but I enjoy how that darting makes the edge much rounder; it compliments the pinched in center of the form. Overall, I’m pleased with how this turned out, but I wish I gave the “plain end circle” some form of treatment as well to increase visual and textural interest.
Form 2 – Gathered and Cut Cube
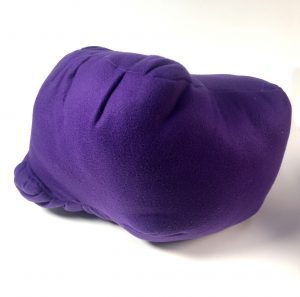
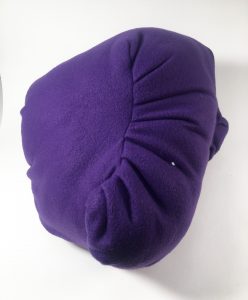
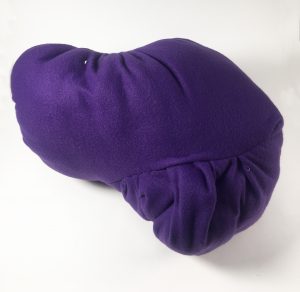
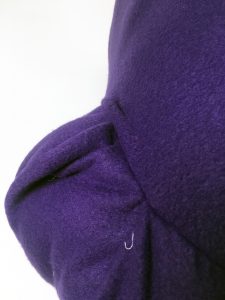
This form is probably my least favorite visually, as it didn’t come out totally as expected, but it is the most fun to hold! I started with a basic cube pattern and then spread out the edges of it to create the plump, gathered effect. When I was sewing, however, I wondered what would happen if I stitched two faces of the cube to one face and this was the end result. While this form was pushed a lot further from the original pattern (in comparison to the first form I made) I feel as though color blocking the different faces of it would have made the origin pattern of a cube more apparent and would draw people in to explore the surfaces more.
Form 3 – Cut and Baffled Sphere
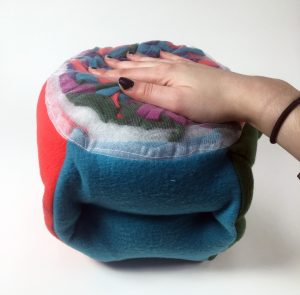
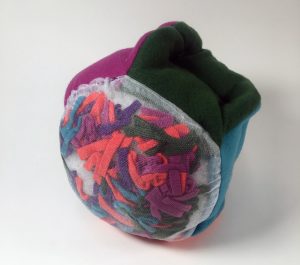
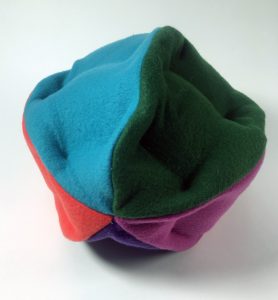
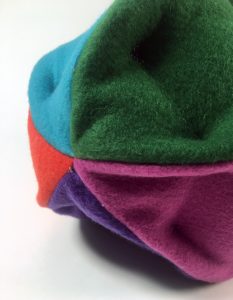
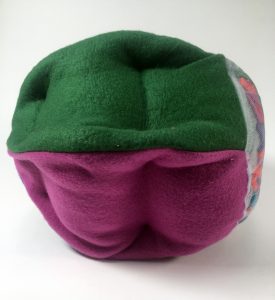
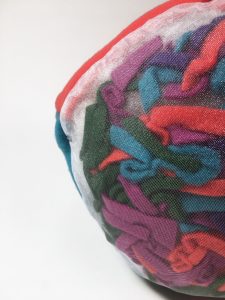
For my final form, I started with the petal sphere pattern and made each part of the 5 petals a different color. From there I cut off about a fourth of each piece so that the final would look more like a hemisphere than a sphere (in hindsight, I think if I cut more off at this stage the final form would have reached this goal in a more apparent way). When I stitched it all together, I found some transparent fabric which I thought could add a nice touch, as you would be able to peer into the inside of the form. I sewed two circle of this fabric together to increase its strength but then realized I had just made a pouch, perfect for placing pieces of scrap felt into! Once I attached the pouch and stuffed the sphere, I wanted to form some more irregularity so I began to baffle the edges where the different colors came together. Overall, I really enjoyed the process of creating this form!