Push/Pull Part 2 – Sue and Austin
Our Process, Discoveries, Successes, and Challenges
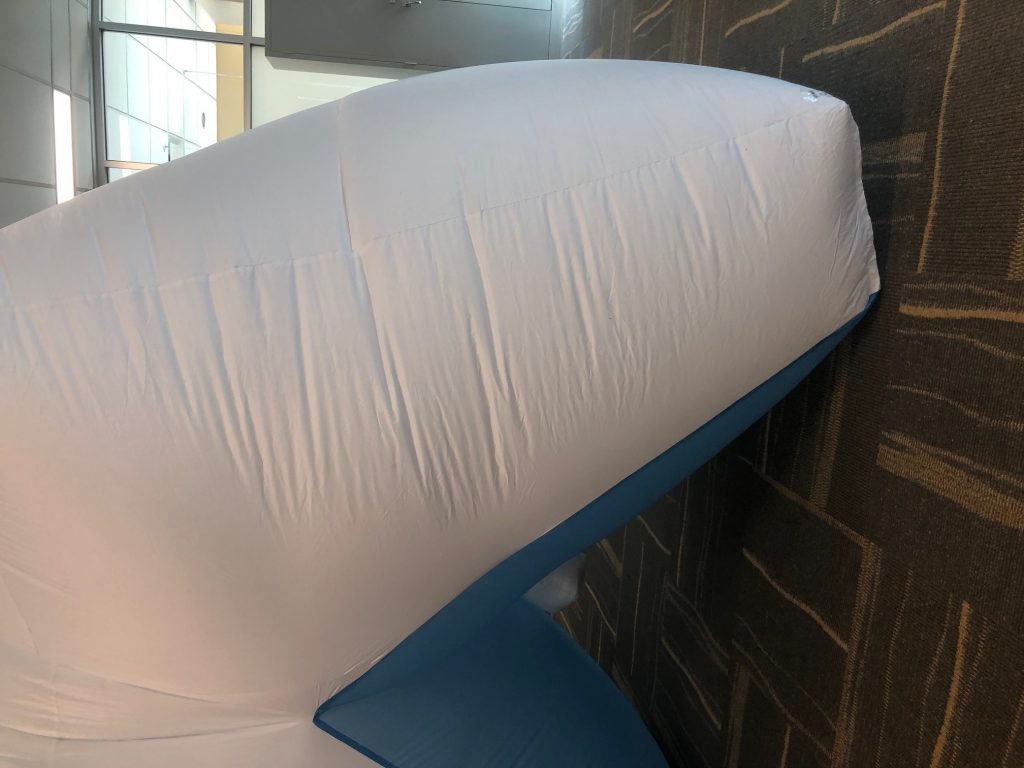
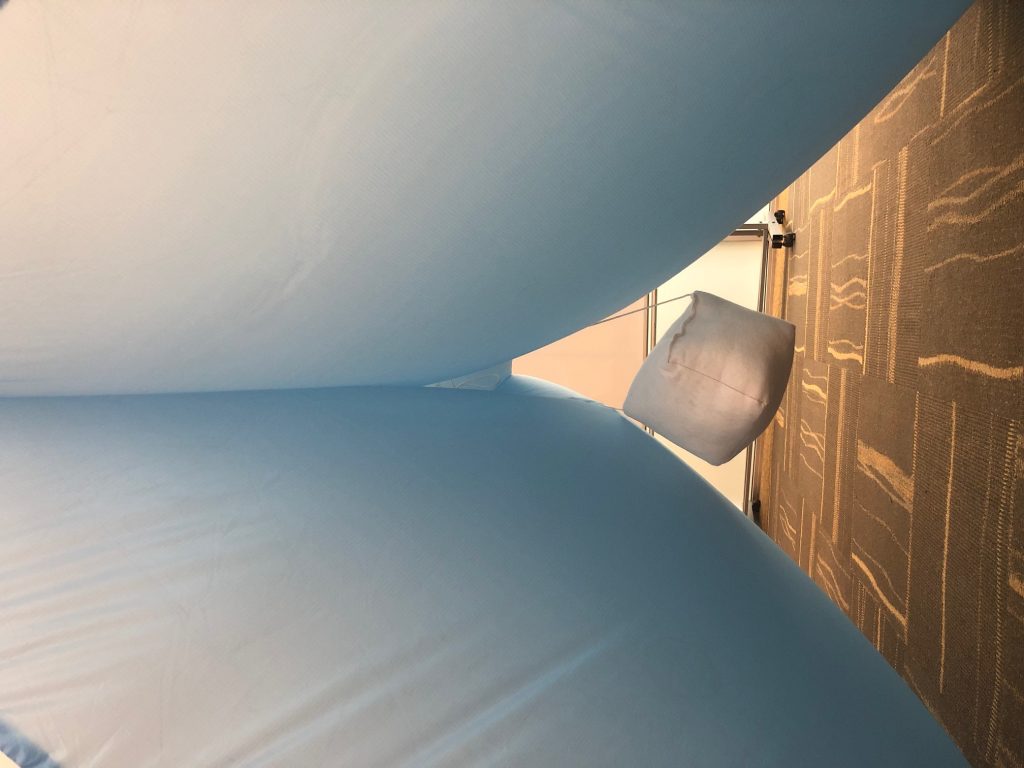
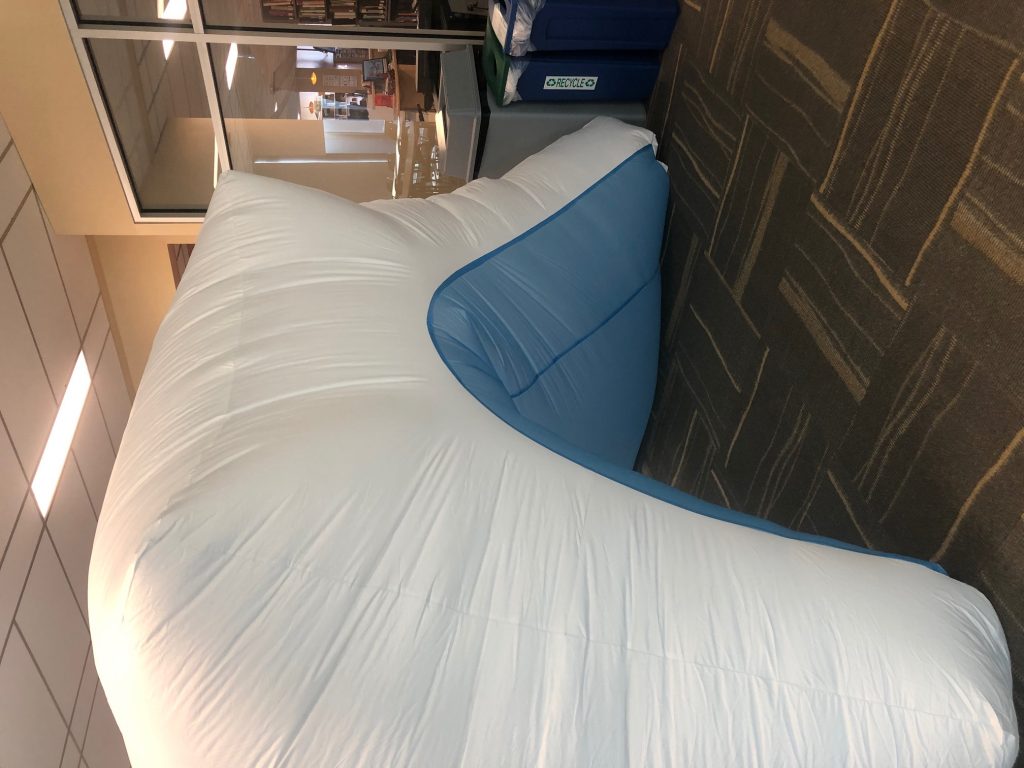
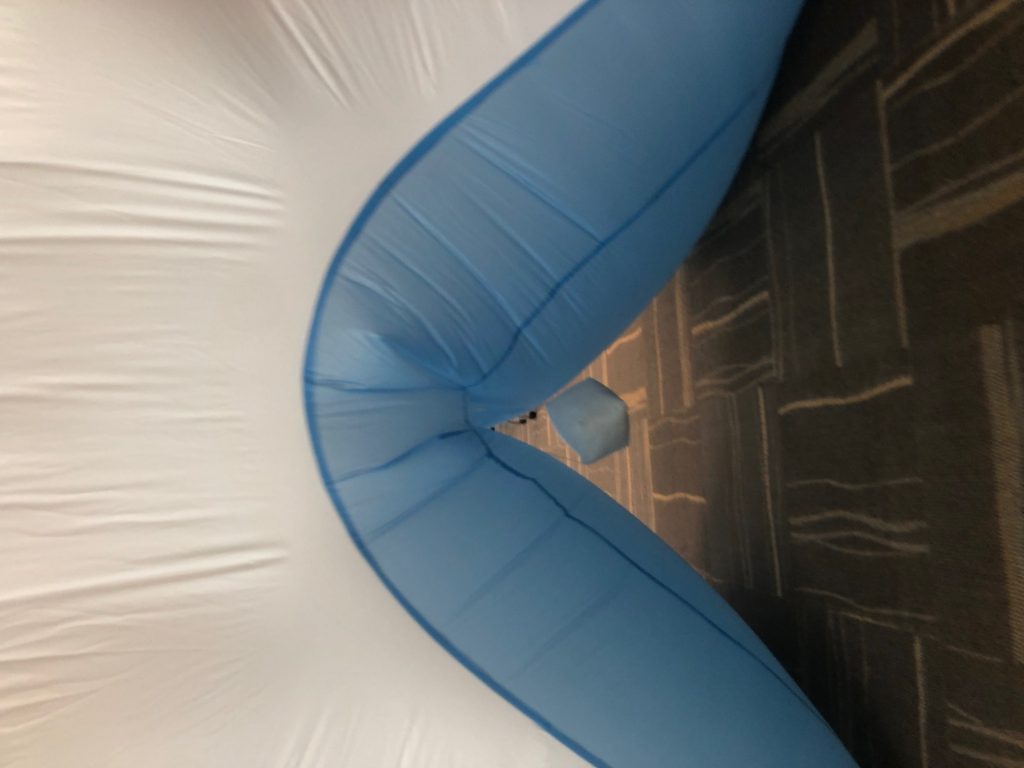
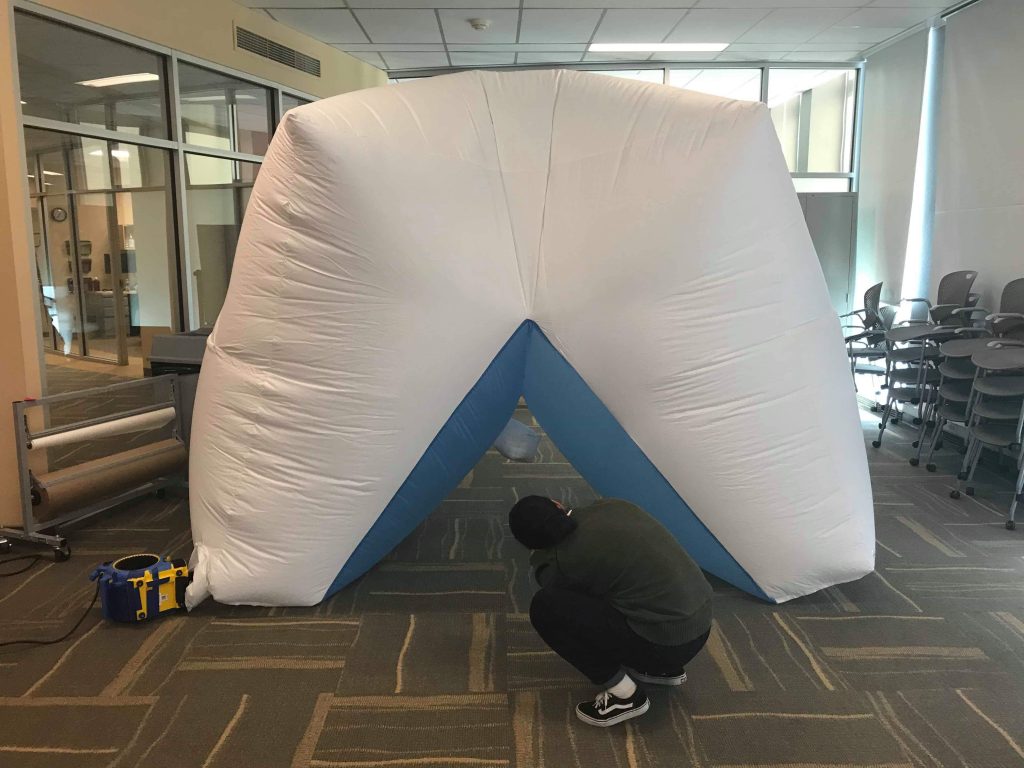
When we shared our Push/Pull Part 1 objects with eachother, we started brainstorming different possible Frankenstein creations we could make for our next project. We decided to combine my cube with a circle/triangle hole with his suspended cube object to make a large tunnel with a suspended cube hanging.
When presenting our idea to Olivia and Miranda, we were warned that the inner tunnel would want to bulge out and lose its strict shape. We were advised that baffling the walls of the tunnels to the outside of the cube would be a feasible strategy to help keep its shape a little more.
We then chose to work at quite a large scale of a 7′ x 7′ cube. Austin used his Architecture experience to model our inflatable in Rhino and then flatten the pieces to get a better idea of what pieces we needed to have.
Next, we cut out a large square from pattern paper and used it to cut our pieces from the white ripstop nylon. We found the pinnable foam floor to be helpful in stretching the nylon out on the ground. Cutting and trimming all the pieces proved to take the most time in the entire process.
Sewing wasn’t too challenging because it consisted of straight or slightly curved stitches. The main difficulty came when making sure the seams were on the inside and the correct pieces were being sewn together.
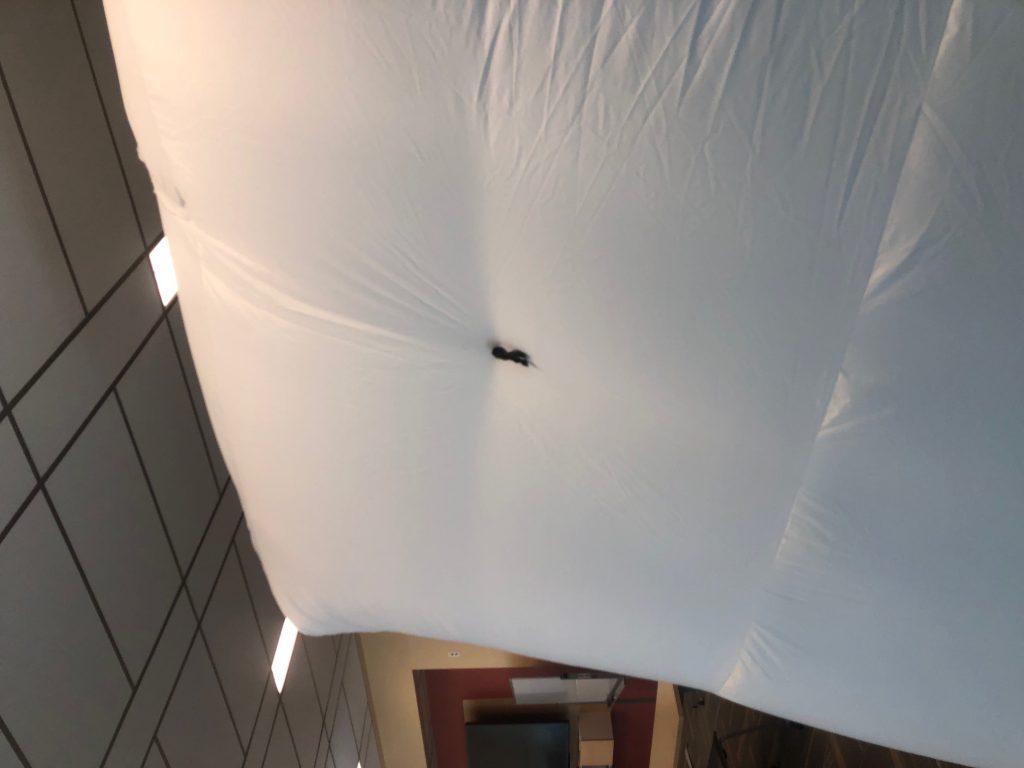
Baffling was also challenging because we needed to make sure the string didn’t rip through the hole in the nylon. This happened once with only knots on the string, but washers and tape seemed to do the trick.
We were both quite surprised by how much the edges rounded and the inner tunnel bulged, but we were very happy with the interactive experience that the tunnel and scale of the inflatable provided.

