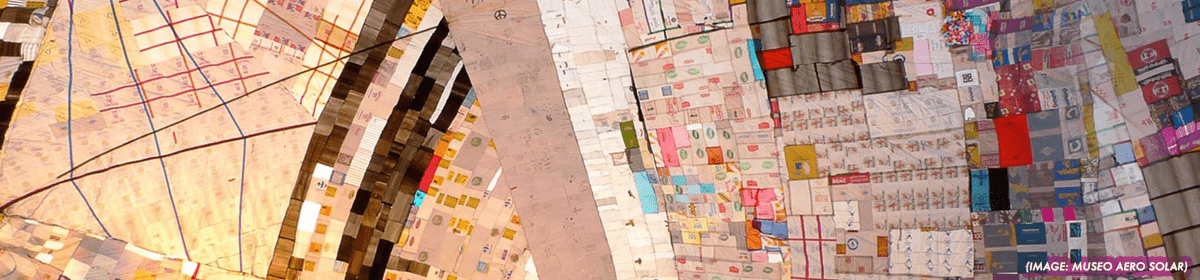
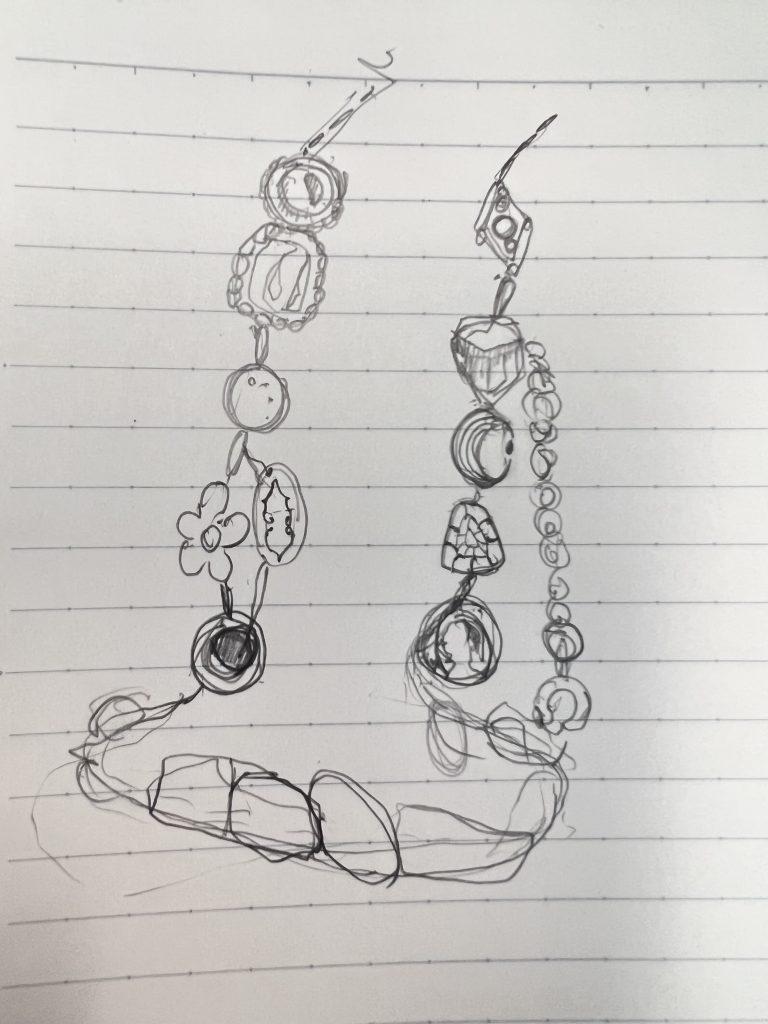
We want to create oversized jewelry as a landscape
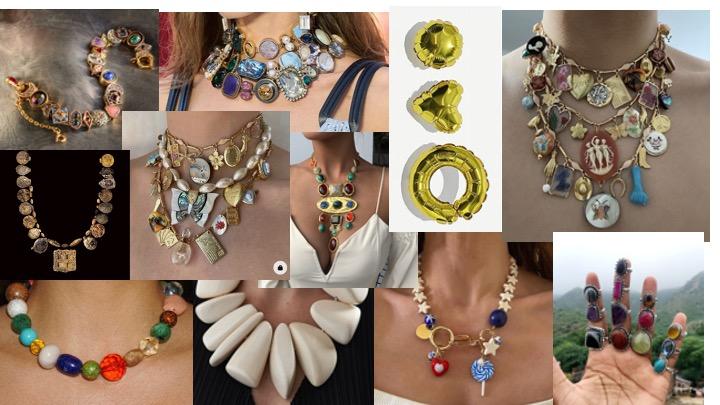
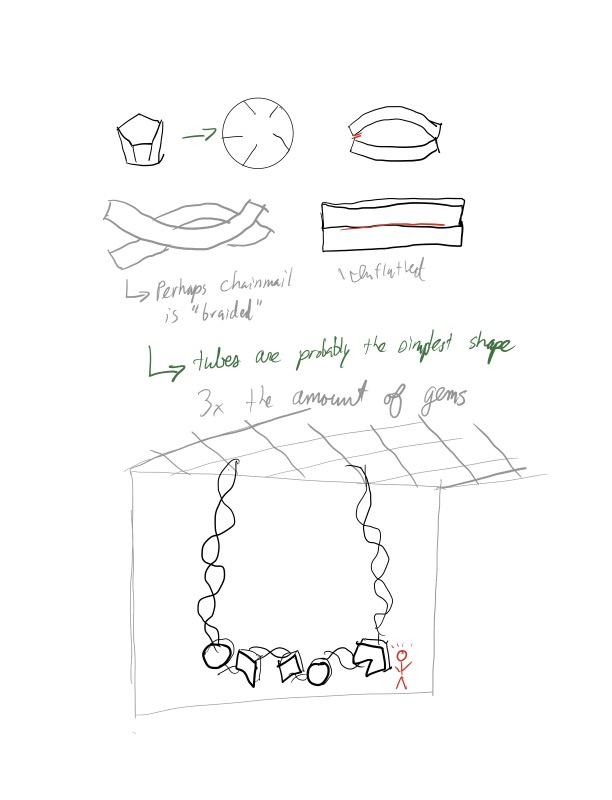
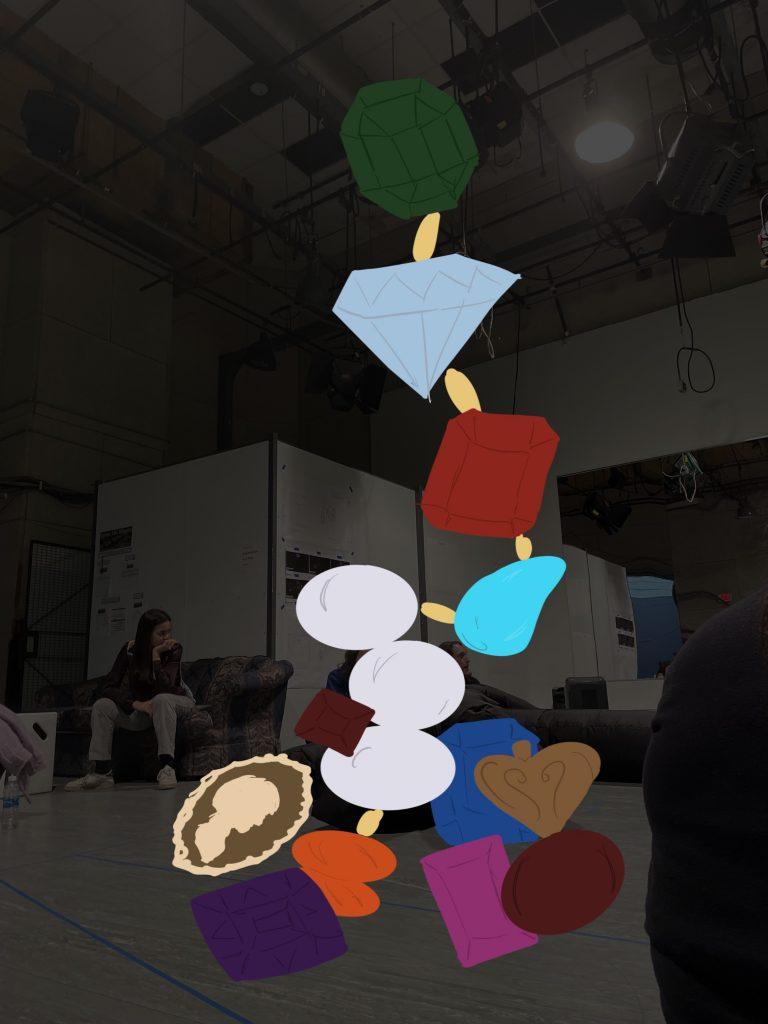
Moodboard/Image researchSketch by TracySketch/Schematic by Jamie
DESCRIPTION
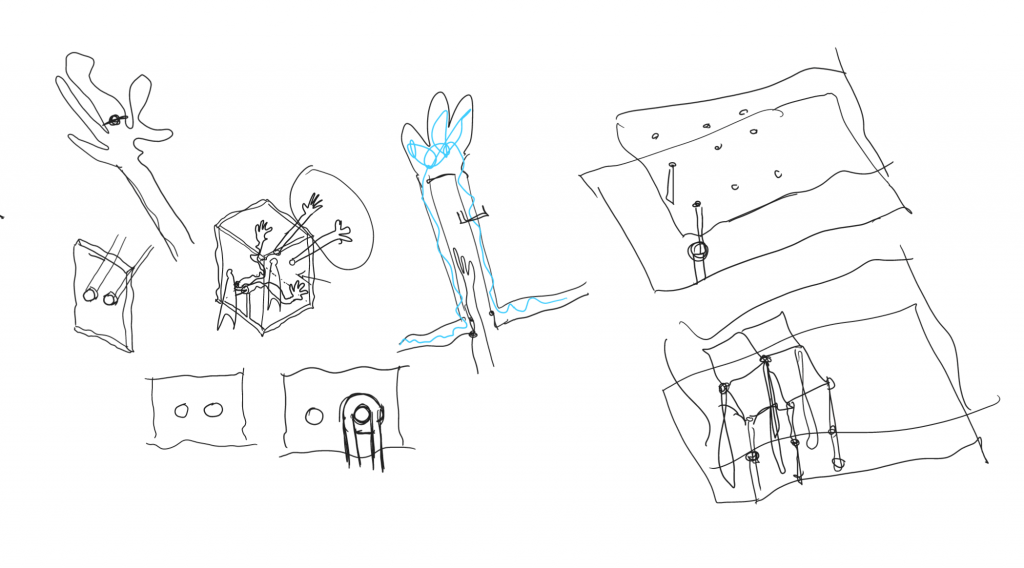
For our final landscape proposal we envision a large scale necklace which hangs from the ceiling. We wished to create an inflatable that felt inviting, interactive, and playful. We imagine that depending on how the jewlry is hanging from the ceiling, people would be able to traverse the space that is defined by the jewels, additionally, there would be a beautiful ground condition where the jewelery piles on the ground. The hope is that this design in execution would allow for play, touch, and occupation.
The jewelry would have to be long enough to have an effective draping technique that can define the spatial experience of those who near it. Additionally, by creating an inflatable chain, we have the ability to create charms that are attachable and can add a sense of depth to the design, as well as shape the visual form.
MATERIALS
Various dye
75 yards of white fabric (for dying)
Velcoros
CONNECTIVITY
Due to the nature of the contraction flow, each person will craft and design jewelry pieces/charms individually and then assemble them at the end, For the necklaces to read like a piece of wearable giant jewelry, the chain portion/connectivity is very crucial. We are concerned about the chain’s dimensional compared to the gem/charm will be difficult to inflation ie: air is not able to travel through the thin tube to the large mass and inflate the gem/charms. Thus we would need to schedule more time toward the end of the fabrication stages to be ready to run into problems and readjust.
ORIENTATION/POSITION
We would like to hang our inflatable from the ceiling so we would need to figure out the position of the fan and its direction at the site.
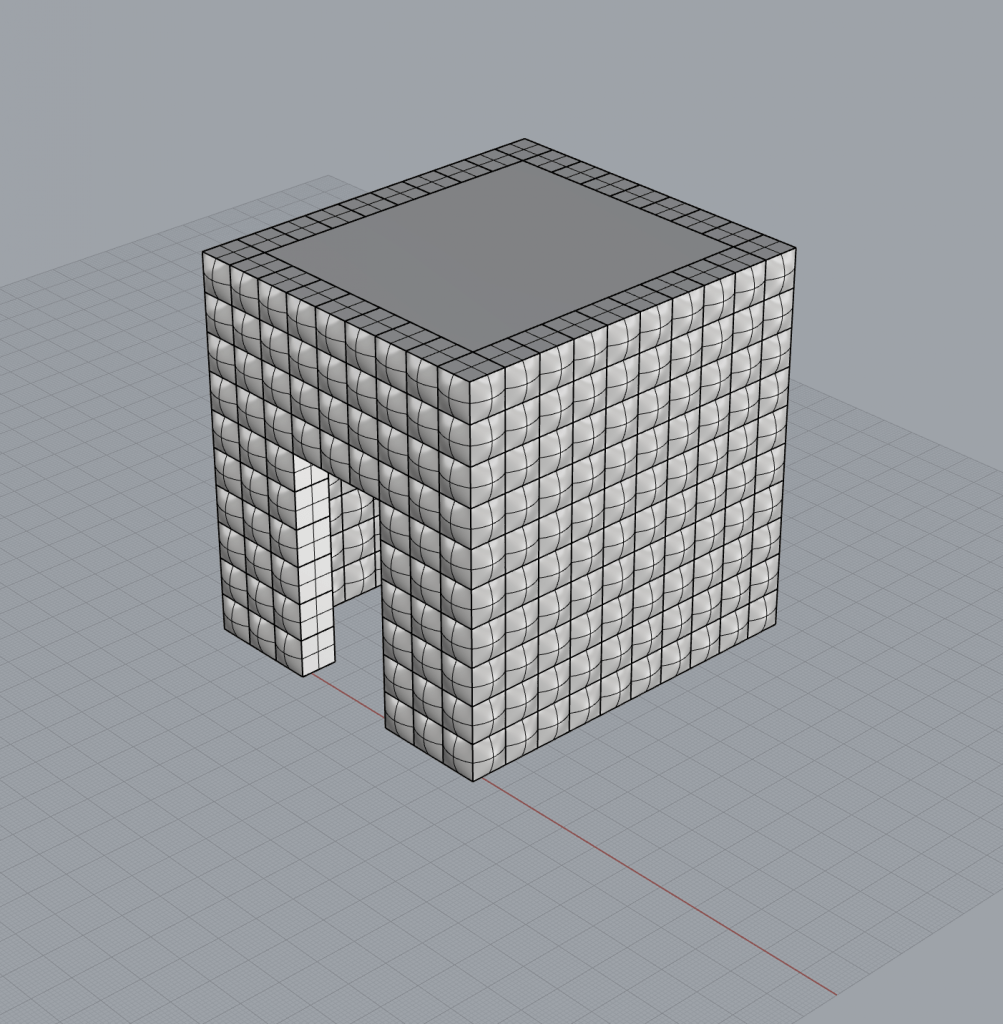
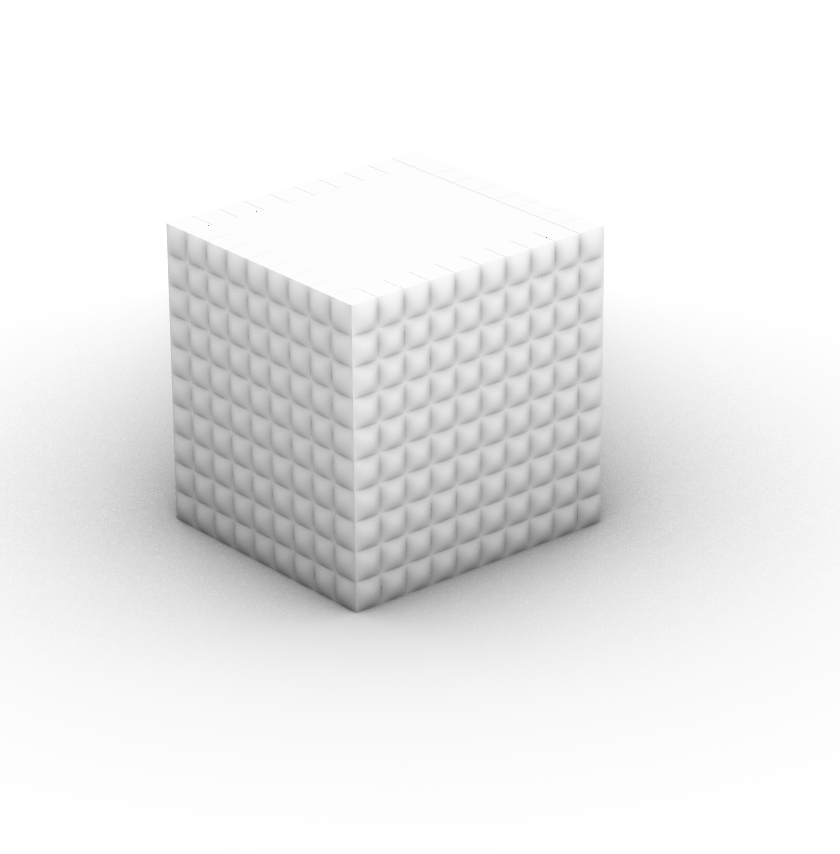
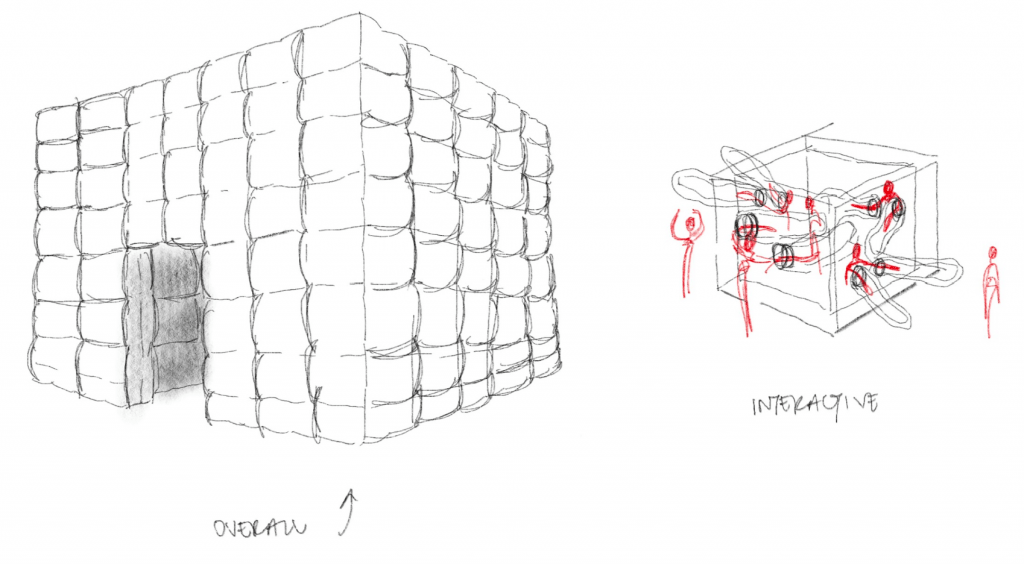
For our inflatable, we chose to make a double-walled cube, with two layers of interactivity. Our inflatable structure will have exterior and interior features with which people will be able to interact with. On the outside, people will be able to use glove-like inflatables that enter the inflatable through the walls in order to interact with people inside the inflatable. The same experience will be available for people on the interior. In order to enter and exit the interior portion of the inflatable, people will be able to enter the space through a main entry point and walk around interacting with the gloves, which are being moved by the people outside the inflatable. They will also be able to move the interior gloves in order to interact with the people in the exterior. The overall feeling is to exhibit the “Death of Isolation” with landscape images projected/dyed on fabric and through a feeling of distance and separation created by the exterior and interior layers of the structure.
Ideally, we would like people to be able to have sudden interactions with people on the outside, or when they’re outside, to have interactions with people on the inside, to mimic social interactions, but at the same time have a large enough space for everyone to lounge, while being 6 feet away from each other. This concept is motivated by the theme “Death of Isolation”, and to showcase social interactions in a new world. Our choice of landscape is a post-COVID world, when people are trying to have more social interactions, while still highlighting the struggles of the socially limited society we experience during COVID.
There will be one fan on the outside corner, which will inflate the entire structure. We are also thinking about maybe having the fan on the inside to give it a more clean exterior appearance. In terms of the structure, we chose to use a double walled cube as our main structure. The walls will be brought together across different points within the inside of the wall in order to create different textures on the exterior and interior of the structure. We will be adding different openings for our glove-like feature at different points across the interior and exterior surfaces. The gloves will also be double layered in order for them to remain inflated at all times.
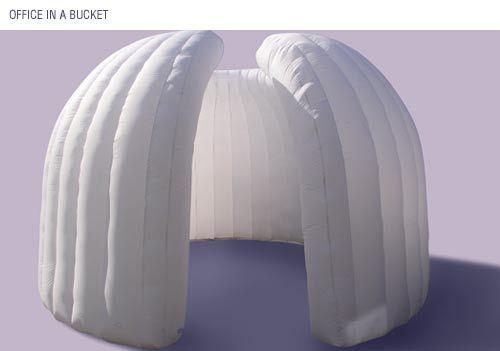
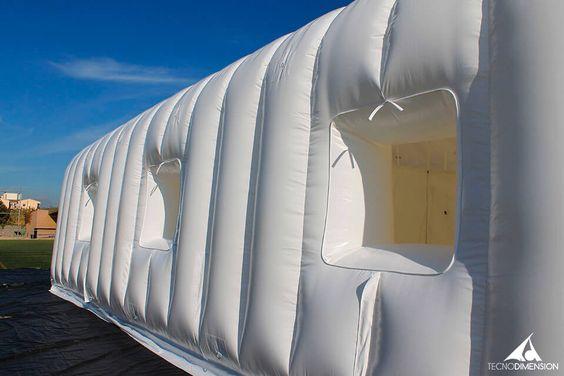
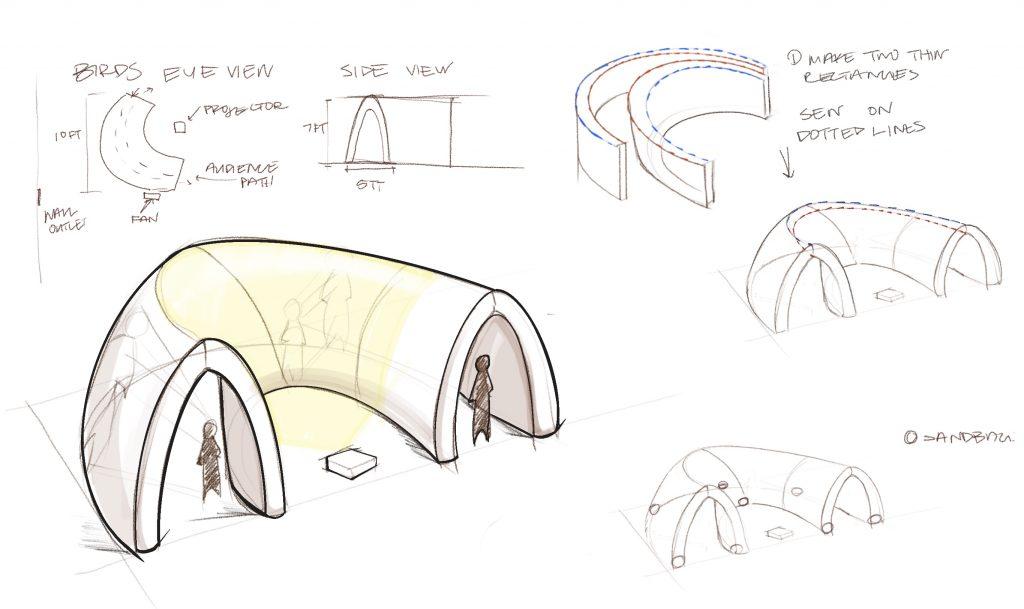
For the final project, our group’s idea is to have a rounded, tunnel structure that has an outside and inside layer. Ideally, the animation projection would be displayed on the inside layer of the tunnel so when people walk through the tunnel, their silhouettes can be seen on the outer layer. The inflatable would resemble a multi-faceted interactive landscape with different displays, allowing the audience to interact with it in different ways. We anticipate the inflatable to be approximately 7 feet tall and 5 feet wide. We expect to use a translucent fabric for the outside layer and most likely ripstop nylon for the inside layer.
There may be several challenges throughout this project, including maintaining the curved structure of the inflatable as it is inflated and expanded with air. To ensure this inflatable has the intended structure, the pieces patterned will need to be in smaller sections and account for the expansion into a rounder shape when inflated. Another challenge will be making sure a person can fit under the structure both in height and width, especially after the two walls are connected and curved at the top of the structure. We will be modeling this structure with real dimensions before patterning to make sure it can be walked through. Finally, we need to test that sewing together two different types of fabric with different opacities can still be robust when inflated, and that the seams will look clean and intentional.
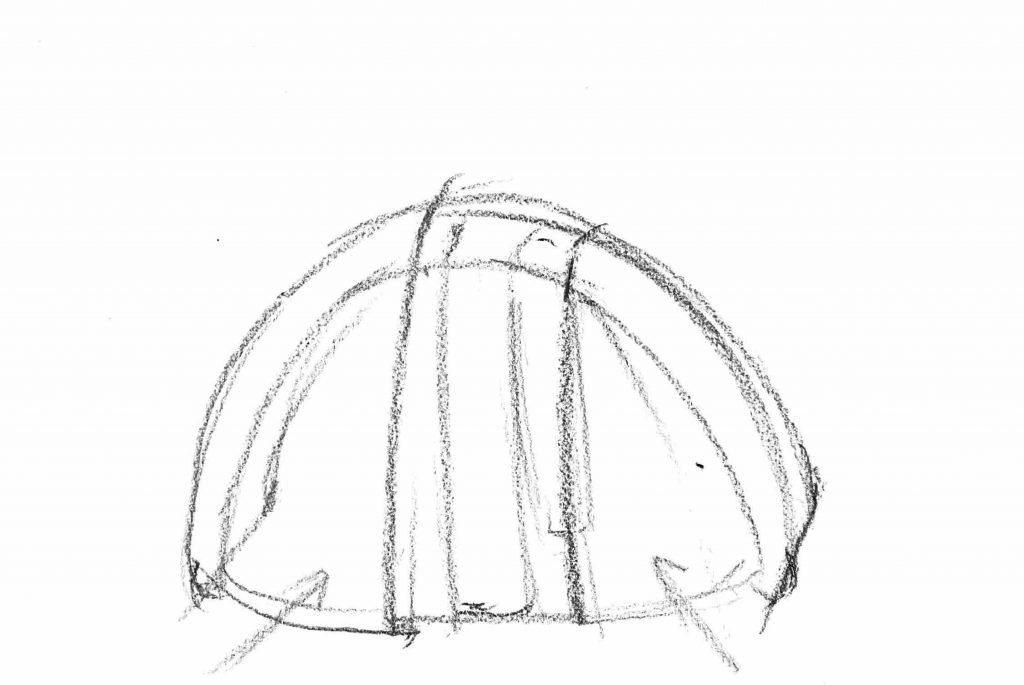
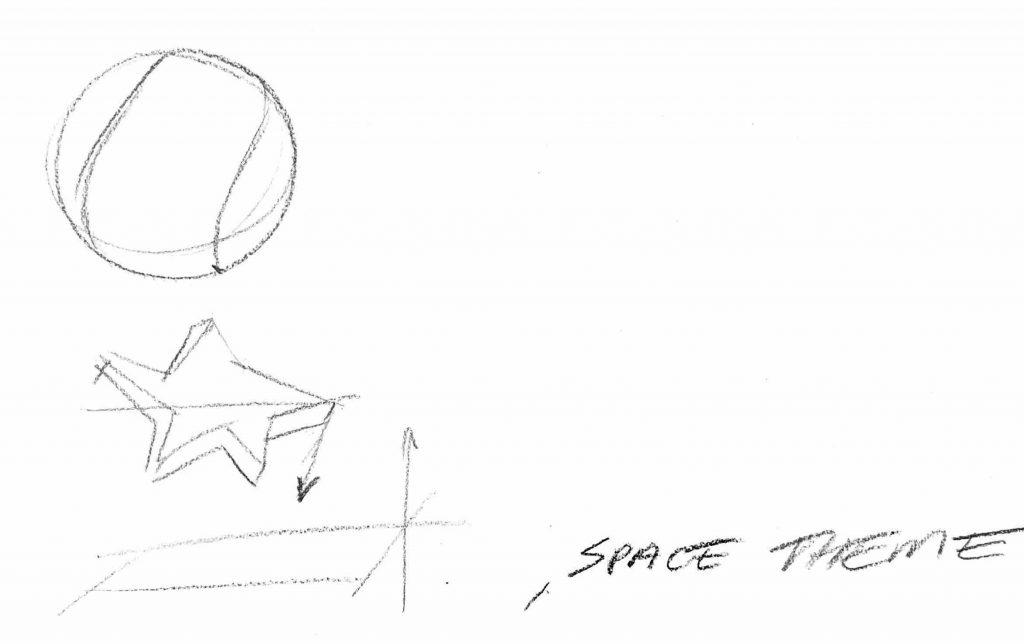
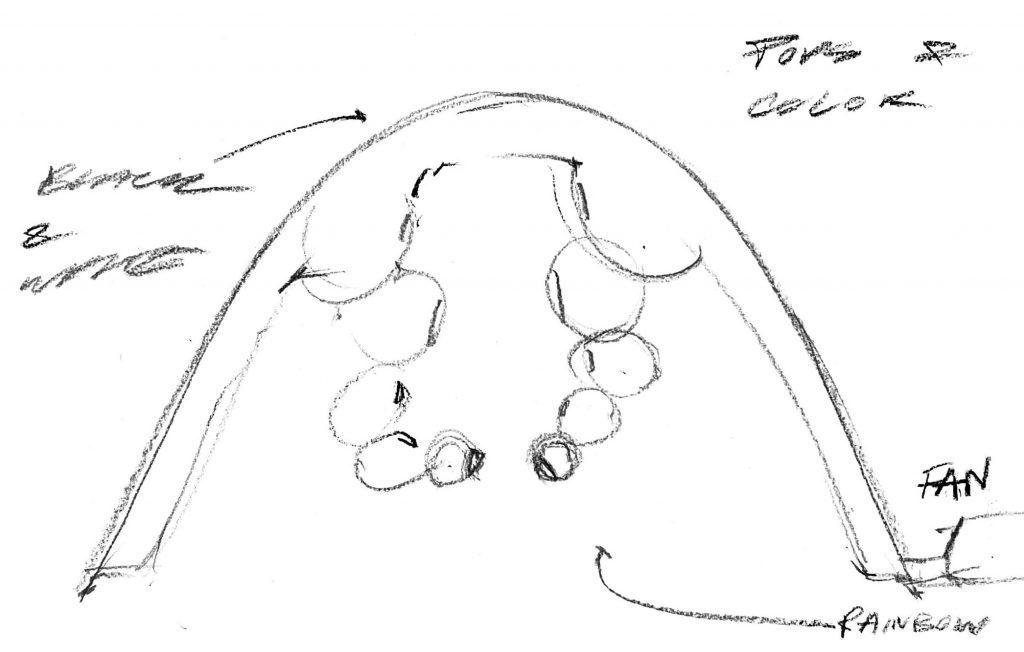
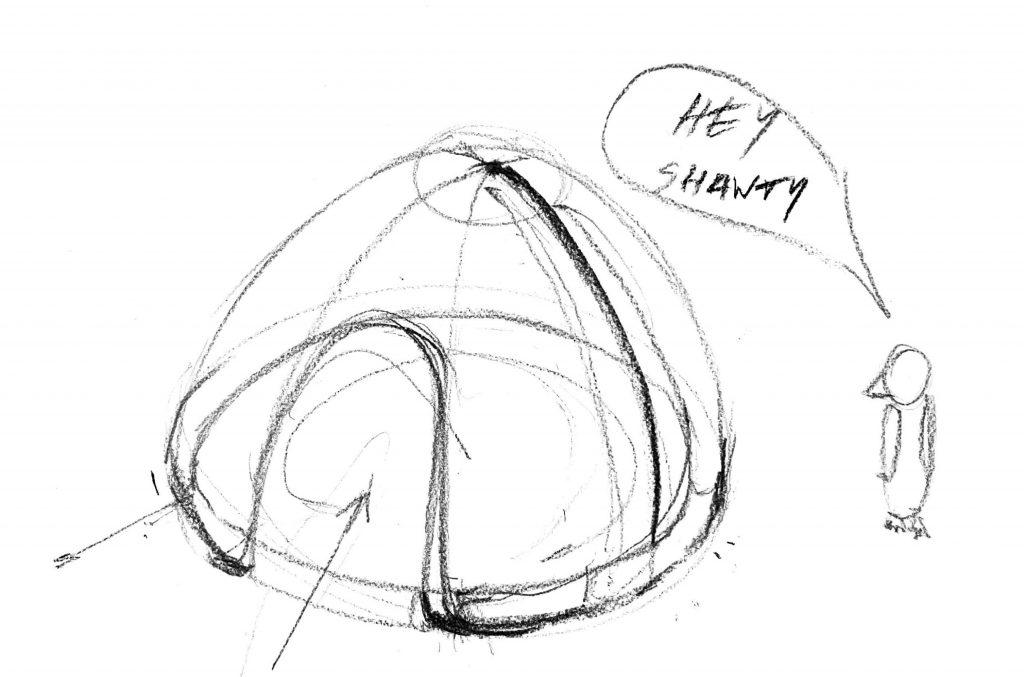
Our idea is to have a dome with tentacles of spheres inside. The dome will be either plain (white or gray) or black and white tye dyed. The inside of the dome will be a surprise. It will have lots of colorful tye-dyed tentacles and potentially space-themed objects. The animators will animate either on the inside of the dome or on the outside of the dome, hopefully, they will make space-related animations. We will have a carpet of sorts inside the dome. We will maybe add magnets or velcro into the tentacles for people to customize the landscape as an interactive element. Otherwise, we will have long tentacles that people can gently move around and push around the space. Hopefully, a penguin (inflatable) will greet visitors outside.
We will need a large amount of white ripstop nylon. We will need dye (in various colors). We will need to use a laser cutter. We will potentially want a carpet or carpet-like fabric for inside the dome (10 ft diameter).
The most challenging part of our idea would be conceptualizing how to construct the dome. We definitely will need to ask what would be the best way to approach it since we are not positive if our idea would actually be functional and blow up/stand the way we want it to. Our initial thought for how to approach the dome is to make two half sphere shaped layers (with the inside one being slightly smaller and outside one being larger, so there’s a gap for air to fill in between).
4/3 Update:
\Make a timeline with bench marks of what you need to accomplish by when.
Include: patterns, dyeing, prototypes, cutting, sewing, testing, finishing, and anything else you will be doing in the process.
4/3 Finish Timeline & Calculate Materials
4/5 – Complete patterns and prototype of difficult element
4/10 – finish laser cutting
4/12 – finish dyeing
4/21 – tentacles done
4/24 – aim to be roughly done
4/26 – rehearsal (?)
April 29th – Exhibit
Calculate the materials & tools you need:
how many yards of White or Black ripstop you expect to need
what colors of dye you need
how many fans you think your project will need
Dome – 314.16ft^2
Tentacles – 19.63 ft^2 (7 with these surface areas; 2.5ft diameter) + 7.07 ft^2 (7 of these; 1.5 ft diameter) + 3.14 ft^2 (7 of these; 1 ft diameter) + 0.79 ft^2 (7 of these; 0.5 ft diameter) = 214.41 ft^2
Total = 528.57 ft^2 => if the fabric has a width of 3.75 ft (45 inches) then the length of fabric we would need would be 140.95 ft or approximately 47 yards of fabric
We assume that majority of the fabric would be white ripstop nylon (probably
Red, Orange, Yellow, Green, Blue, Purple, Pink
Projector on the ceiling (?) onto the outside – stars (?)