push / pull objects (3) – junelee

For these three objects, I aimed to create large scale versions of everyday objects such as an egg, peas in a pod, and a button. My focus in making these objects were to try out various techniques and to improve my hand sewing skills. 
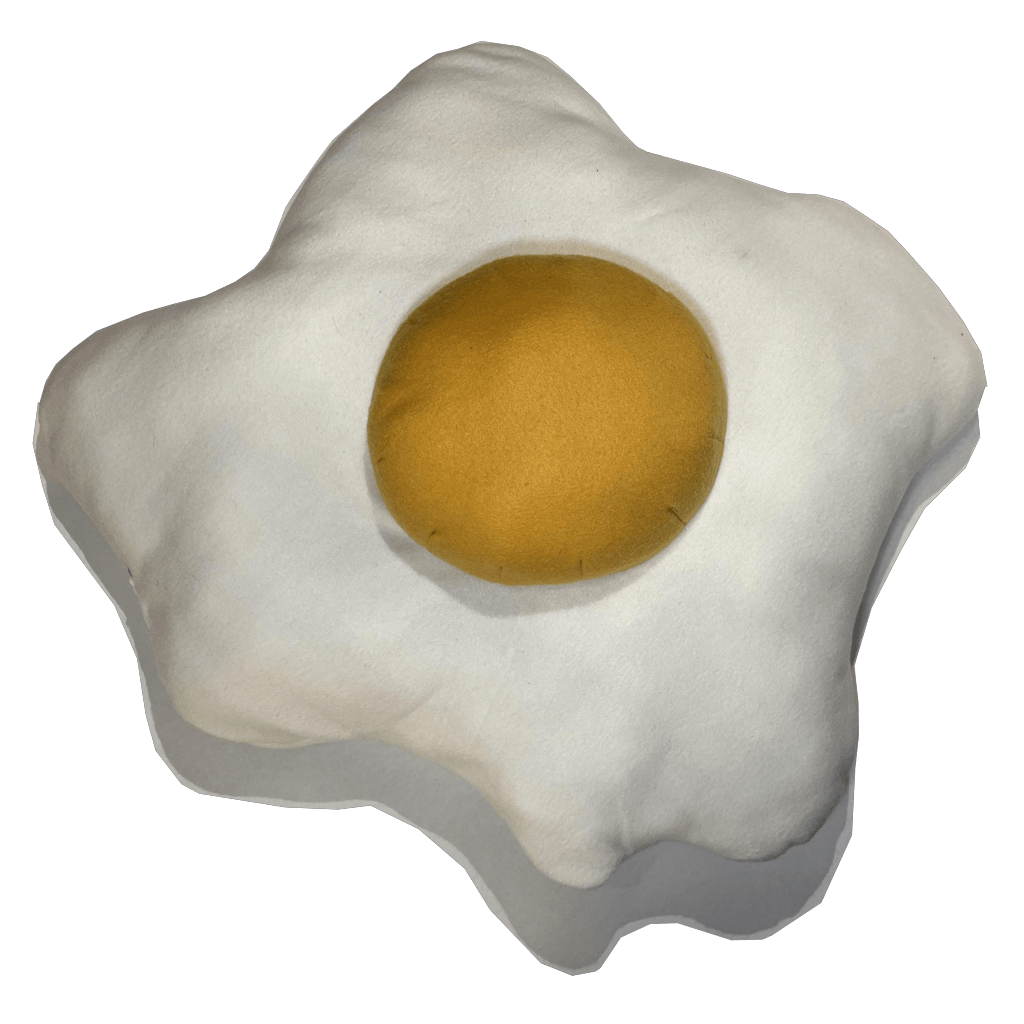
egg

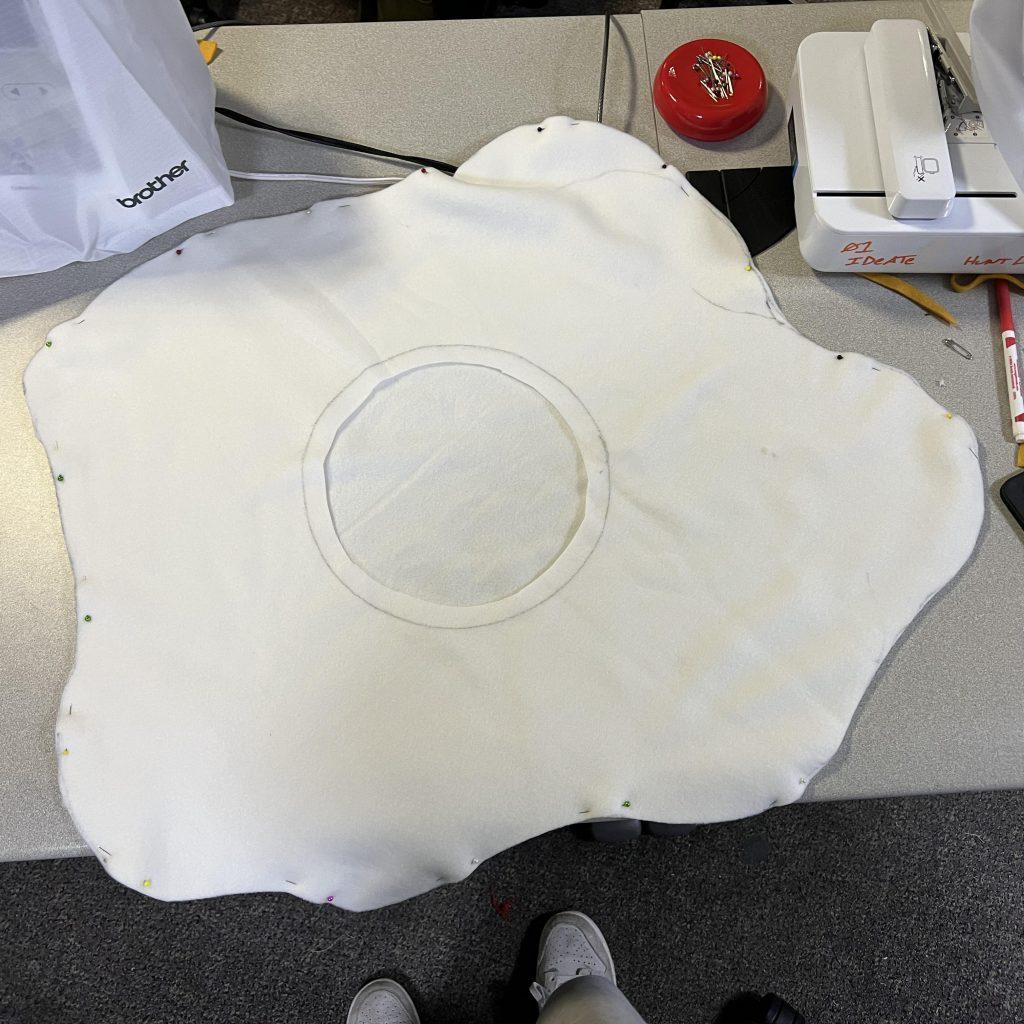
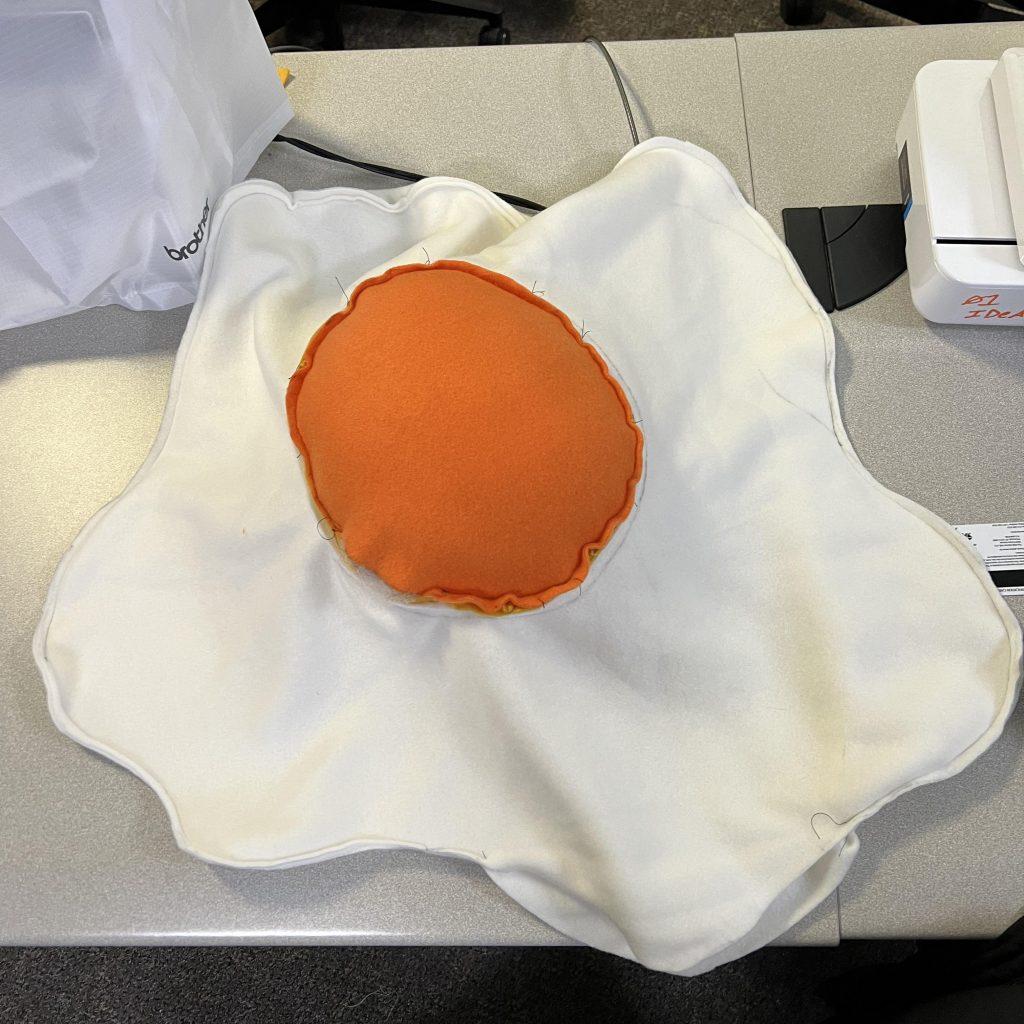
I started the egg by drawing and cutting the white and yolk of the egg separately. I stacked two layers of white acrylic fabric on top of each other and drew a fried egg shape and pinned them together. I sewed the two white fabrics shut with a five inch opening for the last step of filling the egg. 
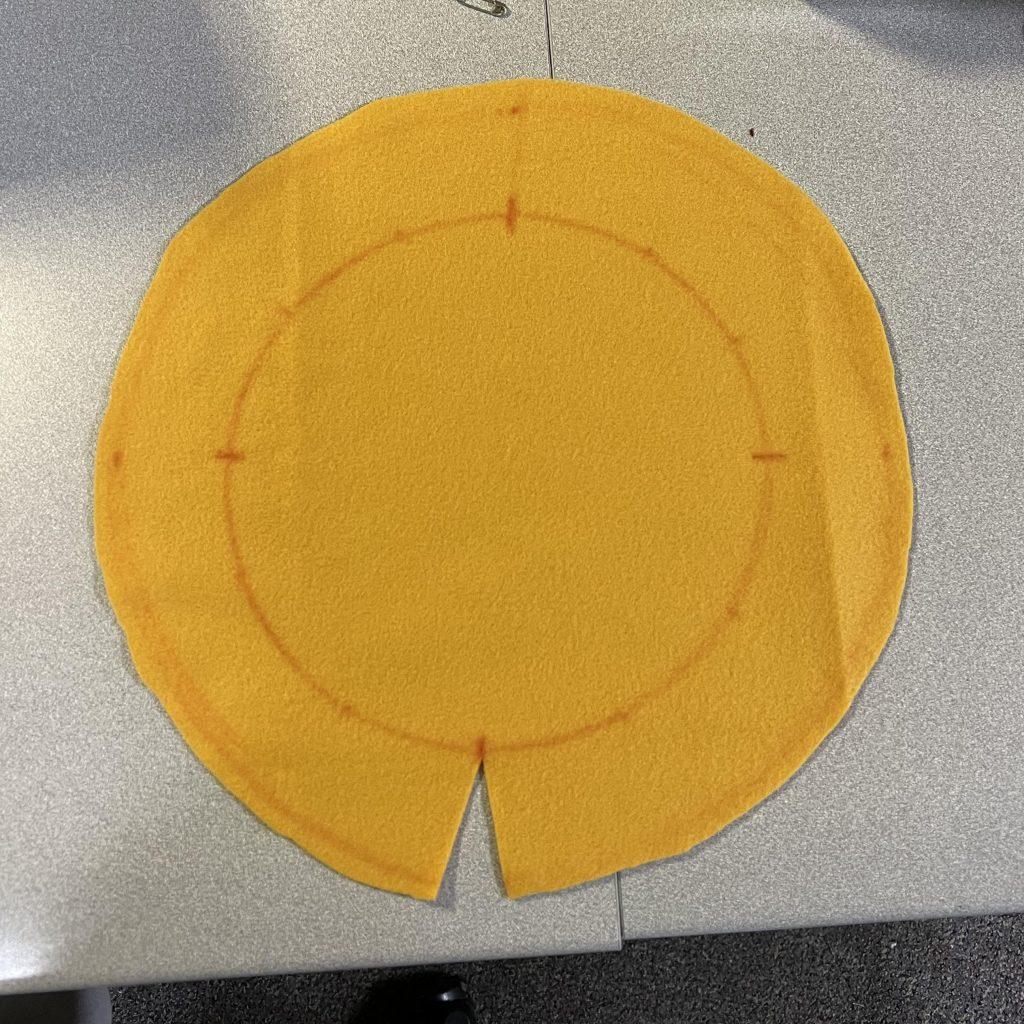
yolk flat
yolk cylinder
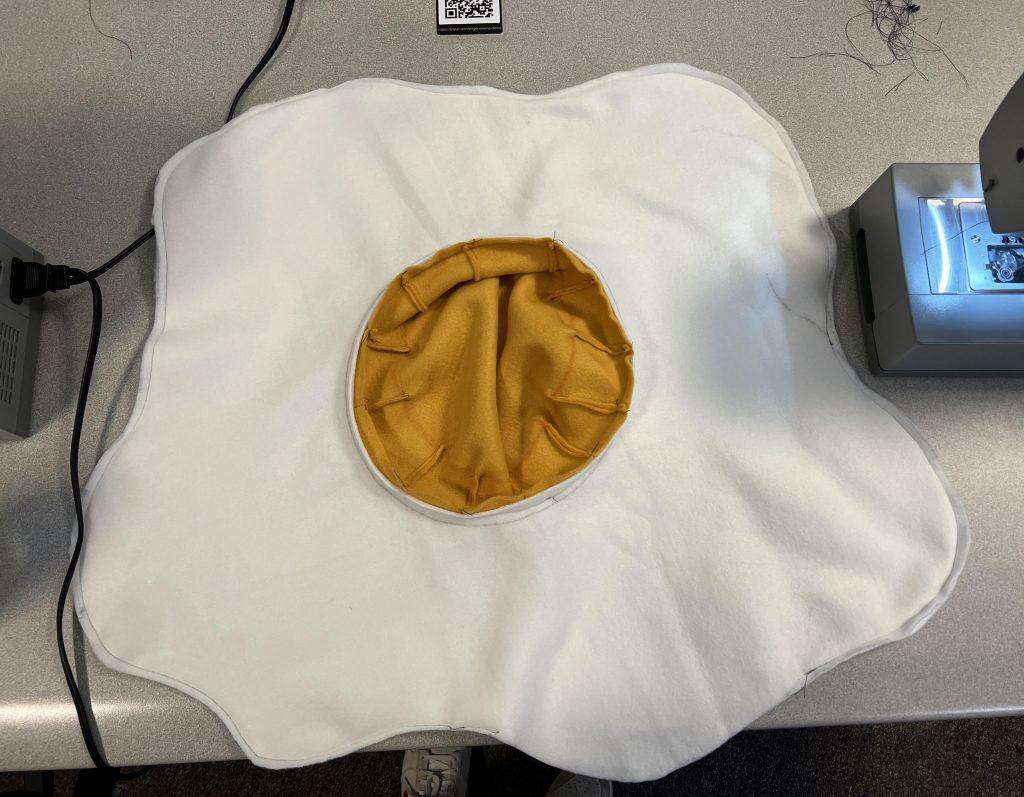
egg white + hole

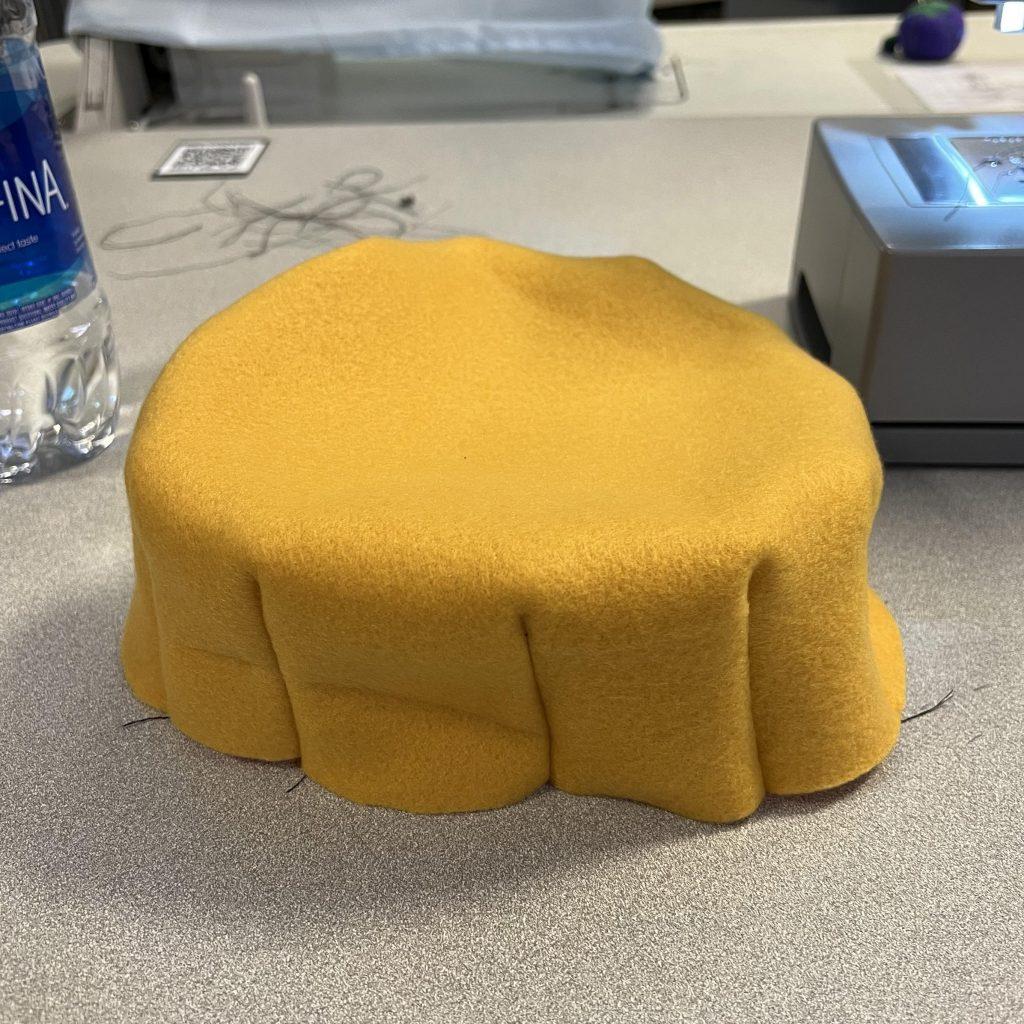
Next, I cut a circle on the top layer for the yolk to go on top. I drew two concentric circles on the yellow yolk fabric: the outer as the sew line onto the top white layer and the inner circle as the circumference of the protruding yolk. To make the protrusion of the yolk, I folded the fabric and sewed on the inside 12 times to create a cylinder-like shape. To attach the yolk to the white, I flipped the white fabric inside out and attached the bottom of the yolk to the circle hole on the top white fabric. 
yolk pre-cap
yolk cap

After flipping the egg inside out and imagining the next steps of filling, I realized that I did not want to fill the egg white portion as much as the yolk. To achieve a more filled yolk, I cut another circle from an orange fabric that would separate the yolk filling from the white filling. I sewed on the circle and filled the yolk very tightly. Then, I turned the egg inside out and filled the white until it was enough cushioning, but still quite loose and hand sewed the egg white shut.
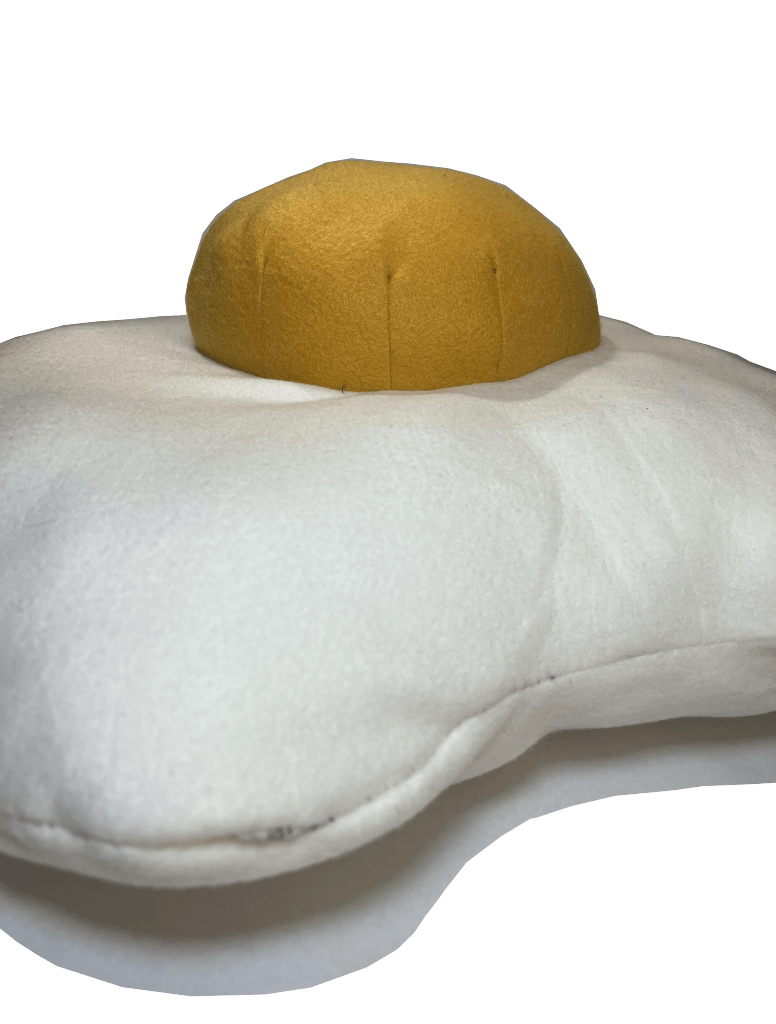
egg side profile

peas in a pod

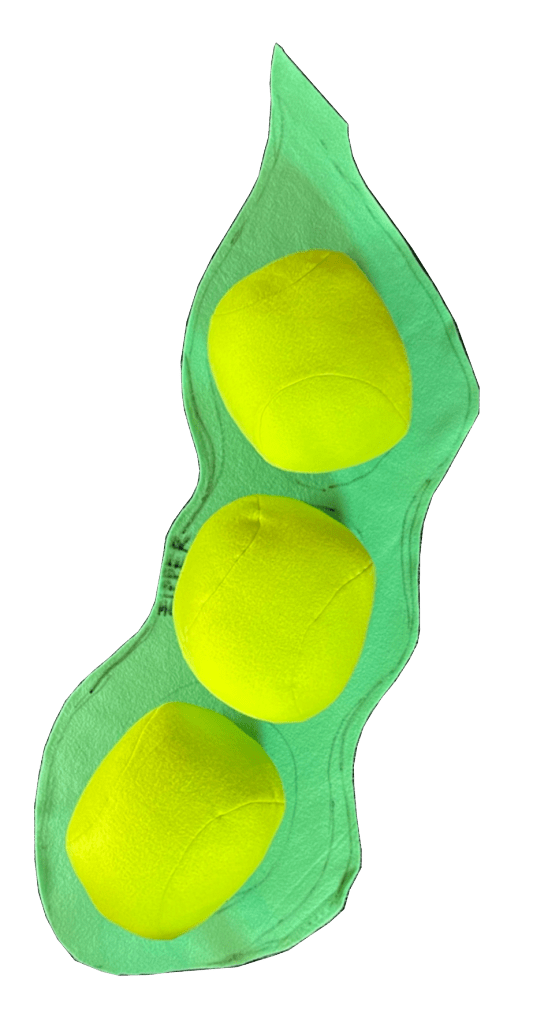
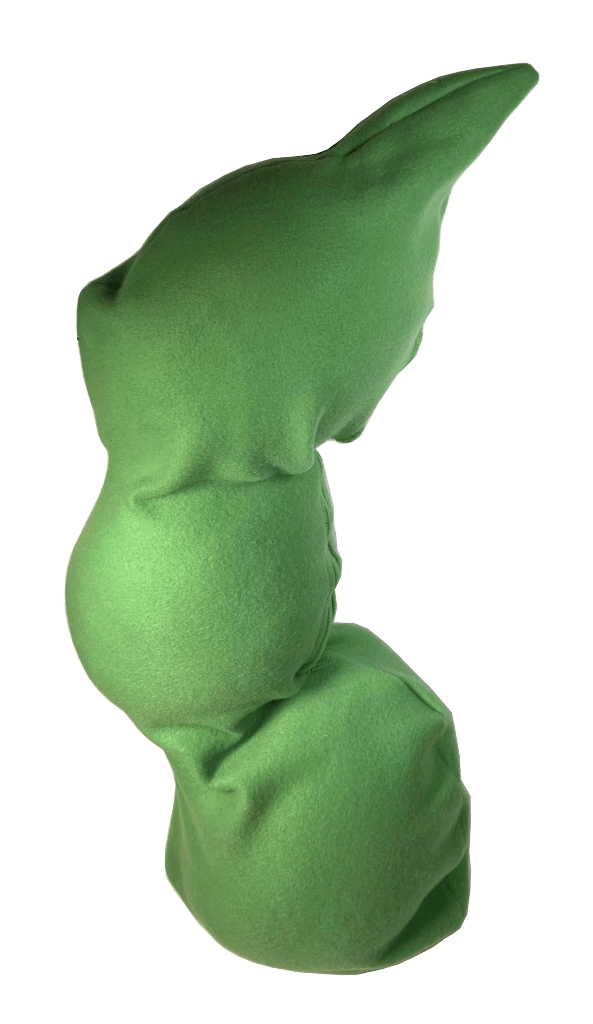
For my peas, I first started with two colors of green fabric. The lighter green, I cut into the tennis ball stencils. In our first sewing samples, we had to make two balls with different methods. From this, I learned that I could force the sewn shape to be not a circle, but an oval through different tension and speed on the sewing machine. I sewed all three peas and used polyfill to make them 3D peas. 
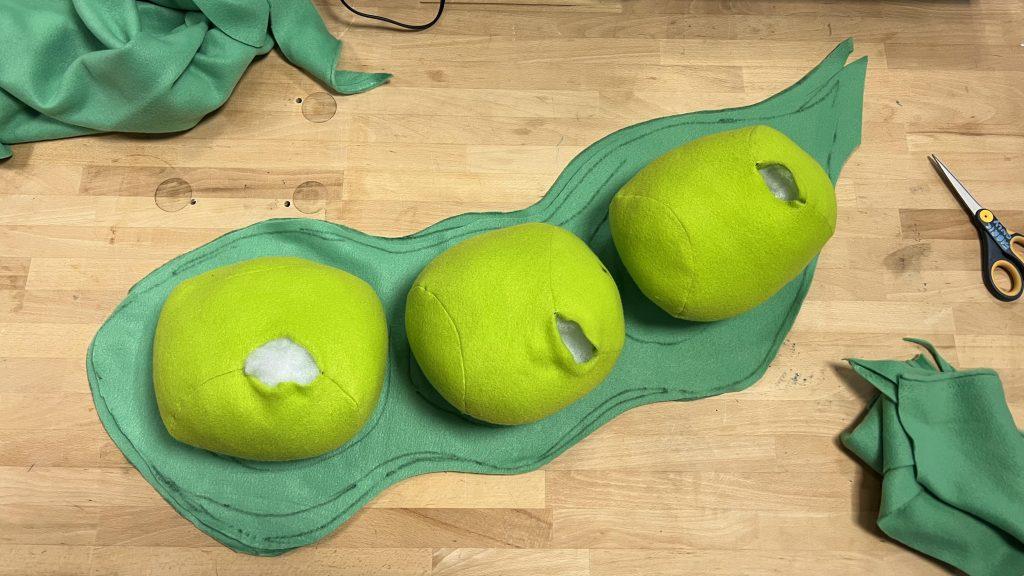
peas on top of pod

The next step was making the pod for the peas to lay in. I planned this step of the pods by drawing out a 2D shape on the darker green fabric, and estimated where the pockets for the peas to lie in would be by drawing three circles on the pod as well as a zipper for the pod to close and open to reveal the peas. After sewing one long edge of the two pod fabrics together, I flipped it inside out so the seams would be on the inside. Then I lined up each side of the zipper on the markings on the inside edge and sewed it on. 
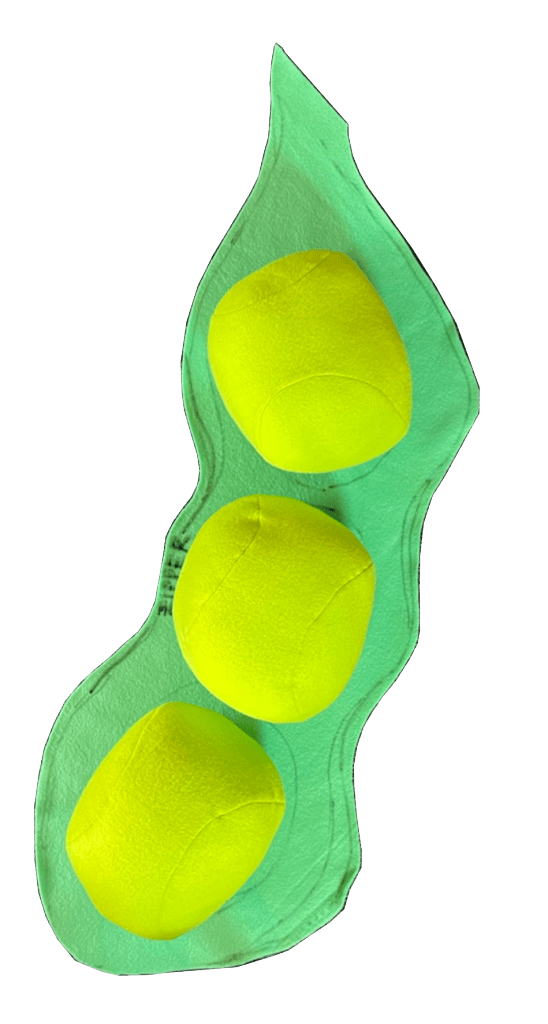
peas on pod
peas in pod

The challenge in this process was estimating how much fabric I would need to sew a pod that would fit the peas comfortably. After fitting the three peas into the pod and zippering it close, I found that the pod did not lay flat in areas I would have wanted it to. If I were to make another iteration of the pod for the peas, I would try to account for the bulge of the peas onto the pod and reinforce the edges of the pod to make the shape hold. 
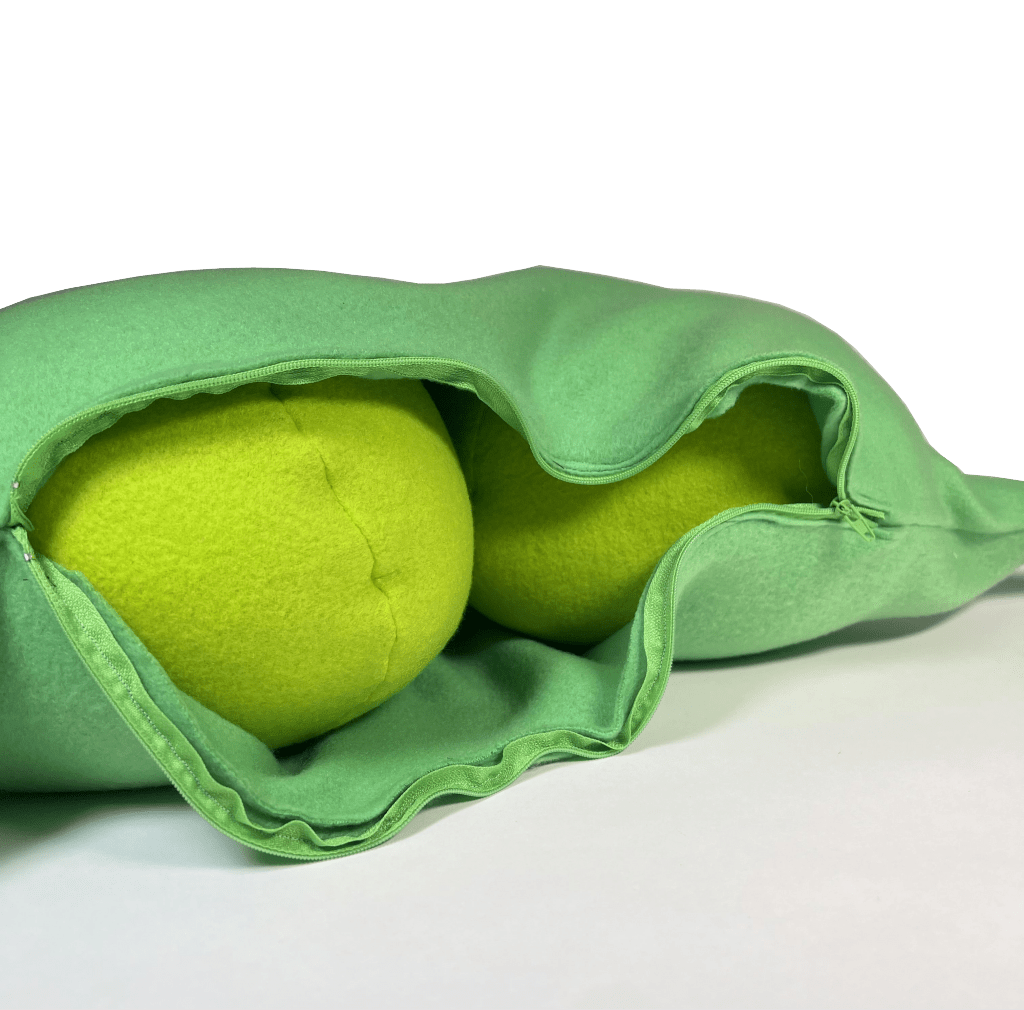
peas in open pod

button

In planning my third object, I found that there were not a lot of fabric color choices. I had originally wanted three foods that I could construct to be large-scale as well as incorporate different techniques that I had not used before. 

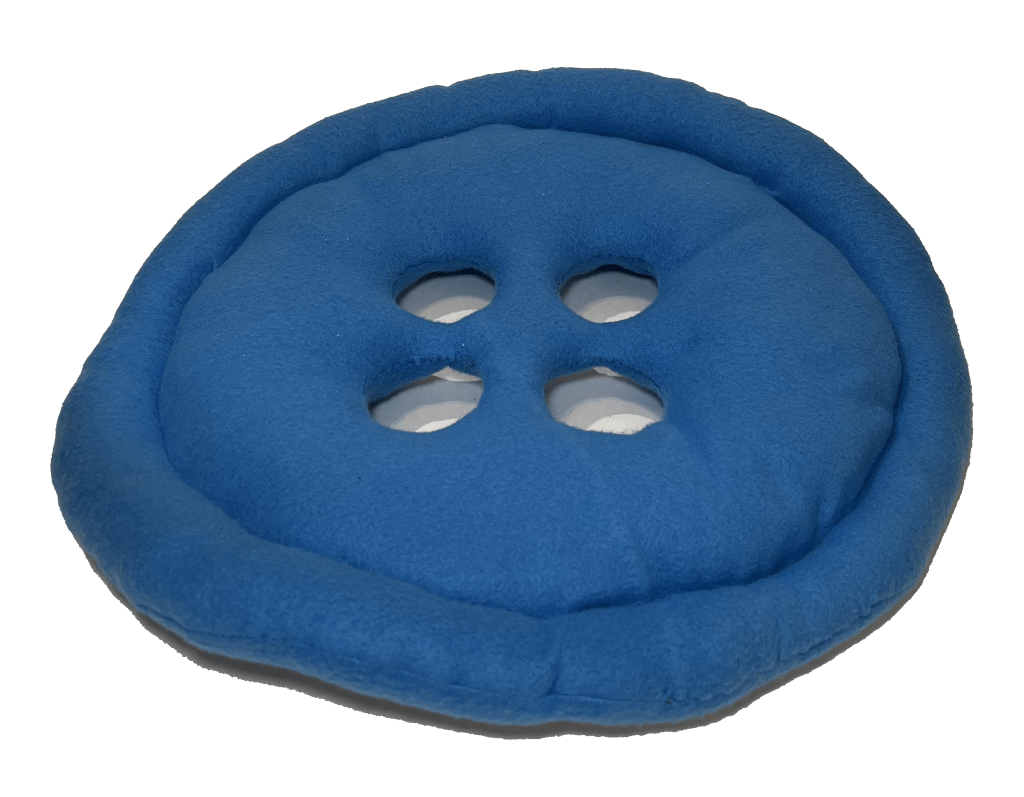
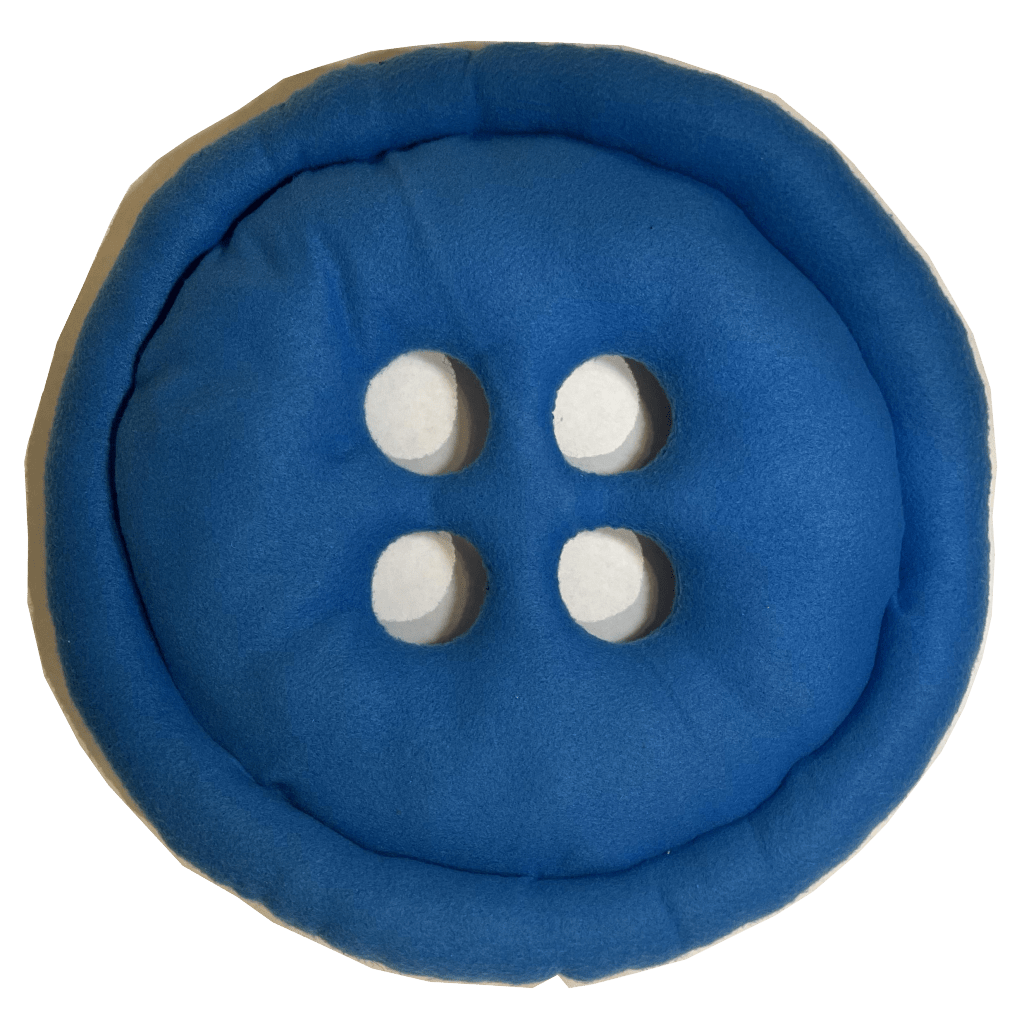
The button was a decision that came after thinking about donuts and bagels, foods that had holes. I spotted a button in my room and came to the conclusion that I would challenge myself with sewing four holes, not just one. My first iteration of the button started with two circle pieces of red fabric. I drew what I imagined would be the sewing lines and cut out the four holes for the buttons. I started by deciding to sew the small inner circles first, and then the outer circles. However, after completing hand-sewing the first inner circle, I realized that the button could not be flipped inside out- exposing all the sketches I had done on the fabric. I quickly started on my second iteration by preparing the fabric in the same method as I had done in the previous iteration. This time, I sewed the outside seam first with a small opening and then started hand sewing the small inner holes. Despite sewing the outside seam first, I still made the mistake of sewing the inner circles on the inside, making the button not able to flip inside out. 
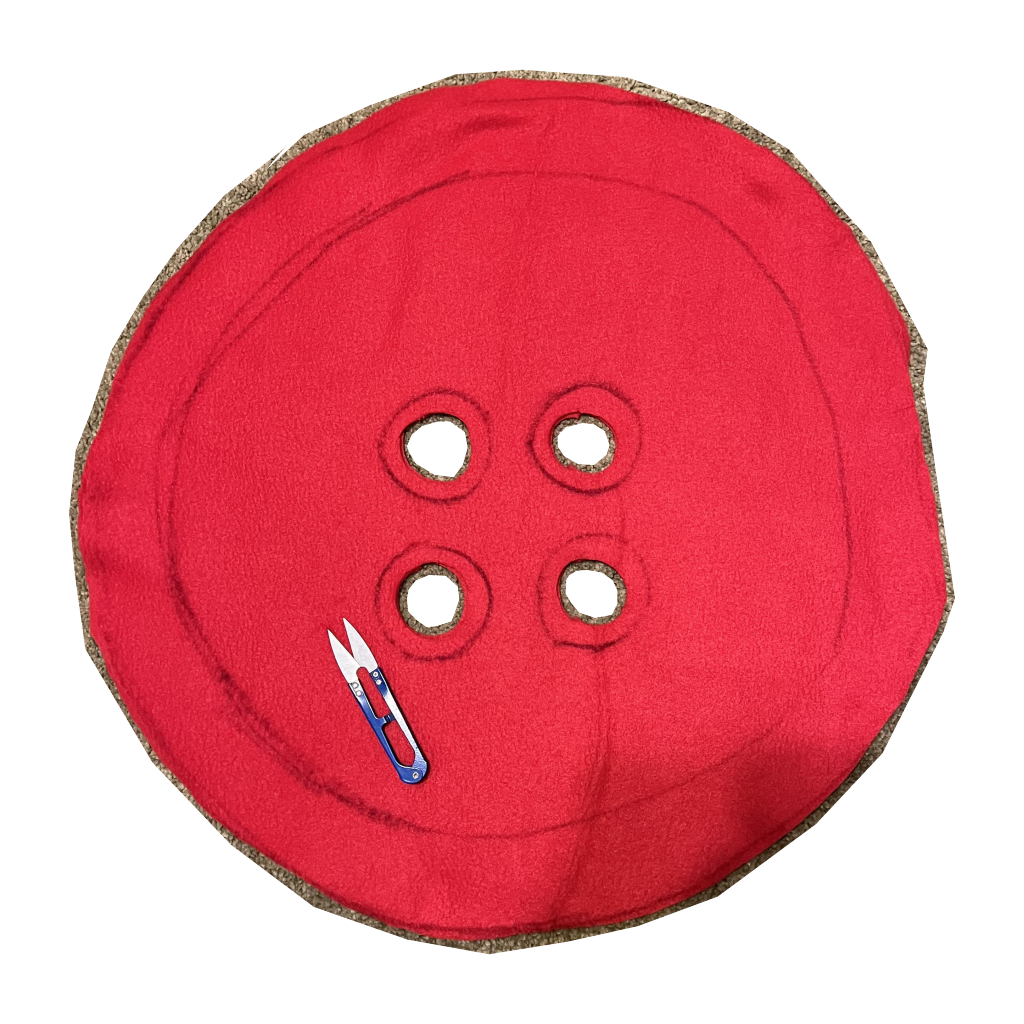
iteration one
iteration three

My third and final iteration of the button began with the same steps. But this time, I sewed the most outer portion of the button with an opening, then flipped it inside out so the seams would be on the inside. I decided to hand stitch to connect the two layers of fabric together and create the small holes in the button. Because I did not want my seams to have flaps on the outside, I learned how to do an invisible seam with a ladder stitch to close the fabric on the inner circles. While this was a tedious and time consuming process, I was very happy about the result and my newly learned skills. 

After all four inner holes were sewn together, I stuffed the button with polyfill to reach the inner corners. Doing so, I found that the button puffed up more than I wanted due the edge of the button to the center having lots of space to fill. To make my button flatter, I removed some polyfill around the ends of the button and sewed a concentric circle 1.5 inches smaller than the edge. After most of the circle was complete I filled the insides loosely but tighter in the tubes around the inner four holes, then finished sewing the inner circle on the machine. This created a circular tube around the outer edge that I then bunched up to fill more easily. After filling it tightly, I used a ladder-stitch to close off the button. 
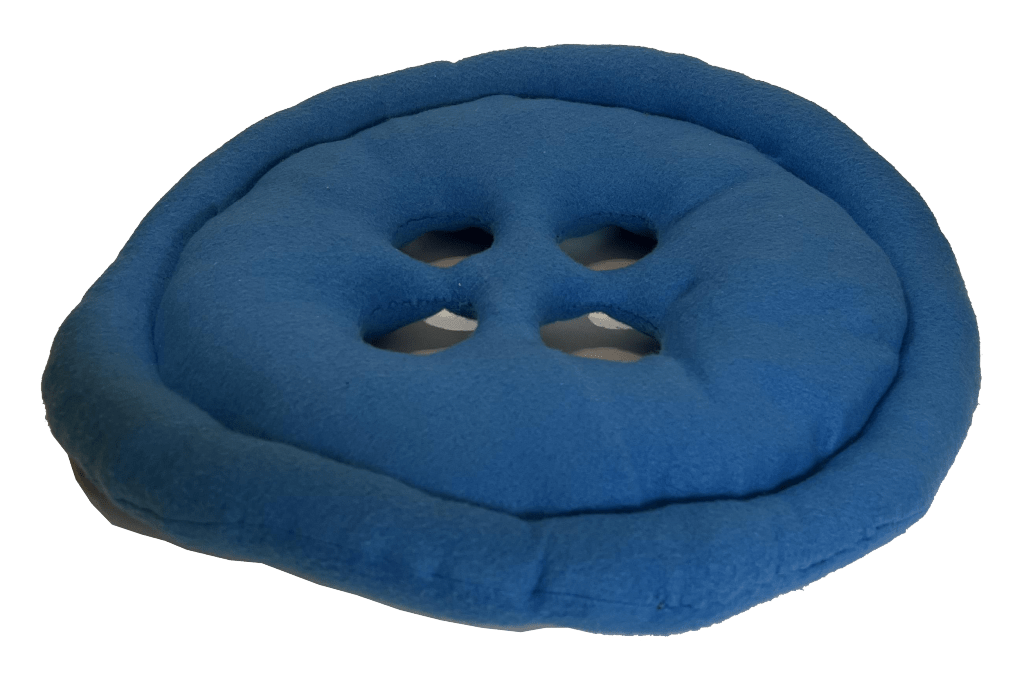
button side view

reflection on objects + process

Making the egg was less challenging than I had imagined, but a great first attempt at sewing without planning all the steps beforehand. I was able to find a solution for any problems I ran into, quickly and efficiently. Problem solving for the egg made thinking about a solution for my button much easier because I had to innovate from what I already had. The button was easily the most challenging object, but having so many iterations allowed me to think about sewing objects in a more detailed and orderly method. I will try this when I make another iteration of the pod for my peas. 

Jamie Espinosa-Briones:Push-Pull

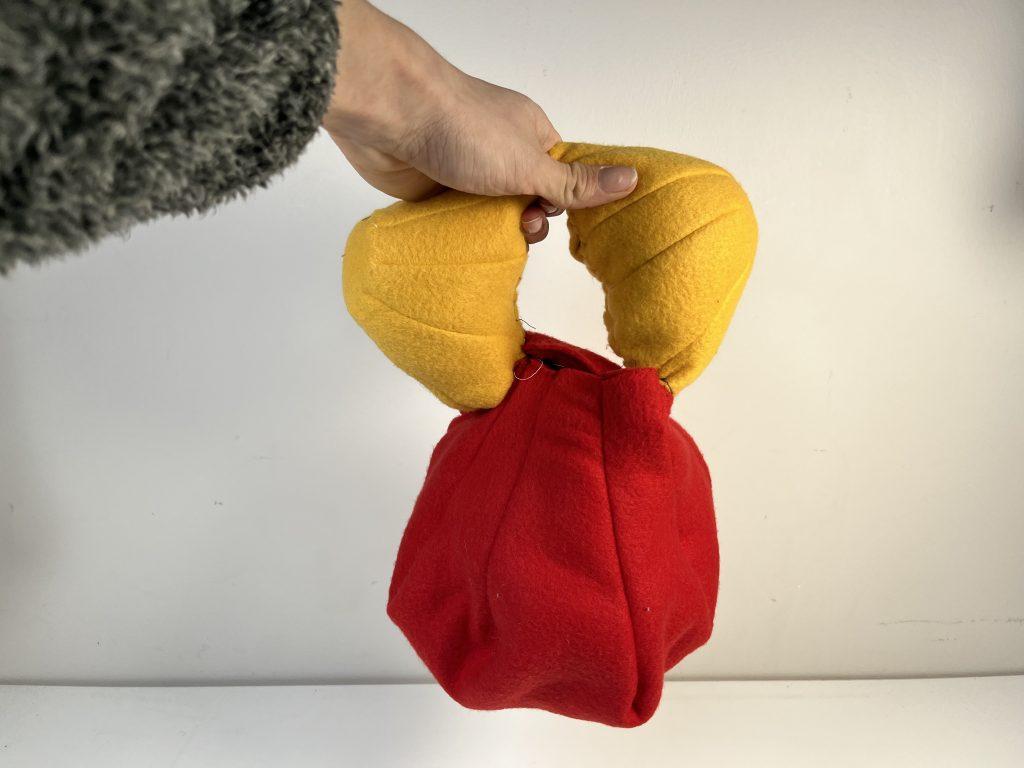
For the first push-pull object I improvised darts of various different sizes to see what shapes I can make out of them. I arranged the modules into different arrangements until I found one that looks like a familiar object, in this case it was a purse.
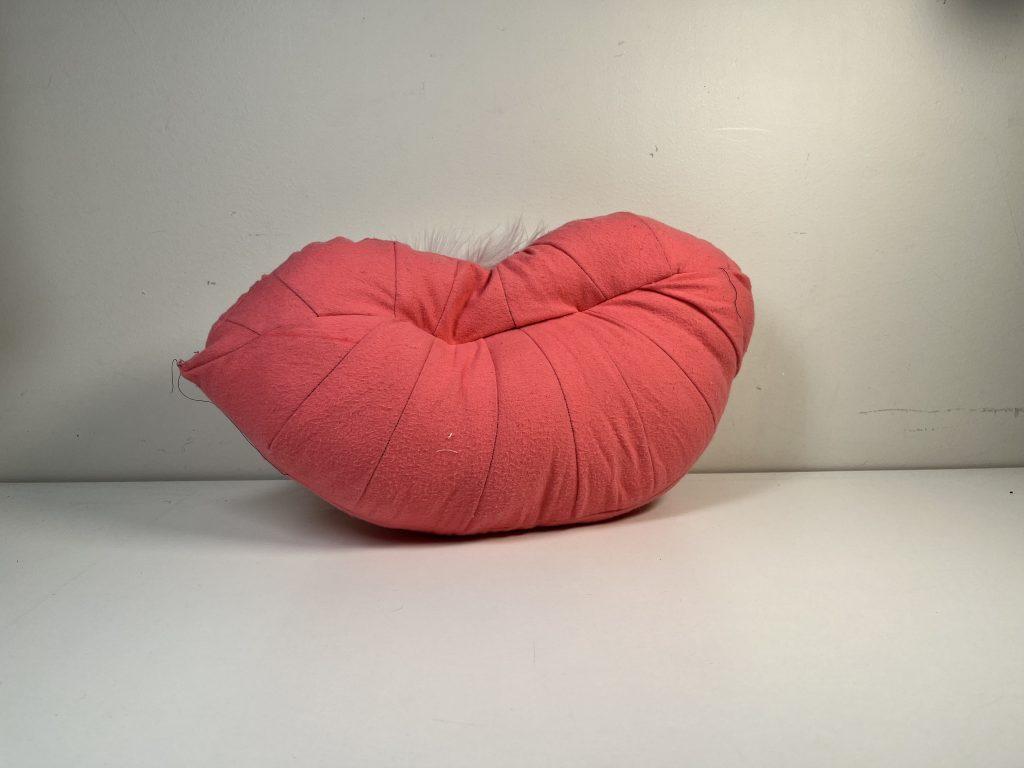
For this object, I wanted to create lips since the material felt very kitschy to me. I wanted to lean into a cartoonish and oversized element that would have an element of charm to it. For this object, I created a pattern using paper and darting to learn how to effectively apply darting in multiple different ways. It helped me get really acclimated to the technique.
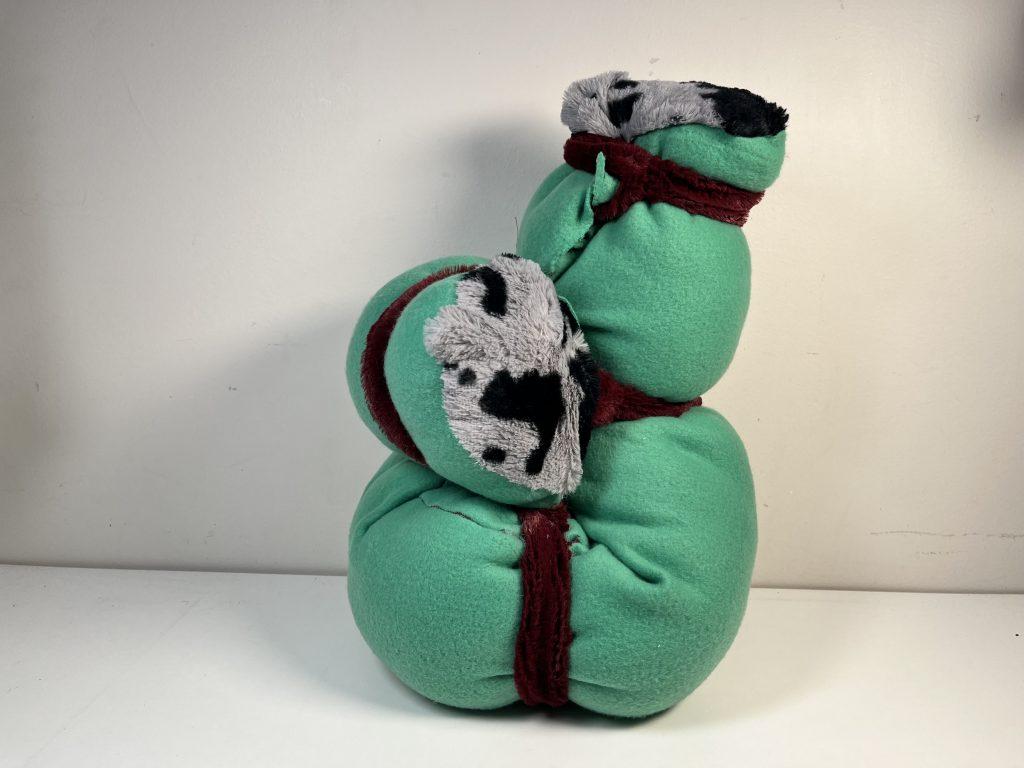
Finally, for the final object, I first created a bunch of tubes made of a specific felt fabric that I found pretty. I wanted to use these to create ties that could manipulate the form. In this case the form was a long tube which I stuffed slightly with polyfill and began tying and sewing knots shut.

Push and Pull Objects

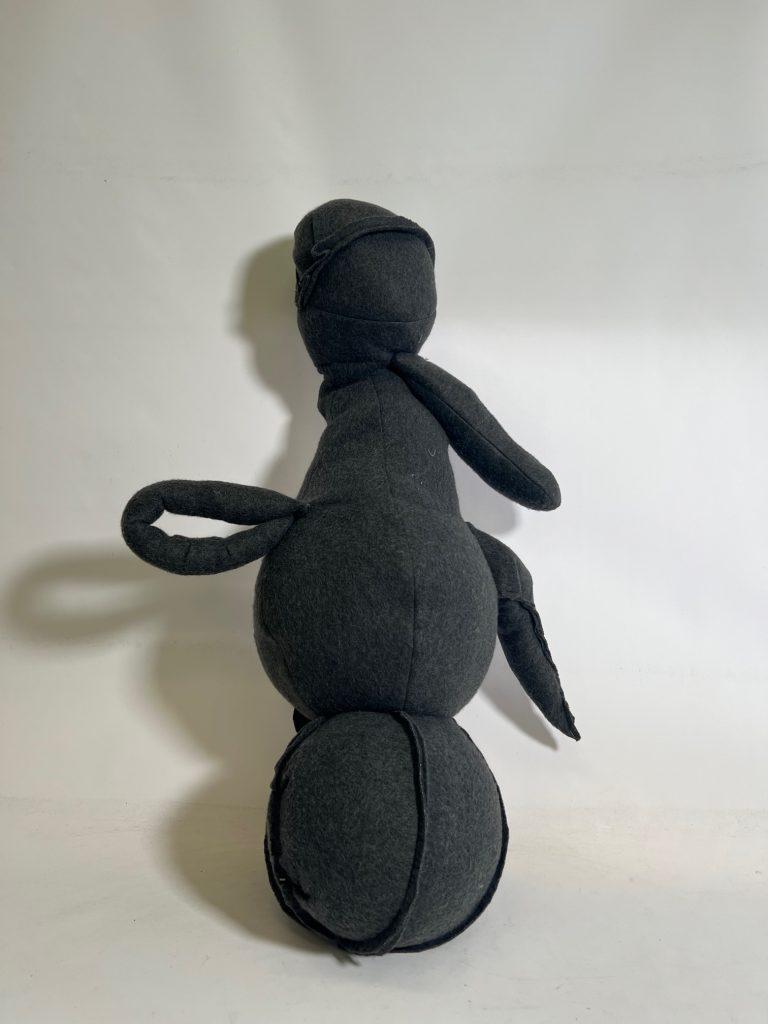
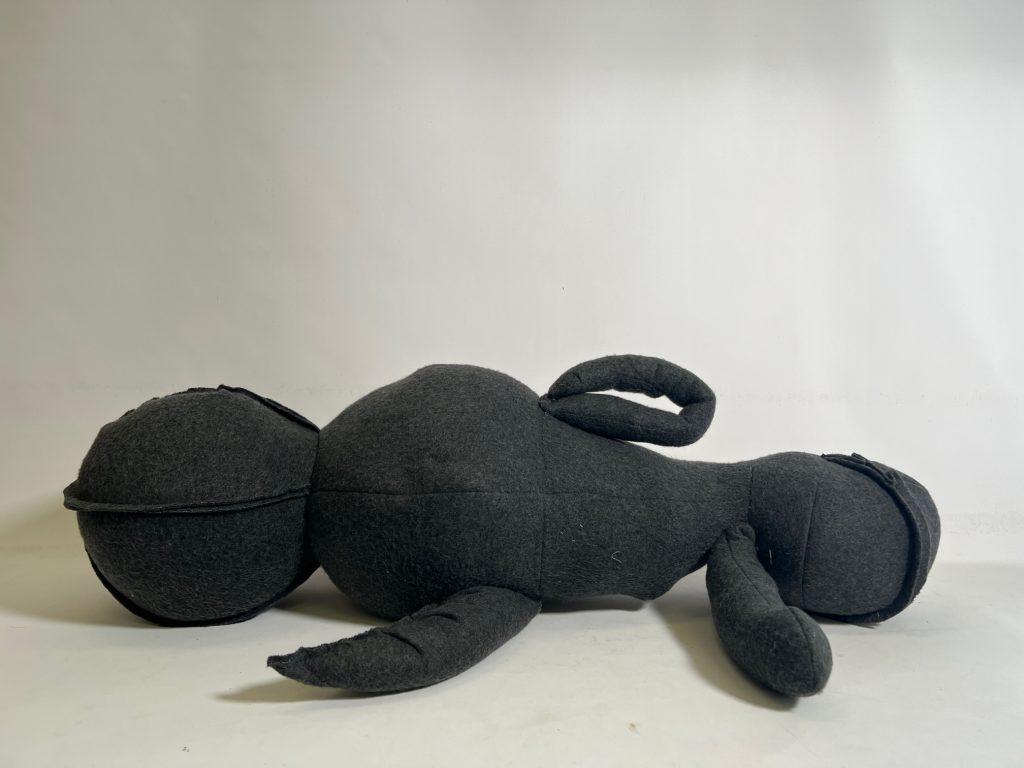
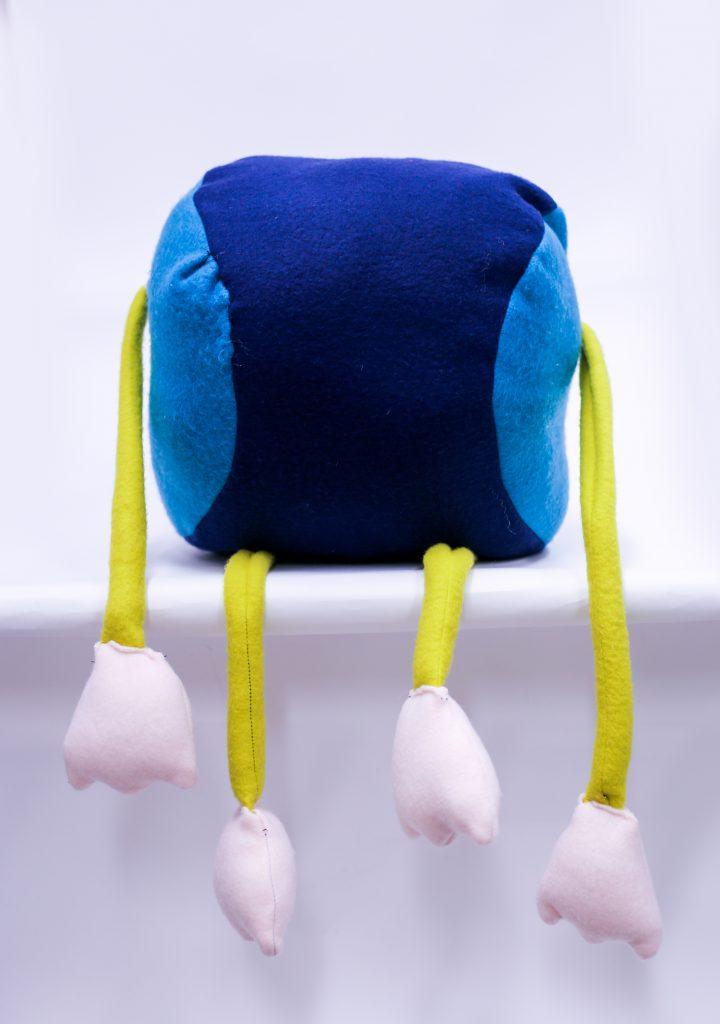
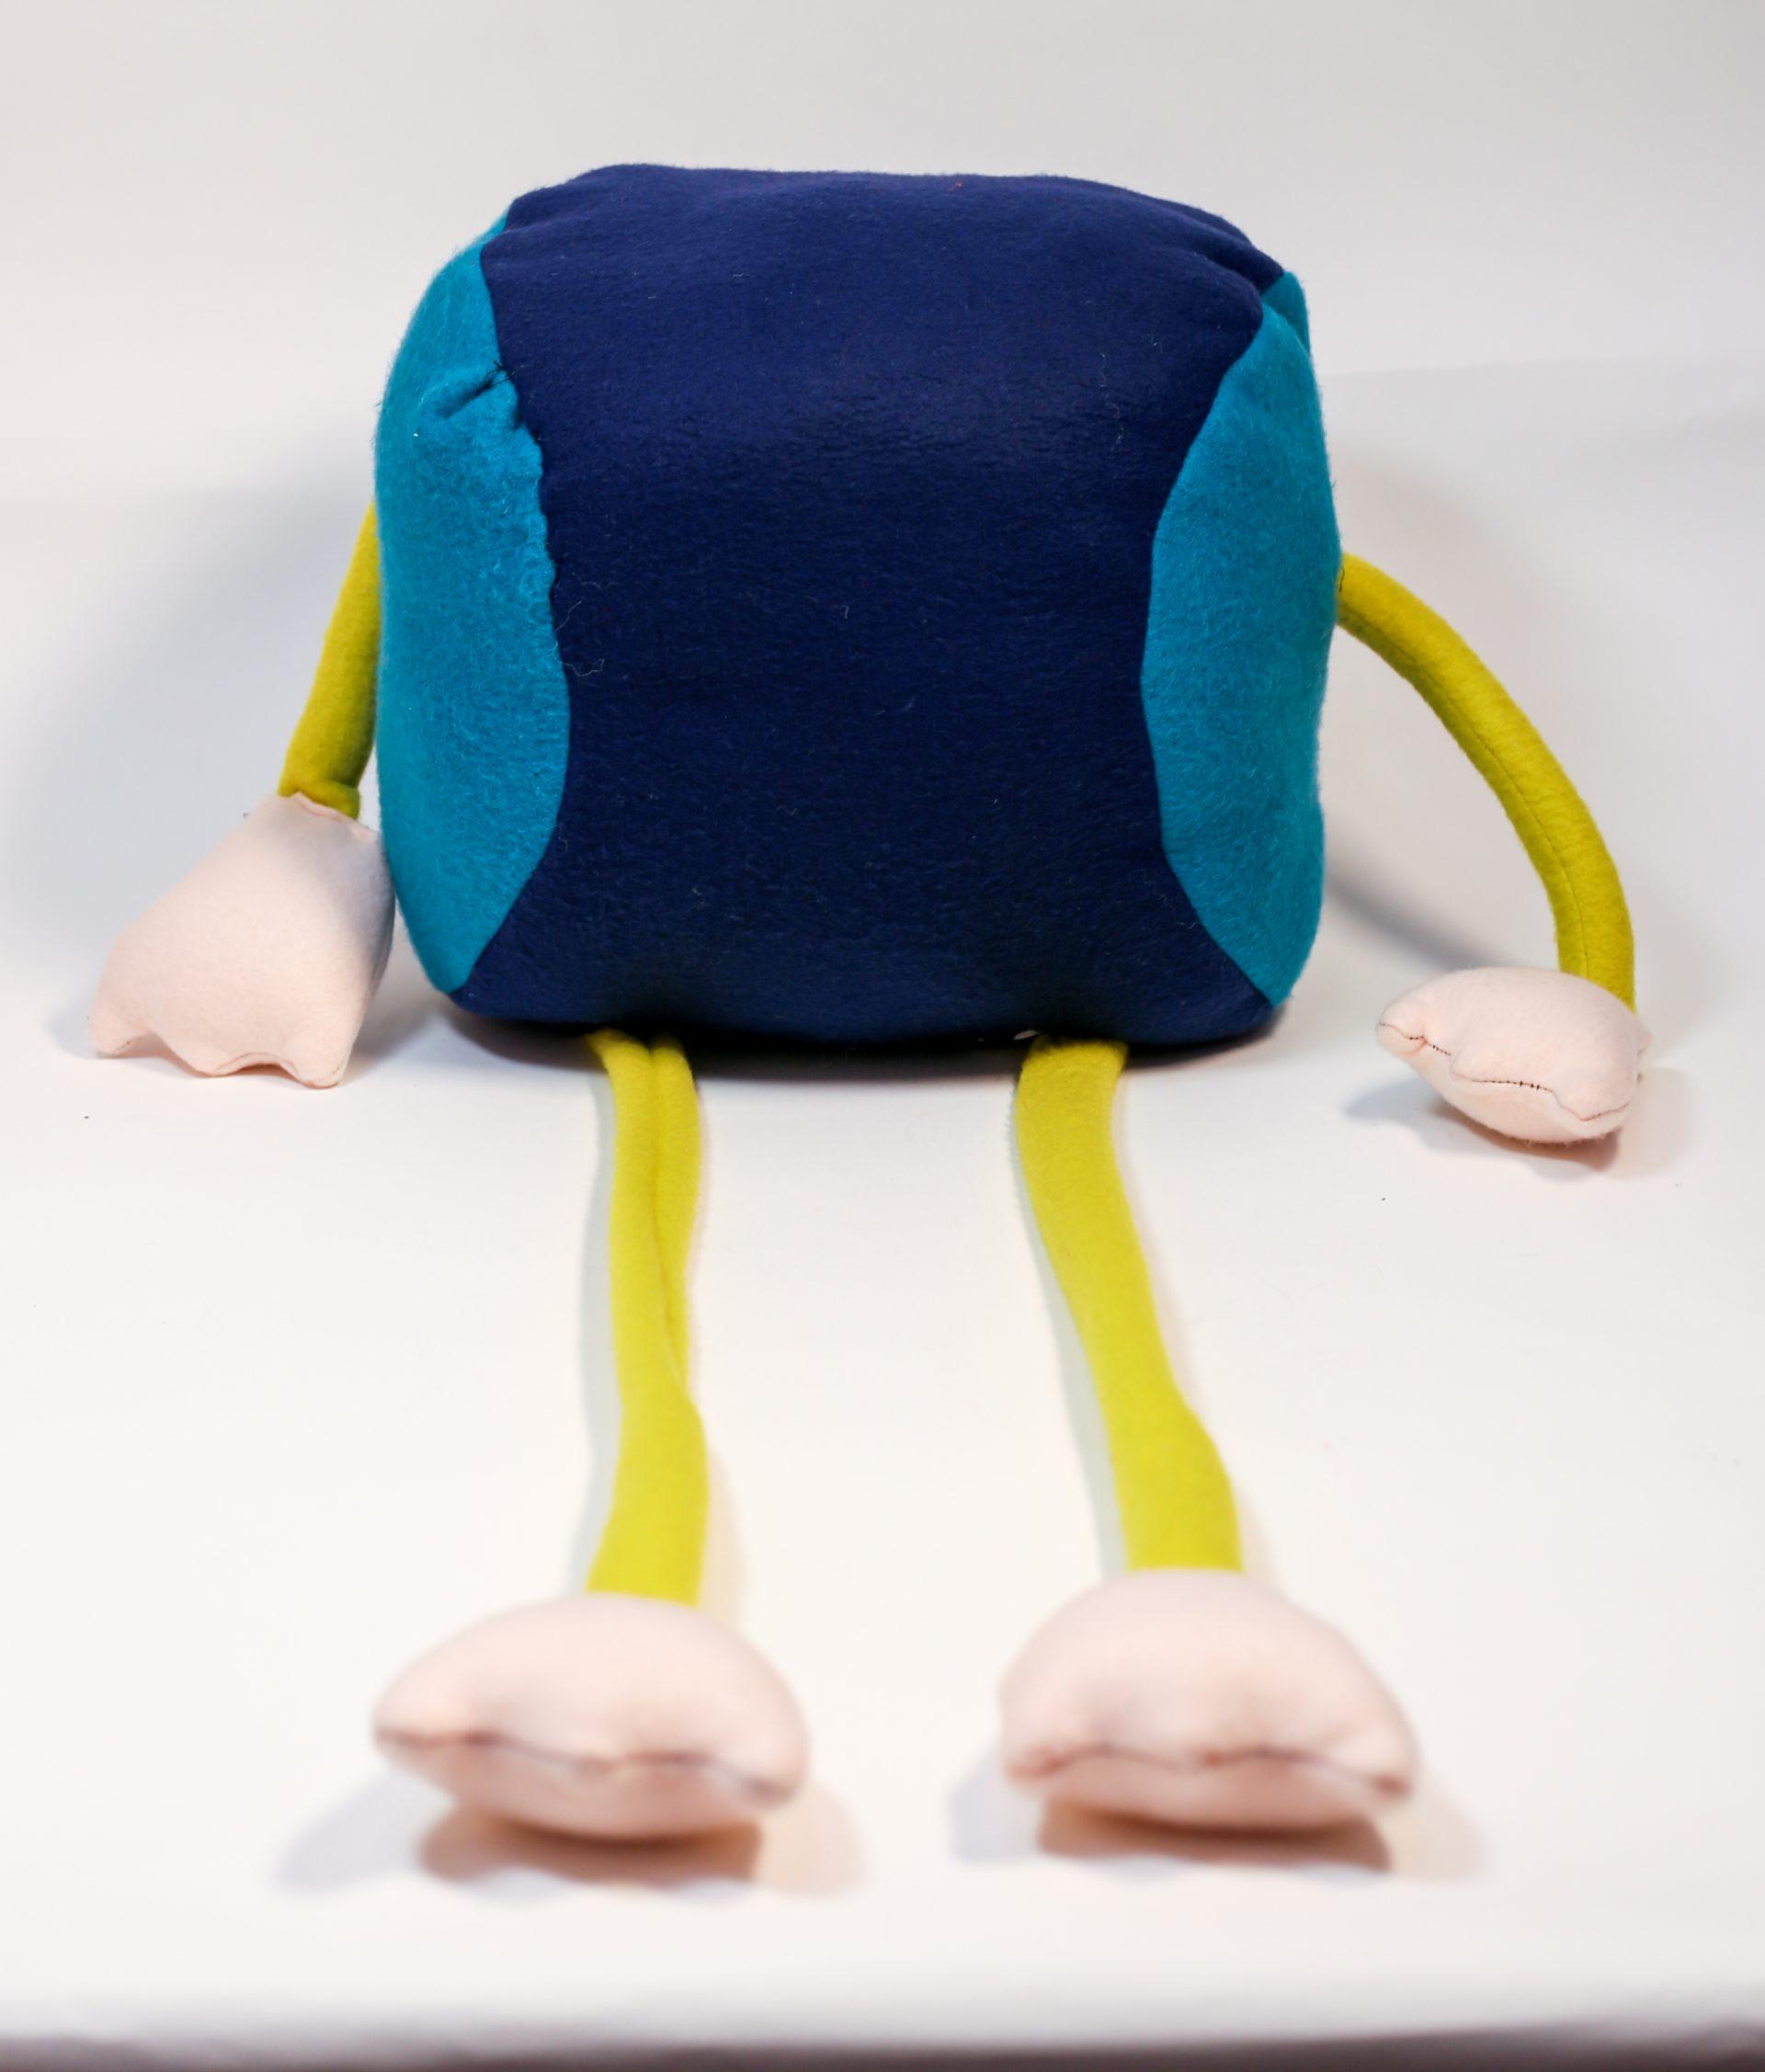
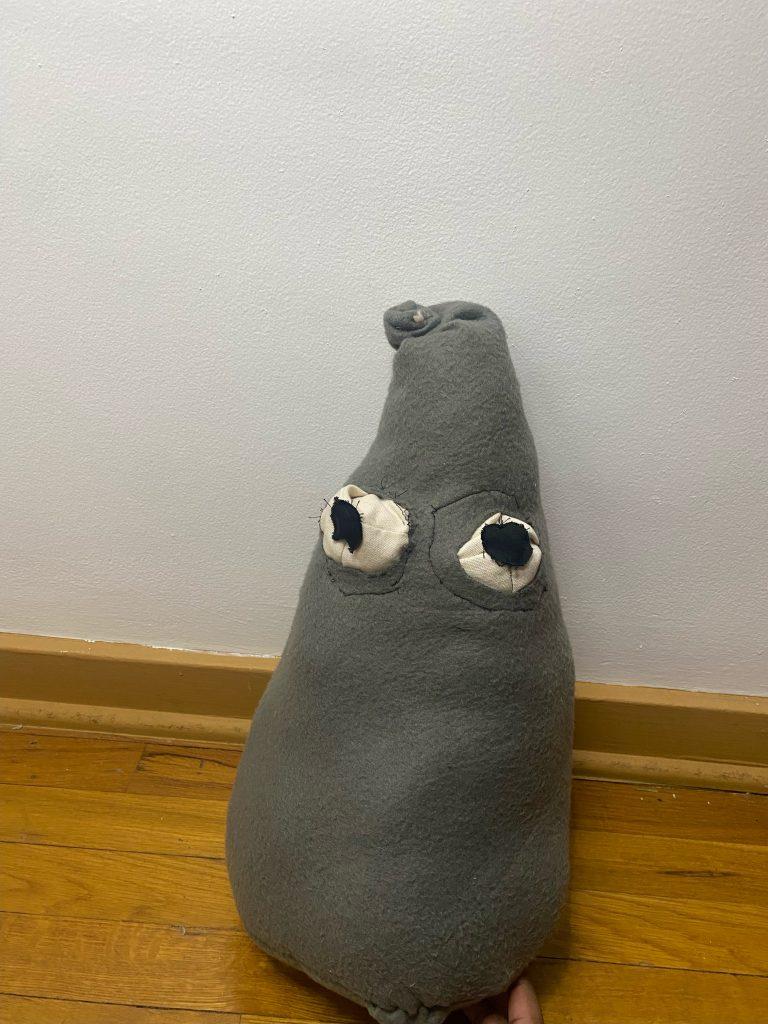
This inflatable was the most impromptu because I had no plan for it, I just knew I wanted a mesh of shapes to create an abstract form. I assembled the 3 main sphere using a mixture of exposed and closed seams, as well as pleats. I sewed the main spheres shut, and then cut out a circle to attach the other sphere to it (hence the impromptu attitude). I added some appendages using a variety of cone shapes and techniques as well. Overall, I really like the way this turned out! I feel like just using grey helped it read as a single monolith. The size is also really satisfying to hold and cuddle with.

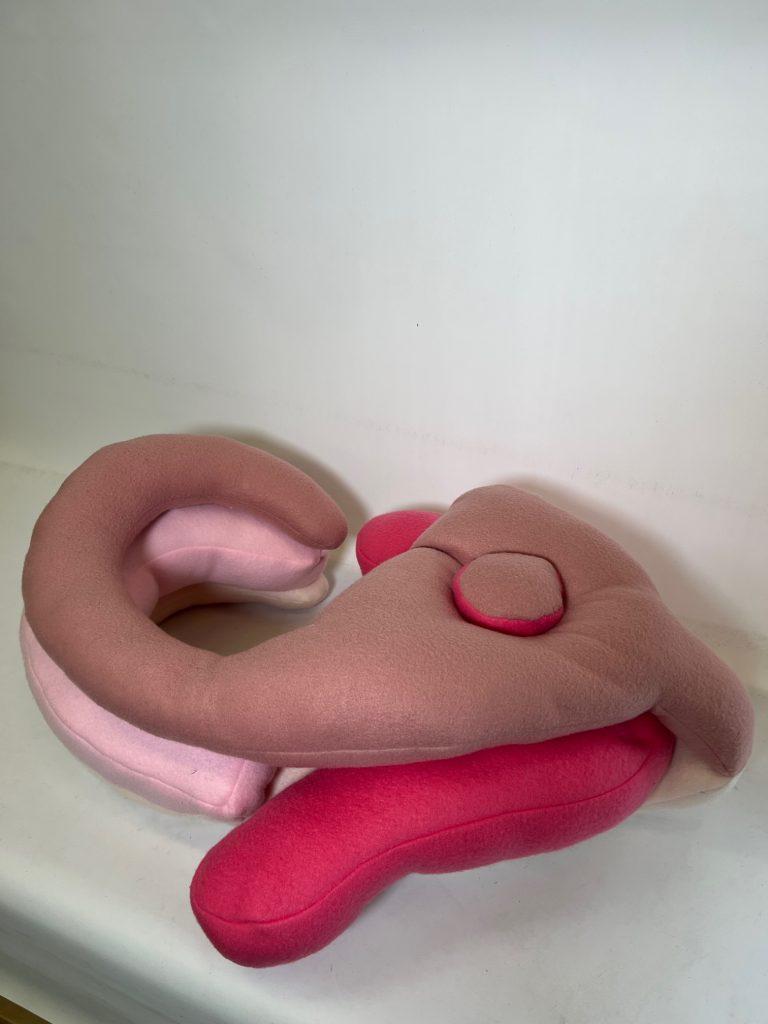
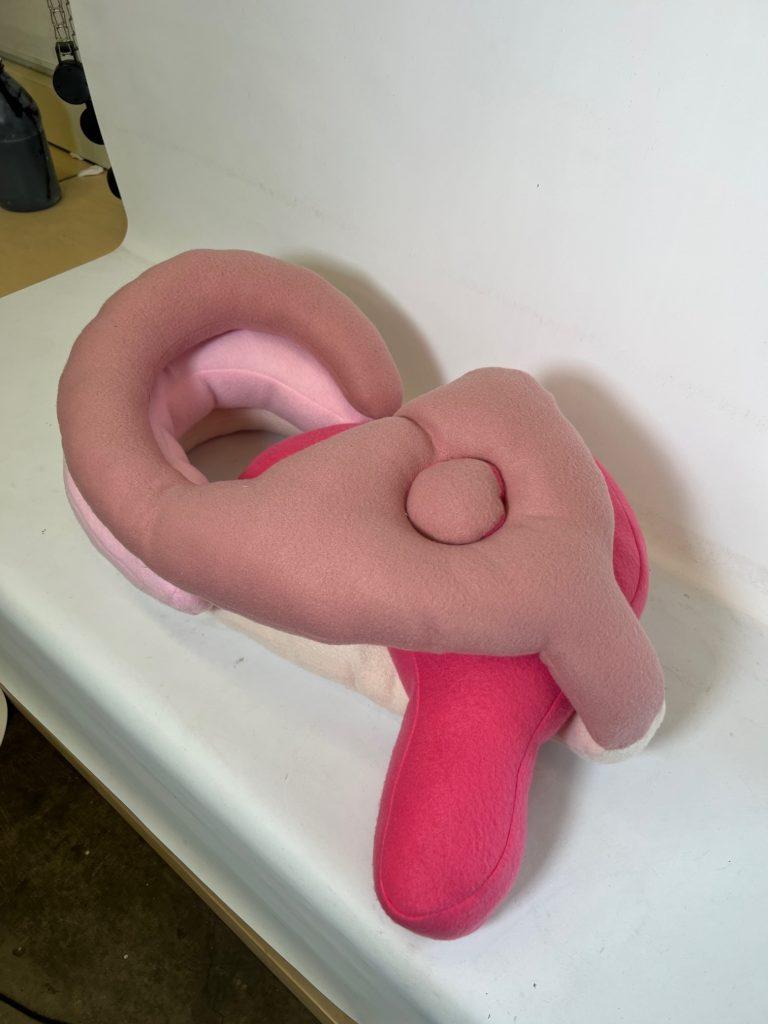
This is a giant jewelry clasp that is interactive. I started by sketching the mechanics of a real jewelry clasp, and then made a large pattern out of it by sketching on kraft paper. By having a separate tube in the center connecting all the pieces, the hot pink middle piece is able to move like a jewelry clasp and “open and close”. This one took a long time just because of the patterning aspect. It also has about 5 pieces that compose it, so it was a lot of individual piece to assemble. I also had a learning curve with learning how to sew inftatables with cutouts in the center. I hand sewed all the pieces with the cutouts in the center using a hidden hem stitch. Overall though, this one came out the cleanest because of the patterning and planning that went into it.

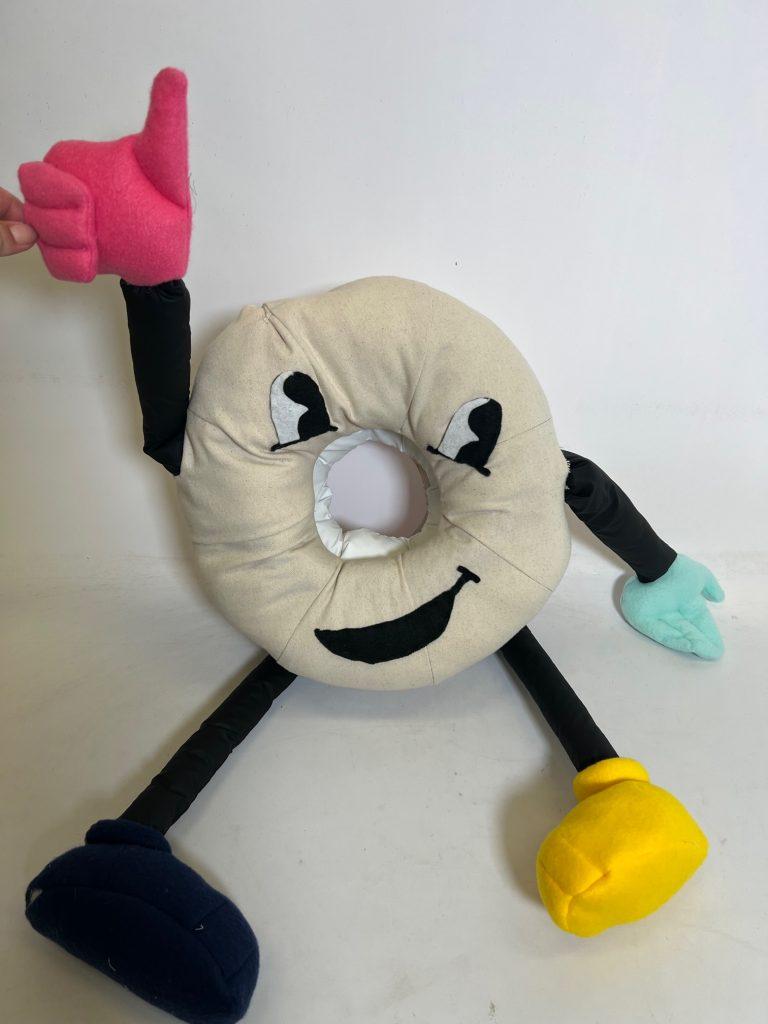
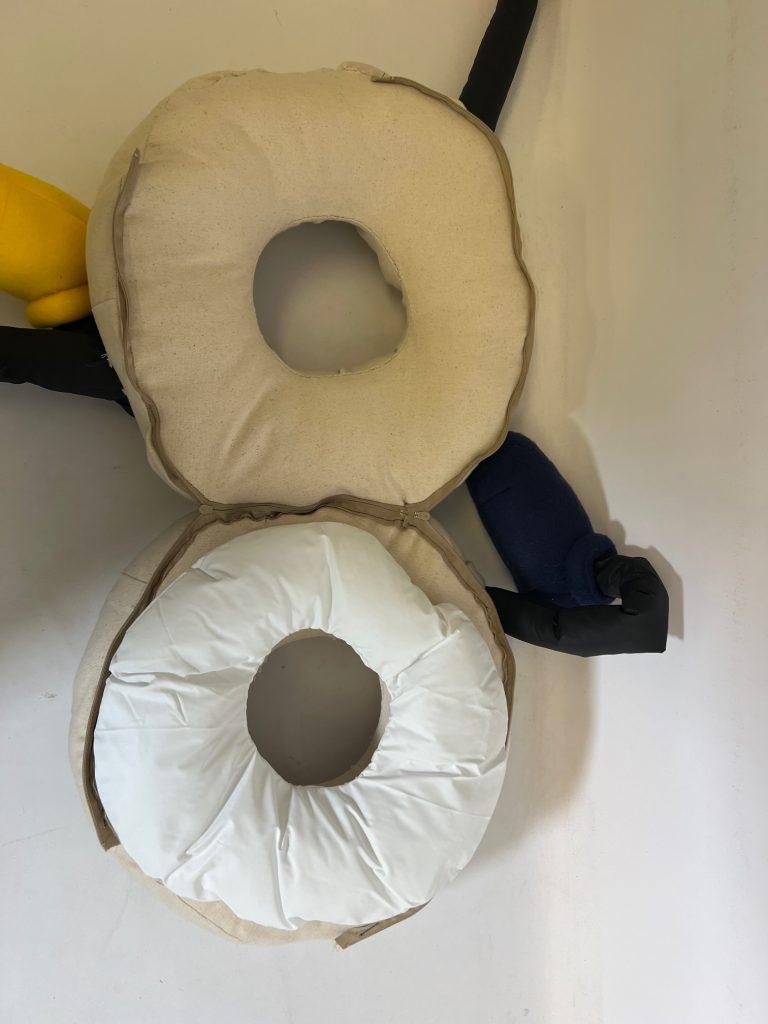
This piece was inspired by the Pigeon Bagel (in squirrel hill) logo on a T-shirt I have by them. I freehanded this one, but had a clear idea on my end goal unlike the abstract grey one. I used darts to make the shape of the bagel, and then attached them via zipper. Because I didn’t preplan, the zipper was really hard to attach and I had to do a lot of fabric maneuvering on the sewing machine. I then sewed the cream cheese as a separate part, and finally at the end cut out holes for the arms and legs. The arms and legs can be pulled to elongate one side versus the other. I also wanted to put a spin on the design so I made all the shoes and gloves different colors. I think this piece did a good job achieving the interactivity that I wanted it to have as a playful piece.

Tracy Zhang: Push-Pull

In this project, I explored different forms and developed three odd, playful, interactive while fluffy and squishy objects. Enjoy!

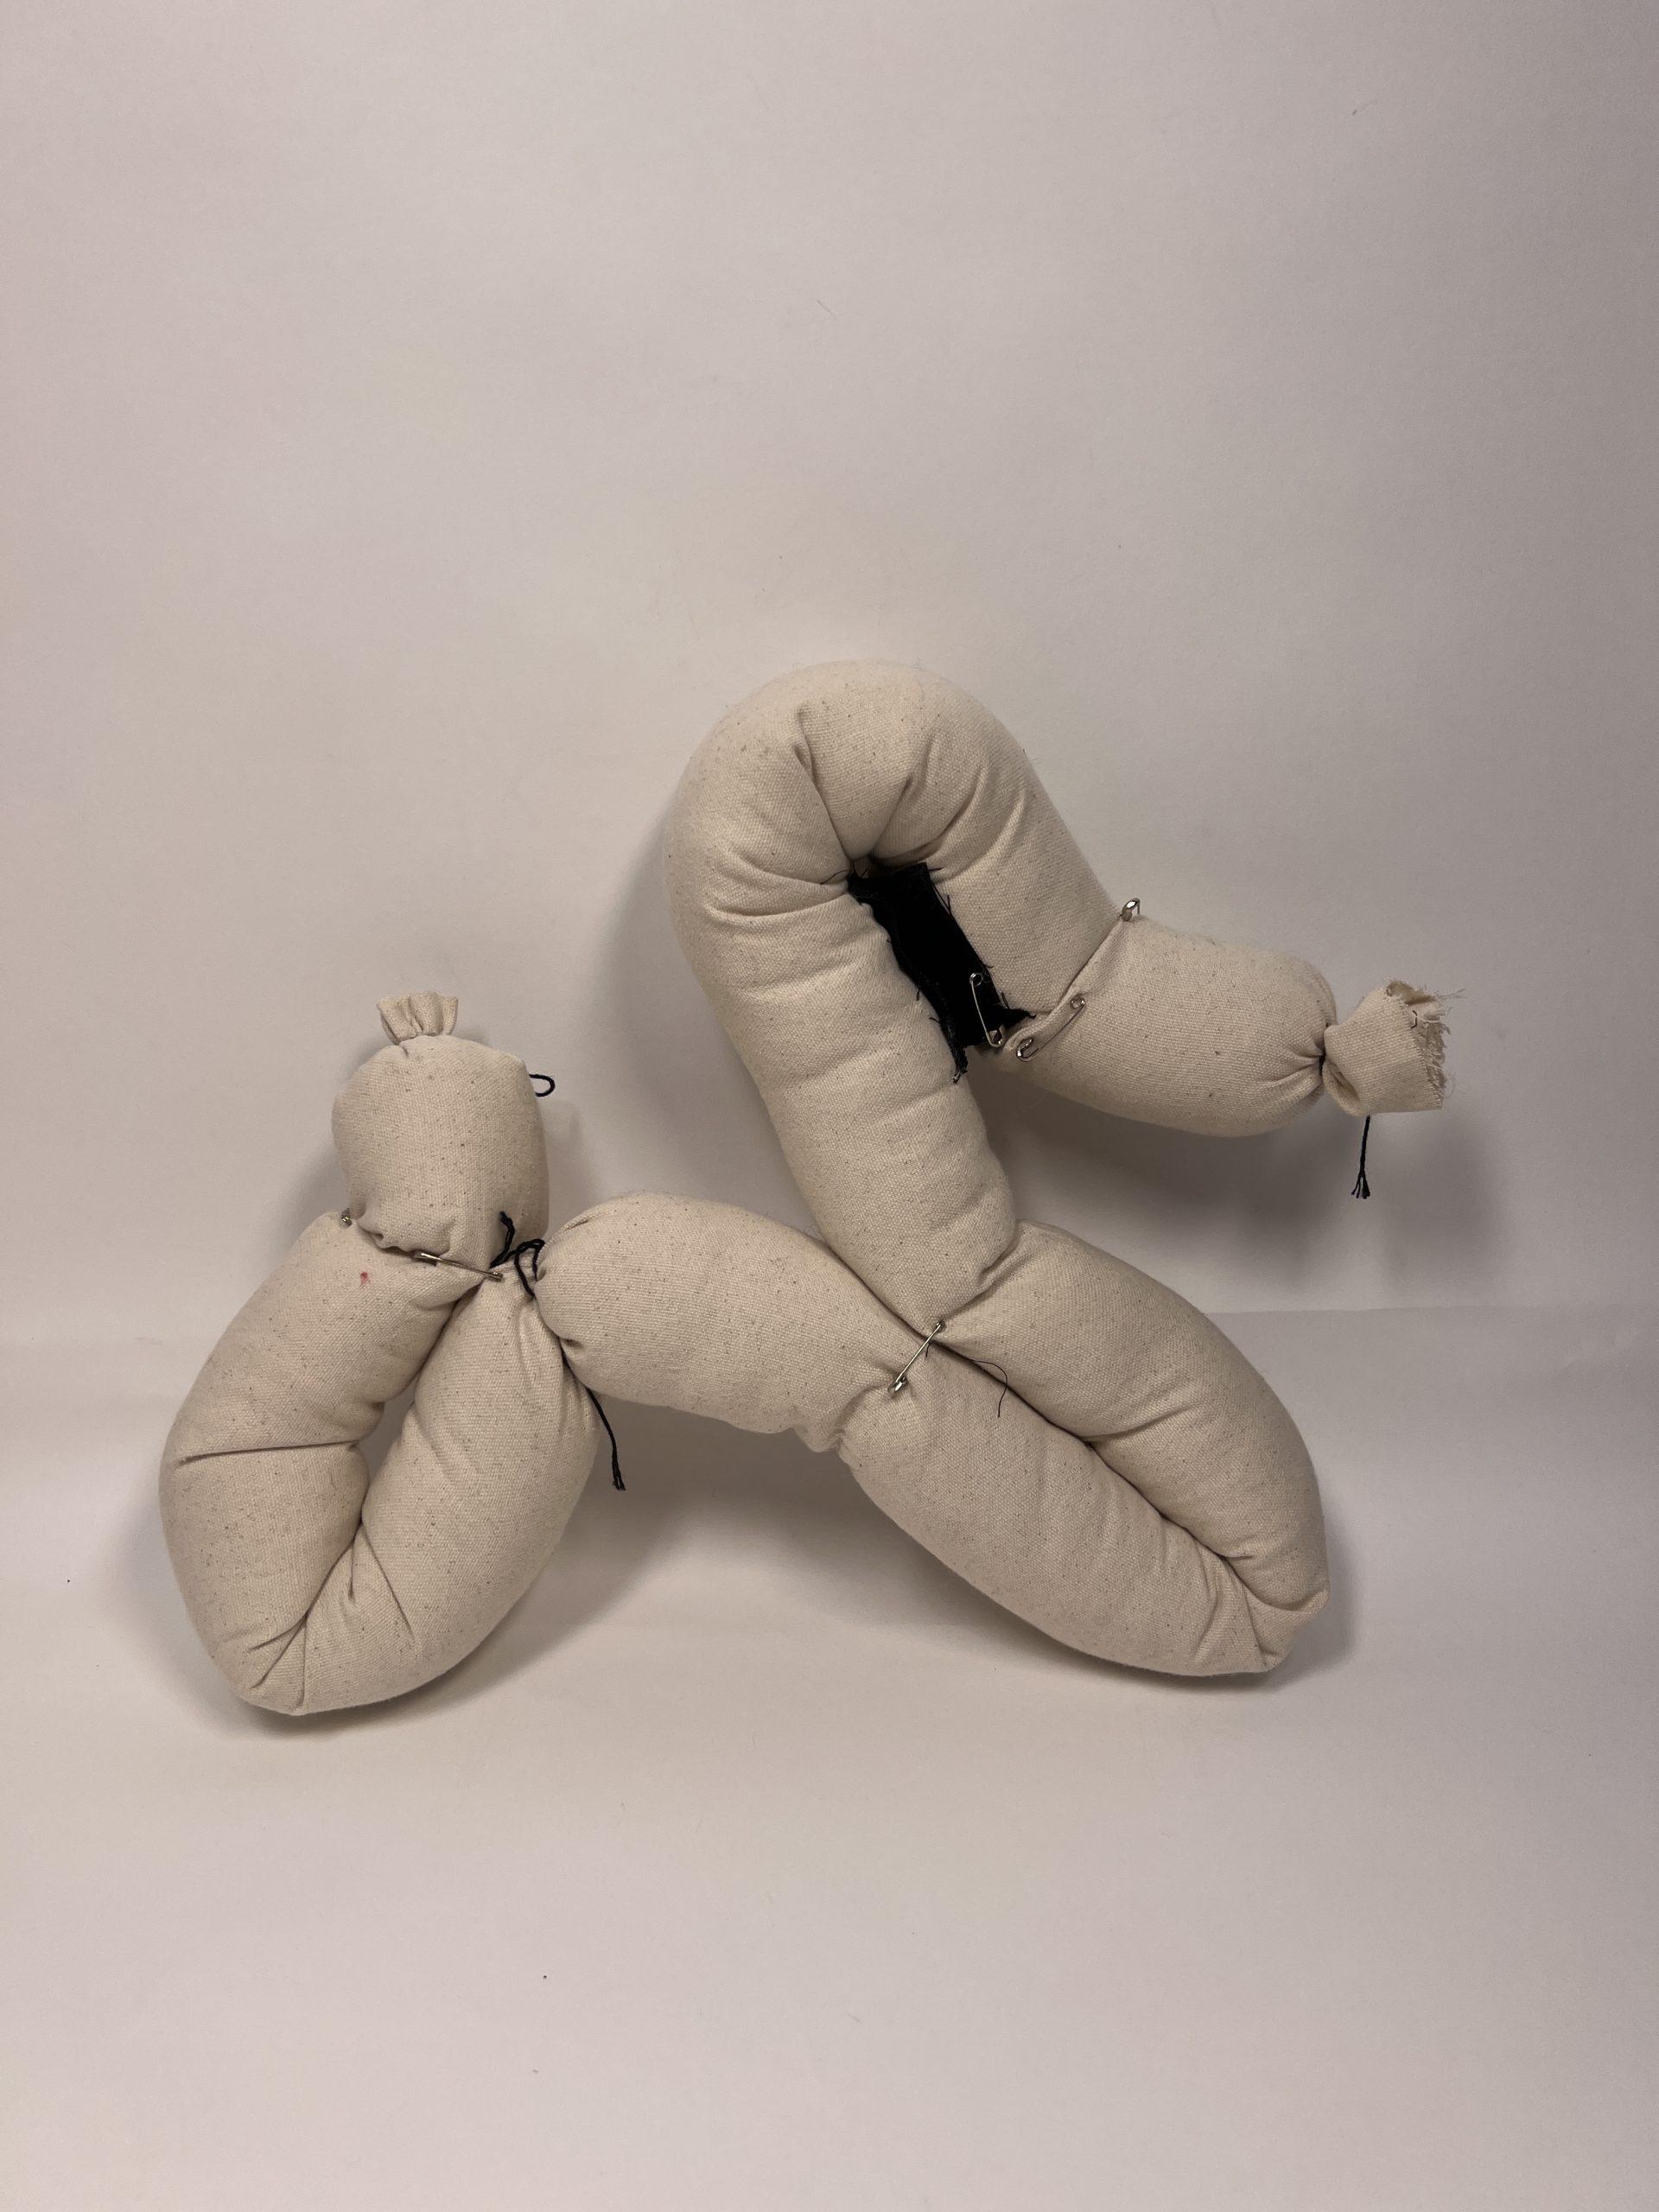
Ballon Dog

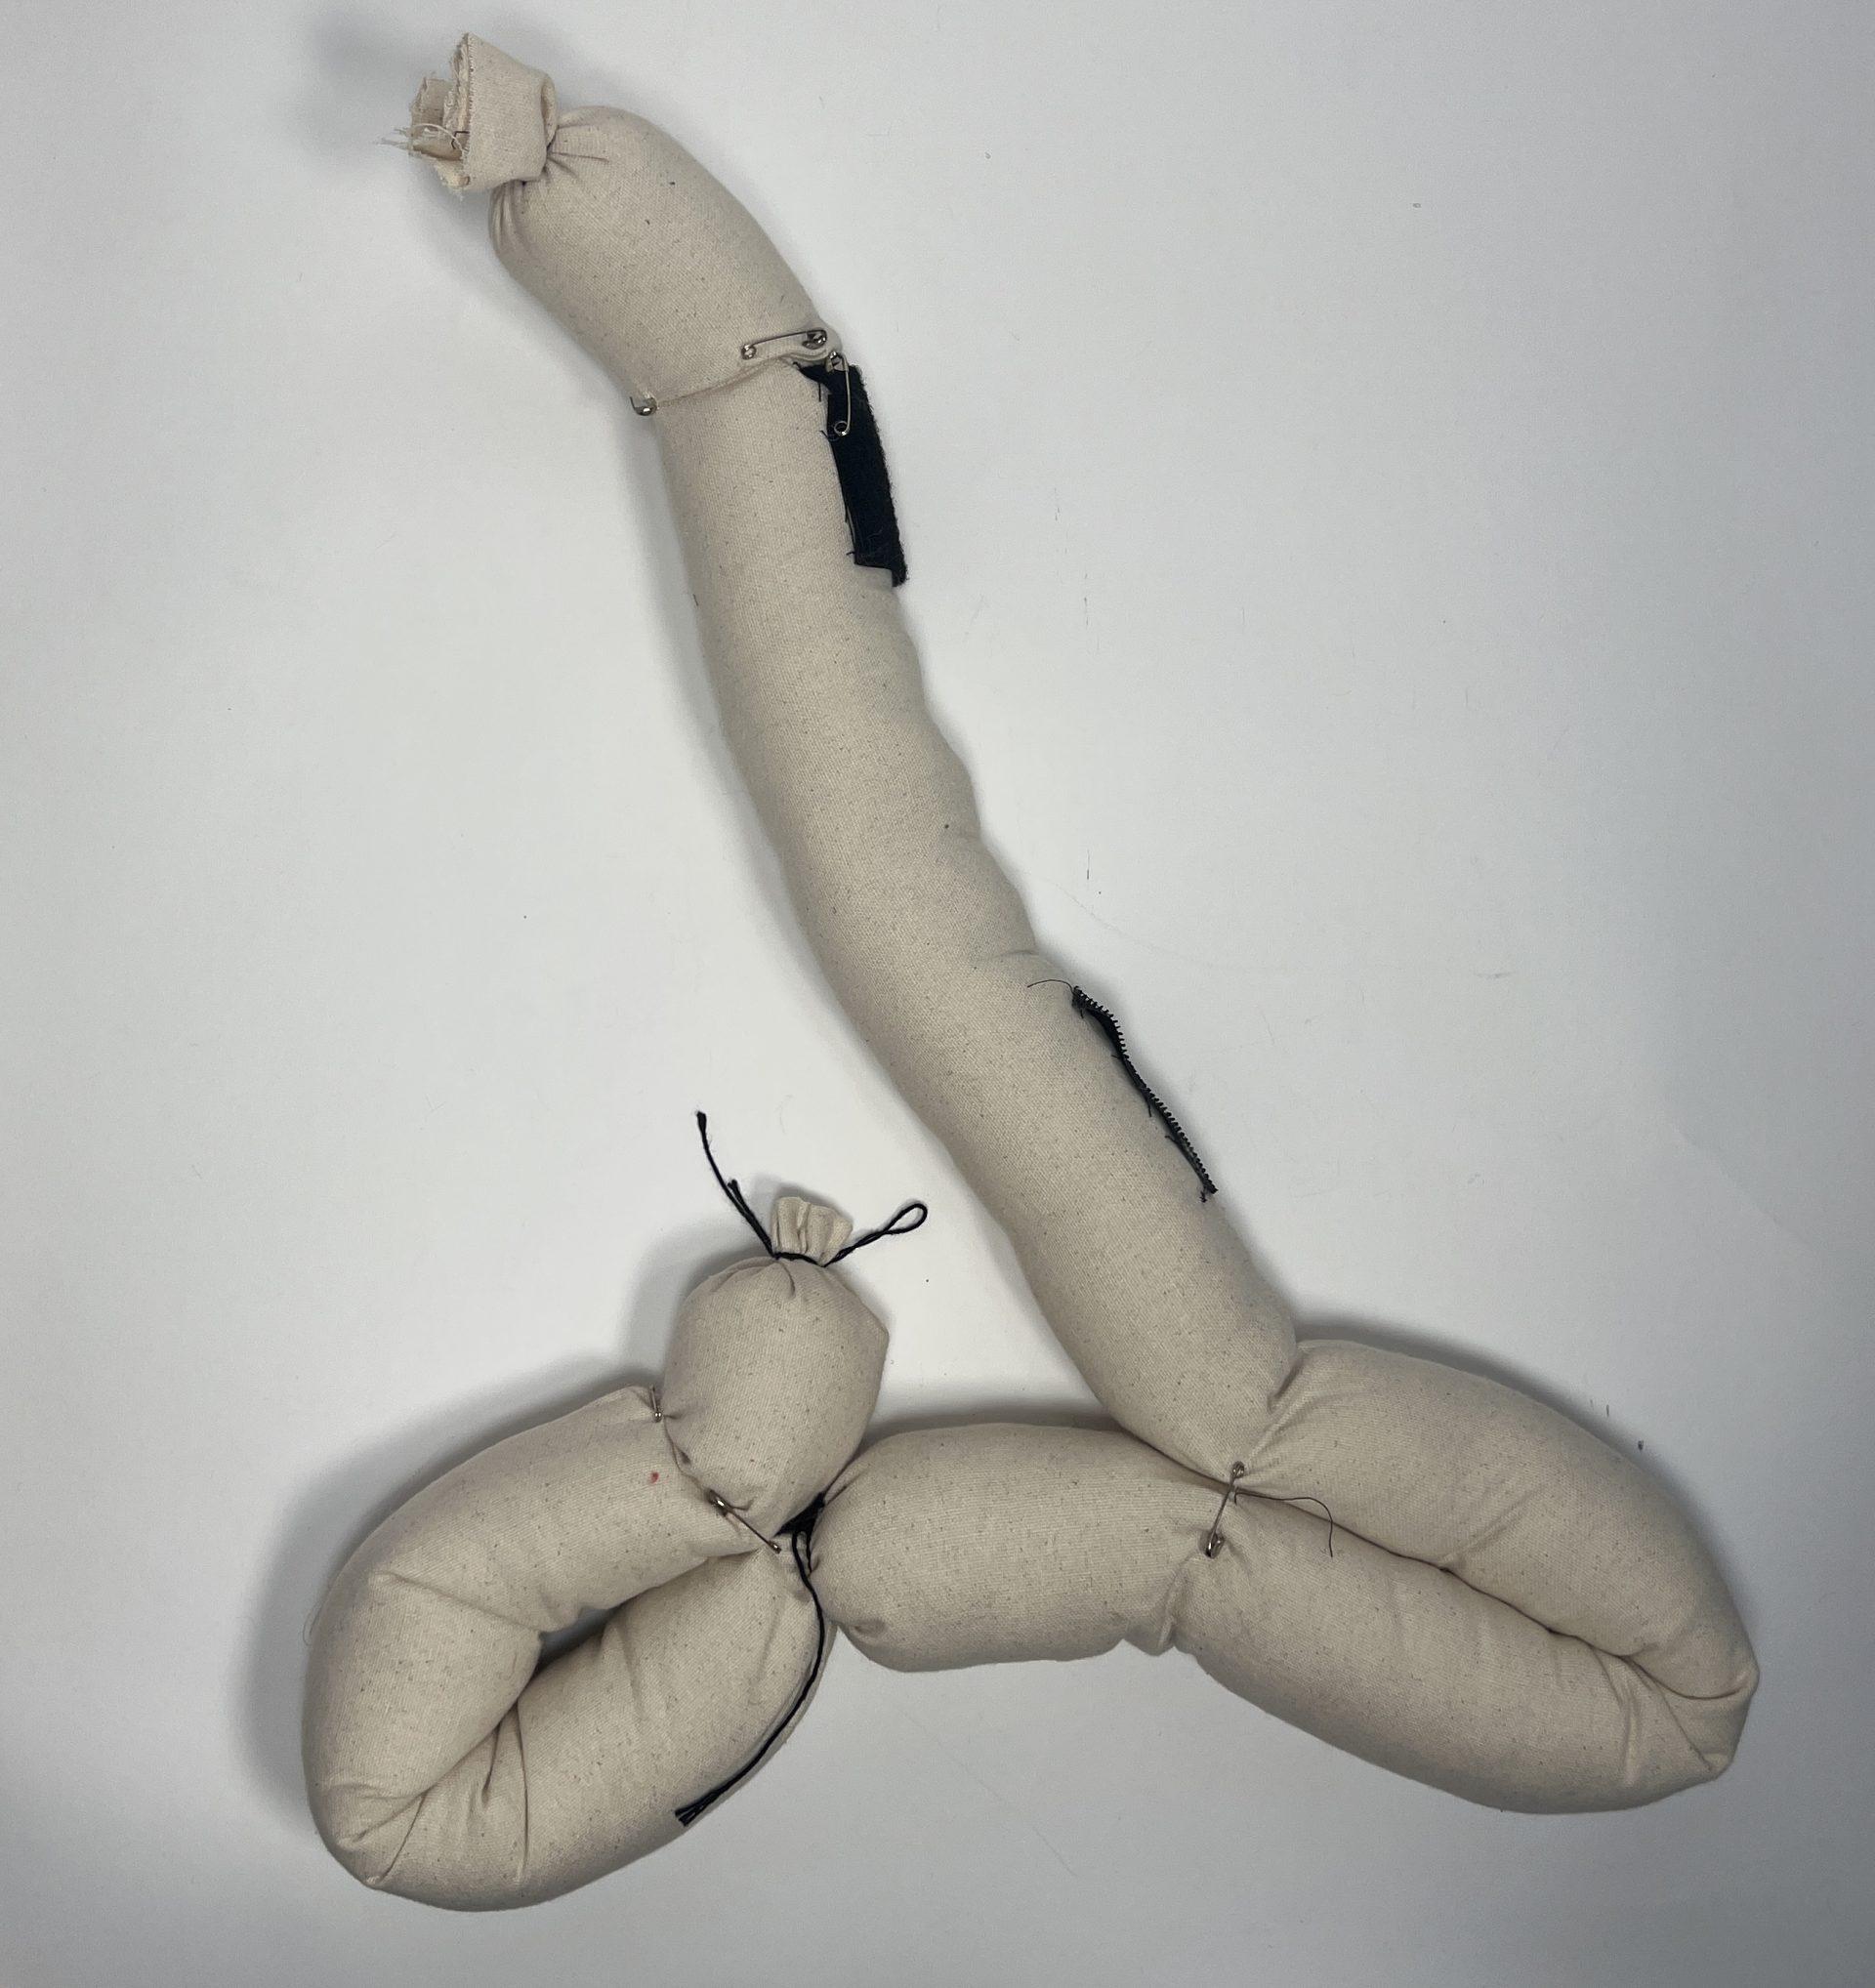
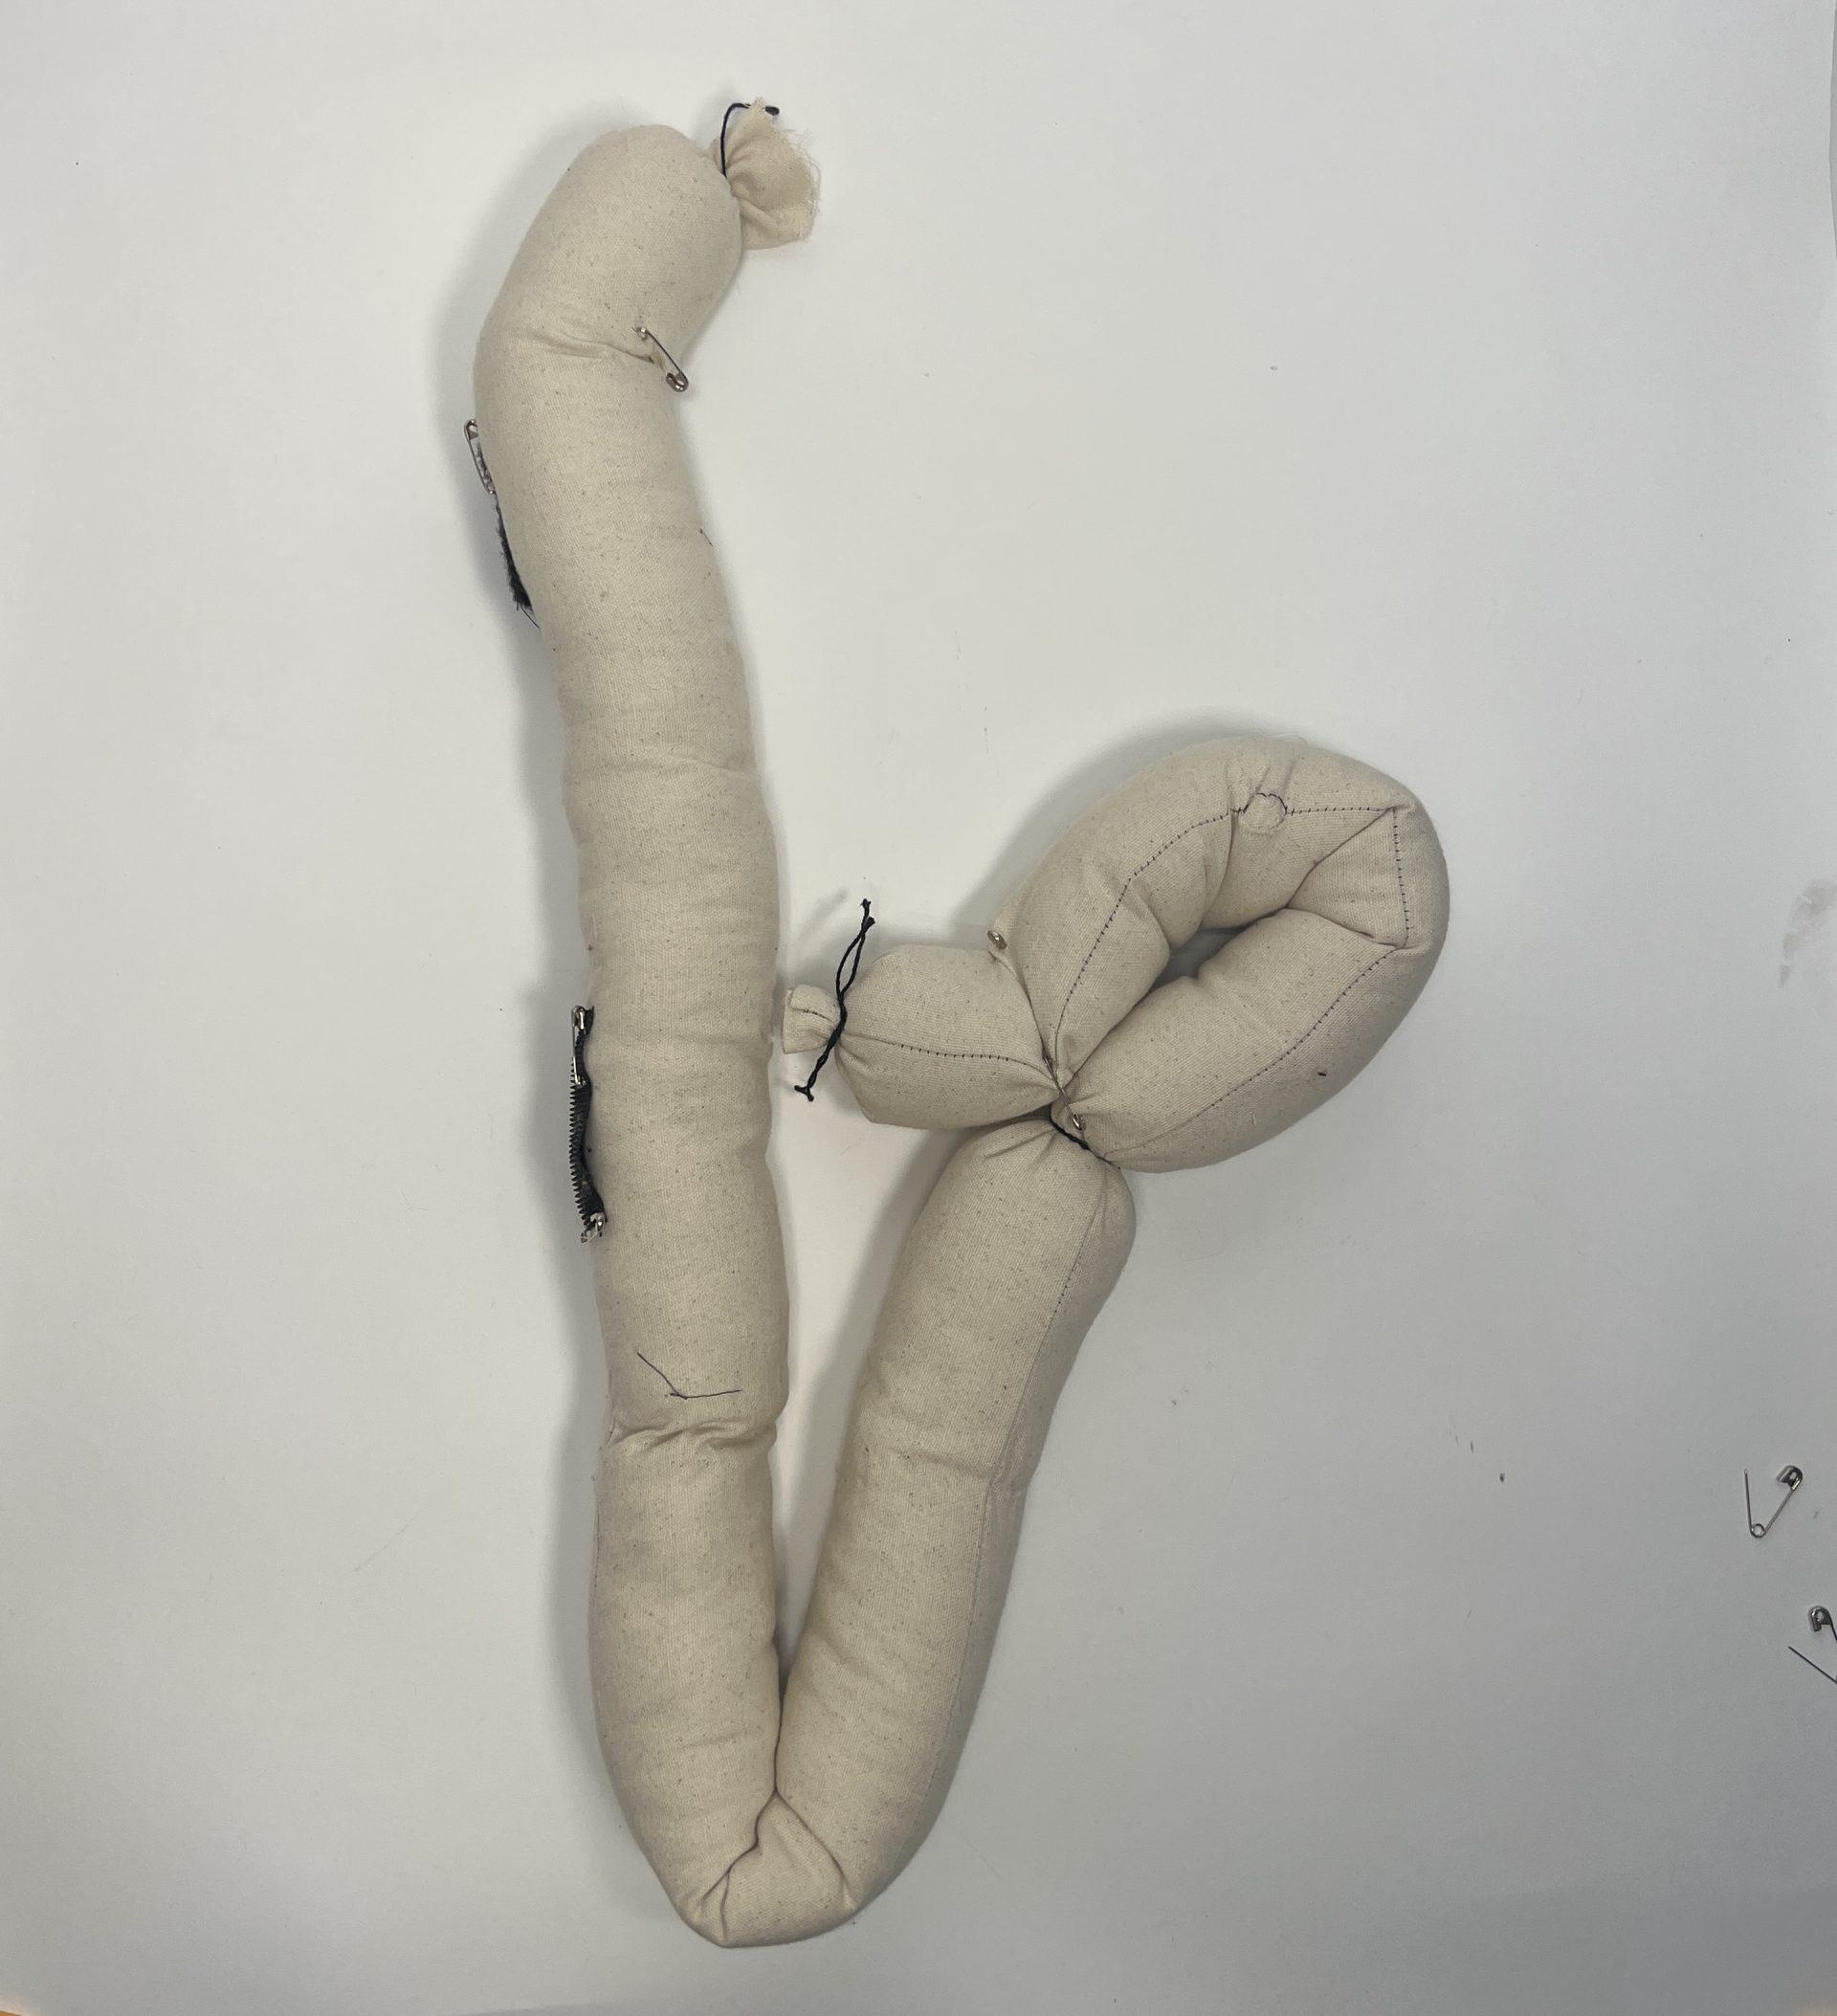
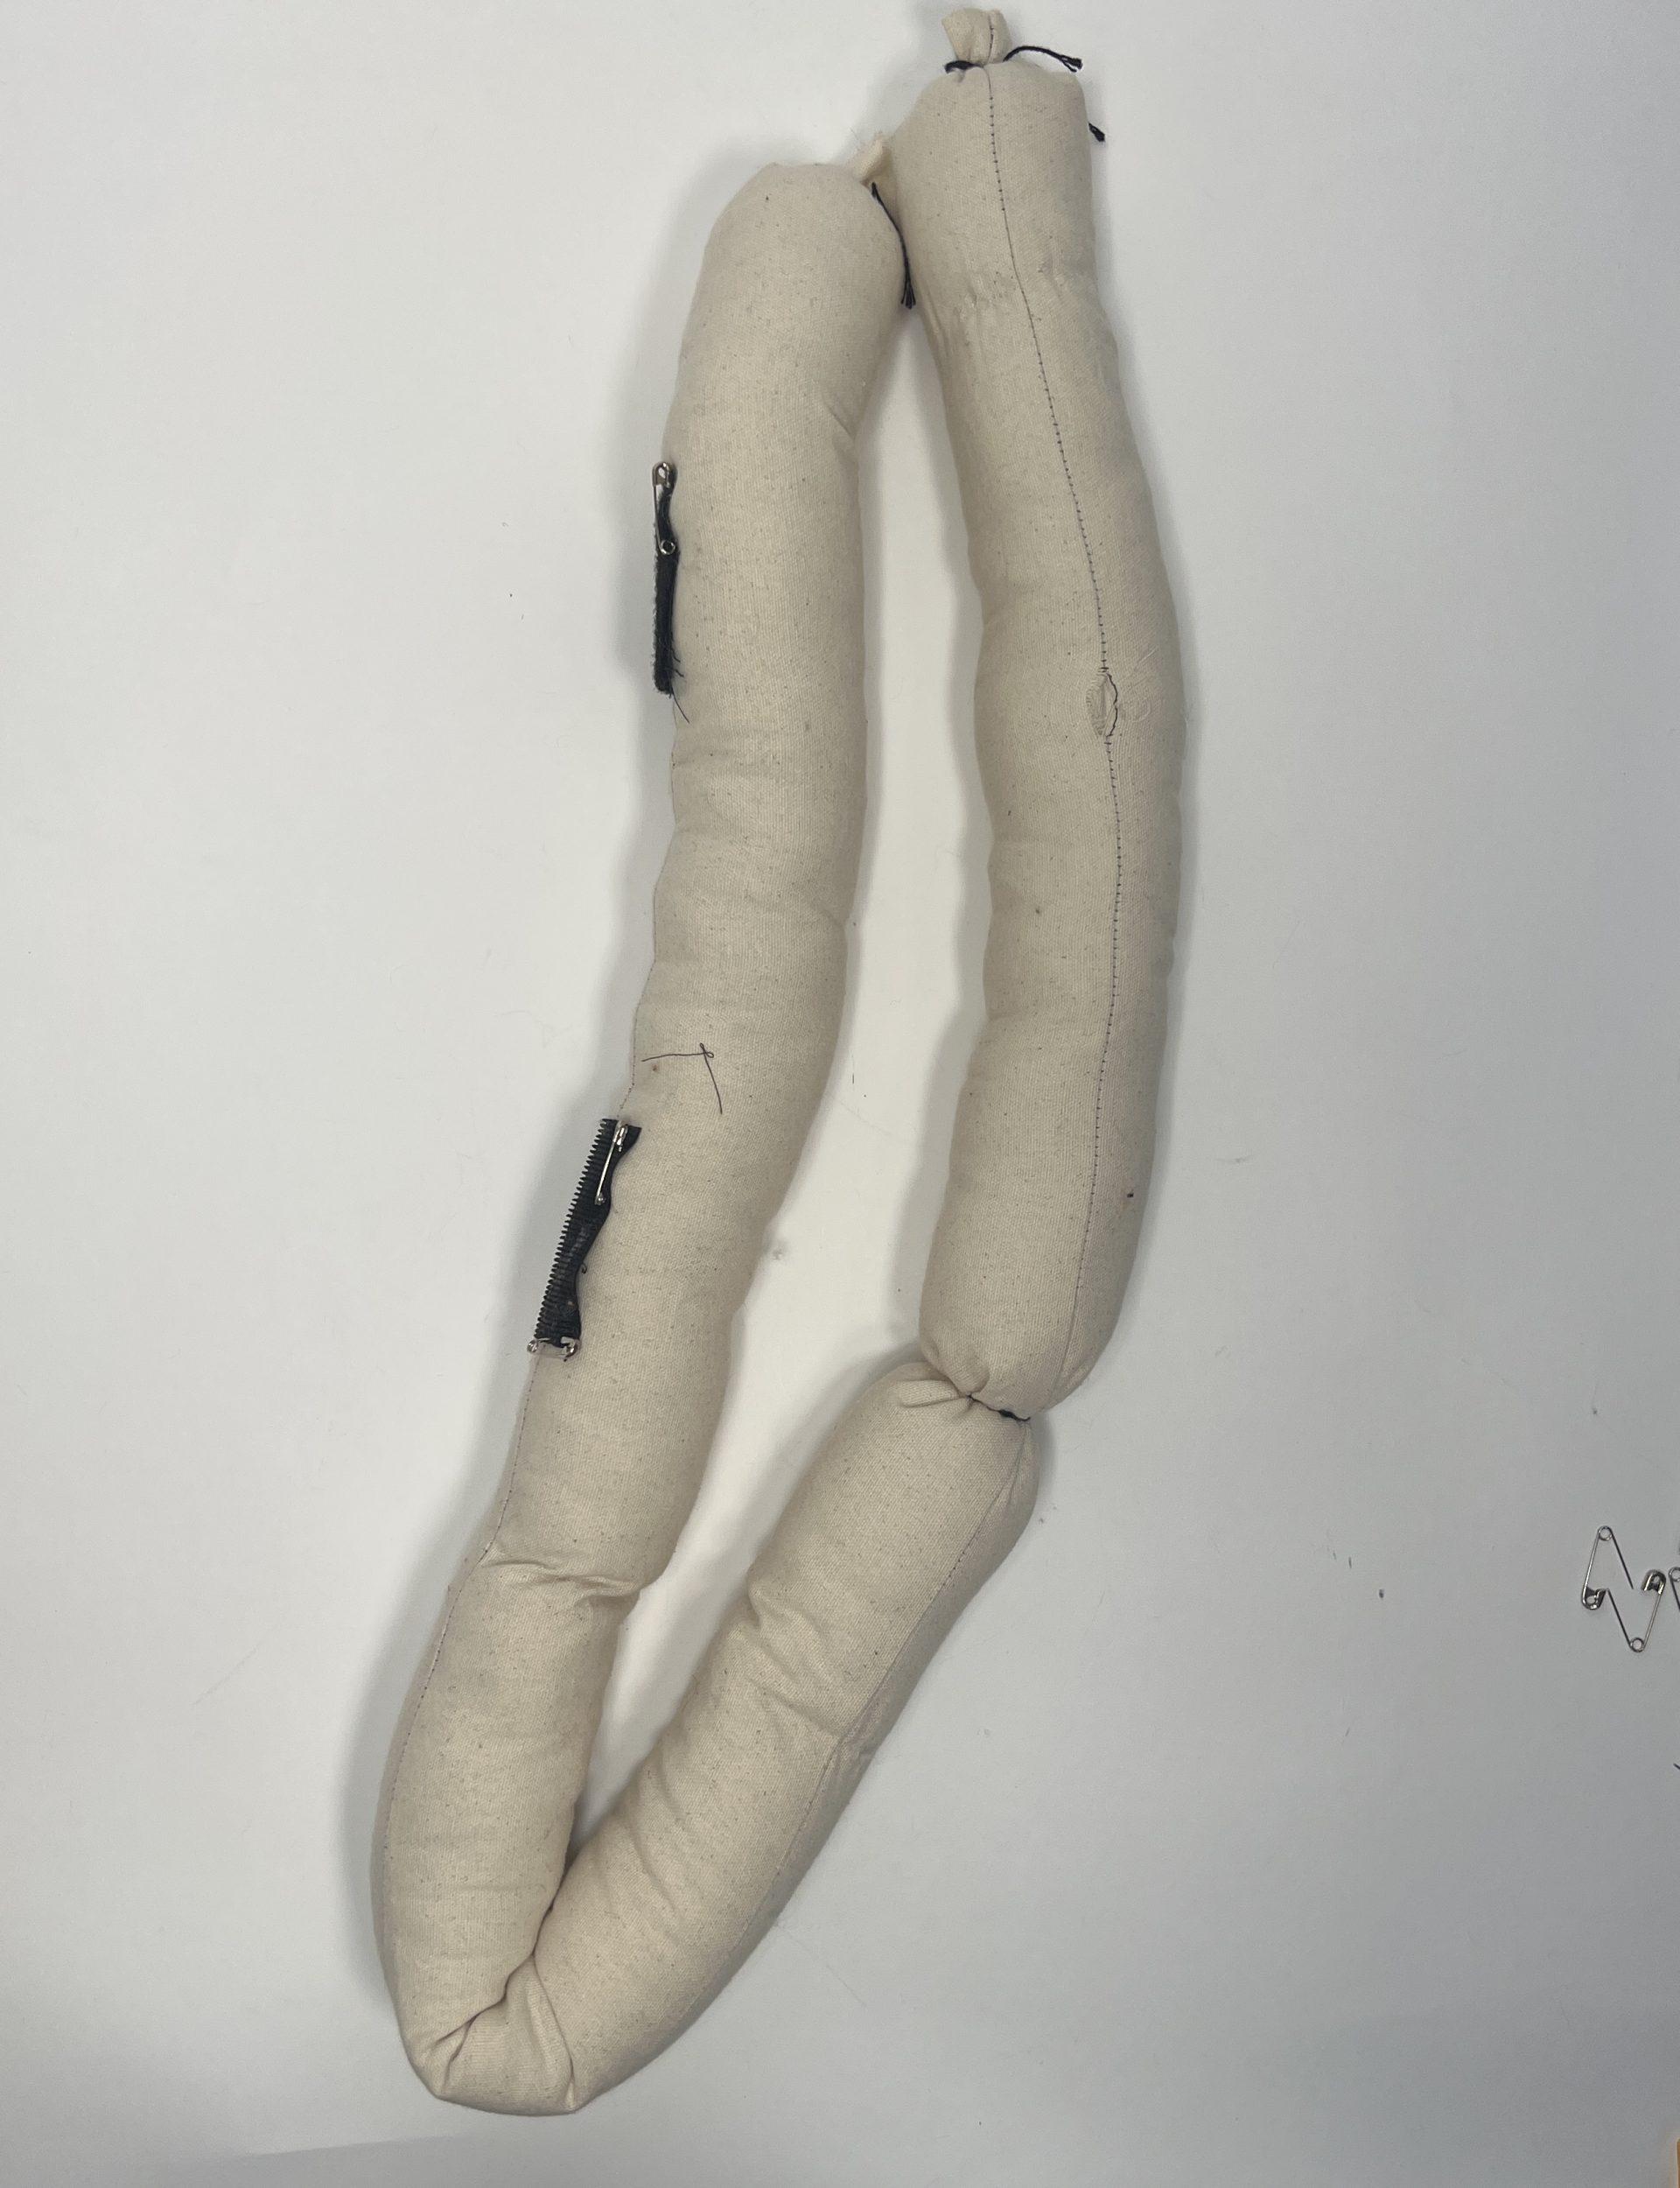
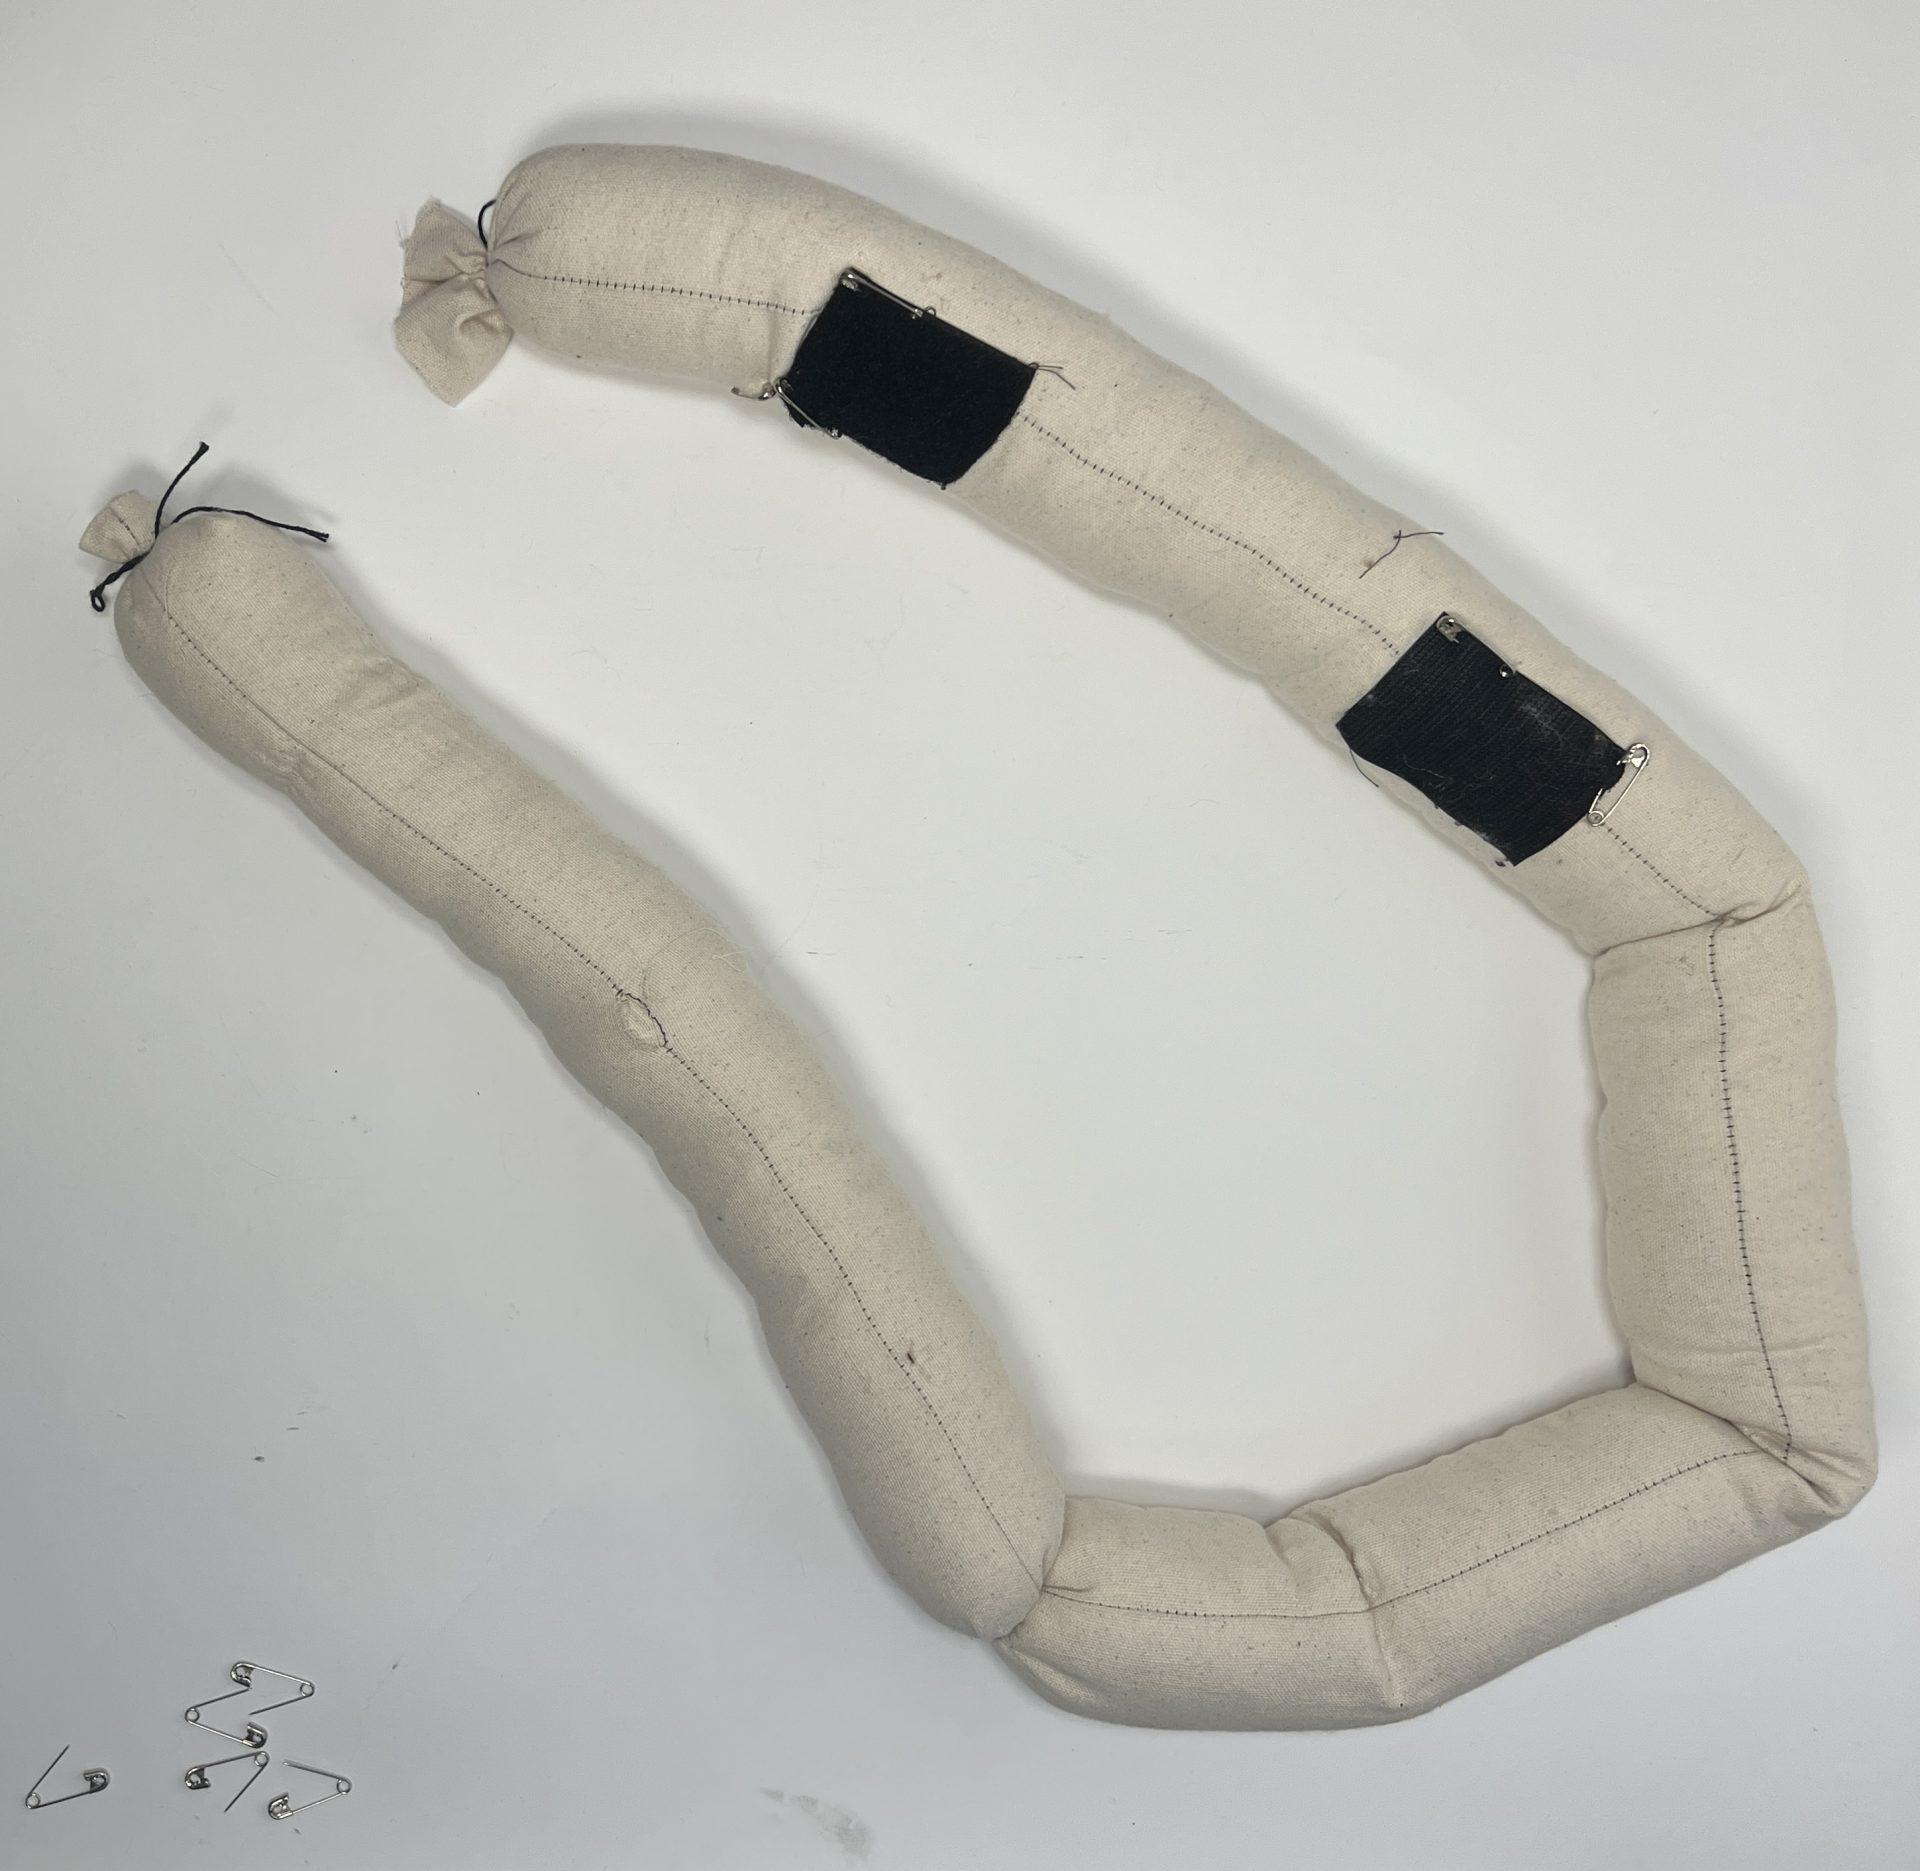
This object was inspired by the famous balloon dog. I think it would be cool to explore the boundary between the textural, material, and property differences between the stuffed fabric made by ‘balloon dog’ and its original form. To understand how objects can transform into an entirely new form, a basic geometry through folding, twisting, and closing/opening is the goal of the push and pull project. To accomplish the fabric version of the balloon dog, a tube was made with one side closed and the other for stuff. By following the procedure to make the original balloon dog, I had to fill and fold to the ideal shape and then secure it with strings to maintain the shapes. After that, I swapped out some linkage with velcros and pins to make the form more natural.

Visual Portfolio, Posts & Image Gallery for WordPress

Meat

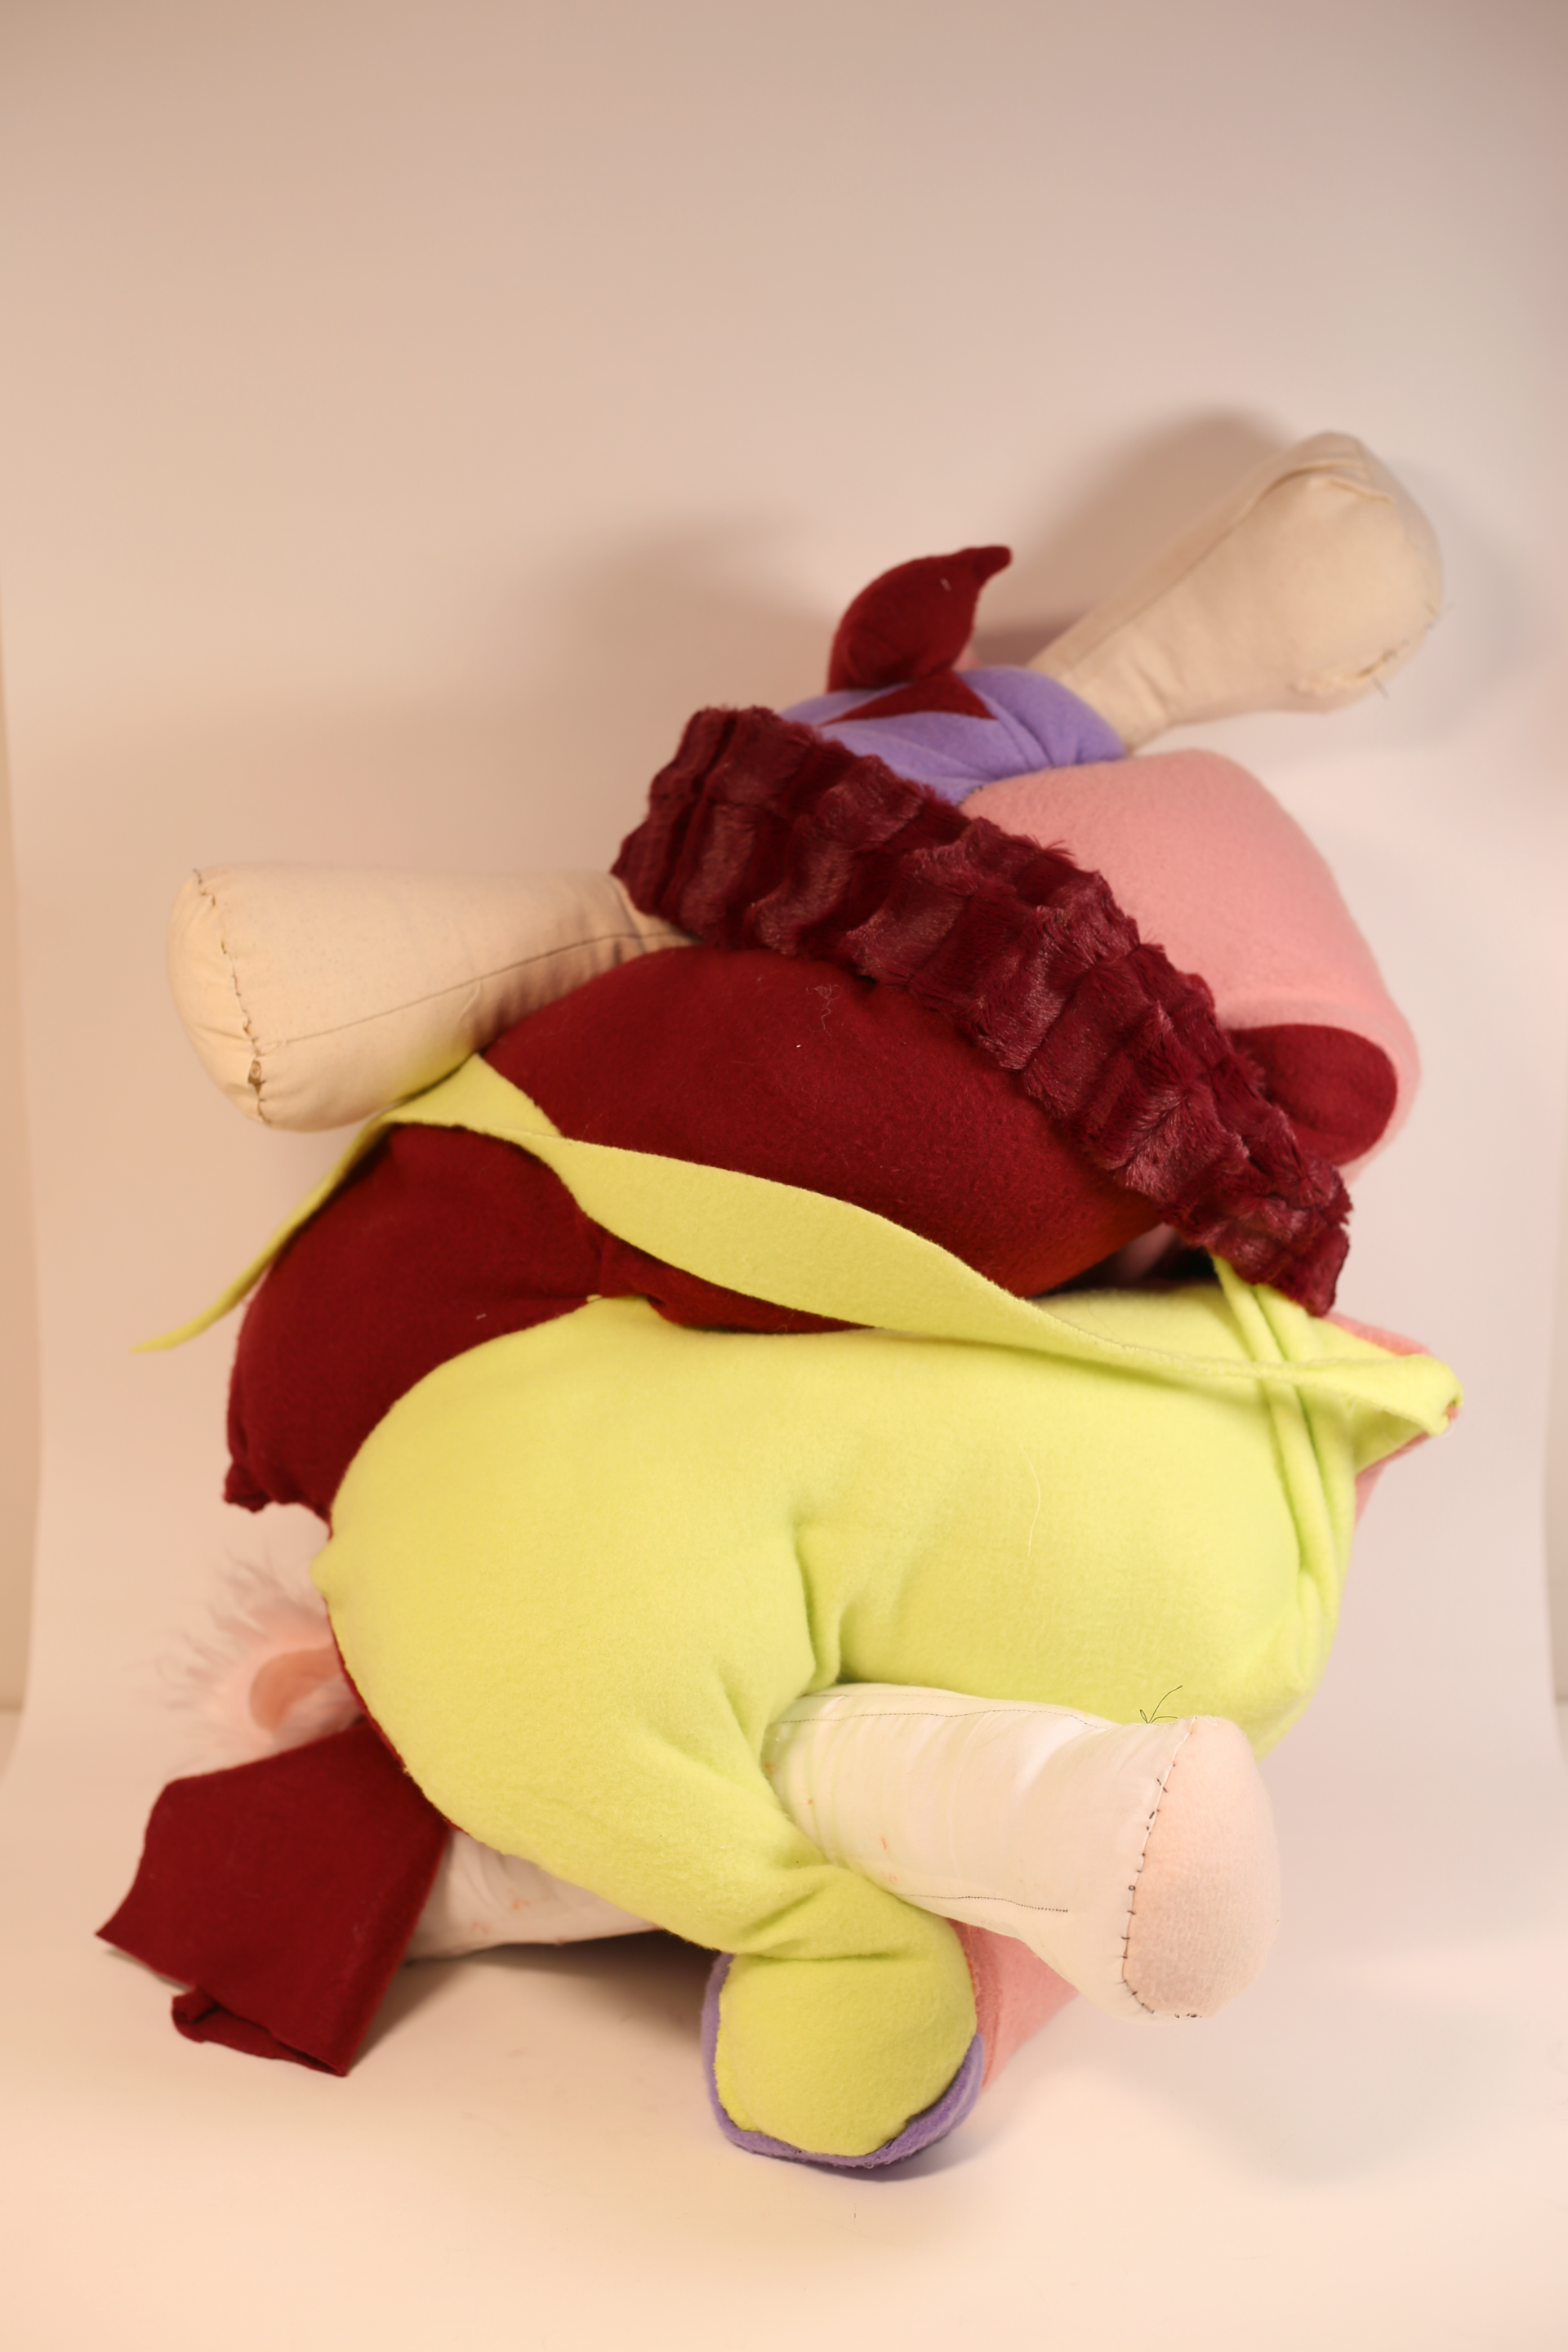
This object was inspired by the fabric sculpture ‘meat carcasses’ by Tamara Kostianovasky. The image of slaughtered livestock – the vulgarity of fleshy carcasses – is softened into plush cuts of meat. The grotesque, gross-looking, agitating form contrasting with the soft, sweet, detailed material creates great chemistry I want to explore in this object. The artist makes these sculptures using her own cloth, and I chose to get inspired by the leftover scrap pieces by our peers. I want to let those forms inform my design.

  1. Things I want to capture in the meat: flesh, bone, and slabs of fat.
  2. Things I want to do with the object: interactive, different textures, surreal colors

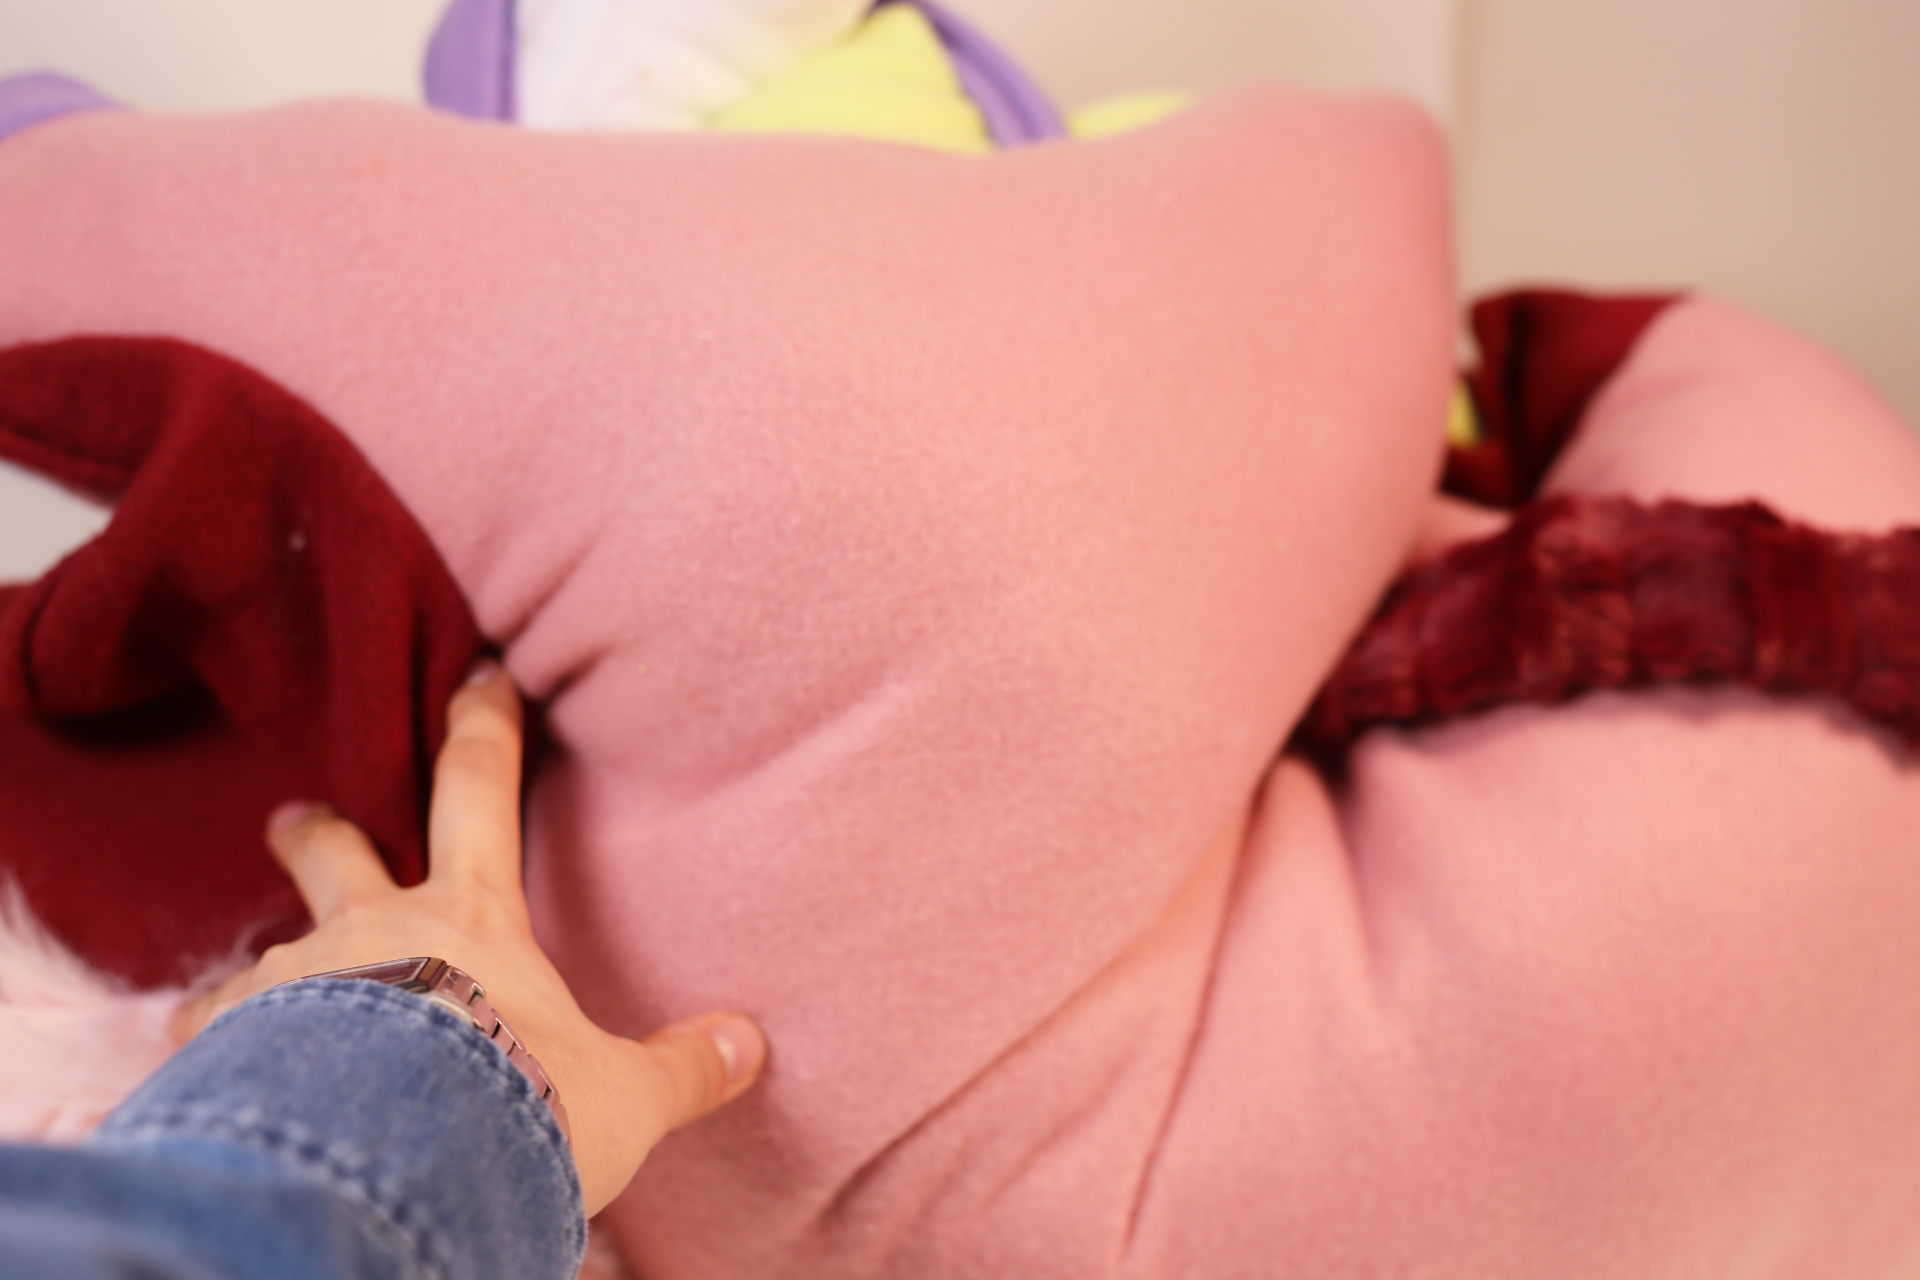
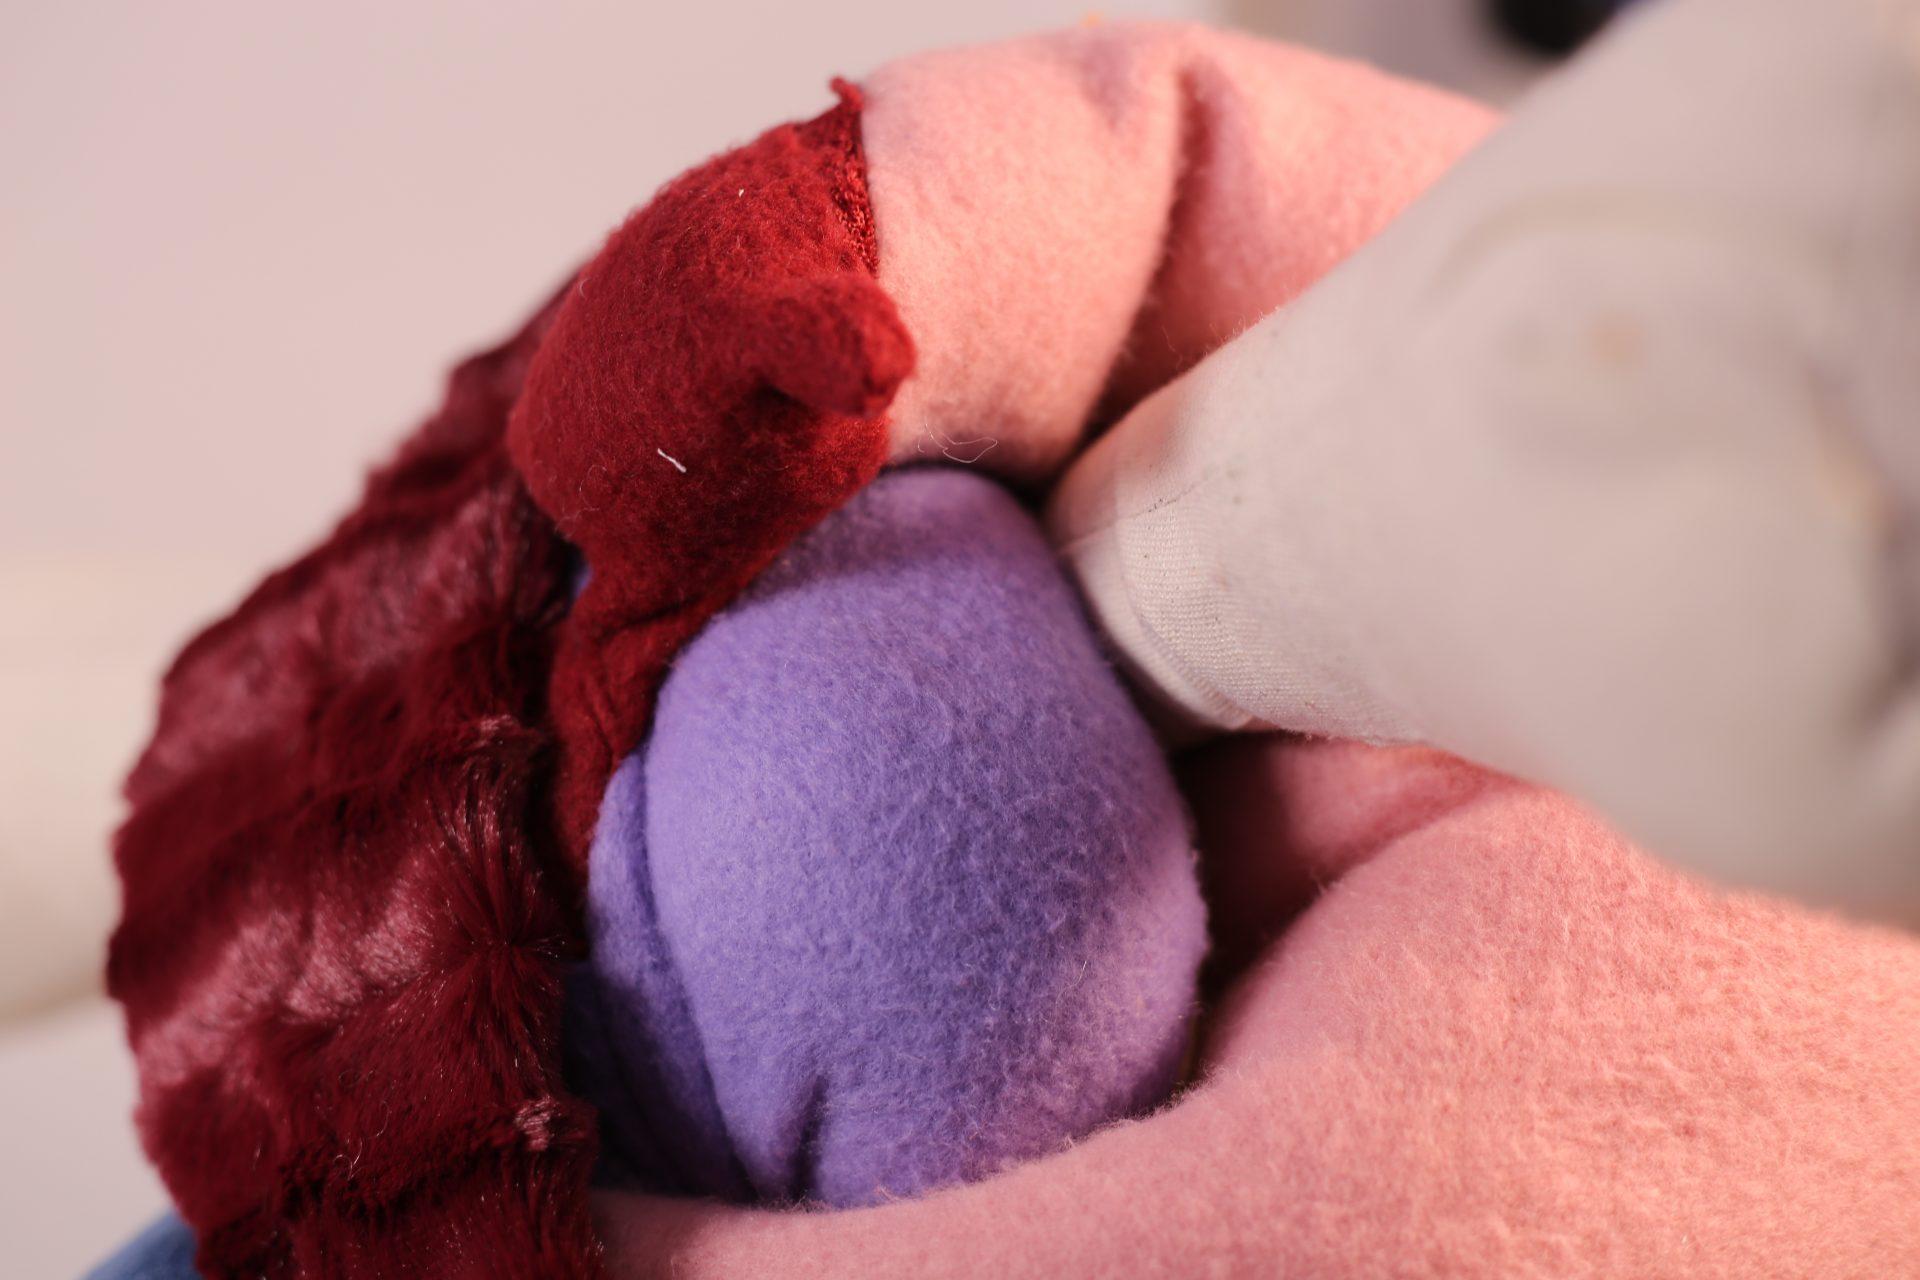
With knowing those, I started mutilating the fabric using darts, strengthening them to create volume, inverting them to create contract and etc. The interactive portion is that the bones ate removable, and the pieces of green, and purple fabric are all pullable to shrink and expand the form. Overall this is definitely a tough yet rewarding object I created.

Visual Portfolio, Posts & Image Gallery for WordPress

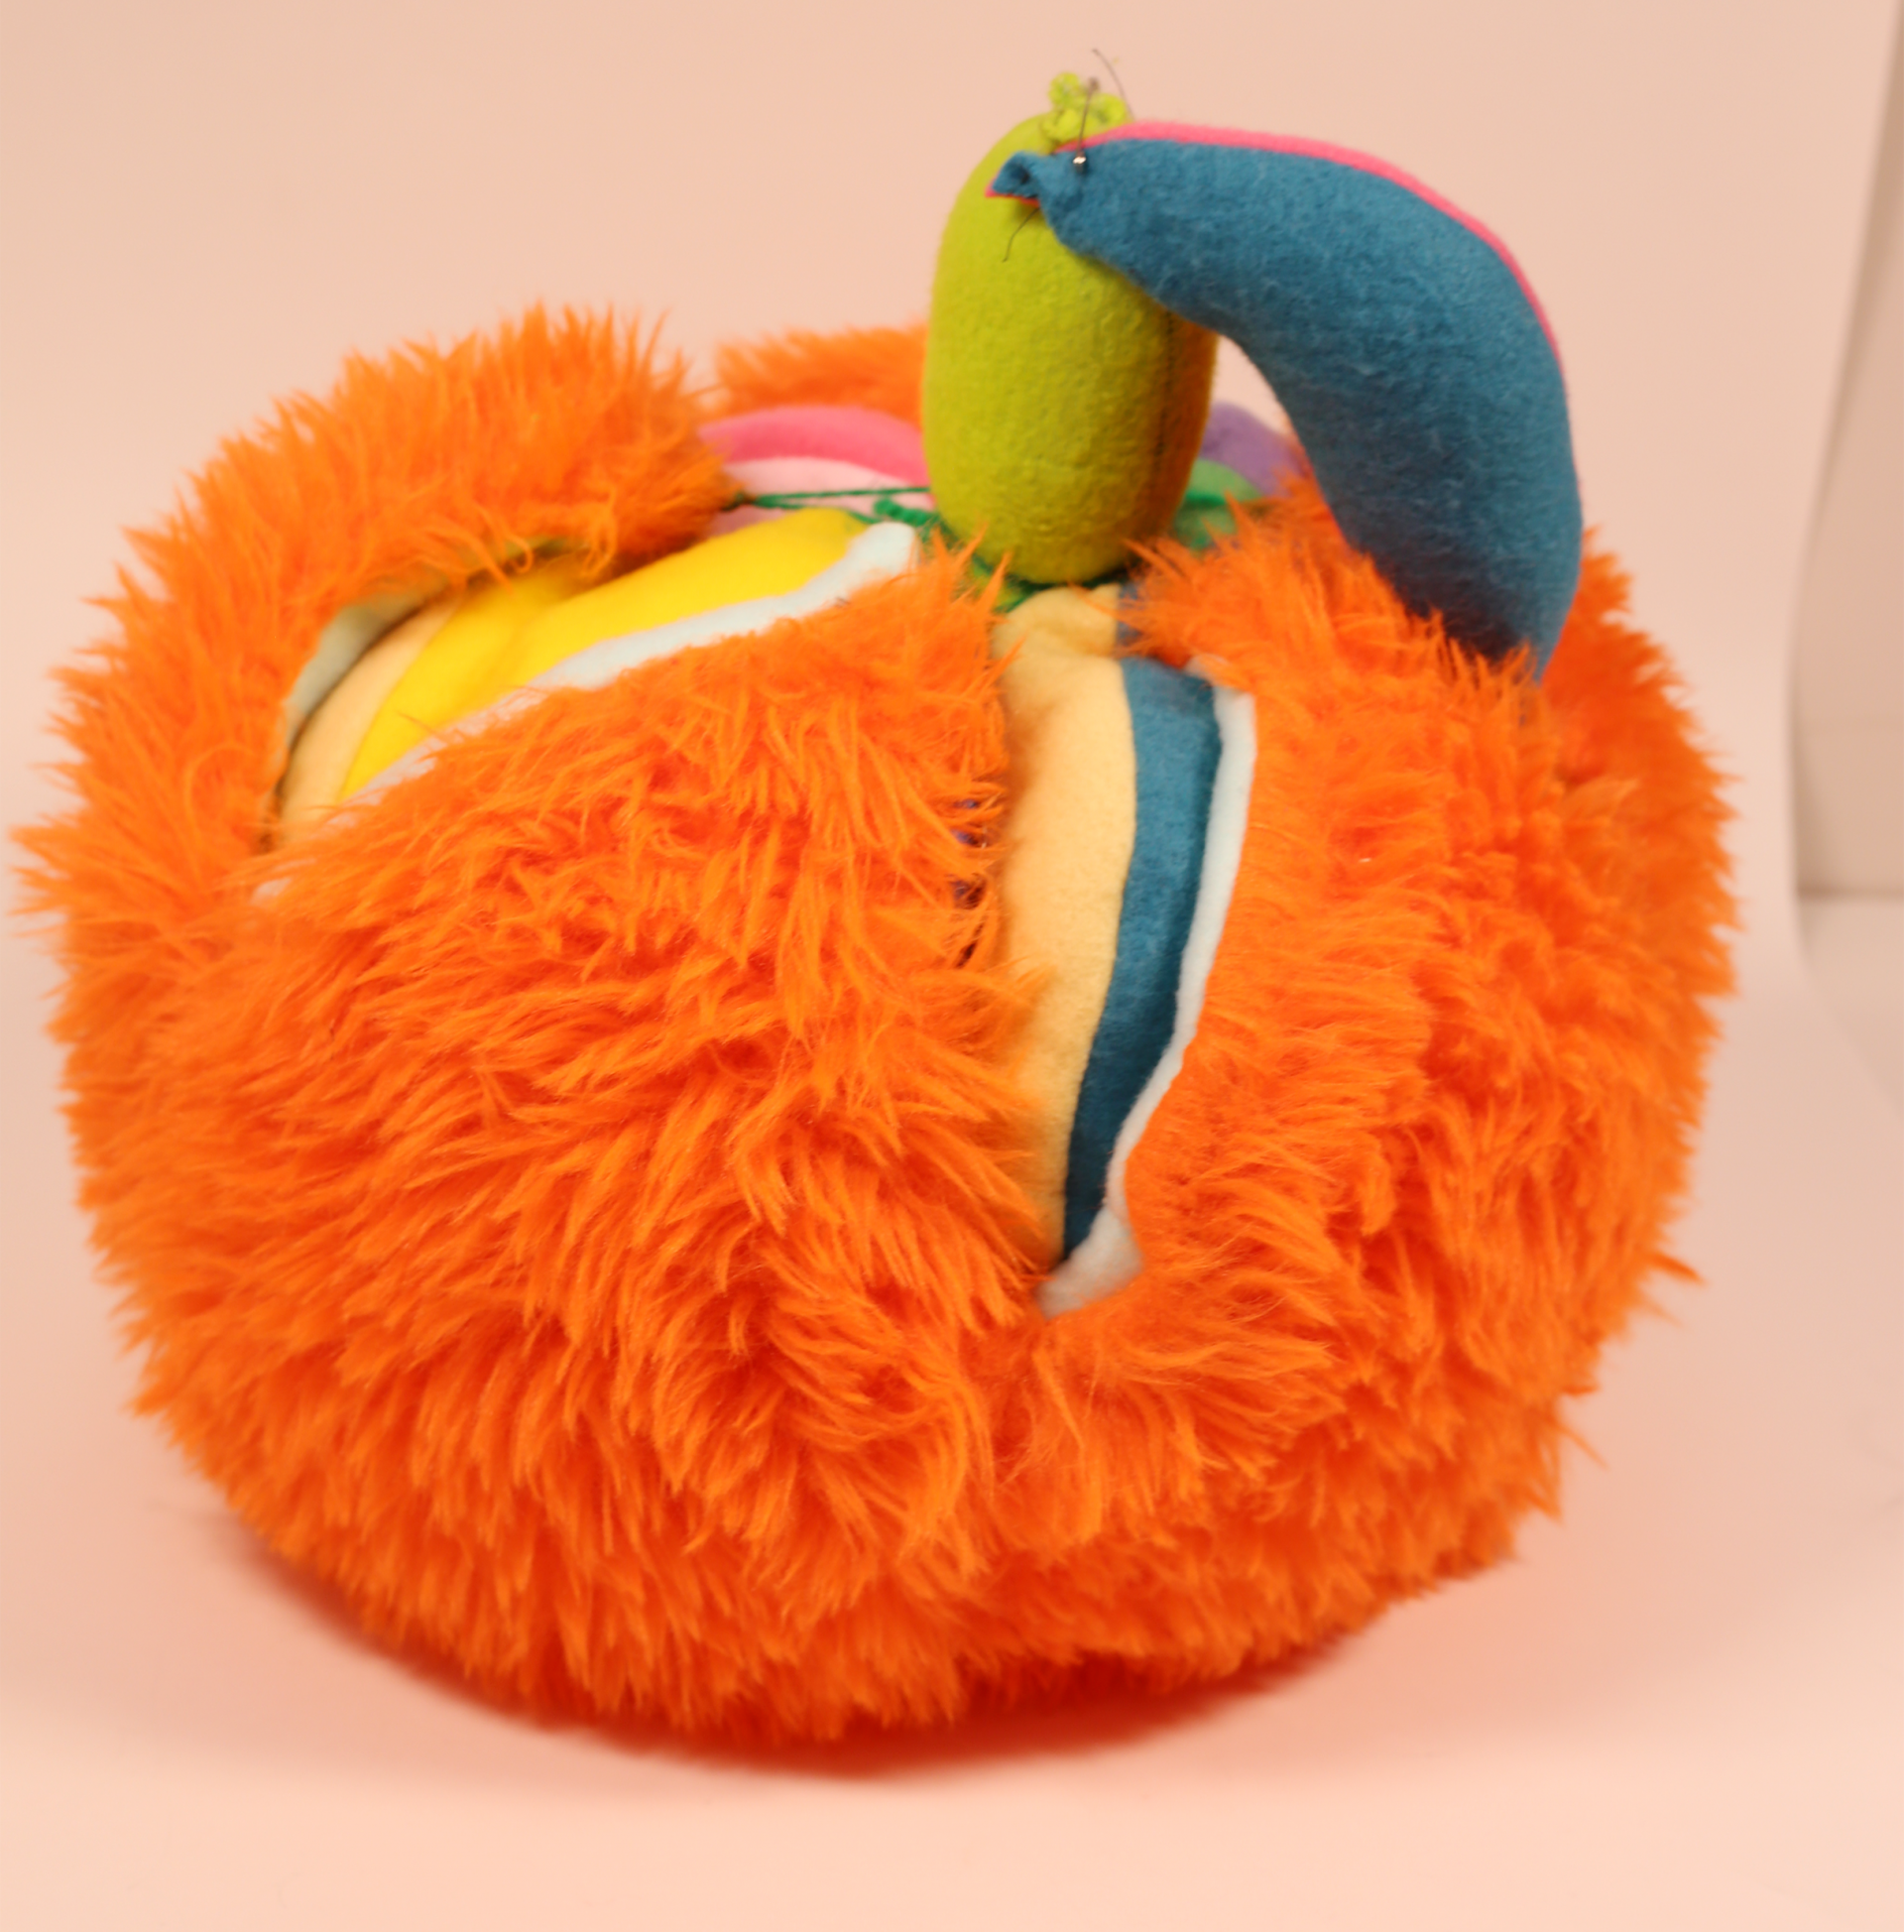
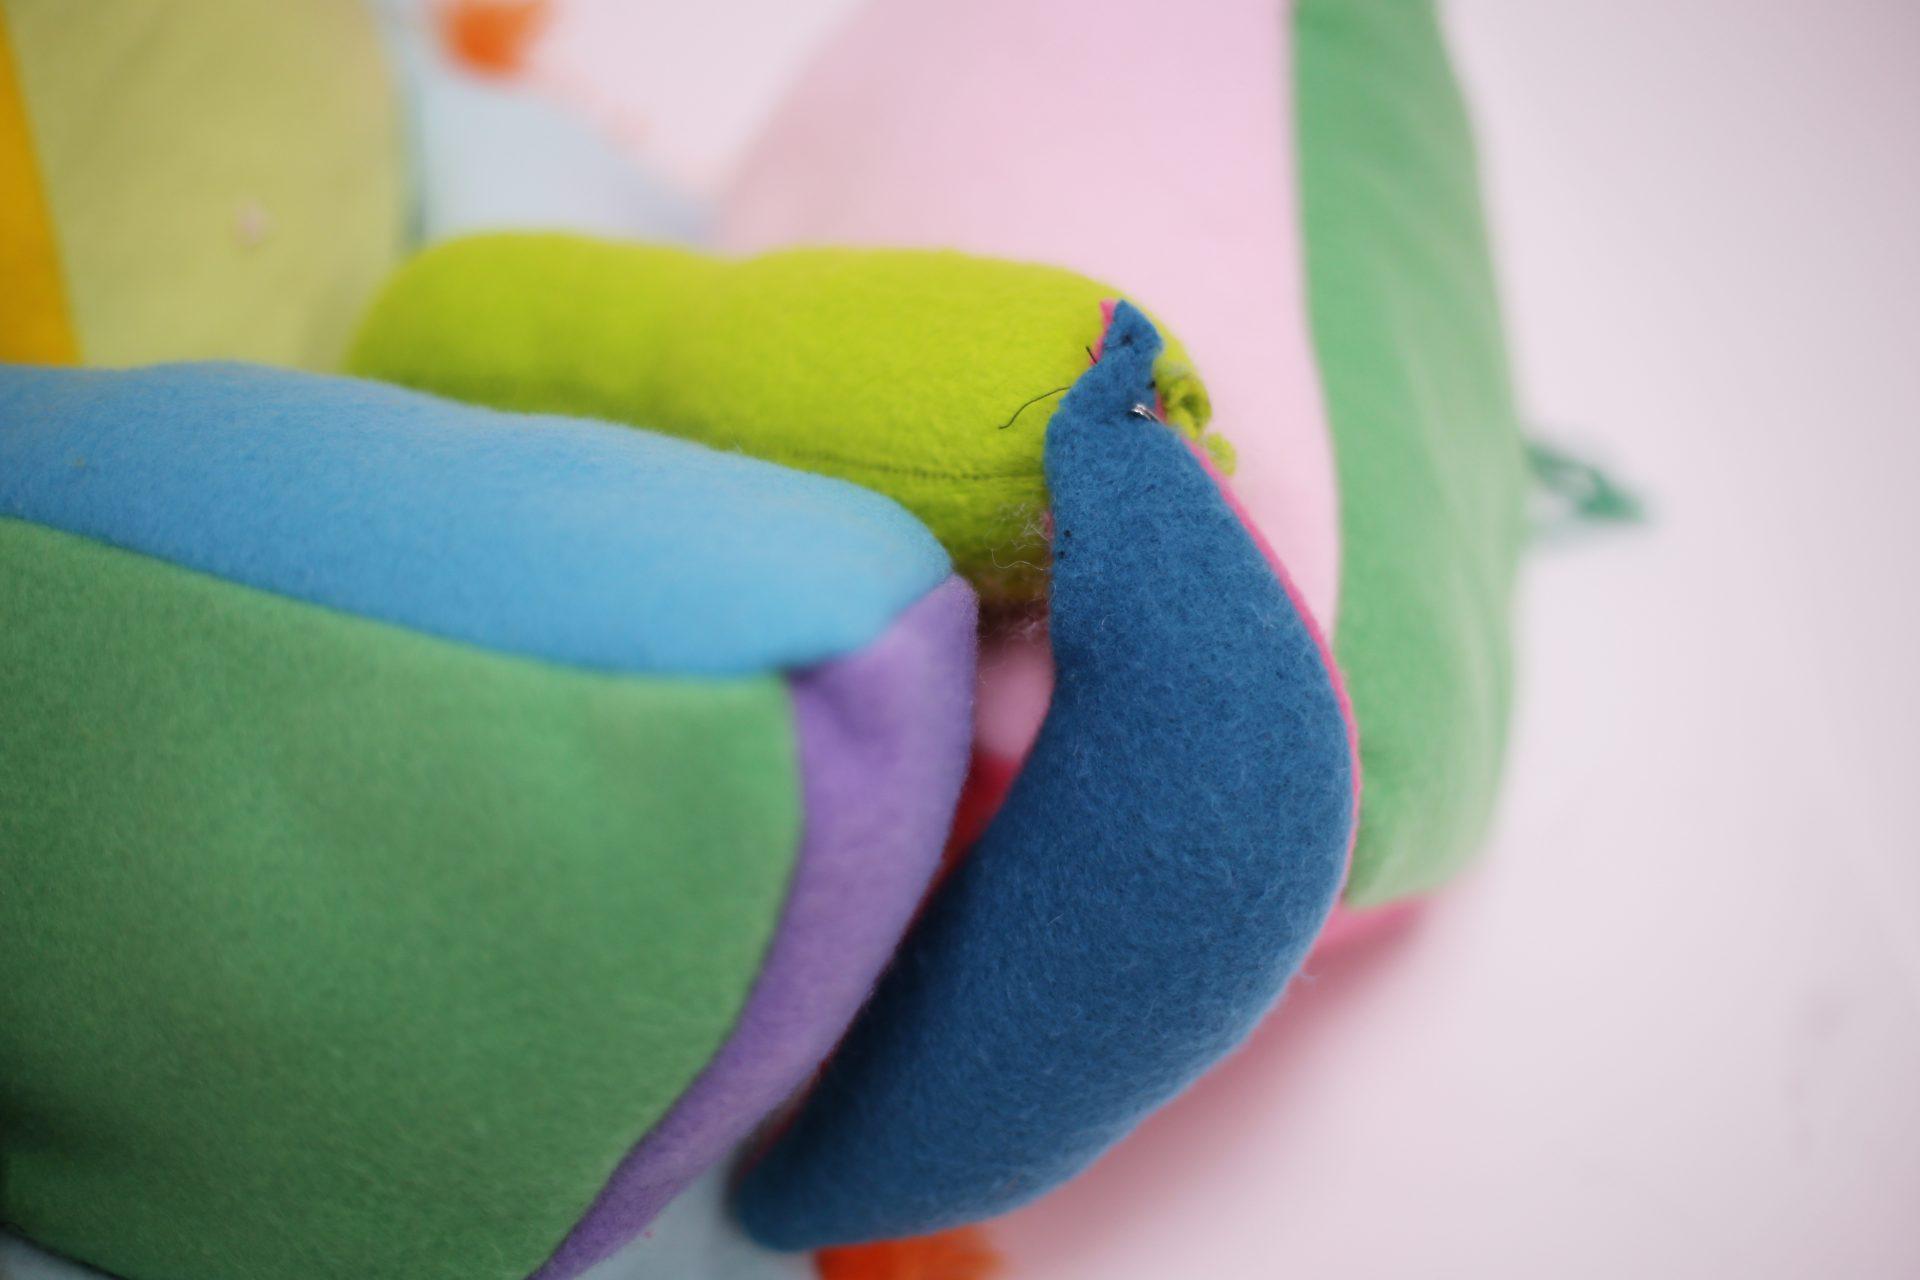
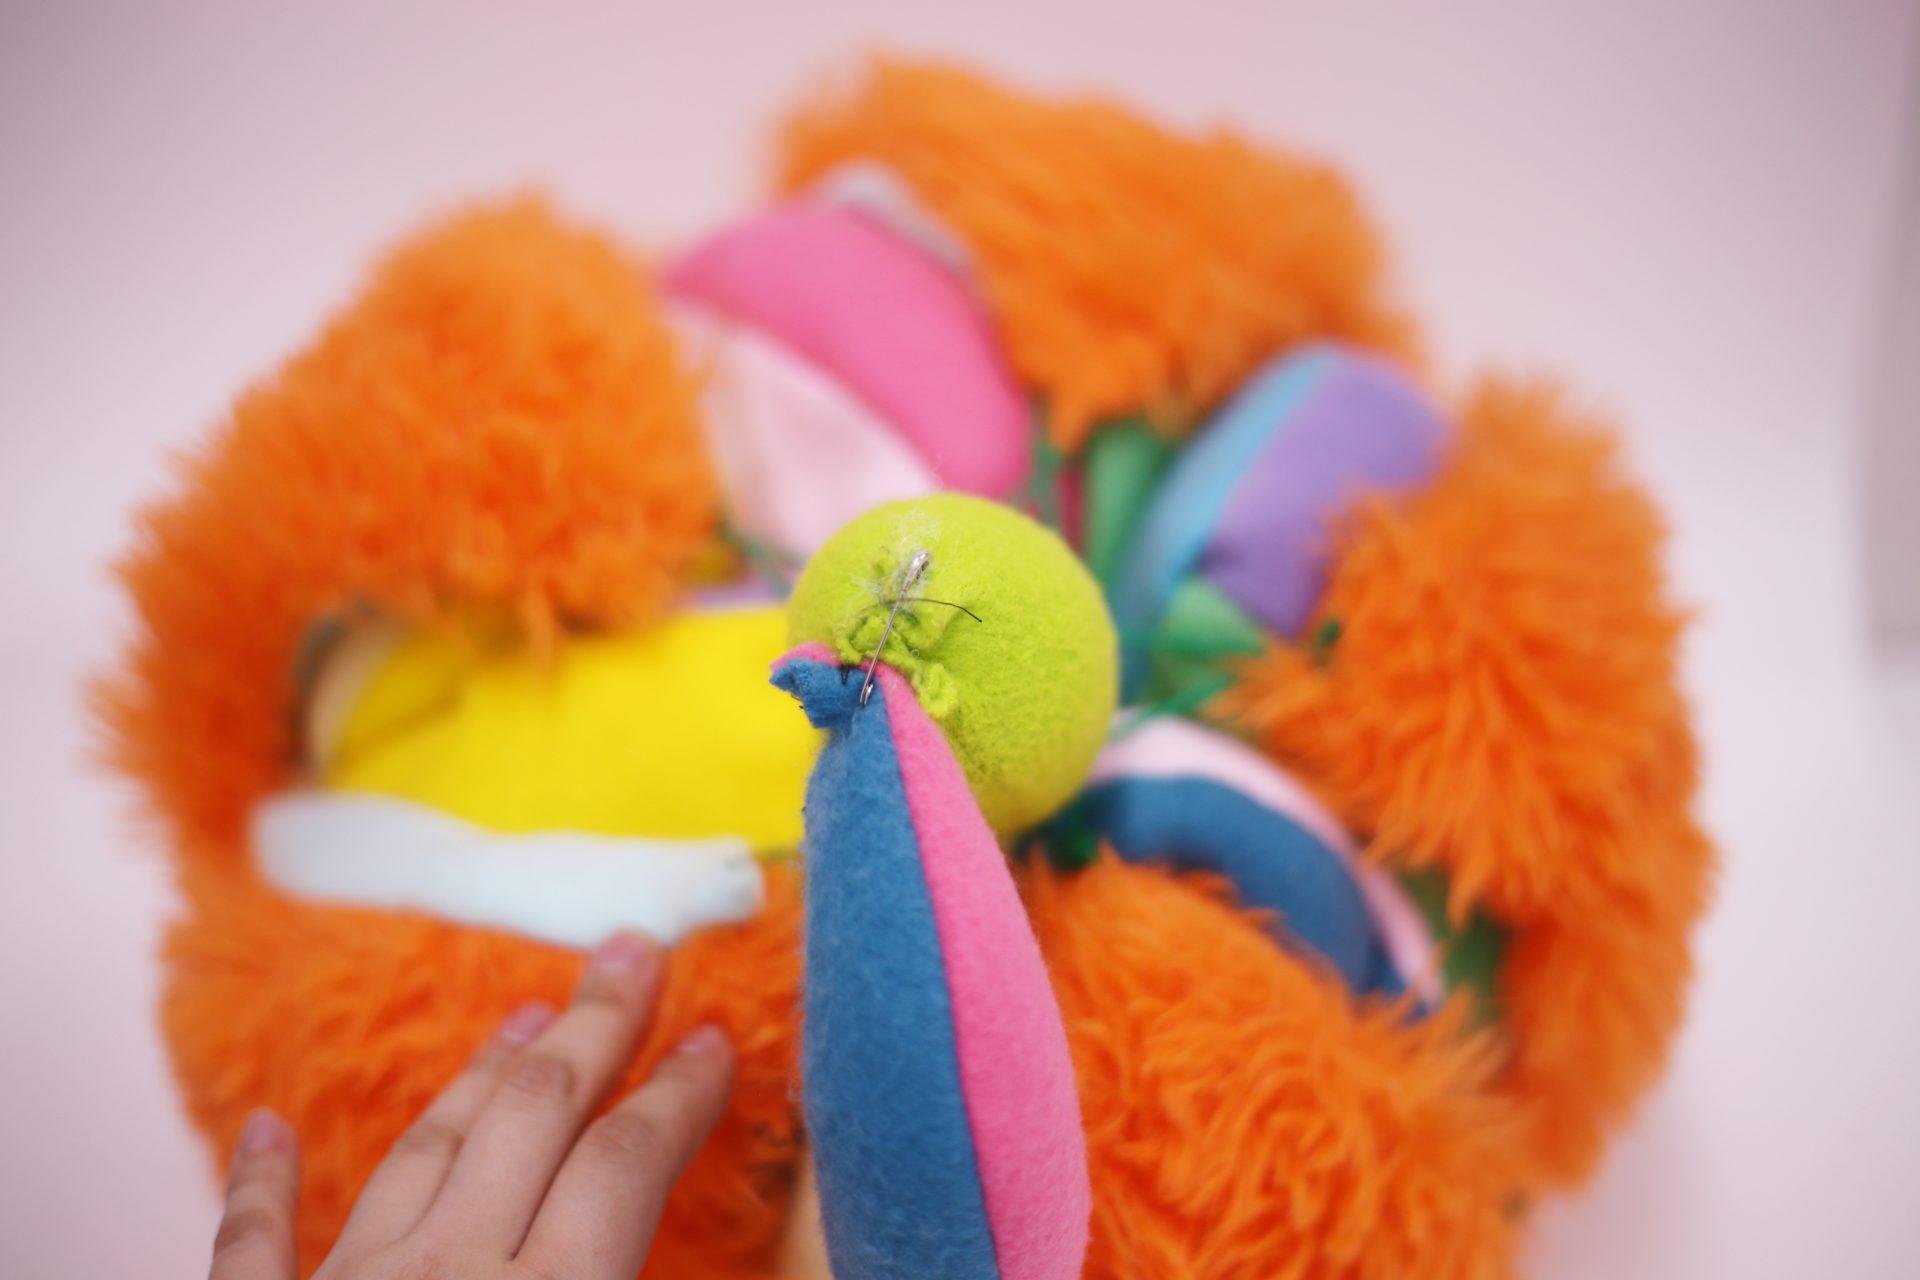
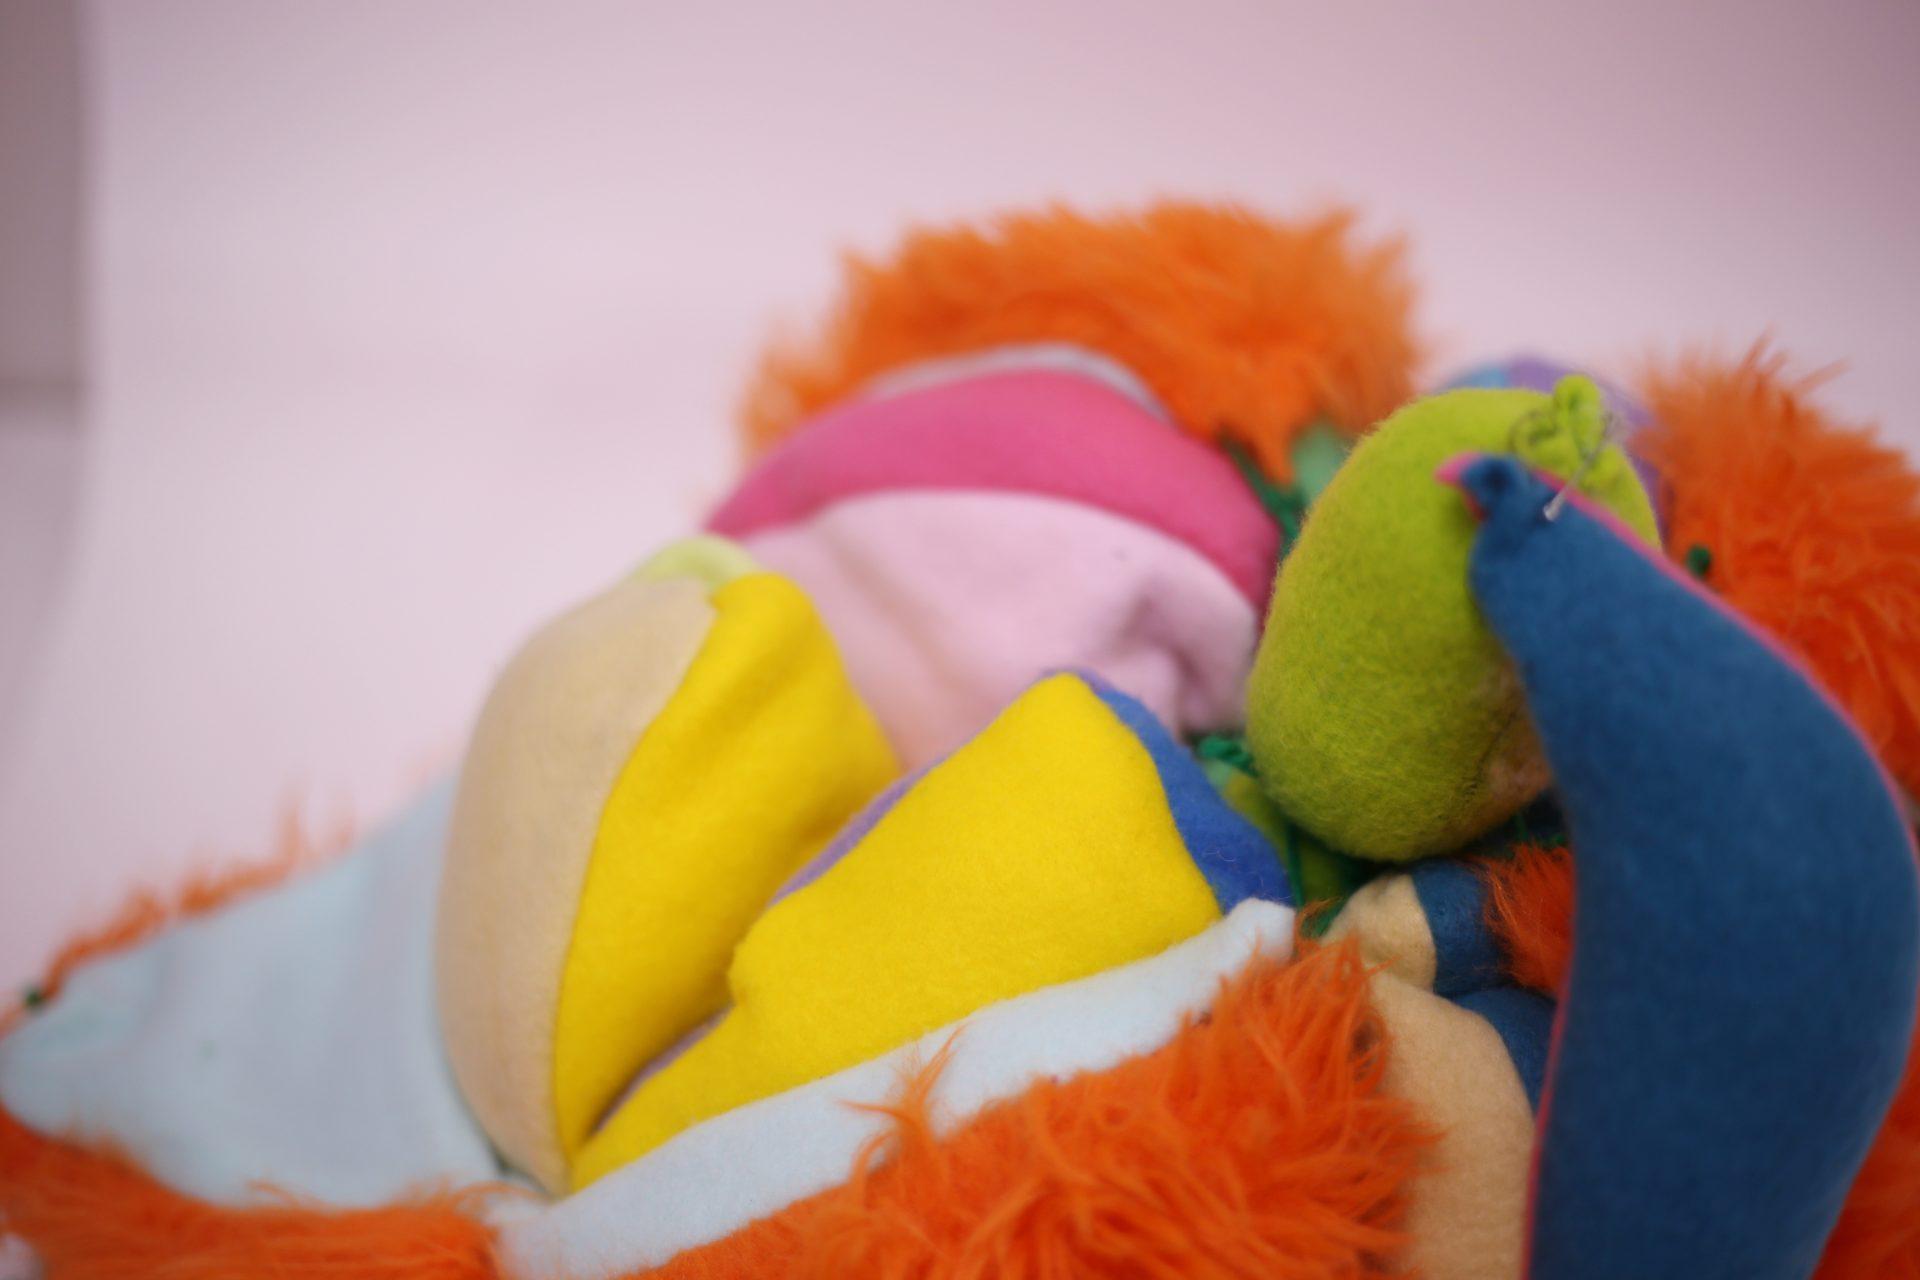
Oranges *baby edition

This object came to my mind as my friend peeled open a mandarine while commenting on the orange fluffy fabric. And ya, here is where that landed. This is the only object that I had a pattern created for constancy and uniformity. The challenges in this object lies in the constacution: from sewing the peel becuase the flfy frabic are very thick or to stuffing all the slices into the peels, to have the explosive effect when someone takes out the stem to picking out the correct ratio of colors. It took a lot of thought and try and erros to get it right.

Now! You can pluck the stem, slowly peel open the ‘skin’ and take out the slices of ‘baby mandarines’!

Visual Portfolio, Posts & Image Gallery for WordPress

Push/Pull Objects- Jocelyn Kiefel

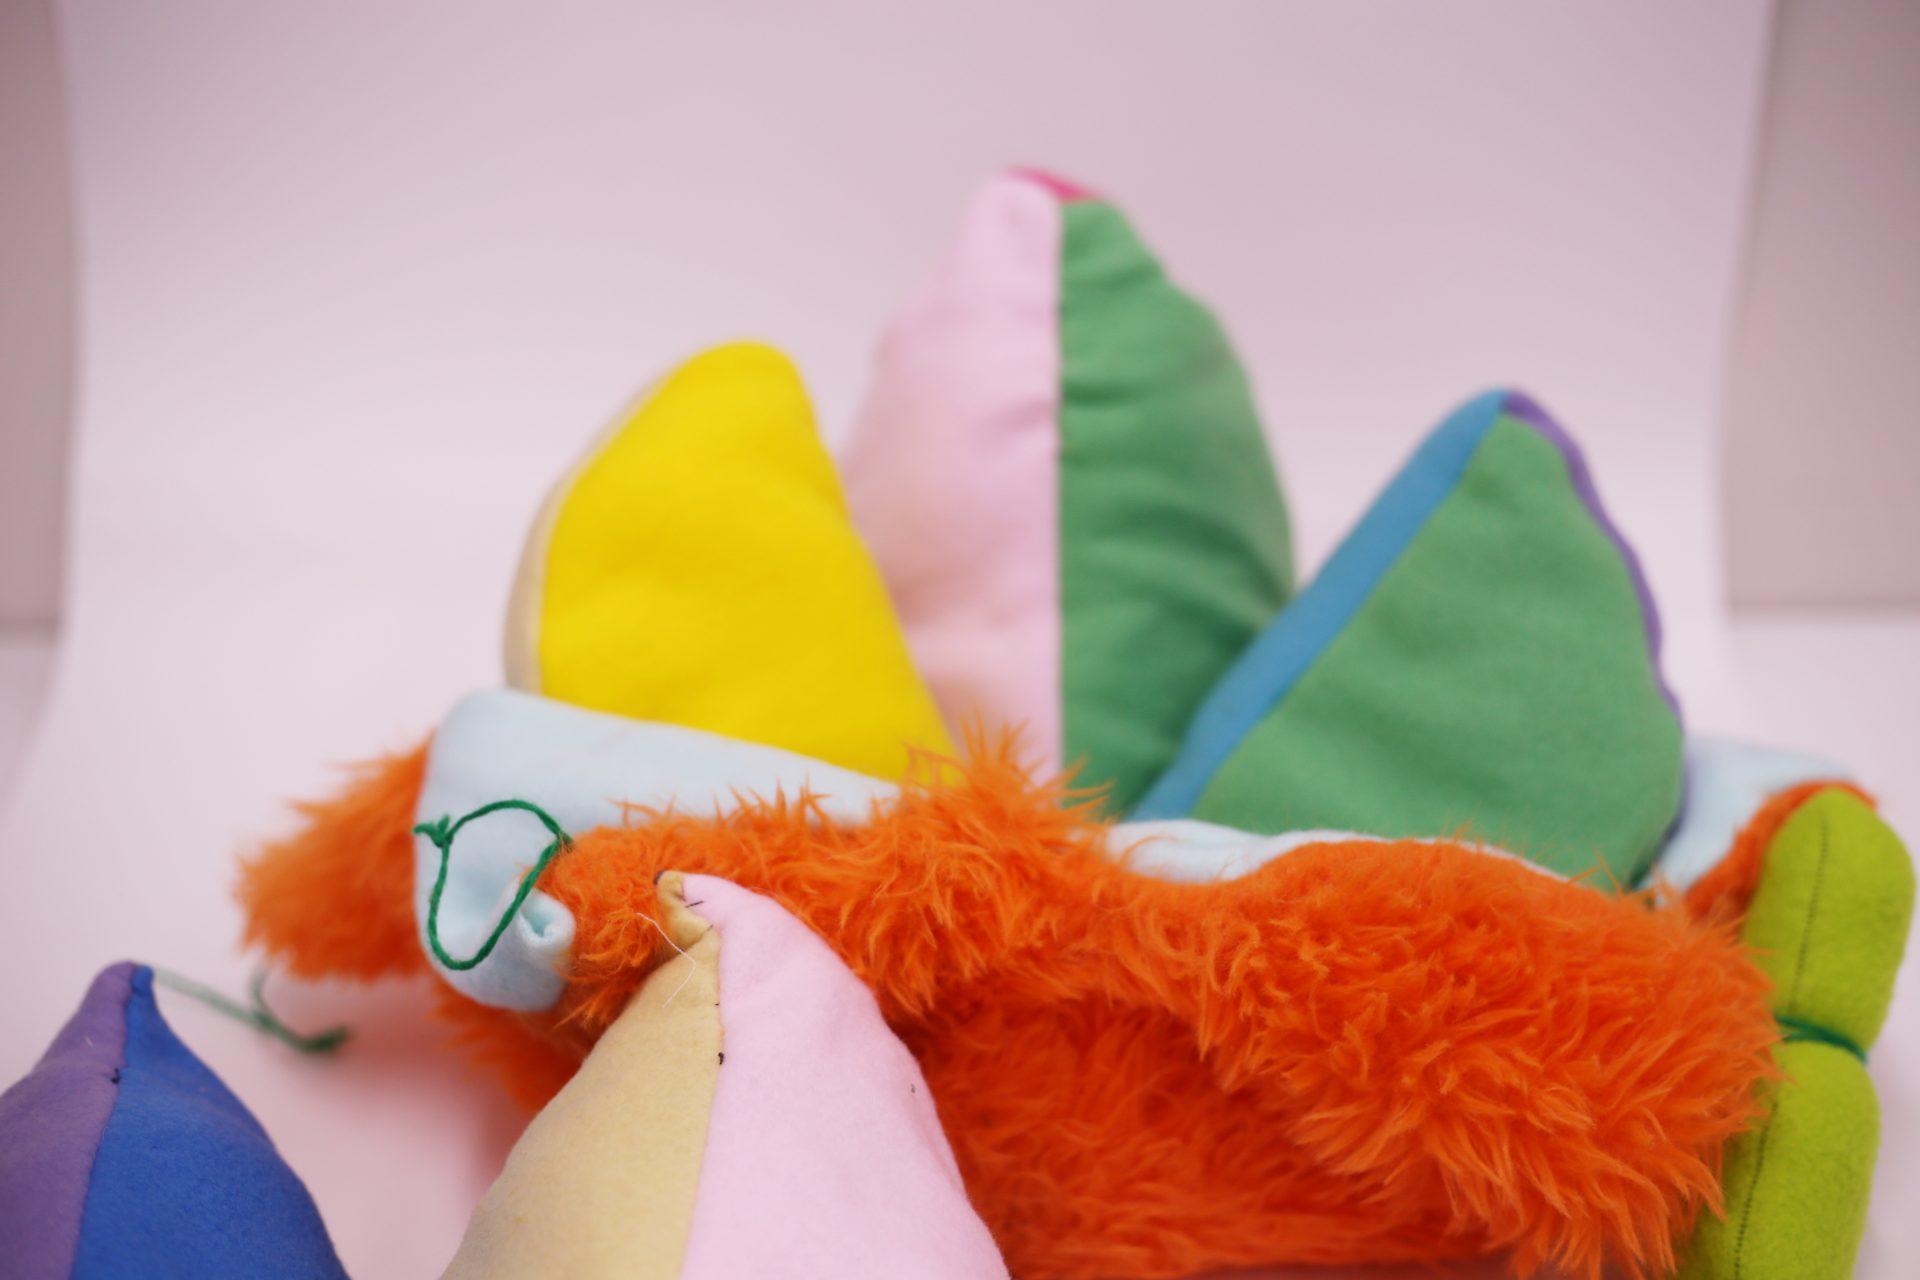
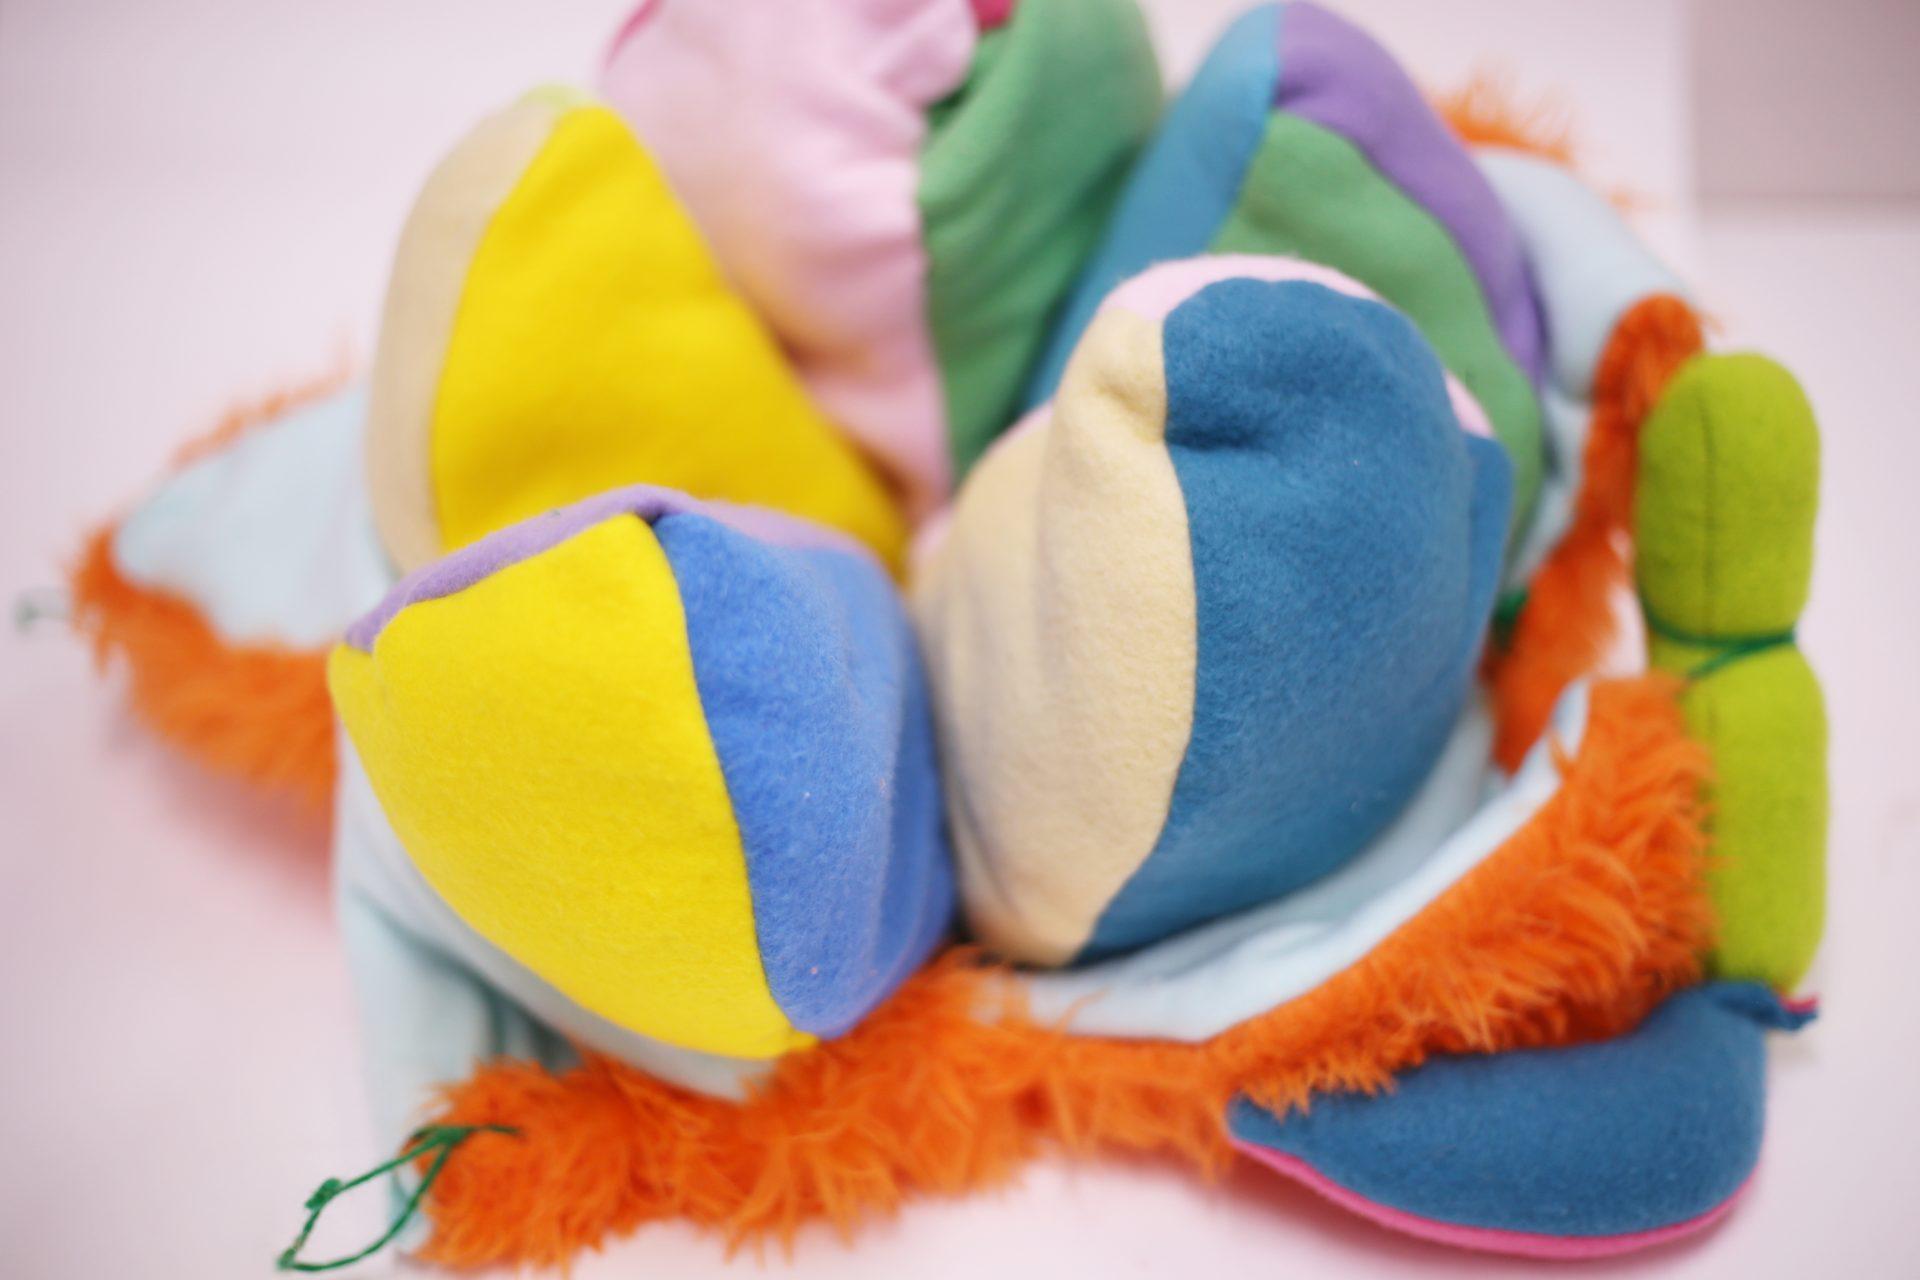
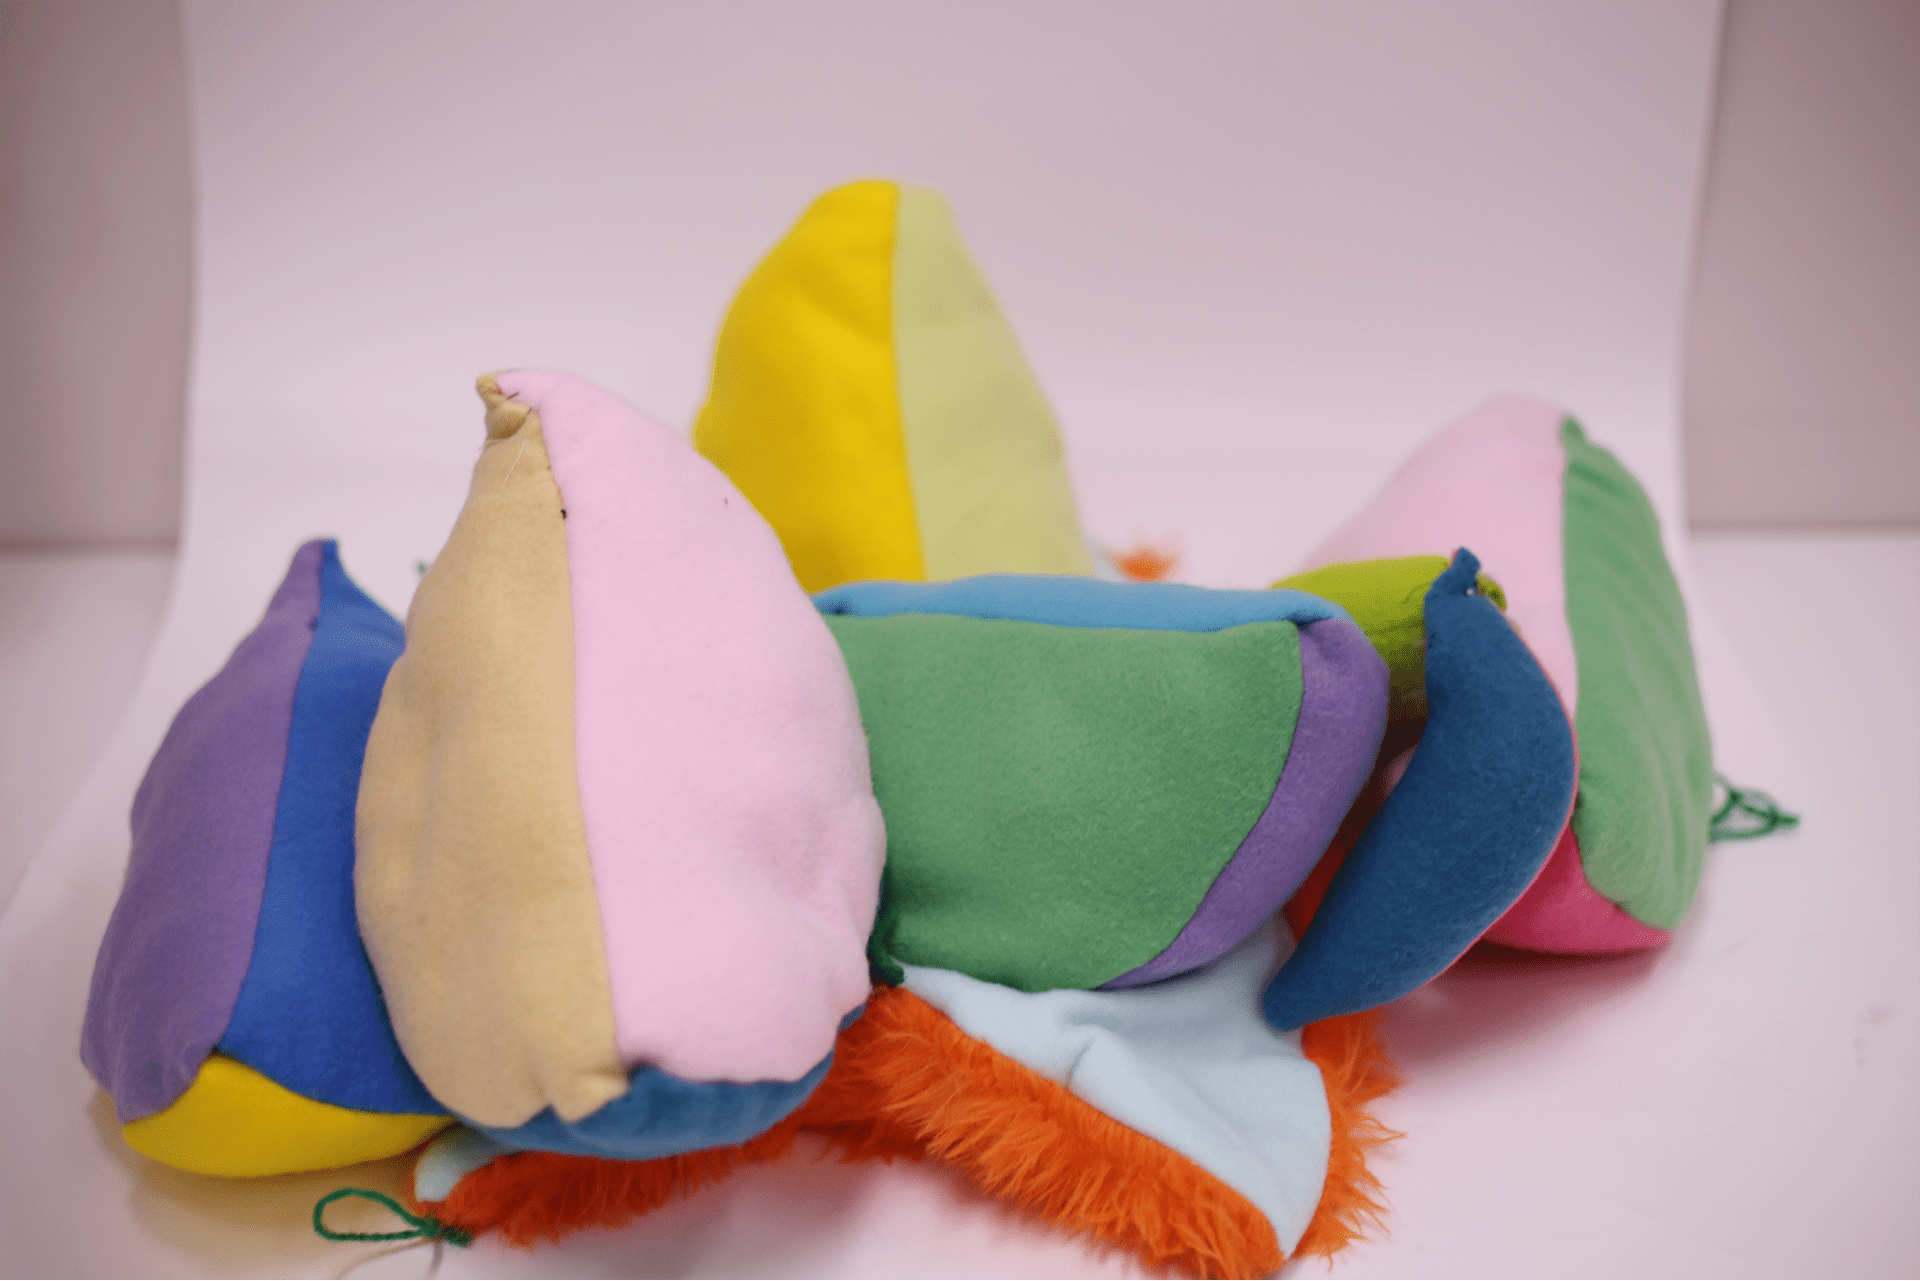
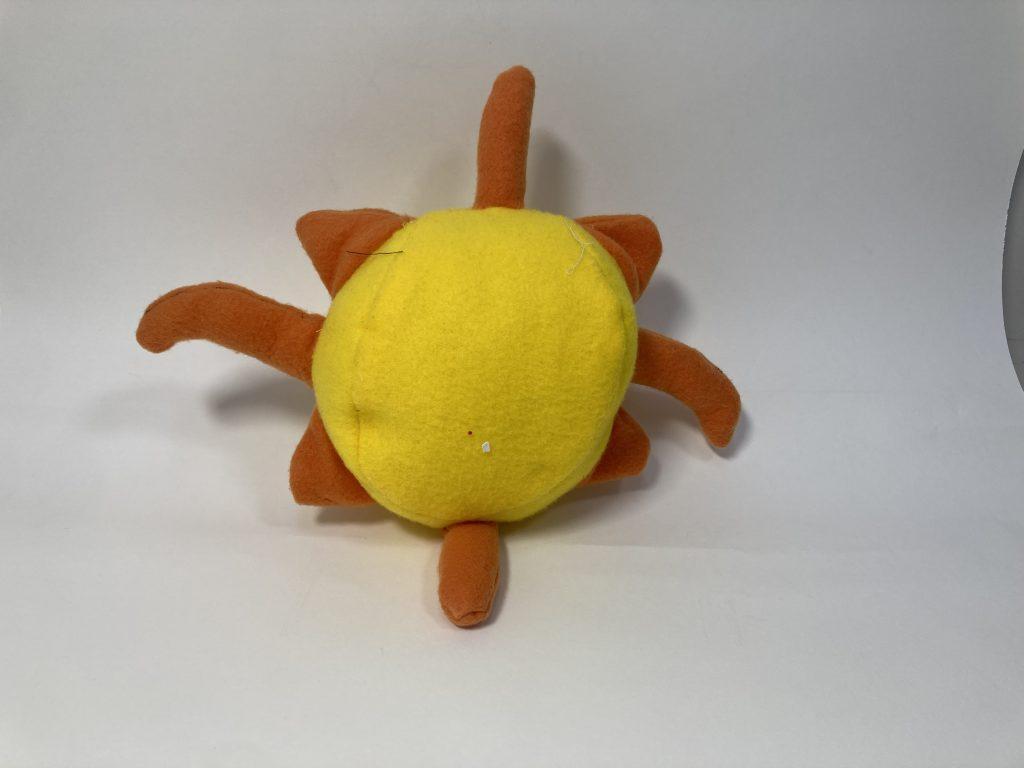
When we were told about the project, I knew that I really wanted to try to make a sun. I knew that I would just use the baseball sphere pattern since I had made one the week prior and then, just free hand all the different rays. I kept accidentally making the rays too skinny so it was super difficult to reverse or stuff them. Also, at first, I tried to make the two wavy rays in almost a spiral pattern, but trying to reverse it was too difficult, so I decided to scrap that idea. It was really fun experimenting with combining different shapes and thinking through how to assemble/sew the shapes together so that they reversed in the correct manner.

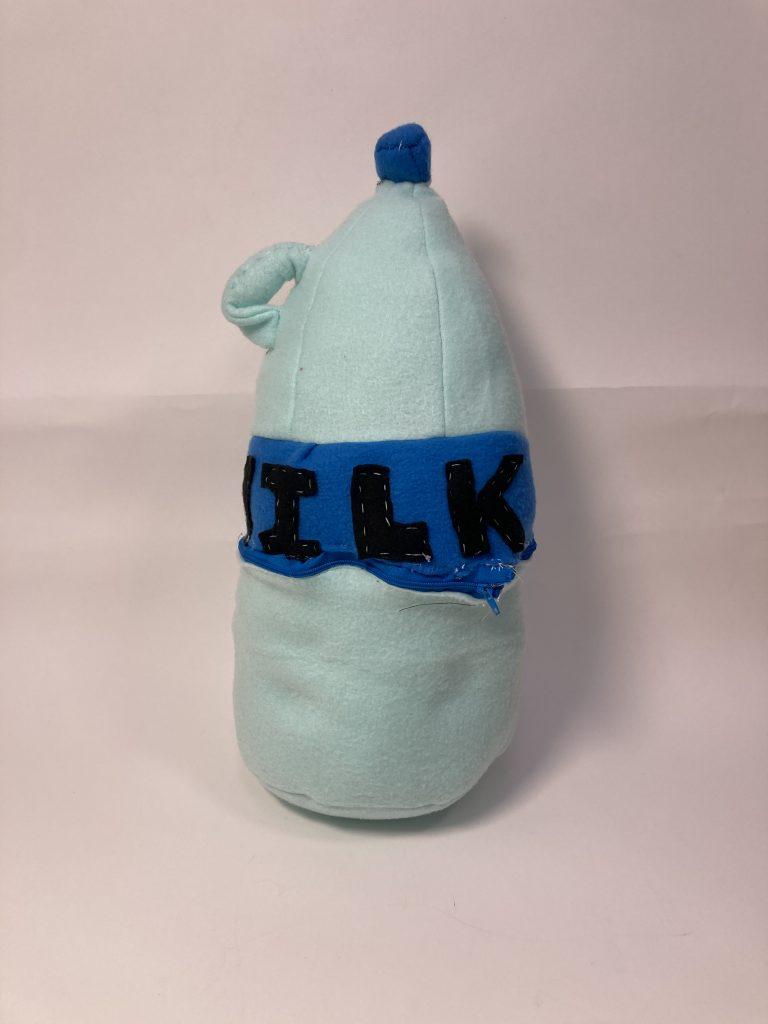
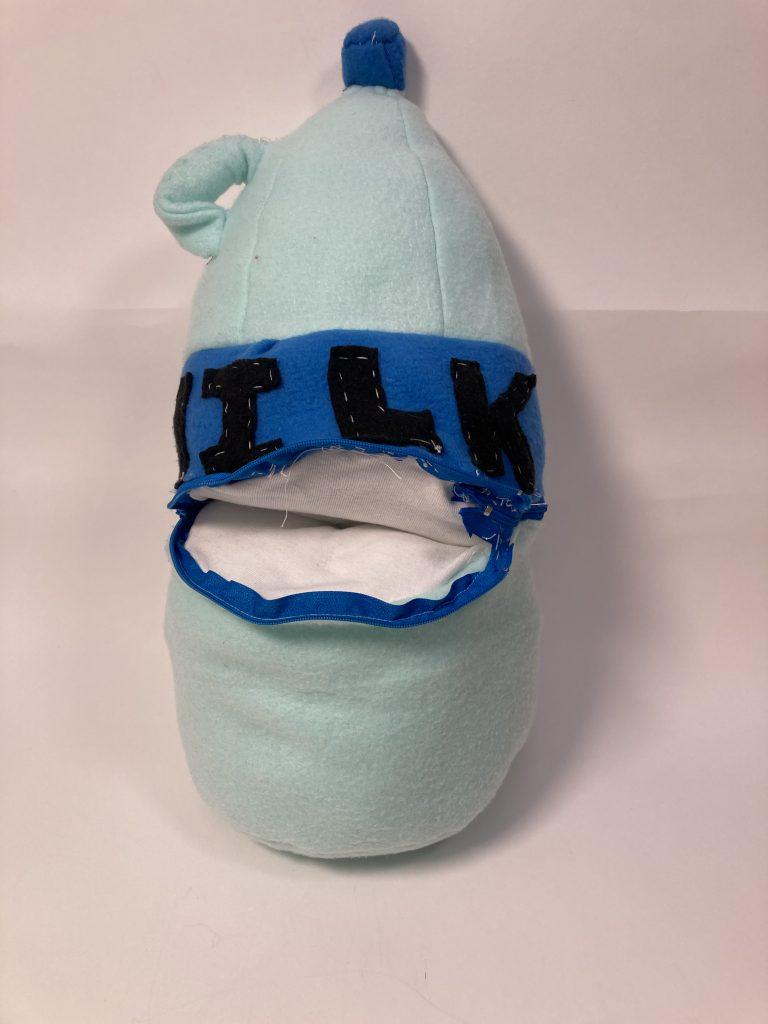
For my second object, I really wanted to make something either with zippers or with some sort of interactive element. I was asking my friends for ideas, and one of them suggested to make a milk jug. I thought that that would work perfectly with having zippers since I could have it so that the jug reveals the milk that is inside. With this design, I approached it with a bit of a more technical approach instead of freestyling it. I measured the circumference of my circle (for the cylinder) and tried to align them with the length of the zippers and the fabric I used to make the half sphere on the top. It did not completely work out because I forgot to account for seam allowance and other factors, so there was some space in the back without a zipper. I was surprised with how much hand sewing went into this design, but it was good practice for trying to create even stitch lines and better lateral stitches.

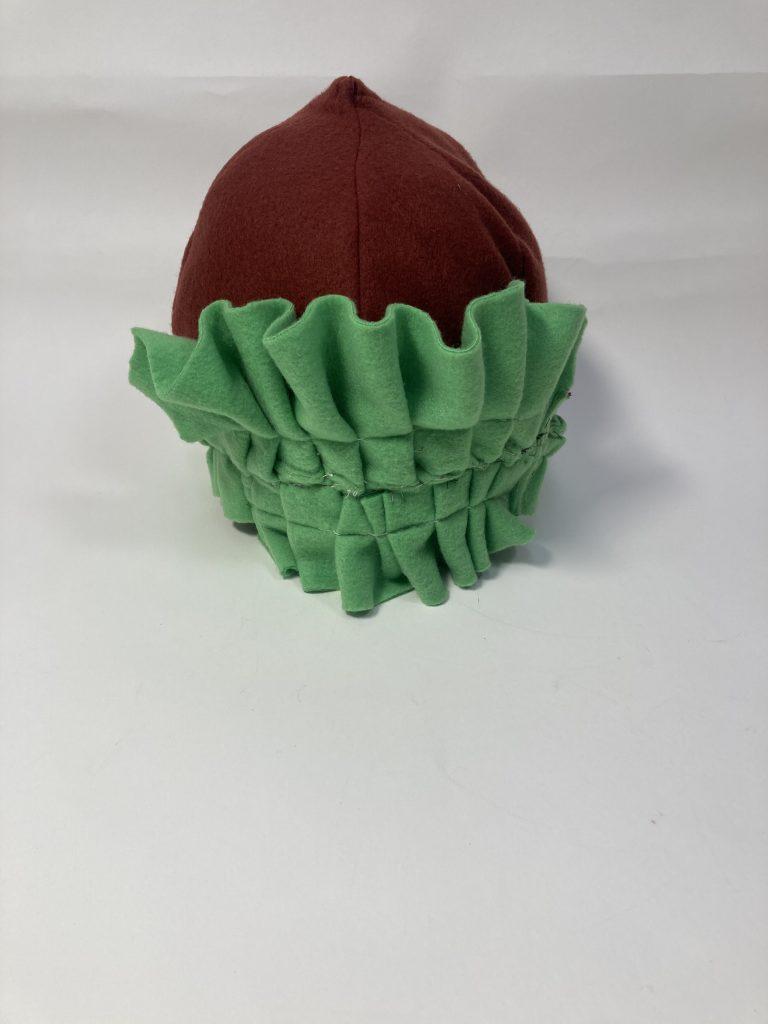
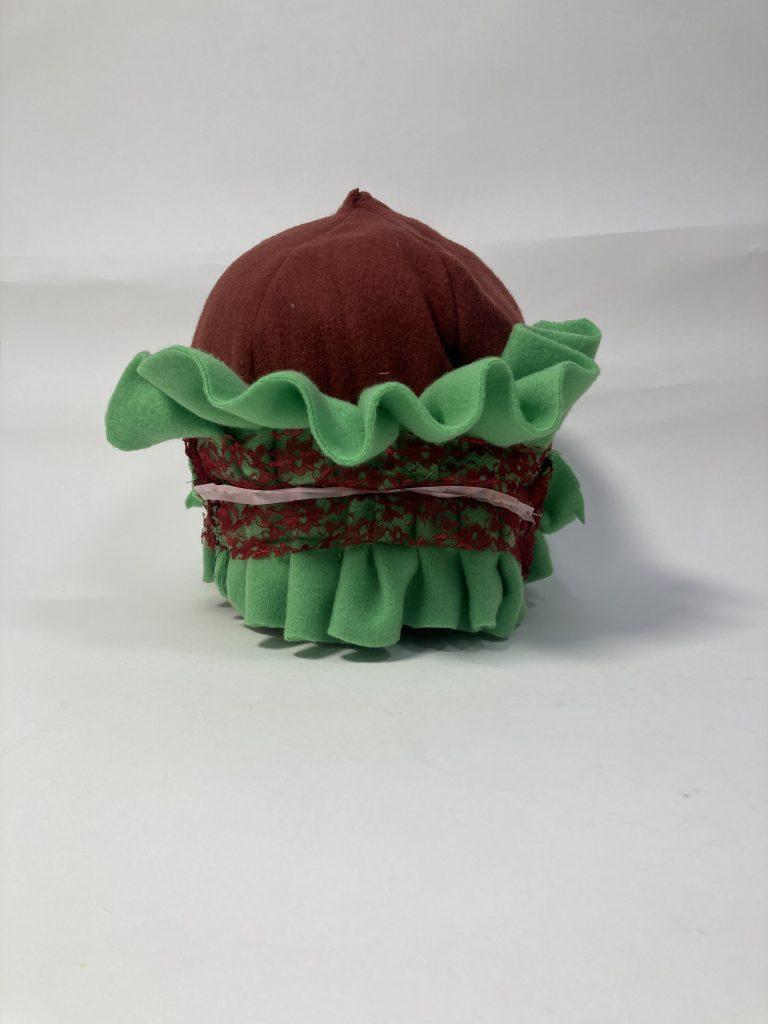
For this object, I wanted to continue the use of interactive designing, and also, work on some darting/pleating. I saw a lot of red and green fleece along with red scraps of lace in the room, so I thought that that would work perfectly for making a rose. My initial idea was to make a rose bud and then make a lot of pleated strips of red and green with velcro, so that you could pull petals off the rose. It ended up looking a little weird, so I decided to turn all the red pleated strips into individual roses and sew them shut with the red lace fabric. My new idea became that you could pull these roses of the rose bud and when you have the green part flipped to the decorative side, it could be a bouquet, but when it’s flipped to just the green side, it just acts as either a rose bud/roses blooming from the ground.

Jasmin Palermo: Push Pull

During this project, I attempted to create three very different playthings, each with its own charm and interaction.

Push Pull #1

For this object, the main interaction I had in mind was to create a simple spherical shape with adjustable limbs that could be pulled from either direction smoothly. To accomplish this, I began with the spherical base using a baseball pattern and then incorporated tunnels within it using a white tarp (for smoothness) and a lot of hand stitching. The tunnels were very difficult to conceptualize, especially considering that there are two, but it worked out surprisingly well!

Visual Portfolio, Posts & Image Gallery for WordPress

Push Pull #2

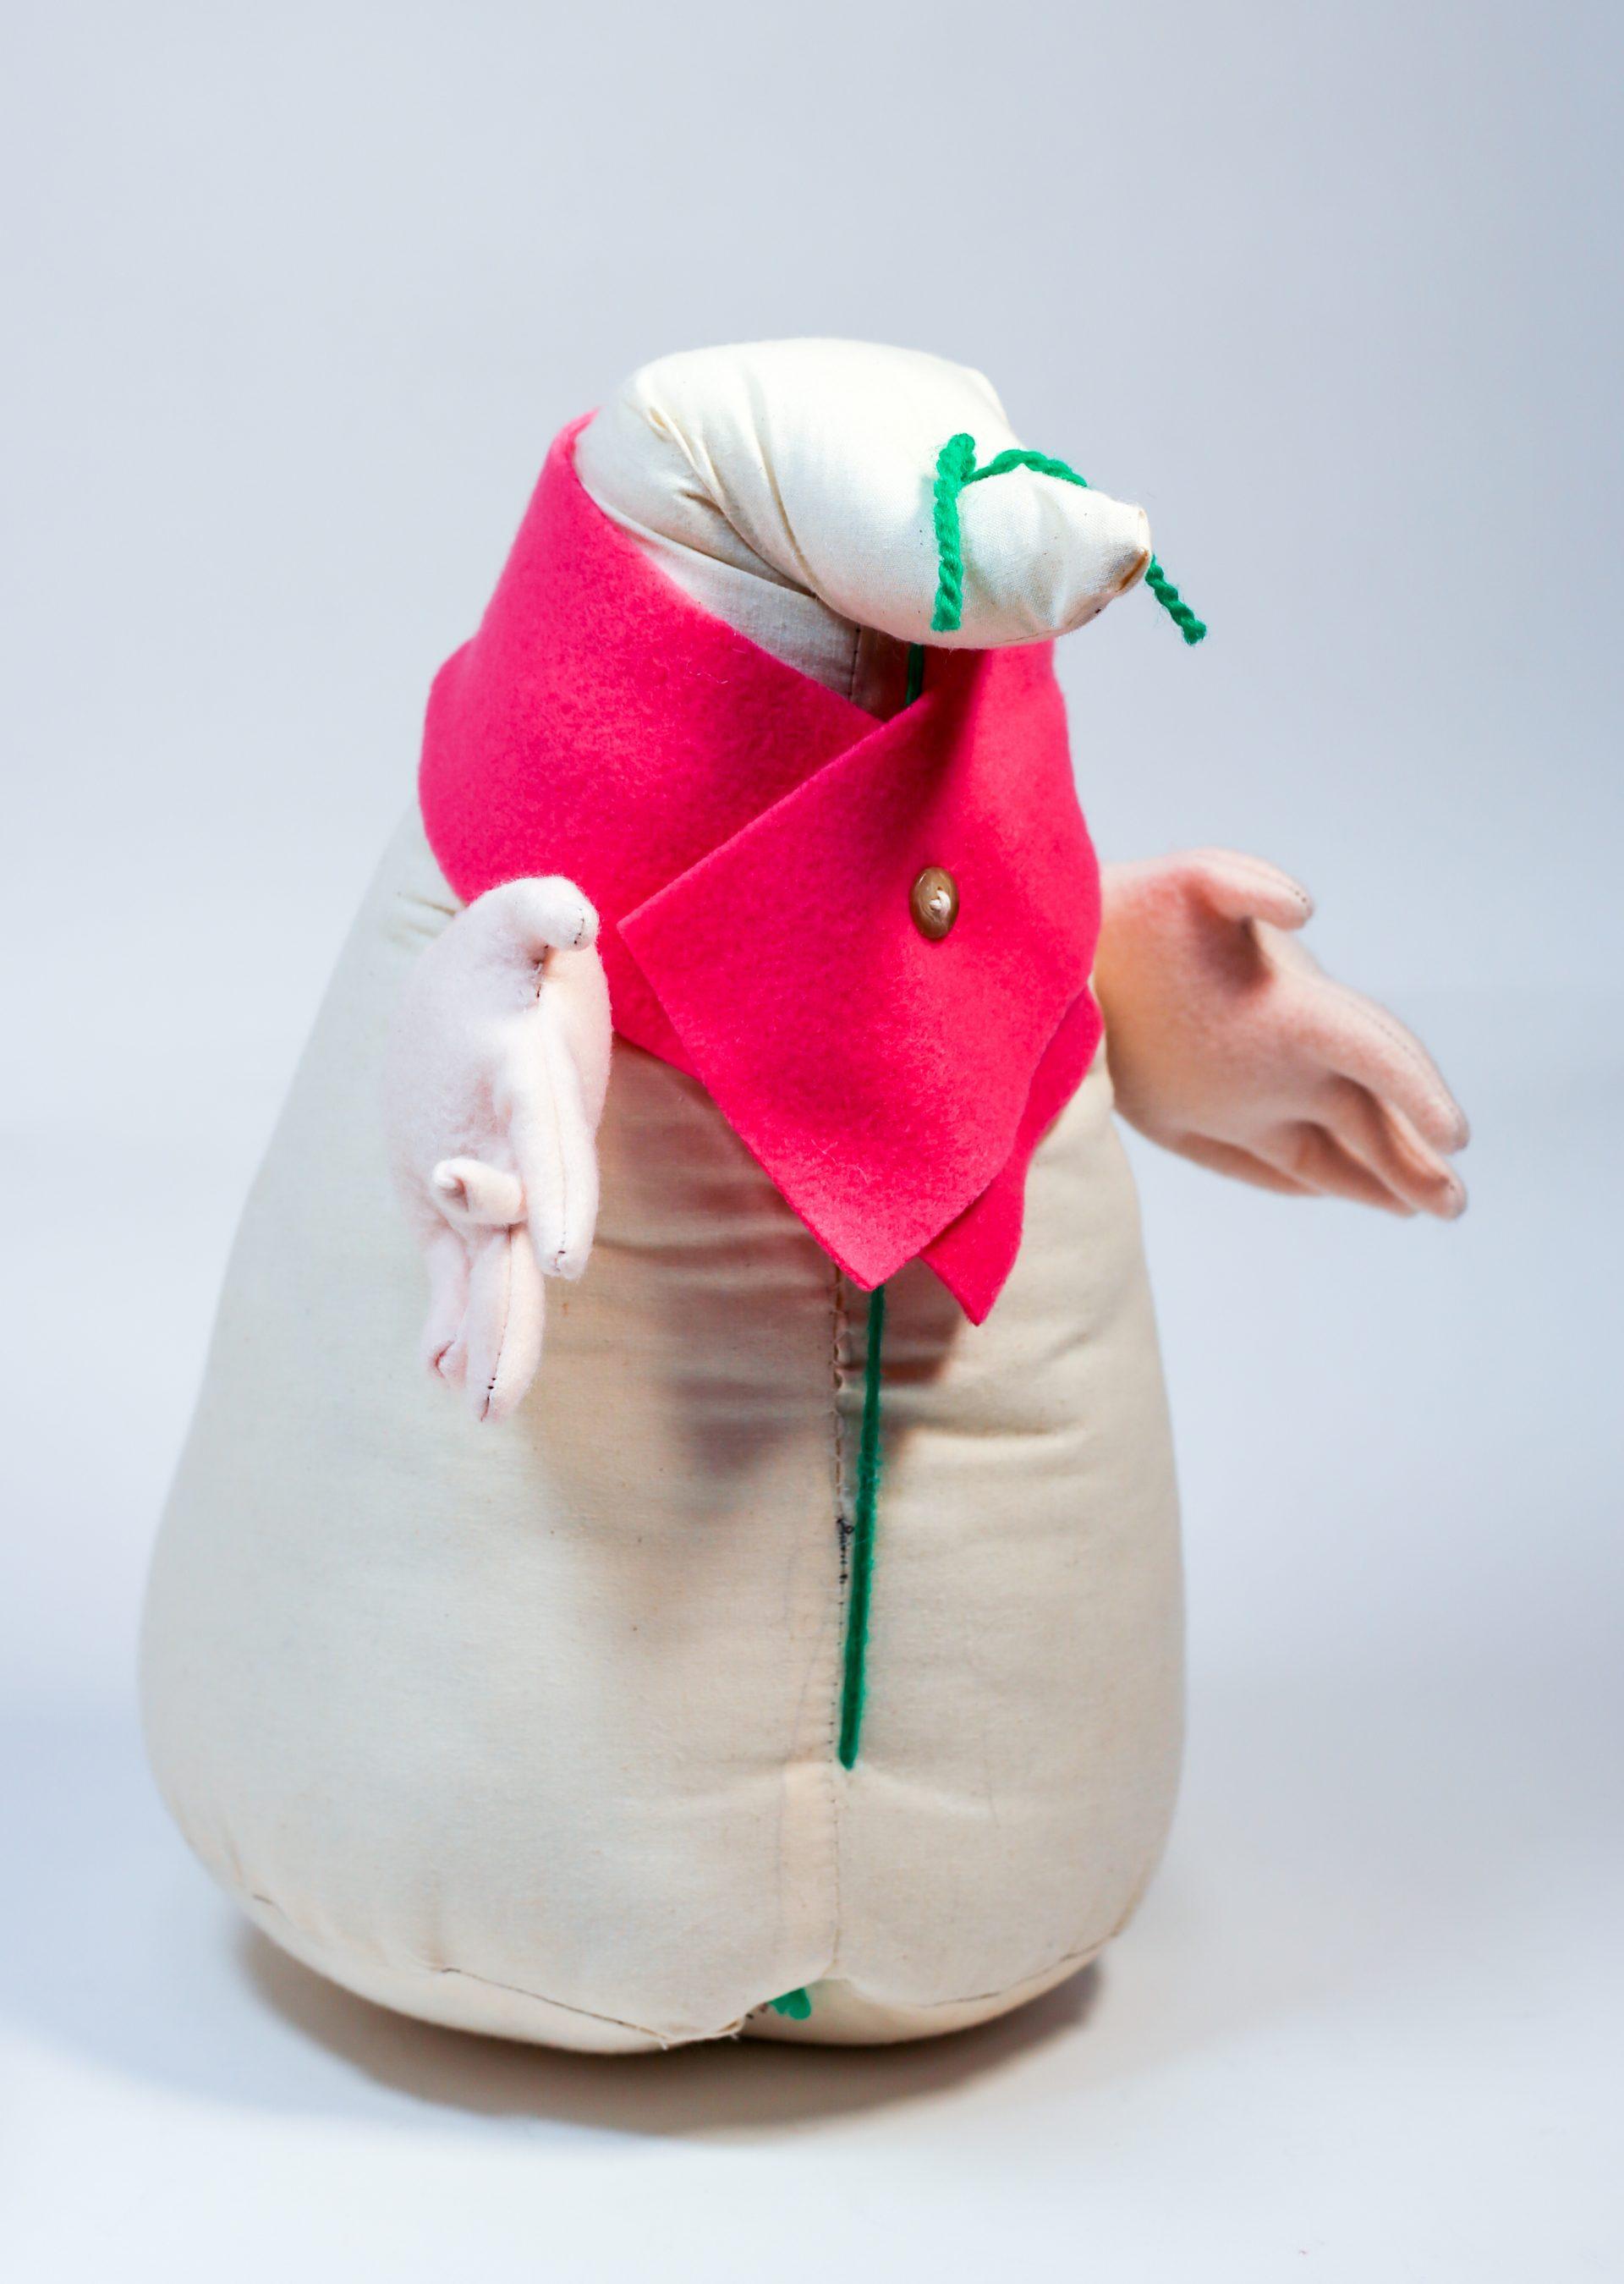
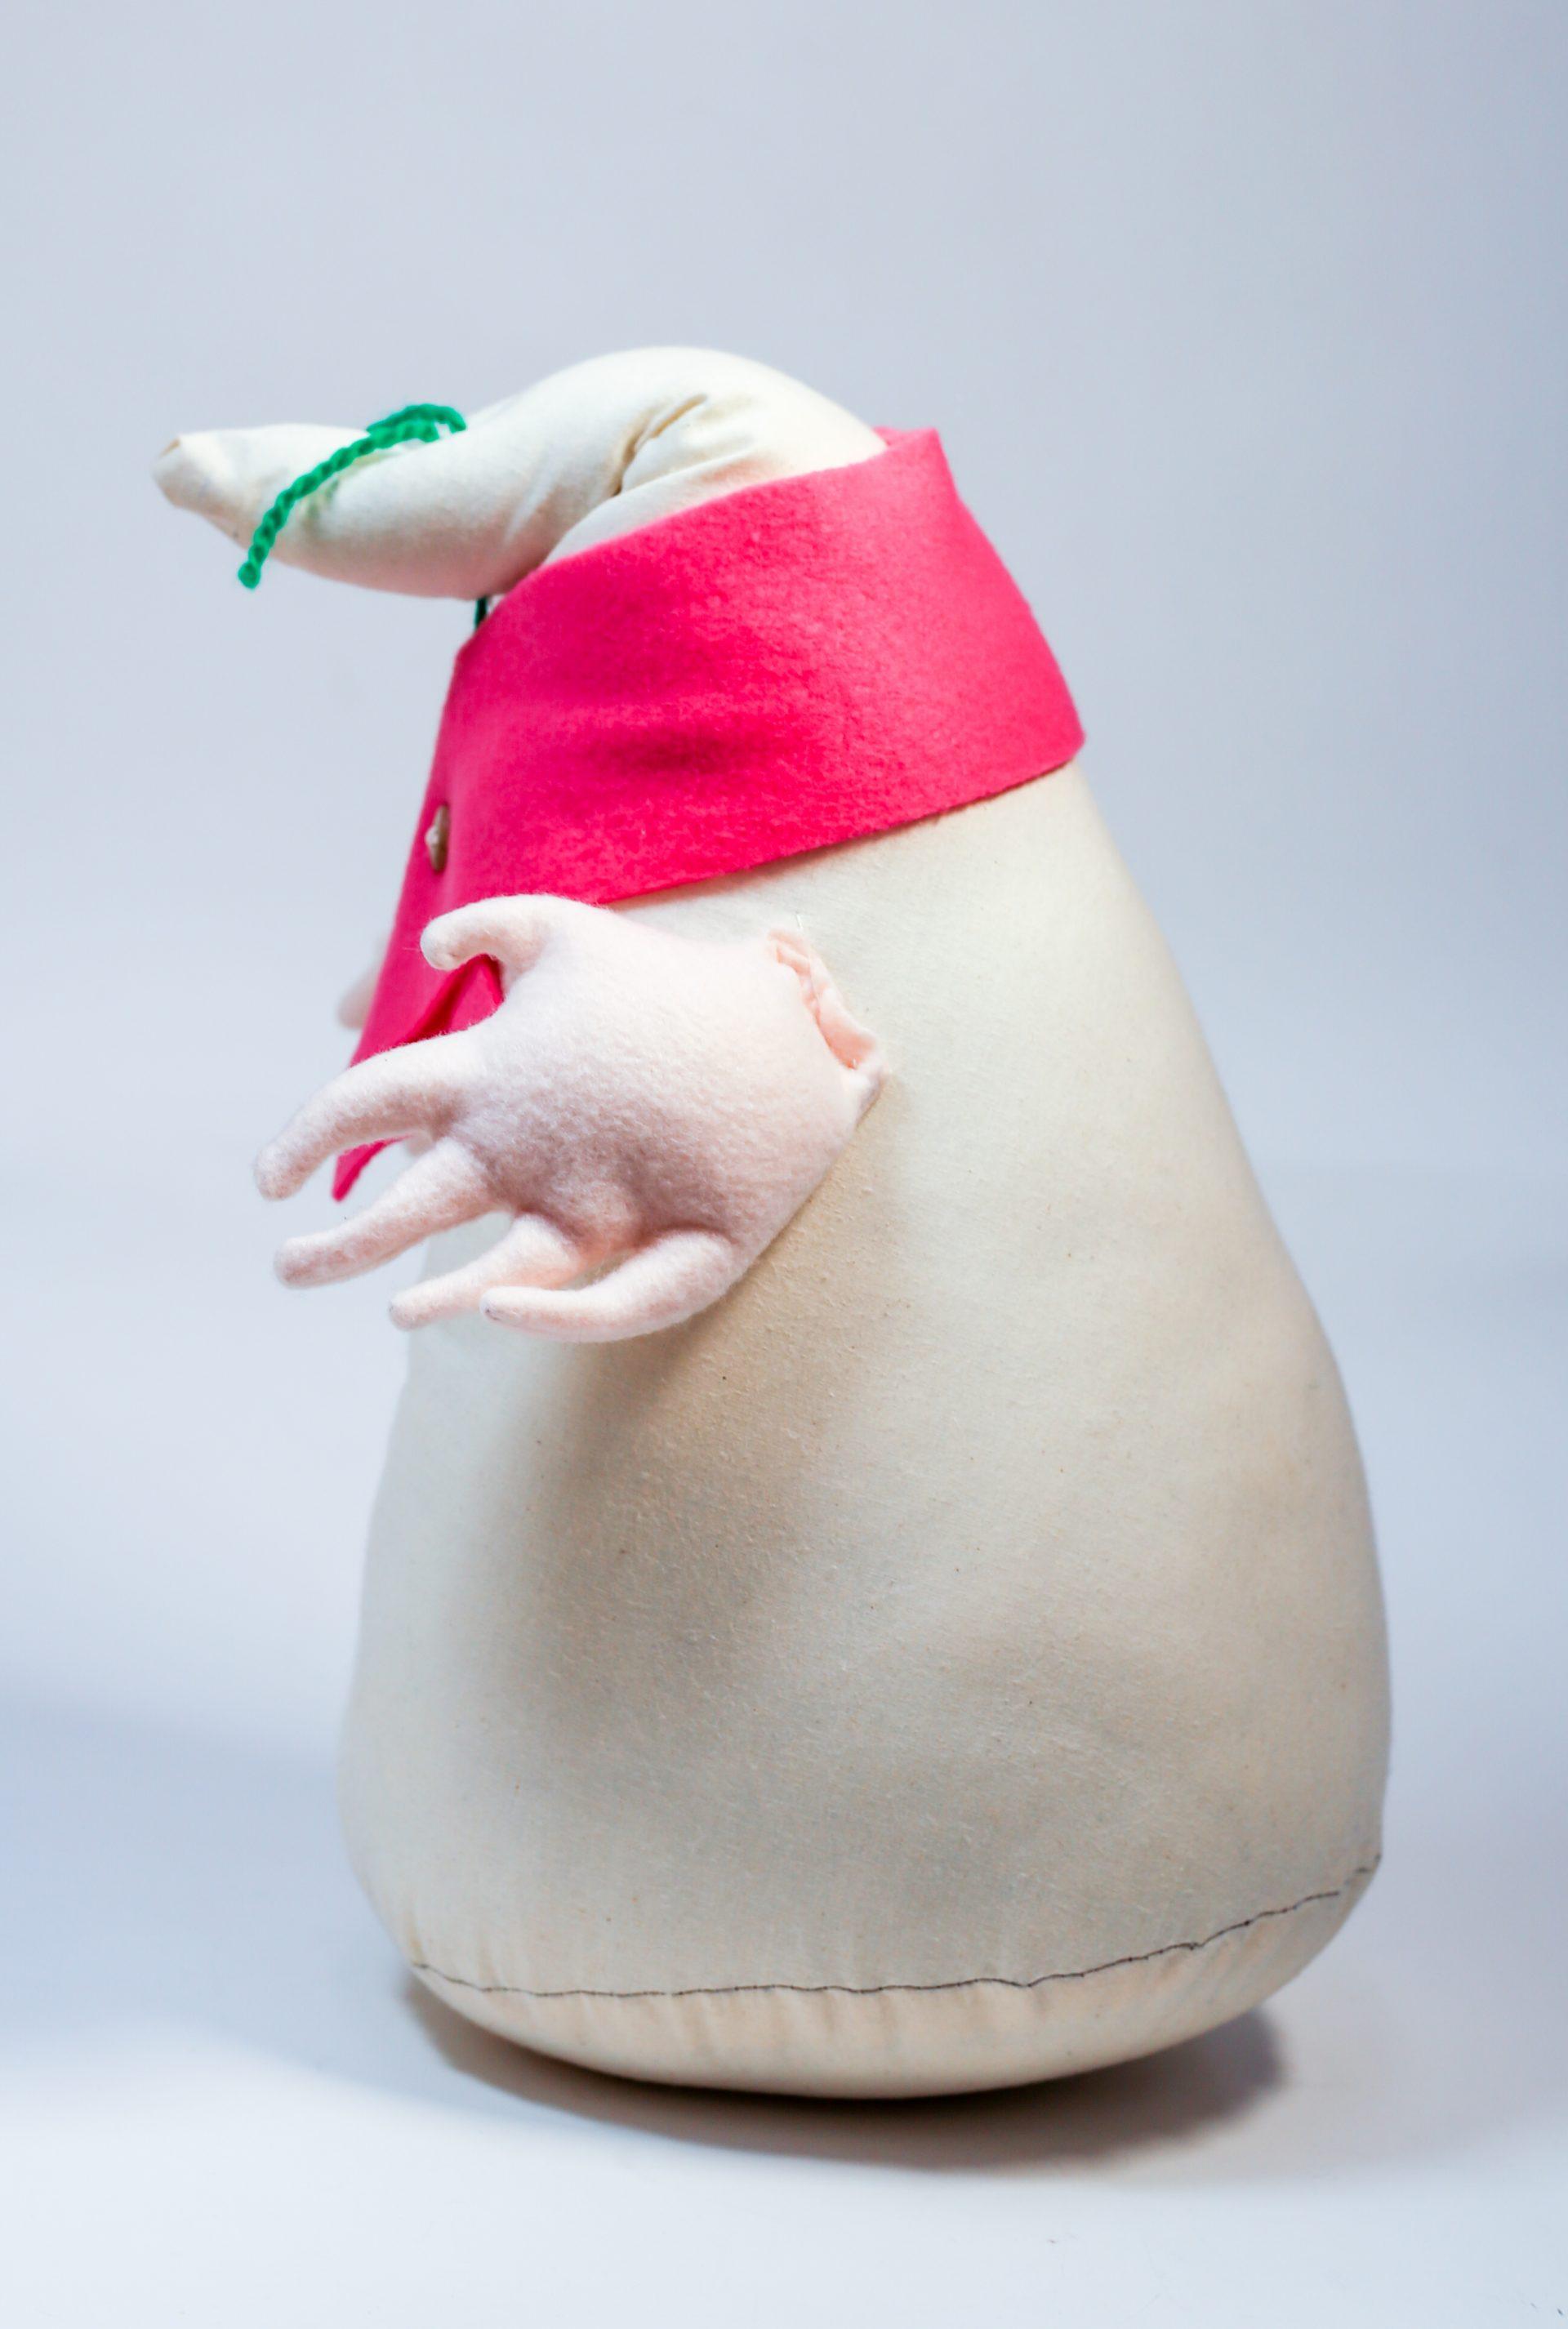
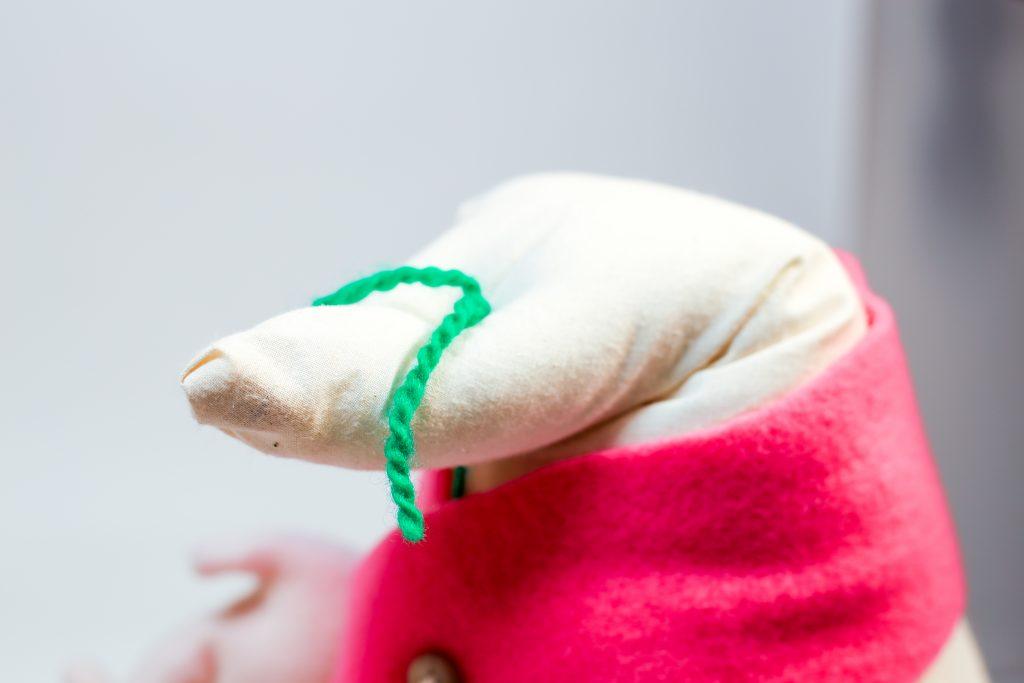
For this creature, my idea was to manipulate the basic form of a cone, and scrunch it up with string in a way that it could resemble a mole rat sort of creature. I used loud string so that the viewer can see how the form was made, and the uncut ends resemble whiskers. I added stuffed human-like hands to make it feel unnatural and a bit uncomfortable, but counteracted it with a soft scarf and button. Although she is a bit off-putting at first, people really warm up to her.

Visual Portfolio, Posts & Image Gallery for WordPress

Push Pull #3

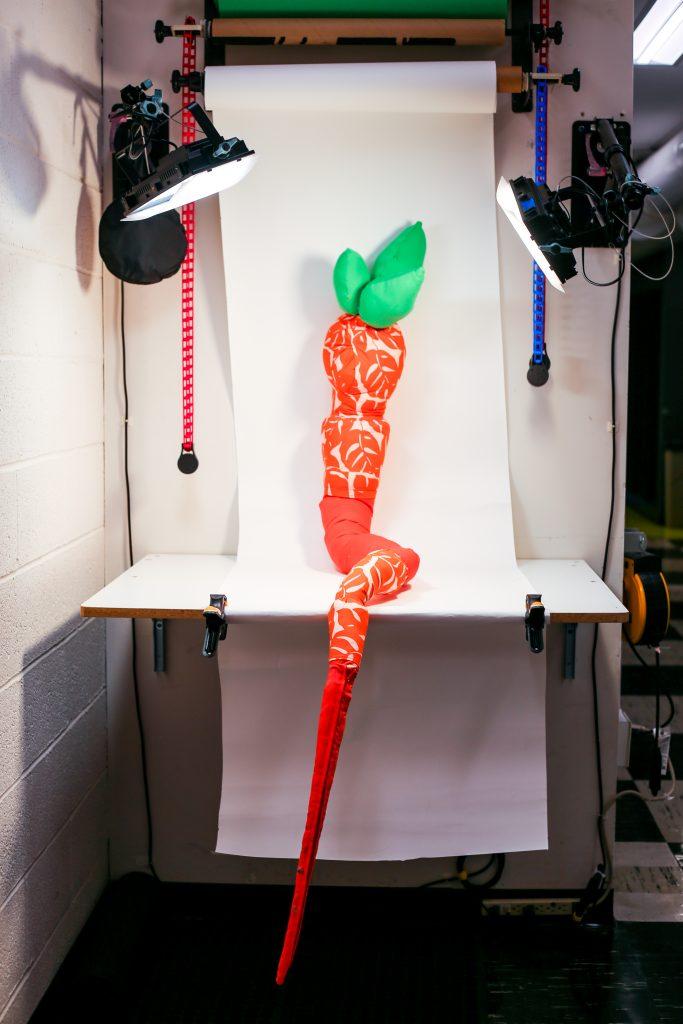
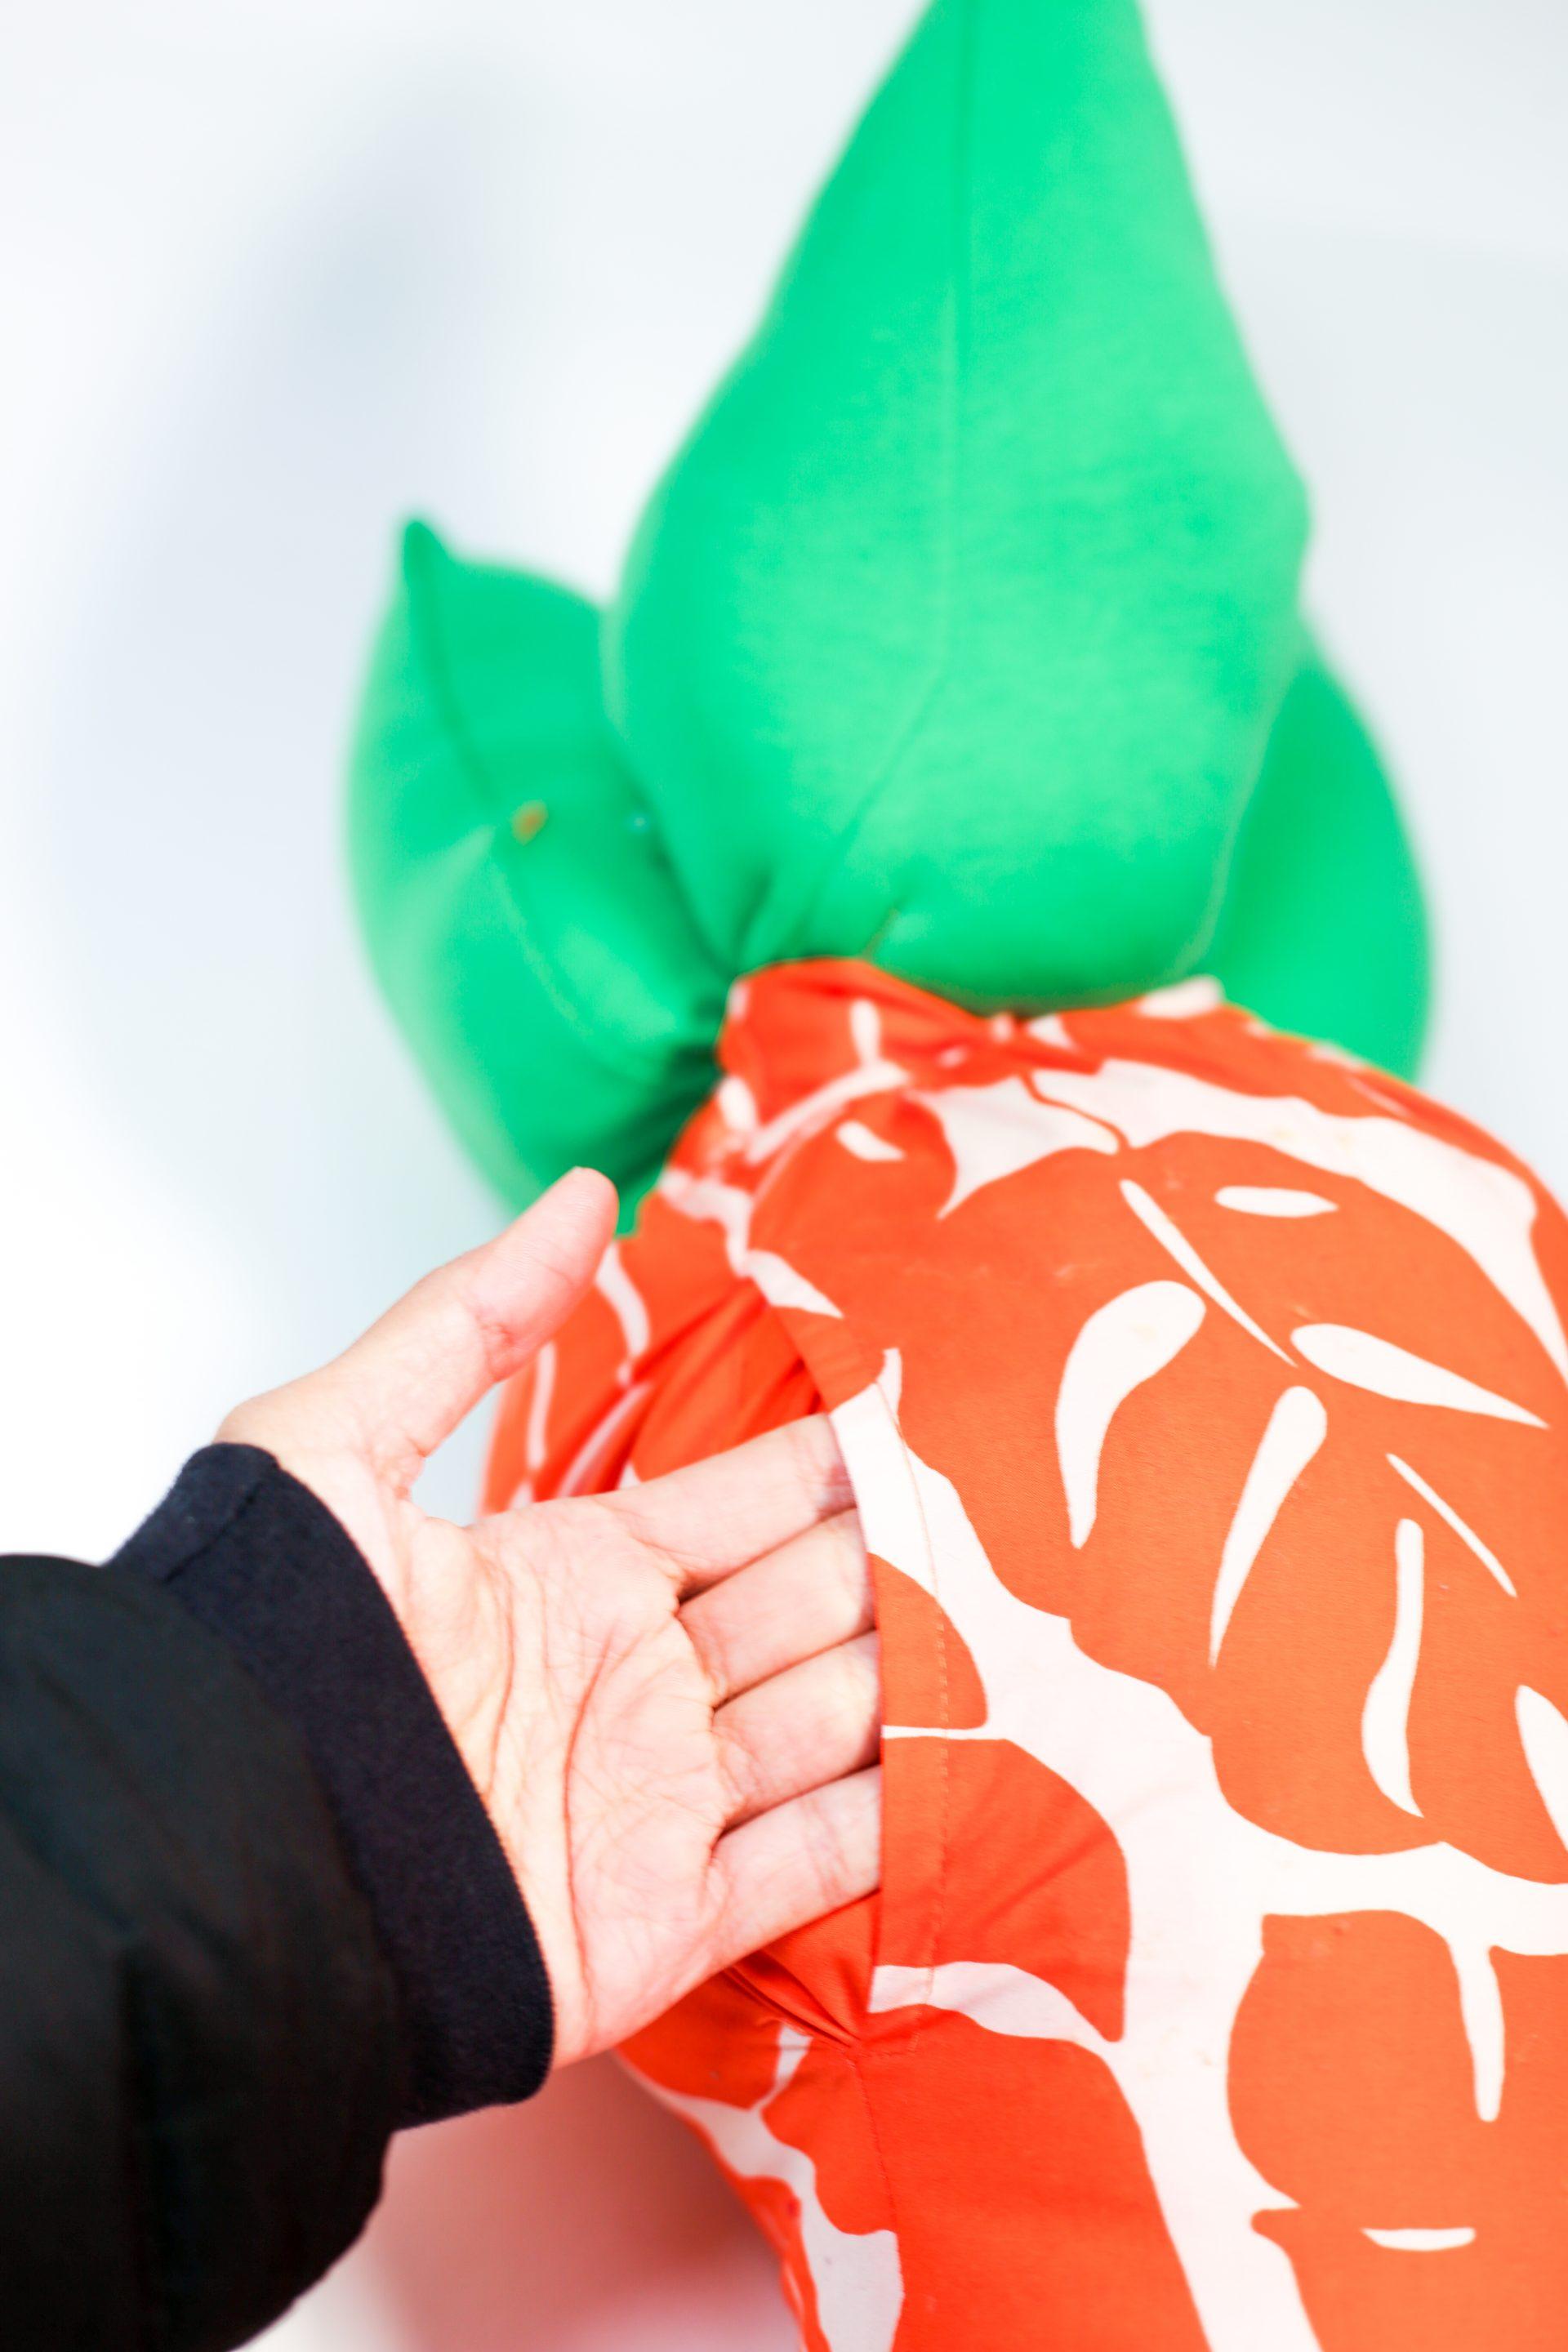
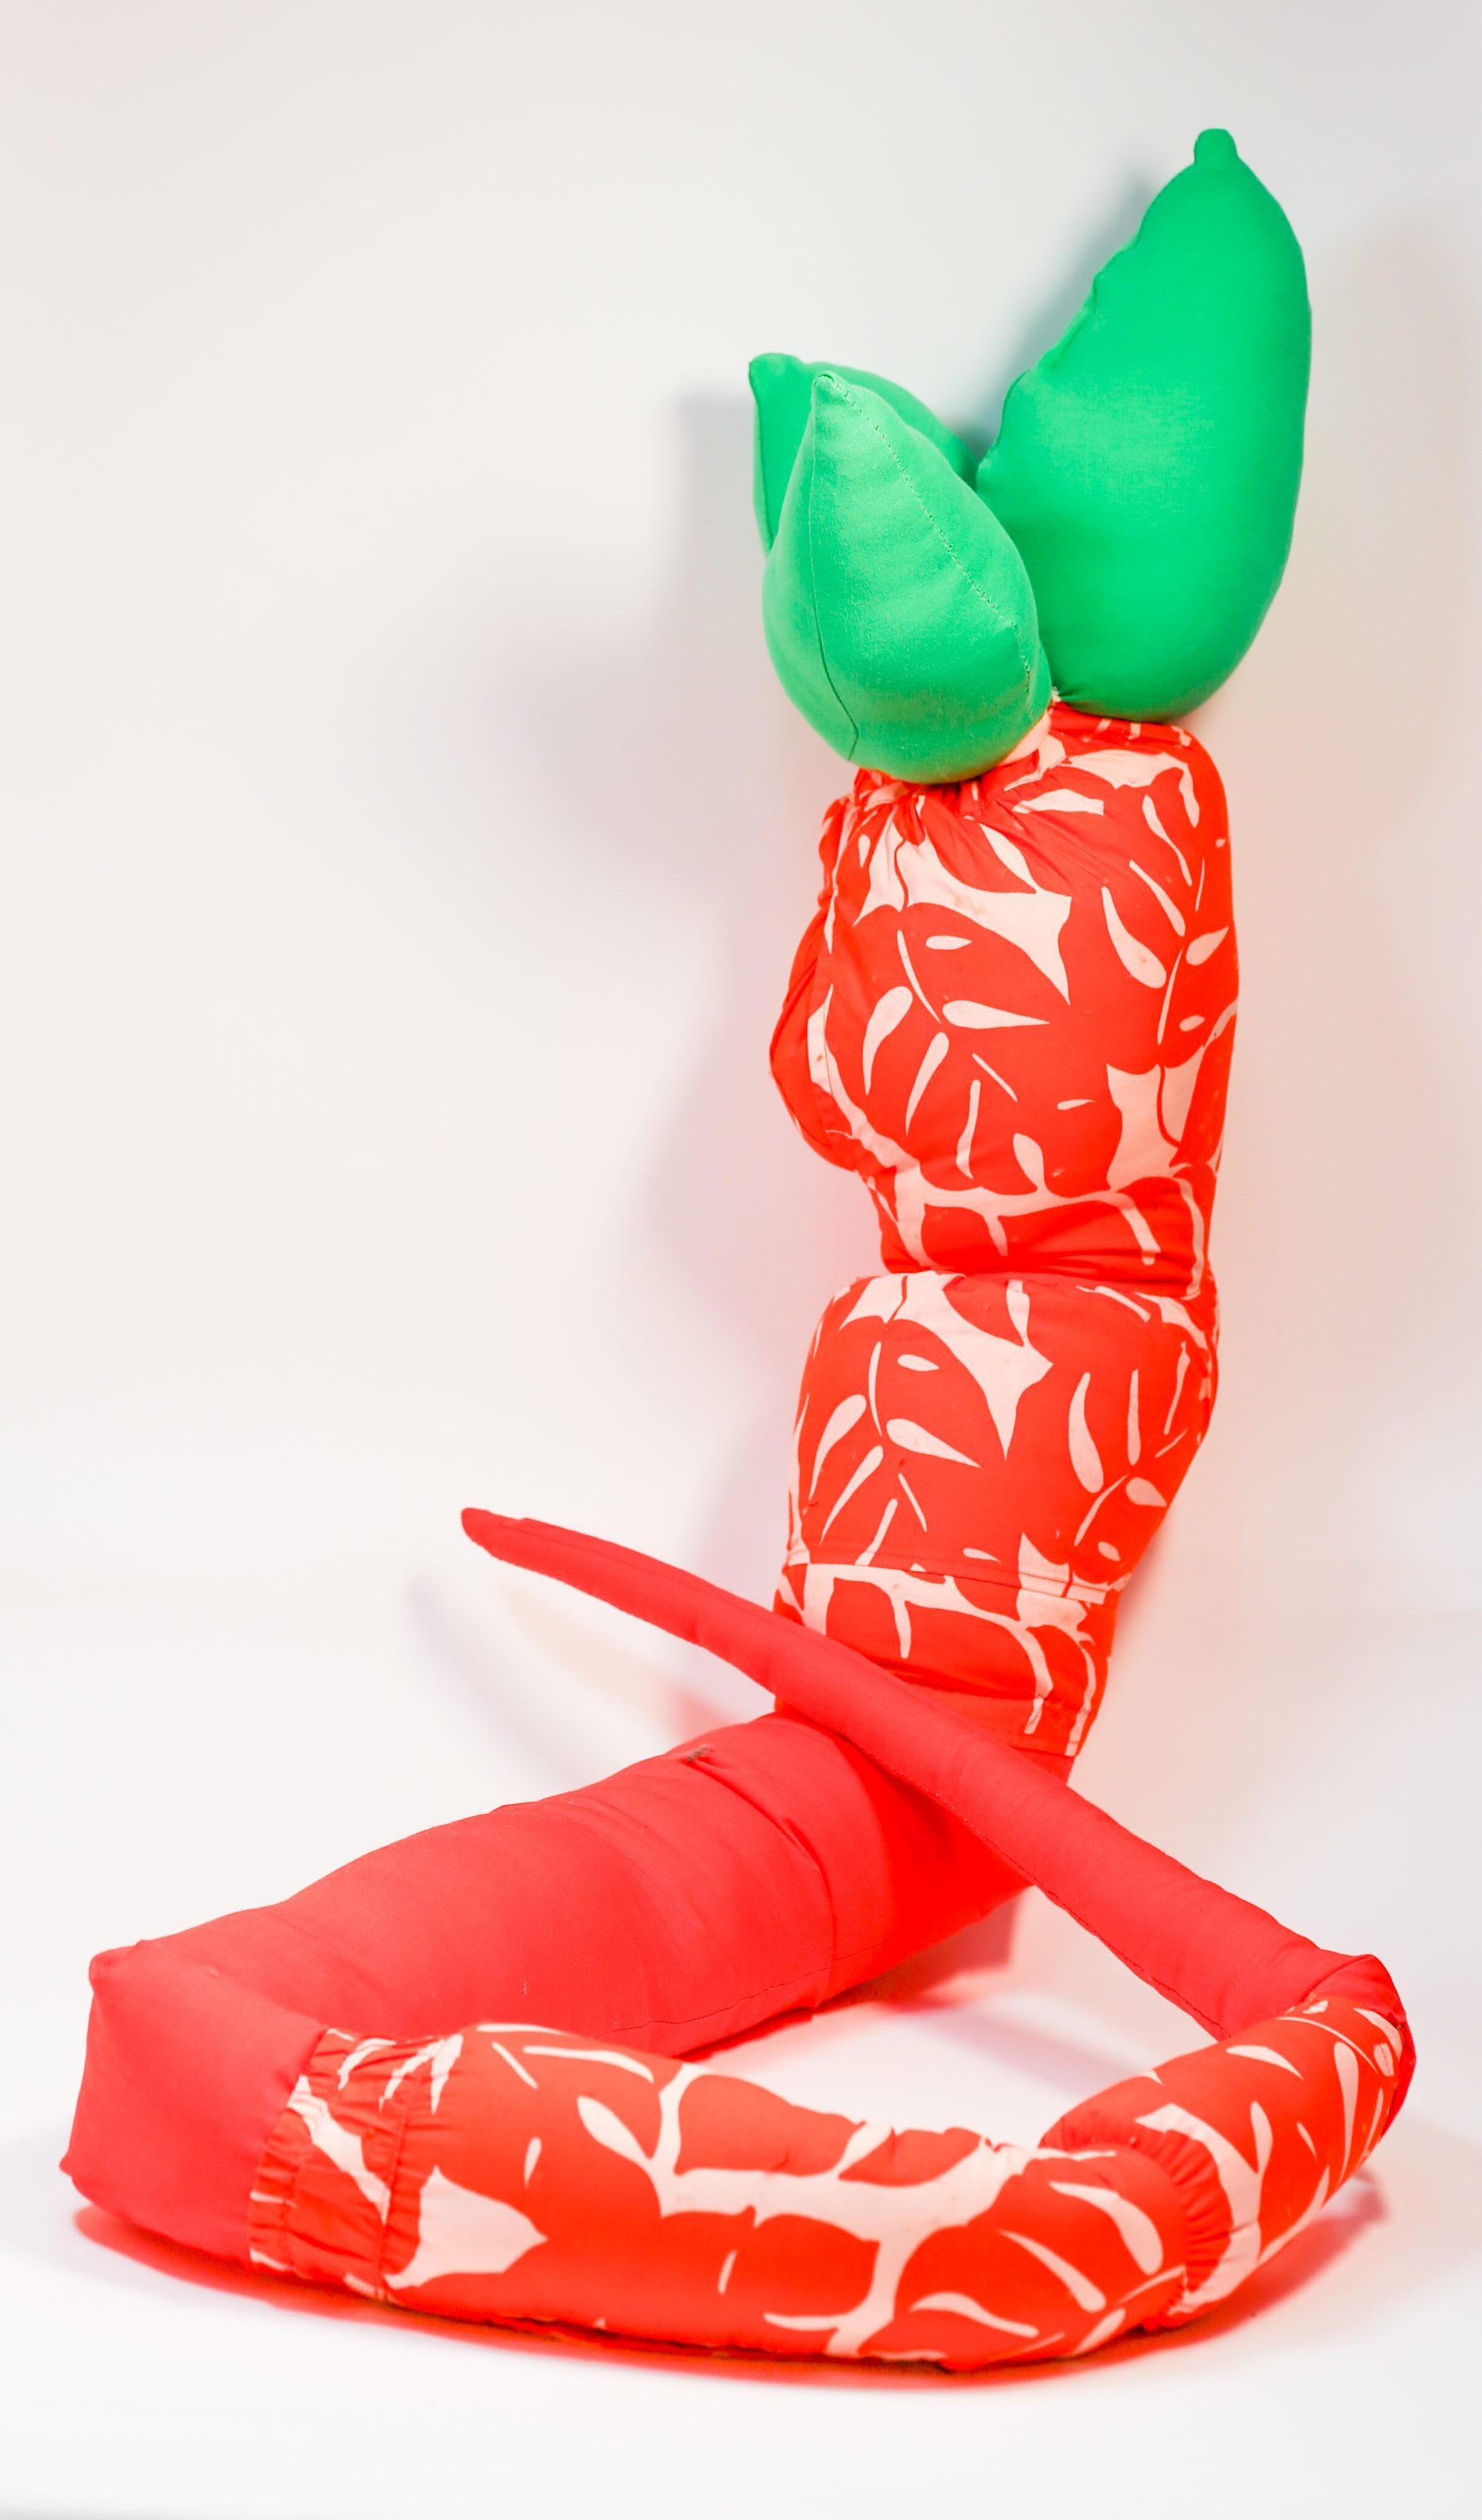
For my final object, I decided to realize a dream of creating a giant huggable carrot the size of me (or taller!). Considering the amount of fabric I would need, I went to the thrift store to get some used orange and green dresses and skirts. Using used fabric ended up dictating many of the formal qualities of my object, from its proportions to the details that I strategically placed, such as the pockets and the zipper. Making use of the forms and features of the original garments gave this piece a lot more character than I had originally imagined.

Visual Portfolio, Posts & Image Gallery for WordPress

Thank you!

Push/Pull Objects – Neha Choudhari

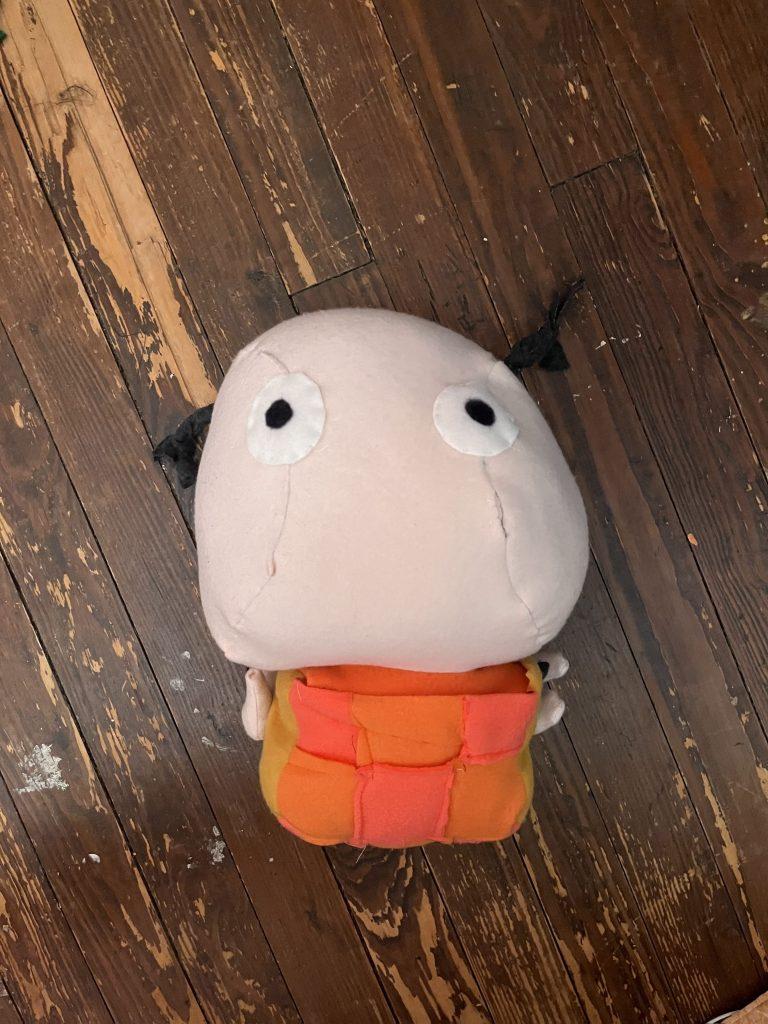
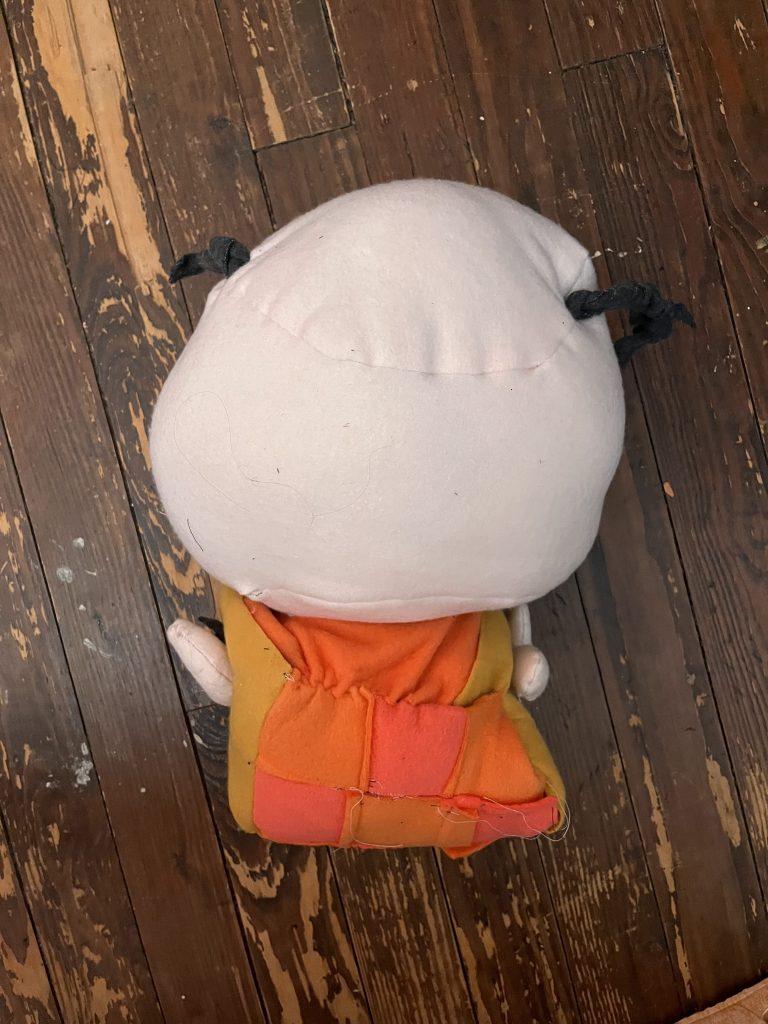
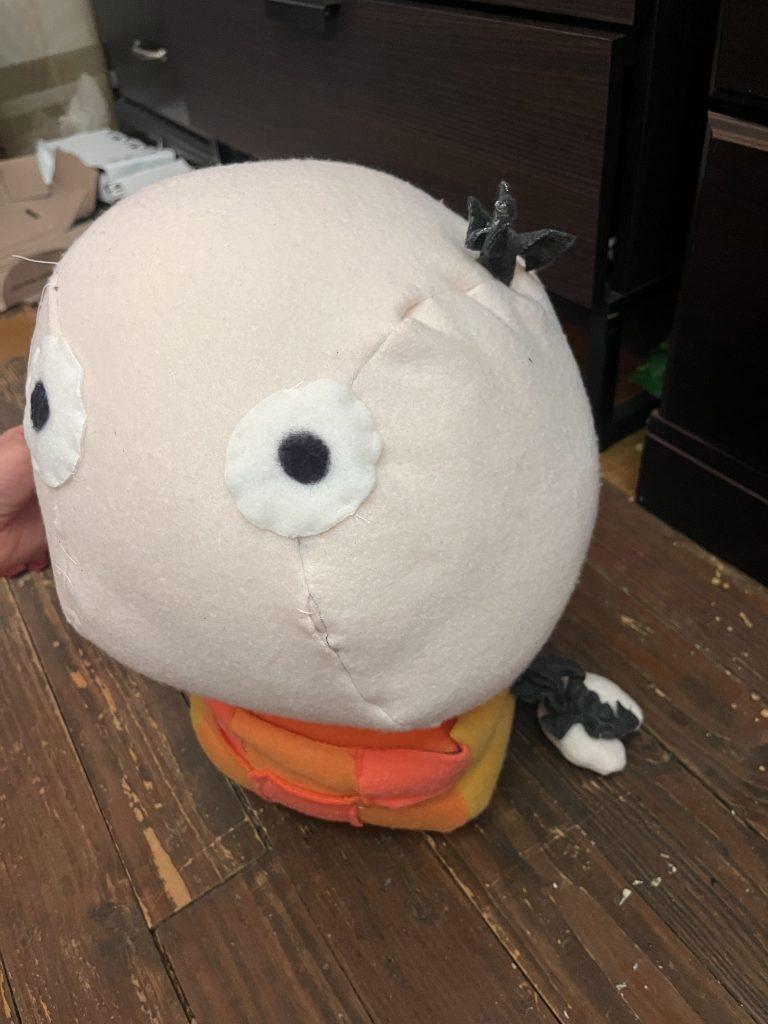
For my first object, I wanted to make a doll-like figure by combining a spherical and a rectangular shape. I first began making the patchwork body by laser cutting a bunch of little squares and sewing them to create the outline of the rectangular shape. Then, I combined one piece of the sphere with the body. There were a few holes in the patchwork rectangle and head, so I hand-sewed those. Since this was my first time sewing different primary forms together, I noticed that it was difficult visualizing how to sew the shapes together so the right side was only displayed before stuffing.

As an interactive feature of the stuffed doll, I added two baffles connecting the hair to the arms. In order to make the hair, I braided three pieces of fabric. When the hair is pulled, the arms cave inward. When the hand is pulled, the doll’s long arms are revealed and the hair looks like small little space buns.

Doll with space buns and long arms

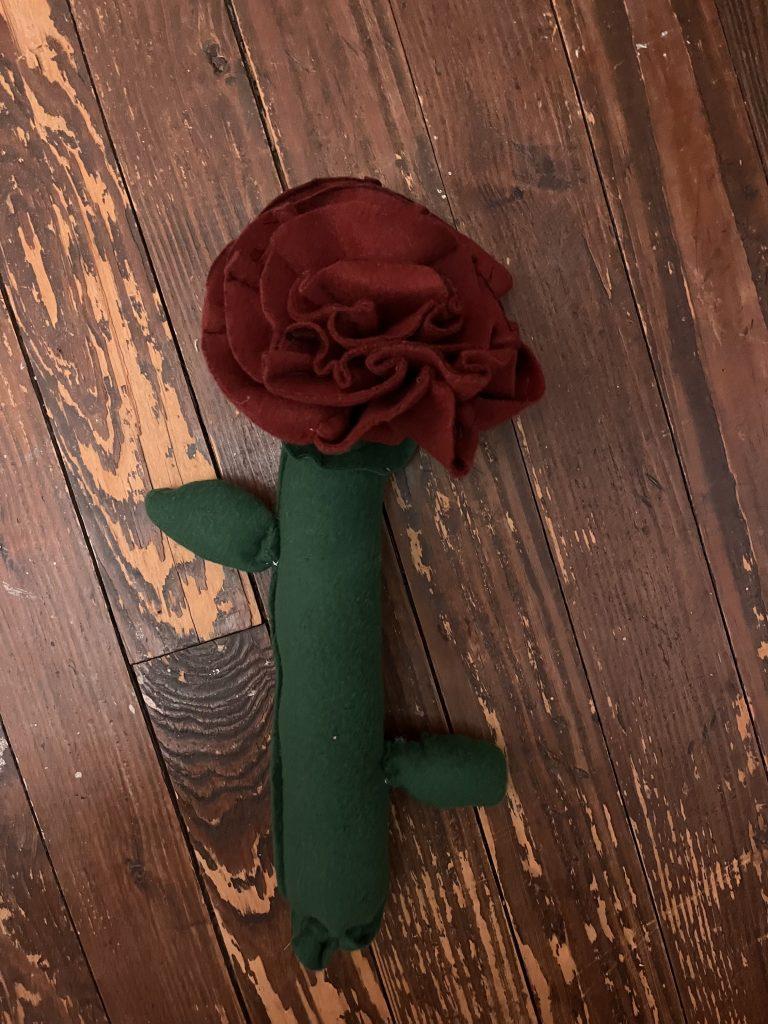
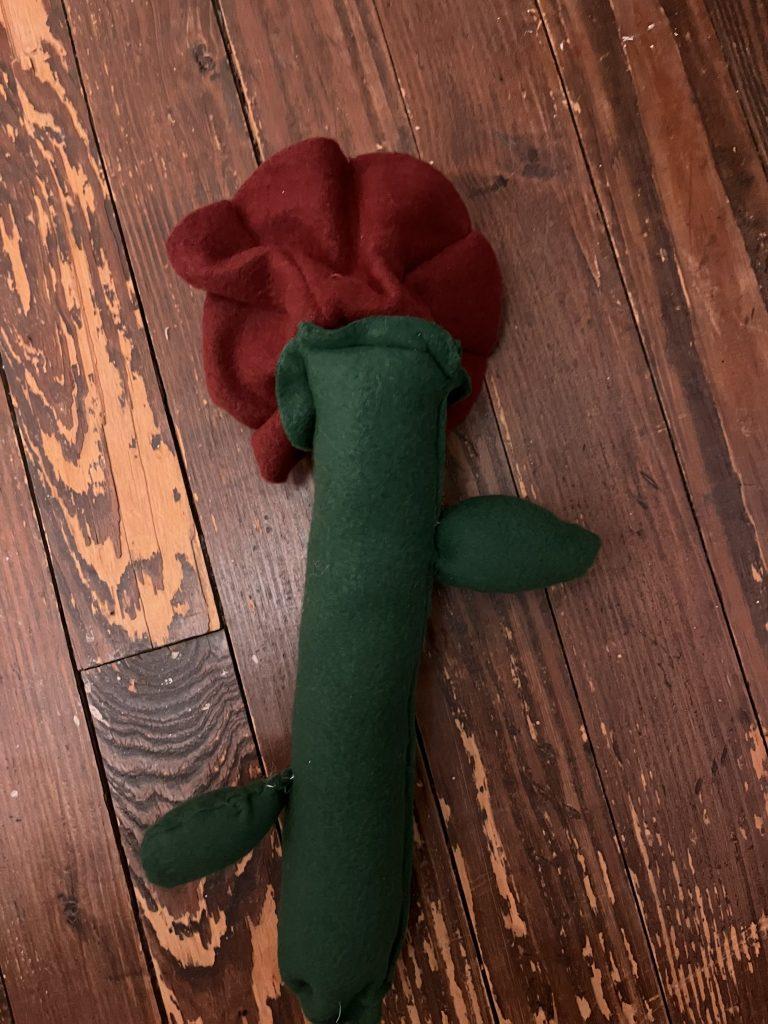
For my second object, I wanted to explore sewing techniques like darting. I made a flower stem by making a green cylinder and hand-sewed two stuffed leaves on it. Then, to make the flower I put around 4-8 darts on multiple pieces of fabric circles. I used 5 fabric circles total, with each getting smaller and smaller. To combine them, I hand sewed them all one-by-one in their centers. Making this piece was super cool because it showed me how different ways of sewing (in a way that’s not just attaching two pieces of fabric) can resemble fun patterns and objects.

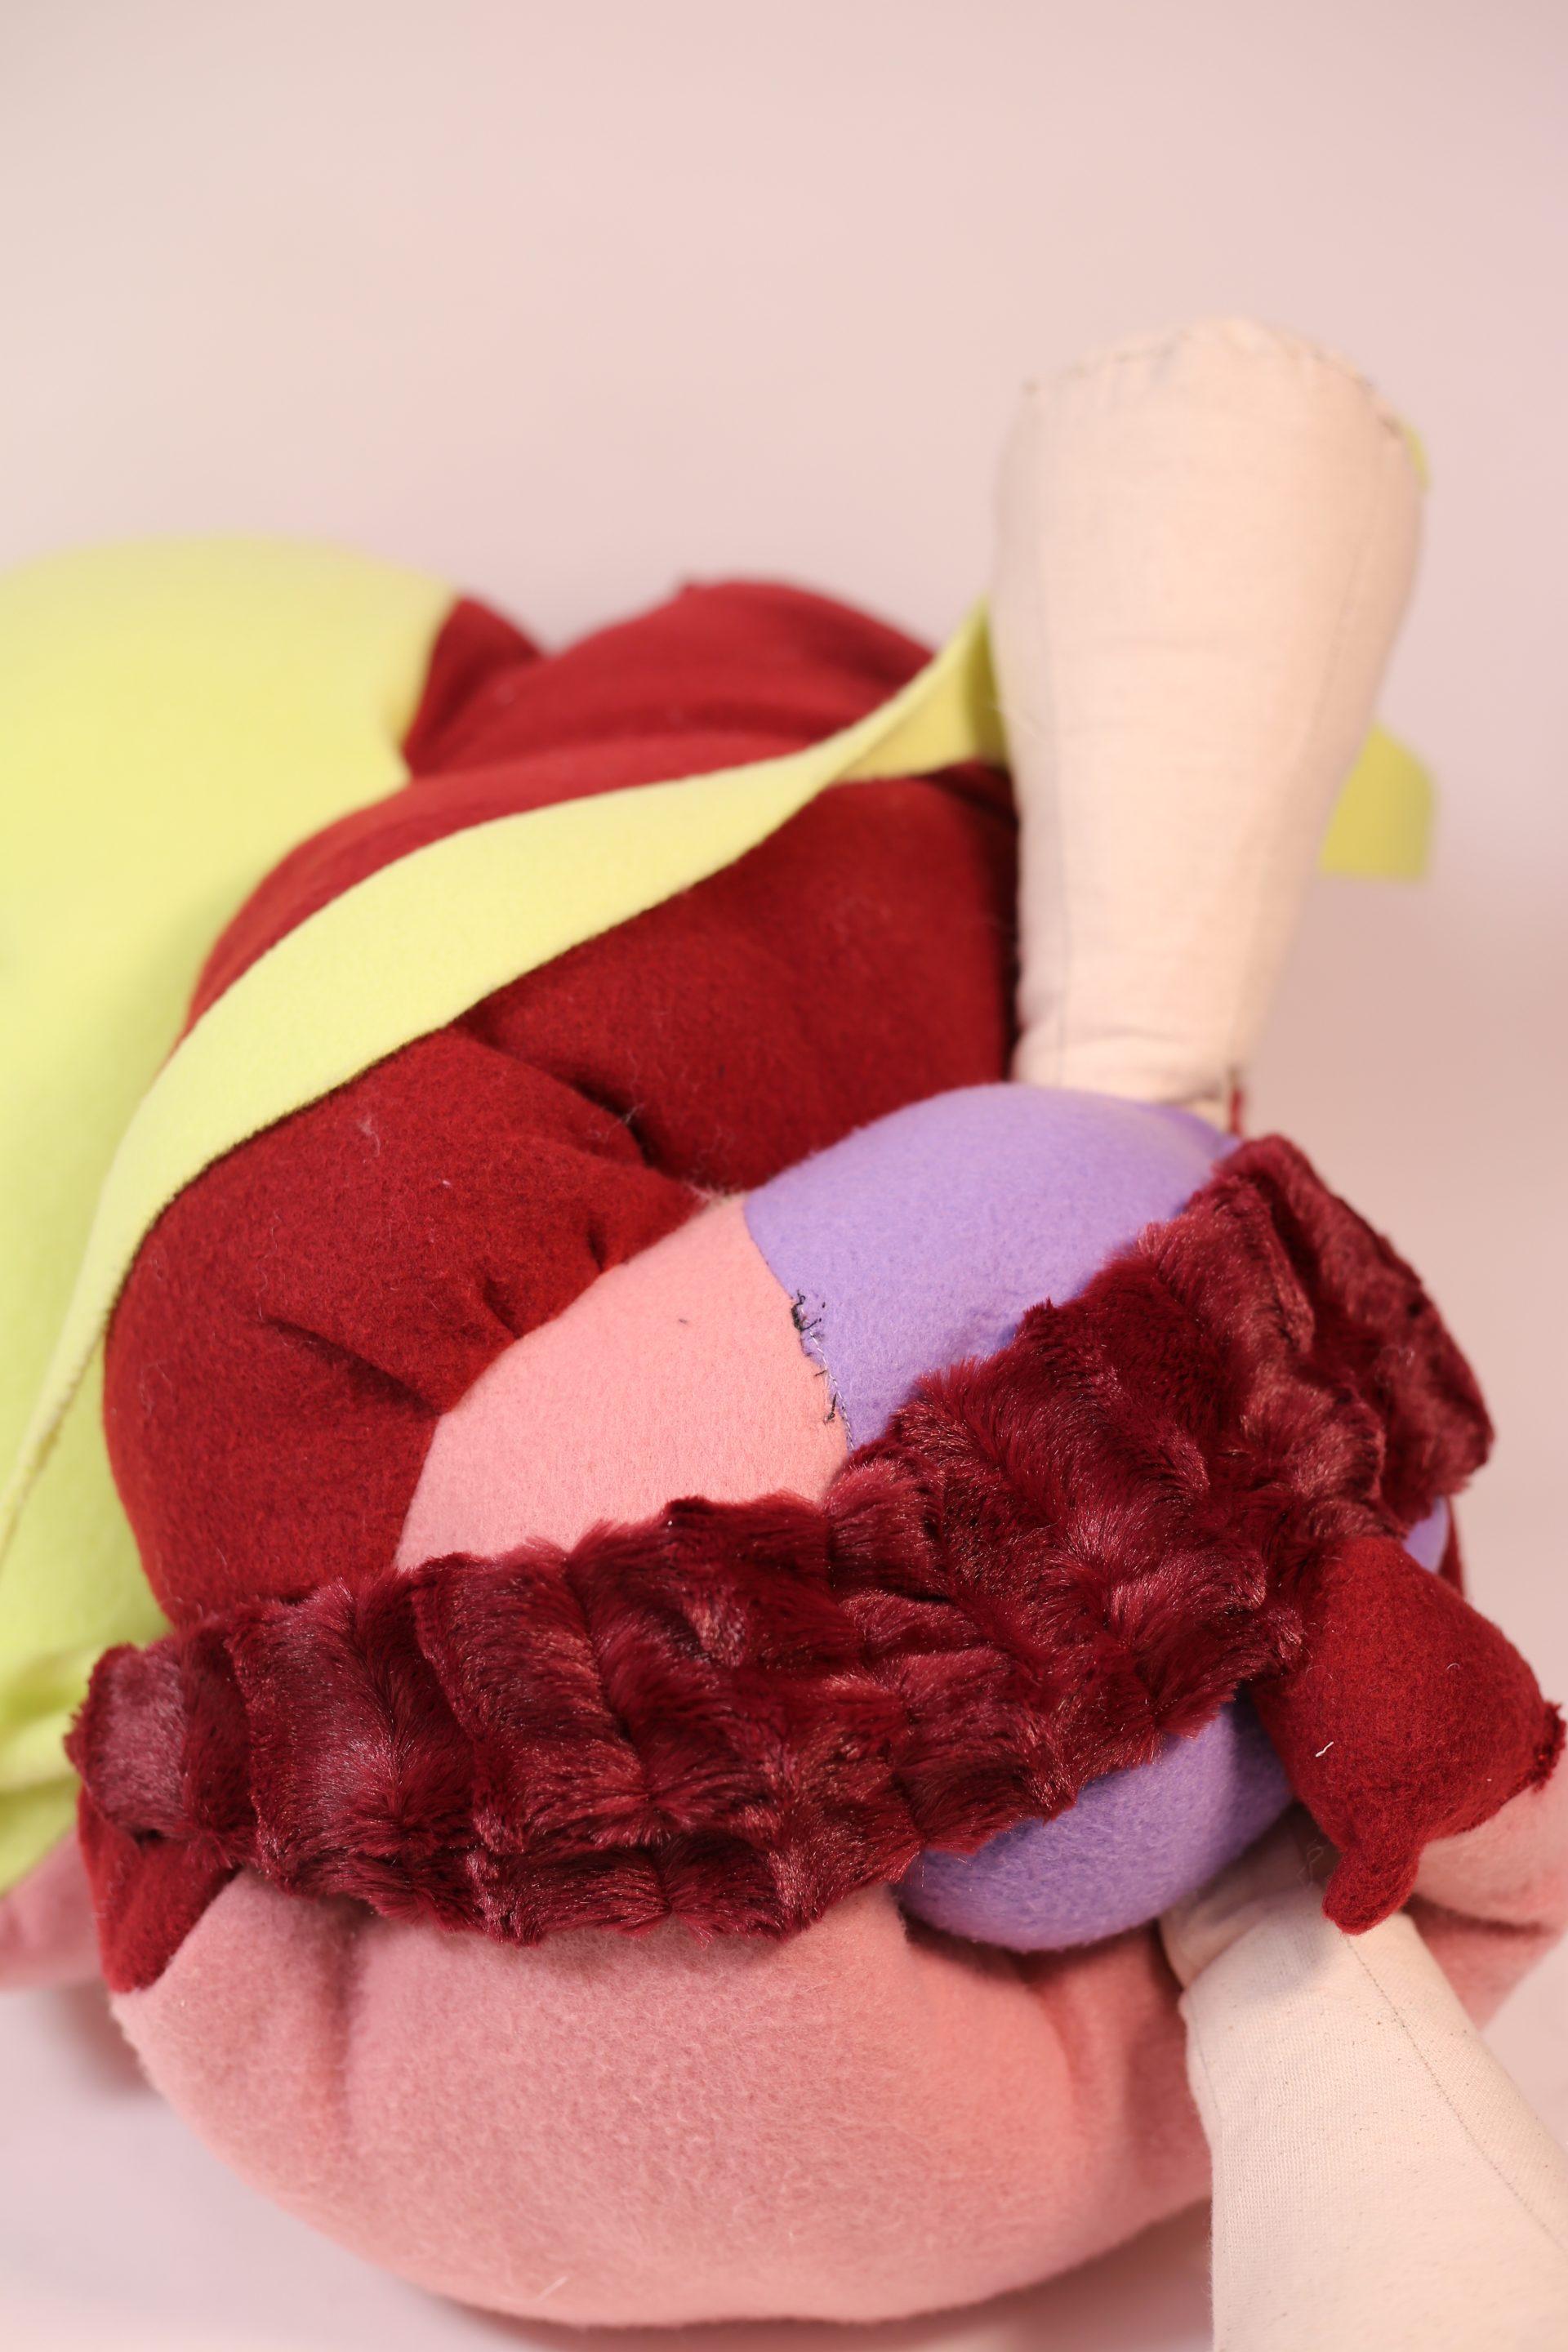
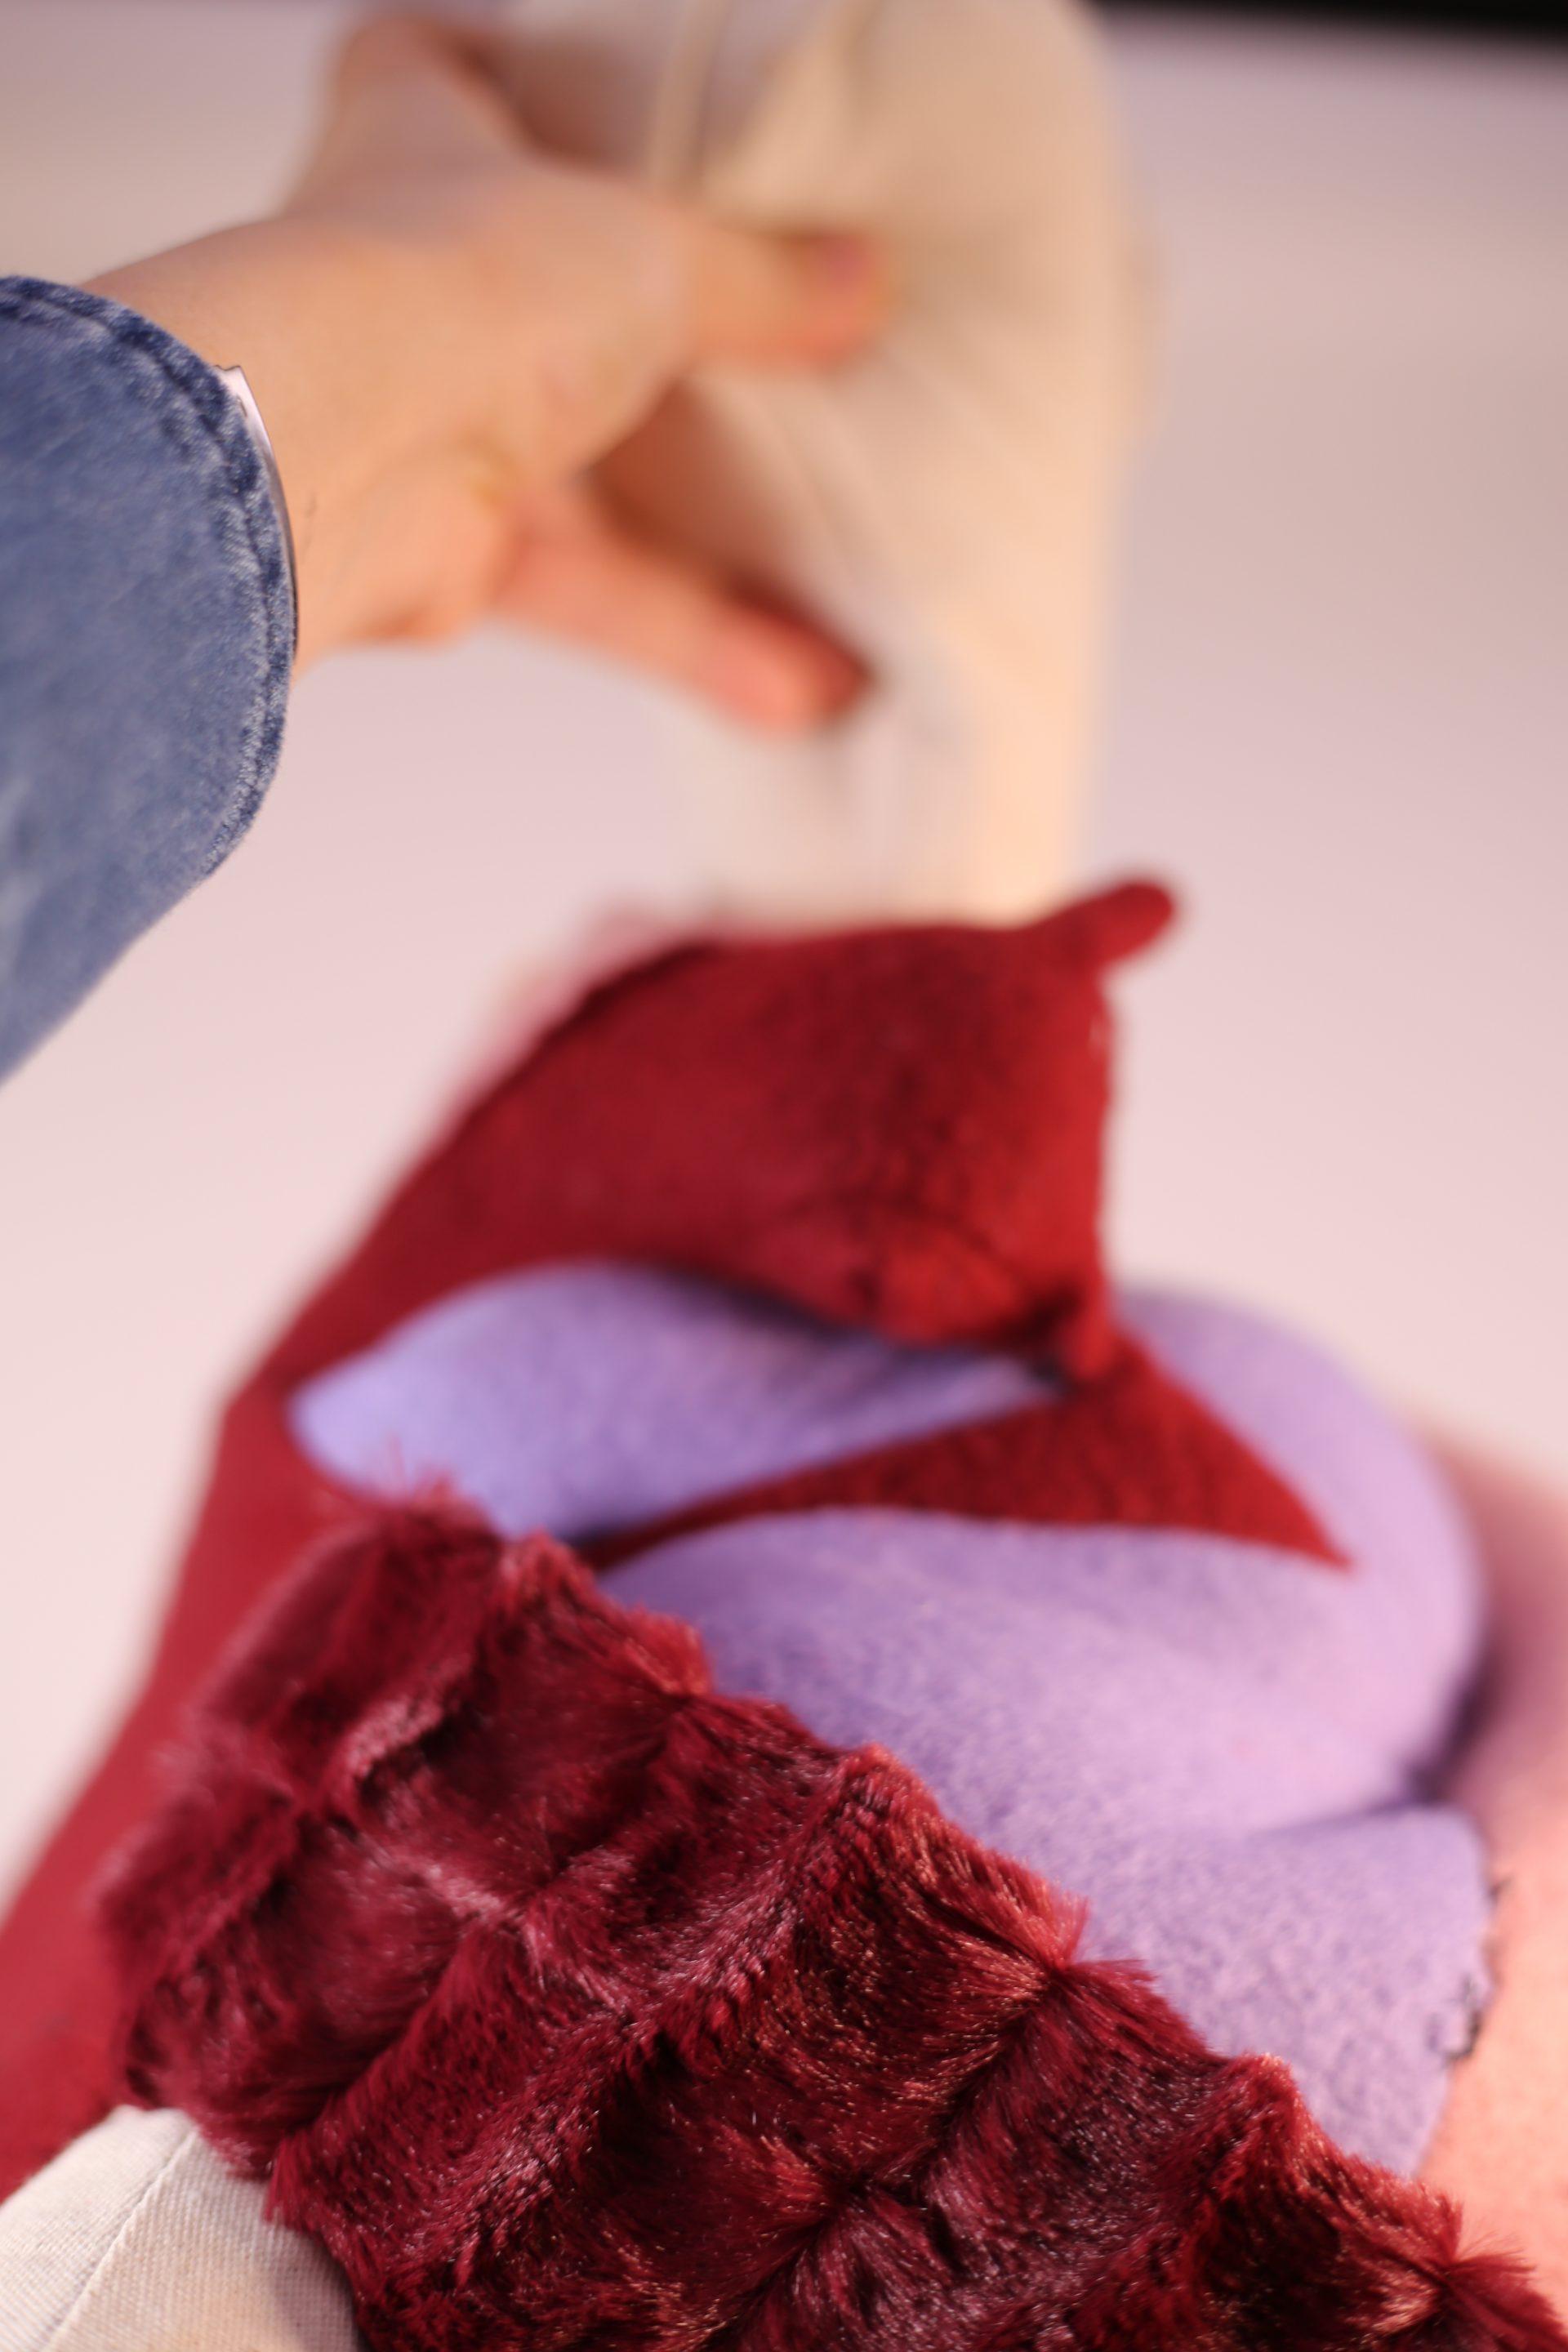
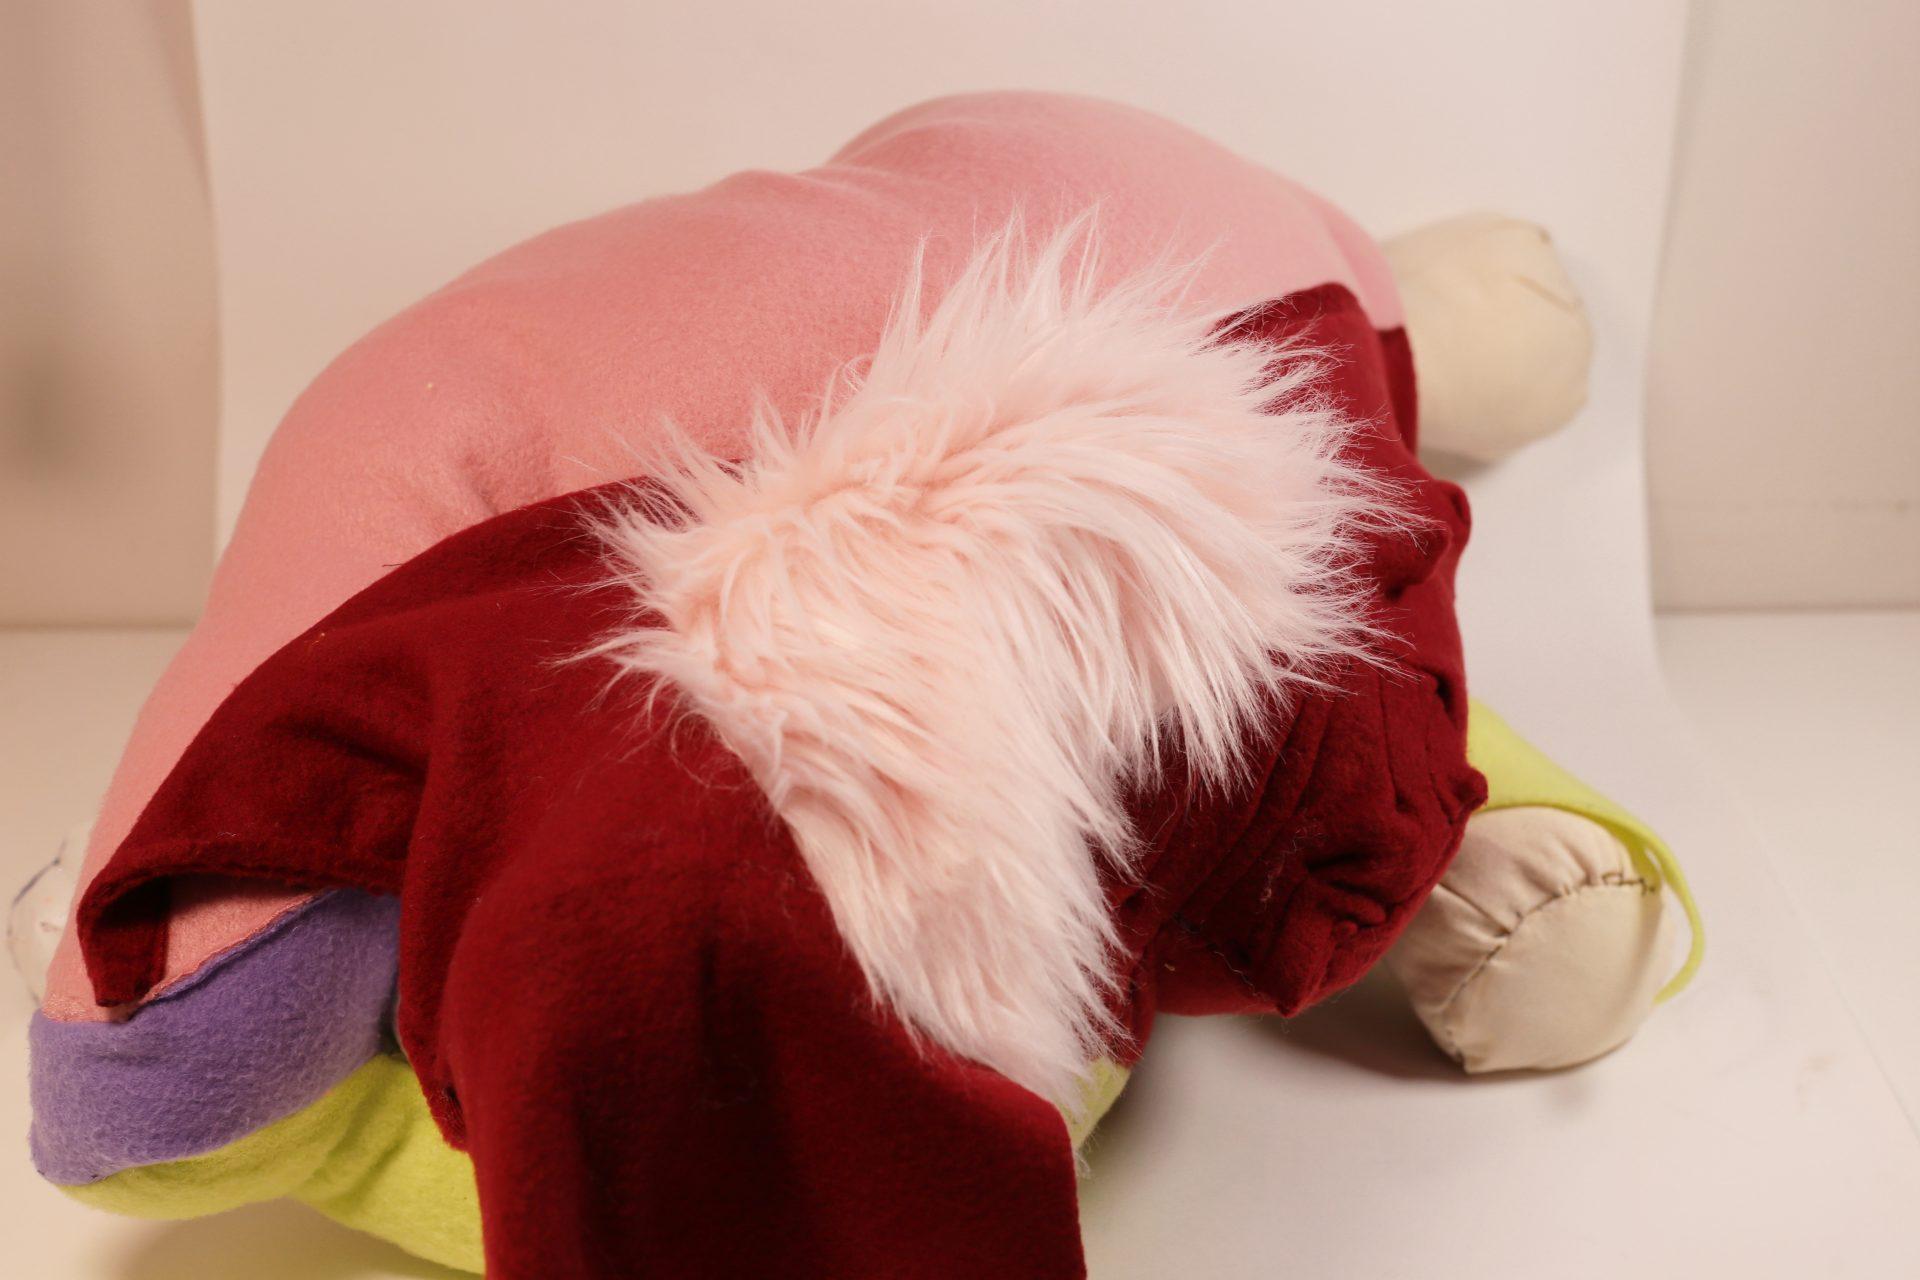
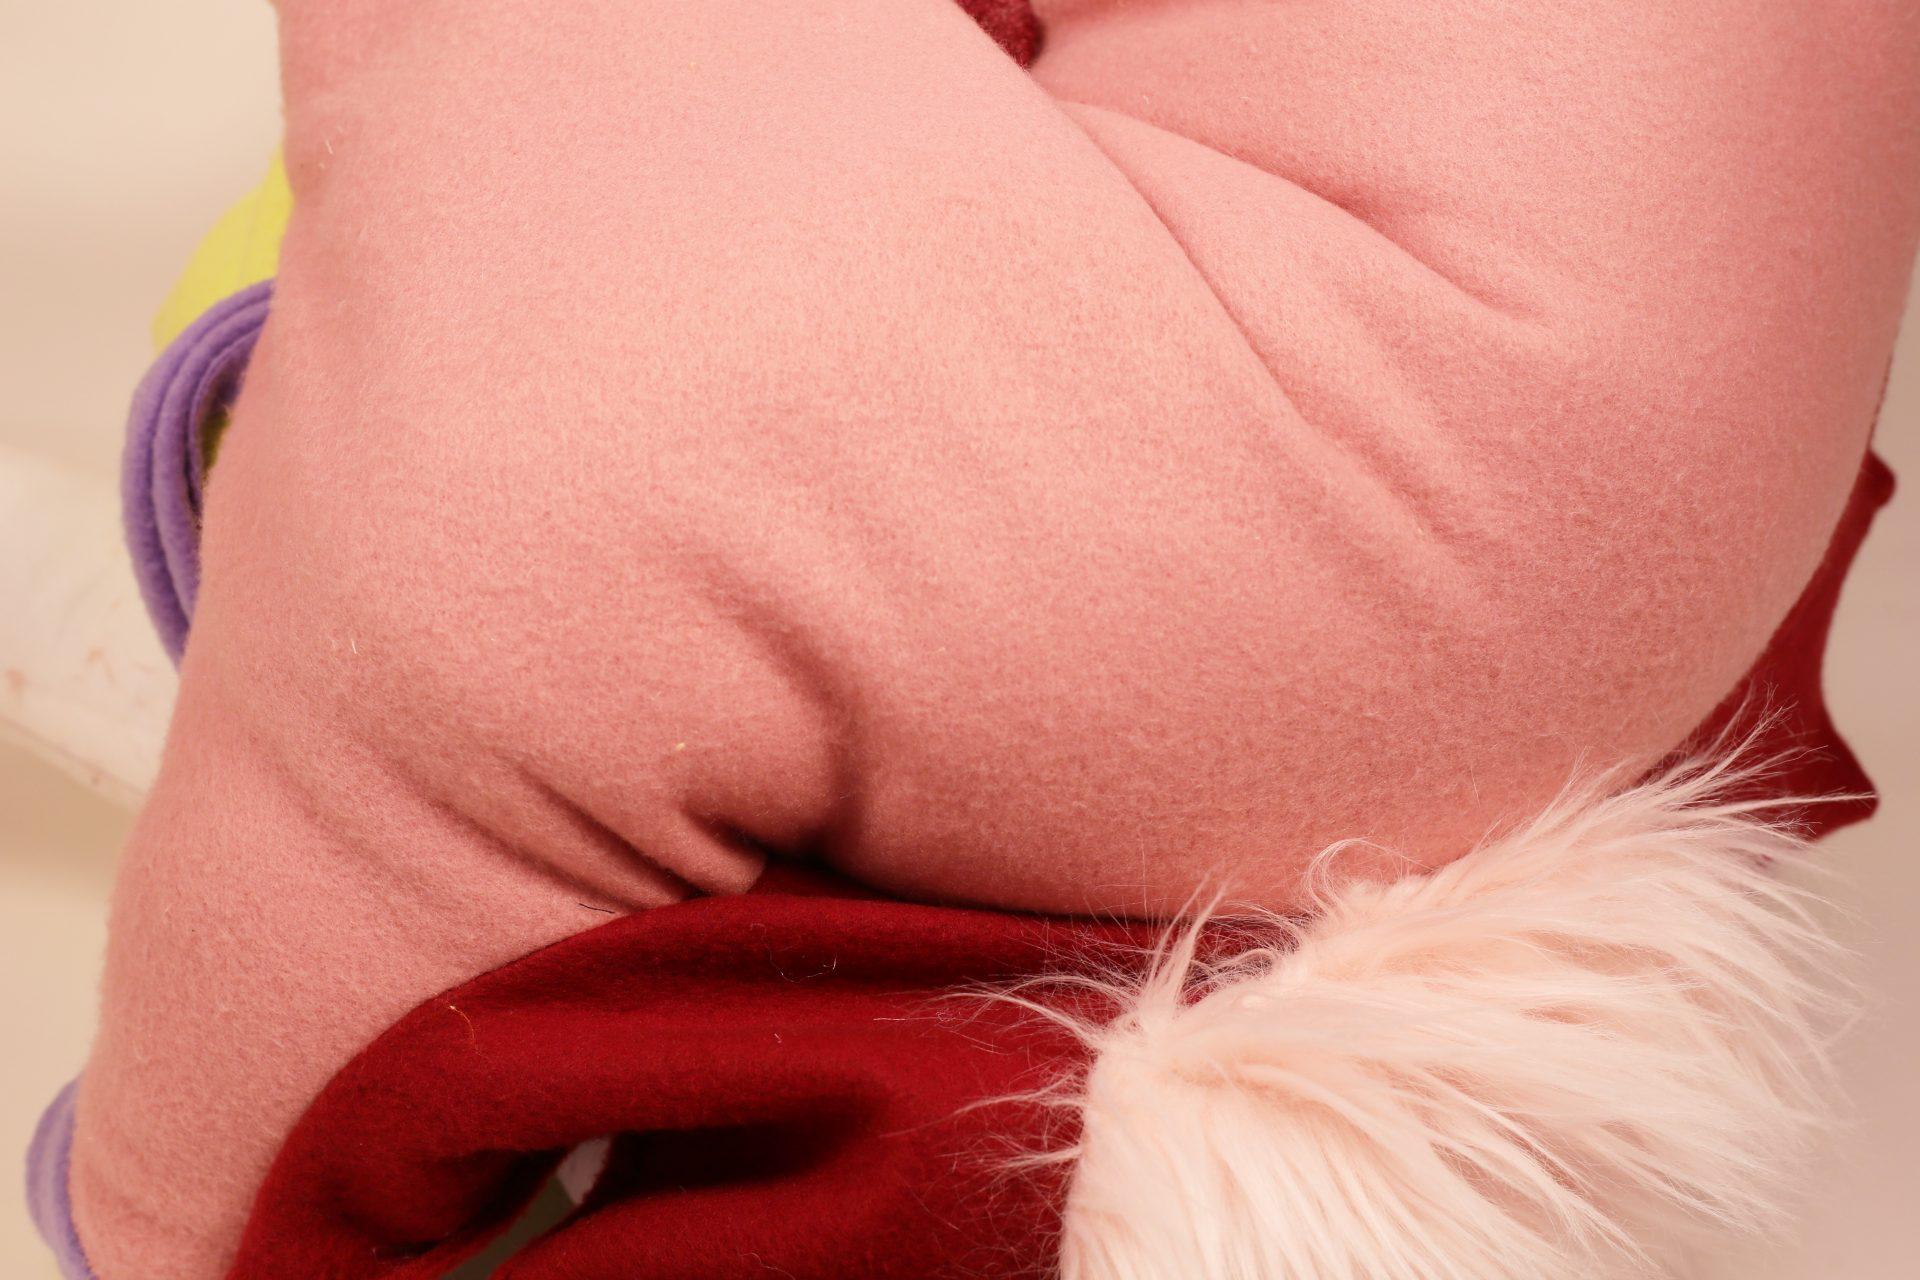
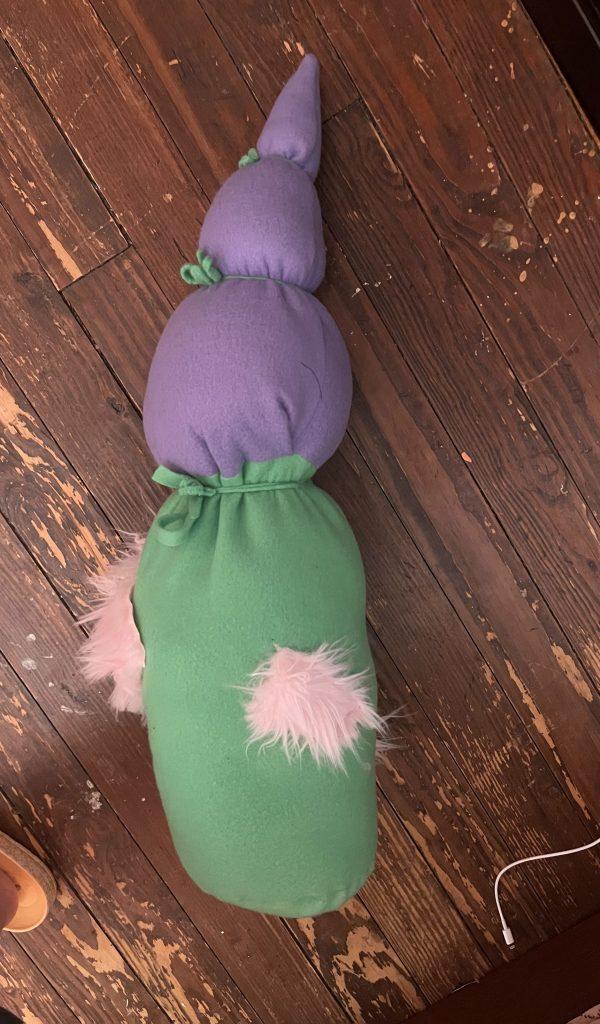
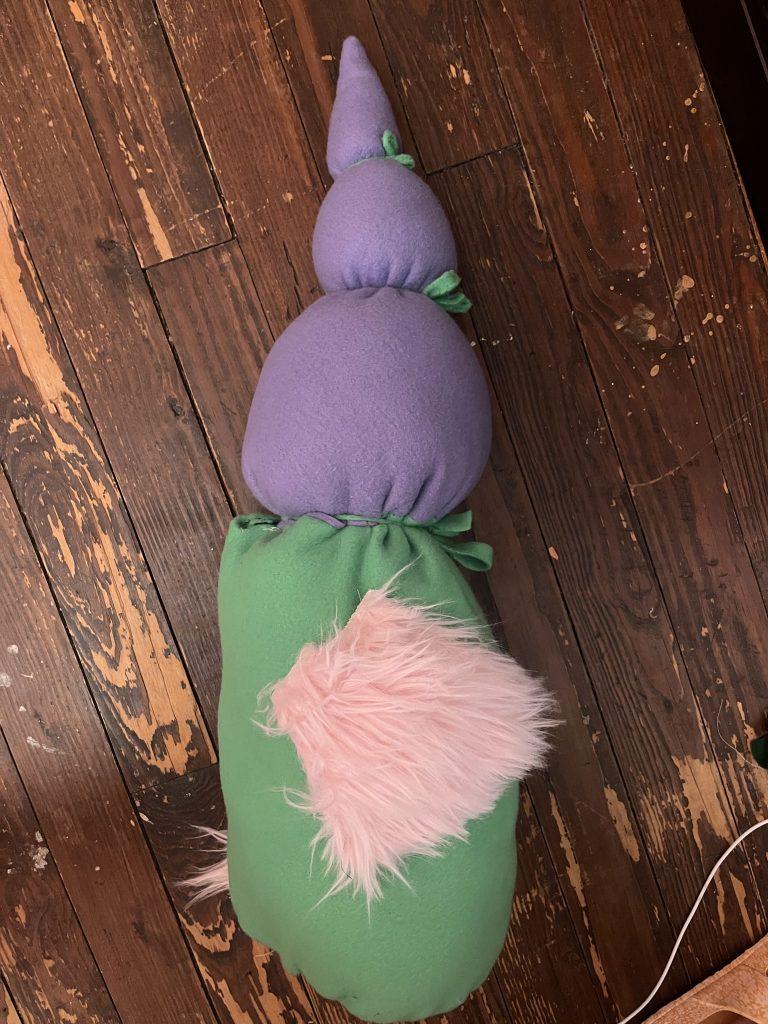
For my last item, I wanted to challenge myself by creating random primary forms and finding interesting ways to manipulate them. I had a cone and a cylinder, so I combined them to l first began by sewing them together. Next, I explored pushing the stuffing to look more rounded, so I added three fabric strips at different parts of the shape. Another thing I really wanted to experiment with was different types of fabric. The pink fur was a bit frustrating to work with because it kept getting caught in the sewing machine, but it was still a good learning experience. To me, this object resembles something from “The Lorax” 🙂

Push/Pull Objects – Summer Abraham

I wanted to make my first inflatable interactive and play with darting. I made a gnome out of a cone and then used darting to bulge the eyes. I had a lot of trouble sewing the eyes onto the cone, and the stitches look messy, but it does fit with the chaotic and goofy nature of the gnome. After the original string that allowed the gnome to be scrunched to the user’s preference was broken, I added another one in, but I don’t like the way this scrunches the gnome as much as the way the original string did.

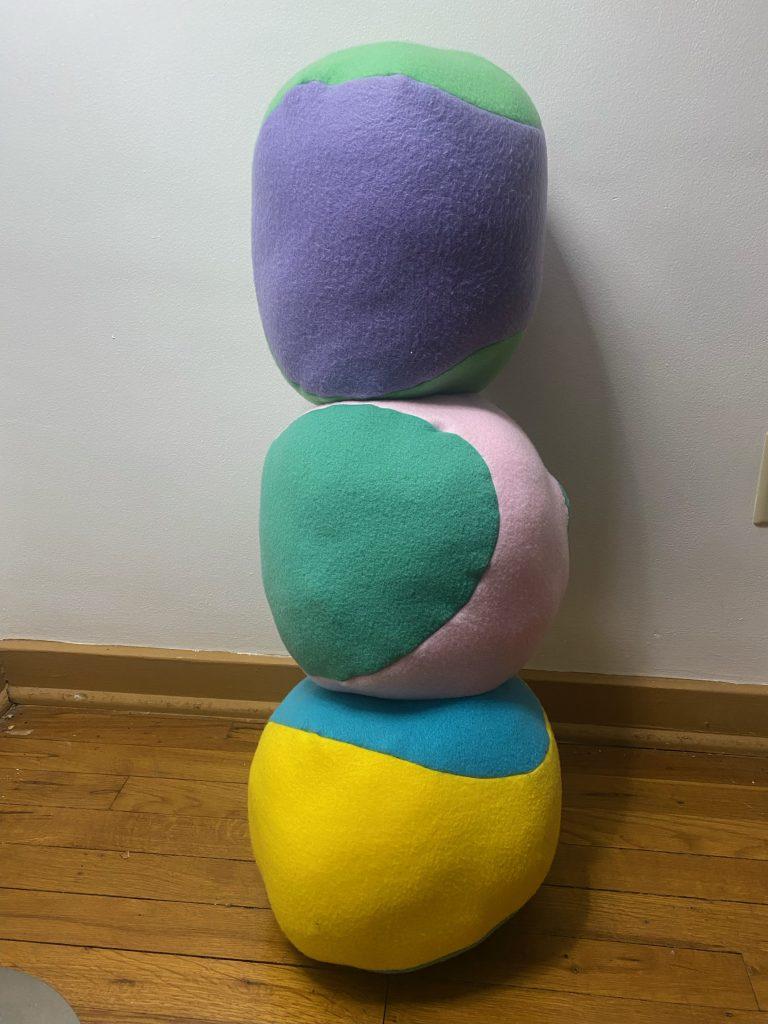
My second inflatable I wanted to play around with connecting shapes together, so I made three intersecting spheres. This one was really hard for me to think through, and I needed to meet with Olivia to talk it through. I made it by sewing together the green, pink, and turquoise pieces together and then adding on the other halves of the spheres. I used 6 different colors both to make it easier on myself to visualize how it will go together and because I like the playfulness of the multicolored patterns.

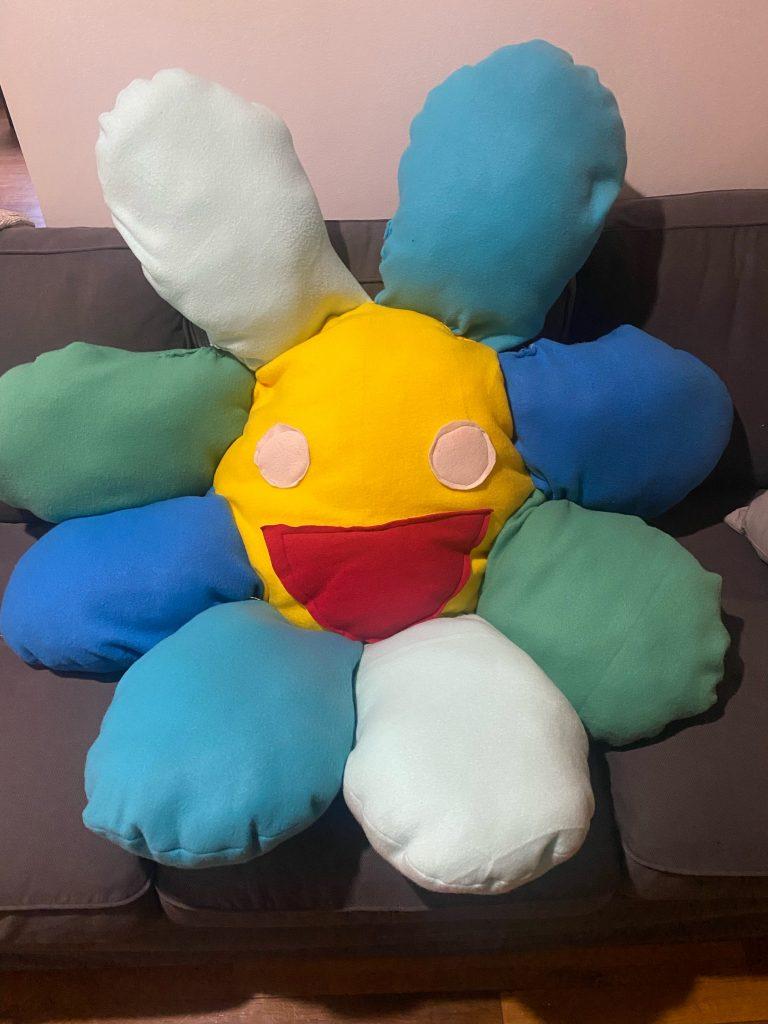
For my third inflatable, I wanted to make the Murakami flower design because I really like the pattern, and I think it’s really simplistic but cool. This one also took me a while to think through and a lot of playing around by pinning the pieces together and then reversing them until I figured out how it would work. There was no pattern for the petals, so I had to make my own pattern, and I used the cone pattern for the two yellow circles that make the middle of the flower. I didn’t intend for the inflatable to turn out so large, but I do like the surprising and comical nature of the size. The face is a little bit scarier than I intended, but the sewing of the eye circles went a lot better in this version.

Push/Pull Objects

In this project, I experimented and learned different manipulation techniques and methods in sewing by creating stuffed objects.

Object 01.

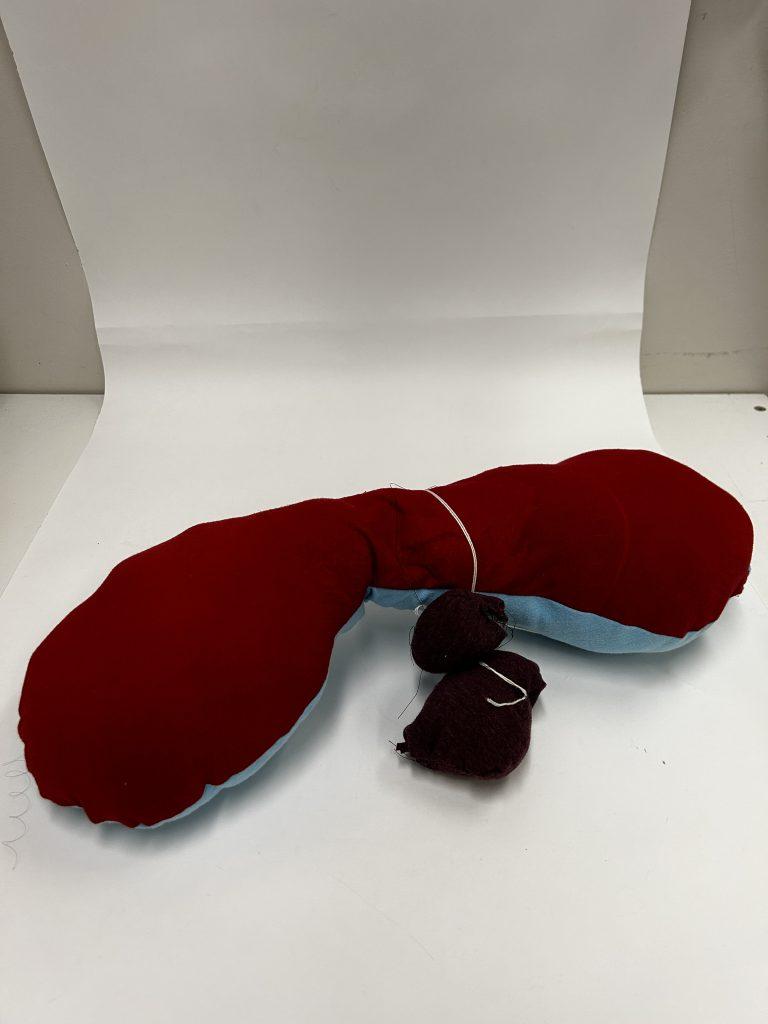
My first object started with two pieces of fabric, one white and one black. I had wanted to initially experiment with darting, but this ended up becoming more of an exploration on tunnels. I chose red as my third color to highlight the special moments and interactions happening within and without.

This object turned out much larger than I anticipated. I was left with a rather curved form, which was a happy accident. In this, I also learned a bit about binding and restriction. I did not approach this object which much of a vision in mind, at some point I just went with what fabric was hanging on the ends to close it off.

Object 02.

For my second object, I wanted to better refine my tunnels, as in the previous object, I had accidentally left an opening. This object was challenging to figure out in terms of connection and functionality. This resulted in a slightly less systematic process of creation. However, it actually added to the character of the object in that pulling each ball resulted in a different reaction.

Object 03.

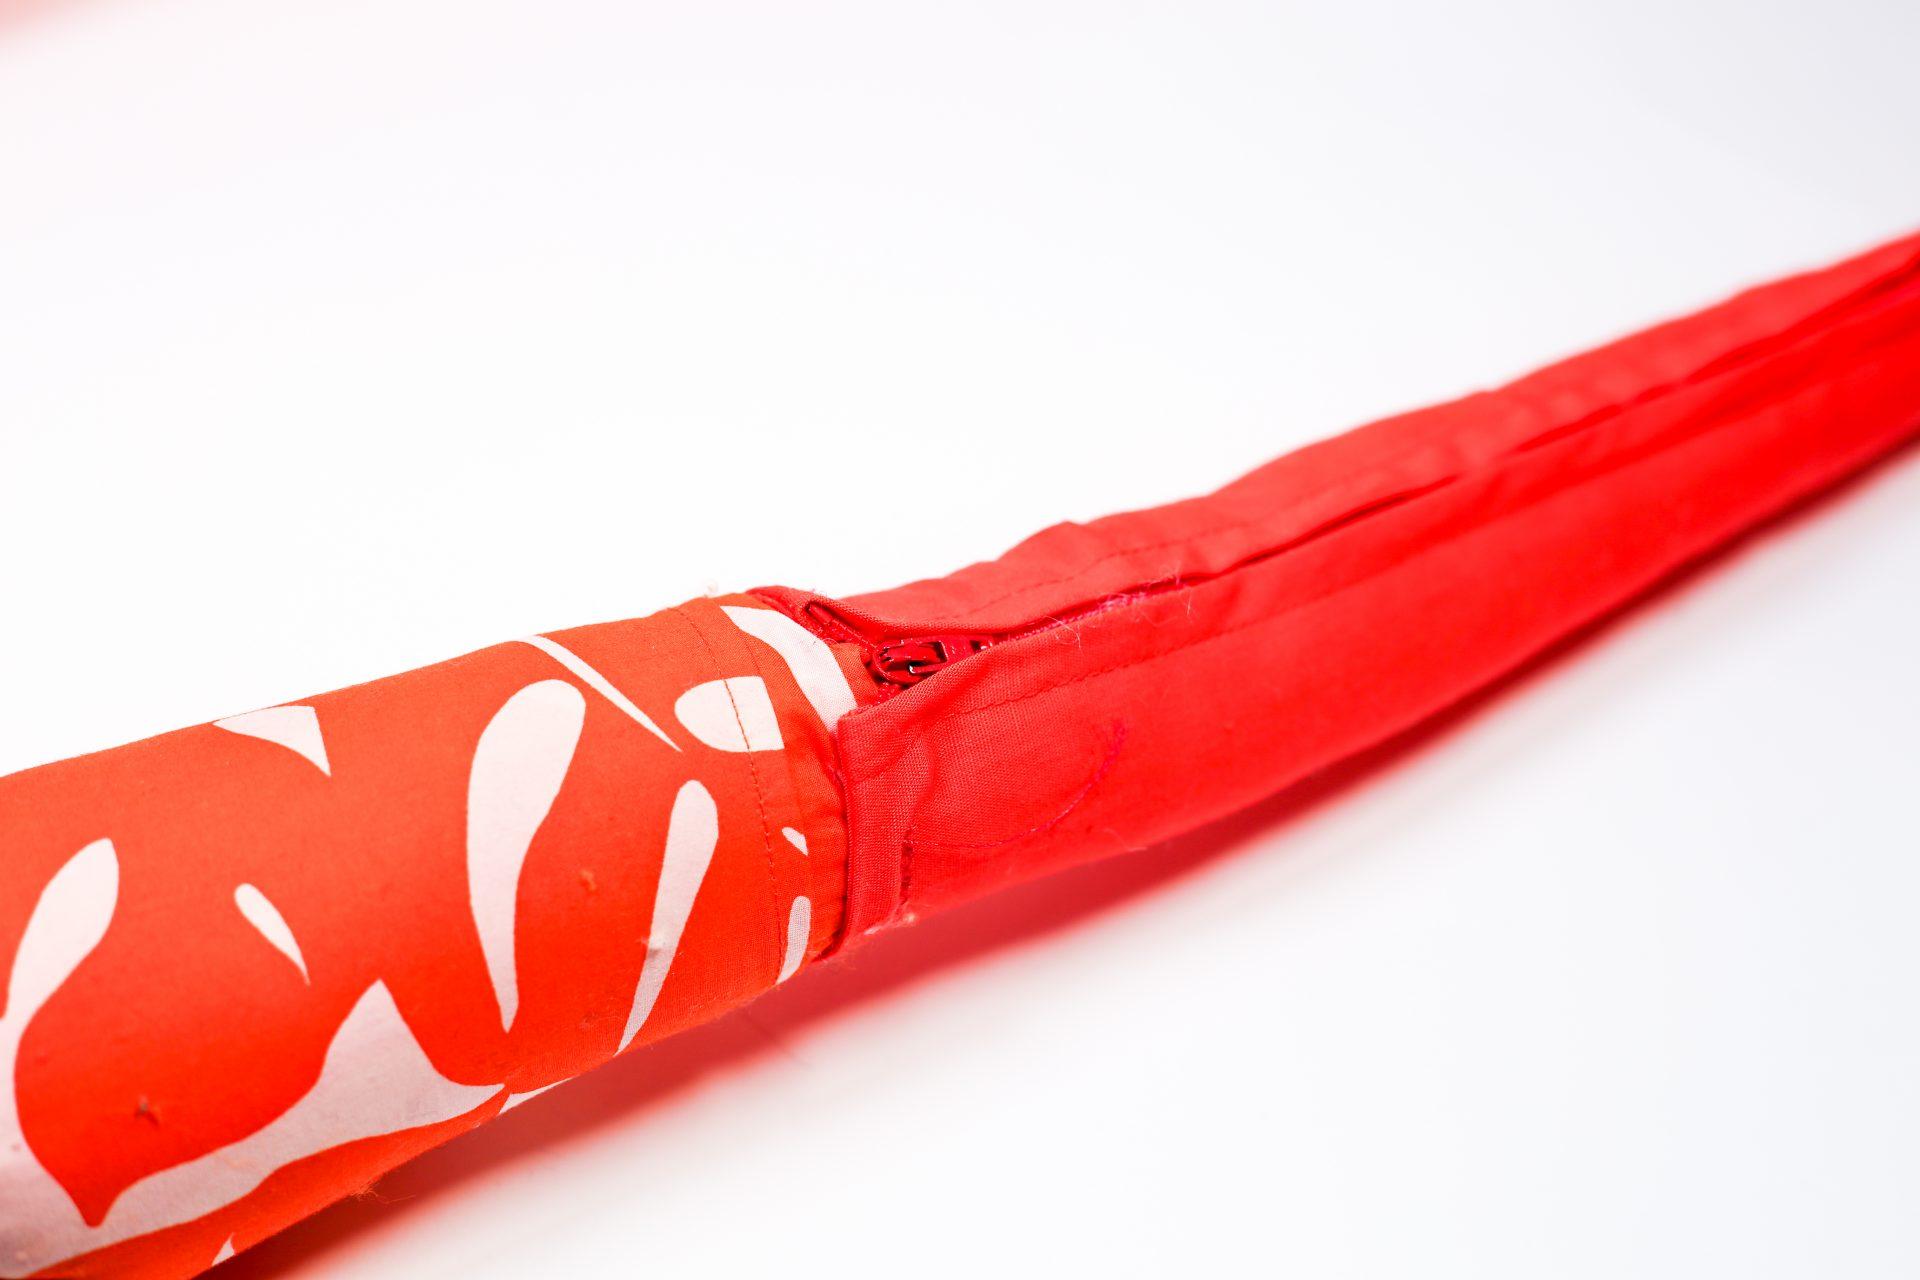
My last object was surprisingly the most difficult to make. Despite it being its original form of a cone, the detailing of the exterior, zipper, and interior posed a big challenge for me. I had a lot of trouble figuring out the logic behind how the red interior would be attached to the rest of the cone, while being able to open and not be exposed when it was unzipped. I think that in the future I would definitely be more cautious about my seam allowances.

Visual Portfolio, Posts & Image Gallery for WordPress

Push & Pull

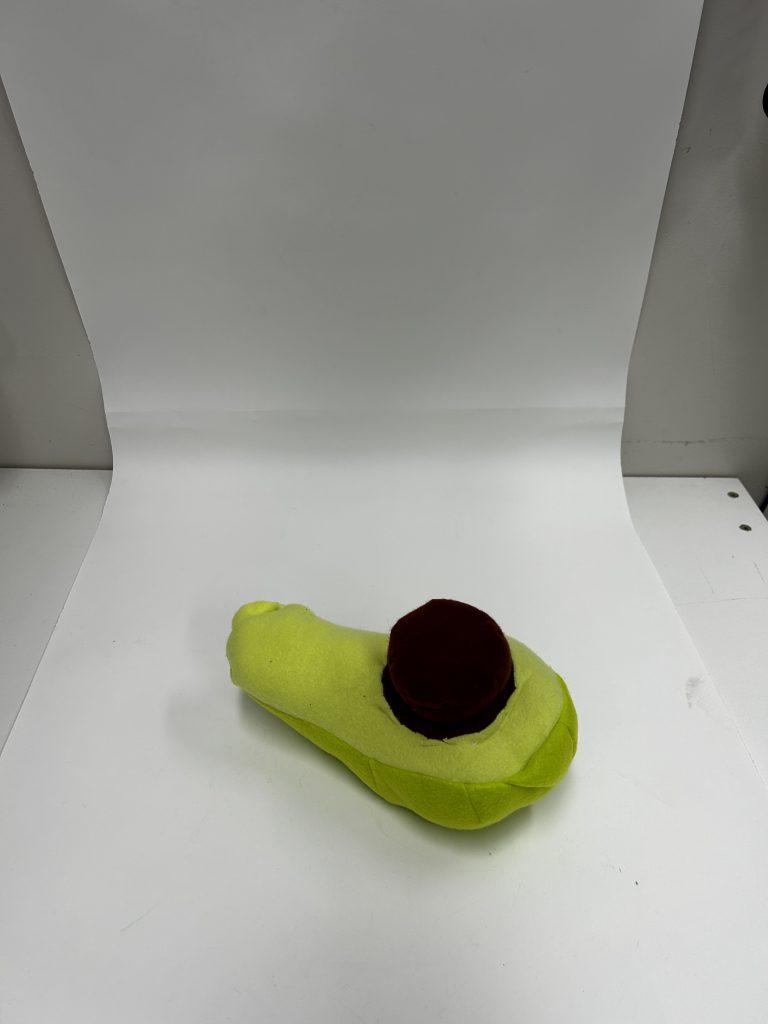
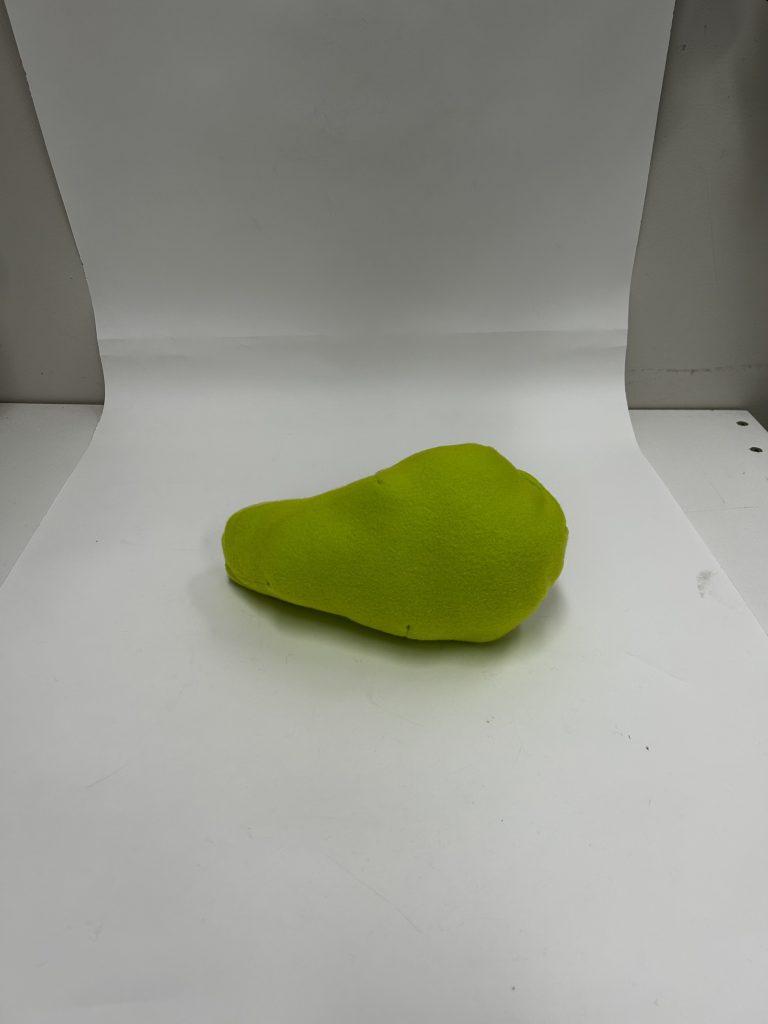
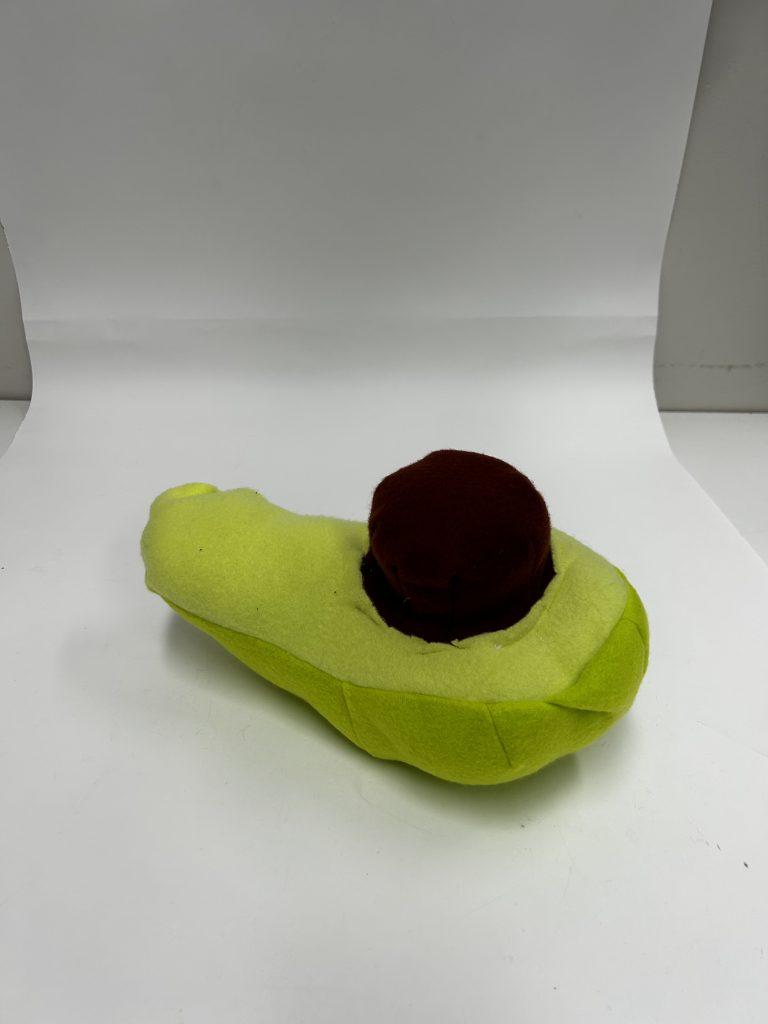
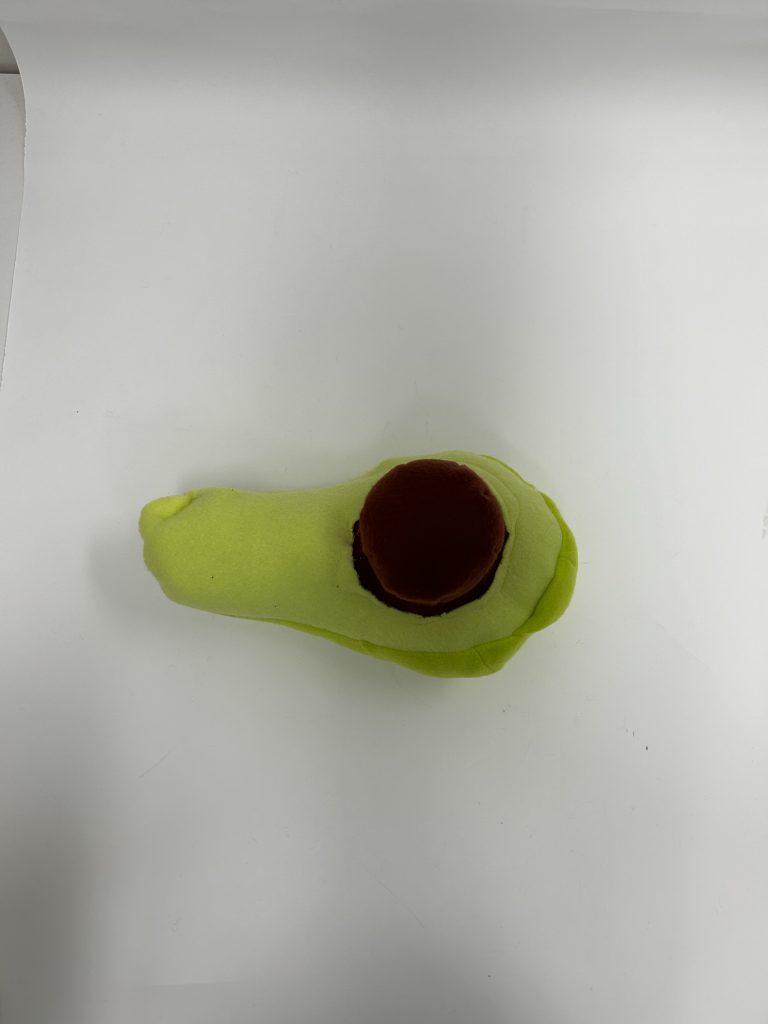
Object 1 – Avocado

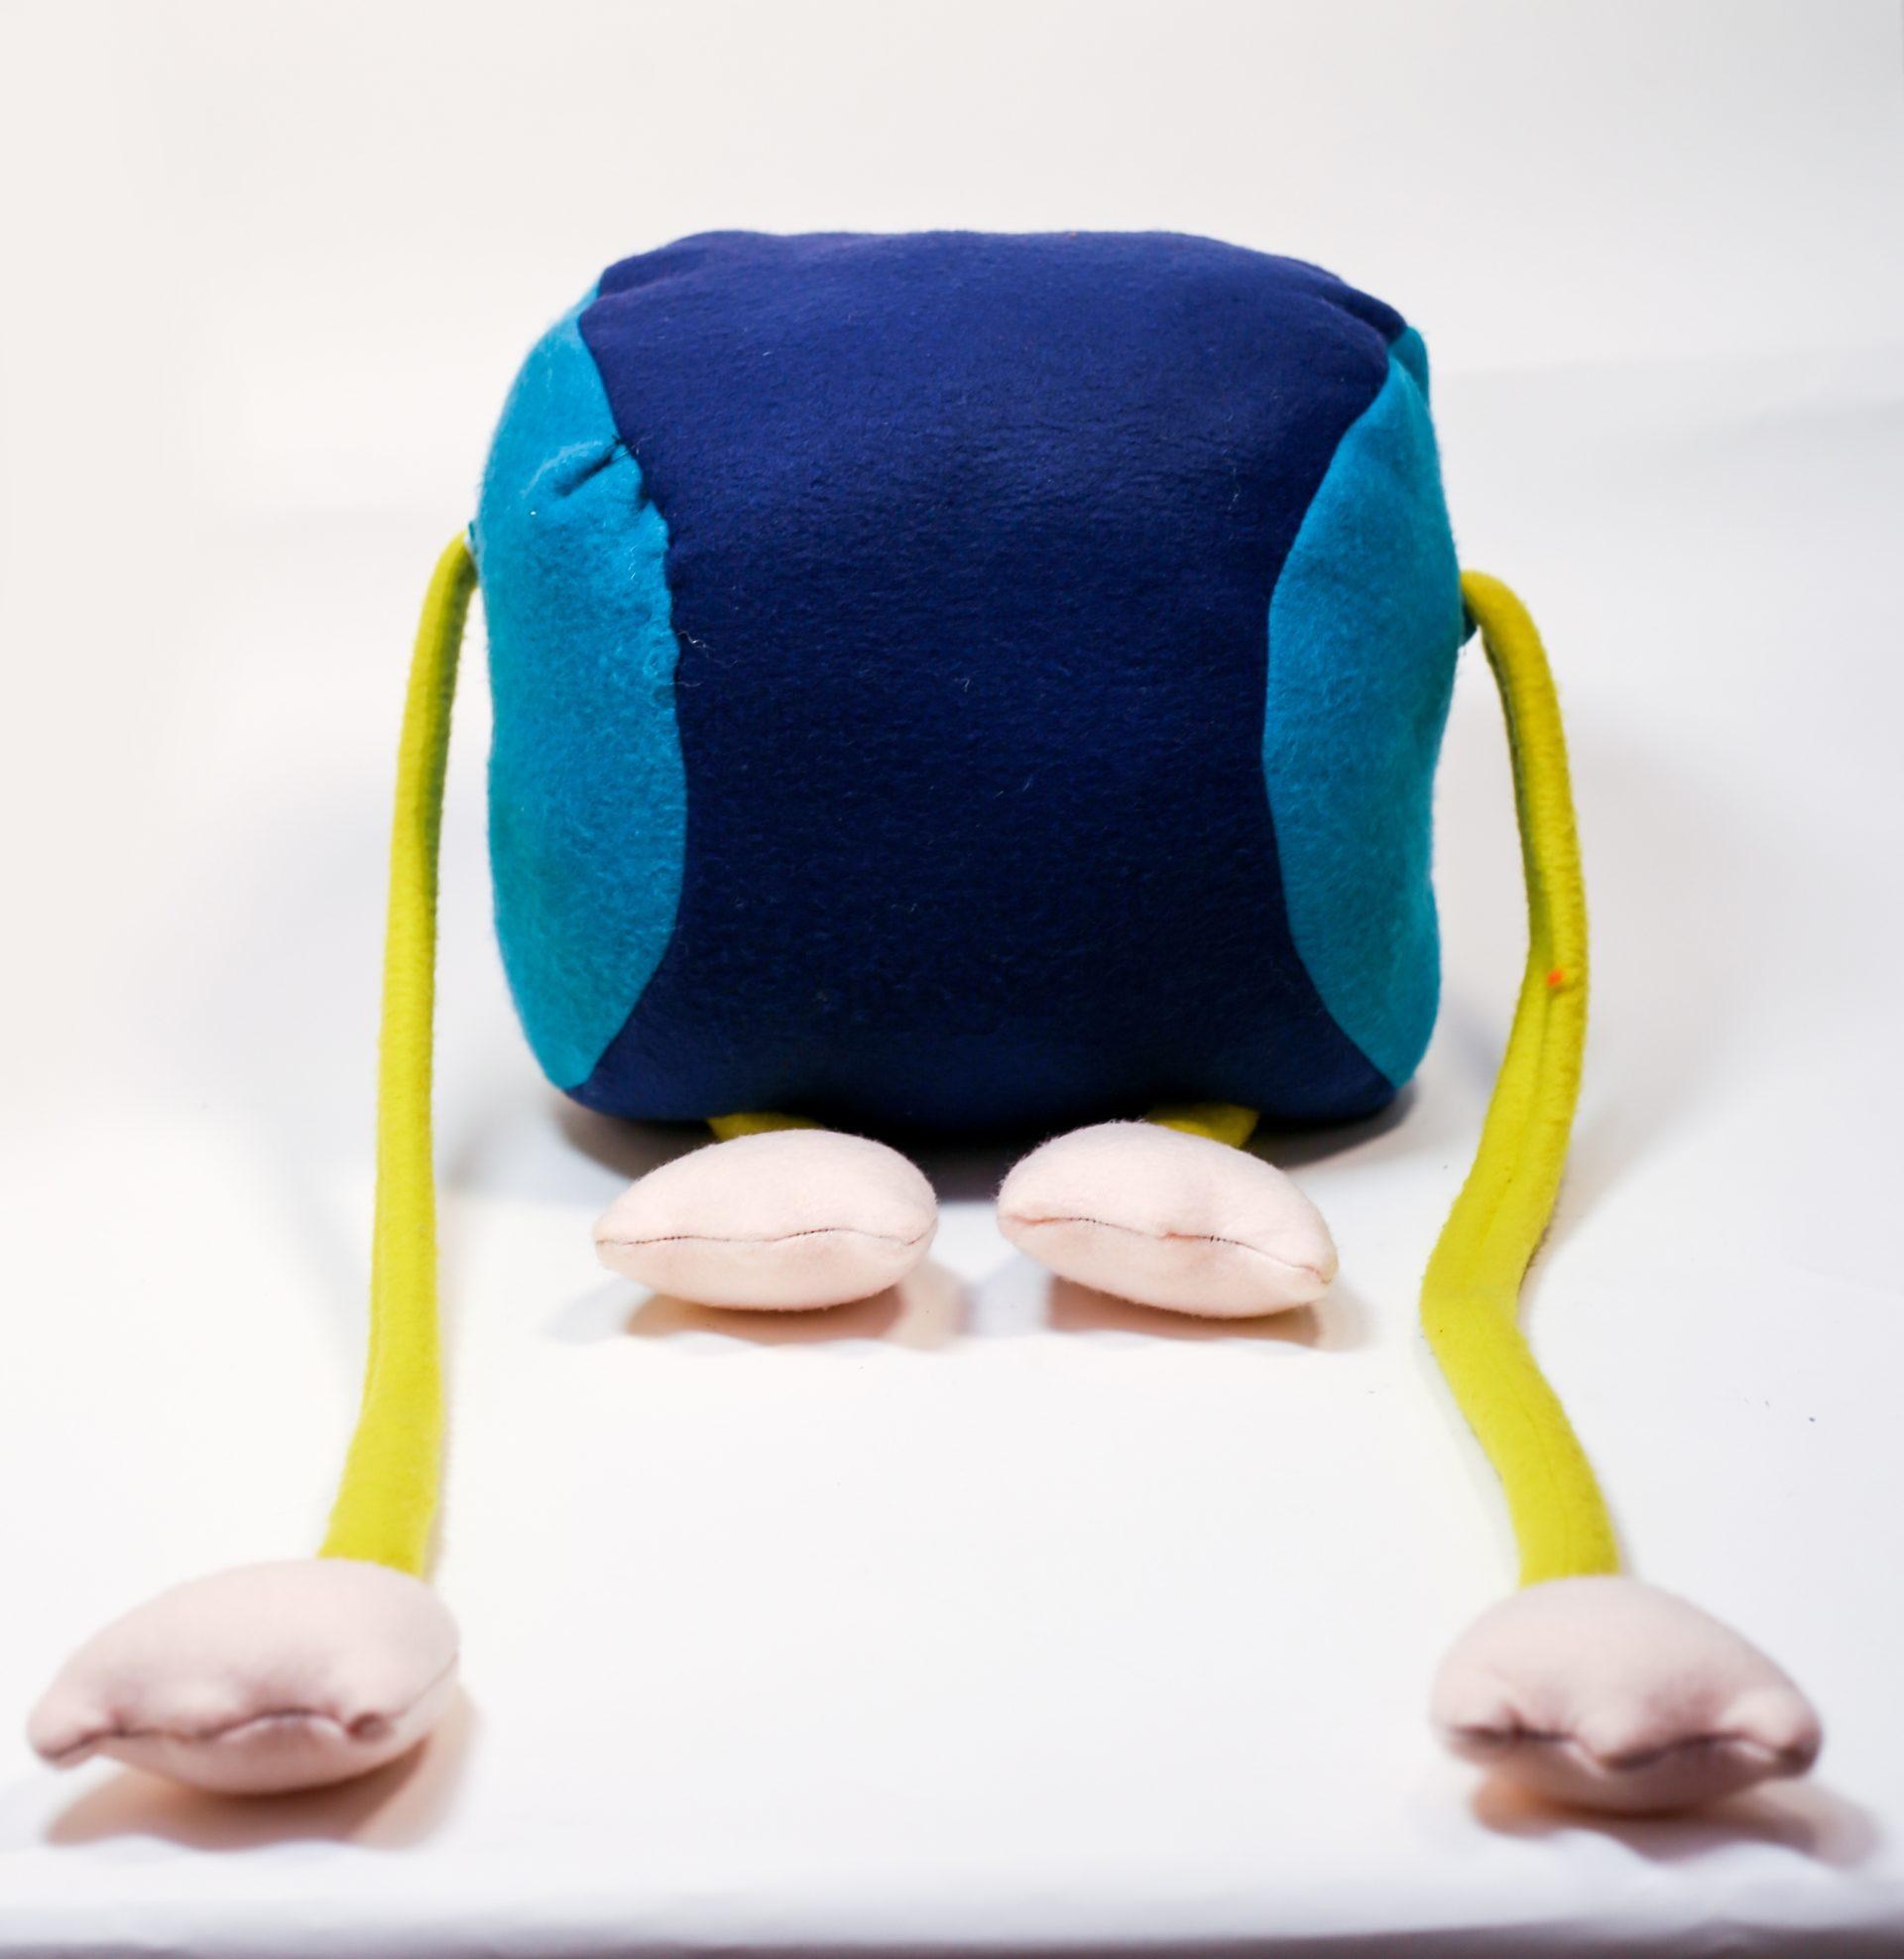
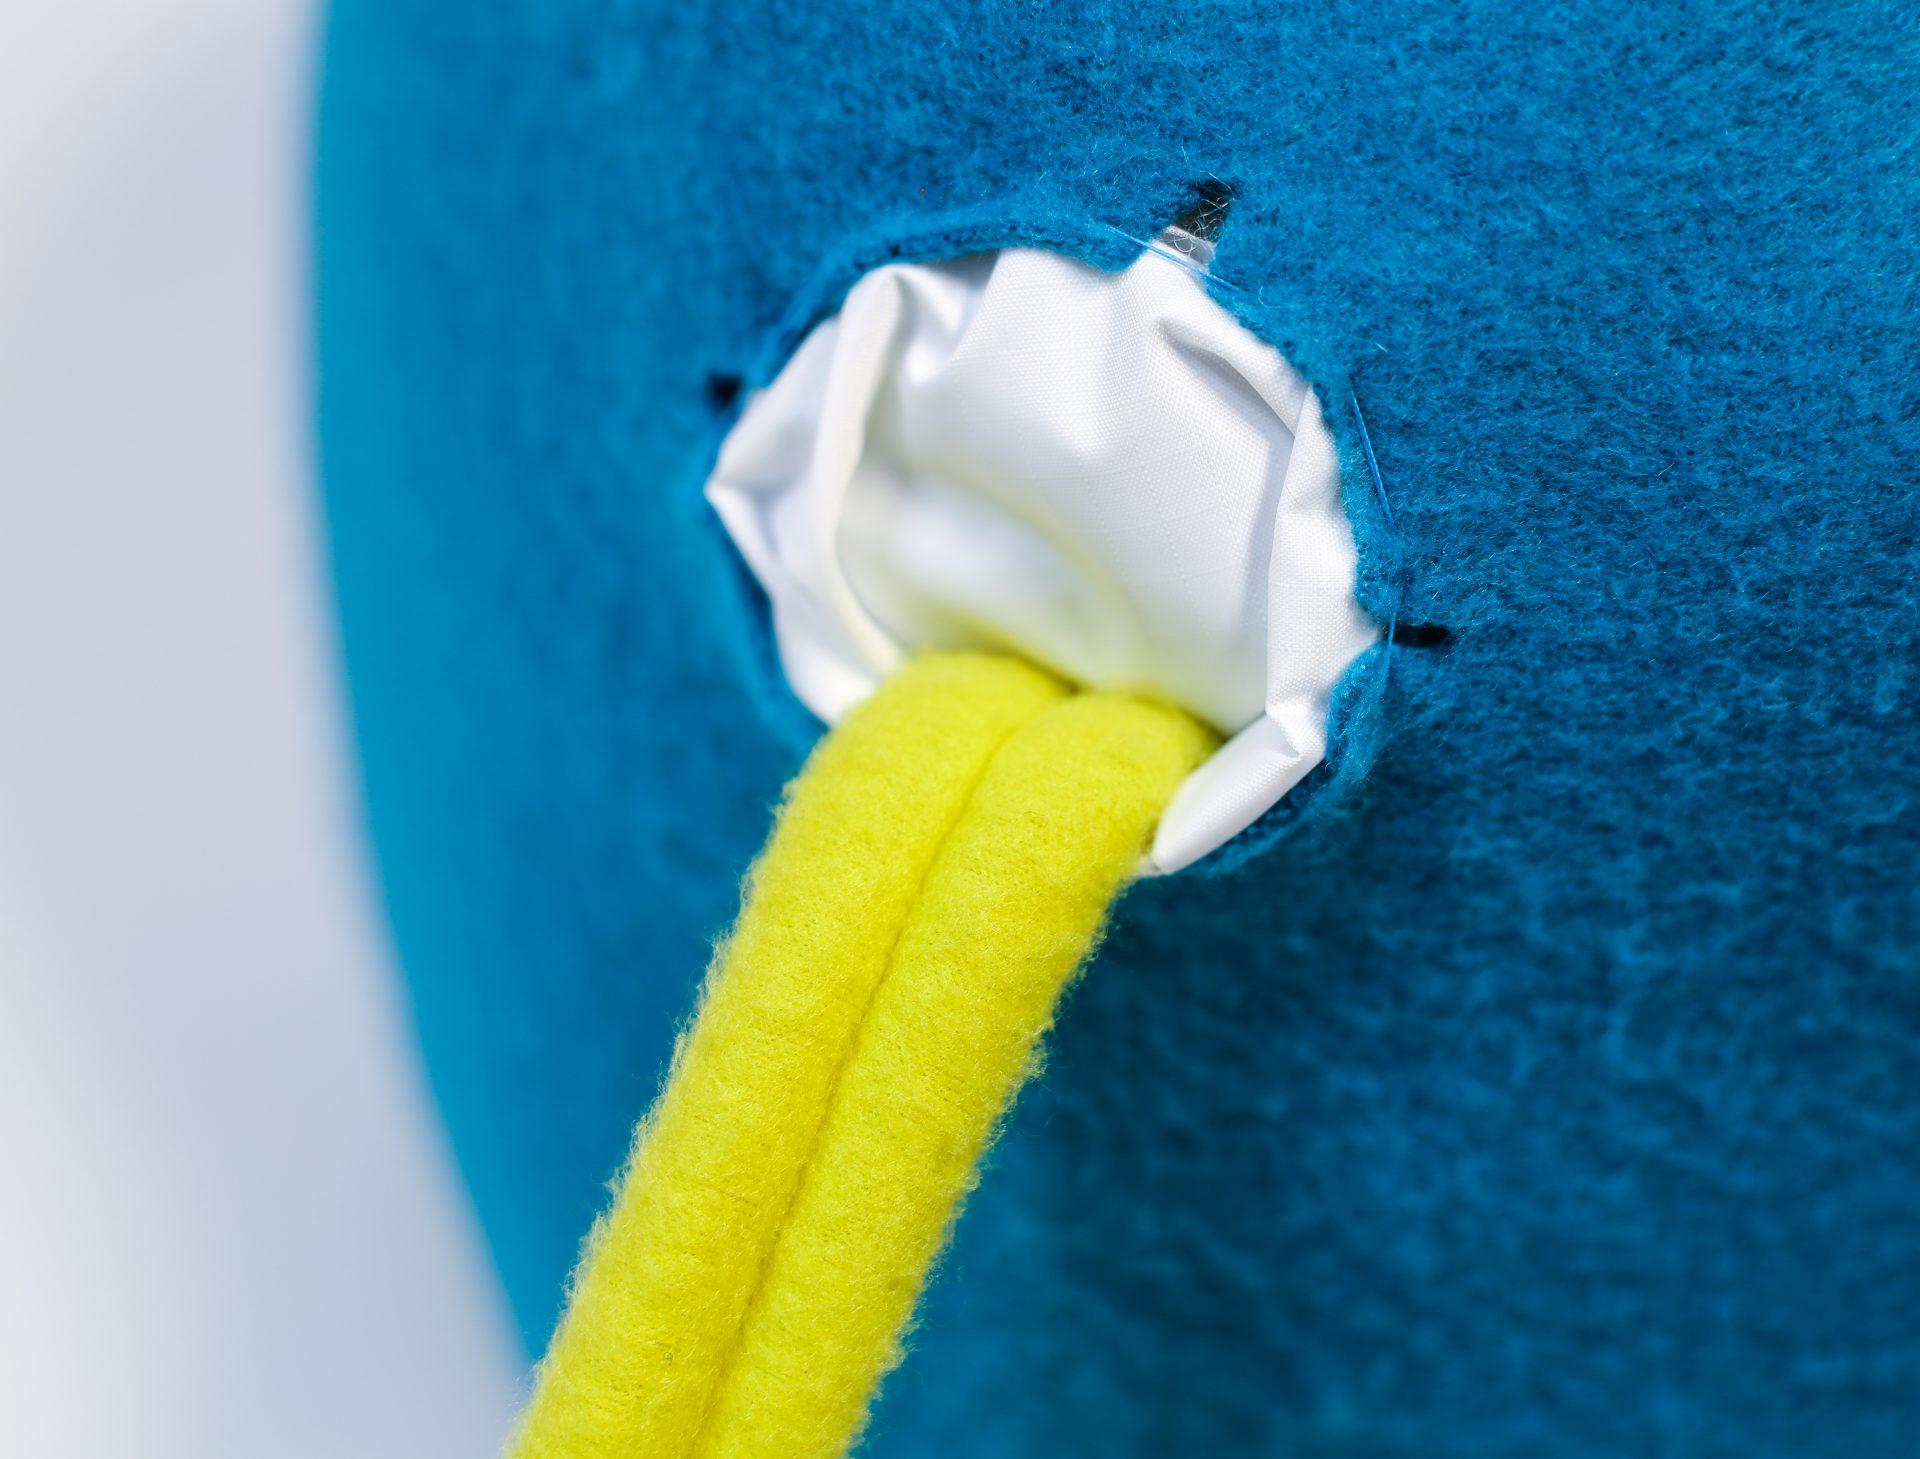
For my first object, I decided to recreate a pretty recognizable object. I chose the avocado, since it was composed of irregular shapes and would allow me to experiment with some darting in certain areas. My first version of the avocado, originally, did not use any darting techniques and had a really odd – not avocado looking shape. For my second iteration, which is the one displayed above, I focused on using darting for the seed, as well as for the shell of the avocado. By doing this, I could create more pronounced shapes after stuffing the inflatable, since in my first iteration the lack of darts made the inflatable take a rounder shape. It was challenging using darting techniques on the odd shape of the avocado – however I do like how it came out and think it creates a very nice shell looking shape. In the case of the seed, I think I added way too many darts which led to the seed having a very tall size and not very round as I intended. Overall, this was a great learning experience since I was able to experiment with different techniques and learn from my mistakes.
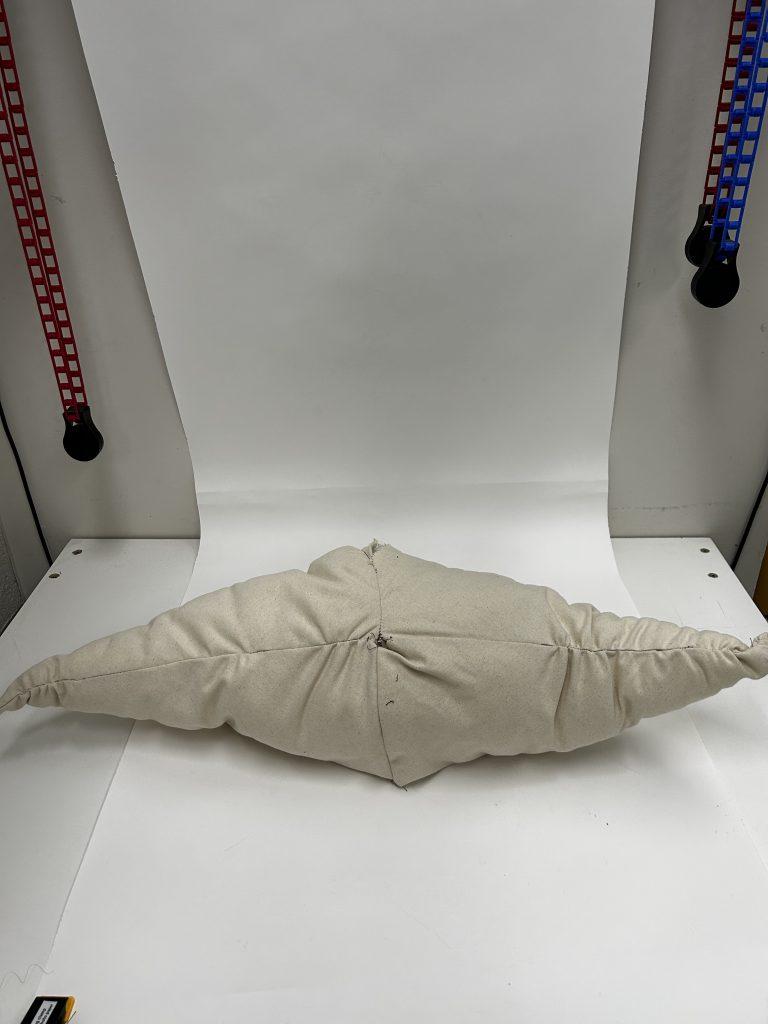
Object 2 – Gathering

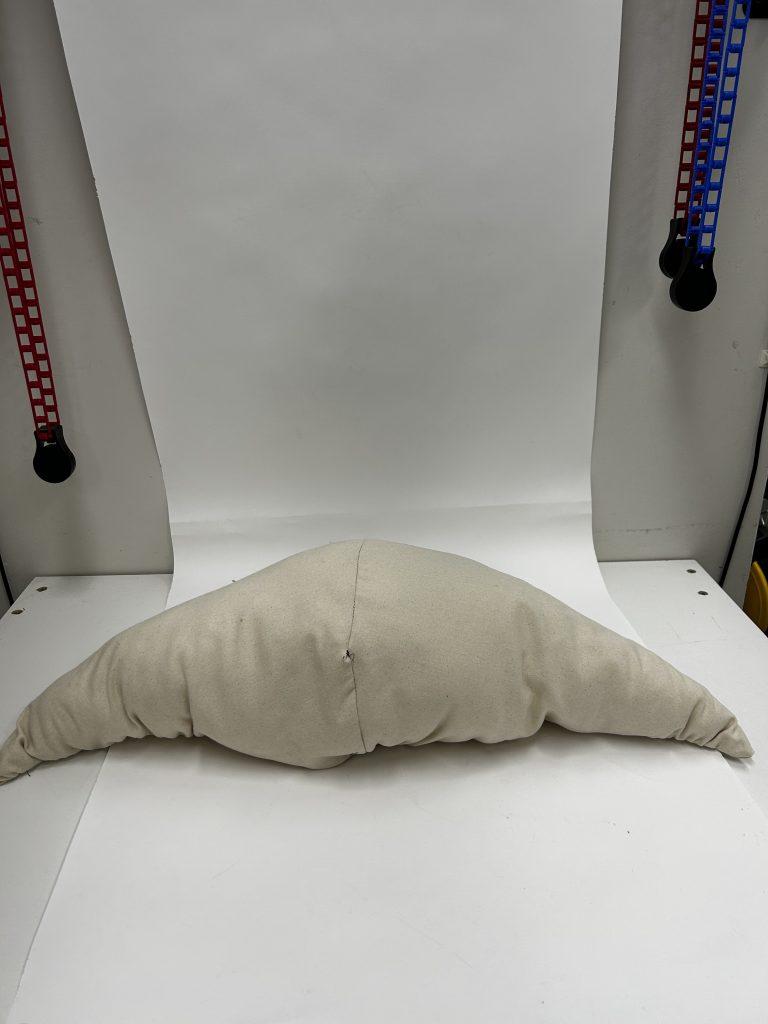
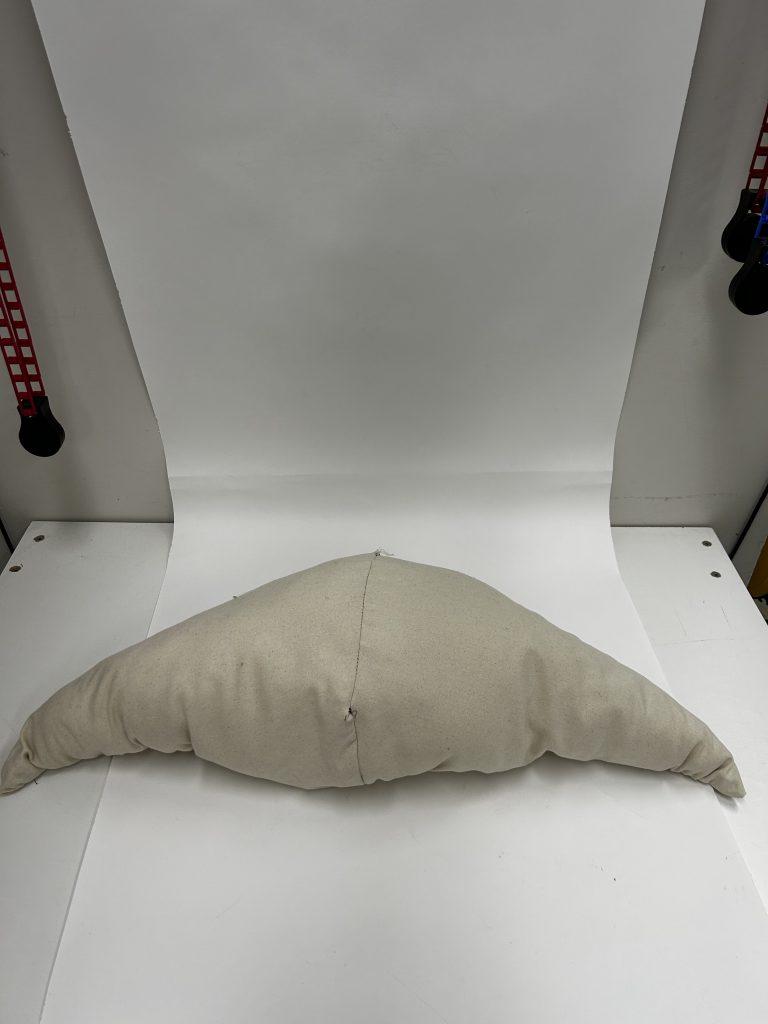
For my second object, I chose to focus on using gathering techniques while using two basic shapes in order to create a unique object. I chose to use two cones and use gathering in order to create a type of crescent shape from the two basic shapes. Gathering proved to be a difficult task, since in the process a ended up breaking the string I was using several times and had to start over. Because of this, I chose to divide my gathering into three sections in order to gather the fabric along more spots while also minimizing how much gathering I would have to redo in case the string broke. I also used a technique I found online which used two straight lines of string which were both used to gather the fabric by pulling on them. At the end, I sewed both tilted cones together to create this new, almost croissant looking shape. Although this was not what I had intended initially, it ended up being one of my favorite pieces since the shape is somewhat mysterious and originates from two very simple shapes being put together. I think it’s also really cool how it looks like two completely different objects whenever its flipped over – since on one side the gathering can be seen while on the other only he general shape.
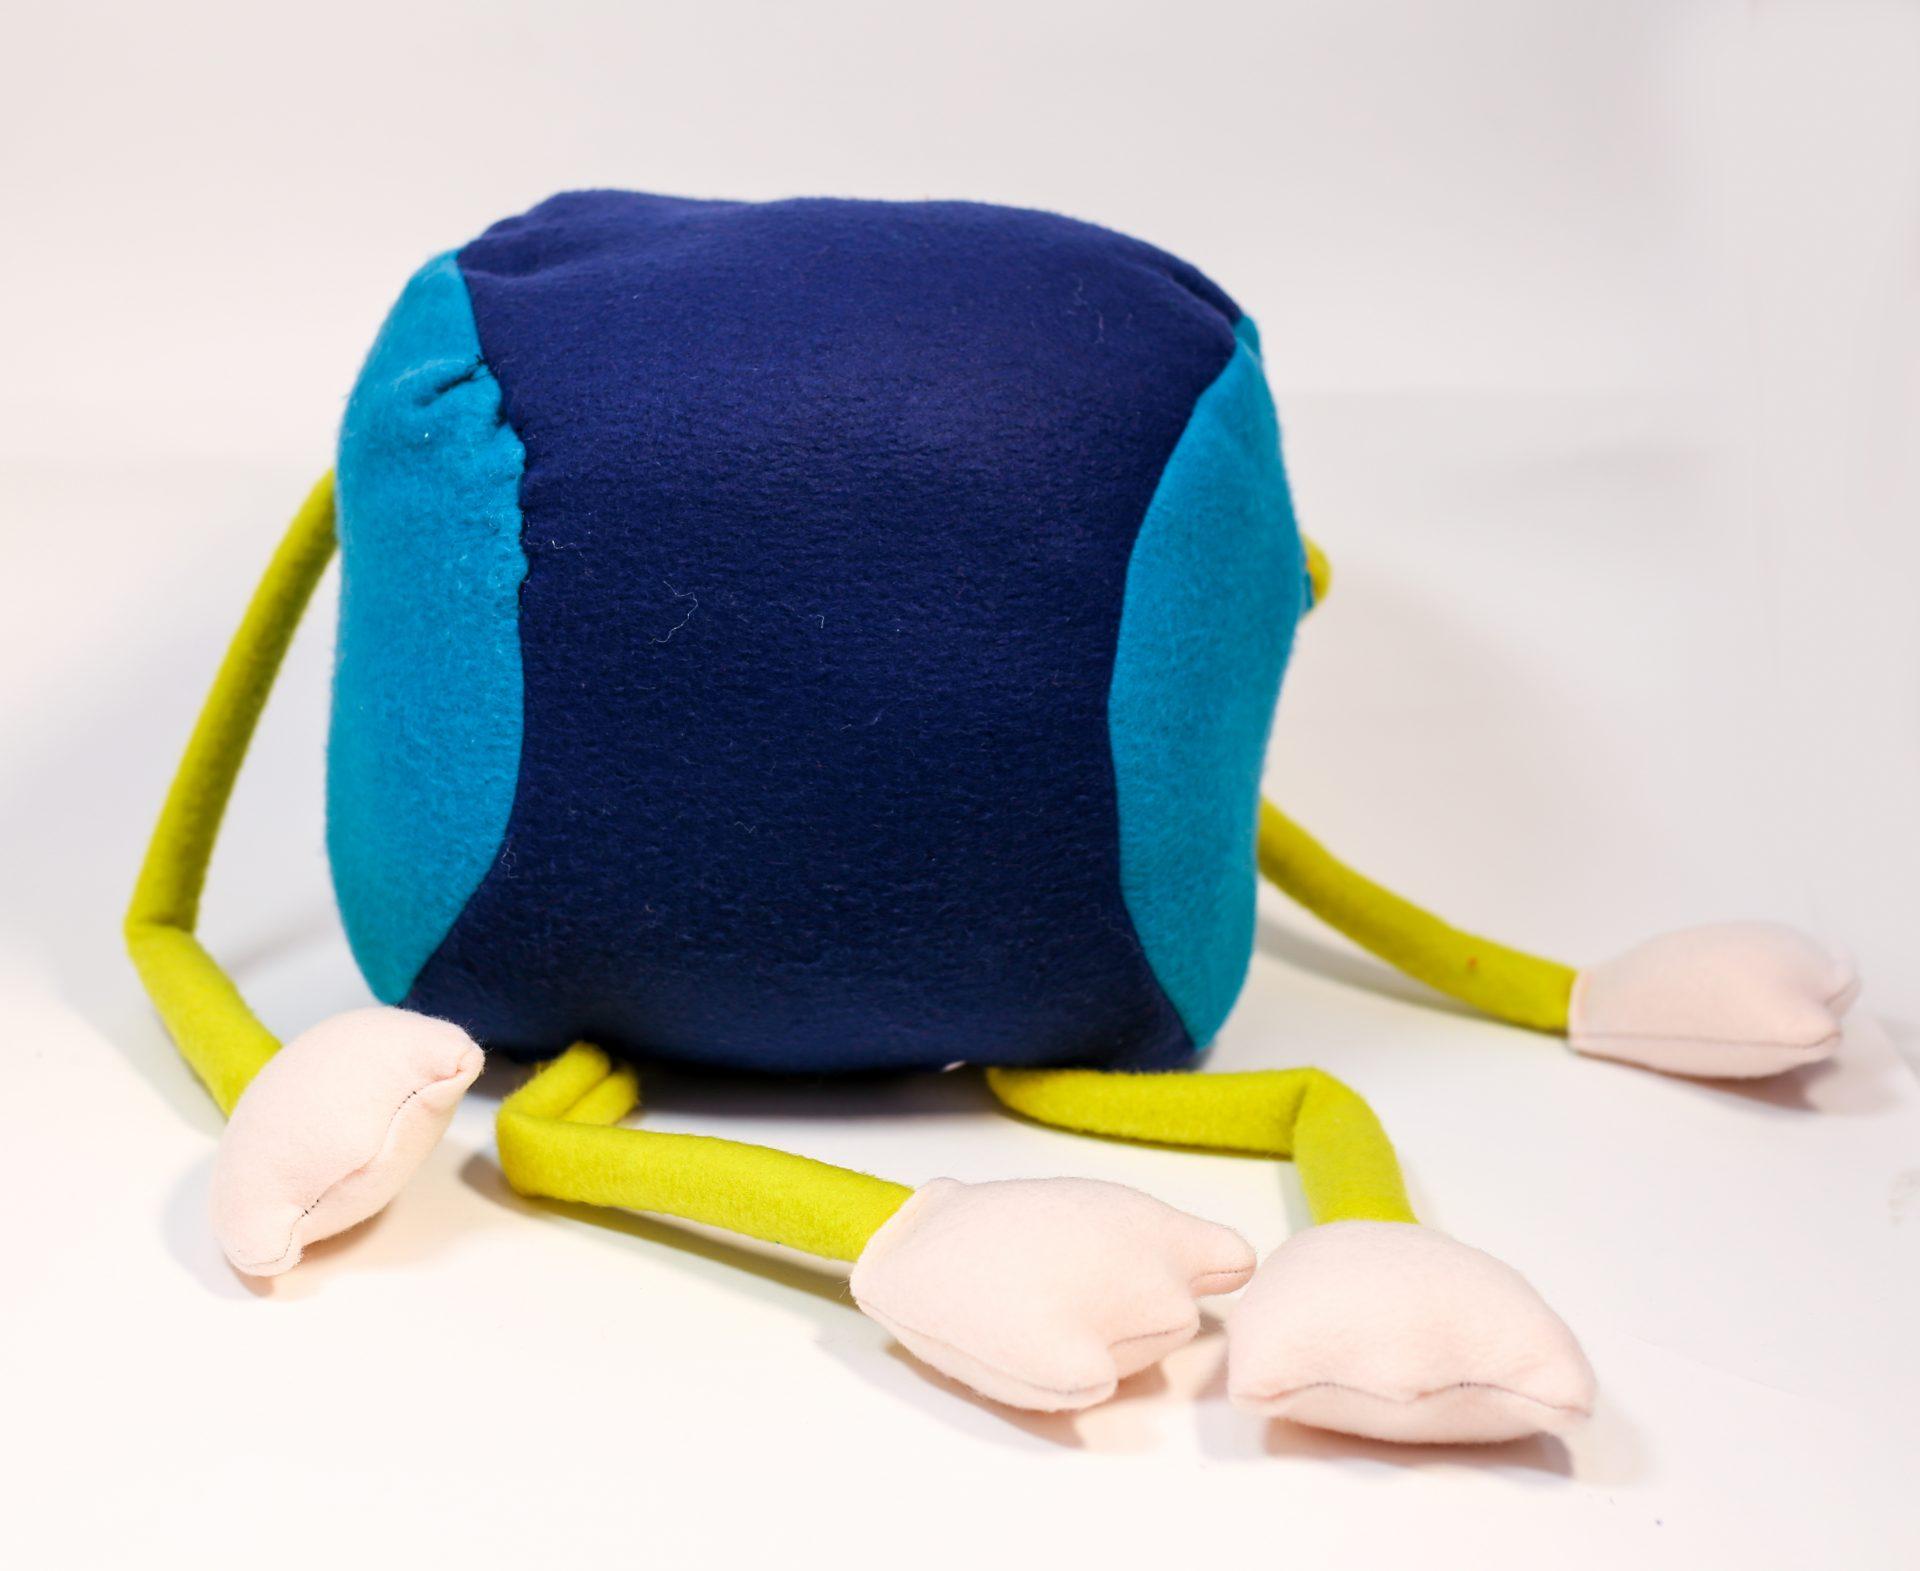
Object 3 –

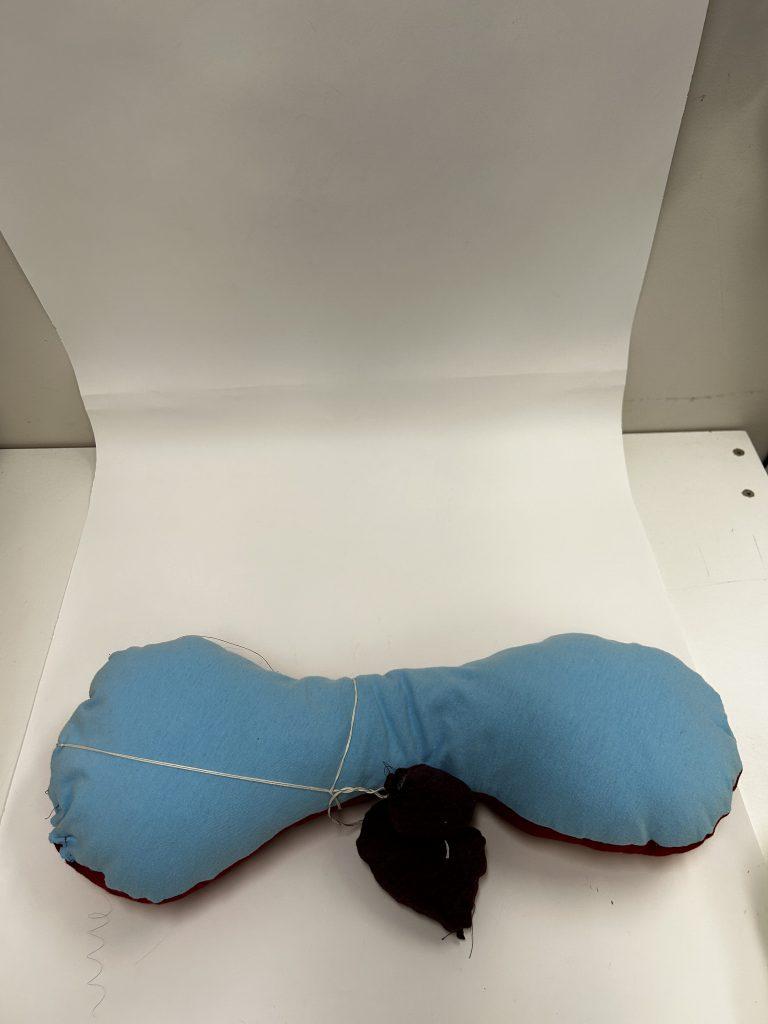
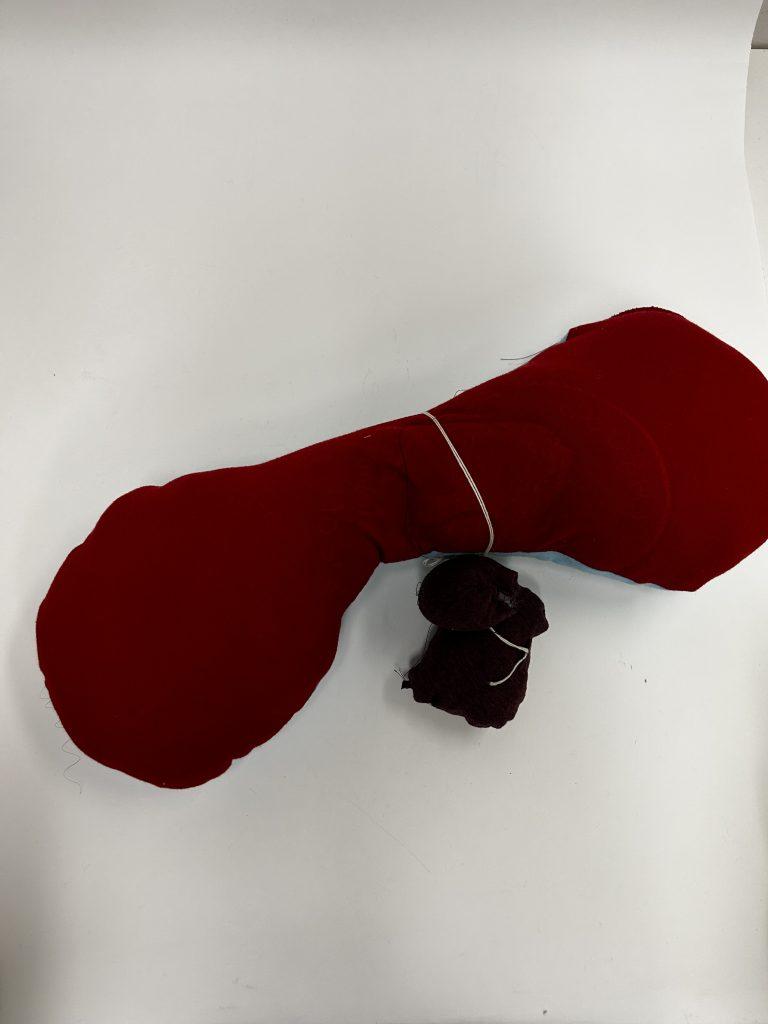
For my third object, I decided to experiment with user interaction and how that could be incorporated to change the inflatables shape. I also wanted to experiment with different fabrics and materials so for this object, the only fabric I used was old t-shirts that I had in my closet. This provided vibrant colors as well as different textures on both sides of the object. As for the interactive part, I passed a string through the object and tied two little balls at both of the ends of the string. Pulling on the string would cause the inflatable to sort of shrink and take on a completely different shape. However, the string was not very strong and would continue to break if pulled on a little too hard. This inflatable was a lot of fun to make since I was able to consider human interaction with my object. It was also pretty cool to consider how different t-shirts and the materials they were made out of would affect the way my inflatable felt and looked.